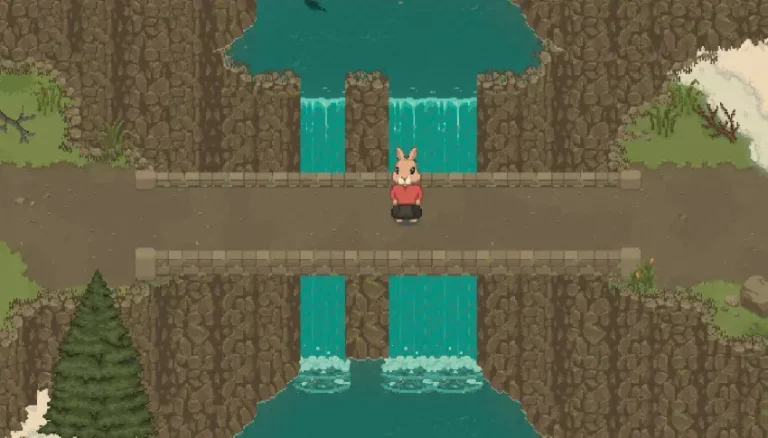
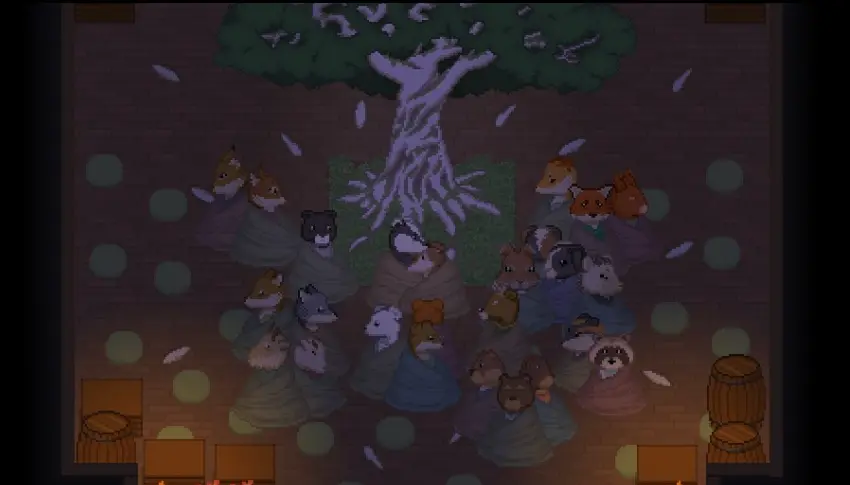
Learn about character creation, farming strategies, creature taming, and resource management in Grimshire from this beginners guide and gain an advantage in the early stages of the game.
Table of Contents
In addition to all this information, if you want to learn about the characters’ favorite and disliked gifts, check out our gifts guide.
Grimshire Guide
Getting Started:
When you first start playing Grimshire, the difficulty you choose will impact your resource management. The main difference is the weekly Ration requirement, which becomes a consistent challenge throughout the game.
- Normal Difficulty: Requires an extra 5 days’ worth of food for the army.
- Easy Difficulty: Requires an extra 3 days’ worth of food for the army.
Choose your difficulty wisely based on your comfort level with farming and resource planning.
Character Creation in Grimshire
You can currently choose from three species, each with unique traits and abilities:
Rabbit (Herbivore)
- Diet Bonus: +50% stamina when eating plants, -50% stamina when eating meat.
- Species Skill: Green Claw → +10% chance of growing a Bumper Crop (extra crop during harvest).
- Playstyle Tip: Great for farming enthusiasts, though dietary restrictions can feel limiting early on.
Fox (Carnivore)
- Diet Bonus: +50% stamina from meat, -50% from plants.
- Species Skill: Fox in the Hen House → 30% chance for Bluggies (chicken equivalent) to lay an extra egg.
- Playstyle Tip: Highly valuable early-game skill, ideal for players who want a reliable food source.
Bear (Omnivore)
- Diet Bonus: No dietary restrictions, neutral stamina from all food.
- Species Skill: Beary Master → 20% chance for bushes to drop extra fruit.
- Playstyle Tip: Balanced option, but lacks strong early-game bonuses.
Recommendation: Fox is generally the best early choice due to its strong resource-generation skill, followed by Bear for flexibility.
Choose Your First Skill Wisely
When creating your character, you’ll also select one Tier 2 Skill.
- Best Starting Skill: Courier → +20% movement speed while running (running costs no stamina, so this is a massive time-saver).
- Other skills are useful later but feel underwhelming at the start.
First Day Strategy
Your first task will be the “Meet Everyone” quest. Complete this as soon as possible because villagers provide:
- Useful tools
- Resources
- Important gameplay tips
Quick Tips for Day One:
- Visit the Tavern at 6–7 PM: Most villagers gather here in the evening.
- Don’t Worry About Full Field Clearing: Instead, water existing plants and plant any seasonal seeds you have.
- Talk to NPCs for Quests: Check the Villager Menu (press Escape) for quest icons.
Important Quest:
- “Carrots for Beatrix” → Rewards you with:
- Water Pump
- 8 Tin Pipes
- Blueprint for future crafting
These pumps act as early sprinklers, reducing stamina drain from watering.
Farming Tips
Farming is your lifeline in Grimshire. Here’s how to optimize it:
- Prioritize Water Pumps: Automating watering frees up time for exploration and gathering.
- Expand Gradually: Increase your growing area every other week (or sooner if you have spare seeds and pumps).
- Plant Fruit Trees: They provide steady herbivore food and help balance diets.
- Crop Survival Tip: Crops planted late in the season can survive up to a week past the season end, though risk of withering increases daily.
Key Insight: It’s easier to feed Carnivores than Herbivores unless you maintain a large farm.
How to Tame Animals in Grimshire
Critters are essential for meat, eggs, honey, and other animal products.
Step 1: Build a Coop First
- Cost: 400 coins, 40 planks, 40 stone
- Coops house Bluggies (egg layers) and Chikorees (honey producers).
Step 2: Build a Barn for Larger Critters
- Houses Girtles (mushroom producers) and Alpheeps (wool + milk).
Step 3: Taming Process
- Offer the critter its favorite item (hint: usually something from its region).
- Example: Bluggies like root vegetables (carrot, radish, etc.).
- If wrong item: NPC text will hint, e.g., “Try a different root.”
Critter Products:
- Bluggies: Eggs daily
- Chikorees: Honey daily
- Girtles: Girtshrooms every few days
- Alpheeps: Wool every few days; females also give milk daily
Pro Tip: Place critters in a fenced area with hay-grass (doesn’t need watering) to ensure steady food supply.
Foraging & Trees
Trees and bushes provide essential fruit for herbivores. Knowing their fruiting schedules helps plan your harvest:
Spring:
- Plum Trees: Day 5–18
- Cherry Trees: Day 15–28
Summer:
- Birch Trees: Day 8–23
- Pear Trees: Day 16–Fall 2
(Full seasonal chart continues as per original guide.)
Processing
Processing extends food life and helps craft advanced materials.
- Furnace: Smelt ore → 1 ingot per ore (requires fuel: coal, hardwood, etc.).
- Saw: Converts any wood into planks (1 wood = 1 plank, 60 in-game minutes).
- Drying Rack: Preserves herbs, fruits, veggies (slow, rain interrupts drying).
- Smoker: Faster than drying rack (6 hours per batch, but cannot process fruits/veggies).
Pro Tip: Build multiple forges or smokers to speed up production.
Grimshire Skills
How to work skills?
- Skills are divided into three tiers.
- Each tier costs skill points equal to its tier (Tier 1 = 1 point, Tier 2 = 2 points, Tier 3 = 3 points).
- Max level: 30, giving you 29 skill points total to spend.
- At the end of this guide, you’ll find optimized skill recommendations to help you plan your build.
Tier 1 Skills
Cardio
- Effect: Increases maximum stamina by 20% (from 100 to 120).
- Why It’s Great: This is the only way to boost max stamina. Every action consumes 1 stamina, so you effectively gain 20 extra actions per day.
- Verdict: Mandatory. Grab this early.
Careful Fisher
- Effect: Fish are less likely to scare off when you wiggle the rod.
- Reality Check: This skill is useless if you fish correctly. Just wiggle until “?” changes to “!”.
- Verdict: Skip it. Waste of a point.
Careful Miner
- Effect: 50% chance to avoid mine collapse on weak spots.
- Reality Check: Avoid weak spots by stopping when the wall is unstable. Safe play > wasting a point.
- Verdict: Hard pass.
Chef & Crafter
- Effect: Unlock 10 cooking or crafting recipes.
- Reality Check: Recipes come naturally via Surprise Bottles, tree shakes, mining finds, or NPC shops.
- Verdict: Trap skills. Never take these.
Critter Cuddler
- Effect: Critters gain +1 happiness when petted.
- Reality Check: Nice for preventing runaway critters, but not urgent.
- Verdict: Optional later.
Hot Compost
- Effect: Compost piles finish 1 day faster.
- Reality Check: Speeds up composting (4 days instead of 5). Helpful, but not essential.
- Verdict: Nice to have.
Seed Finder
- Effect: Weeds can drop seasonal seeds.
- Why It’s Amazing: Saves money, accelerates farm growth, helps stock your Root Cellar.
- Verdict: Top-tier early skill. Grab ASAP.
Tier 2 Skills
Courier
- Effect: +20% run speed.
- Why It’s Great: Time is money. This is your mobility king skill.
- Verdict: One of the best early picks.
Gourmet
- Effect: +30% stamina from cooked dishes.
- Reality Check: Cooking is time-consuming and barely better than raw food.
- Verdict: Low priority.
Merchant
- Effect: +5% sell, -5% buy prices.
- Reality Check: Items have low value; the benefit is negligible.
- Verdict: Skip it.
Musician
- Effect: +10% relationship points.
- Reality Check: Sounds nice, but unnecessary for progression.
- Verdict: Optional.
Naturalist & Prospector
- Effect: Highlights forage items or ores.
- Reality Check: Both cost 2 points for a minor convenience. Ores and forage are already easy to spot.
- Verdict: Absolute waste.
Noble
- Effect: +500 coins.
- Reality Check: Terrible value for 2 points. Materials and gems will net more money naturally.
- Verdict: Avoid like the plague.
Rancher
- Effect: Critters have a higher chance to birth twins.
- Why It’s Great: Big payoff once you have breeding pairs.
- Verdict: Grab later when your ranch is set up.
Student
- Effect: +5% XP gain.
- Reality Check: Costs 2 points for tiny benefit. Level cap is 30, so not worth it.
- Verdict: Never take this.
Tier 3 Skills
Angler
- Effect: 20% chance to catch +1 fish.
- Why It’s Great: Doubles fish occasionally, works on Surprise Bottles too. Keeps carnivores fed.
- Verdict: Top priority for Tier 3.
Arborist
- Effect: +2 wood per tree chopped.
- Reality Check: Feels minor, but adds up when you need tons of wood.
- Verdict: Good investment.
Body Builder
- Effect: 5% chance to not consume stamina.
- Reality Check: RNG-based and low impact for 3 points.
- Verdict: Skip.
Butcher
- Effect: +30% meat from critters.
- Why It’s Great: Major food boost if you raise critters for meat.
- Verdict: Must-have for carnivore-heavy setups.
Efficient Crafter
- Effect: Use 20% fewer resources when crafting.
- Why It’s Amazing: Saves tons of materials and time later in the game.
- Verdict: Top-tier pick for late game.
Forage
- Effect: +20% chance for extra foraged items.
- Why It’s Great: Works for seeds and herbs. Passive and powerful.
- Verdict: Highly recommended.
Mole
- Effect: +10% chance for extra ore.
- Reality Check: Rare payoff and mines aren’t a daily activity.
- Verdict: Low priority.
Seed Saver
- Effect: Crops have 10% chance to drop seeds.
- Why It’s Useful: Sustainable farming boost, works on regrowing crops too.
- Verdict: Solid, but not core.
Social Sleuth
- Effect: Reveals NPC gift preferences.
- Reality Check: Dialogue and trial-and-error reveal this naturally.
- Verdict: Worst Tier 3 skill. Do not take.
Best Skills to Take
- Tier 1 Must-Haves
- Cardio → Essential for stamina management.
- Seed Finder → Early-game farming boost.
- Tier 2 Picks
- Courier → Speed = efficiency.
- Rancher → Once you have breeding pairs.
- Tier 3 Essentials
- Angler → Fish + Surprise Bottles = win.
- Forage → Boost seeds & food stock.
- Butcher → If livestock production matters to you.
- Efficient Crafter → Saves resources and time.
Skills to Avoid at All Costs
- Tier 1: Careful Miner, Careful Fisher, Chef, Crafter.
- Tier 2: Naturalist, Prospector, Noble, Student.
- Tier 3: Social Sleuth.
General Pro Tips
- Always donate the first of every item to the museum for rewards like upgraded water pumps and preservation methods.
- Think ahead seasonally plant trees early for future resources.
- Tree seeds never spoil; keep them for emergencies.
- Check the Mayor’s lost and found chest daily for free random items.
- Upgrade axe first, then pickaxe for better mining.
- When food is consumed, the order is: Cooked → Fresh → Dried/Smoked → Preserved.
- Complete town projects ASAP they expire silently.

