
Welcome to our DEATHLOOP Ubiquity Guide. This page consists of information on how to complete Deathloop’s second tutorial and very first Aresenal Lead – Ubiquity – consisting of how to discover and elimante Wenjie Evans, how to harvest the Residium and start the experiment.
DEATHLOOP Ubiquity Guide
Ubiquiti
Find Wenjie’s Research
Given that you’re still in a tutorial mode, you won’t be able to explore elsewhere until this secondary lead is uncovered, so you’ll be forced to explore The Complex in the afternoon when Dr. Wenjie Evans is present. If you die, you’ll restart at this point, rather than back in the morning.
You may also notice that you begin this segment in a different tunnel exit than the previous time you visited The Complex. Several others districts operate on the same rules – at certain times of day, you’ll come out in different spots, but you can usually leave via either exit.
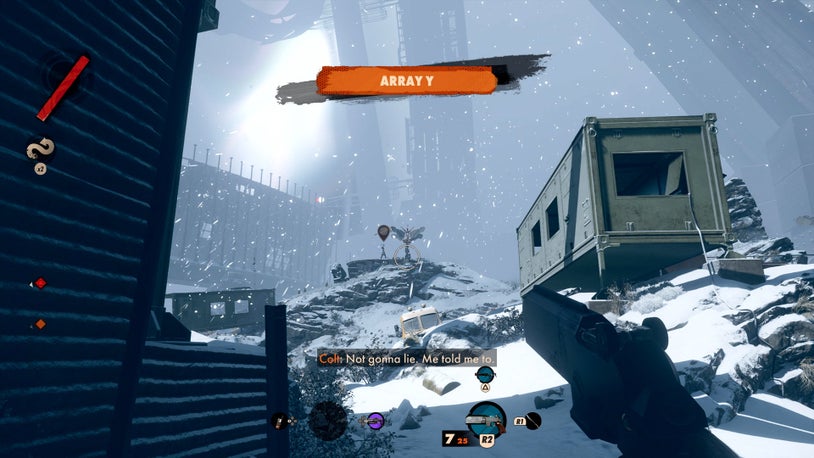
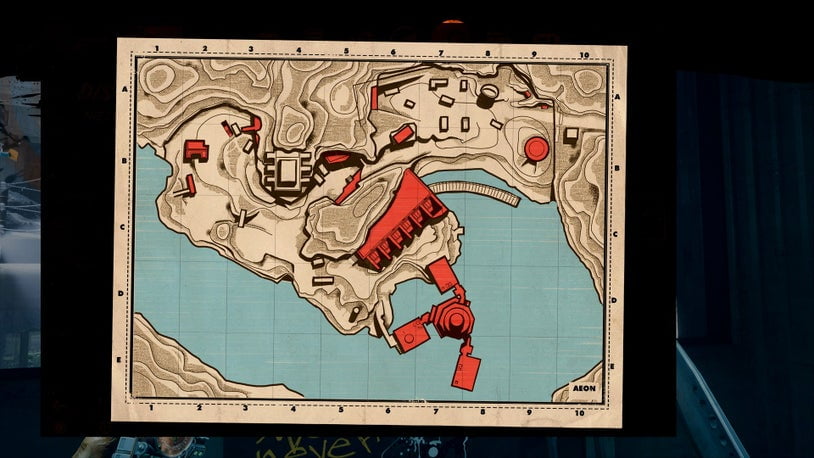
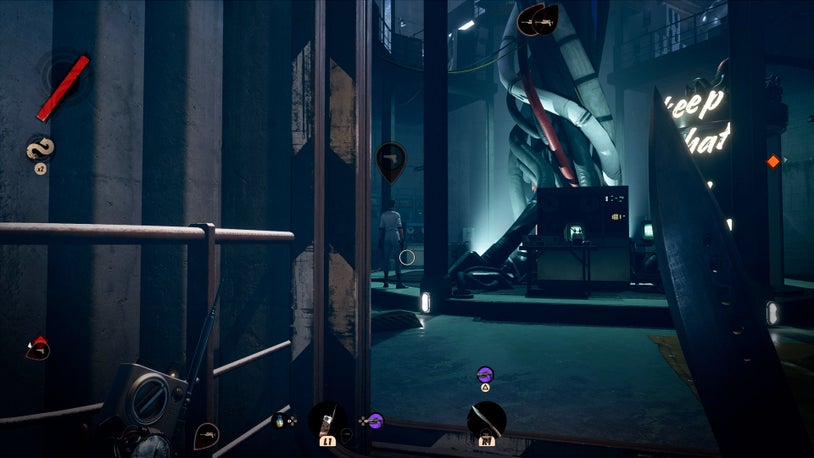
Coming out at Array Y, you’ll be at sort of a back entrance to the complex area, but Wenjie’s Lab is just a straight shot past a group of Eternalists patrolling the field and main road. You can explore the labs in the boxes around you, but your main focus should be getting to the large cylindrical lab in the distance.
Hopefully you re-grabbed everything from you apartment earlier in the morning, so you can quietly take out the patrolling guards with your Spiker. You could also go left through a large patrolled bunker back to where the other tunnel entrance was, but there’s a bigger chance of a firefight happening in there.
Carefully make your way up along the road to the back entrance to the Control Center, with Wenjie’s Lab straight ahead. You can disable the turrets and cameras with your Hackamajig and cut through the sheltered control center if you want, or take the outdoor route and finish off the remaining patrolling Eternalists.
Head for the large green annexed building to the left of the cylinder lab to find yourself inside a small manufacturing lab. Here you’ll spot Wenjie. And another Wenjie. And another Wenjie. This may be more complicated than previously thought.
Much like how there seems to be multiple Colts and Juliannas running around, Wenjie has also figured out a way to bring more versions of her into the fold, but unlike you, they can’t remember previous loops – and are doomed to run the same experiments every day. To make matters worse for you, killing one Wenjie won’t satisfy the job – you’ll see a rush of colored light that will highlight other Wenjies in the vicinity (thankfully they won’t notice if one of their number is killed – unless you are loud about it).

With only one Wenjie actually patrolling around the green building, quickly disrupt the camera and take her from behind, then quietly take out the other two Wenjies in this building. If you climb up onto the roof, beware of two more Wenjies chatting on a balcony up the main Lab Annex building.
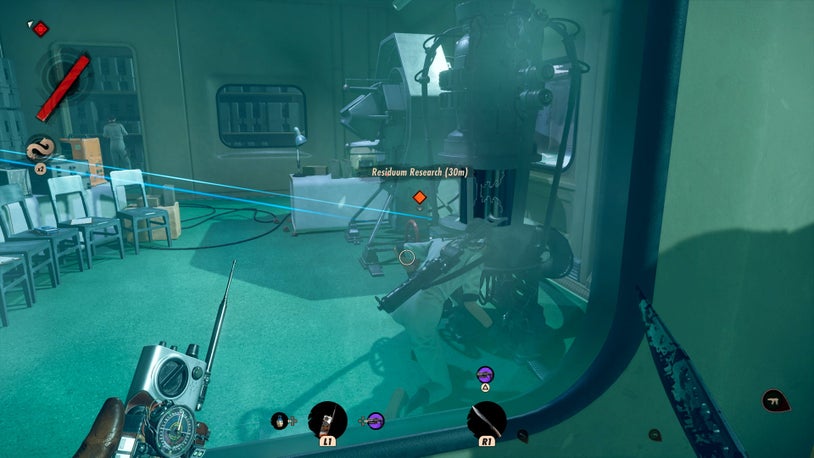
Instead, drop down and cross the freezing waters to the outer walkway around the base of the annex (Look for a box by the water’s edge that holds a Sleek Trinket before crossing), and peek your head inside the main building. There should only be one Wenjie in here that walks from station to station in a slow circle.

Once she’s taken care of, carefully move around to find a diagram on the whiteboard with a few notes – Wenjie is trying to do some experiments harvesting Residium, but it only works when the entire target is killed, which means you’ll need to kill every last Wenjie to harvest the material left behind.
Kill Every Wenjie – DEATHLOOP Ubiquity Guide
Now that your true goal is known, it’s time to exterminate a Wenjie infestation. There are 15 total in all wandering these labs – but there is a way to quickly thin the numbers.

Disable the camera and head across the ground floor through the door marked Security – which will take you through a tunnel to the red building to a security wing. There are two more Wenjies here, as well as a turret. Let them finish talking so that they begin to patrol around, and use your Spiker to eliminate them at a distance. Peek around the corner to disable the turret (or use it to kill the Wenjies for you), and then search the area.
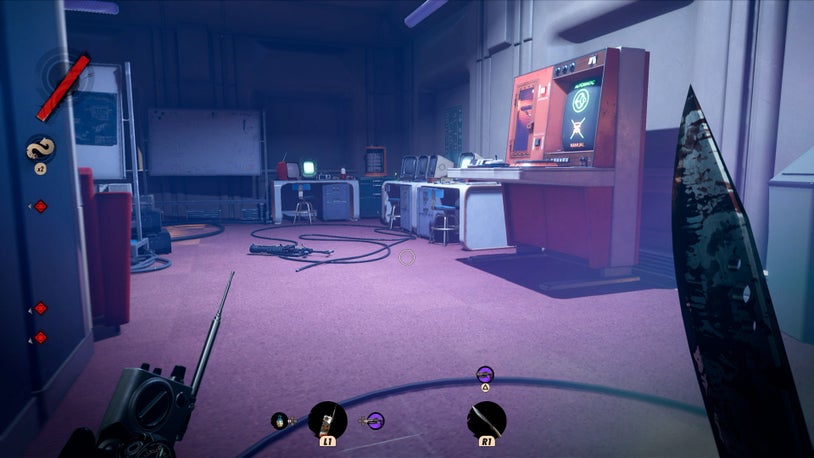
At the far end of the Security wing is a table with a Sleek Trinket, audio log, note, and control console that activates a containment protocol in the main lab building, sealing the place tight and depressurizes the room – killing anything still inside. Listen to the audio log to hear Wenjie state that the controls are left in the bottom section of the blue lab building – which should be your next stop.

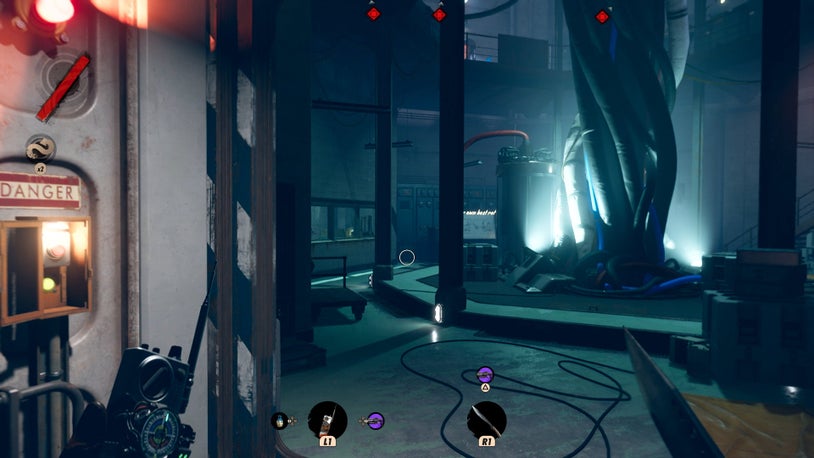
Climb out of the Security wing through a ceiling exit and leap across to the main floor of the blue building. Two Wenjies will have been conversing on the lowest level before one walks up the stairs to patrol the ground floor – so approach the door cautiously. After you go down to the bottom floor, look on the whiteboard for a note with the code.
It is important to note that unlike pretty much every other code you will find in Deathloop, Wenjie is the only person who thought ahead far enough to completely randomize the code in a way that will always change – even between loops. This means if you want to revisit this area and kill the Wenjies again, you’ll need to repeat this process.

By now you should have killed around 8 Wenjies. There are 2 more Wenjies on the upper floor of the blue building, and 1 on the roof. As for the main cylinder lab, 2 are on the balcony, and 2 patrol the top floors.
The good news is for all their intellect, the Wenjies aren’t smart enough to realize what’s going on if you trap some of them in the building by throwing any of the switches at the entrance and killing those inside. With this knowledge, you can either lure those outside into the main lab before locking them in, or take them out in whatever style you choose. Just be careful if you get discovered, every Wenjie is usually packing different types of sleek weaponry and a handful of sleek trinkets, which bolsters their abilities.
Harvest the Residium – DEATHLOOP Ubiquity Guide
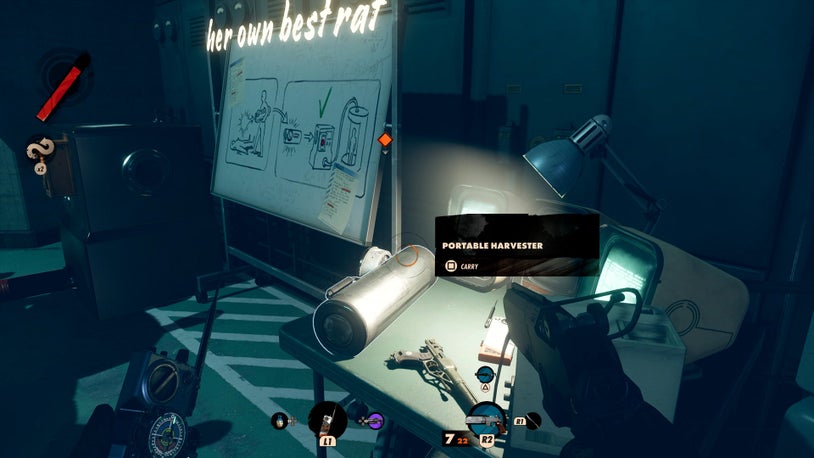
When the last Wenjie is killed, she’ll leave behind a ghostly afterimage much like Julianna did when you killed her. Return to the bottom of the main lab annex and grab the harvest cylinder from the table by the whiteboard drawing, and simply stand near the body to suck up its ghost.
Now all you need to do is return to the area you found the harvester and plug it into the metal infuser box using a hole on the side.
Activate the Experiment

With the harvester plugged into the infuser box, a switch will open, and across from it is a large pod to stand in to infuse yourself with the Residium. The only problem is the experiment was designed for two people, so you’ll have to find a way to turn that switch on. Preferably with a gun.
Unfortunately for Colt, there are some side effects to this experiment. Like dying.
The good news is, as you wake up on the beach, Colt will find that the weapon you had equipped will still be with you, and will always remain with you through each loop!
Even better, as you move back through the beach tunnels, you’ll now be able to find any glowing objects and suck the Residium right out of them, harvesting 750 Residium per item you find (and a lot more when you harvest the Residium of a Visionary). You should be able to find 3,500 Residium if you harvest each item you find on the way out of the tunnels.
From this point on, you’ll no longer have to slog from the beach anymore. You’ll always begin each morning at your loadout screen, with 3,500 Residium, your Double Jump trinket, gun recoil trinket, LIMP-10, machete, sapper grenade, Hackamajig, and Respite Slab.
After doing a short tutorial to sacrifice your recoil trinket to earn some extra Residium to make your LIMP-10 permanent, you’ll be able to start pursuing your other Visionary Leads across Blackreef’s four districts over all four times of the day. Be sure to harvest any Residium you come across, as you’ll want to start expanding out loadout with more trinkets and weapons to vary your playstyle as you explore and go after your targets.
You can take on the Visionary Leads in any order you choose, but expect things to not be so straightforward – you’ll have to find a way to take out all of your targets in one day after all, and they currently won’t make things that easy for you.