
Collectibles Guide
ACT 1
Chapter 1
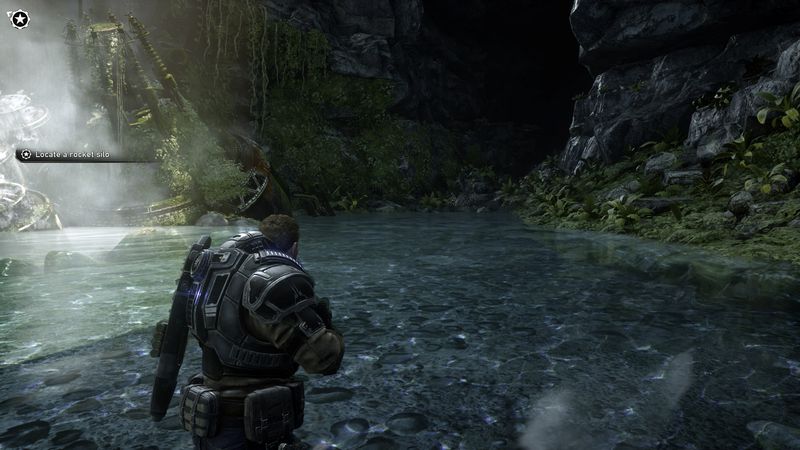
#1: Weathered Spectacles
At the very start of the game, climb out of the water to your left, where there will be two paths – one going up, and another to the left by the cliff wall. At the end of this left path is the collectable on the ground.
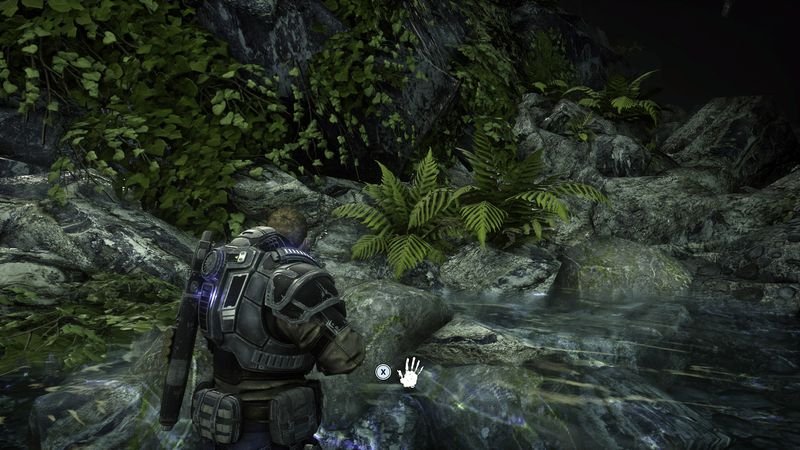
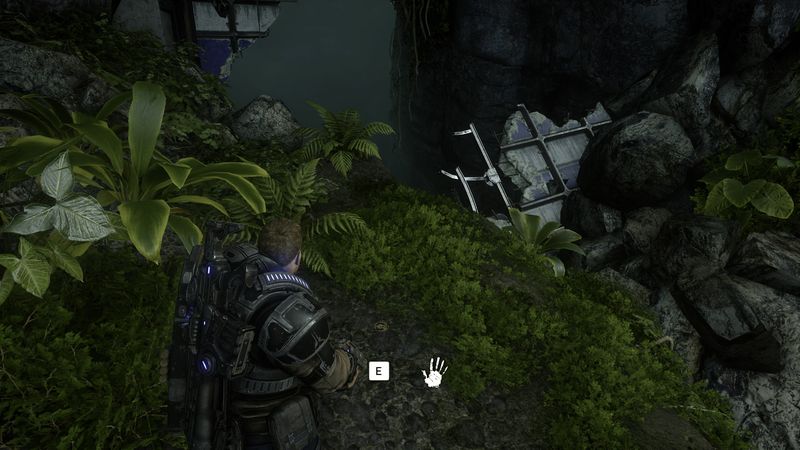
#2: Onyx Guard Challenge Coin
After #1, start to head up to your objective but first head down the leftmost path to get this.

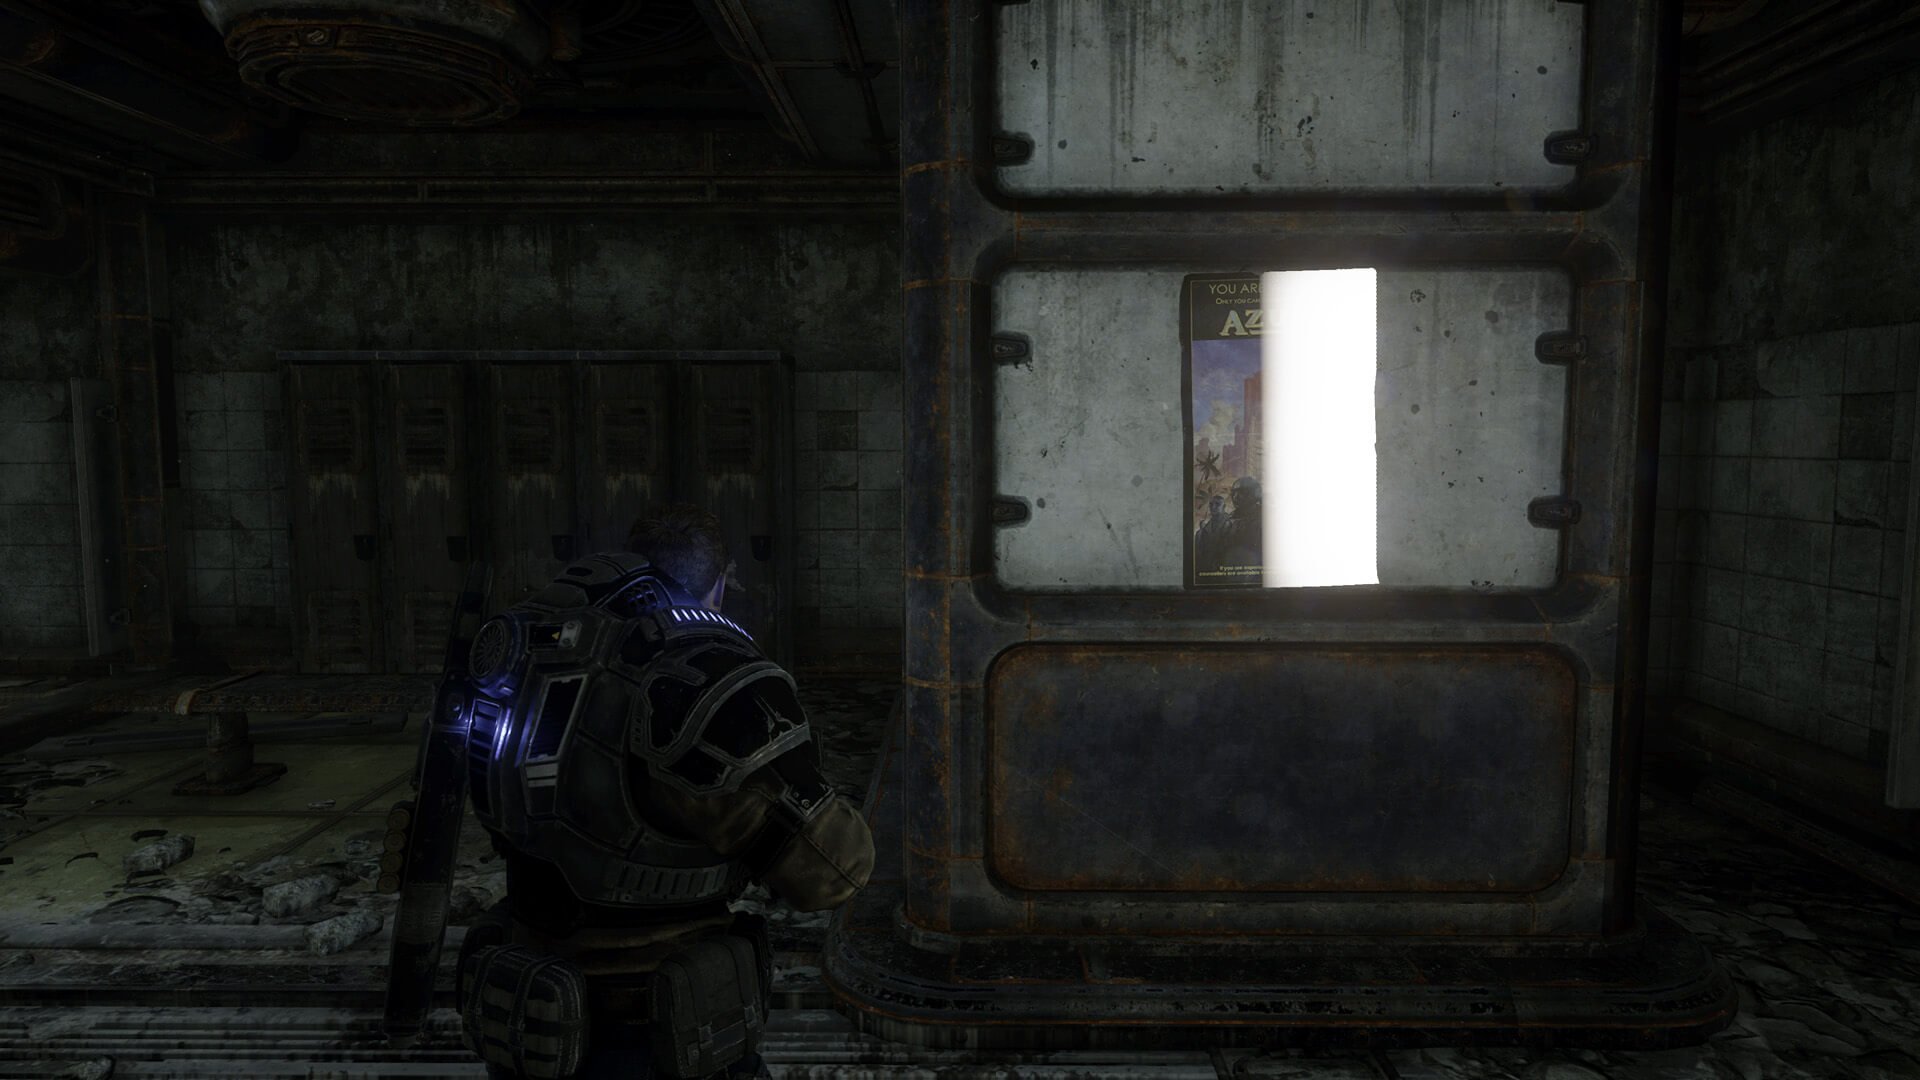
#3: Wellness Advisory Poster
Before using your Lancer on the first set of cables, look for a poster on the wall behind y.
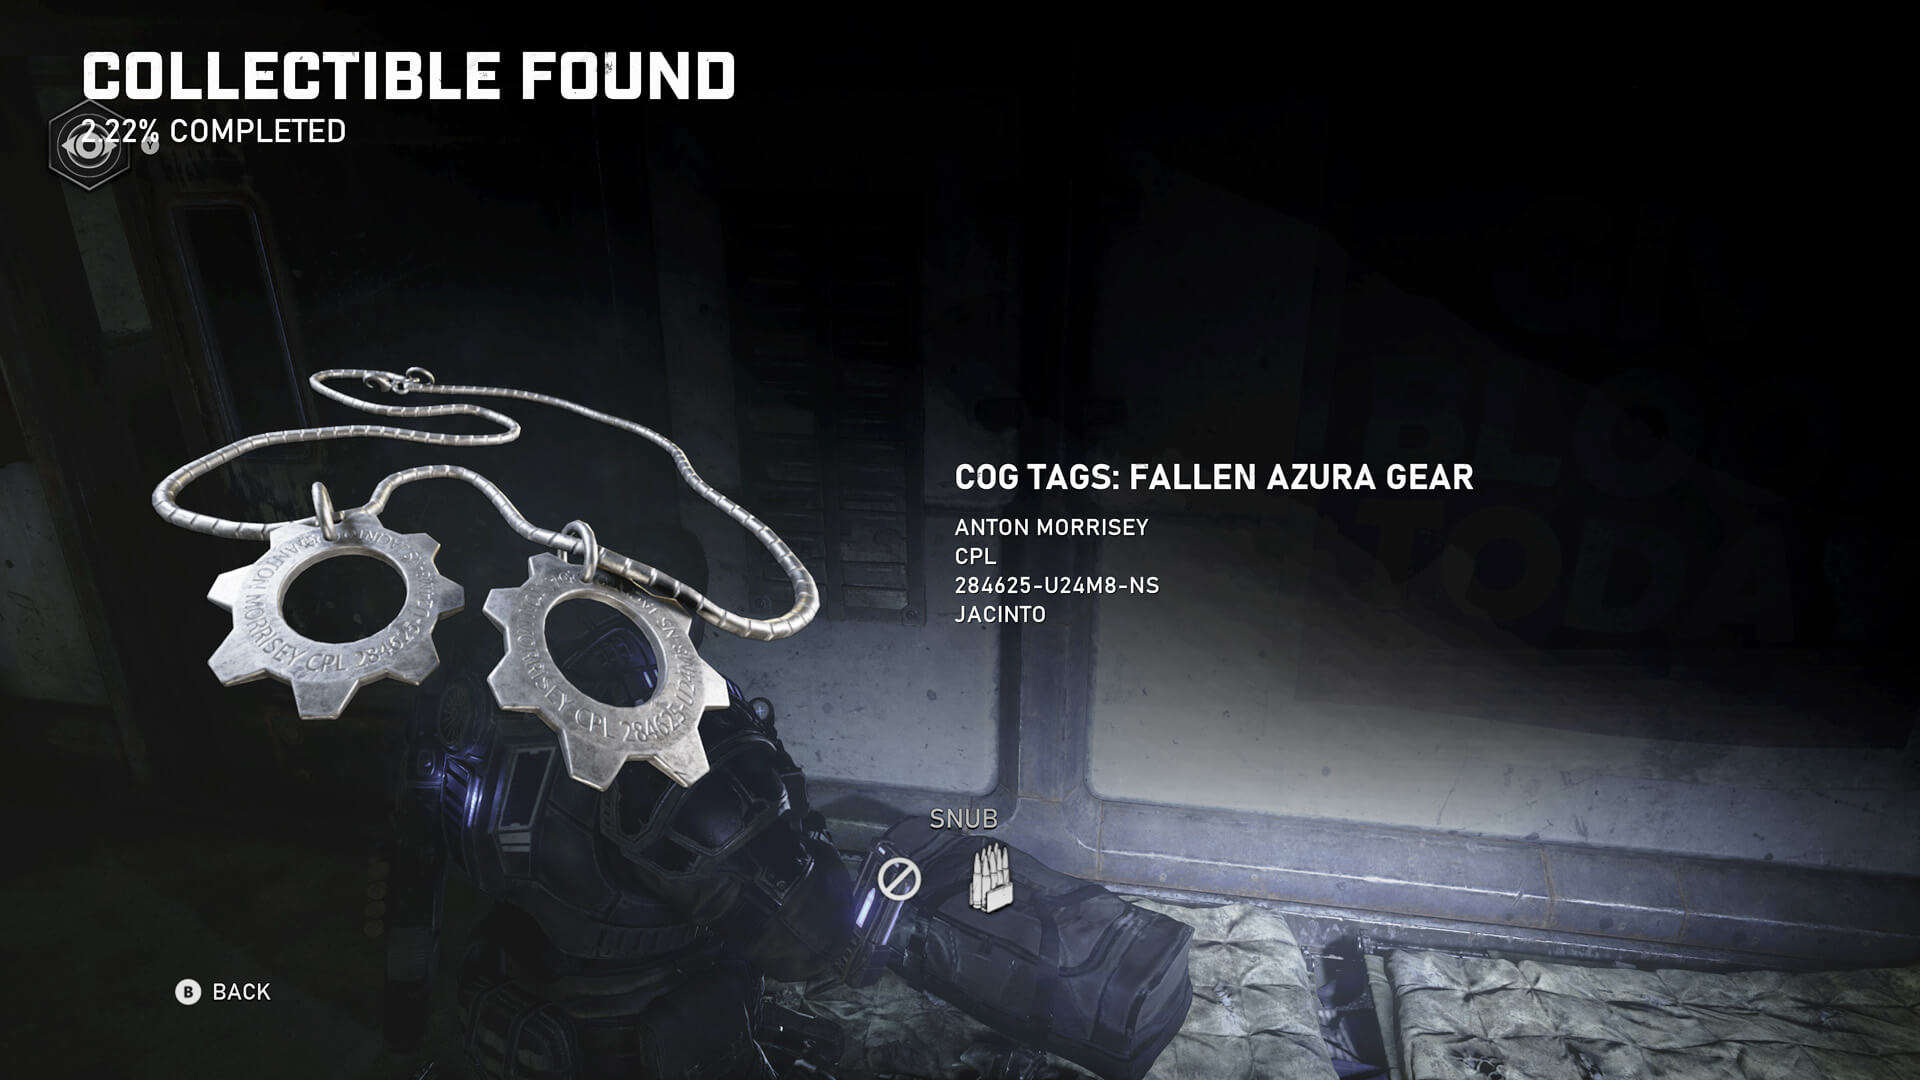
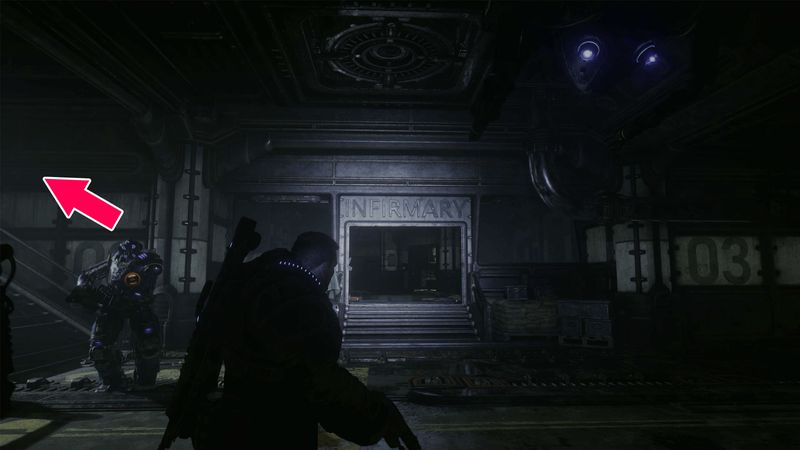
#4: Fallen Azura Gear
Head straight into the infirmary. These tags are on the corpse on the floor to the right (along with some Snub ammo).
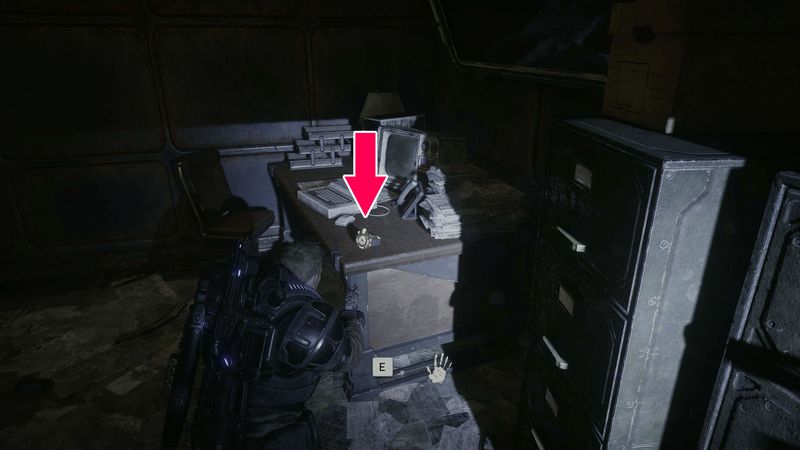
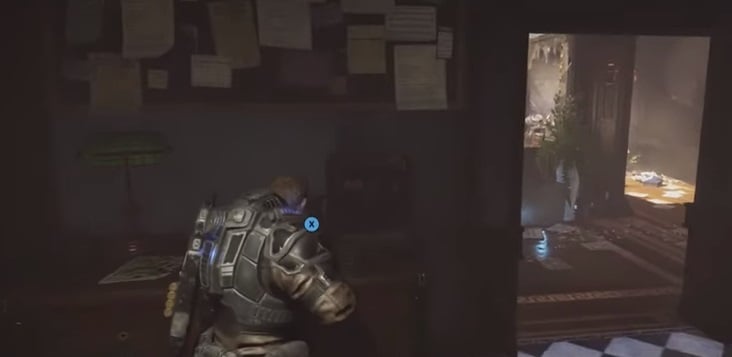
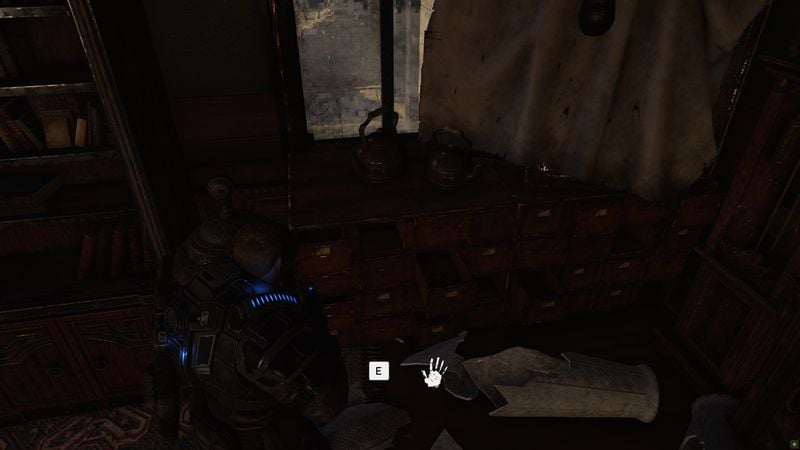
#5: Chairman’s Wristwatch
Just after the COG tags, head upstairs and search through the rooms on the left. It’s on a desk.
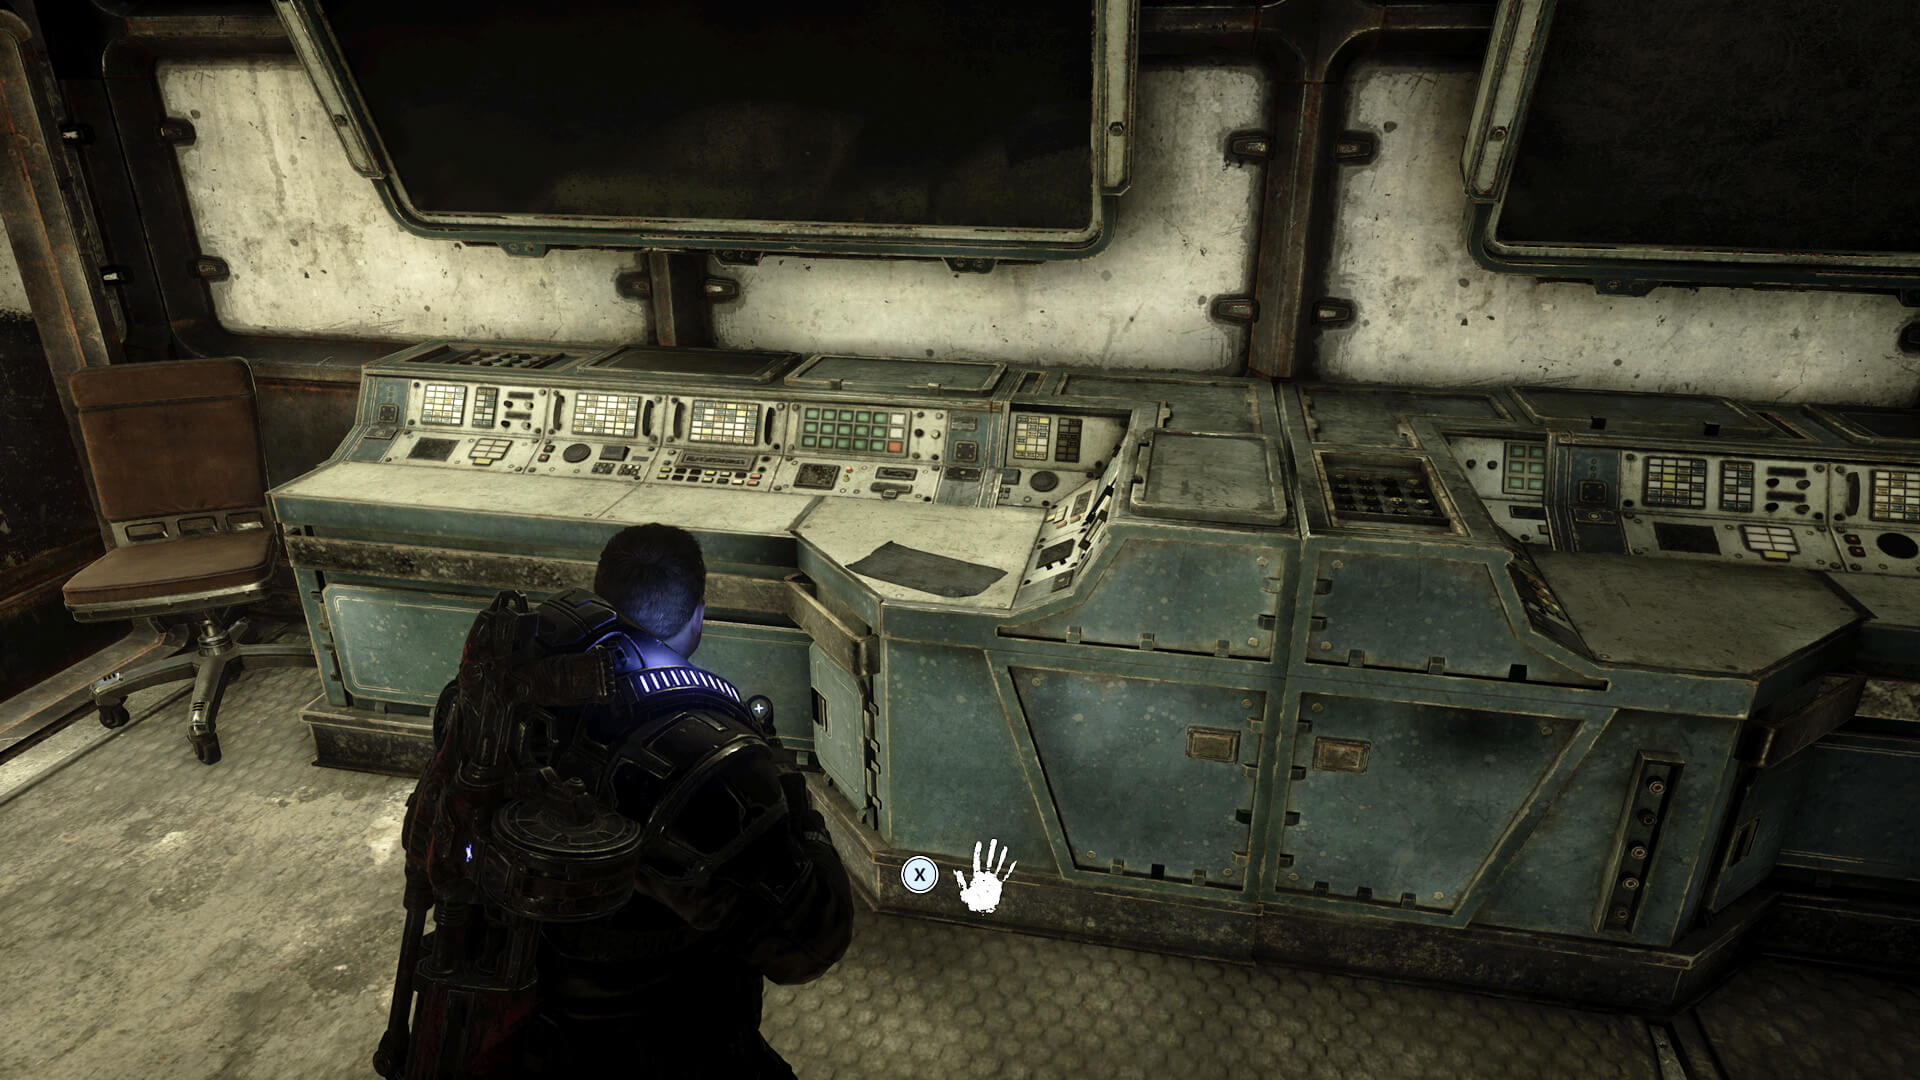
#6: Lightmass Missile Strike Authorisation
After the infirmary, but before you reach the commander’s office, you’ll have a quick firefight. Stick to the left wall, and look for a small room with stairs. Climb the stairs and head back the way you came to find a control room. This collectible is on the console.
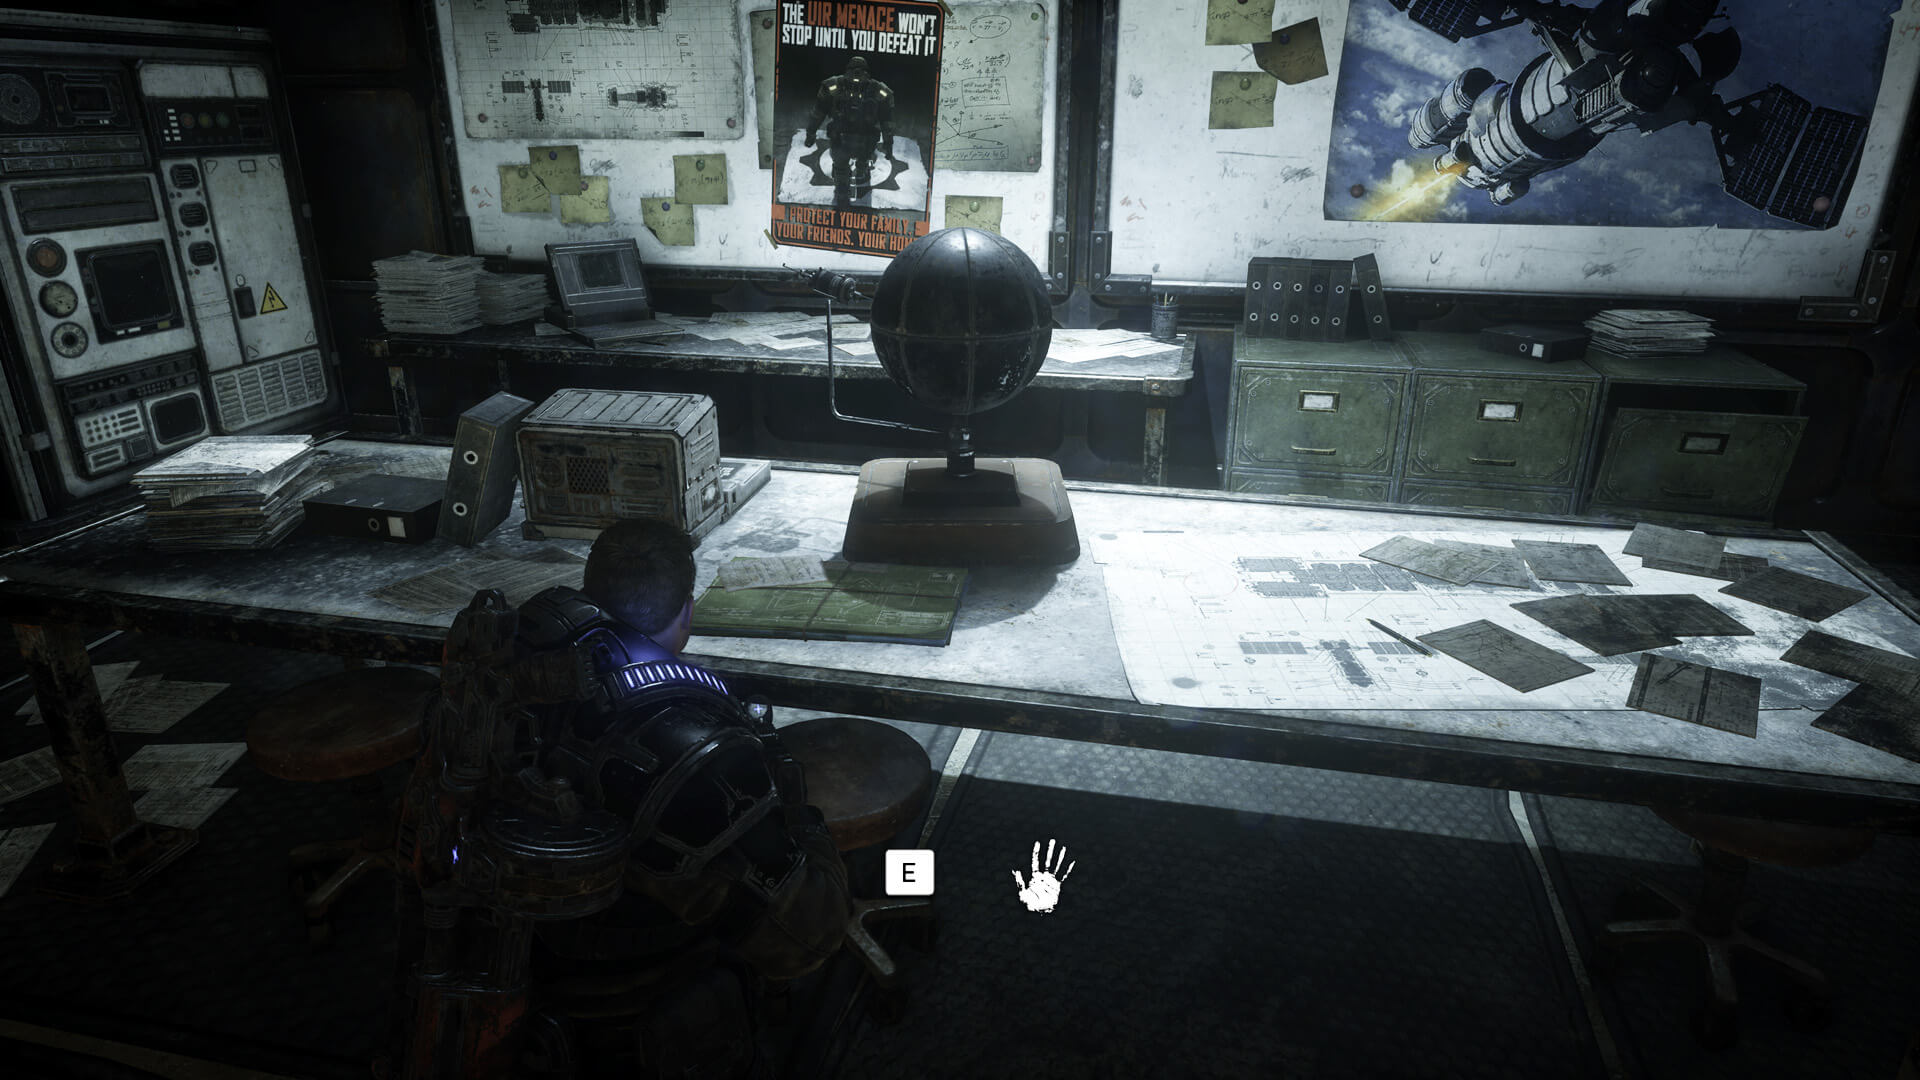
#7: UIR Hammer of Dawn Blueprints
Just before you reach the commander’s office, you’ll have to send Dave through an air vent to unlock a door. The commander’s office will be on your right. Head into the other room directly ahead of you to grab this collectible off the table.
Chapter 2
#1: Photograph of Kilo Squad
As soon as you take control, look for this photograph on an L-shaped desk. If you’re facing the stairs that lead up to Jack, the desk is on your left.
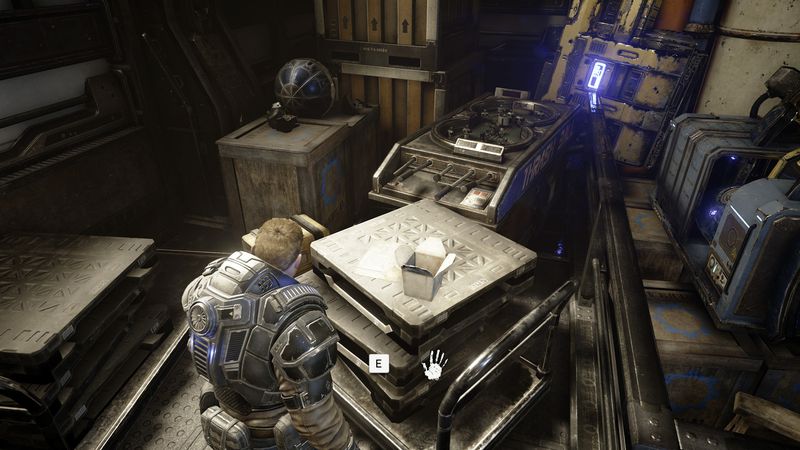
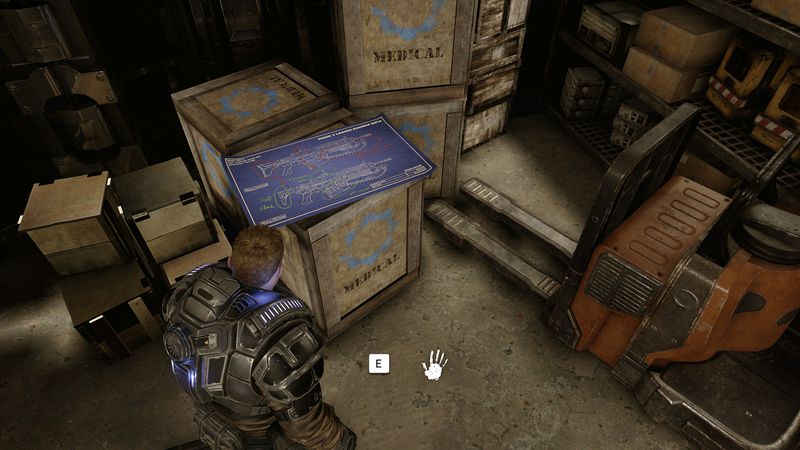
#2: Mark 3 Lancer Blueprints
Walk up the stairs that lead to Jack, and turn left. These blueprints are on a wooden box to the far left of the room.
#3:Trauma Record: Marcus Fenix
Same room as #02, opposite side of the room.
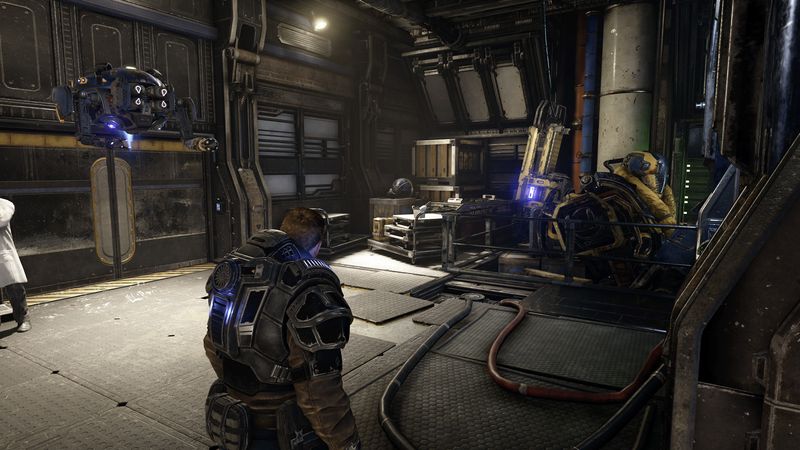
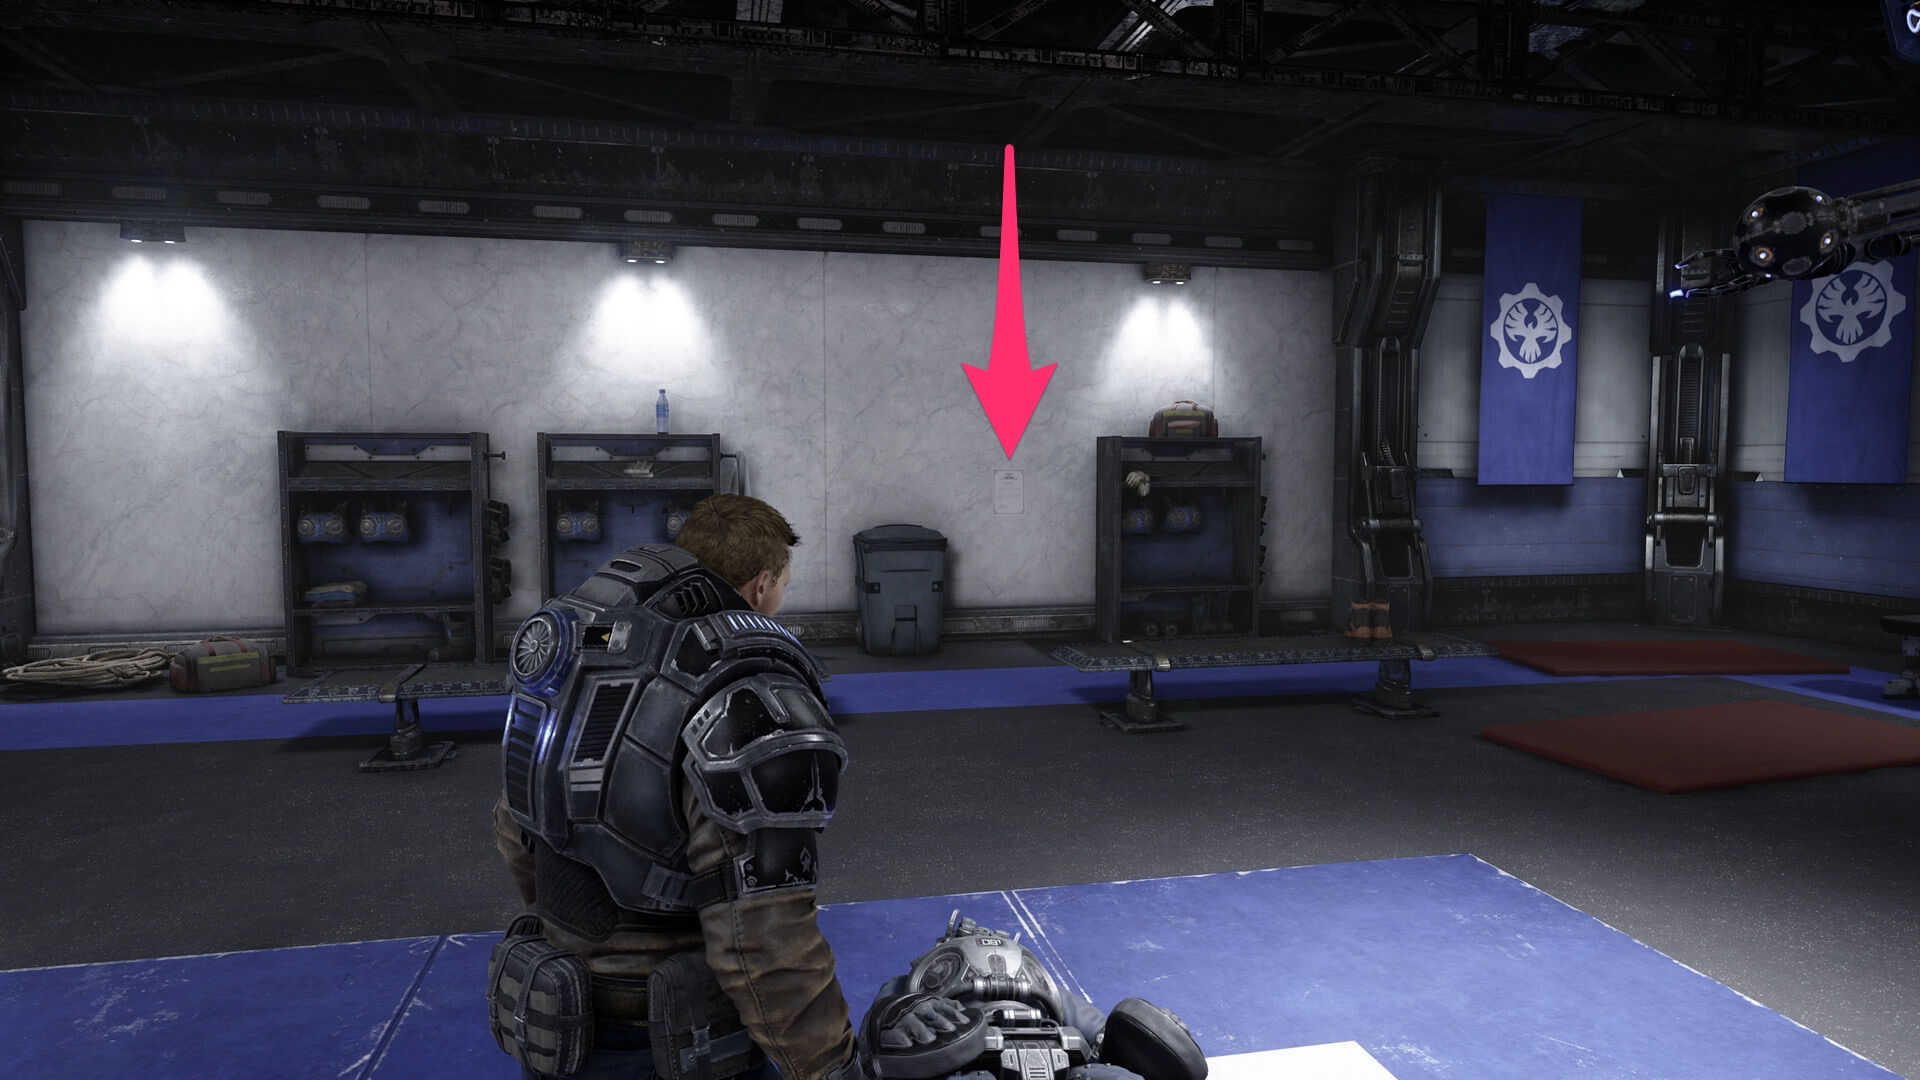
#4: Gym notice to trainees
After you fight Fahz and regain control, look at the wall beyond the sparring robot to find this poster.
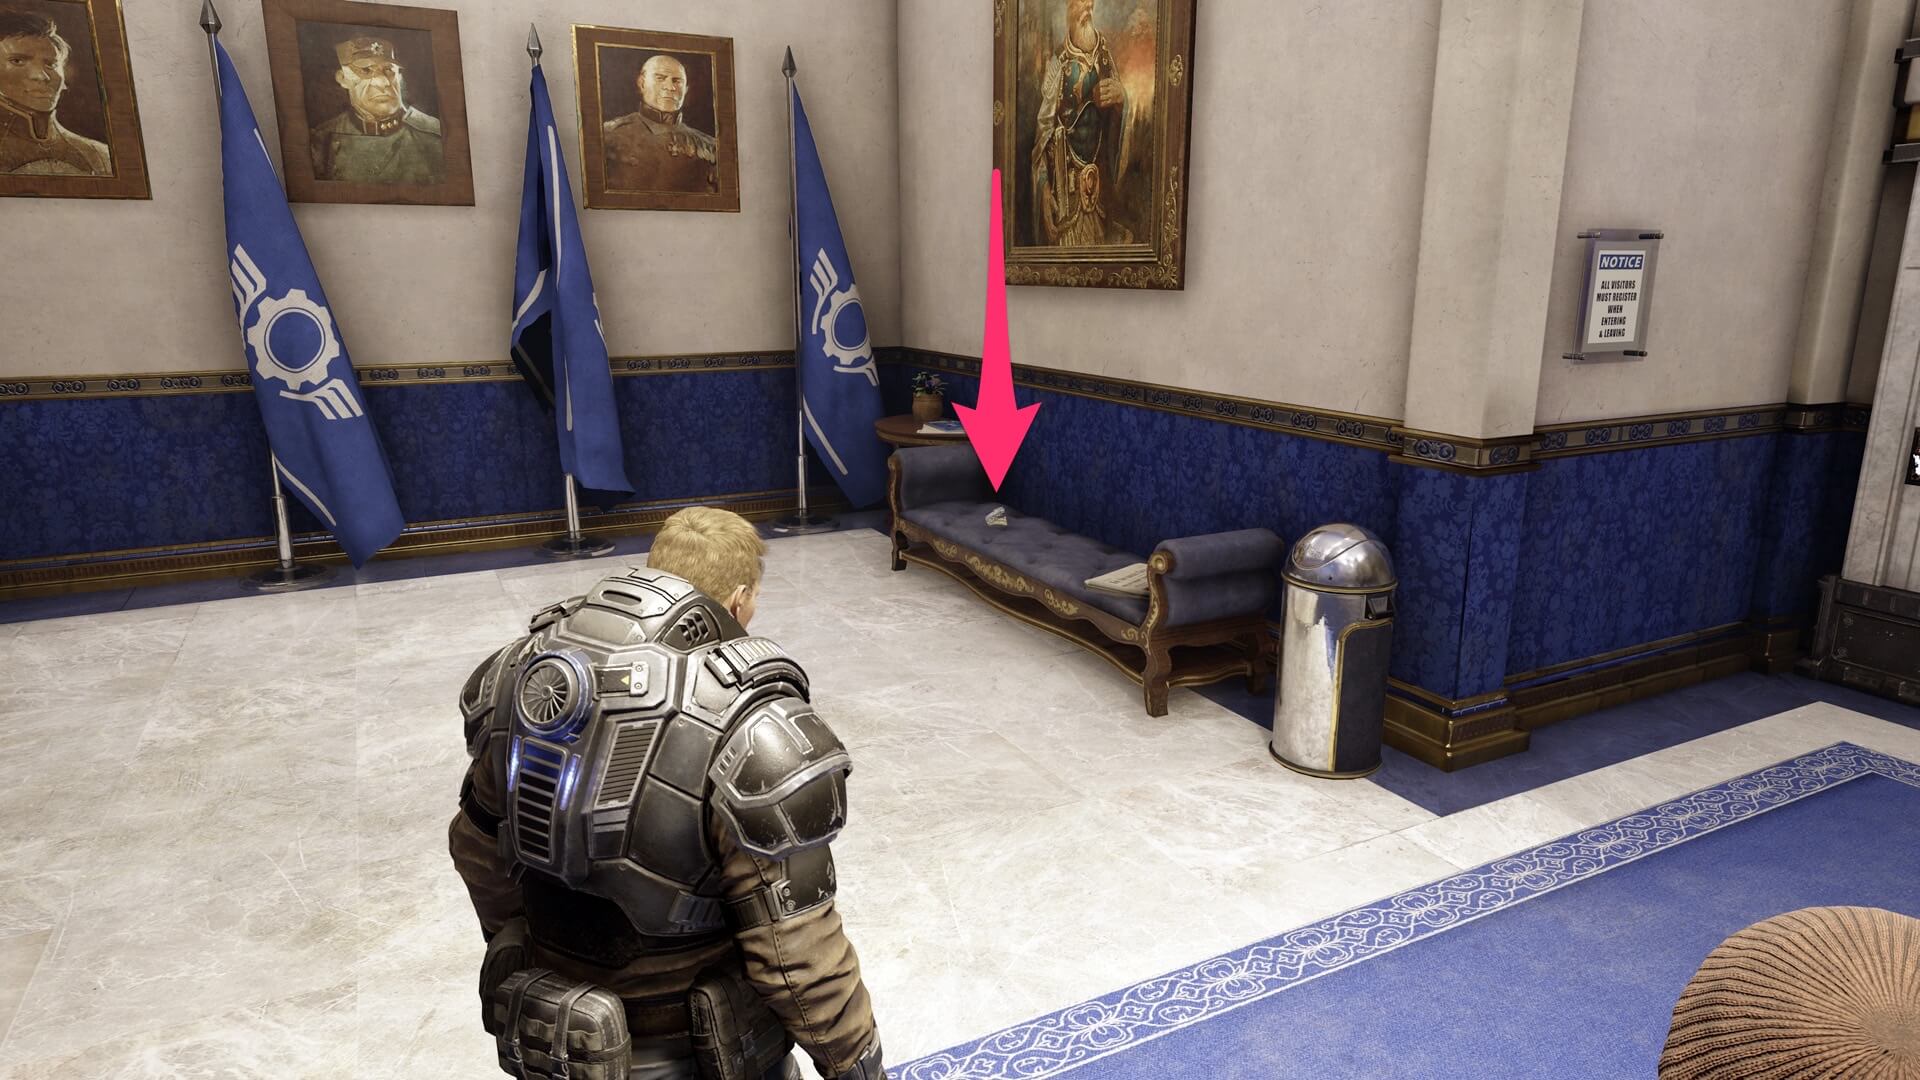
#5: DBI Marketing Brochure
Near the end of the Chapter 2, sitting on a couch in the lobby with the check-in desk. Grab it right before you walk through the doors to meet with the president.
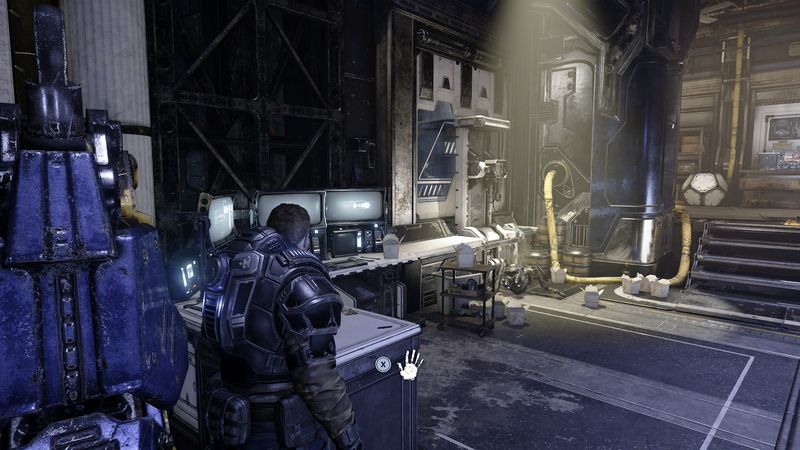
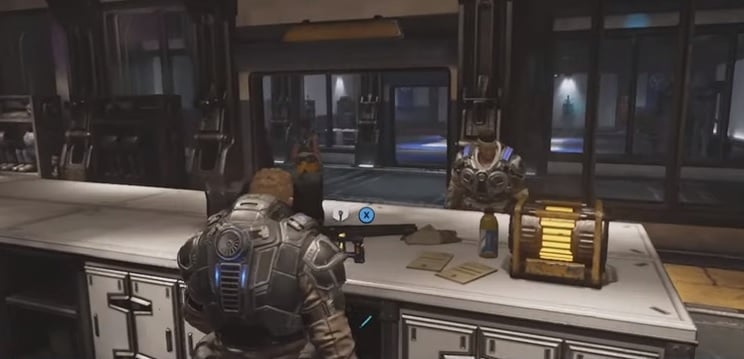
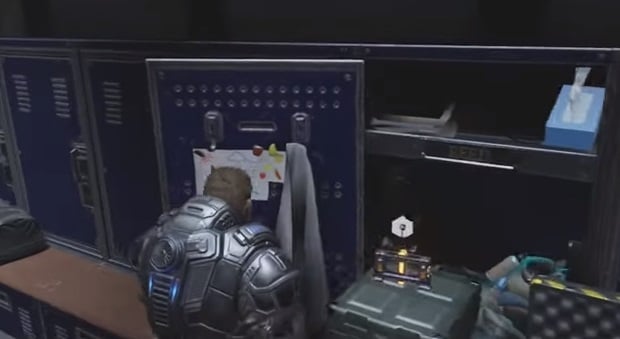
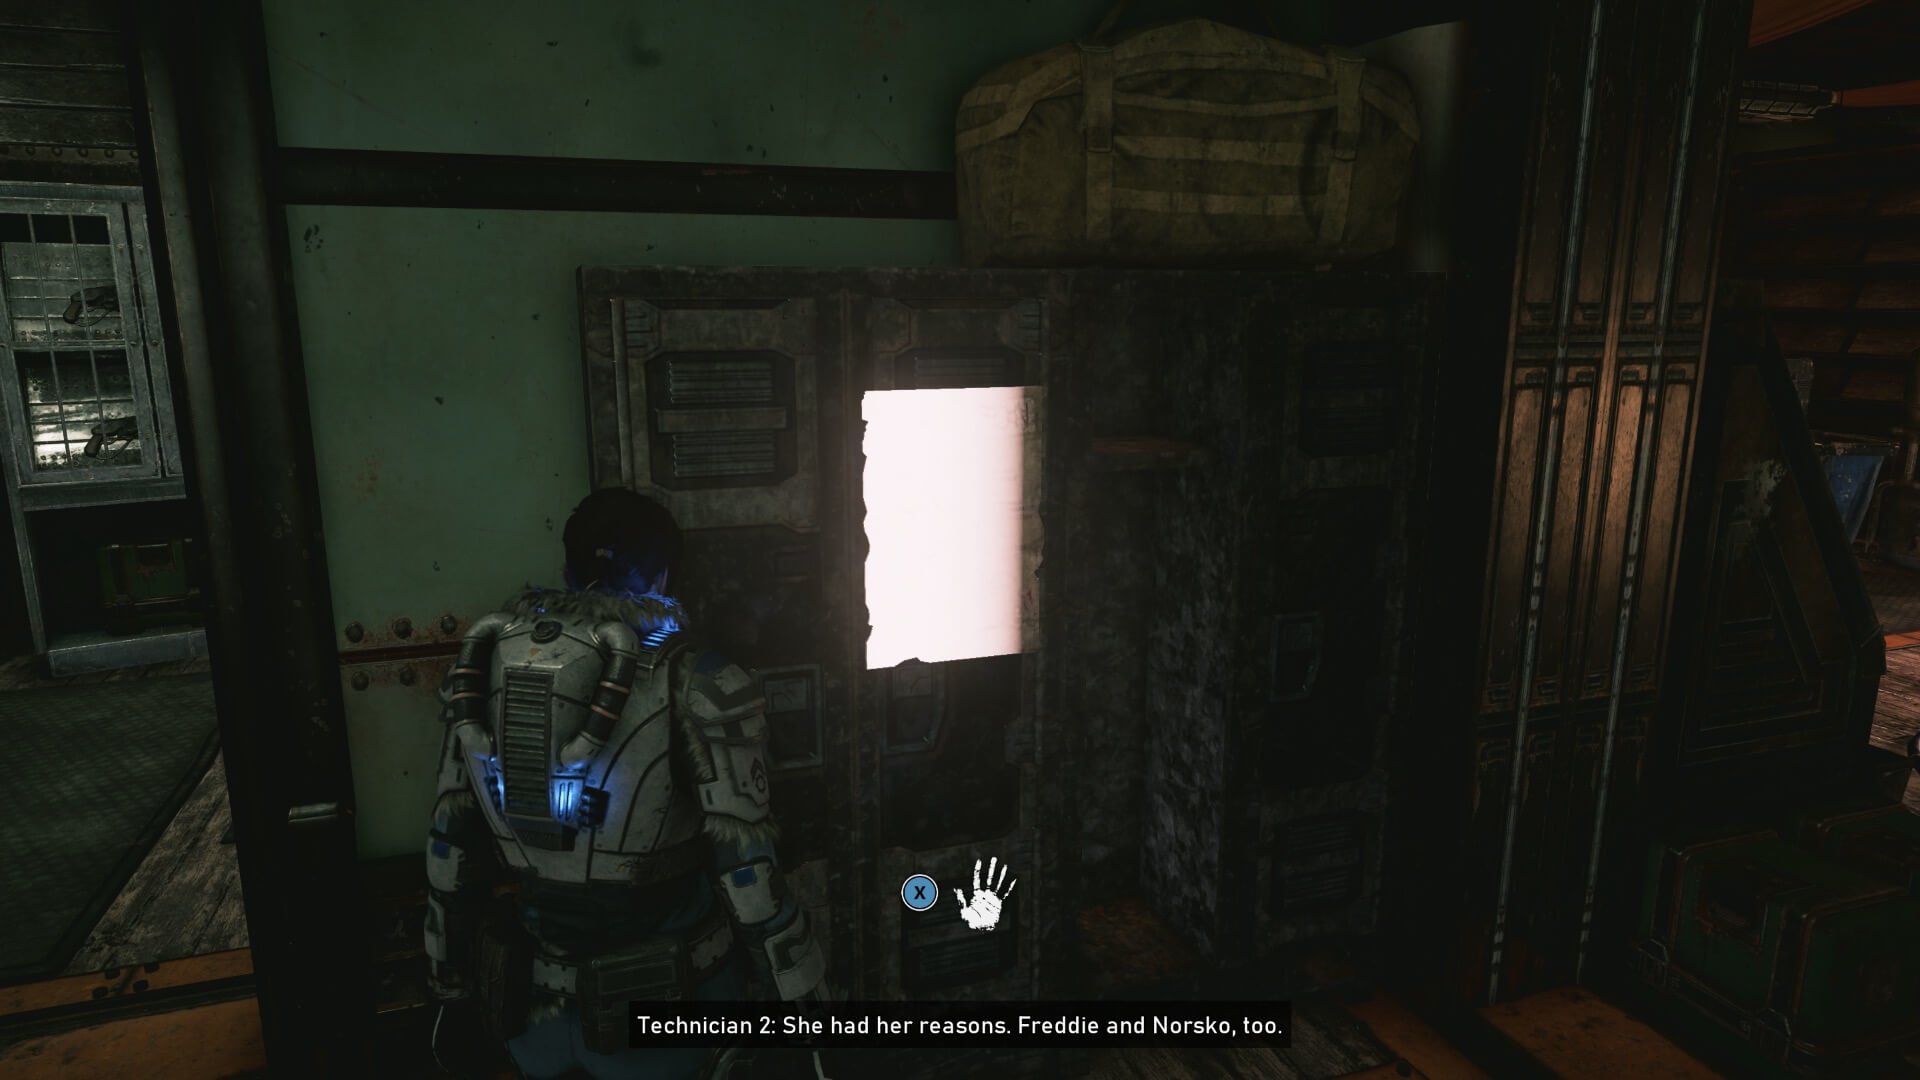
Components #1 & #2:
These are both in the Armory; one’s on the desk, one’s behind that in the bank of lockers.
Chapter 3
#1: COG Tags: Fallen Raven Pilot
Beside a COG in the same room you start the chapter in.
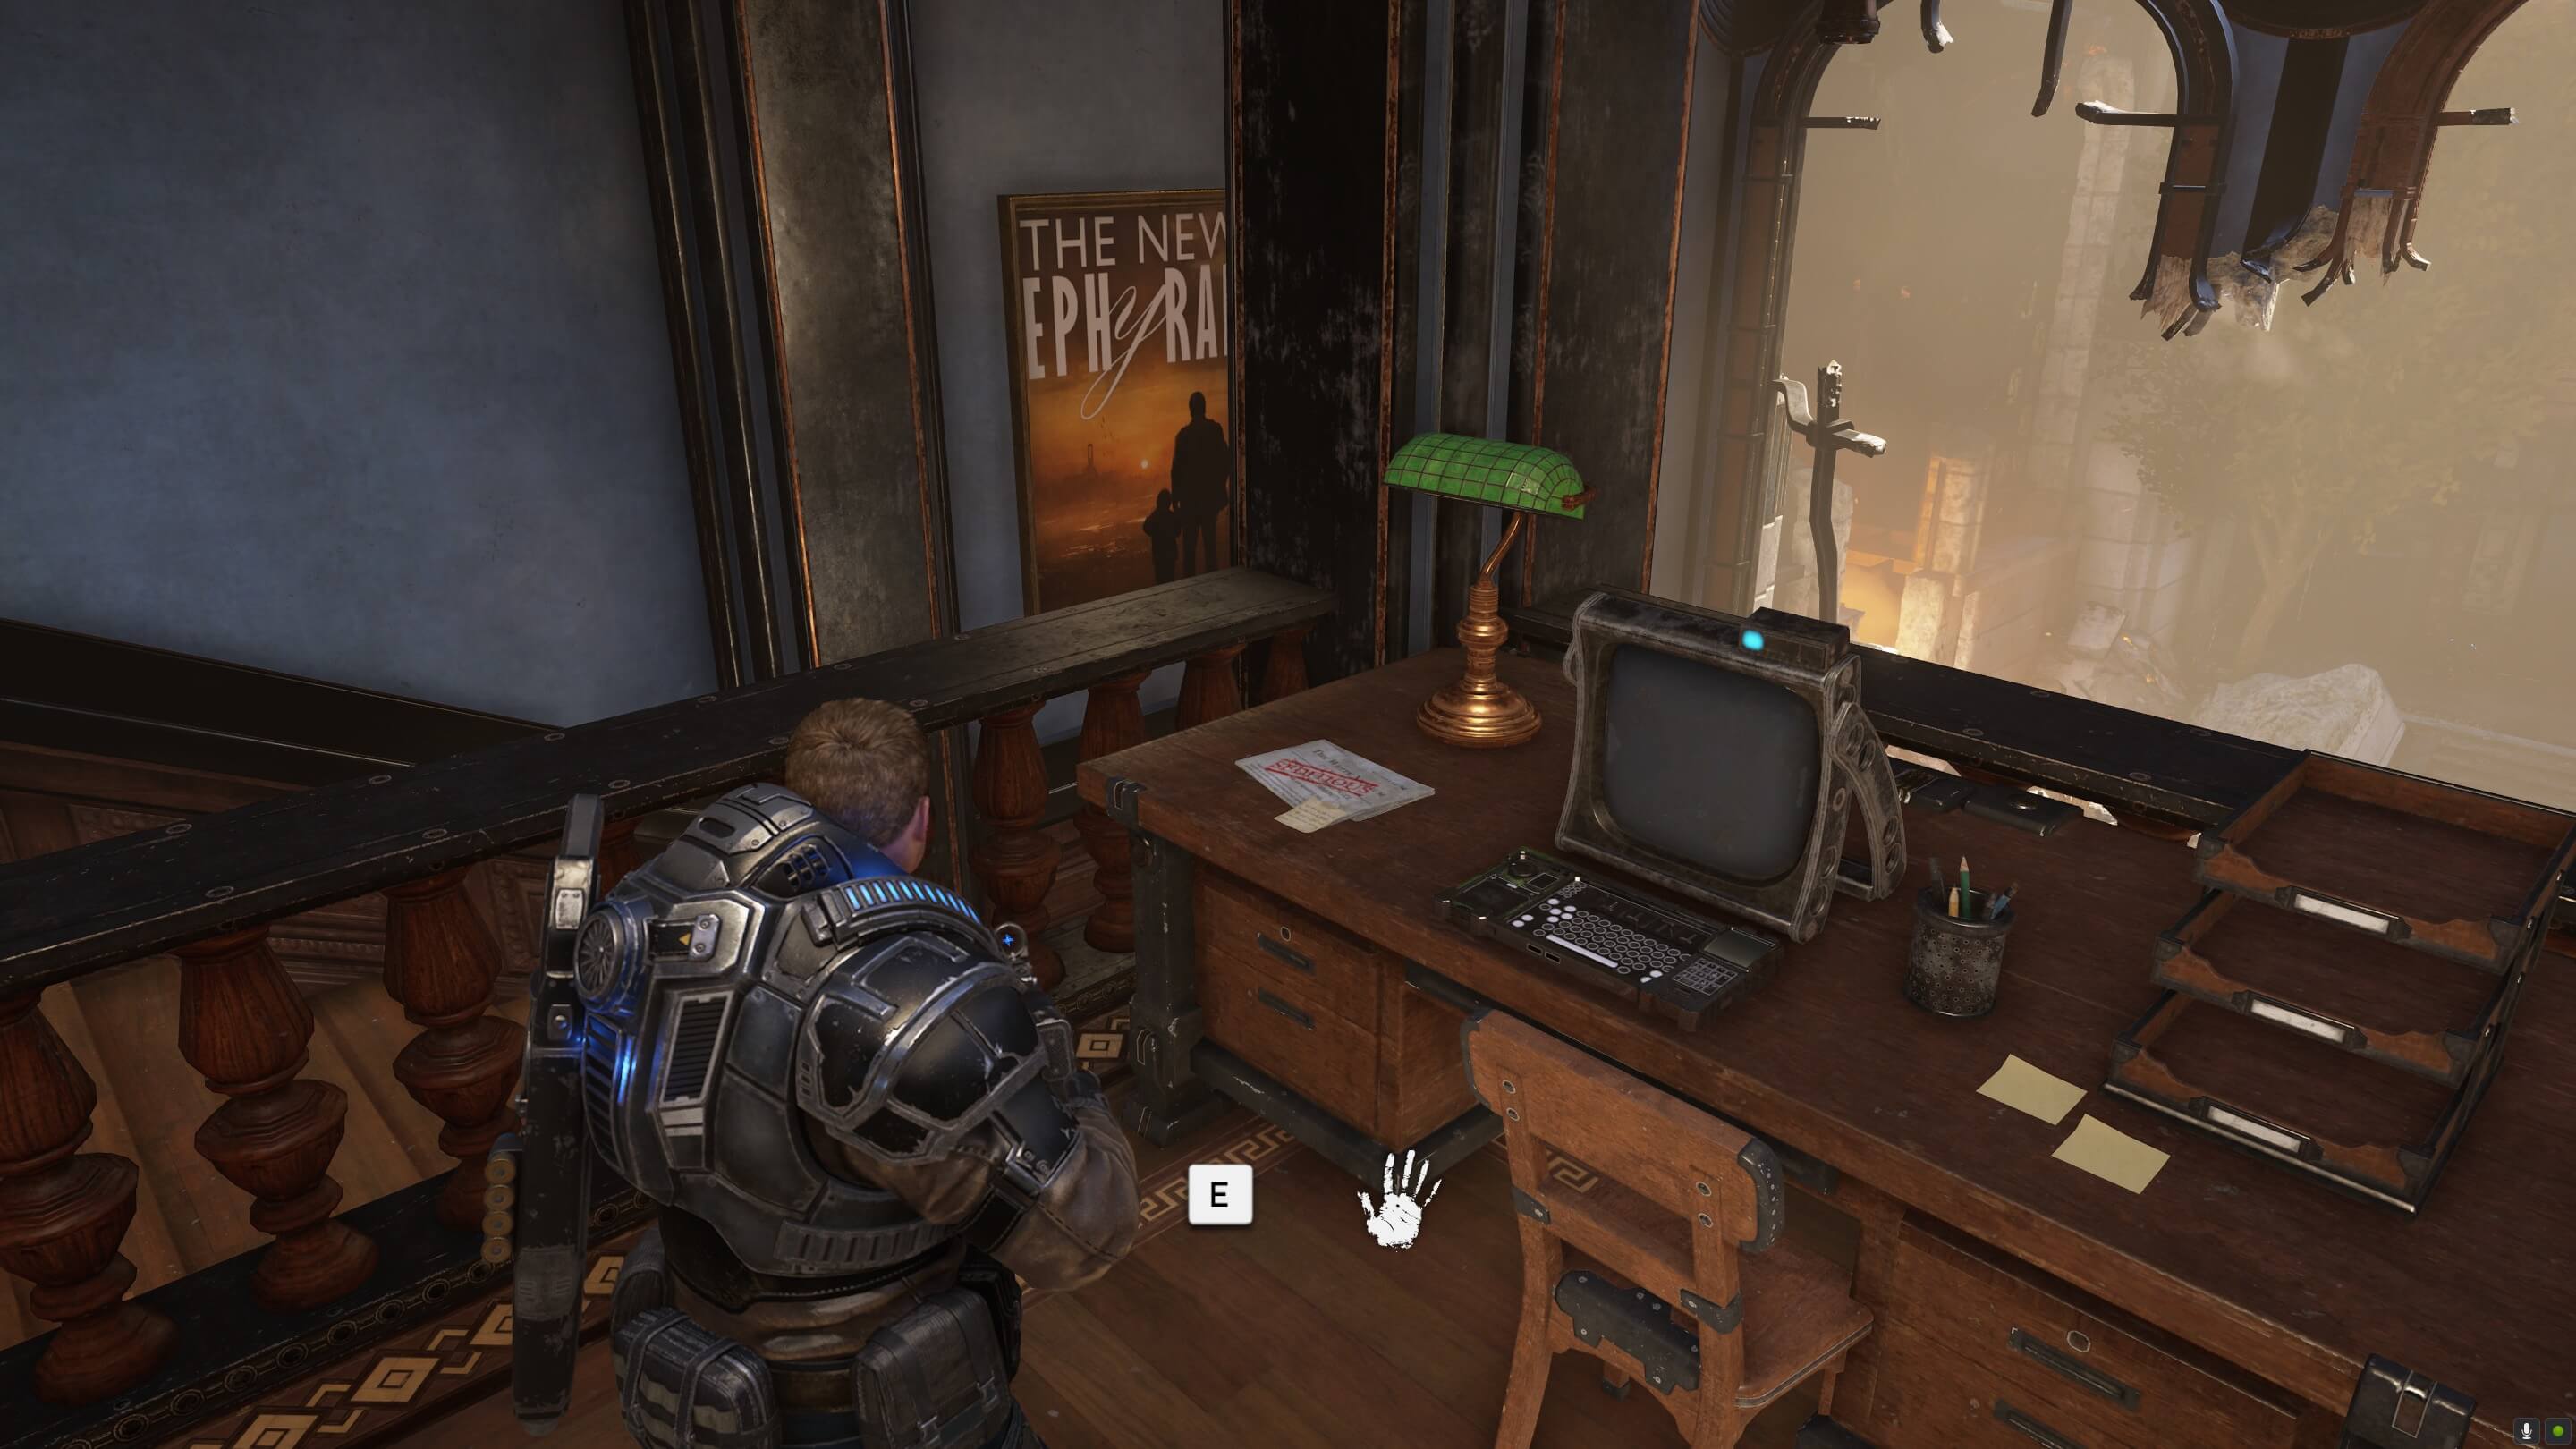
#2: The New Ephyran: 20th Anniversary Edition
In the next room from #01, sitting on a desk in the back corner.

Component #1:
Just off a side room from Collectible #2, sitting on a desk.[/i]
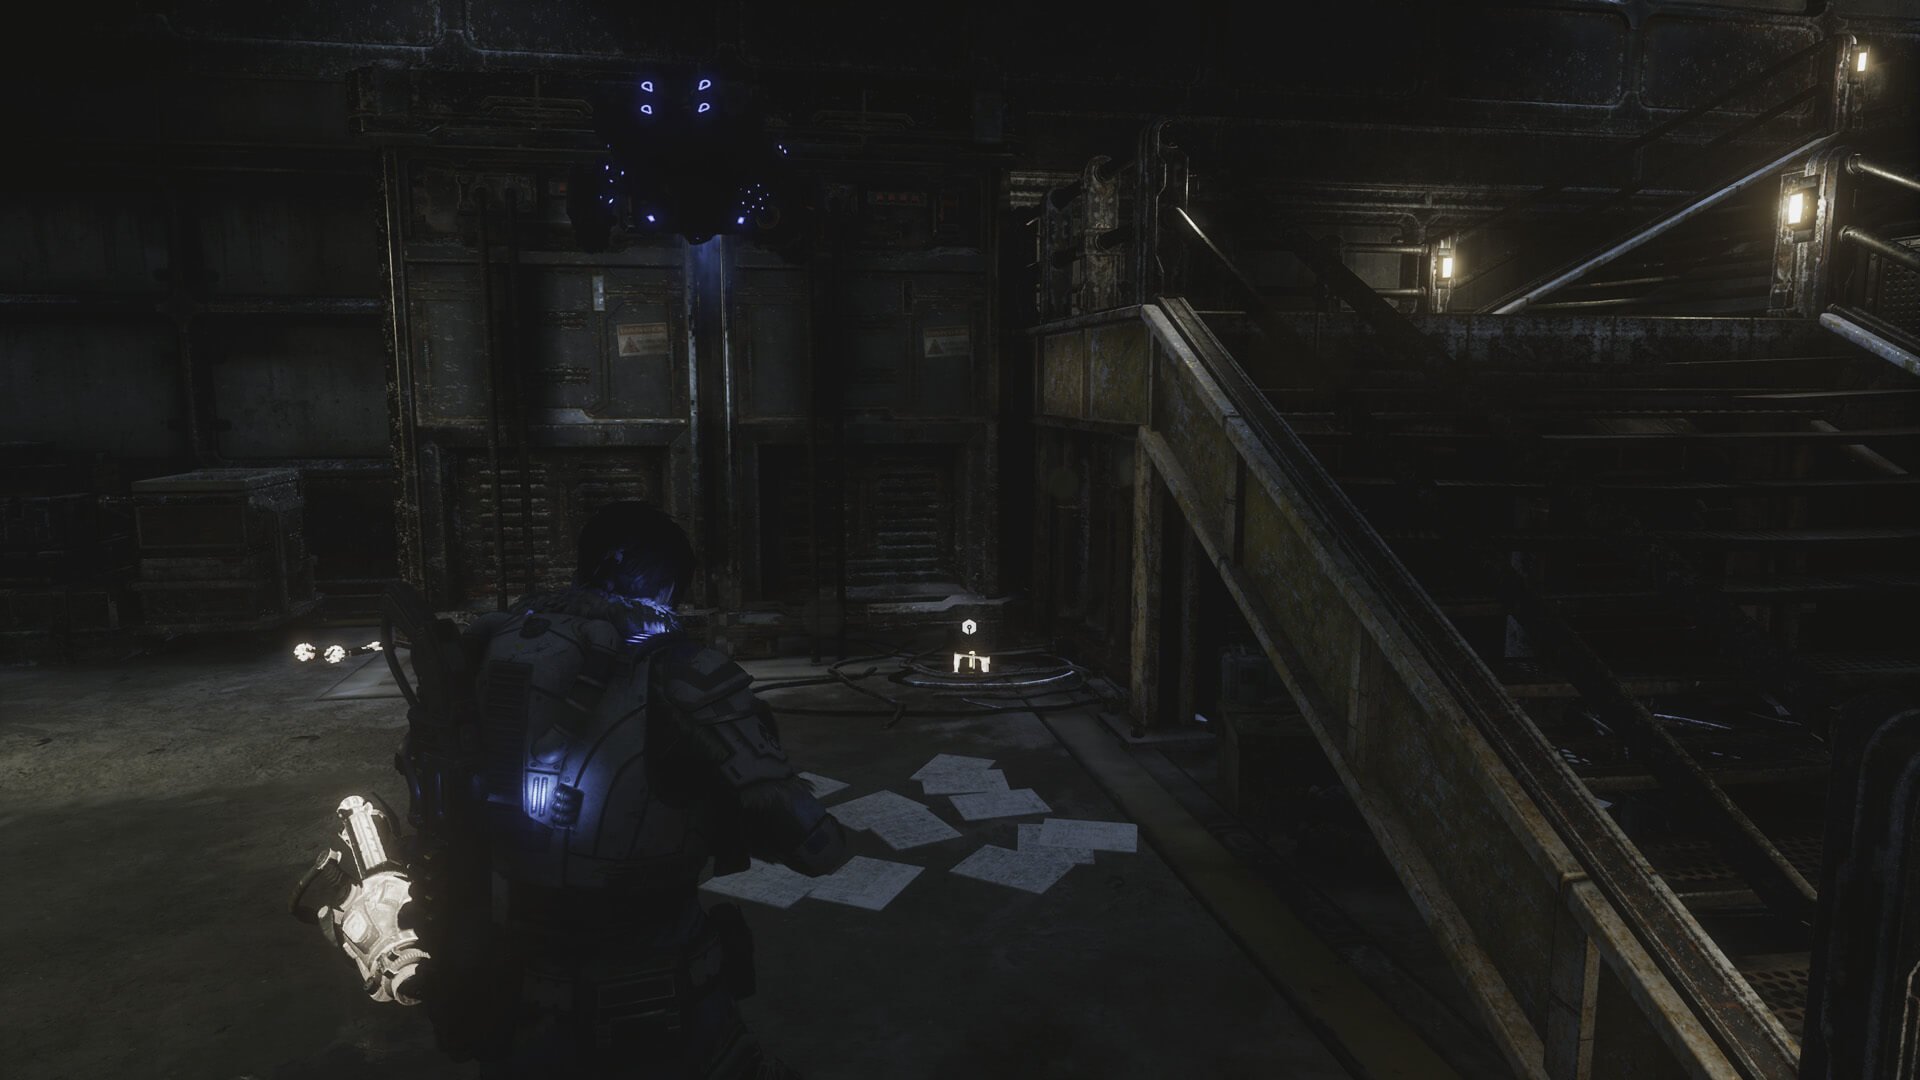
#3: Seditious Literature
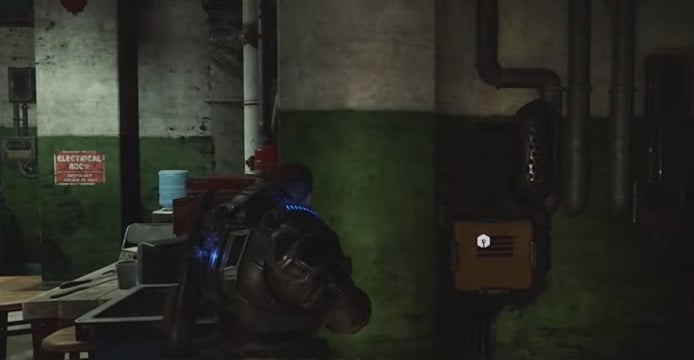
In a room after you get prompted to use Jack’s Flash, you’ll go upstairs to a ruined room with no ceiling with a bunch of desks. This paper is sitting on a desk in that room. Look for it in the corner by the stairs. Take a hard right at the top of the stairs.
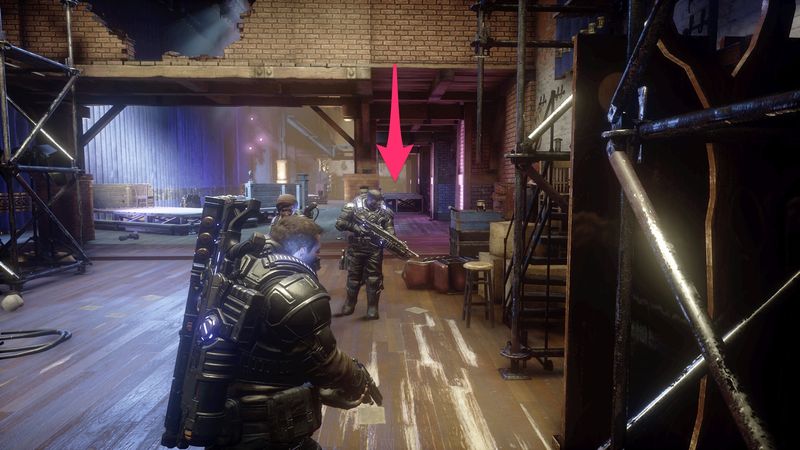
After that, you’ll enter the apartment complex where someone mistakenly shoots at you. With the stairs on your left, check a fuse box for three Components.
In the apartment building, you’ll enter a room with the people you called to evacuate. Head straight from the doorway in into the laundry room, where you’ll find a Component on the washer or dryer.
Component #2:
Collectible #3, sitting on a desk.

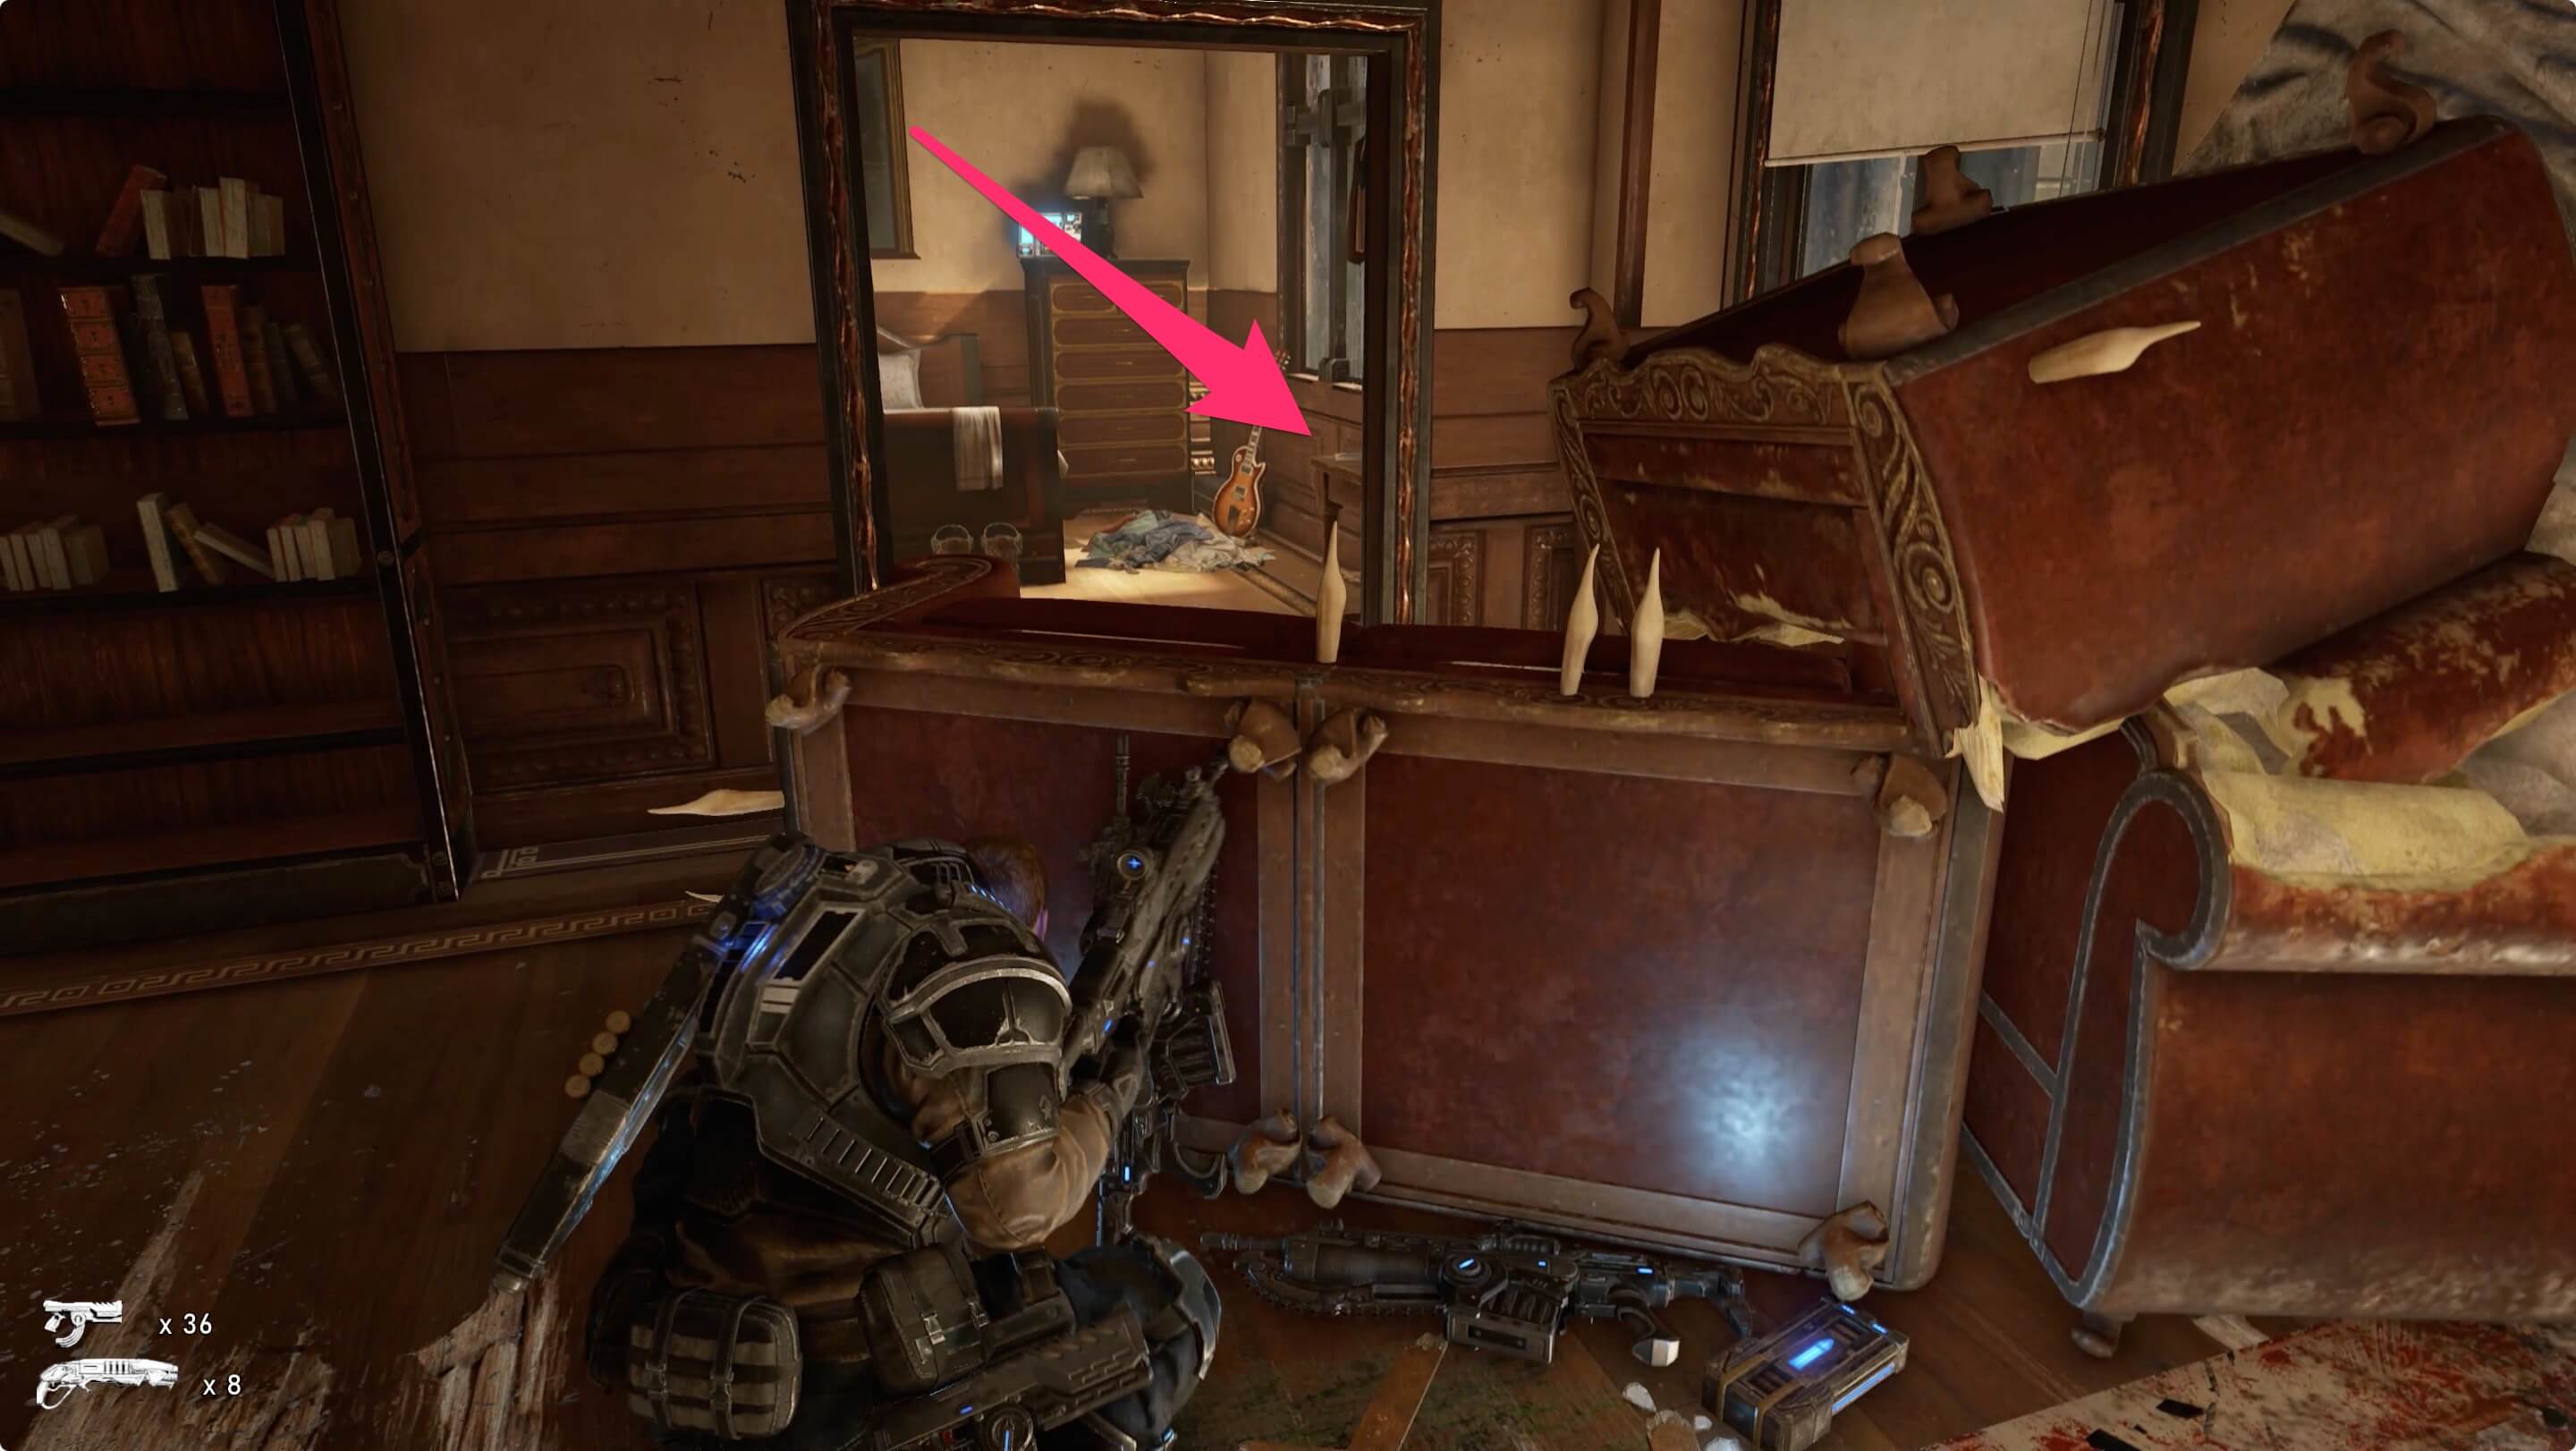
#4: Settlement 2 Welcome Package
In the apartment building, you’ll enter a room with the people you called to evacuate. There’s a large pile of weapons and ammo next to some overturned couches. In the adjacent bedroom (it has a guitar in it), this collectible is sitting on a small desk by the door.
#5: Storied Embry Star
In the upper set of rooms where snipers were shooting at you, look to the back right corner.
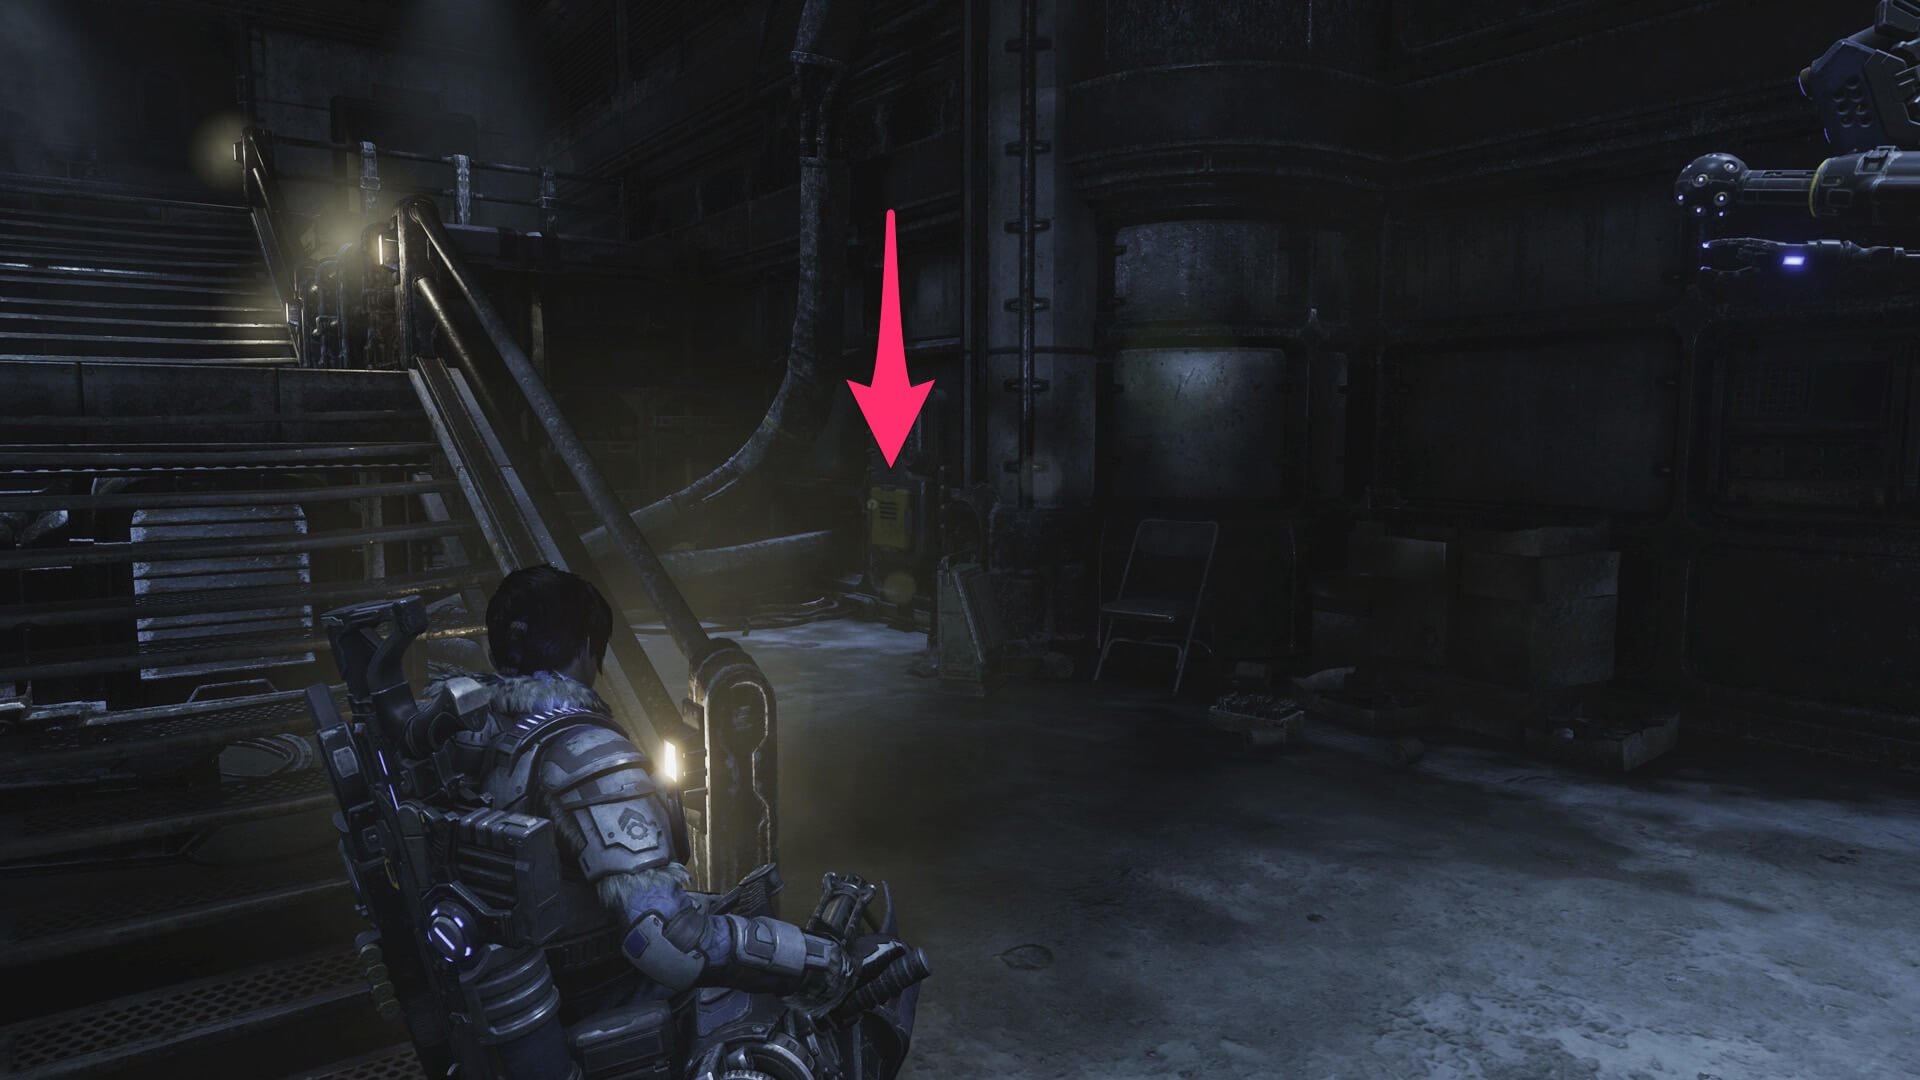
Component #3-5:
: After entering an apartment building and being shot at by a Gear, head down the stairs and head to the right. These are in a little box on the wall.
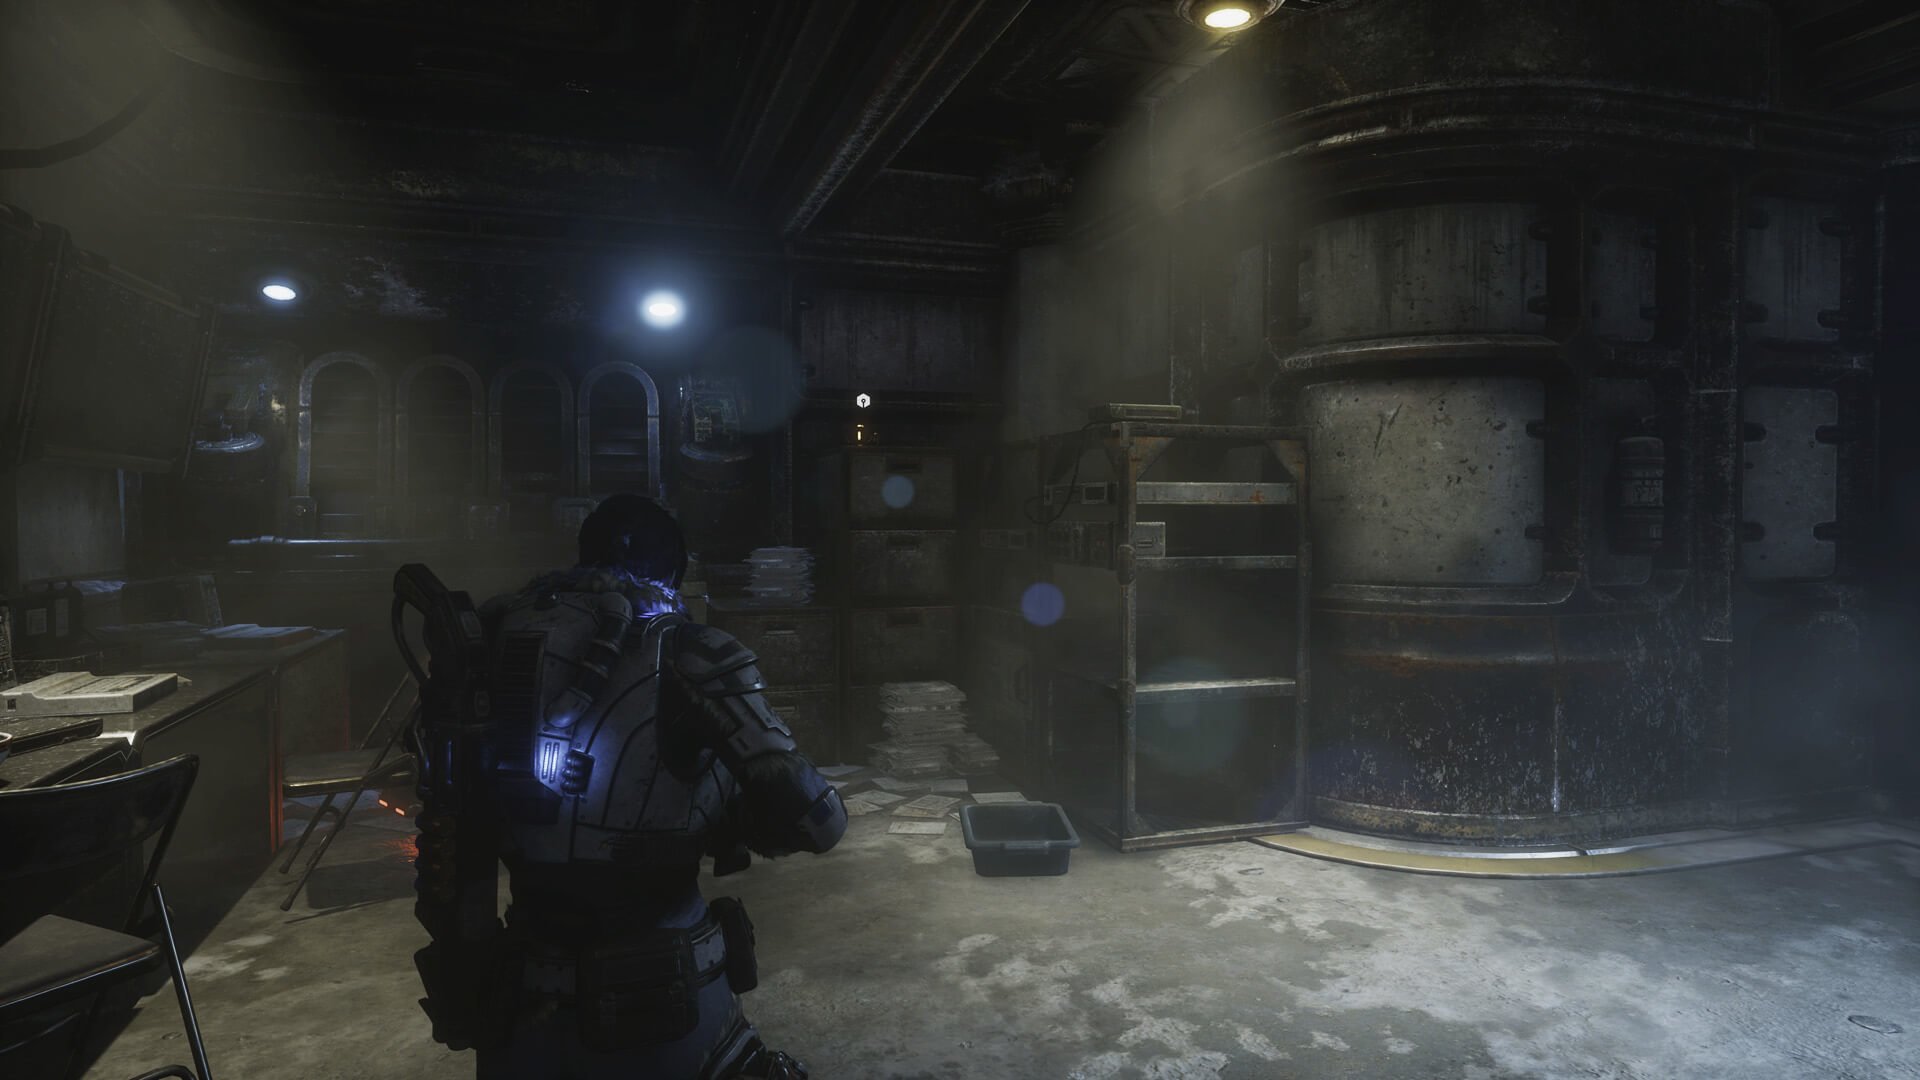
Component #6:
After a woman asks if you’re there to pick her up, look in the little room directly behind her.[/i]
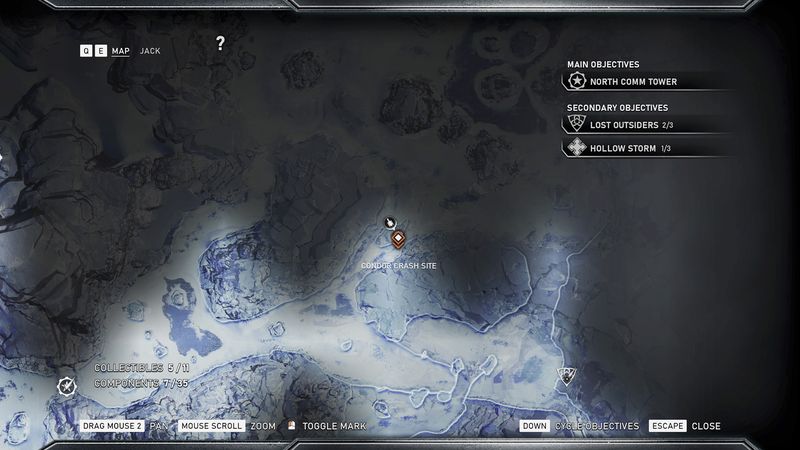
#6: COG Tags: Fallen Gear at Condor Crash
After you cut through the fence and watch the conversation about firing into a protest, continue through the park until you hit a fork. Go the right first, and use Jack to retrieve a Component on the other side of the gap. Head back and go to the left, and you’ll walk through some wreckage. Just after the robot says that you’re looking well today, look for a dead soldier with a COG tag on the ground.
Component #7:
On your way to Carmine, head right to a dead end — send Jack to get the Component before heading down the left path.[/i]
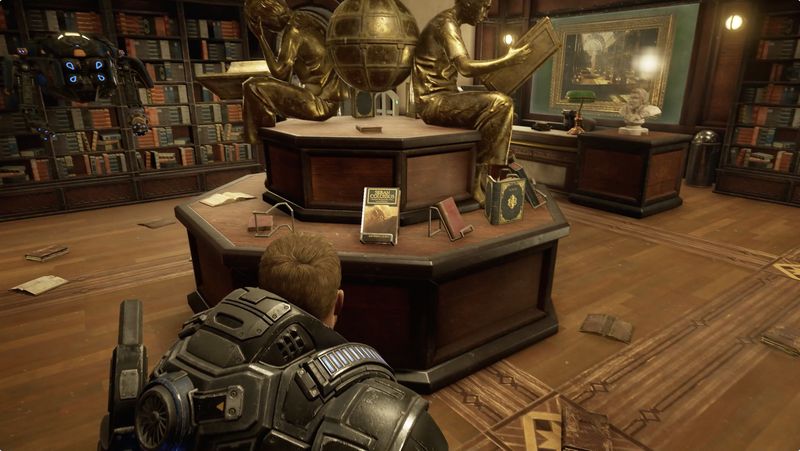
#7: Seran Colossus
After you clear the street, don’t move on. At the far end of the street, look for a bookstore on the left. Head inside, and you’ll see a display with a statue of two people reading. Run around to the back side to find this book.

Component #7:
After fighting a couple juvies, look in the fruit shop on the left.
Chapter 4
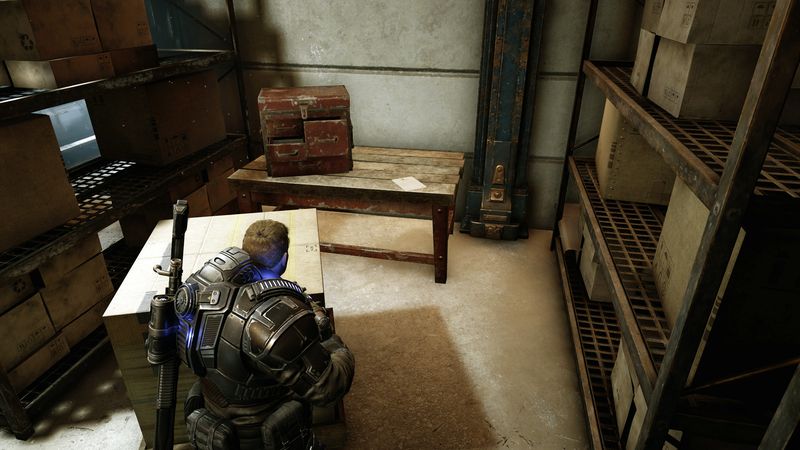
#1: Memo to Bomah Hotel Staff
Instead of heading into the Staff Entrance to the Bomah Hotel, head to the left where the trucks are. Jump up into the loading dock, and follow the path around to your left. This letter is sitting on a table.
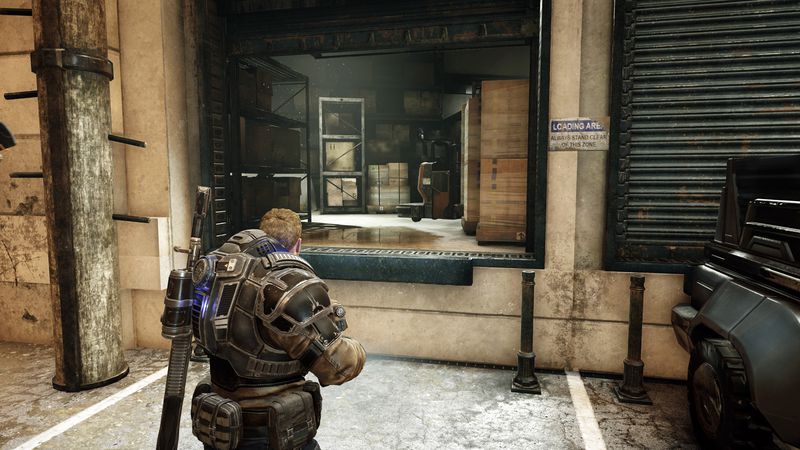
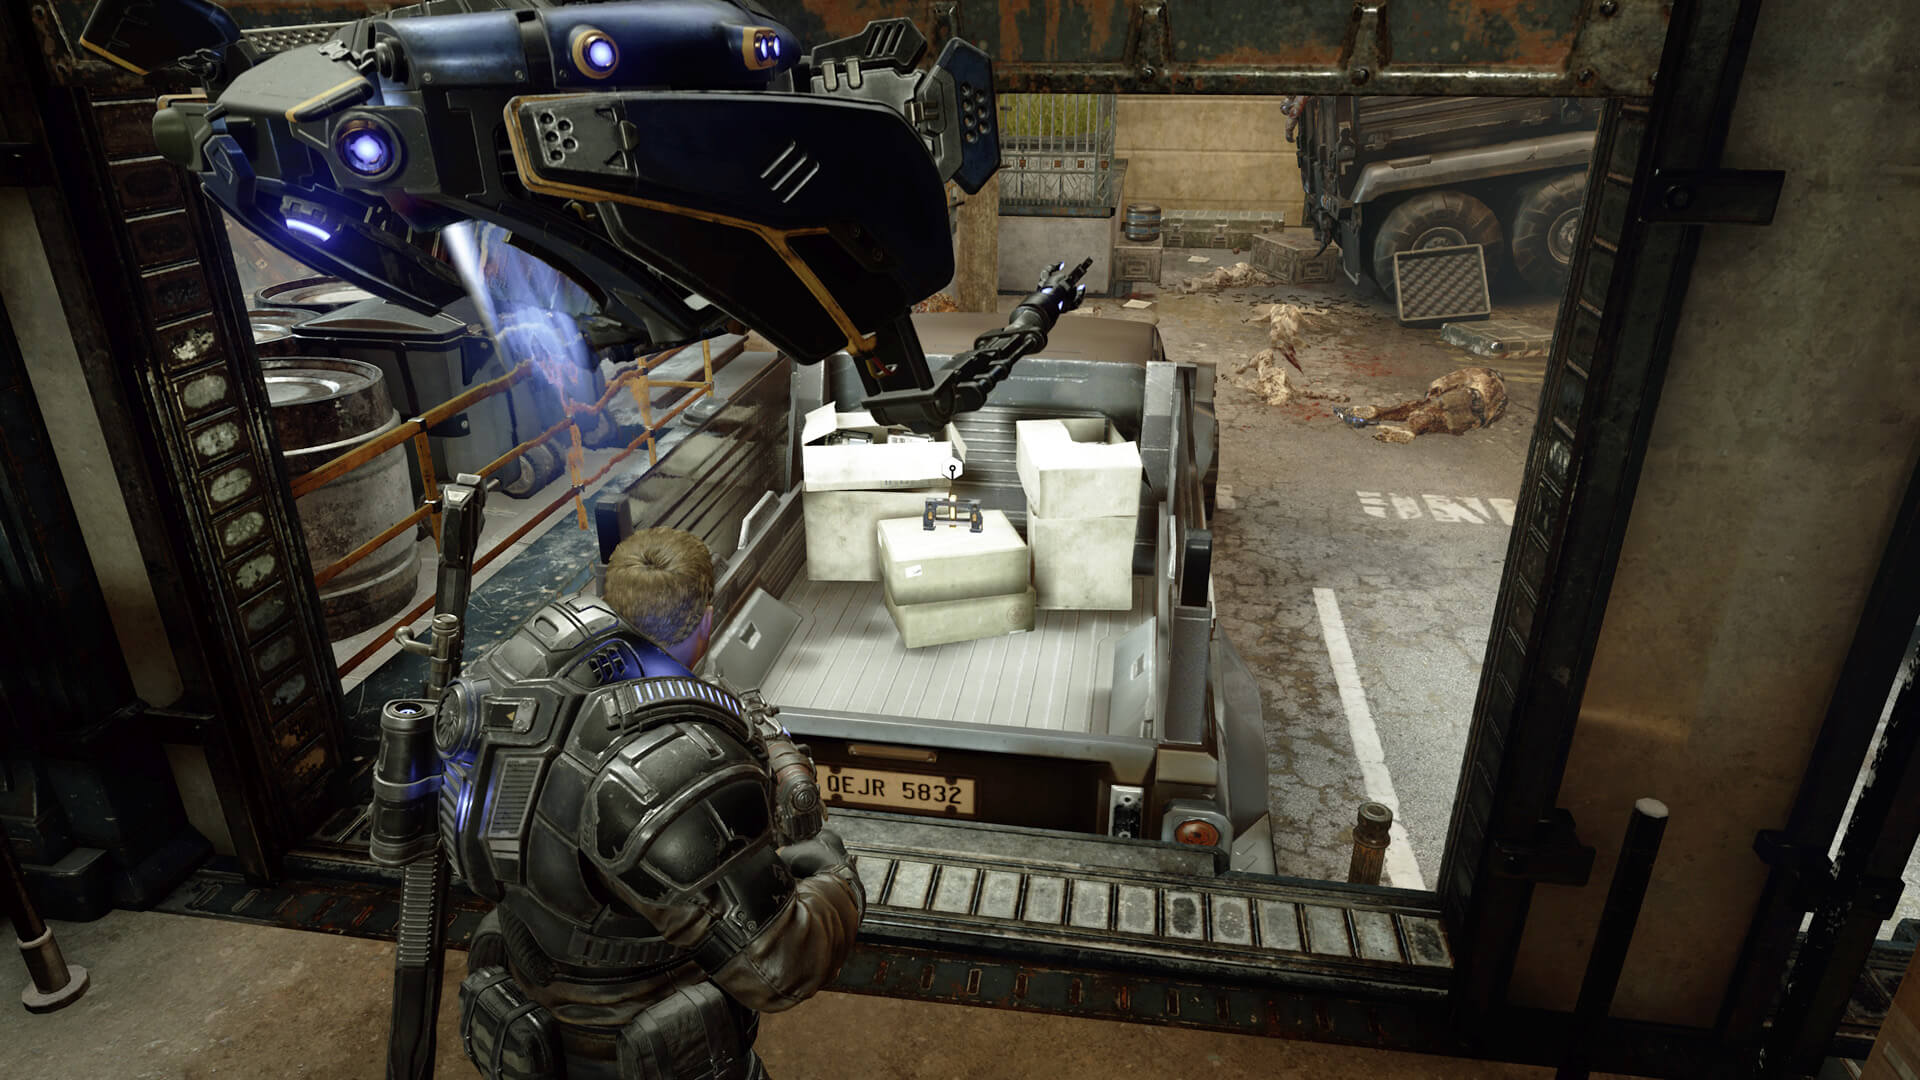
Component #1:
Jump up to enter the loading dock through the open door. Turn left and open the (closed) shutter door. Have Jack fetch the a Component from the bed of a truck outside.
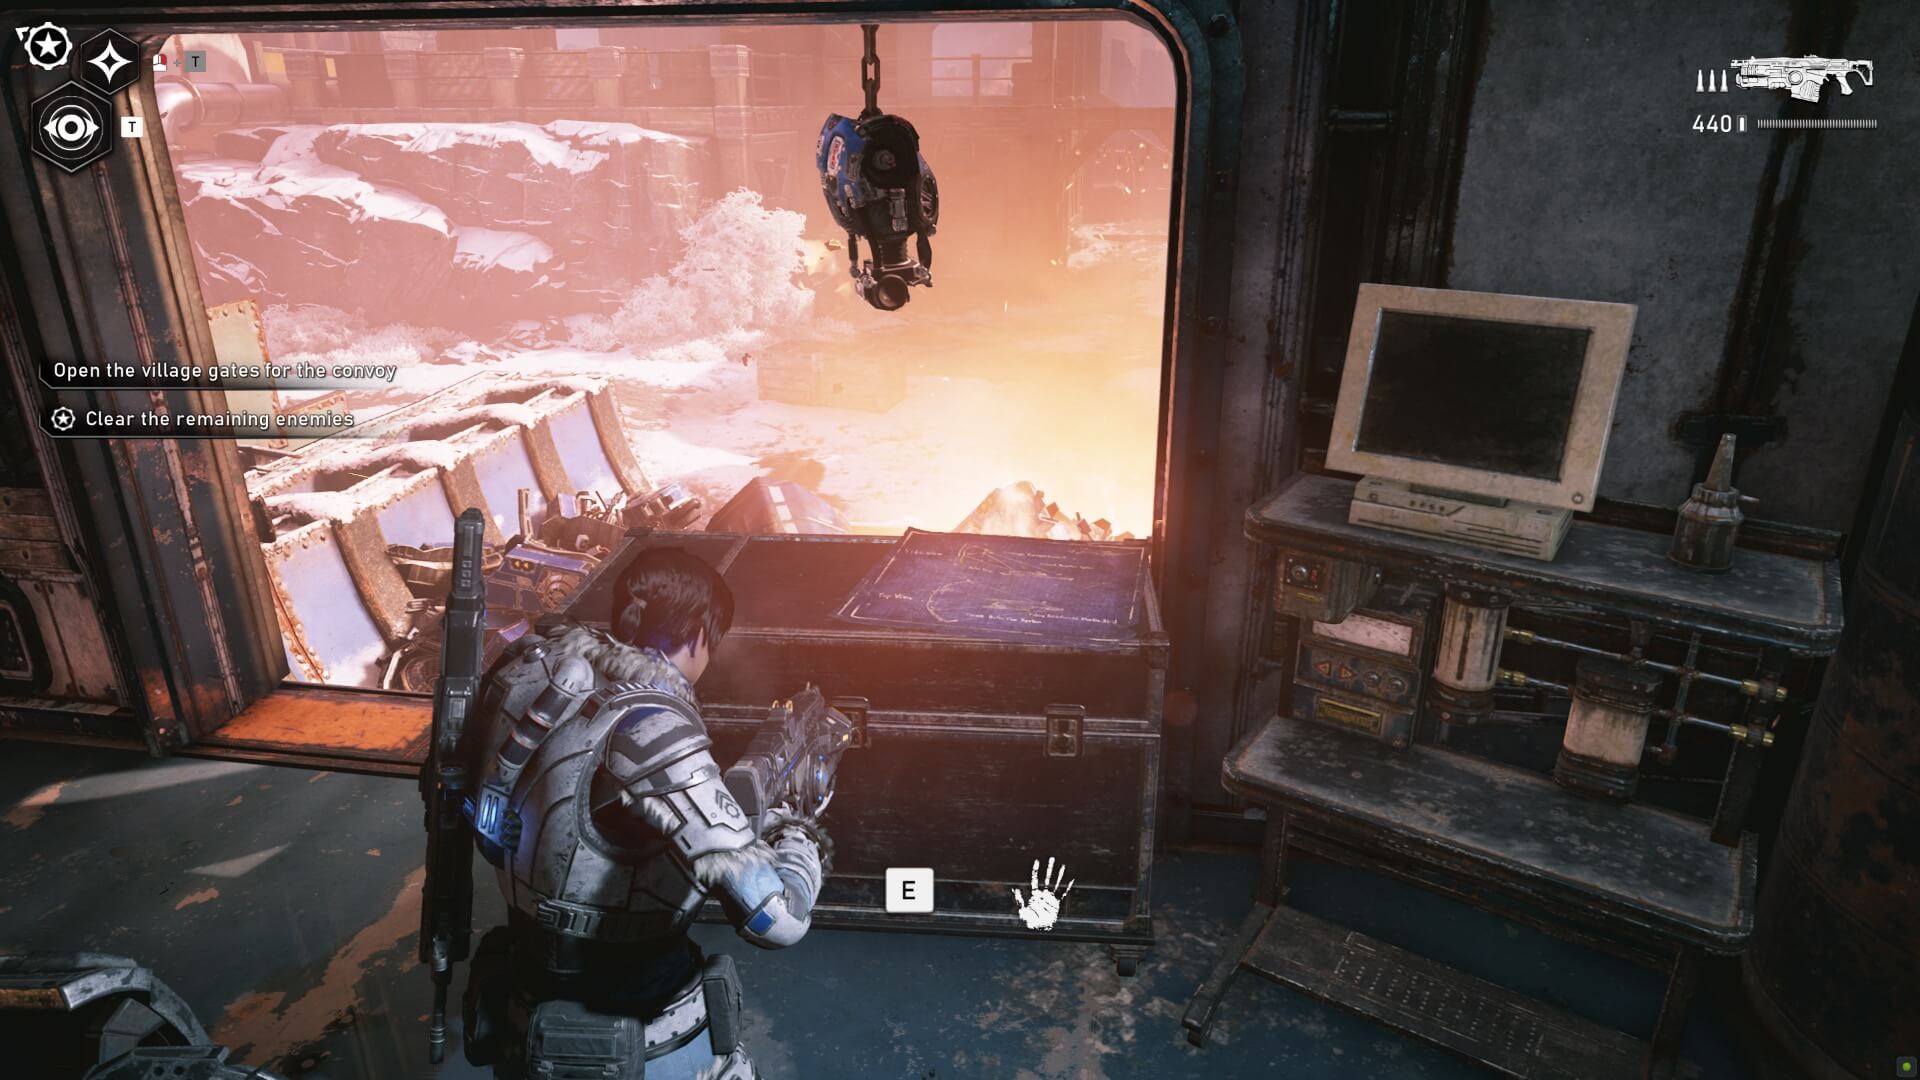
#2: Fallen Gear at Hotel
Enter the loading dock, and go through the doors into the dark room where Jack has to turn on the lights for you. There are two dead soldiers in front of you. One has a weapon. The other, a COG tag.

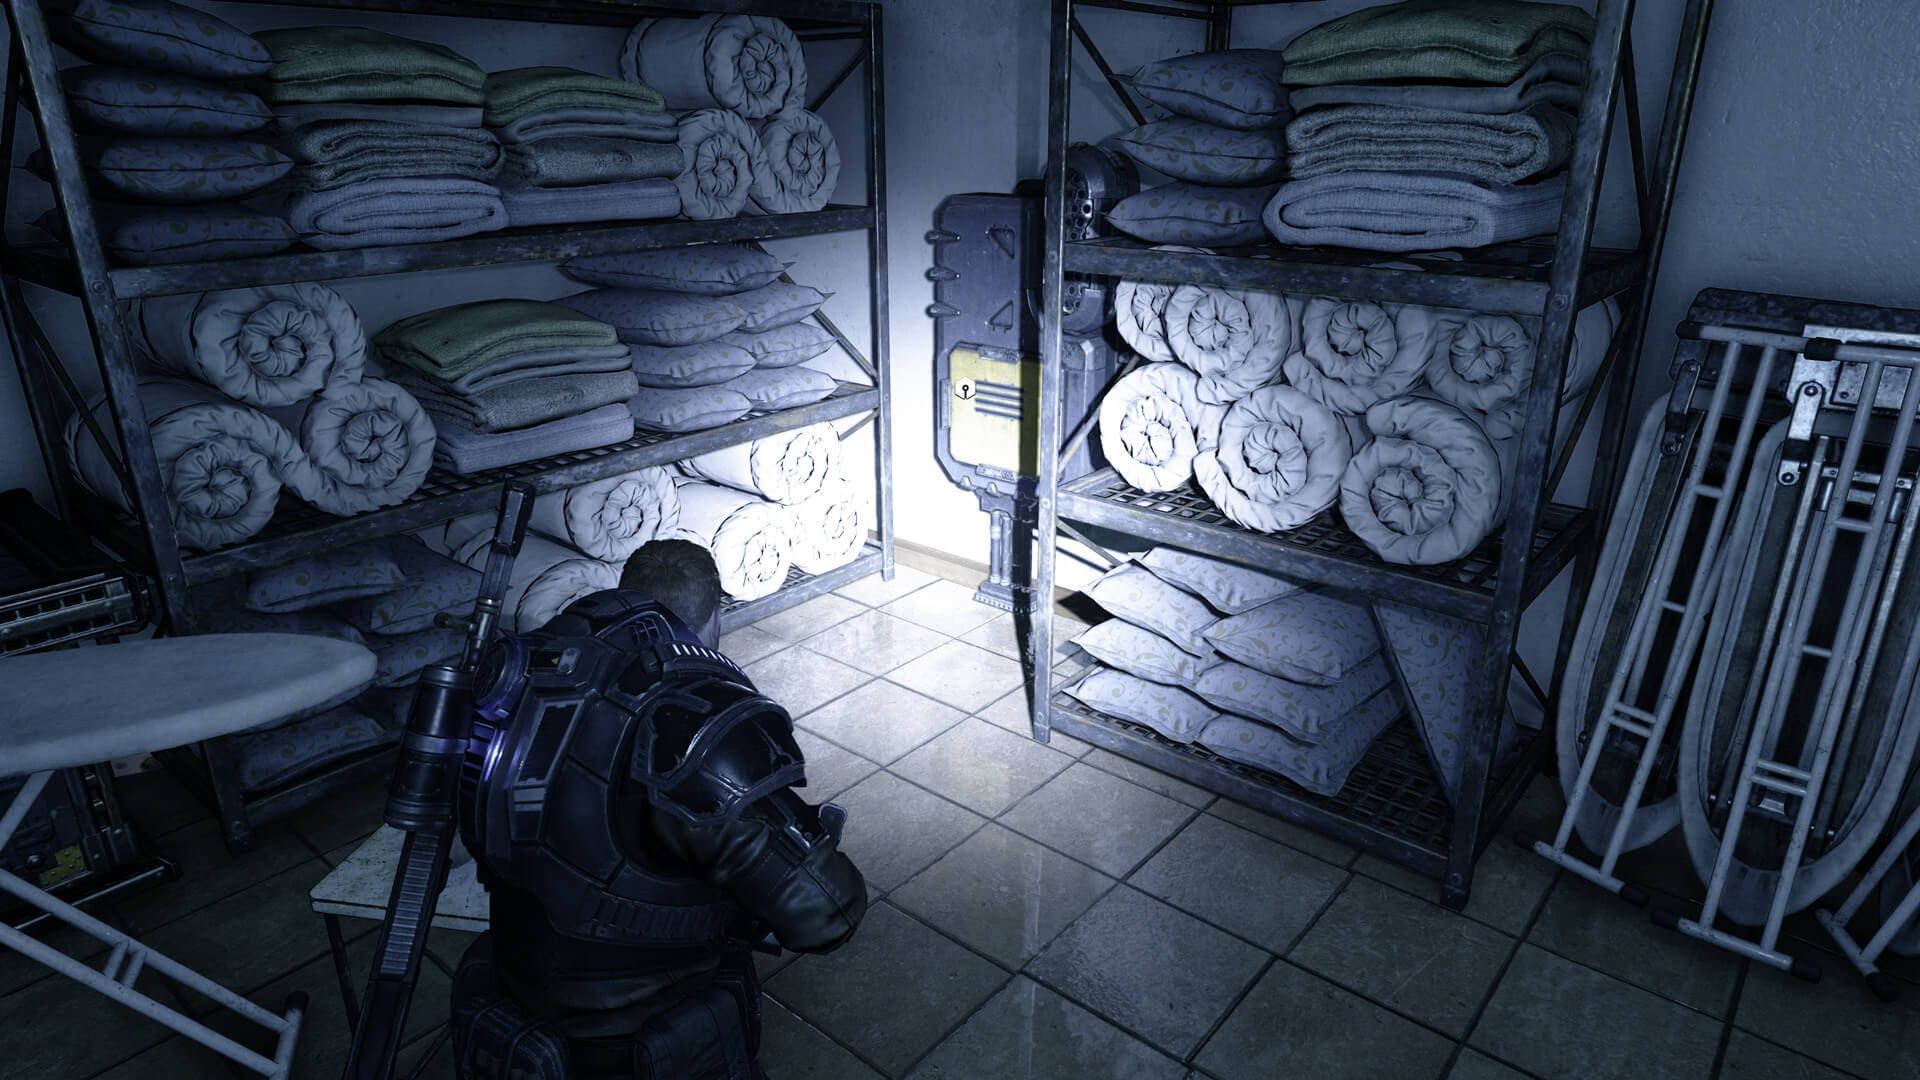
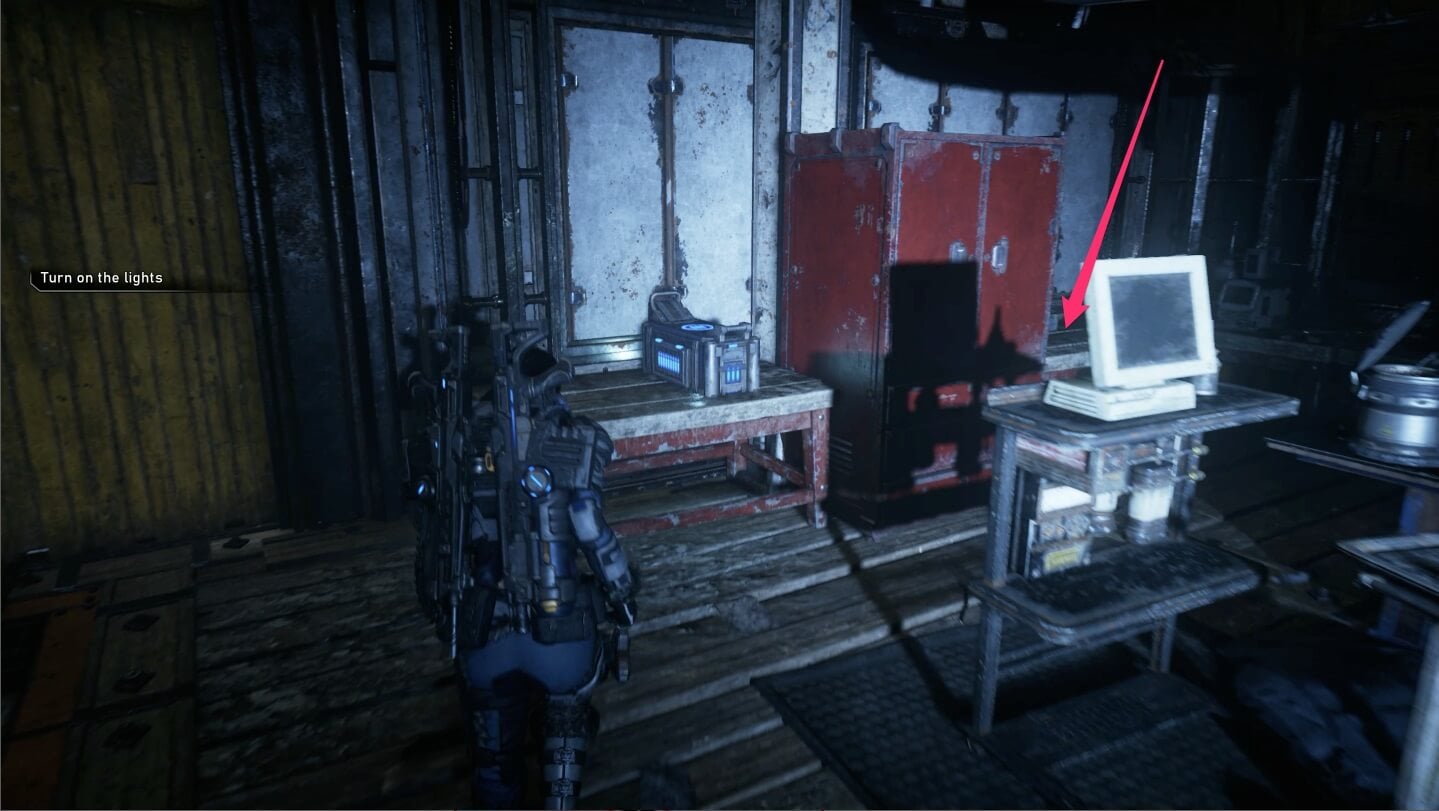
Component #2:
In the dark hallway where Jack turns on his light for you, hug the right wall and enter the laundry room. It’s the first door on your right, just after you take control (and collect the Fallen Gear at hotel COG tag above). The Component is in a fuse box on the wall.
#3 Lost Horse Plush
After you defeat the corrupted DeeBees in the hotel lobby, you’ll open a door. Take the left path around the chandelier (or the right, honestly), which leads to a little alcove under the stairs you’ll soon climb up. You’ll find this collectible there.

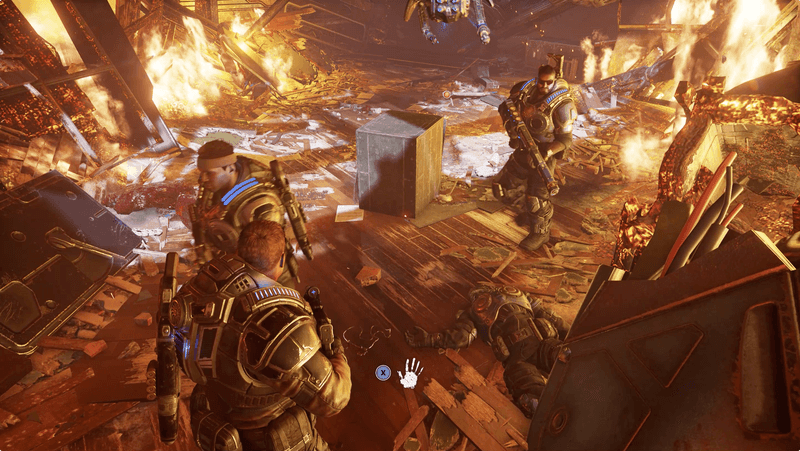
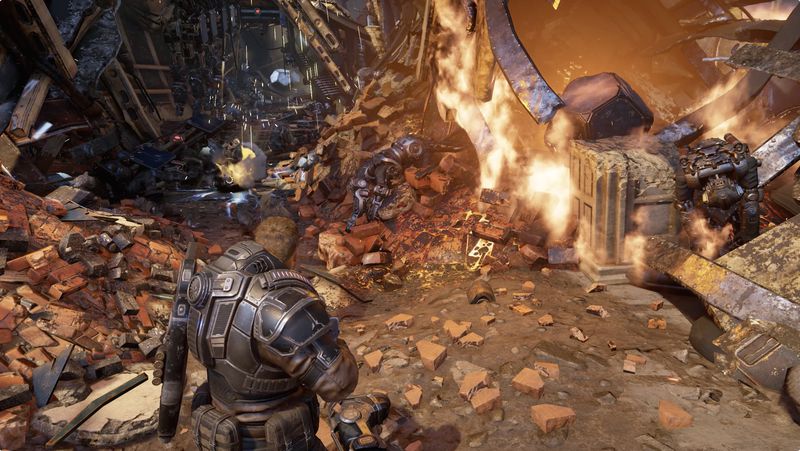
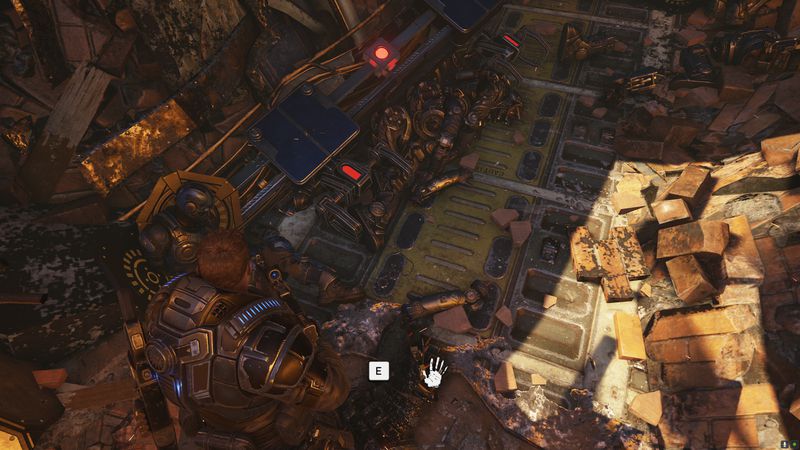
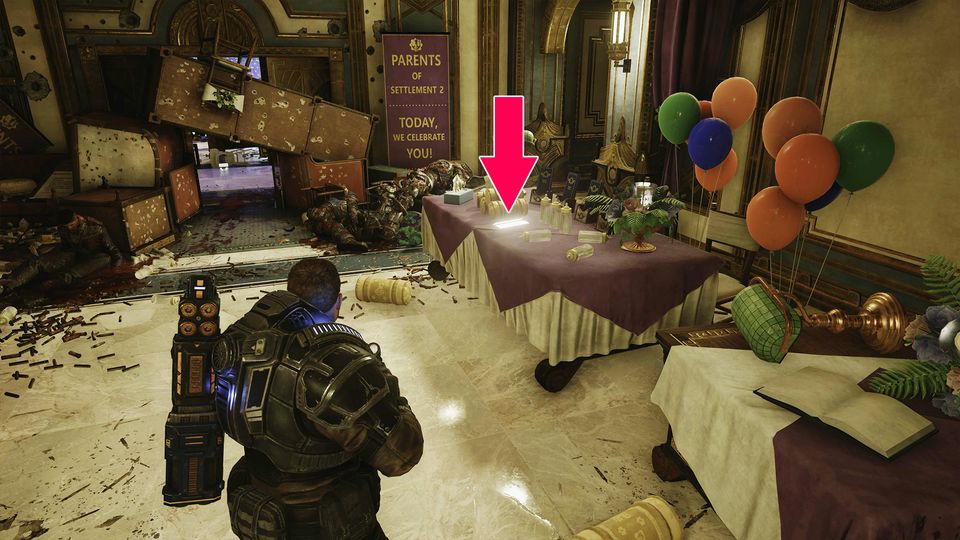
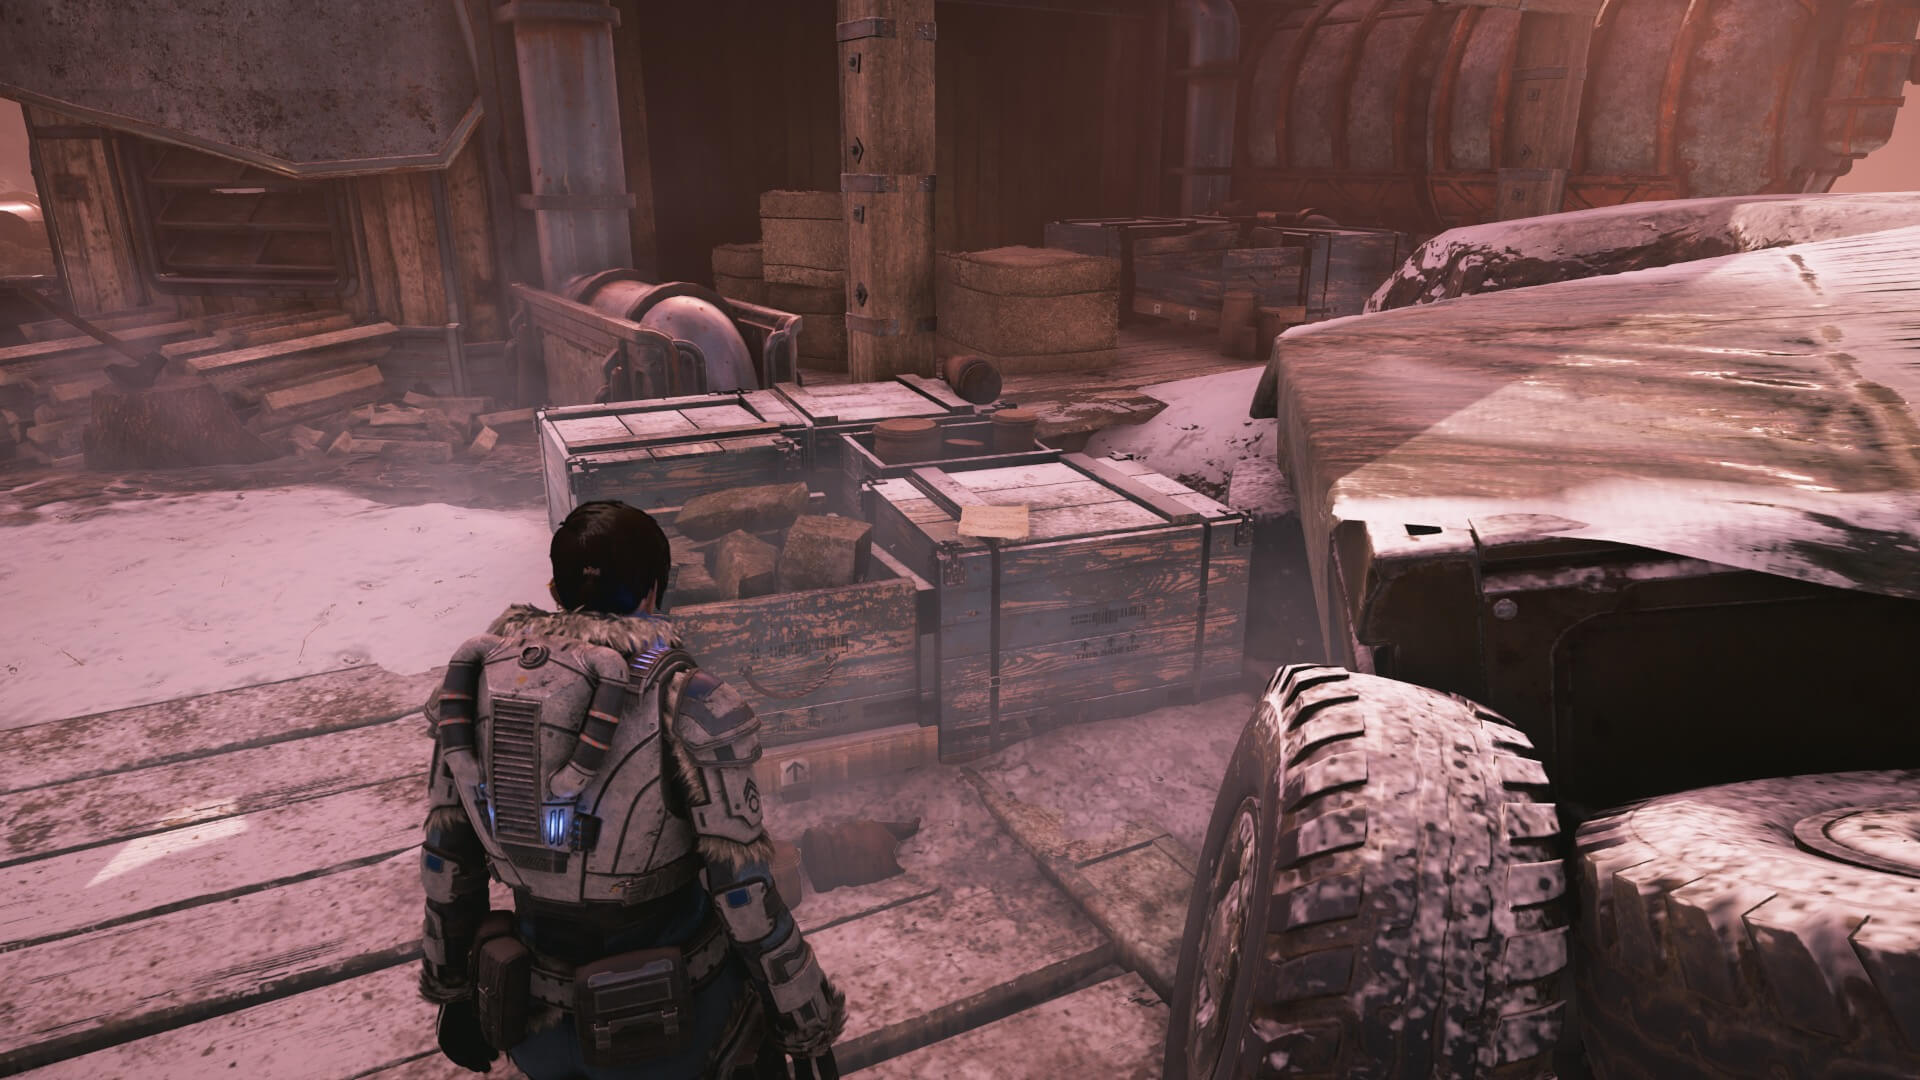
#4: Settlement 2 Summer Birth Pamphlet
After you defeat the corrupted DeeBees, right after #3, open the double doors into the next room and walk up the staircase. Before you have to duck under some wreckage (pictured above) to get into the next room, you’ll find this collectible on the table near some balloons to your right.
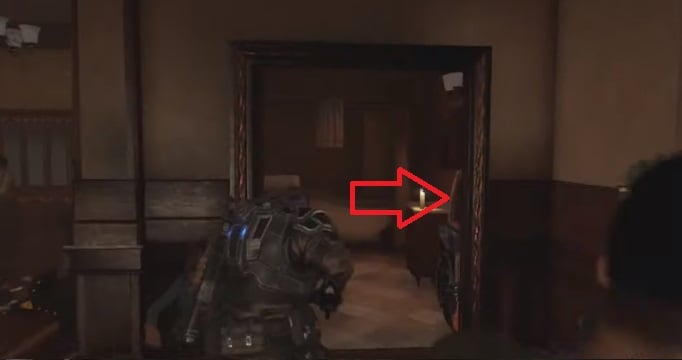
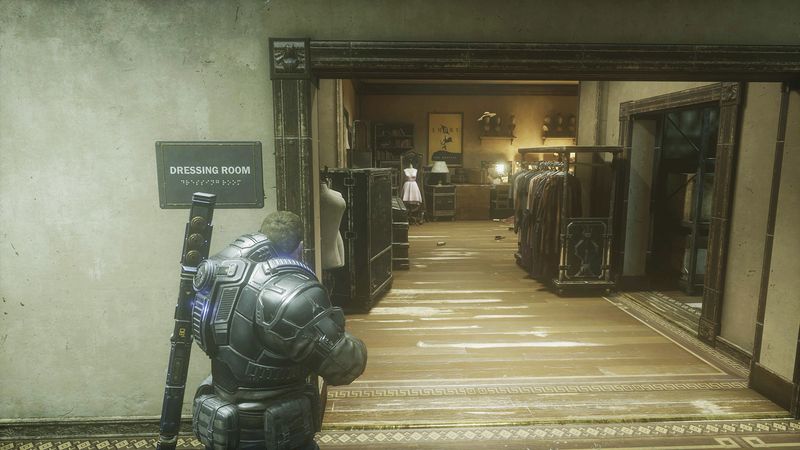
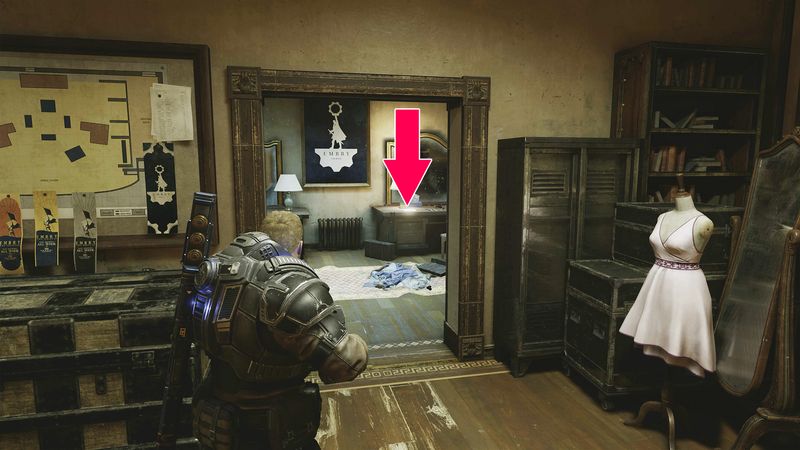
#5: Song Lyrics
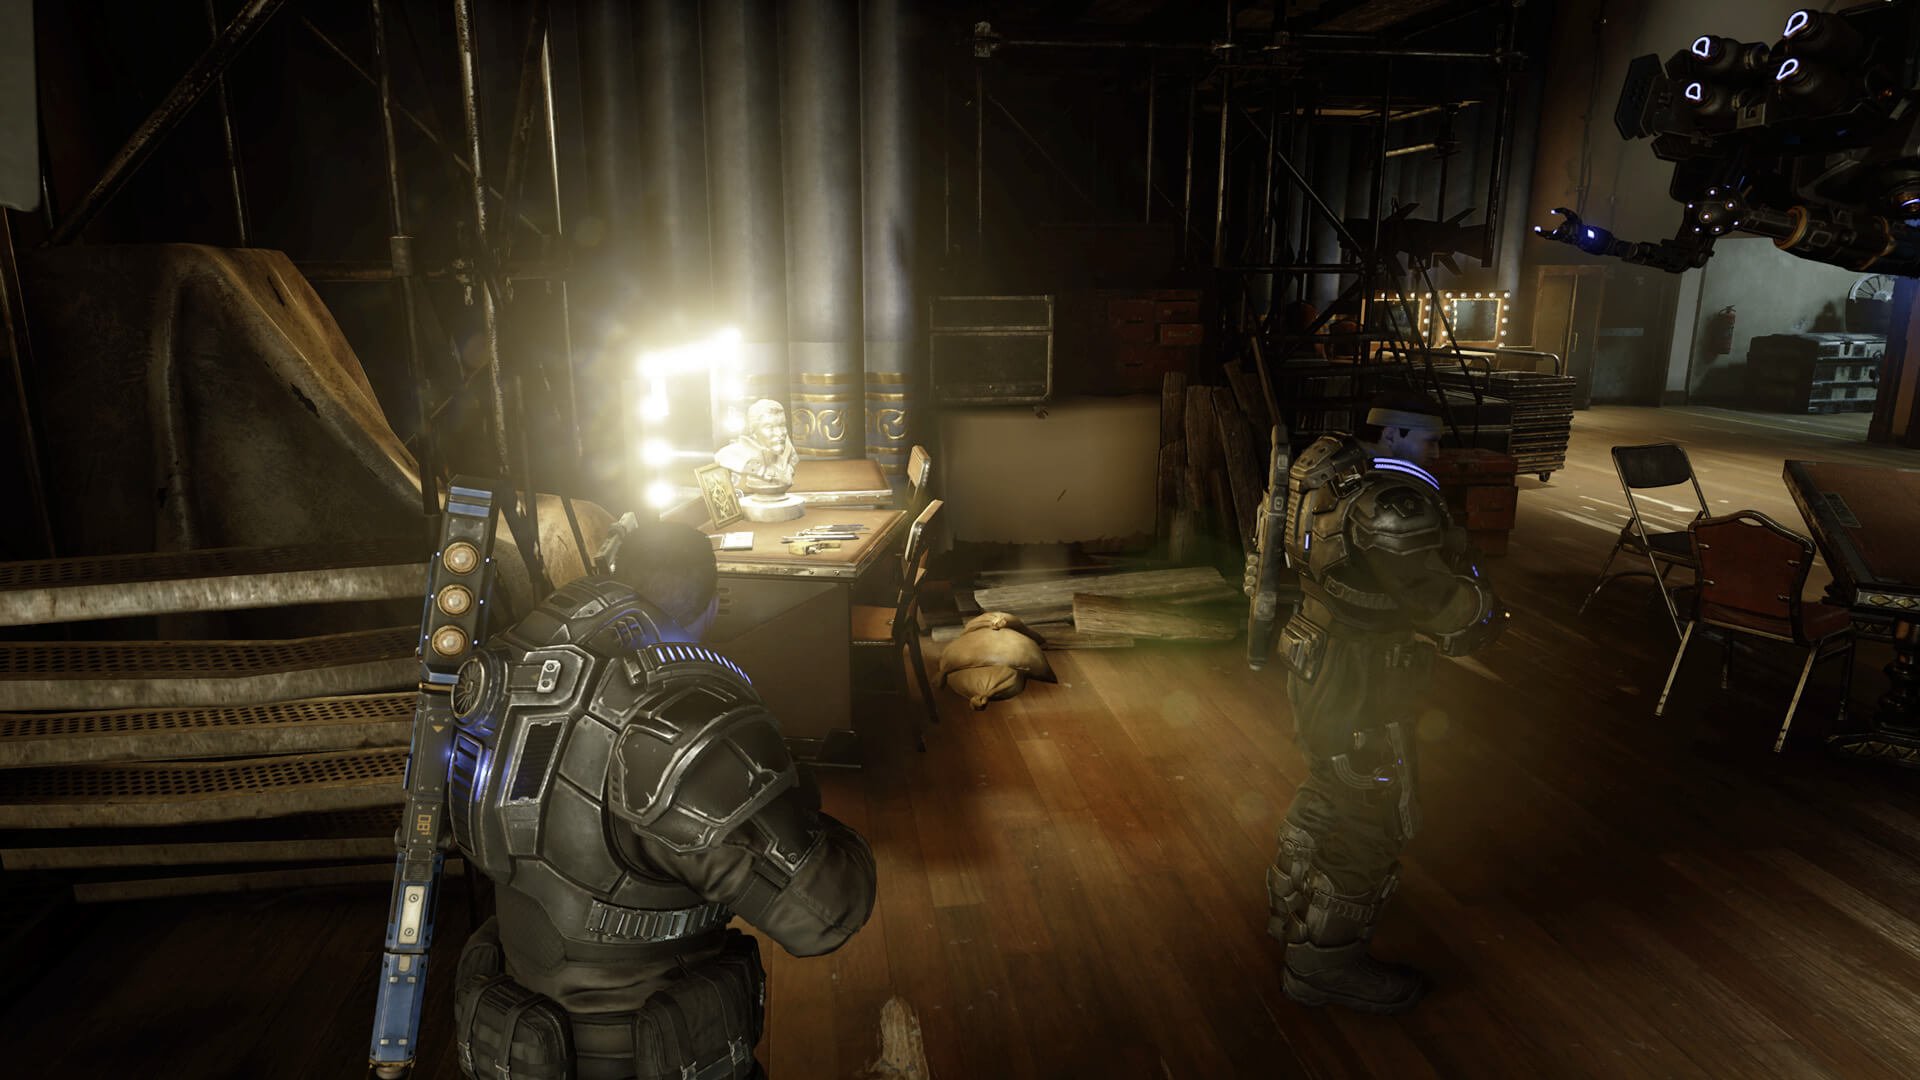
After your fight in the street, you’ll enter the theater and rendezvous with Kait and Marcus. Walk up the stairs. Enter the dressing room on your left, and take the first left into another room. This document is sitting on a table in the far right corner of that room.
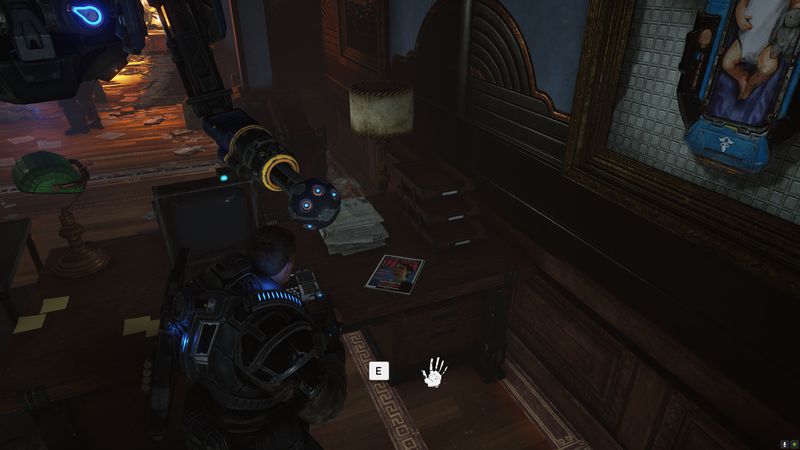
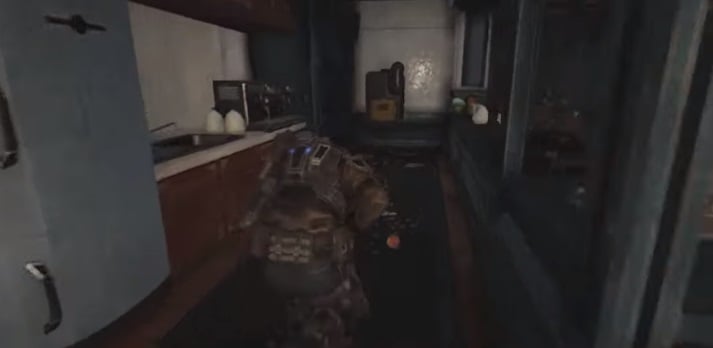
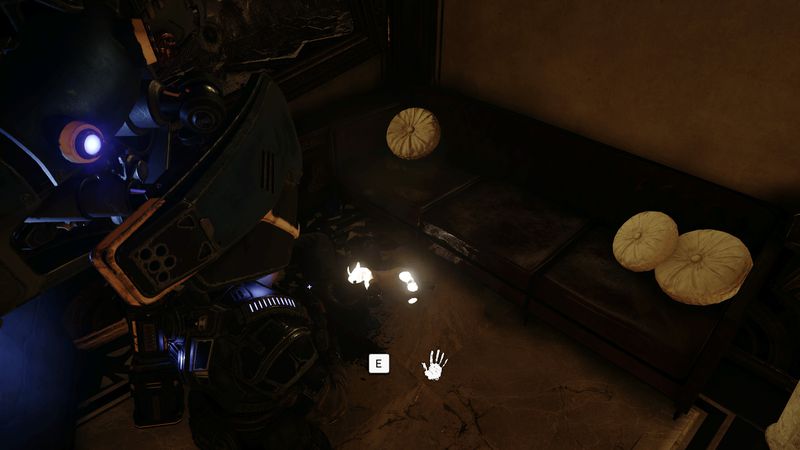
#6: Worn Lighter
Head through the dressing room, and you’ll walk down a couple of stairs. Hug the left wall, and look for this lighter sitting on the corner of desk (which is directly in front of us in the image above).
#7: Octus Canon Scroll Prop
Open the stage door, and Marcus will tell you that you need to open the curtain next. Before you do that, head to the far wall — the one directly away from the door where you entered. You’ll find this collectible scroll on a box in the right corner.
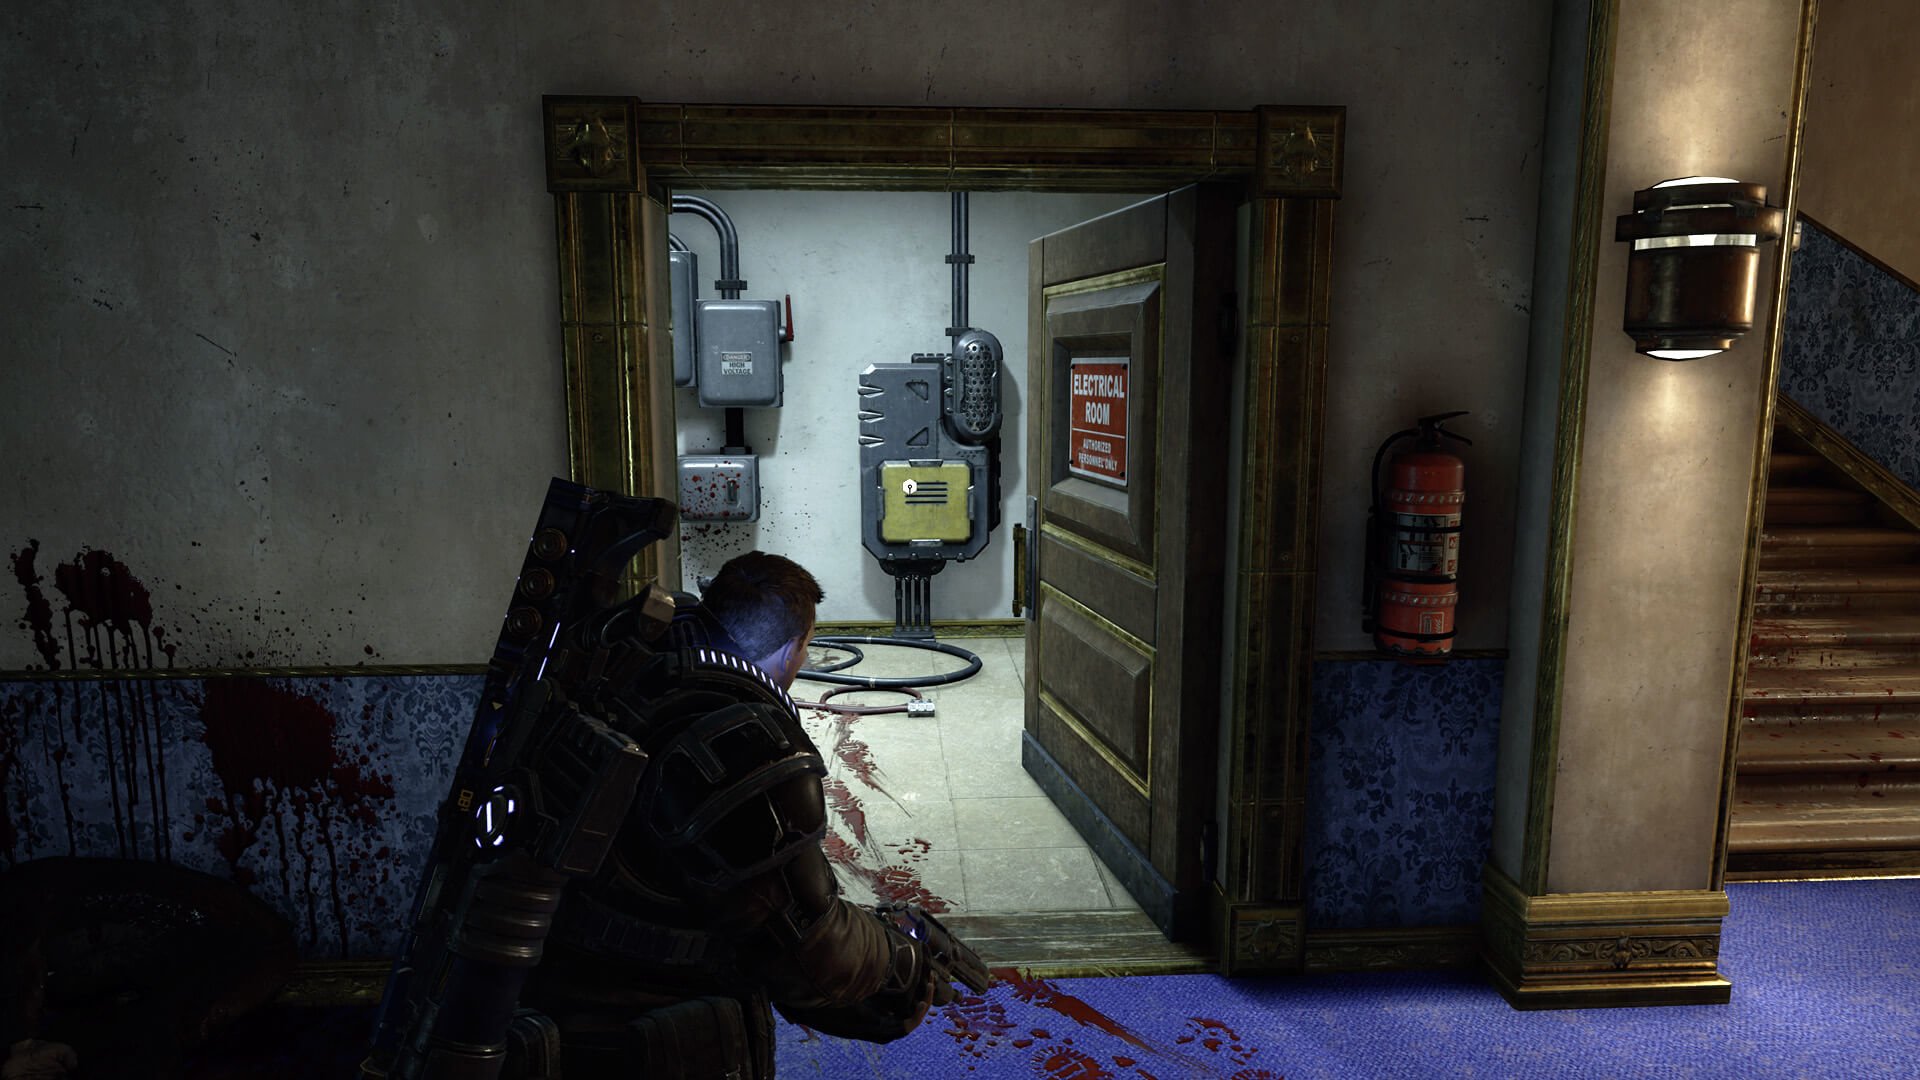
Component #3
After you’ve left the theater, you’ll walk through hallways. Just before you get to the stairs to the upper lobby, check a fuse box in the electrical room.
ACT 2
Chapter 1
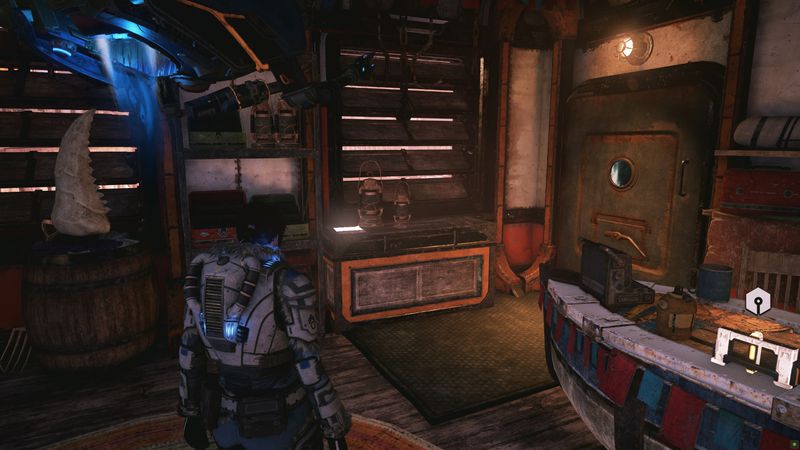
#1: Hand-carved Riftworm Flute
As soon as you take control of Kait, walk down the stairs on your right, and enter the first doorway on your right. This collectible is sitting on the checkout counter to the left of the entrance.
Component #1:
There’s also a Component to your right.
Component #2:
Back outside, walk down the stairs and past the fishmonger who laughs too hard at his own joke. Pass him, and look for a staircase leading up to a landing across the main street. (It has a pipe zigzagging up the side of the building.)
Take the stairs up, turn right, and walk to the opposite side of the landing you arrive on. There’s a ceiling-height metal bookcase on your right. You’ll find this Component on the far side of it.
Component #3:
As you walk through town, you’ll see a store labeled Machine Shop on your right. Take the stairs that lead up to it, and turn right instead. Walk down the stairs, and you’ll find the Component on the ground between some gigantic ice blocks
#2: Ilima City License Plate
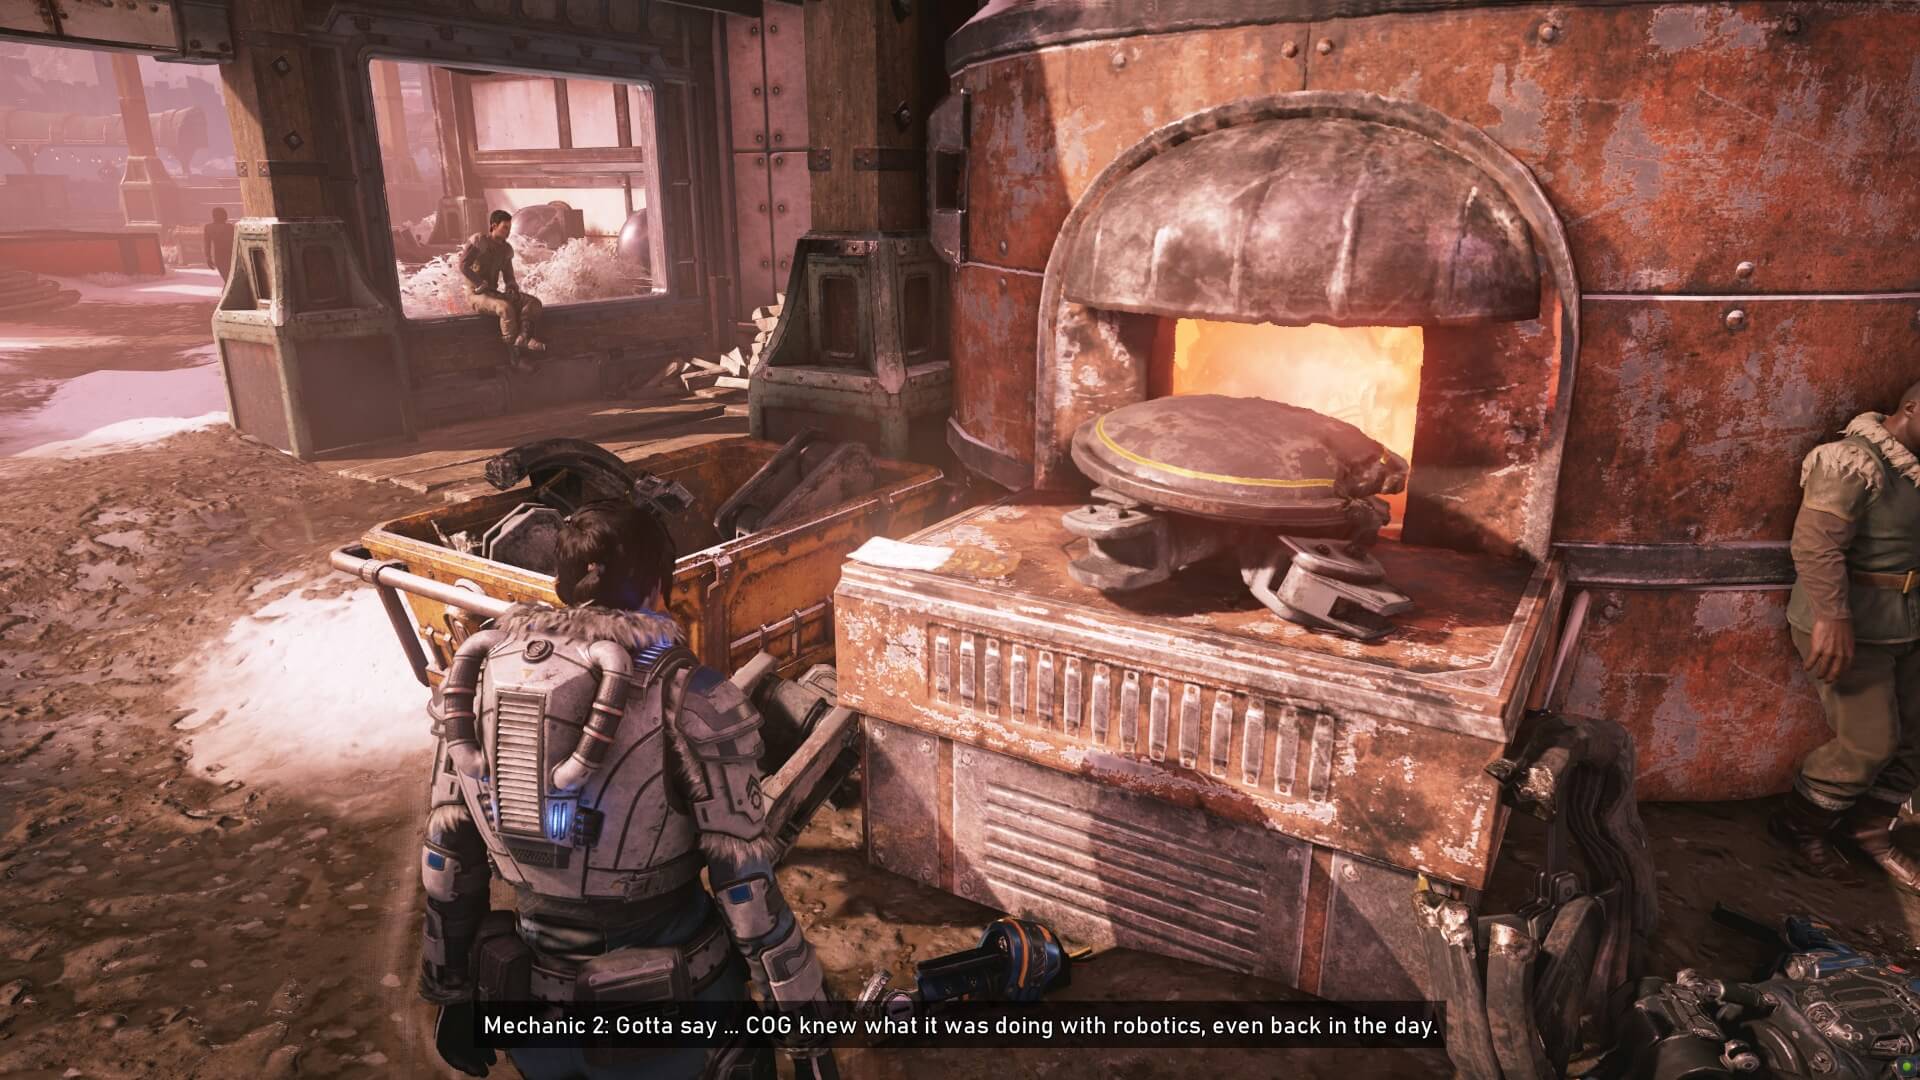
As you walk through town toward the chief, you’ll see a store labeled Machine Shop on your right. Walk past it, and you’ll see a furnace along the righthand side of the road. This license plate is sitting in front of a pile of scraps in front of the fire.
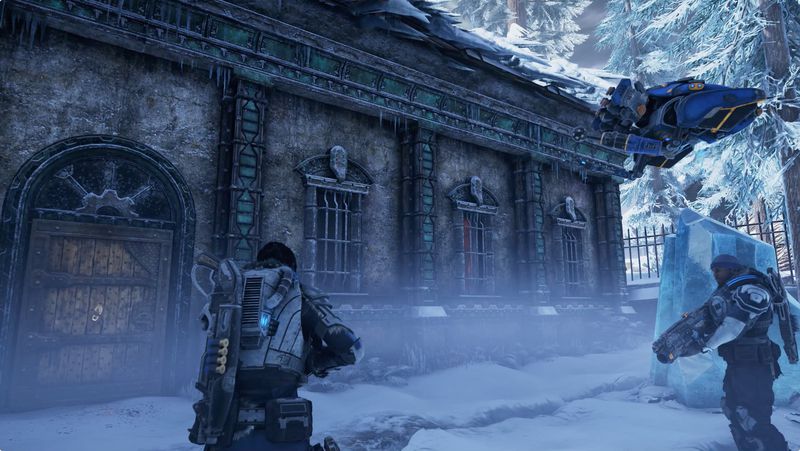
#3: Lost Gear Helmet
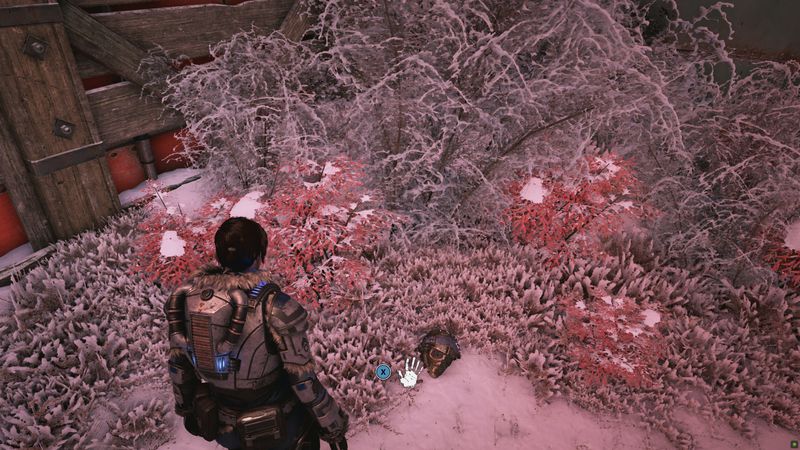
Before you go through the security gates, look for this collectible just outside of the Town Hall building. Town Hall is to the left of the decorated riftworm bone in the middle of the street. This collectible is on the far right side (as you’re looking at the building), nestled among some snow-covered bushes.
Component #4:
Keep hugging the right wall after the first Components and you’ll find this amongst blocks of ice.
#4: Wooden Lancer Toy
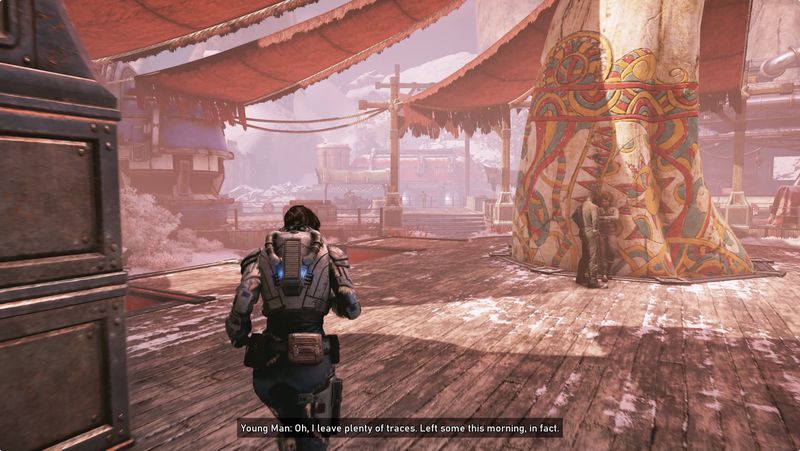
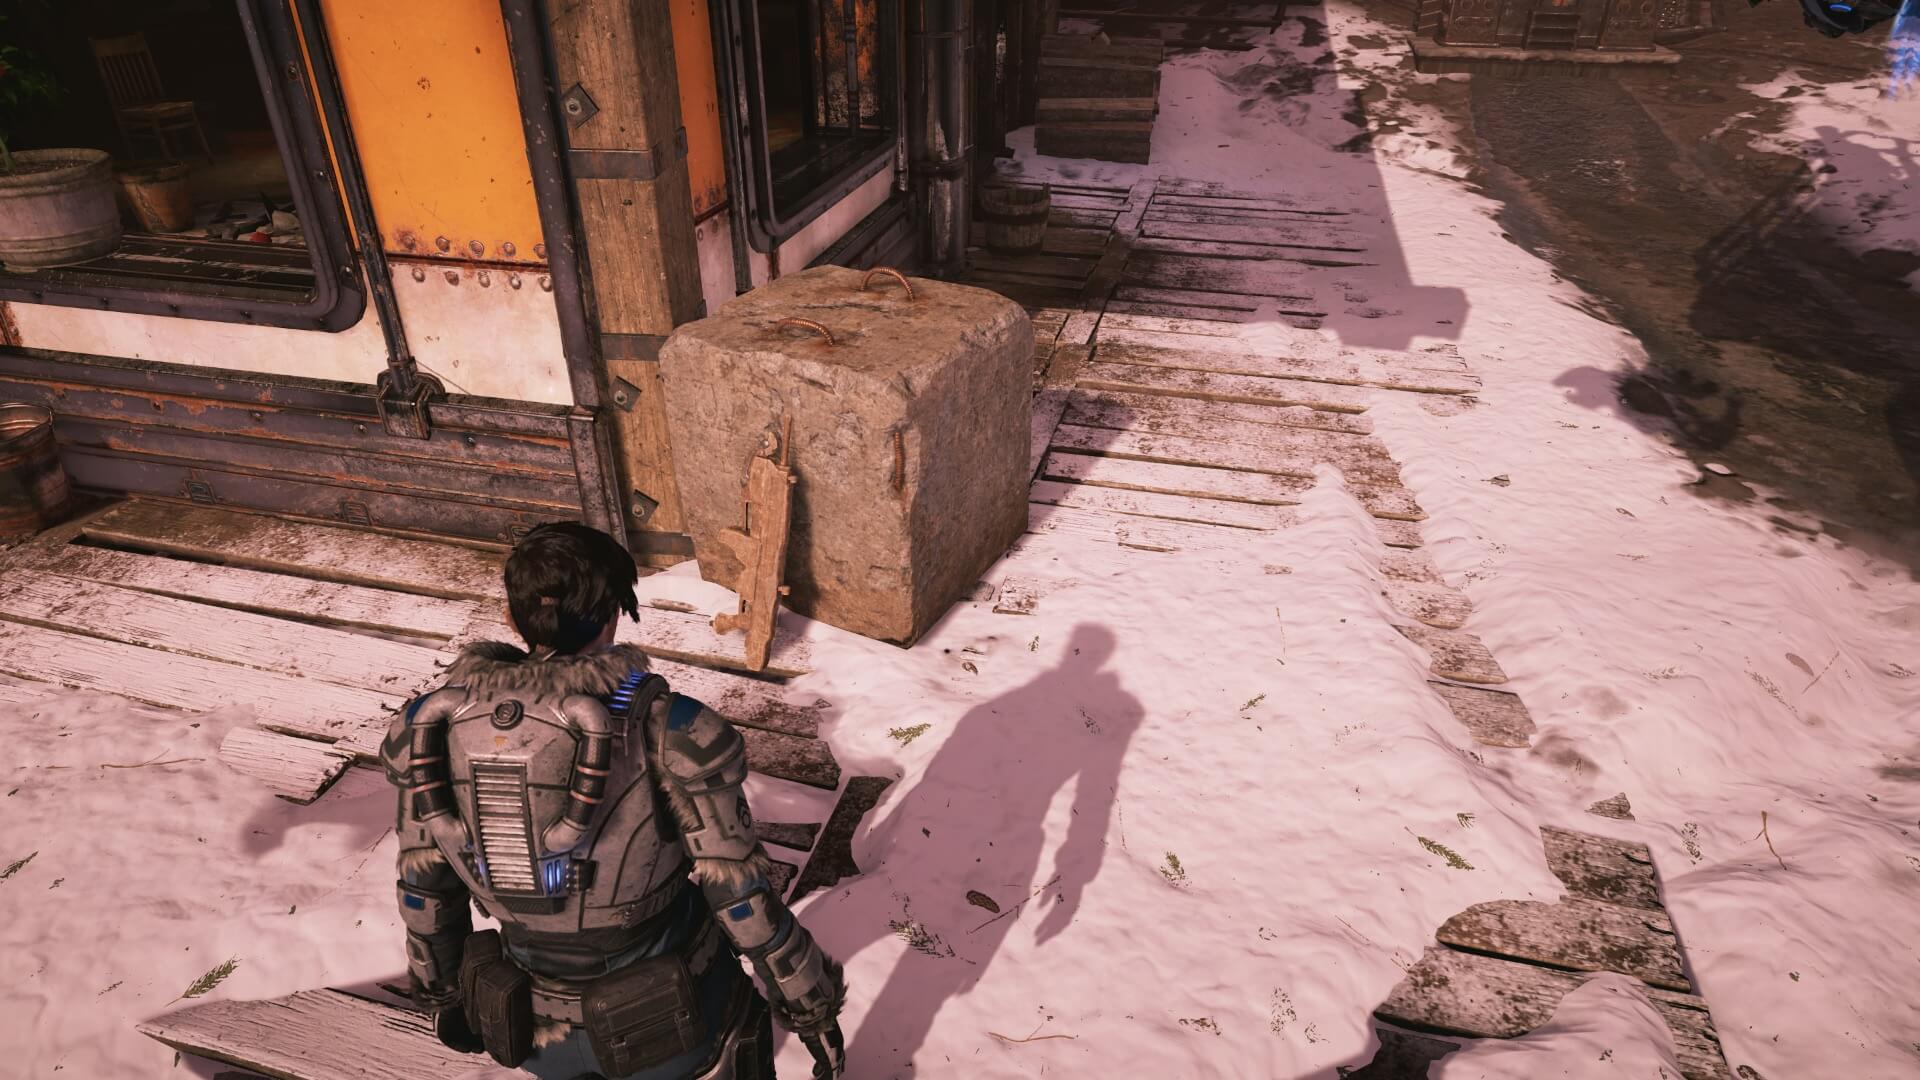
Head past the steam vent, and the street will turn to the right. A little boy will call you a fascist and get pulled inside by his mother. This collectible will be sitting up against a square concrete block.
Component #5:
After heading through the security doors, hug the right and look into a building.
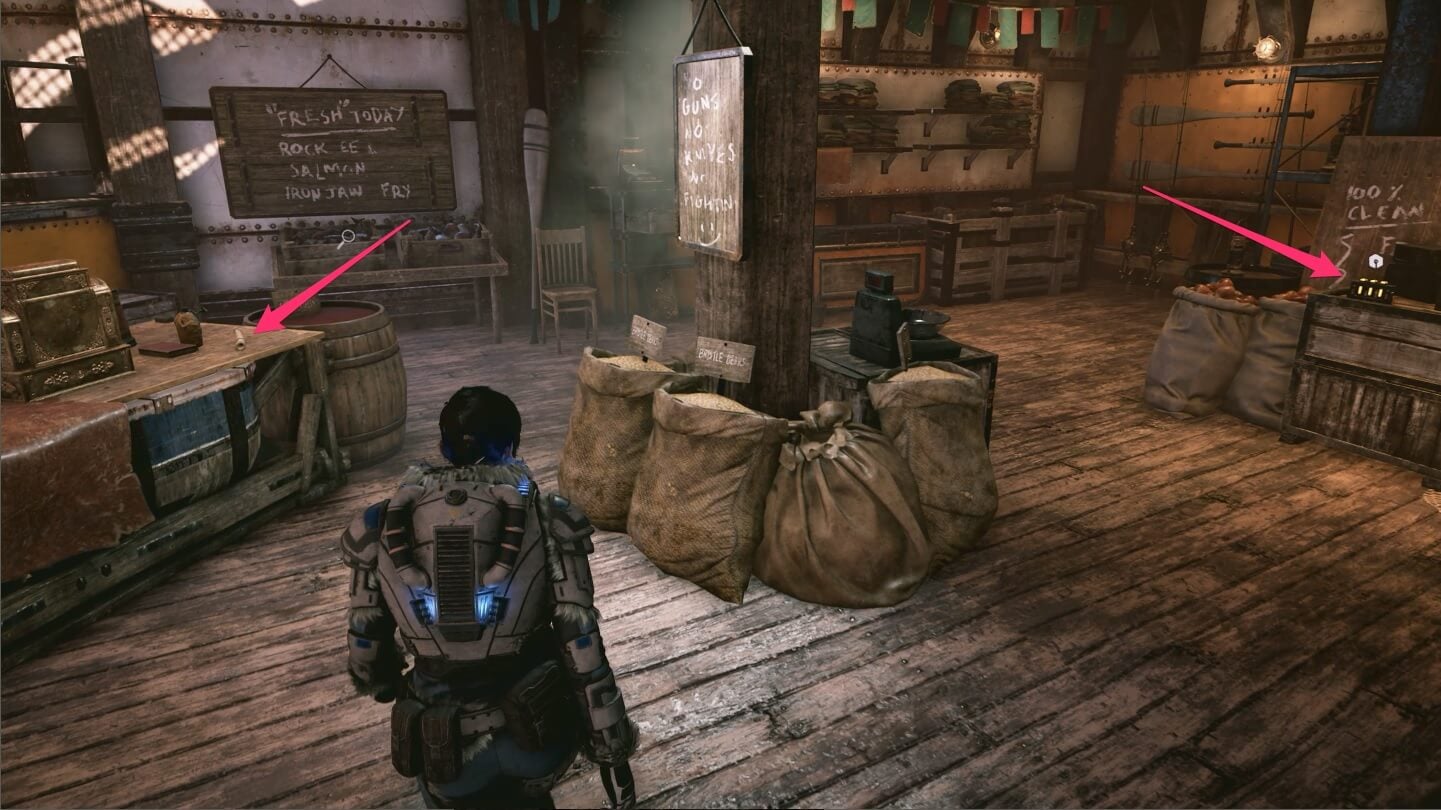
#5: Major Howl and the Battlin’ Ants
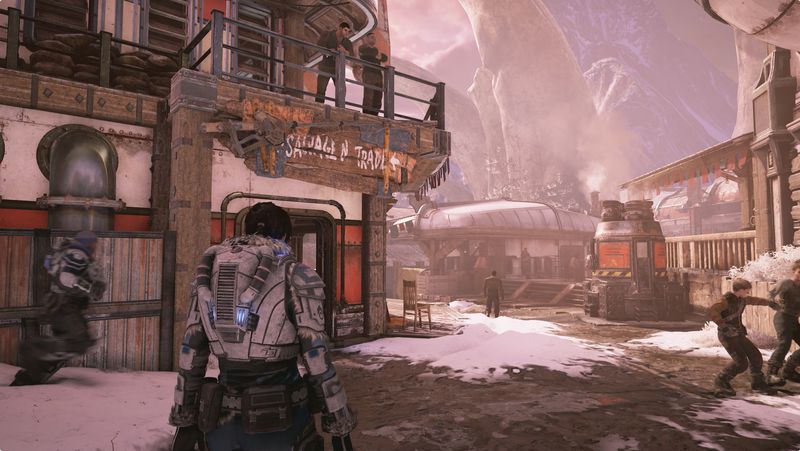
Head past the steam vent, and the street will turn to the right. Look for a building with a Salvage N Trade sign above the doorway along the left side of the road.
There’s a Component on the checkout counter, and this collectible is on a shelf against the wall to the left of the Component.
#6: New Village Rules Mandate
After you walk through the second security gate, this note is on the wall to your left.
Component #6:
At the bottom of the first staircase that you walk down, turn left, and this Component is sitting on the floor in a green-lit storage room.
Component #7:
Just a few seconds after that, Kait has her first headache vision. When that ends, enter the door to your left, and this is on a shelf.
#7: Note to the Chief
After Kait has her first vision, follow the flags on streamers to the orange and white greenhouse. This collectible is sitting on a table in the middle of it.

Component #7:
Walk past the guy who likes his plants a little too much, and hug the right wall before you take the stairs down. There’s a Component on the ground behind the meat steaming shed.
#8: Norsko’s Letter
Walk past the guy who likes his plants a little too much, and take the stairs down. you’ll see a gigantic windmill in the distance. This collectible is along the walkway, sitting on top of a wooden crate. You’ll find it just before you speak with the chief.
Component #8:
In the room where you use Jack to jumpstart the generator, there’s an adjacent room full of weapons and ammo. And also a Component sitting on the floor in the corner near the Dropshot.
#9: Outsider Skiff Schematic
As you fight your way back through the town after talking to the chief, you’ll pick up a new Shock Trap for Jack. After that, you’ll come back to the Machine Shop. Before you hop into the Silverback, look on the windowsill nearby for these plans.
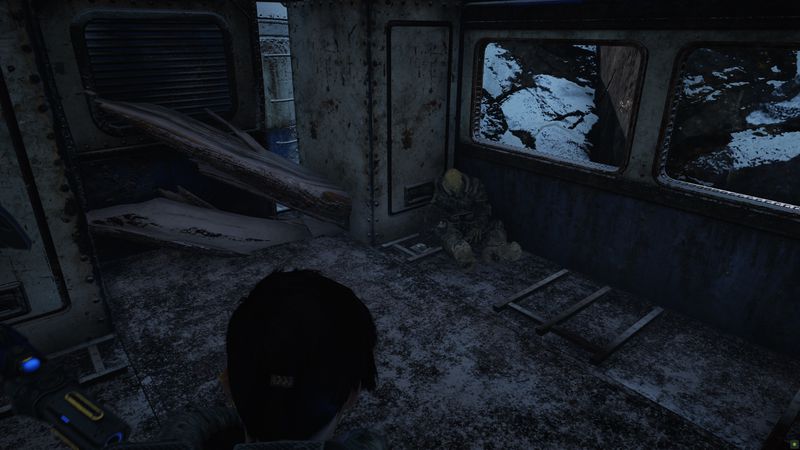
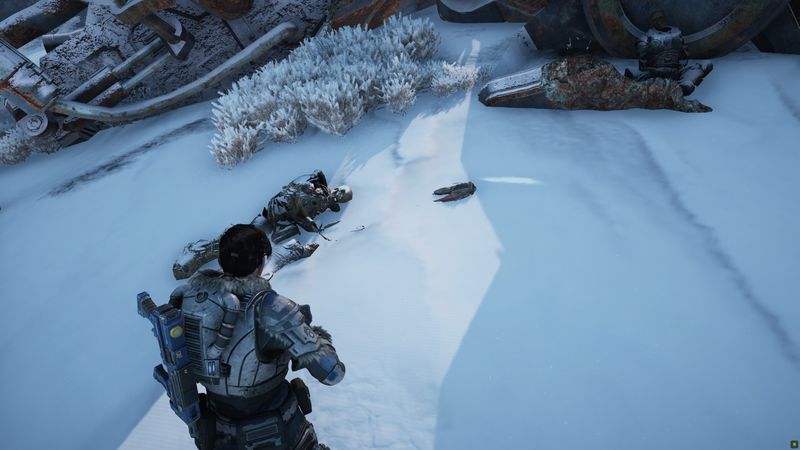
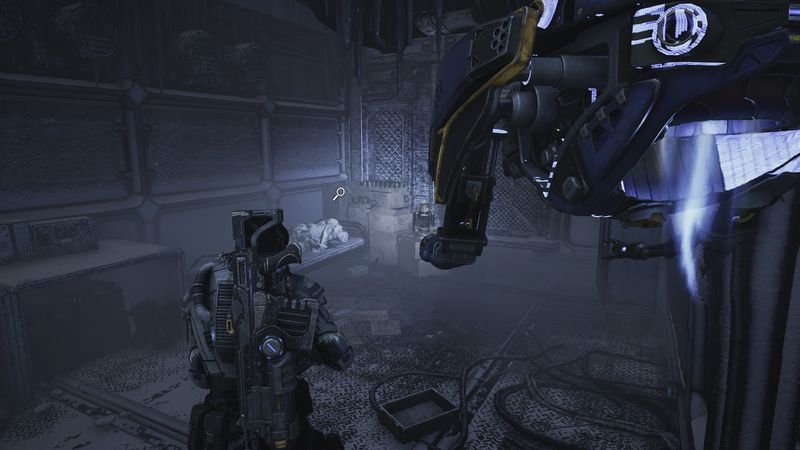
#10: COG Tags: Oscar Diaz
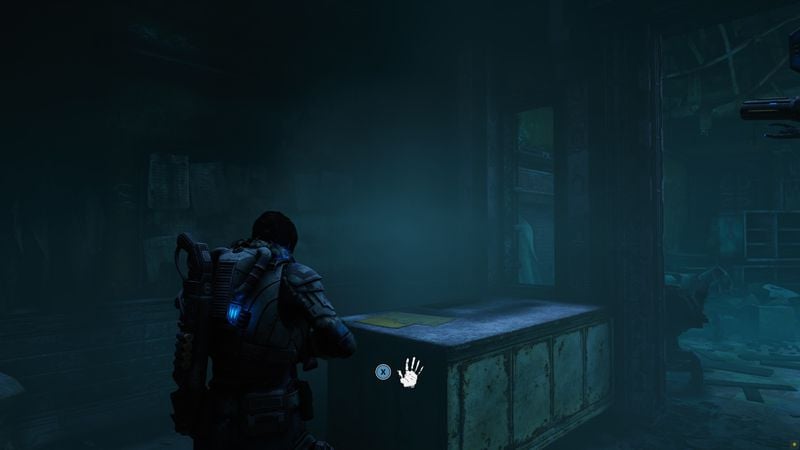
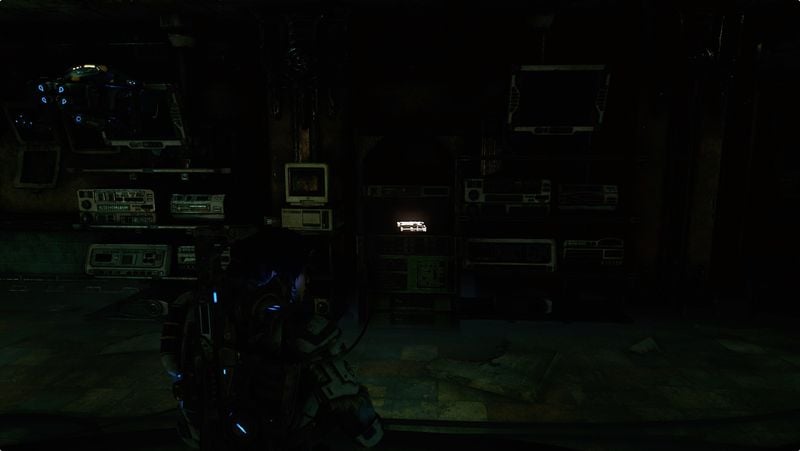
After fighting your way out of town and watching a cutscene, you’ll regain control in the dark. While you’re looking around for the light switch, you’ll find these tags on a table in the far right corner of the room.
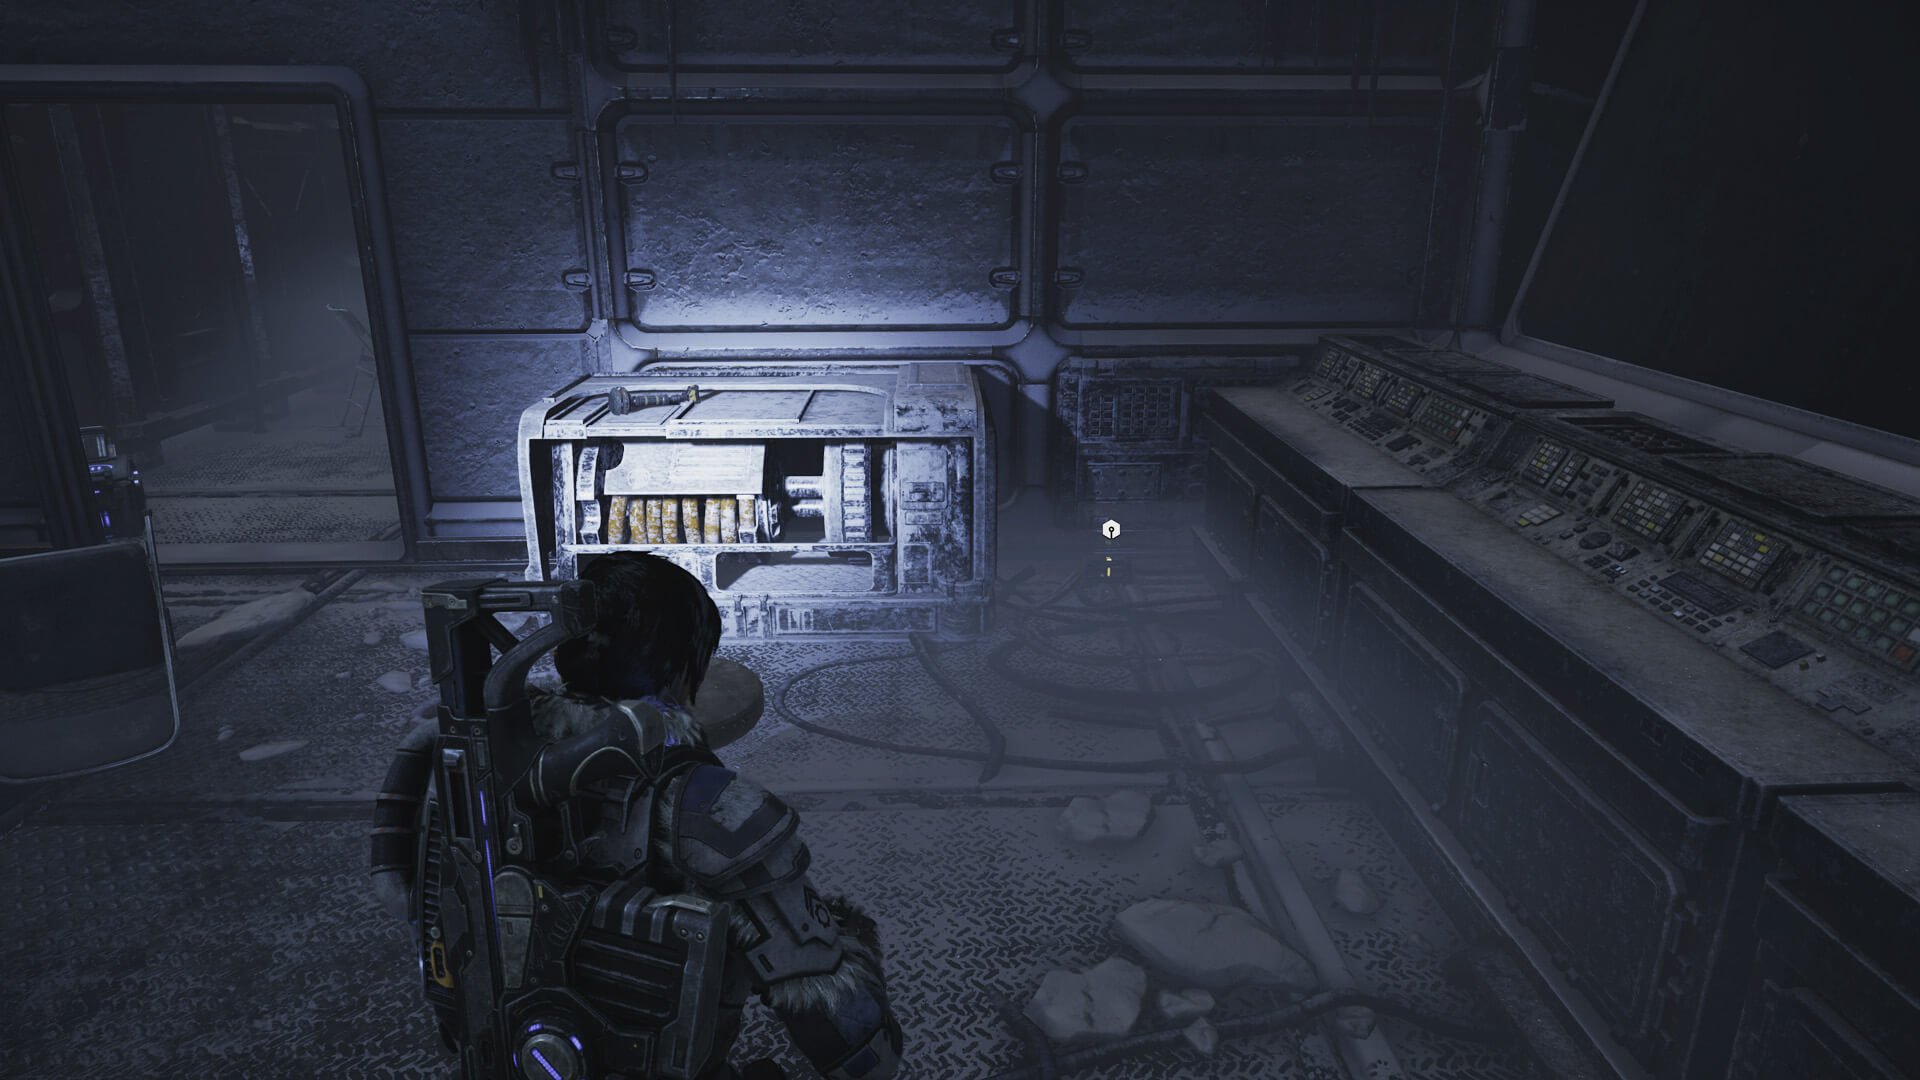
Components #10-14:
After fighting your way out of town and watching a cutscene, you’ll regain control in the dark. While you’re looking around for the light switch, you’ll find a nearby ladder to climb up. You’ll find this three-pack of Components on a table up there.
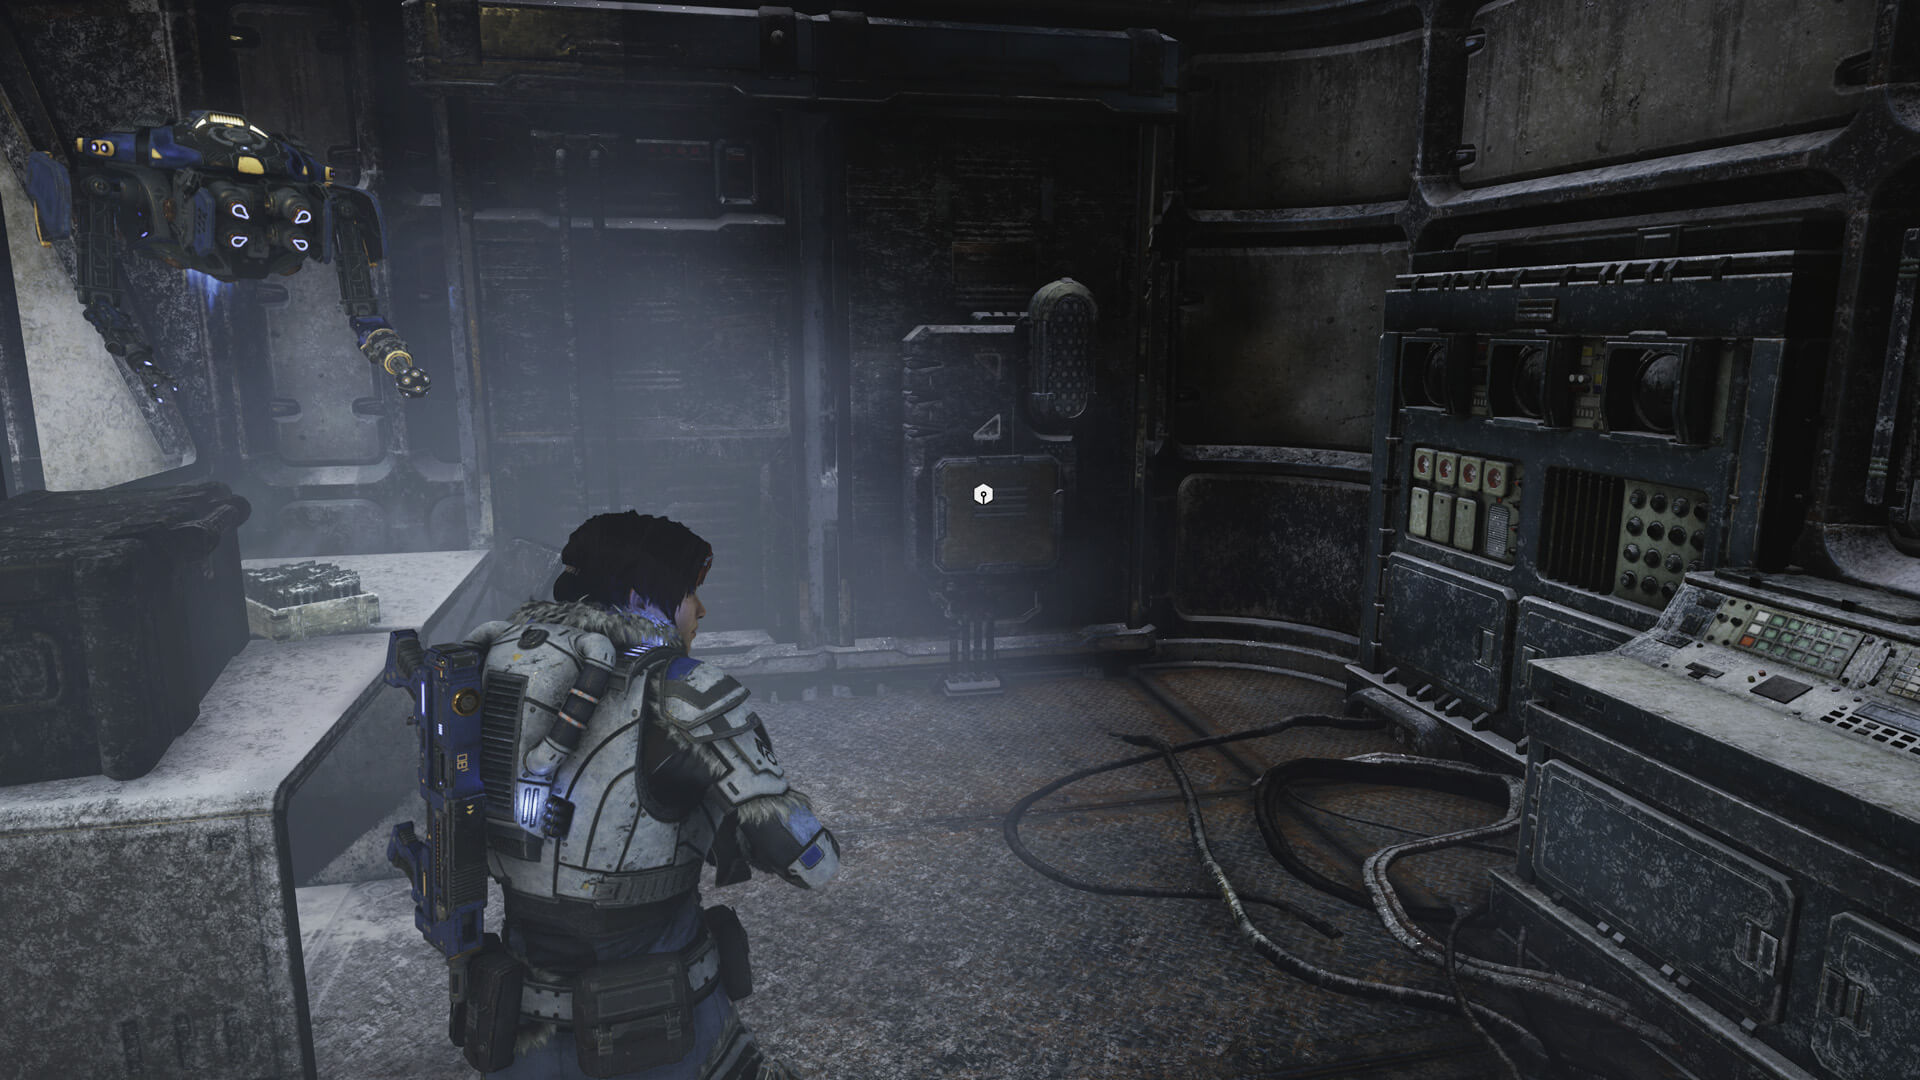
– Back on the ground floor, find a fuse box against the wall for another Component.
Chapter 2
Component #1:
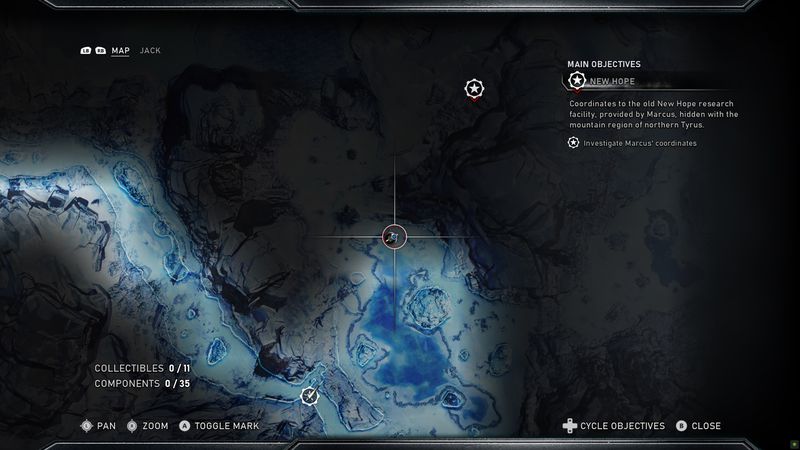
On your way to New Hope, watch for a red shack on the edge of the frozen lake. There’s a Component on the ground near the ramp up to the shack. You can also pick up the Relic Longshot inside.
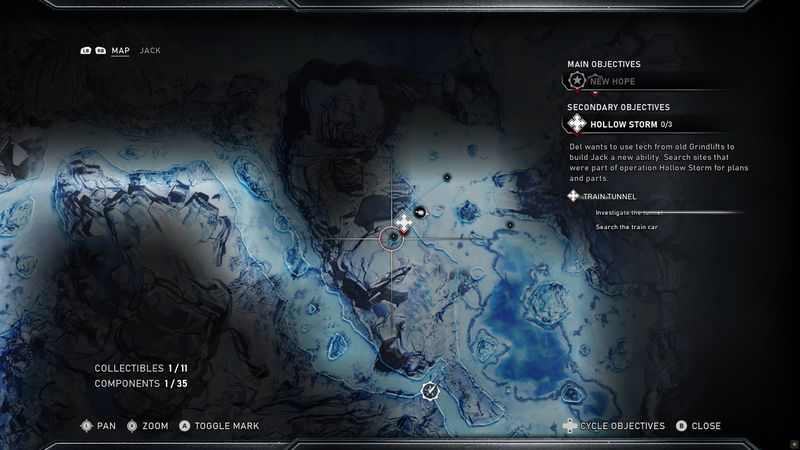
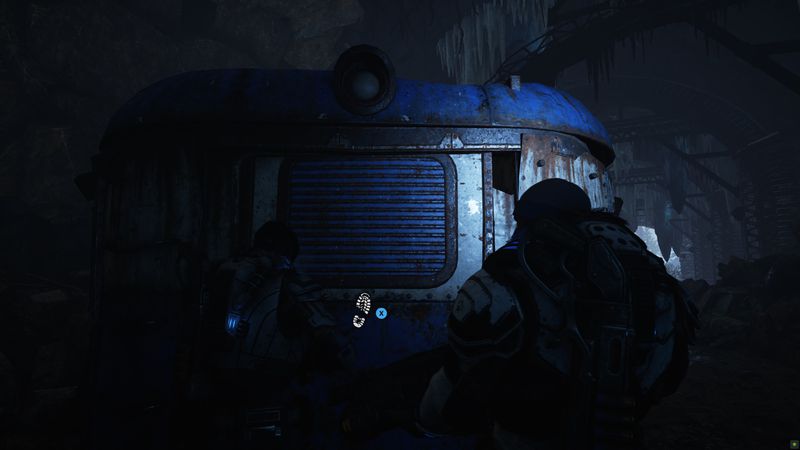
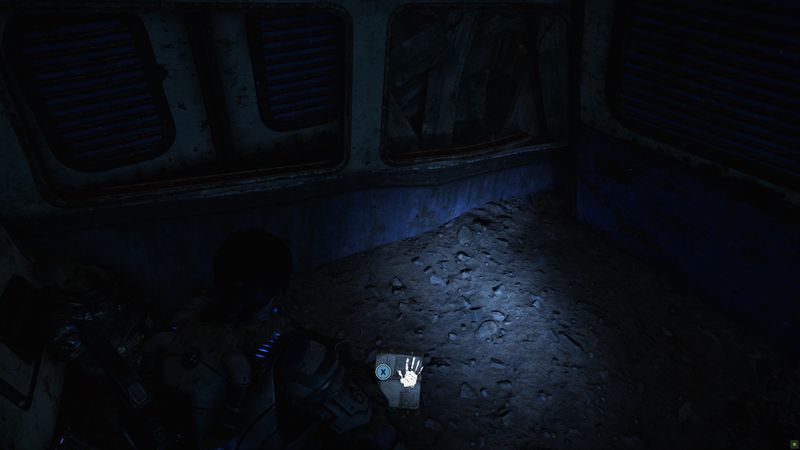
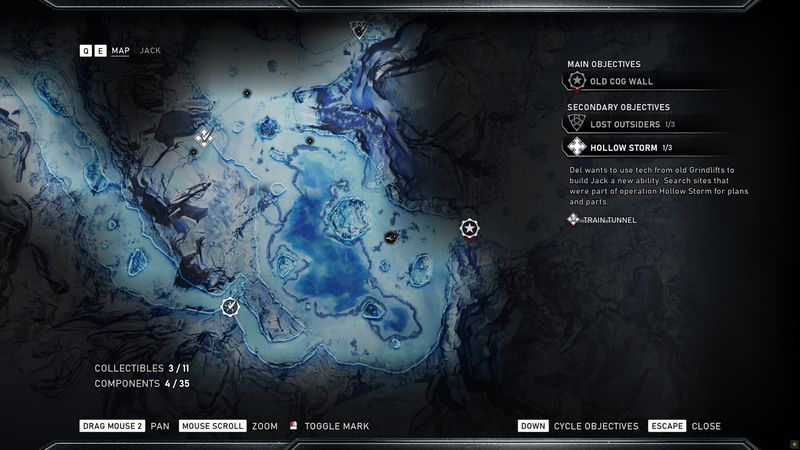
#1: Grindlift Maintenance Notes
Close to where Del spots the derailed train (we actually found Collectible 2 before this one), you’ll see the Train Tunnel on your map to the southwest. Head inside and fight the Carrier you find there. After it’s down, kick open the train car to find this collectible and a Component.
Component #2:
Same location as Collectible #1.
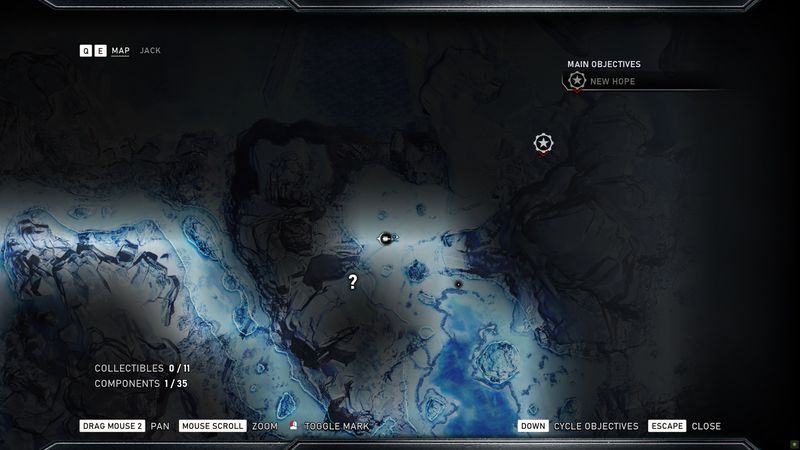
#2: Faded Photograph
A little northeast of the Train Tunnel, watch for a derailed train. Climb inside the first car for this collectible.
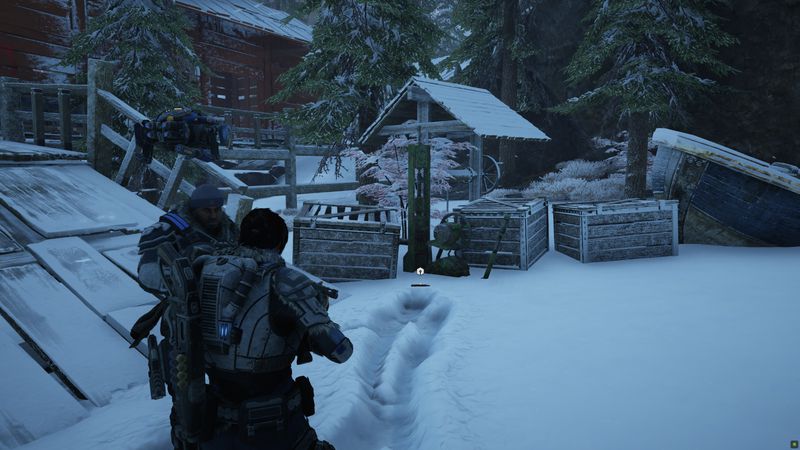
#3: Lena’s Journal
Just before you get to New Hope, you’ll have to ditch your skiff and start walking. At the top of a rise, you’ll find an Outsider camp. This collectible is laying out in the open with another Component.
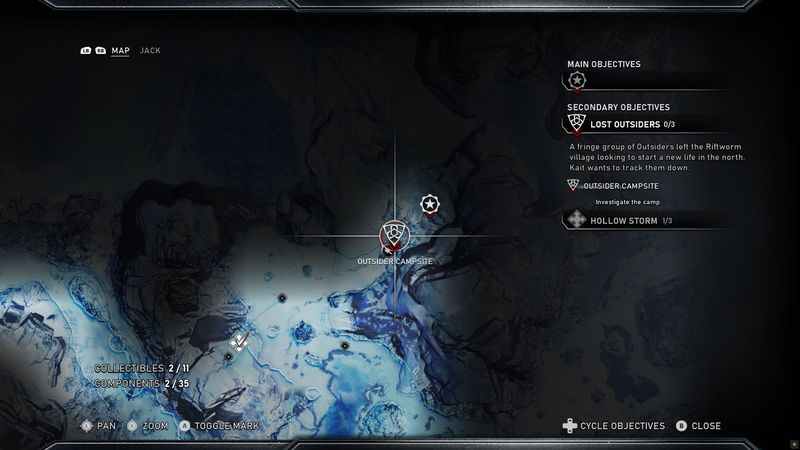
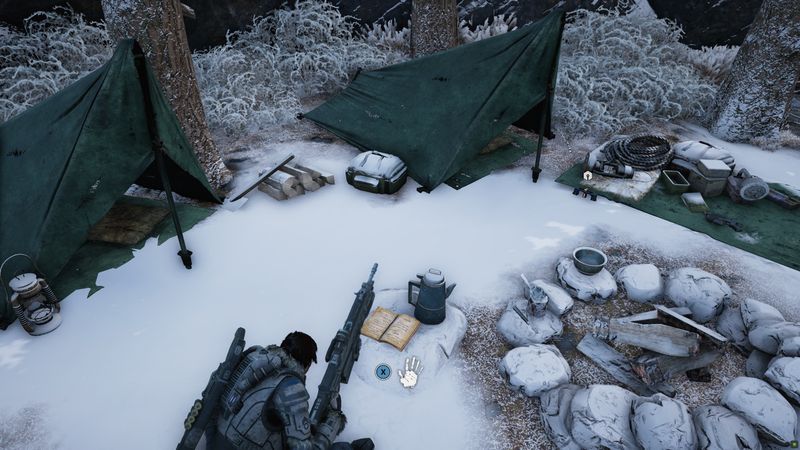
Component #3:
Same location as Collectible #3.
#4: Islander’s Lost Earring
A little west of the Old COG Wall location on your map, look for the wreckage of a truck. This earring is on the corpse next to it. (Even if you miss it during Chapter 2, you can pick this up afterward during Chapter 3 when you’re on your way to the Old Cog Wall.)
Component #4:
There’s some debris west of the old COG Wall. This is in the batch closest to the wall.
Chapter 3
#1: Intercepted Letter
After gaining access to New Hope, check the area to the right.
Component #1-3:
After you fight the Warden, go up the stairs ahead of you. Look for a door to kick open on your right to get into the stone building there. Go down the stairs and have Jack open the safe.
Component #4-6:
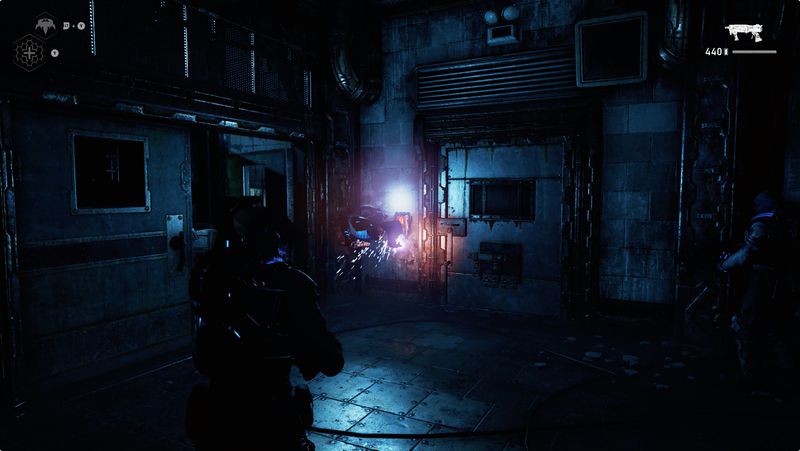
After falling down into a dark area, get Jack to open up a prison cell to your right with poison gas blocking the door. Use Jack’s Stim support to survive the trip in and out.
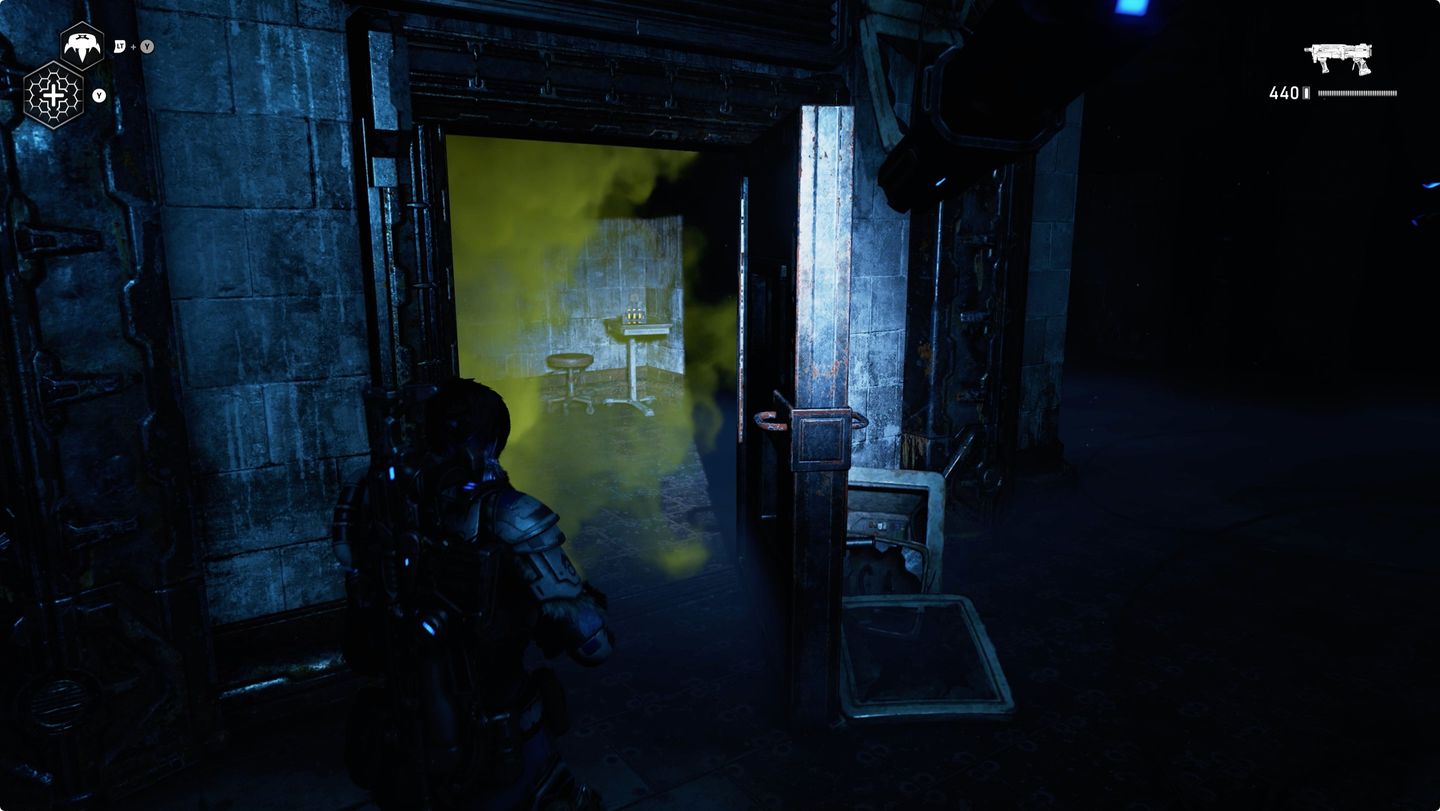
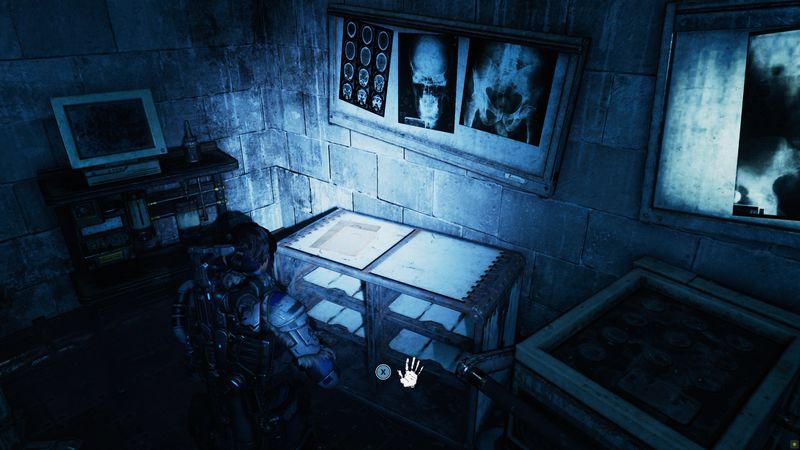
#2: Soverign Directive 10345
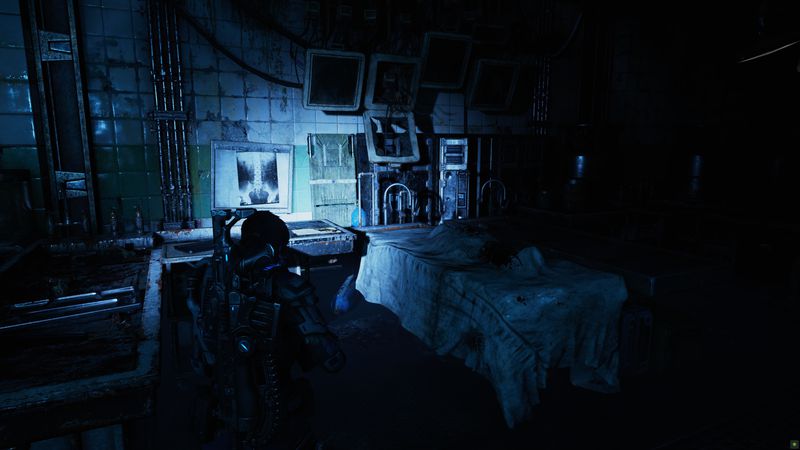
In a locked door that Jack can open just past the cell blocked by poison gas. It’s on a table underneath some X-rays in the back right corner.
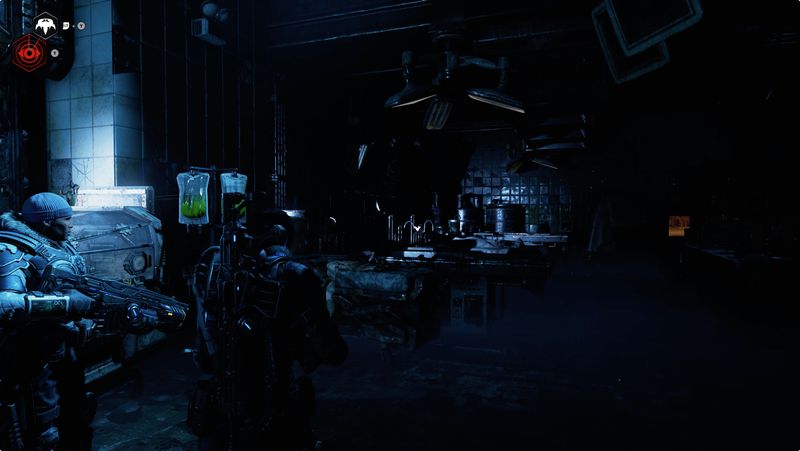
#3: Patient Analysis: AX-331-2
In the room immediately past the a half-opened double door (and the locked room where you found Collectible 2), you’ll find this collectible on the table along the left side of the room.
#4: Patient Analysis: EV-184-9
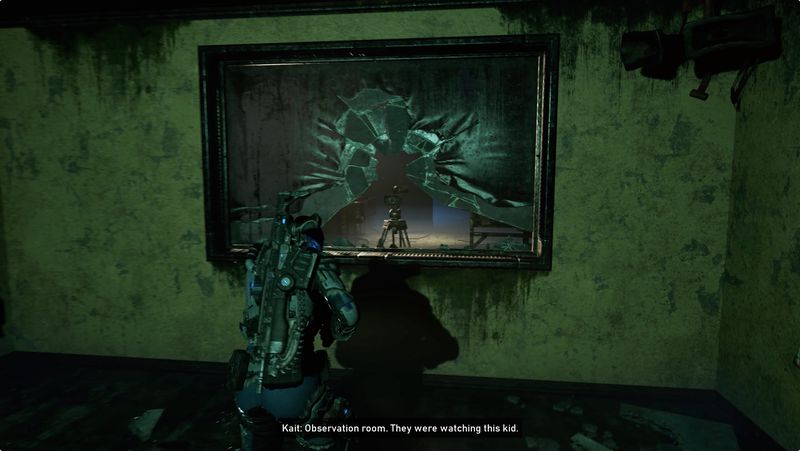
Smash the glass in Niles’ favorite patient’s room, and hop into the observation room. This collectible is in on a desk against the wall next to a computer on the left.

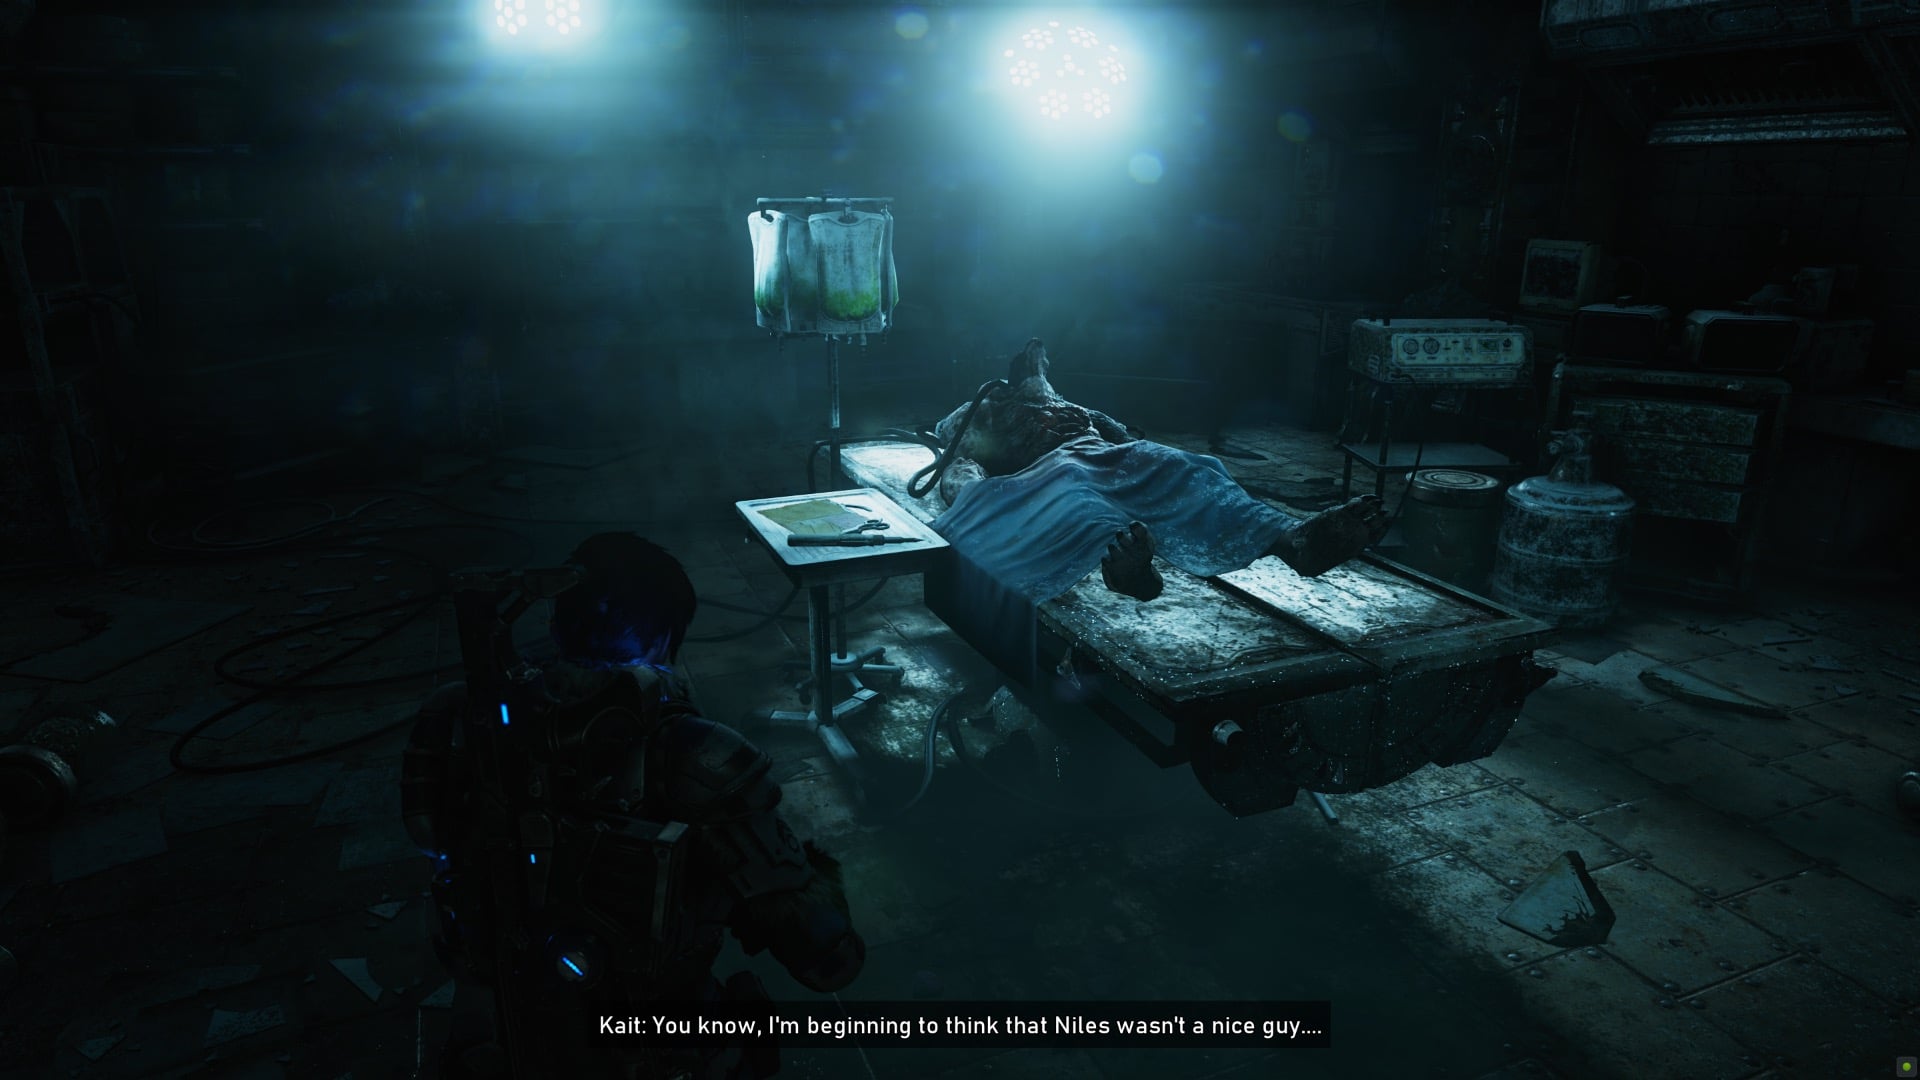
#5: Patient Analysis: RK-619-4
Continue past the stasis tanks and the Sires, and you’ll hop down into some hallways. Just a little past that is a room on your right. You’ll find this on a table next to a corpse on a gurney inside.
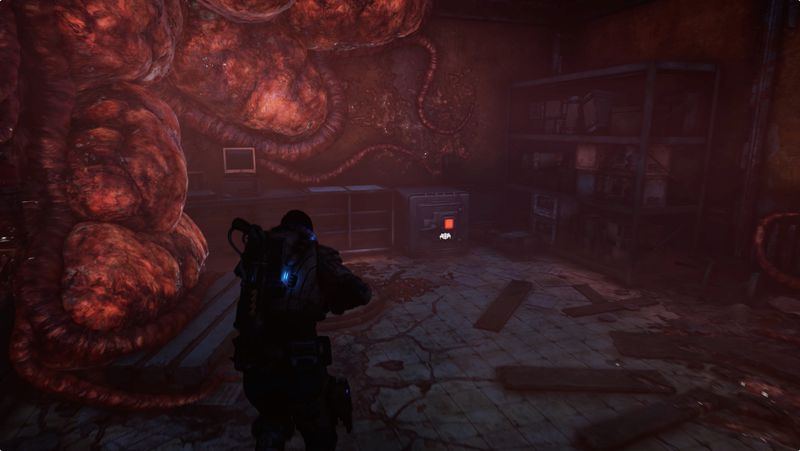
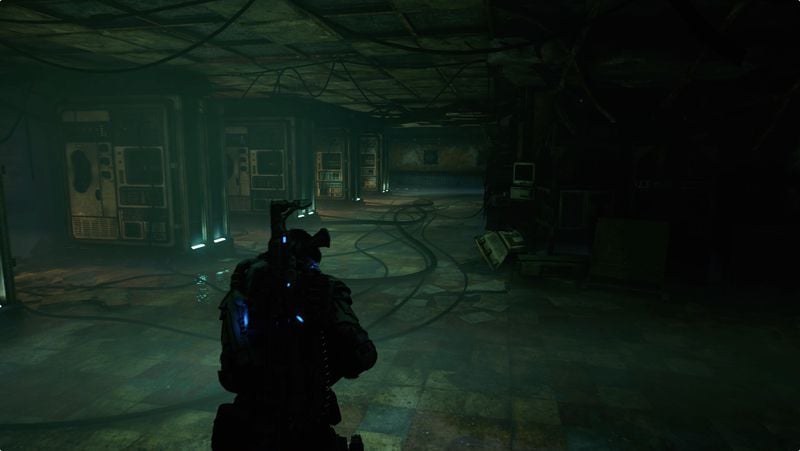
#6: Timeworn data drive
On your search for Niles’ AI, you’ll enter a big room where Kait will talk to Del about what to ask the AI. Head to the far left corner, and drop down the stairs to another room with stalls along one wall. This collectible is along the right hand wall (opposite those stalls).
Chapter 4
Component #1-3:
As you’re opening up the big COG door, check a wallbox in the room on the top left.
Component #4:
Inside the East Tower Substation, in the northwest corner (relative to where you came in)
#1: Security Memorandum
Inside the East Tower Substation, you’ll find this document on a pair of cardboard boxes stacked on the wall opposite Lena’s frozen body.
Finding this will complete a part of the Lost Outsiders Secondary Objective.
Component #5-7:
- After you enter the East Comm Tower and determine that you’ve got to restore power to the console, turn around so that you’re facing away from the console. This is sitting next to the staircase that you just descended.
- After you scan the map in the East Comm Tower, enter the next room. This Component is on top of a filing cabinet on the right side of the room (relative to where you enter). Use Jack to retrieve it.
Component #8-12:
After Jack uses the map in the East Comm Tower, you’ll walk down some stairs in a room where Kait notices some turrets and says that there’s a lot of security for a coms tower. Turn left at the bottom of the stairs, and look for a fuse box on the wall. Open it for five (!) Components.
Component #12-18:
There are multiple Condor Crash Sites on the map. This is the southernmost.
After fighting off the dual swarms, make your way up to the crash site. These Components are in a fuse box on the opposite side of a makeshift wall that the crash created, just before you have to hang a left to continue up.
After you hang a left to continue up, you’ll reach a dead end with a safe. These Components are embedded in a block of ice on the ground.

Ultimate Upgrade: Marked for Death
After you hang a left to continue up, you’ll reach a dead end with a safe. Have Jack open it to find this Ultimate Upgrade. You will also complete the Condor Crash Secondary Objective.

#2: Krav’s Locust Tag
At the entrance to one of the Old Derrick sites.
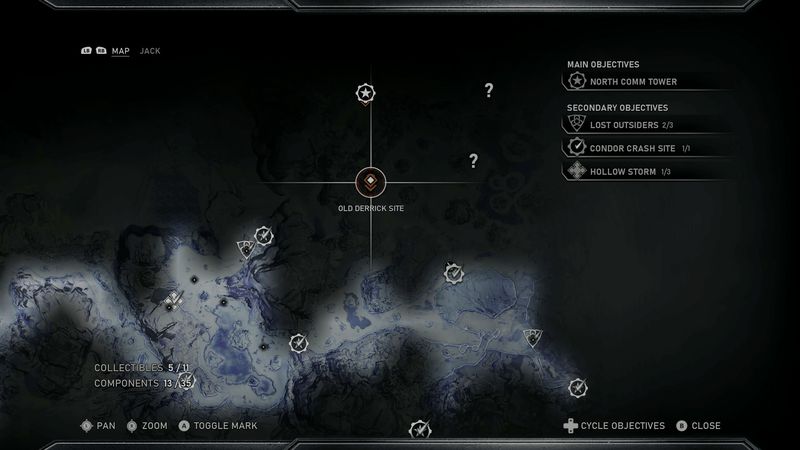
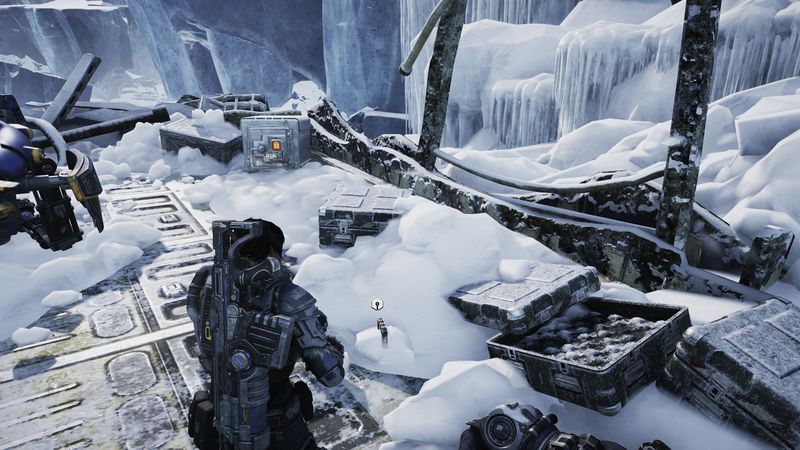
#3: Grindlift Actuator Component
There are multiple Old Derrick Sites. This one is the farthest to the west, and it’s a twofer.
Per Gears 5’s Hollow Storm description, “Del wants to use tech from old Grindlifts to build Jack a new ability.” After you clear out the area, check inside of a fuse box. Instead of a standard Component, you’ll find a part — the Grindlift Actuator Component — to fulfill a quest objective. It’s also a collectible.
Where’s the rest?