
Here’s a way to get the “Gotta Find ‘Em All” achievement in a bit more than 30 minutes.
War for the Overworld Find All Achievement
General Tips
Use Besiege as much as possible, your workers will do 95% of the job. Spirit workers potions are the best way to clear out large areas (always pop the potions BEFORE activating Besiege, so your spirit workers benefits from it).
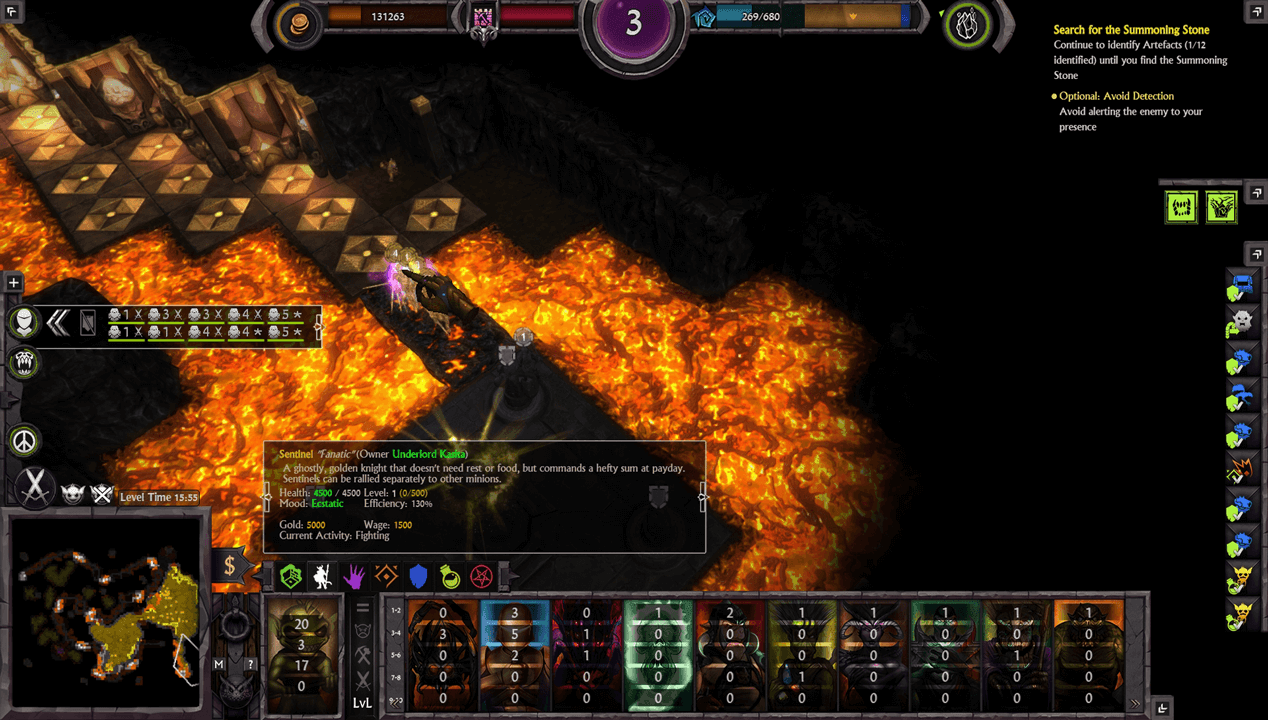
Get 10 Sentinels asap, there’ll be your only attack force to clear out shrines. I say 10 because that’s the max you can grab at once, but if you feel like building the golden army, feel free to!
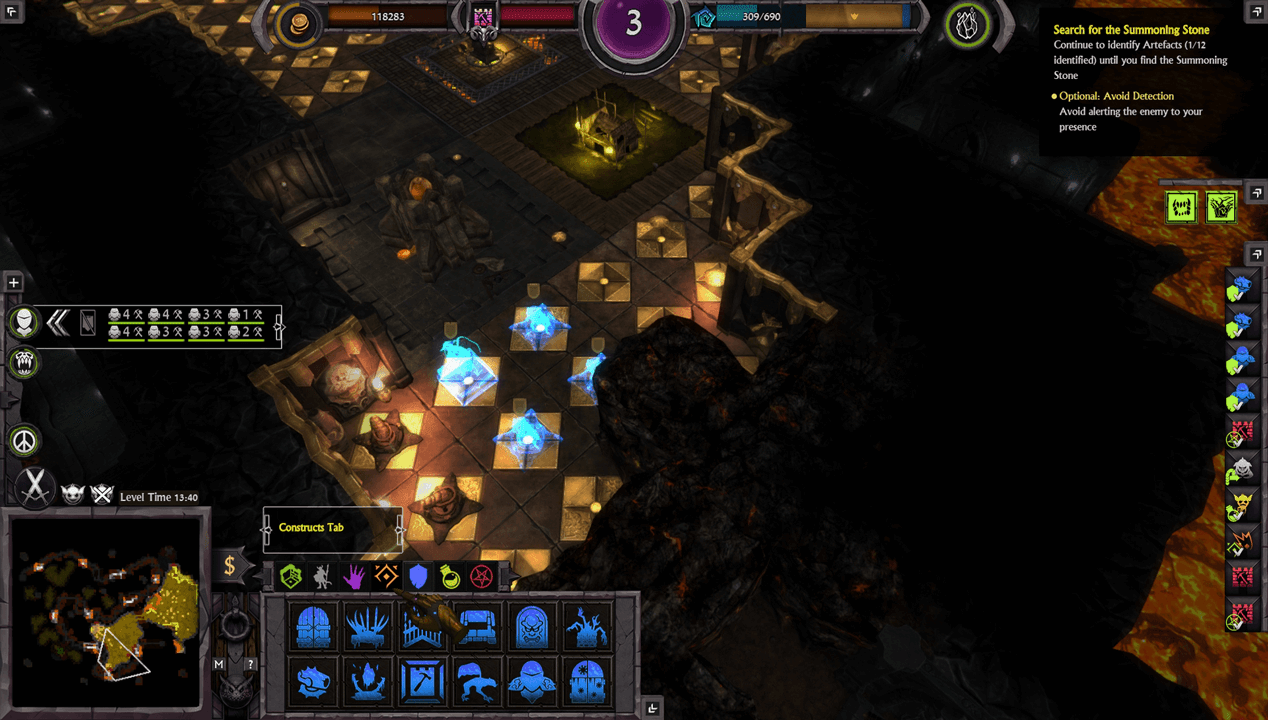
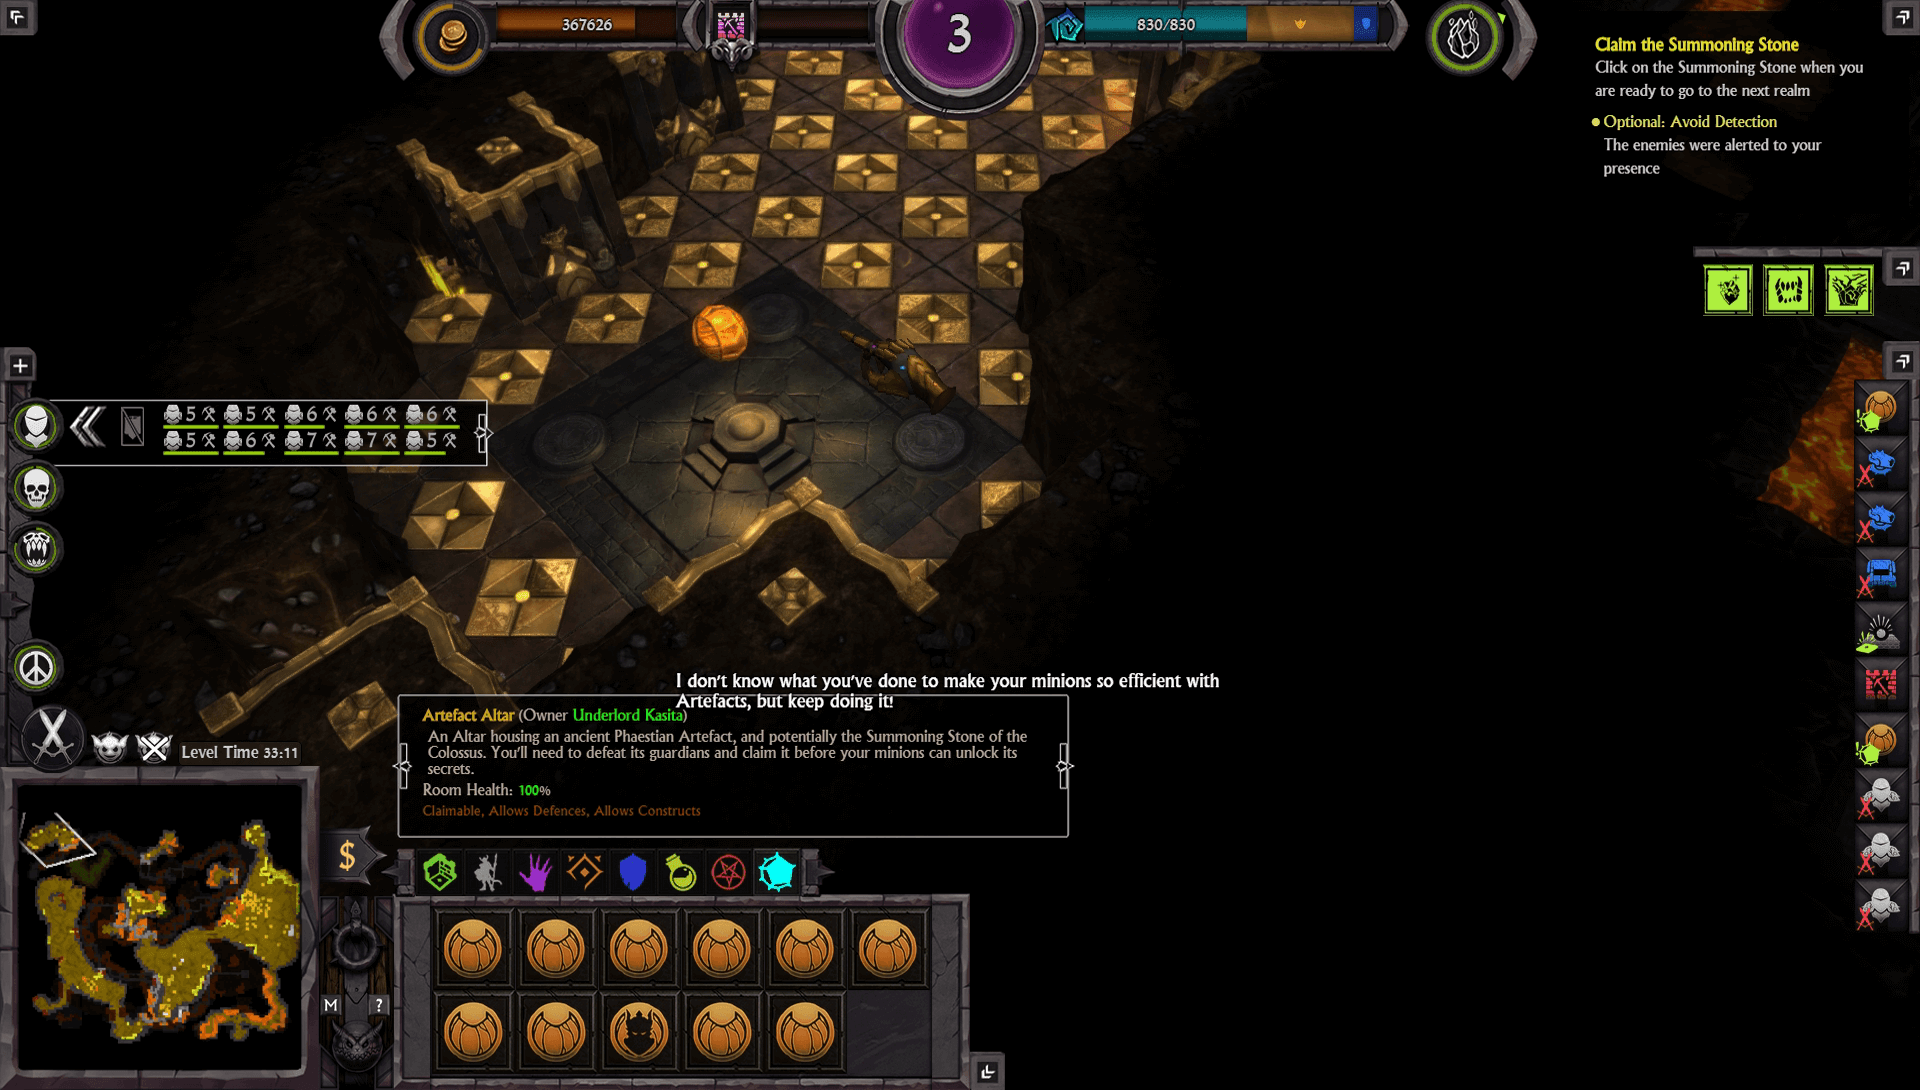
Use your highest level Cultist/Necromancer/Witch Doctor to unlock an artifact, it’ll be much faster.
I don’t activate shrine artifacts so I can keep track of how many I got. Once you have all 11, you’re good to go.
You don’t need the gigantic Vault like I did, I just think it looks dank.
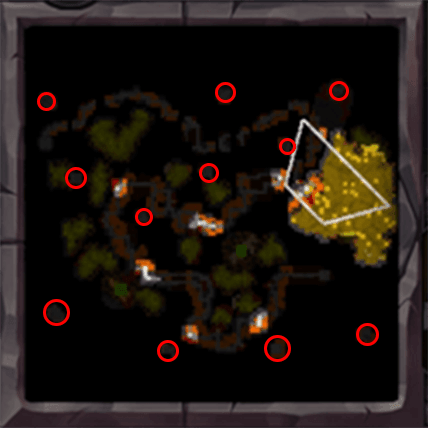
Here’s the location of the 11 Shrines you need to capture, for reference
War for the Overworld – Building Your Dungeon
Start by summoning imps until you max out.
Dig out a 5×5 tile that you’ll use immediately to build a foundry. Dig a bit to the south to set free the 2 Chunders, so they can start building parts asap. Aim for 9×5 shortly after.
Build the rooms that your creatures will need (Lair & Slaughterpen), then focus on building a Beast Den and a Library + Sanctuary.
In the Sanctuary, I recommend using Prospector and Revelation once, then only Besiege. Spam Besiege as much as possible when digging out large chunks of rock.
As soon as the Beast Den is up, place the rally flag on the lava right by the shrine, so that flying units can attack the statues from afar while being unharmed. This allows you to not pay attention until they clear out the place.
Continue building your dungeon, prioritizing the Tavern, Alchemy Lab and Barracks.
Start building Sentinels, up to 10. Don’t forget to pop them as soon as they’re completed, so they can start training immediately and gain a few levels.
When your alchemy Lab is ready, order 4 Spirit Workers potions.
Start digging out to the south east and south west, where the rocks will be tuned into brimstones, and build Underminers.
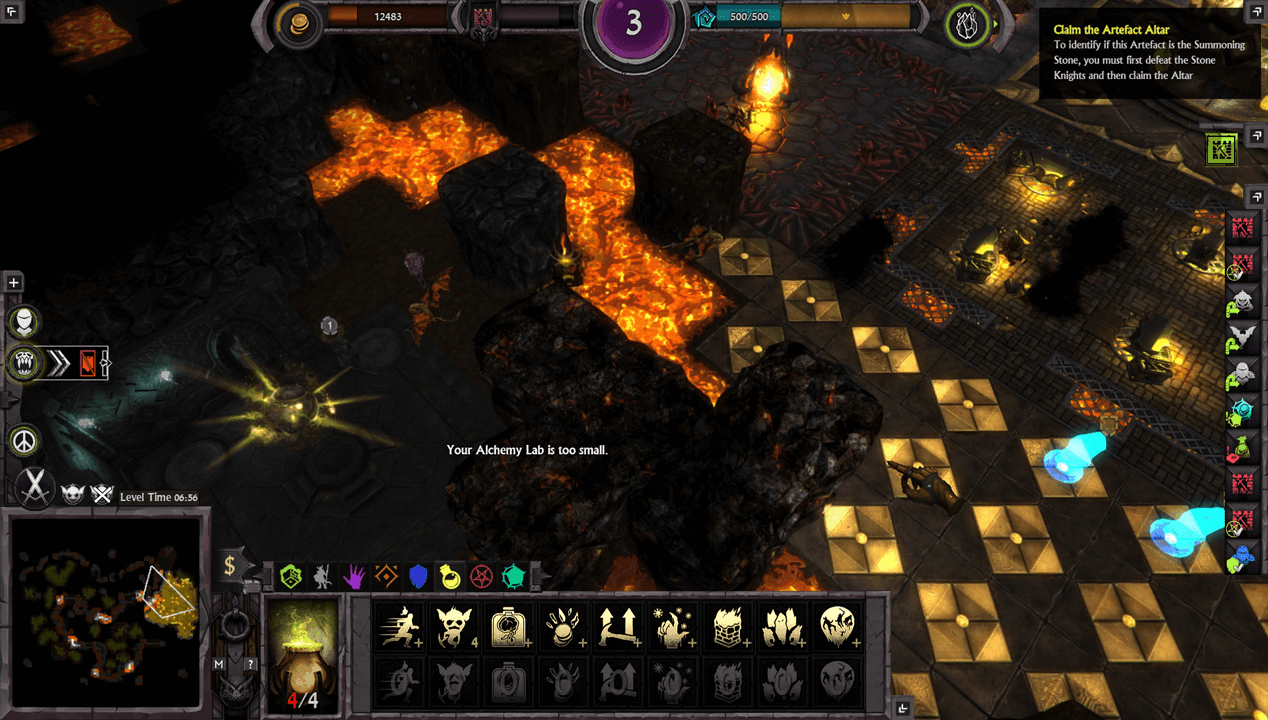
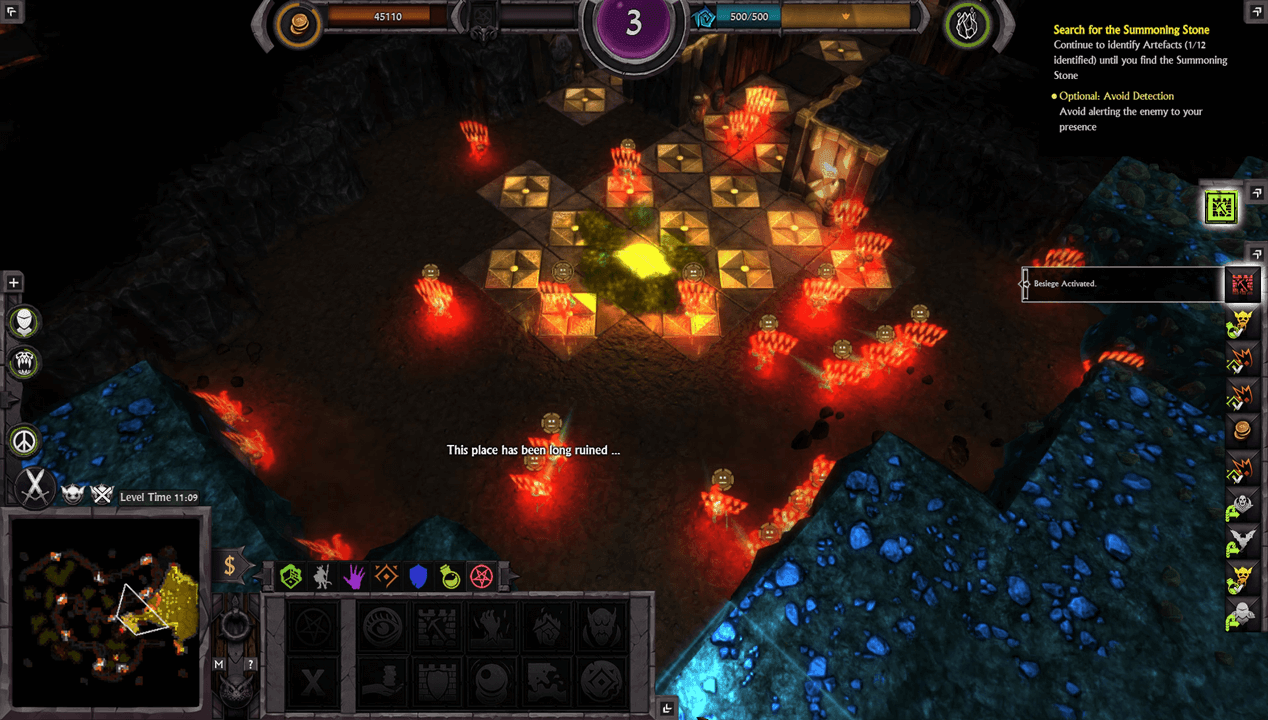
When the shrine is almost cleared out, destroy the brimstones and clear it out, claim it and unlock and activate the artifact.
Expanding and building the blockhaus
Use your previously placed underminers to the newly appeared brimstones, then start digging out to the huge part in the middle (with a Mana shrine), using your Spirit Workers potions along with Besiege (always activate Besiege AFTER using potions, so the spirit workers benefit from it).
You should always have potions ordered/ready in your Alchemy Lab for when you’ll need to clear out rock quickly. Same with Besiege.
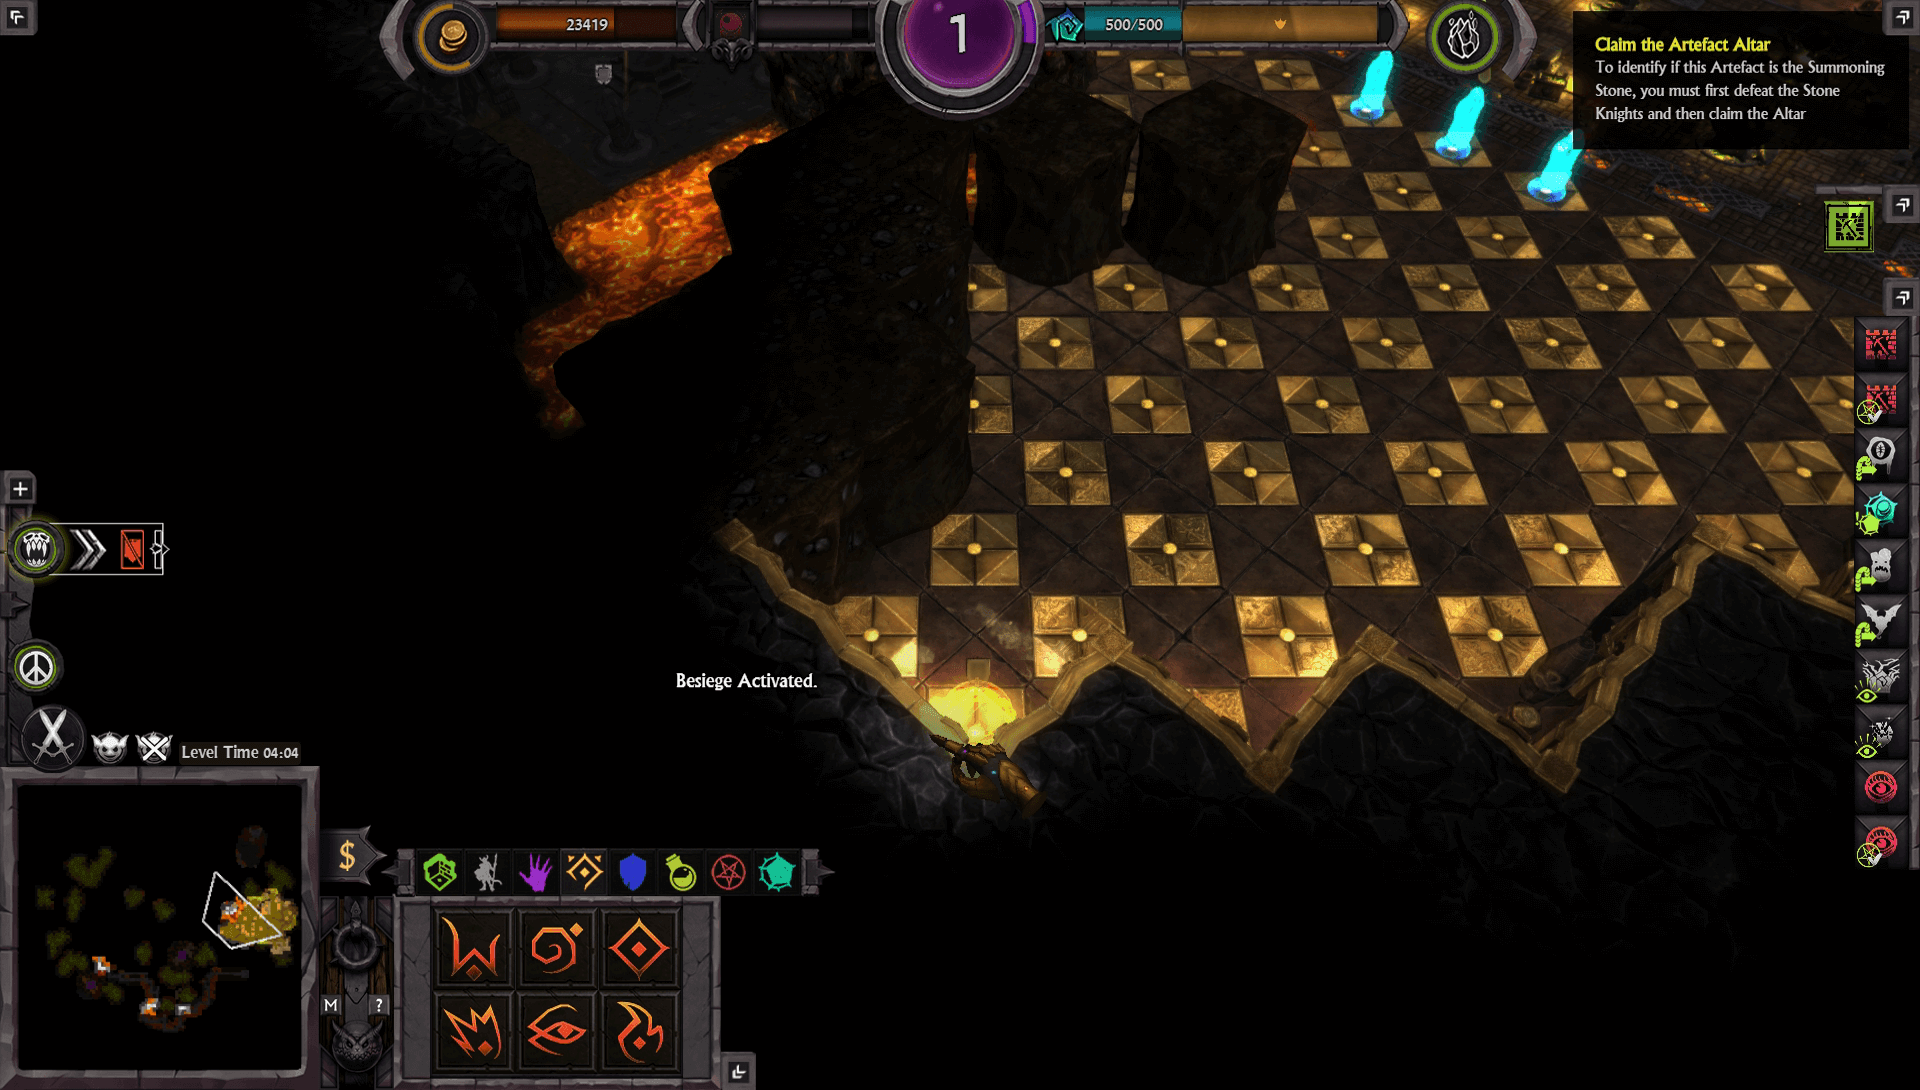
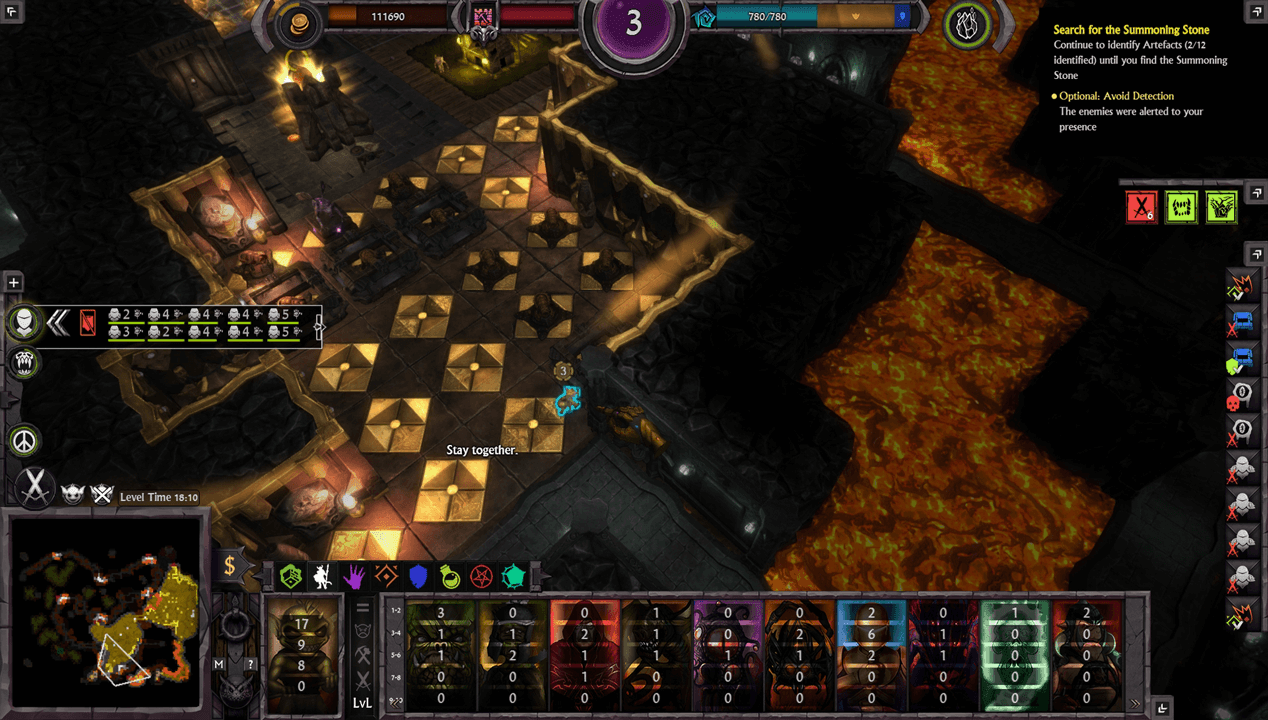
Keep on digging the whole place until you hit the bottom brimstones. In the meantime, clear out the way to the shrine completely at the East. When you reach it, drop your sentinels to kill the guards, and claim the shrine. From there you can send your sentinel to the shrine a bit further west, and clear it out, while clear the way to it. Once all wanted shrines are cleared, always use recall so they go back to your dungeon, allowing them to go back to training, collecting wages, etc.
At the bottom of the large area, start building a small Lair, a 3×3 Garrison, Slaughterpen and Foundry. Throw 5 imps into your dungeon core to free some locked mana, then build a good amount of Bombards as well as one Gargoyle. Build Ramparts over the first line of Bombards, so that they can handle the attacks. Build an underminer near the brimstone.
Once all possible defenses are set, destroy the brimstone, then quickly claim the area and add more bombards.
That setup should be self sufficient, with the regen from the Garrison, so you will probably never have to check it again.
Also note, that while not needed, a Prison is nice since it allows you to turn the prisoners into gold, should you ever need it.
War for the Overworld – Hunting the artifacts
Once the blockhaus in place, no enemy will ever get further allowing you to roam the map completely free.
Start by putting an Underminer followed by an Outpost near the shrine closest from your blockhaus.
Clear out the shrine with your Sentinels, then destroy the brimstones and clear out the huge area north of it (with a Gold Shrine).
Once done, you can just follow the same process for every shrine. Underminer, Outpost, dig out/lava bridge if necessary, clear out the shrine with Sentinels, claim it and unlock the artifact.
Once you have all 11 artifacts, you’ll hear a line indicating you’ve claimed them all.
I’m not sure if it’s necessary (I think once you hear the line you’re good), but activate all 10 then the Summoning Stone and you’ll get the achiev.
Congratulations! War for the Overworld Gotta Find Em All Achievement walkthrough is completed.