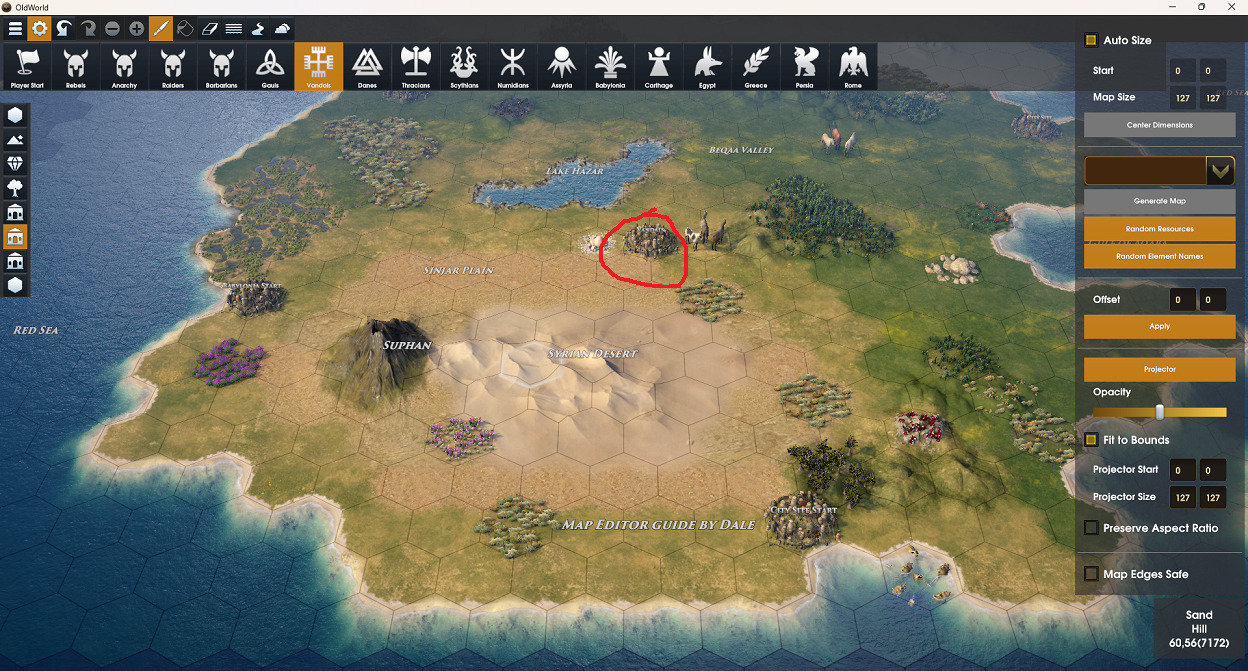
Welcome to our Old World Using the Map Editor guide. This guide will take you through the steps of using the Map Editor for Old World. At the end of this guide you will be able to generate your own maps for Old World.
Old World Using the Map Editor
This guide will walk you through using the Map Editor of Old World to create new maps to play on. At the end of this guide you should be able to use the tools within the Map Editor to create a new map, edit a map, and set up the map to be playable within Old World.
Accessing the Map Editor
1. From the main menu, click the Extras button.
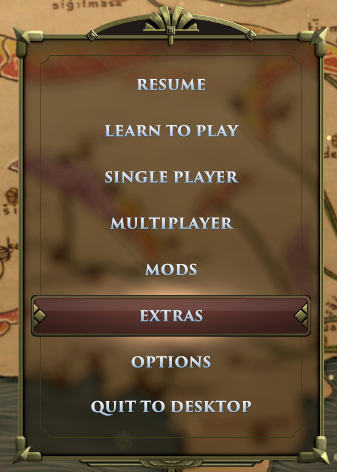
2. From the Extras menu, click the Map Editor button.
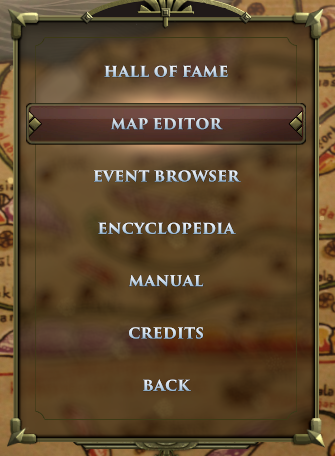
3. This will take you to the Map Editor.
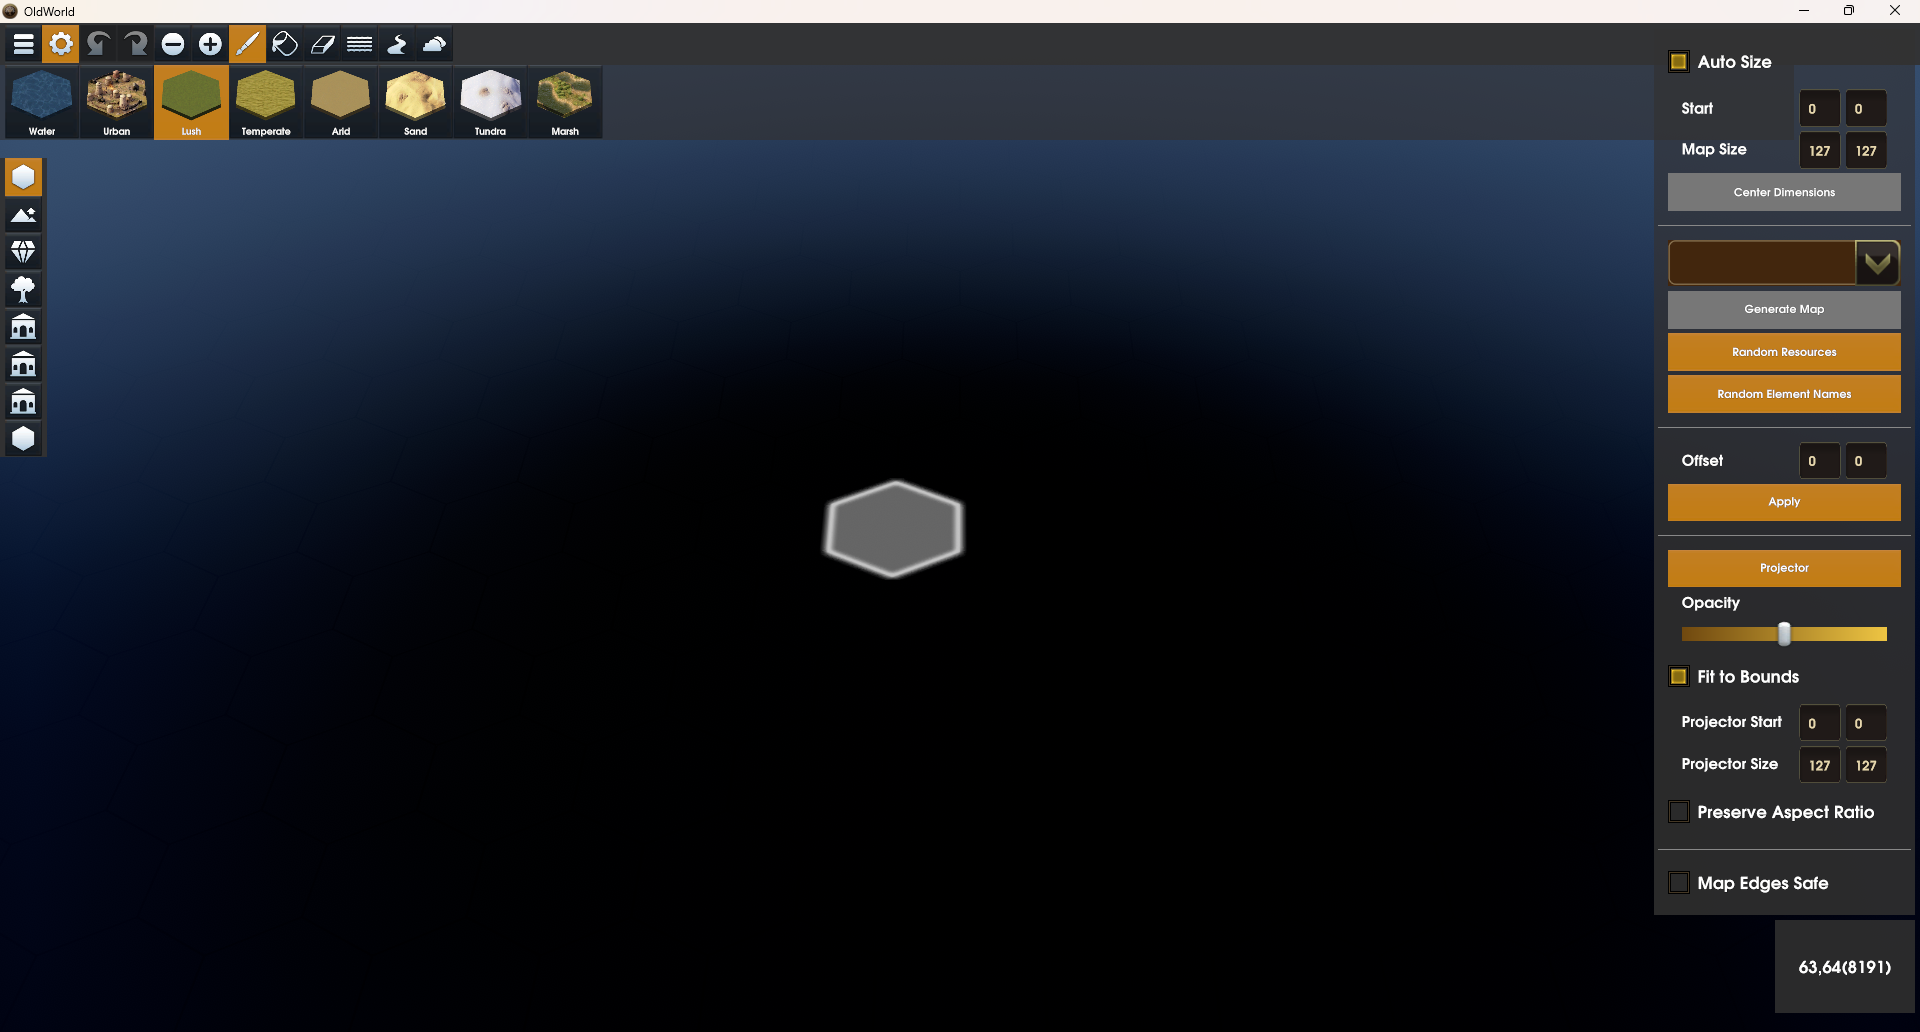
Parts of the Map Editor

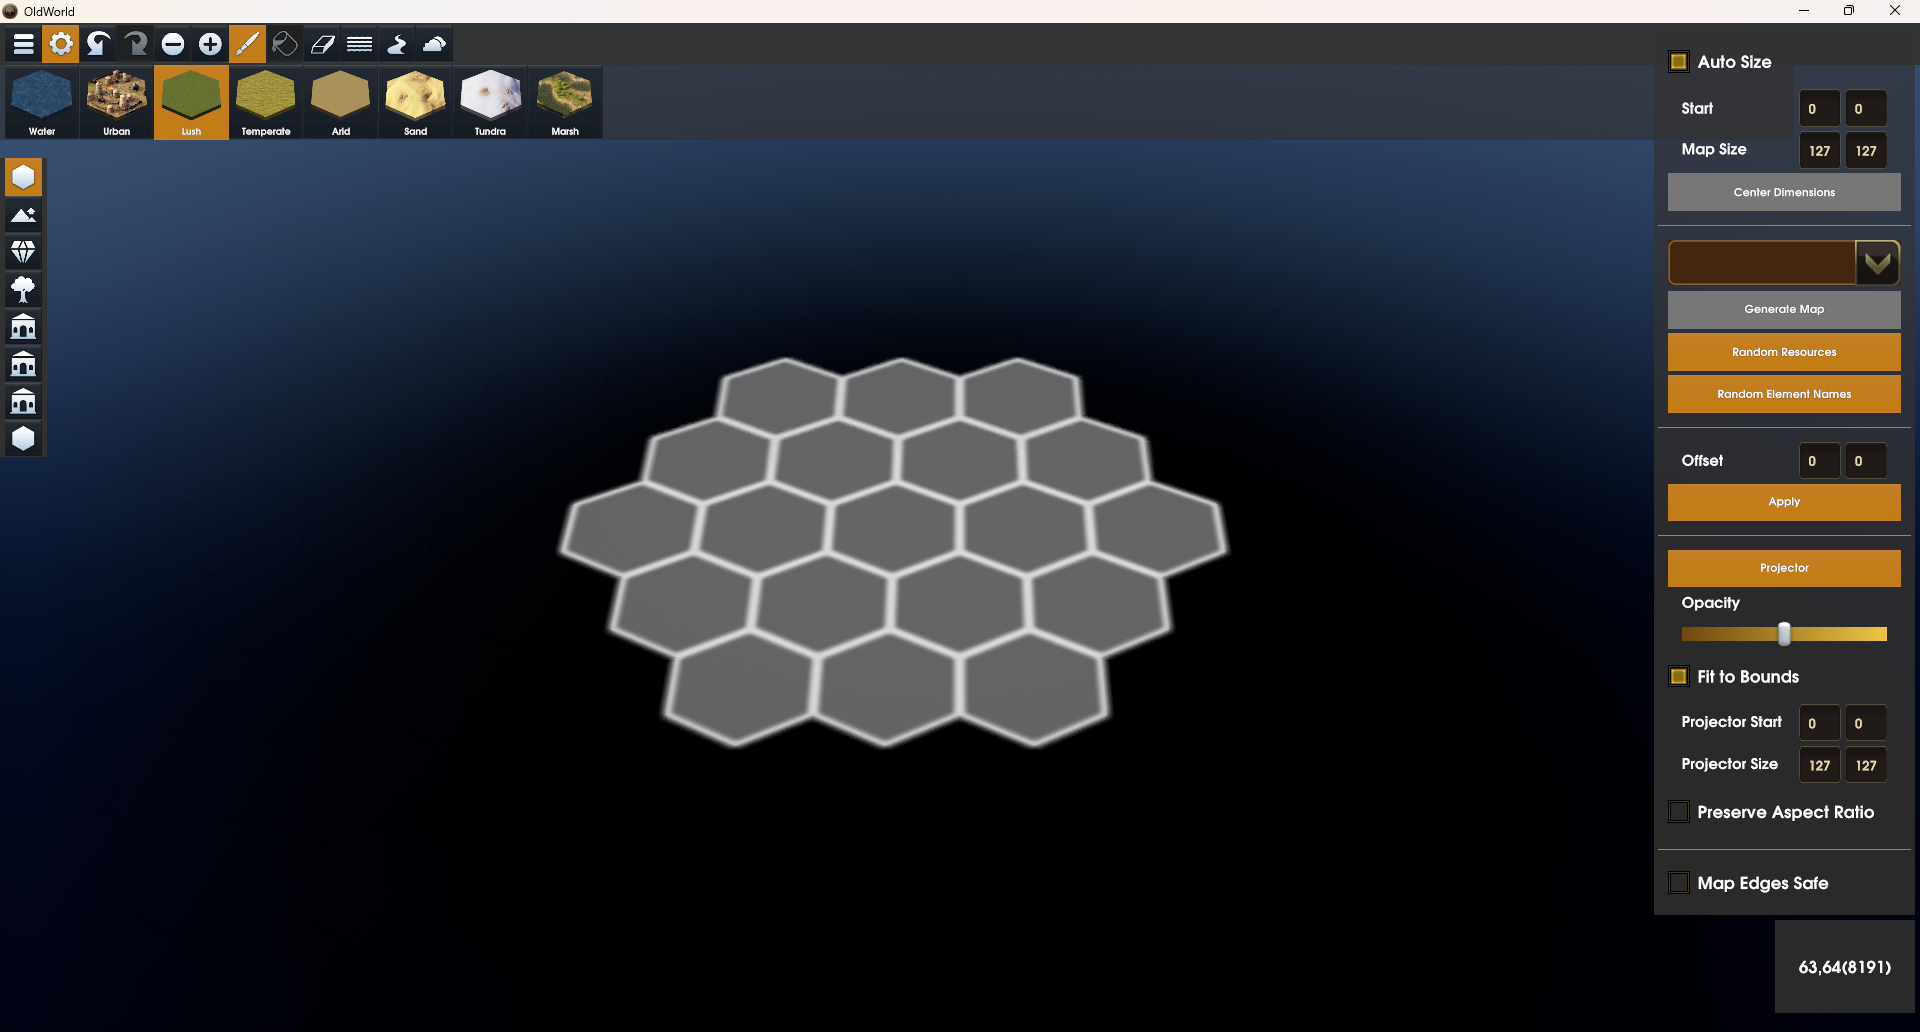
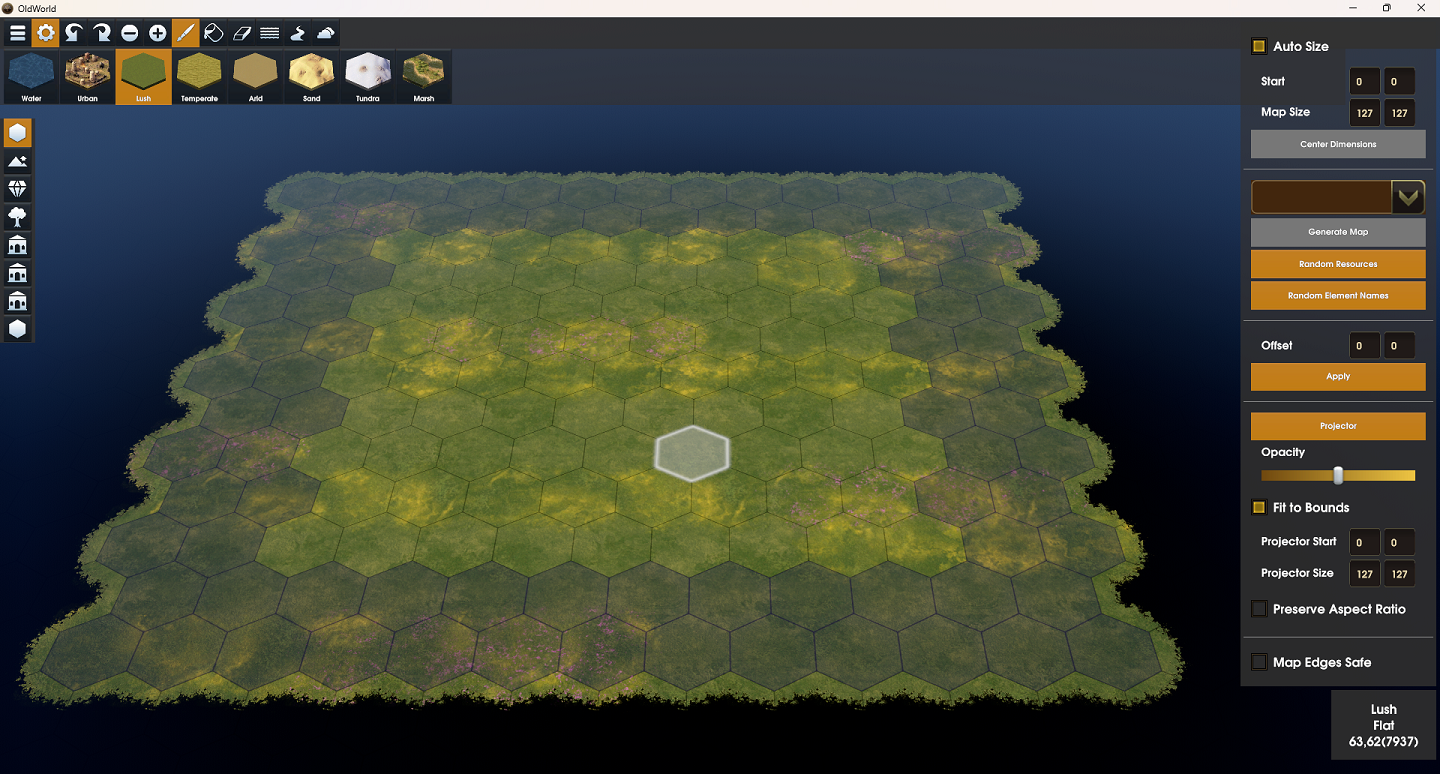
1. Menu Bar
The menu bar allows access to general functions and tools within the Map Editor.
2. Tile Palette
Depending on the active tool, the tile palette will display the various items able to be painted on specific tiles. The default view shows the main tile palette that allows you to assign the different terrain types.
3. Tools
The tools provide the various tile palettes so that you can create your map. The different palettes include terrain type, heights, resources, vegetation, improvement, city sites and landmarks.
4. Map Size Helper
The map size helper defines the map’s origin, and map width and height values.
5. Map Generator Helpers
There are three map generator helpers which may assist you in creating your maps.
6. Map Editor Helpers
The Map Editor helpers provide different ways to make map making easier.
7. Tile Information
Various tile information for the tile under the cursor is displayed here. The bare minimum is the tile’s “X:Y (tile ID)”
Menu Bar Items
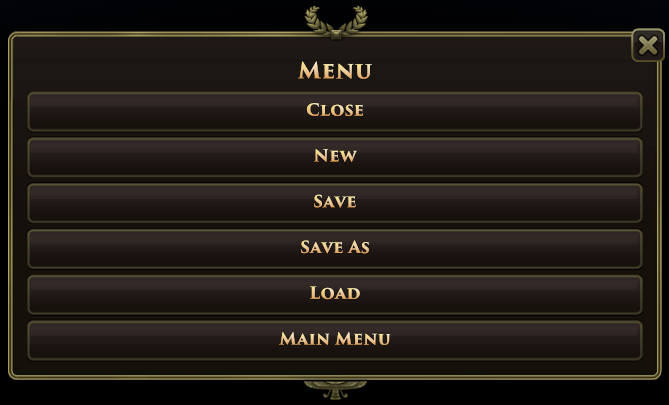
Menu button
The menu button simply brings up the Map Editor menu. You may start a new blank map, save, load or return to the Old World main menu.
Helpers button
The helpers button toggles the display of the various helpers on the right side of screen.
Redo / Undo
The redo and undo buttons do exactly what they say.
Decrease / Increase cursor size
The minus “-” button allows you to decrease the size of the cursor when using brush tools.
The plus “+” button allows you to increase the size of the cursor when using brush tools.
Brush / Fill-can / Eraser
These three tools work similar to how these tools work in paint applications. Brush to paint the selected item from the tile palette to a tile, fill to bulk paint, and the eraser will remove the selected item from the tile palette from a tile.
Rivers
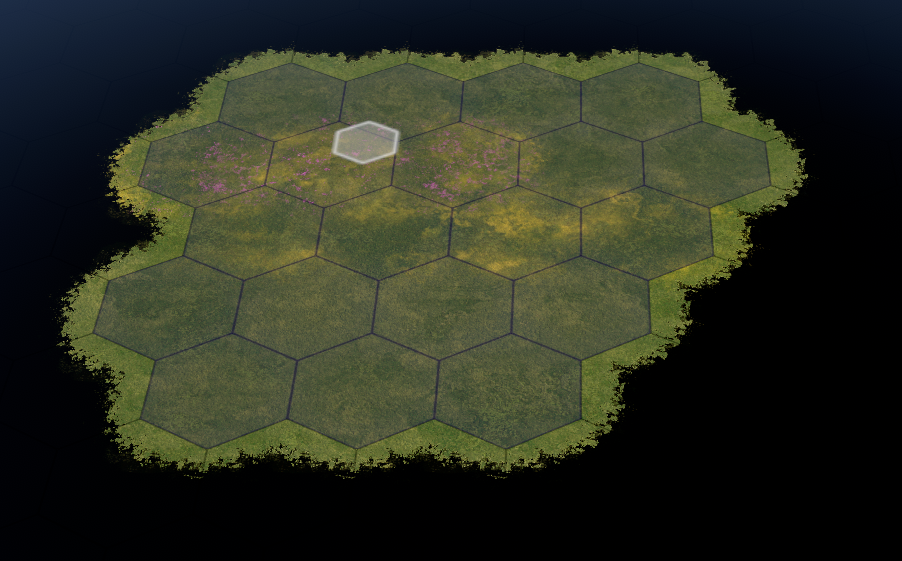
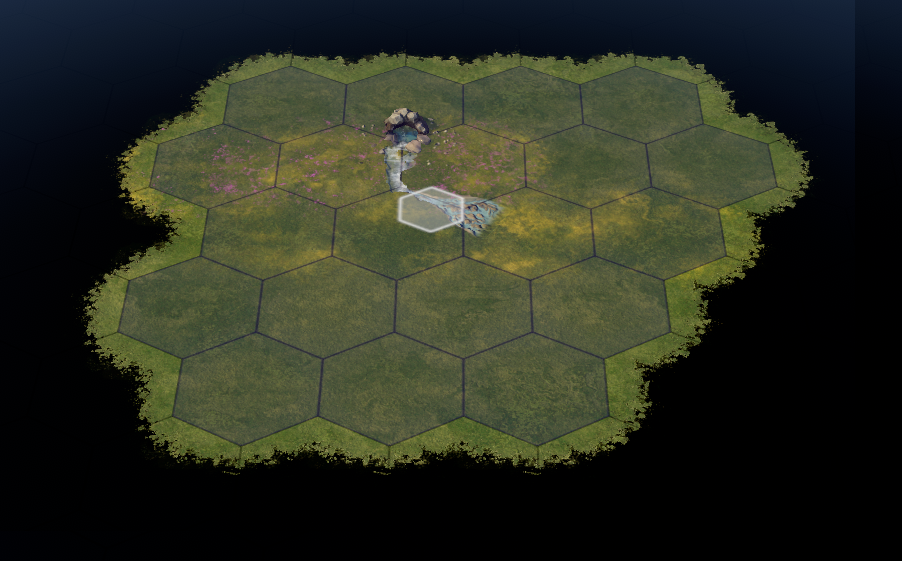
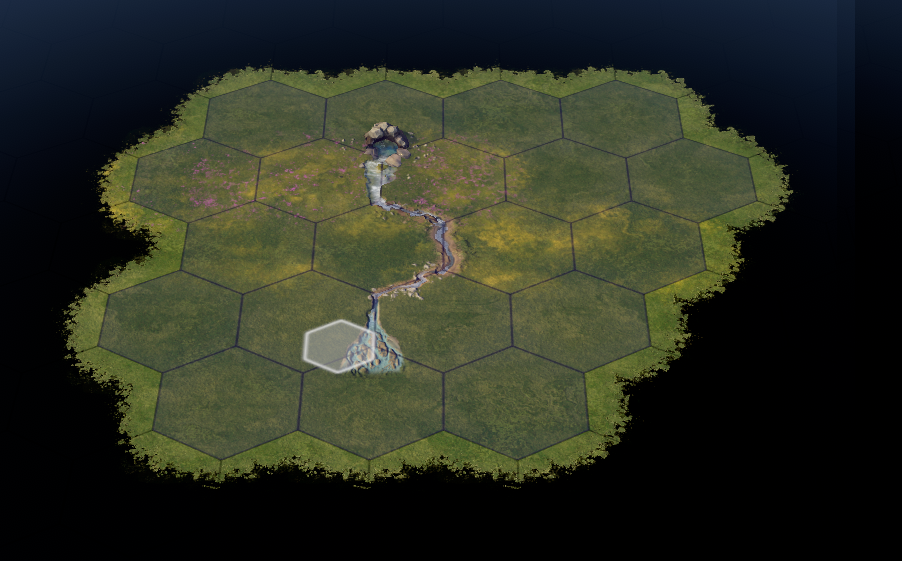
The wavy line button is the rivers tool. This tool allows you to add rivers allow tile edges. Rivers may only follow tile edges, and have a flow direction. To create a river allow a tile edge, click and hold the mouse button and the start point, and drag to the end point following the tile edges. This will create a river in the direction you dragged.
Roads
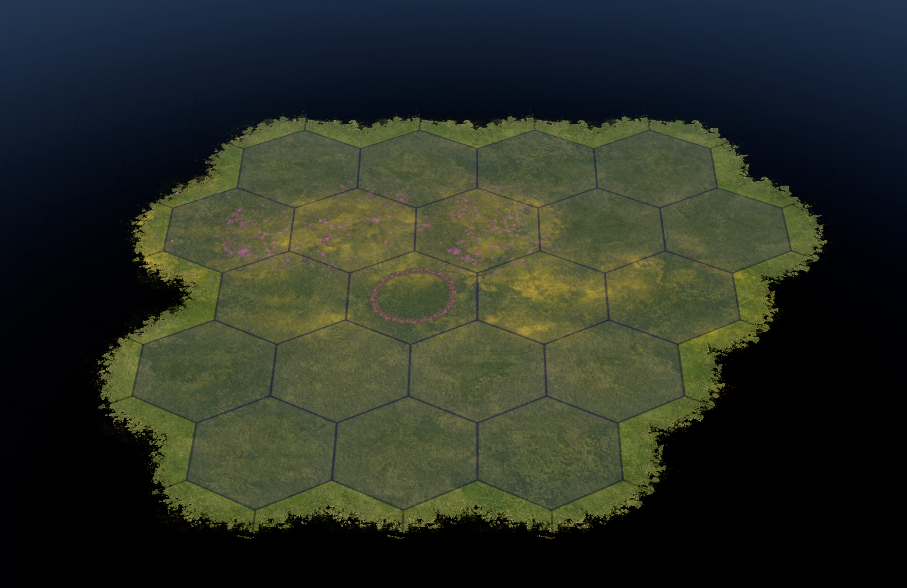
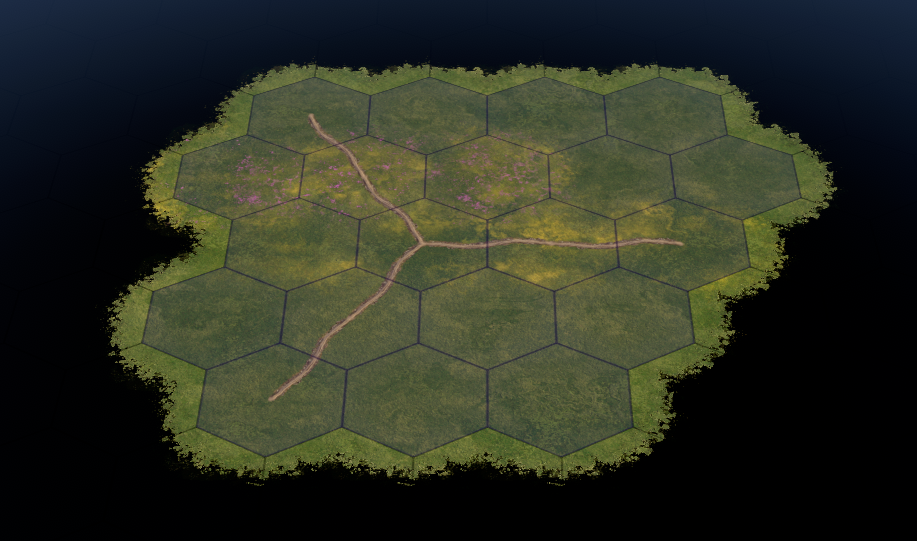
The road button allows you to add roads to specific tiles. You do not need to drag roads to create them, the Map Editor will automatically connect roads the are adjacent to each other.
Boundary
In Old World, as well as the map width-height limitation, there are boundary tiles. Boundary tiles are tiles that are on the map, but are classed as part of the boundary. This means in game they will not be accessible, and display as part of the permanent storm clouds. There may be different reasons for using boundary tiles, and if you’ve played the Learn to Play tutorials you would have seen ways to use boundary tiles to keep areas of the map closed until the right time. Note: to do that you will also need code support in a mod dll file to reassign the boundary property of those tiles.
By default, all tiles within 2 of the map’s physical border will be boundary tiles. You will not be able to change them. However, you may make any tile within this limitation a boundary tile. When creating a map, keep in mind that the player will not have access to the 2 tiles along the edge of the map.
See below, how by default the tiles within 2 of the physical map edge are boundary tiles (dark shading on them).
By using the boundary tool I can make tiles on the map boundary tiles. In game, these tiles will not be accessible and show as permanent storm clouds like the edge of the map.
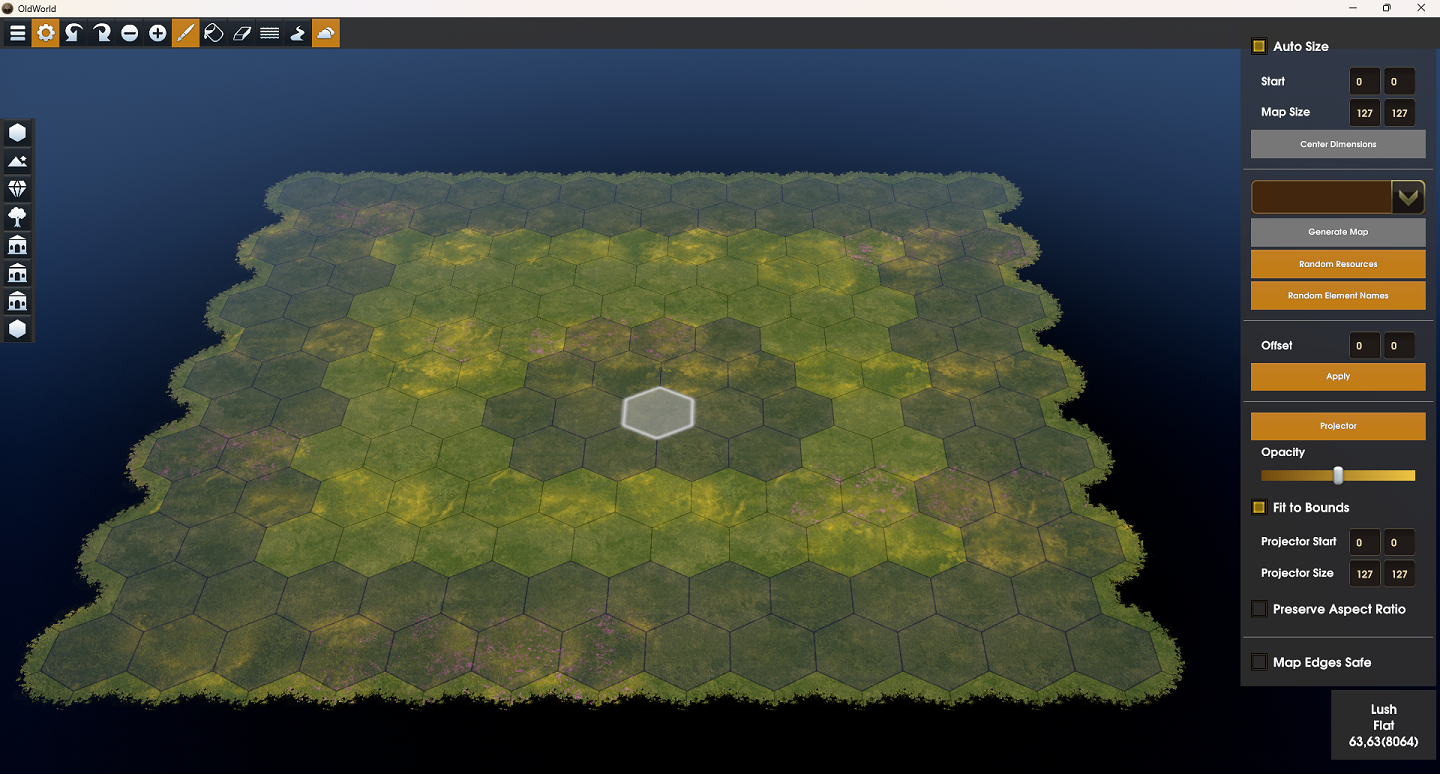
Then by clicking the eraser tool so both the boundary and eraser tool are selected, I can remove the boundary setting from tiles.
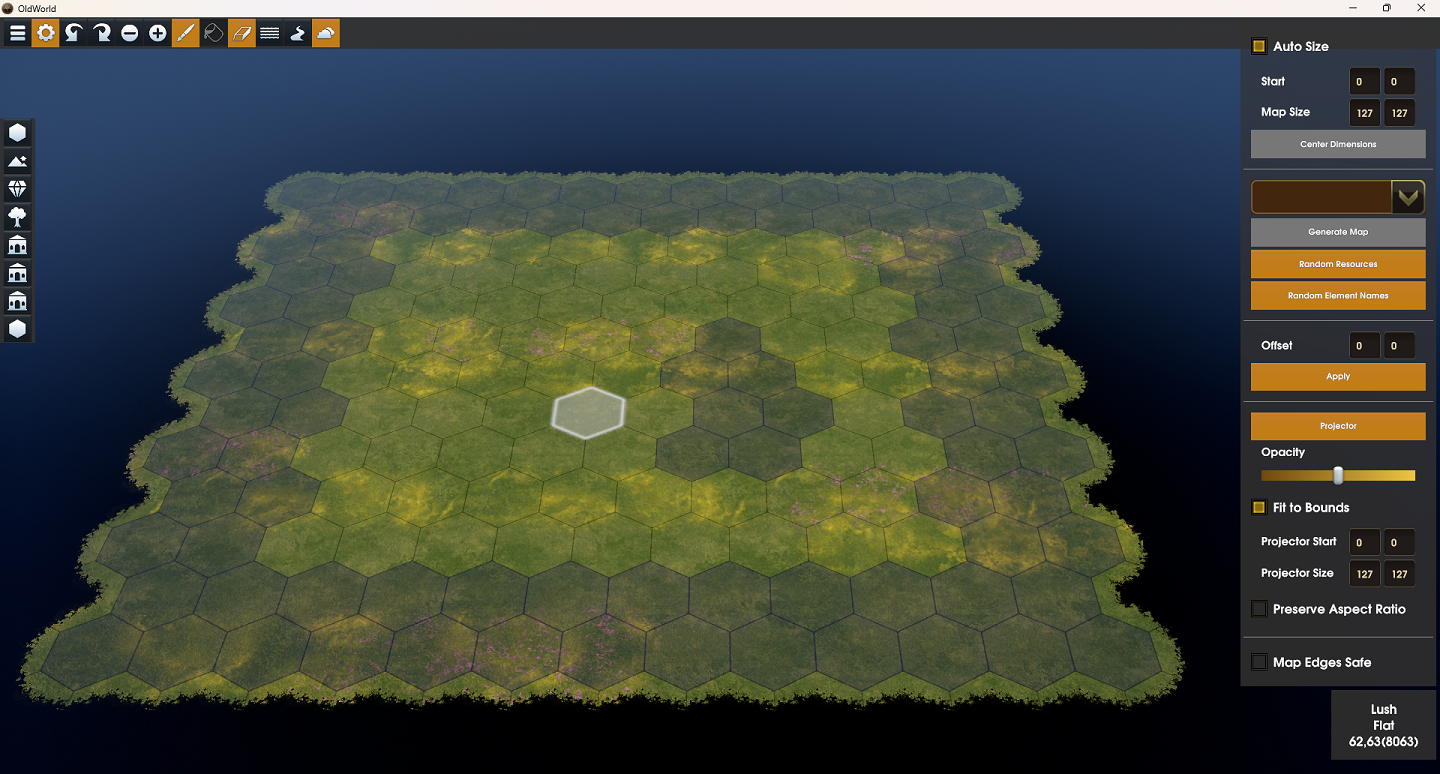
Tools
The Map Editor includes a number of tools to work with. Each tool provides a tile palette with things to be painted on the map.
TIP: After using each tool, it is a good idea to save and then load the map. This refreshes the UI rendering of the map and ensures it looks the same as it will in game. Otherwise, you will have graphical anomalies present on the map until you do reload the map.
Terrain Type
The terrain type is the tile’s basic setting of what is on the tile. By selecting different terrain types you can add the various terrains to your map.
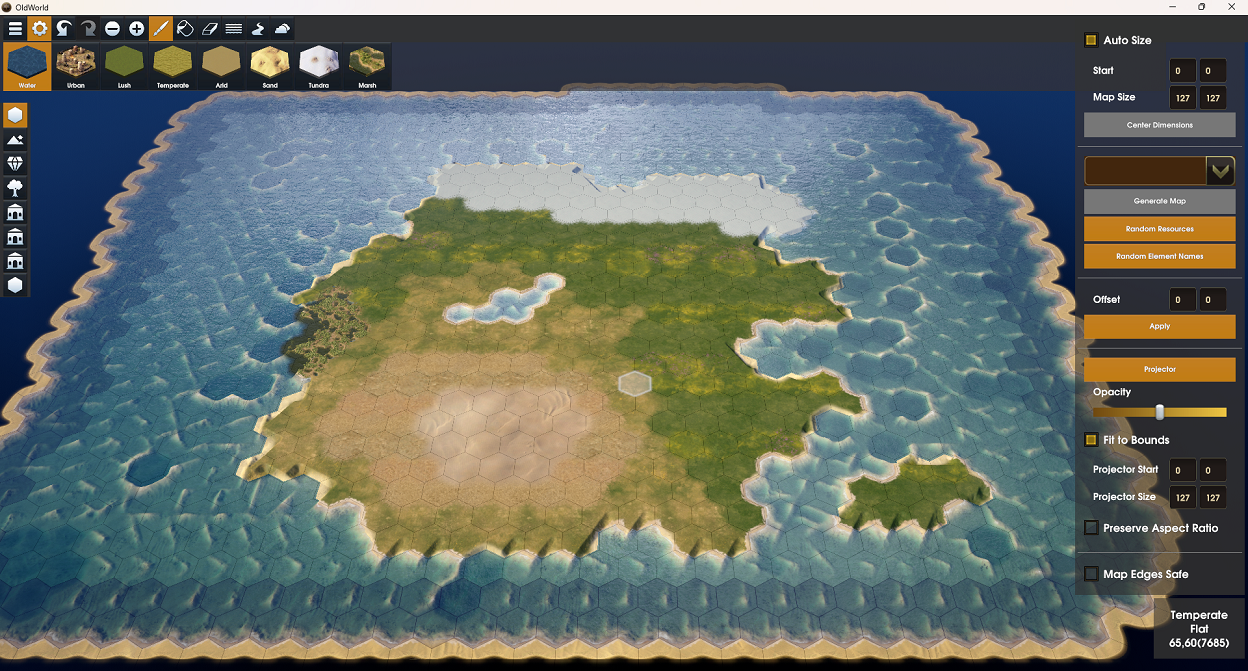
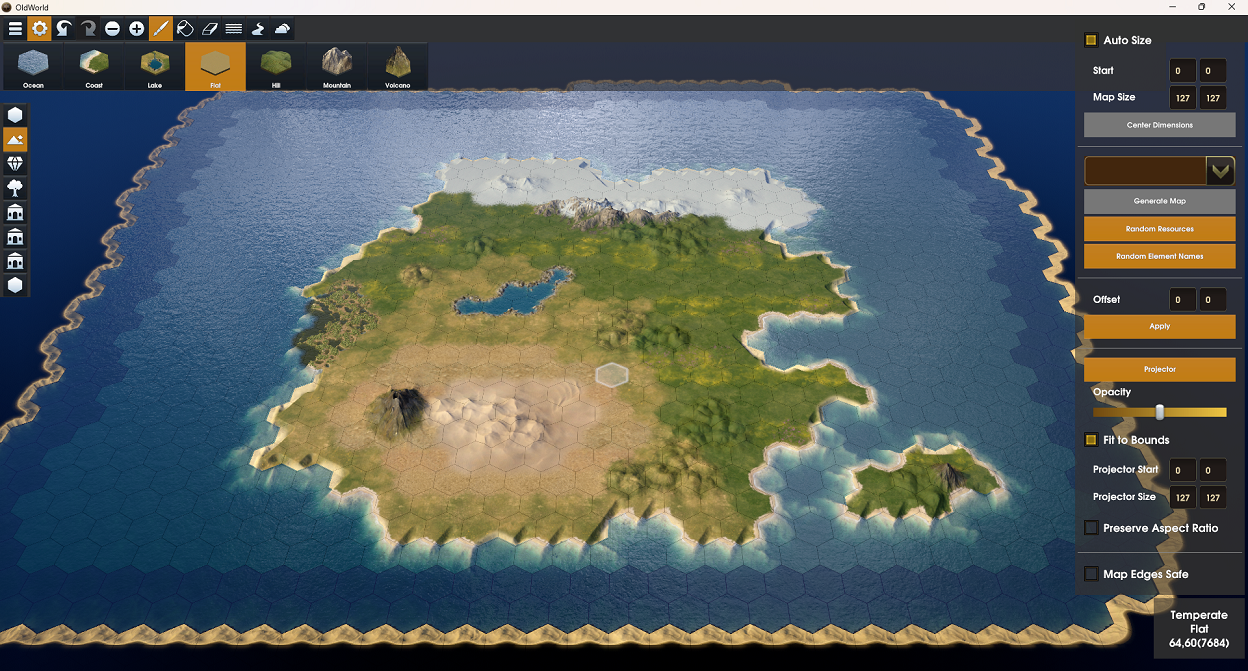
Height
The second most important tile setting is the height of the tile. By default when you paint a terrain type, land tile’s height will be flat, and water tile’s height will be coast. With water type tiles you can define them as ocean, coast or lake. Land tiles can be defined as flat, hill, mountain or volcano.
TIP: Don’t forget you can change the size of the cursor to assist with quick painting of larger areas.
Resources
The resources tool is simply to add resources to your map. Select a resource, and click the tile you wish to add the resource to. You are able to override the resources valid terrain types and heights using the Map Editor to place a resource anywhere (ie: adding Ore to a flat tundra tile).
TIP: You may also use the Random Resources map helper to generate resources for your map.
Vegetation
Like the resources tool, the vegetation tool is to add trees/shrub to your map. They can be added in either the full or chopped versions of each.
Improvements
Like the vegetation tool, the improvements tool is to add tile improvements to your map. Note that since you cannot add cities in the Map Editor, improvements start as NEUTRAL owned.
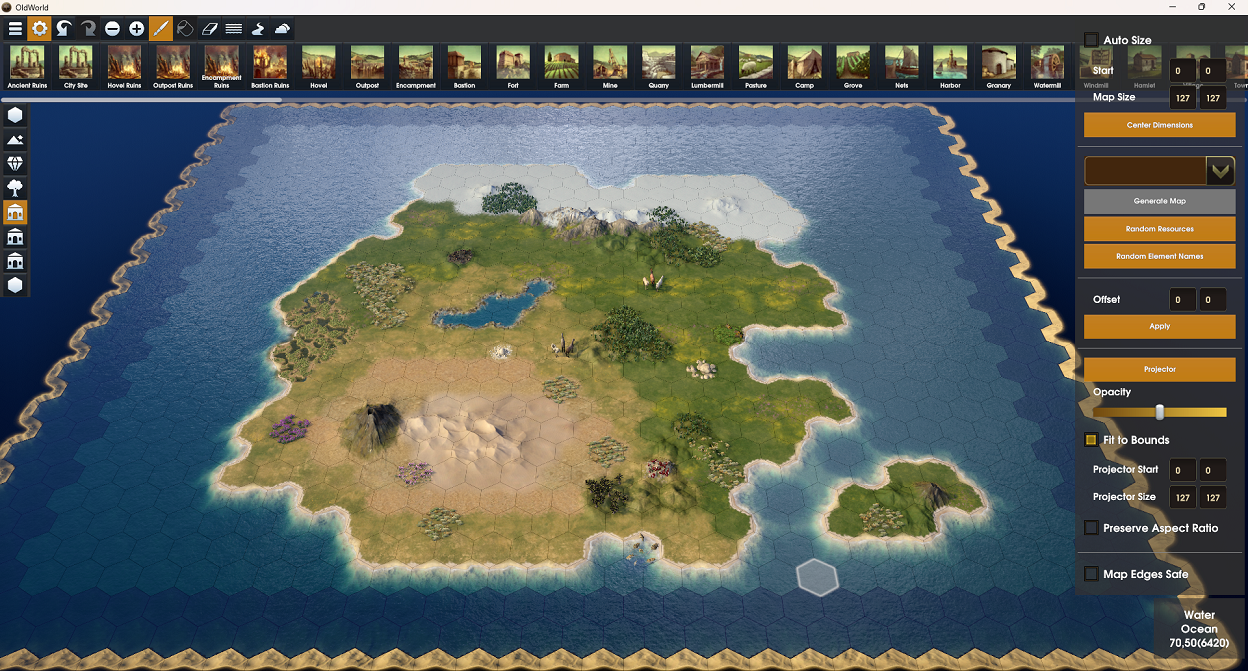
Player / Tribe / Nation
This tool allows you to set the starting city sites for each player, tribe or nation. This is covered in a later section of this guide.
Tile Text / Landmarks
The last two tools have been combined, since they are for essentially the same function. They both allow the addition of landmarks, or map text to your map.
The Landmarks tool allows you to filter the landmark names list by nation and map element type. For instance, you can display the names for Assyrian Plains. Just select the name, then click the tile/s on the map to give that tile the name.
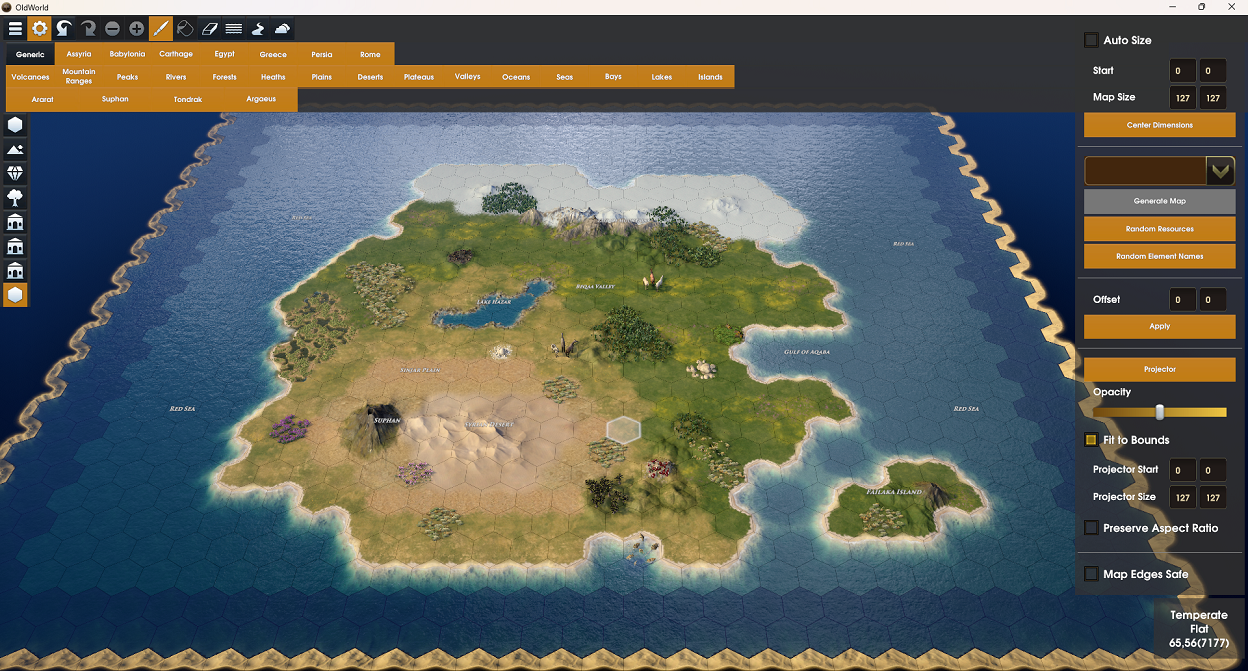
TIP: You may also use the Random Element Names map helper to generate landmark names for your map.
The tile text tool allows you to type in any custom text you wish to display on your map. Enter your custom text in the text box, then click the tile to add it to.
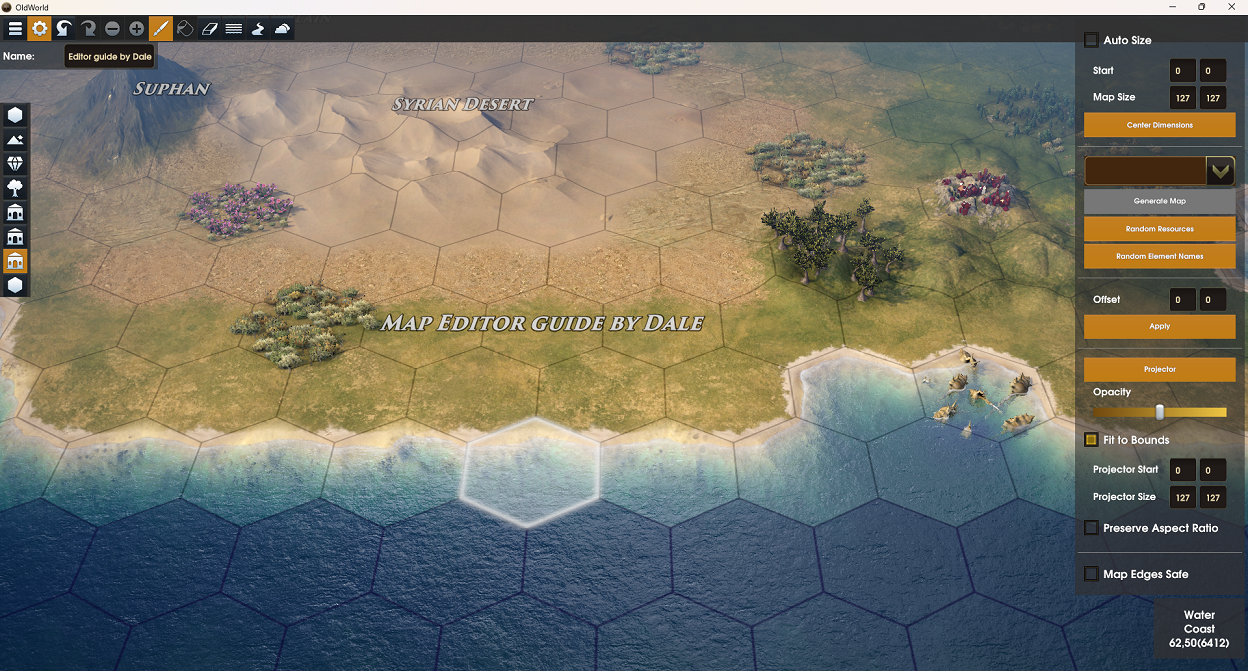
City Sites
There are a few different states that a city site can be in, and it is important to know the difference between each state when map making.
- Active City Site – the city site is the start city for any nation.
- Active Nation City Site – the city site is the start city for that nation.
- Tribe City Site – the city site is for this tribe.
- Nation City Site – the city site is for this nation (this is different to Active Nation City Site as this will be one of the developed city sites under the AI Development game setup option).
- Empty City Site – the city site has no defined purpose in the map file, and the game will determine it’s purpose on game start. It may end up as an AI city under AI Development rules, a free reserved city site next to a player, or even a tribal or barbarian encampment.
City Site Improvement
The first step to defining city sites on the map, is to actually add the city site improvement where you want them on the map. Select the Improvements tool, and then select the city site from the tile palette. Click the tiles on the map that you want to add city sites to.
TIP: If you place a city site tile with no adjacent urban tiles, the game will automatically add some random urban tiles when the game starts. This is a good way to add a little randomness to urban areas on custom maps.
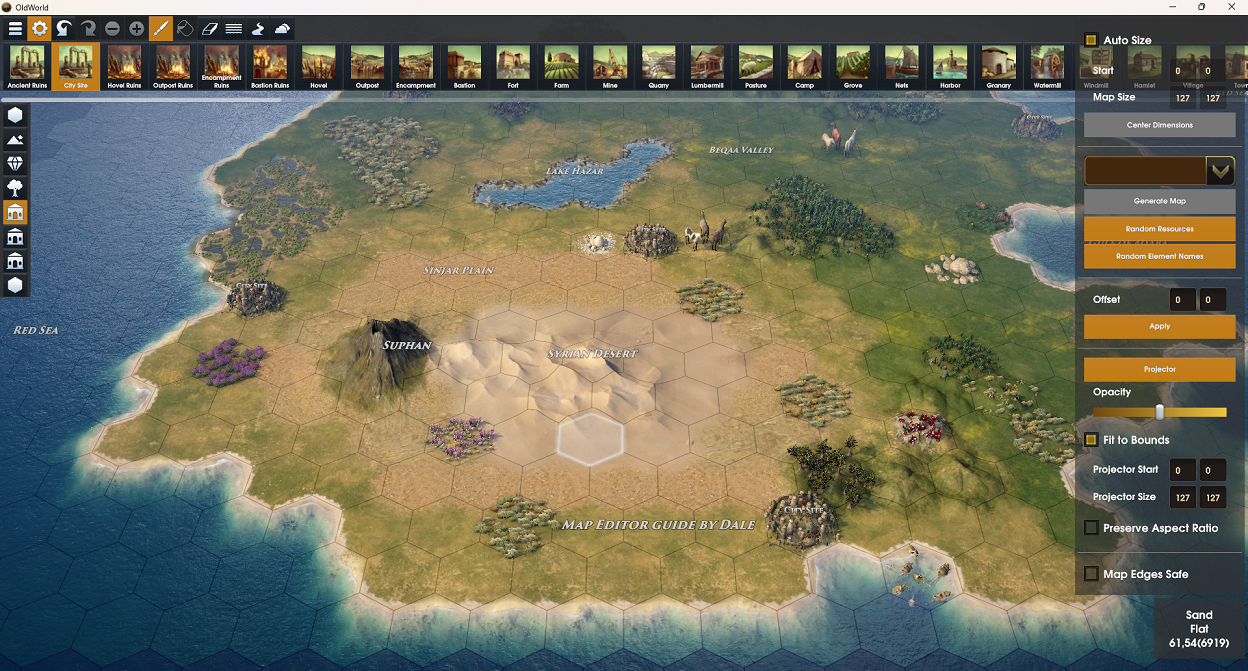
Active City Site
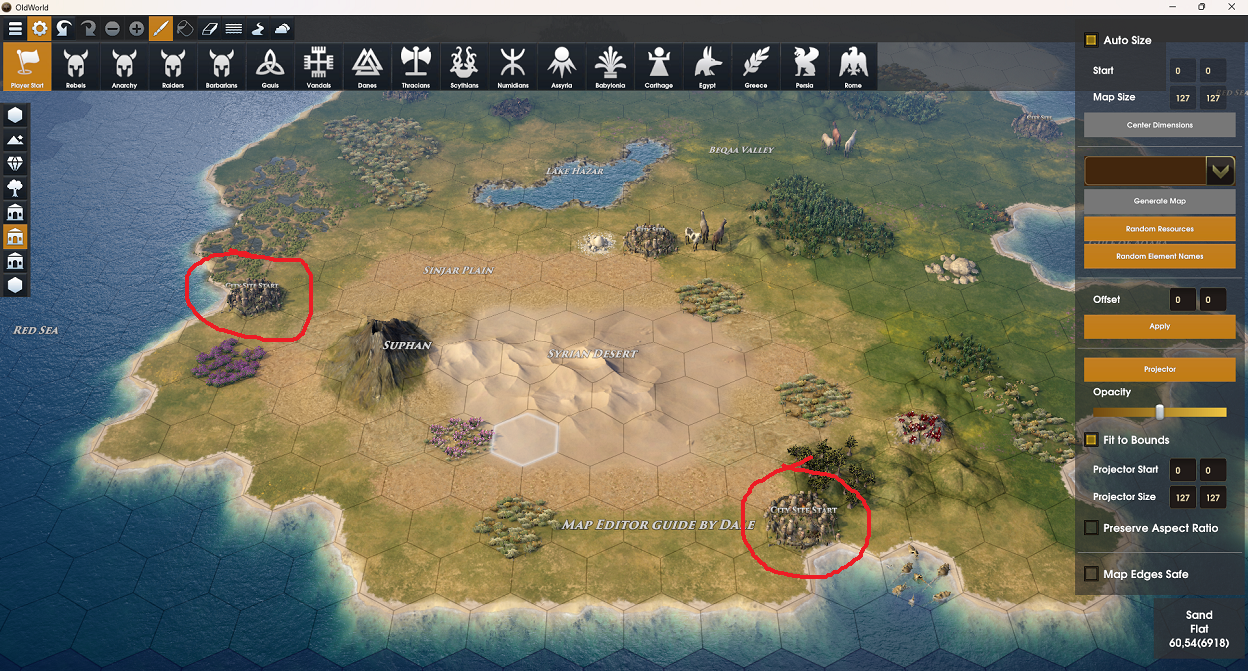
An active city site, is the starting city for each player. You may add many, or no player starts to your map. When setting up a new game, if there are not enough player start city sites on the map, then the game creates new ones. However, any player start city sites will be claimed first, before new ones are added.
To make an active city site, select Player Start item from the city site status tool, and then click on the city sites you wish to be player starts.
Active Nation City Site
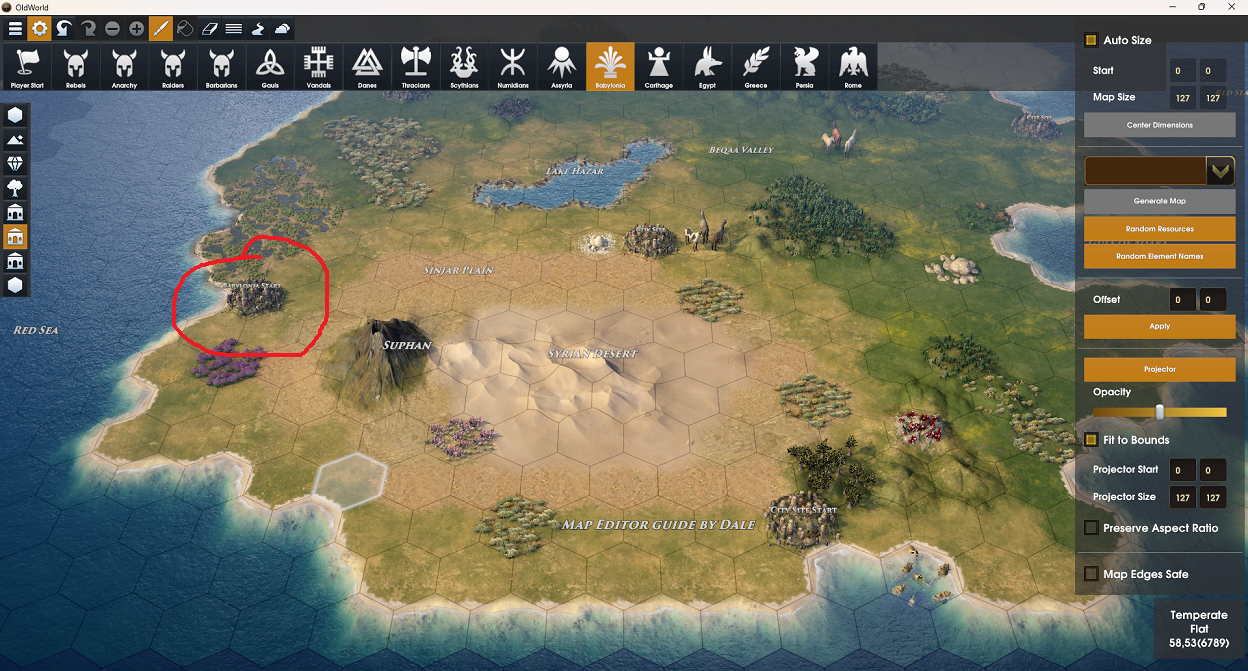
After you have defined a city site as an active city site, you may also define what nation starts on that active city site. As an example where this would be useful, on a historical world map, you may want specific nations to start in a specific location. This is when you would use an active nation city site rather than just active city sites.
Tribe City Site
A tribal city site is reserved for a specific tribe. If no other game option is contravened (such as No Tribes, or Free City Sites), then this city site will have a tribal encampment of the defined tribe.
