Rome Was Destroyed in One Day Achievement Guide
Rome Was Destroyed in One Day
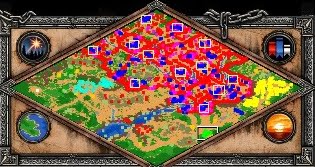
What we have to know about the map
Destroy all Roman Castles before 30 minutes have elapsed in the fourth Alaric mission “The Giant Falls”.
Note: Before starting to read the guide, you have to know that there are different strategies to beat this map. This strategy might be boring (you will use constantly pause and play in 1.0x or 1.5x speed) and quite difficult (managing multiple units at the same time).
This map requires time and unit management, also react quickly when something goes wrong.
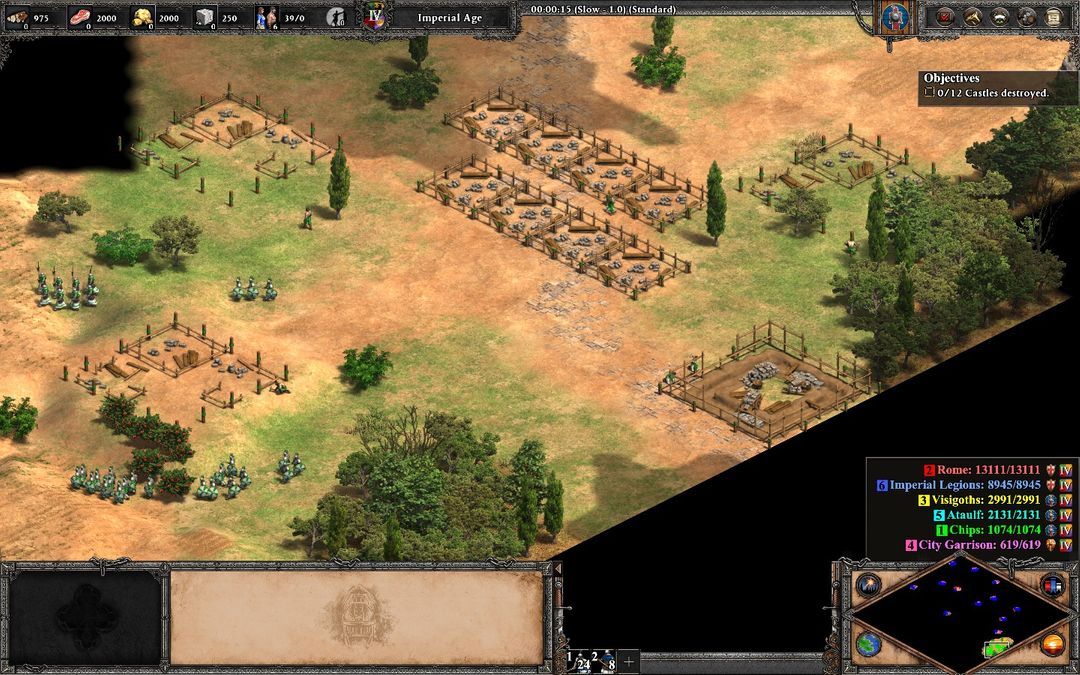
Enemies
In this map you only have two enemies, which react differently to you and your allies.
Blue
The enemy that doesn’t attack you until you attack him or walk near of him. They don’t move, there are a lot of them inside Rome, specially protecting castle/buildings and paths that connects with other areas.
Note: When you destroy some castles, you will receive some buildings, which you can use, but at the same time it can aggro some enemies.
-> They follow the first enemy that they see in their area, so you can use 1 unit to bait your enemies.
It’s not exactly necessary to attack them, except sometimes when you have to kill them to clear the way.
Purple
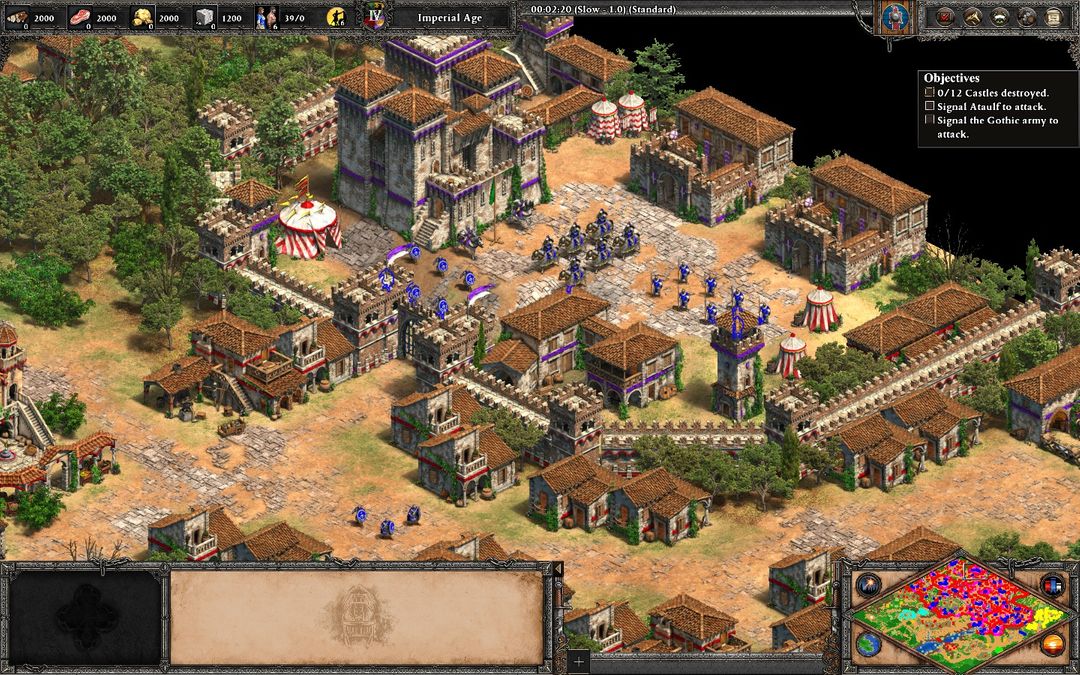
The more annoying enemy, because he actually has buildings and castles. There are specific areas, where he tends to create units and he attacks you when you attack his castle/buildings or just walk near of them..
He creates a variety of units, so be careful when you fight them.
Some buildings of purple will become yours, when you destroy the nearby castles. So it’s not necessary to build military buildings yourself.
Allies – What do they do?
You have 2 allies in this map, which are important, because they clean the areas that have a big quantity of enemies – which protect the gates.
They start attacking/sending units at the moment one of your units reaches either one of their bases. They react randomly in this map, so you shouldn’t trust them to be able to destroy some castles. They can, but the probability is low…
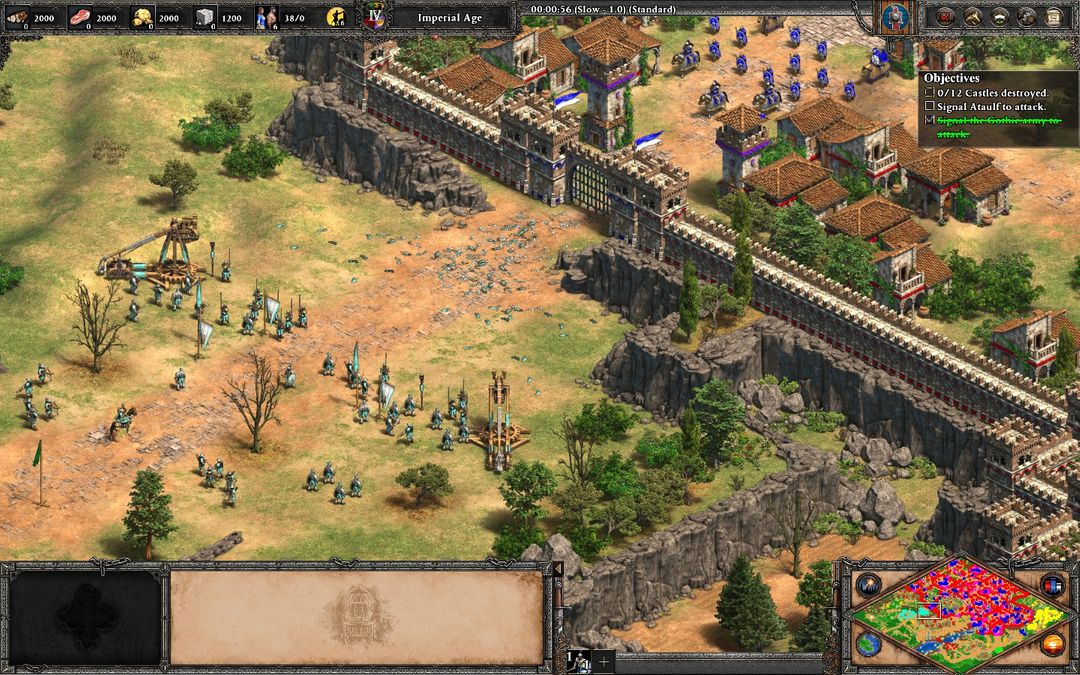
Yellow
Located in the east of the map. Your best ally for this mission, because when you signal him, he will attack the gate and then clean the area.
Unfortunately, when they start attacking, everything can happen: sometimes he can clean the area and then attack a castle, other times he struggles to reach the castle or change objectives sunddenly (The IA is not the best).
He constantly attacks the same area, so there is a high chance for him to clear the way that connects with your base.
Teal
Located in the northwest of the map.
This ally is only useful to clean the gate that has a blue army, afterwards he randomly sends armies to attack different areas (Small chance that he helps you to attack a castle).
There is not much to say about teal, because you will play alone when you advance through Rome from that area.
⠀
Should I have to destroy this area first?
At the beginning, no. I’ve played this map multiple times and it seems that yellow tends to clear this area at some point of the game (Min 7 – 16).
There is only a small chance that yellow won’t manage to clear it(20 – 25%).
Here you can see the possible moments that yellow could send an army to clean the area:
-Minute 7 , 8, 10, 11, 12 or 12:20, 15, 16.
Remember: The AI behaves differently in each game, so I can’t guarantee, that he will attack at a specific time.
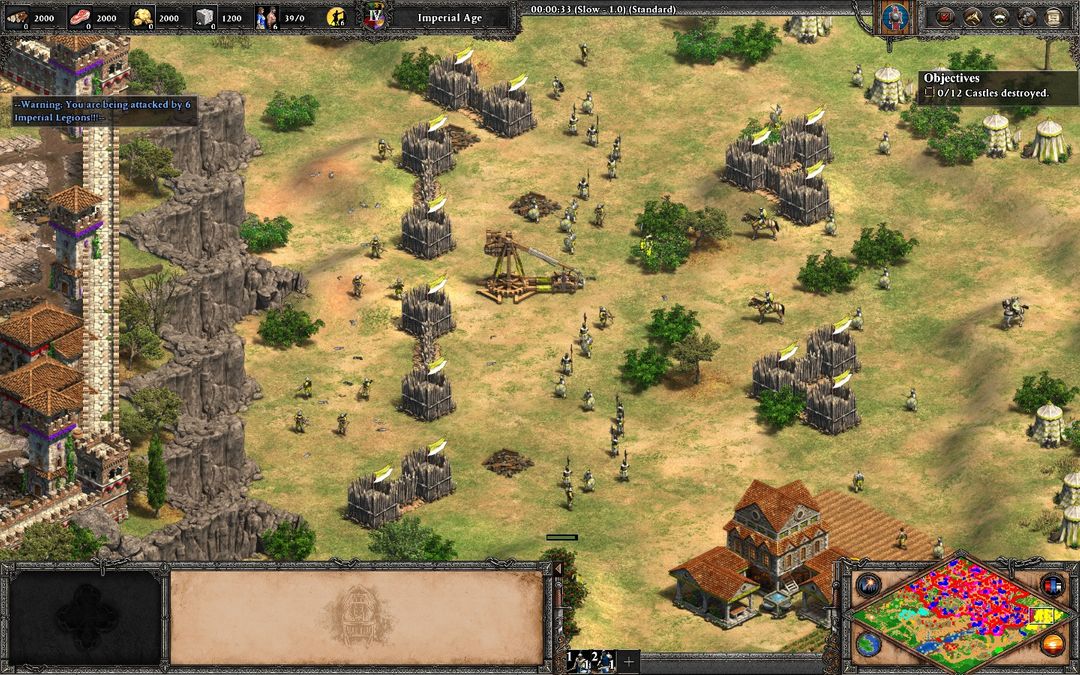
It seems that in this area, the enemies behave differently from the others.
They only attack you if you cross his area. If you leave the area, they’ll go back.
If you want to advance through this area, you can use trebuchets and a small army. Destroy the towers first, then the units.
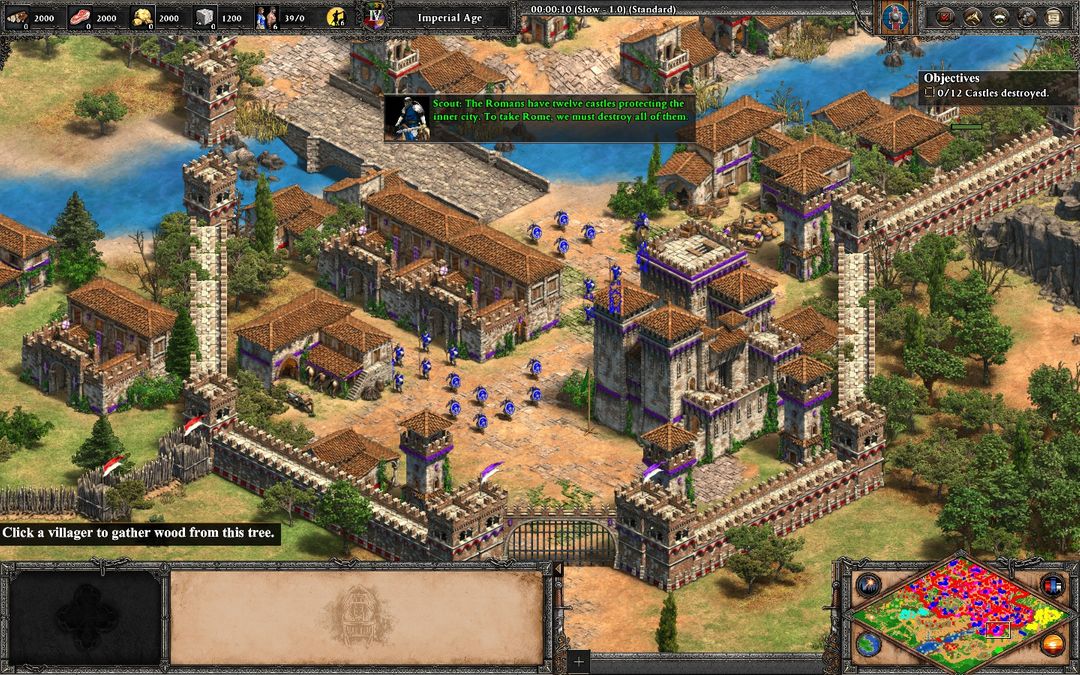
Castles – Information / Tips
The Twelve Castles
The only mission that you have in this map. I divided the castles in 2 groups (6 each one),
The 6 castles that you can destroy easily with trebuchets (you have to clear some areas before):
The 6 castle that purple will use to create and send units to attack you, so be careful.
- You will receive 250 Gold for each castle destroyed.
- Some castles will give you military buildings from purple, when they are destroyed.
- The blue armies, which protect the castles, aren’t important (except one). You can destroy them easily with trebuchets.
Information / Tips
- Purple is your real enemy in this map. There are only a few areas, where you have to kill blue units.
- Economy is important, it makes you able to produce more units.
- Map knowledge is important for this mission, you have to know the paths and enemy locations to make the map easier.
- Dont trust on your allies to be able to destroy a castle, it hardly ever happens.
- Save every time, that you consider necessary.
- Playing with 1.0x speed will make the map less complicated.
- Pause every time that is necessary, useful to check your economy and move multiple armies.
- React quickly if something goes wrong.
- Your allies act differently every game; including the time when they’ll start to attack.
- The only important techonology for this strategy is Blast Furnace (Blacksmith). Chemistry and Conscription are optional (when you have a good quantity of resources).
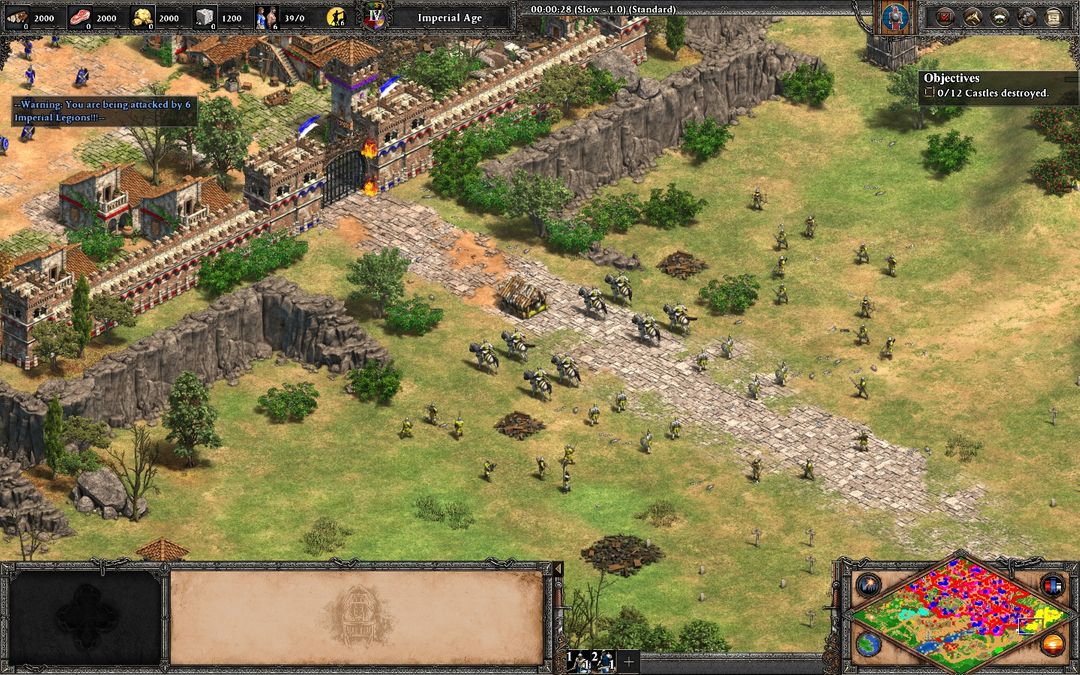
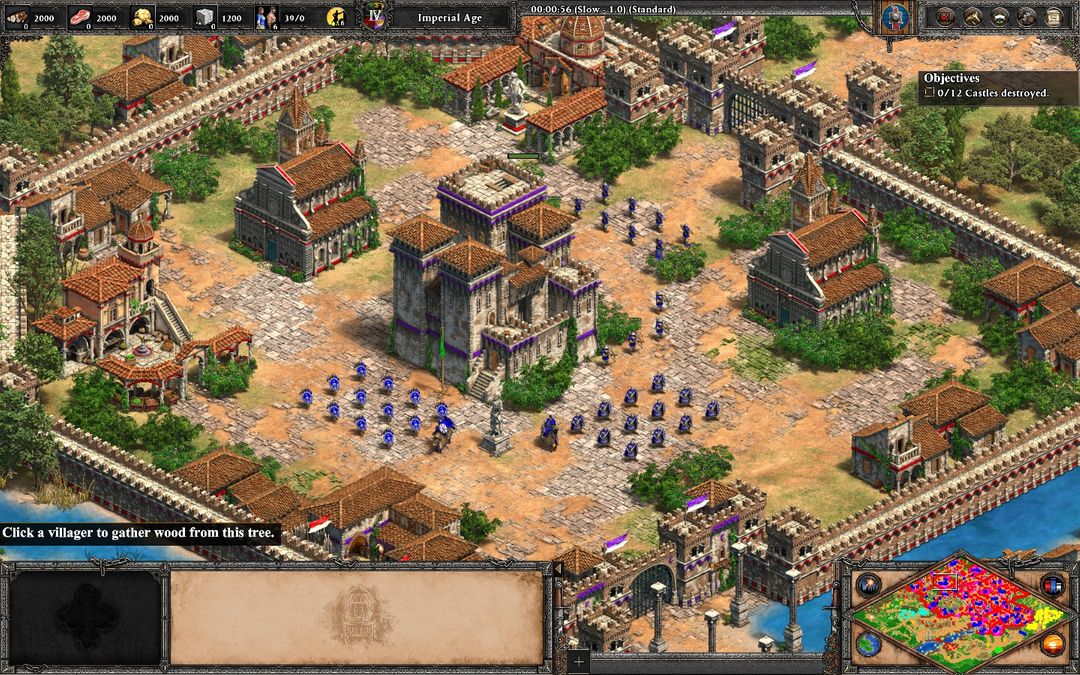
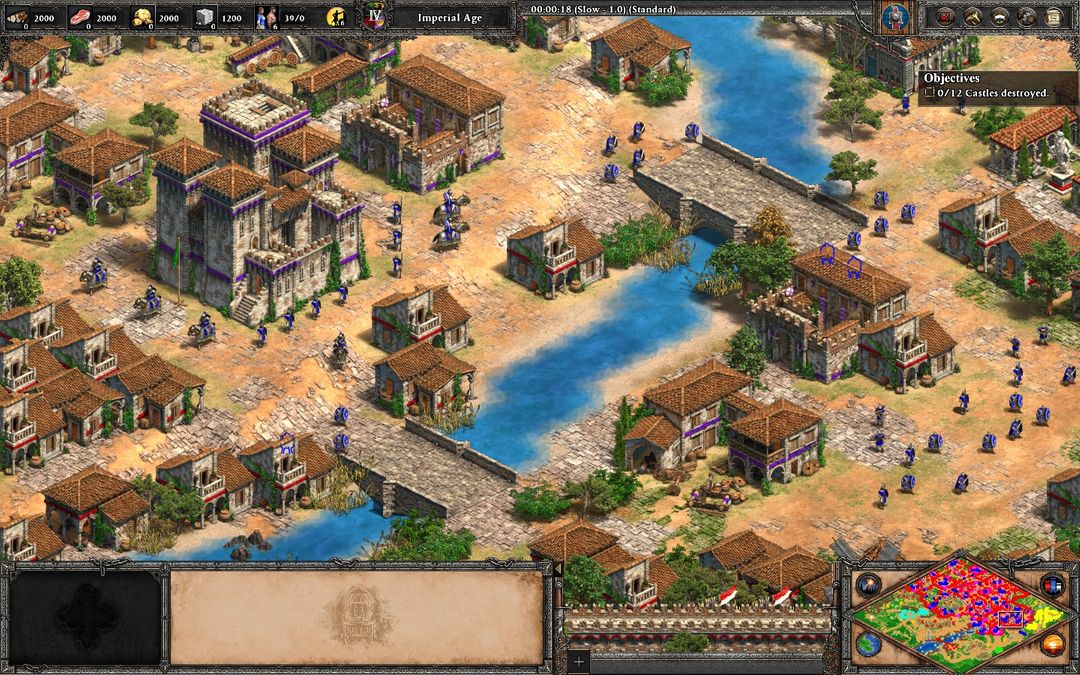
Step 1: Base – Signal your allies/Military units (00:00 – 02:45)
Base
Note: You have to do both things at the same time.
At the beginning, I recommend to pause constantly and play with 1.0x speed, because you save a lot of time doing that. When you completed this step, you can change to 1.5x speed.
When you start the map, pause the game, then prepare these things to make the beginning easier:
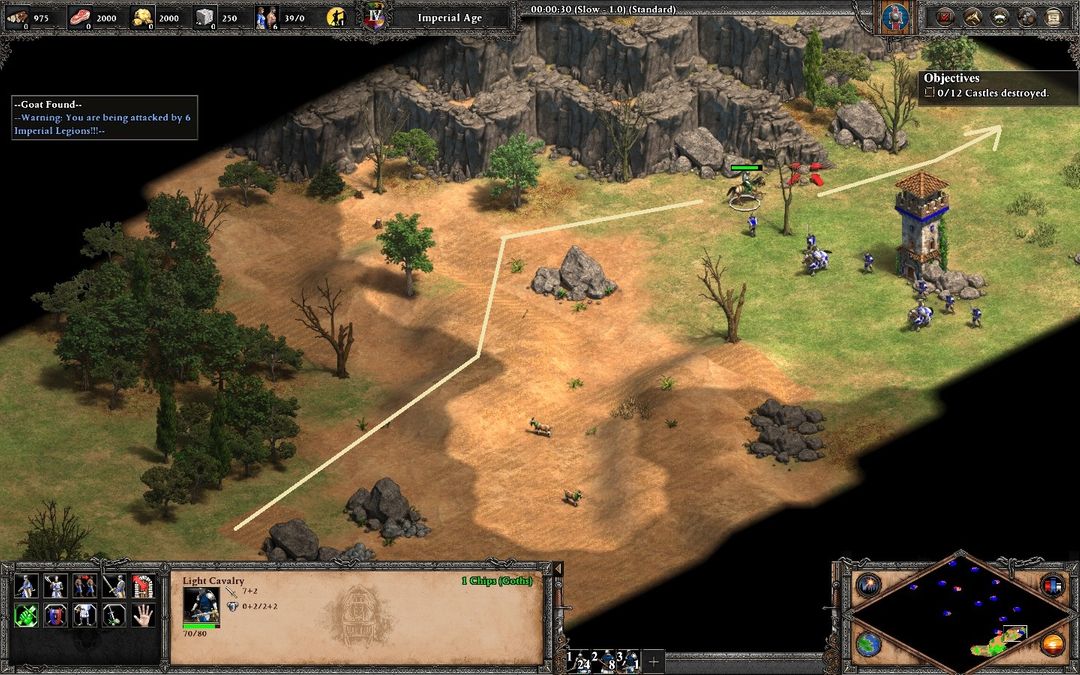
- Send your light cavalry to the east (only a few meters because you save seconds while you move your villagers)
- Move the rest of your army to the west of your base iIn 2 groups, if possible)
- Split your 6 villagers:
-1 to build a town center near the berries
-1 to build a town center near the gold mine
-1 to build a town center near the woods
-2 to build a castle
-1 to build 8 houses
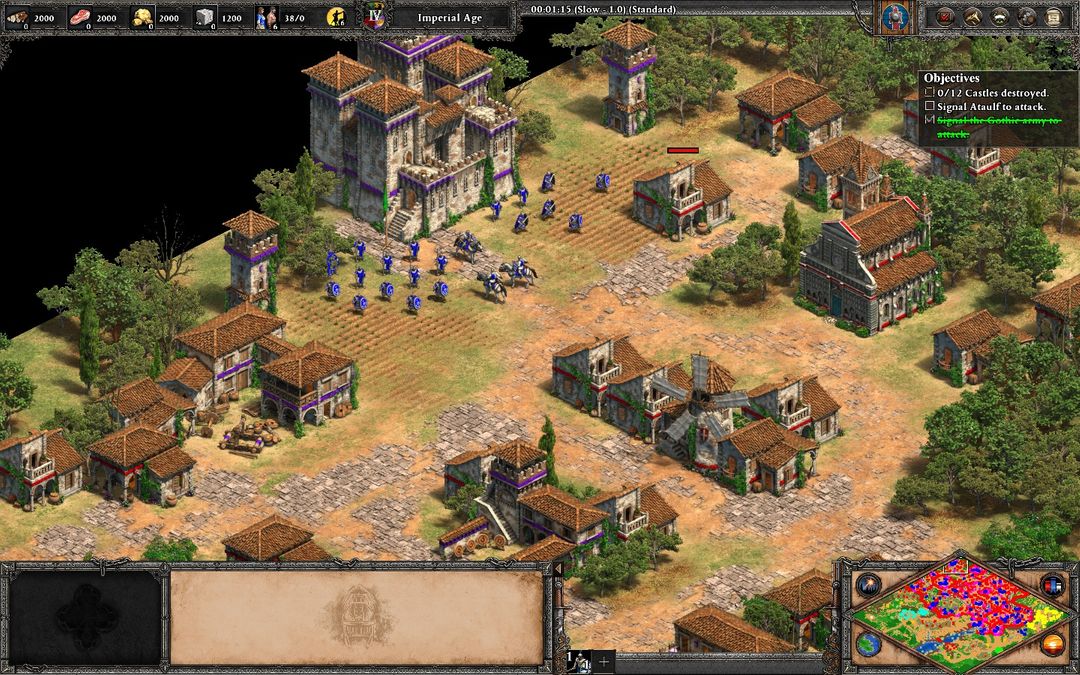
When your villagers are done, you have to move your units manually to signal your allies.
Signal Your Allies – Moving Your Military Units
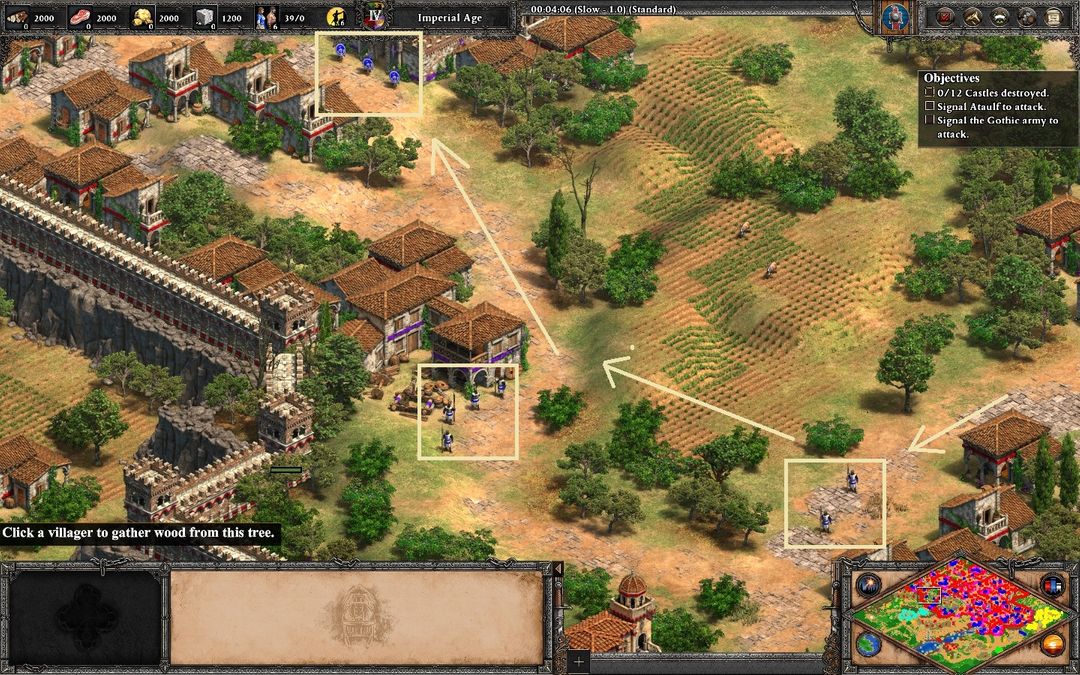
Manage your light cavalry first, while your infantry army is still moving to the west. Be careful when you cross the area that has towers and units, the best way is crossing the edge of that area (Check the image that shows the best path).
When you cross that area, yellow will start attacking. The best time to signal yellow is (00:40 – 00:50).
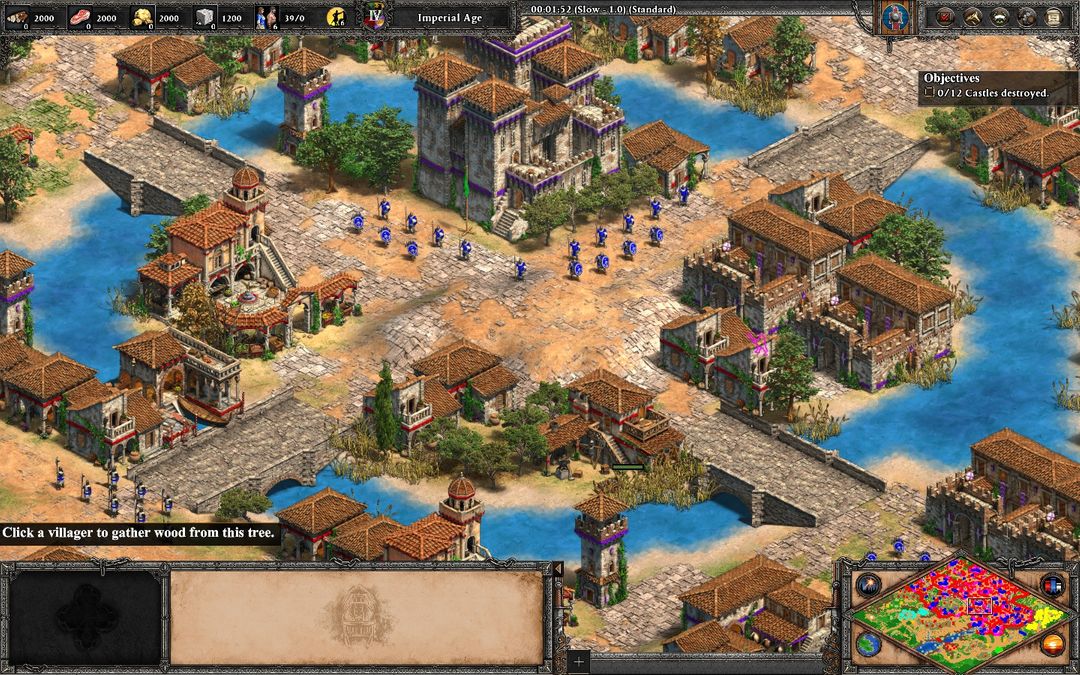
Now it’s time to move your army to Teal’s base.
previewimg=17579136;sizeThumb,floatRight;TealSignal.jpg][/previewimg] Be careful! You can’t automatically send your units to signal your ally, because they will use the wrong way and will be confronted by enemies.
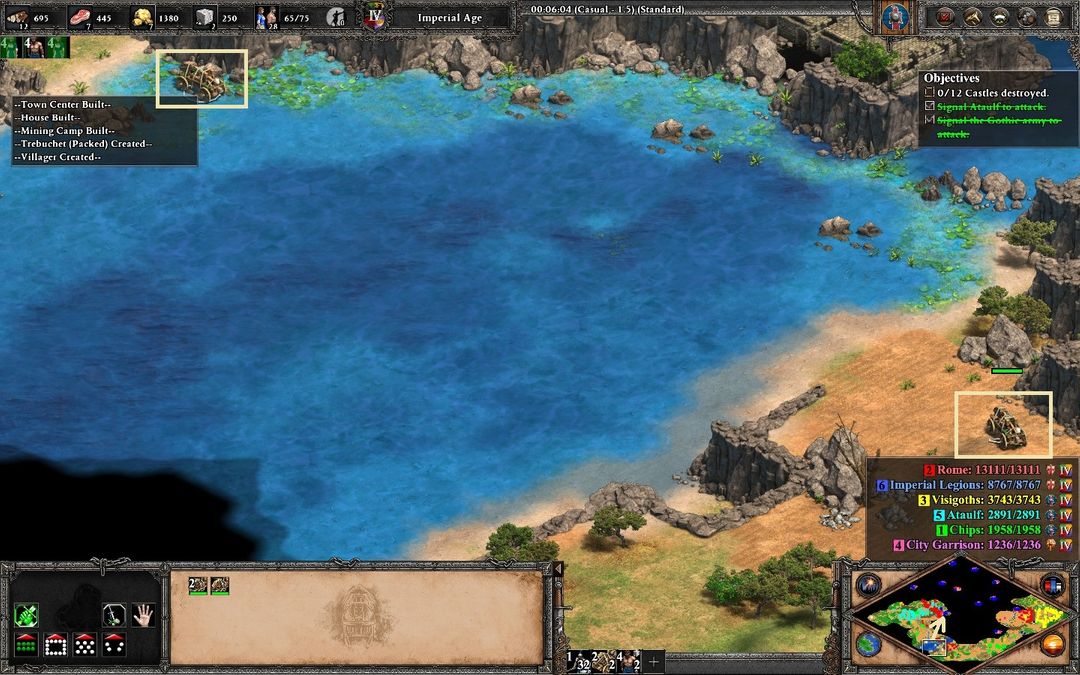
When you reach west, you’ll find the river with a small path that connects to the north.
Send your huskarls first, select one of them and send him to Teal’s base, while the other huskarls destroy the tower that defends that area – Necessary for this strategy.
When you signal your ally and the tower is destroyed, you can send your entire army to Teal’s base and wait for the third step.
The best time to reach your ally in the northwest is: (2:25 – 2:40)
Step 2: Economy – Trebuchets + Strategy (02:45 – 10:20)
Around min 02:45, your buildings should be completed. Once that’s done you have to:
– Send 2 villagers to the stone mine in the west (across the river).
– Send the other 4 villagers to farm wood.
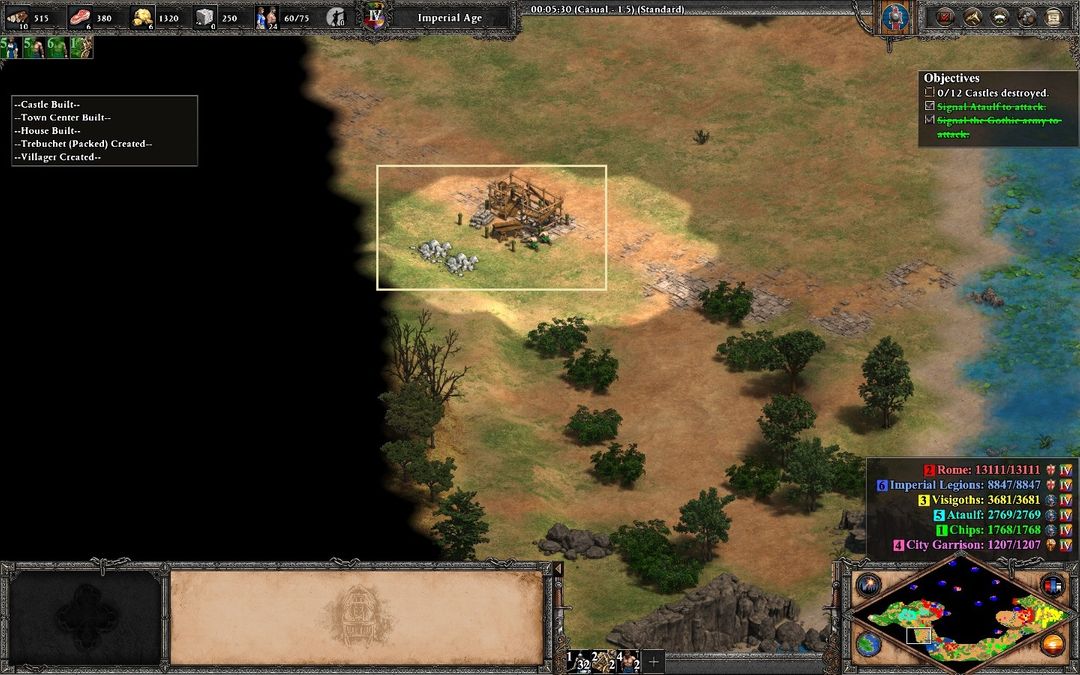
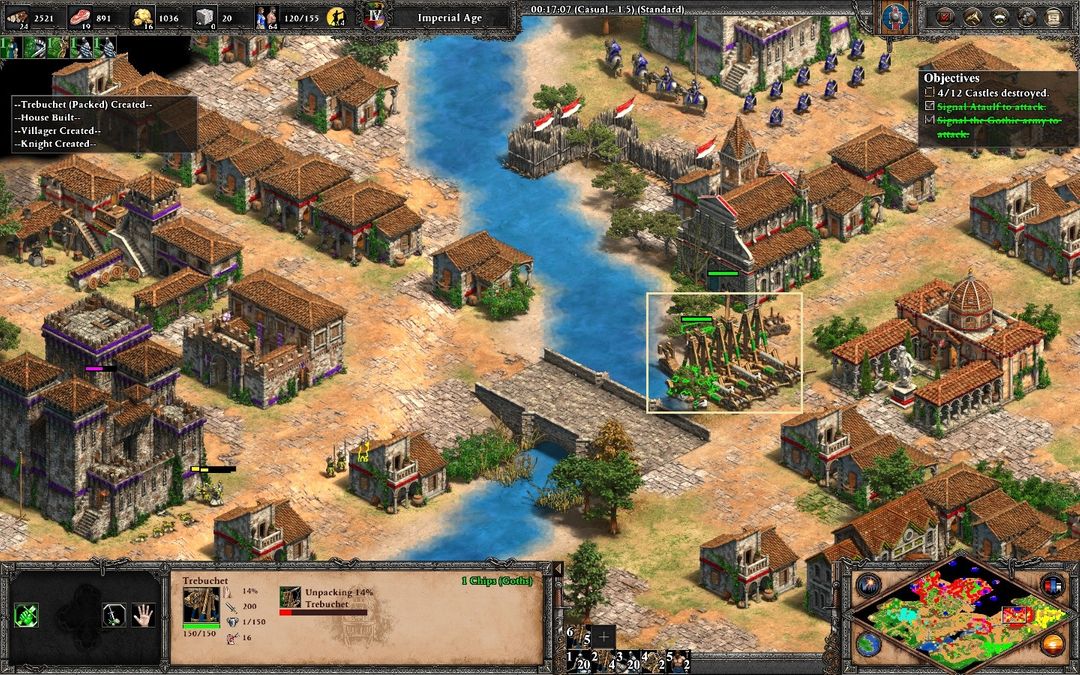
– Create 4 trebuchets and send them to the northwest (2 to the castle located to the right of teal’s base and the other 2 to teal’s base directly)
– Create 30 villagers (10 in each town center) and send them for resources (equitably).
Remember: you have to move your units manually through the path, so be careful.
After that, keep producing villagers and build houses, when it becomes necessary.
When the 4 trebuchets are completed, try to create 2 more to destroy the castle that is close to your base (in front of your base).
When the 2 villagers, which you sent to the west, have collected 100 stone (350 Stone in total), send them to teal’s base with your army.
Around minute 7-8 you should build a blacksmith and a market. Then reseach Blast Furnace (Blacksmith) and buy 300 stone (You will have 650).
Note: Around min 8, the berries might finish so you have to prepare a lot of farms.
– The best time for your trebuchet to reach the area where the castle is located (near teal’s base) is 07:40 – 07:50.
When your trebuchets destroyed the castle located near teal’s base, send them to the gate, where teal cleared the area, with your 2 villagers and the army (aprox. Minute 10).
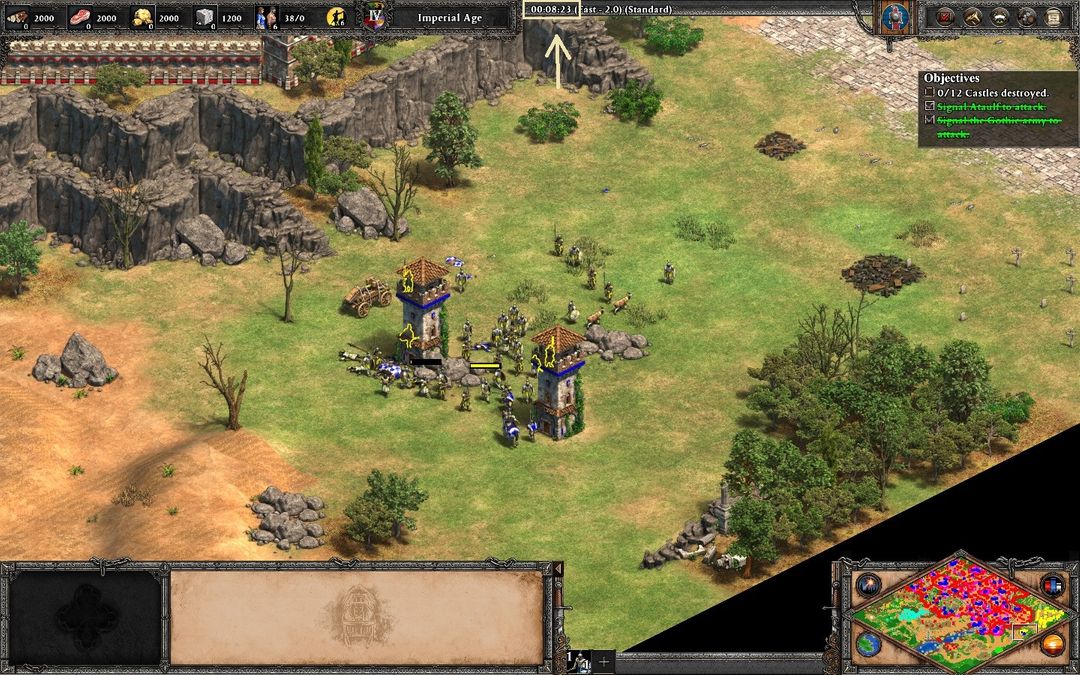
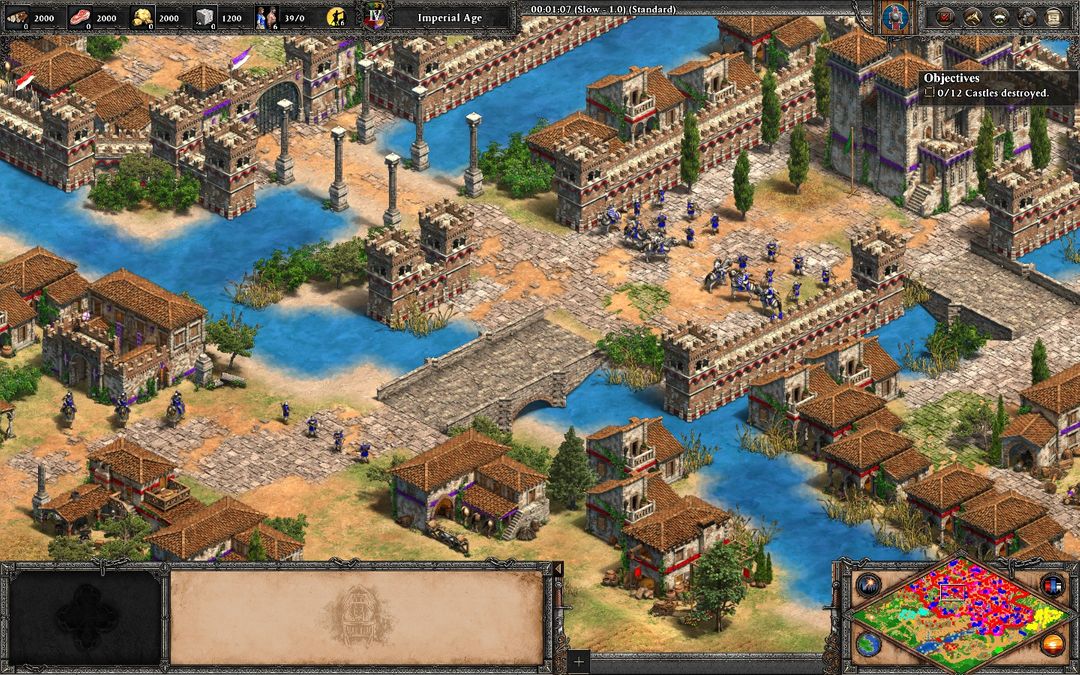
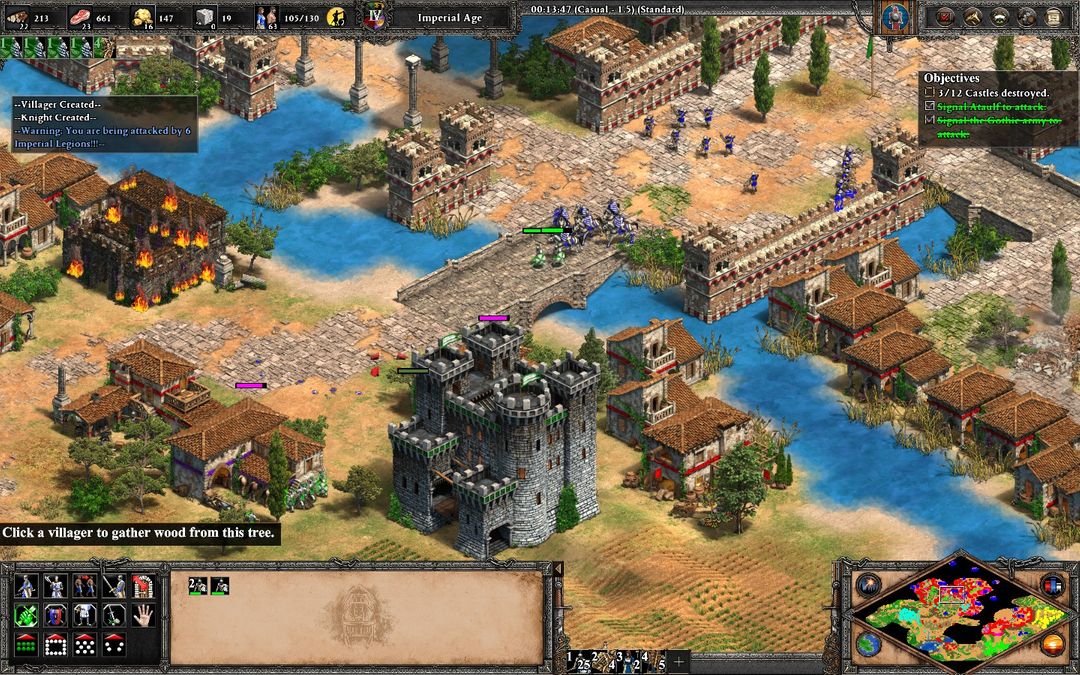
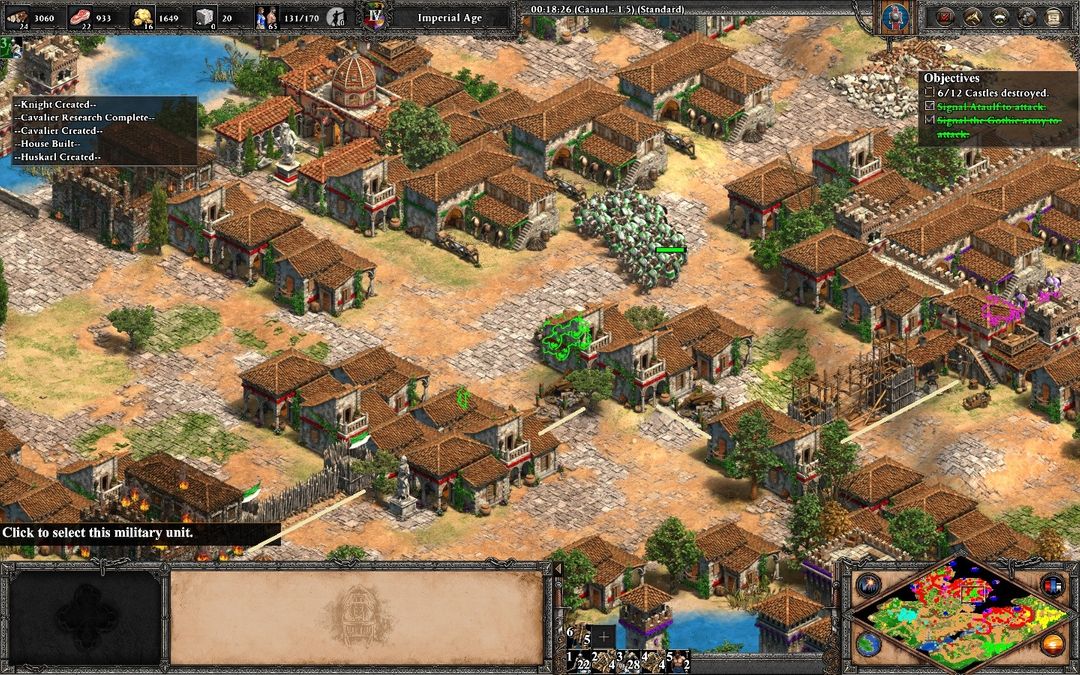
Step 3: Clearing The Big Area & Destroying The Third Castle (10:20 – 13:30)
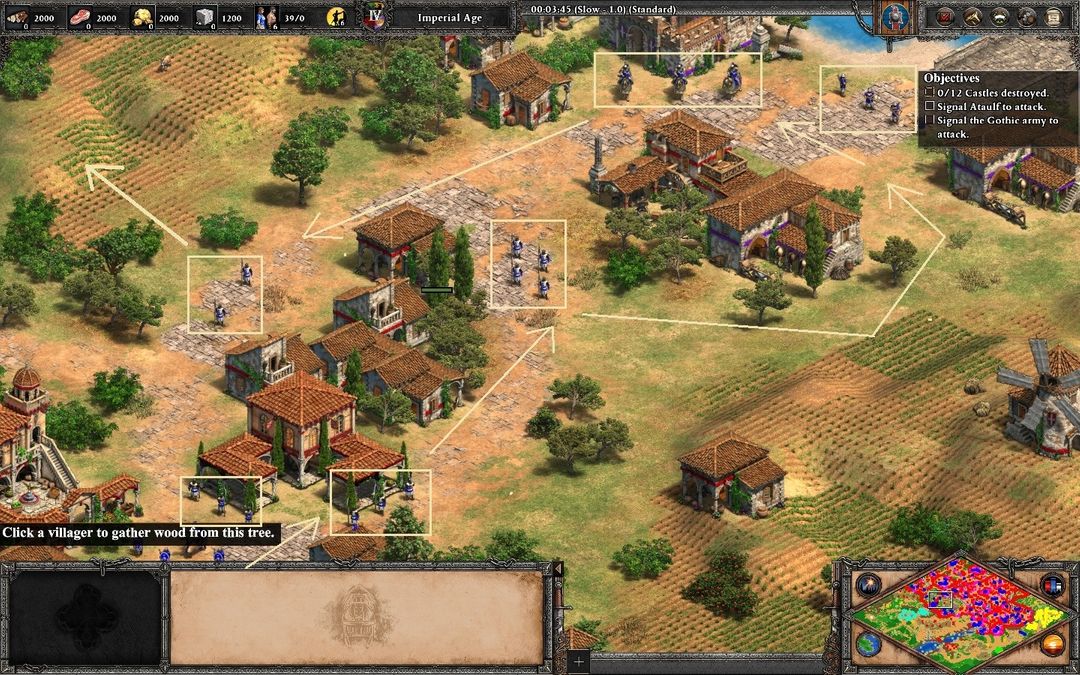
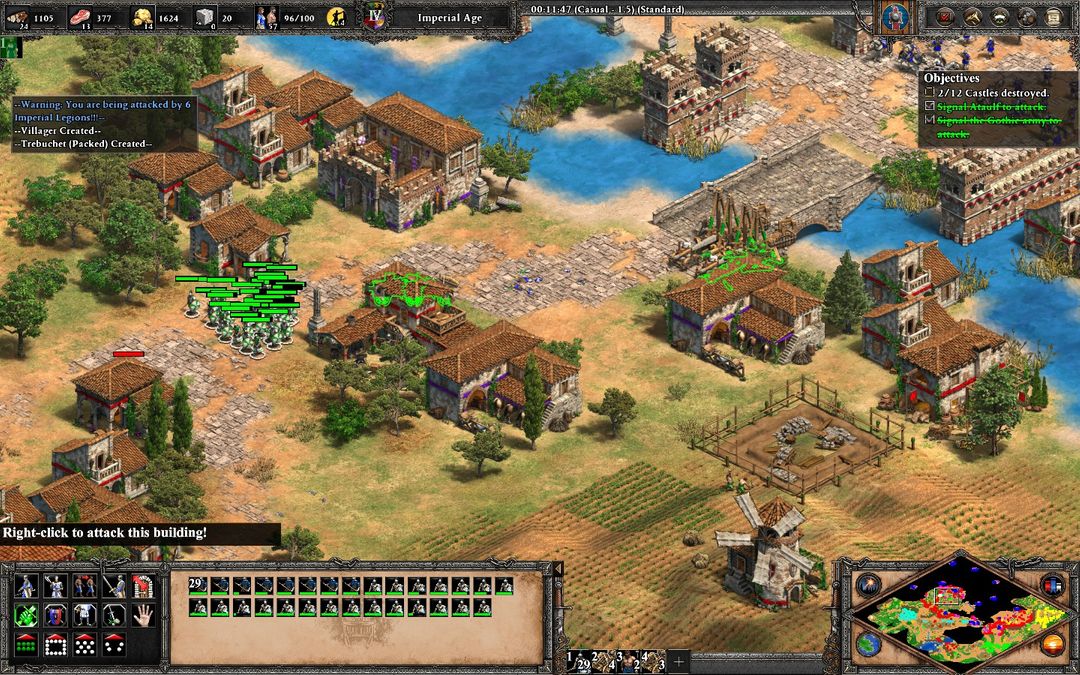
Now that you have all your units (infantry, trebuchets and 2 villagers) at the gate, it’s time to push and clear the area. Send your infantry in front to kill the enemies that defend the area, while your trebuchets and villagers are behind.
There are a few groups of enemies in that area, but it’s manageable. Prioritize the enemies that block the bridge, which connects with the third castle (Crossbowmans + Cataphracts)
- These photos show the best way to clean the area (Right to left).
⠀
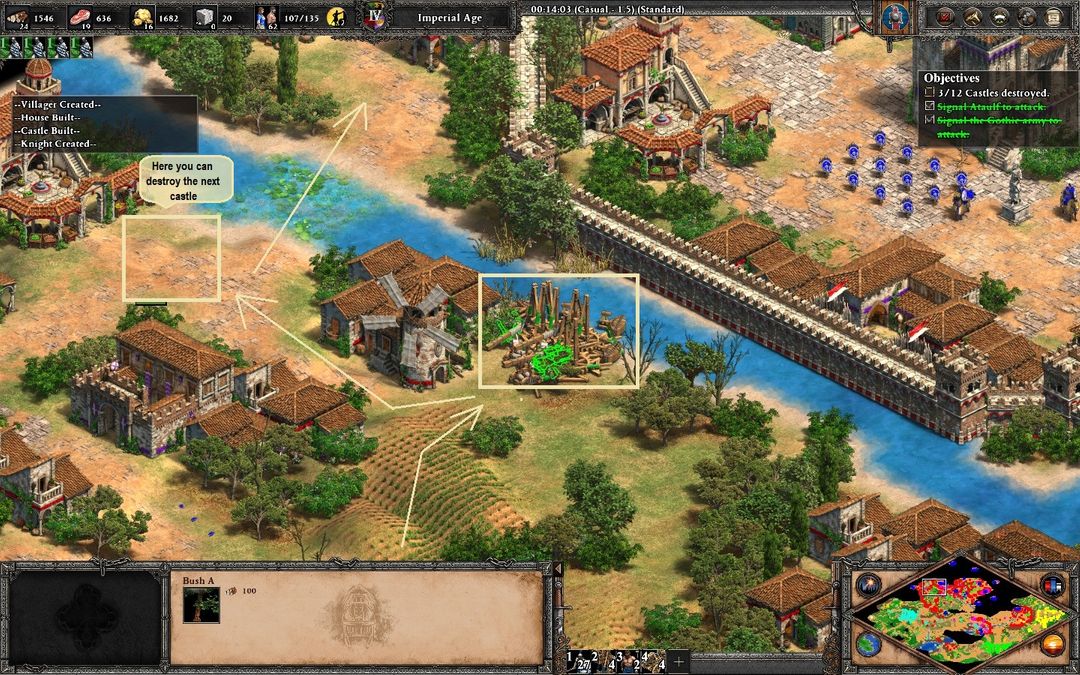
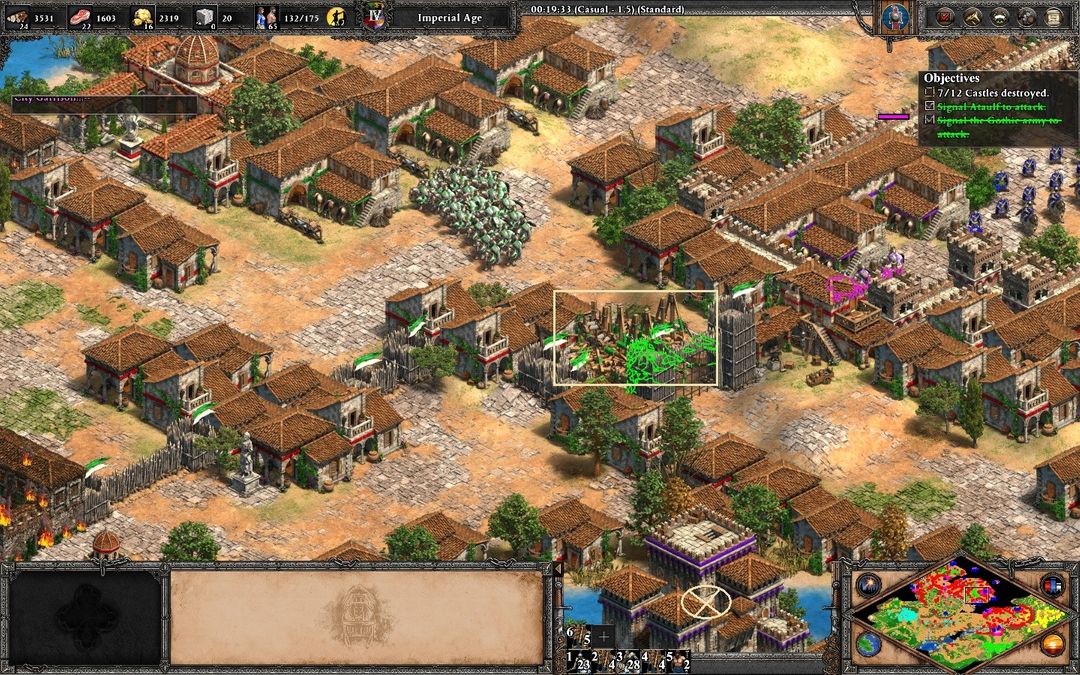
At the moment, where your army cleared the bridge area, send your trebuchets to attack the castle, while your 2 villagers build a castle for yourself near that area (necessary for this strategy).
Continue clearing the area while the other things are finishing.
When you completed that, send your army near the castle.
When your trebuchets destroyed the castle, send them to the north and continue with the next step.
Tip: When you destroyed the third castle, you will receive military buildings in the mid area.
I recommend to pause the game and check the next step, because you have to use them.
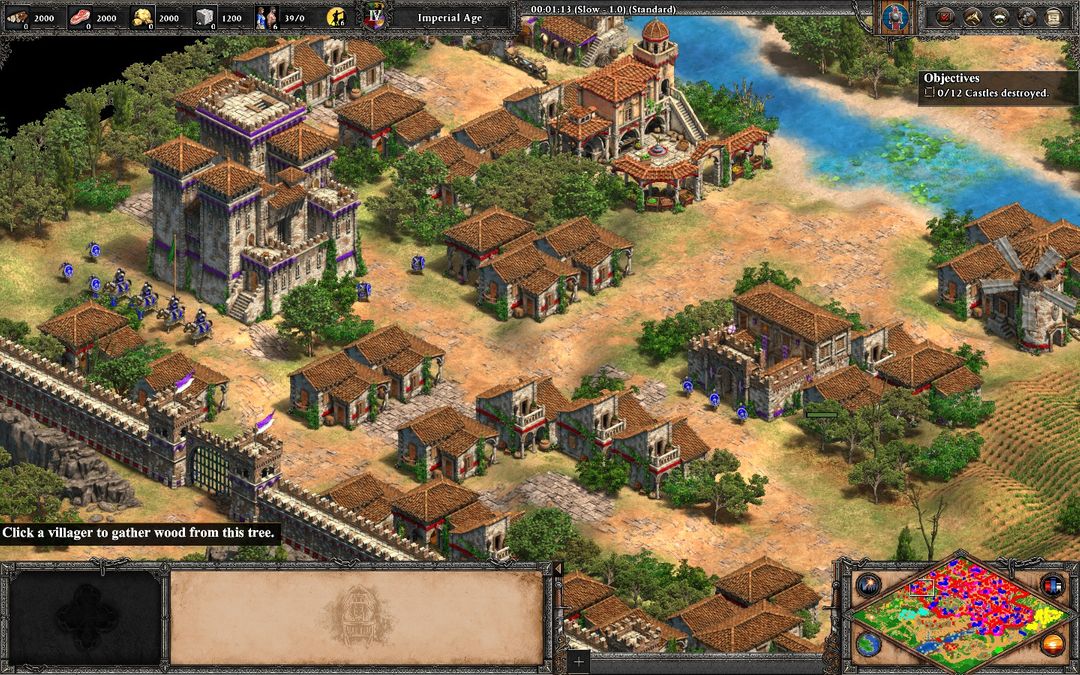
Step 4: Clearing The Mid Area / Preparing The Split
You have to do the following two things at the same time. You can constantly use Pause to save time when you manage multiple units, also playing with 1.0x speed makes you able to react quickly (you can play with 1.5x, if you want, though).
Preparing The Split
When you finished with the third castle, send your 4 trebuchets to the north, in order to destroy the 2 castles located in that area. It’s not necessary to send units to defend it, these 2 castles don’t trigger enemies.
Meanwhile, you should prepare 2 – 3 more trebuchets in your base (5 or 6 in total). You have to check if your ally cleared the way. If the area is clear you can move your trebuchets to the east and move them to the gate.
If your ally couldn’t manage to clear the path that connect both bases, you have to create a troop yourself.
Note: It’s possible to continue and destroy the 2 castles located in the east (Yellow gate) during that time (makes the next step a bit easier), but it depends on your decision. Be careful, if you are going to do that.
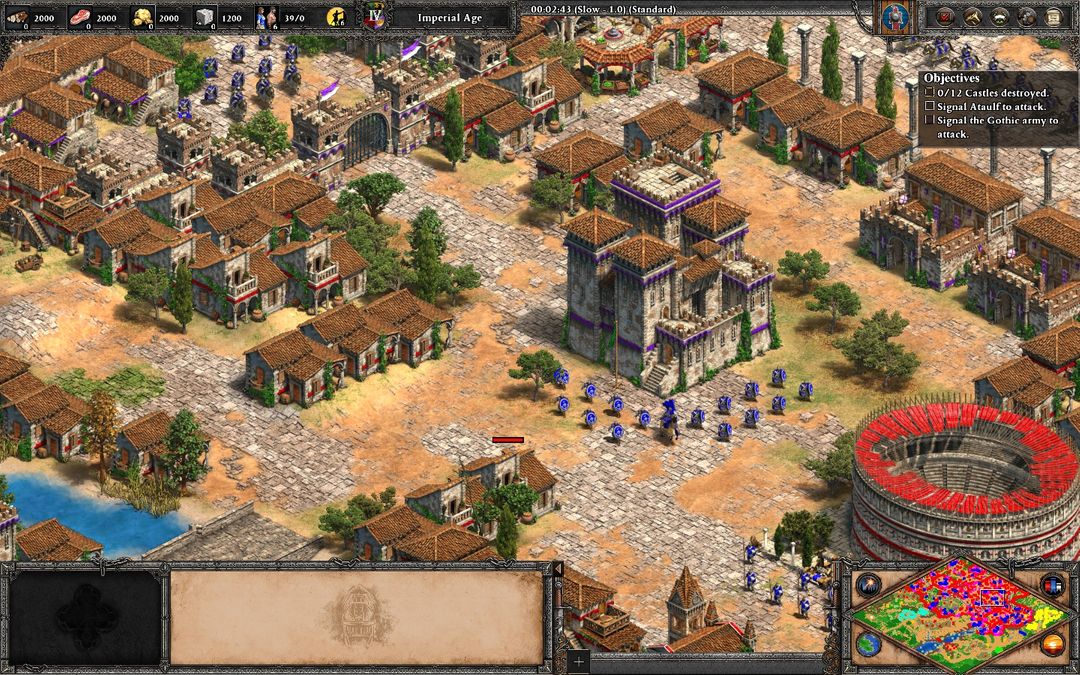
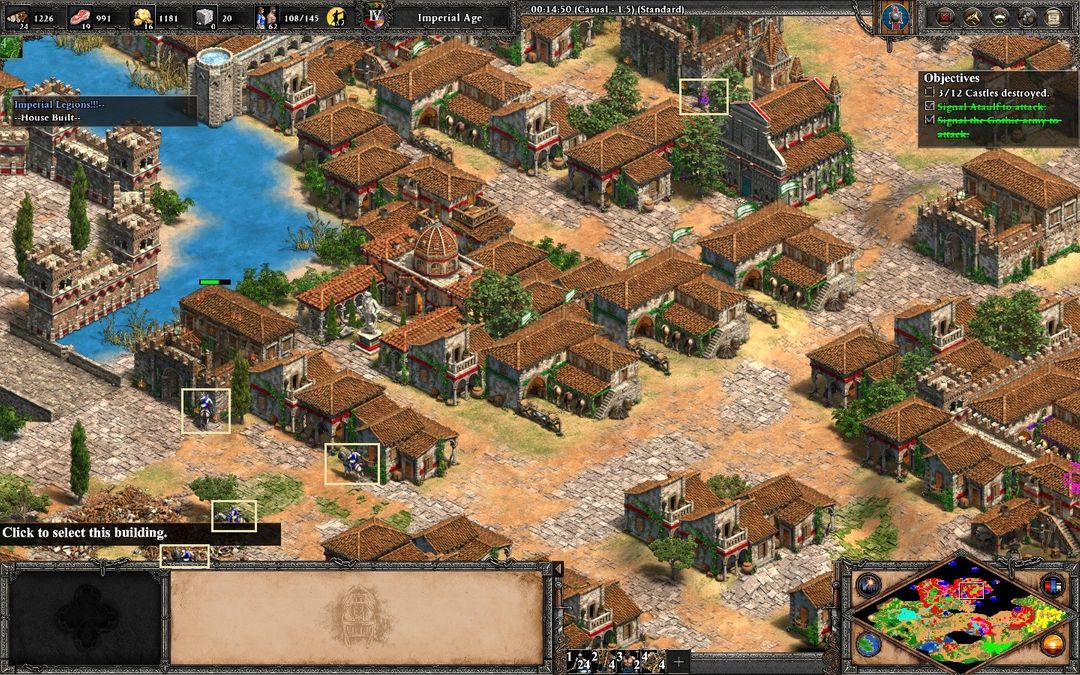
Cleaning The Mid Area
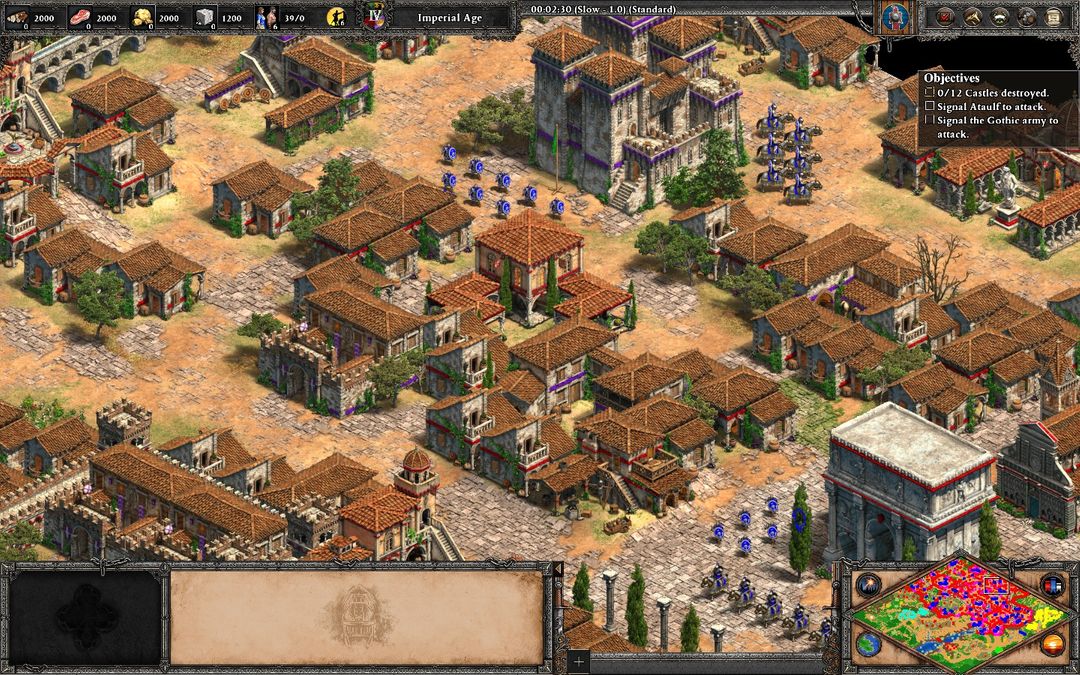
When you destroyed the third castle, you received military buildings in the mid area of rome. The enemies in that area will start attacking your buildings, so you have to create knights to defend them. You have 4 stables, so you can create 2 – 3 knights in each building.
Tips:
- If you lack food or gold to create knights, sell wood. Not all of it, though.
- The best way is to wait until all your knights are completed and to send them together to clear the area quickly.
While your knights are being created, you have to clear the enemies, which block both areas (knights + crossbowman army).
For this part, tt would be beneficial, if your castle has been completed. Hide your villagers and some units next to it, then send 2 or 3 huskarls to aggro the enemies and lure them to your castle (you have to attack with your castle manually, if it is attacking a buidling). Using the castle will save you a good quantity of units.
When you killed all of your enemy’s units, send your army to the north, where your trebuchets are waiting.
When you have all your knights ready, send them to kill all the units (only the area with vision, don’t try to advance to far for now, because you might trigger purple to attack you).
Now that the area is clear, prepare trebuchets (4 or 5) and send them with your 2 villagers.
Step 5: Attacking The 3 Remaining Areas at The Same Time
You now have 5 of 12 castles and aprox. 12 minutes remaining to beat the map. You still have enough time to complete it.
The 7 castles are divided in three areas: North(2) , Mid(3) , East(2).
Now you have to attack the 3 areas simultaneously.
I recommend to prioritize North and East first, while you prepare everything for the attack on the mid area.
Tips:
- You can create more units in the north or mid to defend your trebuchets.
- Don’t attack the castles at the same time, prioritize one and then continue with the others afterwards. Because you might struggle managing multiple fights
- Save the game, if you think that something might go wrong.
- Again, play with 1.0x speed, if you want to play safe
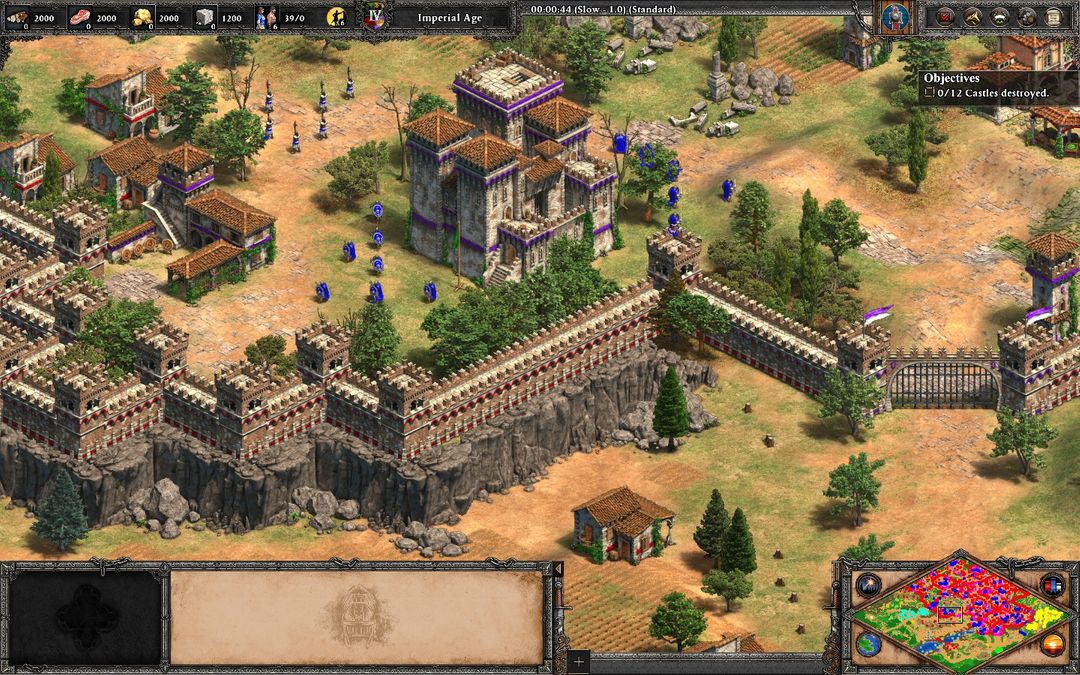
North
When you start advancing towards the north, you’ll find a group of legionaries, before reaching the castle. Kill them and then prepare a few units, if it’s necessary.
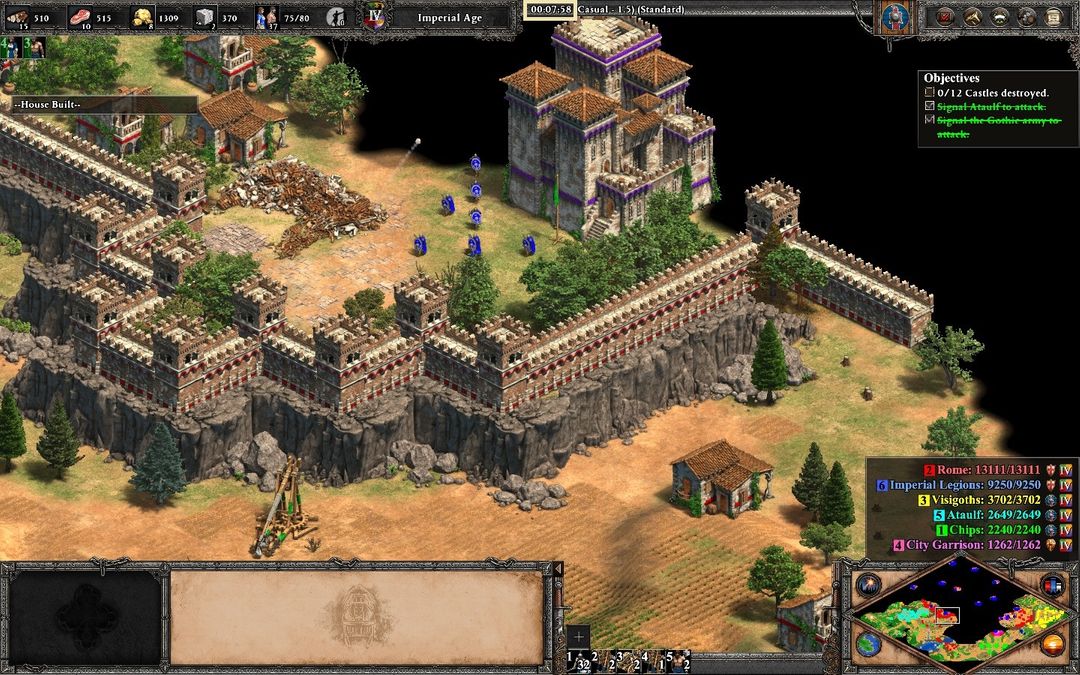
After that, you will see the castle sorrounded with blue units and some purple units. You only have to prioritize on killing purple buildings and enemies.
But before you start your attack, use your trebuchets to destroy the tower and the siege workshop, because if you destroy the castle first, the siege workshop will aggro the blue army and then attack your units.
- Purple always creates elite skirmishers and a siege unit (Mangonel or a Capped Ram).
If there is a Capped Ram, you can aggro it with your trebuchets. If there is a mangonel, you have to aggro it with your infantry units and then destroy it. When you destroyed the siege unit, kill the skirmishers.
- When you cleared all the purple units/buildings, you can destroy the castle without trouble.
Once you’ve dealt with the first castle, continue with the next one.
There is not much to say about this area, send your trebuchets carefully (through the barrack) and place them near the trees.

As soon as you start attacking the second castle, purple will start sending units to destroy your trebuchets, so use your army to block the path and defend them, until the castle is destroyed.
- When you managed to destroy the 2 castles, the north area will be completed.
East
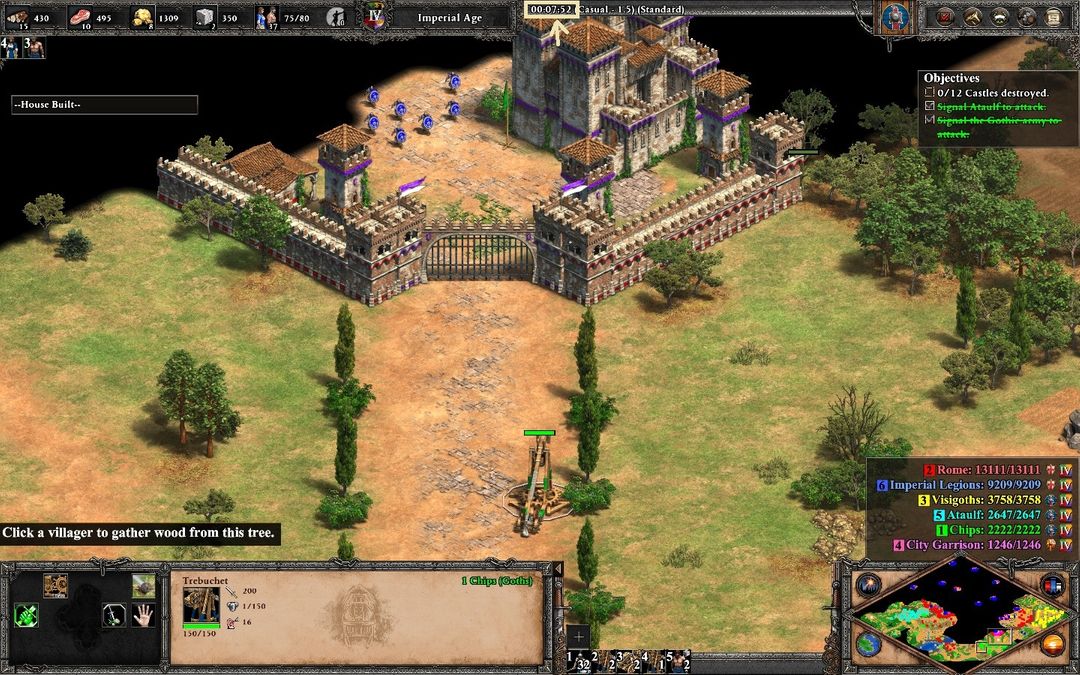
Probably the easiest area to destroy. You should have your trebuchets ready to advance through the gate.
Before advancing though, check the area for enemies. If you see some enemies blocking the path, wait for your ally or prepare some units yourself to clear it.
If it’s safe to move your trebuchets, do so and destroy the castle that is located to the north of that area.
After that, wait. The best moment to attack the other castle is when your ally sends his units to attack the castle or units near that area.
- When you managed to destroy the 2 castles, the east area is completed as well.⠀
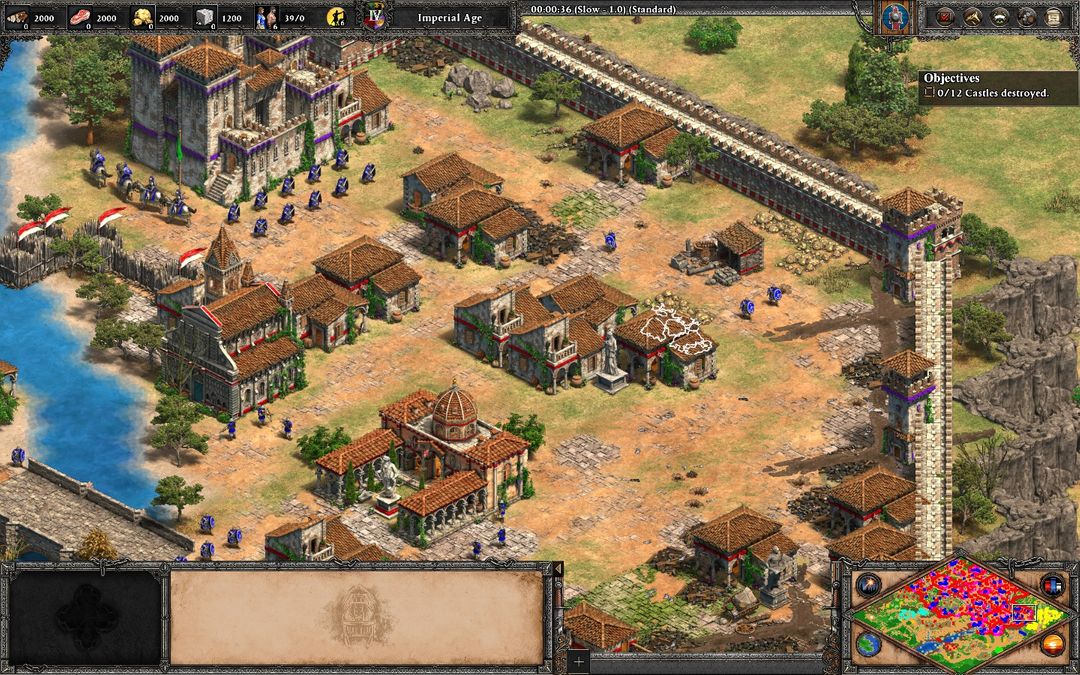
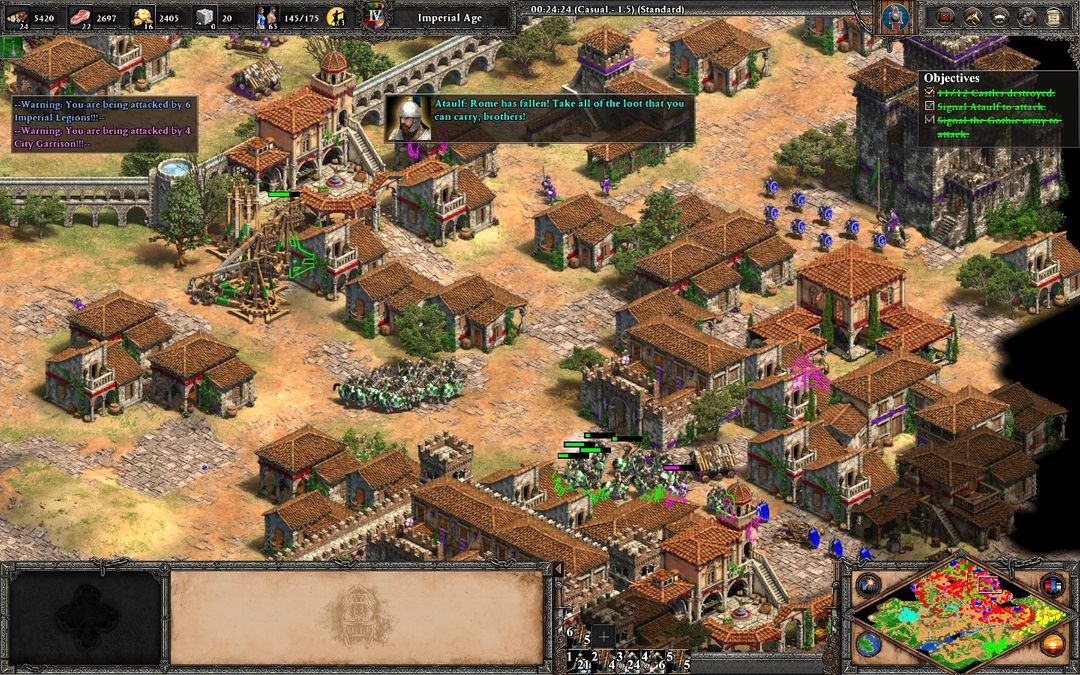
Mid
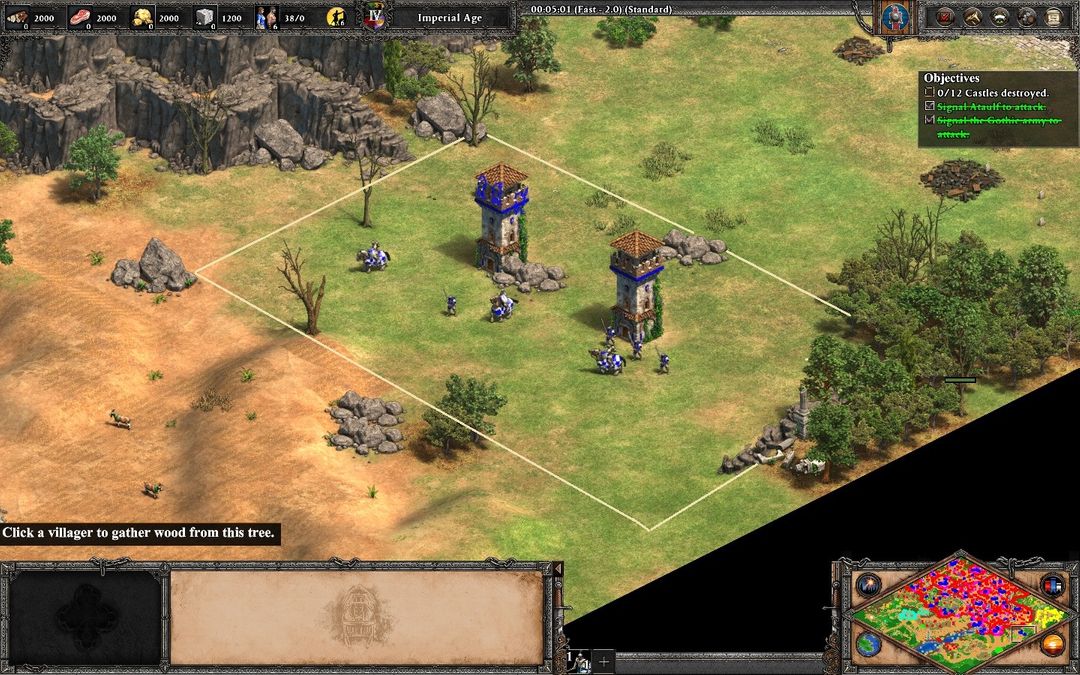
Probably the first area, where you really have to prepare your strategy, before you can charge in.
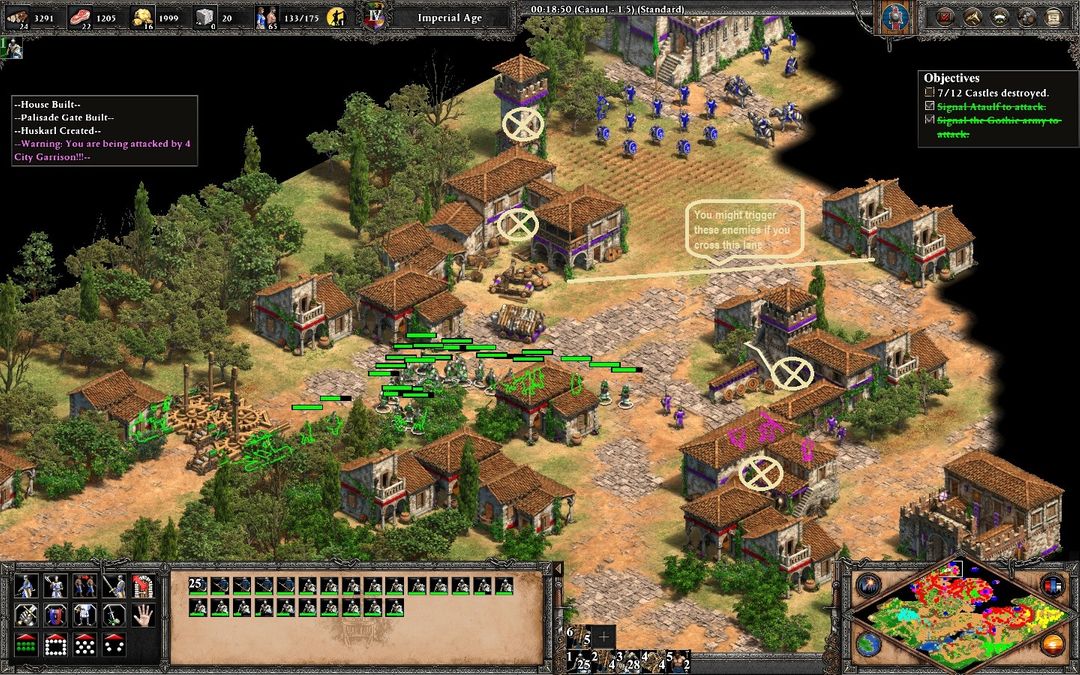
When you cleared the area (step four), start preparing trebuchets (4 or 5) and send your villagers to the mid area. Use them to build walls in that area. Doing that, you’ll block the path that purple tends to use to attack you, when you start using your trebuchets against the castle.
You should build a gate in the line where the red blacksmith is located. You will use it for the next castle.
Remember: Purple will send units, but by using walls, you force the enemy AI to take the long way, giving you time to destroy the castle without forcing a fight in that moment.
Check the photos as reference. If you cross those lines, his tower or castle might attack you.
When you destroyed the first castle, use your villagers to build walls in front of the gate, that you built before

Check the photo to see where I recommend you to build it. Be careful – if you cross the second tree, the castle will attack you. There is a small chance that an enemy attacks that area. So be prepared for that to happen.
When the walls are completed, send your trebuchets to that area and attack the second castle.
The moment you start attacking the second castle, purple might come to attack you with an army. If so, use your cavalry to kill them. When the second castle is destroyed, move your army and trebuchets to the third castle located in the northeast of the map.
Going by this guide, this’ll be the last castle that you have to destroy in the map.
But before using your trebuchets to attack the last castle, clear the area of all potential siege units. Purple will be ready to send a lot of units to attack you, react quickly and stop them until the castle fall.
When you managed to destroy the 3 castles, the mid area is completed.
The achievement will pop up when the “You are victorious” appears, so you should finish the mission before 29:30 aprox.
Great article, I was able to finally get this achievement at 28 mins 🙂
This is it! The ultimate guide on how to complete this! Oh man, thanks a lot. It is quite clever. During the actual gameplay, I messed up a few things, destroyed castles in a different order, but somehow made it because of the basic idea on how to split forces and the usage of acquired buildings. Once again, thanks a lot. Timer stopped at 28:59.
Fantastic walkthrough, I followed some of it, but just didn’t really require the extra castles and extra barricades set up. Also, too many trebs can get so difficult to micro, so 2 per castle was sufficient for me. my time was 27:48. Most importantly, it was the pausing and slow game speed that helped.
Best Guide Around. Took me 22 minutes. Thanks mate.