Hello from our Baldur’s Gate 3 Adamantine Forge Items and Moulds guide. Initiating the Adamantine Forge quest involves interacting with the Duergars present in Grimforge, engaging in the task of removing obstructive boulders along a pathway. With a tactful approach, the Duergar will disclose the existence of an Adamantine Forge they are in pursuit of.
RELATED: Baldur’s Gate 3 Harper Stash Location & Hidden Cache
Baldur’s Gate 3 Adamantine Forge Items and Moulds
Welcome to our Baldur’s Gate 3 Adamantine Forge Items and Moulds guide. This guide will show you details on adamantine forge items and moulds in BG3!
Adamantine Forge Items & Moulds
In Baldur’s Gate 3, the feature of Forged Items showcases creations that can be meticulously crafted through the utilization of the Adamantine Forge located in Grimforge. To create these items, Mithril Ore and a specific Mould tailored to the desired item are essential components. The Forge itself is situated in Grymforge (X: -569 Y: 252) and necessitates an initial activation process.
This entails placing a Mithral Ore into the Crucible and inserting a Mould into the designated Mould Chamber. Subsequently, by engaging the lever responsible for hammering down the crucible, the activation procedure is set in motion. However, it’s important to note that if the lever is pulled without the requisite items in place, the crucible will be struck but remain inactive. A successful activation is indicated when the entire platform descends.
Adamantine Forge Process
Once the forge has been successfully activated, proceed with the subsequent steps to forge an item within the Adamantine Forge.
- Introduce the Mithril Ore into the Crucible.
- Position the desired Mould within the Mould Chamber.
- In close proximity to the corner, a valve can be located. Engage this valve, causing the lava level to ascend, converting the terrain into a series of circular platforms. This alteration triggers the awakening of the Gym, prompting an ensuing battle against you.
- Initiate the lever that employs the crucible as an anvil, facilitating the forging process.
- Upon completion of these actions, open the Mould Chamber to reveal the newly forged item. Notably, the sole component consumed in this procedure is the Mithral Ore. However, the Mould remains retrievable, enabling repetitive item forging if desired.
Grym
Upon activating the valve, a formidable Construct known as Grym will awaken and initiate a confrontation with your party. Grym boasts a high degree of resistance or immunity to a broad spectrum of damage types, and its substantial life pool renders direct combat ill-advised.
To overcome Grym most effectively, a strategic approach is recommended. Lure the Construct over the crucible and subsequently trigger the lever responsible for hammering it. In preparation for this engagement, ensure your party is ready for battle prior to elevating the lava level. Position at least one member of your party adjacent to the lever, poised to operate it. Simultaneously, coordinate with the rest of your group, especially the member who activated the lava valve, to entice Grym toward the center of the battlefield.
Adamantine Forge Moulds
Scimitar Mould
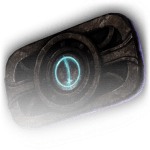
- The Scimitar Mould can be discovered at the coordinates (X: -607, Y: 322) within Grymforge.
- In this location, players will come across the Mould placed upon a skeletal remains.
- Therefore, upon arriving at the specified coordinates, it’s essential for players to meticulously inspect the surrounding skeletons in the vicinity.
Splint Mould
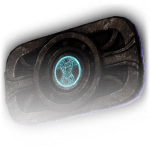
- The splint Mould is located at the coordinates (X: -597, Y: 309) within the Ancient Forge of Grymforge.
- Furthermore, players will need to conduct a thorough exploration of the area, as the Mould is not positioned on a skeleton but rather hidden within the surroundings.
Longsword Mould
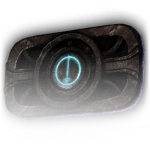
- The Longsword Mould awaits discovery at the coordinates (X: -625, Y: 410), situated above the suspended bridge.
- Players will need to navigate around the bridge area with some agility to locate the Mould effectively.
Scale Mail Mould
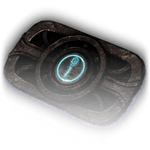
- The scale mail Mould can be located at the coordinates (X: -621, Y: 260) within Grymforge.
- Additionally, players will encounter the Mould amidst an assortment of armor racks in the vicinity.
Mace Mould
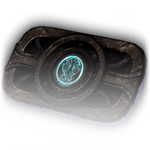
- The mace Mould is situated at the coordinates (X: -609, Y: 284) within Grymforge.
- This particular Mould can be found resting on a table adjacent to the Ancient Forge waypoint.
Shield Mould
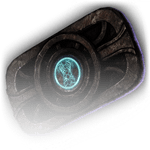
- The shield Mould awaits discovery at the coordinates (X: -559, Y: 410) within Grymforge.
- Moreover, players will come across the Mould positioned on a skeleton atop the staircase in the Dormitory area.