How to Kill Killavolt?
Killavolt Boss Guide Tips and Tricks
Despite being just a side mission boss Killavolt is one of the hardest bosses in the game. Here are the attacks to expect and how to kill him plus some general tips.

Tips:
- Keep moving. You need to jump to avoid electrified panels on the floor and to watch out for the electric shots he’ll constantly shoot at you.
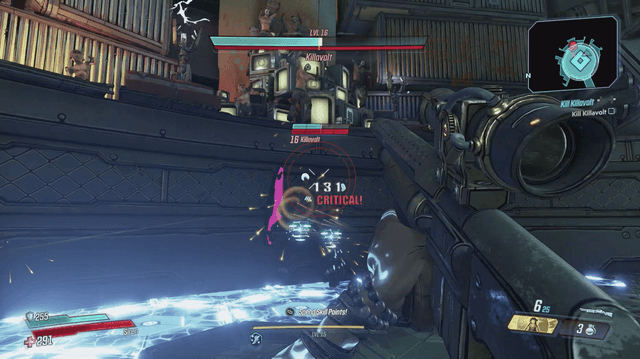
- Shoot Killavolt in his back to land critical hits. This requires you to move quickly behind him but you can also hit him from the front by jumping (esp. if your gun has a goon spray to it). Grenades can also help here.
- Shooting him in the dick as Moxxie instructed does the same damage as a critical shot but trying to attack him once his shield is down (which means a big electrical attack is coming) is harder to pull off than it might be worth.
- Save the health in the chests around the perimeter until the end of the battle.
- Consider “saving” weaker enemies when you’re towards the end of the battle because killing them will give you a “second wind” to cheese your way through it.
- Keep your distance, if you get too close he will kick you and that does huge damage.
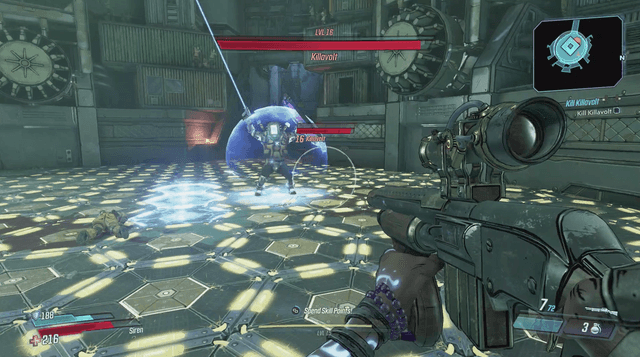
Killavolt Wave 1 (Destroy Blue Health Bar 1 and 2)
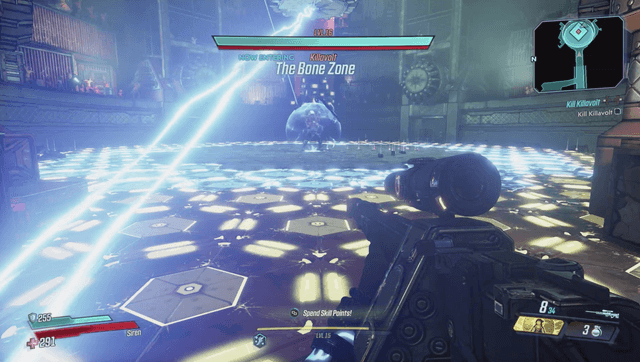
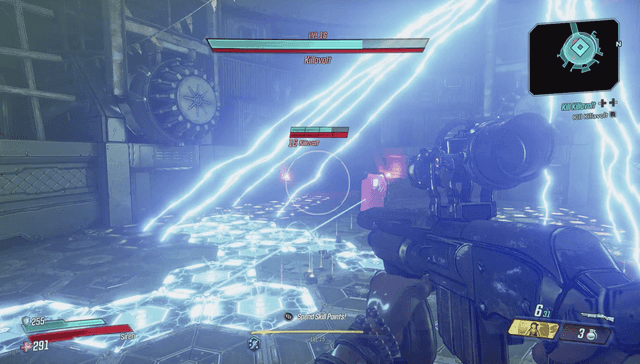
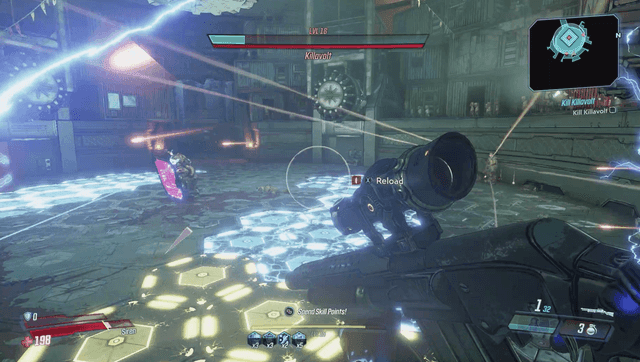
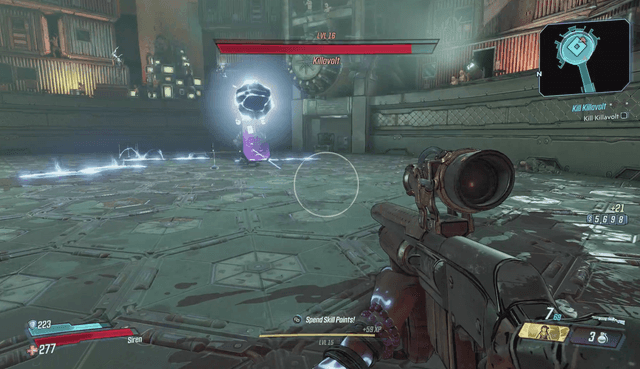
As soon as you enter The Bone Zone, the floor electricity will rain down from above, sweeping across the floor. Keep your eye on the ground and jump over it. It’s blue, the yellow tiles are to warn you where the electricity will eventually be.
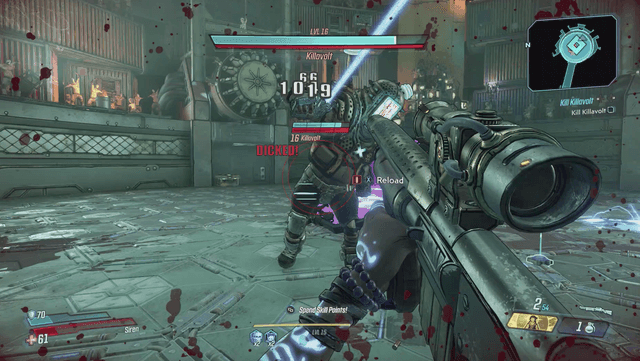
Your goal is to shoot him in the back. You can also shoot him in the dick but that’s harder to pull off. Both do about the same level of damage.

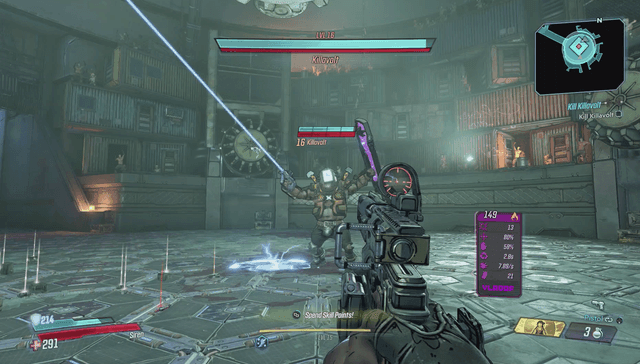
When Killavolt lifts his arms in the air, he’s open to attacks but he’s also about to unleash electricity onto the ground. Be conservative with your shots so you can get out of the way.
Those yellow tiles are about to turn into electrified tiles. Keep jumping around to avoid Killavolt’s electrical shots and the soon to be electrified tiles.
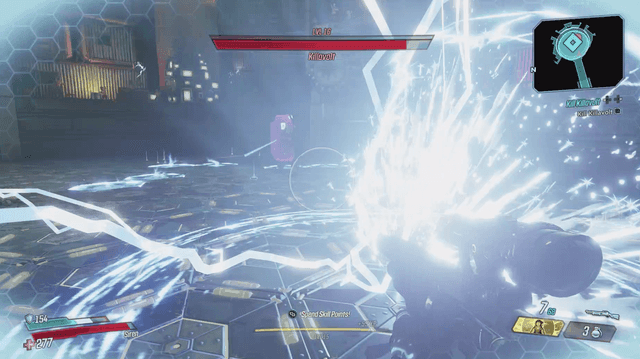
Once the first section of his health is knocked down he will release electricity from the ceiling. Note where the yellow tiles are and make sure you’re not standing on them.
At this point, Killavolt will run straight towards you like a bull. Jump around his side to avoid the electric tiles and him.
But hey, now his back is turned again. Fire away!
This cycle will repeat. Once the next section of his health is down he will run towards you again. The floor gets harder to avoid but you can always jump repeatedly, even if you’re not sure where the electricity is.
Killavolt Wave 2 (Destroy Blue Bar 3)
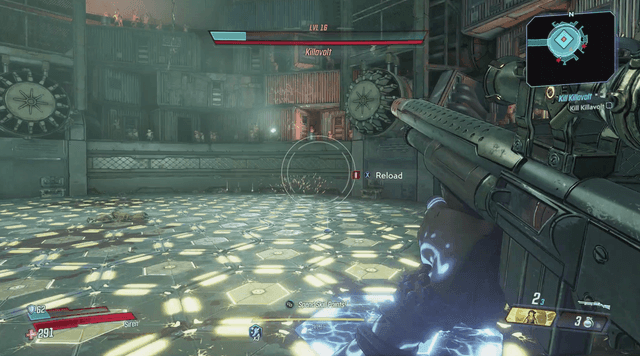
Once the first 2 sections of Killavolt’s healthbar are down he disappear for a bit and release a few enemies. Keep an eye on your minimap in the corner to tell where they are because they will not all appear at once.
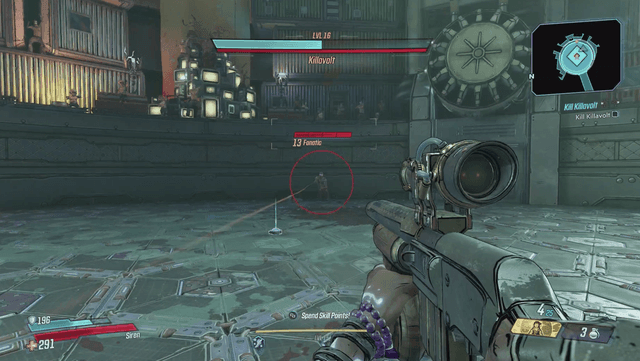
Killavolt will likely be back before you’re done dealing with these foes. After firing some attacks he will beam down more electricity and run towards you again.
Killavolt Wave 3 (Destroy Remaining Blue Health Bar 4)
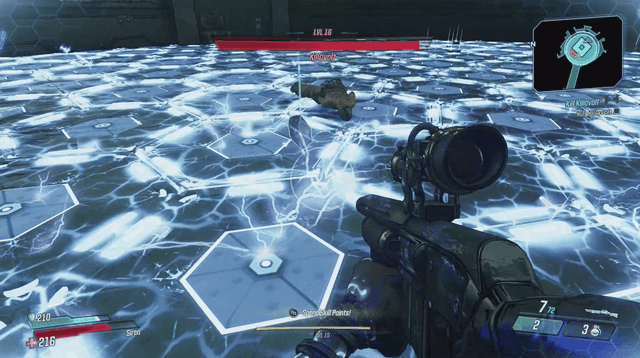
Here’s where things get crazy. Killavolt will essentially electrify the entire floor. If you’re playing as Moze you can get into your mech at this time to avoid some damage. Otherwise, remember there’s health on the sides.
This move is almost impossible to avoid BUT you can avoid it by jumping above the small electrified spot so that when you land, you land on a panel that is no longer electrified. (Remember, electrified tiles will be the first to become safe tiles and yellow tiles will become electrified). If you can’t make it there, run/look for it at least and then you can jump over a good portion of it.
Otherwise, you’re gonna have a bad time. Speaking of which, more enemies will get released and killavolt will come back to rain down more electricity and try to ram into you.
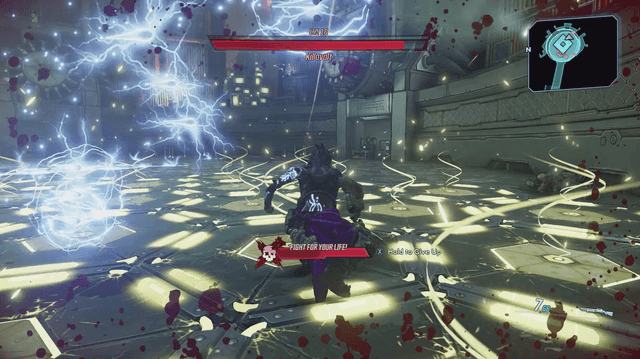
Killavolt Wave 4 Red Health Bar
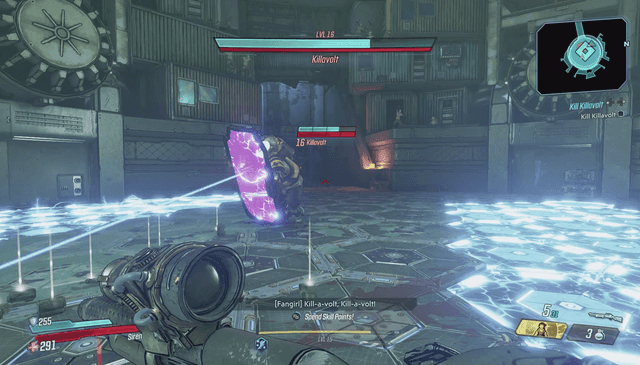
Killavolt will form a shield around himself. And the electric tiles keep getting harder to avoid.
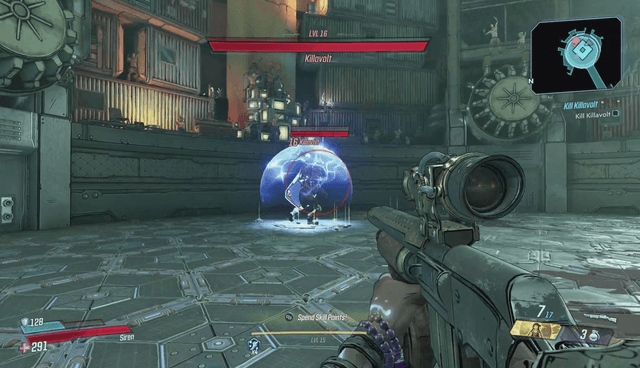
Remember to keep an eye out for the yellow so you know when the electricity is coming.
Even when it seems impossible remember, those blue tiles will be the first sections to turn safe.
And then there’s an attack he has that’s unavoidable. Every tile is electrified.
Afterwards, the section that was initially in blue will be safe.
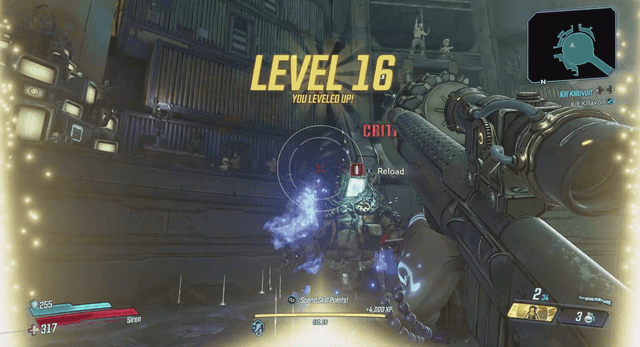
More enemies will keep coming but at least they can give you a second wind!
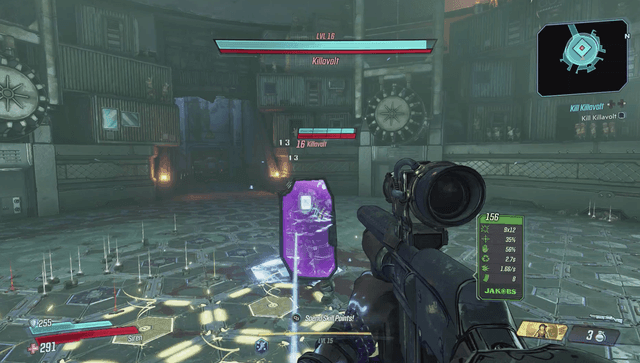
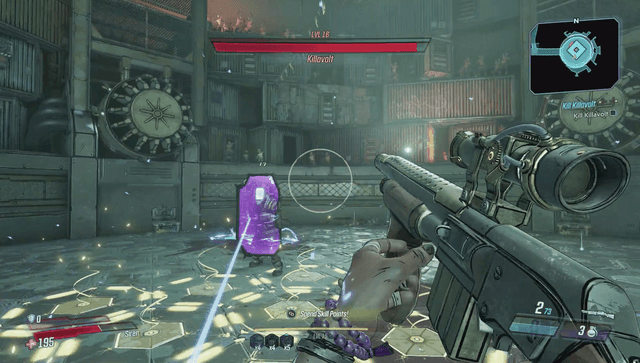
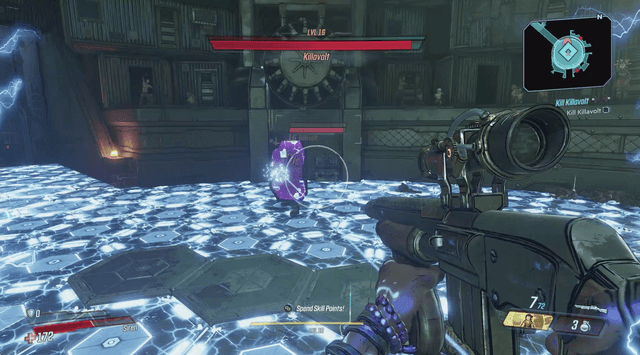
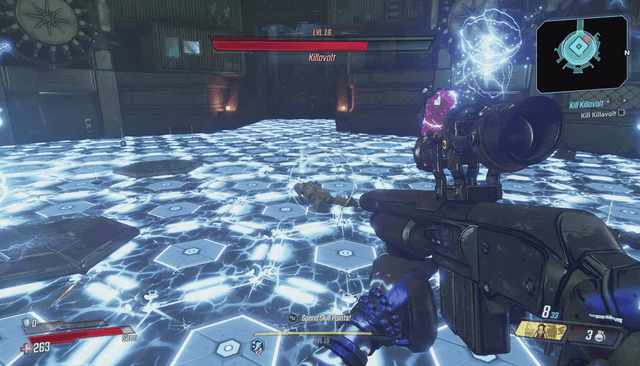
Finally, Killavolt has a new attack where he launched a big ball of electricity from his back and onto the floor, making a big section in front of him almost instantly electrified. The ball itself, can also hurt you.
He will keep cycling through these attacks until you kill him. You’ve seen it all. The only thing that changes in the floor patterns.
After destroying 1 part of the red health bar, his huge electric attack leaves several small patches of safety for instance.
From here just keep going until Killavolt is dead.
Rewards: Once you complete the rest of the mission (mounting backpack and returning to Moxxi) you’ll get $1,047 and a legendary item.