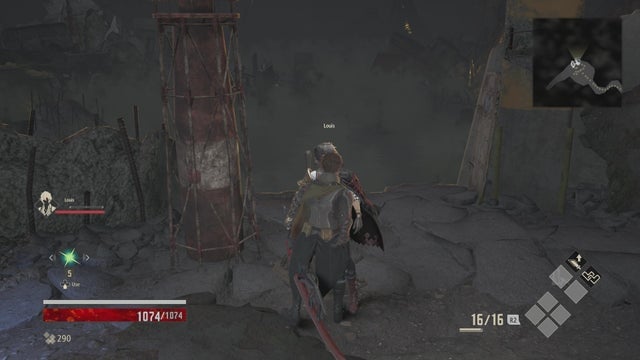
Howling Pit
If you’ve been following along, you might have already discovered this area when journeying through the Ruined City Center. In order to proceed, you must take the elevator (or use the deadly platforms to descend) down to the Howling Pit. Visit the previous section for more specific directions.
If you’ve already discovered this area, you can simply teleport to the Howling Pit Entrance Mistle.
Area G-12 Howling Pit
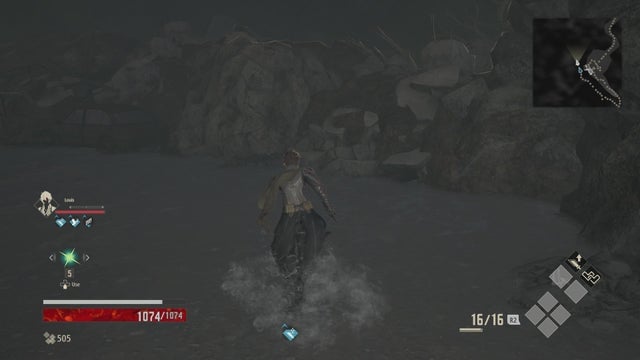
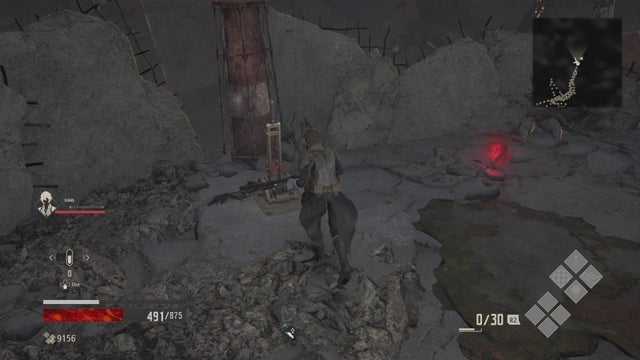
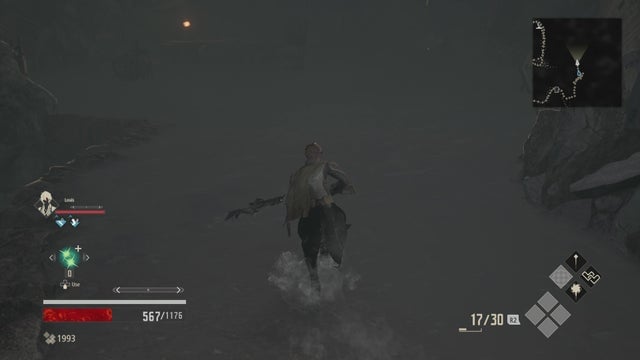
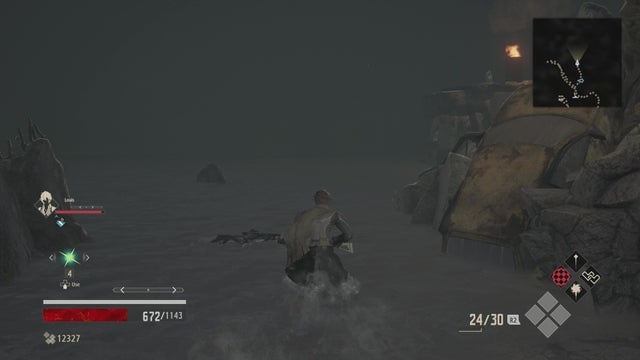
The Howling Pit is divided into two large sections, with your destination being straight down the middle of this area. The only problem is that the majority of the area is filled with water and fog, making it hard to move and see. However, there are a few areas with levers you can pull to shoot giant flames in the air, which you can use as a waypoint. Hit the first lever by the starting Mistle.
Your first main goal should be to get to the middle of this large area, where you’ll need to use the Rusted Sluiced Key to proceed. For the first section, there’s a Rotten Mistle on the far left and right sides of the area, so keep that in mind.
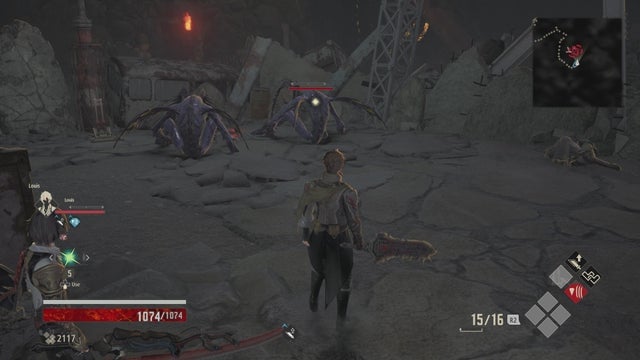
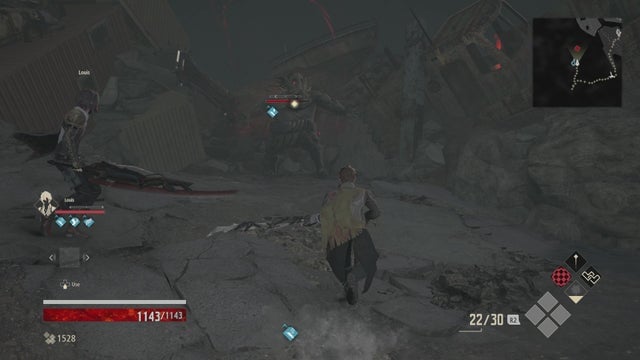
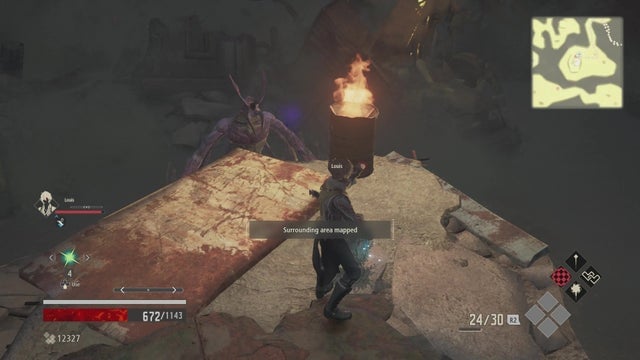
For now, take some time to explore. When you’re ready, head North-East of the Howling Pit entrance to find the next lever and flame. It’s located up a ramp with two large winged-enemies.
Take them out and activate the lever to trigger the flame. The next flame can be found just west of here. But before you do that, the next point you should visit is to the east of the lever you just activated, to the next rotten Mistle. Head down the ramp to the right of the lever and make your way around and to the right.
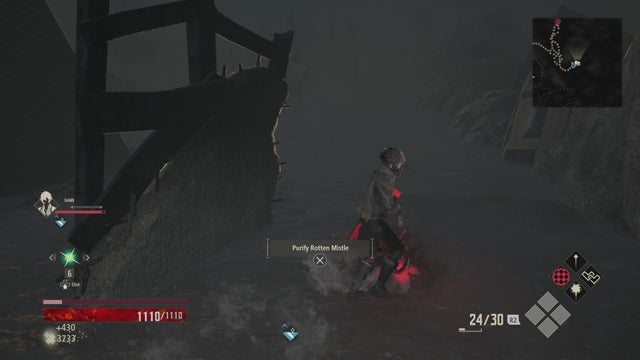
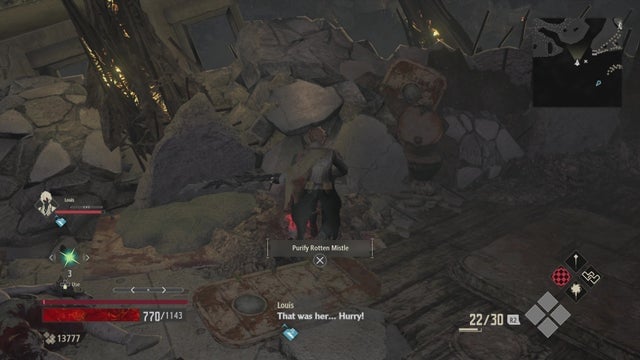
You’ll run into some slime creatures on your way to the next Mistle. Look out for the red glow of the rotten Mistle as you make your way around. Purify it and start making your way to the opposite side.
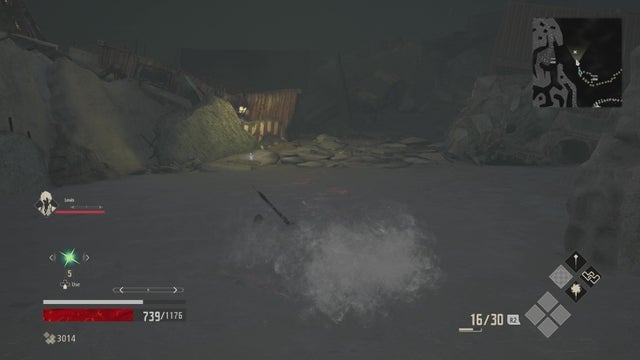
Next, head to the West of the last lever you activated. From the ramp that leads down, it’s straight ahead, West of the initial starting point. Look for a ramp that leads up and to the right with a large beast nearby.
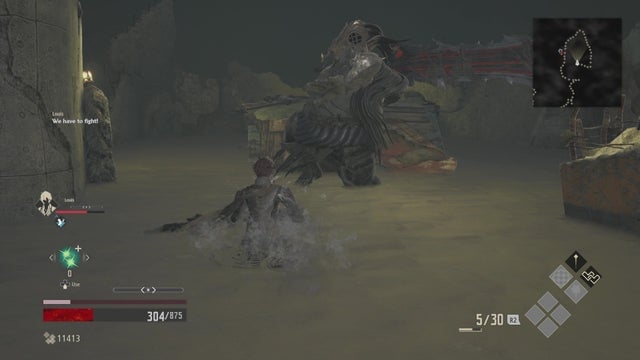
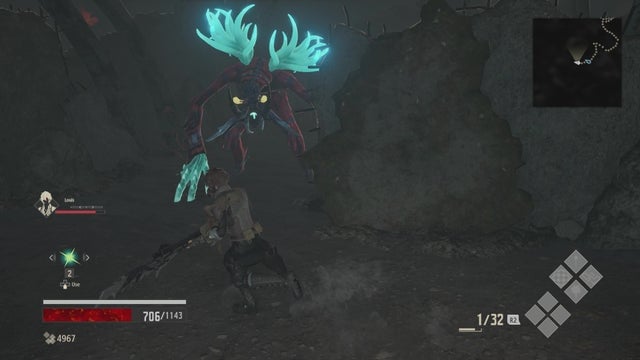
After you activate that flame, keep heading West to the next Mistle. You’ll run into a huge monster with a large sword and spiked rolling creatures. Take out all the enemies.

The next Mistle is nearby, close to where the rolling creatures were. Purify it and get ready for the next section. Head East, towards the middle of this section. You’ll want to find a narrow path with two large creatures guarding it, in front of a yellow taxi against the wall. Follow this path and eventually you’ll come to a ramp that leads upwards.
Here, you’ll find another one of those trees, a lever, and a Mistle. Activate the lever and rest at the Mistle.
Take the nearby ramp down and activate the next lever to lower the water. Follow the path along to the right and you’ll see a large enemy, sitting down in a corner.
Killing the beast will reward you with the Rusted Sluice Key, which you’ll need to proceed. Follow the path that leads up a ramp, just near the enemy you took out.

Use the Rusted Sluice Key to lower the water ahead so you can proceed. Your next goal is to find the Eagle Key, which can be found on the ground close to an enemy.
Look for an enemy with glowing blue antlers. The Eagle Key is in the small area where this enemy is located. Make sure to take it out. You can easily knock it off the nearby edge if you’re struggling.

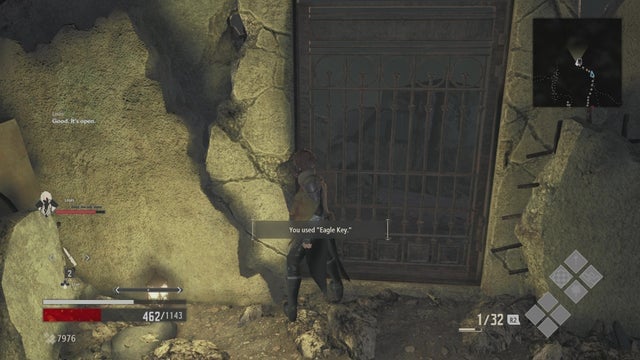
Grab the Eagle Key and head back to the beginning of this section, where you pulled the lever to lower the water. To proceed, follow the path to the right of the lever that leads to a narrow path and a gate. Use your Eagle Key here.
After you unlock the door, head to the right to find a little island and another large enemy. Defeating it will reward you with the Moss-Covered Key.
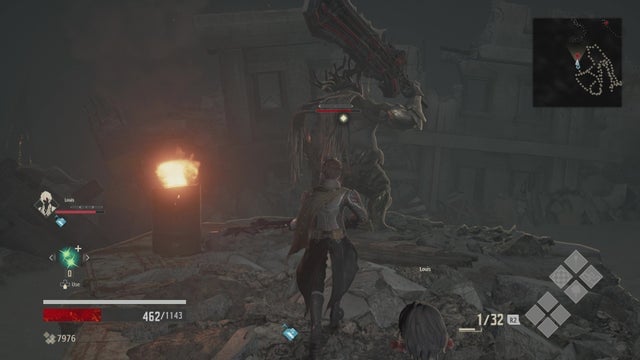
Take out the large enemy, being careful not to run out of stamina while rolling through the water. This enemy is tough, but use the island to your advantage. Now, head back to the door you opened and take the opposite path. You’ll need your Moss-Covered Key to activate the next lever.
Be careful as you proceed throughout the next area. The spiked rolling enemies will try to knock you off the narrow ledge. Try to fight them in the more open areas of the stage.
Open up the nearby chest on the small island and then continue along, up another ramp. You’ll come to the lever that requires the Moss-Covered Key to advance.

After you activate the lever, you’ll approach the final stretch of this area, leading to the boss.
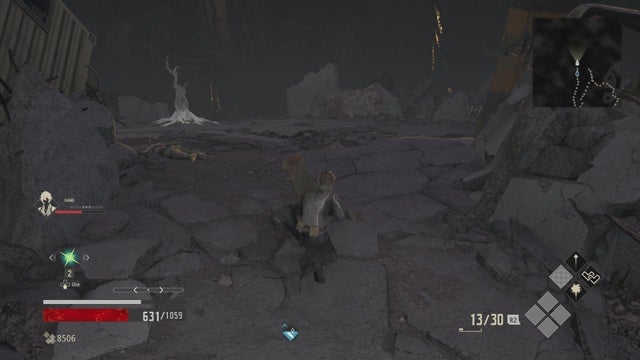
Although there are minor detours, this area is fairly linear. Just be cautious not to fall off the edge and into the depths. You should do your best to head West, towards a burning can in the distance. Follow this path along the left side to get there.
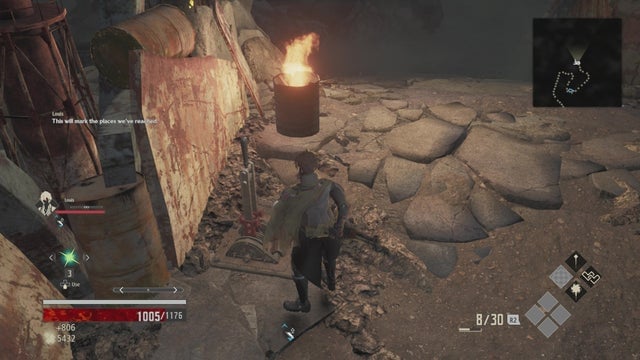
From the burning can, head North-East, up a ramp that leads to yet another burning can and the last lever of this area. Activate it and proceed.
First, take the rightmost path to activate the next Mistle.
Activate it and head back to the split by the lever, this time taking the other path that leads to the boss.
Purify this rotten Mistle and continue along to the boss.