
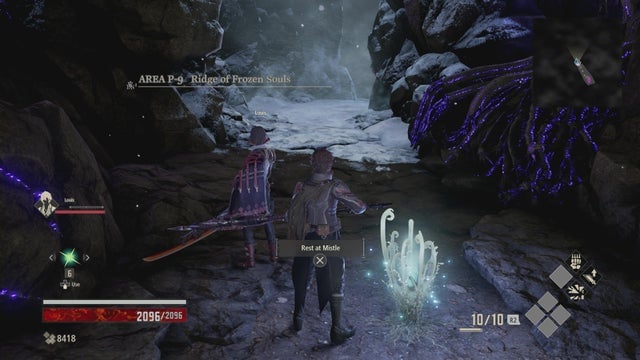
Ridge of Frozen Souls
In order to reach this area, you need to have defeated the Successor of the Ribcage boss in the Cathedral of Sacred Blood.
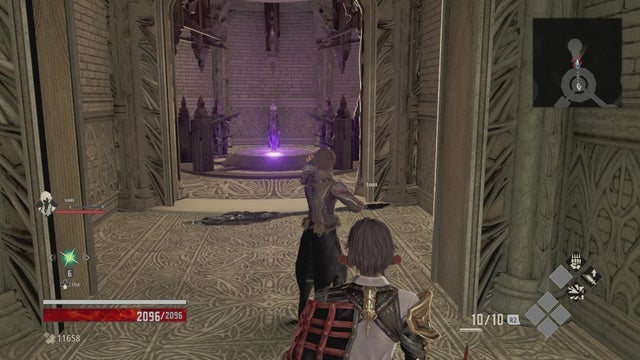
After that, teleport to the Inner Tower Mistle and head to the strange-looking door ahead. You can use the purple orb to teleport to the Ridge of Frozen Souls.
Area P-9 Ridge of Frozen Souls
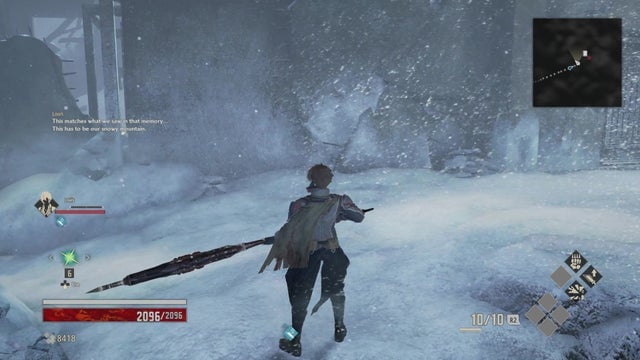
When you spawn, you’ll come to a chilly-looking place – one with deadly foes and even deadlier terrain. Be cautious when maneuvering around.
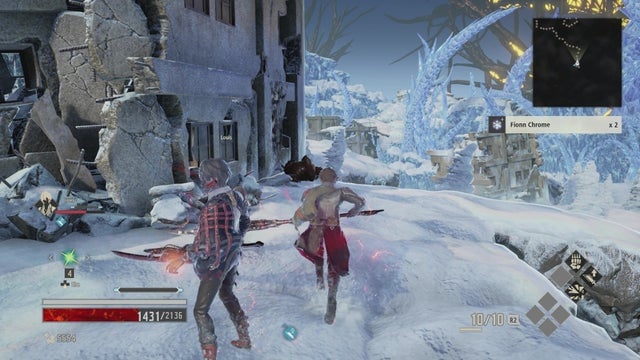
Head straight and you’ll come to a door on your right, with a path that leads upward, nearby. Watch out for the large enemy guarding the door. Head up the ramp and be aware of the two dogs that will ambush you on the right.
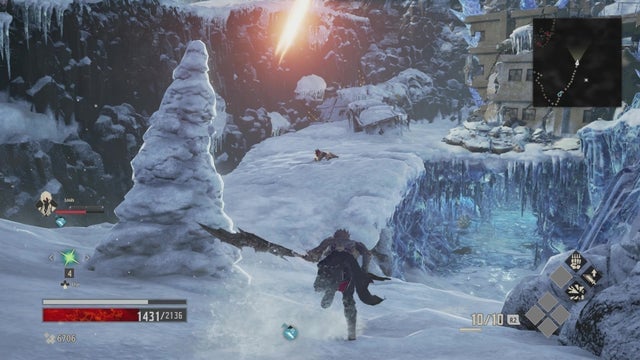
Keep going straight and you’ll come to a patch on the ground that has a blue shade. This is a trap and there are many more of these to come. If you step on it, the floor will give away and you’ll die, so be quick or avoid stepping on it altogether. Head up the ramp on the right and you’ll reach a split.
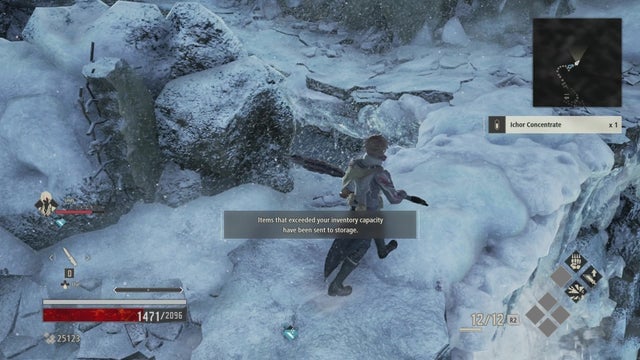
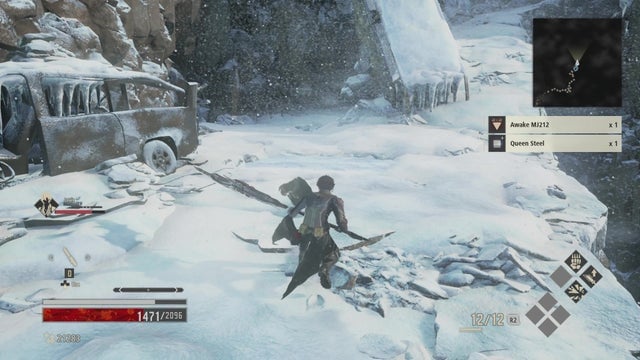
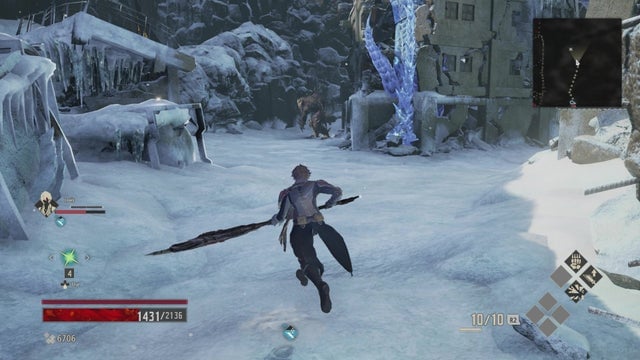
Quickly run up the ramp ahead to grab the item at the top. Then, come back down and take the left path that wraps around a small lake. Be careful not to get hit while on the narrow path, because it’s really easy to get knocked off. Run around the enemies and fight them where there’s more room. Keep heading straight and you’ll come to a Mistle.
Rest at the Mistle, and be aware of the multiple paths you can take. There’s a path that leads down to the right of the Mistle, one that leads up to the left, and one that wraps back around the small lake. Wrap around the small lake for now and grab any items you find. Head back to the Mistle to rest, and then make your way up the ramp that leads upward.
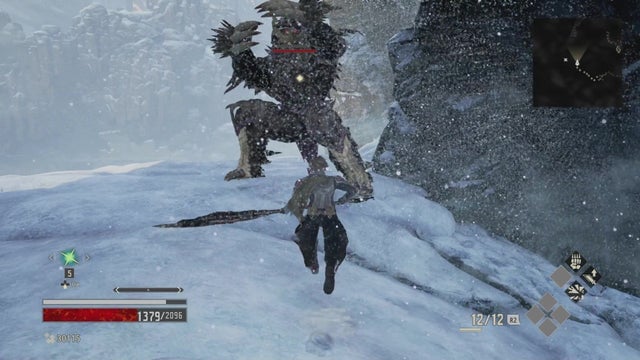
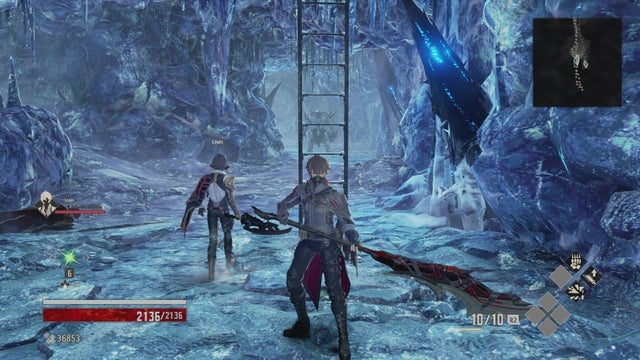
A rolling spiky enemy will be in your way as you progress forward, so keep your guard up. At the top of this section, a huge enemy will await, that cause some problems. If you aren’t confident in your abilities to take it out, you can run around it, directly towards the ladder it’s guarding.
Whichever you choose, head that way to proceed. At the top of the ladder is yet another rolling enemy. Keep going that way, and you’ll trigger a cutscene. After it’s over, rest at the Mistle on the right.
At this point, you’ll see a huge structure ahead, along with several large enemies. To reach the next area, you’ll want to stick to the right side. Of course, you can venture off to the left to explore and take out enemies, as well. But it’s worth noting that the left side is entirely optional.
Explore the left and middle sections if you’d like, and then head to the right side of this area, making sure to be careful of the ledge to your right. You’ll pass some trees, as well as a few enemies that pop up out of the ground. Continue to wrap around the building and you’ll reach a more open area overlooking a huge crystal structure that resembles a dragon’s tail.
From here, stick to the left side, past a building on your left and you’ll come to another split – a ramp that leads down to a cave and a ramp that leads upward.
The way to the boss will take you through the cave below, but for now, let’s go up the ramp on the left to find a much-needed Mistle.
You’ll be ambushed by three dogs when you reach the top of the ramp, so be on your toes. Move forward a little and you’ll see a split with a massive creature waiting for you on the rightmost path. For now, head left towards the Mistle. A hole with a ladder that leads down will be close by.
Rest at the Mistle and then head back out to do a bit more exploring. If you want to take on the large enemy that awaits on the adjacent path, you can, but be warned, it’s a very difficult foe. It’s definitely good practice to try to take it out, but depending on your level, that might be easier said than done.
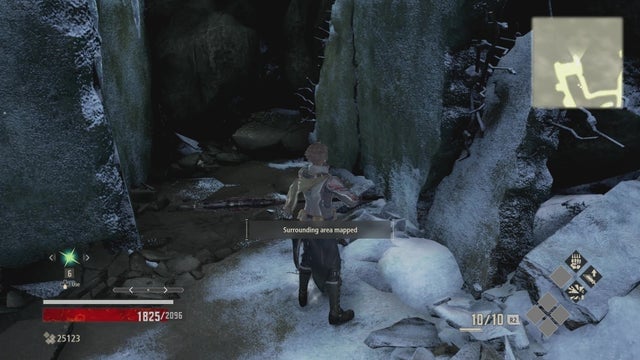
When you’re ready to move on, climb down the ladder into the cave.
Slide down the ladder and take in the beauty of the cave. The path to the left of the ladder will lead you to the boss. But be sure to head towards the other path that leads to a dead end in front of the ladder to get some goodies. Once you’ve done that, take the path right next to the ladder to proceed.
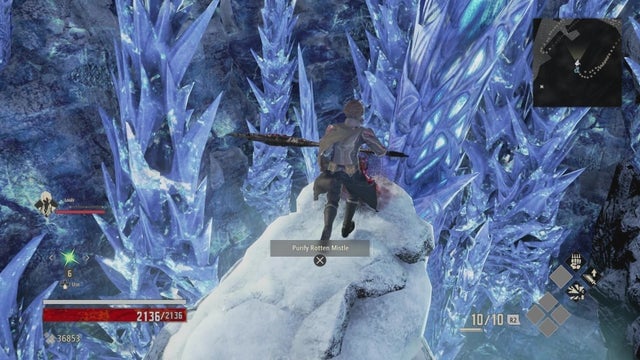
At the top of this ramp, you’ll see a rotten Mistle on the right, but be warned that most of the ground surrounding it will fall if you step on it. Instead, work your way around the breakable floor, next to the trees to reach this Mistle.

Talk to Cyllene nearby to restore the Vestiges and then be prepared for a tough fight.