Hello from our Daydream Forgotten Sorrow Walkthrough & Collectibles guide! In this puzzle platformer, you embark on a journey through a surreal world as a young Griffin and his loyal bear Birly. Let’s take a look at our guide to overcome challenges and avoid pitfalls! Because this guide is a detailed walkthrough on achievements, collectibles!
Daydream Forgotten Sorrow Walkthrough & Collectibles
Welcome to our Daydream Forgotten Sorrow Walkthrough & Collectibles guide. This guide is meant to aid you if you are stuck on any of the puzzles, cannot find any of the collectibles or you just want to play along for a smooth completion.
Difficulty: The puzzles are the only hard part about the game. Some of the puzzles are restrained by time, so you need to be fast, but there is no difficulty modifier, or any hard fights.
Chapter 1
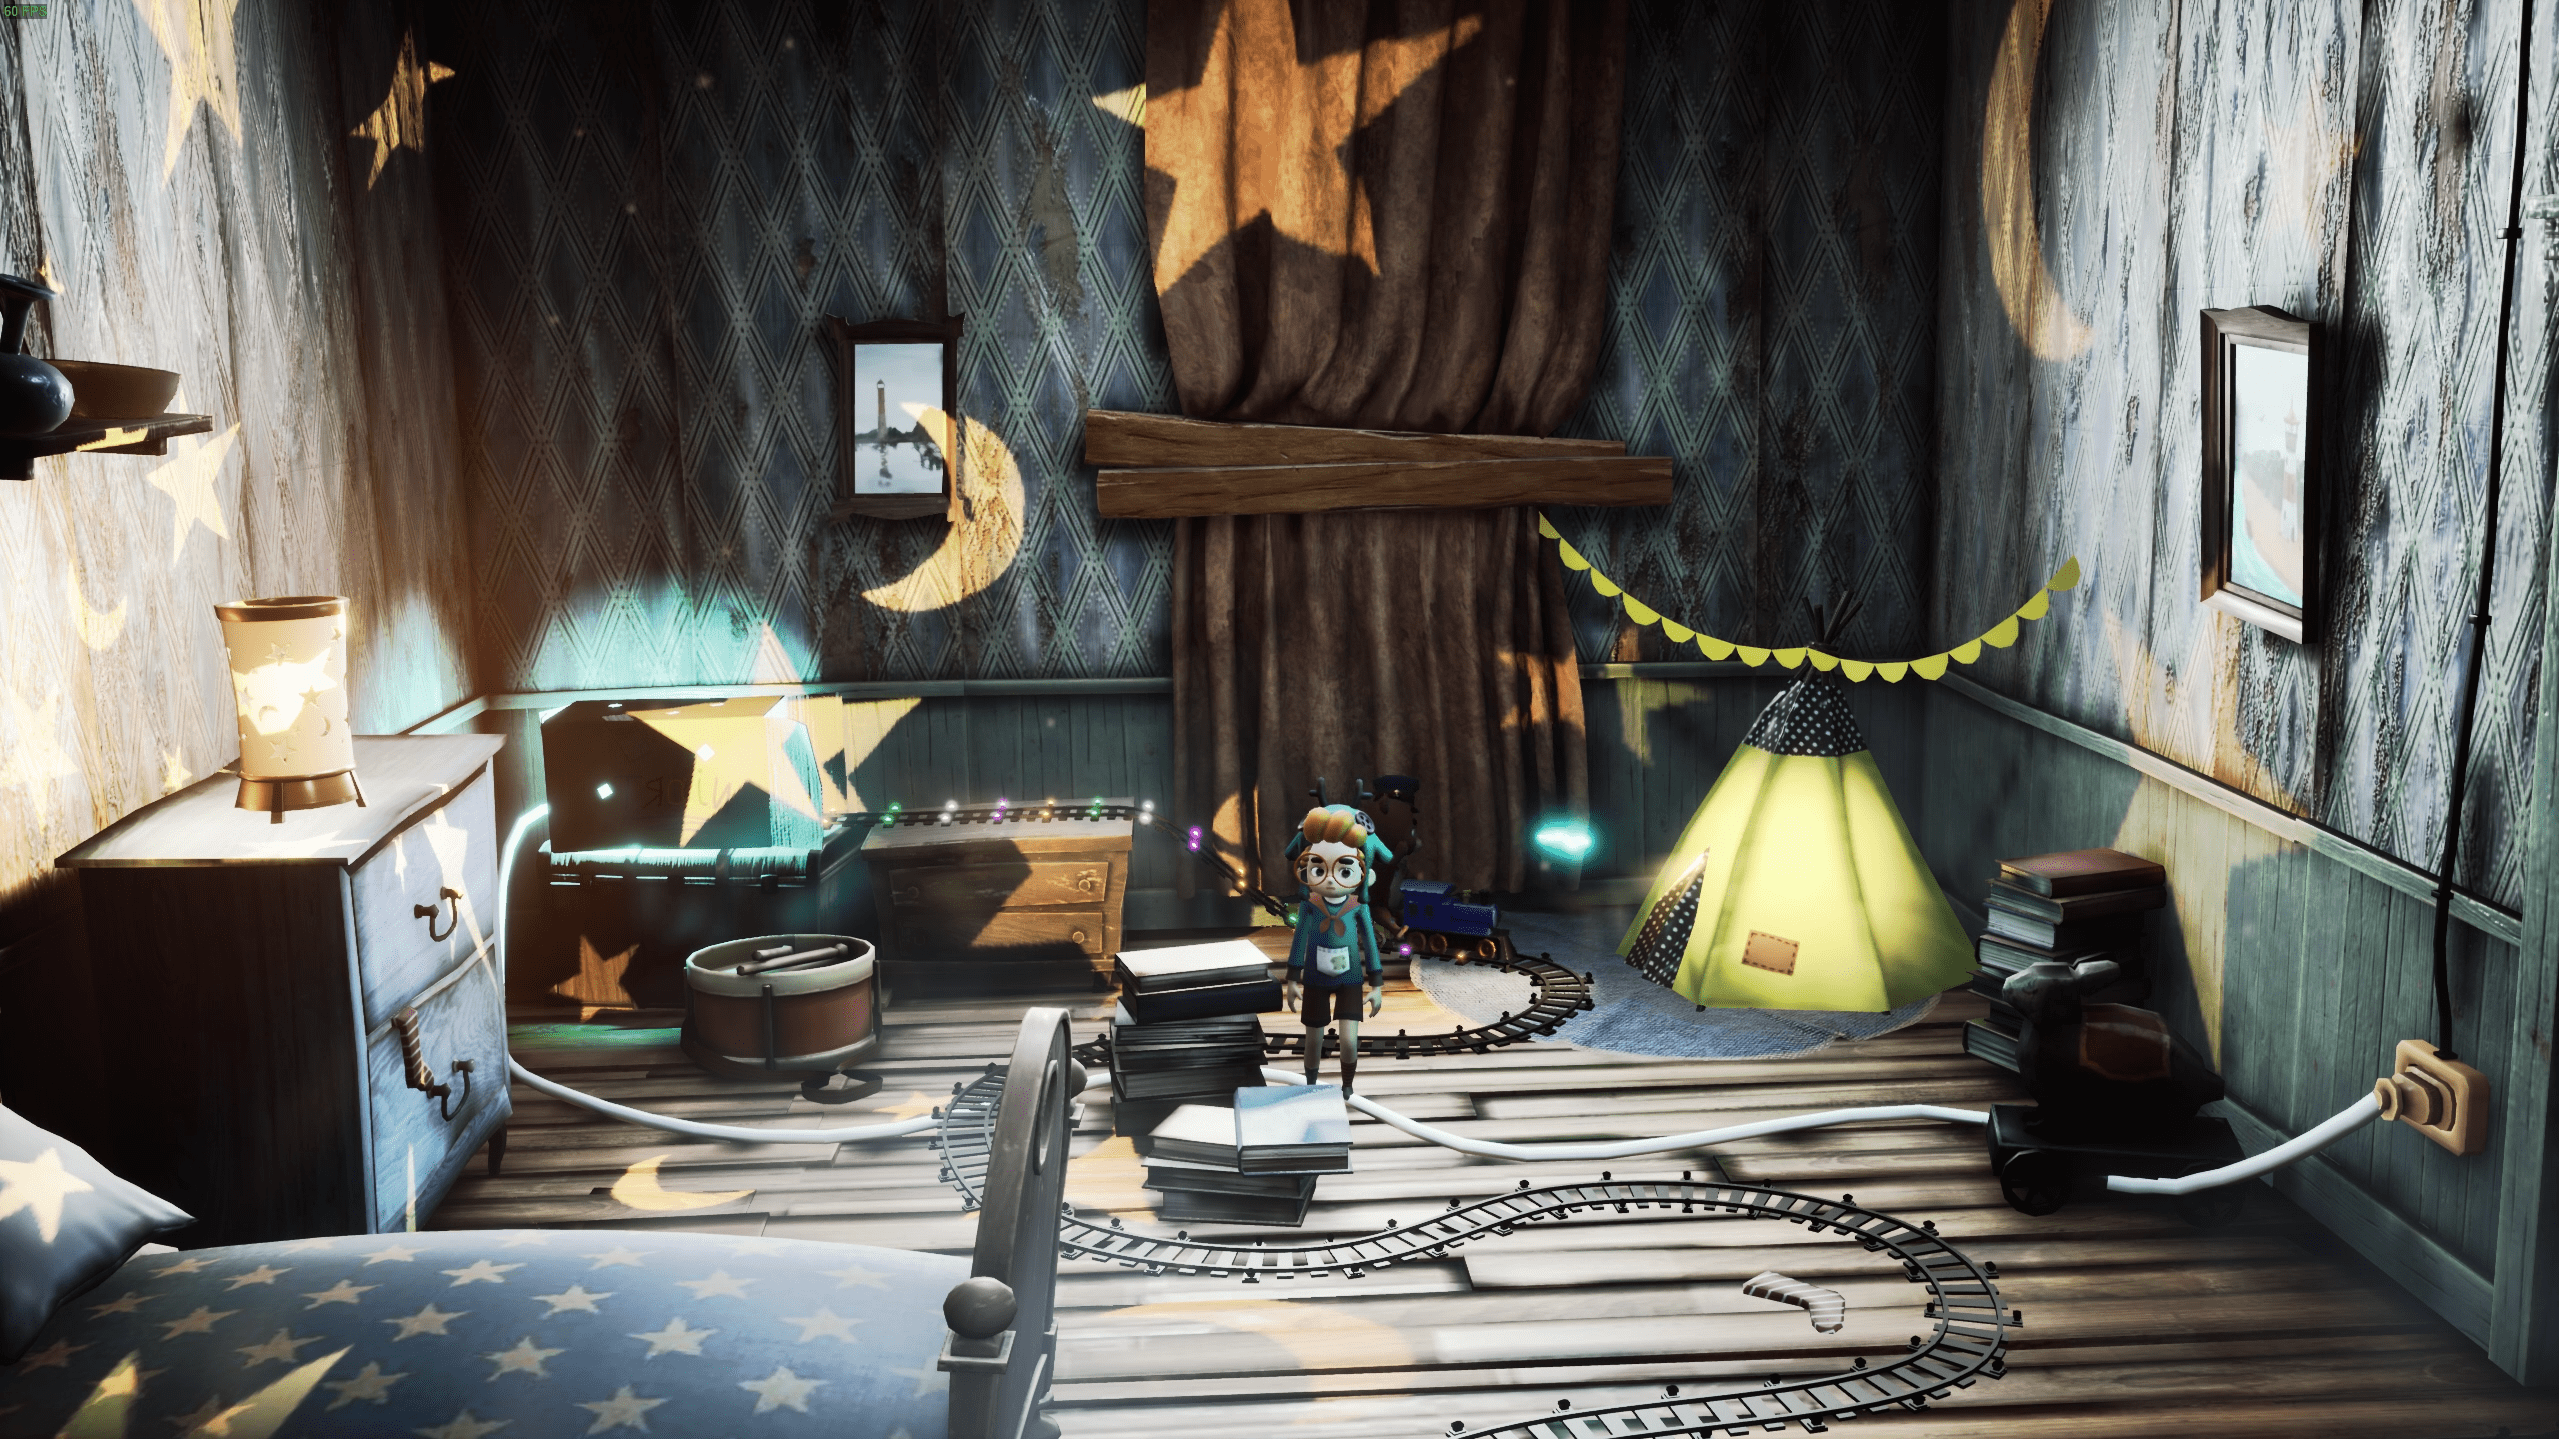
Collectible 1
This one will be automatically awarded once you complete the rail puzzle. Plug the socket in, pick up the railtrack that Birly (the bear) throws out of the tent, place it on the track. As soon as the train is ready to leave, the first firefly will appear, and your first achievement is done.
Collectible 2
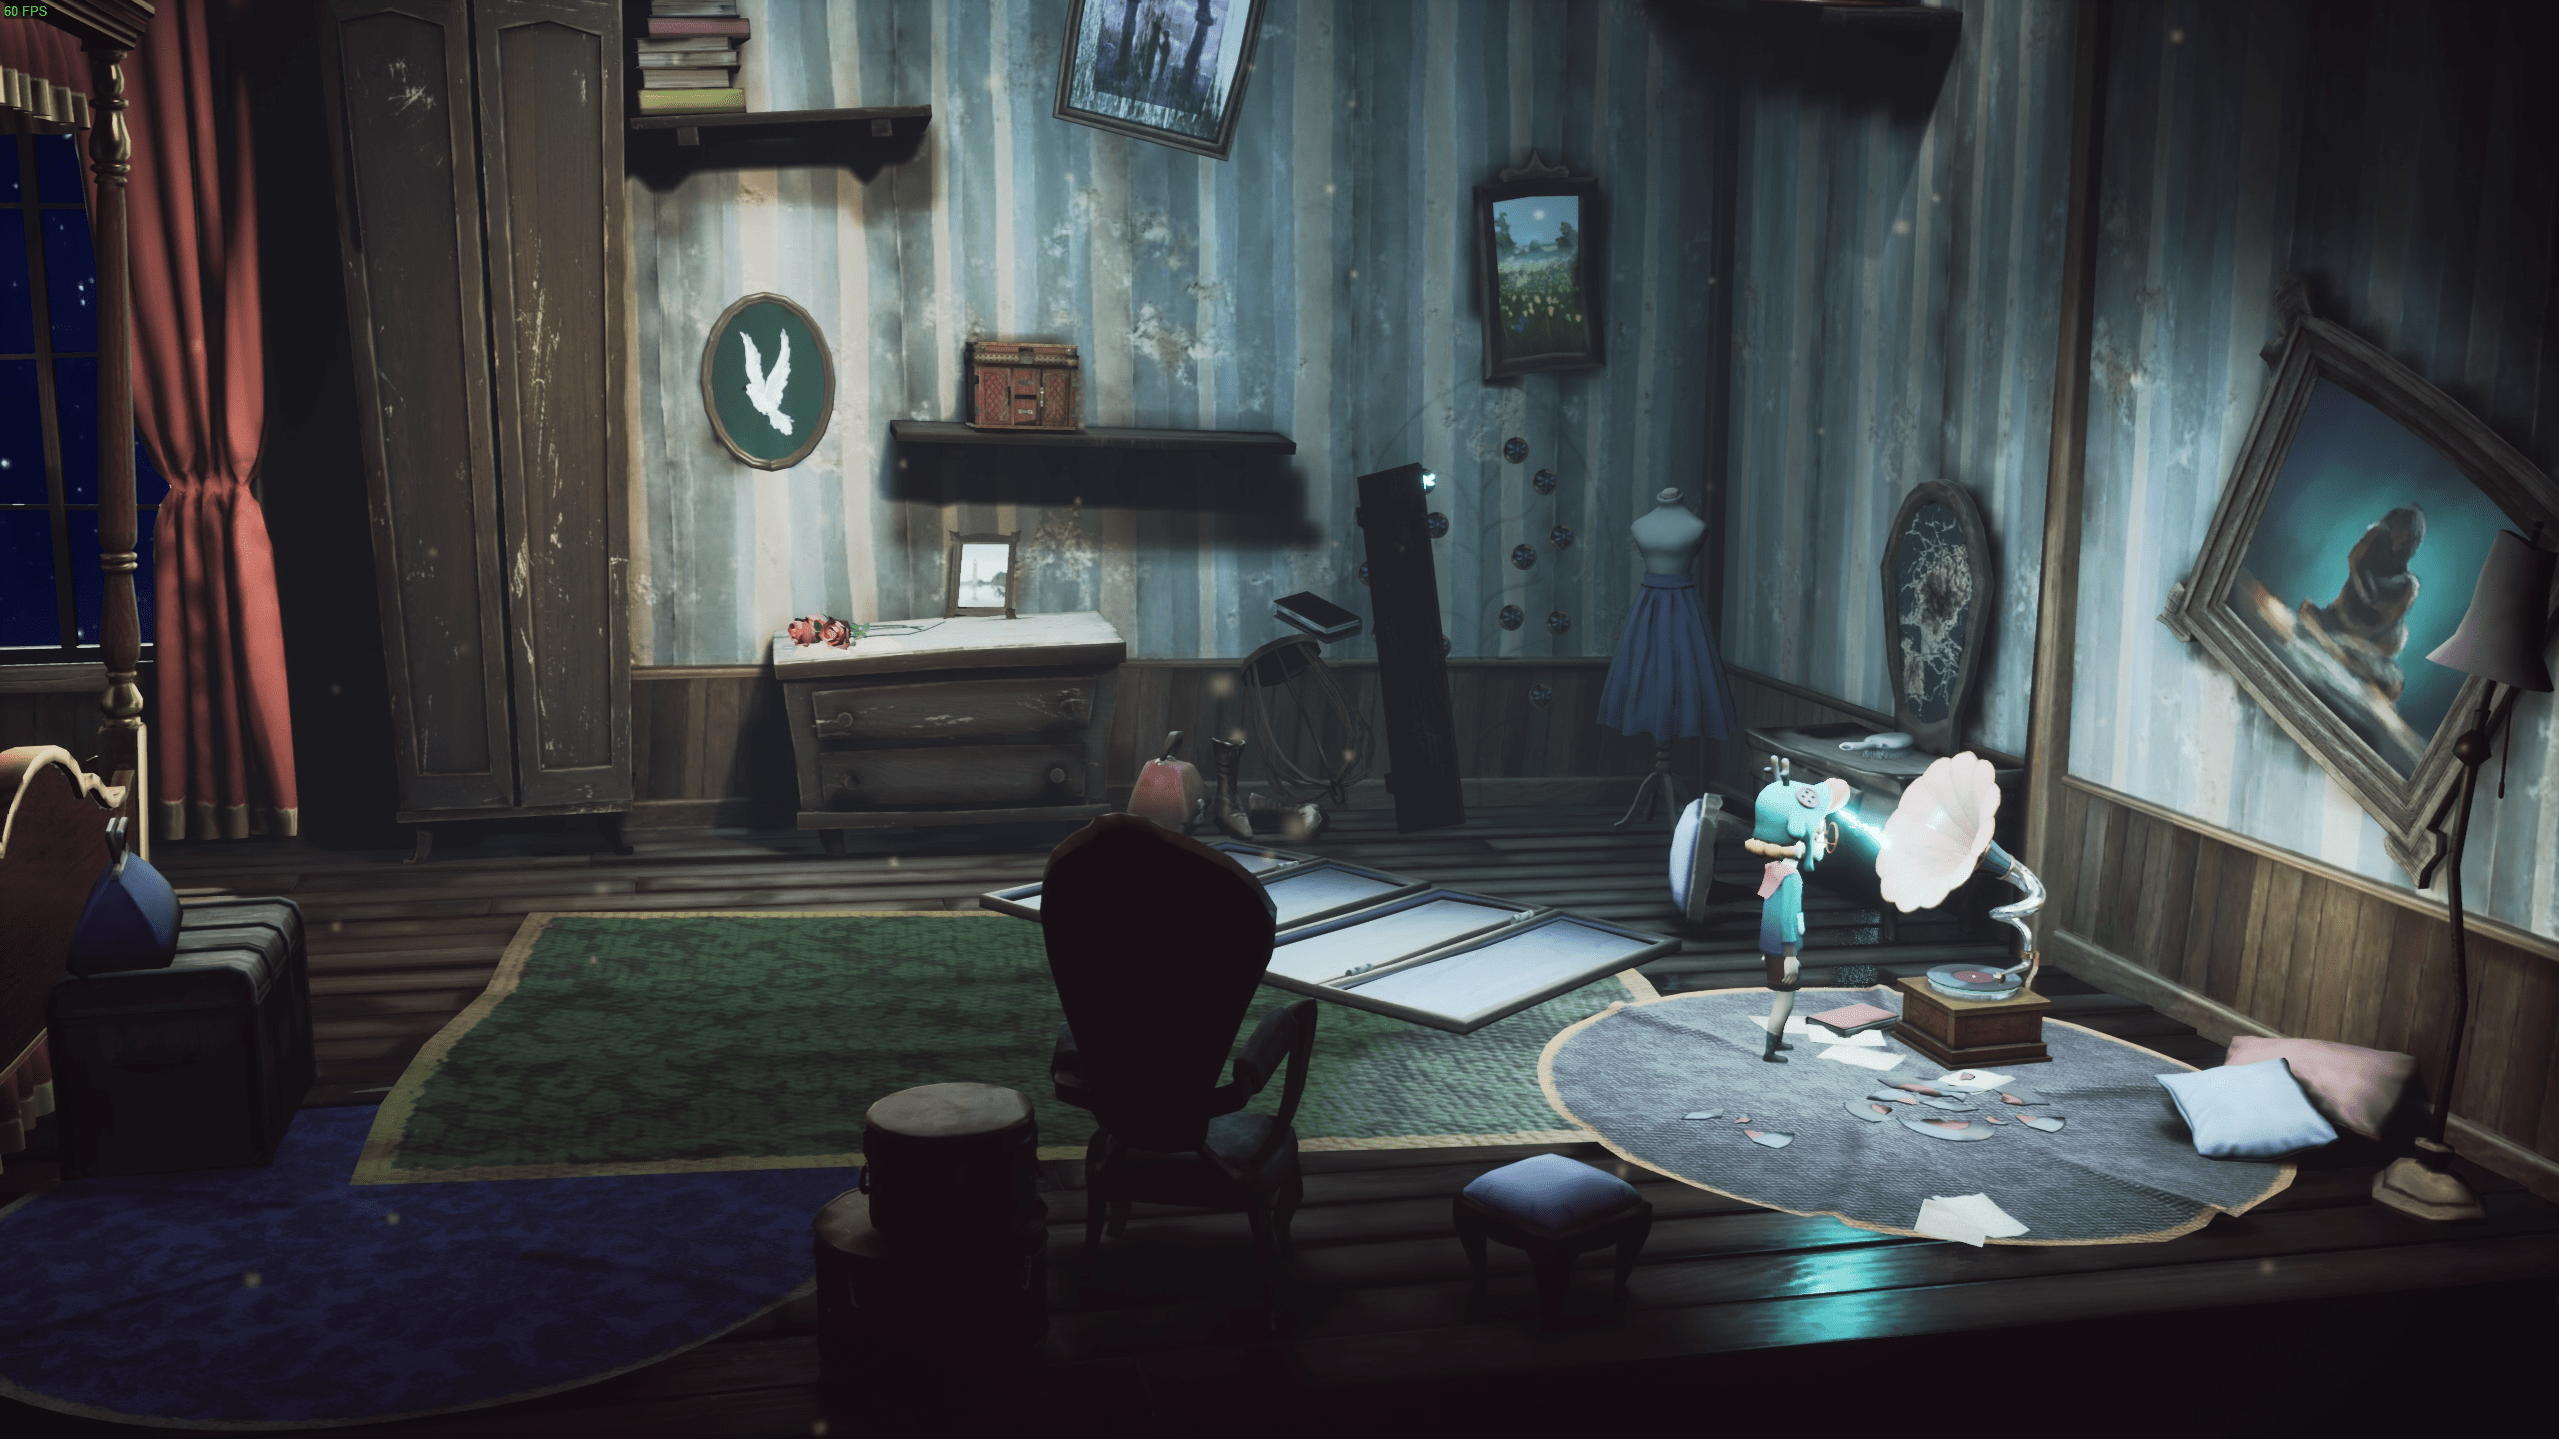
Pick up the music disc, & carry it into the next room. There will be a cutscene, that’s okay.
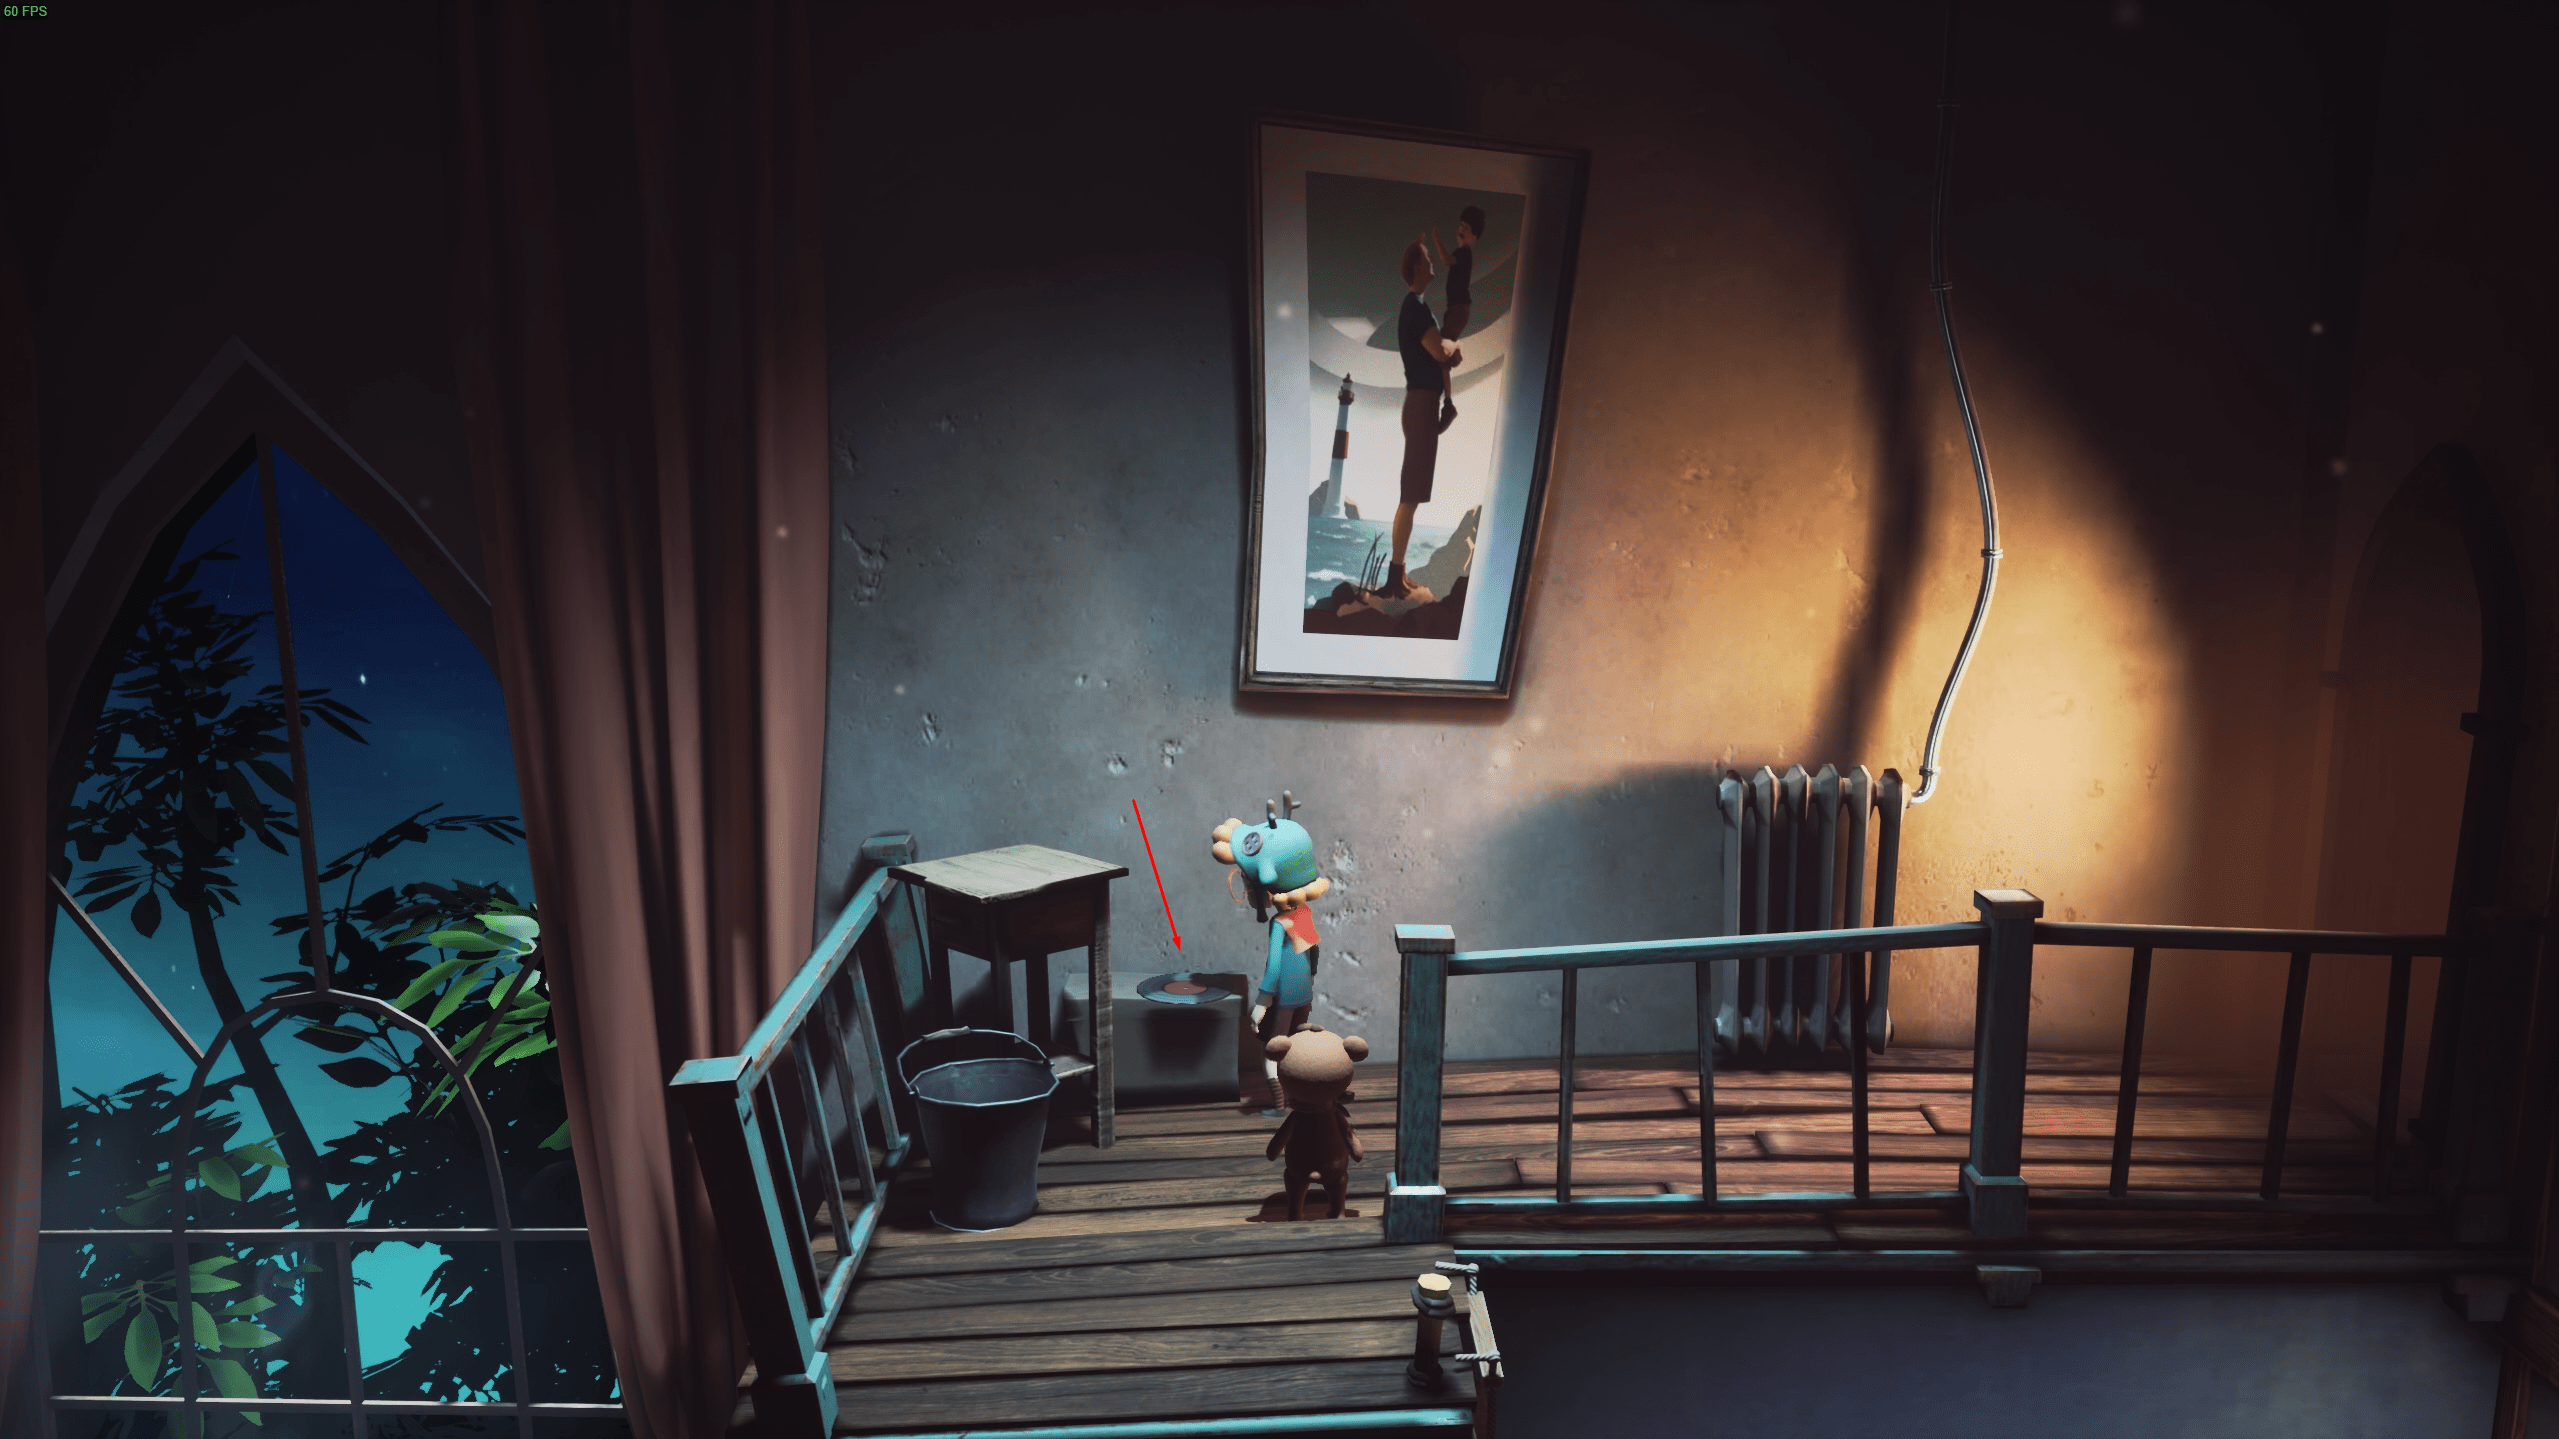
Pick up the music disc again, and head towards the grammaphone. Once placed on the grammaphone, the firefly will appear.
Chapter 2
Collectible 3
After you fall down when you land on the crate, you will hear a train [choo choo].
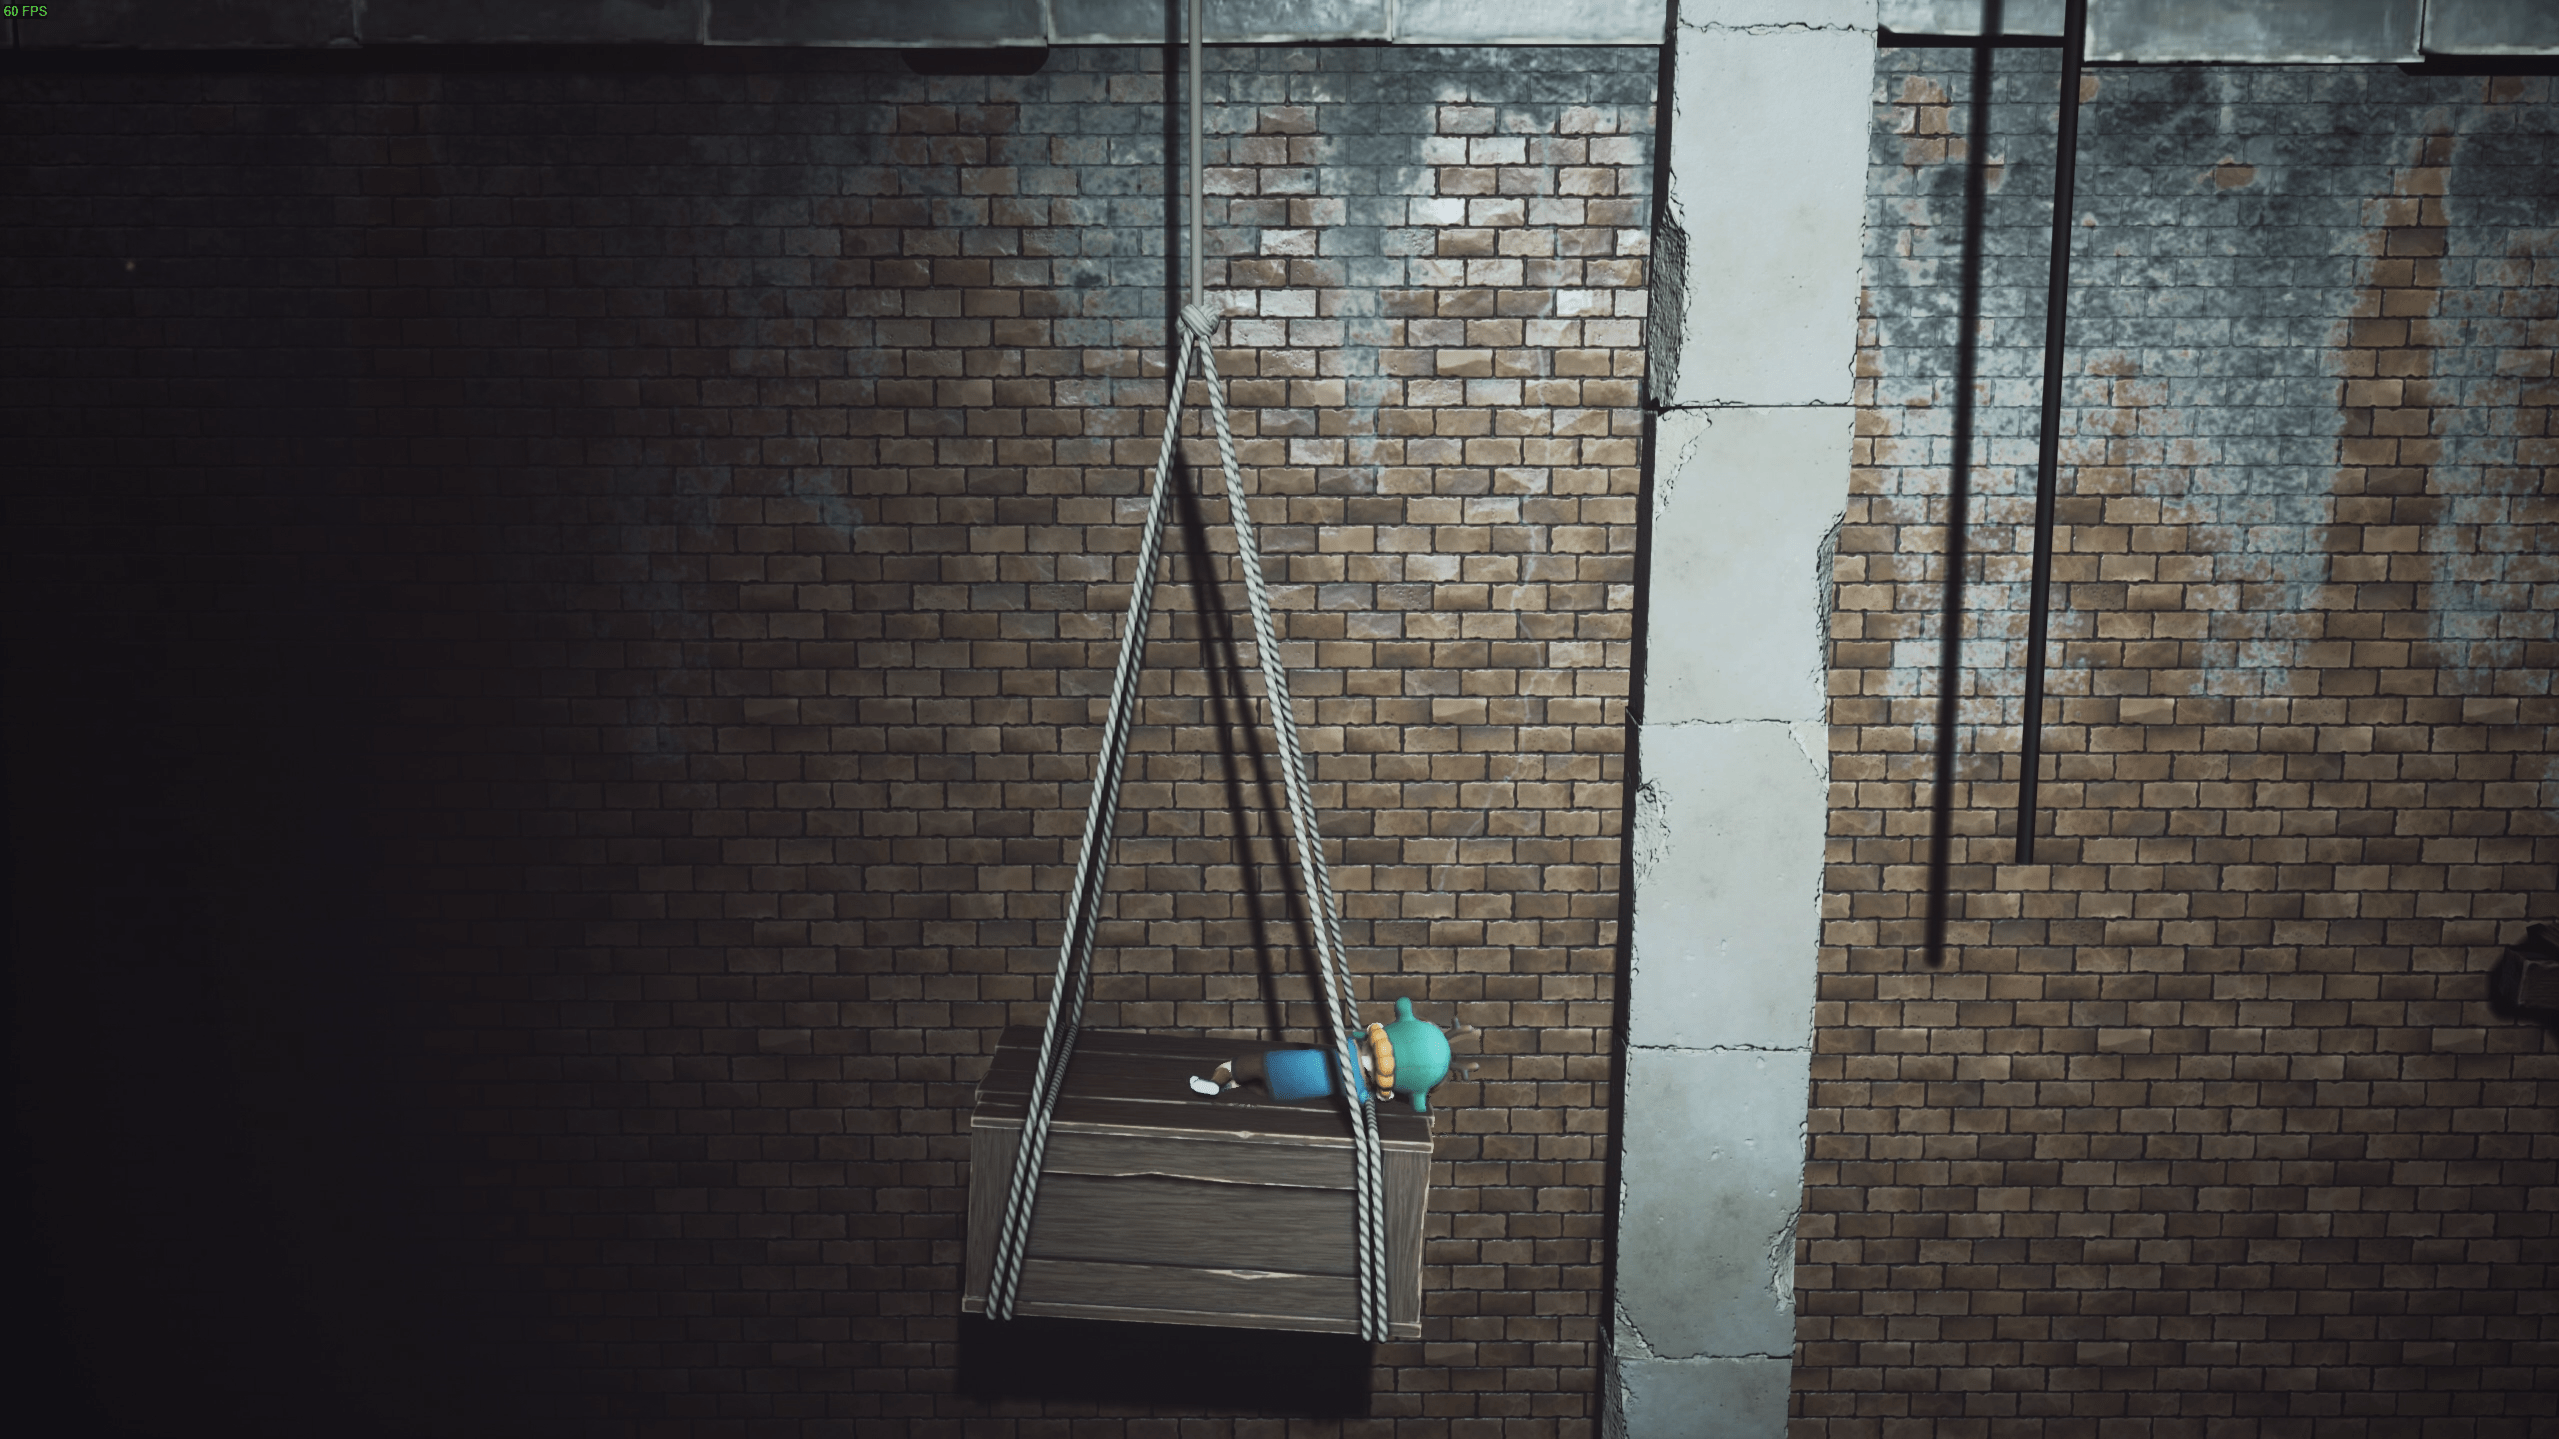
Head over to the platform on the right. You will see Birly holding a train cart.
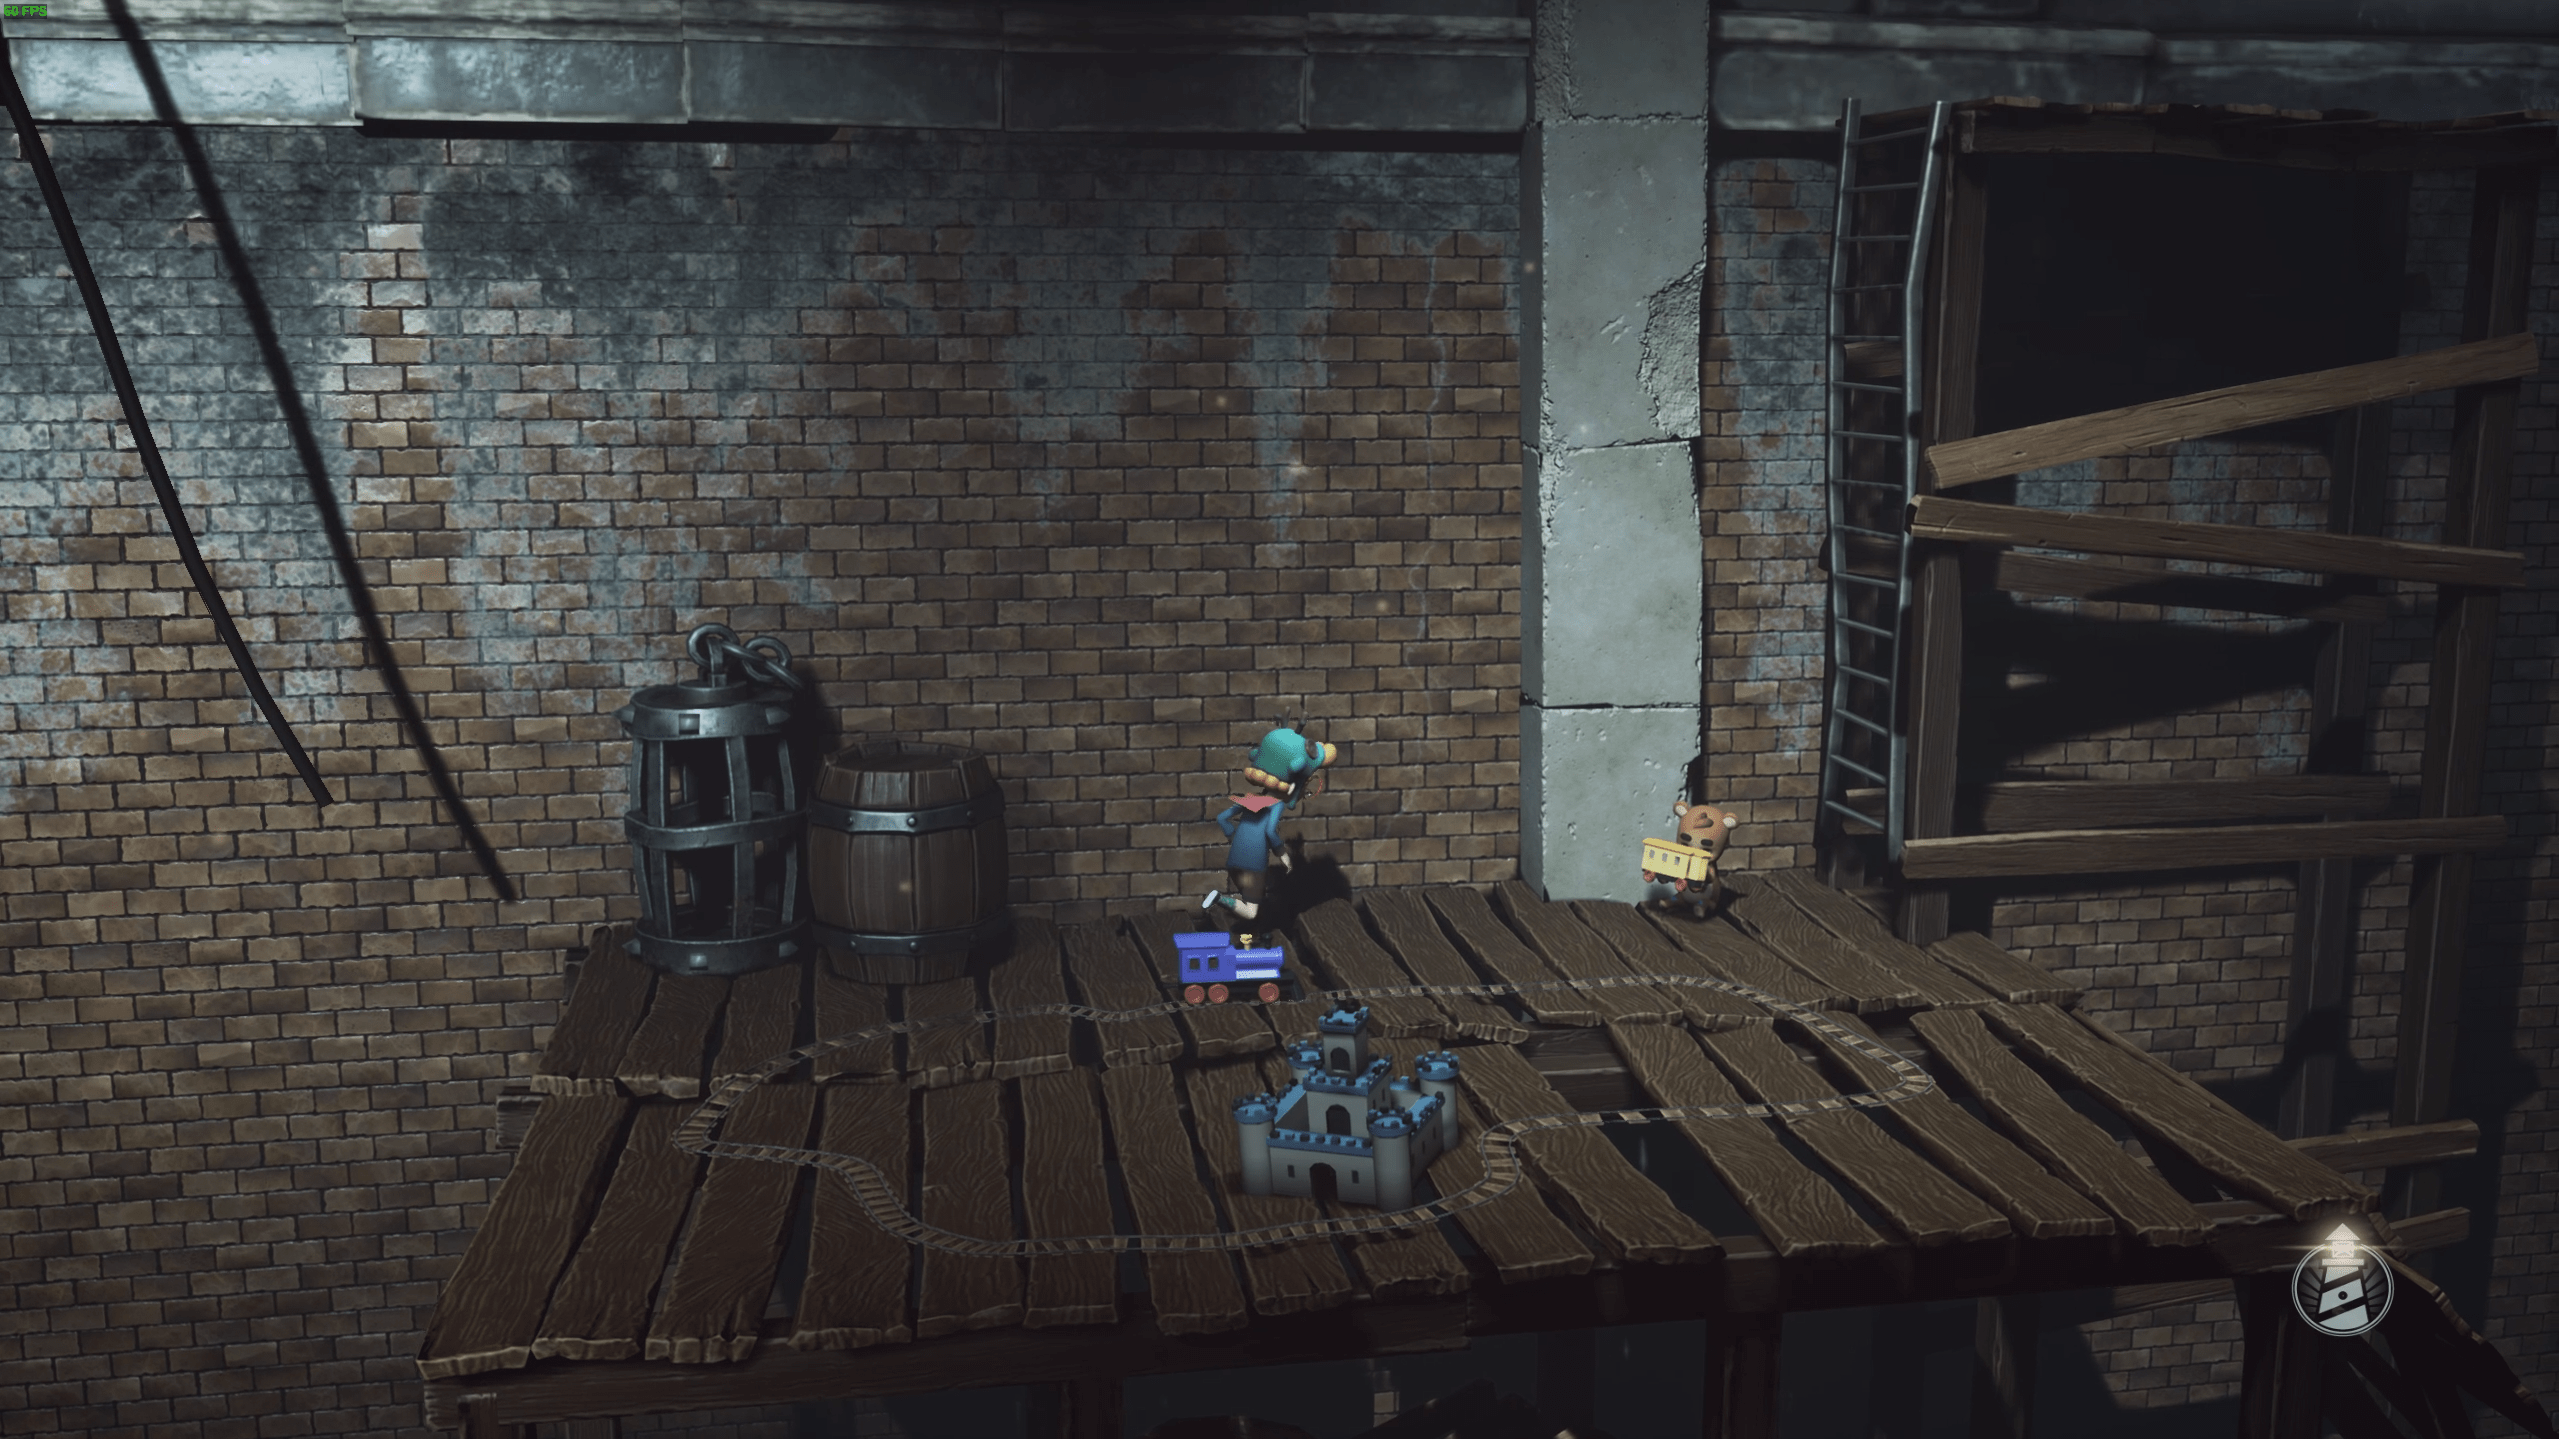
Place the train cart on the railroad.
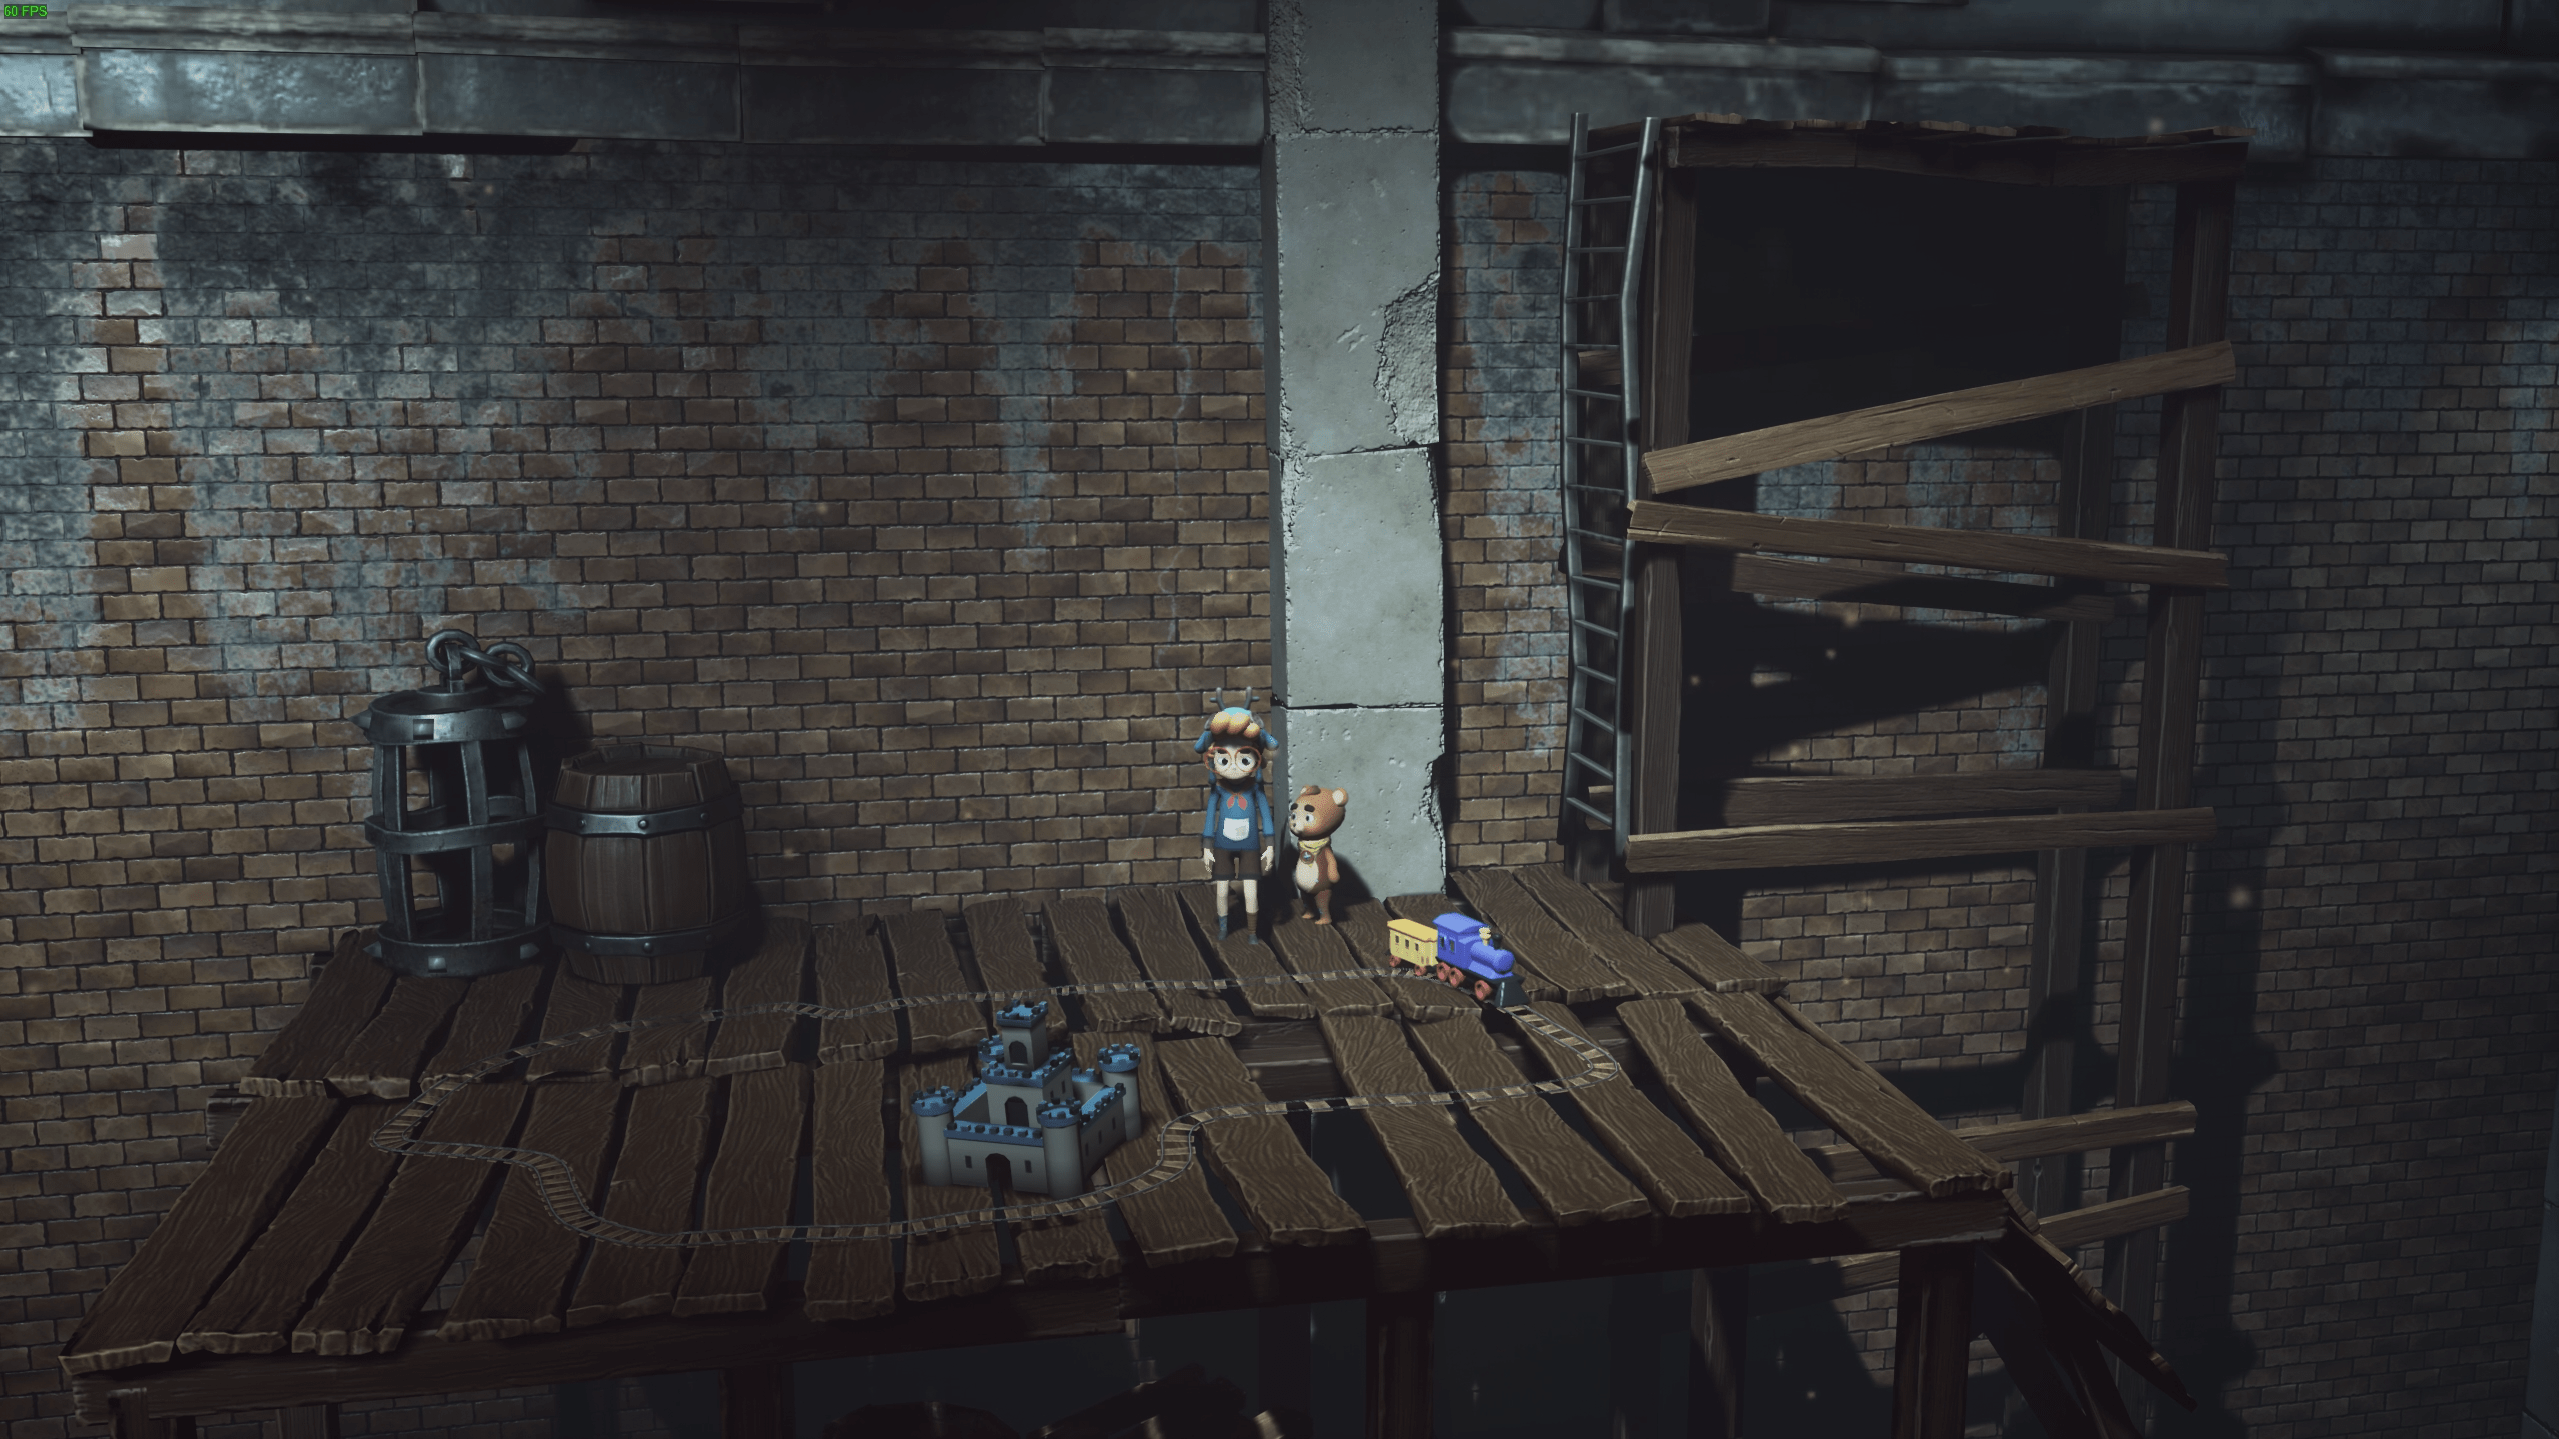
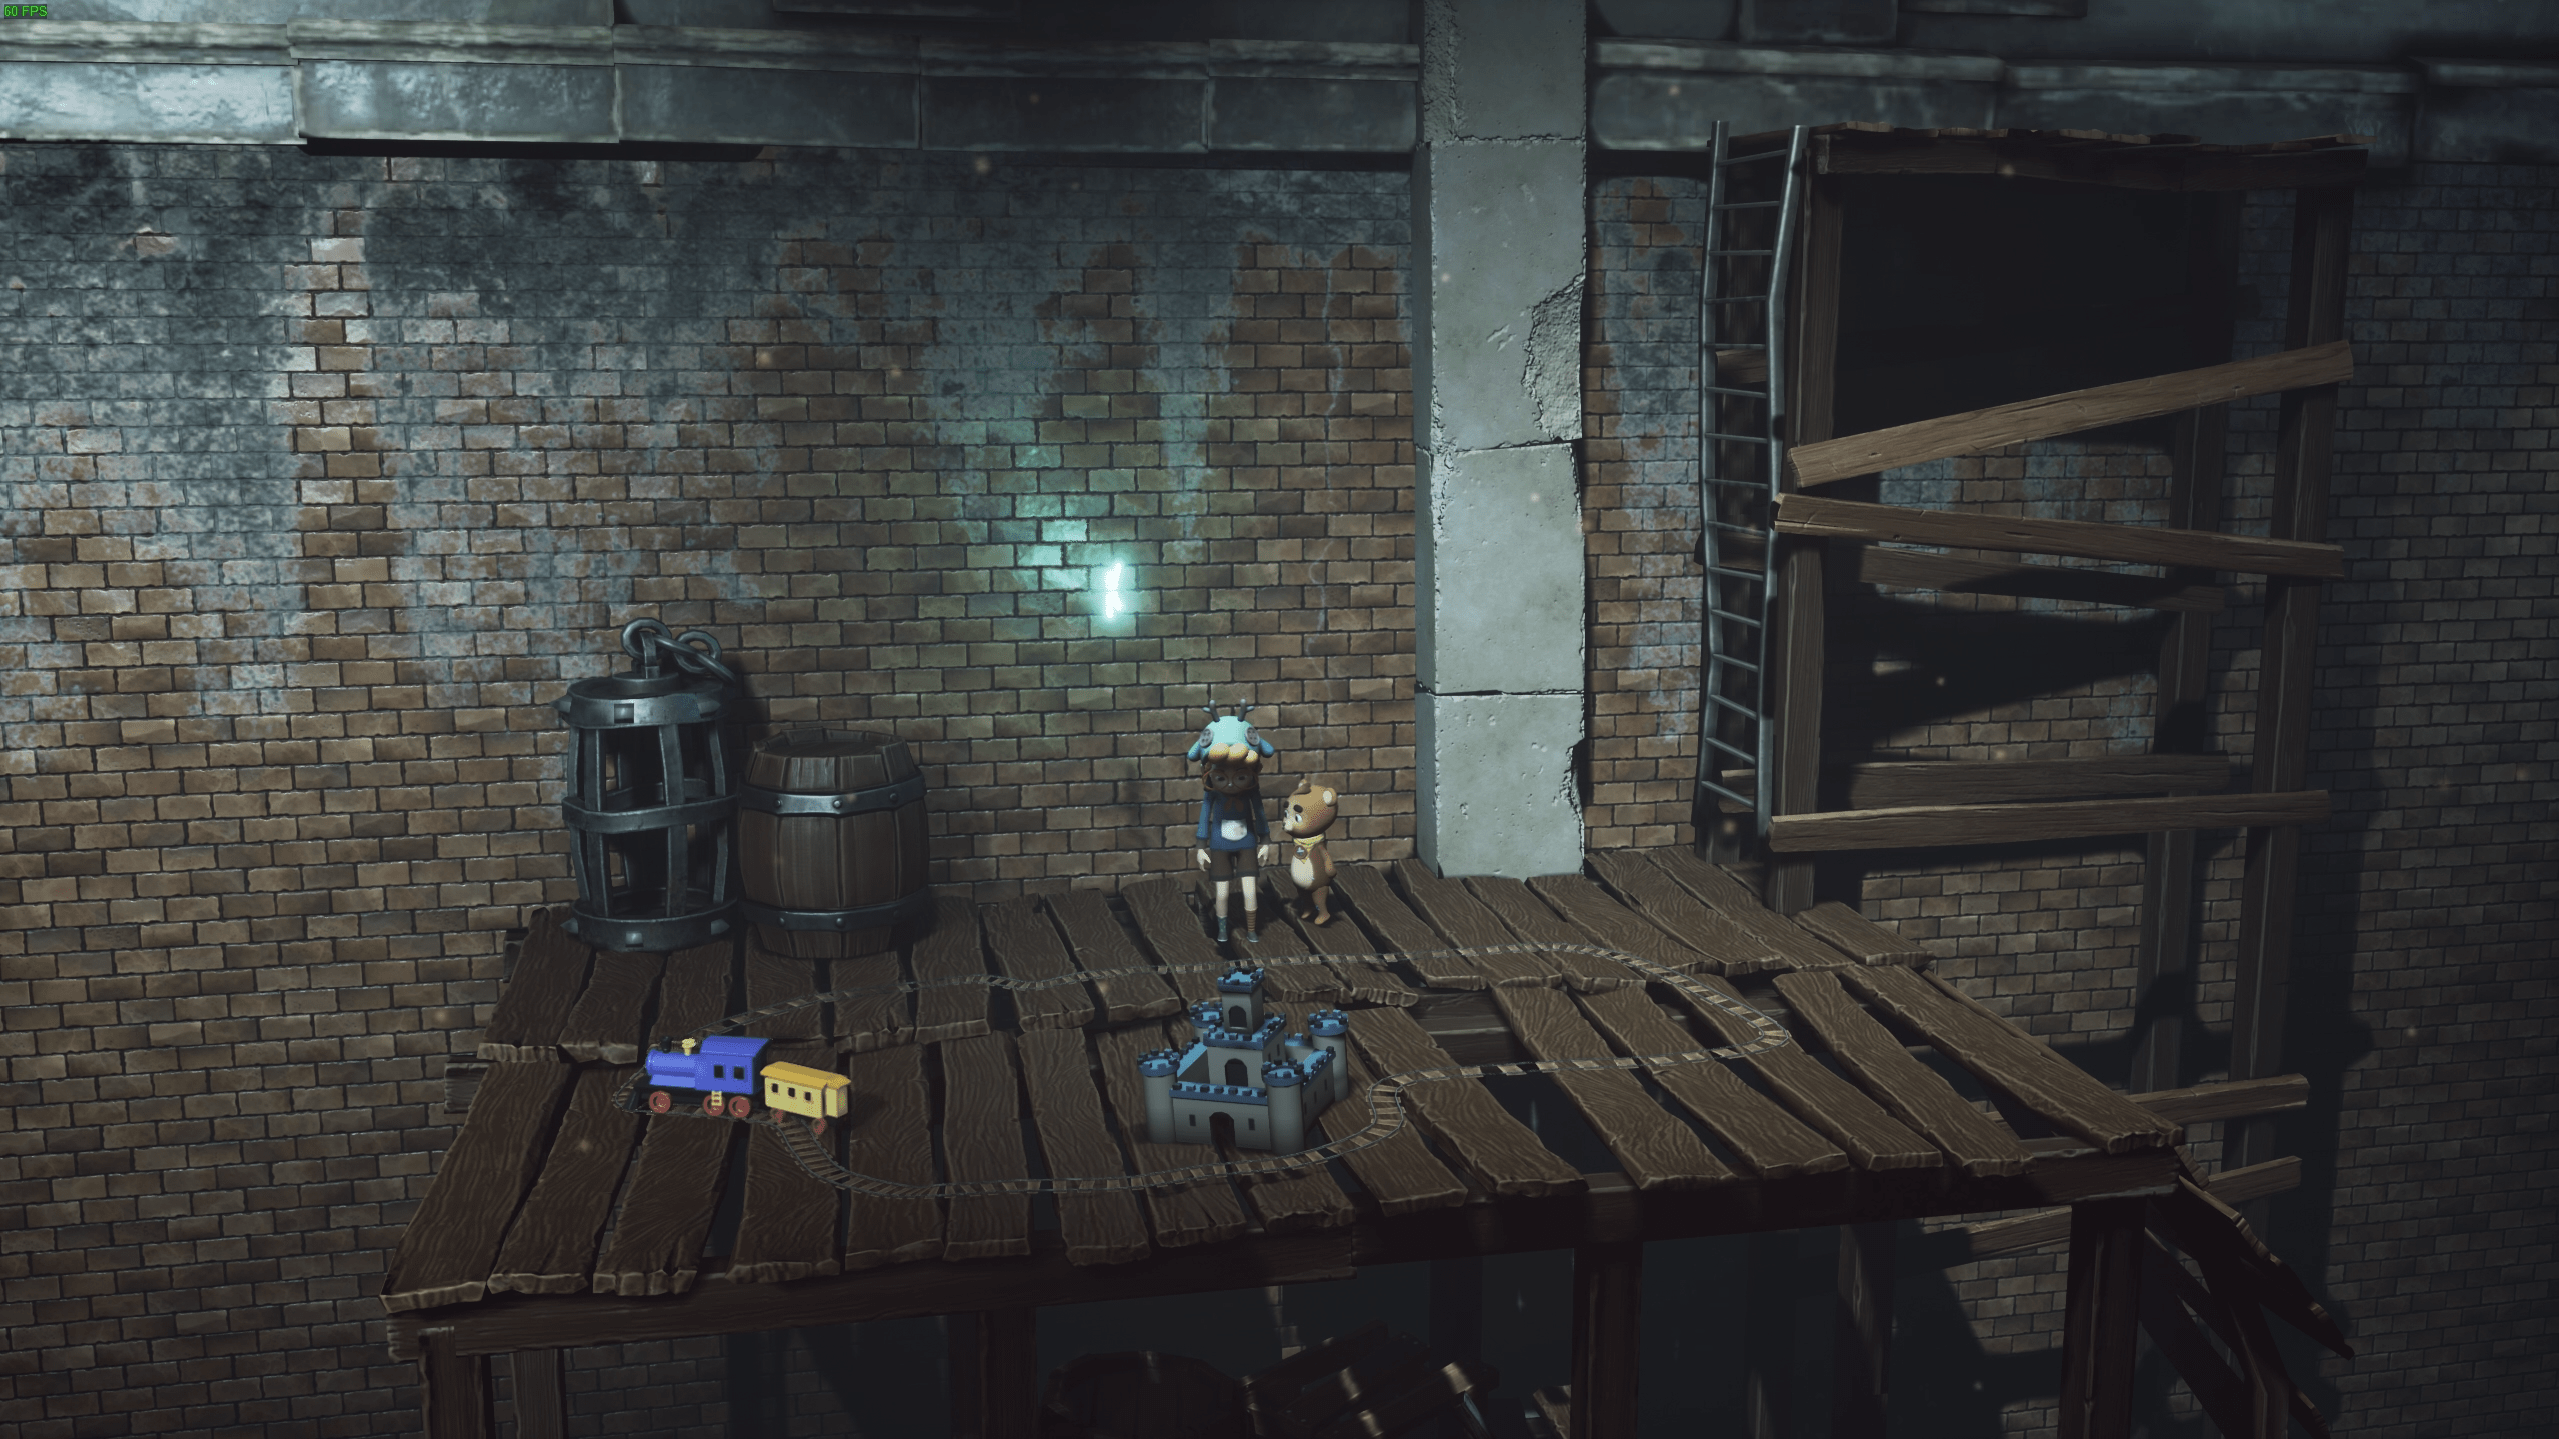
The firefly will now appear, and you have your achievement.
Collectible 4
First knock down the left vase. A firefly will come out. It will fly to the next vase.
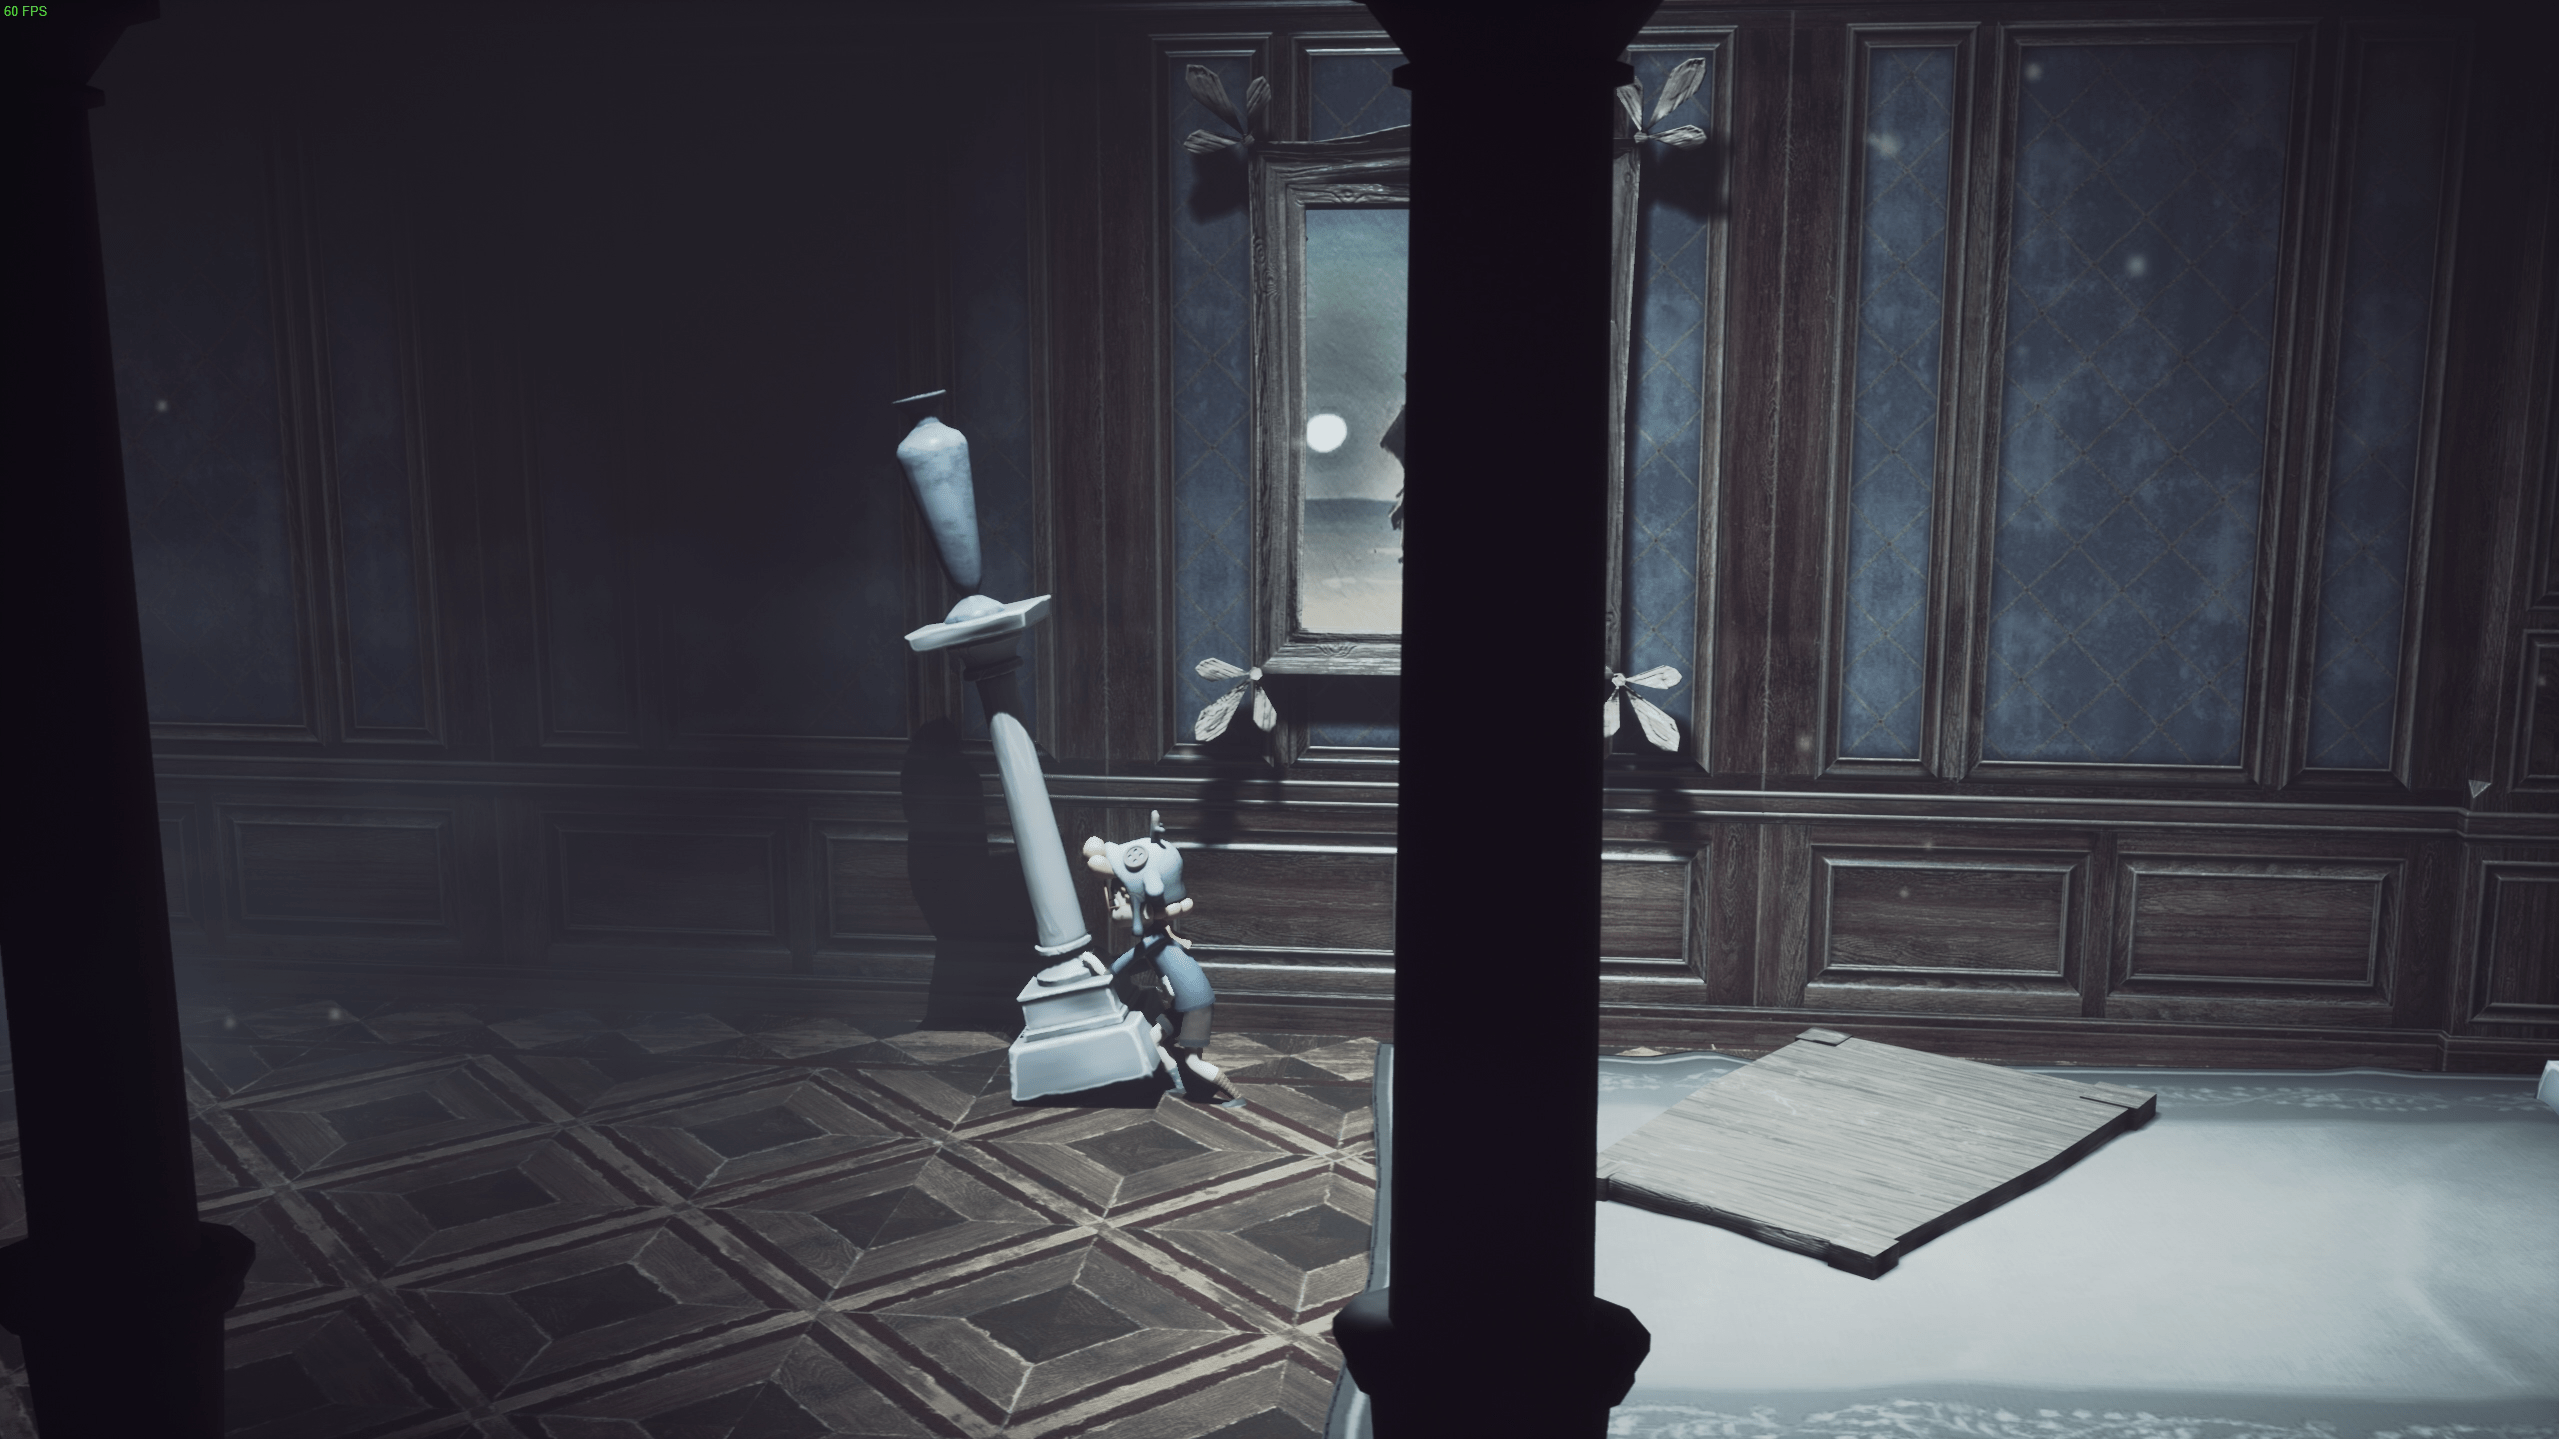
Then knock down the vase to the right of it, then the last vase. The firefly will now head towards the left side room.
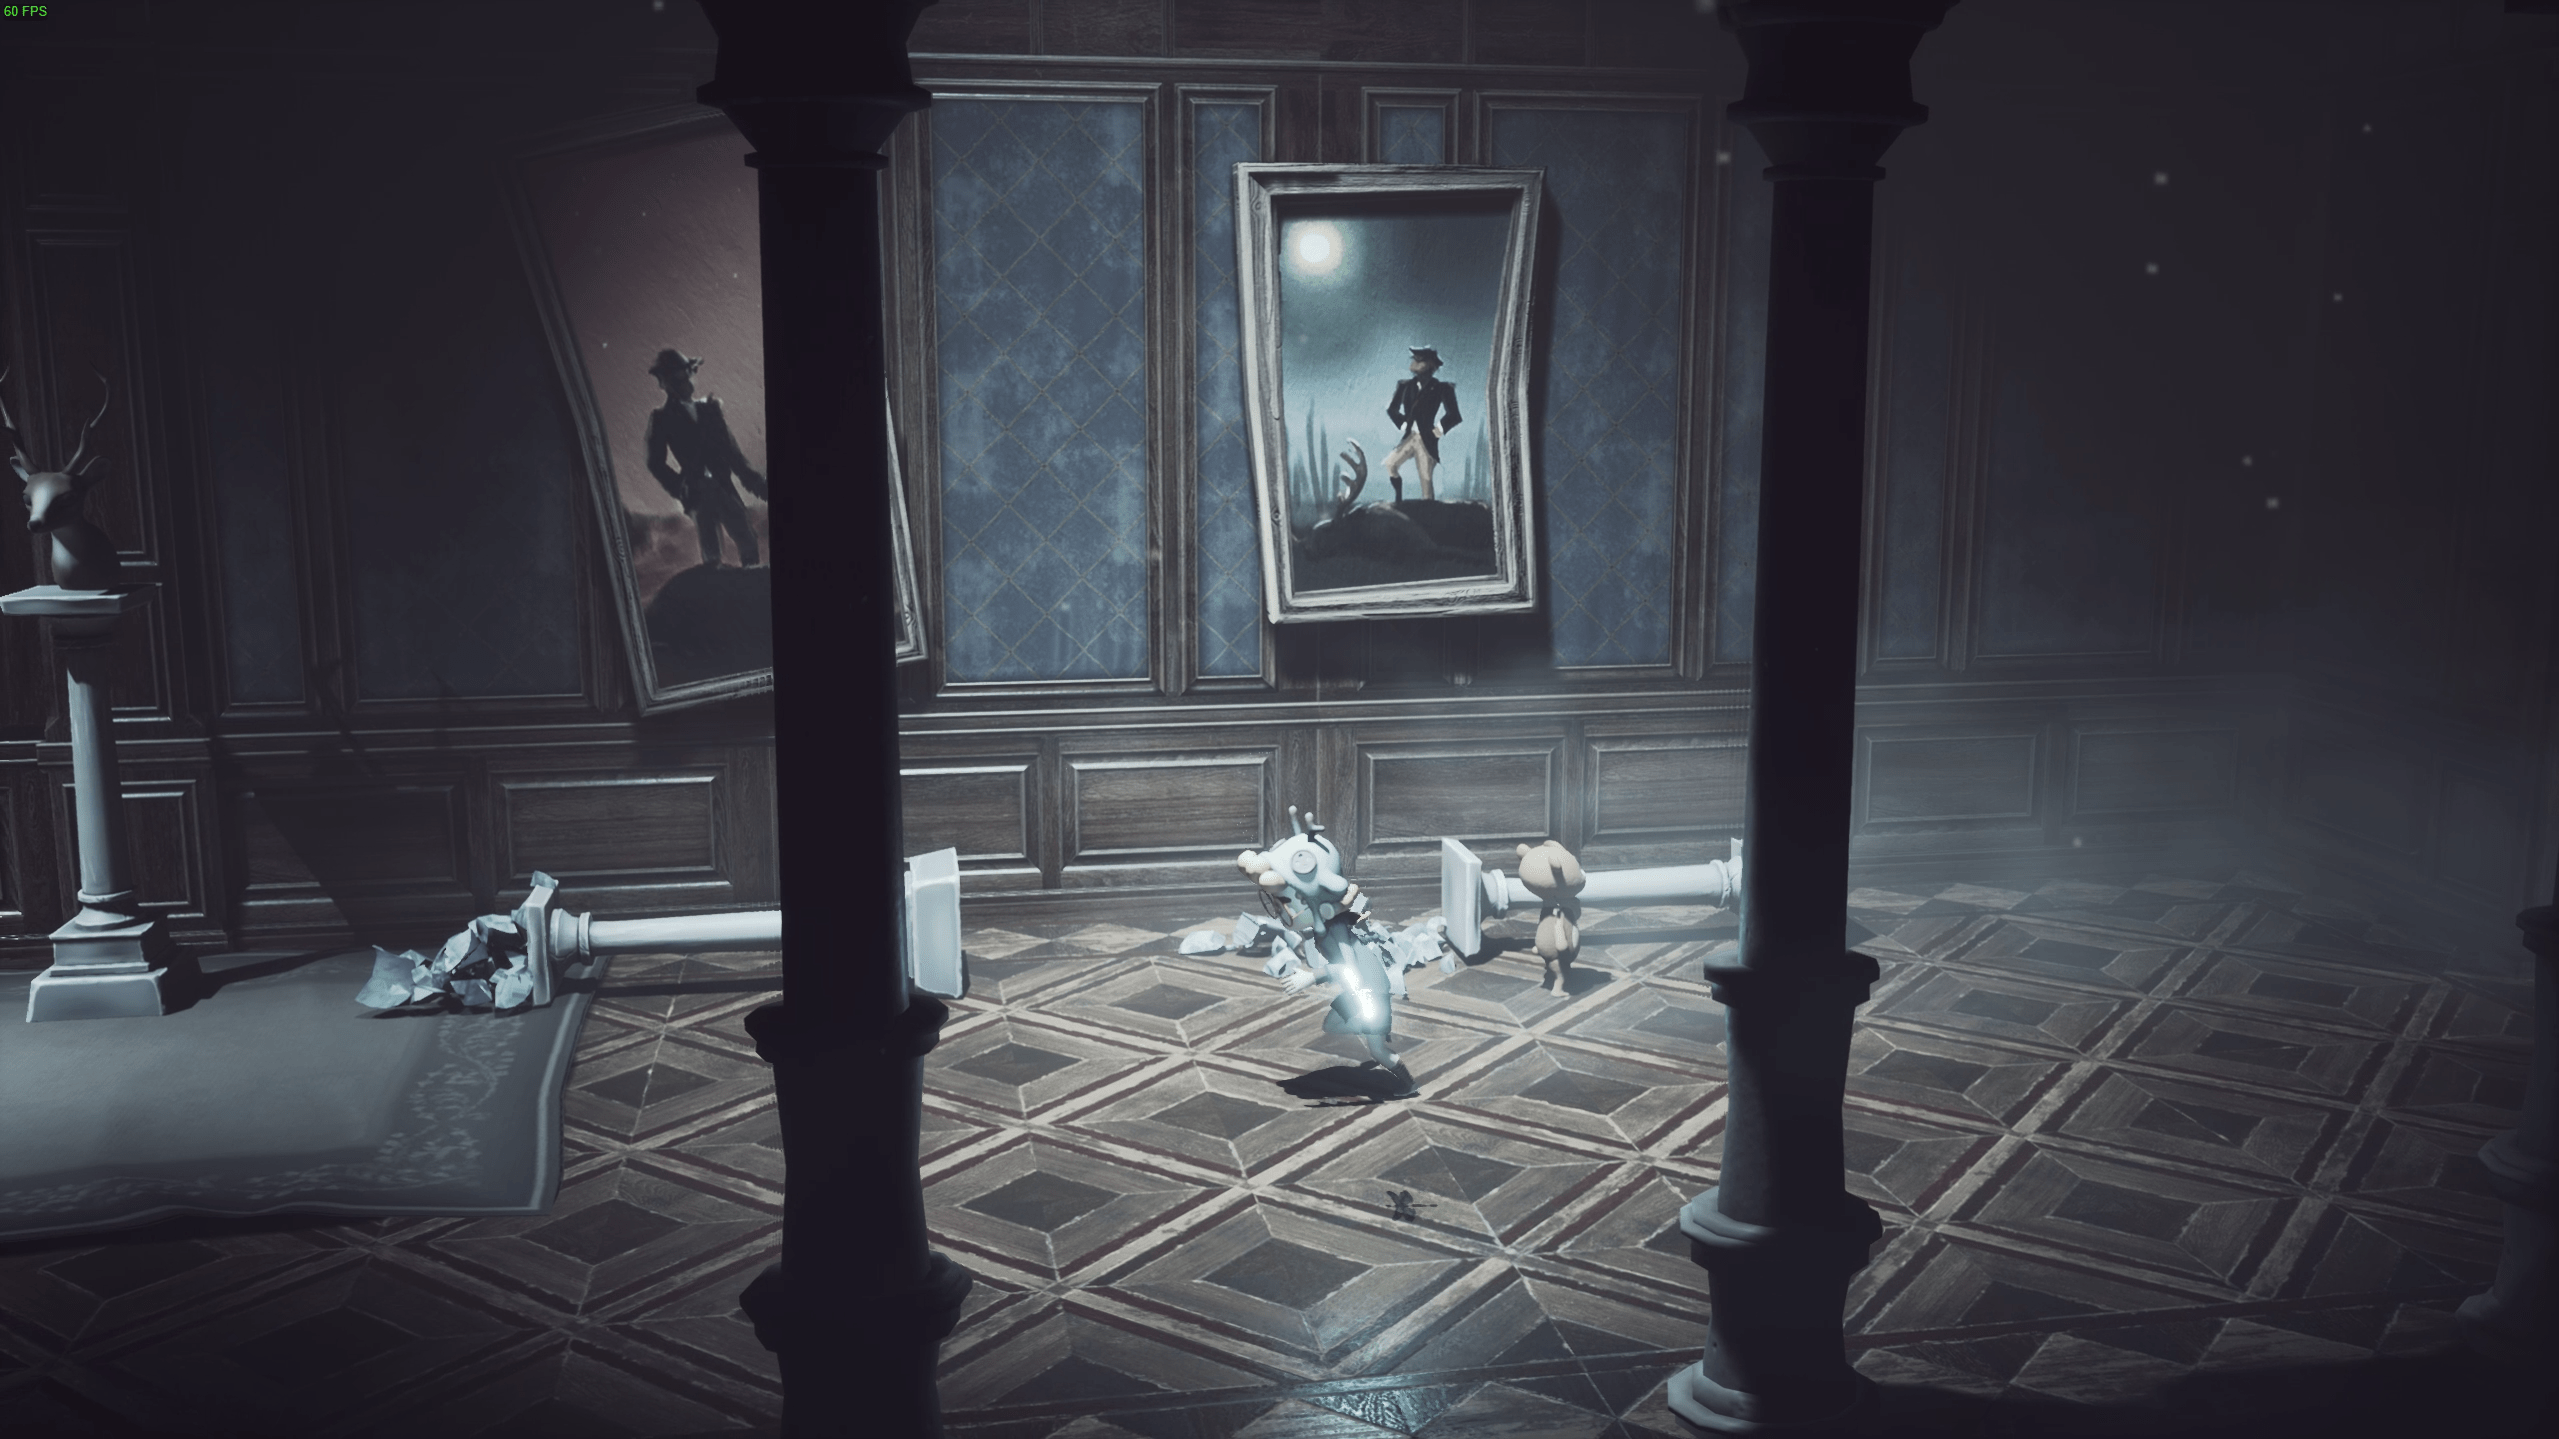
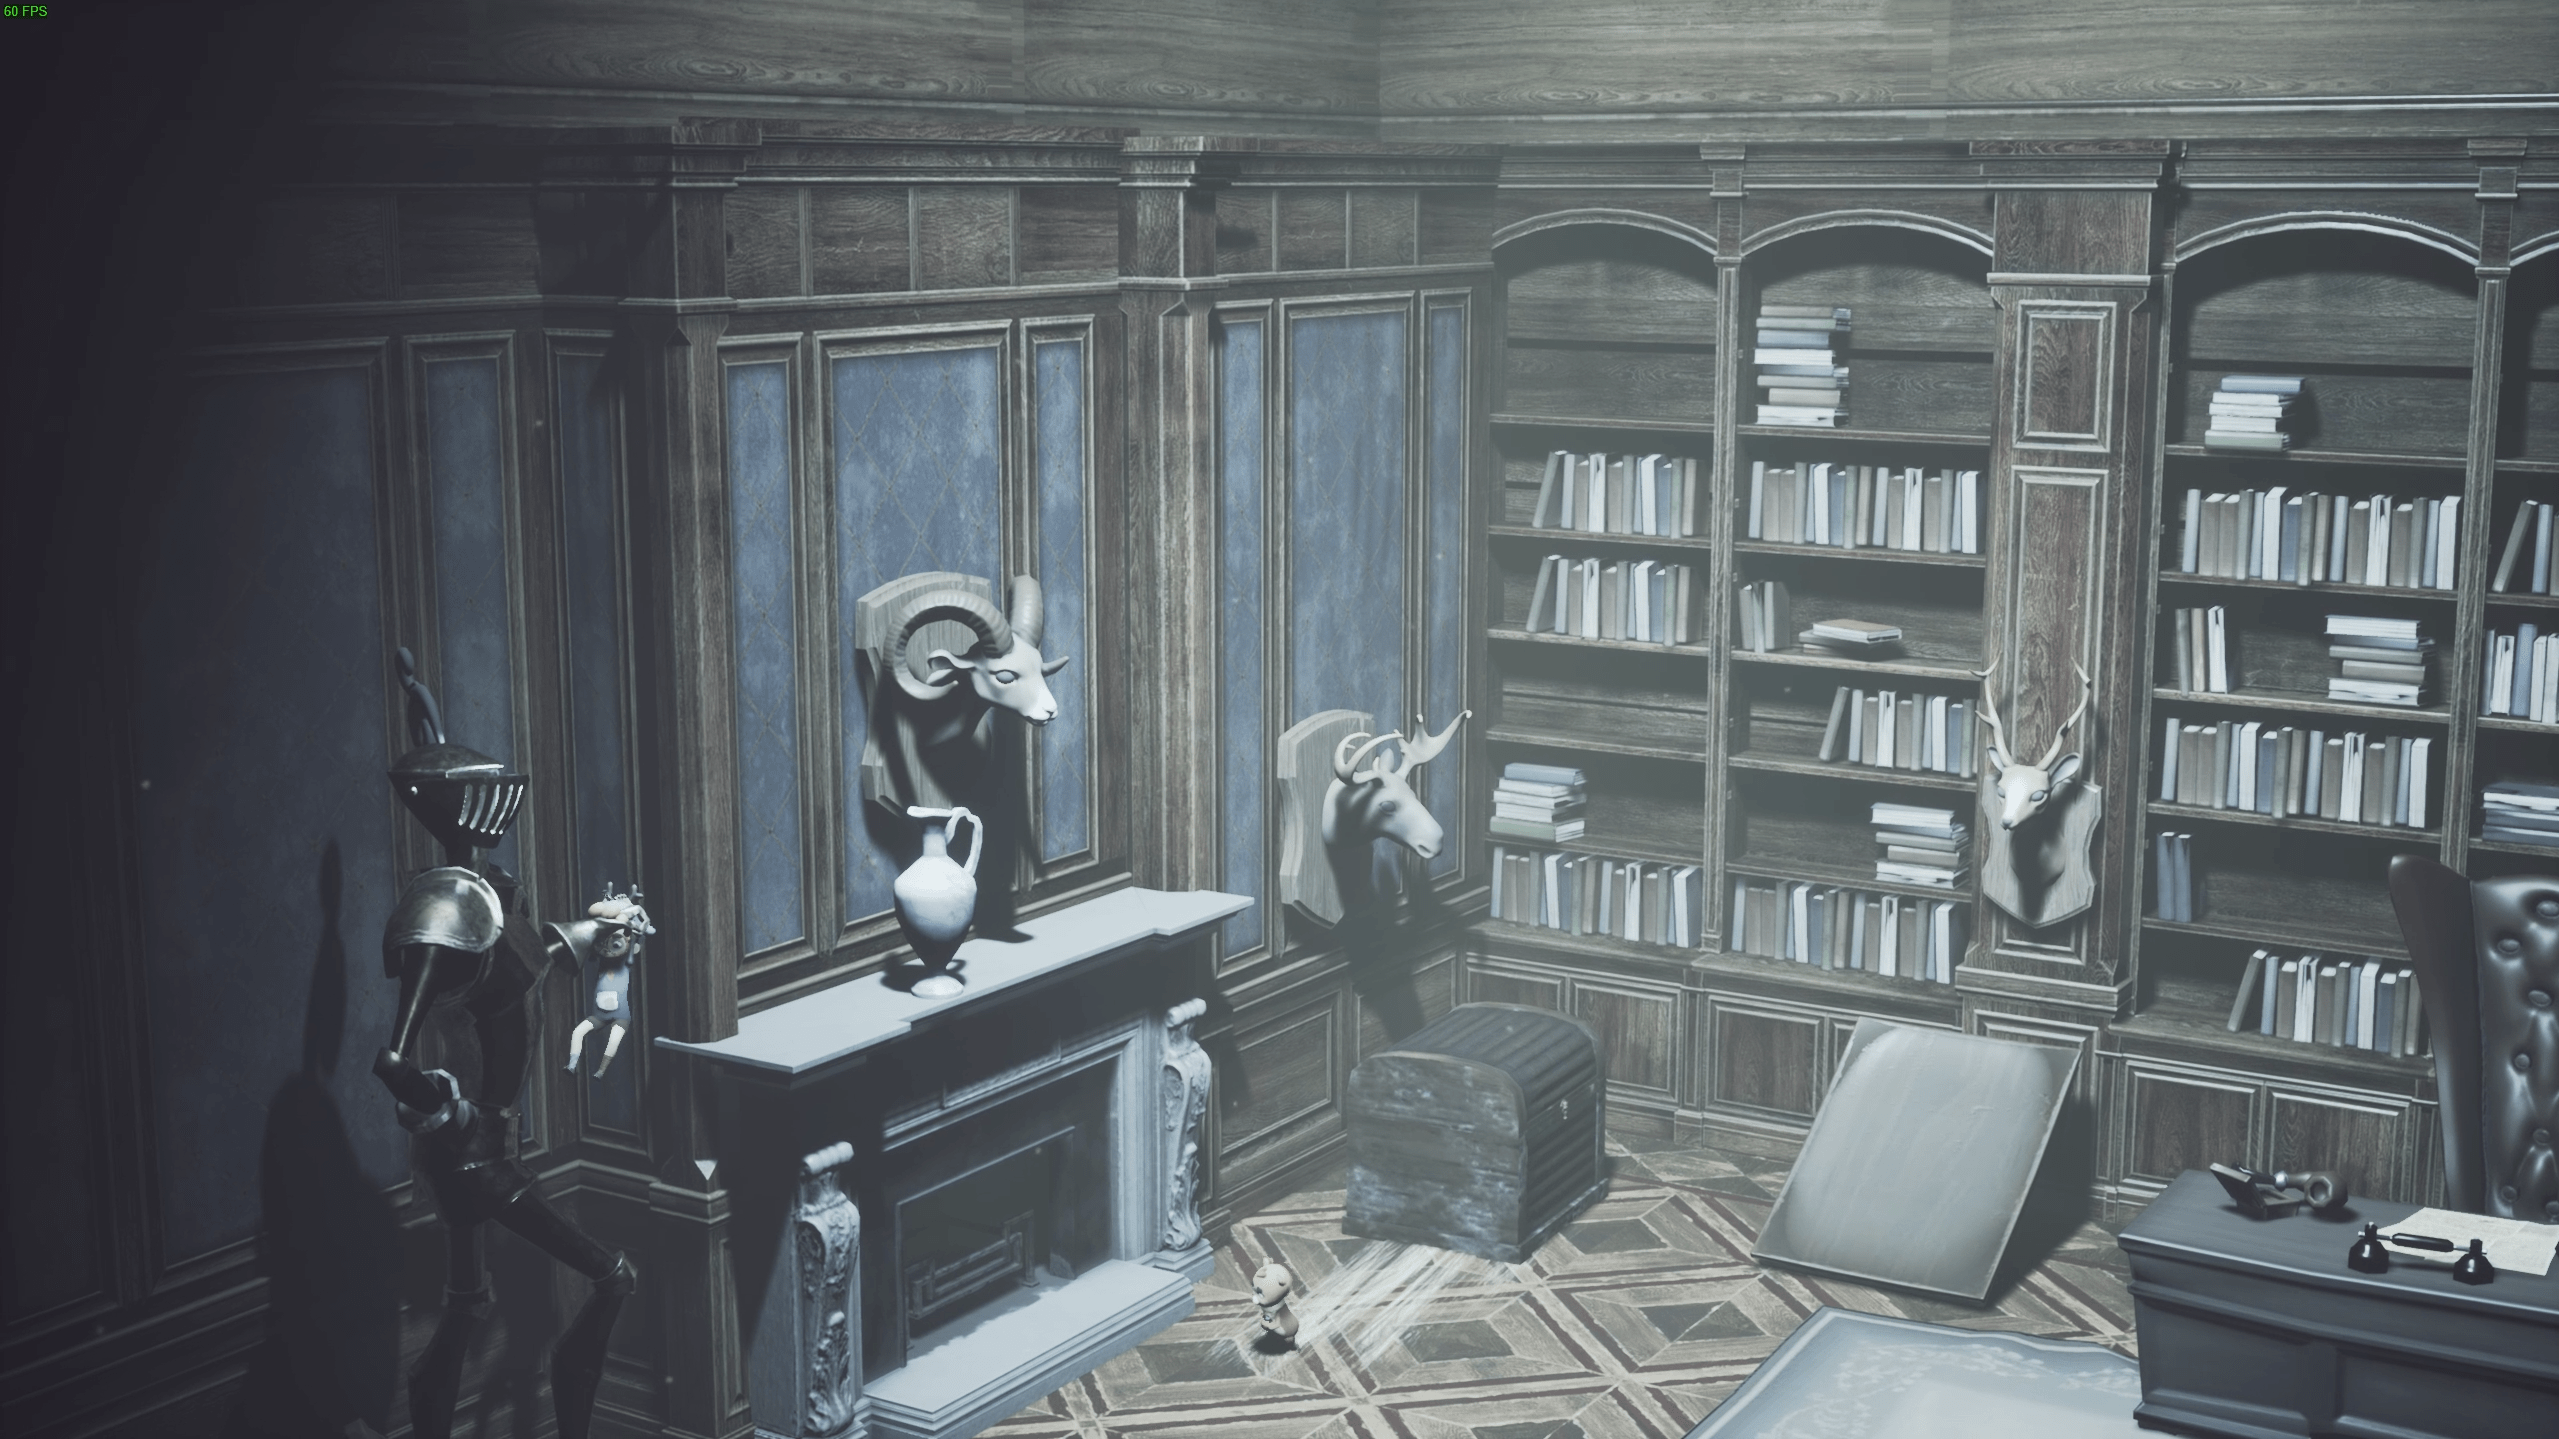
Go to the left side of the room, climb up the furnace & jump to grab onto the arm of the knight. The firefly will appear out of its armor.
Chapter 3
Collectible 5
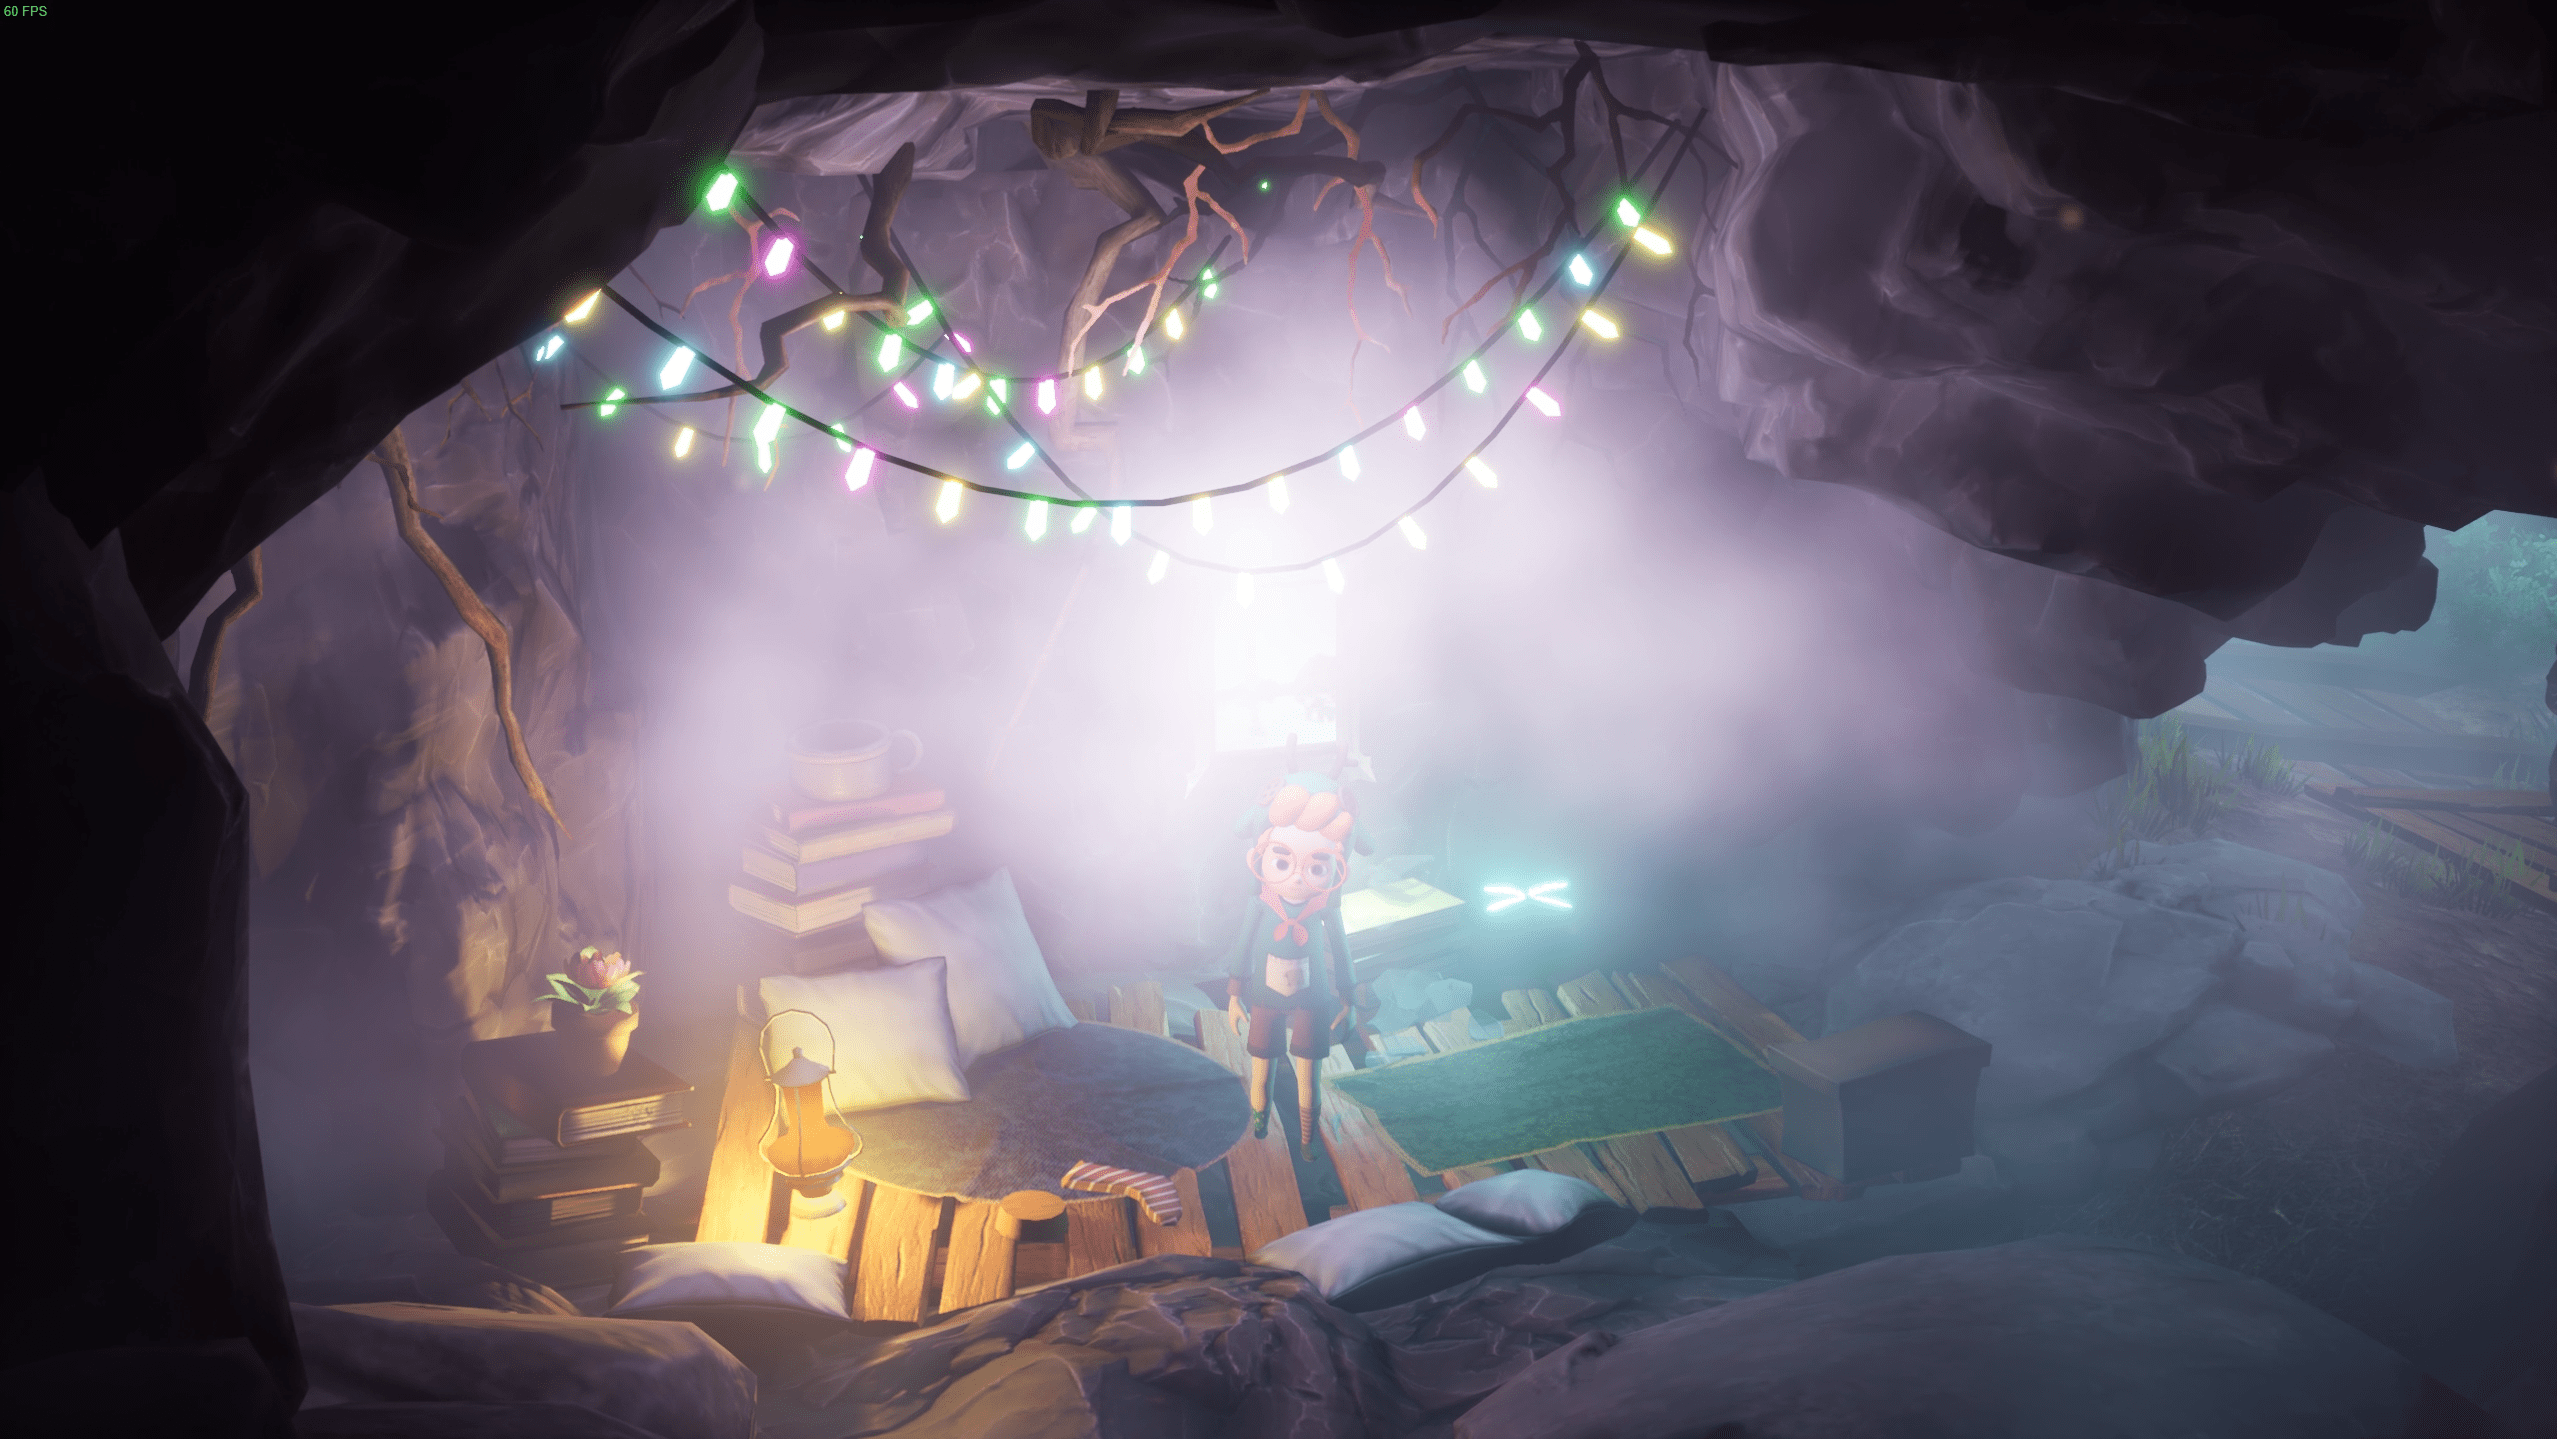
When you drop down here, grab the pallet/fence & pull it backwards. A secret entrance will open.
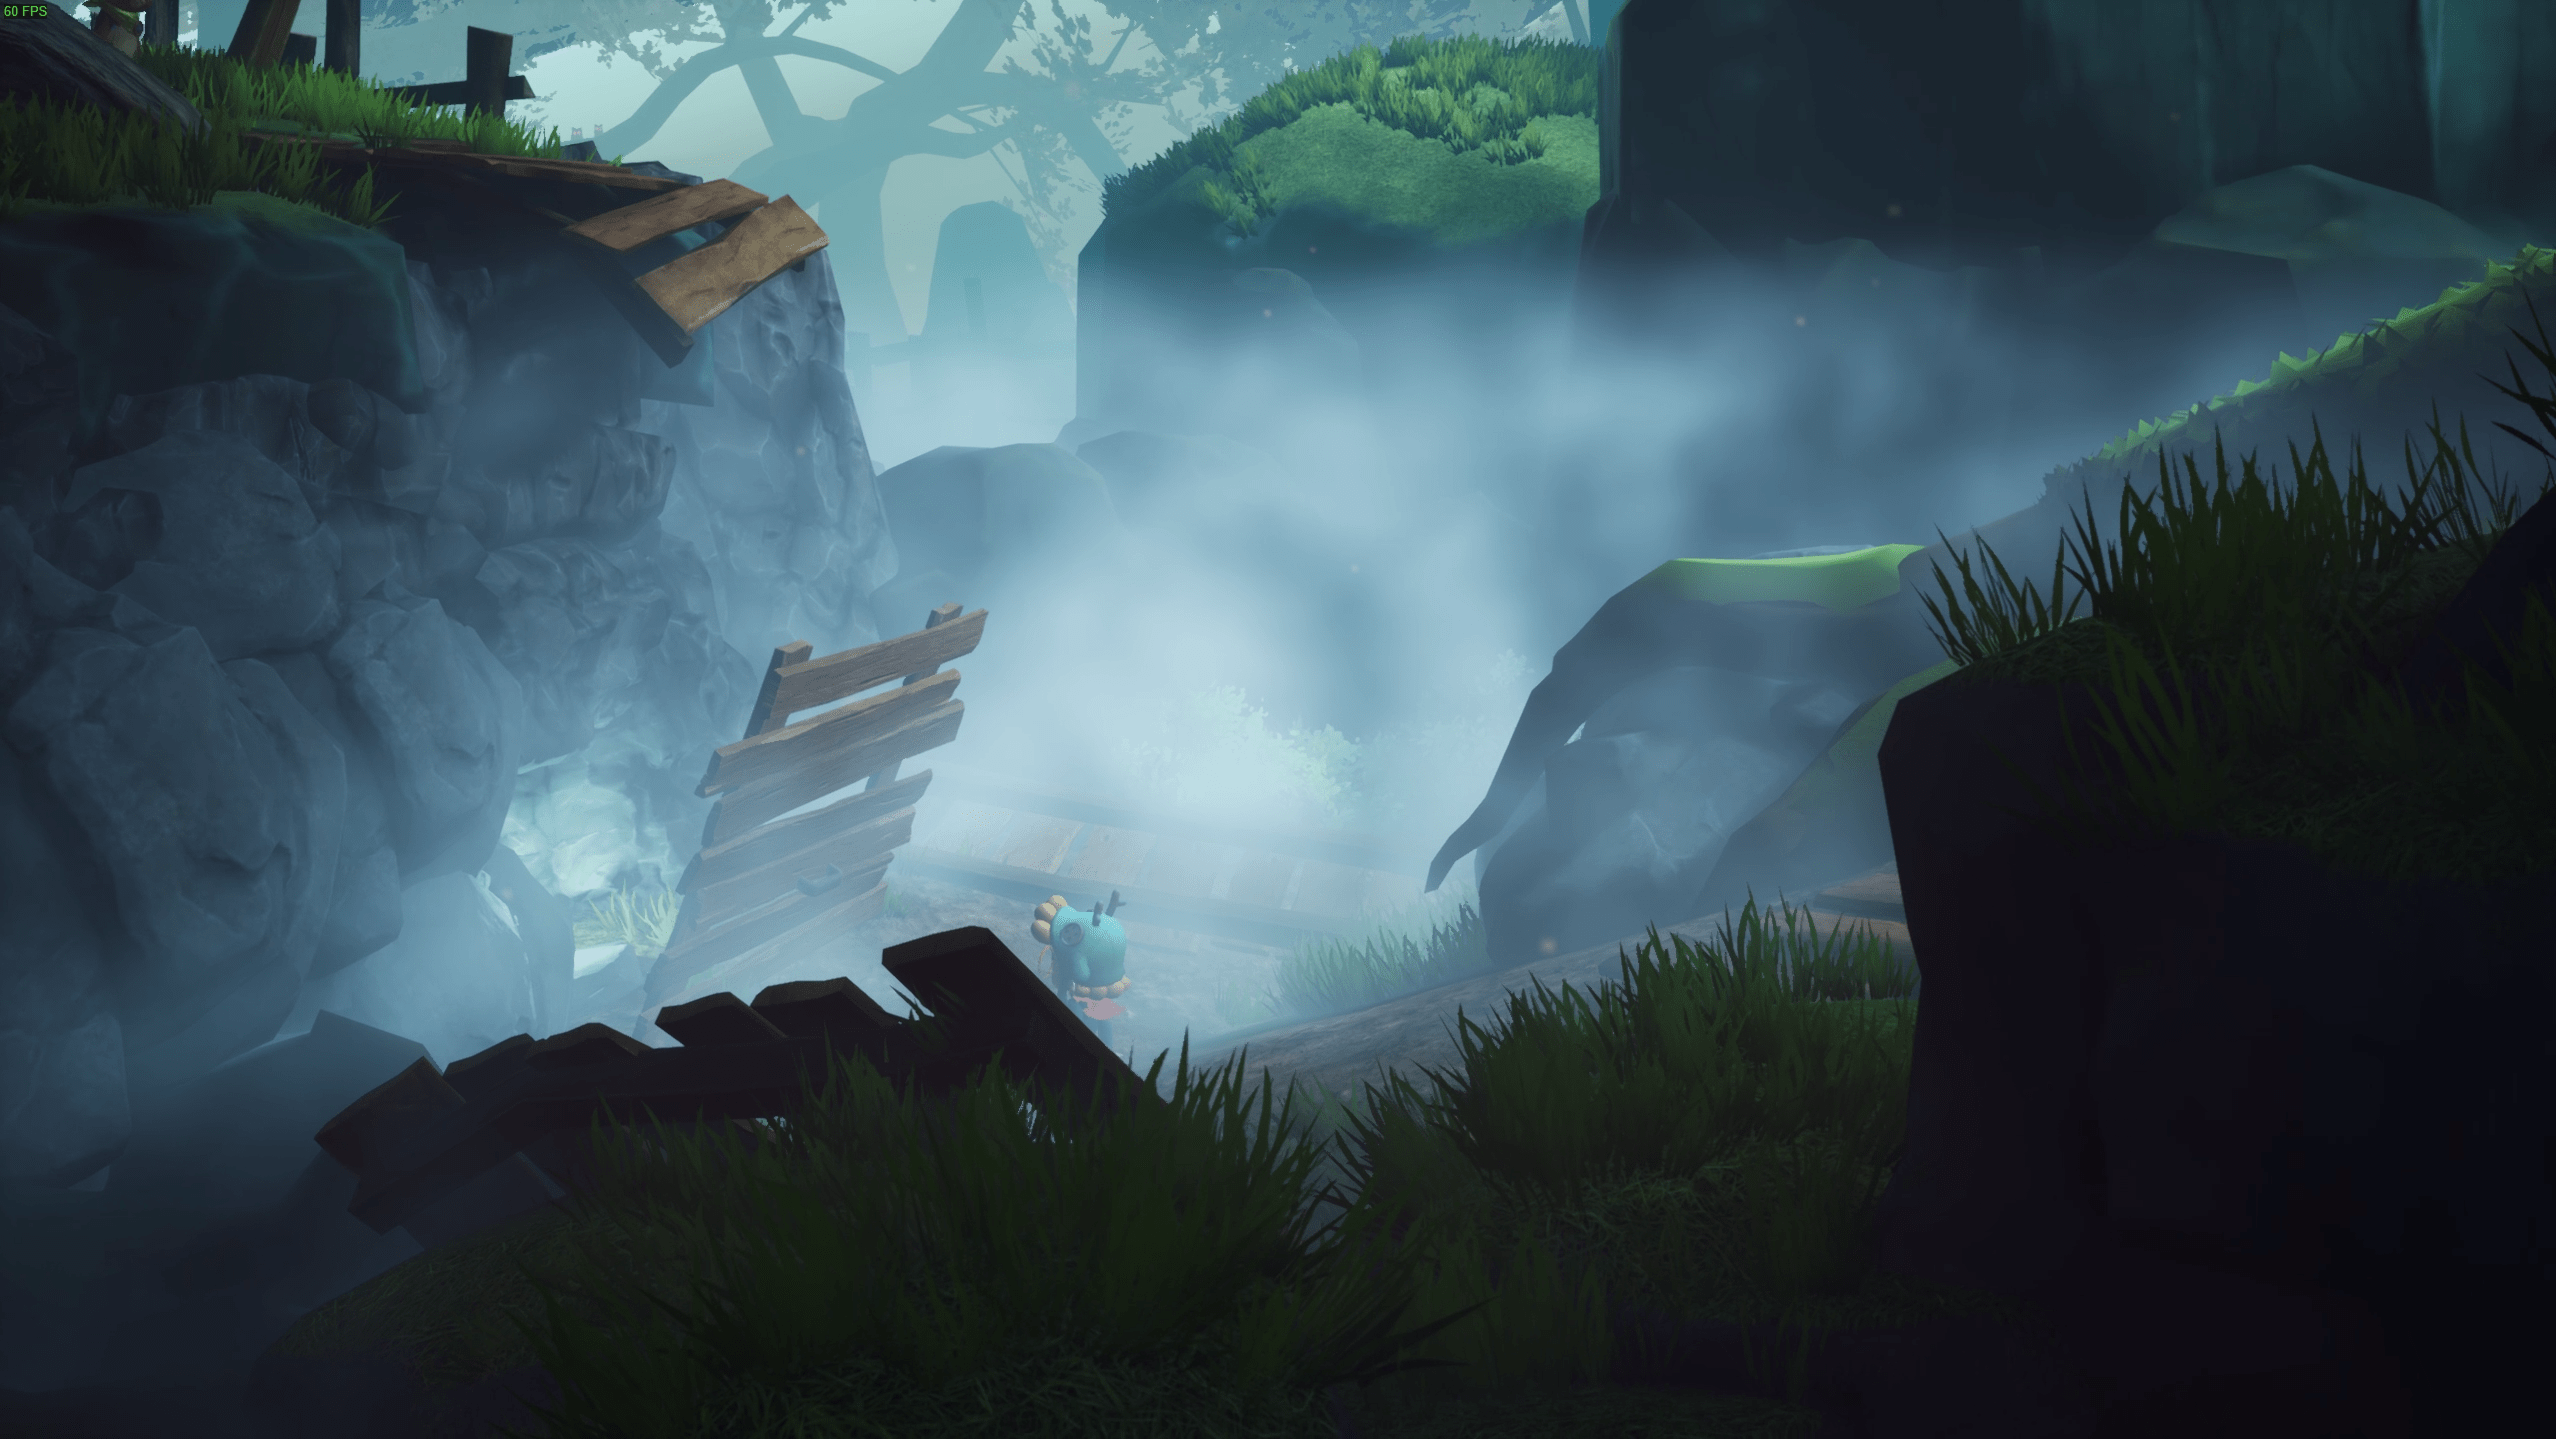
After entering, break the glass jar & the firefly will come out.
Chapter 4
Collectible 6
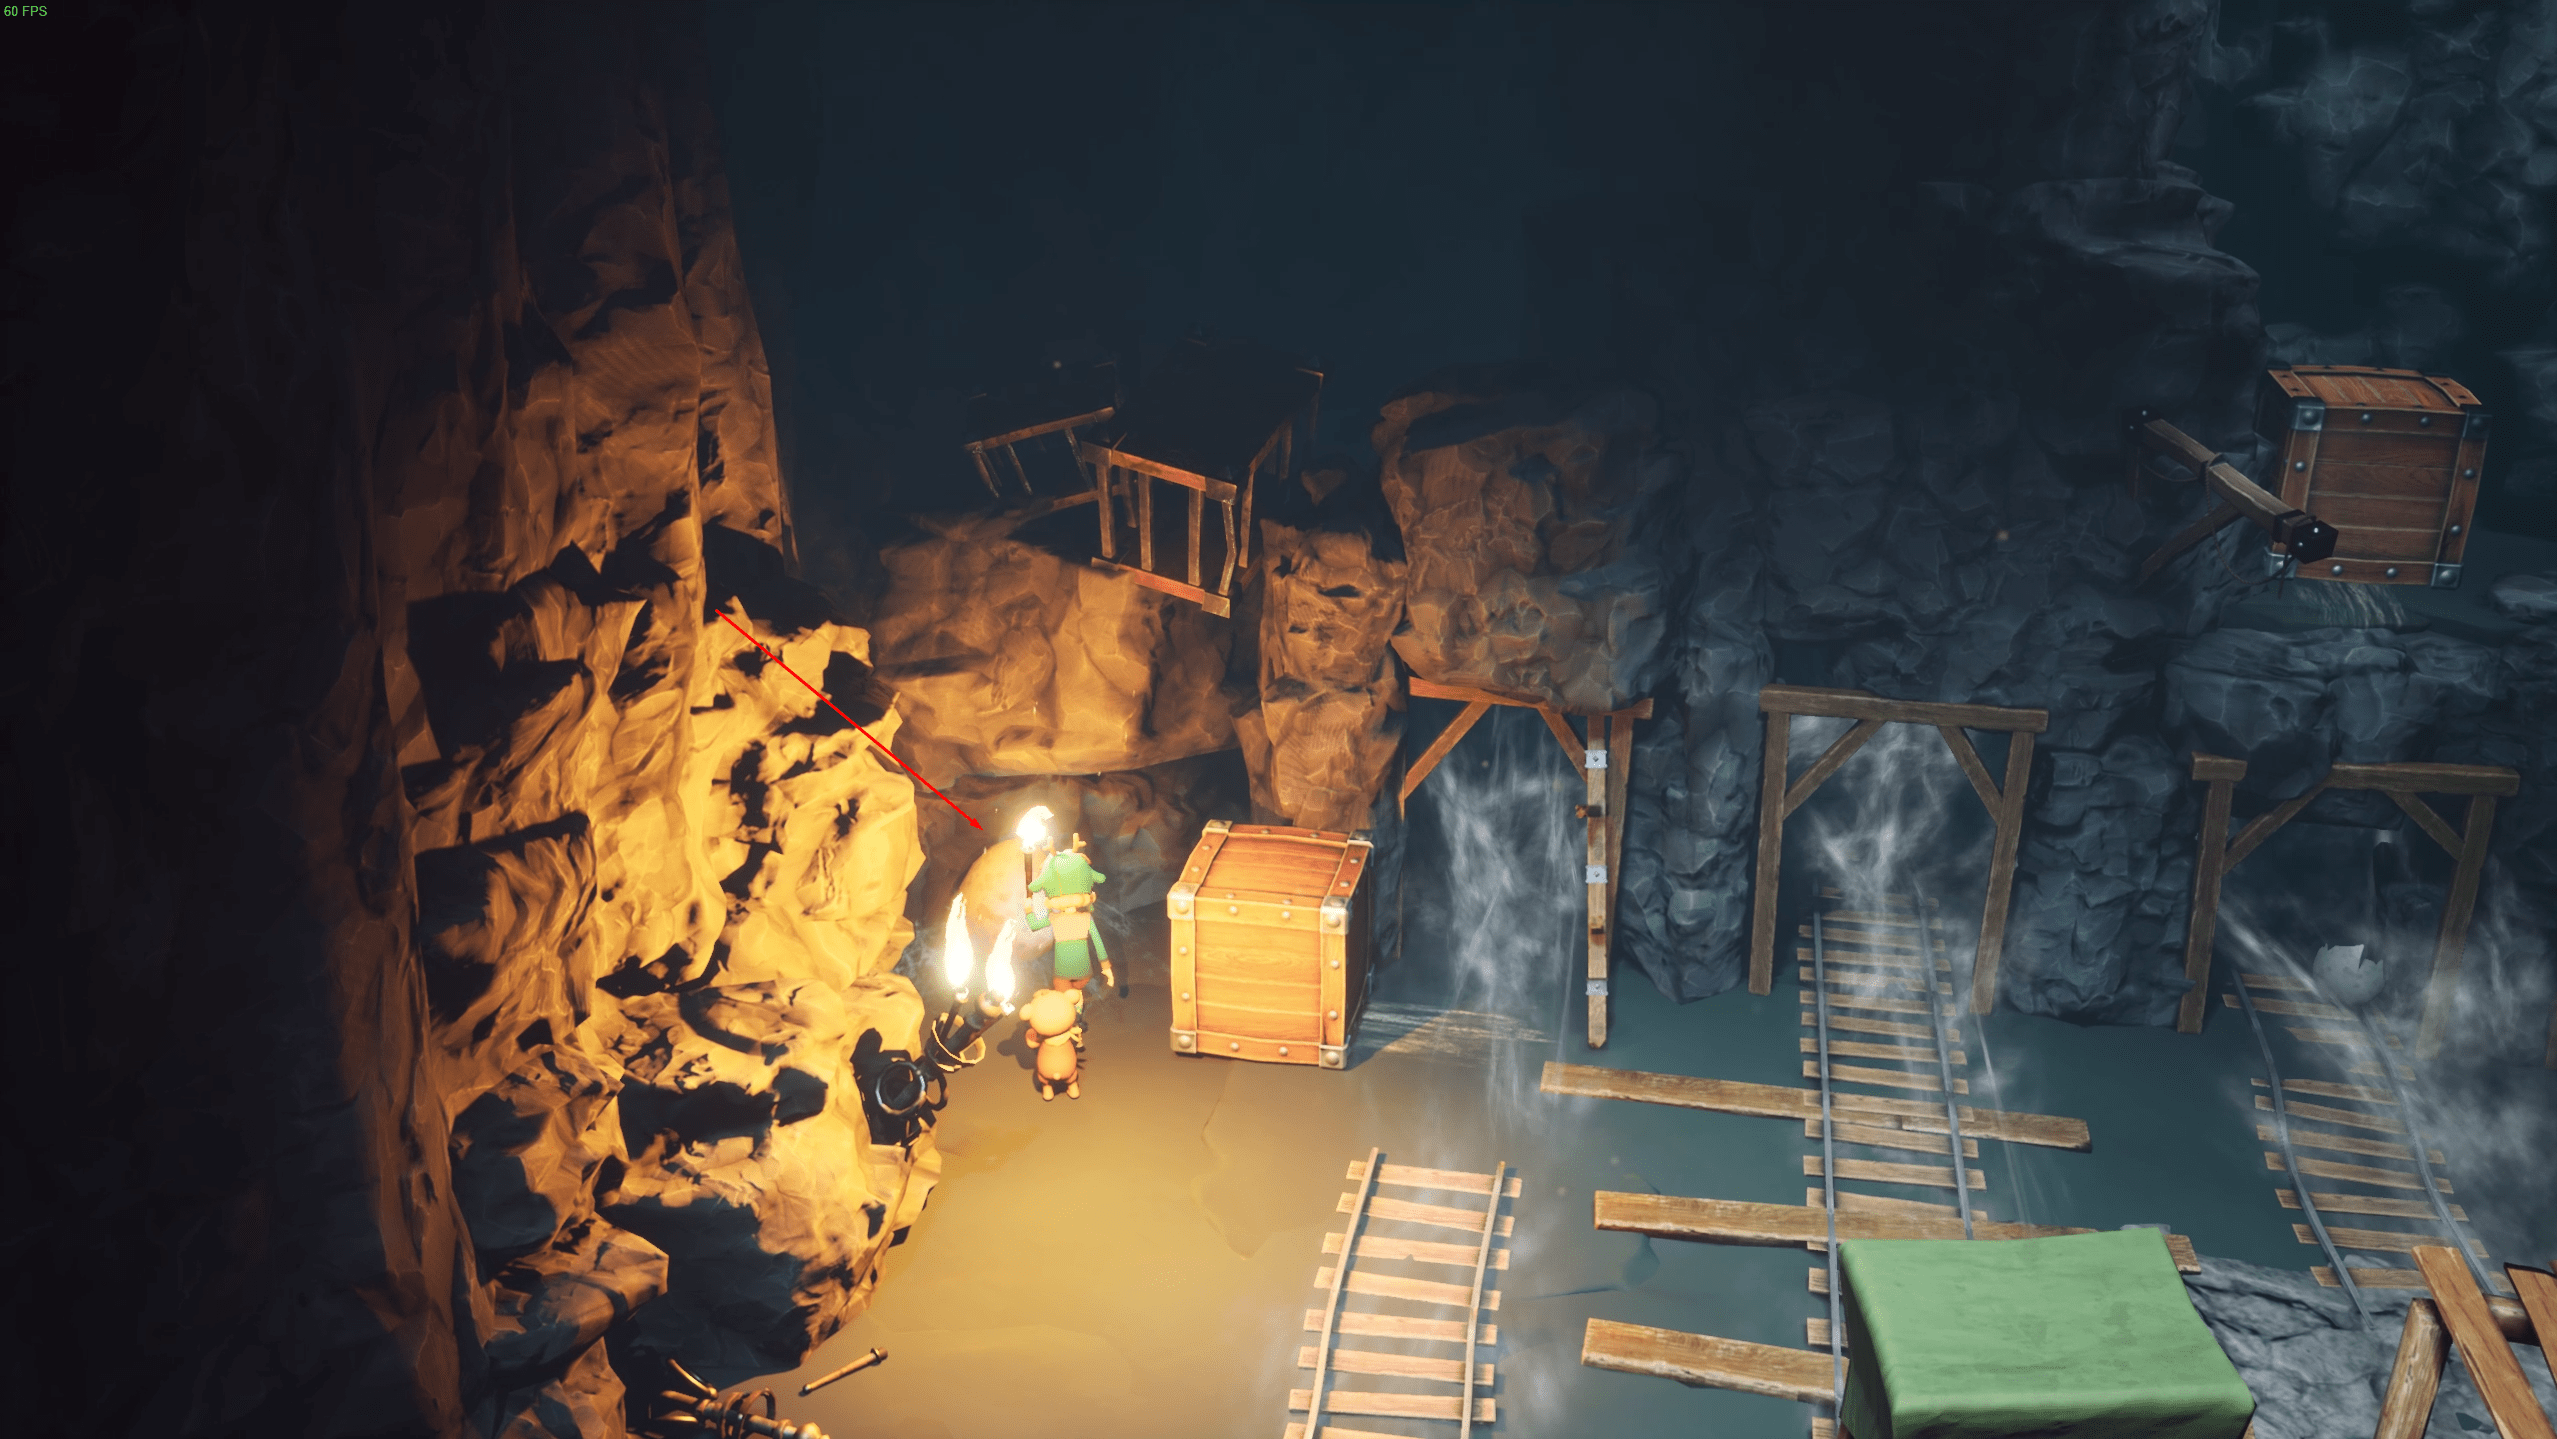
In the left back corner, there is a spider egg. Grab a torch, and hit it. The firefly will come out.
Chapter 5 & 6
Collectible 7
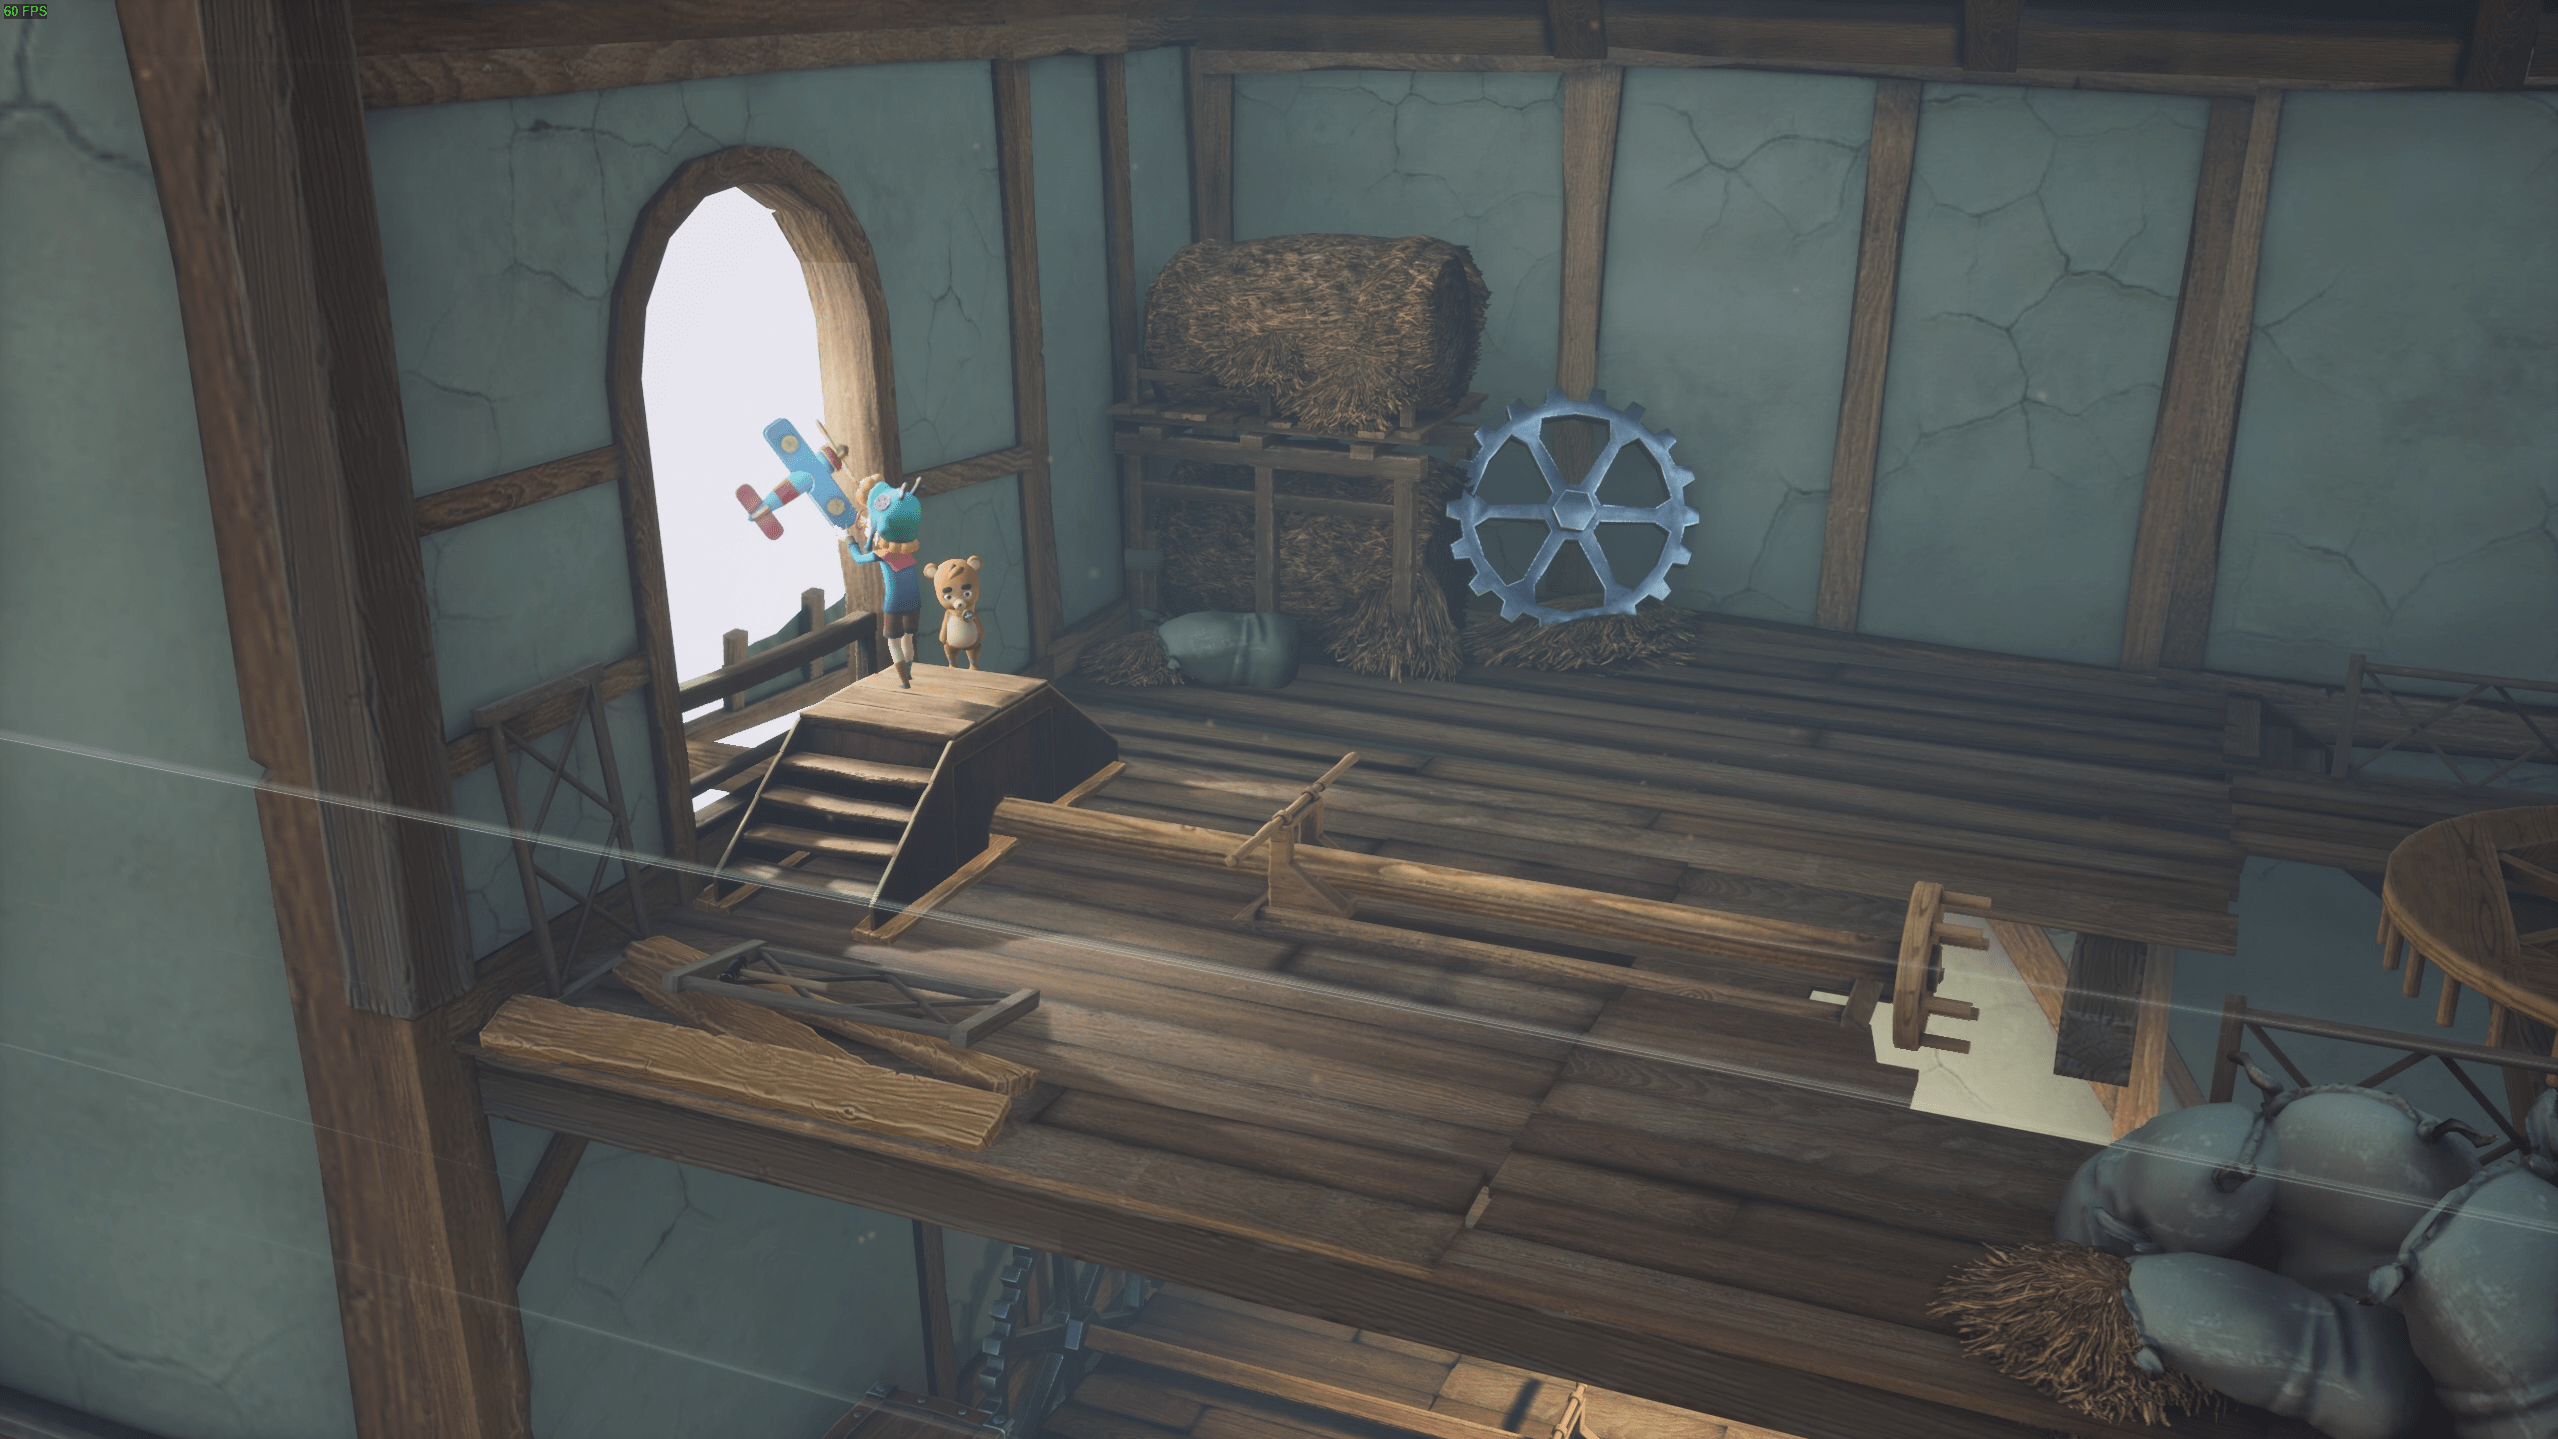
One collectible in chapter 5, no collectibles in chapter 6. When you reach the top floor of the building, there is a toy plane. Pick it up, then walk towards the left-side window.
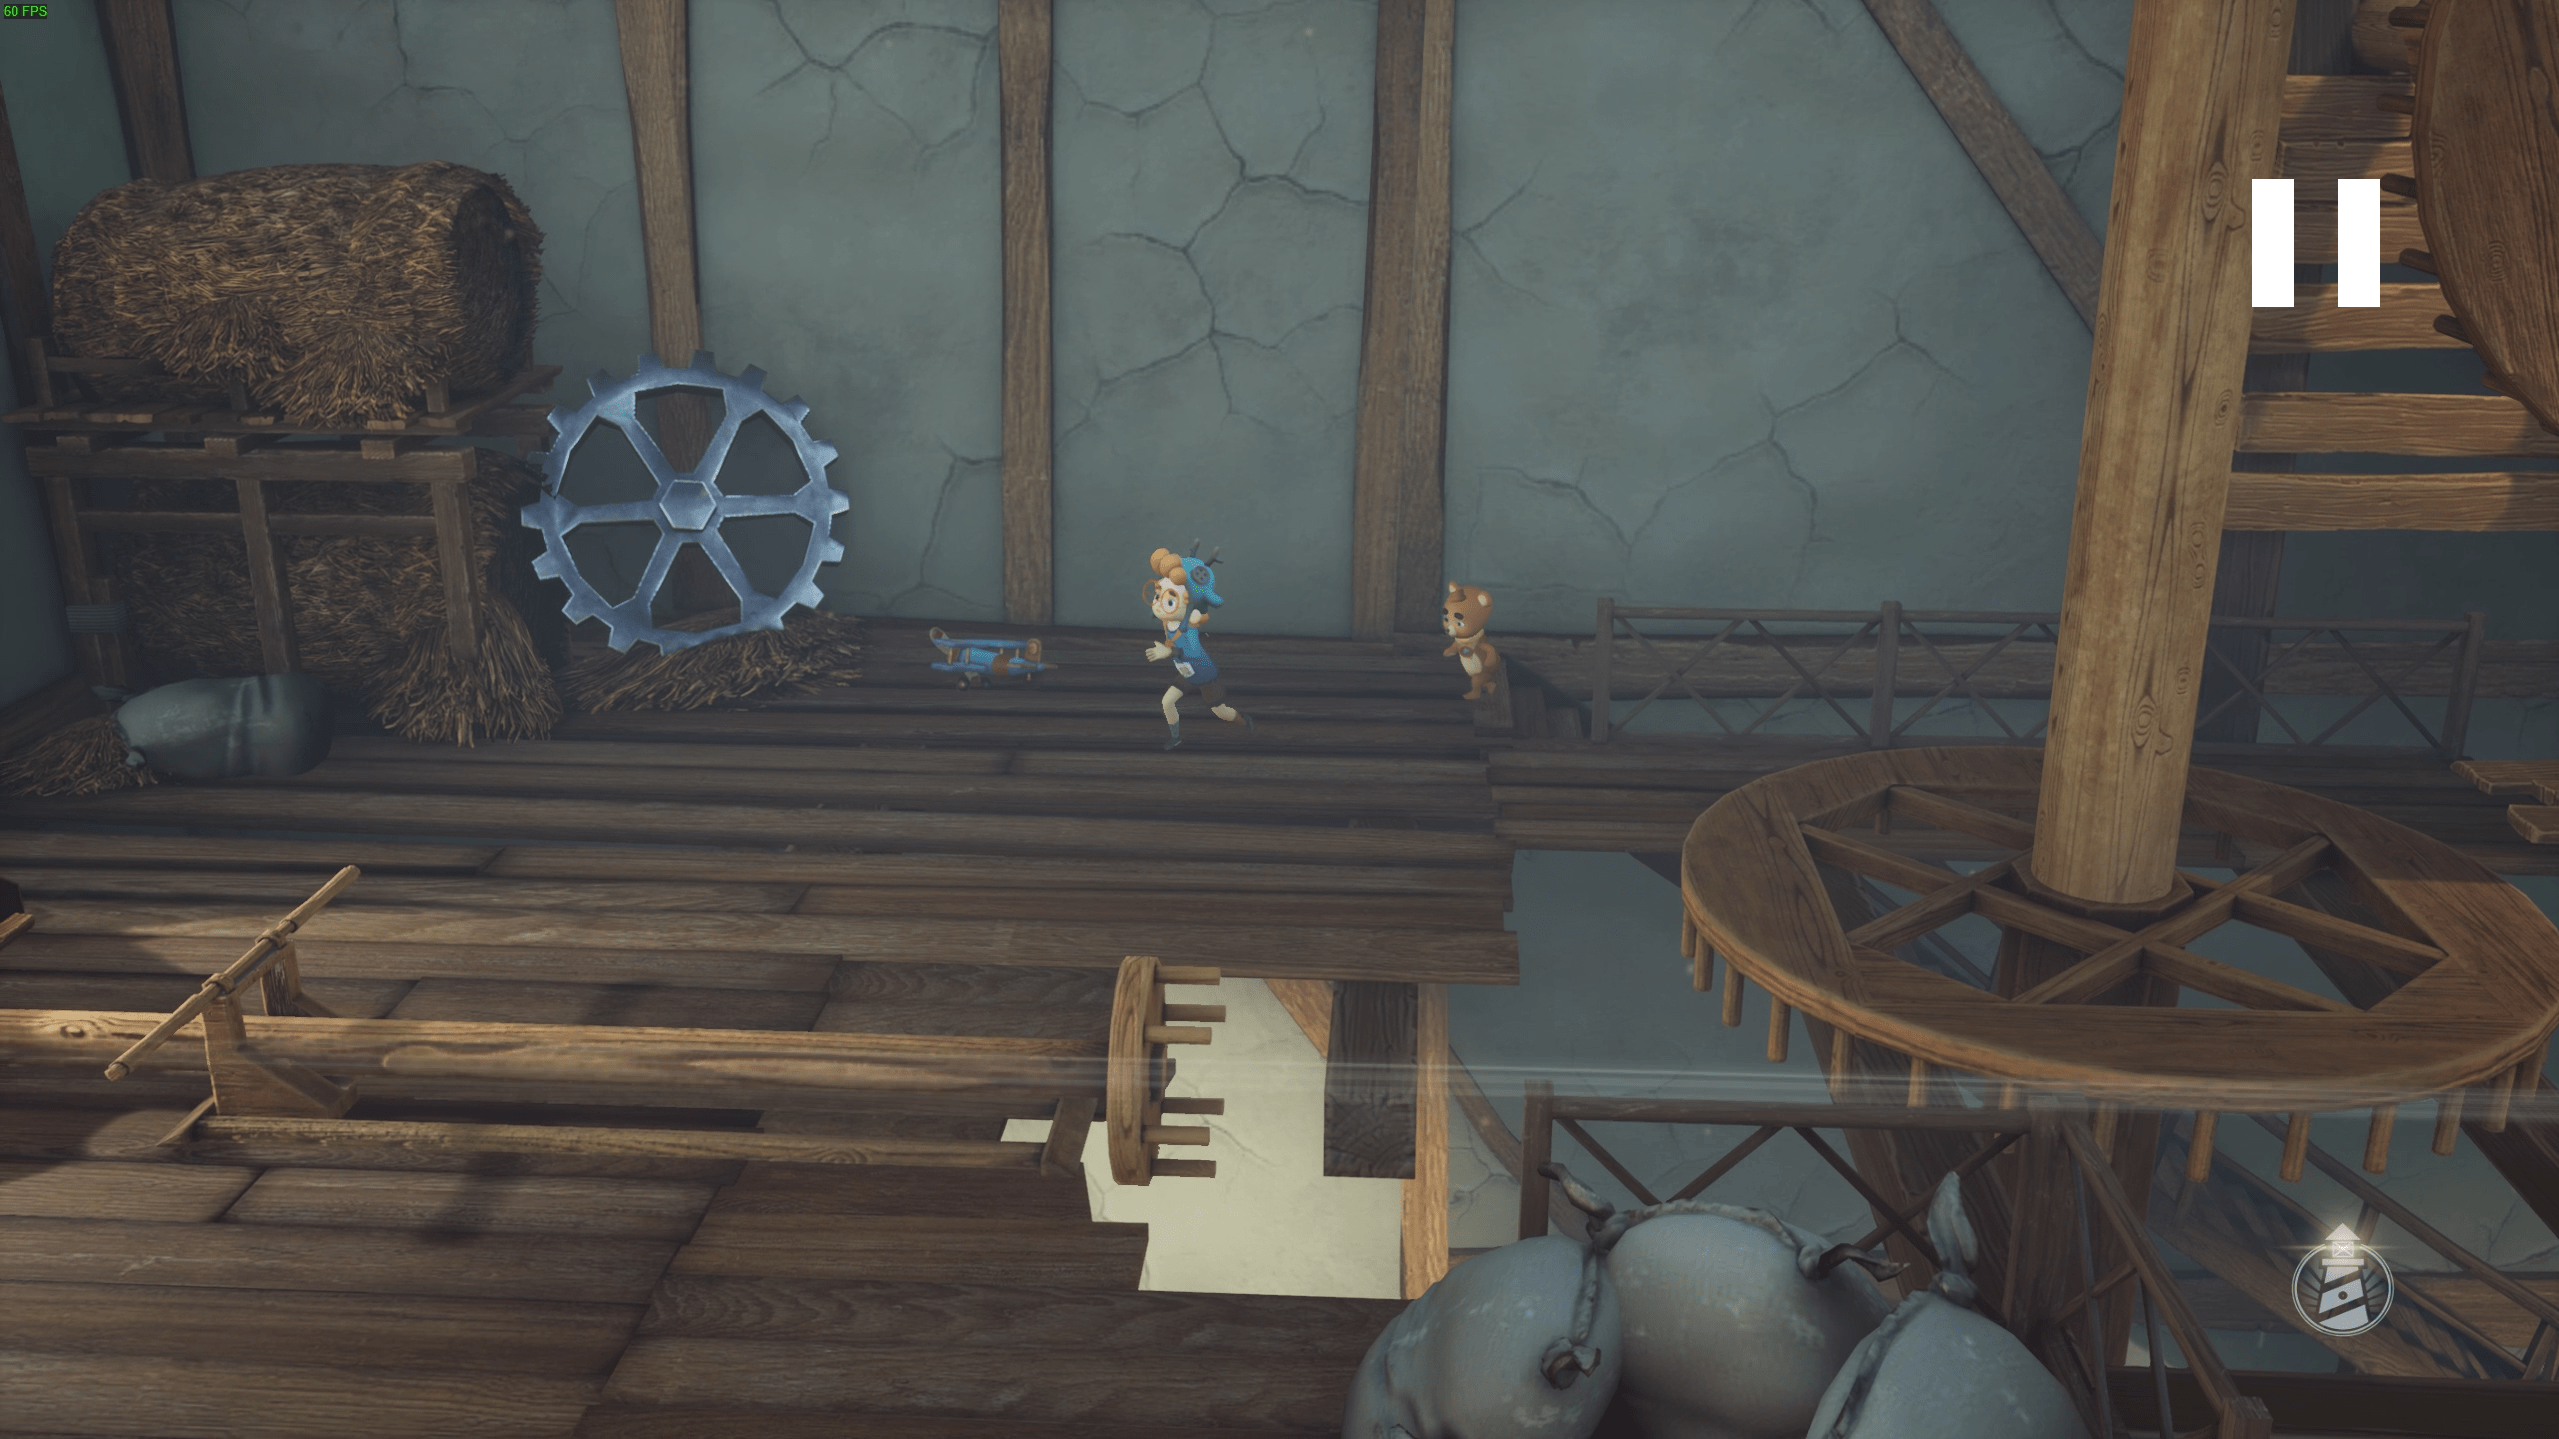
Throw it out of the window, it will fly back with the firefly.
Chapter 7
Collectible 8
Once you meet up with the new protagonist, Mira, head back towards the left where you came from.
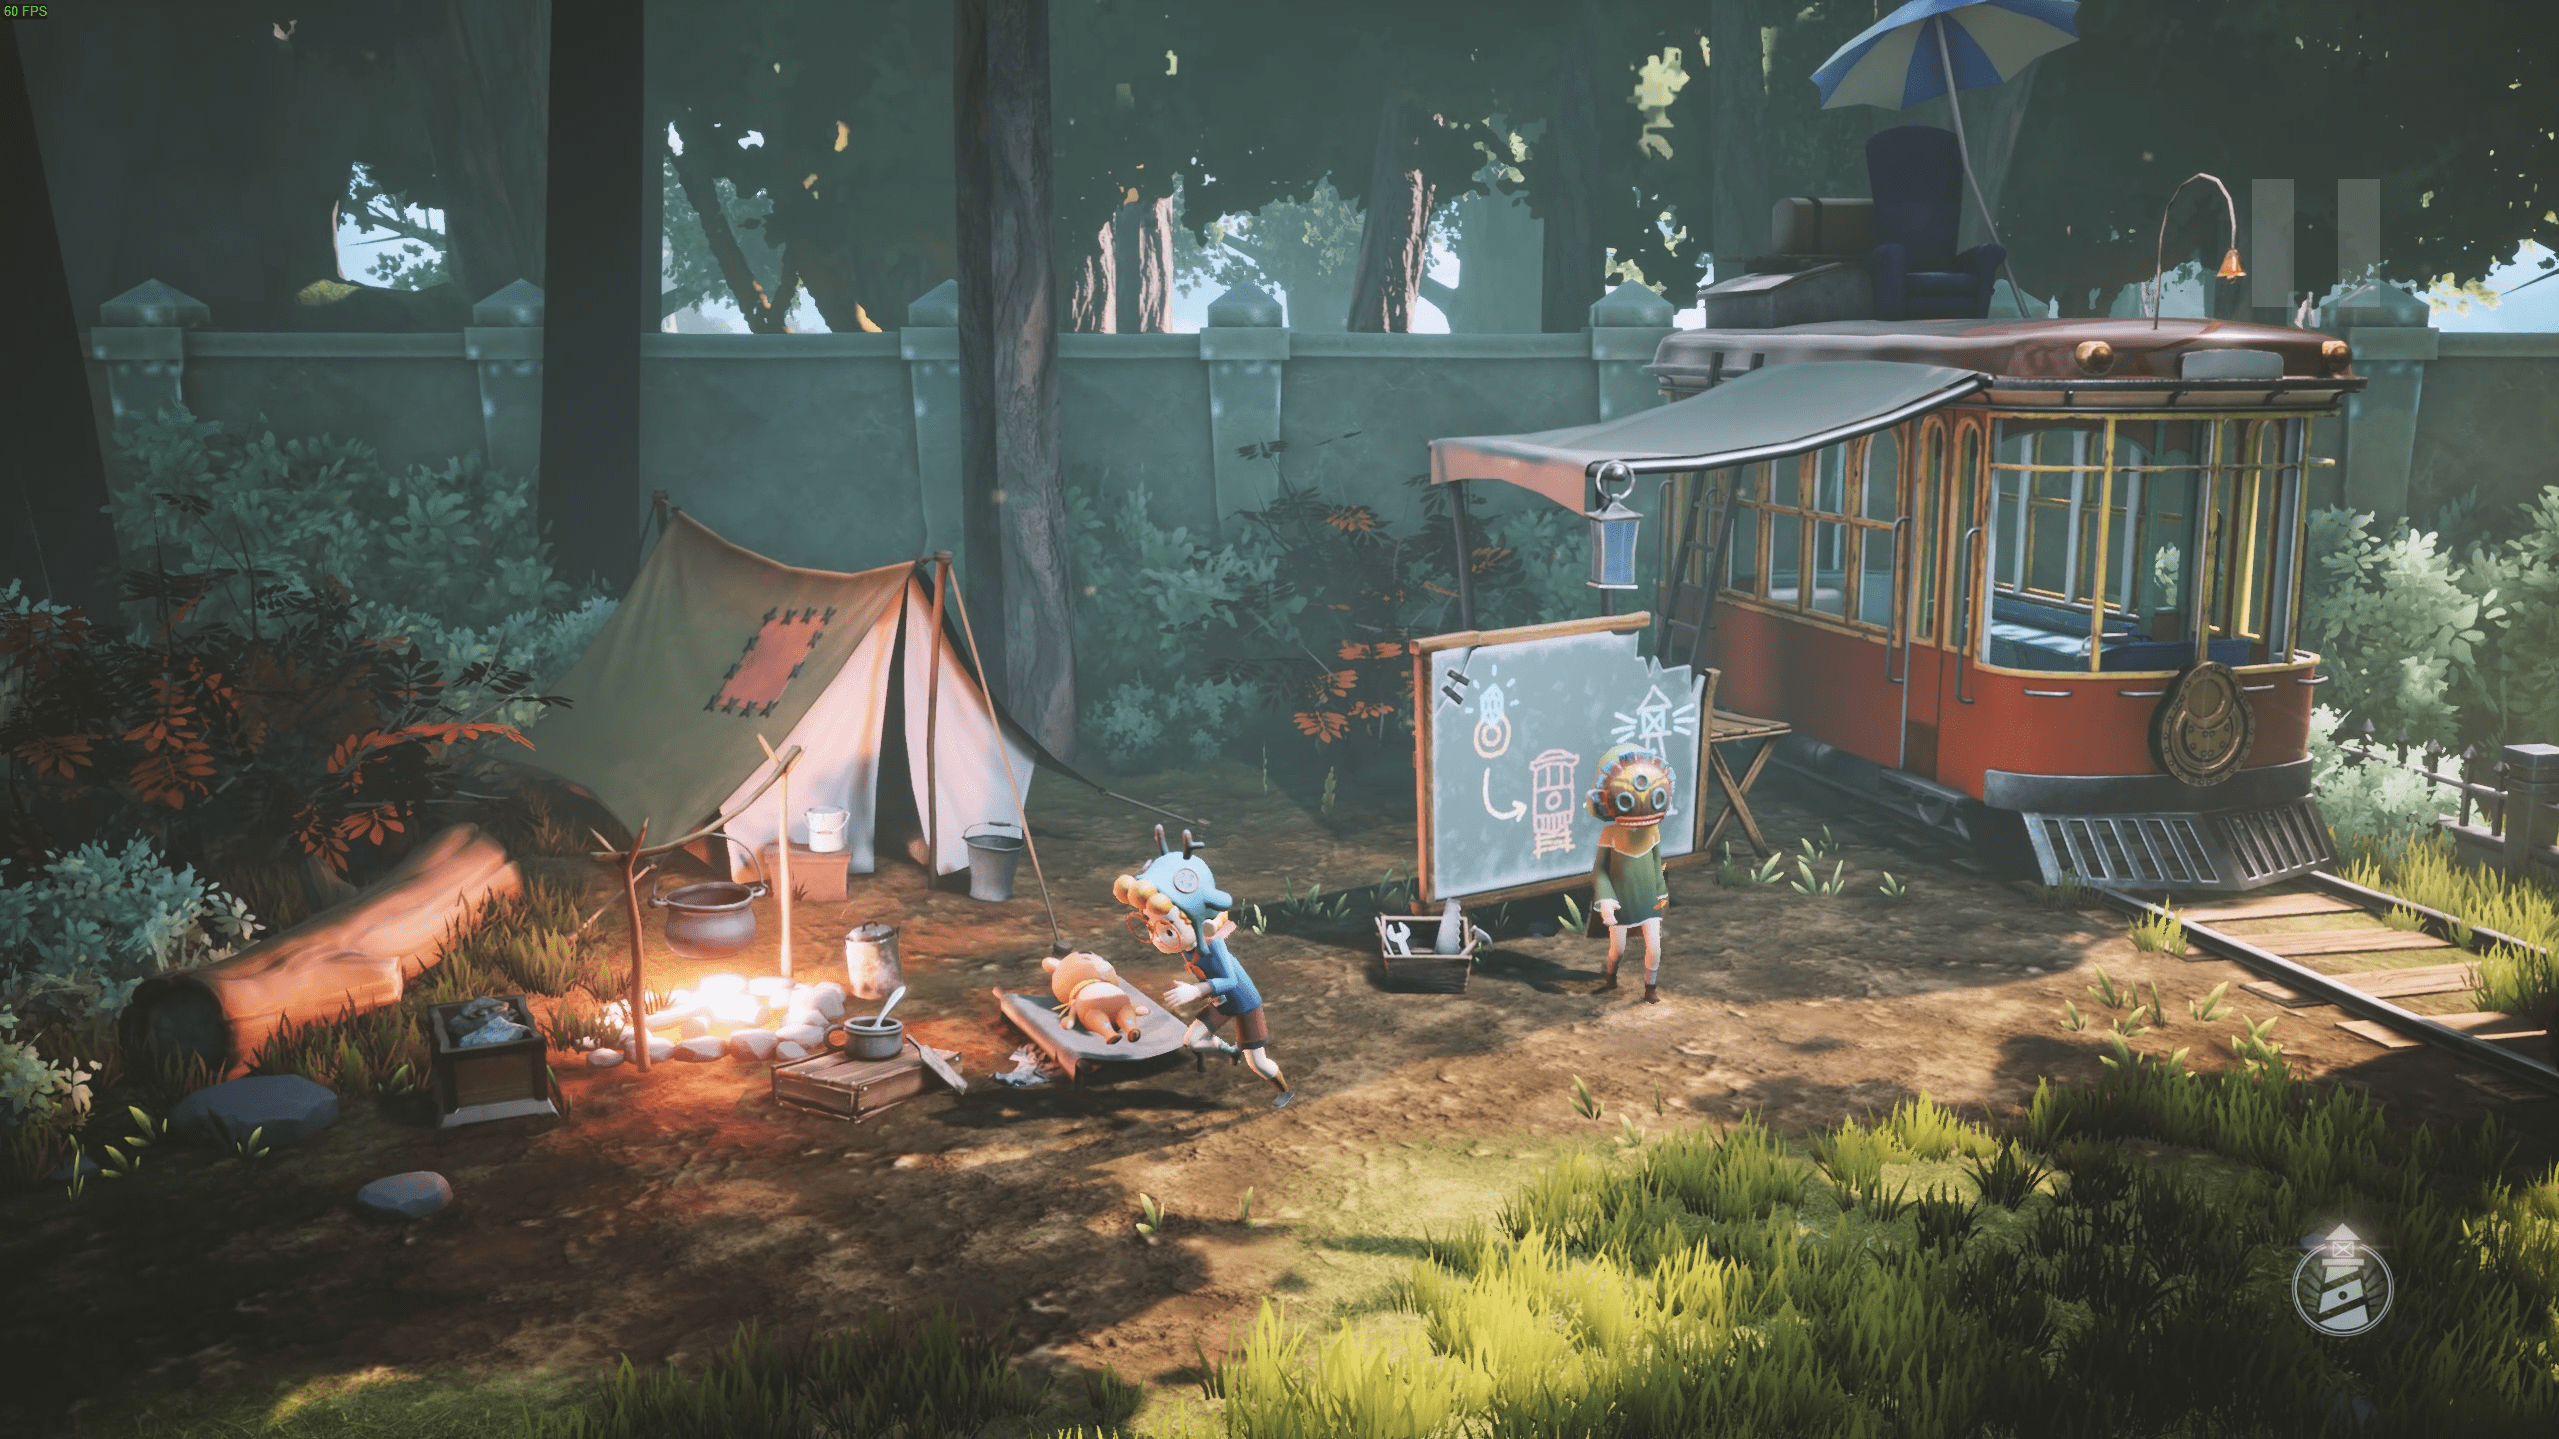
Once you see the crystal, ask Mira to shoot it [same way you ask Birly to do tasks for you]. A crystal will drop. Pick it up, and carry it all the way back to the camp where you met Mira (and where Birly is recovering).
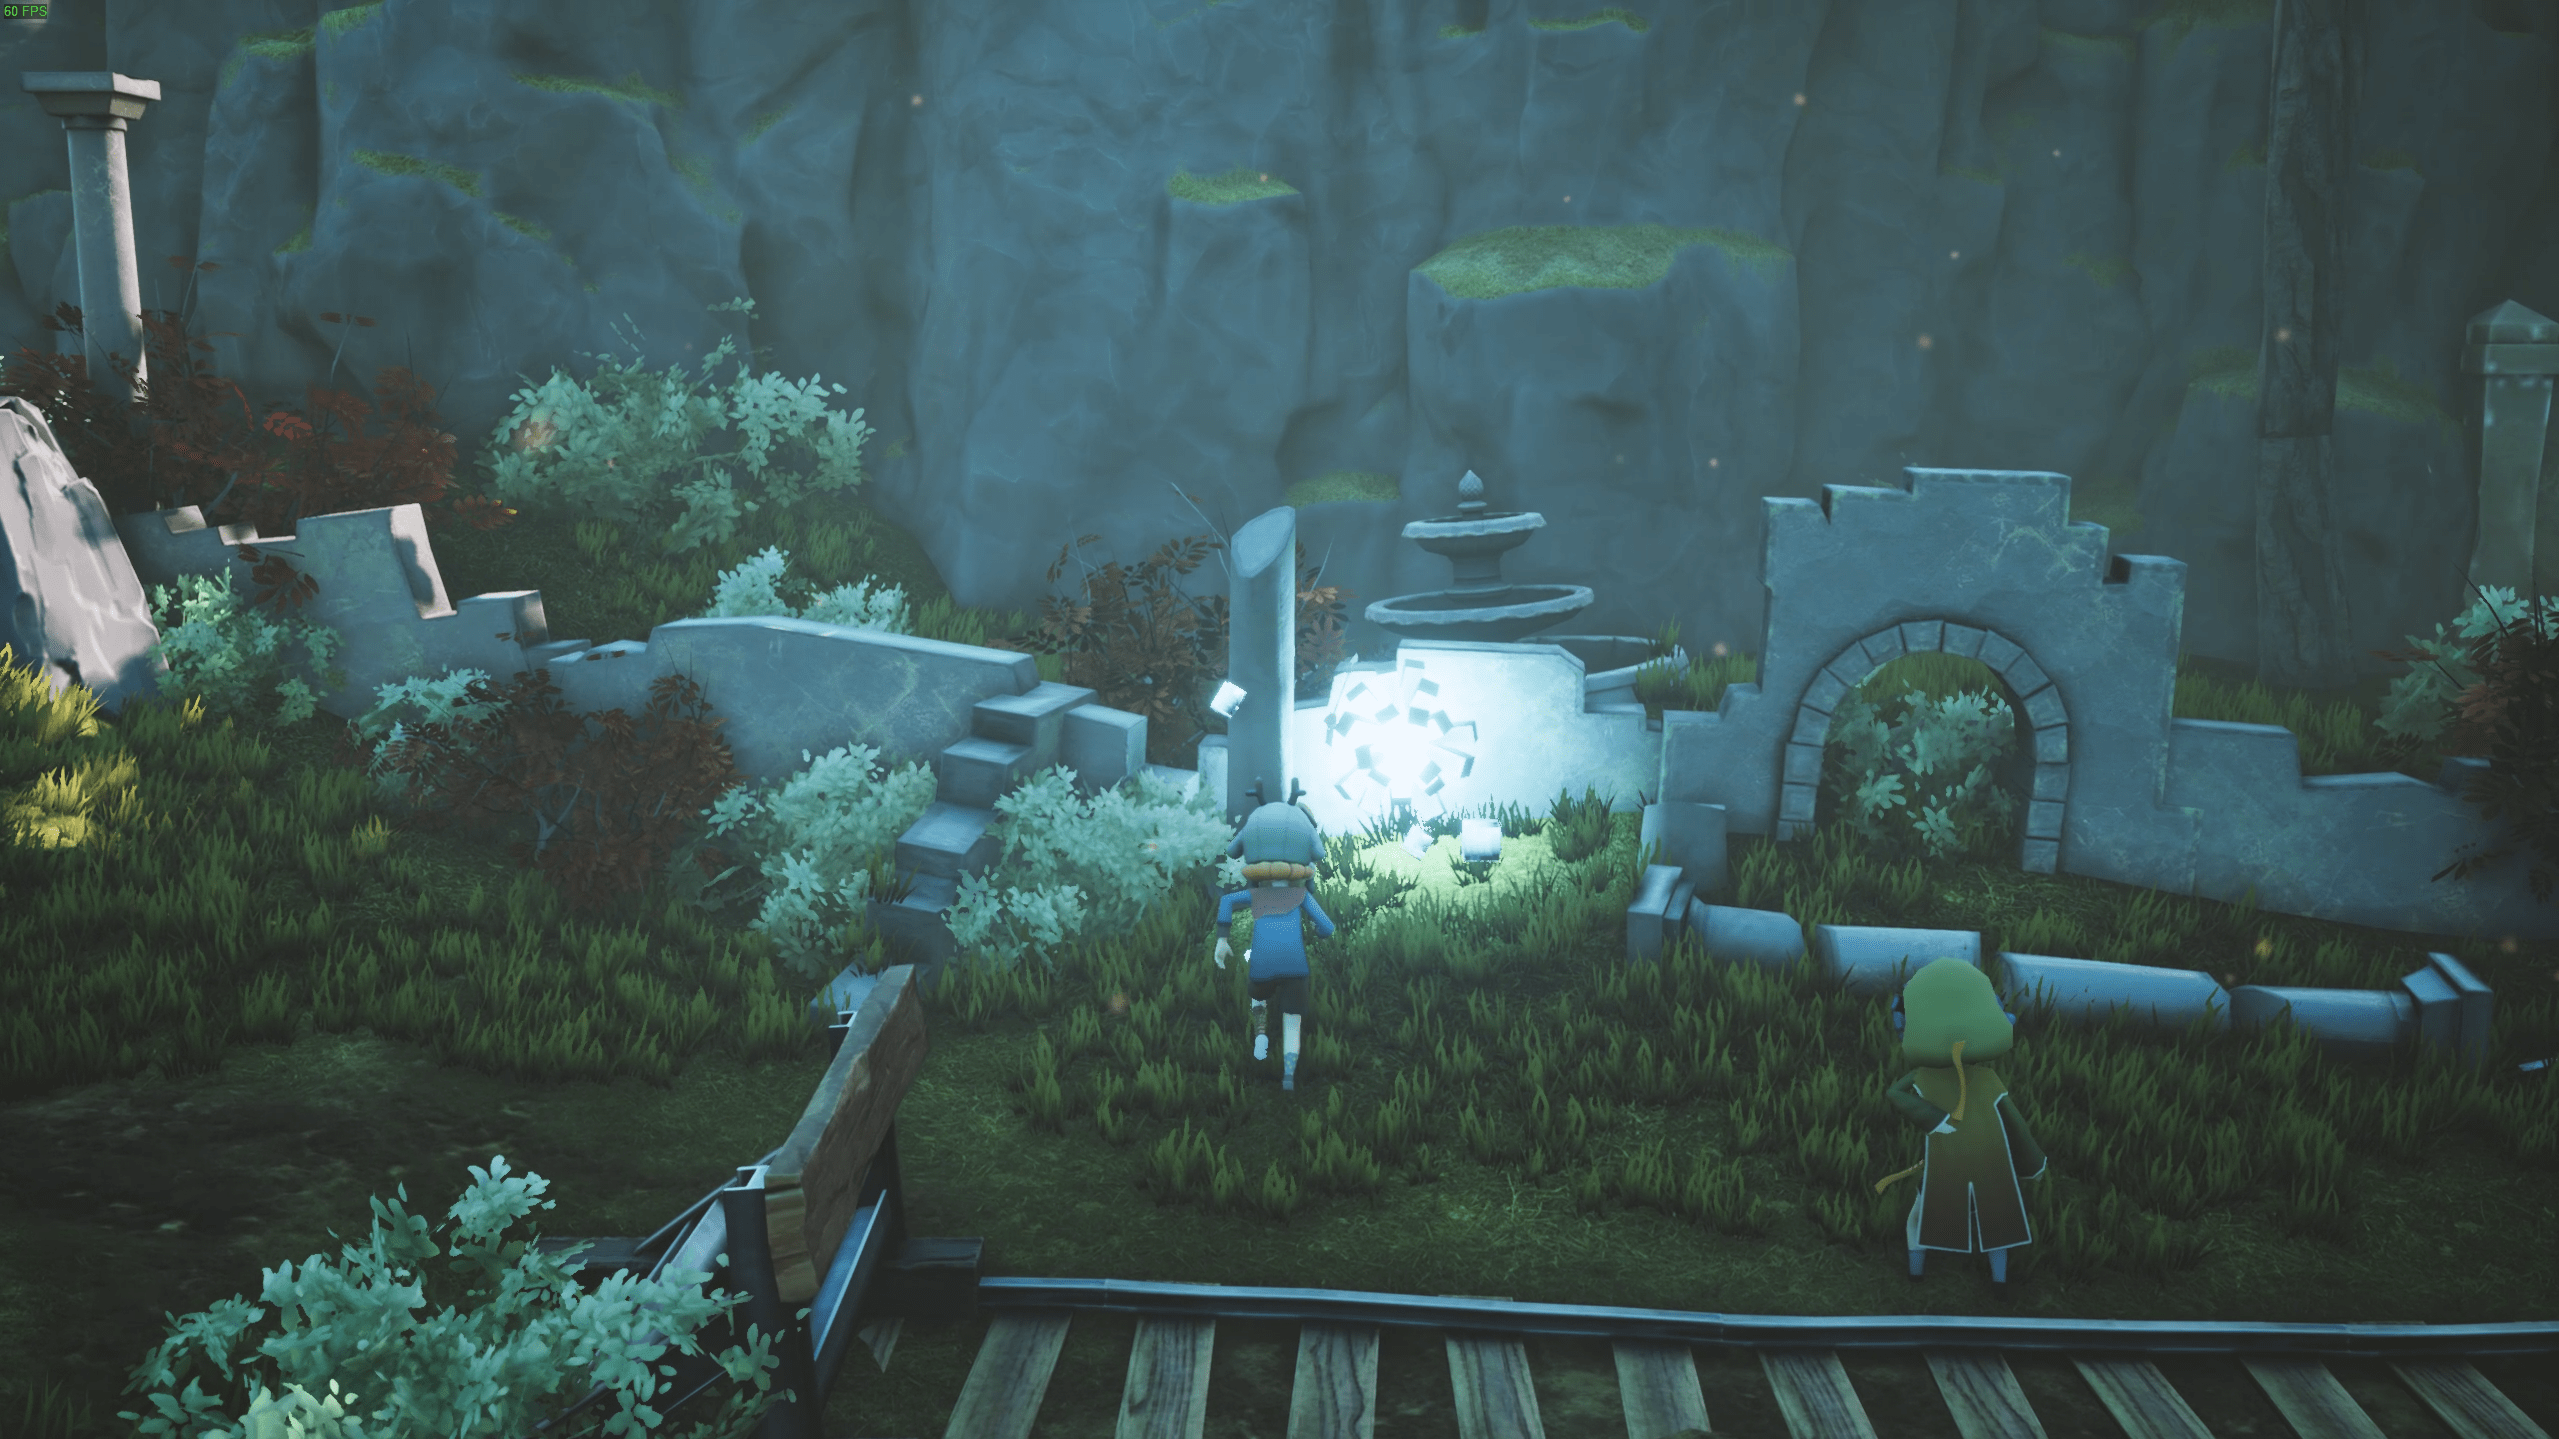
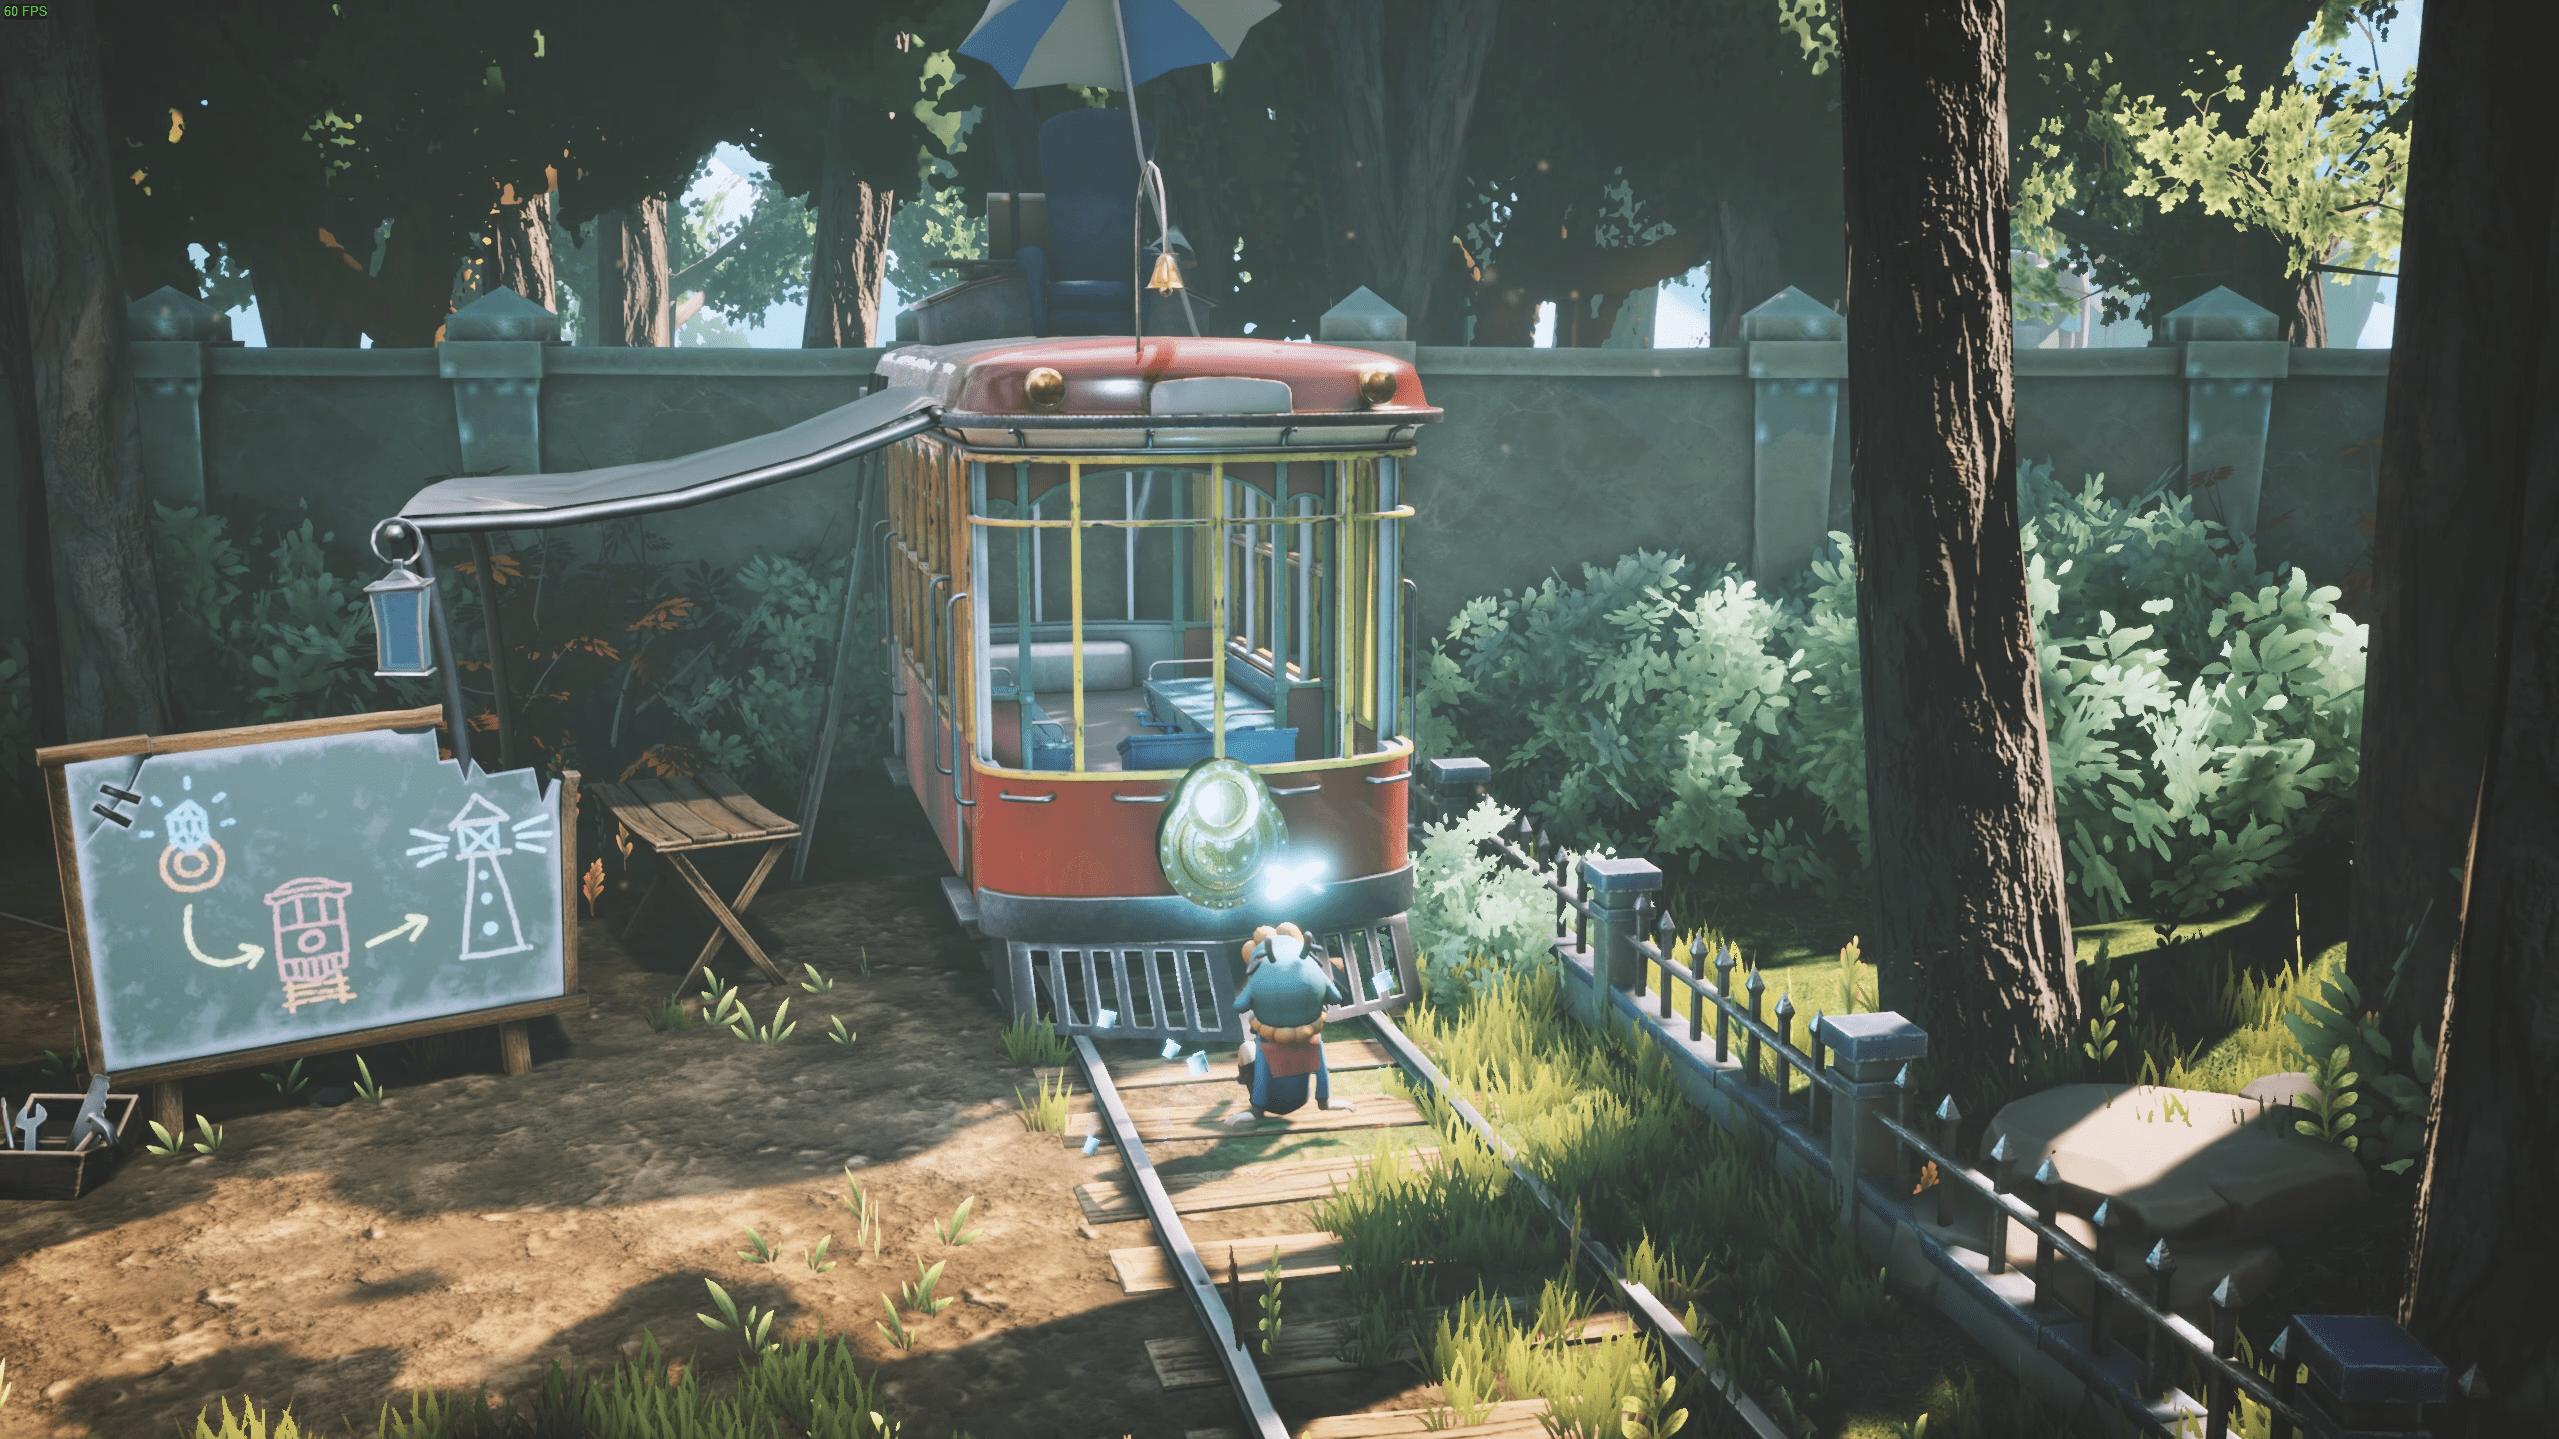
Insert the crystal on the front of the train. There will be a small explosion, & then the firefly will appear.
Chapter 8
Collectible 9
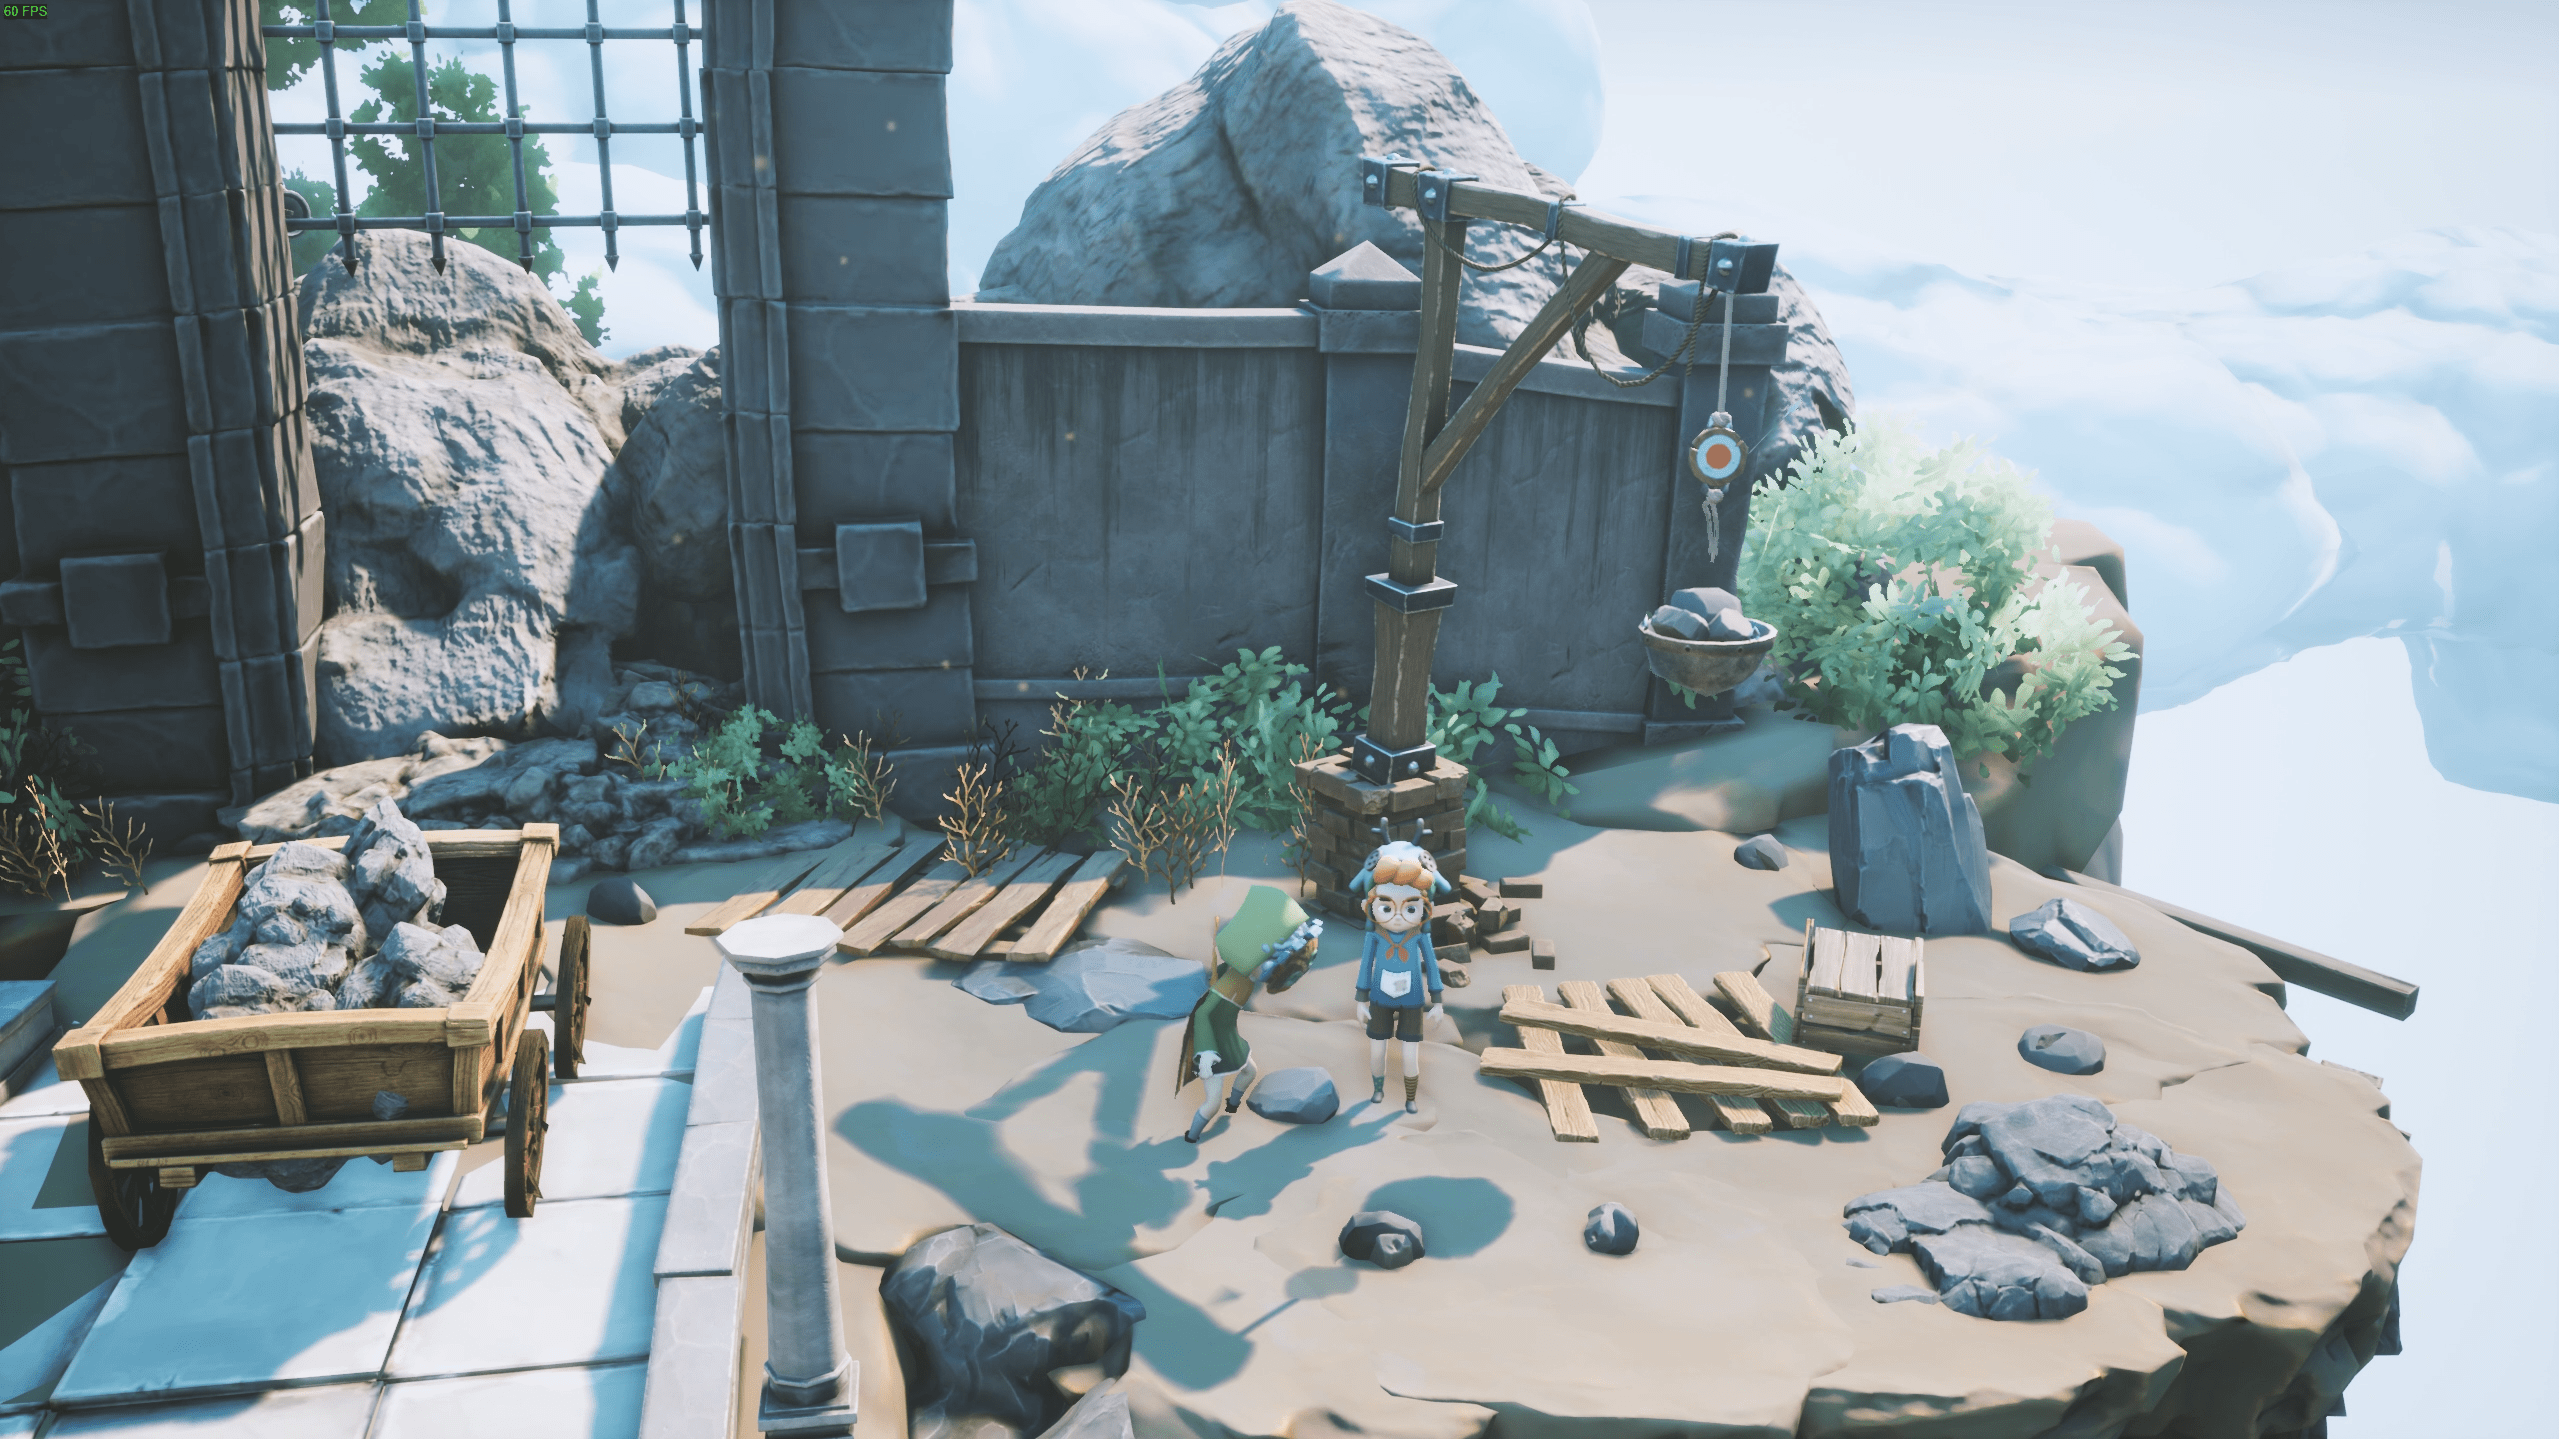
Next to the cart that you attach the wheel to, there is a target. Ask Mira to shoot the target, and a basket of stone will drop. It will open up a whole to a secret cave.
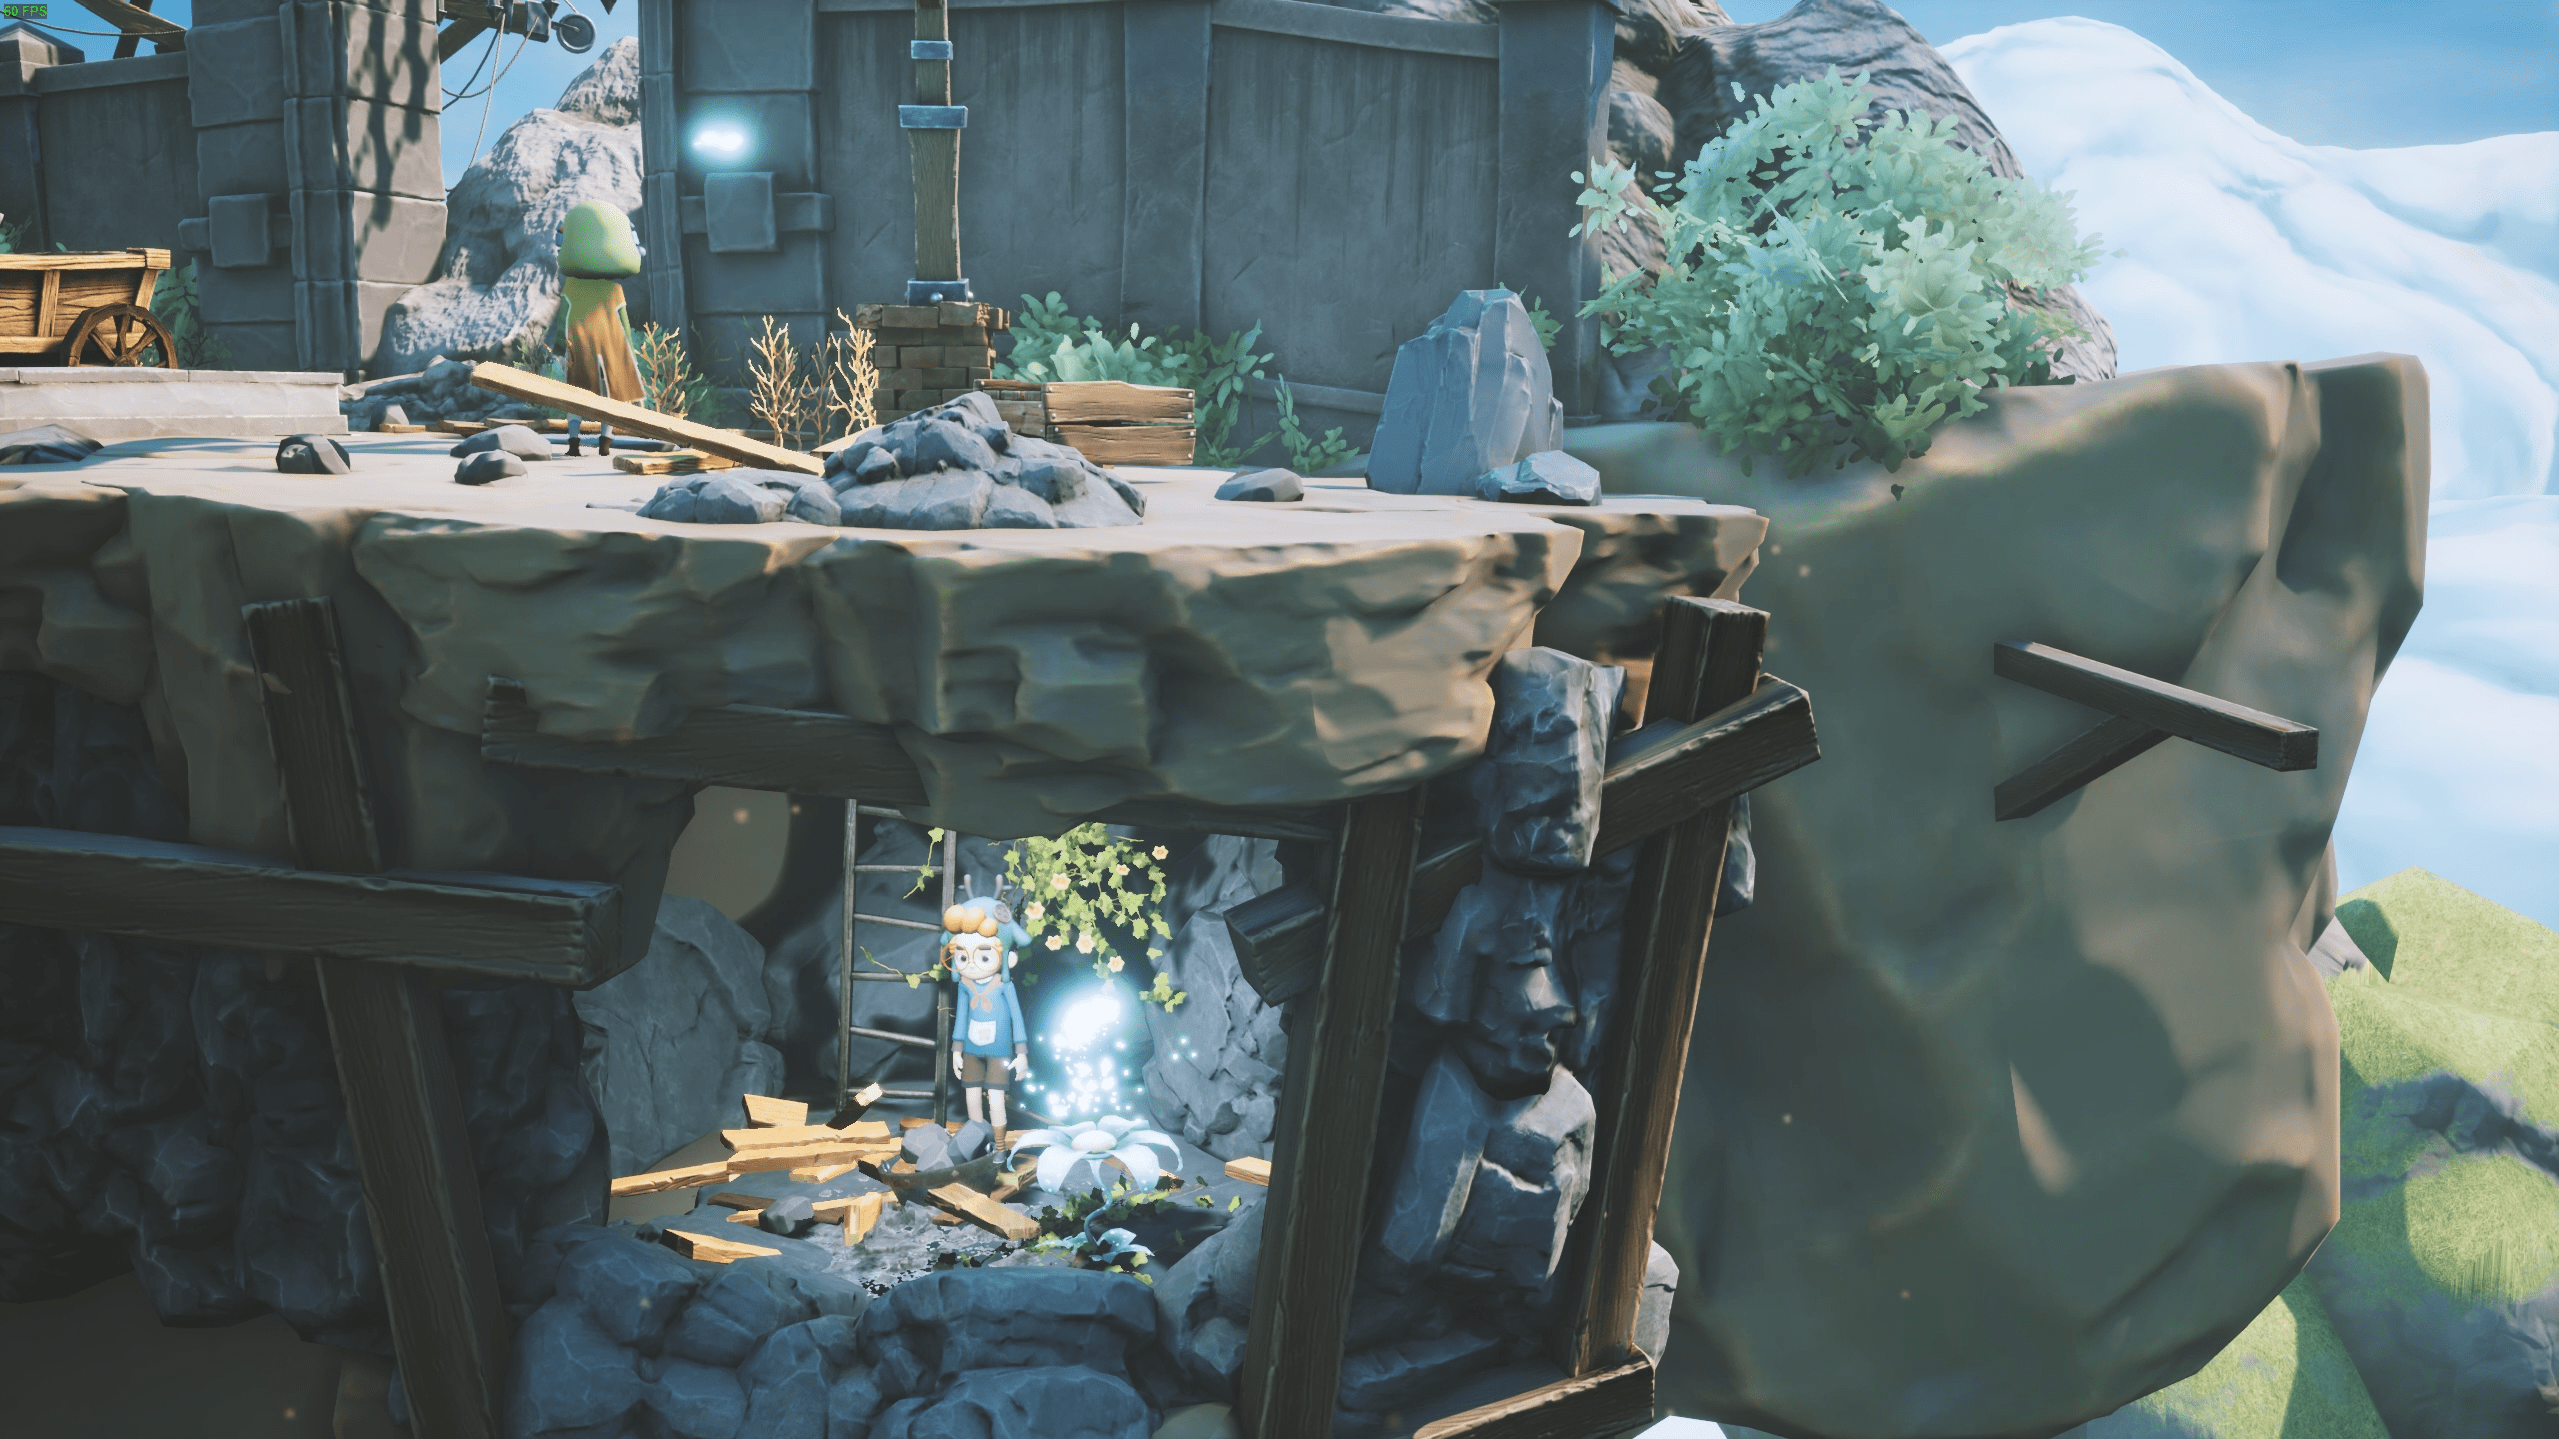
Once inside, pull the flower backwards, so it opens up. The firefly will come out.
Collectible 10
Once you are at the puzzle with the four platform key, when you are pushing down the crate on the right, there will be a picture frame behind it. Pick it up & throw it down.
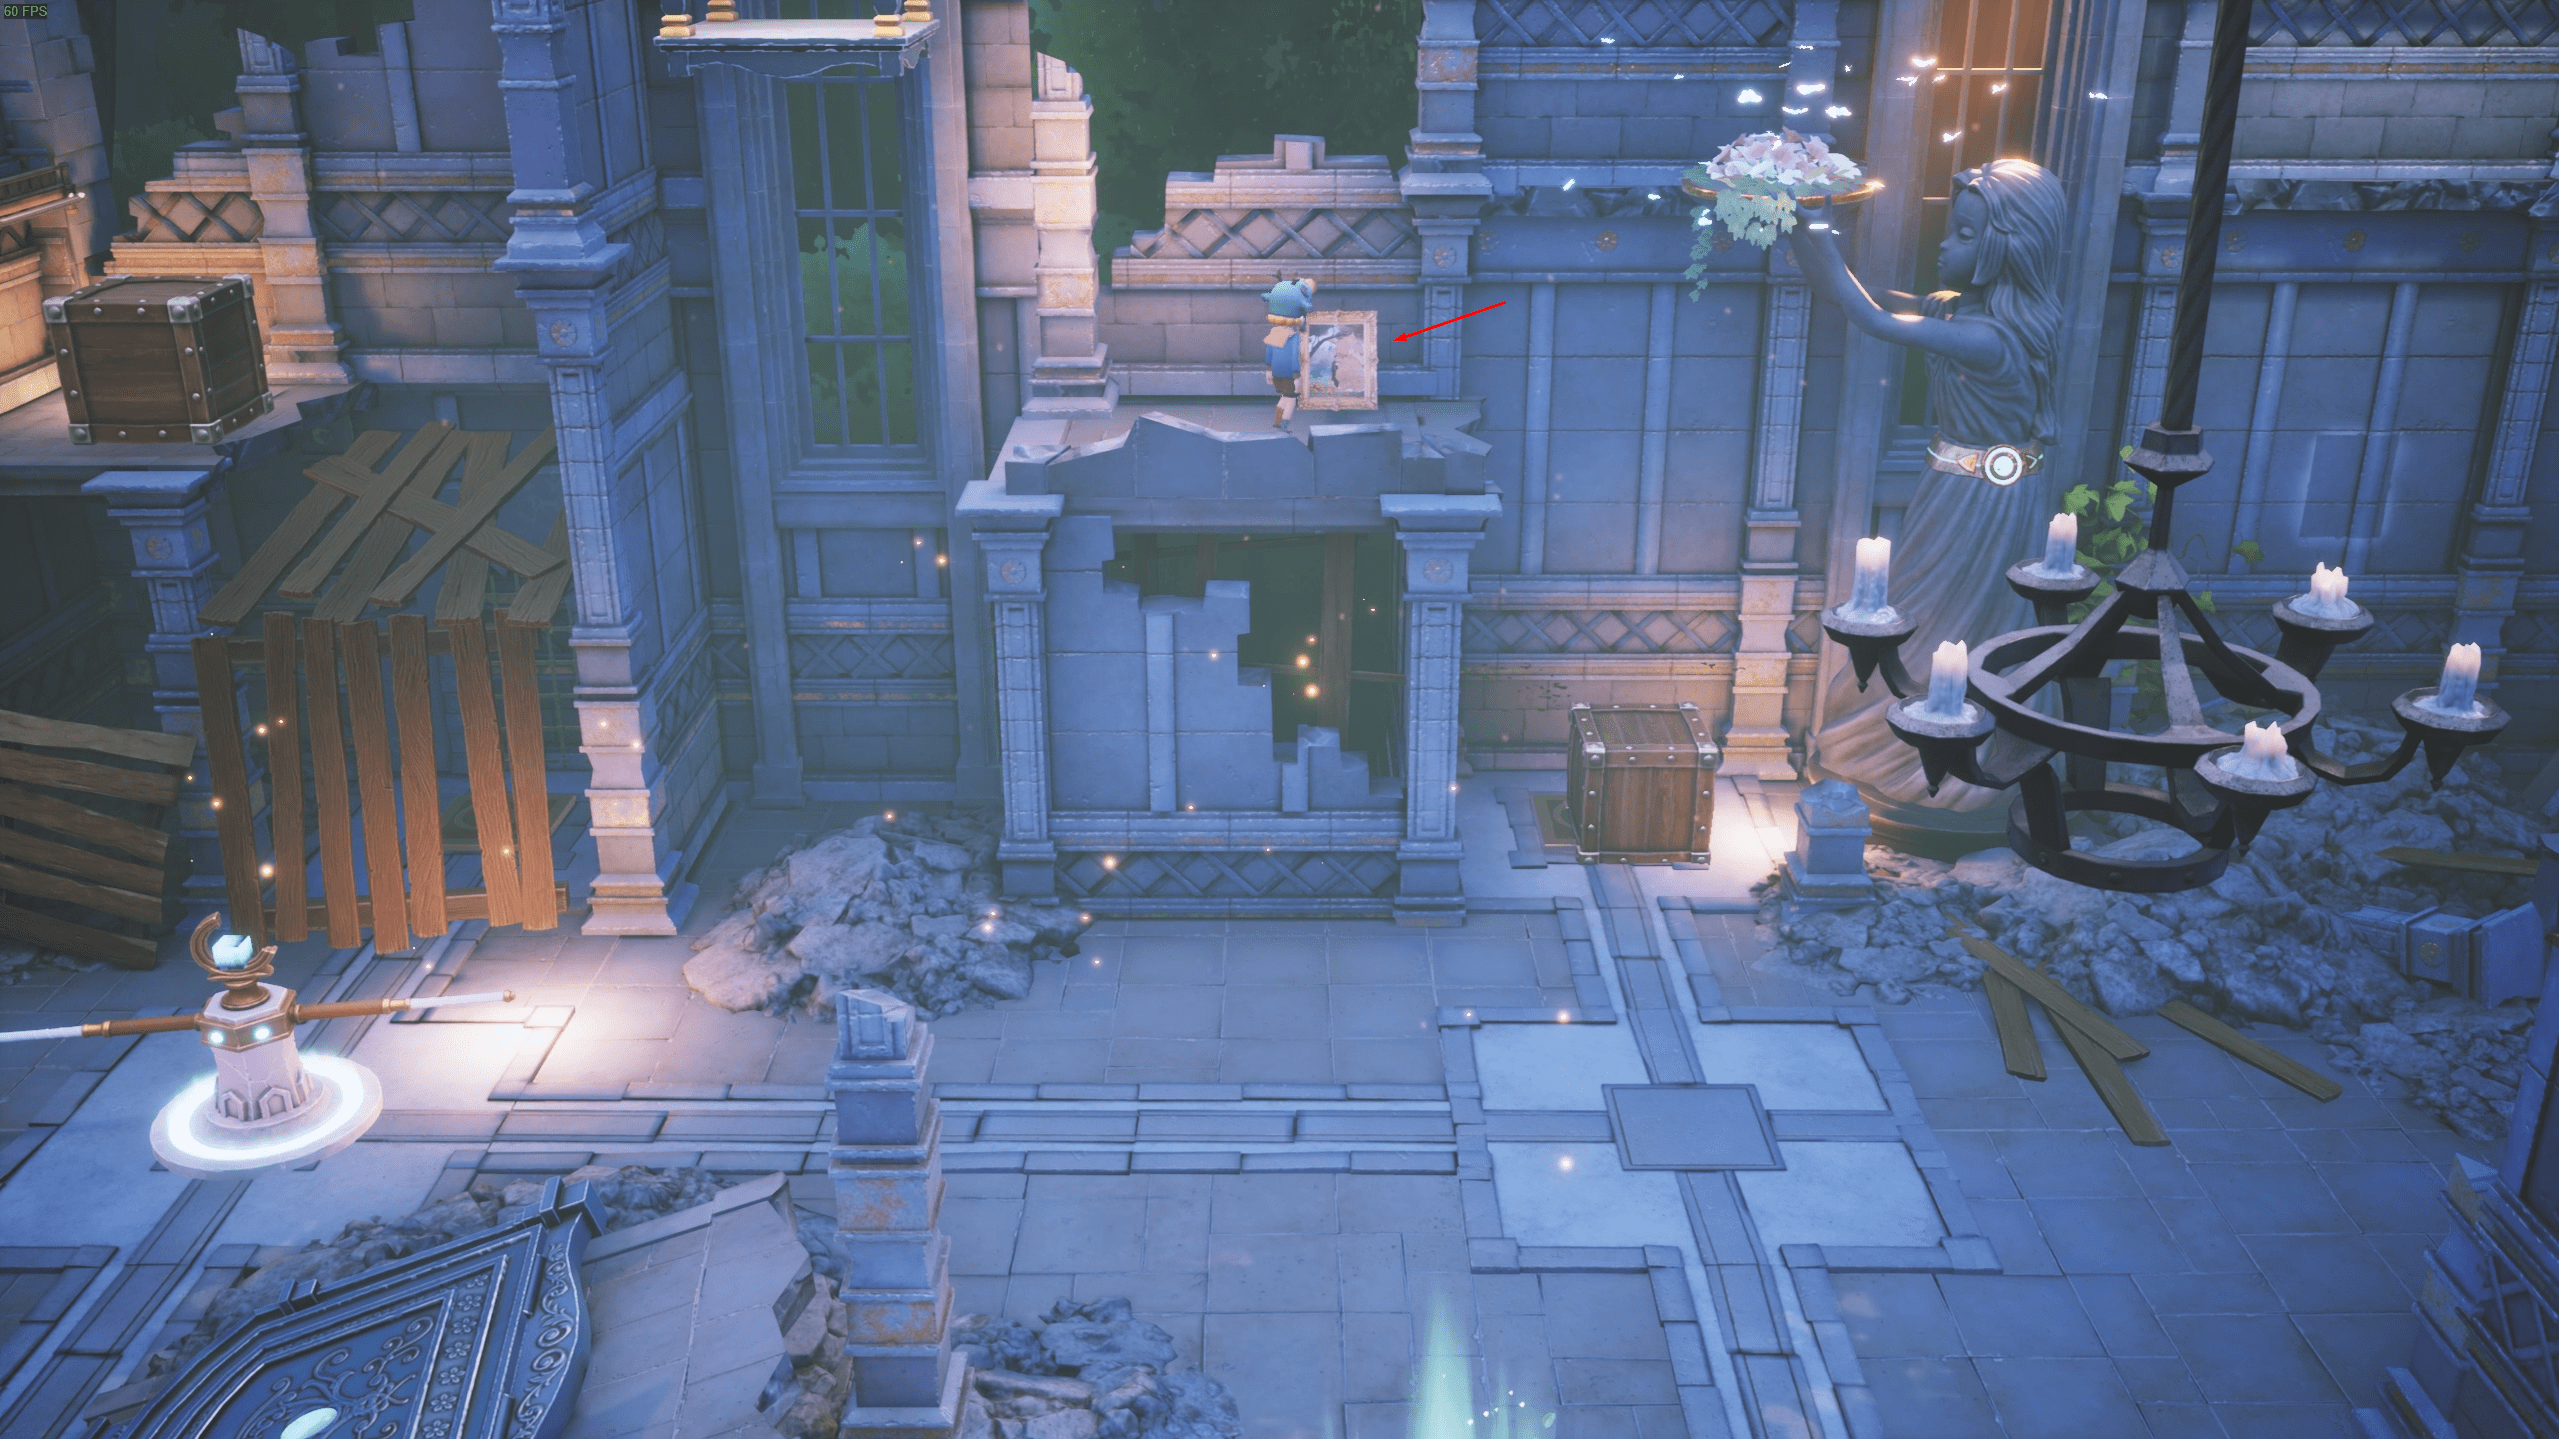
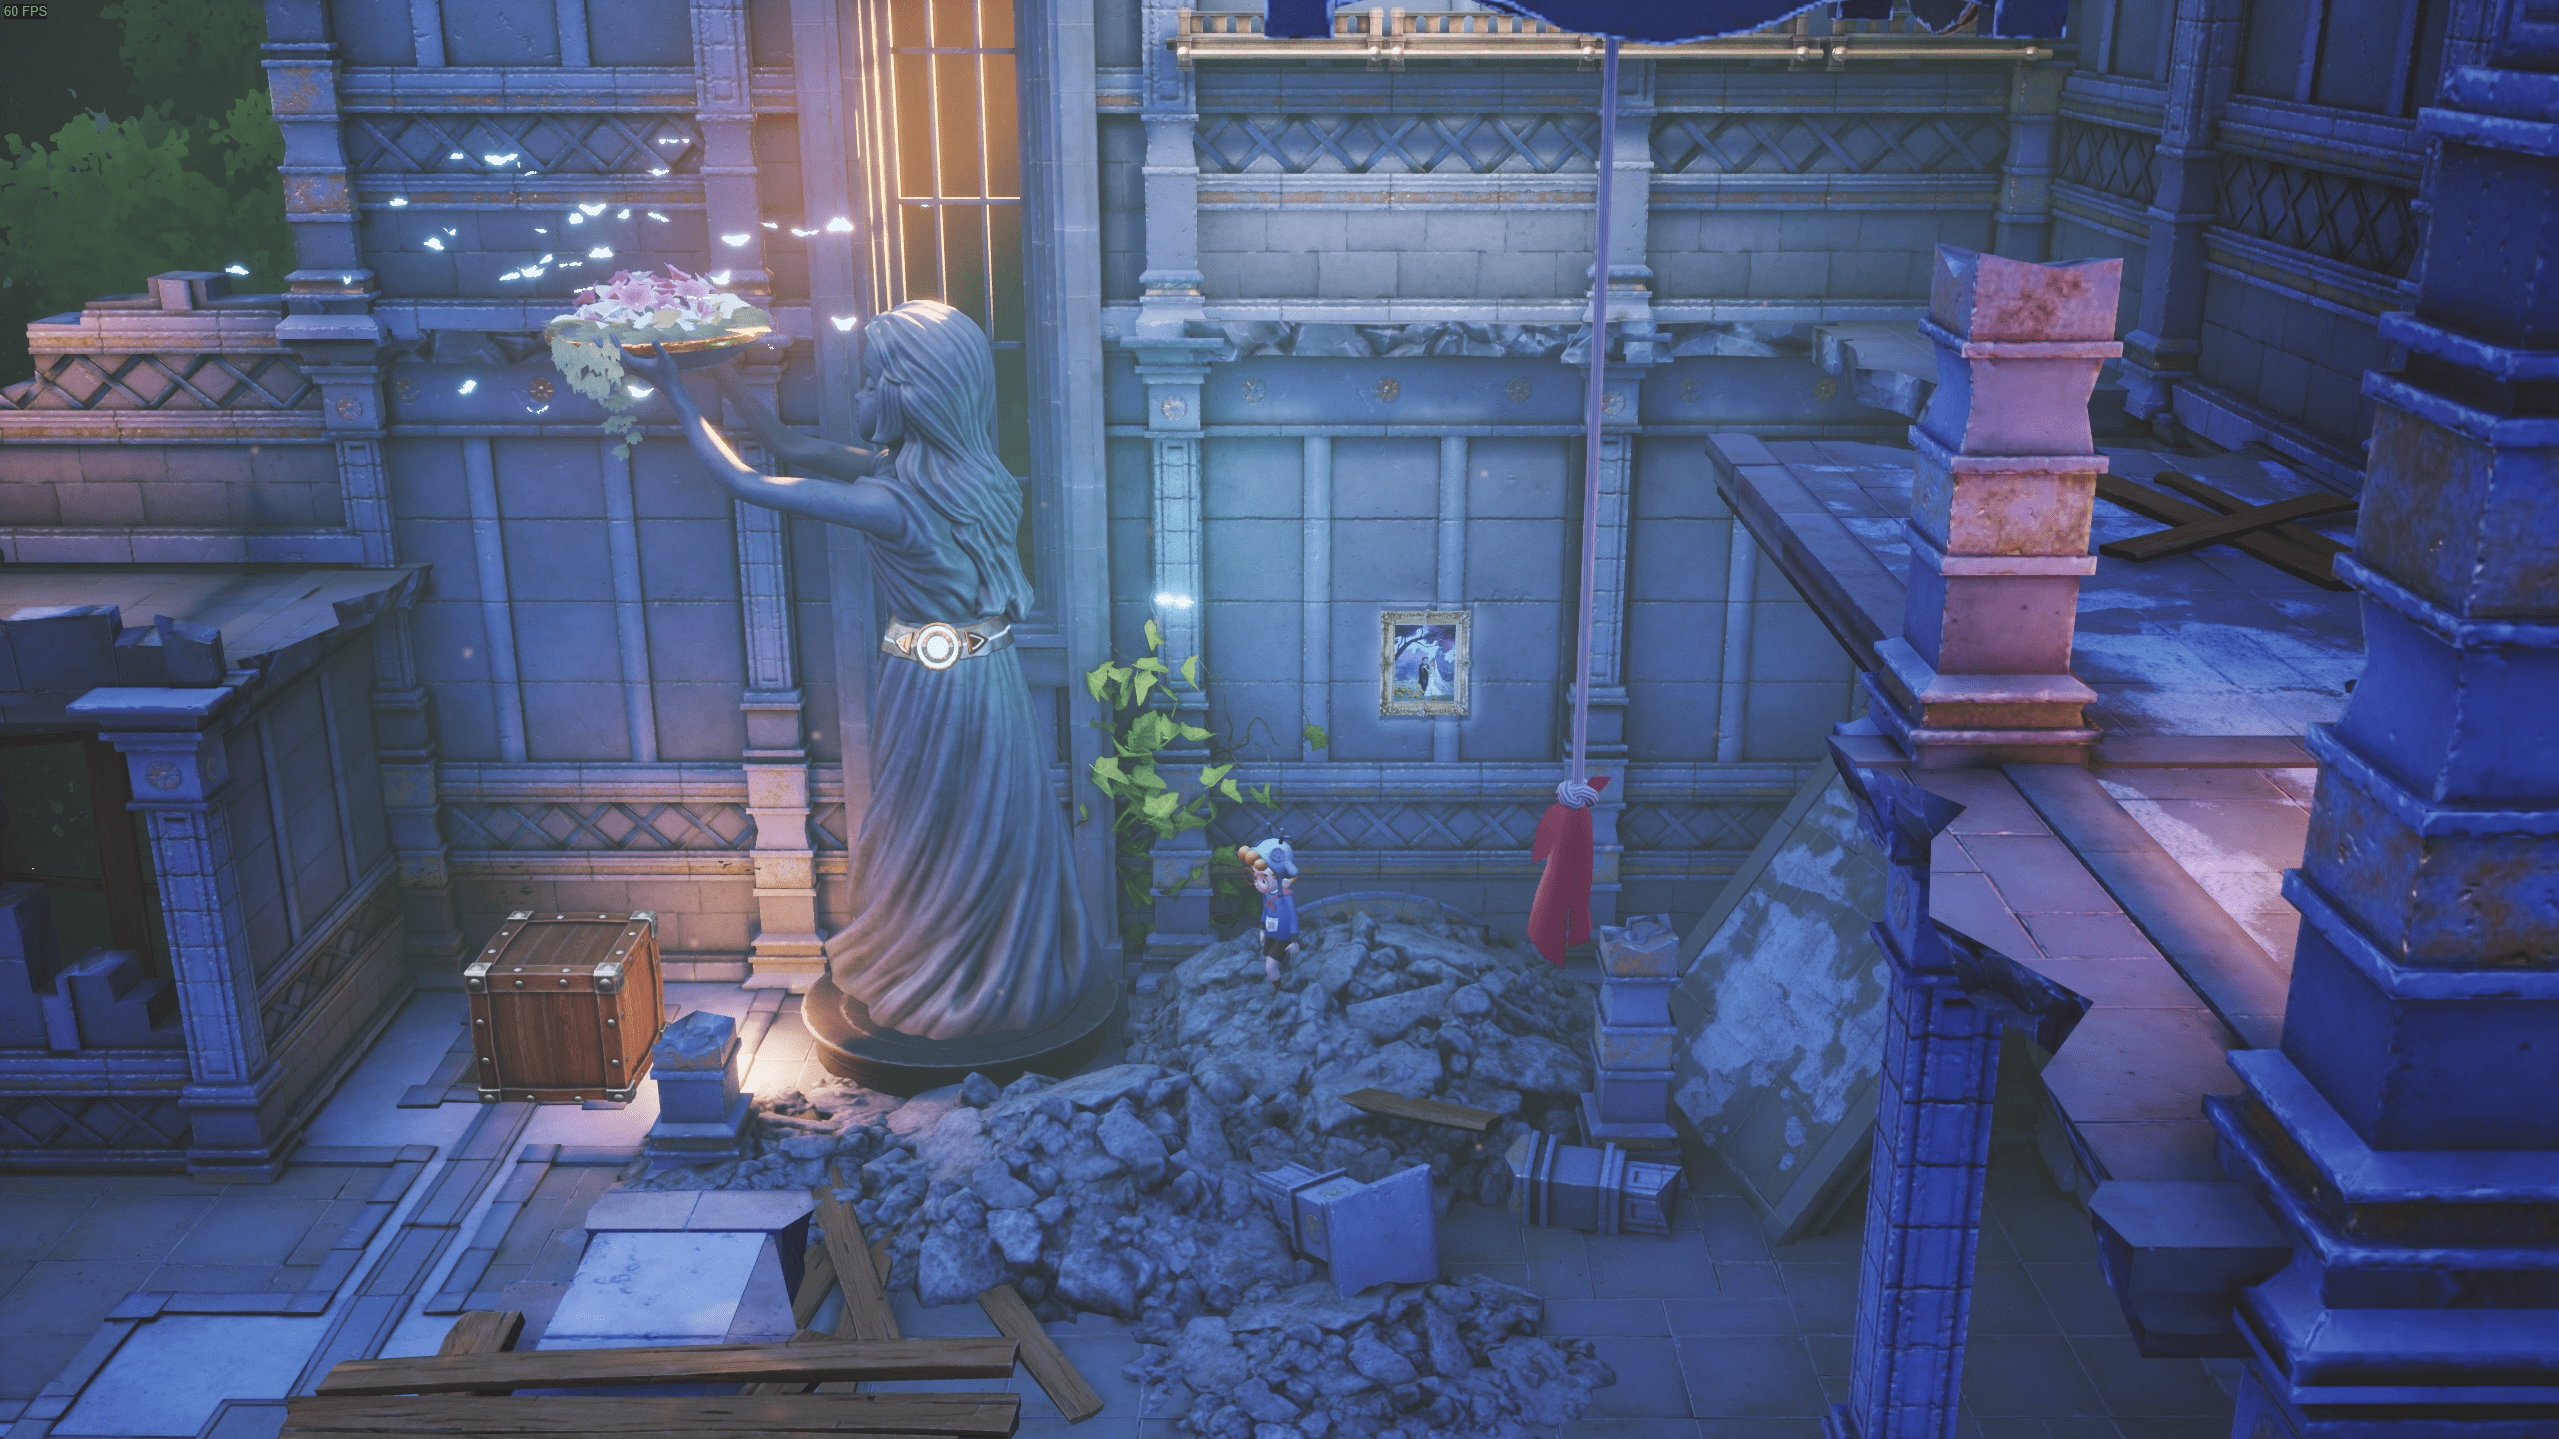
Then bring the picture frame to the highlighted rectangle on the right. Place it there, and the firefly will come.
Chapter 9
Collectible 11
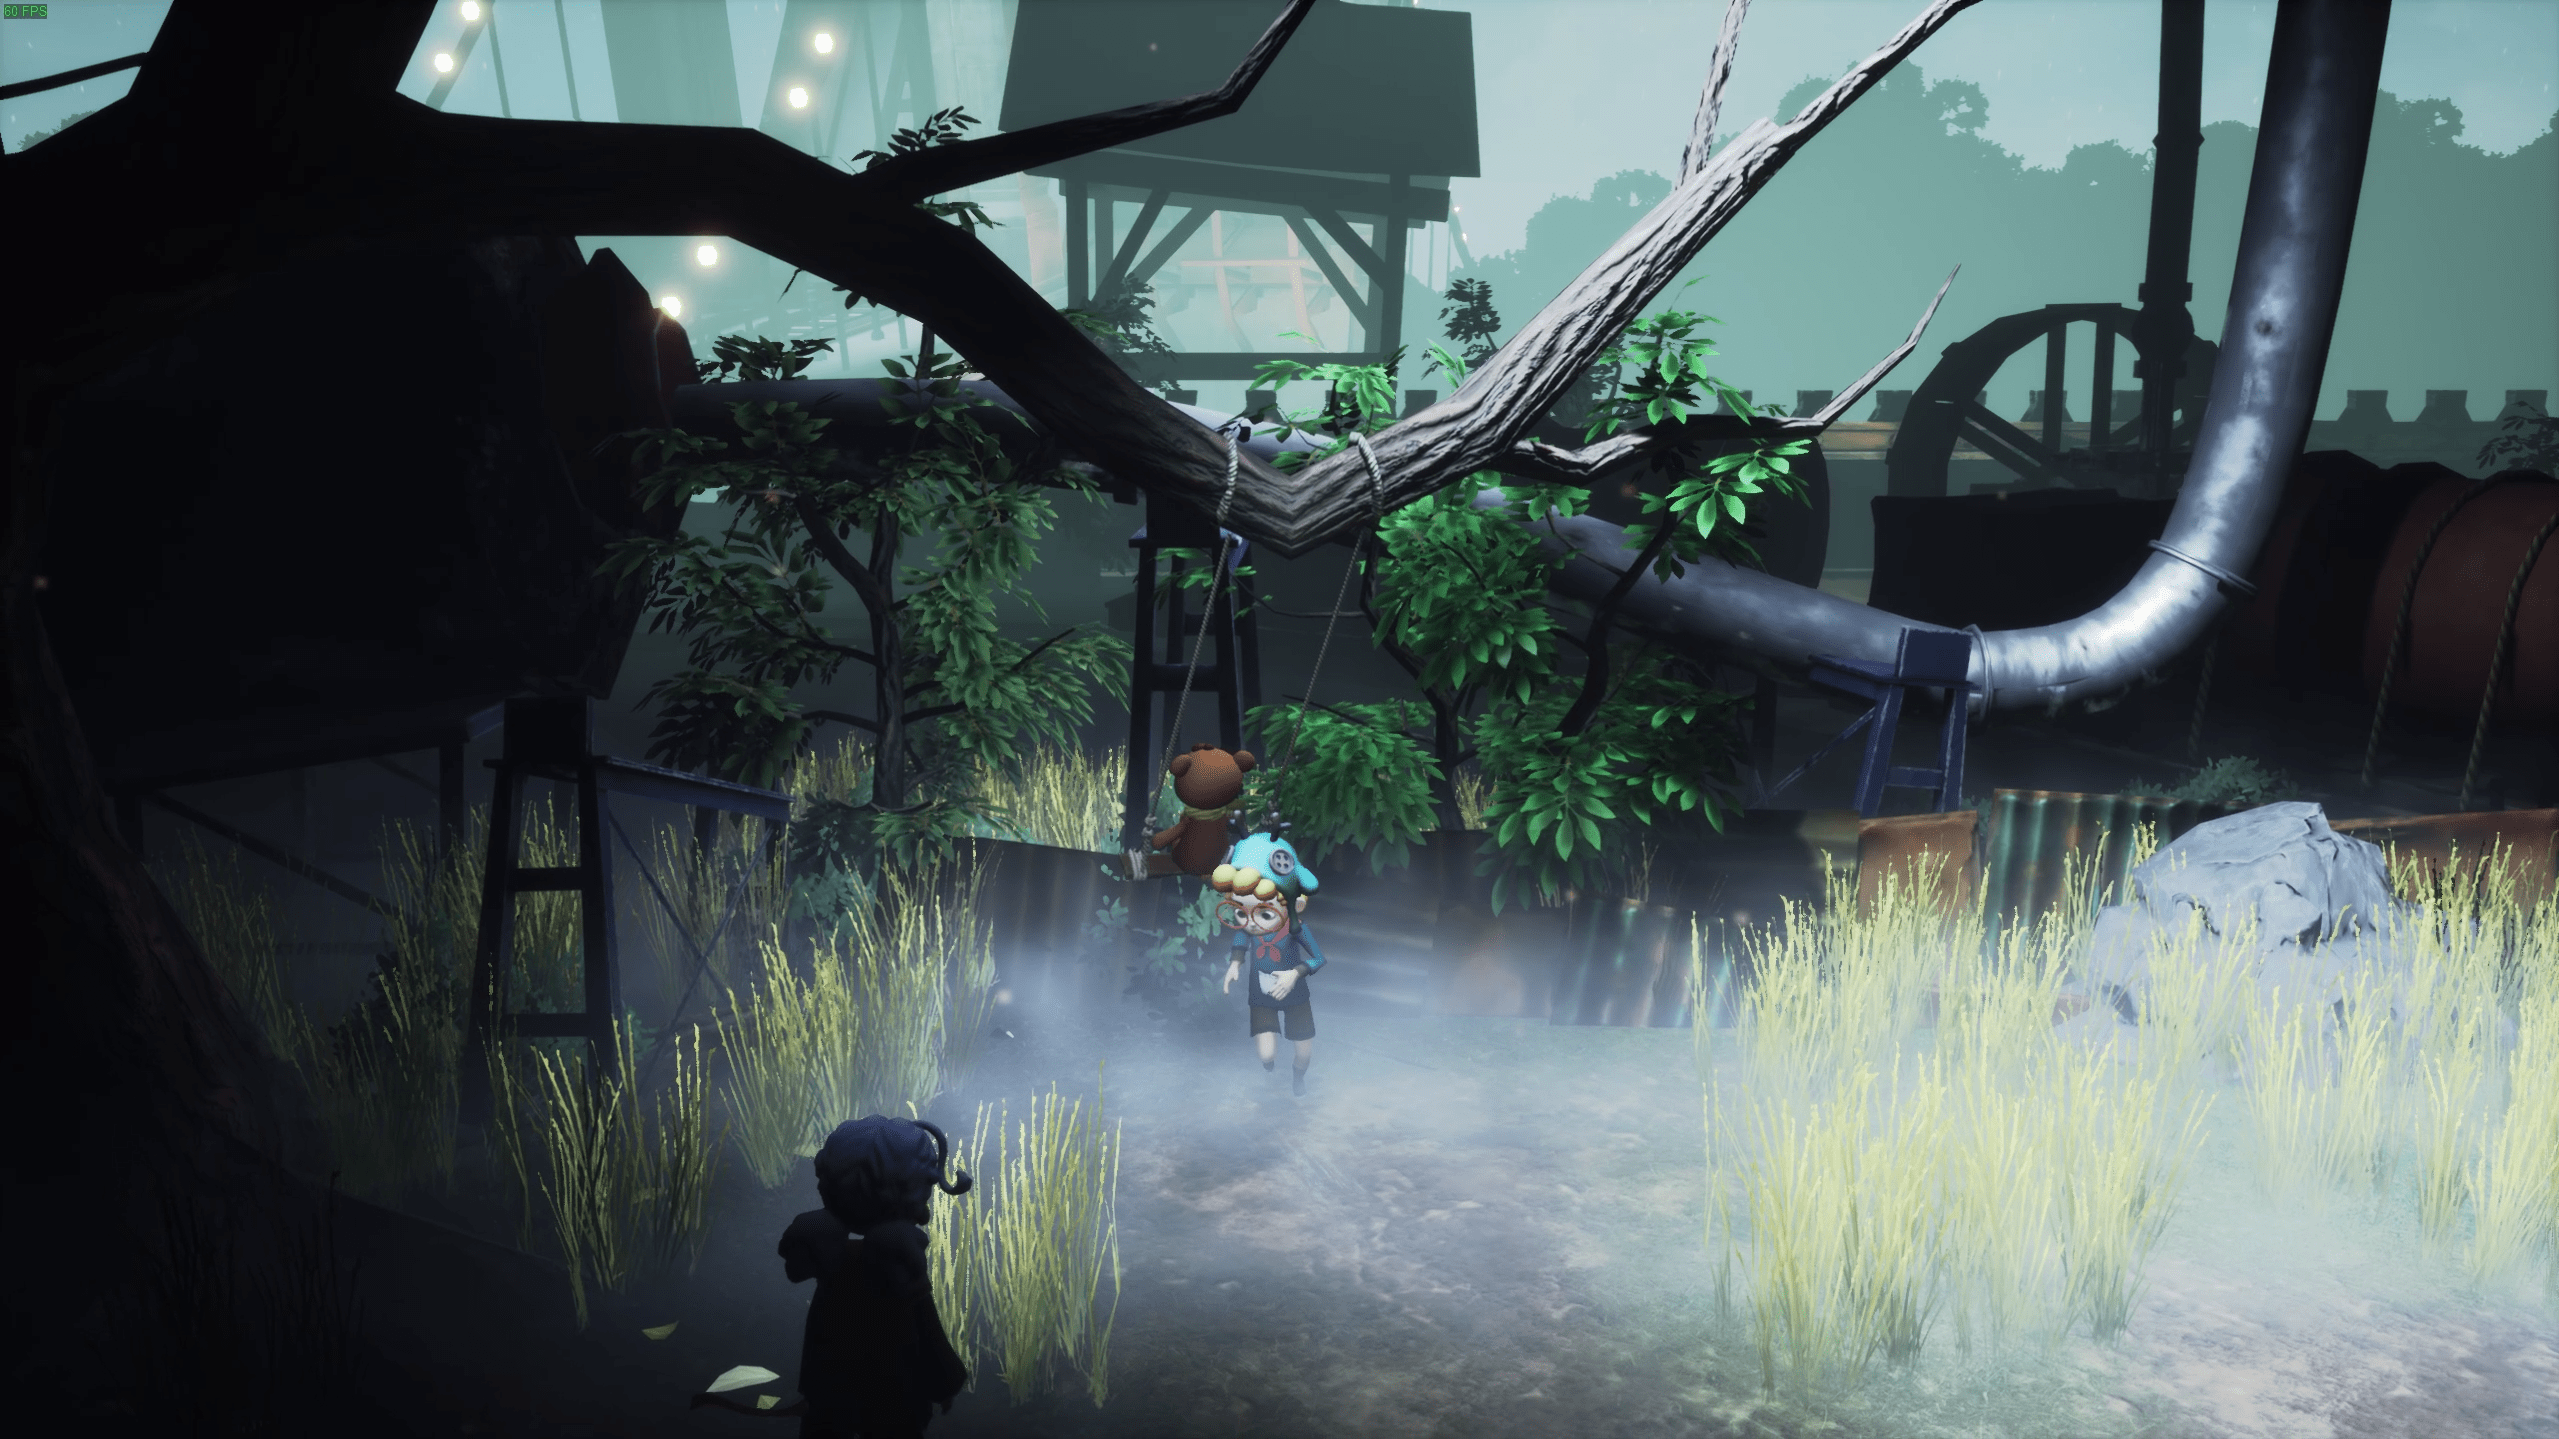
At the start of chapter 9, there is a swing. Lift Birly up on the swing, and push him a few times. The firefly will appear.
Collectible 12
Before heading into the elevator, go past it. You will see a vent. Open it, & go inside.
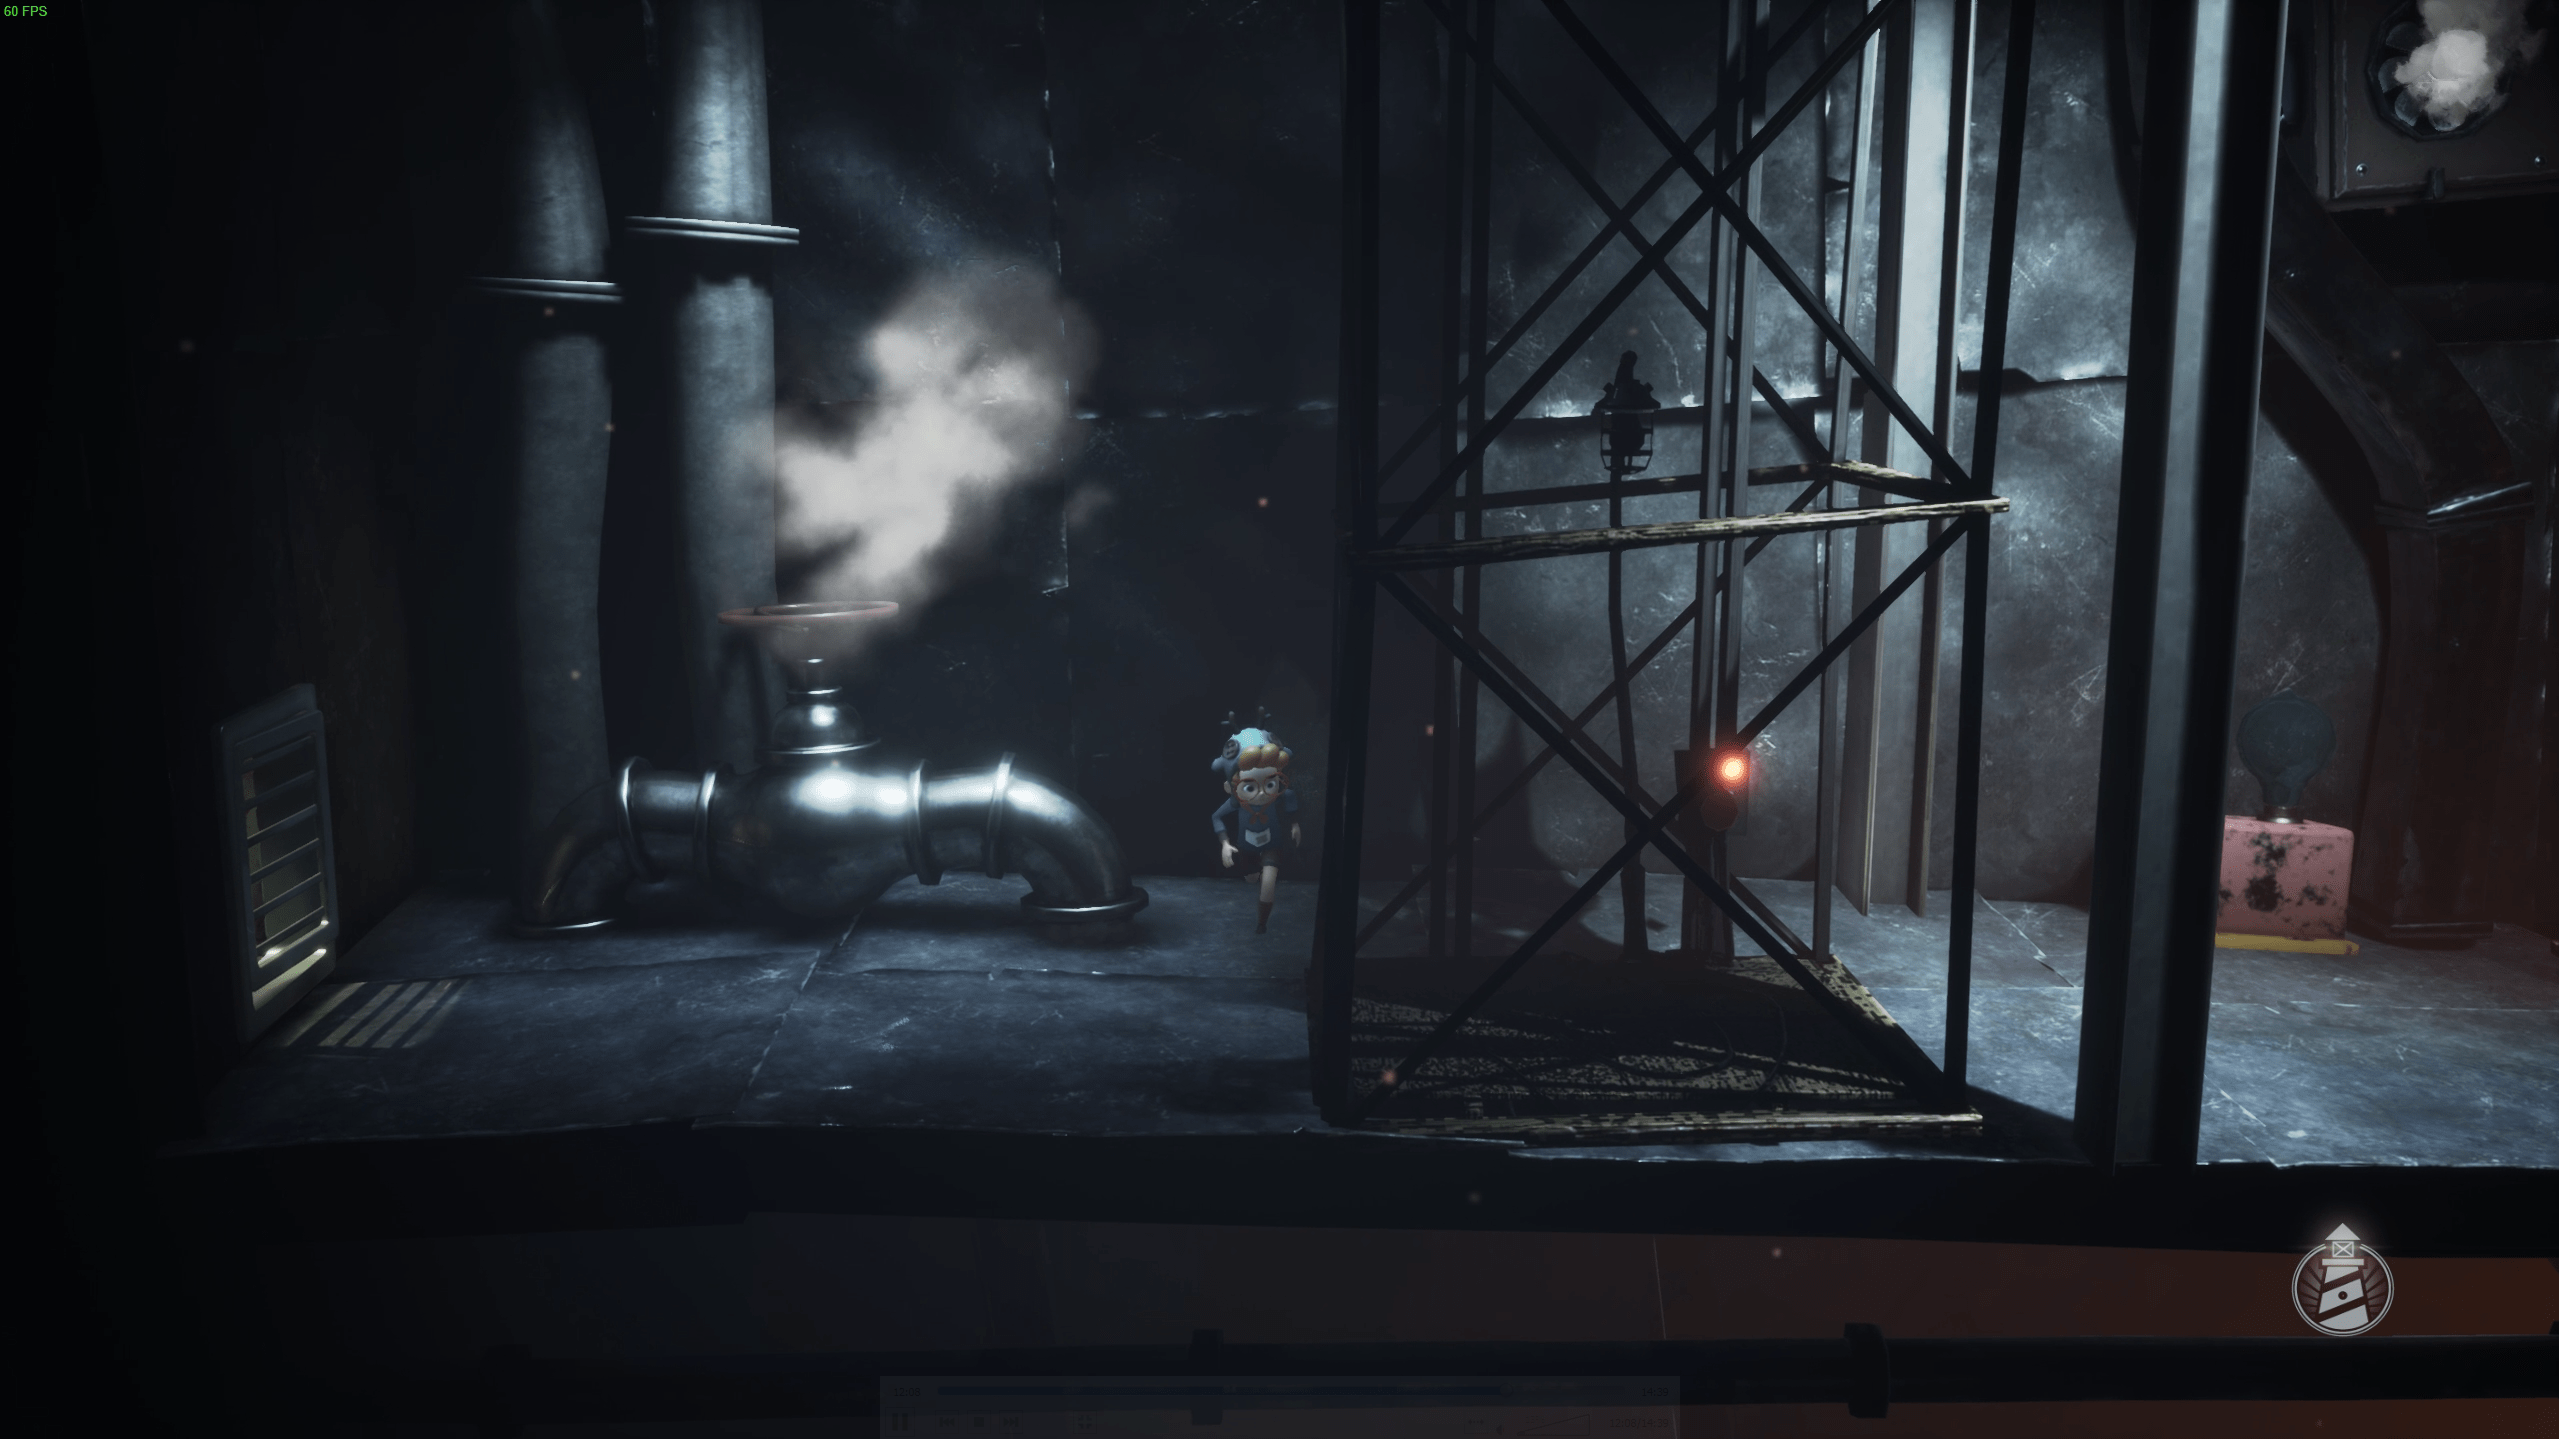
Once inside, open the drawer & the firefly will come out.
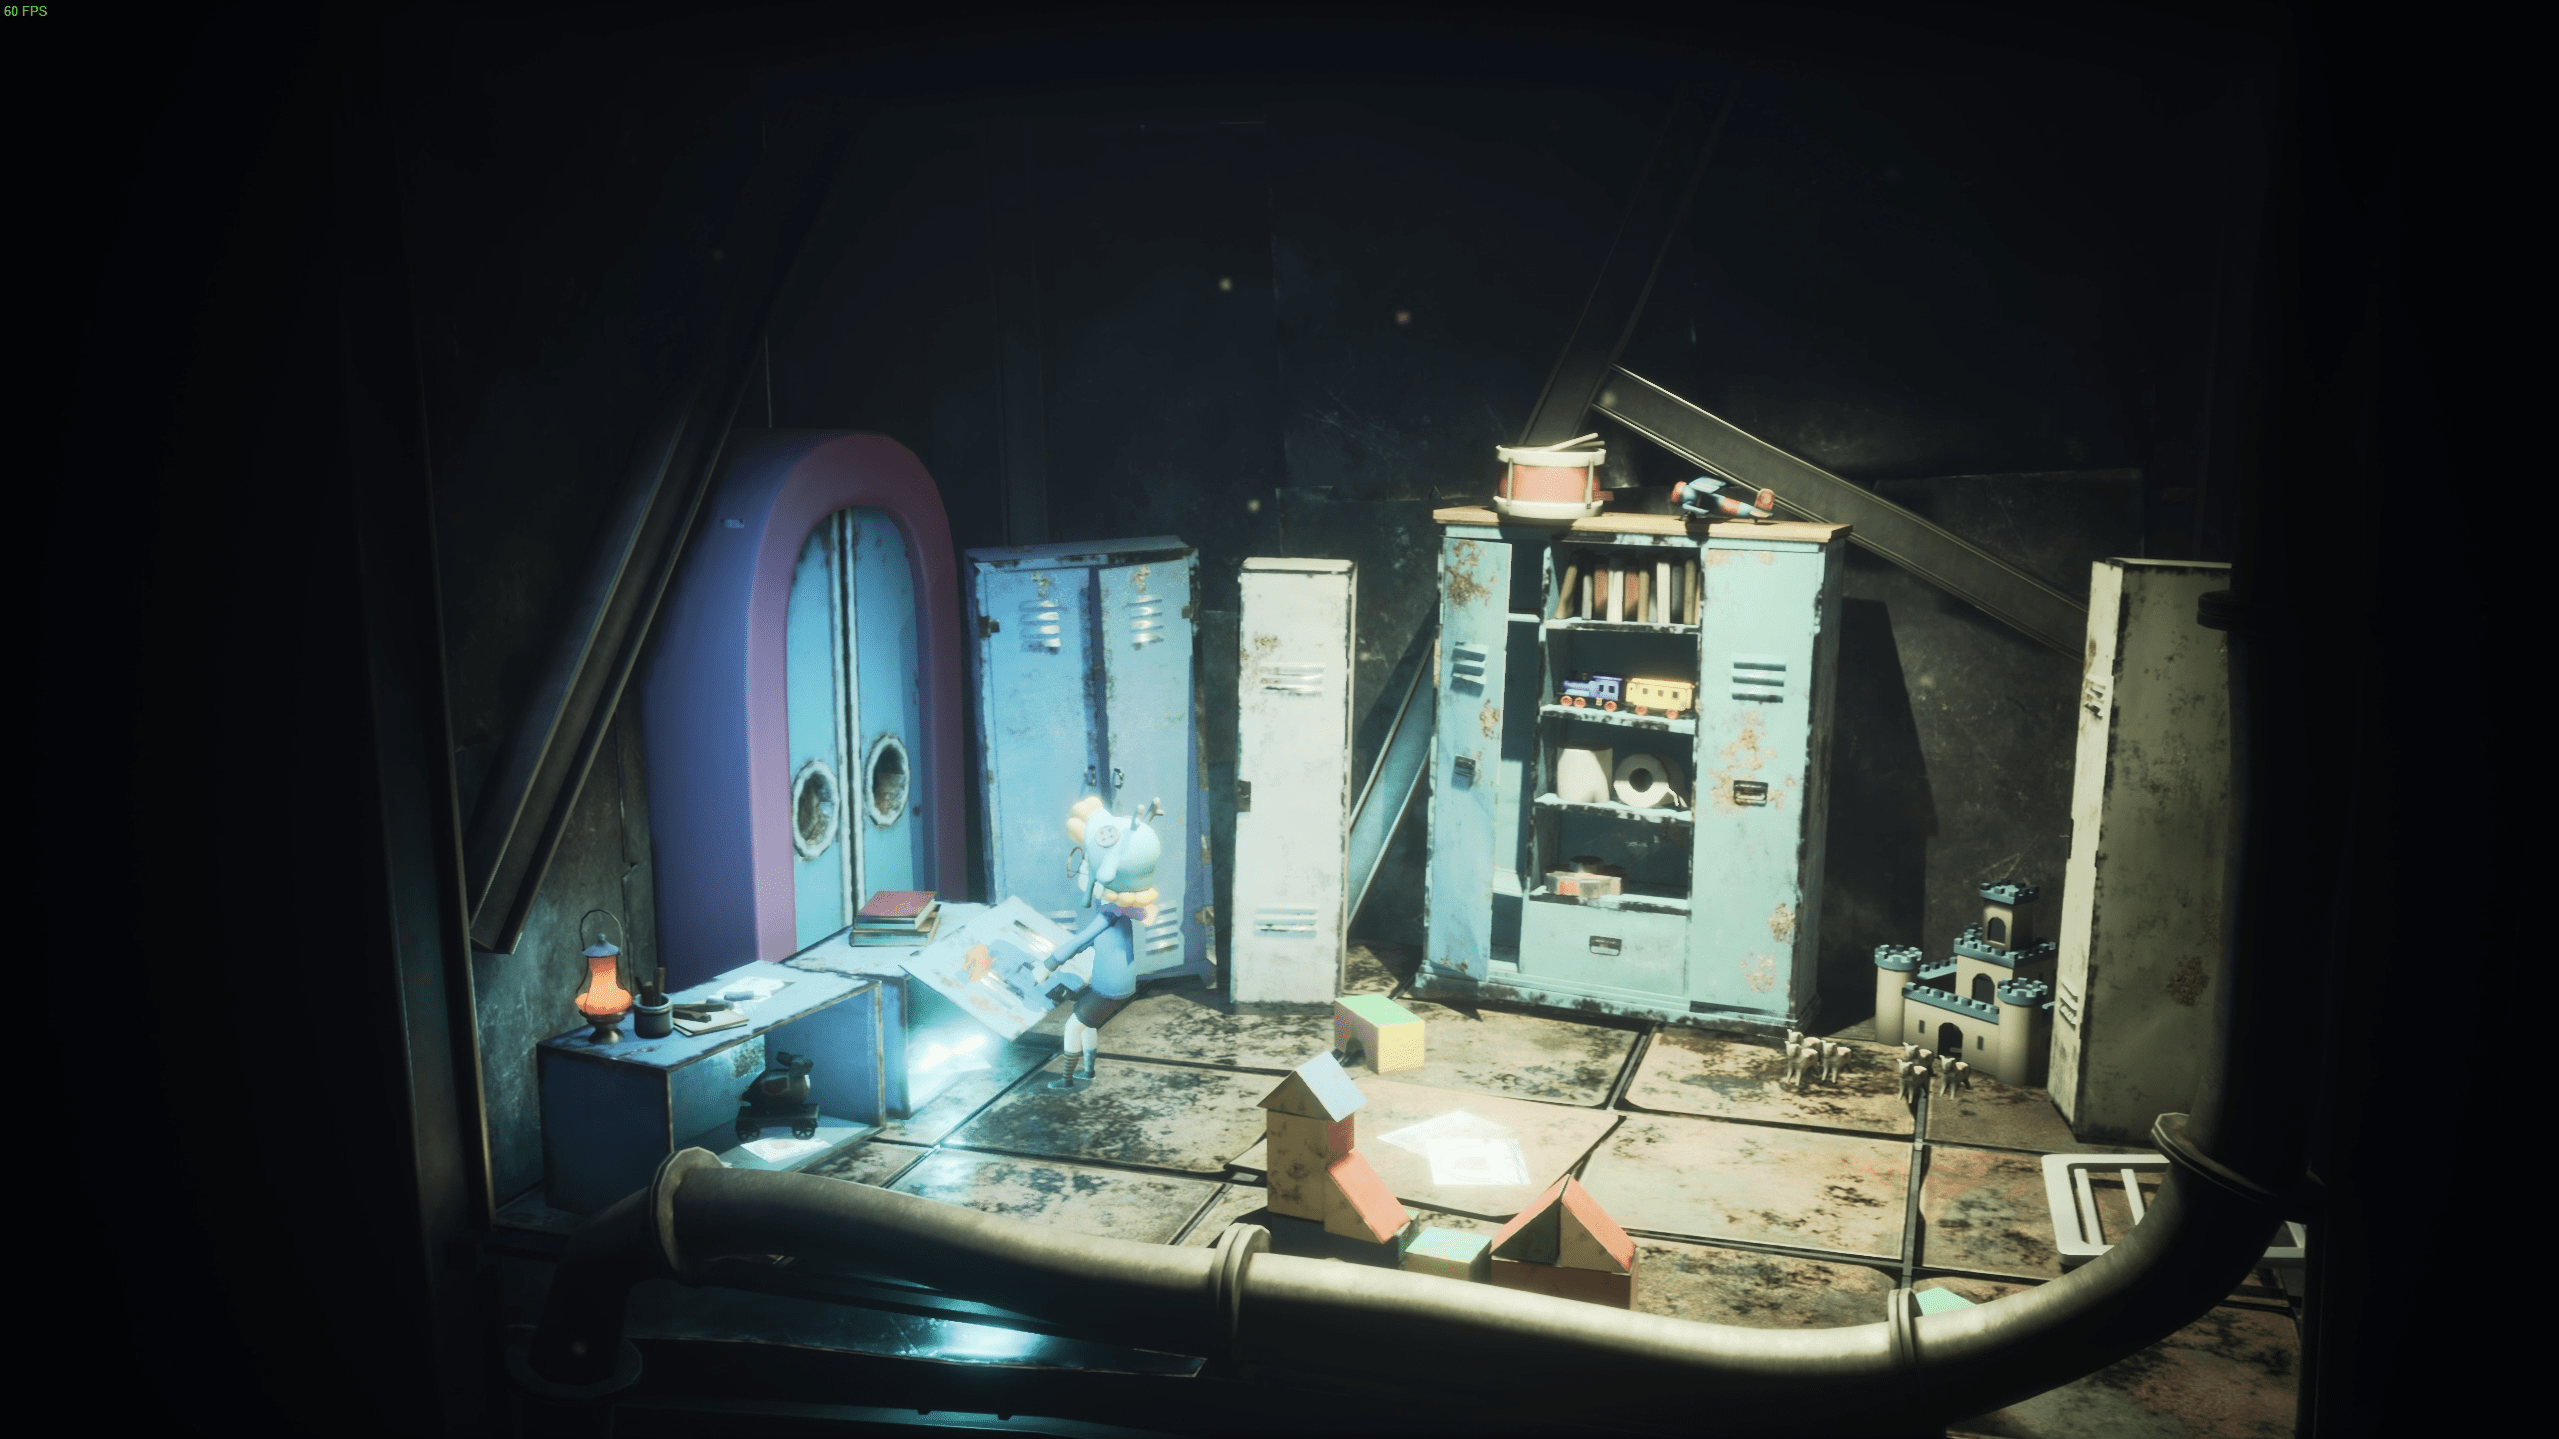
Chapter 10
Collectible 13
Head to the bottom right side of the gear puzzle, to the furnace.
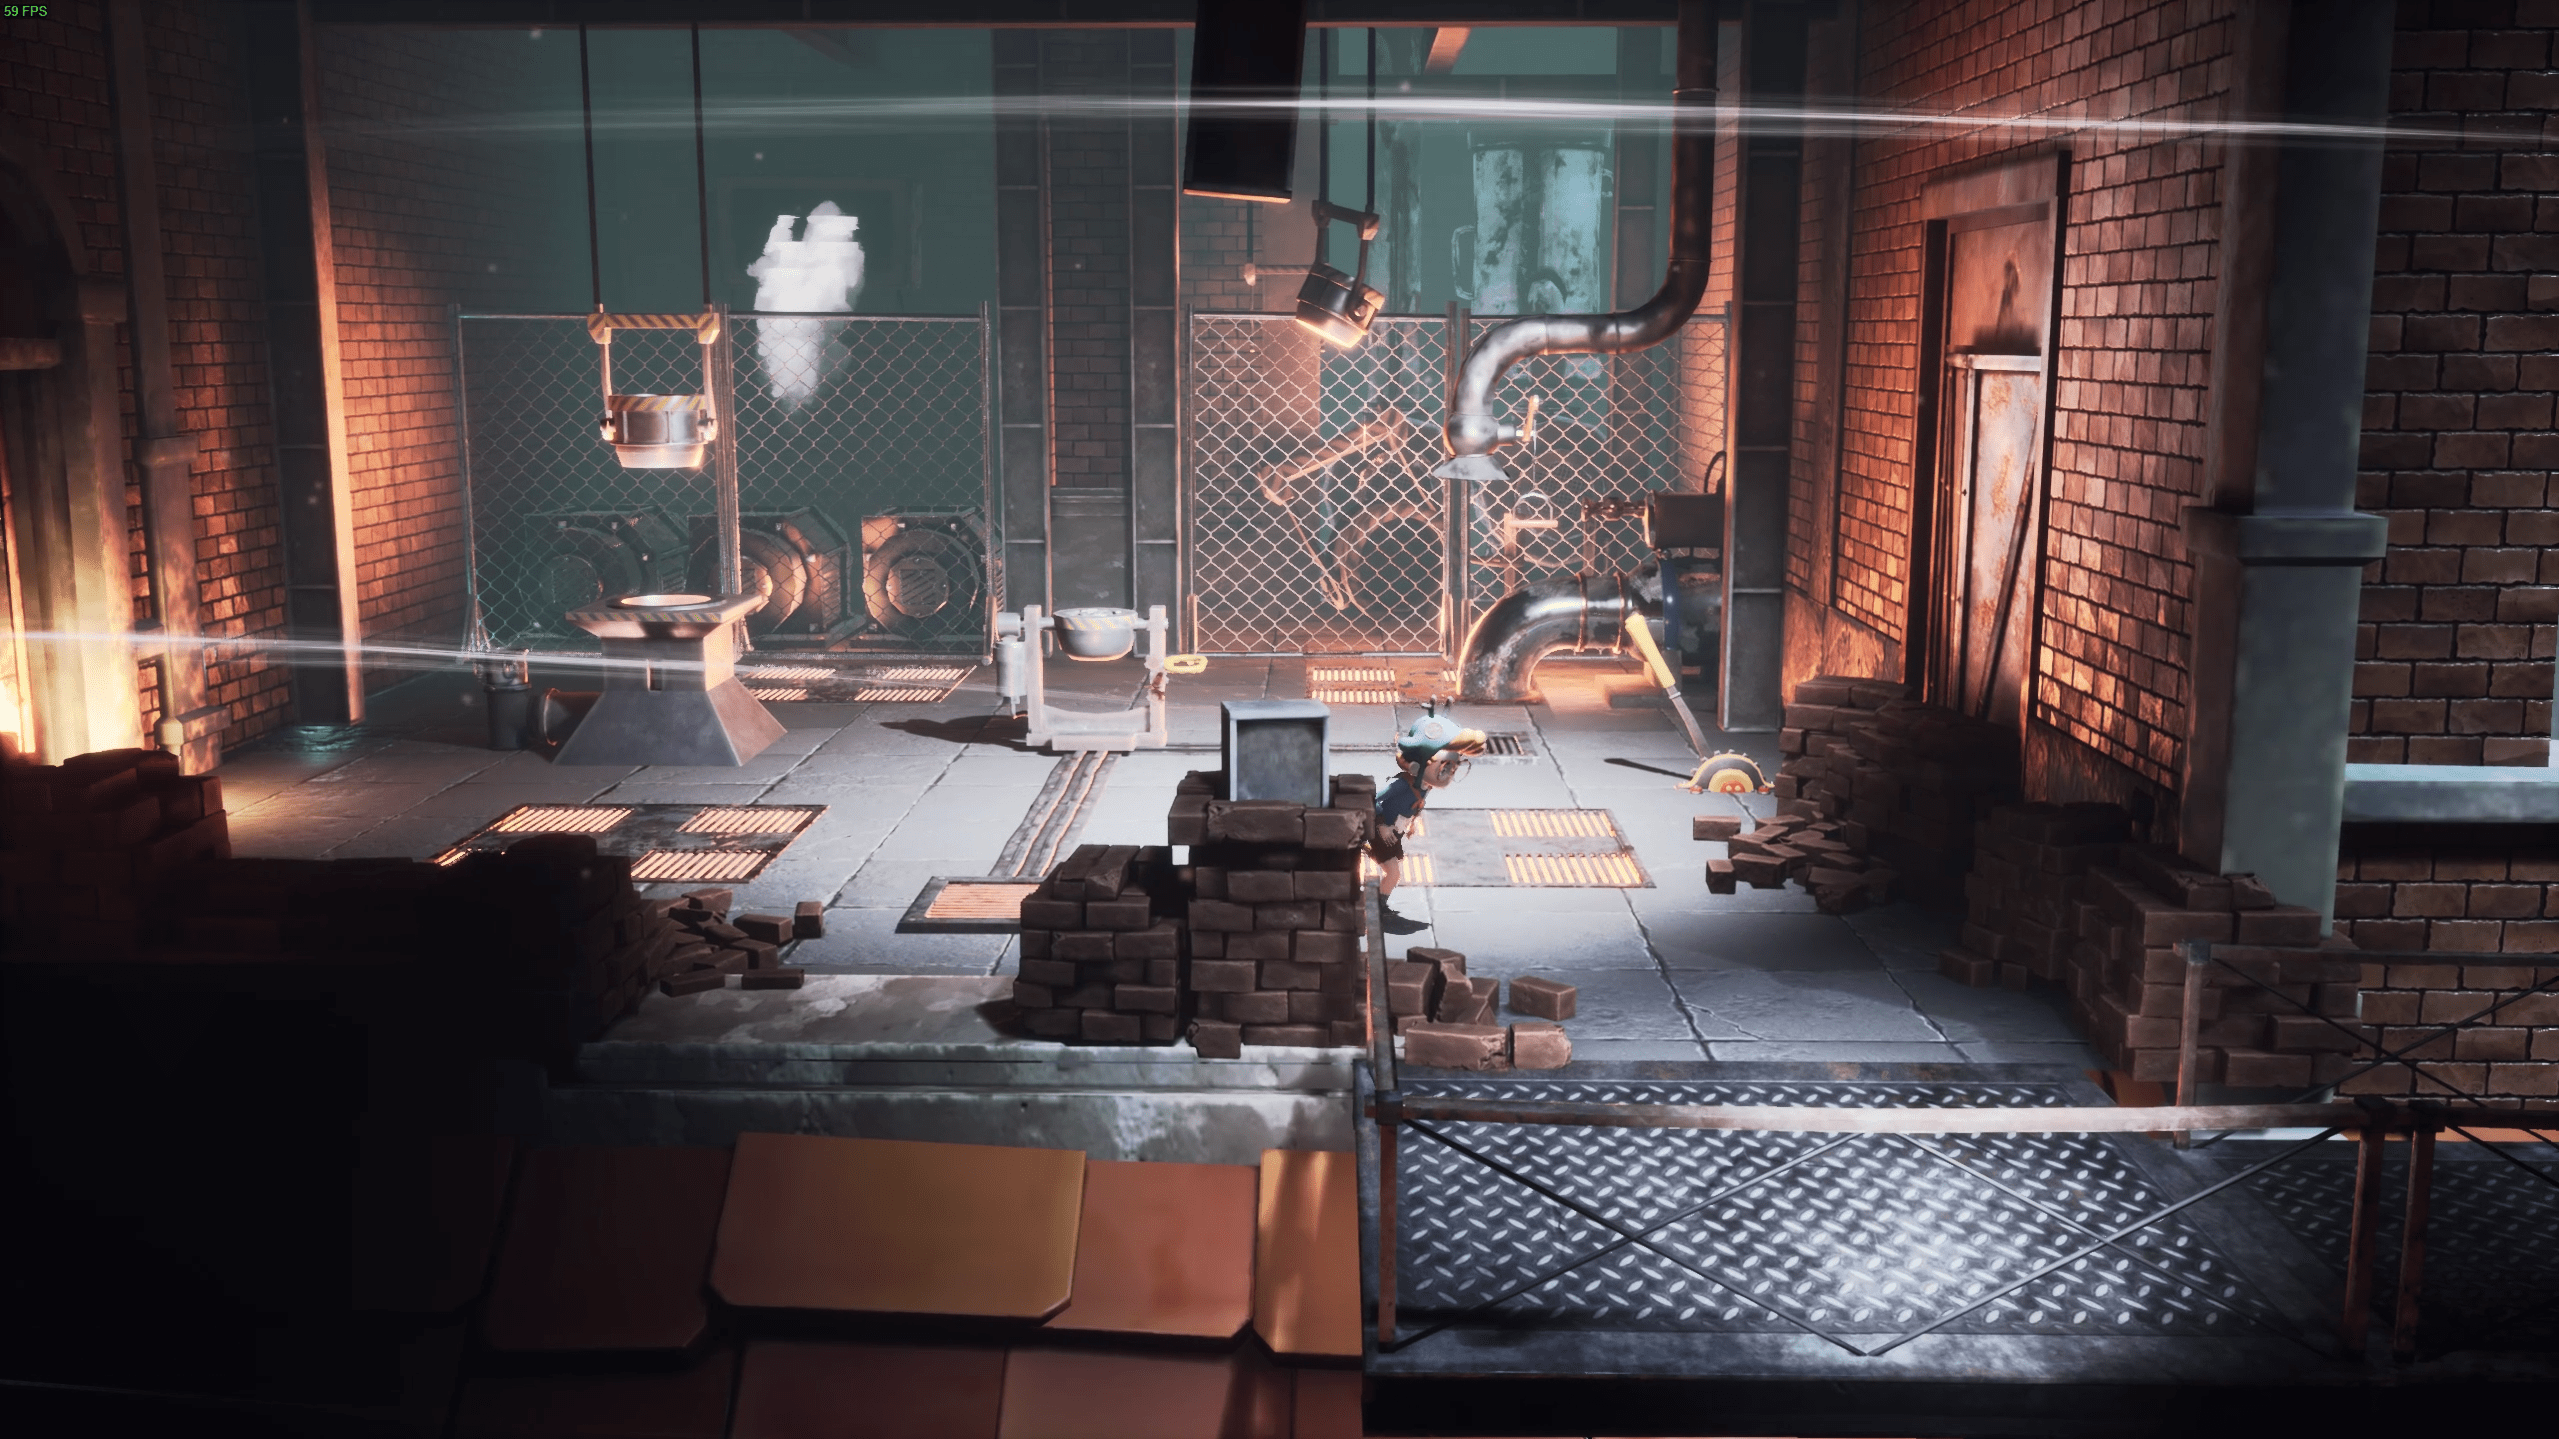
You have to keep opening the furnace until you get a red handle. This might be RNG dependant. I got it first try, however there are at least 3 various items you could potentially get.
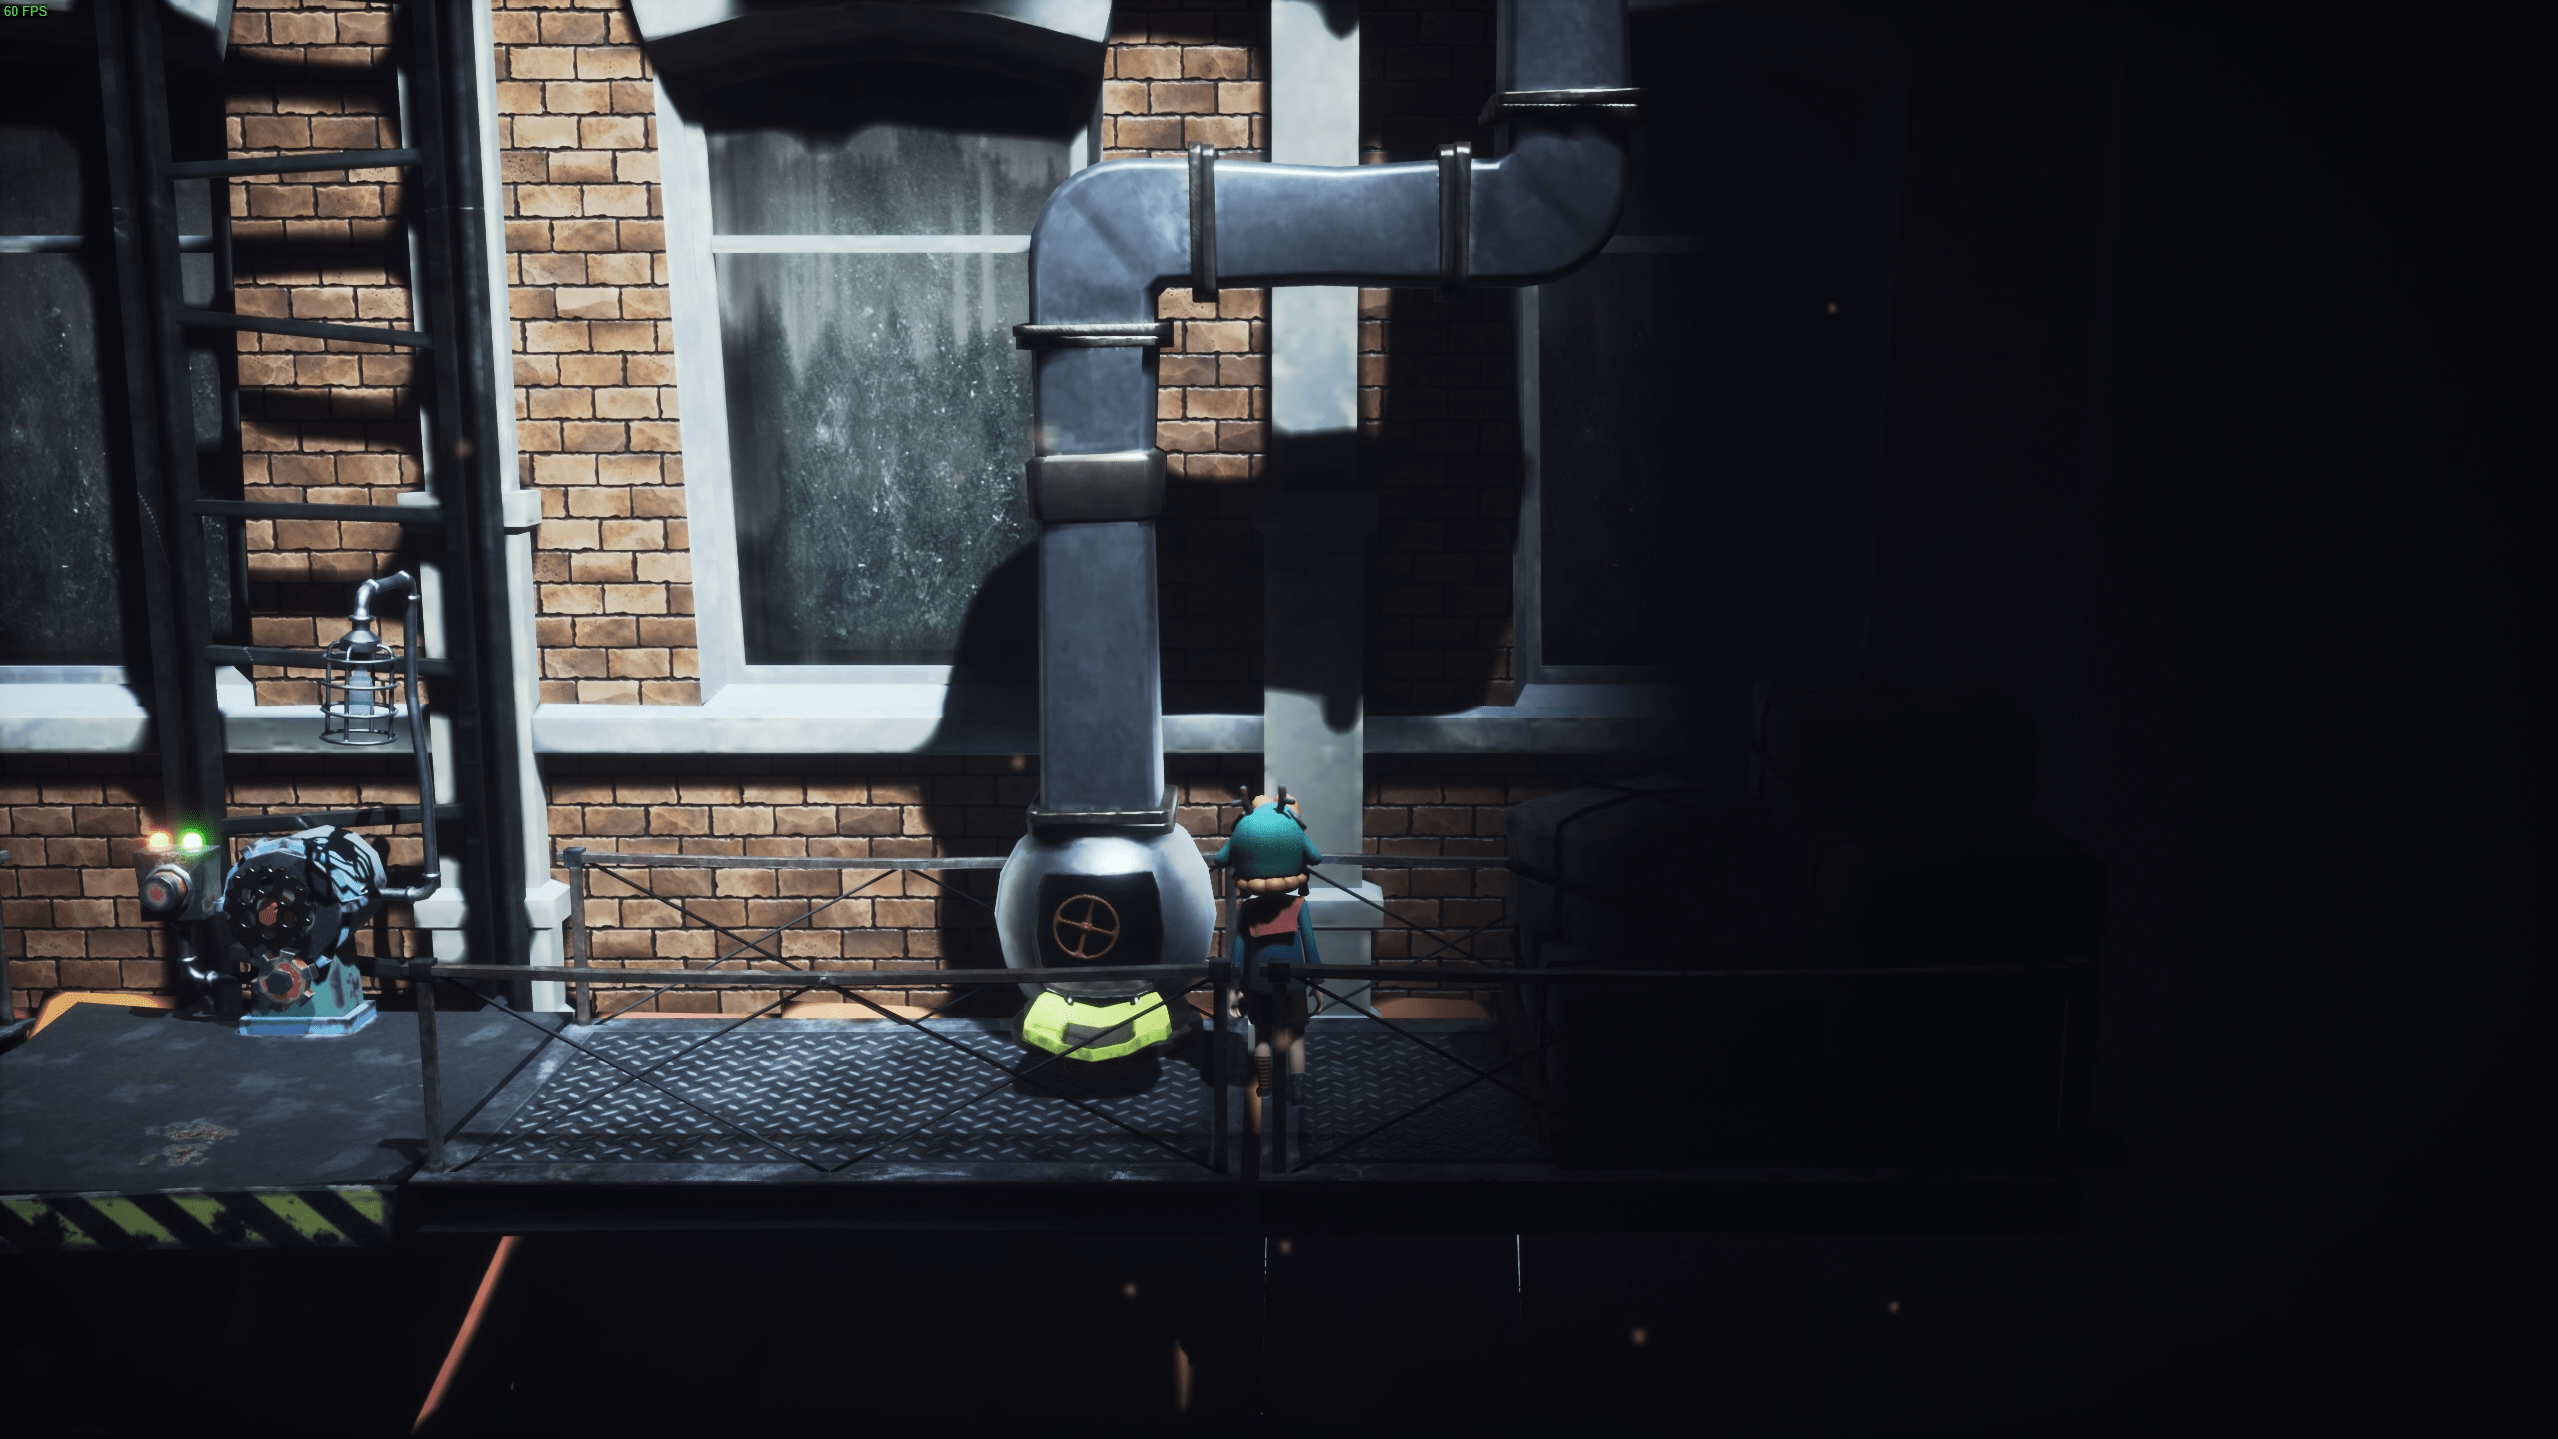
Once you receive the red handle, backtrack to the left side again, in the same room with the ladder. There is a place on the tubes to place the handle. Turn the handle around to turn off the gas.
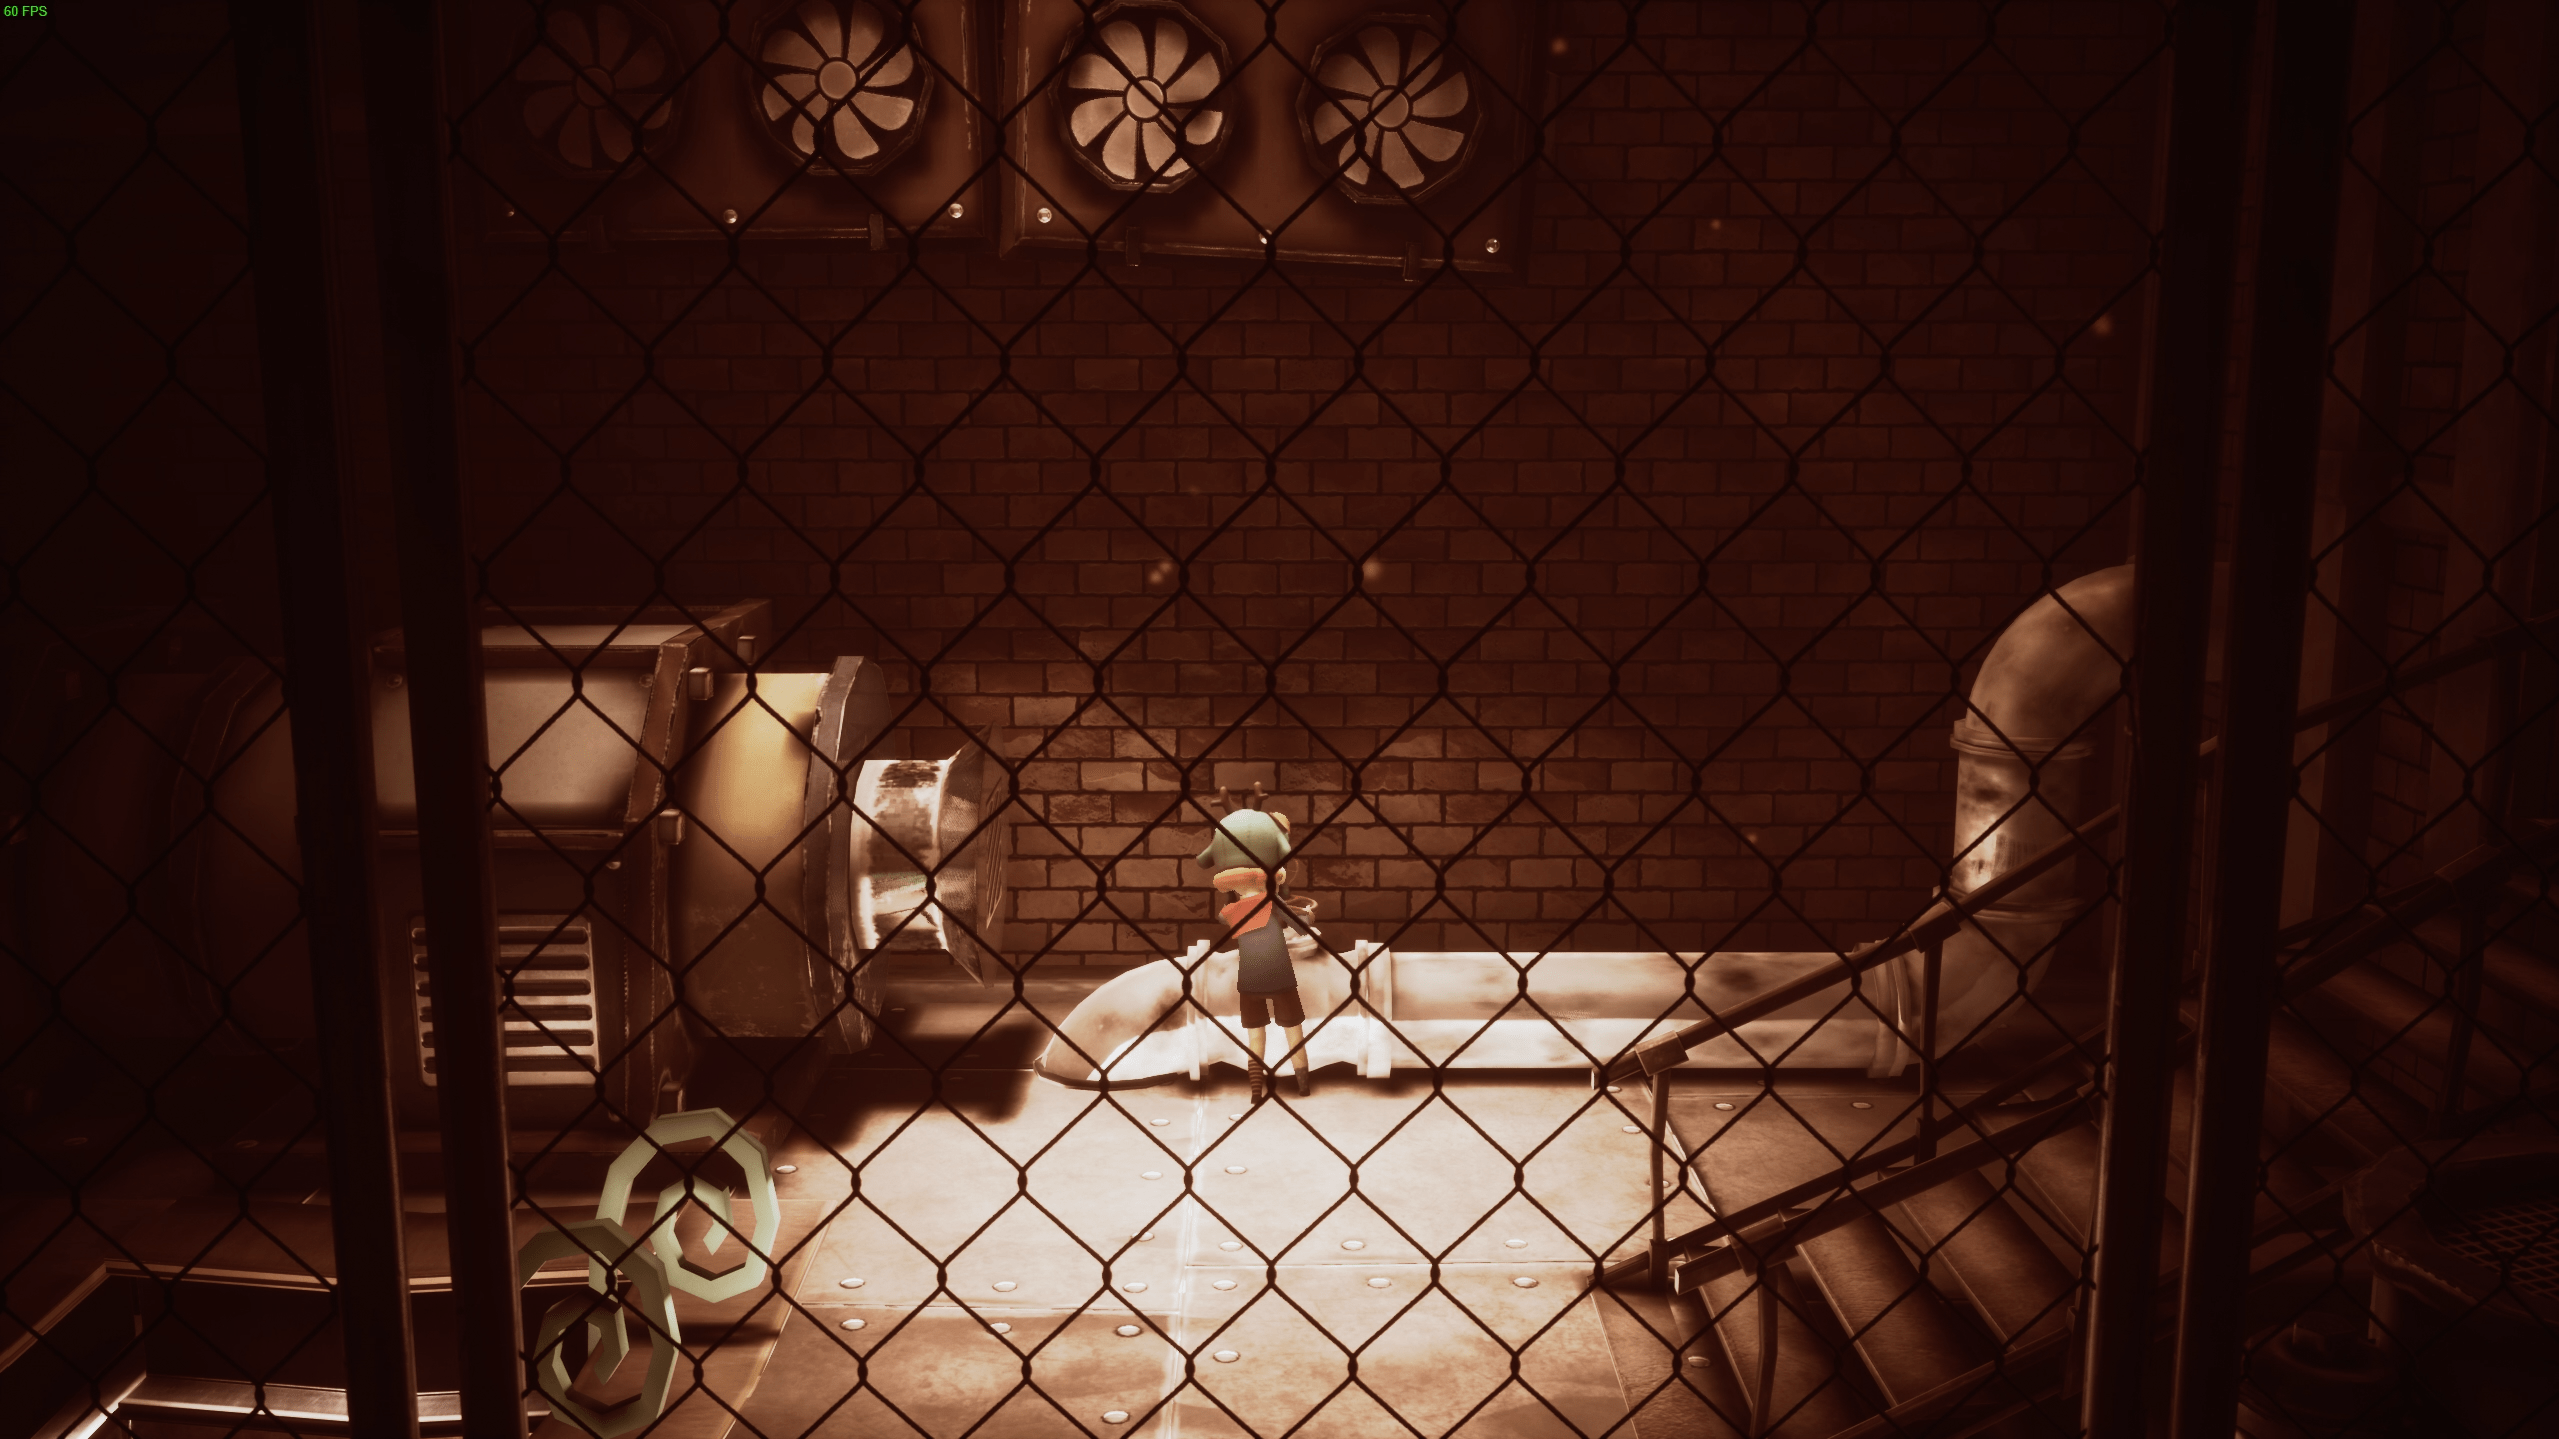
Once the gas is off, head up to the right side again. Just before the gear puzzle room, you will notice that you can now head behind where the gas was. On the right side, there is a vase/bottle to break. The firefly will come out of it.
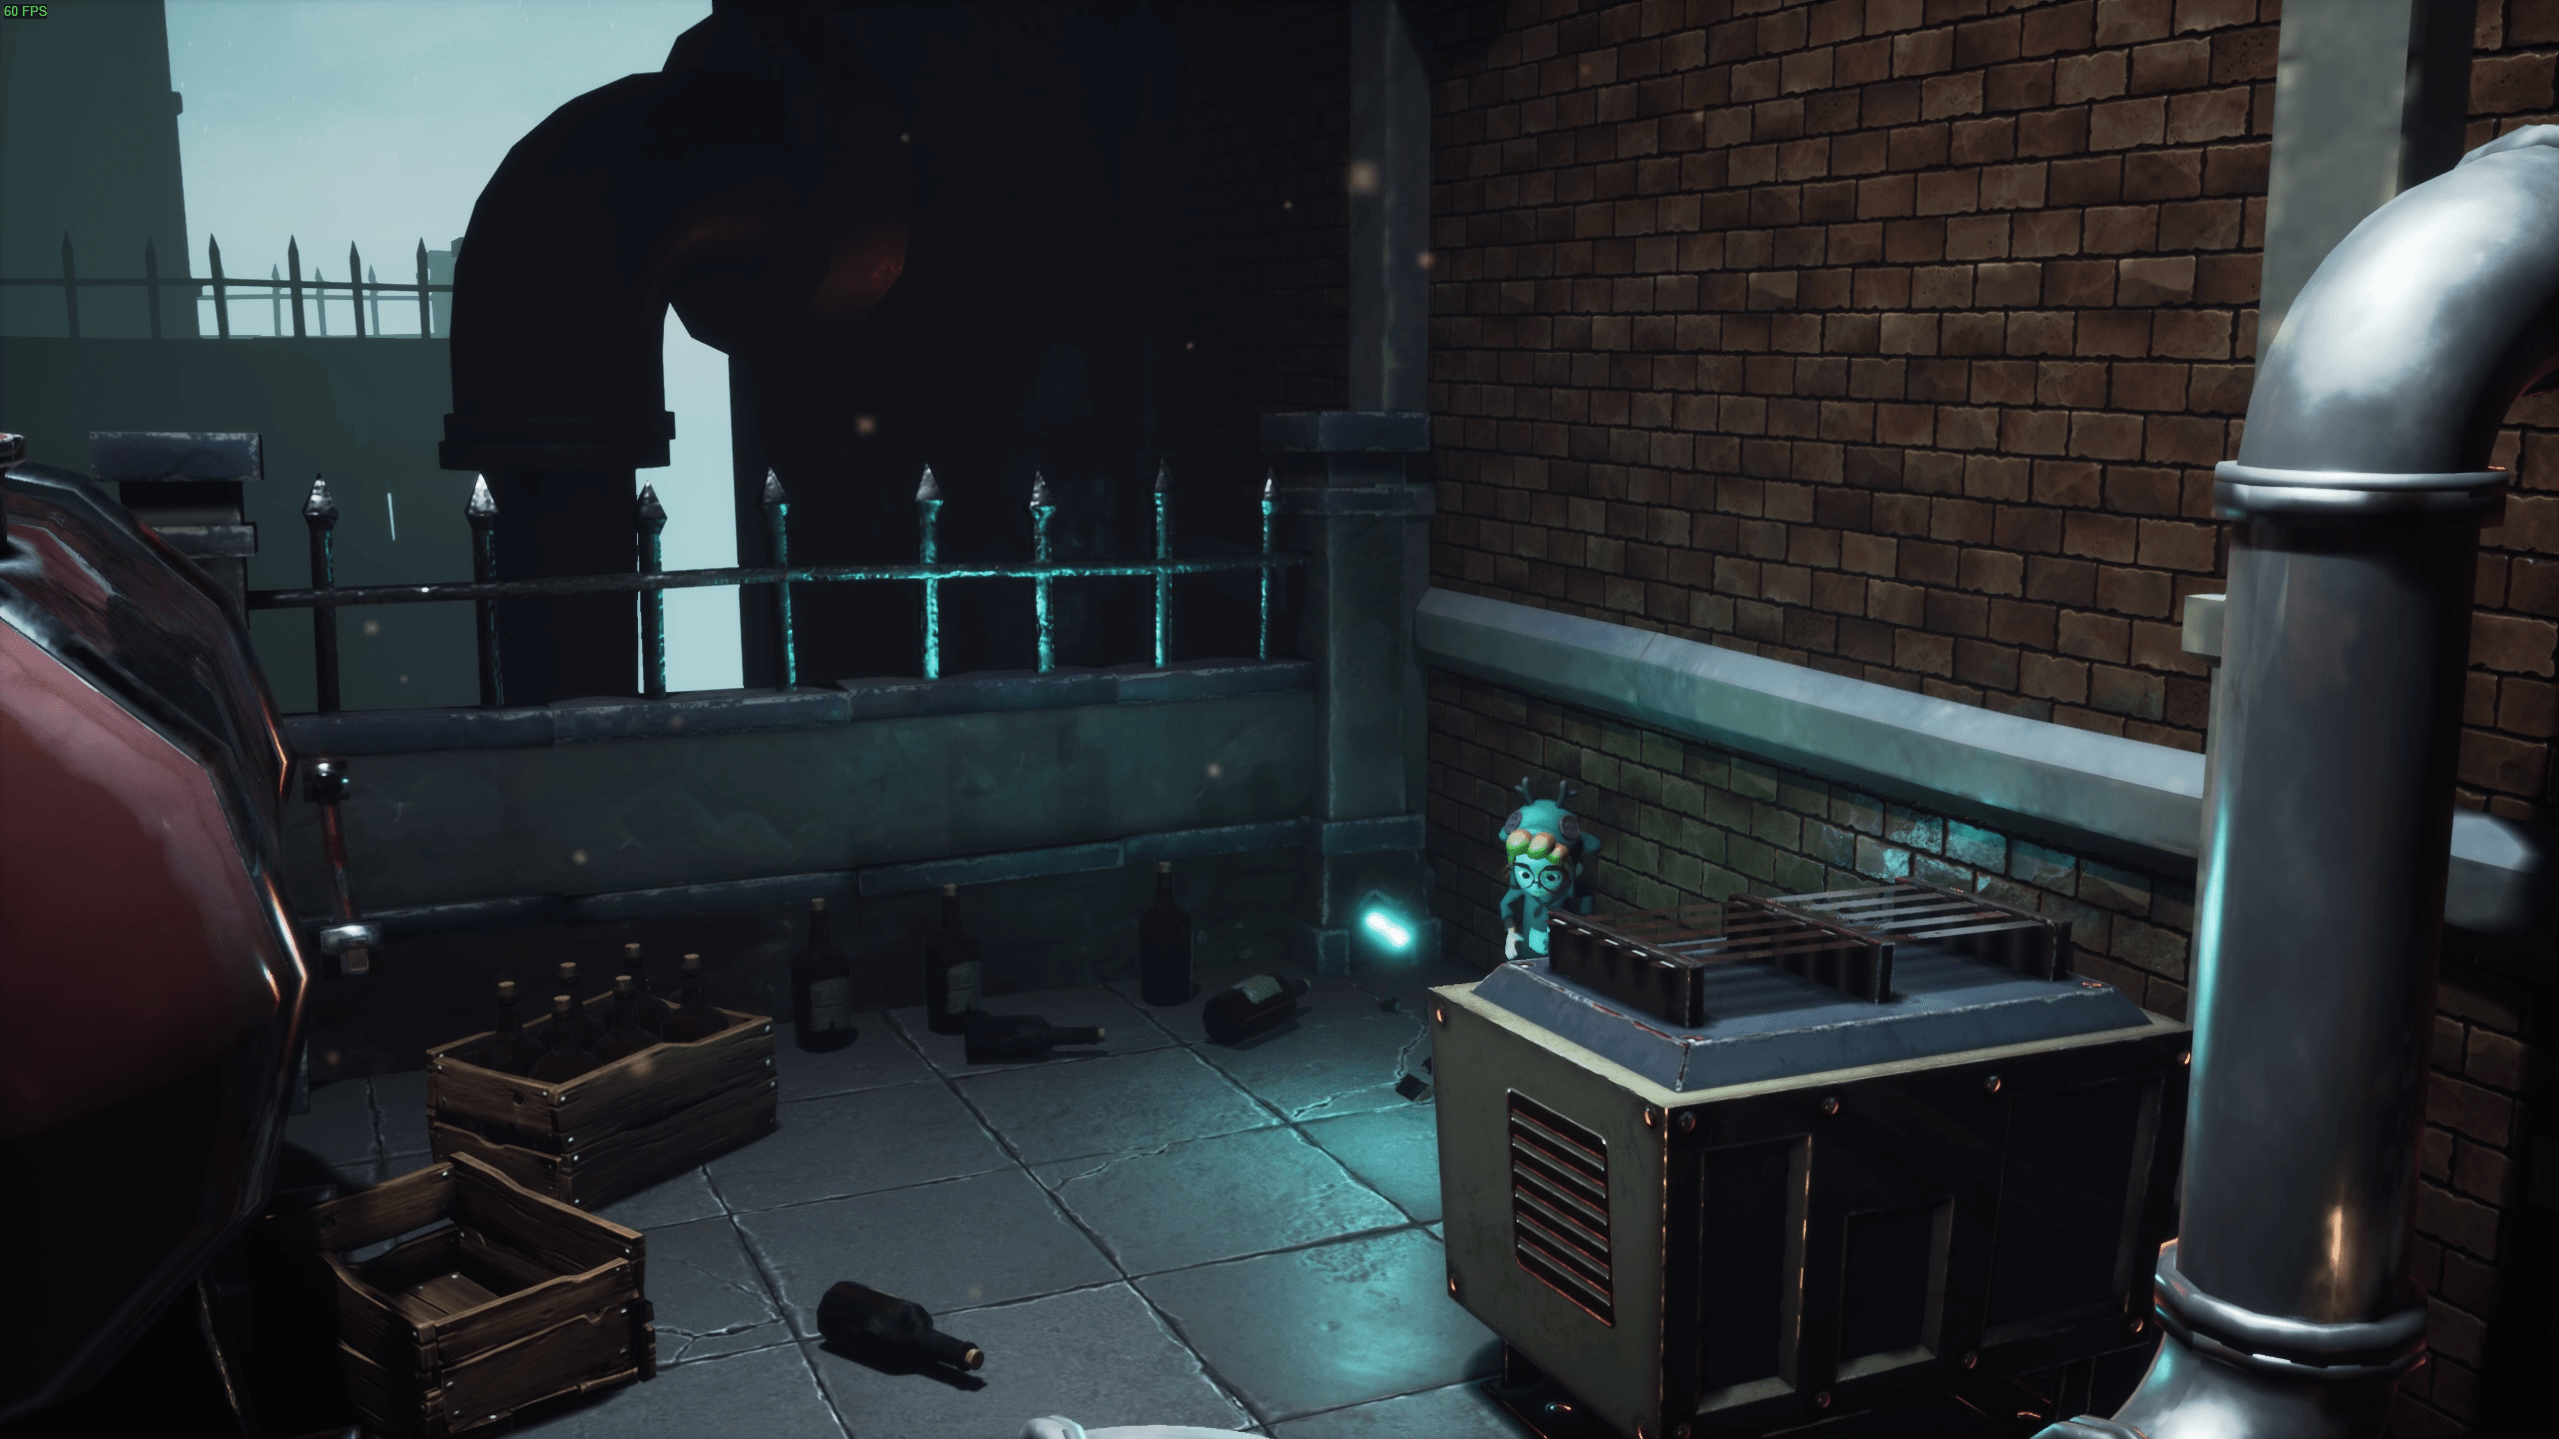
Chapter 11
Collectible 14[/b1]
You will see a tree with many hooks. On the left side, one of the hooks are lower. Hop onto it, and it will reveal a new area. Swing across.
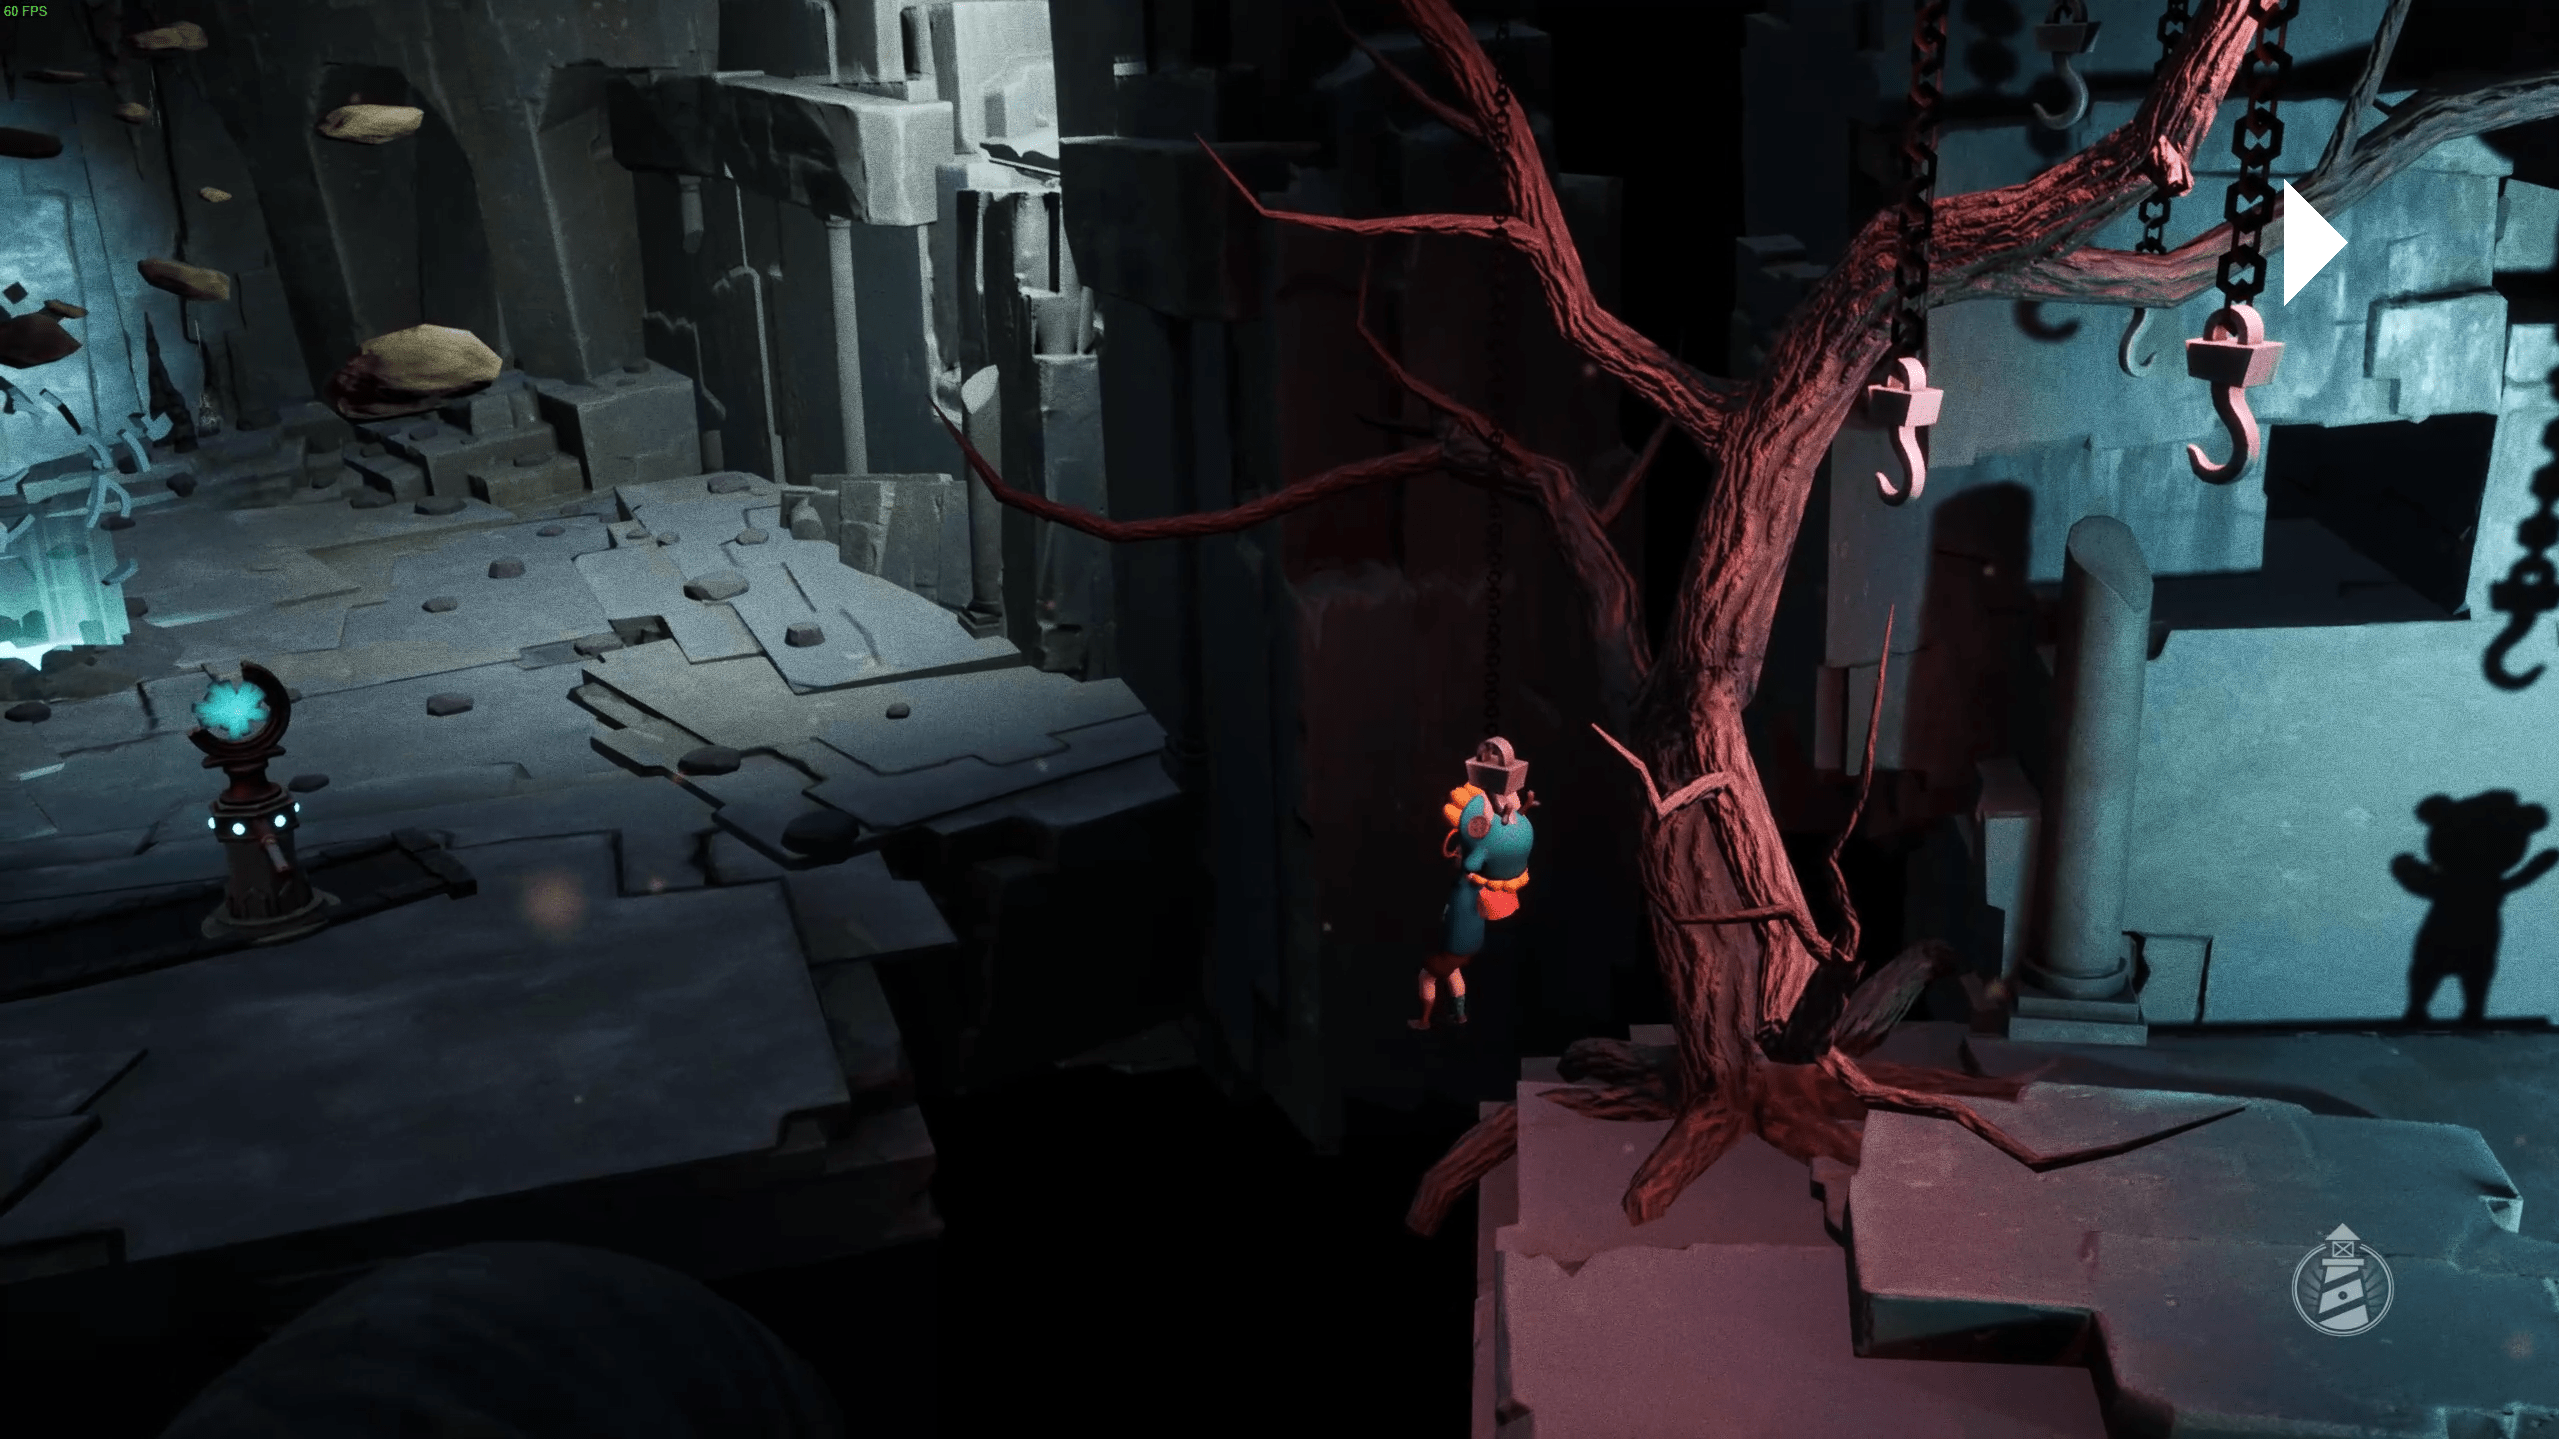
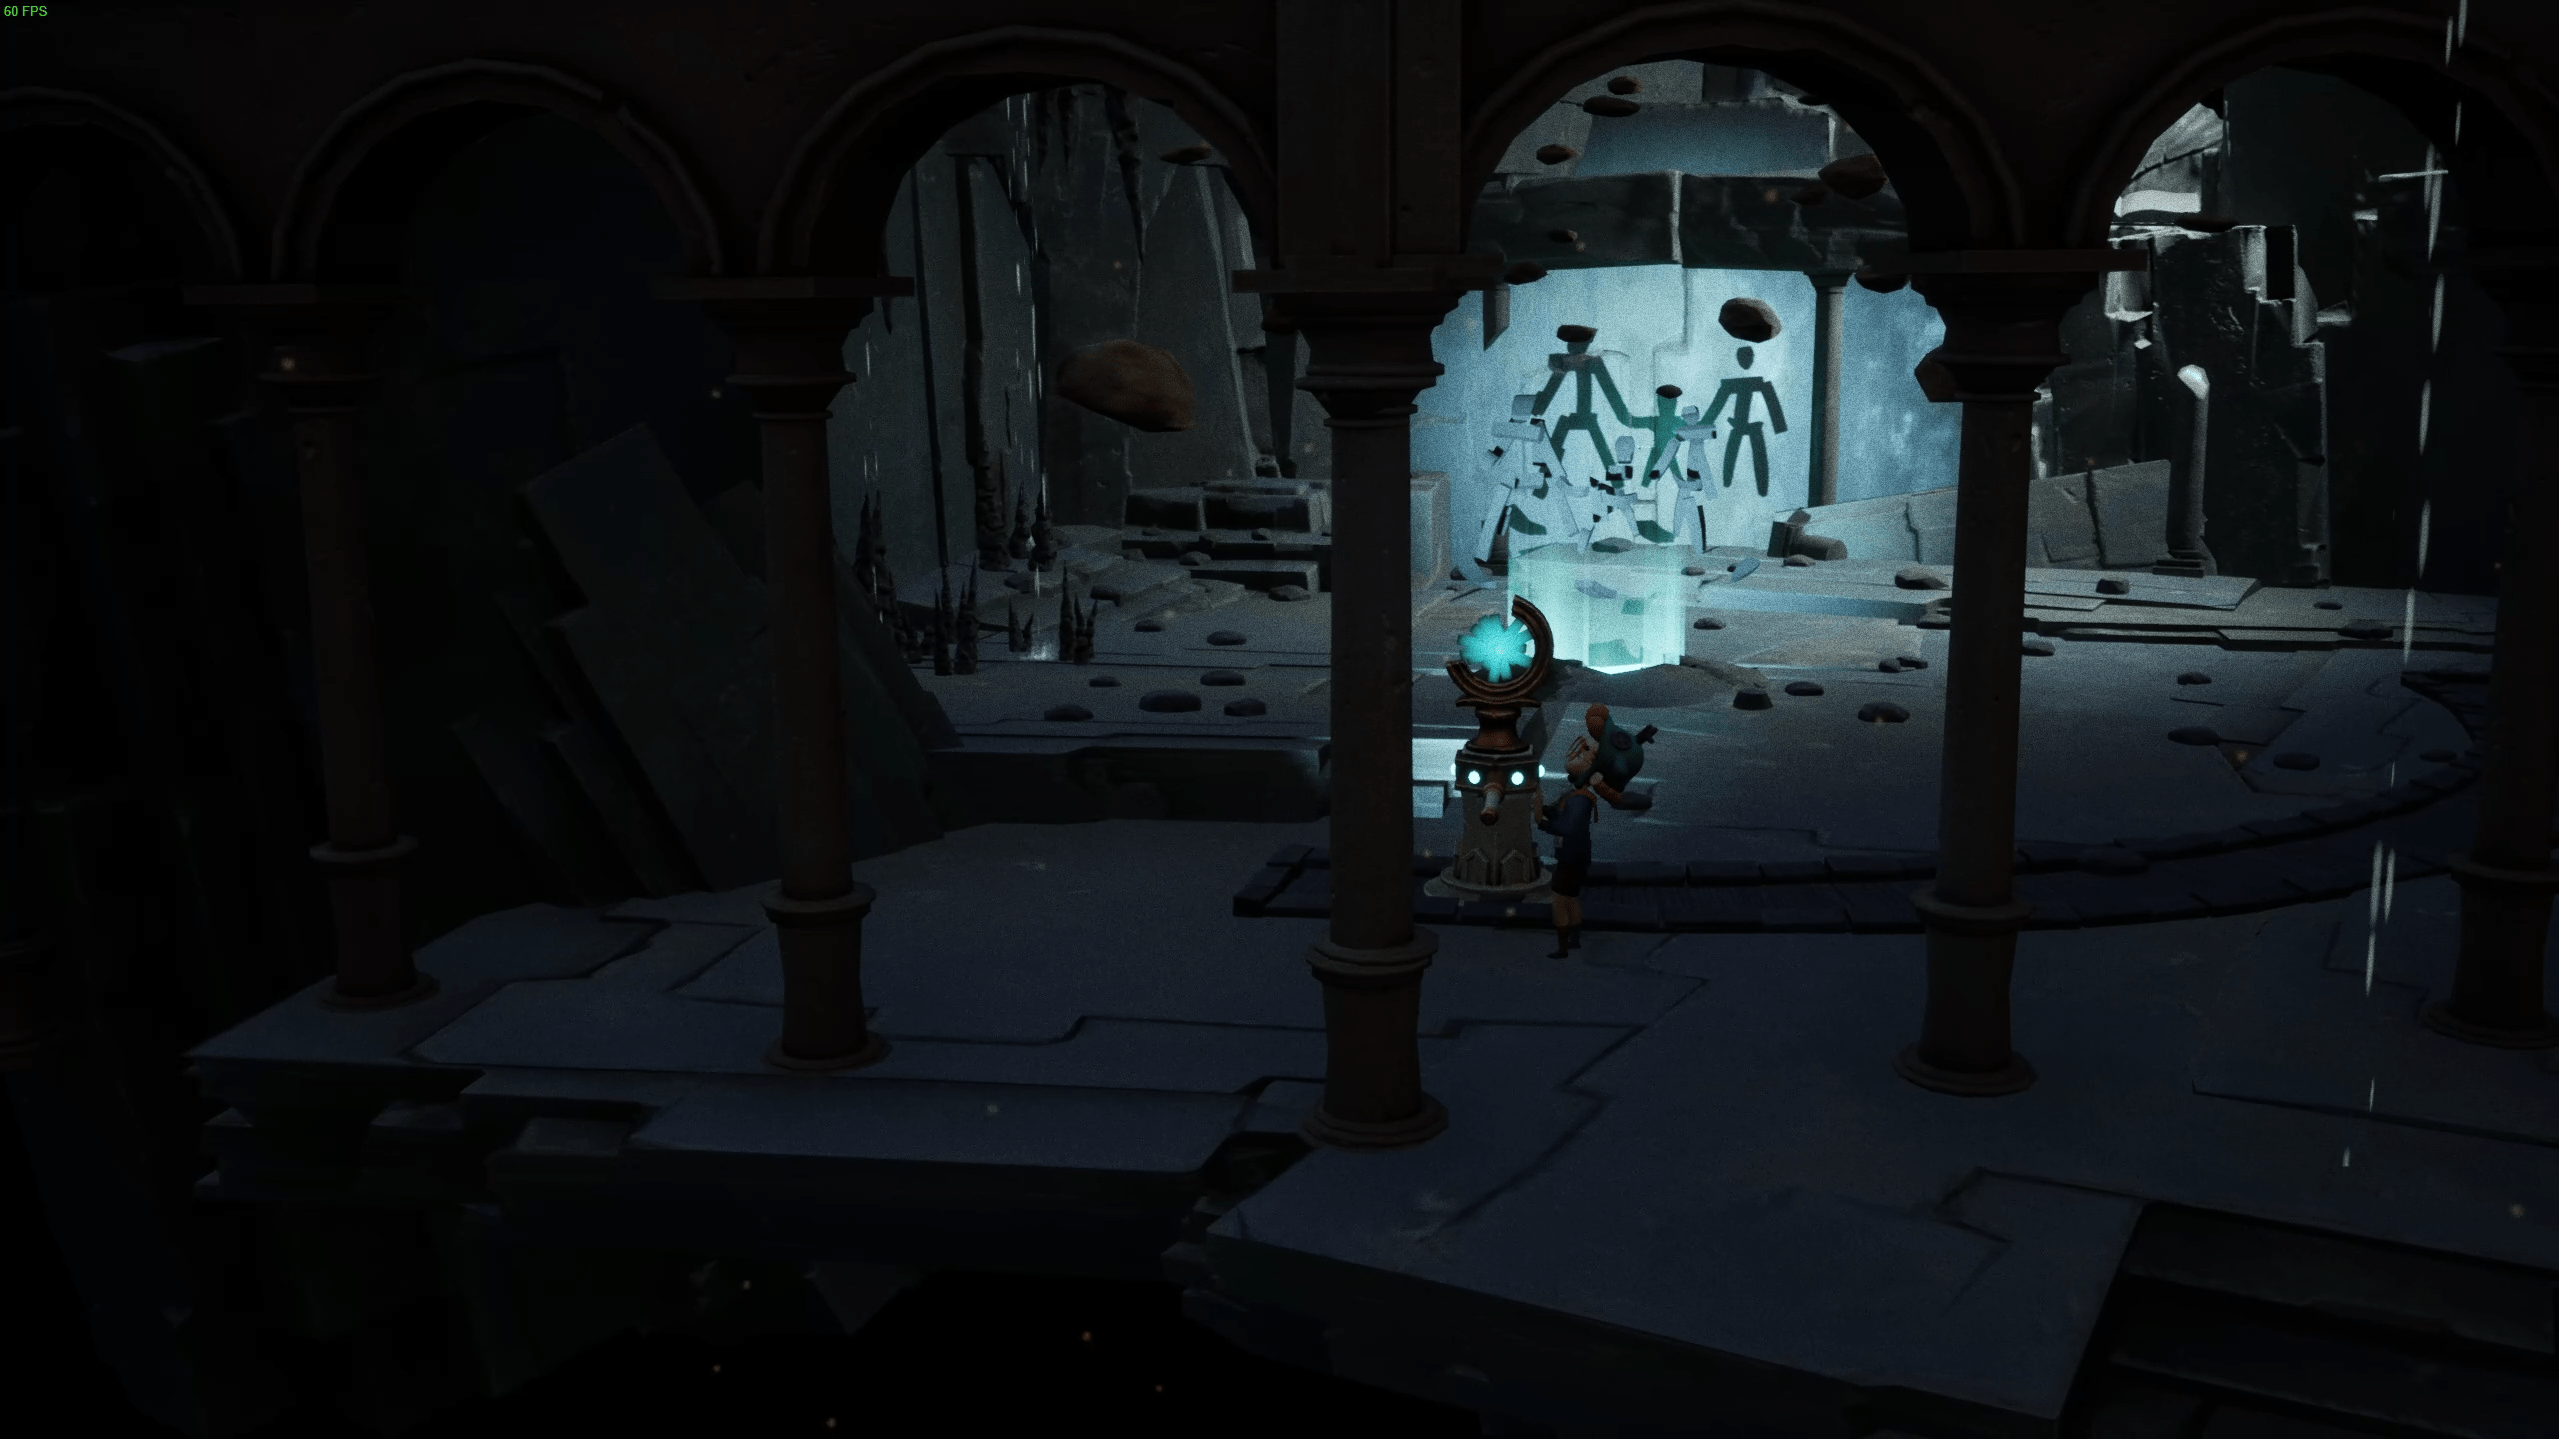
Drag the stone tomb to the left, all the way until the stone people turn into a family.
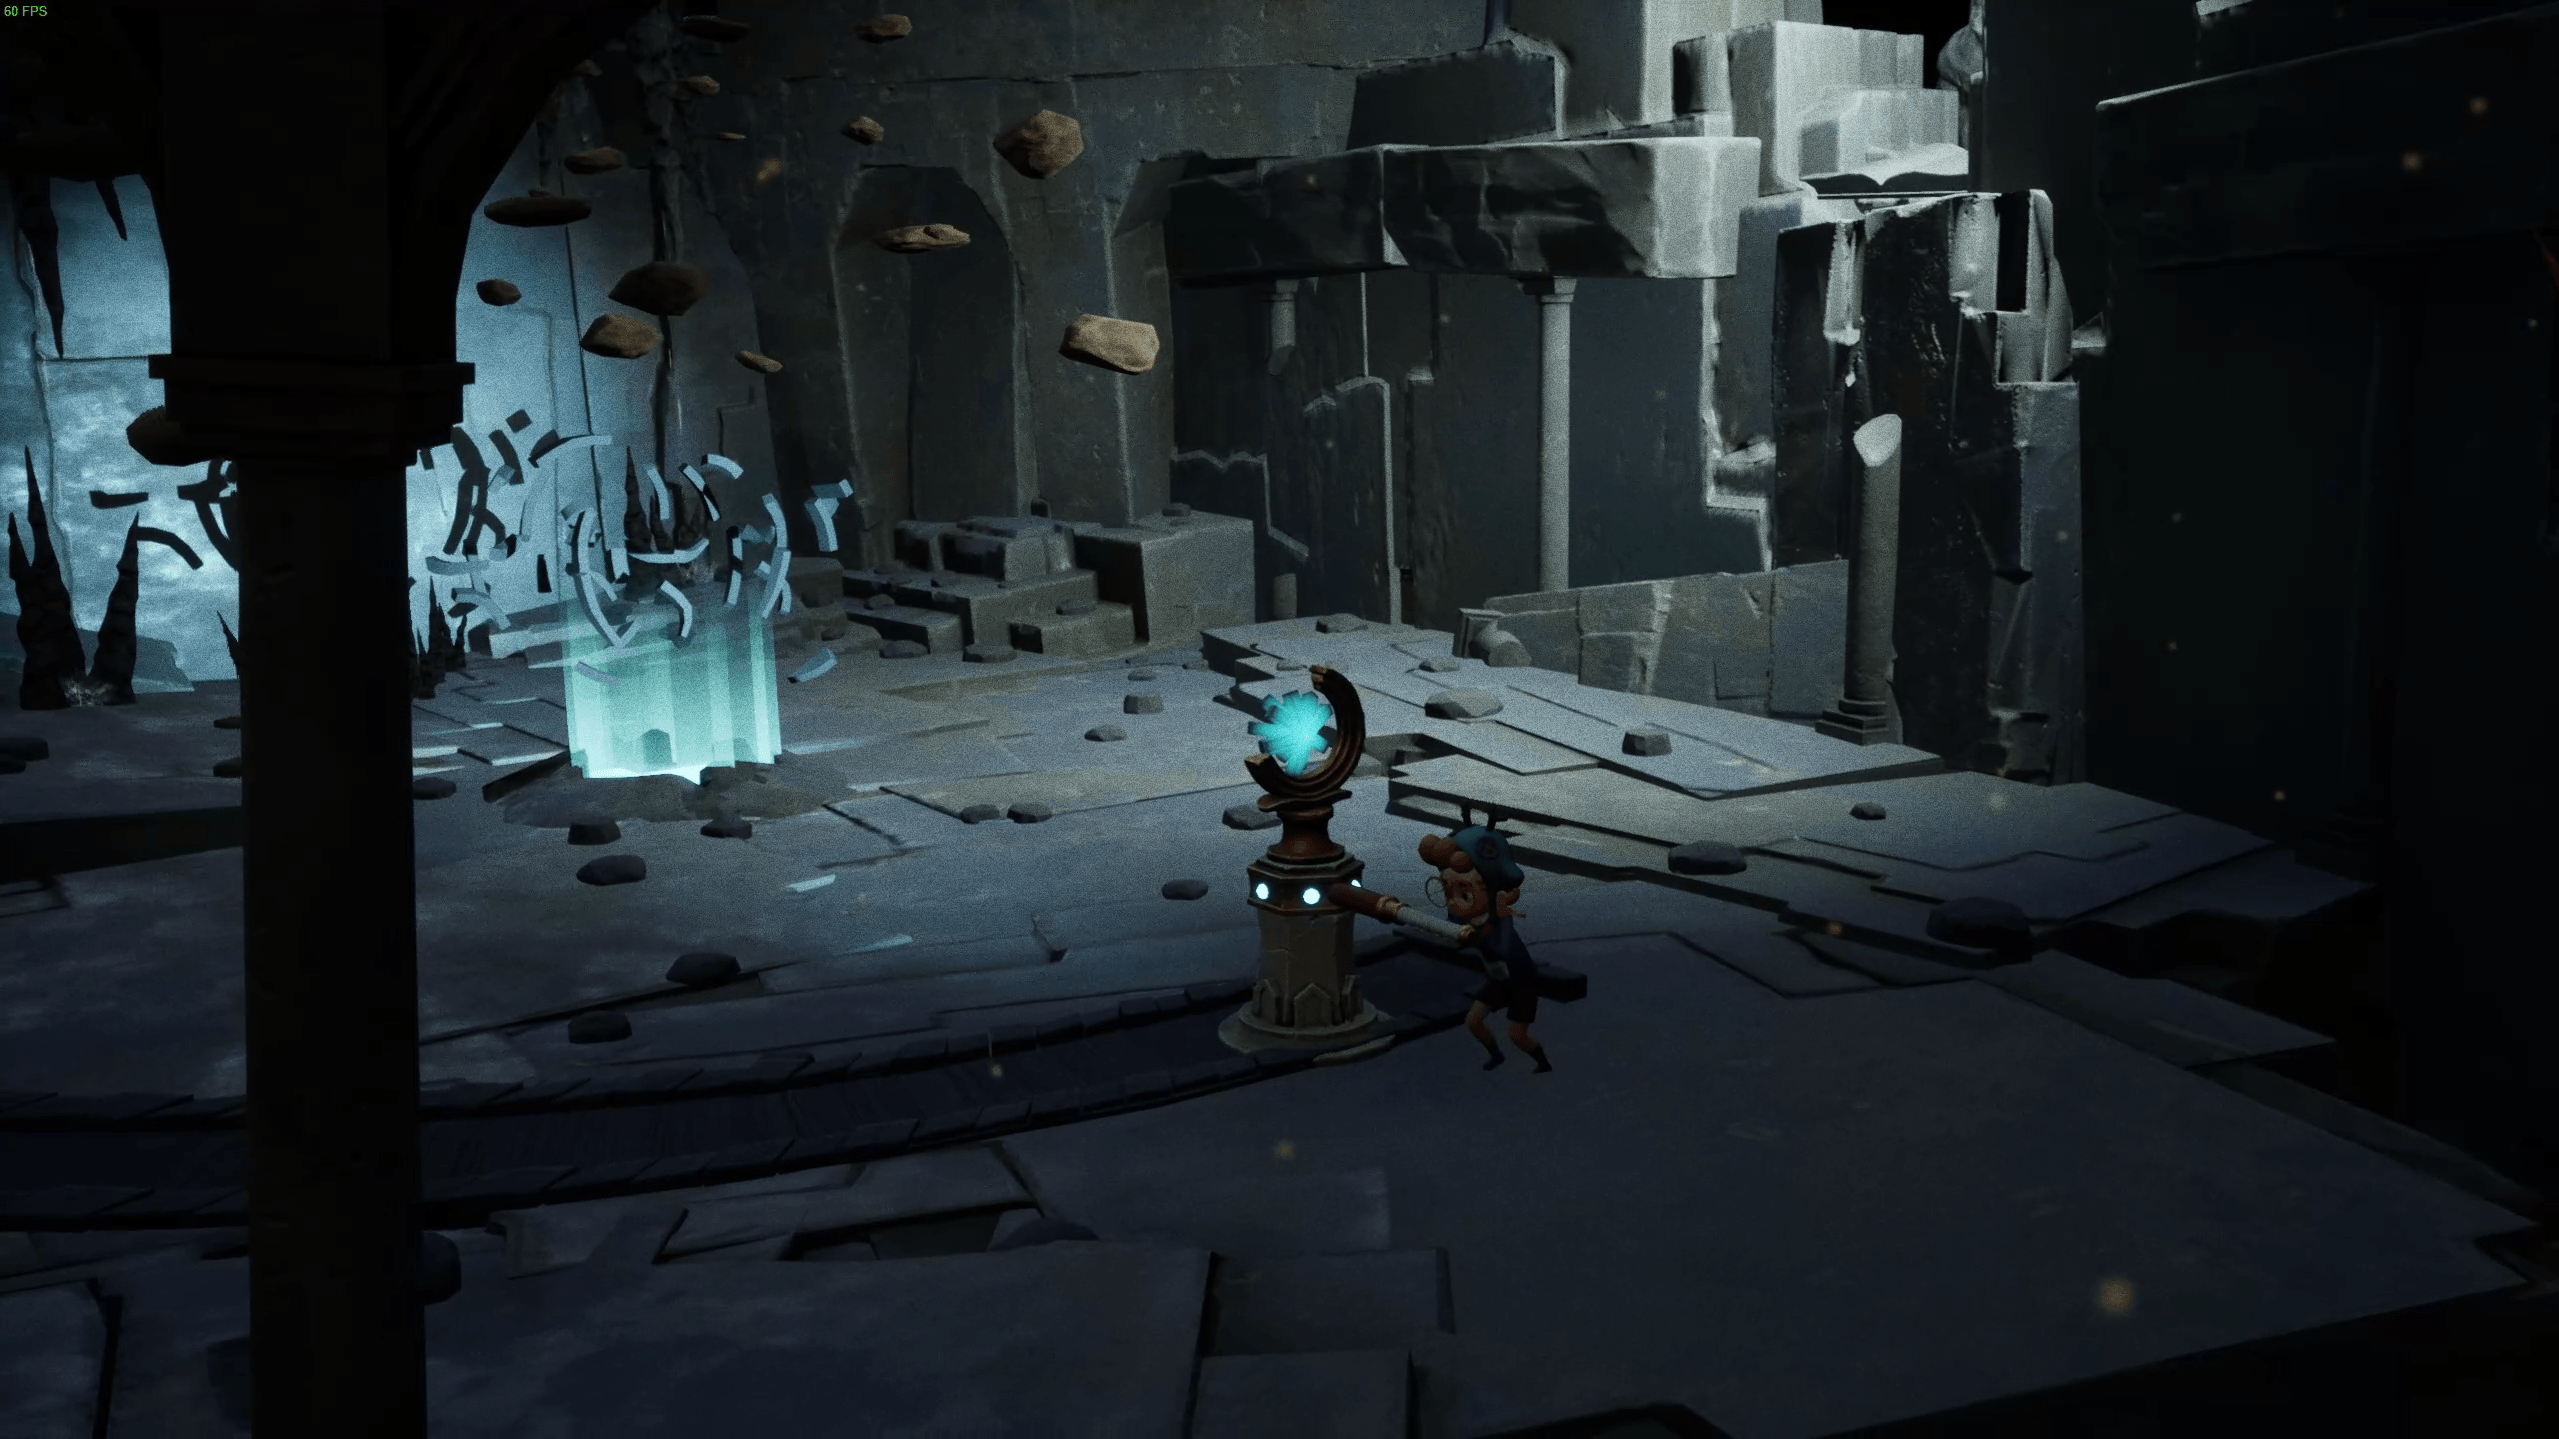
The firefly, with the last achievement and secret will appear. You now have 100% achievements.
That’s the end of our Daydream Forgotten Sorrow Walkthrough and Collectibles guide. I hope you were able to reach achievements and collectibles while avoiding dangers. Feel free to comment whenever you have any problems or suggestions!