In this topic, we will give you information about DEATHLOOP The Safe Below Dorsey Manor Code. Follow the topic step by step. Write in the comments where you have problems.
Deathloop, like many other Arkane games, is full of secrets locked behind doors and safes, and you’ll need to locate codes using various methods to uncover these prizes. Unfortunately, we cannot just give you the codes, because all codes are randomized for every playthrough. Instead, this page contains information on where to find the location of codes for locked doors and safes.
Some codes can be found by reading certain notes left behind, while others are scrawled on walls, and may require you to solve small puzzles to figure out where they are and how they can be used!
DEATHLOOP The Safe Below Dorsey Manor Code
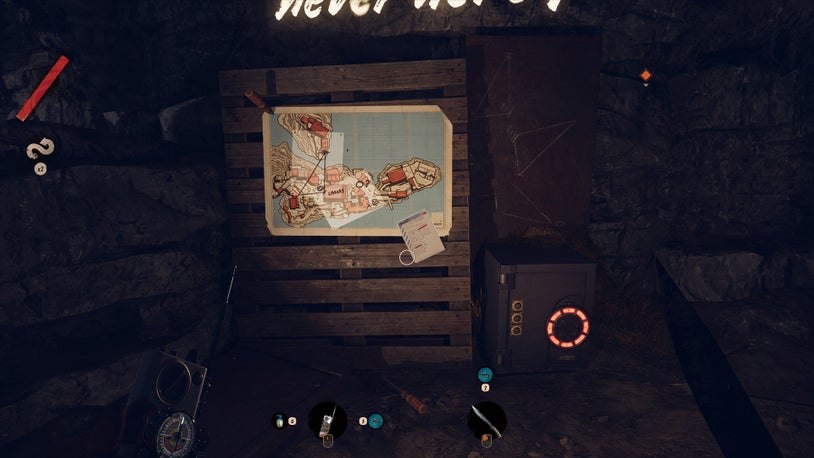
On either side of the large plaza leading to Dorsey Manor in Updaam, you can find a large cave entrance that leads to a large safe with three locks, and someone’s attempts to figure out the code – including a map of Updaam, and several triangle sketches on and next to the map.
Read the notes to get the clues on the locations for the 6 numbers you’ll need to solve this safe code, which form two right triangles at different parts of Updaam, and you’ll find a single number scrawled into the wall at each location:

- Pillar near the Archive’s Gate (A)
- Above plague at Library front entrance (L)
- Above sealed garage door at Charlie’s Mansion (only available at noon) (C)
- On the cliffside archway past The Moxie (M)
- Next to another plaque below Colt’s flat opposite the Dorsey Manor entrance (D)
- Doorway next to Otto’s Firework Shop (O)
- Because these numbers are random, refer to the letter association above for the next part.
You’ll only have six numbers and three codes to enter – but the answer key is actually right in front of you: Scrawled to the right side of the map by the safe are three different triangles featuring the same symbols drawn on the map where the plaques were located (the ring and the skull), and a different amount of lines on each triangle point (0, 1, 2).
To get the three codes, you’ll need to align the drawn triangles with the points where you found the code, in the order of how many lines are at each point. This means the three codes should read as:
- A,L,C
- O,M,L
- D,L,C
Unlocks: A single Residium object that can be harvested for a whopping 5,000 Residium. That’s over 6 times the amount you can get from a normal Residium harvest!