Basics Guide & Tips and Tricks
Basics
Here are some basics that might help you.
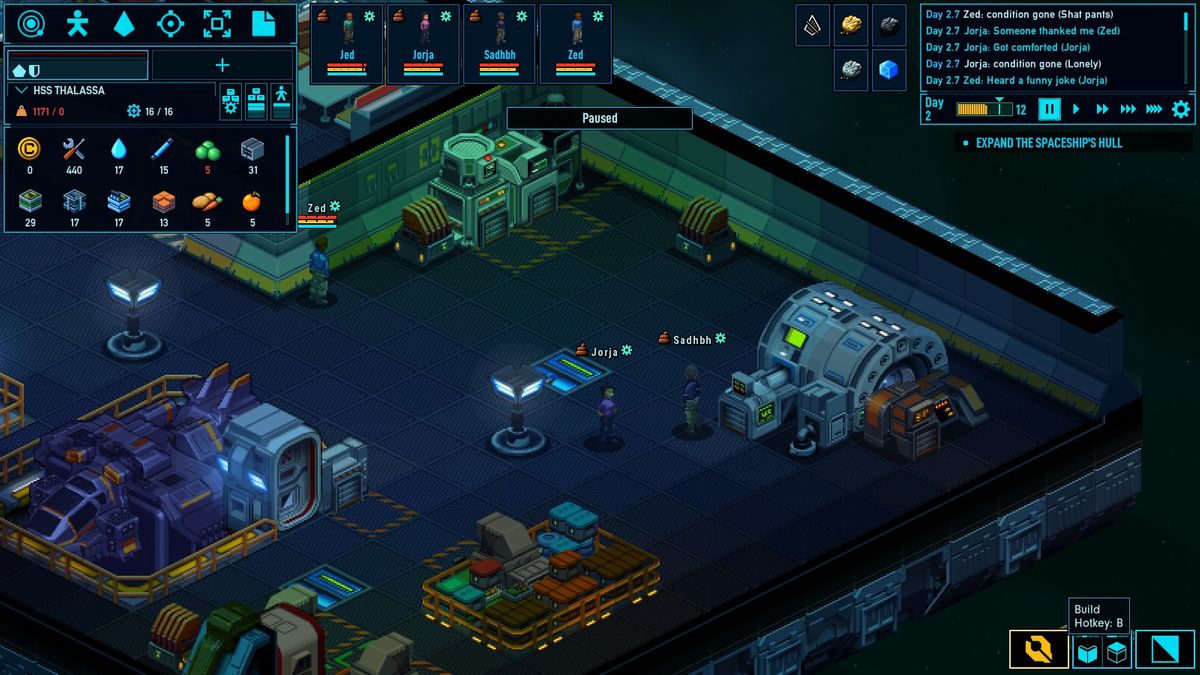
– Build Mode
All of your building options are in the yellow box in the bottom right of the screen.
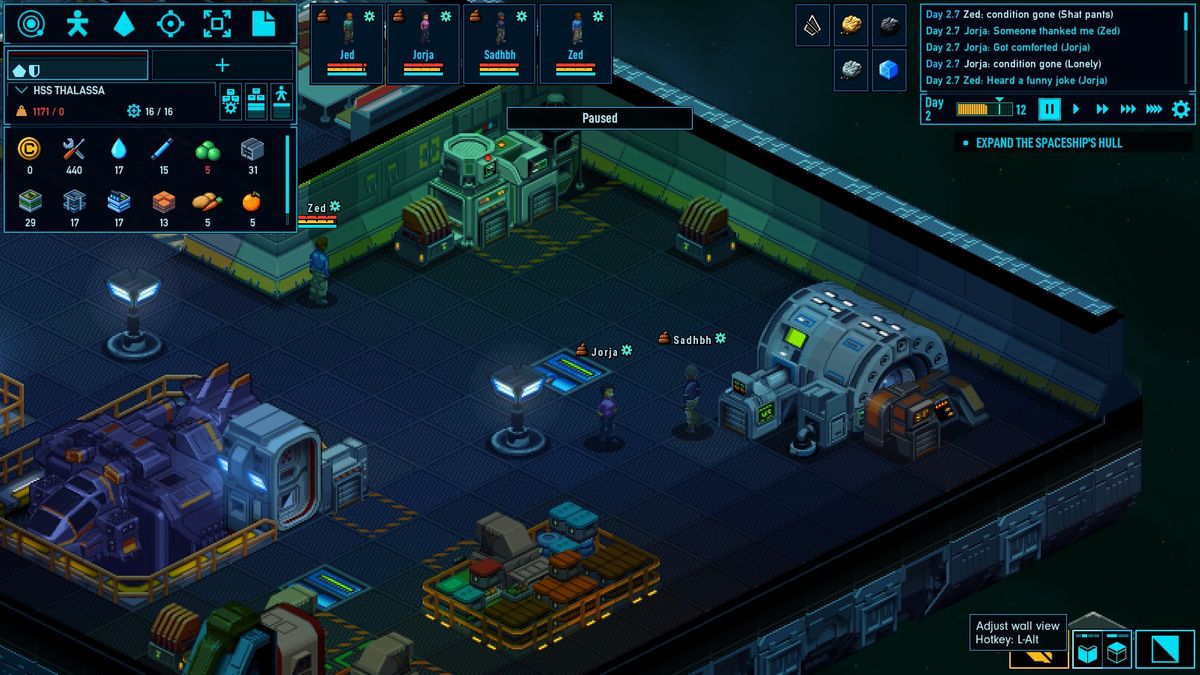
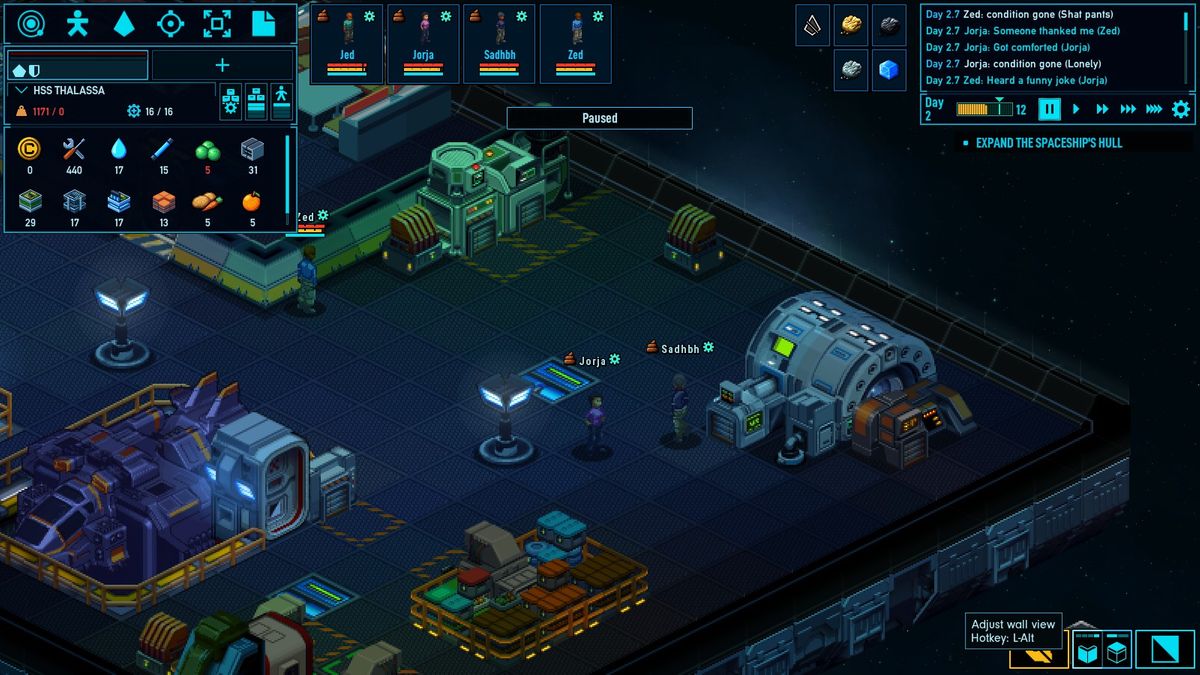
– Adjust wall view
This will allow you to lower or raise the height of the wall. This can help when a wall is blocking your view, or if you prefer the walls hidden or at full height.
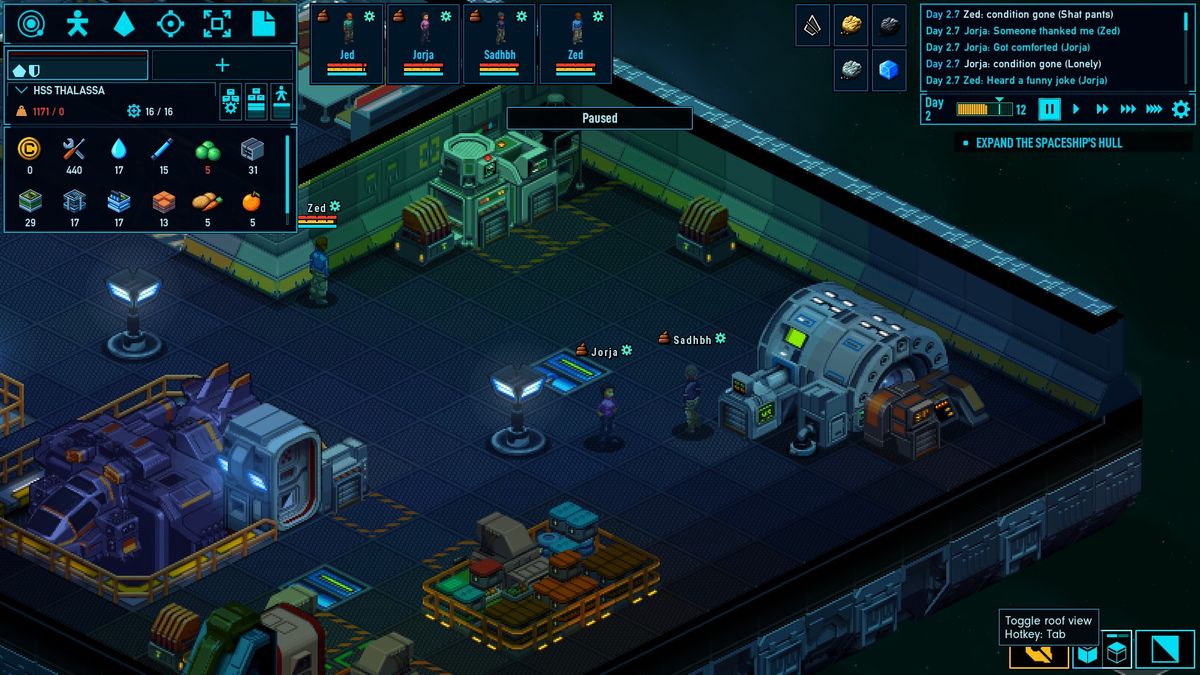
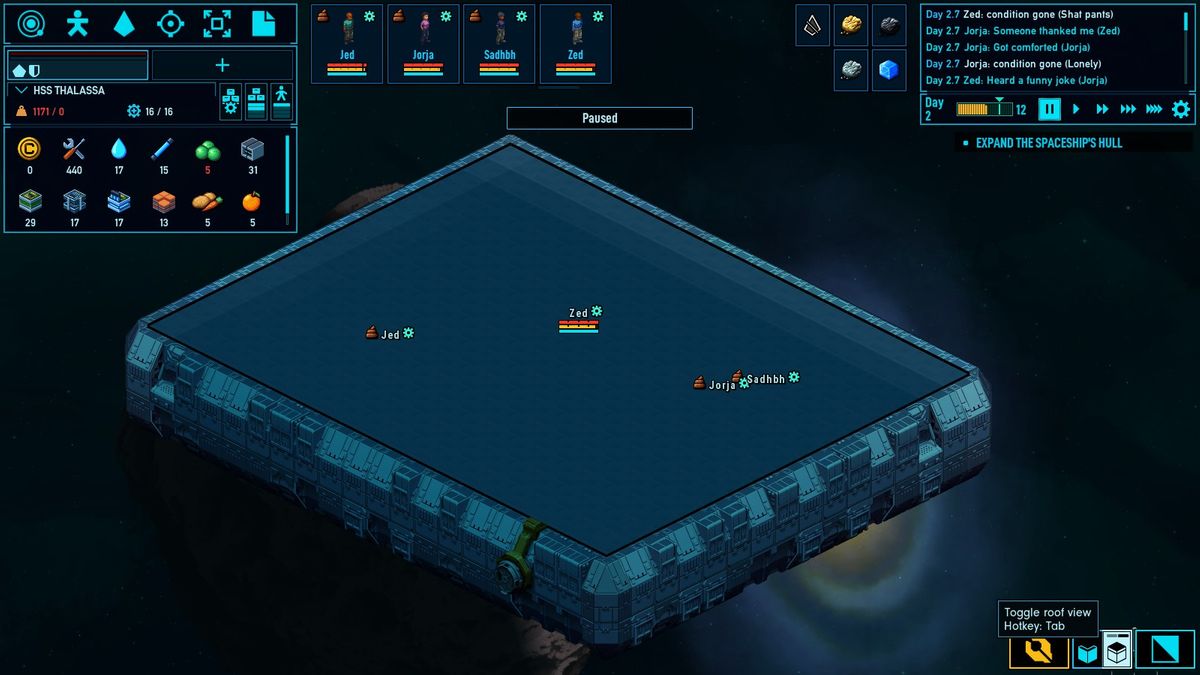
– Toggle Roof View
This will allow you to see the roof of your station/ship.
– View Mode
Get used to accessing the view mode by either the R key or the button in the bottom right of the screen. This opens up the view mode, which allows you to see different views of your ship, including: O2, CO2, Comfort, etc.
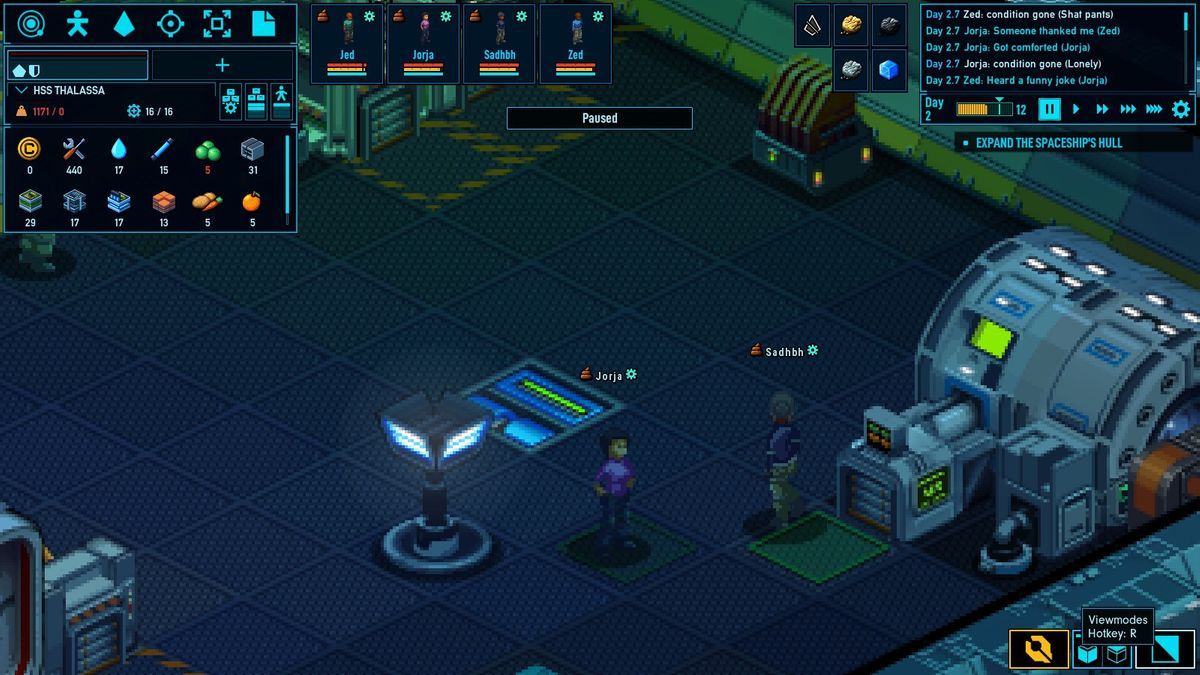
After selecting this, you should see a small menu appear.
Simply select one of the ten options and it will show you that view.
UI
User interface guide.
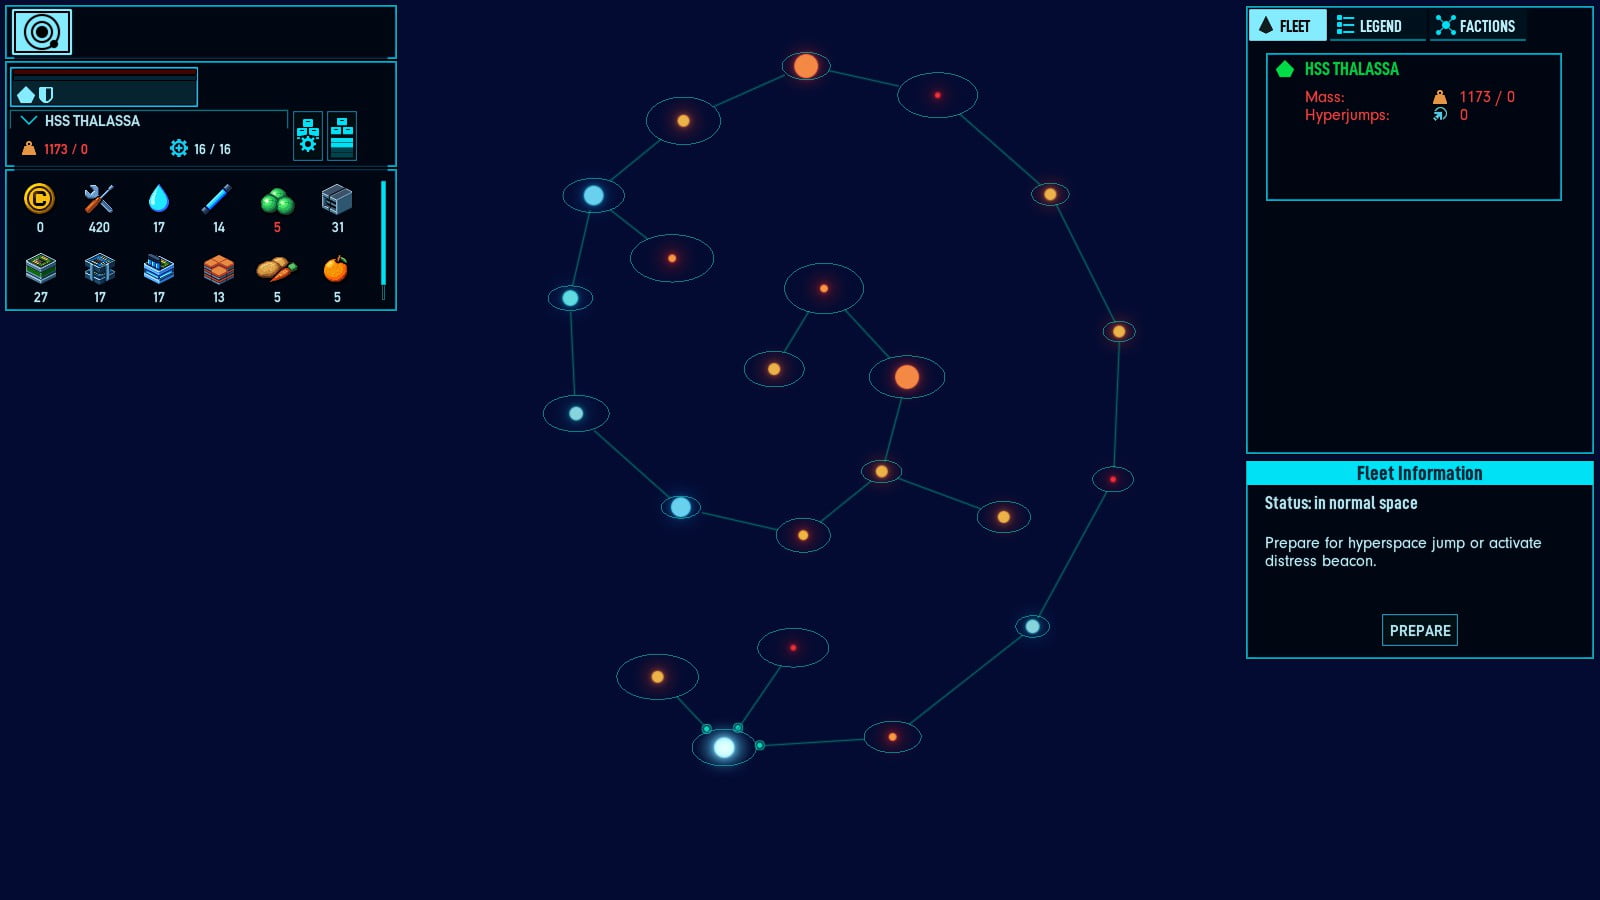
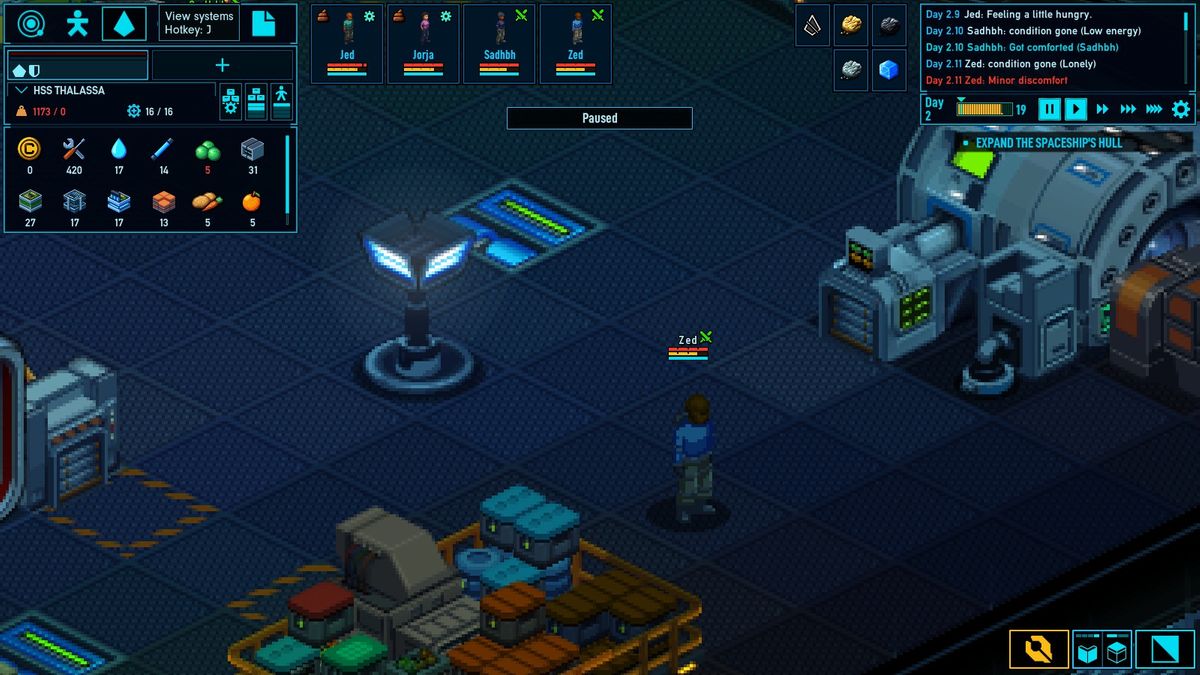
Starmap
This shows your current location, as well as the whole system when you zoom out.

Here is my current location. You can also see the resources in my area.

And this is the full area with my area being the white star at the bottom
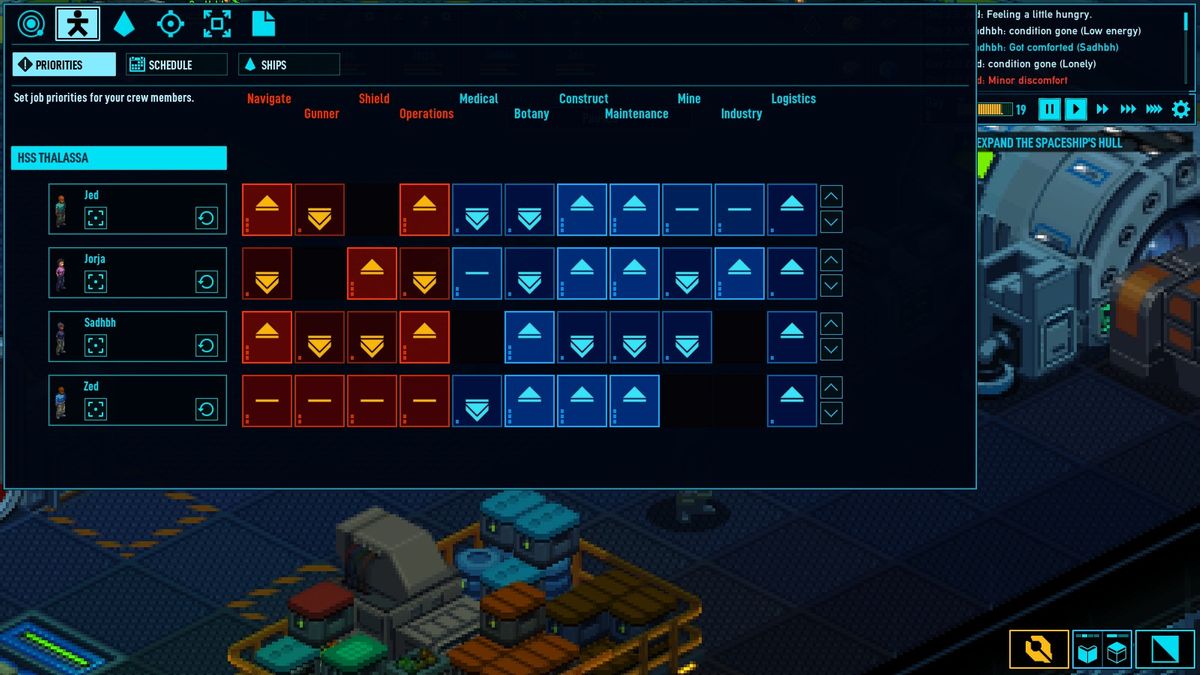
Crew Managment

Here you can see the priorities of each job. Left and right clicks on the job square will increase and decrease the priority of the job.
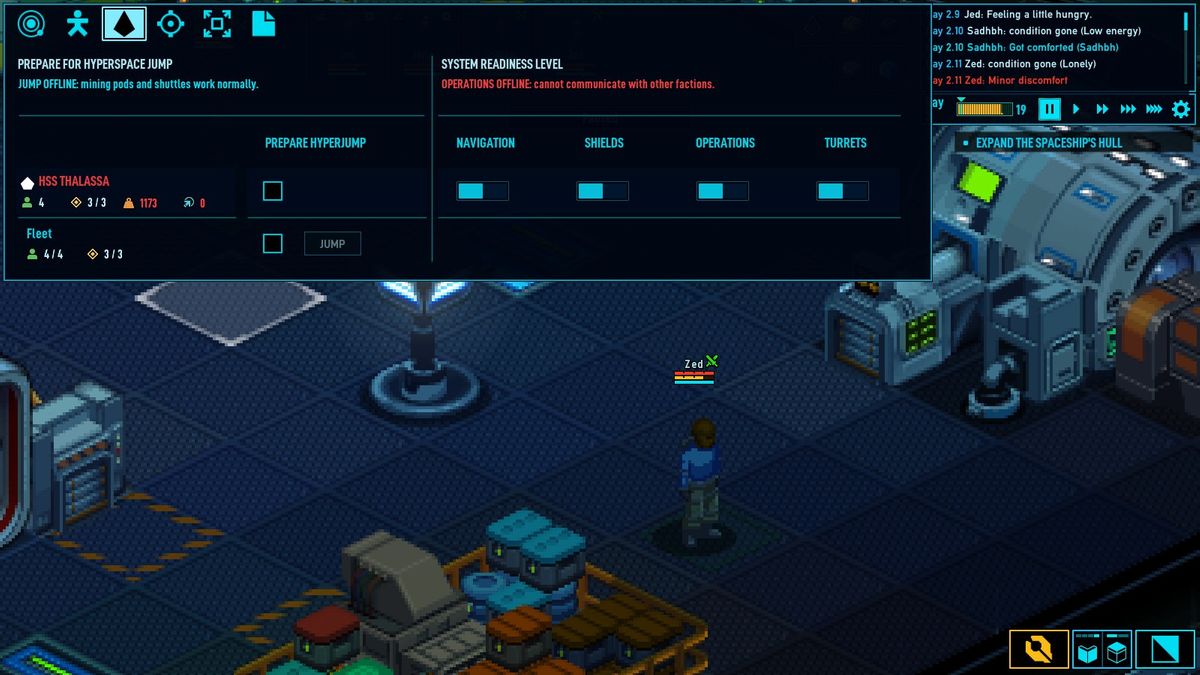
View Systems
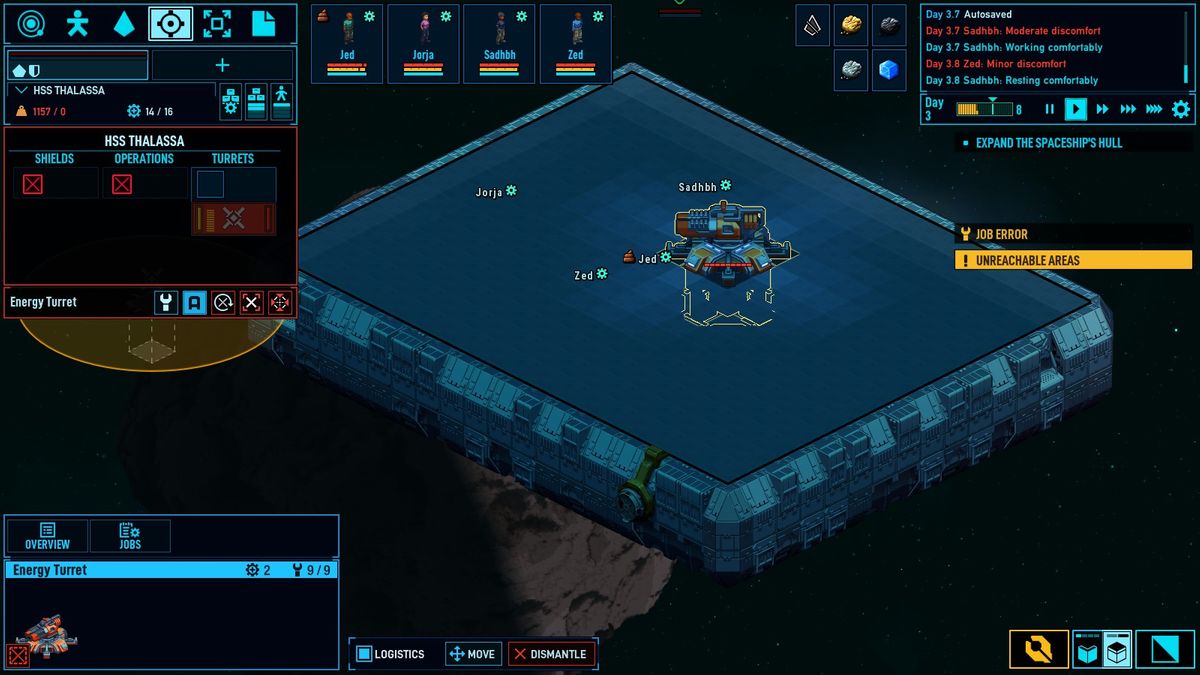
This menu allows you to prepare for hyperjump, as well as manning certain systems of your station. Such as guns, shields, etc. Simply click which system you wish to turn on/off.
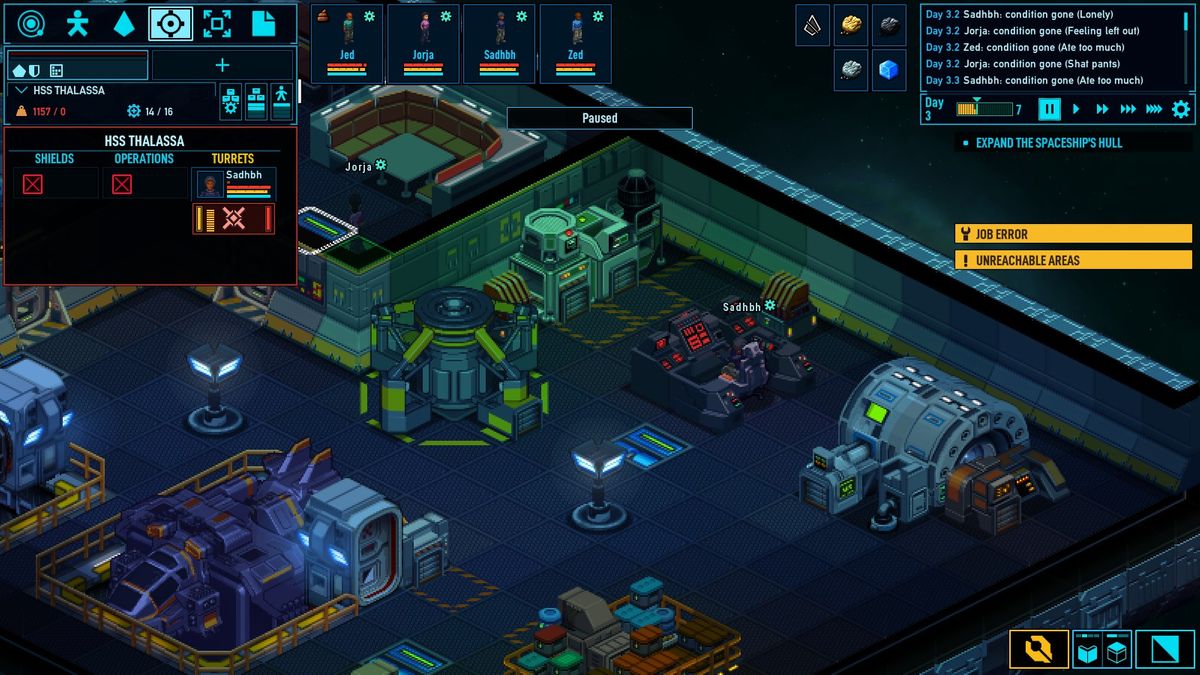
Attack Systems. You can “turn on” the turrets in the view system tabs.
Here you can see the turrets are manned and ready to shoot.
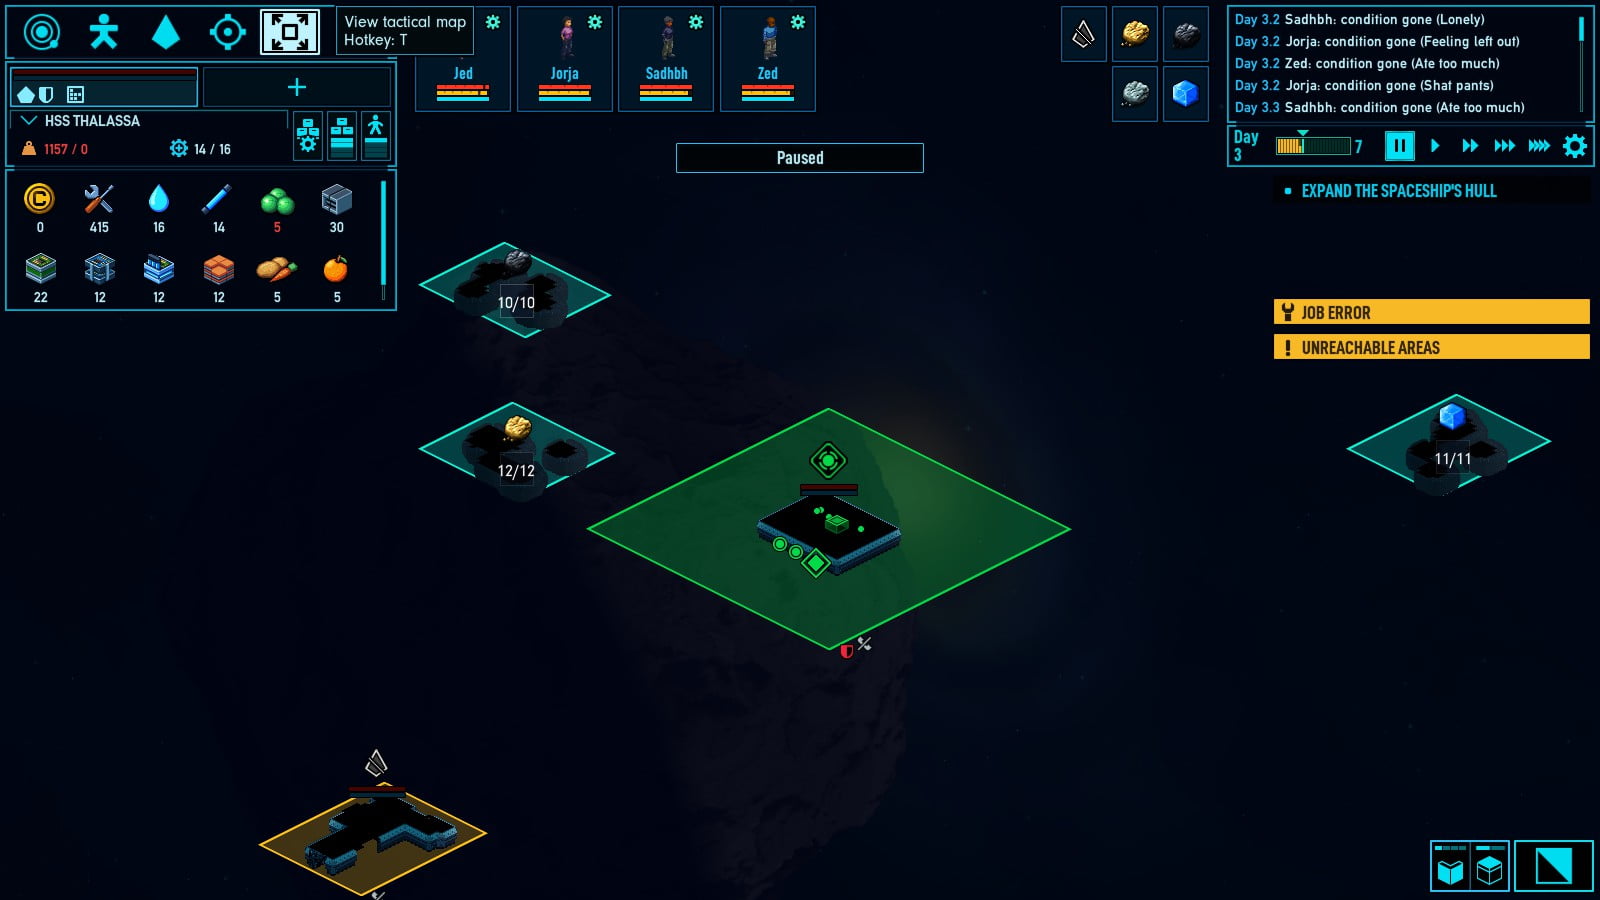
Tactical Map is used to see your ship/station’s immediate area, and combined with the Attack systems tab, you will be able to attack in this area.
The turret has a few options available
Repair, Continuous fire, stop charging, remove target, select target. In that order, left to right.
Here you can see that I targeted the direlect ship.
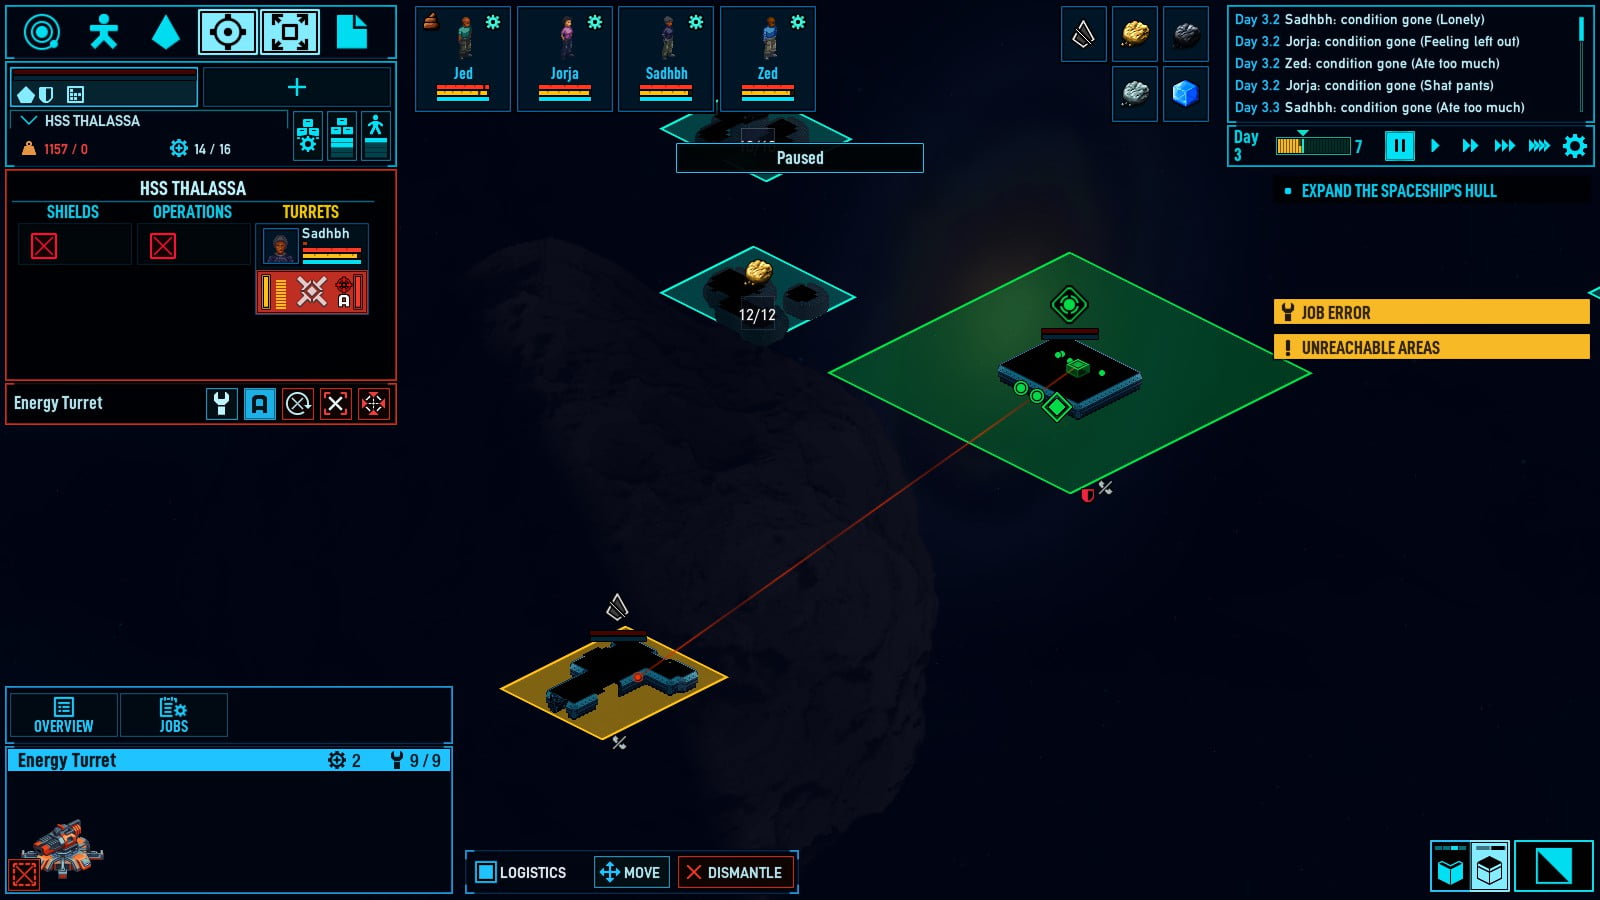
And here is the bullet traveling in real time, and impacting the ship (green dot is bullet).
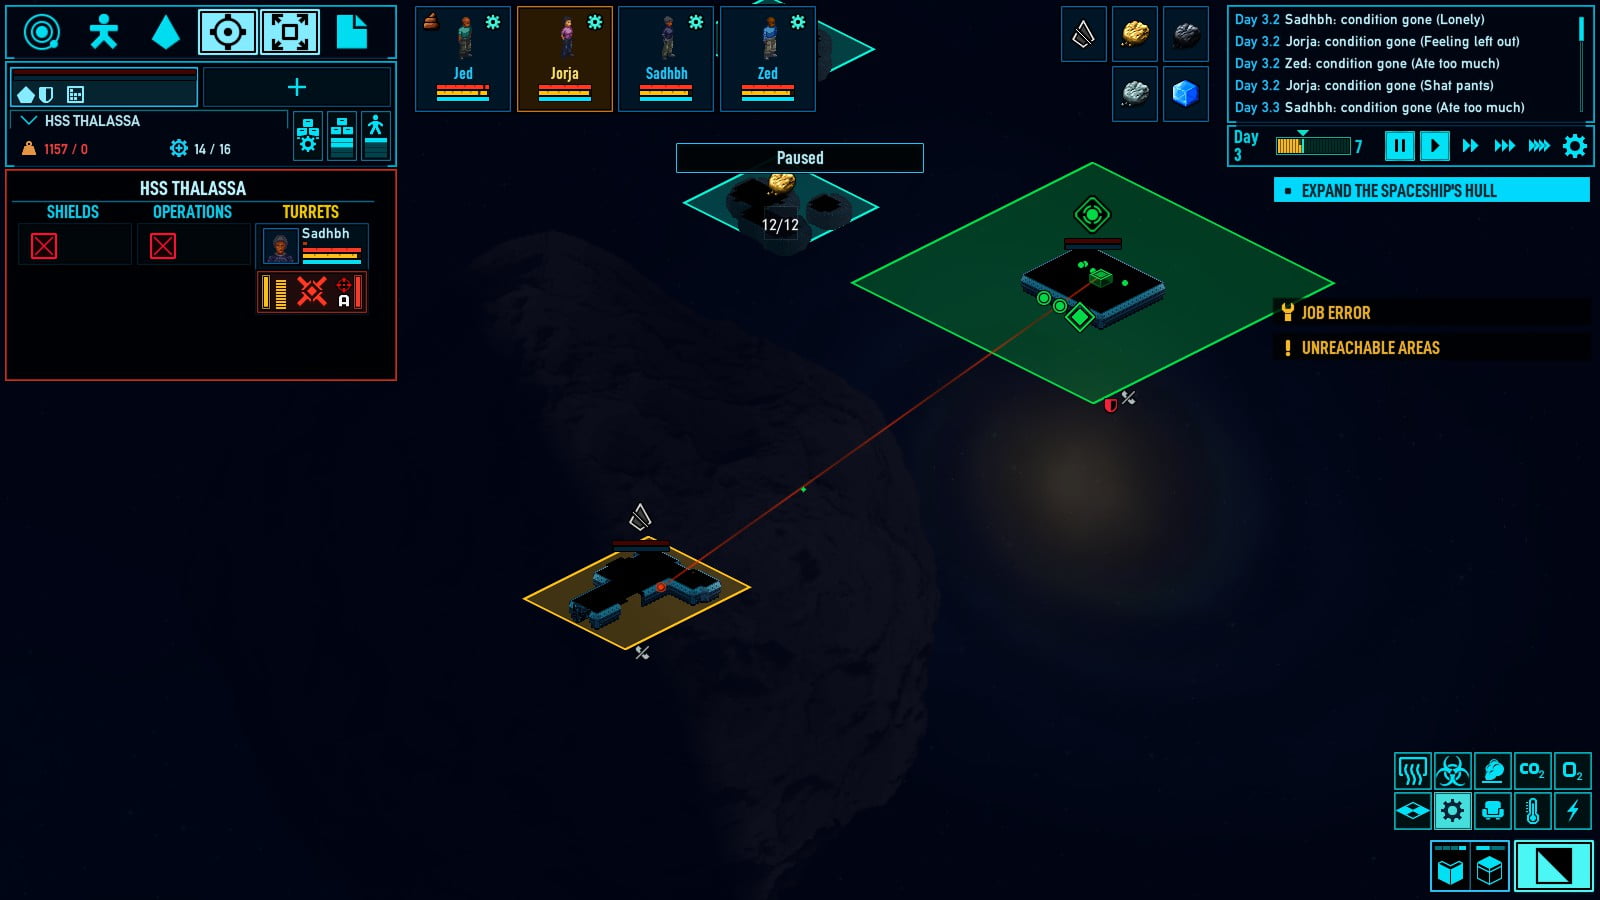
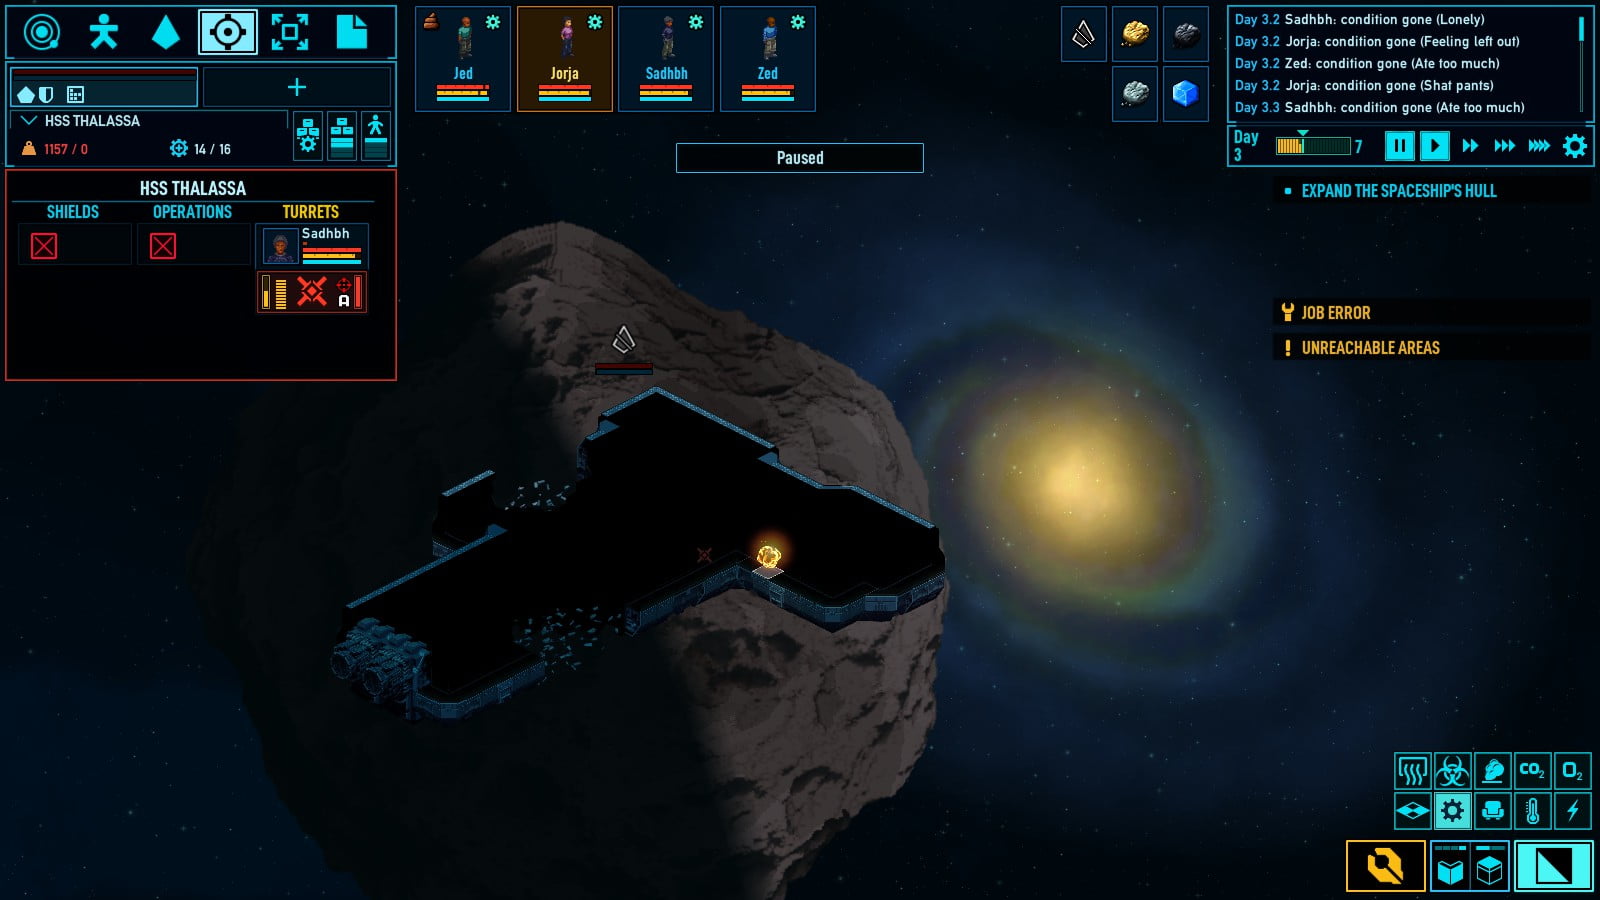
IMPACT!
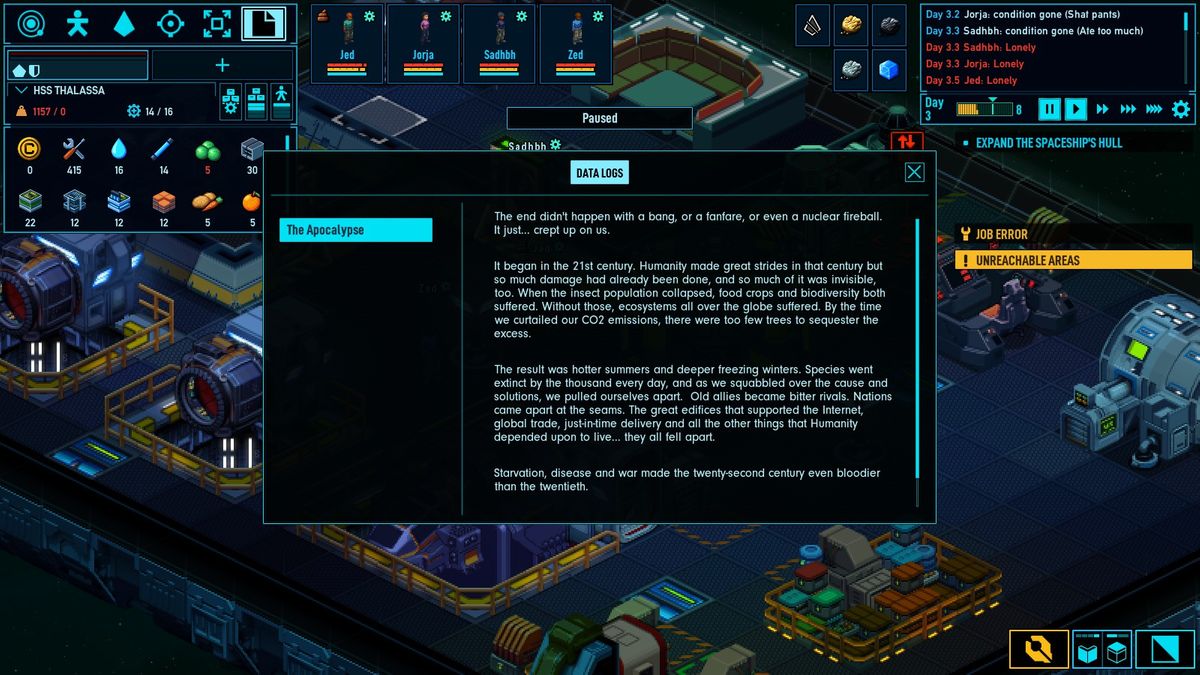
Data Logs
This is where your data logs will be stored. Nice.
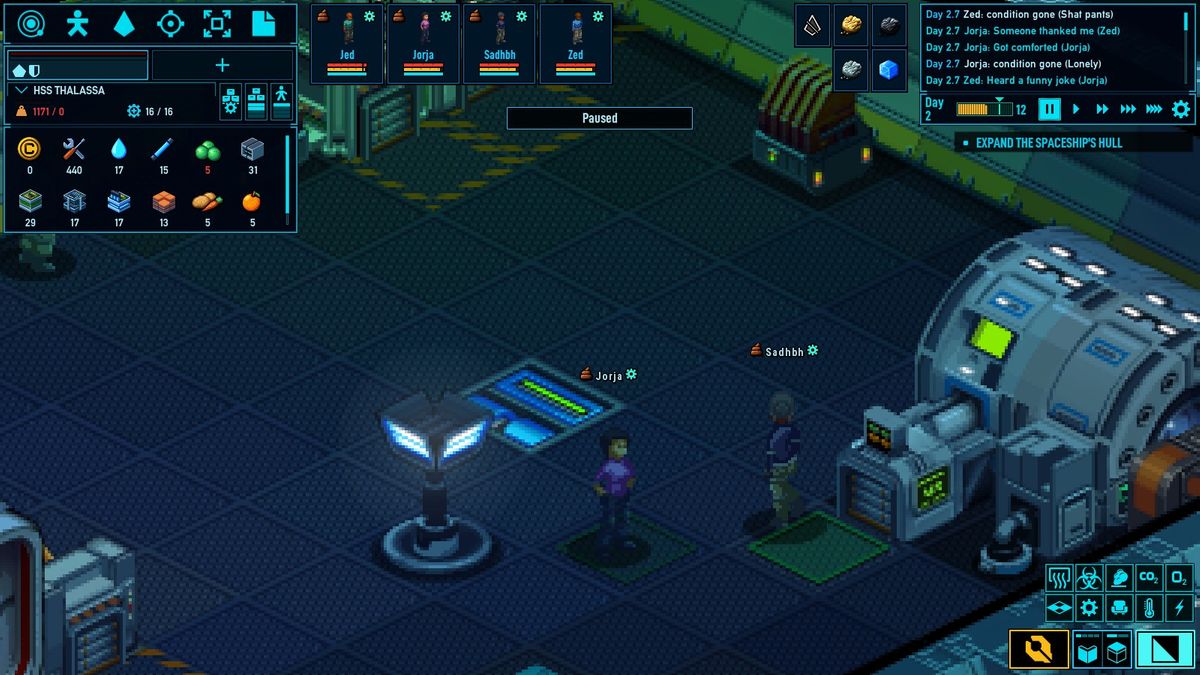
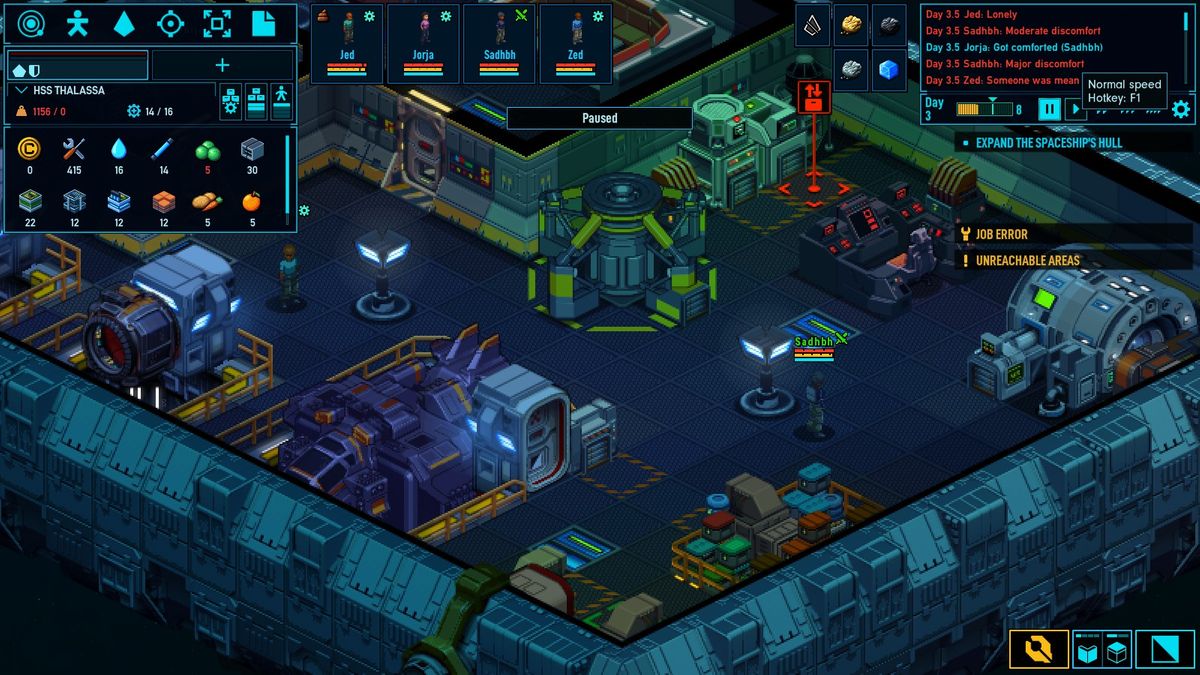
Characters
This is a overview of your characters (top middle), selecting them with left click will open their menu up. Which will allow you to draft and access their other menus.

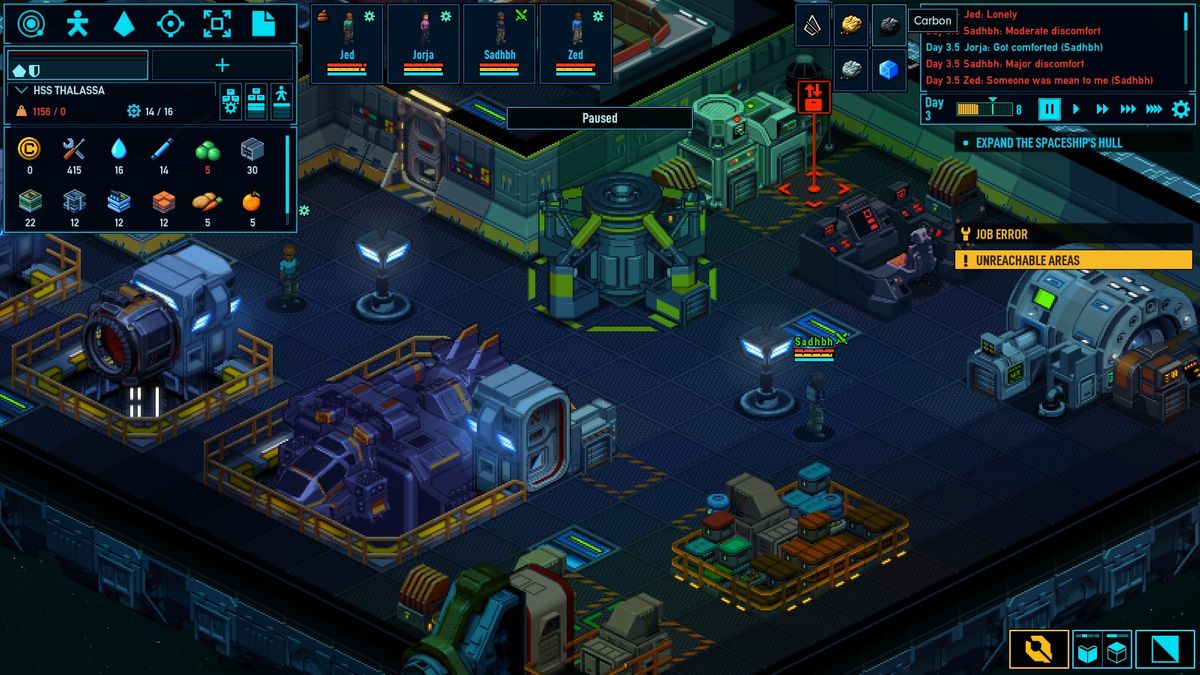
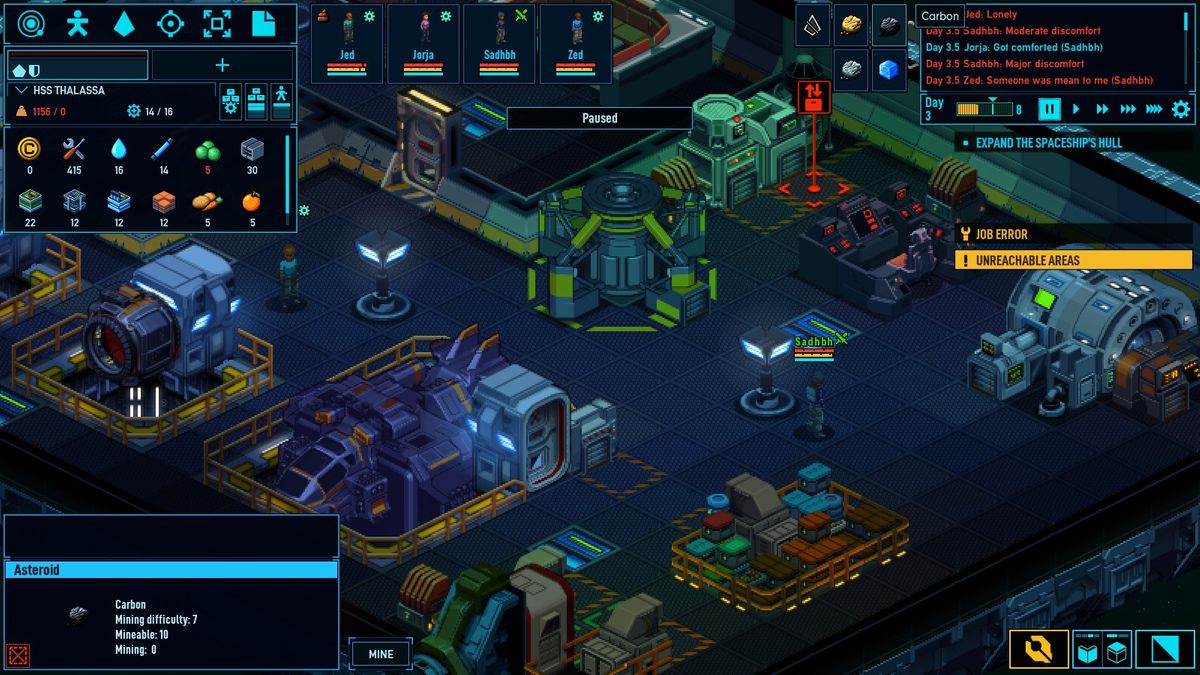
Sytem Resources
This area shows the resources in your system (top right). Selecting any of them will open a small interaction menu in the bottom right.
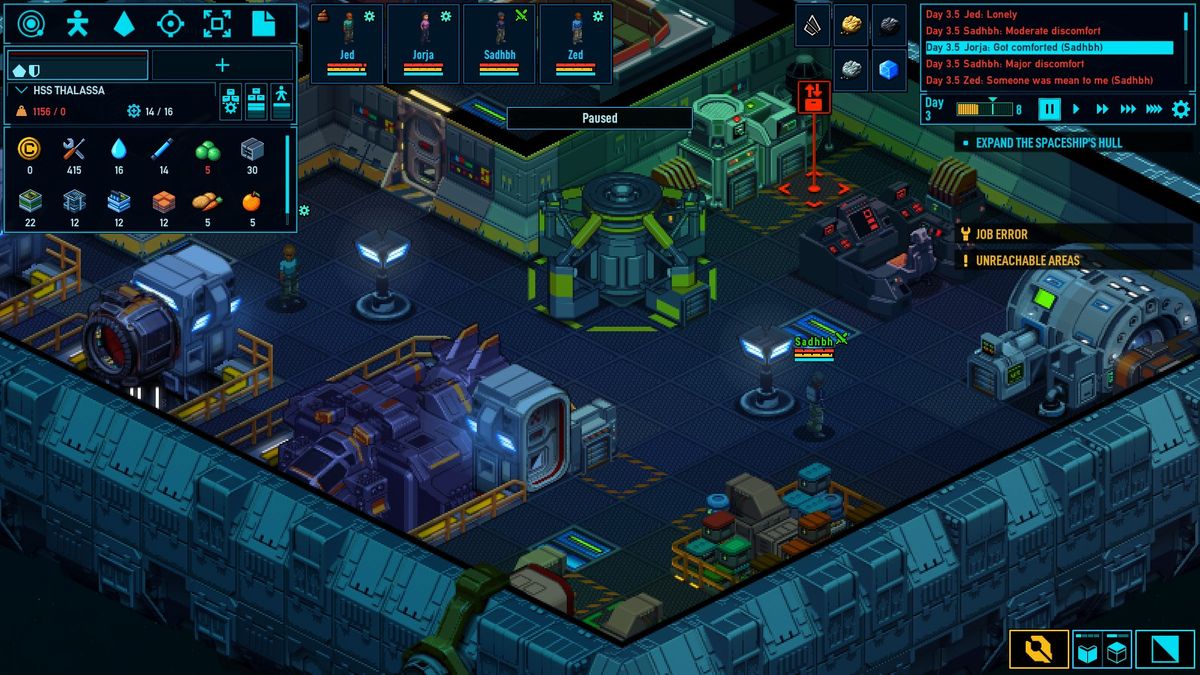
Game Dialogue Menu
This menu is in the top right and shows the game dialogue as events happen.
Time and Time control
Here you can see current time and have the controls to pause or speed up time.
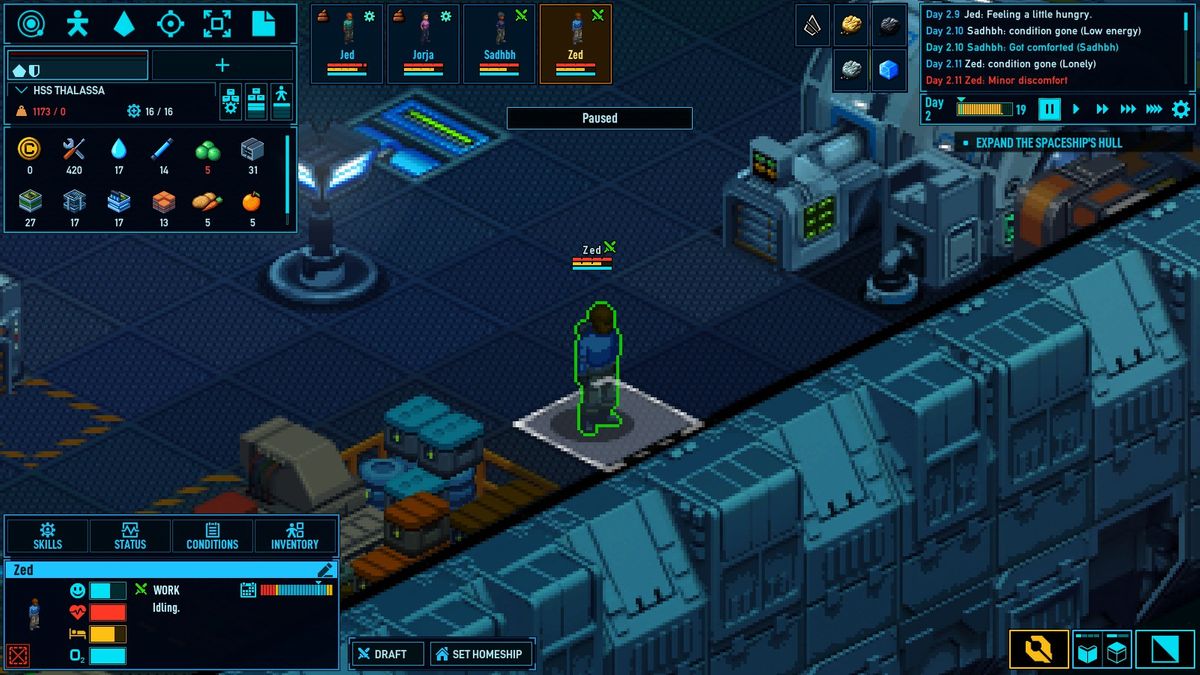
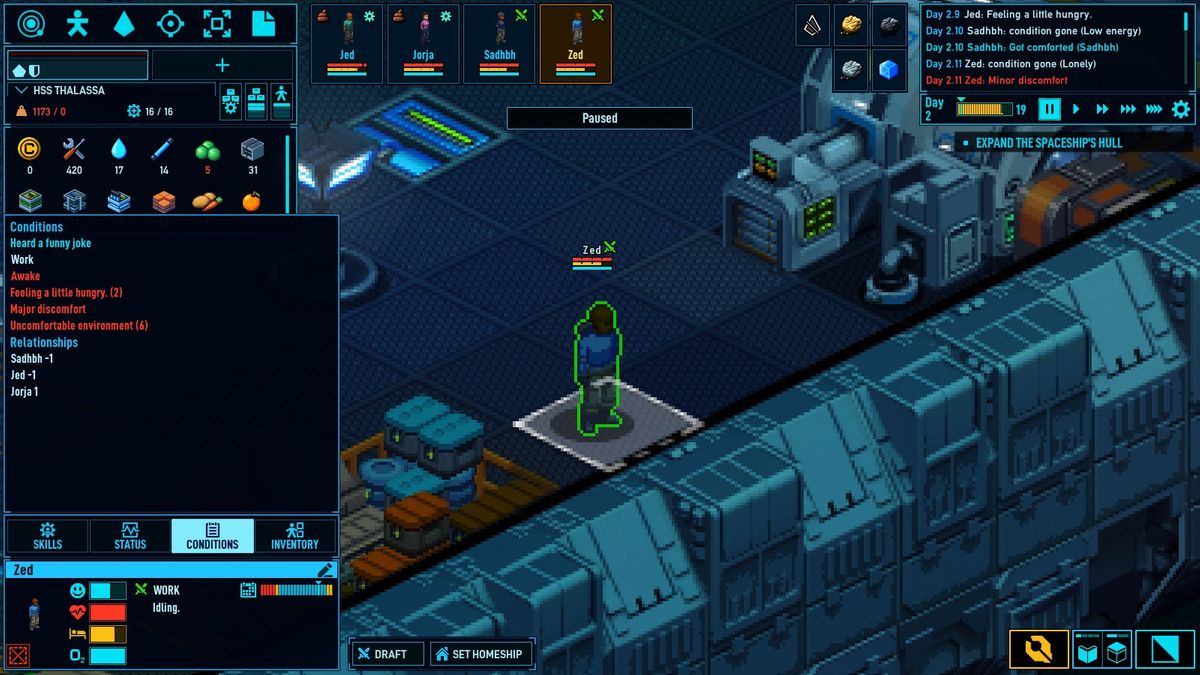
Character Menus
There are four menus for each character.
Skills, Status, Conditions, and Inventory.
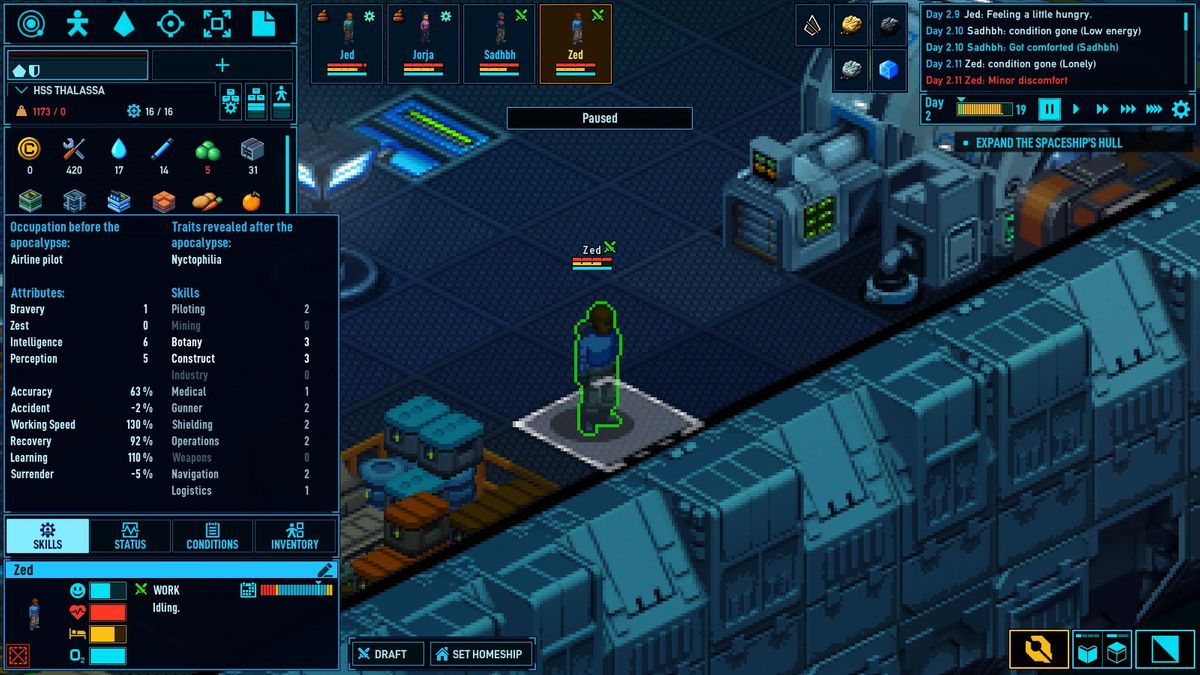
Skills tell you about the stats of a specific person. Things like occupation, skills, attributes…
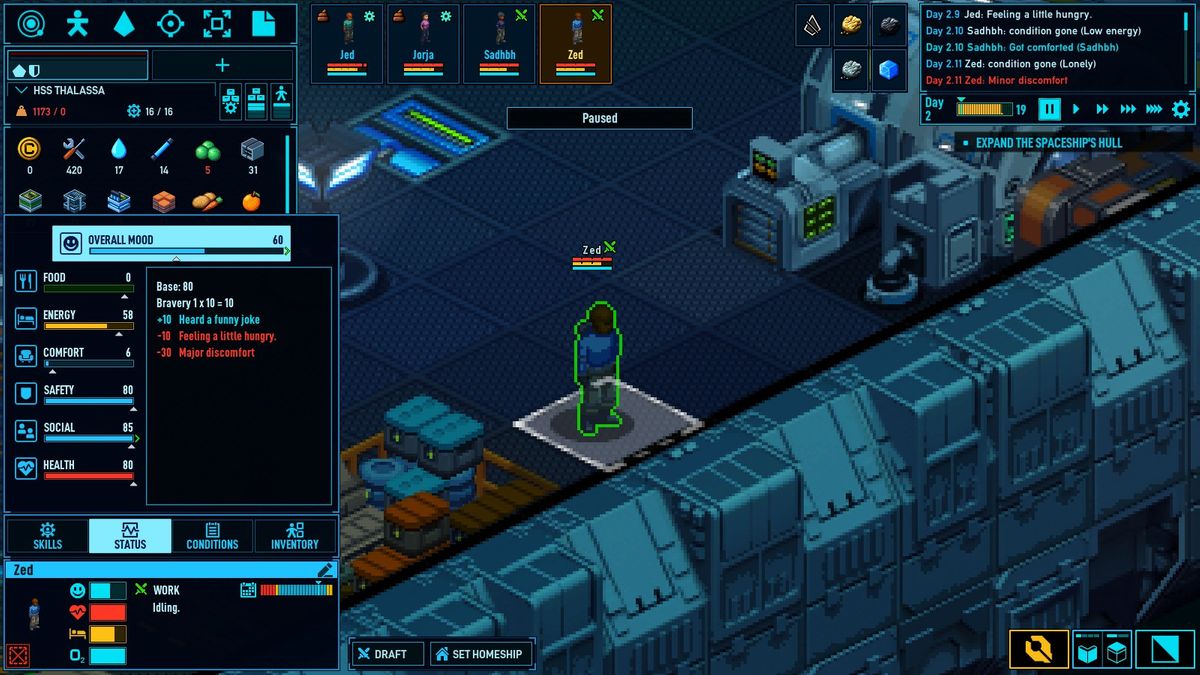
Status menu is going to hold the real time needs/emotions of the person. Here we can see this person is feeling a little hungry and is experiencing major discomfort.
Conditions menu has the detailed buffs/debuffs of any status, as well as medical issues.

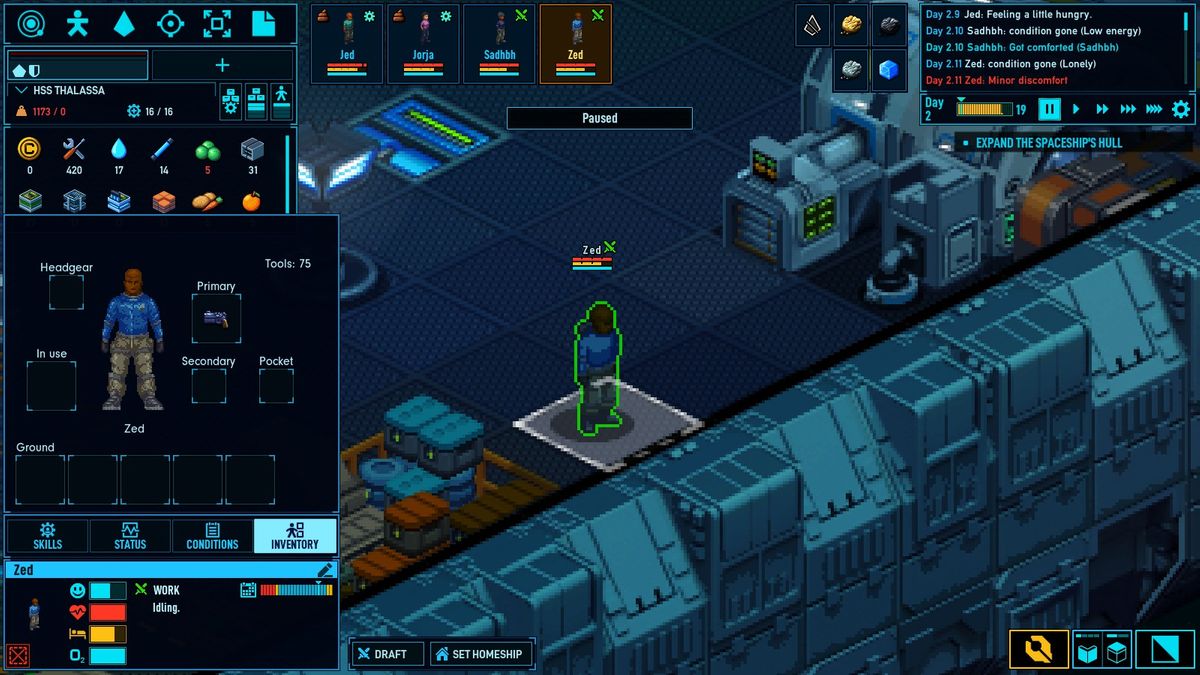
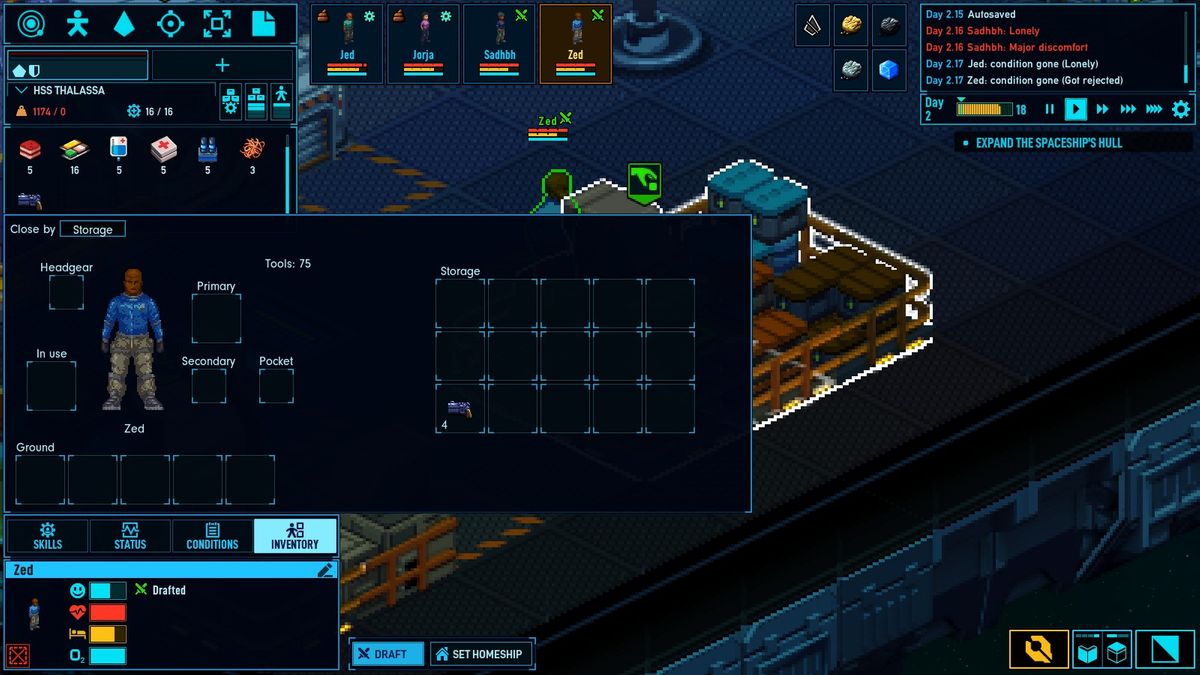
Inventory is simply the inventory of the person. Equipped items will be found here.
Combat/Boarding
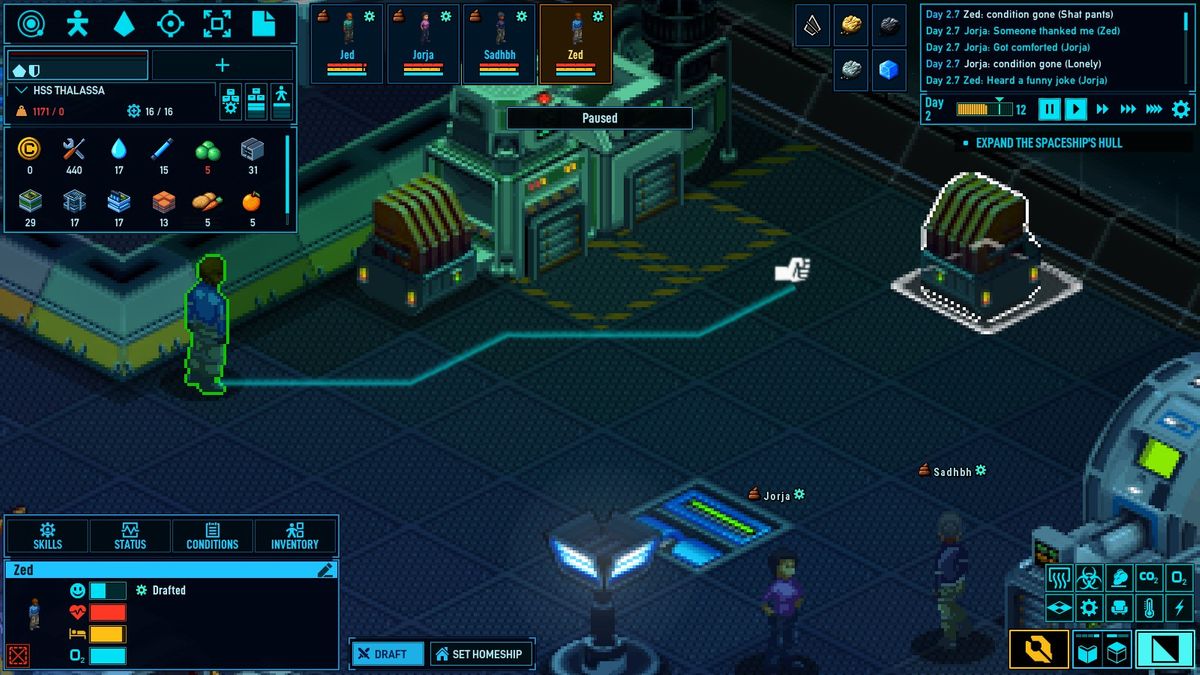
Drafting is the first step to controlling your survivors.
All you have to do is select a person and then select the draft option.
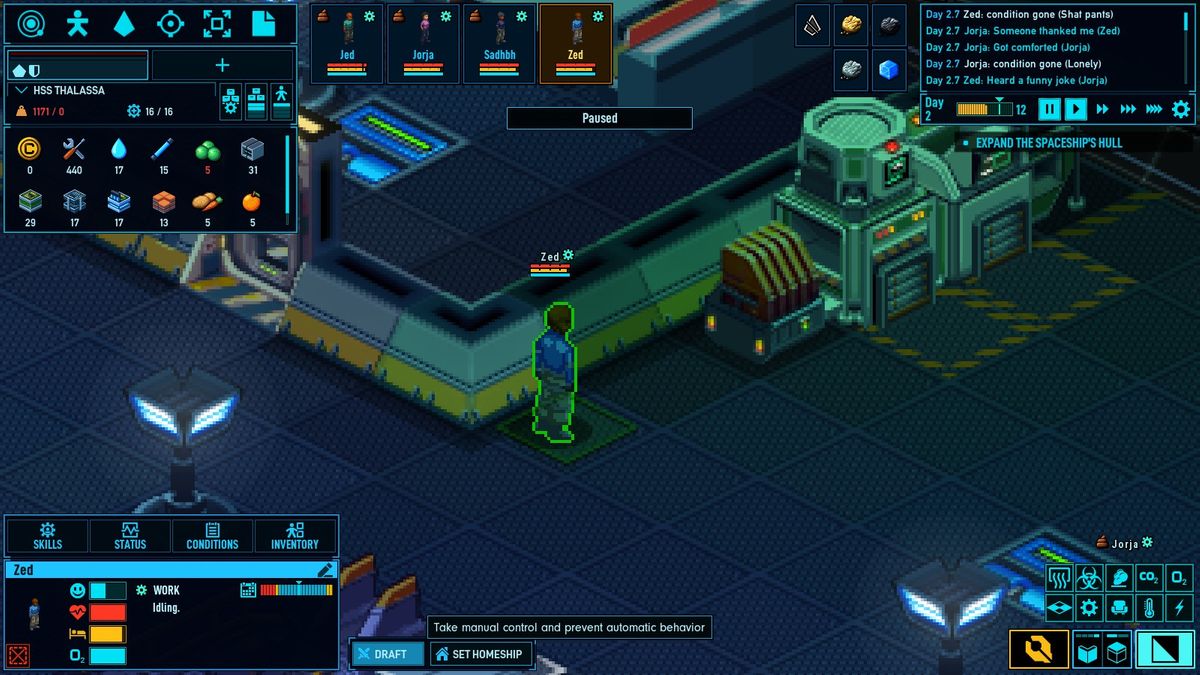
After this they are now controlled by you.
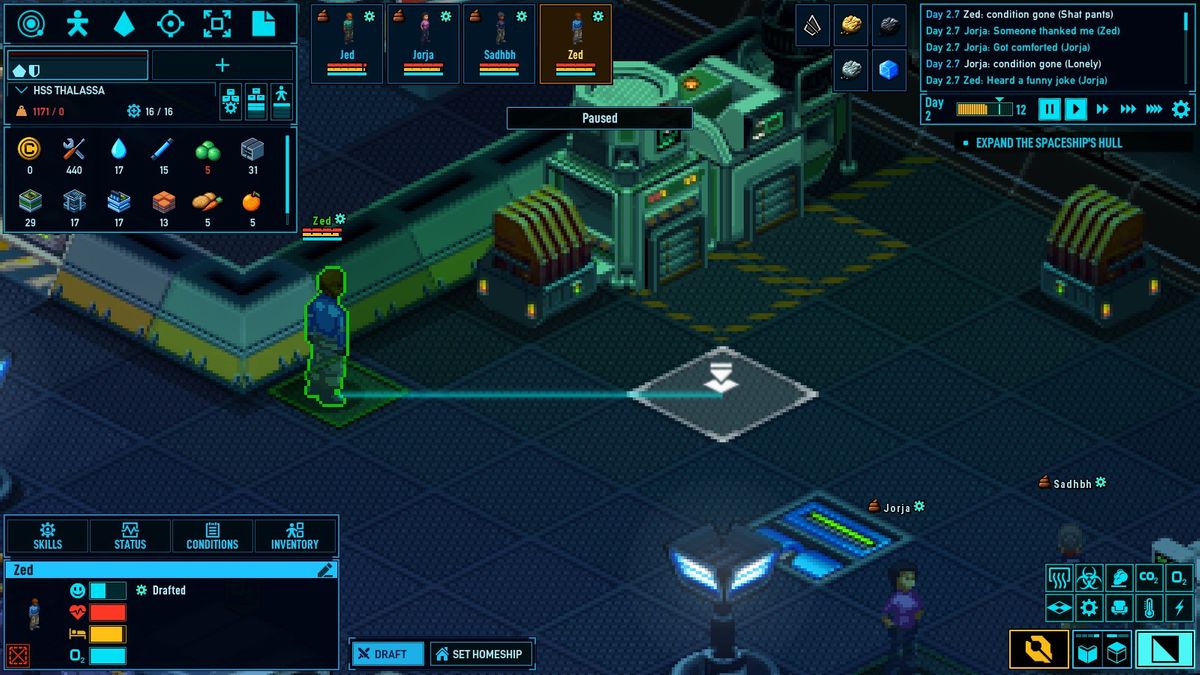
You can make them walk by right clicking the tile you want them to go to.
You can attack items by right clicking a non-floor item/creature. (Here you can see he would attack the thermal regulator.)
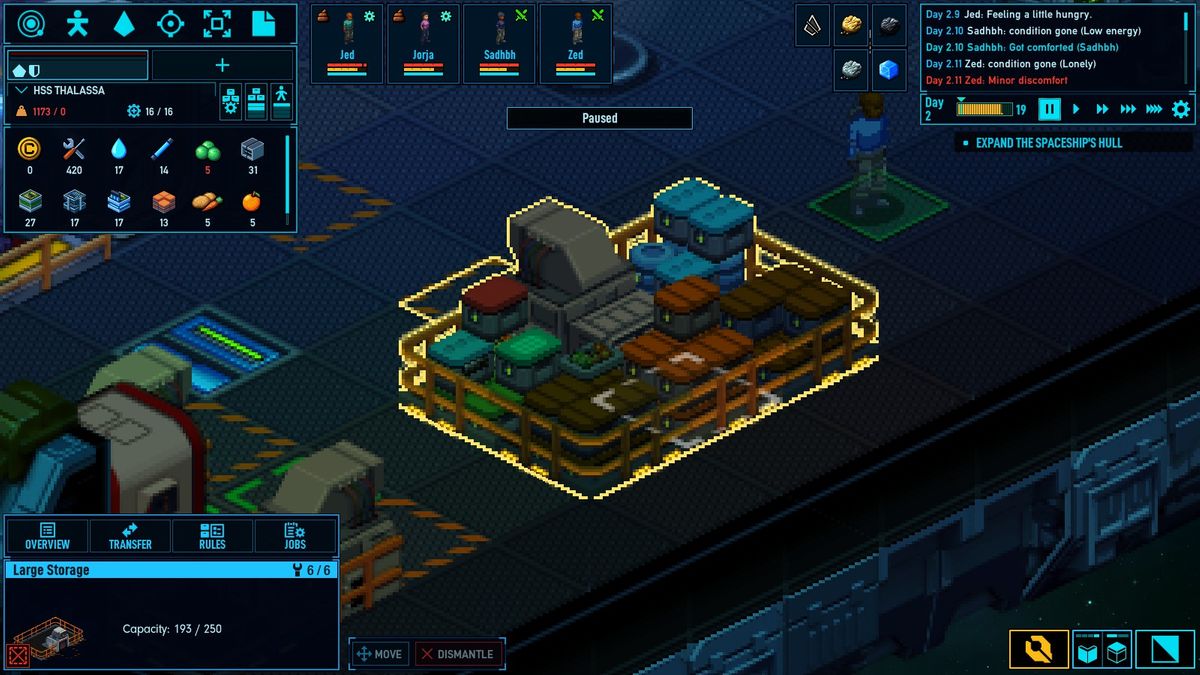
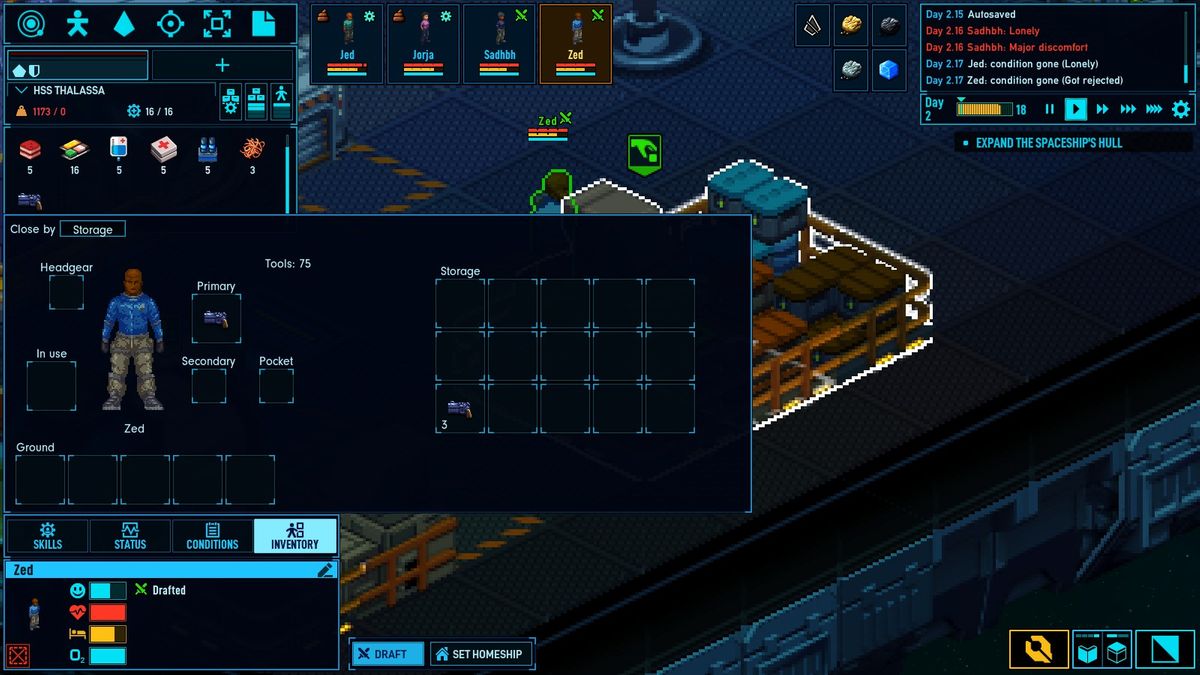
Obtaining a weapon!
You have to first draft a person, then right click a storage device and select the grab option.
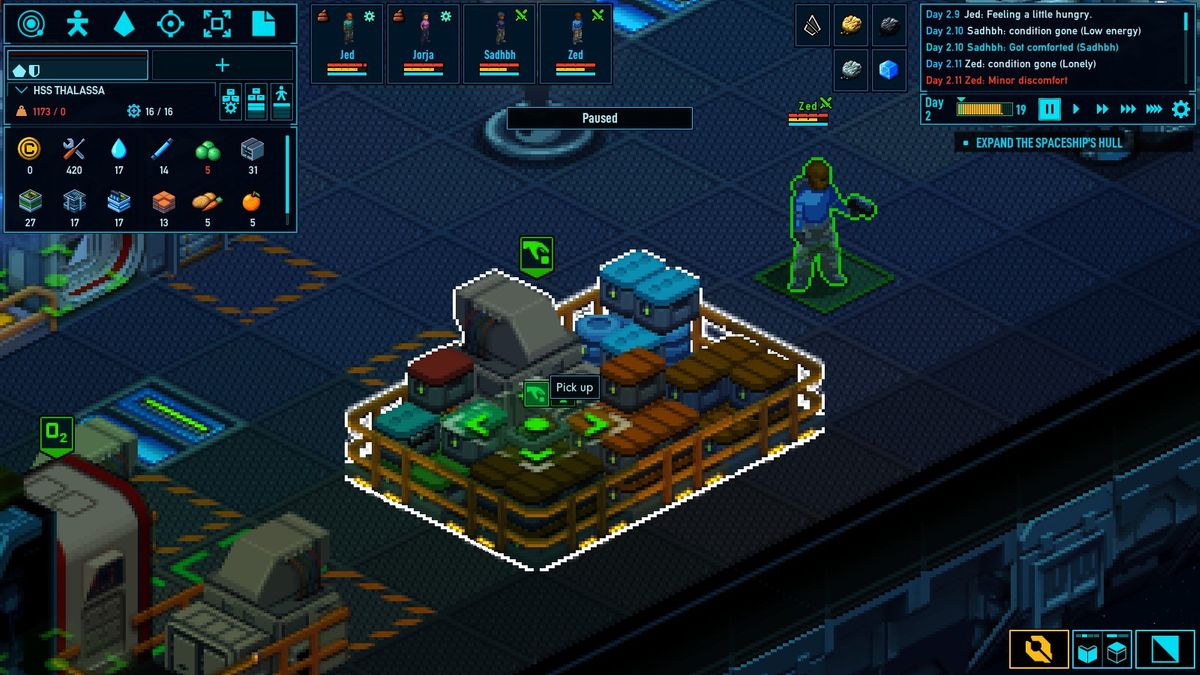
After this you can see the contents of the storage device. Simply drag and drop into your inventory.
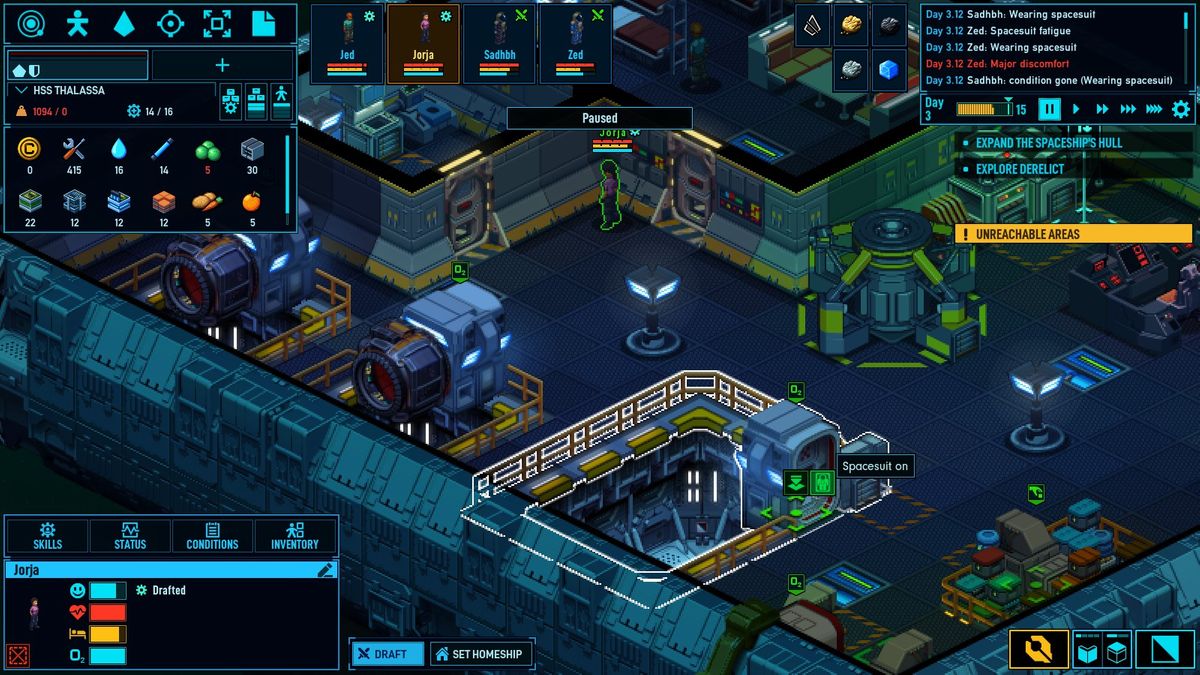
Ship/Station Boarding
Make sure you have your space suit on! You can do this by selecting a space suit door, or a docking door on a hanger.
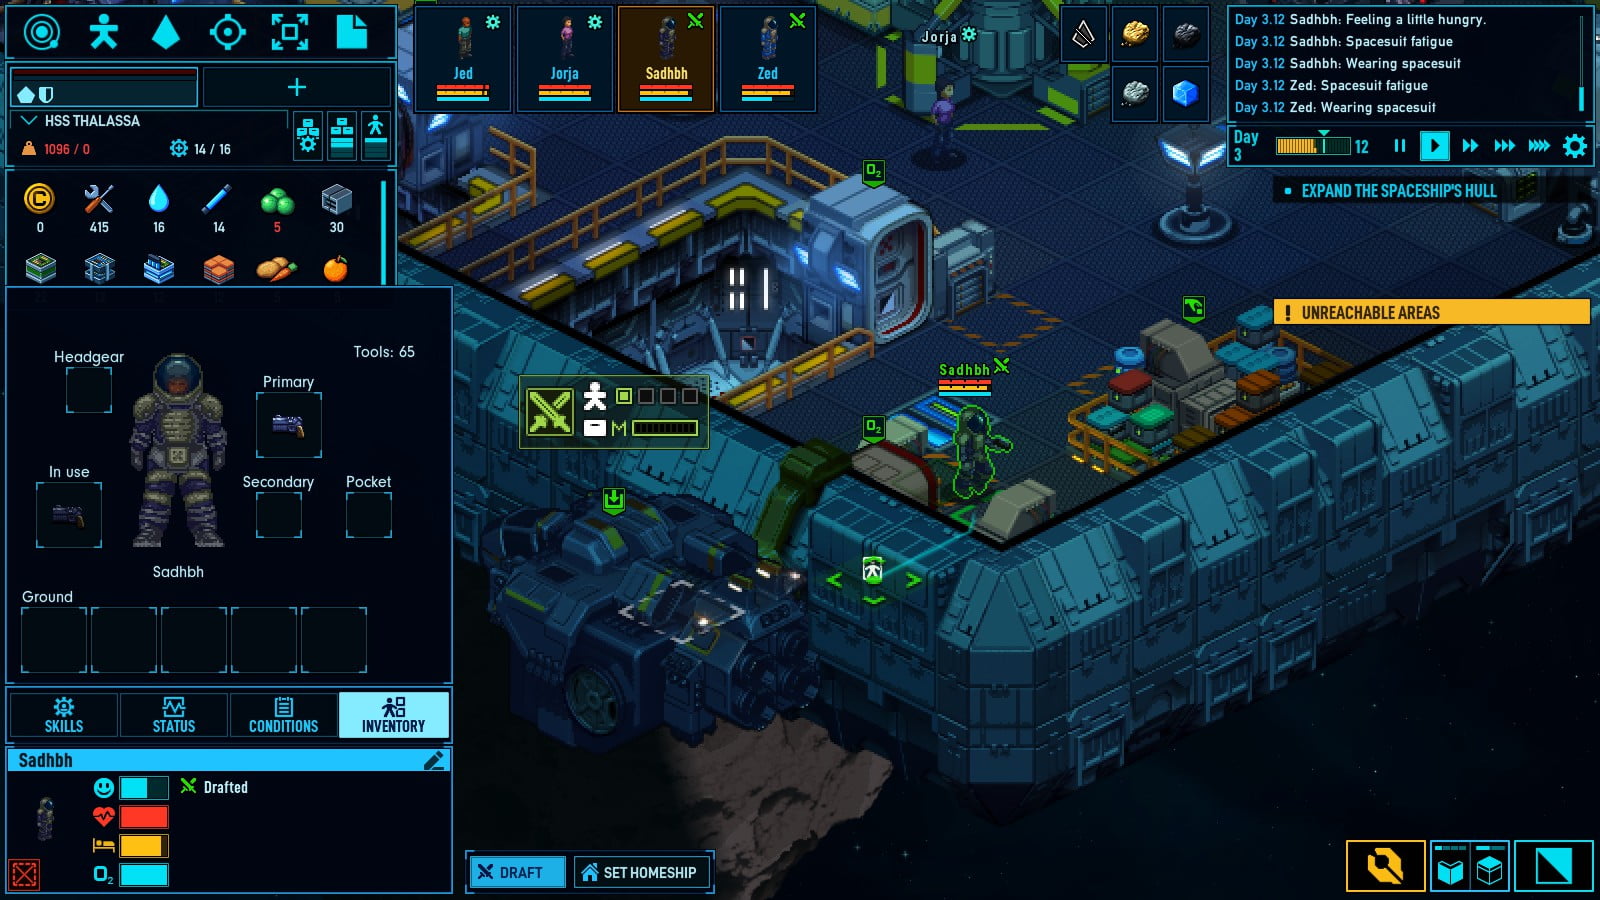
Enter your ship
Fly to your location by right clicking.
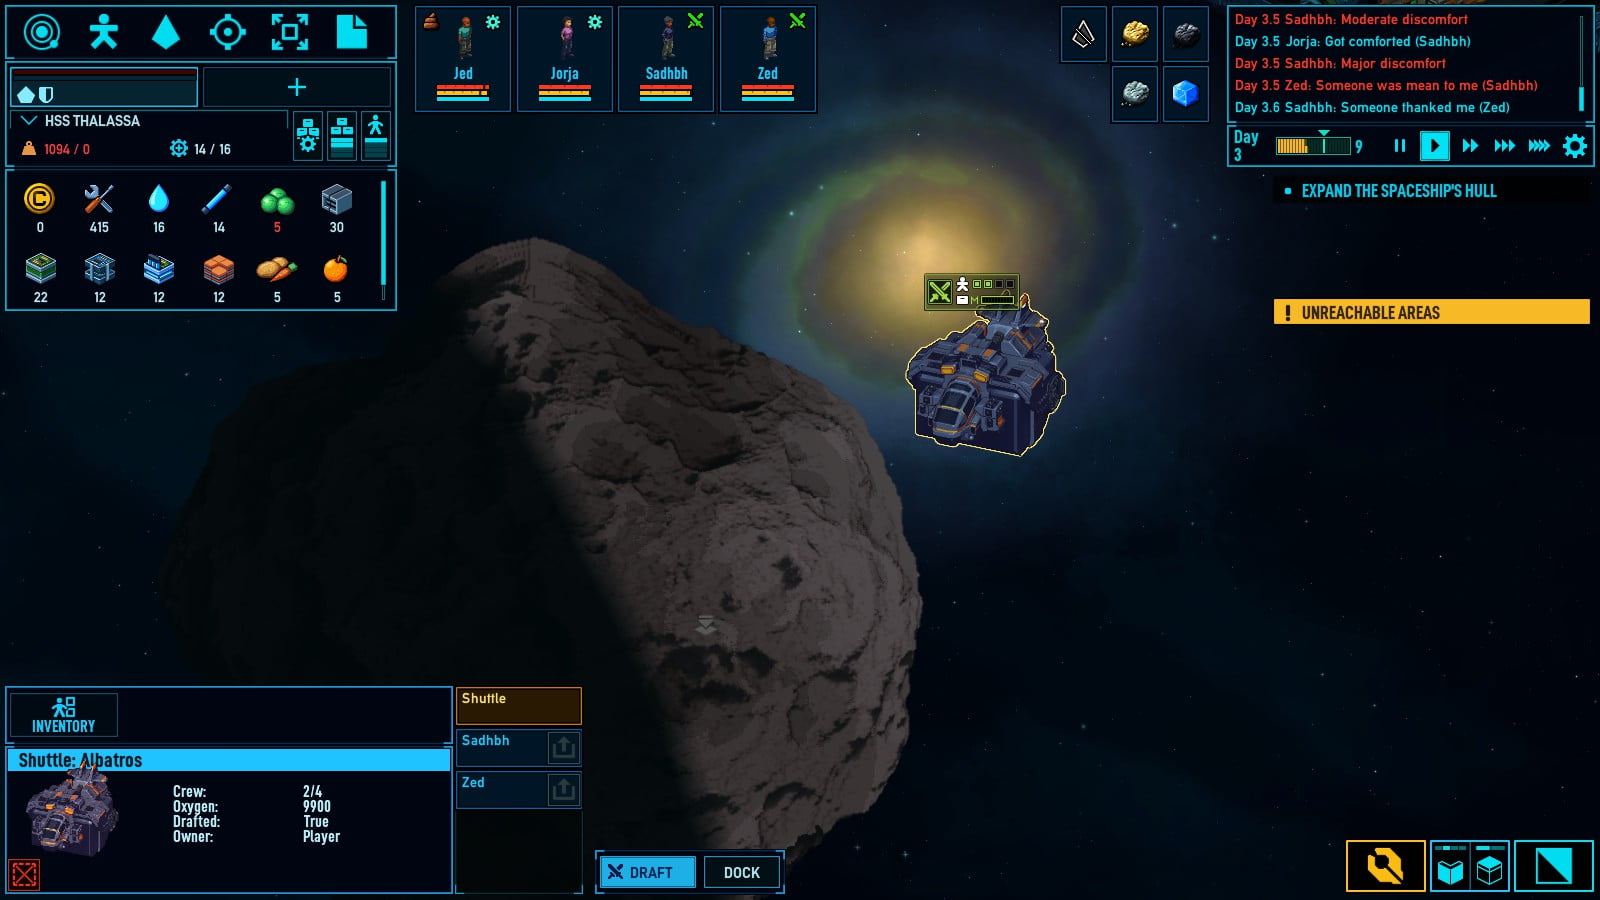
Find the docking station, or dock by a hull breech. (this ship has no docking port.)
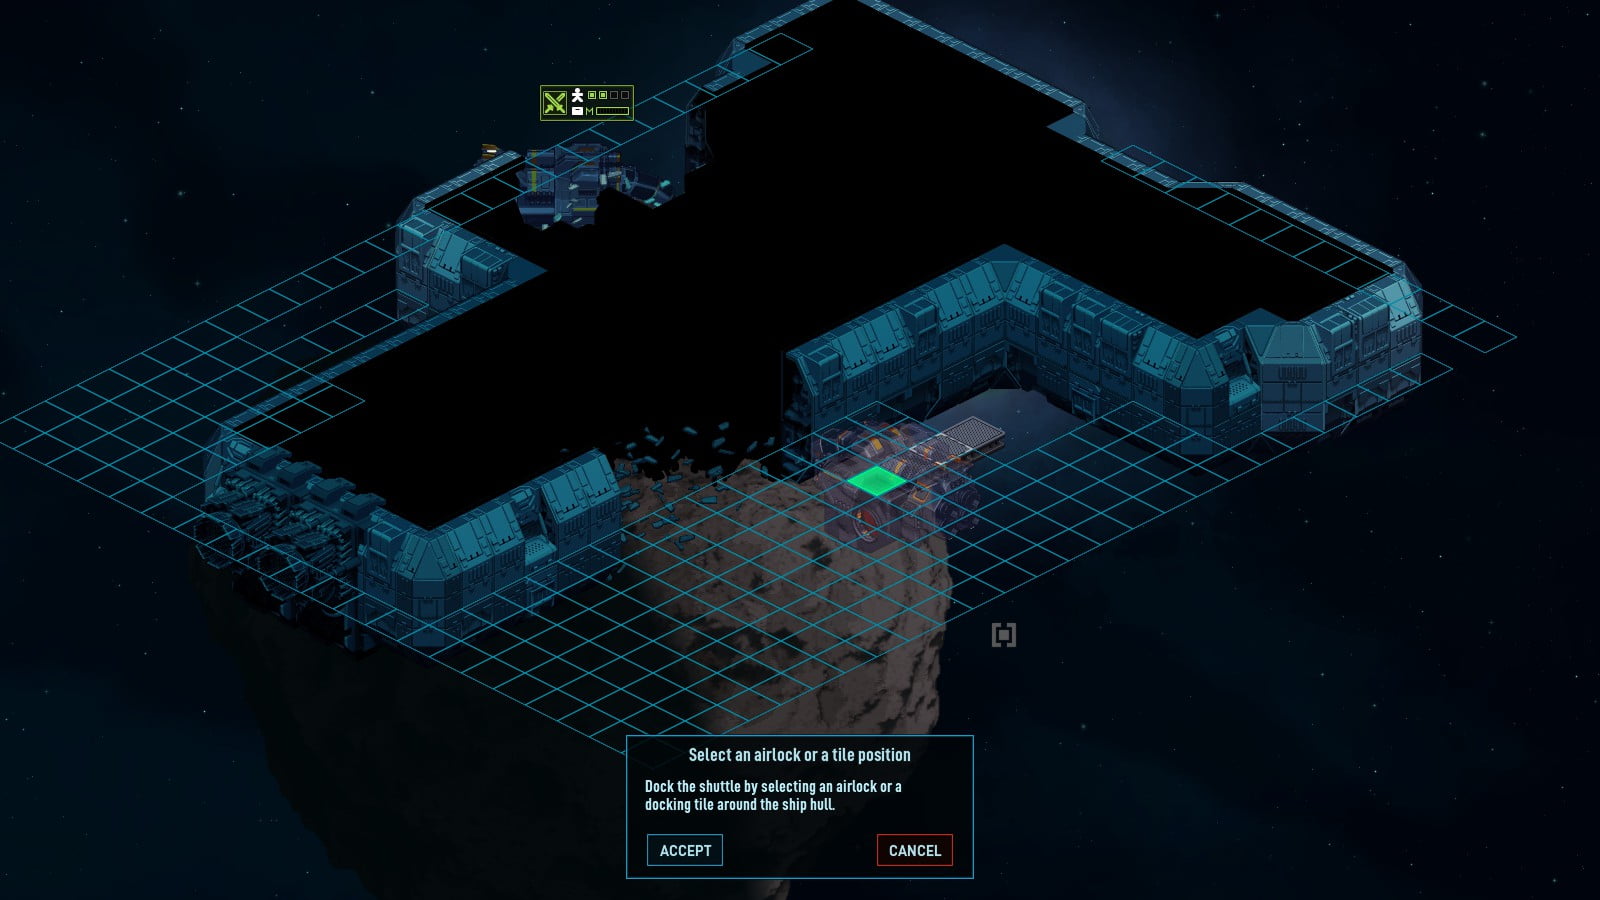
Exit the craft and float into the ship.
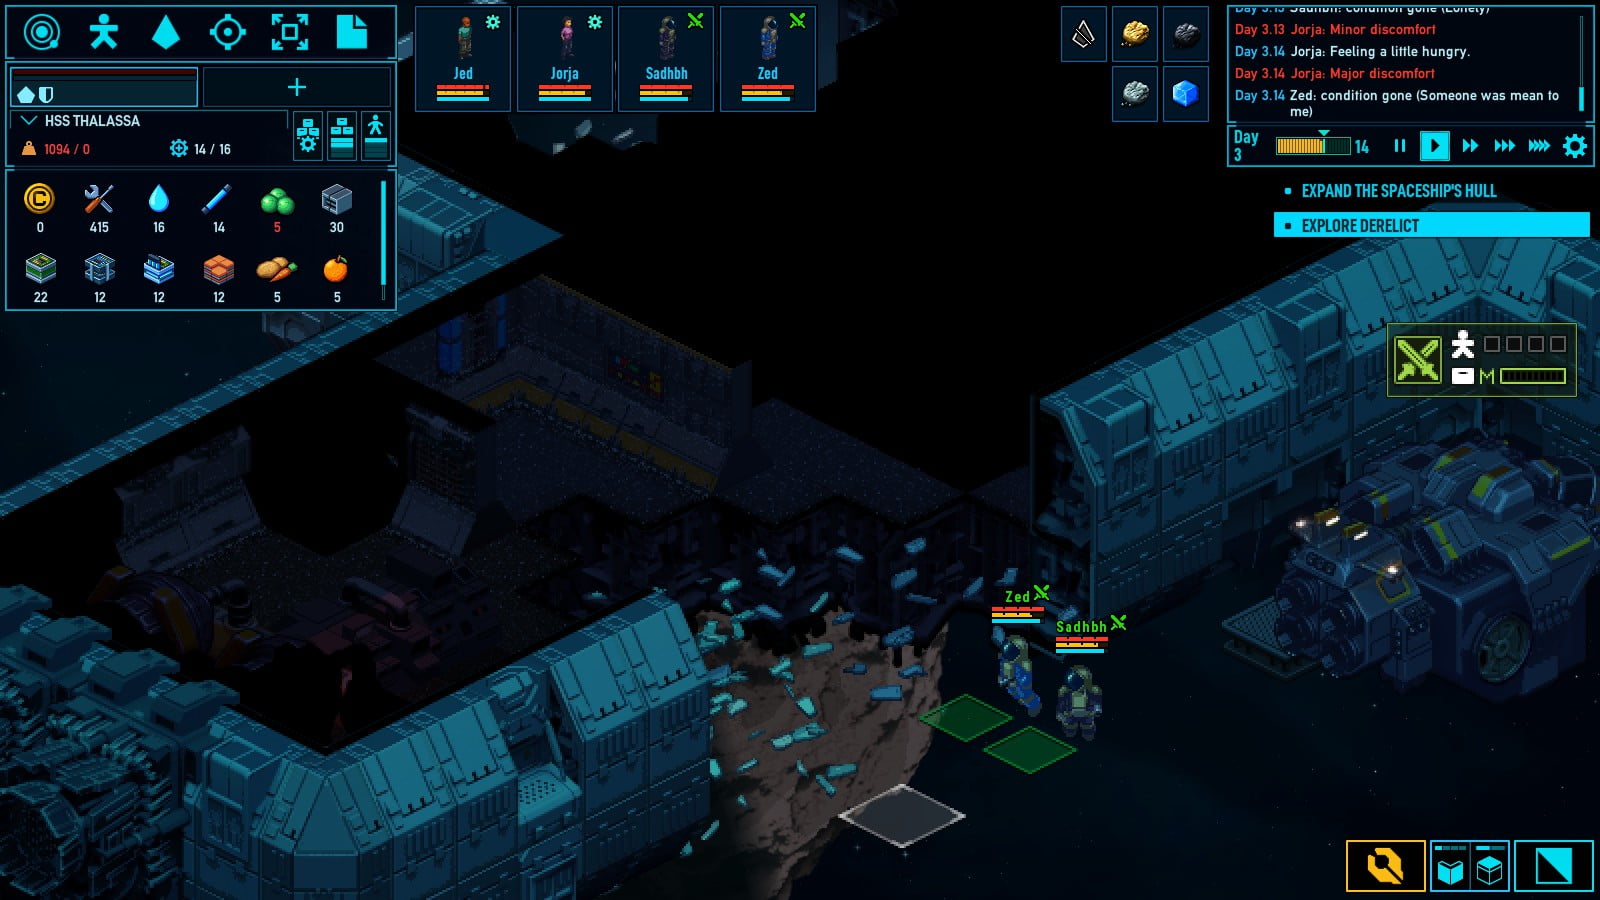
Danger!

Salvage Time
After you clear a ship it’s time to get to work. Salvage is an easy way to obtain resources.
Select the ship you want to salvage from the tactical map. Then select the salvage button in the bottom right menu.
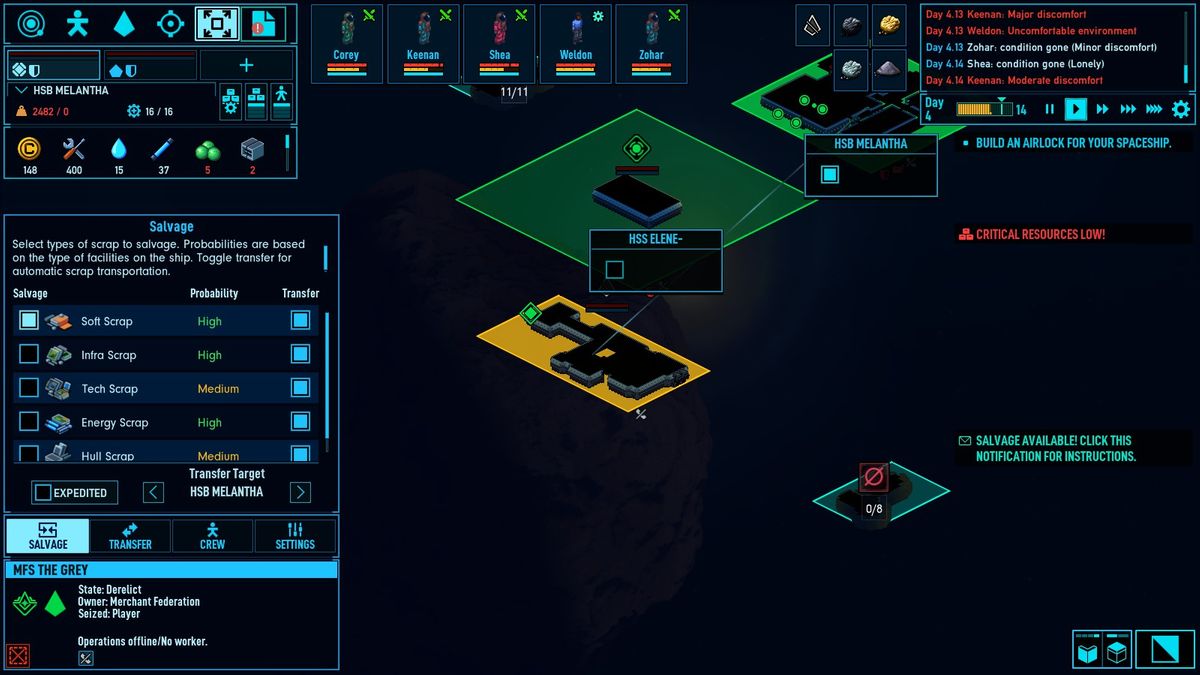
Go ahead and select all that you want, and leave what you don’t.
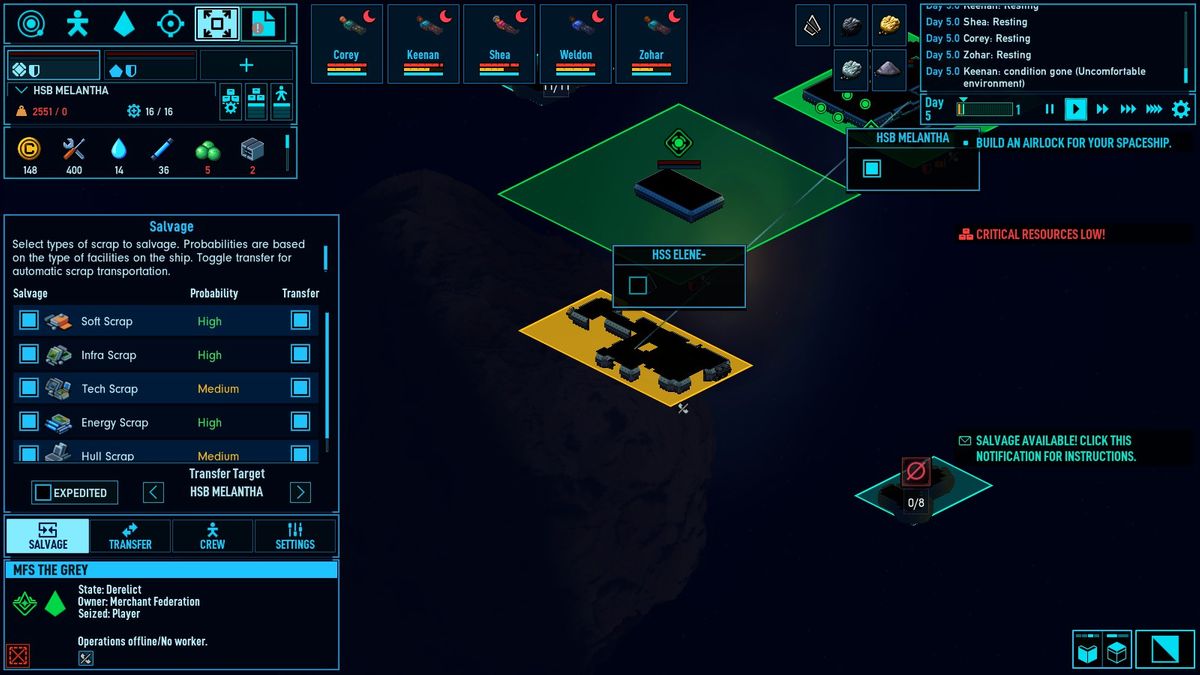
Wait, don’t forget to transfer the items from the ship as well.

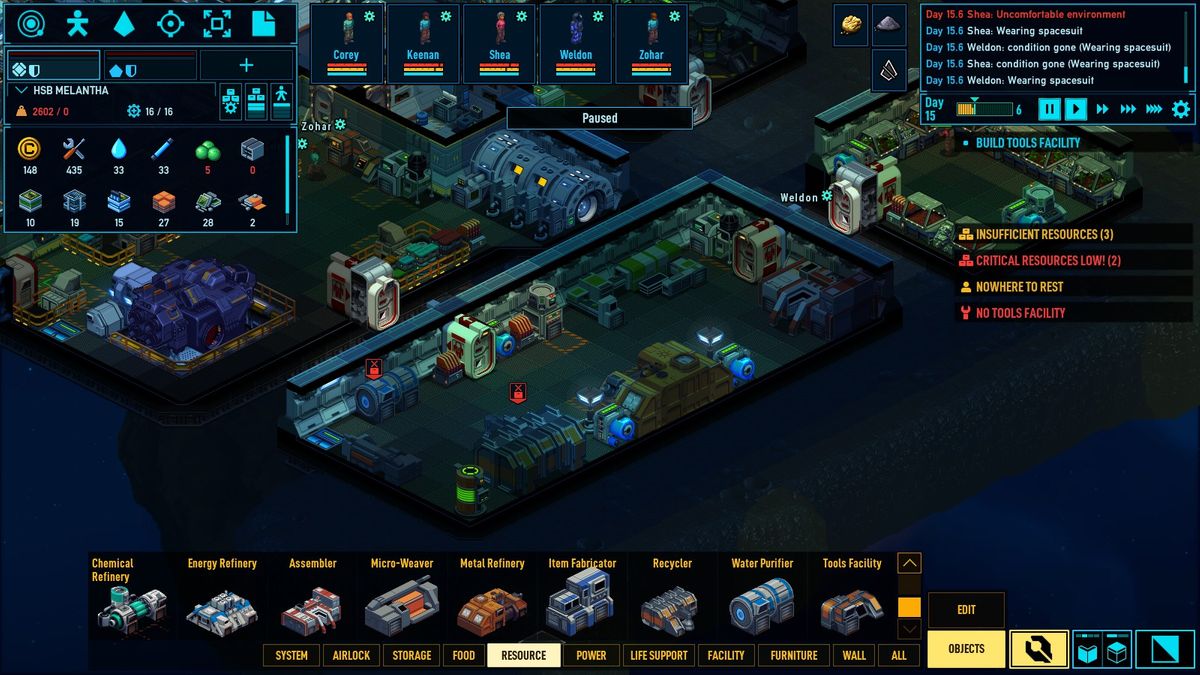
Crafting Resources
The resource tab is where all of your machine blueprints exist.
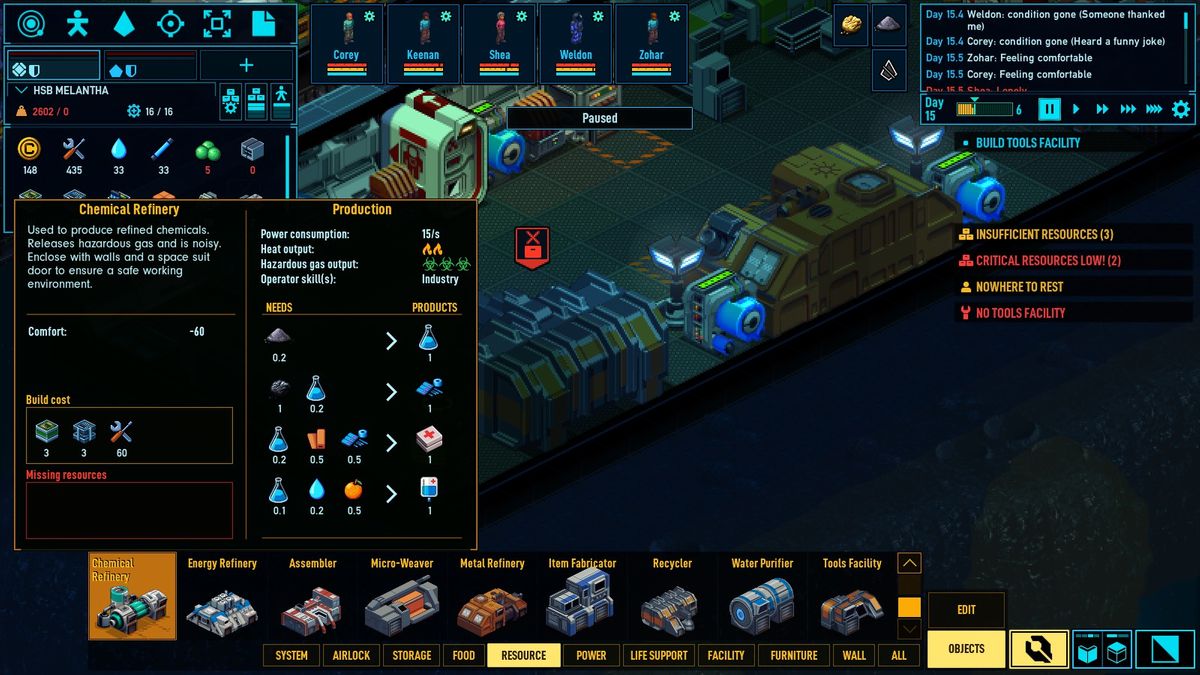
Chemical Refinery:
Produces refined chemicals. Hazardous gasses and Noisy.
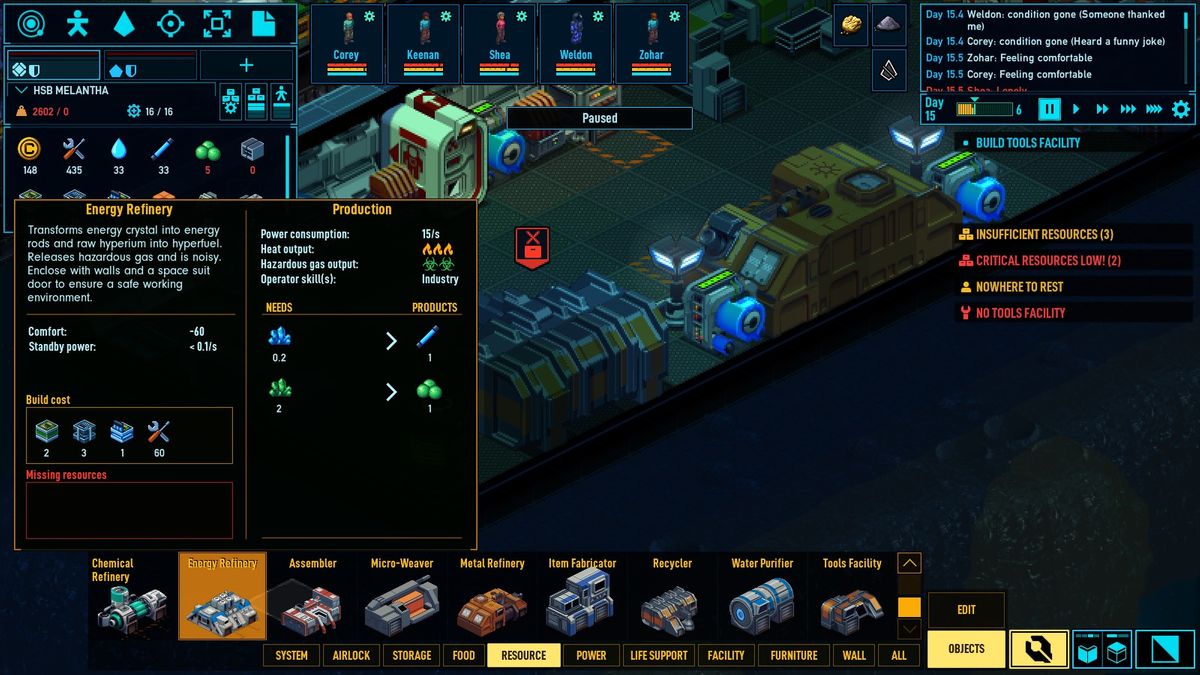
Energy Refinery:
Transforms energy crystals into energy rods and raw hyperium into hyperfuel. Hazardous gasses and noisy.
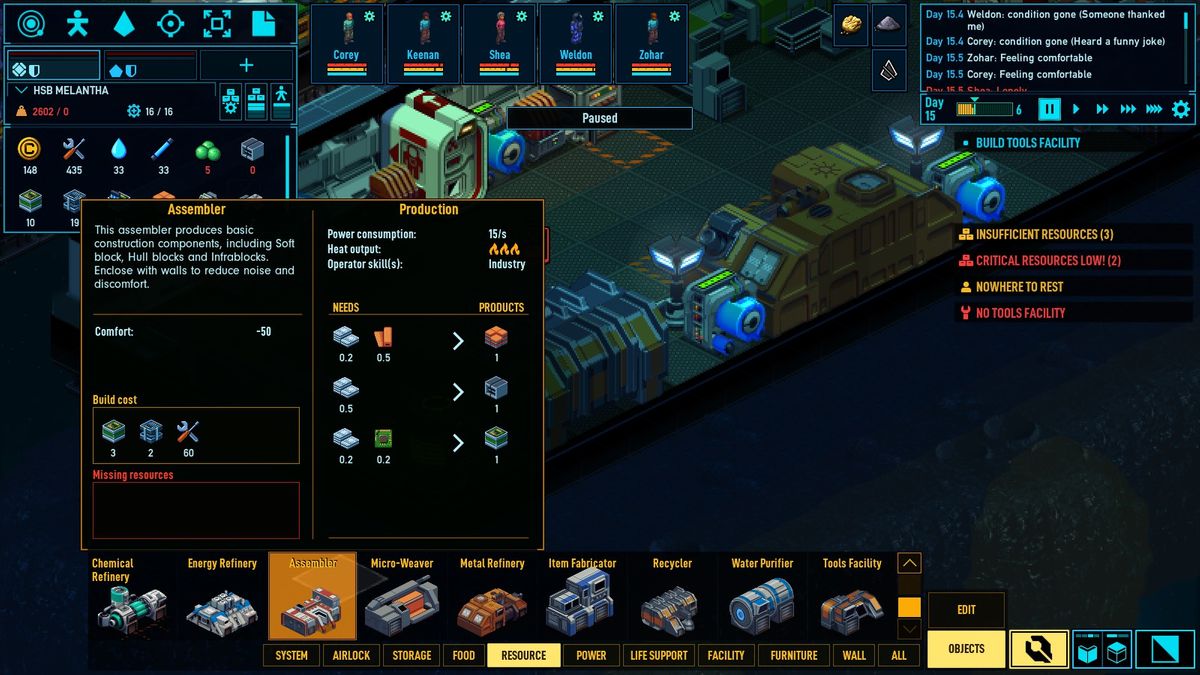
Assembler:
Produces basic construction components. Soft blocks, hull blocks, infrablocks.
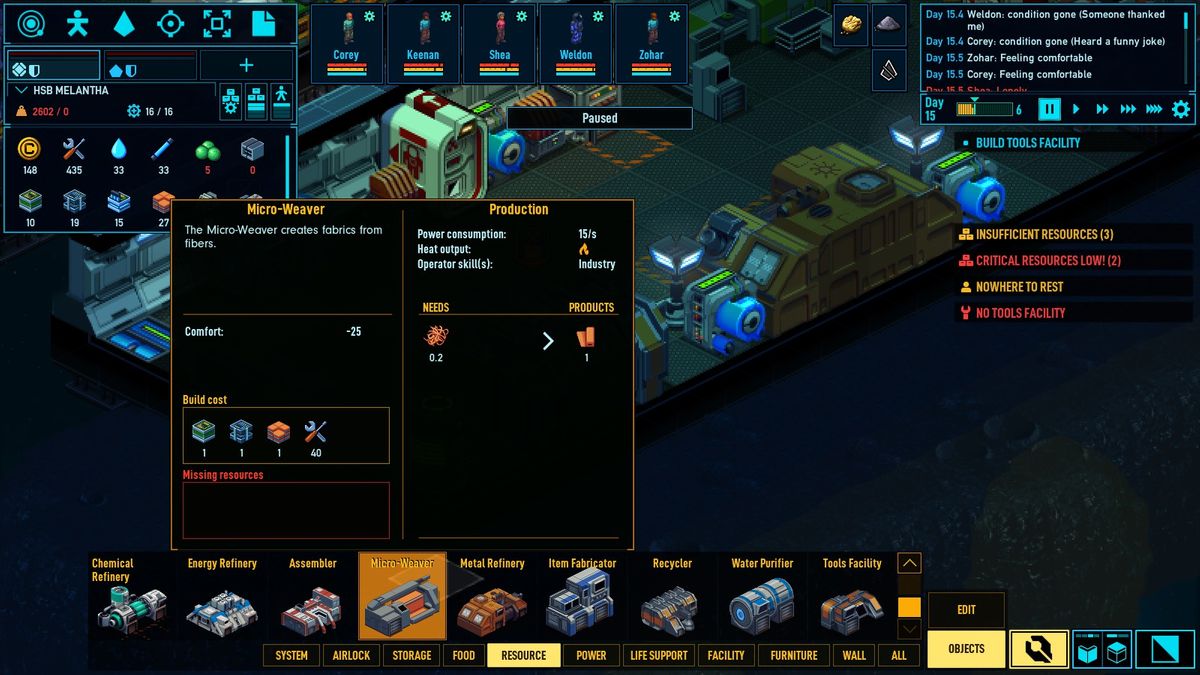
Micro-Weaver:
Creates fabric from fibers.
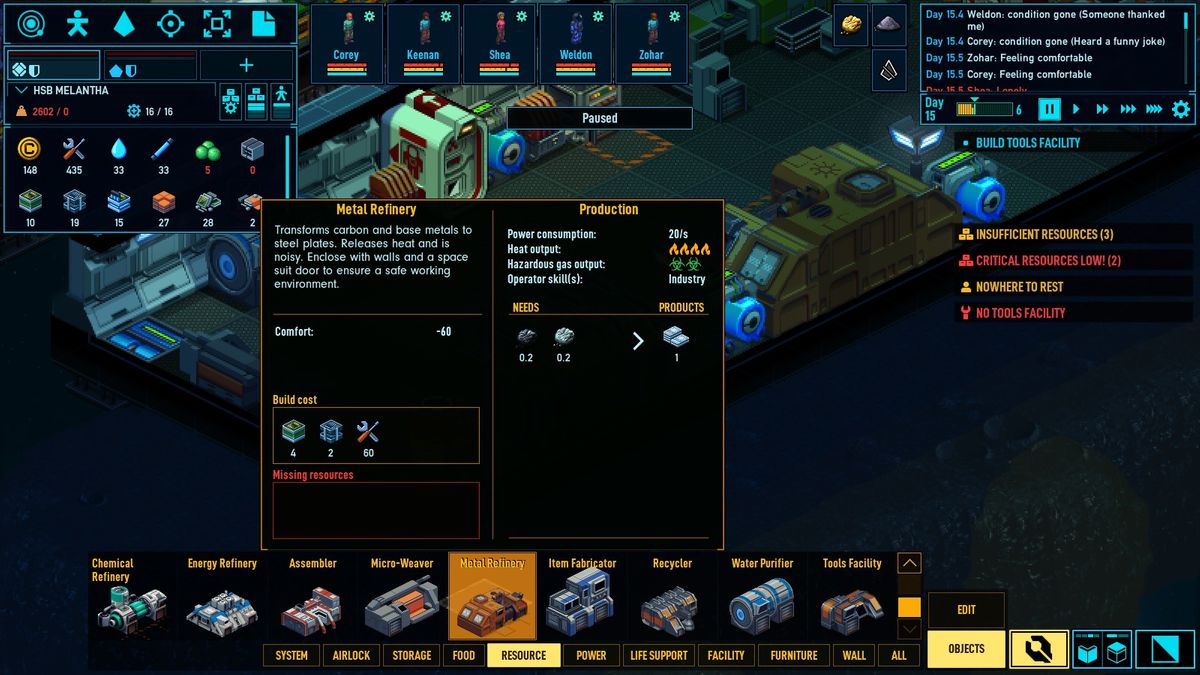
Metal Refinery:
Turns carbon and base metals into steel plates. Heat and noisy.
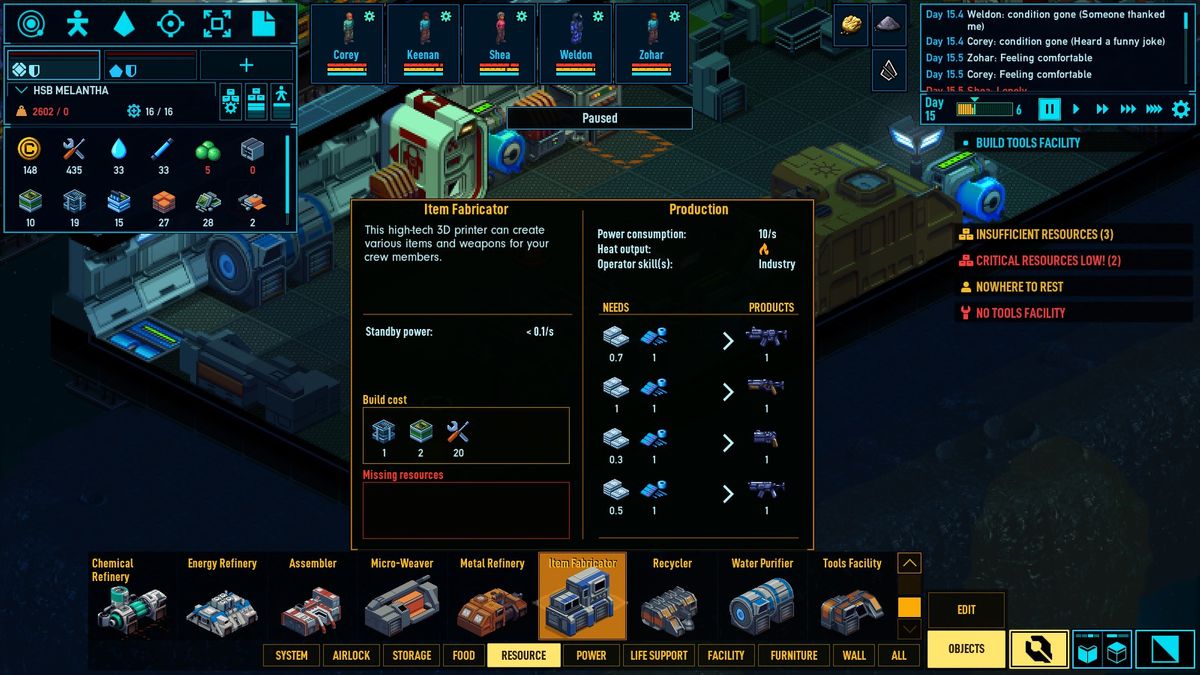
Item Fabricator:
Creates various items and weapons.
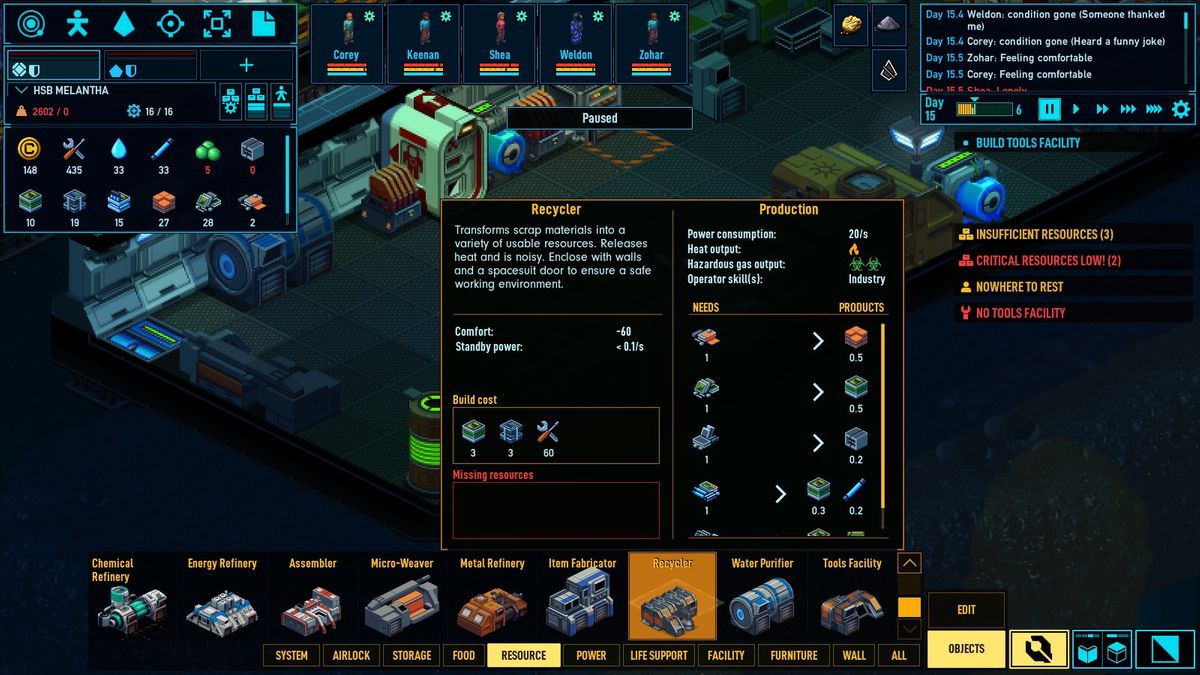
Recycler:
Turn scrap materials into usable resources. Heat and noisy.
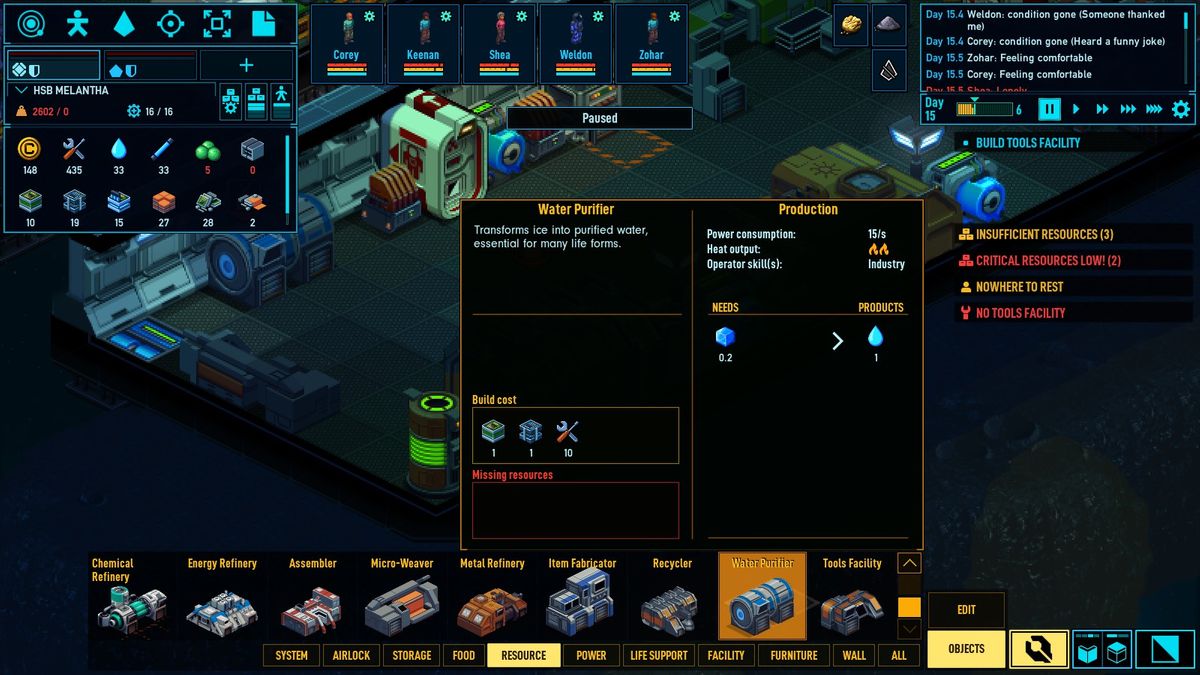
Water Purifier:
Turn ice into water.
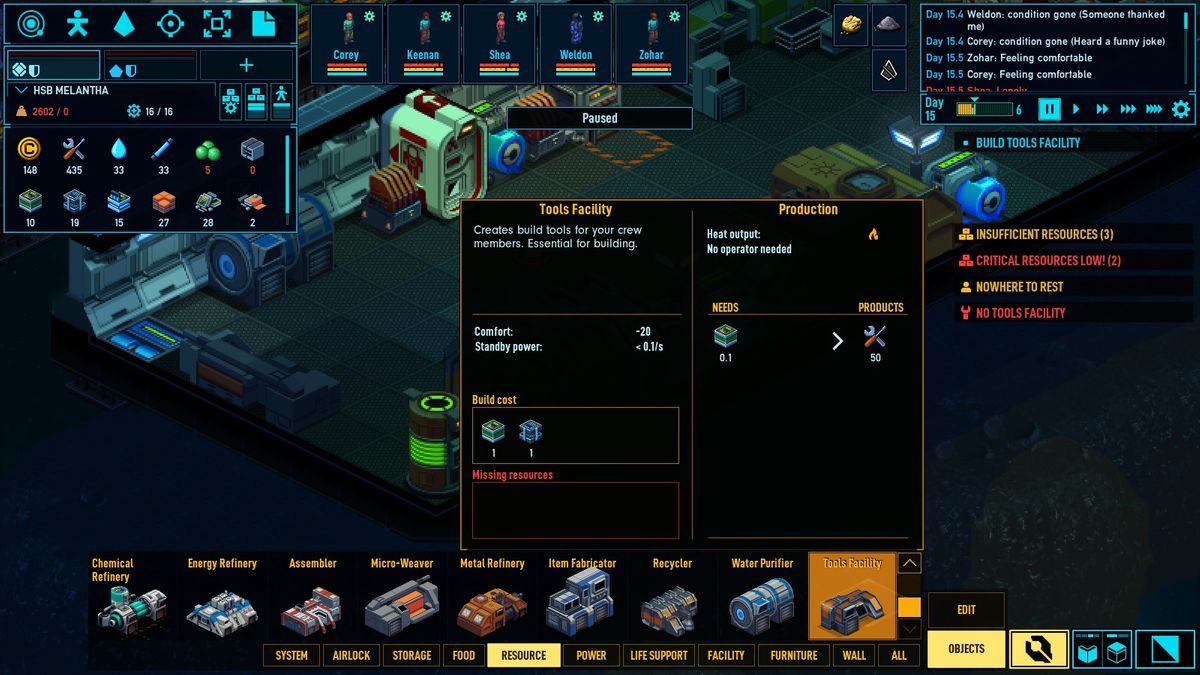
Tools Facility:
Builds tools.
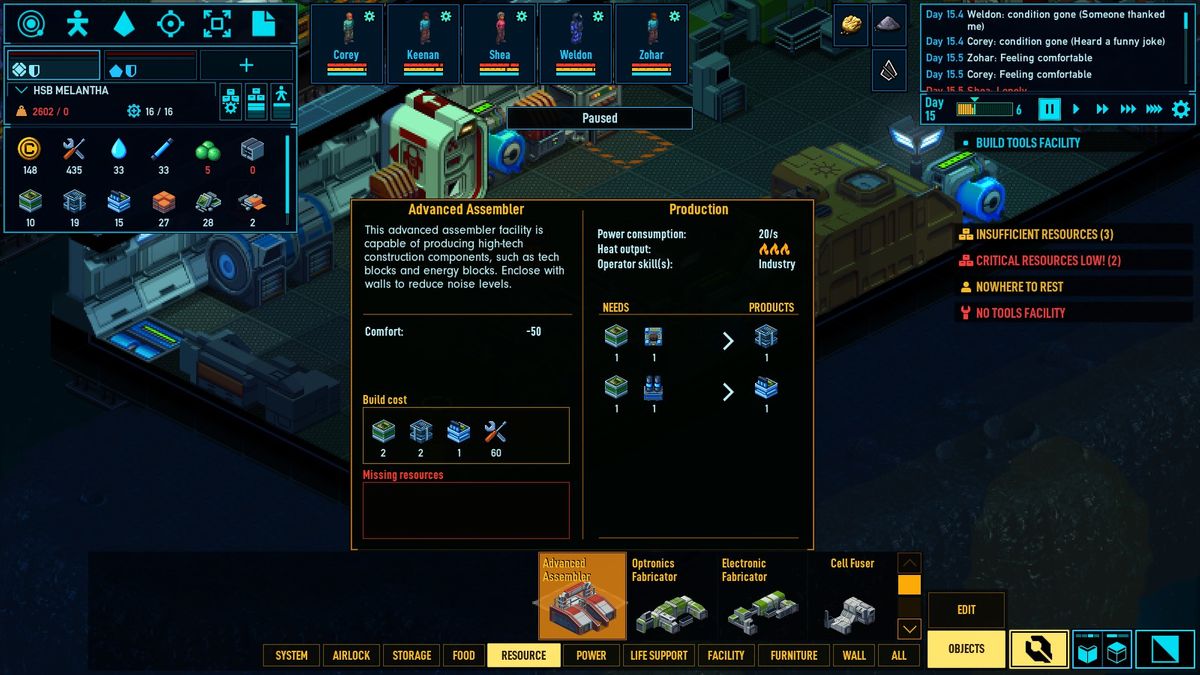
Advanced Assembler:
Produces high tech construction components (tech blocks and energy blocks).
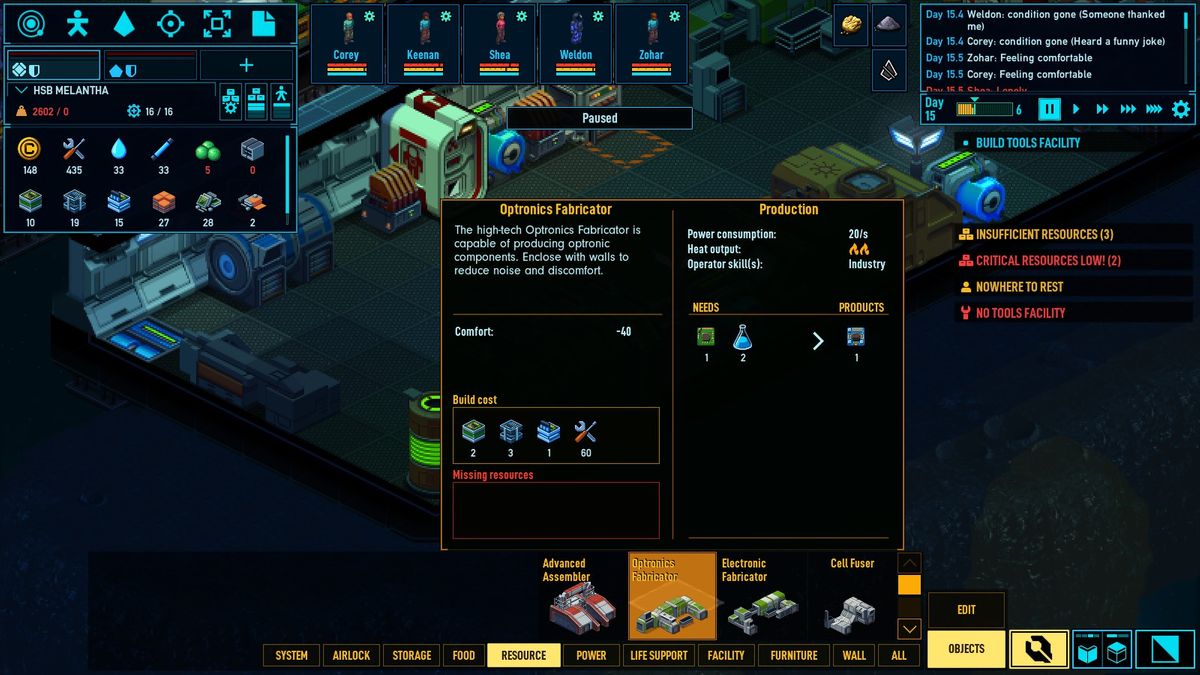
Optronics Fabricator:
Produces optronic (electronics and light) components.
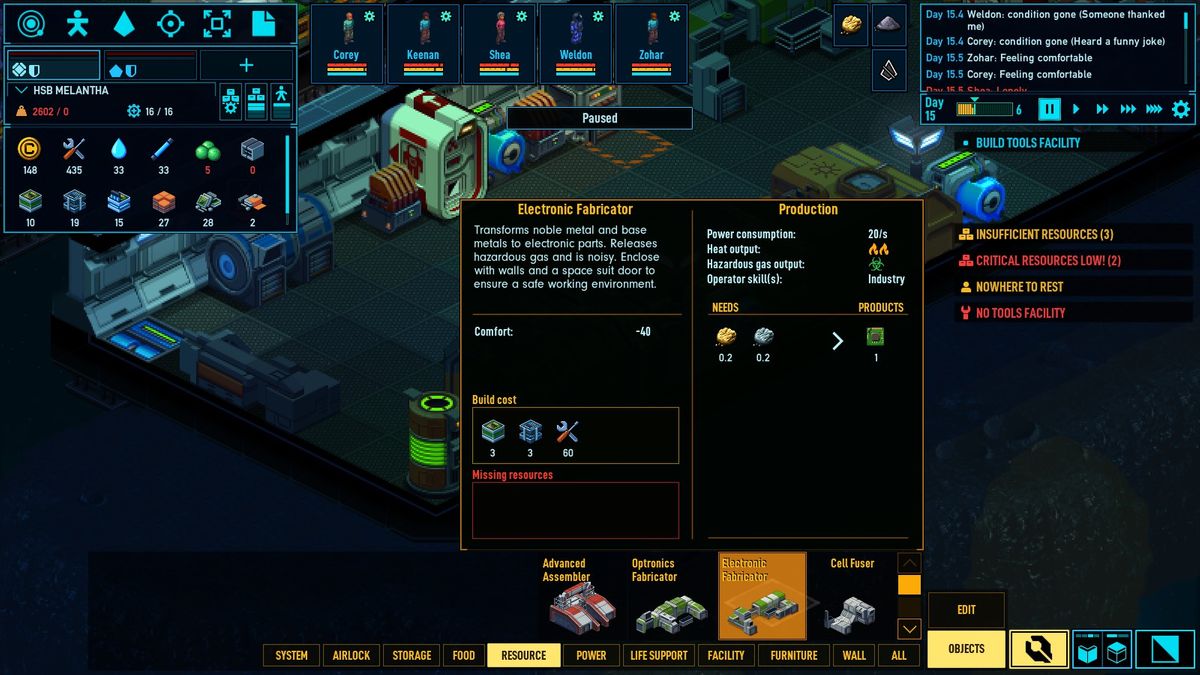
Electronic Fabricator:
Turns noble metals and base metals to electronic parts. Hazardous gasses and noisy.
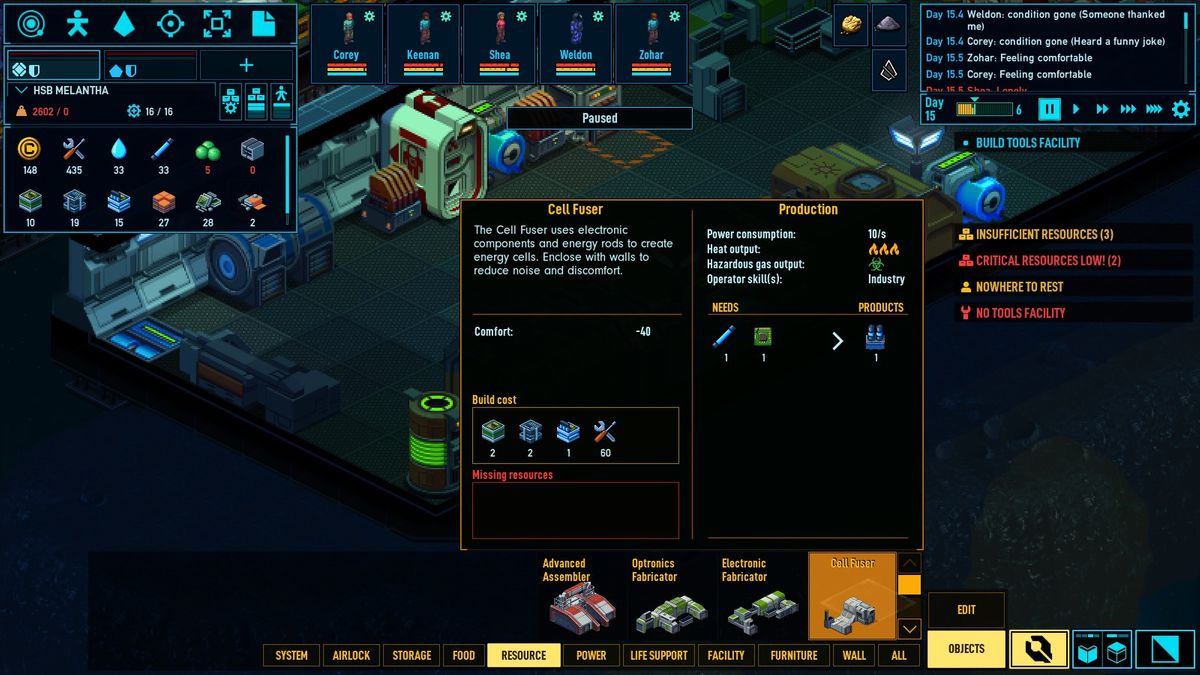
Cell Fuser:
Uses electronic components and energy rods to create energy cells.
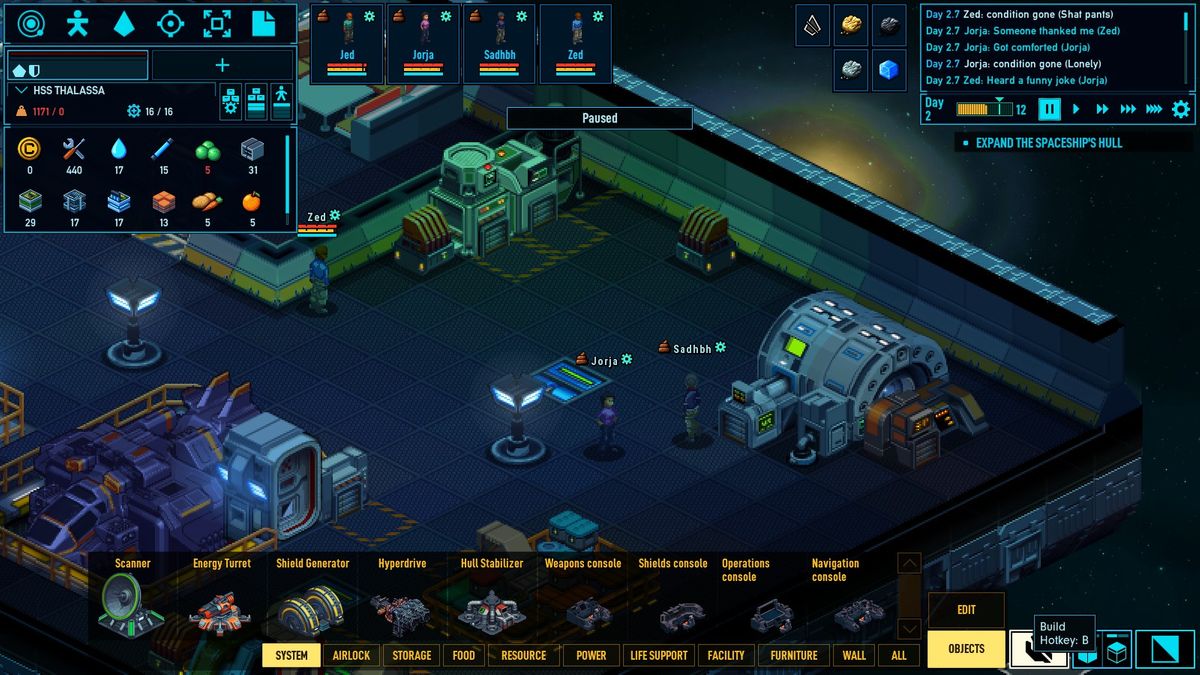
Ship Building
This is left to you, so there won’t be much here.
I’m moving this tip to the top because it could save your life. Remove extra hull if you run out of hull blocks.
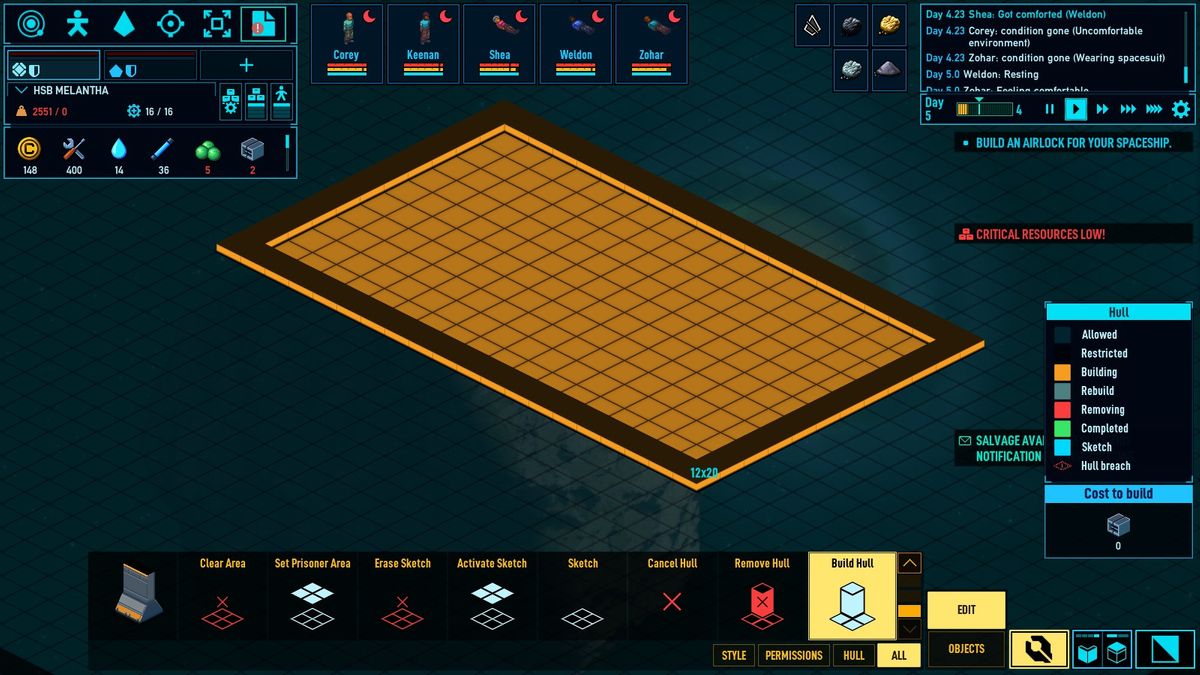
Select the build button
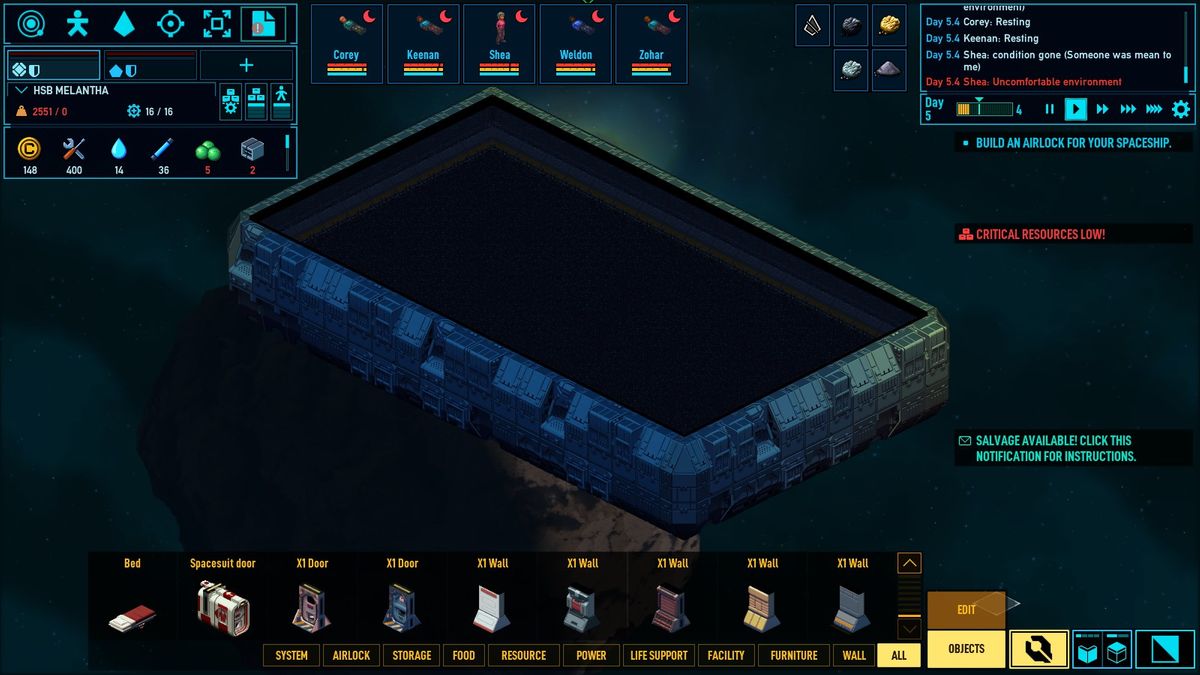
click on the edit tab, and select build hull.
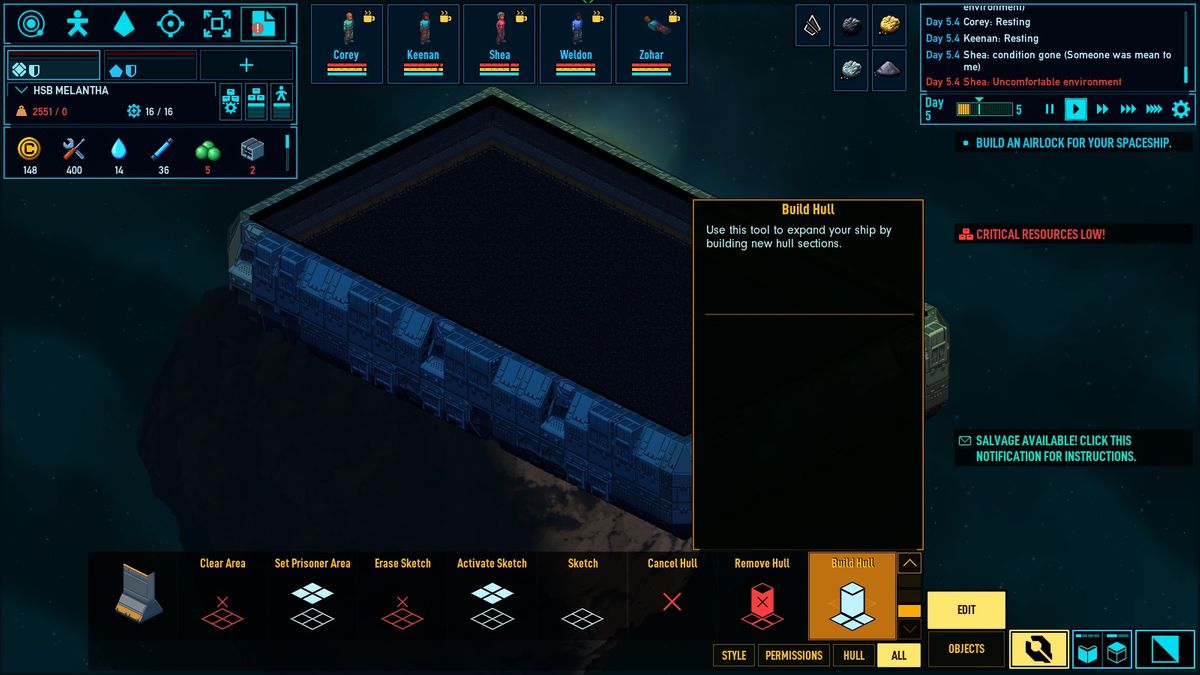
Click and drag you ship hull where you want it.
Wait until it is built. You now have a new ship.
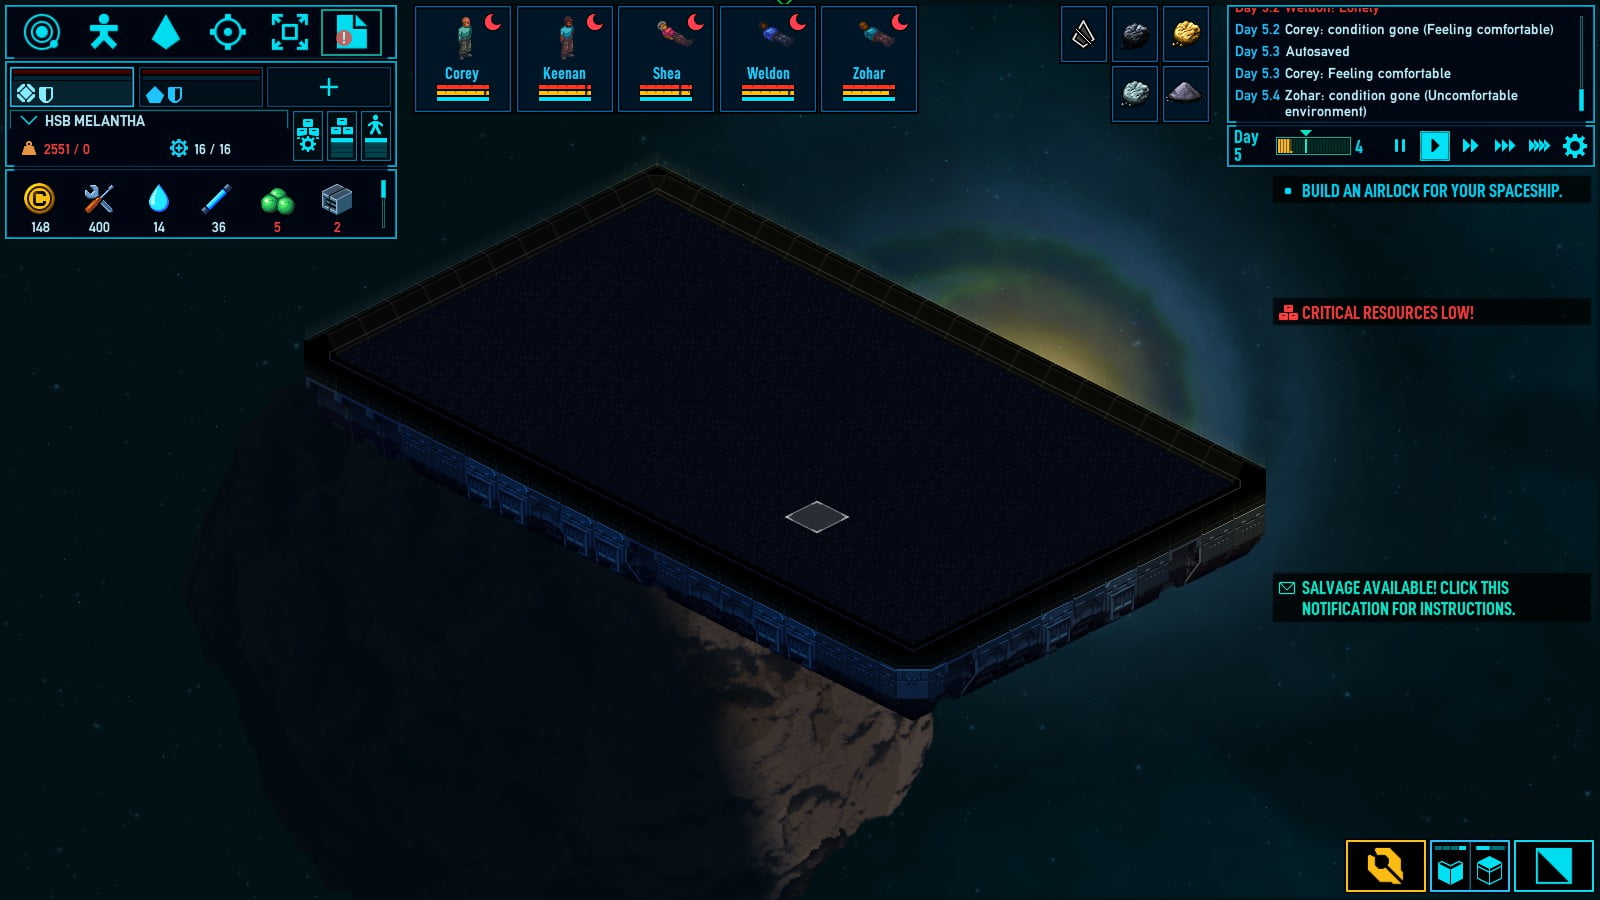
Now you can begin working on the inside of the ship.
If you want to remove the hull of your ship watch out for this icon. I think it means there would be a hull breach.
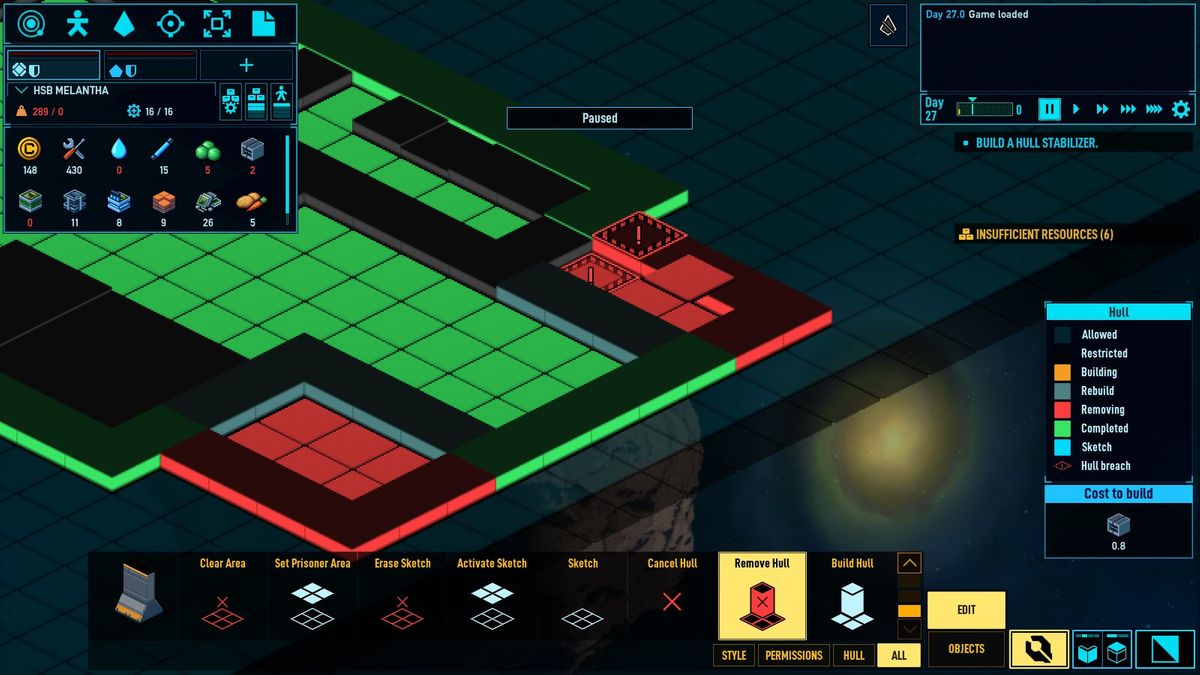
A way to fix this is to first remove surrounding items/walls. This is because when you remove hulls the new wall gets placed one back. But when there is something blocking it no new hull is added.
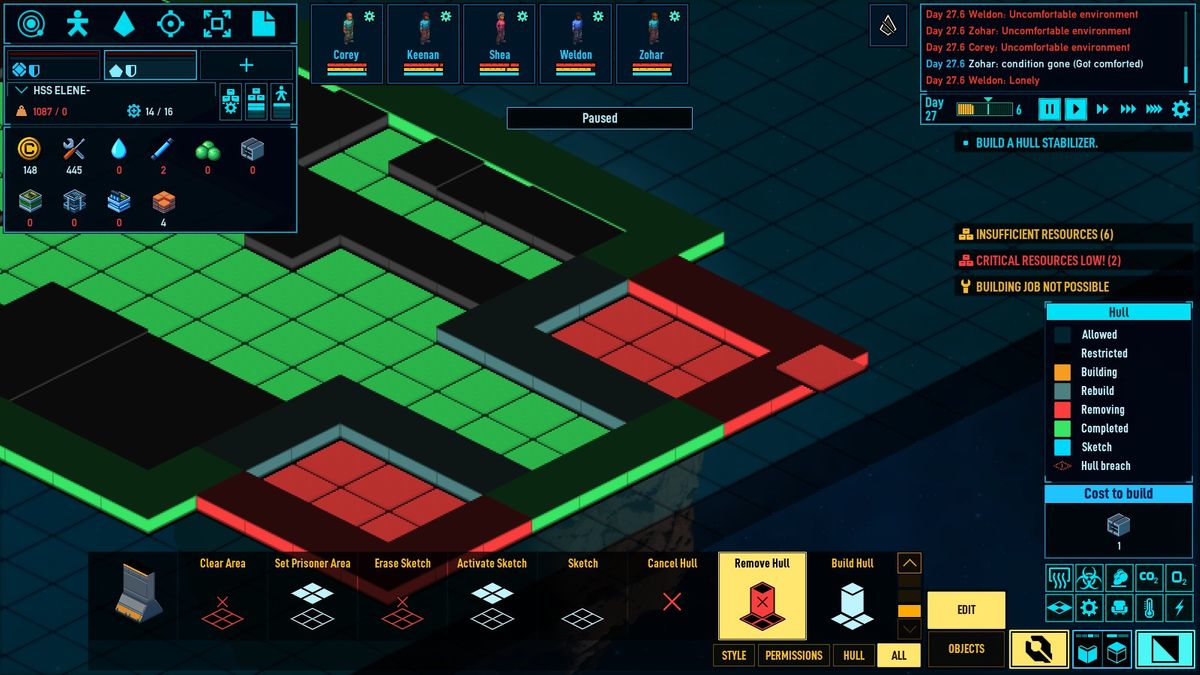
After removing the two wall blocks you can re-remove the hull, and all should work.
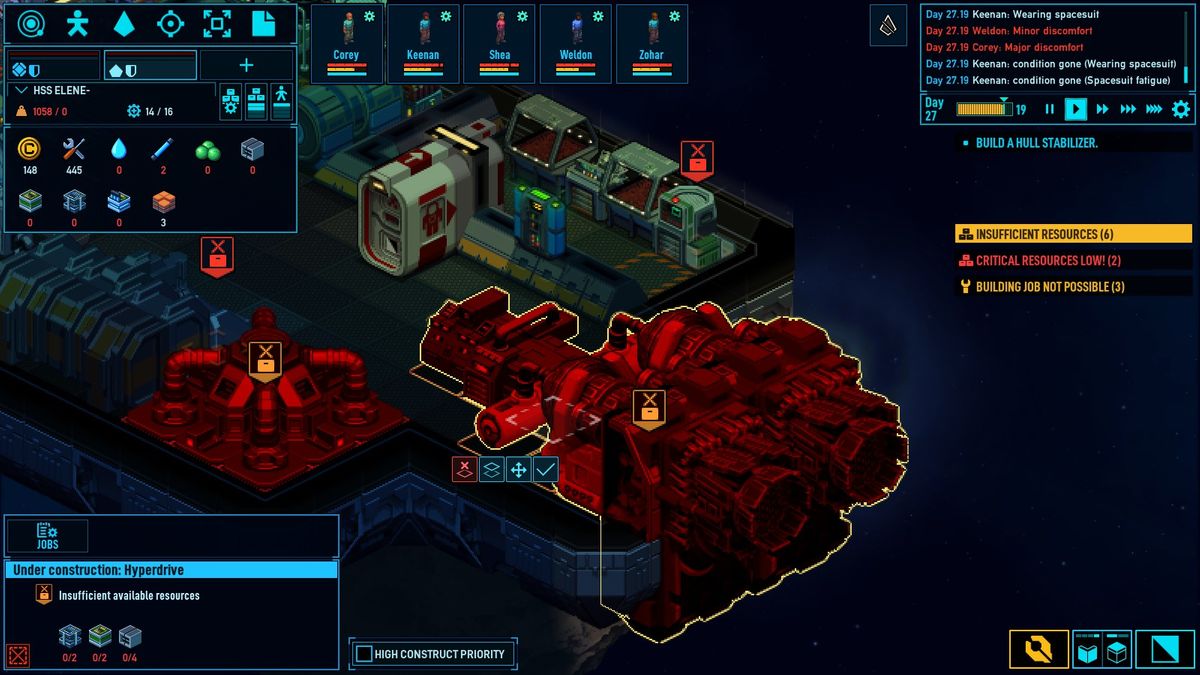
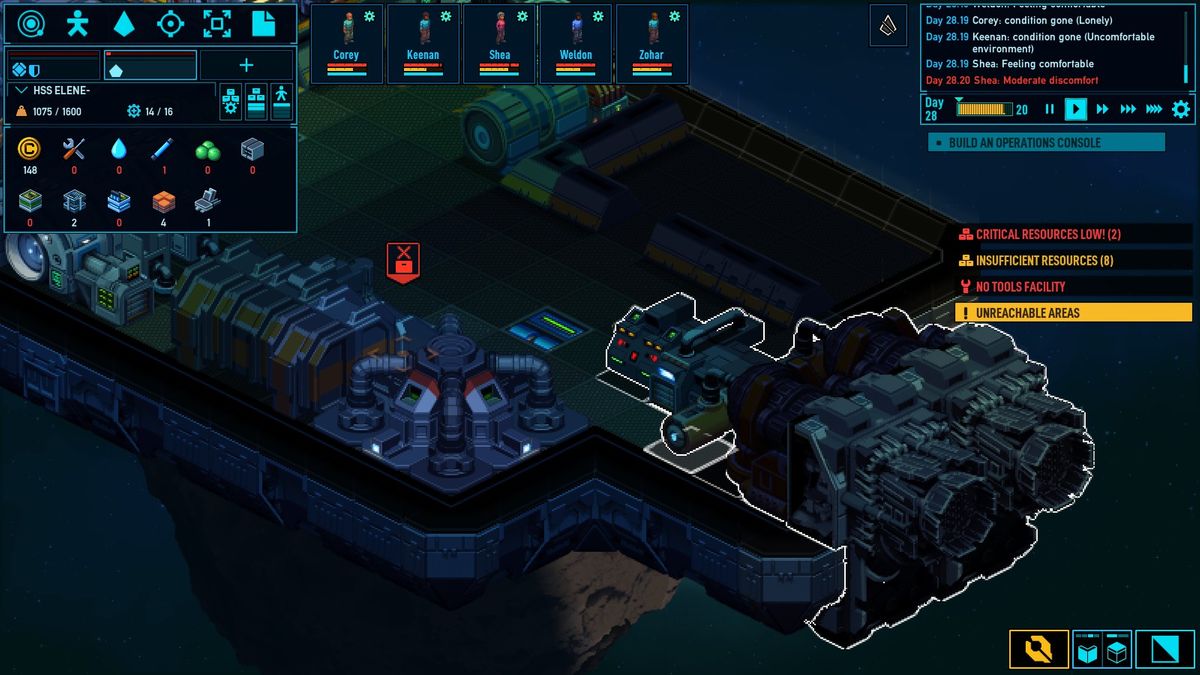
Running out of supplies!
If you run out of supplies it doesn’t hurt to remove non-essential items that are made of those resources. In the image below I am missing some items for my hyperdrive.
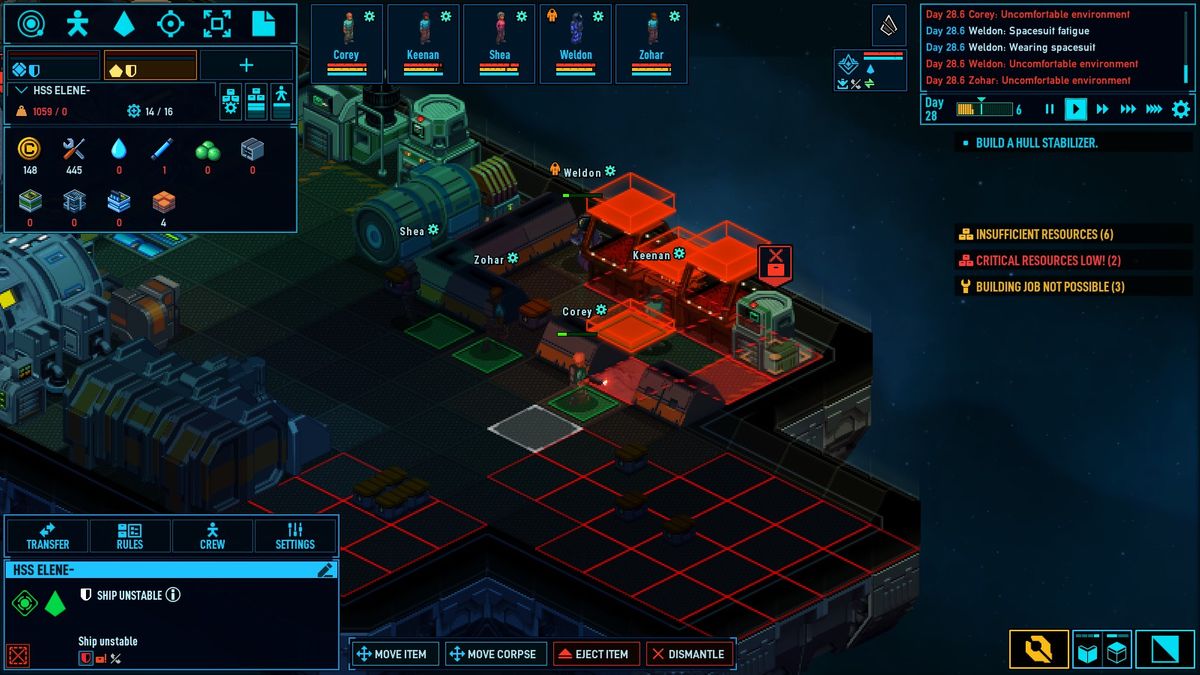
Now I will remove some items, and build the jumpdrive.
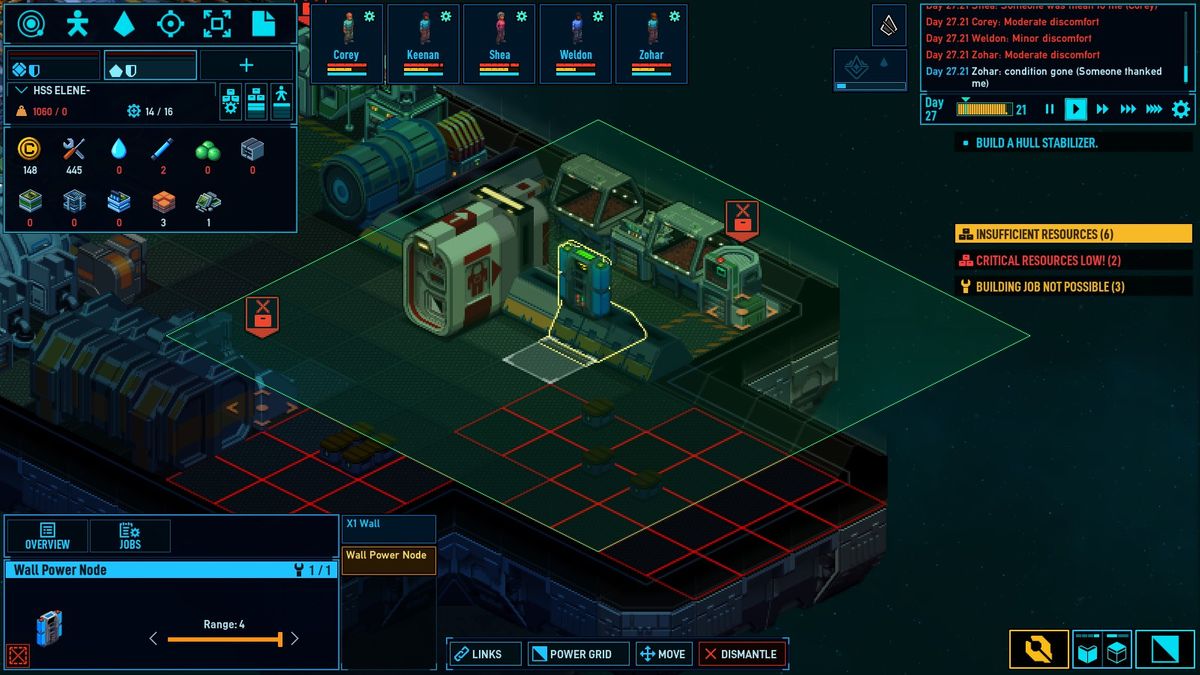
This wall power node only powers a small farm, which currently has no water to grow anyways. I’ll dismantle the whole grow room until my jumpdrive is made.
I have to dismantle the tools facility for the rest of the resources.
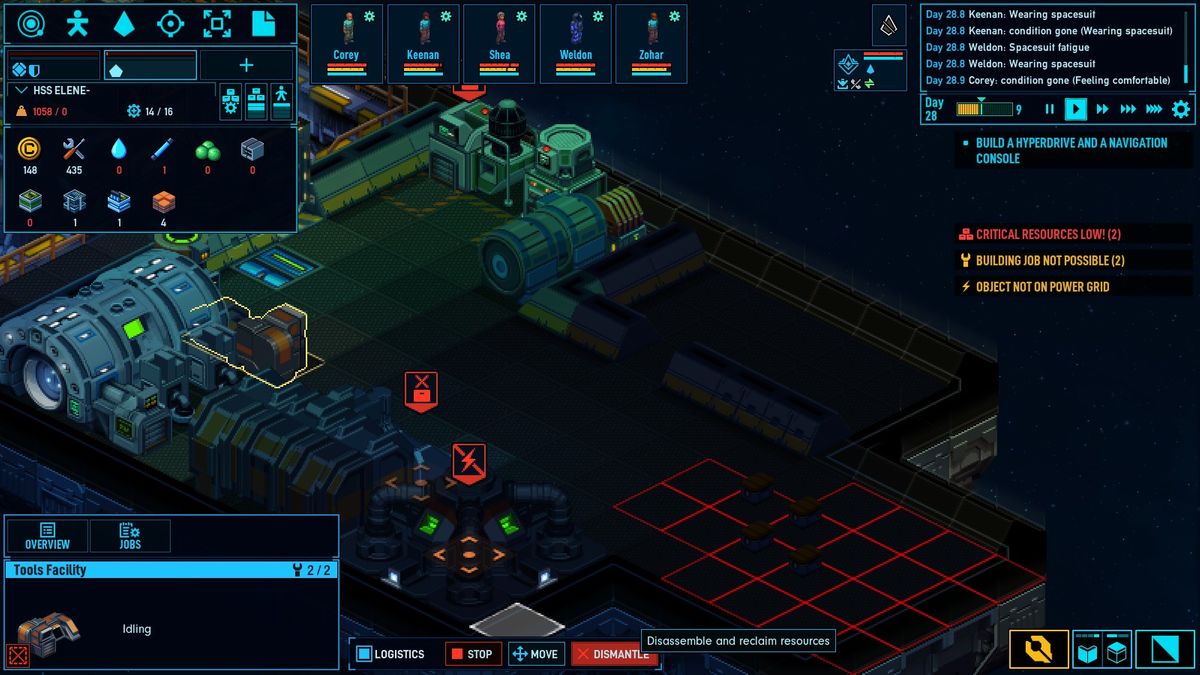
And now we have a built jumpdrive.
Don’t forget to rebuild what you deconstructed at a later time.
View Modes
Simple guide for the view modes.
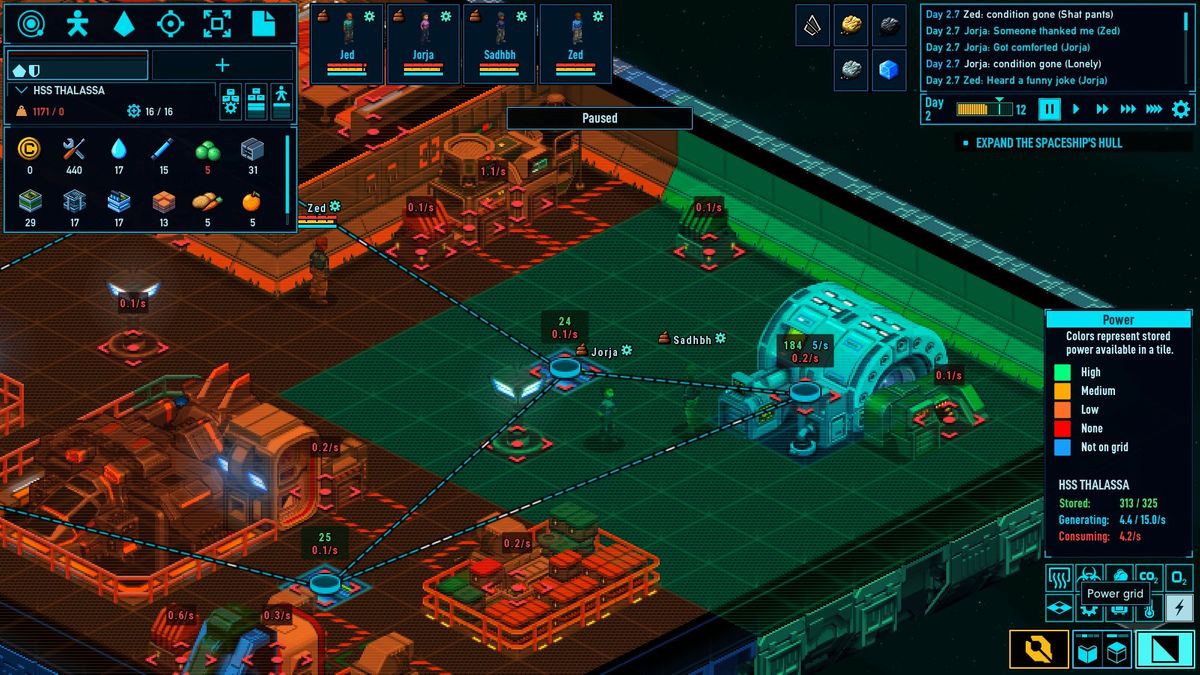
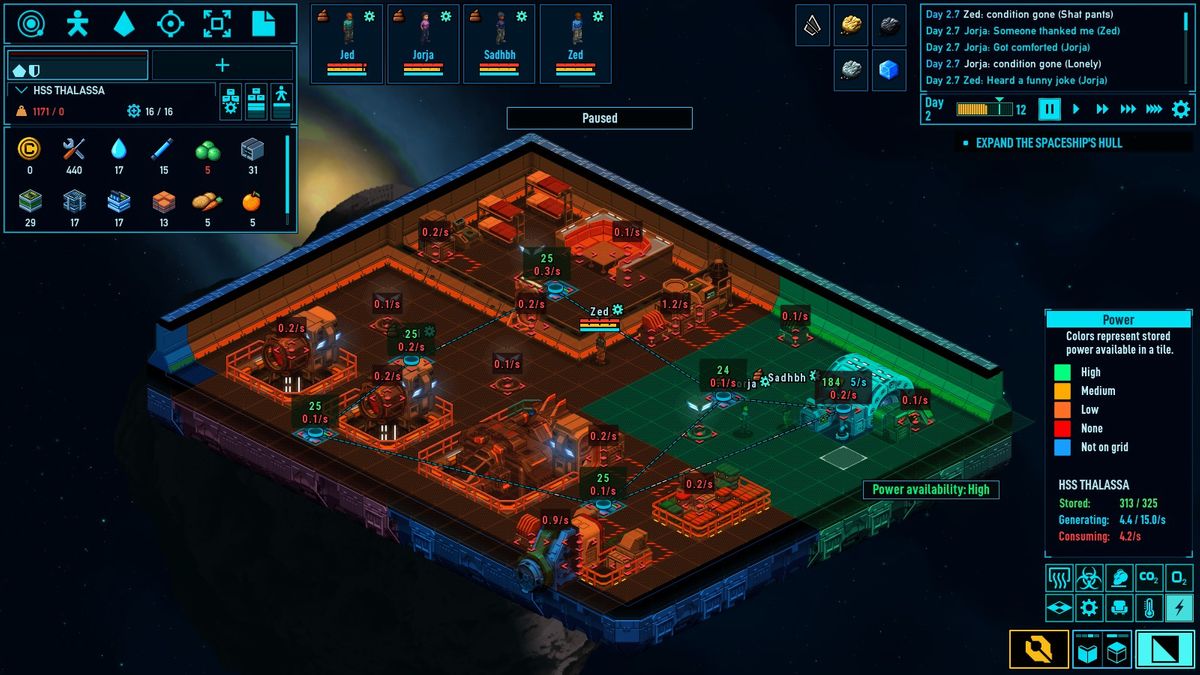
– Electricity
Power availability is color coded. Green being high availability, and red being no power.
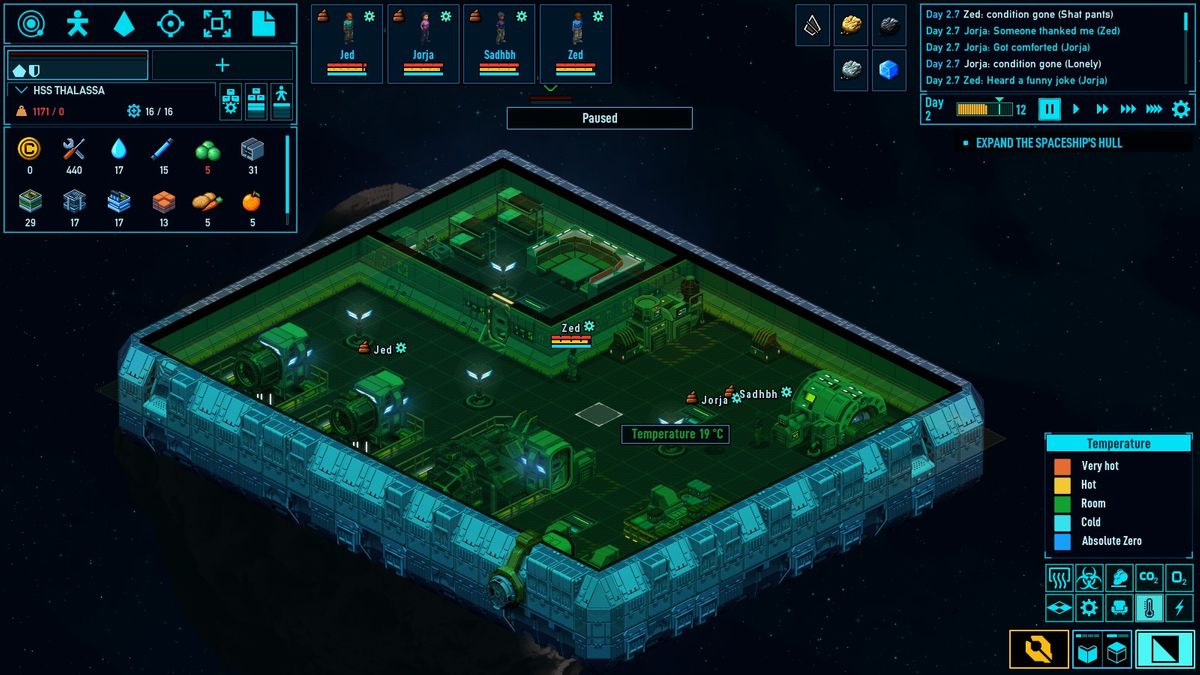
– Temperature
Temperature is important in space, where the base temp is absolute zero.
Here we can see that the temperature can be anywhere from very hot to absolute zero.
This station is currently in the green, with a temperature of 19 Celcius.
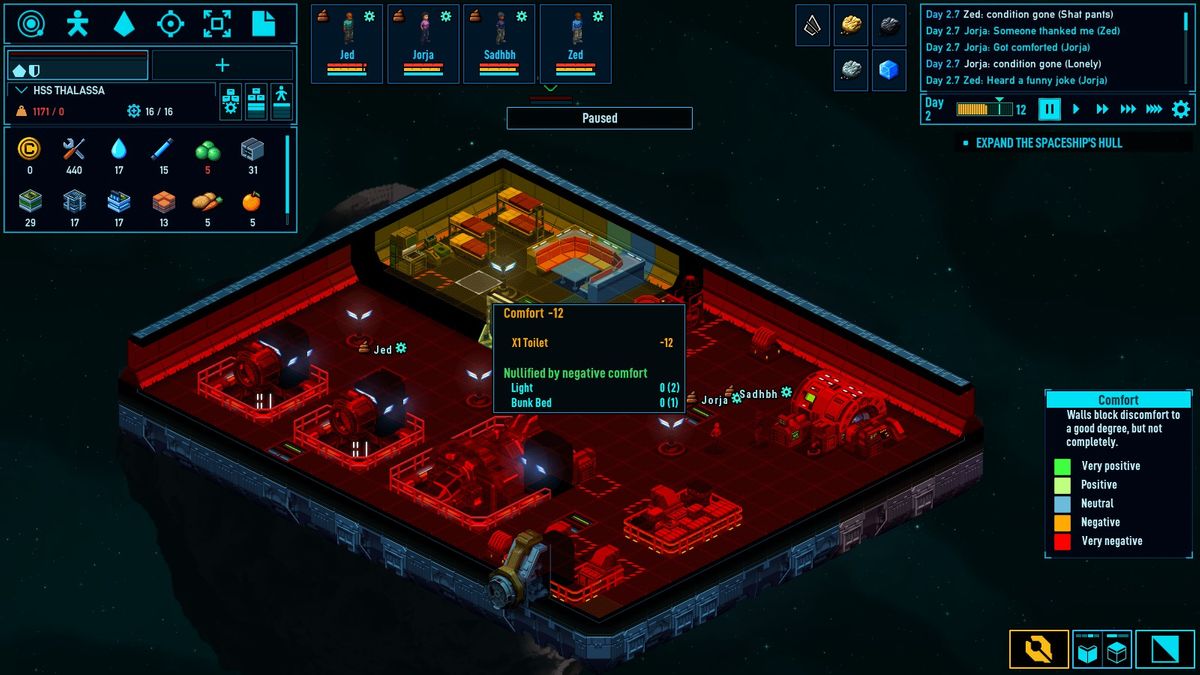
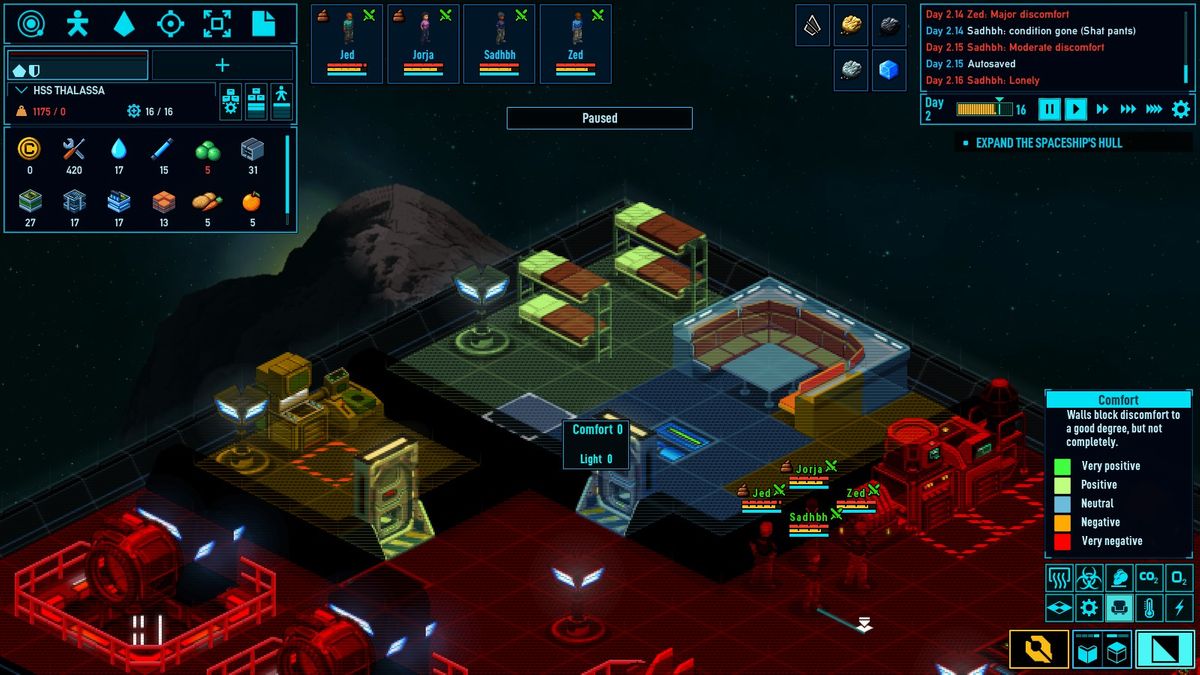
– Comfort
Here you can see that most of this station is very negative comfort, with my barracks having slightly better conditions. It appears that the toilet adds a negative score to the room. Lets move that and try to improve room comfort.
Now the comfort level is better in the barracks.
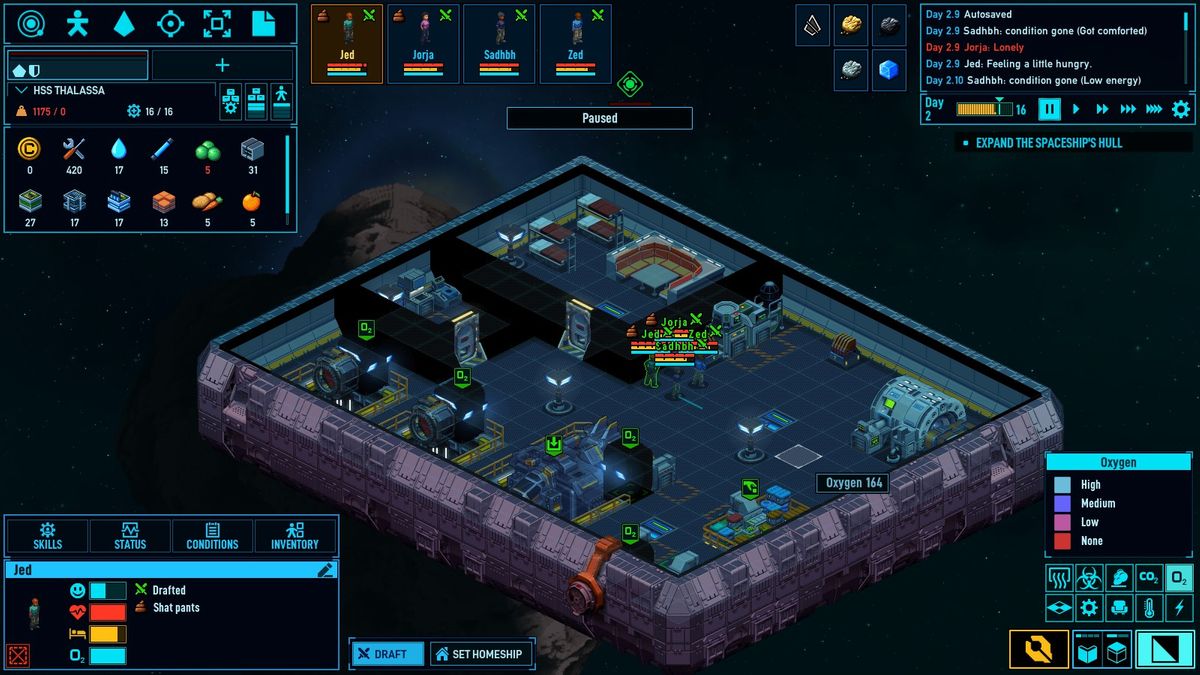
– Atmosphere
This has multiple view option in one area.
O2 is essential for their survival. A high O2 is optimal with no O2 being in the void of space.
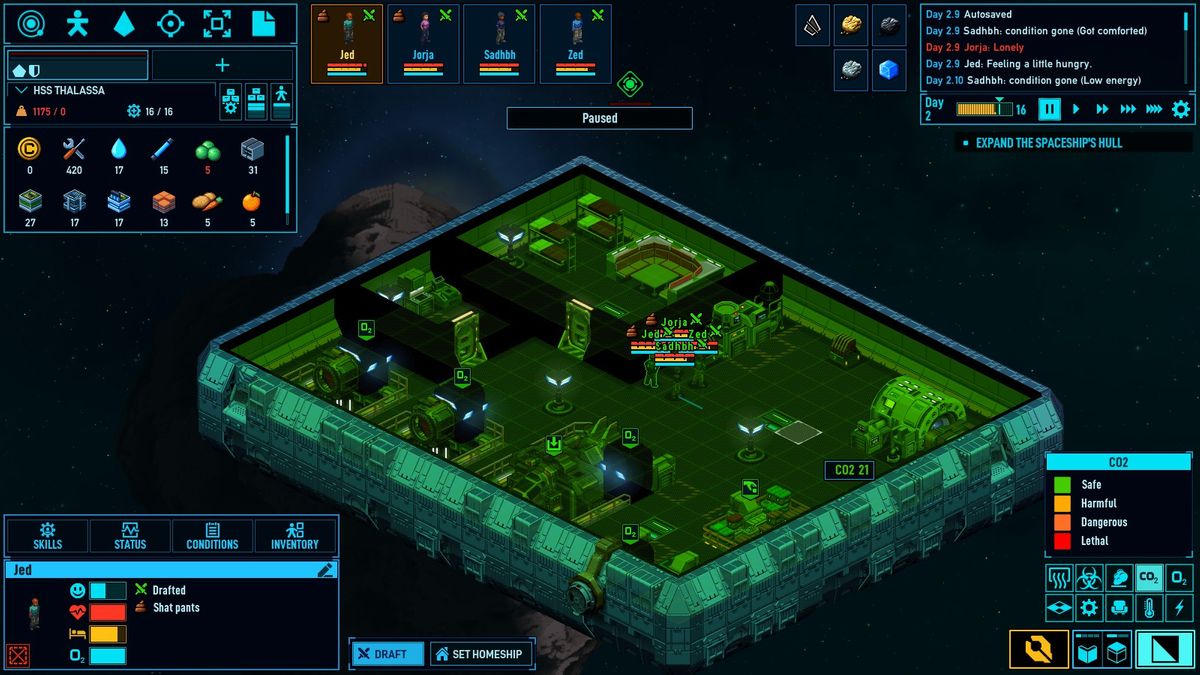
CO2 is for growing plant matterial, so a slightly higher CO2 level would be beneficial in a grow room. But higher CO2 can also be dangerous.
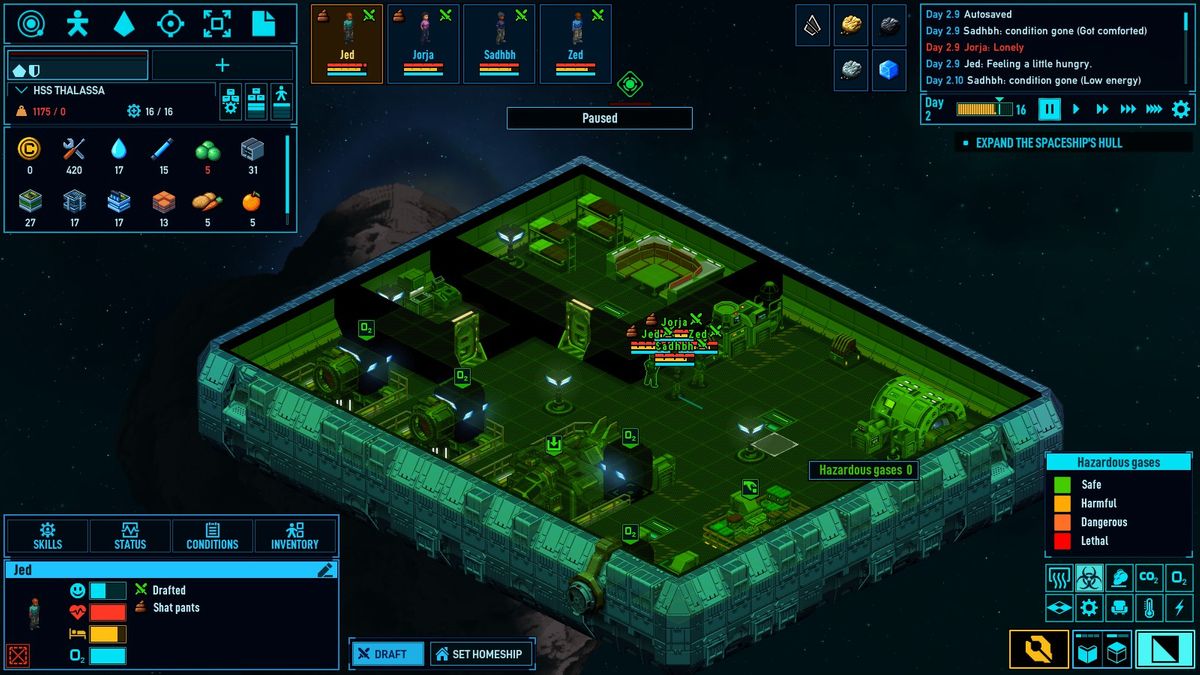
Smoke & Hazardous Gasses have ranges from safe to dangerous.

Electricity
Electricity is essential for survival.
Your electricity comes from the power generator.
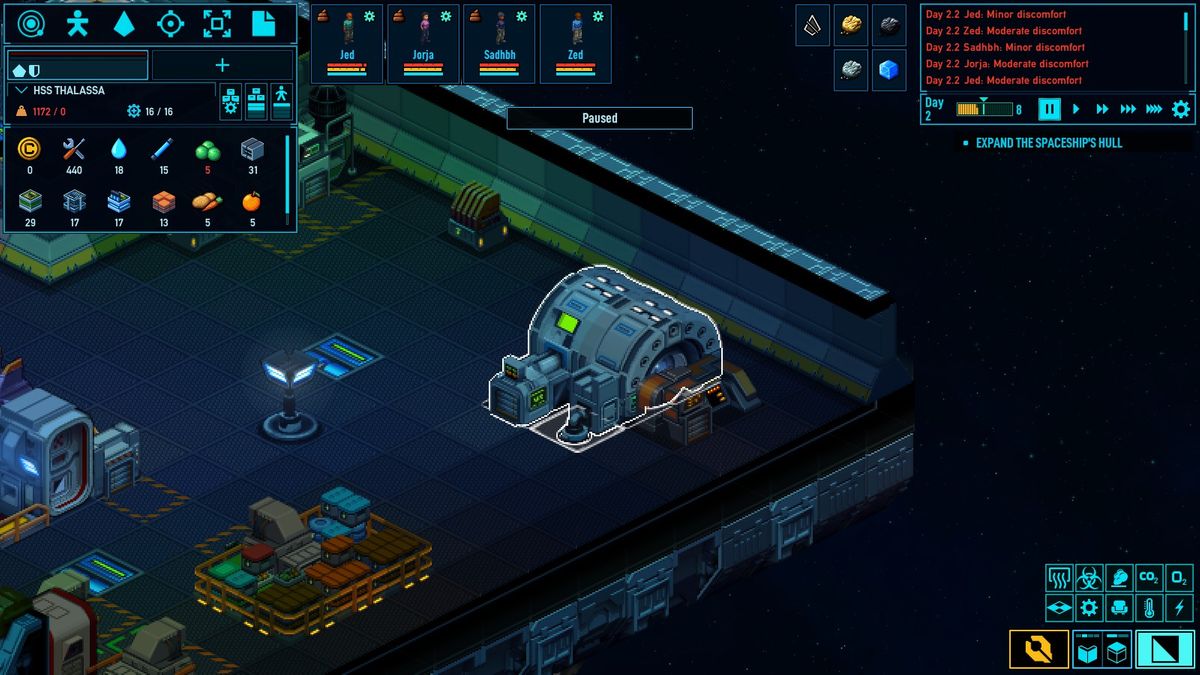
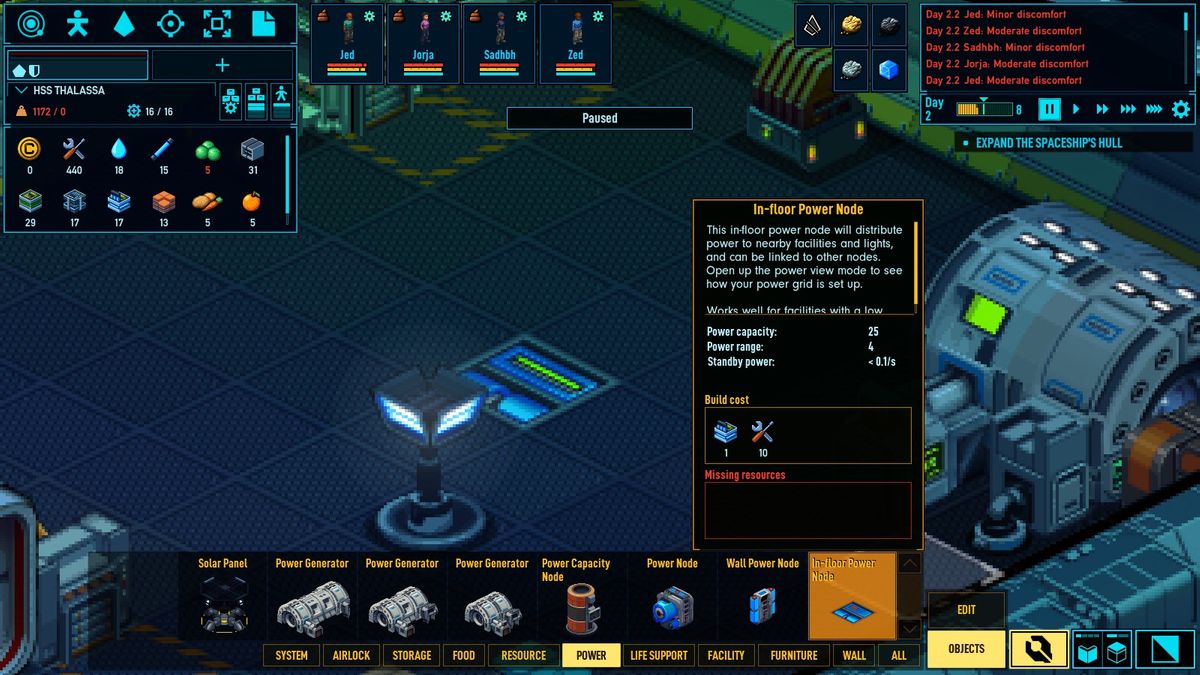
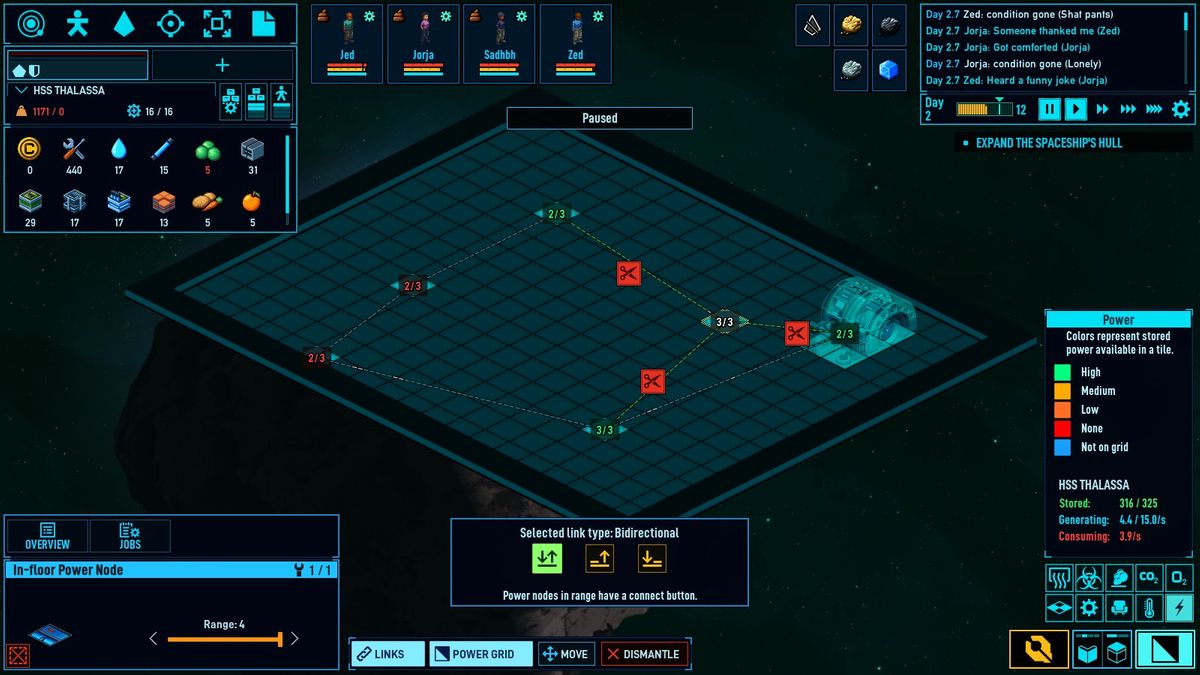
You create a power grid by using one of the four power node items.
Linking these nodes is simple after you figure it out.
You first select the node you wish to connect. You should see a green square near another node, or power generator.
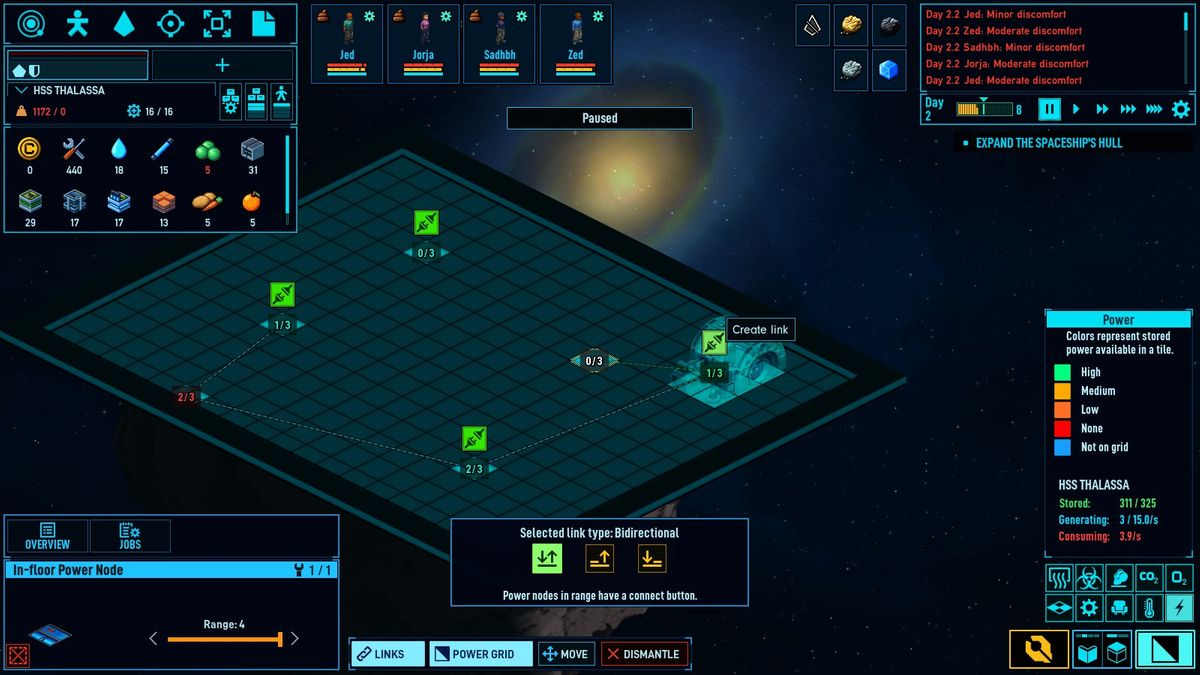
All you do is select that green square and now you will see it become a red square. This is used to disconnect.

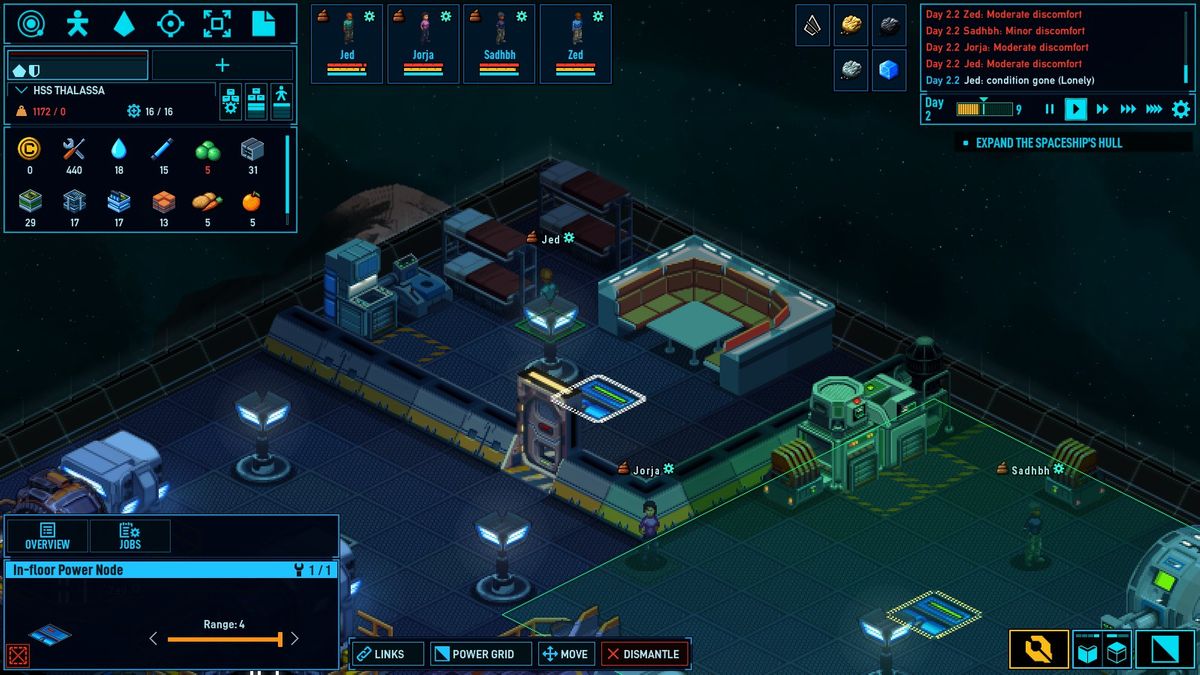
Remember to place nodes in areas where powered items are. The image below show a node providing power to the living quarters.
You may want to connect multiple nodes together to prevent power outages.
If one node breaks everything down the line goes. It could save someones life. (It appears floor nodes can have three connections.)
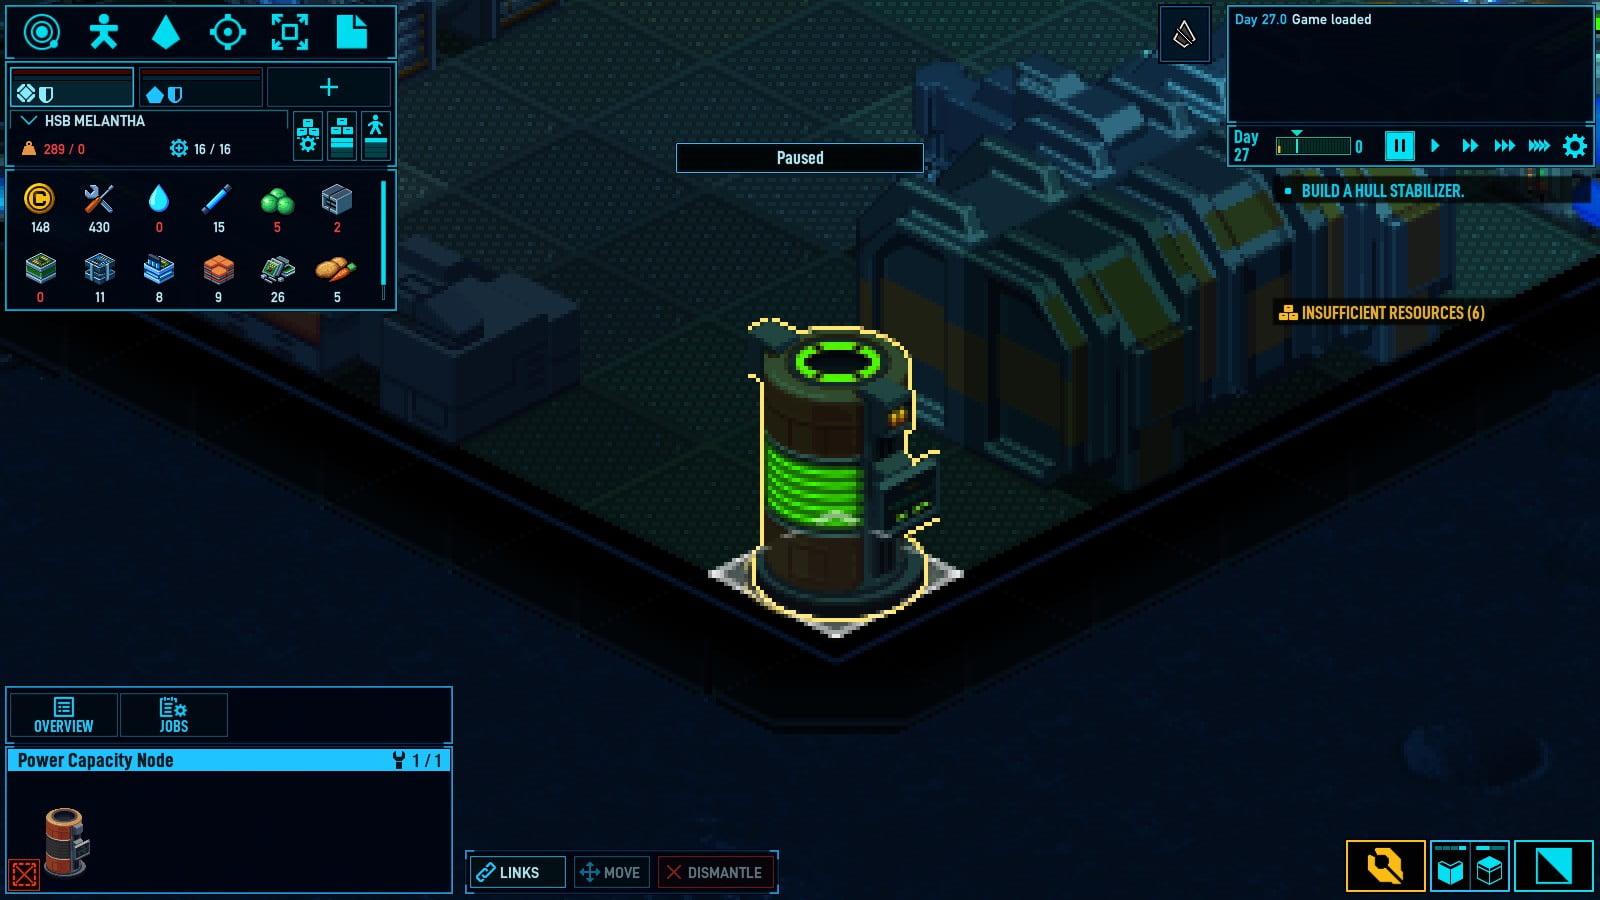
Power Capacity Nodes are useful when you need steady power. Which this can also keep production rates higher on machines.
Oxygen
I’m adding this section because I have died to asphyxiation. And it was a process to get it solved.
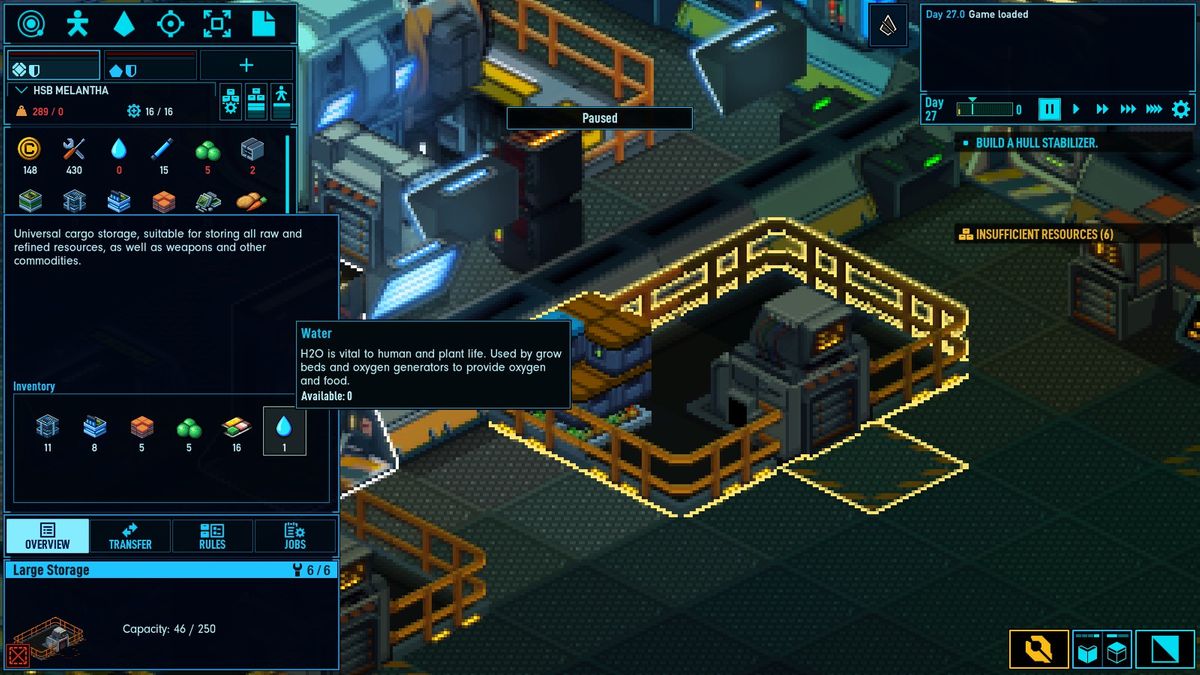
First make sure you have water stored somewhere you can access it.
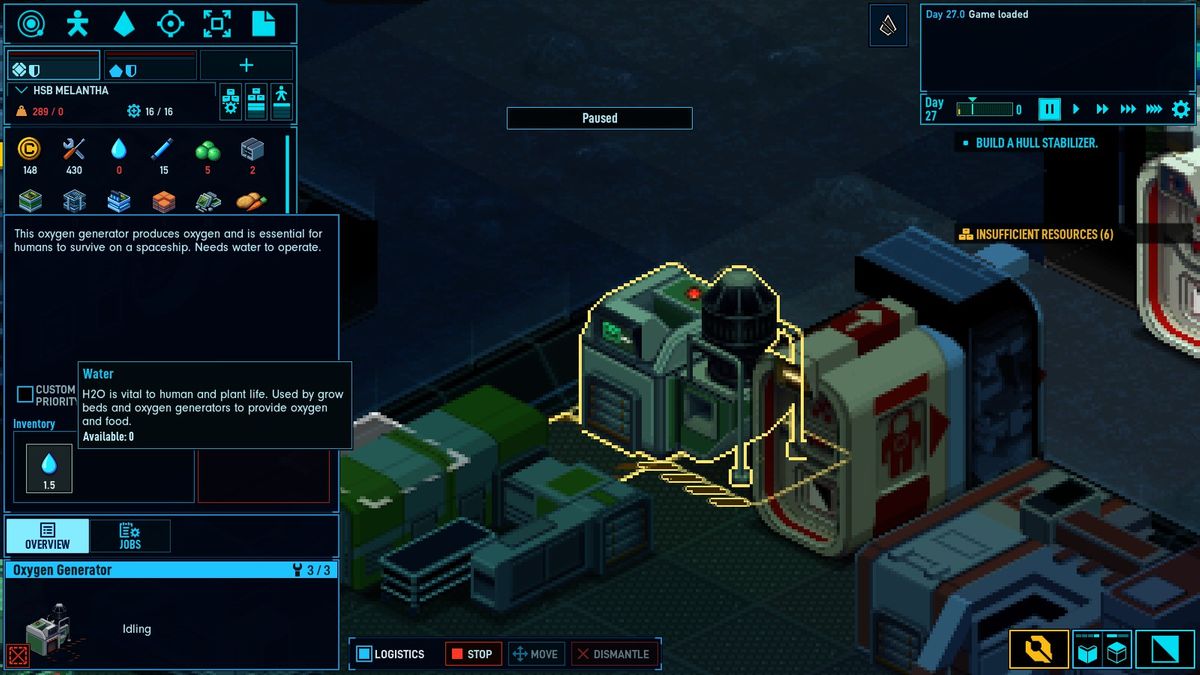
Then make sure there is oxygen in the generator. This sounds overly simple, but it could save you.
If you no longer have water, get ice as soon as possible.
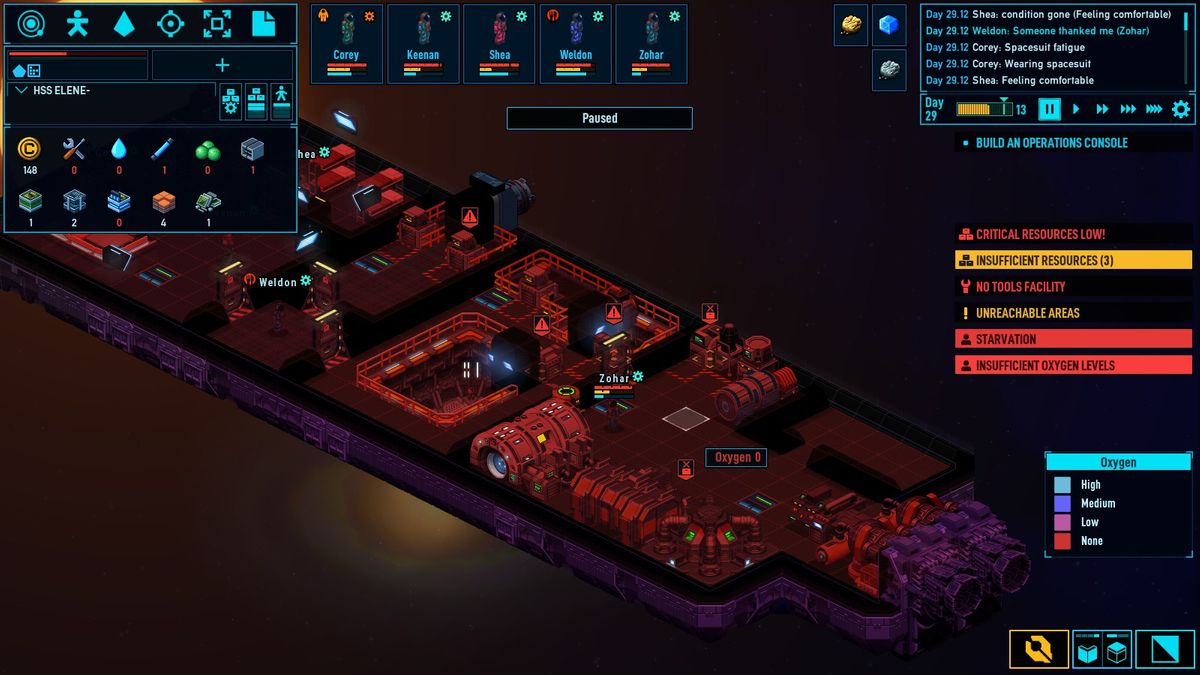
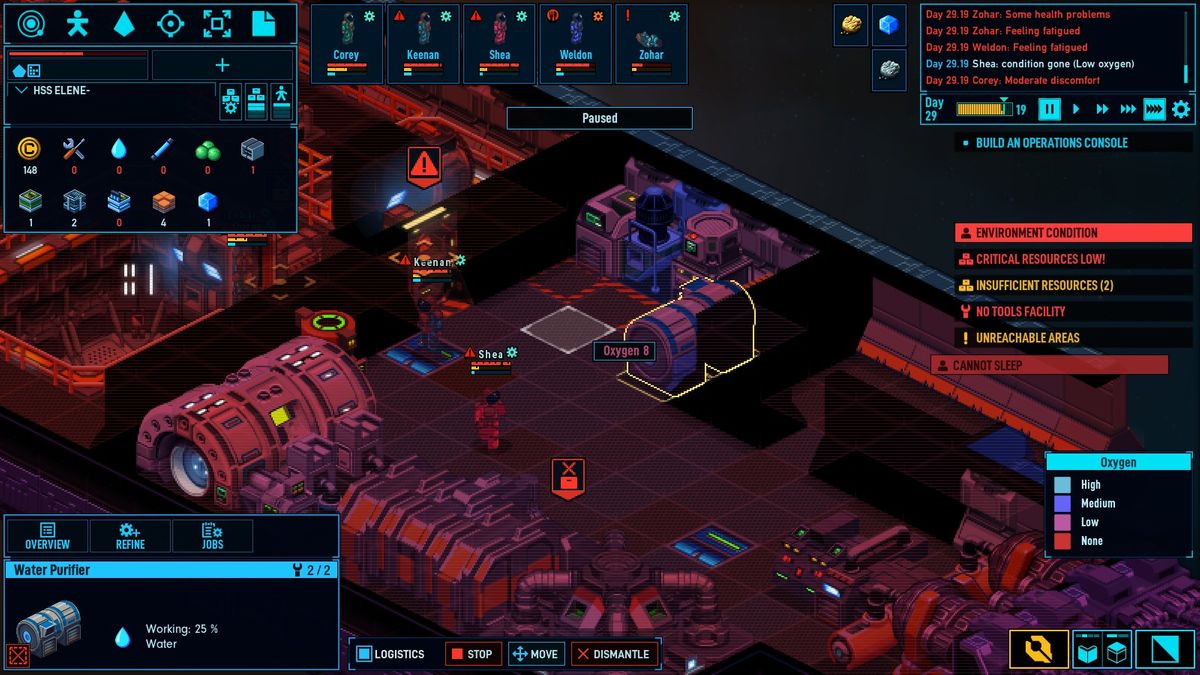
Here you can see I have no ship oxygen 🙁
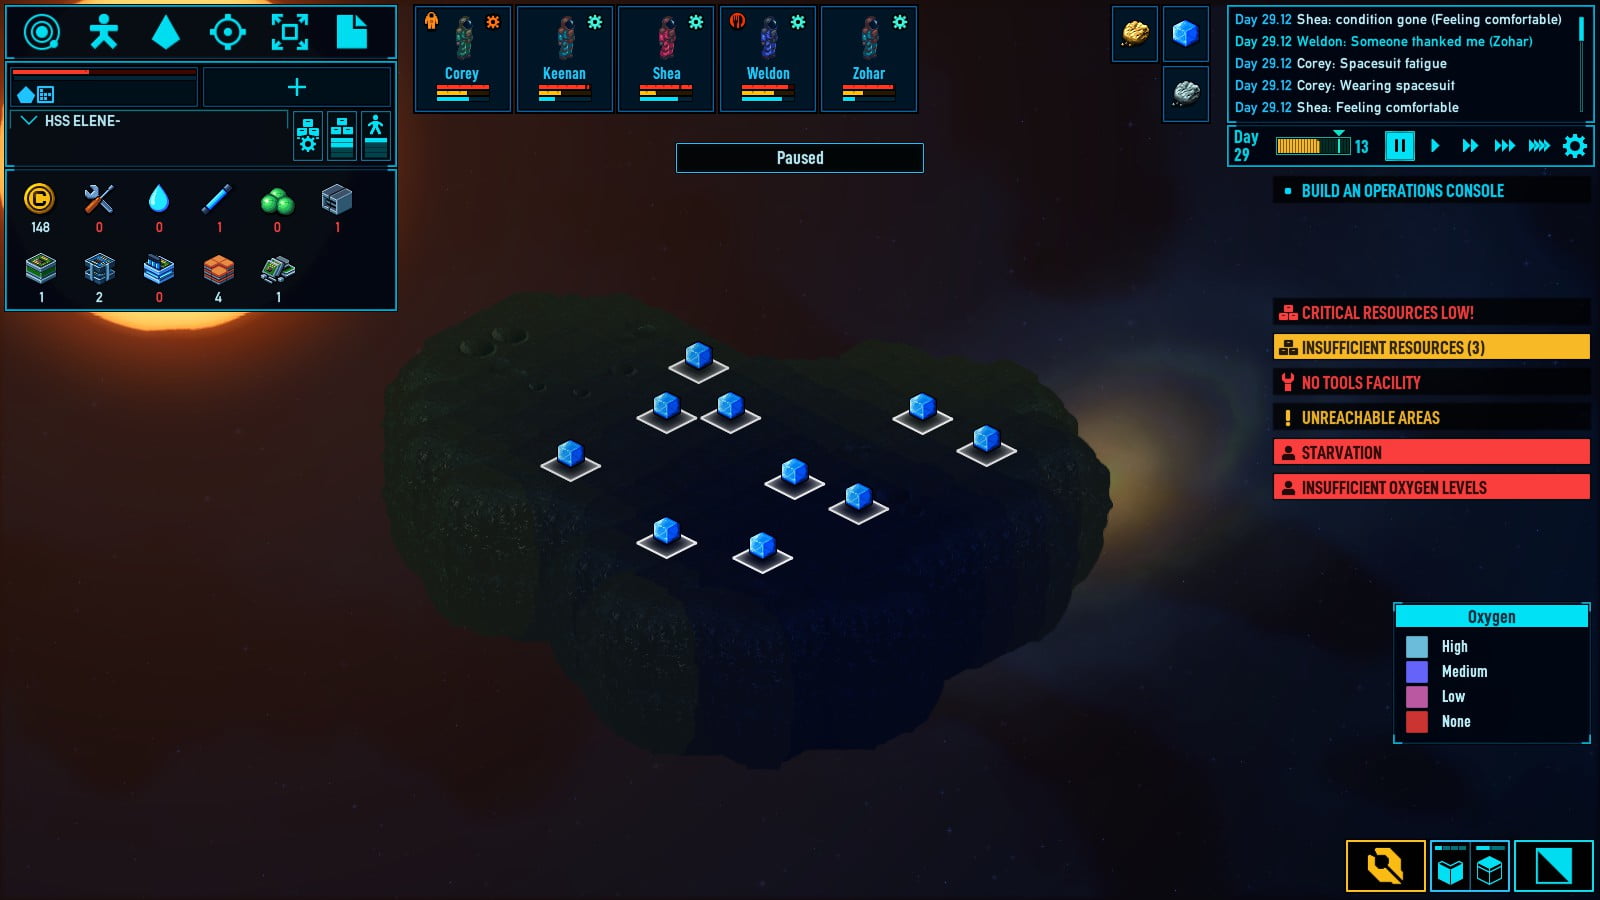
But I just traveled to this new sector for the ice asteroid.
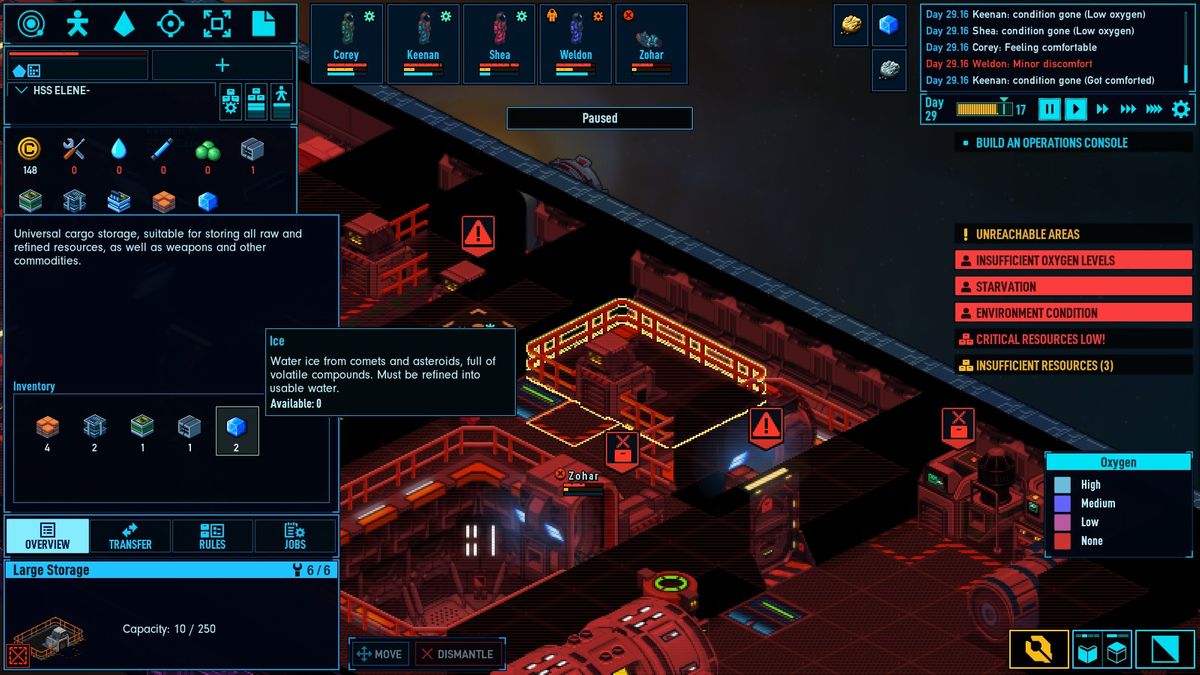
I sent out my miners to get the ice and bring it back. Here is the ice in storage.
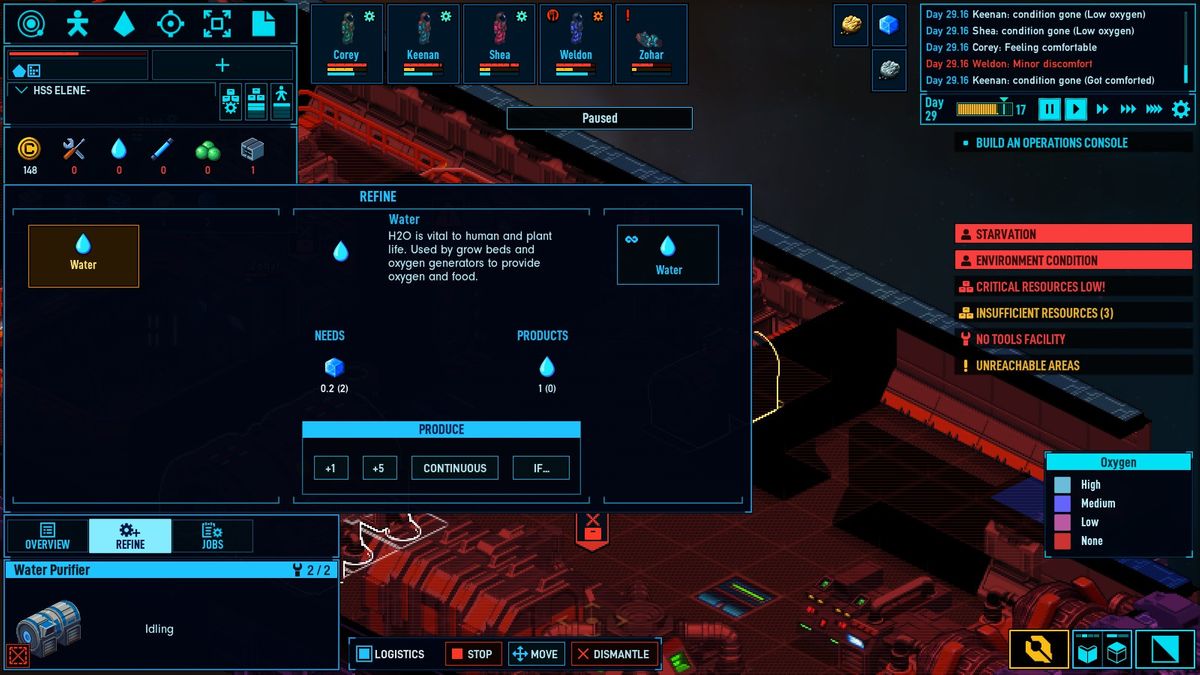
I make sure the water purifier is set to continuous. And someone brings ice.
And finally water is made and added to the oxygen generator, which starts to output oxygen.
We will live another day!
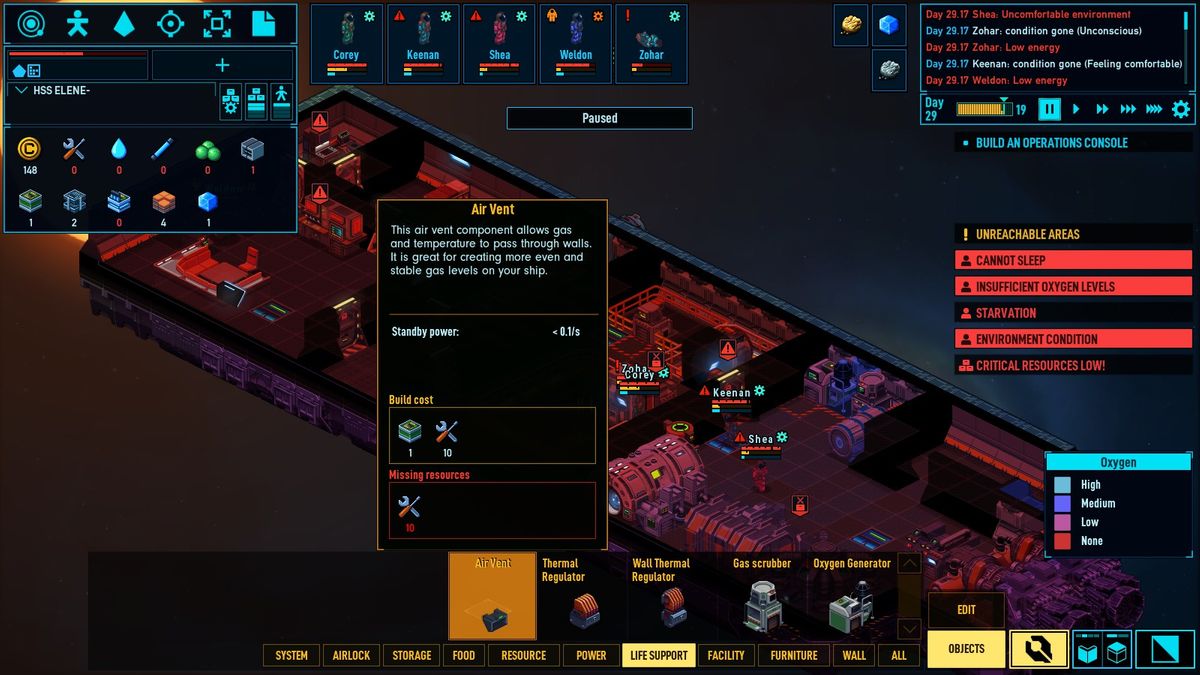
Use air vents for more efficient air flow. This is useful when you have a lot of people in one small room using the oxygen faster than which it can come in.
Extra Tips/Other/Undefined Category
Free shuttles?
If you are unable to build a shuttle, you can always relocate it from a station with a shuttle.
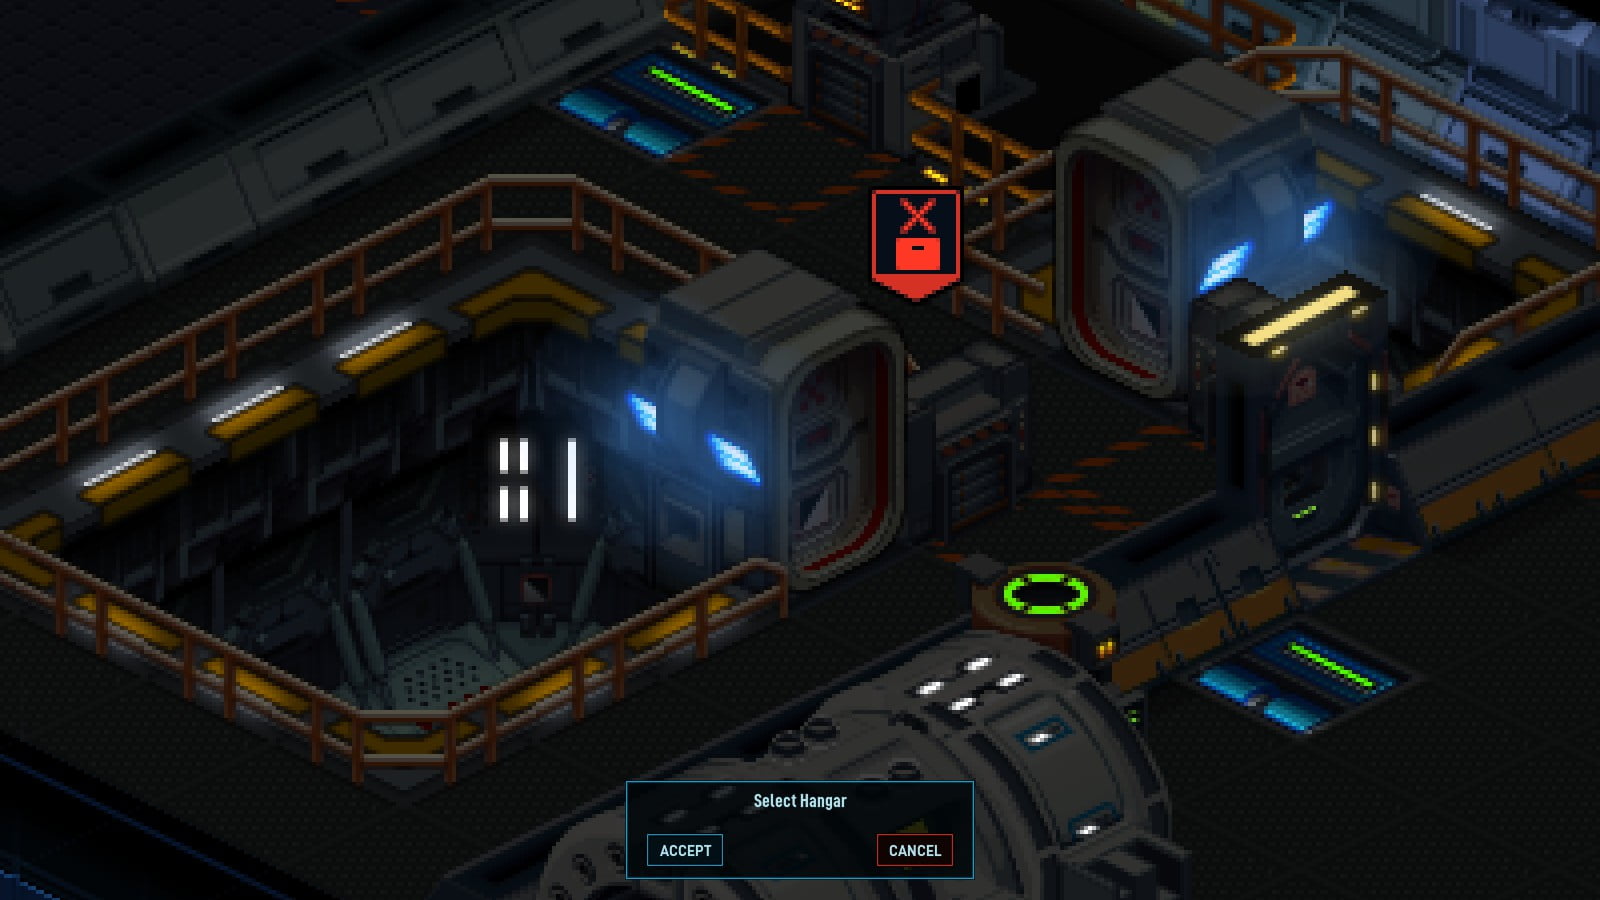
Simply click the relocate button, then select a hangar.
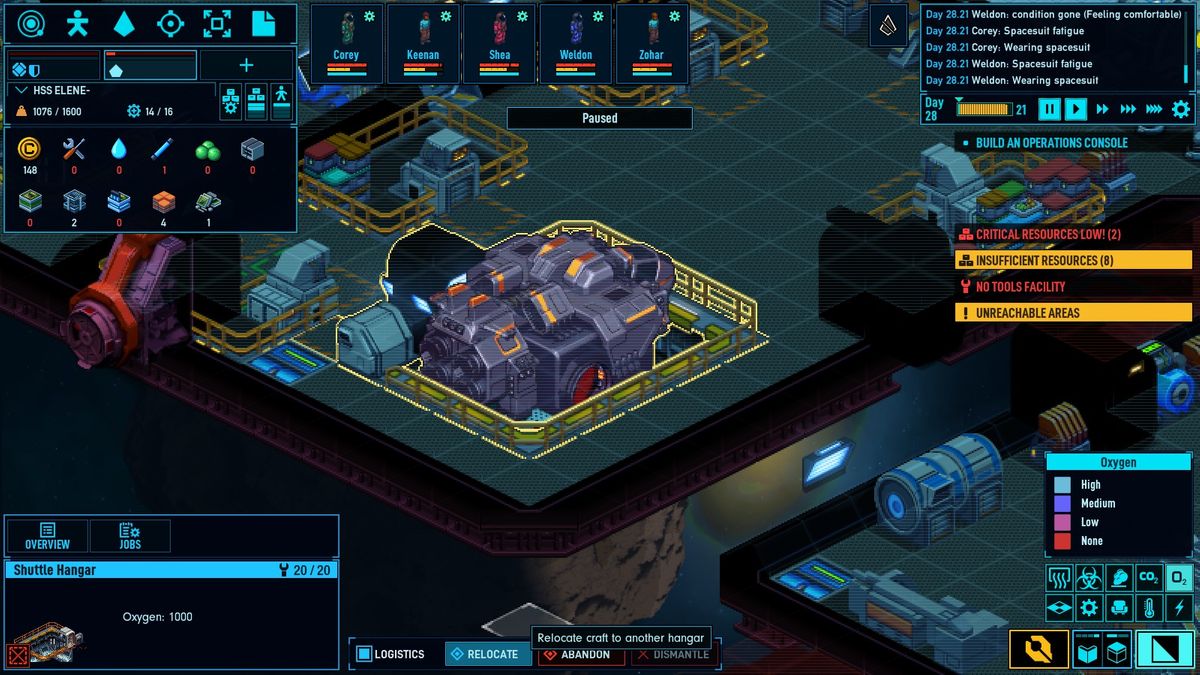
If the needs are met, it should transfer over and be ready to go.
Nice…Thx
This was a fantastic info article, and was handy checking some things I did not know. Happen to know how to transfer built equipment from a newly claimed ship to another?