Welcome to our Isonzo Beginner Guide. This is the Official Isonzo Beginner Guide from the developers, describing everything you will ever need to know about the game. This is a must read if you are new to the game.
Isonzo Beginner Guide
Welcome to the mountains and valleys of Isonzo, soldier! Isonzo has unique features that may differ from your previous FPS experiences, so make sure you use this guide to prepare yourself for battle!
The Setting
Isonzo is set in the Italian Alps during the First World War (1914-1918). The Entente Powers were fighting the Central Powers, and on this front the Kingdom of Italy (Entente) were pitted against the Austro-Hungarian Empire (Central Powers) in the high mountains and valleys of the Italian Alps, which the Isonzo River (now known as the Soča River) runs through. Italian Commander Luigi Cadorna initially faced Austro-Hungarian commander Franz Conrad von Hötzendorf in what quickly turned into a stalemate in the mountains and plains of the Isonzo, and resulted in costly battles for minimal gains.
Game Mode – Offensive – Isonzo Beginner Guide
Isonzo brings with it a new game mode to the WW1 Game Series. Offensive is a new game mode focused on portraying the largely “Offensive” nature of the Italian Front, where battles would usually consist of one side pushing against the other trying to capture objectives for days, weeks and even months at a time. This means one team’s sole focus is to take objectives (by either blowing up important enemy materiel or capturing points), and the other team’s focus is defending those points and preventing the other team from moving onto the next sector. A system of barbed wire lines with dedicated wire cut points funnels attackers into certain corridors to assist with balance. A more detailed description of attacker and defender player roles can be seen in the “Roles” section of this guide.
A unique feature of Isonzo is that one map is not one Offensive, rather multiple maps make up an Offensive. The objective of the Attacking side is to push to the final sector, if at any point the Defenders are able to hold the Attackers till they run out of tickets, then the Defenders win the Offensive. Attackers must win the final map in an Offensive to win the Offensive, and they can carry over a portion of tickets from previous maps in the Offensive if they have tickets left over.
Forward Posts
A main feature of Isonzo is being able to construct forward posts that allow your team to deploy closer to the front! Beware, these can be removed by the enemy which will limit your team’s ability to spawn close to the objective.
Objectives
Each sector of the map has an objective (or multiple) within it that must be destroyed/captured (for attackers) or protected (for defenders). Capture points can be taken by the attacker and retaken by the defender if there is still a contested objective, however in the case of destroying materiel, once it’s destroyed there is no way for the defender to repair it.
Classes
- Officer – The Officer issues orders and can call in various kinds of support (such as aeroplanes, artillery and chemicals). Cap of 2 Officers per team.
- Rifleman – Equipped with standard equipment, Riflemen make up the bulk of the fighting forces, and get access to a rifle with a bayonet or rifle grenade. Rifles equipped with rifle grenades are limited per team, although the Rifleman class is uncapped.
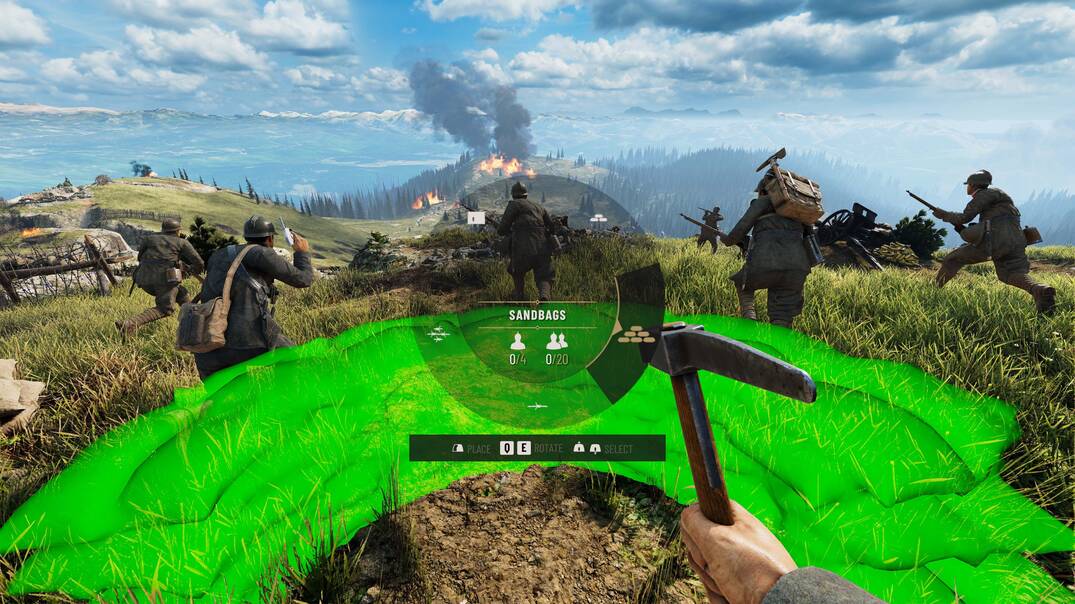
- Engineer – Can construct static weaponry, build obstacles and is more efficient at cutting barbed wire. Cap of 5 Engineers for Attackers, 7 Engineers for Defenders.
- Assault – Equipped with high impact weaponry, the Assault class is focused on pushing the enemy hard. Cap of 7 Assault roles for Attackers, 5 Assault roles for Defenders, limit of specific weapons including small automatic guns.
- Mountaineer – Suited to mountainous terrain, Mountaineers excel at traversing terrain to reconnaissance and infiltrate enemy positions. Cap of 7 Mountaineers per team.
- Marksman – Equipped with high powered rifles, Marksman excel at long range engagements using an assortment of scoped and unscoped rifles. Cap of 4 Marksman per team, limit of scoped rifles.
- Perks
- Each role receives special perks that complement a certain play style. One of these perks can be chosen and switched depending on what modifiers you need in an ever changing battle. More perks can be unlocked for a class by leveling that class up.
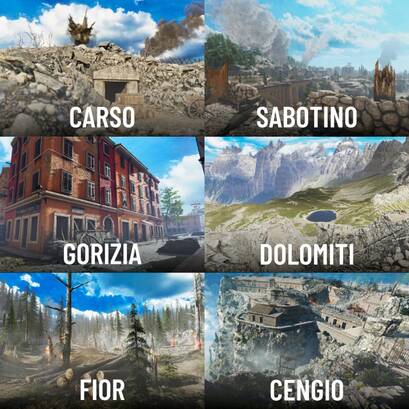
Maps – Isonzo Beginner Guide
Offensives:
Mountain War:
Dolomiti – Courageous assault on the “Sasso Di Sesto” Peak.
Strafexpedition:
Cengio – Monte Cengio and Fort Corbin were the site of a fierce mountainous battle during the
Strafexpedition.
Fior – The Melette Massif on the Asiago Plateau was heavily contested during the Strafexpedition.
6th Battle of the Isonzo:
Carso – One of the bloodiest mountains on the entire front, on the edge of the Carso Plateau.
Sabotino – Strategic summit north of Gorizia which saw a major breakthrough during the 6th Battle of the Isonzo.
Gorizia – The City of Gorizia was reached on August 8th, 1916 after breakthroughs at both Sabotino and San Michele.
Weapons
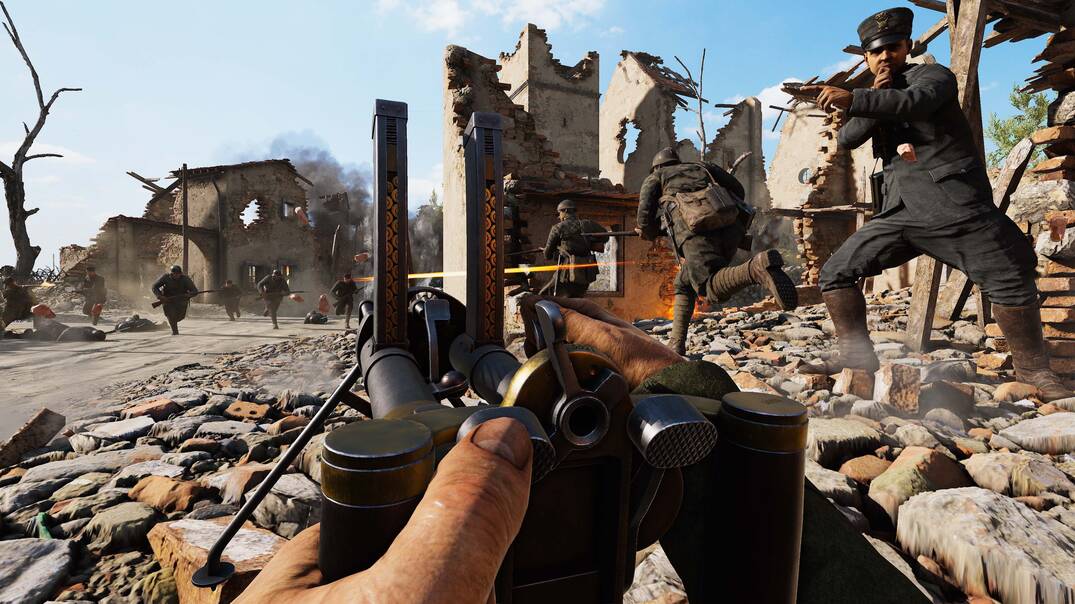
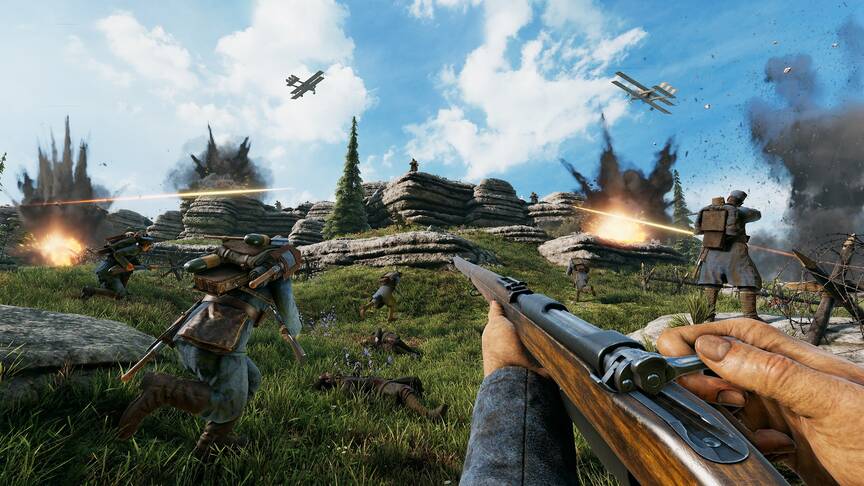
- Rifles – Rifles are the mainstay of weapons in Isonzo. Hard hitting and useful at range, they have the ability to one hit kill at almost any distance with a body or head shot. Some rifles are equipped with a bayonet, which allow easy melee at close range without needing to switch to a melee weapon.
- Rifle Grenades – Some rifles are able to be fitted with a grenade that can be launched further then can be thrown. These explode on impact and damage in a smaller radius than ordinary grenades.
- Handguns – Small but manoeuvrable, handguns are great for clearing out confined spaces, however their damage can be lacklustre and enemies might require follow up shots.
- Grenades – Deadly if you’re close, when thrown grenades explode dealing damage in a wide radius when the fuse runs out. If you die after starting the fuse but before you throw the grenade, it is still live and will explode.
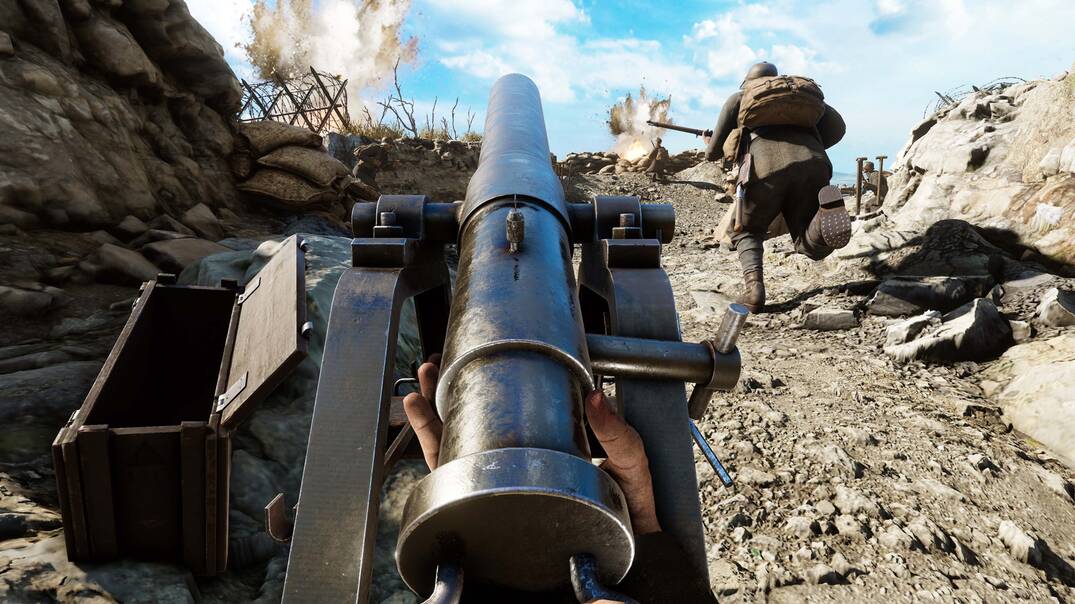
- Static weapons, all constructable by the Engineer role and can be sabotaged by the enemy. Static weapons can be resupplied by the Rifleman role carrying the Ammo Box.
- Mortars – These weapons fire high explosives in a high arc ballistic trajectory that enable them to shoot over obstacles. You are able to request spotting from a flare gun user.
- Mountain Guns – These weapons fire high explosives at a shallow trajectory, so you can aim and shoot visually at your enemy.
- Machine Guns – With a high rate of fire and high damage output, the static machine gun is hampered with a limited arc of fire and a stationary position.
Equipment
- Ammo Box – Is a portable box that allows you to resupply teammates and static weapons when you interact with them.
- Ammo Crate – With the “Ammo Carrier” perk Riflemen can build static ammo boxes to help resupply your team without requiring your presence. You also spawn with extra ammo.
- Grenade Crate – The “Grenadier” perk for the Assault role allows the construction of a grenade box, which allows you and teammates to resupply used grenades. You also carry an extra grenade!
- Spotting – Binoculars, Periscopes, Flares from Mountaineers and Recon Planes called by Officers can be used to spot the enemy for your team to see. Periscopes can be built by Mountaineers with the “Observer” perk.
- Canteens – When used Canteens reduce the effects of suppression from explosions and bullets, and temporarily remove stamina loss, allowing for quicker traversing around the battlefield.
- Bugles – Using the bugle creates a temporary aura around you, increasing yours and your teammates bolt action fire rate and movement speed.
- Whistle – Officers can use whistles to give orders to your team and to temporarily remove the spawn penalty, allowing your team to spawn after dying without waiting.
- Bandages – Available to all, bandages can be used to heal yourself from very bad injury, however you will require another teammate to heal you back to full health.
Officer Call Ins – Isonzo Beginner Guide
Officers and Mountaineers are able to shoot flares into the air (using the map to aim), which can be used by officers to call in off-map artillery strikes, gas/smoke attacks and aviation assistance. If an Officer fires two flares in quick succession, the ability used on that flare point will be stronger. Call ins have a cooldown per branch, where weaker call ins become available first, then stronger tiers one by one. The branches are as follows:
- Artillery Battalion – Call in a range of artillery strikes, either condensed in one point or use a creeping barrage to drop artillery shells along a line.
- Chemical Regiment – Call in either smoke to cover your advance or deadly gas to catch any slow or unexpecting enemies off guard.
- Aviation Corps – Call in recon to check on what your enemy is doing, a fighter to strafe an enemy position or a bomber formation to pound your enemy into the ground with bombs.
Engineer Construction
At predefined locations, Engineers can build Machine Guns, Mortars, Mountain Guns and Wire across chokepoints. In addition to this, Engineers can freebuild (with limits) Sandbags, Wire and Sniper Shields to aid your team. Beware, equipment such as machine guns, mortars and mountain guns that have been built can be sabotaged by the enemy, removing them from play for some time!
Voice Commands
Voice commands can be used by holding the “X” button (default hotkey) and by mousing over or selecting number keys to say the selected message (X 5 1 . These voice commands are proximity as well as squad chat based, otherwise you can use the team voice chat (LeftAlt by default) or the squad voice chat (V by default).
Spawning – Isonzo Beginner Guide
So you are dead… but don’t despair, you will respawn soon! In Isonzo you always respawn in waves with everyone else who has died. The position of your spawn point depends on the position of the enemy. If enemies are close to your teammates or they are in danger, you will not be able to spawn on them. If not, you can spawn as close as possible in a friendly position but only if there are not any enemy players nearby. If there are enemies nearby you may be spawned further back. If you spawn on a squad mate, even in danger, you will be spawned in a potentially more dangerous position.
The Officer can order a charge which removes the respawn timer for 30 seconds.
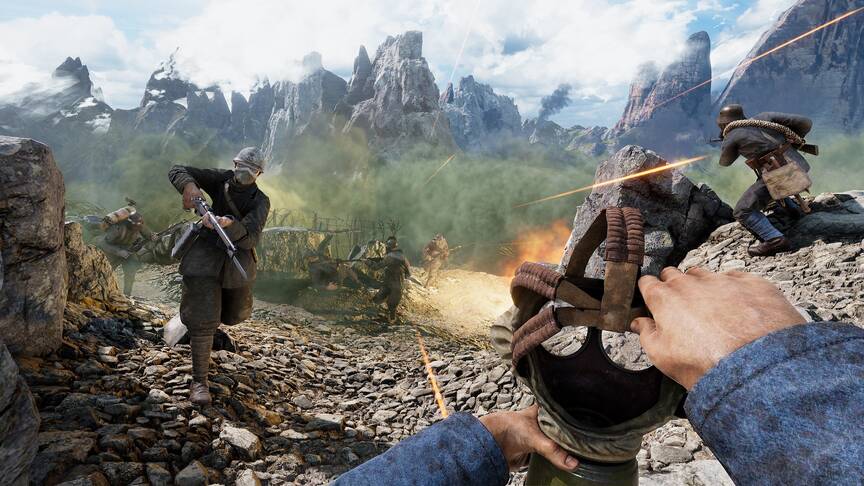
Gore
The war was brutal and violent, and gore has been added to reflect this. It is an option you have to enable in the game’s graphic settings.