Hello from our Maquette Walkthrough Guide. Maquette complete strategy guide and the way to follow will guide you through every step of the Maquette from the title screen to the end credits. Below you can find details about the sections on the road that you need to follow!
Maquette Walkthrough & All Puzzle Solutions
Welcome to our Maquette Walkthrough Guide. Below you can find details about the sections on the road that you need to follow!
The Gardens
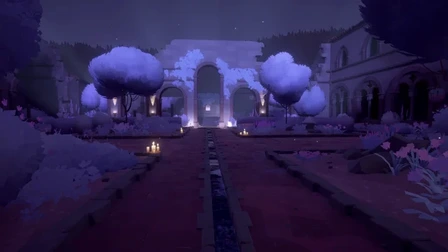
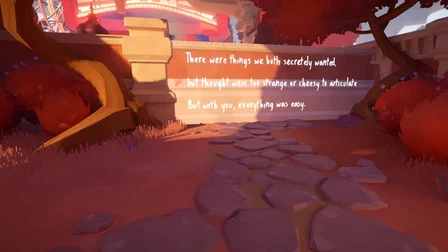
Marquette’s journey begins in The Gardens. Proceed forward, then take a left turn, passing by some inscriptions as you make your way through the passageway. Pay close attention to the written details as they contribute to the unfolding story.
Next, continue down either side of the garden path until you spot a red door ahead. Move towards it and engage with the lever on your left to open the door.
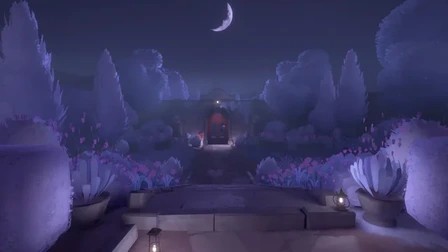
Pass under the archways, following the path illuminated by the lights. Keep on this route until you reach a serene pond. Cross the bridge to the other side and keep advancing.
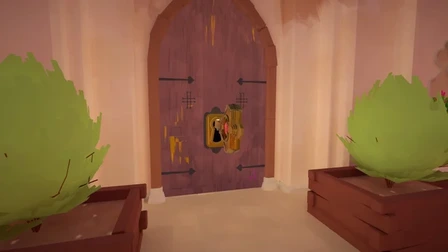
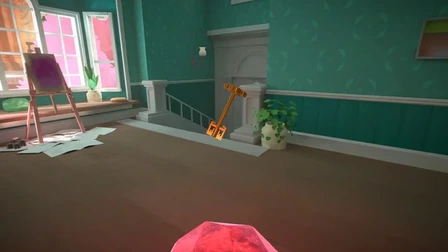
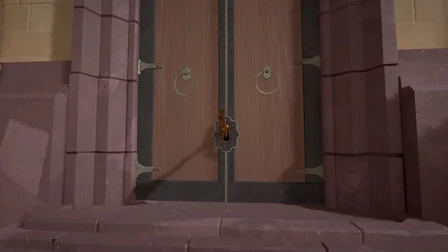
Upon reaching the top of the stairs, you’ll encounter another red door. Before proceeding, head to the right to locate a key that will unlock it.
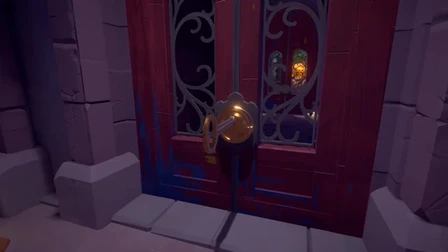
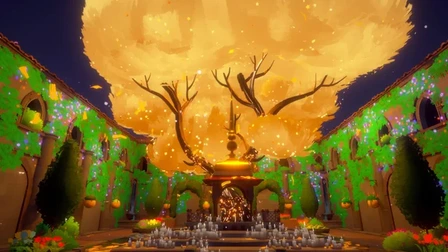
Once inside, you’ll need to use the same key again to access the next door. After passing through, continue onward until you encounter a radiant yellow tree. Approach it, and thus you will successfully complete The Gardens.
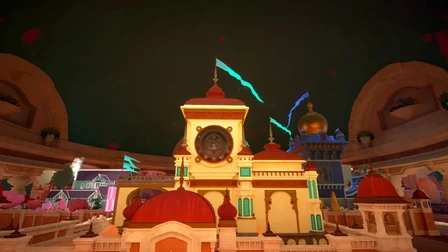
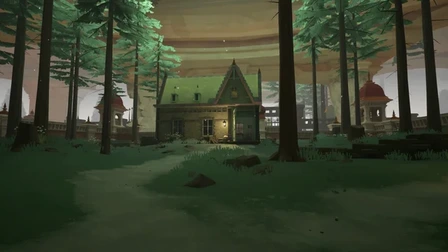
The Maquette
In the following area, start by heading to the right. You’ll encounter a locked gate with a ticket box in front, but you can’t access it yet. Return and continue to the right. Soon, you’ll encounter another door with a bell that requires a key. Leave this for later as well.
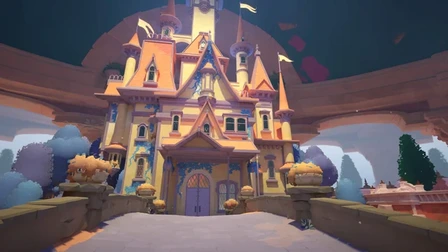
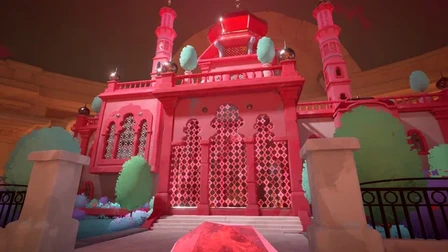
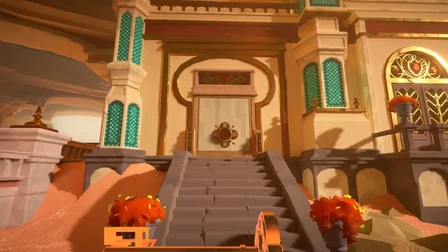
Keep going around until you reach a massive yellow castle with purple doors. Approach the doors, and they’ll open, revealing a cutscene introducing the game’s protagonists, Kenzie and Michael, who meet at The Maquette coffee shop.
After the cutscene, return to the middle dome, which will now be open. Go underneath it to find a miniature replica of the current area. Look for a small red block that’s blocking an unexplored section. This block is movable when glowing. Push it, and you’ll notice the larger version moving outside.
The goal is to find a way into the next area using this small red block. A hint is provided below to assist you with this puzzle. Once you solve it, head into that area, which has a significant gap in the middle. Drop down for now.
In the lower area, explore the passageway beneath your starting point. Here, you’ll discover a lever and an elevator, along with a replica of a bridge. Interact with it to remove the bridge, then use the lever to go back up.
Tip: If you drop something, you can descend, retrieve it, and use the lever to return to the normal-sized area from anywhere.
At the top, return to the miniature replica area with the smaller bridge. You need to find a way to cross the gap in this puzzle. A hint is provided below to assist you with the solution.
Once you figure it out, head back to where you obtained the bridge, cross it, and flip the switch at the end of the elevator. This will take you up, and a pathway will appear, leading you to a shining golden ticket. Grab it and move forward into the next elevator, which will take you back down.

Return to the miniature replica area. For the next puzzle, you’ll need to use the ticket to access the carnival area where you saw the ticket box earlier. A hint is provided below to assist you with this puzzle.

Now, head to the carnival area, and after the cutscene ends, head back towards the ferris wheel. You’ll hear a sound coming from behind the writing that appears.
In this section, your task is to investigate the noise behind the wall. A hint is provided below to assist you with this task, but for a detailed explanation.
Once you obtain the key, use it to unlock the door. In the next area, you’ll encounter another gap to cross. A hint is provided below to help you with this challenge.
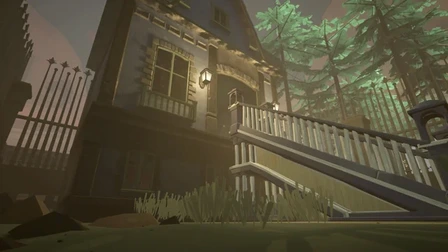
After another cutscene, the castle you visited earlier will transform into a house. Head over there, but first, cross another gap and unlock the door. A hint is provided below to assist you with navigating this area.
Now, enter the building through the open door, and this will mark the completion of The Maquette.
The Gateways
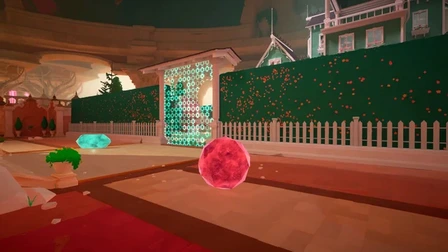
After the cutscene concludes, you’ll find yourself in The Gateways. Turn around and head behind the main building to discover a dark area with a pink gem at its center. Pick up the gem and bring it to the front gate.
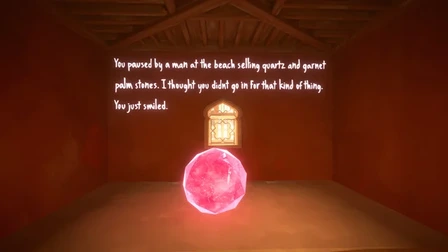
Touch the pink diamond-shaped object next to the gate, and it will vanish. Now, make your way to the pink building across from you. Since the gem you carry matches the color of the building, you can pass through the walkway. Once inside, head all the way to the back and towards the right.
Ascend the stairs until you reach a lever. Pull it, and a blue diamond will drop. However, you can’t carry it out without the help of the pink gem. A hint is provided below to assist you with solving this puzzle, but for a full breakdown.
Once you’re outside, head to the blue building.
Inside the blue building, you’ll realize that to access the green gem, you’ll need the pink one again. Place the blue diamond outside the entrance where you came in and return to the miniature replica area.
A hint is provided below to help you access the green gem. For a detailed explanation of this puzzle.
Upon obtaining the green gem, a cutscene will play. Afterward, take the green gem and flip the switch next to the door to leave. Now, head to the green building.
However, you’ll need the pink gem again to proceed here. A hint is provided below to assist you. For a detailed explanation of this puzzle.
After getting through, another cutscene will play. Once it concludes, grab the key ahead of you and move forward. Insert the key into the hole in the wall shaped like it, then drop it. Return the same way you came until you’re back in the main area. You’ll find a smaller version of the key outside the miniature replica area.
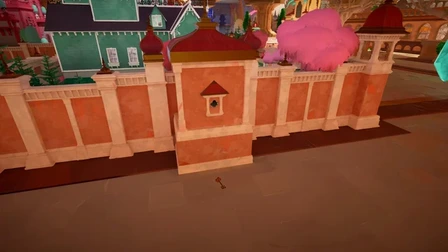
To enlarge it, drop the key in the smaller area and locate its larger counterpart nearby. Take it to the area where you started and use the key to unlock the doors to the tan building.
Now, you’ll need both the green and pink gems. Start by retrieving the pink gem from the green building. A hint is provided below to guide you. For a detailed explanation of this puzzle, refer to the puzzle guide.
Once you have both gems, find a way to get the pink gem into the tan building. A hint is provided below to assist you with this puzzle. For a detailed breakdown.
Once inside the tan building, use the pink gem to progress forward. A cutscene will play, and after it ends, flip the lever by the door to exit. A bridge will form, leading you to a gear. Grab it, then head back to the miniature replica table.
Unfortunately, a wall will form around it. A hint is provided below to help you with this puzzle.
Once the wall is removed, pick up the gear again and place it in the slot behind the tan building in the miniature replica area. This completes The Gateways.
The Wedge
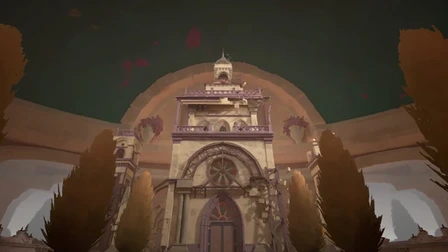
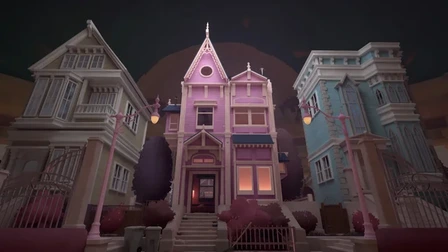
After the cutscene concludes, proceed straight towards the church ahead of you. However, it requires a key to enter. So, retrace your steps and spot a purple house to your right with a lit-up interior. Approach it, and the door will open for you.
Pass through the doors and into the backyard. Inside the next building, flip the switch and head down. Once at the bottom, exit and return to the purple house.
The stairs are now too tall to climb, so use the rake this time to ascend and traverse across the fencing to reach the ledge. From there, drop down and utilize the flower pots and rocks at the ends to continue climbing up the stairs.
Back inside the house, use the books on the right to climb up into the illuminated room. Upon entering, a cutscene will initiate. Afterward, grab the glowing ramp and take it outside.
Now, with the ramp, your task is to find a way into the wooded area. A hint is provided below to assist you. For a detailed breakdown of this puzzle.
Once you’ve made it through, approach the house ahead with the front light on. Flip the switch inside, and an area will open up behind the house. Then, head outside and towards the house on the left. Activate the switch in there, and the gate will drop in front.
Return to the miniature table and move the ramp inside the final gated area located in the wooded location; you’ll need it to reach the open elevated door. Then, go back down to the larger area and head towards this gated-off building. There will be bars at the very bottom that you can squeeze through.
Once through, climb the ramp through the open door. Move towards the pipe on the left side, and a cutscene will play. After it ends, climb up the pipes to the chair, then over to the switch. Flip it and return to the normal-sized area.
Next, you’ll need to access the next area surrounded by dead trees. A hint is provided below to guide you. For a full breakdown of this puzzle.
Once you’re in this second wooded area, enter the main house and flip the switch to bring down the wall ahead of you.
Exit the house and head down to the house on the right. Flip the switch in there to open the gate, then return to the miniature replica area. Now, move the ramp over to the elevated door at the front of the final house, but make sure it’s turned sideways.
Head out the back and into the larger area. Make your way to the ramp and take the smaller ledge on the side of it to go up and around to the house’s ledge. Then, go over to the handrail and hop on top of it, making your way up to the top and then inside. From here, move to the right and through the hole in the left wall.
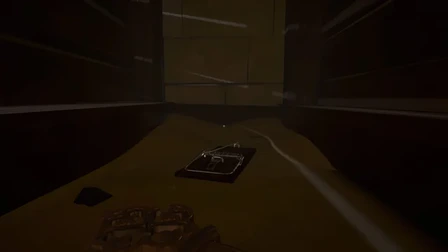
Another cutscene will play before you proceed through it. Once it’s done, continue moving forward. You’ll find a key in a mouse trap. Retrieve it, then return to the normal-sized world.
Use this key to unlock the church doors. Head inside, and a brief cutscene will start. Now, your objective is to reach the bell at the top. A hint is provided below to assist you. For a full breakdown of this puzzle, refer to the puzzle guide.
Once you’ve accomplished it, interact with the bell, and another cutscene will commence, completing The Wedge.