If you don’t know how to builds a fleet in NEBULOUS Fleet Command, this guide is for you! This guide will explain the strengths and weaknesses of each Alliance and Protective Starter fleet and how to play them. Check out our NEBULOUS Fleet Command Fleet Builds guide without wasting time!
NEBULOUS Fleet Command Fleet Builds
Welcome to our NEBULOUS Fleet Command Fleet Builds guide. The Starter Fleets in Nebulous are the first ships people tend to play with in both Single Player versus AI and Multiplayer. However, the descriptions are not that descriptive. This guide will explain the strengths and weaknesses of each Alliance and Protectorate Starter fleet and how to play them.
A very important note:
All Starter Fleets in Nebulous were designed by players and balance testers. However, while they were designed by some of best players around and established community members, none of them are what people will consider meta or high-end. In fact, if you participate in the Nebulous Discord, some would argue these fleets are just bad.
This is intentional. Starter fleets are not designed to be meta or high end.
Based on history of starter fleet picks and discussions with some of the Nebulous Mods, it appears that Starter Fleets are exactly what their name means: Starter Fleets. Being non-meta or not-high end or highly optimised is exactly why they were picked. Instead all Starter Fleets tend to do the following:
- Showcase key Nebulous mechanics
- Be relatively easy to micro
- Have one specific specialization to show a faction’s doctrine
As such, it is encouraged for people to modify their fleets based on or inspired by Nebulous Starter Fleets. If you lose or overwrite that fleet, just re-verify your game files from Steam (Right click on Nebulous Fleet Command in library, Properties, Local Files, Verify Integrity of Game Files).
Alliance Starter Fleets
WIP
Task Force Ash
Designer
: HIGHSCORE TRIGGERHAPPY, SENIOR MODERATOR, TESTER, SUPERIOR DISBALANCER, APPLIER OF BEAMS, UNMATCHED (seriously this title was per his request)
Usage
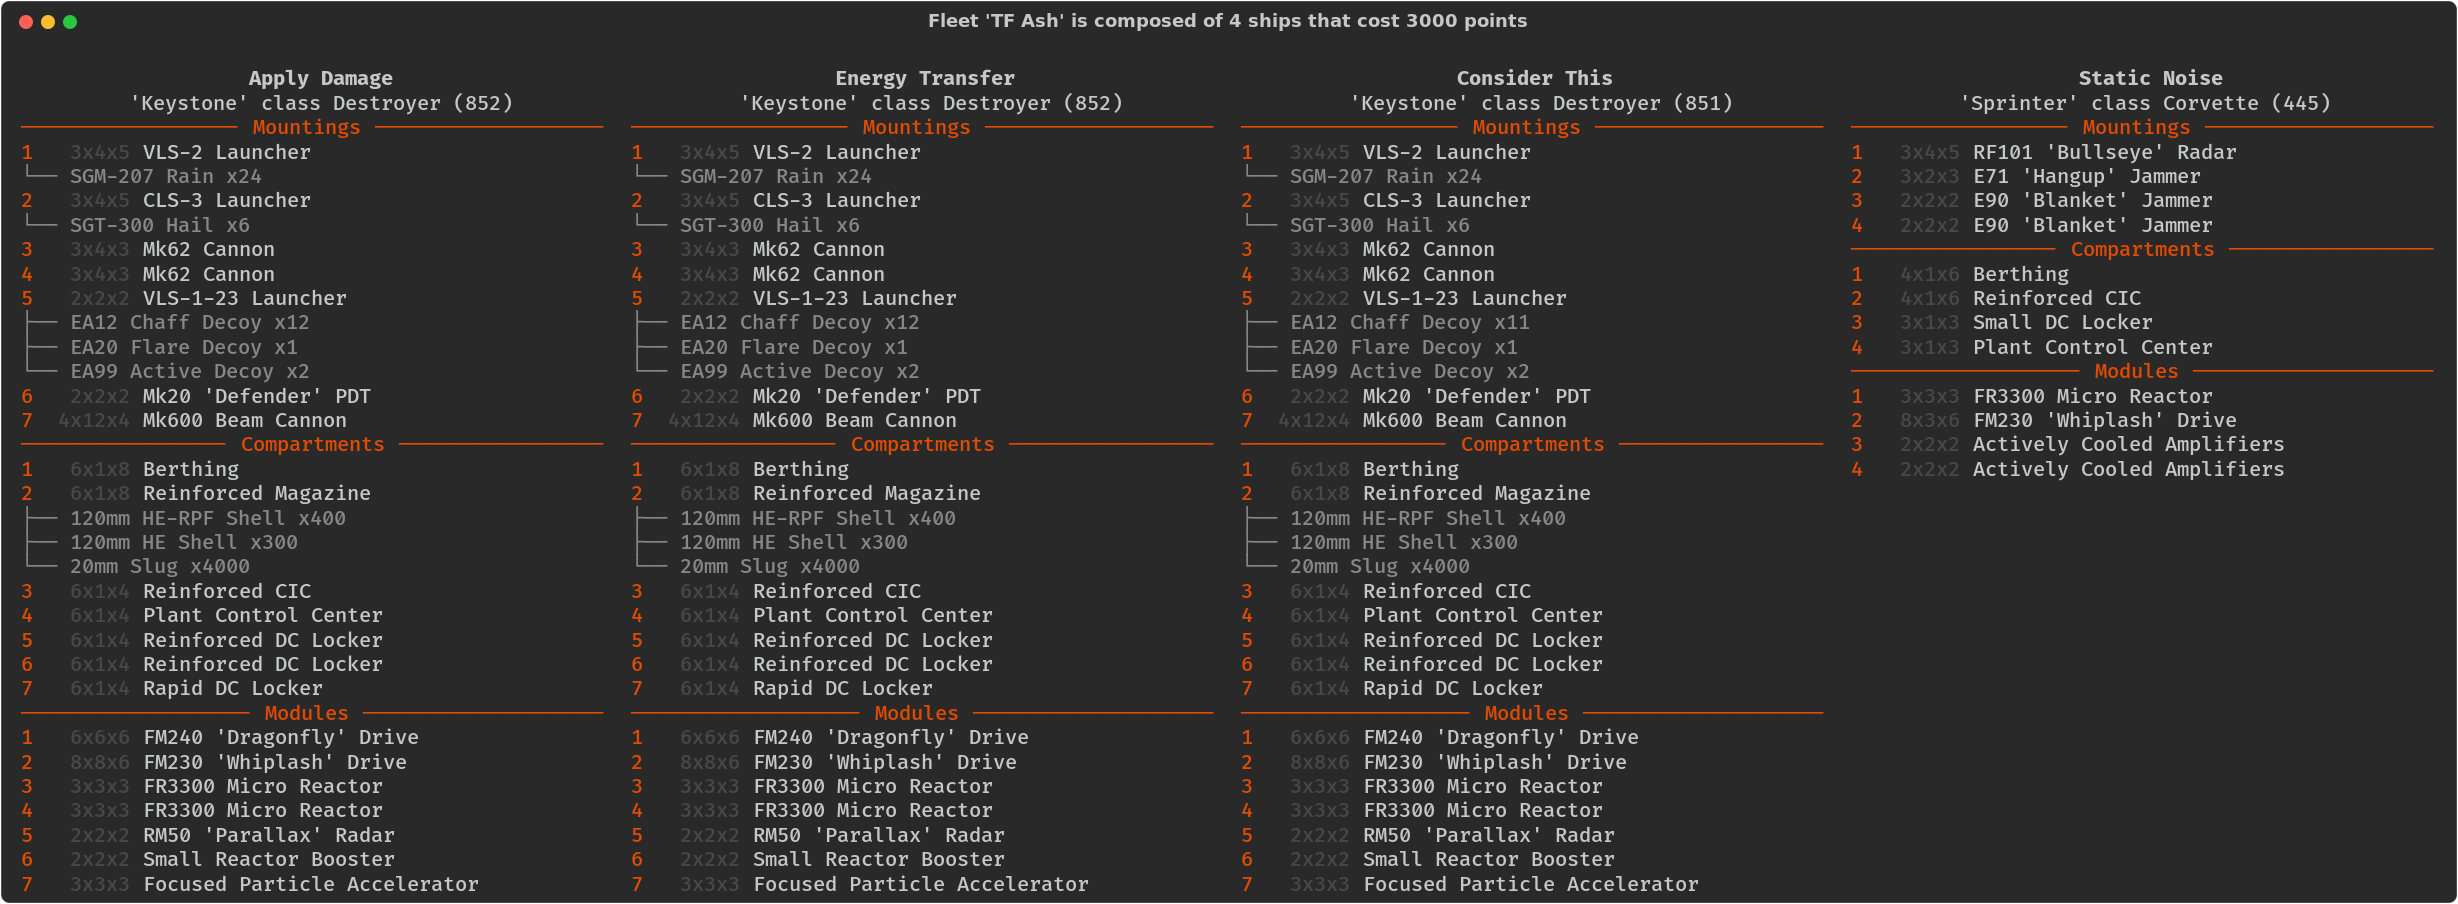
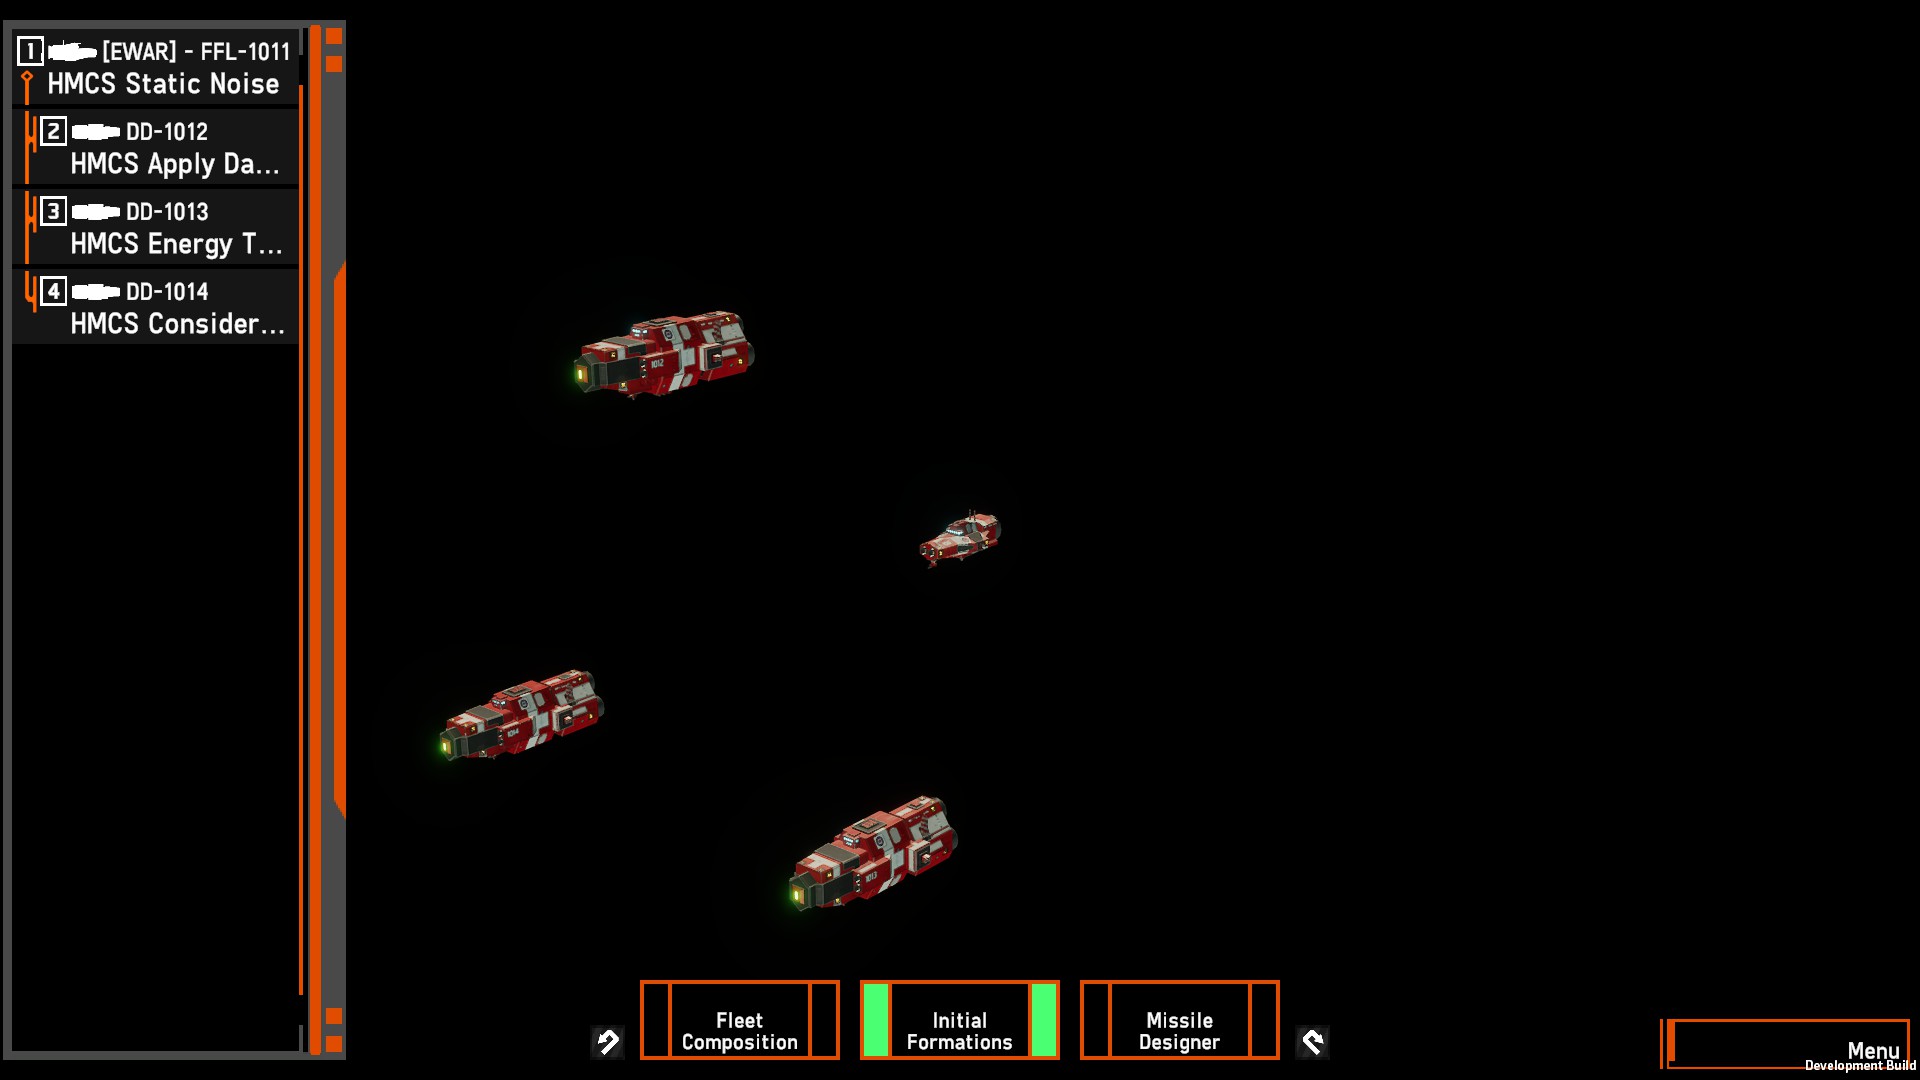
:As stated on the description, Task Force Ash is a close-range brawling fleet with a long ranged punch through its missiles. You don’t want to stand in open space and fight with this fleet. Ambushing, or popping in and out around corners with the assistance of your jamming is the key to winning battles.
The Beams are the most powerful weapon on this fleet. The maximum range is 6km, but ideally ambushes and engagements are to be conducted at 5.5km. An Axford or Solomon can be shredded in seconds under fire from three of these beams. Use the Battle Short Toggle to override the reload on the beam cannons in these engagements to make sure you stop getting shot at. Be careful about leaving the beams on Battle Short for too long though, as that will knock your weapon out.
Key to this force’s survivability though isn’t the beam Keystone Destroyers, but the Sprinter.
There is a reason the Sprinter on TF Ash is the #1 warship. It provides the Bullseye fire control locks to orientate the beams. It also can provide cover to the destroyers through its use of its two blanket jammers and hangup. The Hangup is crucial as it stops people from receiving friendly radar tracks, rendering scouts outside of the jamming cone useless in many situations (exception is if you are attempting to jam a ship with an Ocello or Axford providing a friendly track).
A note on the missiles of TF Ash, the primary missile armament of Ash is a 4 point 12000 meter ranged Size 2 missile called “Rain.” This is very good for quantity, but can be decoyed easily by Chaff or Blanket Jamming. Again, very useful for pop up strikes and ambushes at close range, but perhaps not so great at extended ranges. The missile armament is supplemented further by 18 Size 3 torpedoes called “Hail.” These command guided missiles are far more reliable and can be launched quickly, but they only have 6km range. It is advised you use these during your ambush.
The MK62 Dual Purpose 120mm cannons are also an essential part of this fleet. In particular against OSPN they will help the destroyers negate rocket Shuttle threats and provide a useful addition to the point defense of this fleet. Still, you do not want to just fight in the open versus enemies with 450mm big guns or 250mm cannons, or even 100mm with Plasma support. This fleet is a specialized ambush fleet. You don’t chase people, you pop up and beam them to death and then sink back into cover, leaving dead hulls in your wake.
Comments from Highscore:
– The Rain missiles are stress-application missiles I use primarily against, 1) scouts with no chaff or PD (they die), 2) the target you’re attacking, to apply additional micro and threat pressure – they are not intended to hit, so much as to apply stress to the opponent;
– The Hail missiles are not just just ambush weapons, they are excellent finishers to finish off badly damaged targets with no PD, so you can re-target your beams without staying on target long enough for a kill
– The 120s are primarily there for PD! The fleet brings 120 HE-RPF and you should keep that loaded so the 120s can intercept missiles on reflex. It’s very effective!
– Note the dual drive layout of the destroyers. They are something I think a lot of new players can find interesting, and change the performance of the destroyers drastically.
Task Force Birch
Designer:
Enderminion, Nebulous Discord Moderator,
Usage:
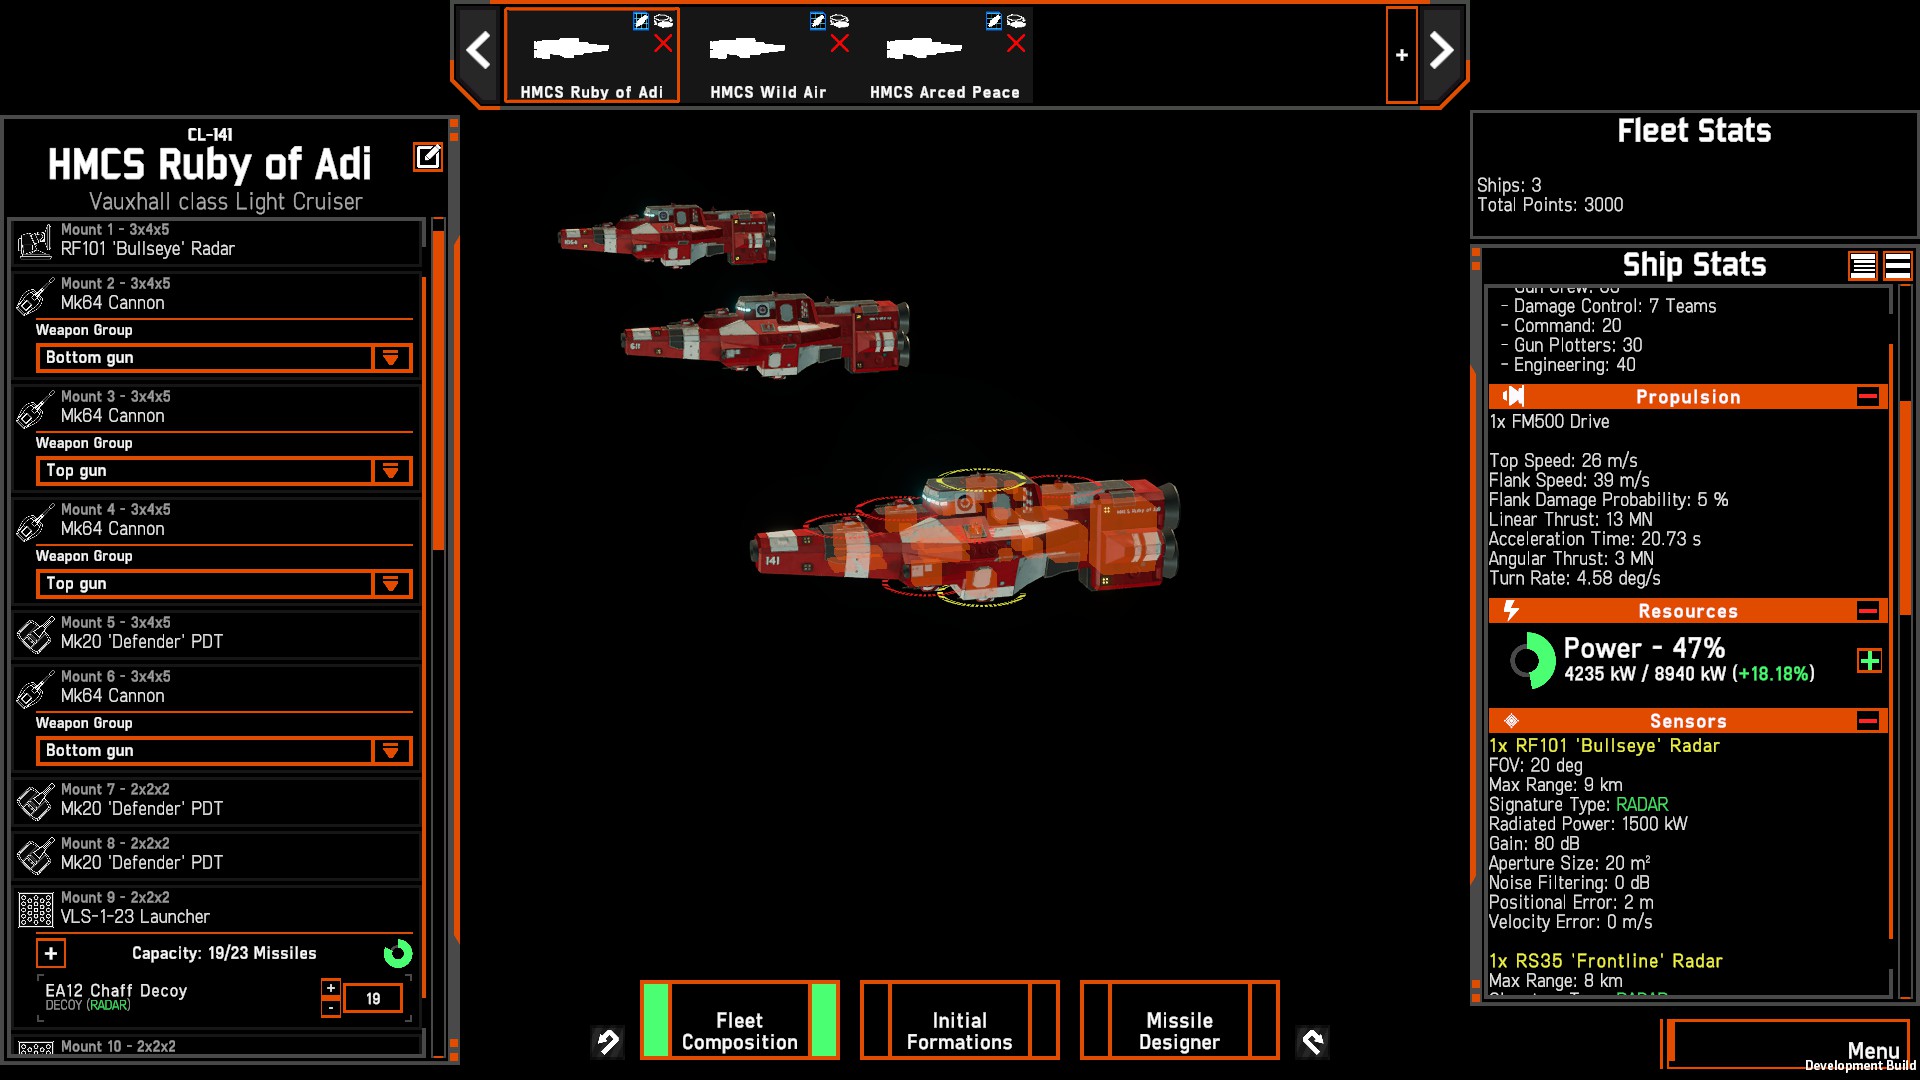
Task Force Birch is the stereotypical Alliance Navy Light Cruiser hunting pack, though perhaps not the most commonly built layout. Variations of this fleet were seen everywhere in OSPN testing and prior to that and the uses have not changed.
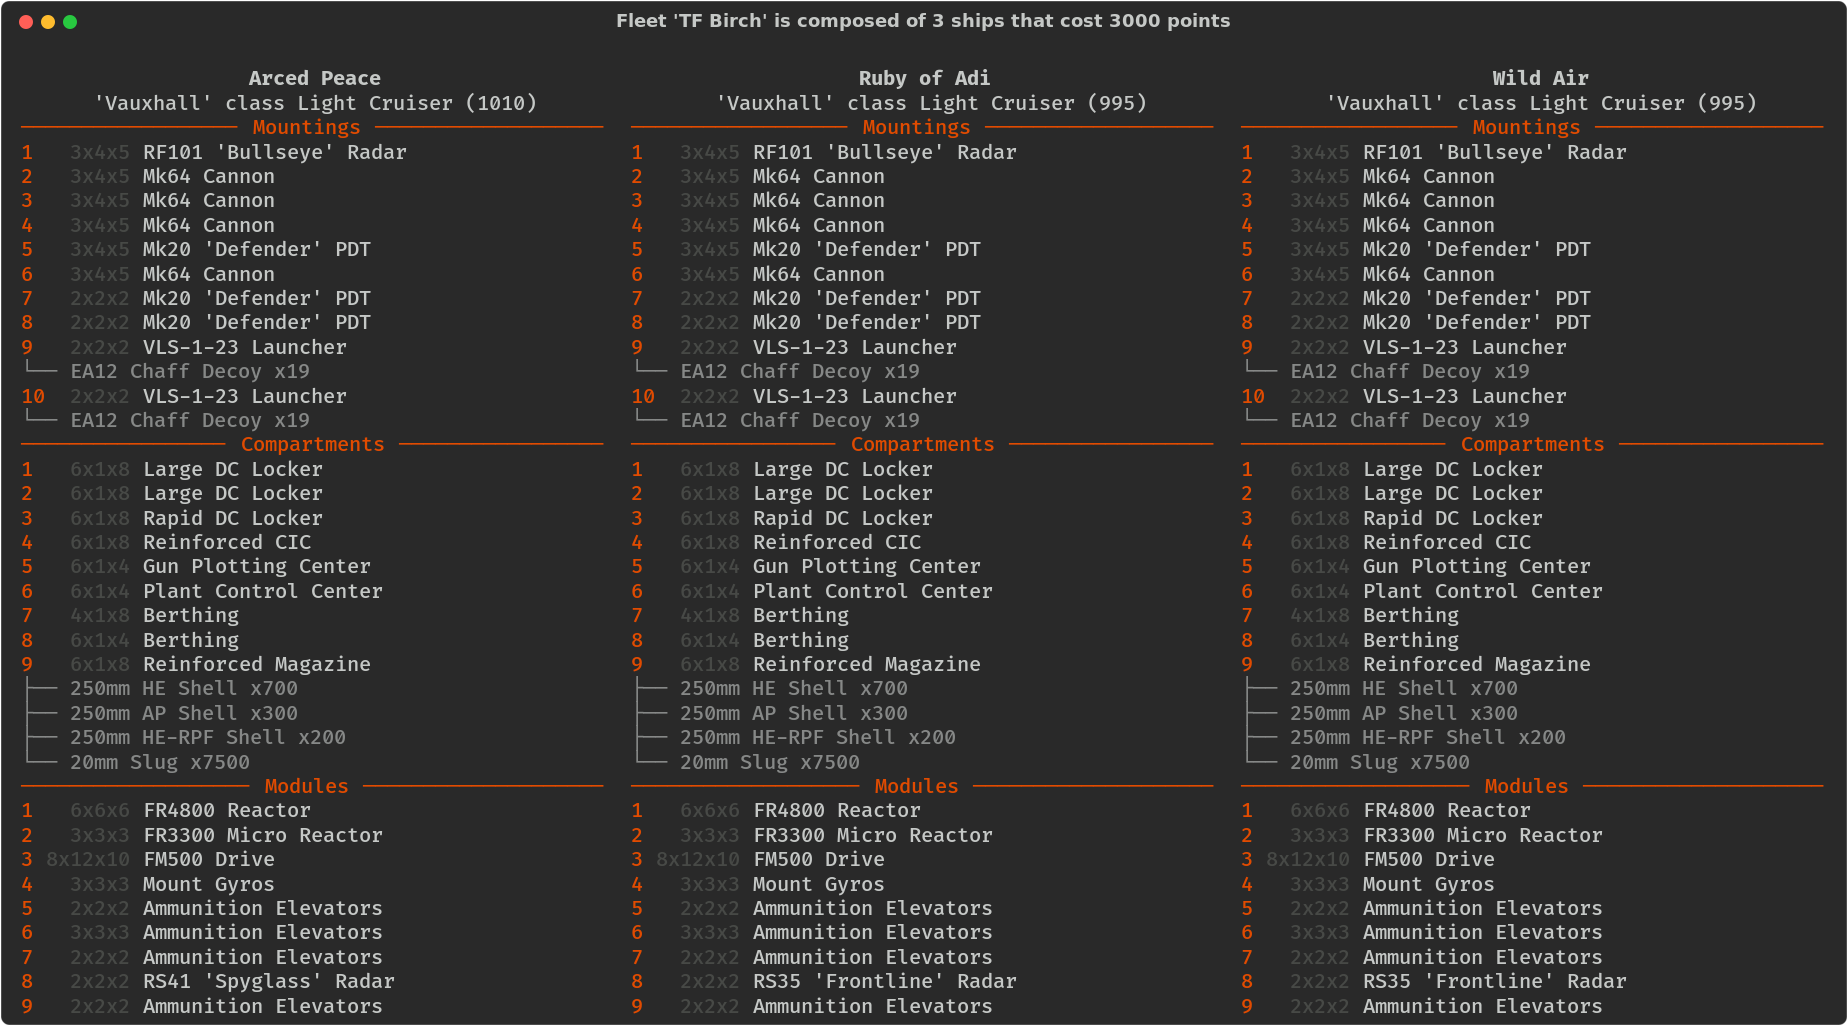
Vauxhalls are skirmishing vessels. They can fight ANS Axford Heavy Cruisers, OSPN Line Ships and Ocellos head to head, but they better not do it for long and be on Flank Speed and Evade Manoeuvring posture all that time. The MK64 250mm has received significant buffs that with careful management of the AP, HE and HE-RPF (HE Radio Proximity Fuse) shells, can damage every OSPN warship and at certain angles, every ANS warship.
However, the MK64 250mm doesn’t kill the heaviest ANS or OSPN warships very quickly. You are a skirmishing vessel meant to apply pressure, scout and kick those lighter ANS or OSPN vessels off your friendly caps. Monitor the health of your Vauxhalls. Use cover and keep a retreat angle open. Don’t put yourself into situations where you will be focus fired down by from multiple angles. Birch is a powerful fleet, but it while it can fight everything you can’t win every fight.
Per my personal analysis, Birch might be most vulnerable to being missile spammed, though more from close range than at long range. The Mk64 250mm cannon is now fully dual purpose and will target enemy missiles in its 8km range and shoot RPF rounds. This means that with good sight lines, Birch will intercept moderate amounts of hybrid or container missiles. The problem is that the MK64mm isn’t the best at defending from missiles at close range due to its slower traverse and with only three defenders per Vauxhall and chaff-only as a defense, Birch is vulnerable to say Command Guided missiles, or missiles with validators and terminal manoeuvres.
Keep Birch at 7-8km range, moving fast, ducking into cover and dodging shots and it will treat you well. Fail to do that and you’ll get ripped apart.
Task Force Hemlock
Designer:
Torpedodo, Missile Update and OSPN Balance Tester
Usage:
I’m an Axford specialist and sometimes this fleet makes me cringe, but I also wholeheartedly support this fleet’s inclusion into the Starter fleet lineup.
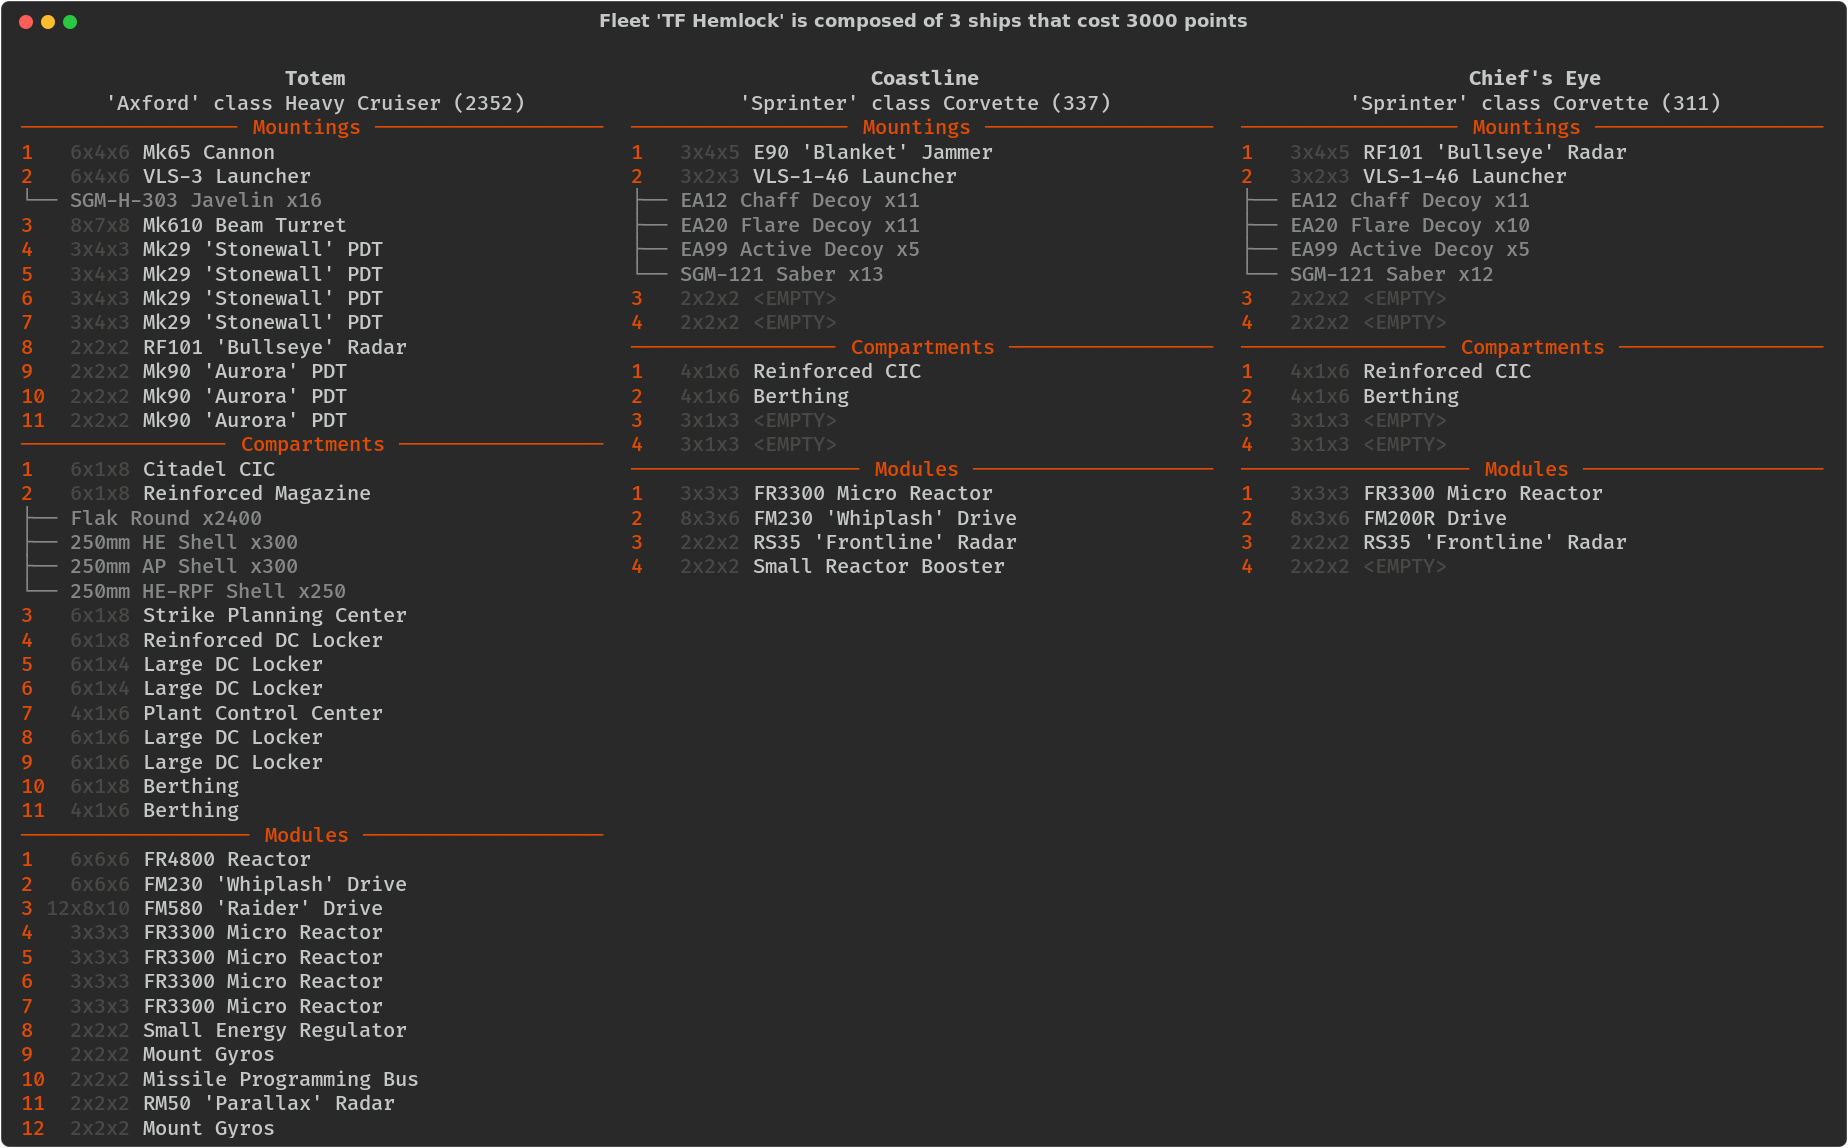
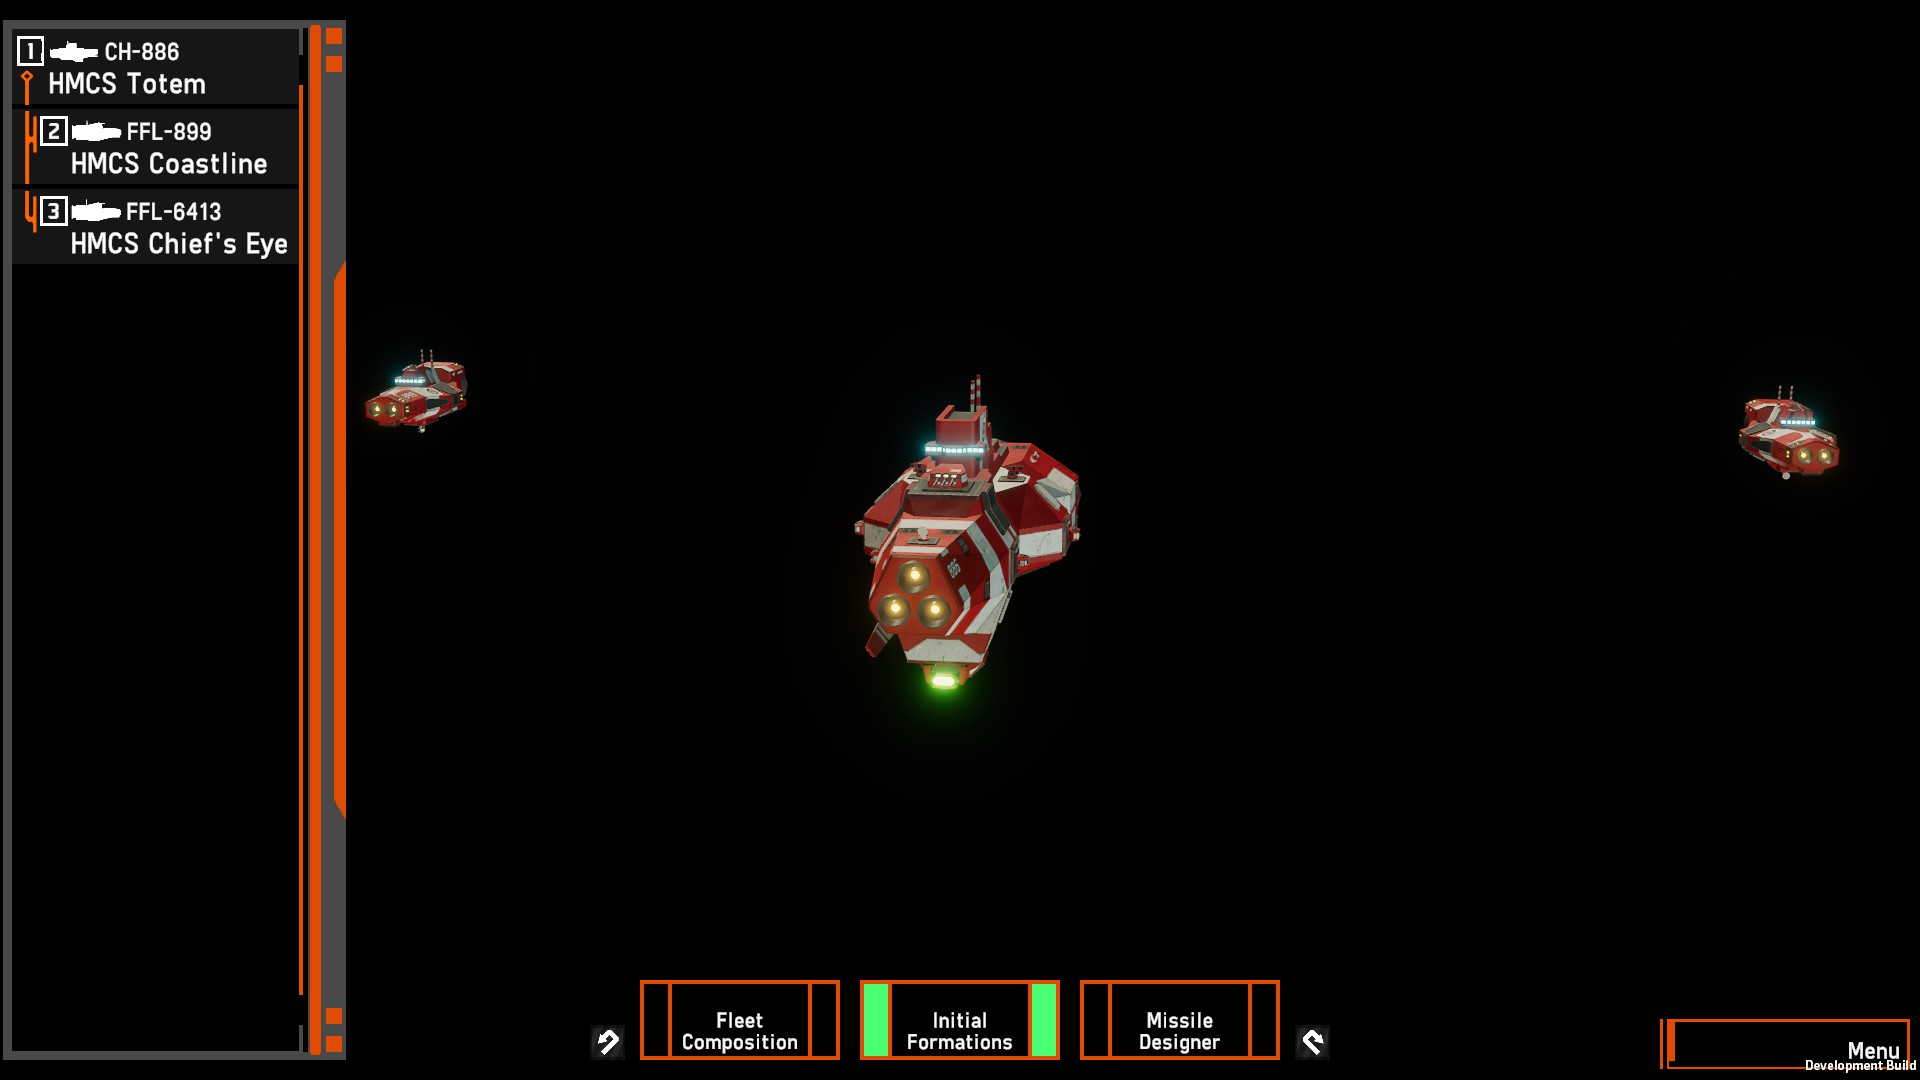
Task Force Hemlock is a fairly flexible fleet in that it has a little bit of everything to answer a little bit of everything and for every engagement range. It’s so diverse though that it has a number of weakspots.
Although comprising of an Axford Heavy Cruiser, it’s not a very good fleet to engage enemies at gun ranges for sustained periods of time. Instead it’s good at holding corners and ambushing. The Mk65 triple barrelled 250mm cannon is a decent weapon against OSPN and ANS light ships like Frigates, Tugboats, Sprinters and Shuttles, but having only one means you’ll struggle against Vauxhalls, Bulk Freighters, other Axfords, or multiple Cargo Feeders. However, the MK610 Beam Turret will shred things at 4-5km and you can help shred ships up close through using the Battle Short toggle.
Moreover, while you don’t have a sustained ranged engagement weapon, you do have the ‘Javelin,’ Torpedodo’s Size 3 Hybrids missiles are deadly, expensive, programmed to Corkscrew to avoid defender and P11 counter-fire, and equipped with Decoy Launchers so that you can slam 2592 HP of damage into enemy vessels. You can also fire four of them at a time. I highly recommend jamming the enemy, though with your escorting sprinter corvettes as you only have 16 of these missiles.
Finally, as a plus for Task Force Hemlock, you have formidable Point Defense. 25 x Saber Anti-Missile Missiles, 4 x Stonewall Flak Guns and 3 x Aurora Point Defense lasers means you can really shred enemy missile volleys.
Again, you don’t want to stand in open space and get hit by cannon fire, but if you can dodge in and out of cover, you can use the missiles, beams and backup gun of TF Hemlock to inflict some serious damage
Task Force Oak
Designer:
Notsolonewolf, Nebulous Discord Moderator
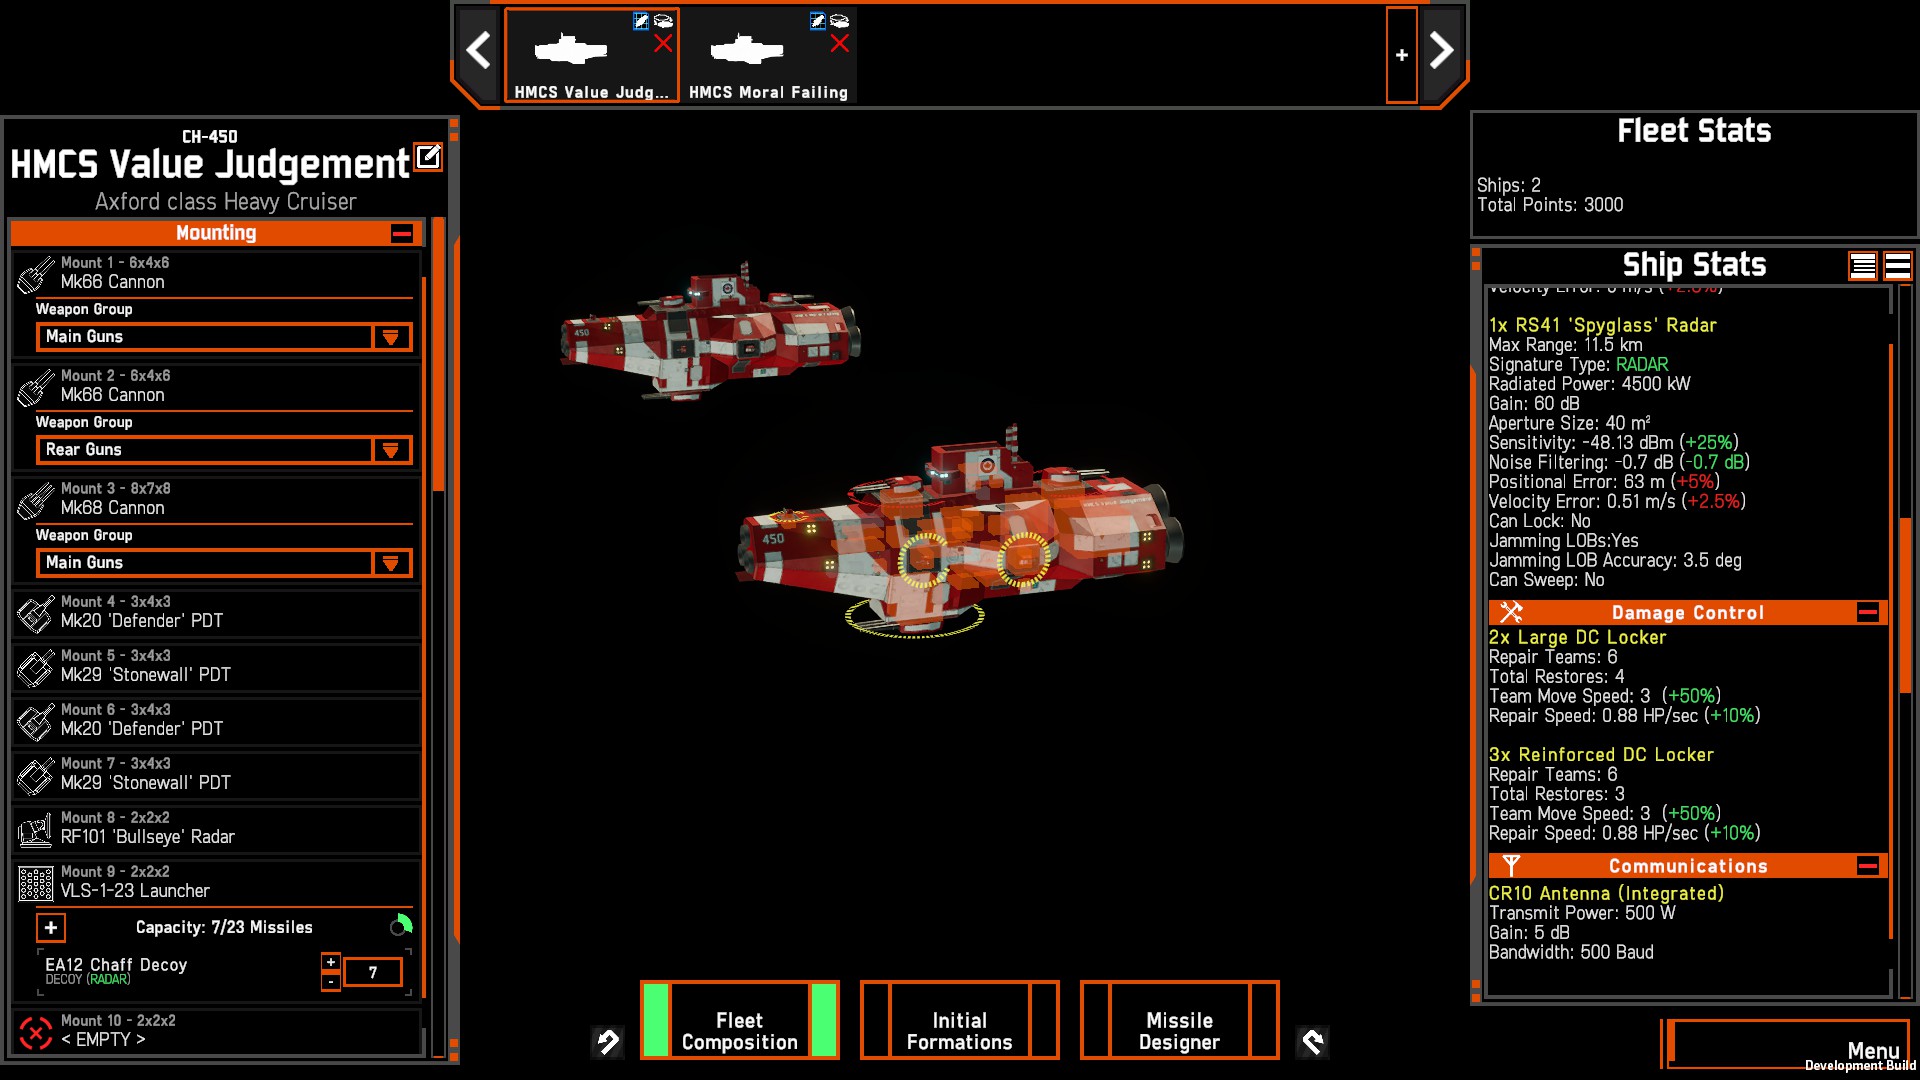
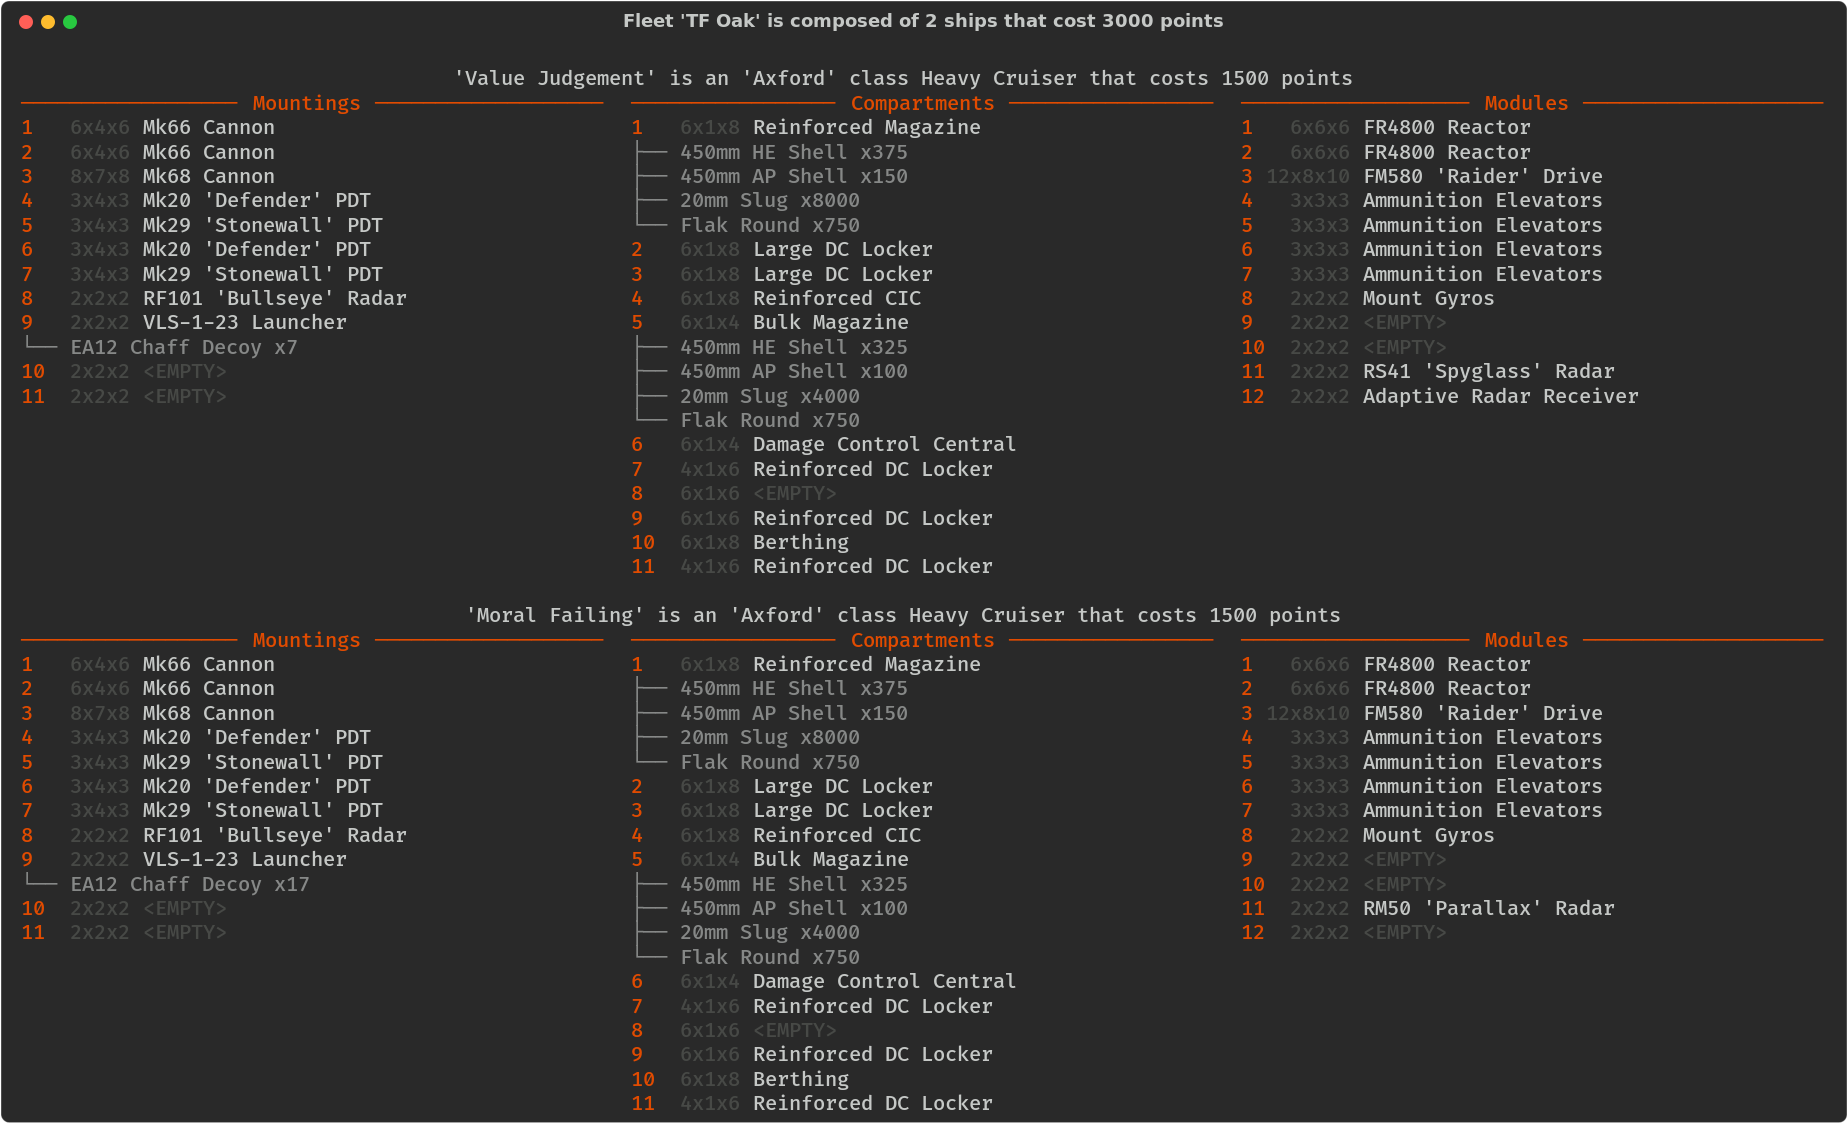
Task Force Oak was one of my primary introductions into Nebulous Fleet Command and is one of the easiest starter fleets to get accustomed to. It’s very simple to shoot something with it. You have two Axford Heavy Cruisers, they have a lot of guns, you shift-right click and shoot them.
Before I get into Task Force Oak and the fleet’s many strengths, let me get into its weaknesses so people who have trouble fighting this fleet learn how to beat this wall of metal.
First off, Task Force Oak is critically weak to Size 2 and 3 Hybrid Missiles with Terminal Manoeuvres as it has no Aurora point defense. It’s also not particularly fast or manoeuvrable as it can push 27 m/s but only on Flank speed. This means it can’t escape ambushes easily (which means you can catch them in a Beam ambush or a Line Ship Gun ambush). There is also no Secondary Battery or other armament other than the 450mm cannons, which means that the heavy cruiser pair might find it hard to defend itself against an ambushing OSPN Shuttle Group with rockets, or Sprinters with Size 3 Torpedo Launchers. Task Force Oak also has a decent point defense network, but it can be overwhelmed. As Task Force Oak is comprised of Axford cruisers and not Solomon Battleships, OSPN plasma will strip their armor in a single hit, and open them up to damage by lighter guns. Thus, there are ways to overwhelm Task Force Oak.
To prevent yourself from being overwhelmed as a Task Force Oak player, management of sight lines, map awareness, and team support is essential. You want to be firing the cannons at a single battlegroup and only be engaged or preferably not-engaged by your enemy battlegroup. As I have stated previously, use cover and manage the range of your weapons in relation to the enemy’s weapons. The Spyglass radar on one of the Task Force Oak cruisers is very useful to see what the enemy has at range so you can make your decisions. Note however that as a cruiser player, you need to think ahead. Do not, go somewhere just because. You must consider what might happen when you get to the place you are going to and why you are going there. As such, you need to monitor the map to see if you can see flanking enemy forces, and find out where your team is so you can be supported in your movements.
Move Task Force Oak properly she will treat you well and smash your enemies before you. Fail to do that, and you’ll get smashed.
Comments from NotsoLonewolf
TF Oak was designed for minimum micro, and it does that – all you need to do is lock target and fire away. But because of that mandate, it packs no detached scouts, jammers, missiles, or any other tools which make it more survivable in open space. As such, while Oak is minimum micro it is maximum decisions. Where is your fleet, which enemies have line of sight on you, is your rear end safe from enemy fire, are your broadsides pointed towards the enemy and ready to go?
The main aspect of Oak is positioning. You can get buzzsawed if the enemy catches you in a spot where they can bring their full force to bear – don’t let them do that. Manage your sightlines to be visible to the enemies you wish to engage and stay in cover relative to those you do not. Whenever possible, stick with your allies to benefit from their escorts, ewar, and point defence. Position Oak well and it will carry you far. Good luck, commander!
Task Force Redwood
Designer:
Daniel_syy, Grand Duke of BB, Nebulous Permanent Tester
Usage:
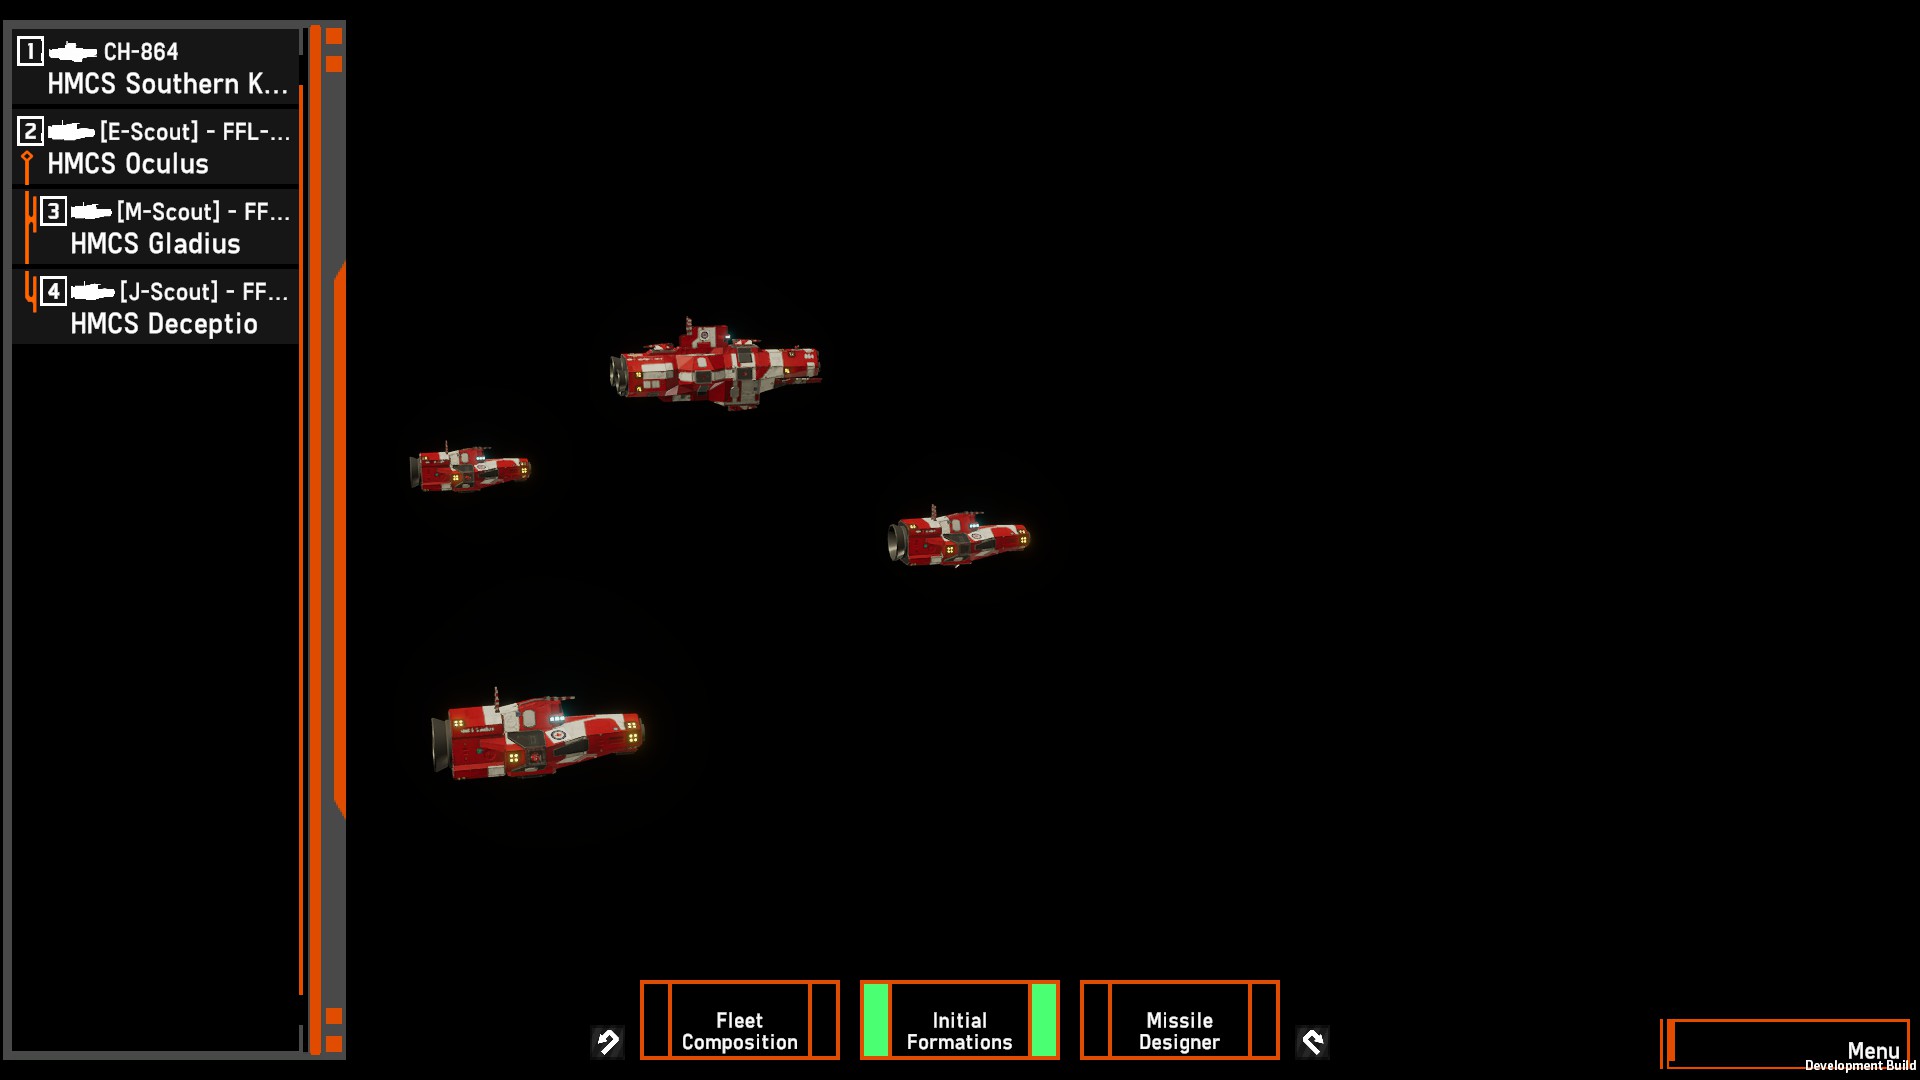
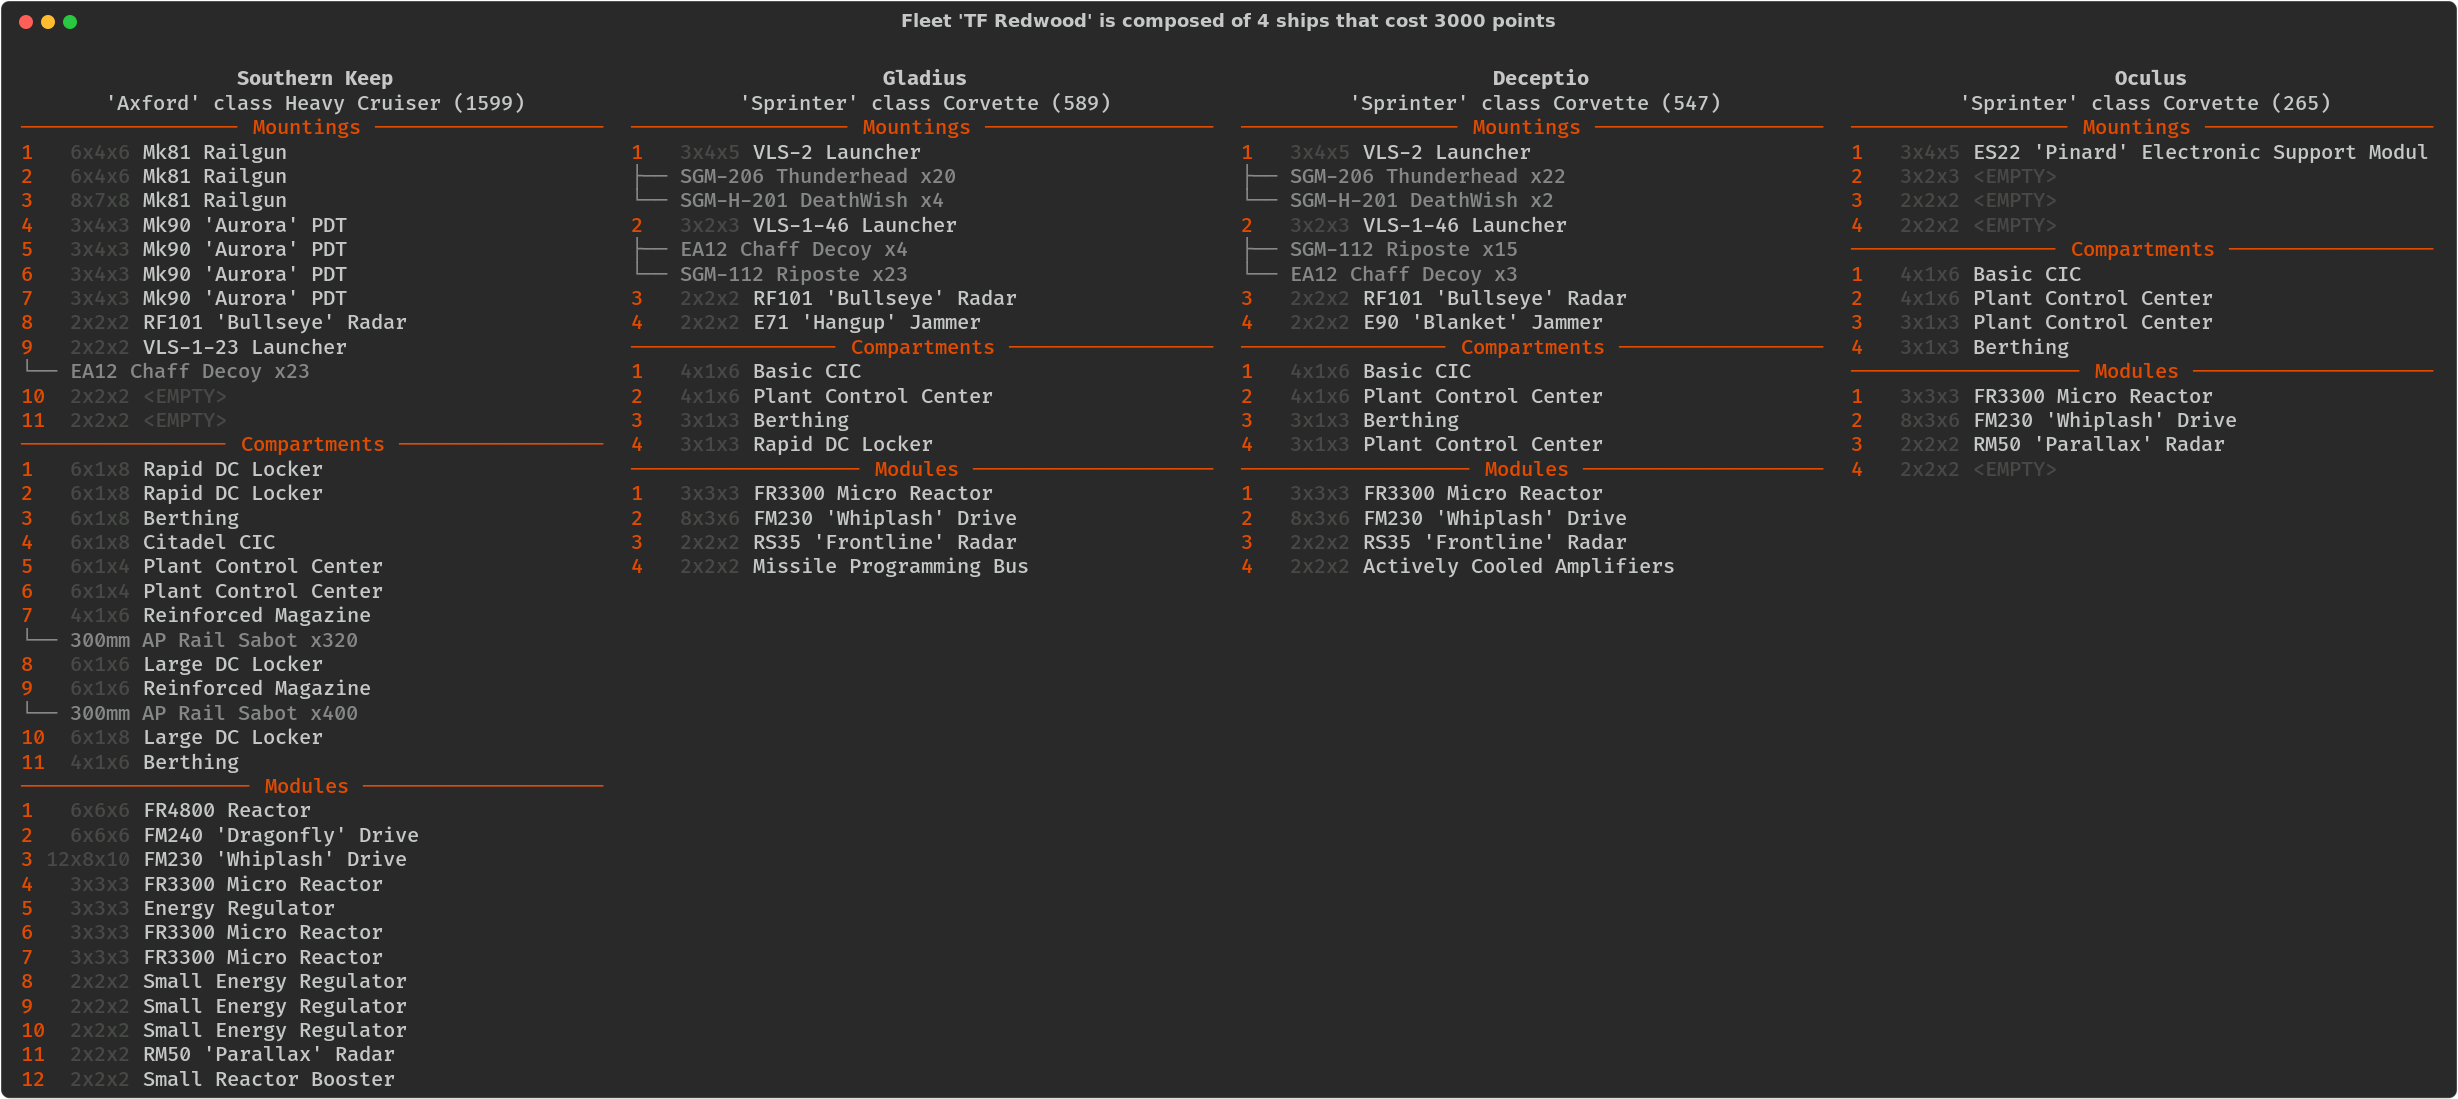
Task Force Redwood is the introduction to ANS railgun cruisers. Per the OSPN update, the ANS Railgun is now a debuff machine. You don’t actually do a lot of direct damage to the enemy ships you are shooting at. However, ANS Railguns can really screw with enemy warships and apply some seriously debilitating effects if they are being engaged by your friendlies. In one tester game, an Ocello’s MK81 railgun hit on an ANS beam cruiser debuffed the Axford’s beam damage so much it saved a lineship.
As such to use Task Force Redwood, you must constantly monitor the map. You are not going to run forward and engage the enemy vessels head to head, you’re watching where your team is going, positioning yourself to support and then from beyond the range of cannon fire, unleashing your railguns to give all kinds of nasty debuffs and fires on the enemy. This will help your team to win engagements that otherwise might come out even.
The three Sprinters with Redwood are to be employed to help you scout, but they are also defensive. They have a Pinard to tell you the rough direction of enemies, and Bullseye radar to lock onto them. To camouflage the sprinters whilst they are locked onto the enemy, they also have jammers.
Remember, however, that Railguns now bloom your signature, which means the enemy team might spot you quite early on. Make sure to not be too far away from cover when firing your railguns and it’s not a bad idea to keep the sprinters alive and not too far away. They have Size 2 and Size 2 Hybrid missiles that can both take out enemy back-cappers and scouts, or if you really are going to try to be sneaky, run up to an enemy rail warship and harass it with missiles. That being said, the low programming channel count of Redwood’s Sprinters means its best to use the vessels to take out enemy scouts rather than any kind of ambush.
Task Force Sycamore

Designer:
Cik (Seeker Enthusiast), Missile and OSPN Update Tester
Usage:
Designed by one of the best missileers I know in Nebulous, Task Force Sycamore is one of the more complicated ANS Starter Fleets that looks fragile, but is very deadly.
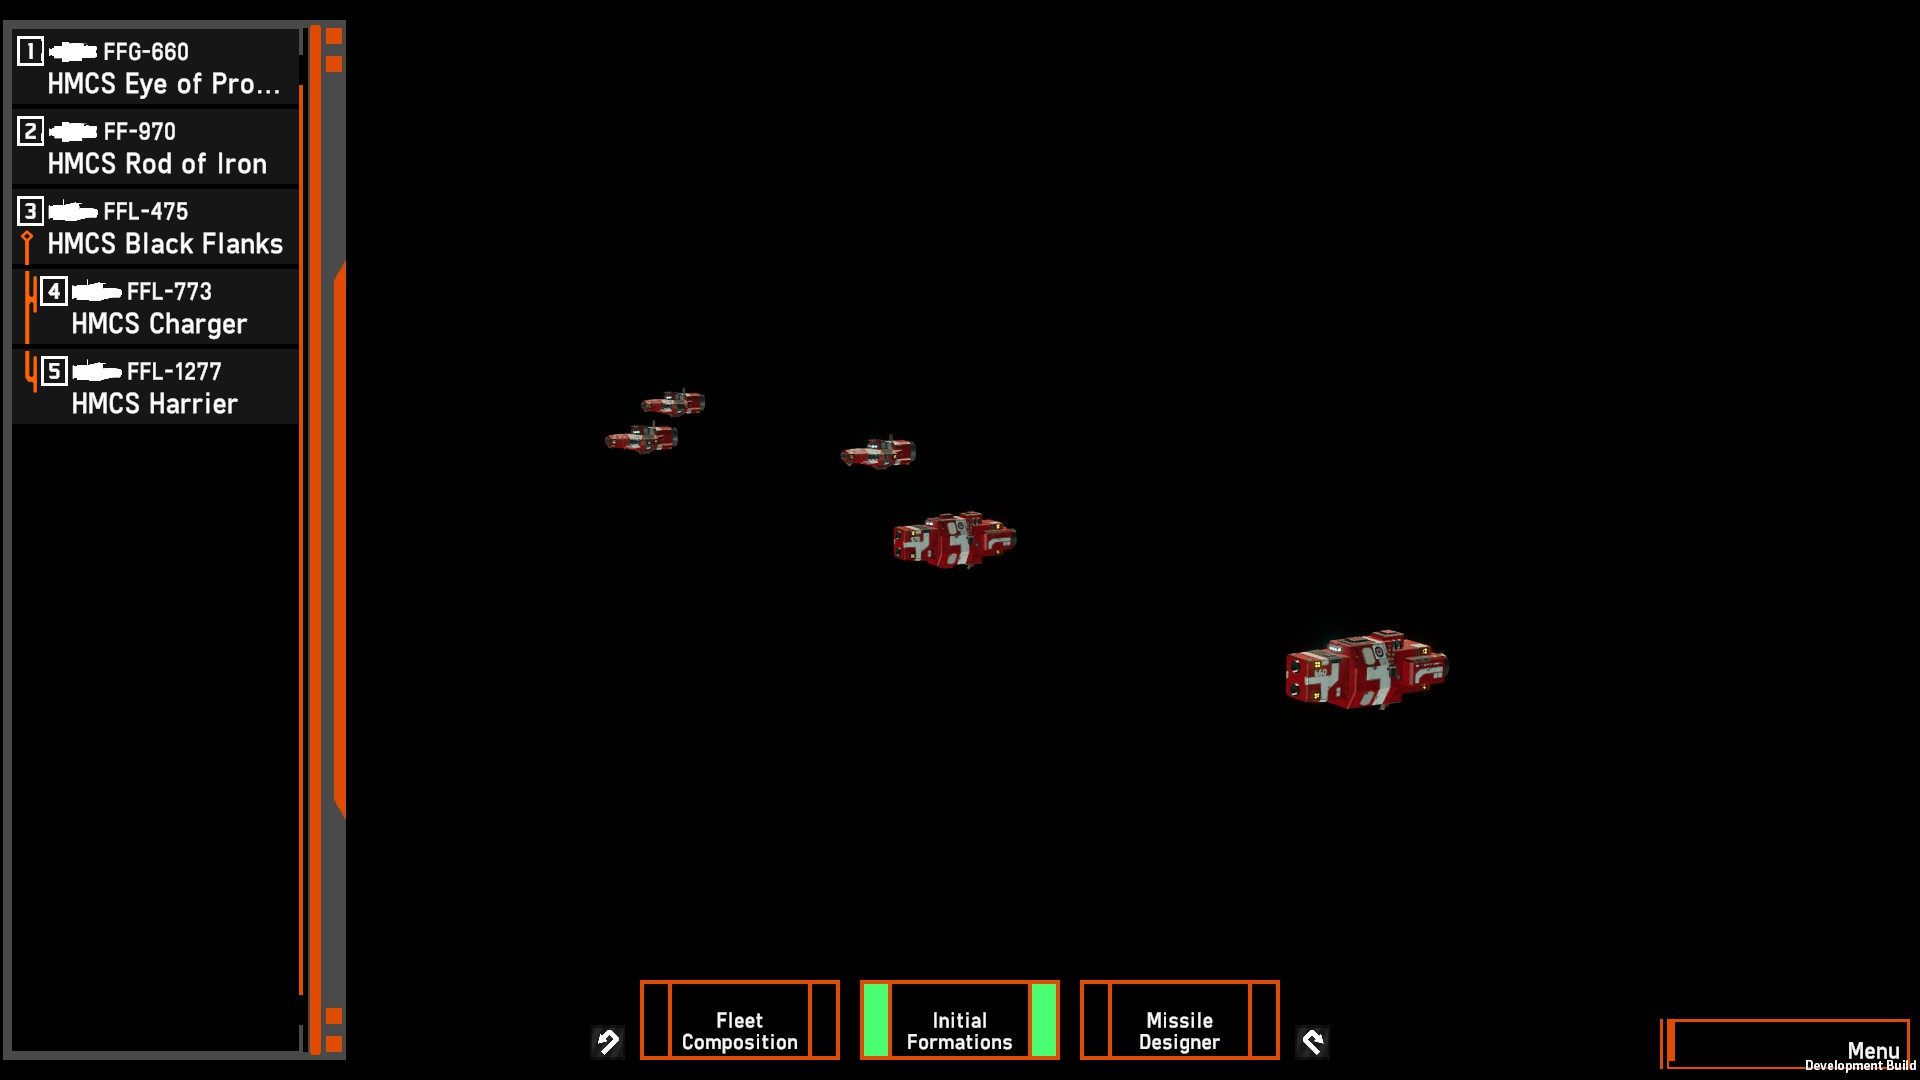
The fleet is comprised of basically two groups. The frigate group has two Raines frigates packed to the brim with Semi-Active Homing missiles of various types. The corvette group has three Sprinter corvettes packed with Electronic Warfare, Bullseye radar, missile countermeasures and 18 Torpedoes.
Now, I’m not a missileer, but I’ve seen Cik use his missiles in the testing with fleets similar to this. To use Sycamore, you keep the frigates at standoff range and preferably hidden through careful management of your range and by using the Spyglass on your lead frigate to get an idea of where your enemy is. Alternatively, you keep your frigates in cover and use the Sprinter group to scout and hide themselves with the jammers. When an opportune enemy target comes up, you either, shine the Spotlights Illuminators on your frigates and launch missile volleys, or use the Sprinter group to torpedo it. You need to use Spotlight Illuminators to light up the enemy first before you fire as all the missiles on the frigates of the fleet are Semi-Active Radar Homing and need the Spotlight. Alternatively you can also use the sprinter group to lock on and provide a better track for your frigates with Spotlights. The Sprinters do have Command-Guided Torpedoes enabling for ambushes of enemy warships.
Again, this all depends on the situation. This fleet is fairly flexible in that it has so many different kinds of missiles, a coordinated salvo of the different types is going to get something through someone’s soft-kill or hard-kill point defense. The two things you want to keep in mind with this fleet though is that you want to fire and get the heck away lest you get targeted down. You have no point defense on your frigates. I personally recommend firing the cheaper missiles first to get an idea of your enemy point defense, before firing the more expensive Size 2 and 3 hybrids.
If you do carefully manage your range and manage to use your Sprinters or friendly team to scout out your enemies, though, you’ll be able to unleash a volley of spikers that will make even veteran players quite scared.
Task Force Willow
Designer:
Enderminion, Nebulous Discord Moderator
Usage:
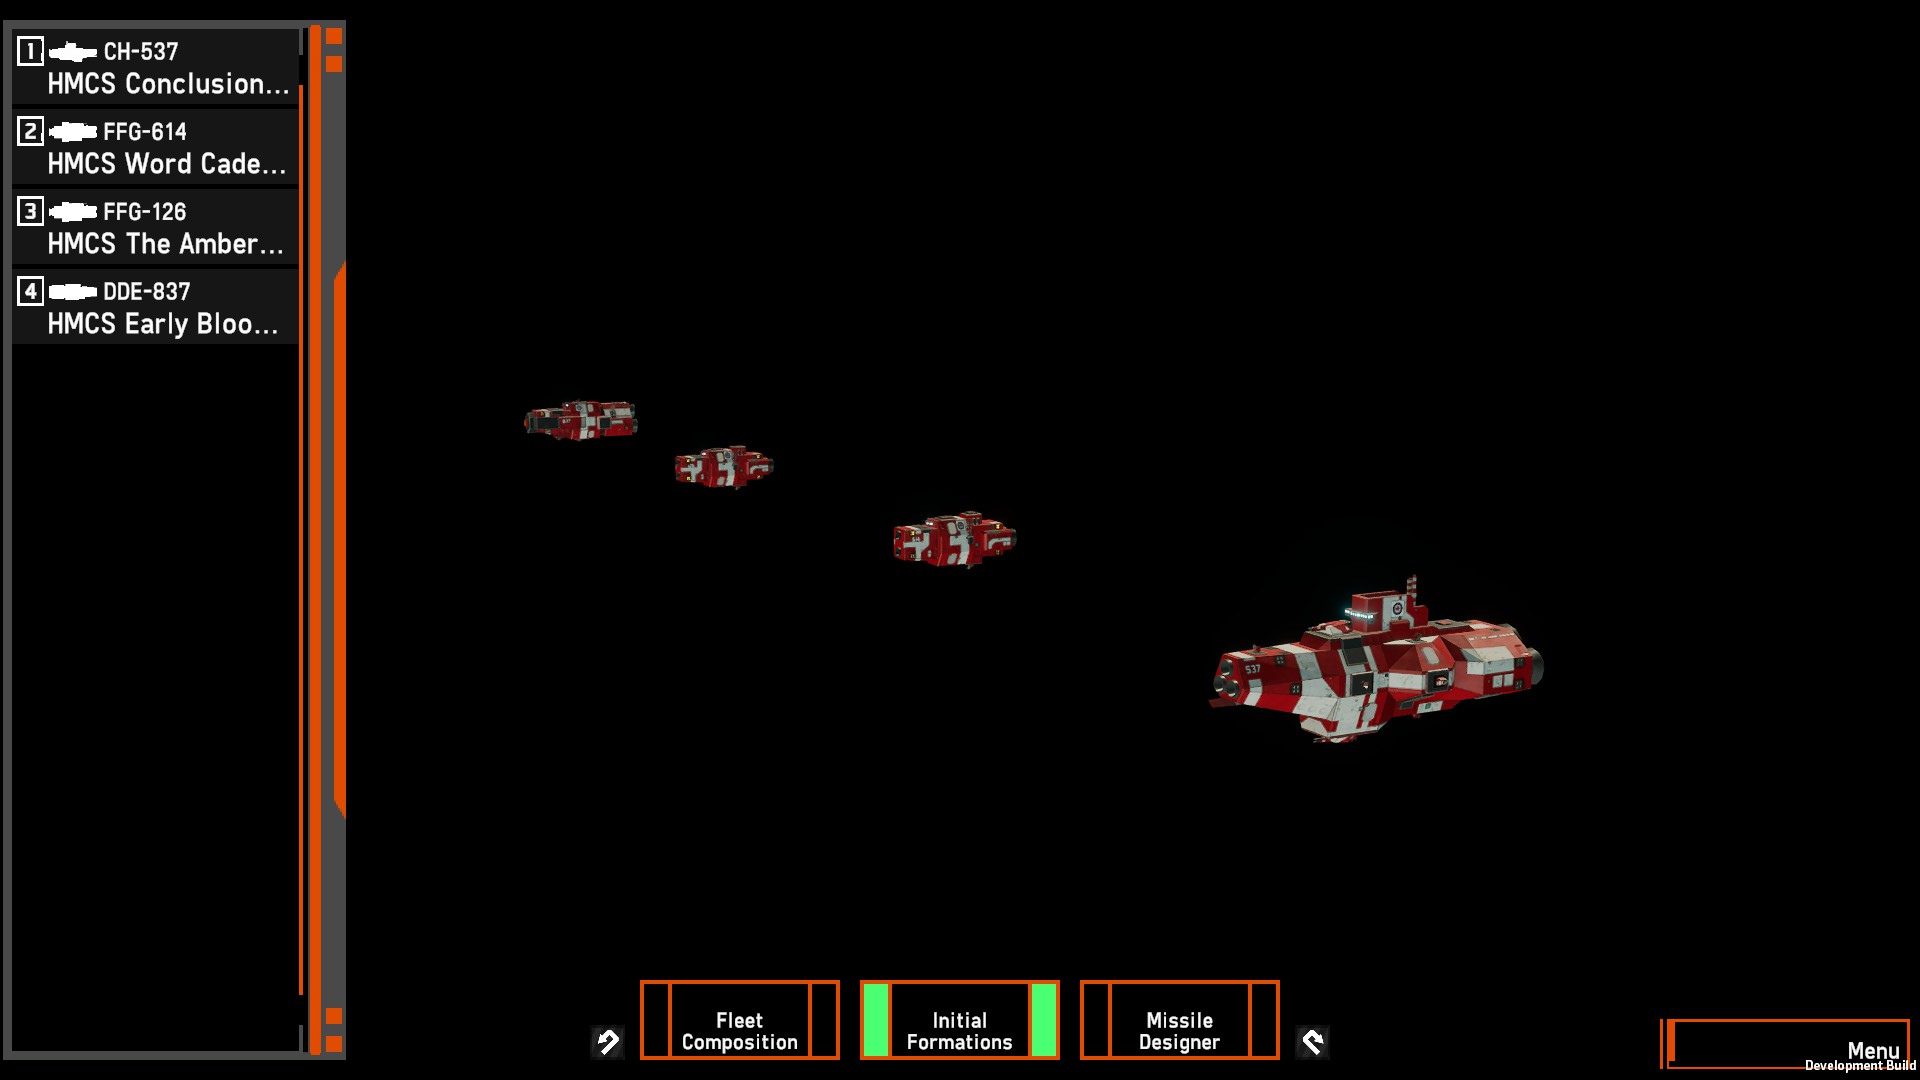
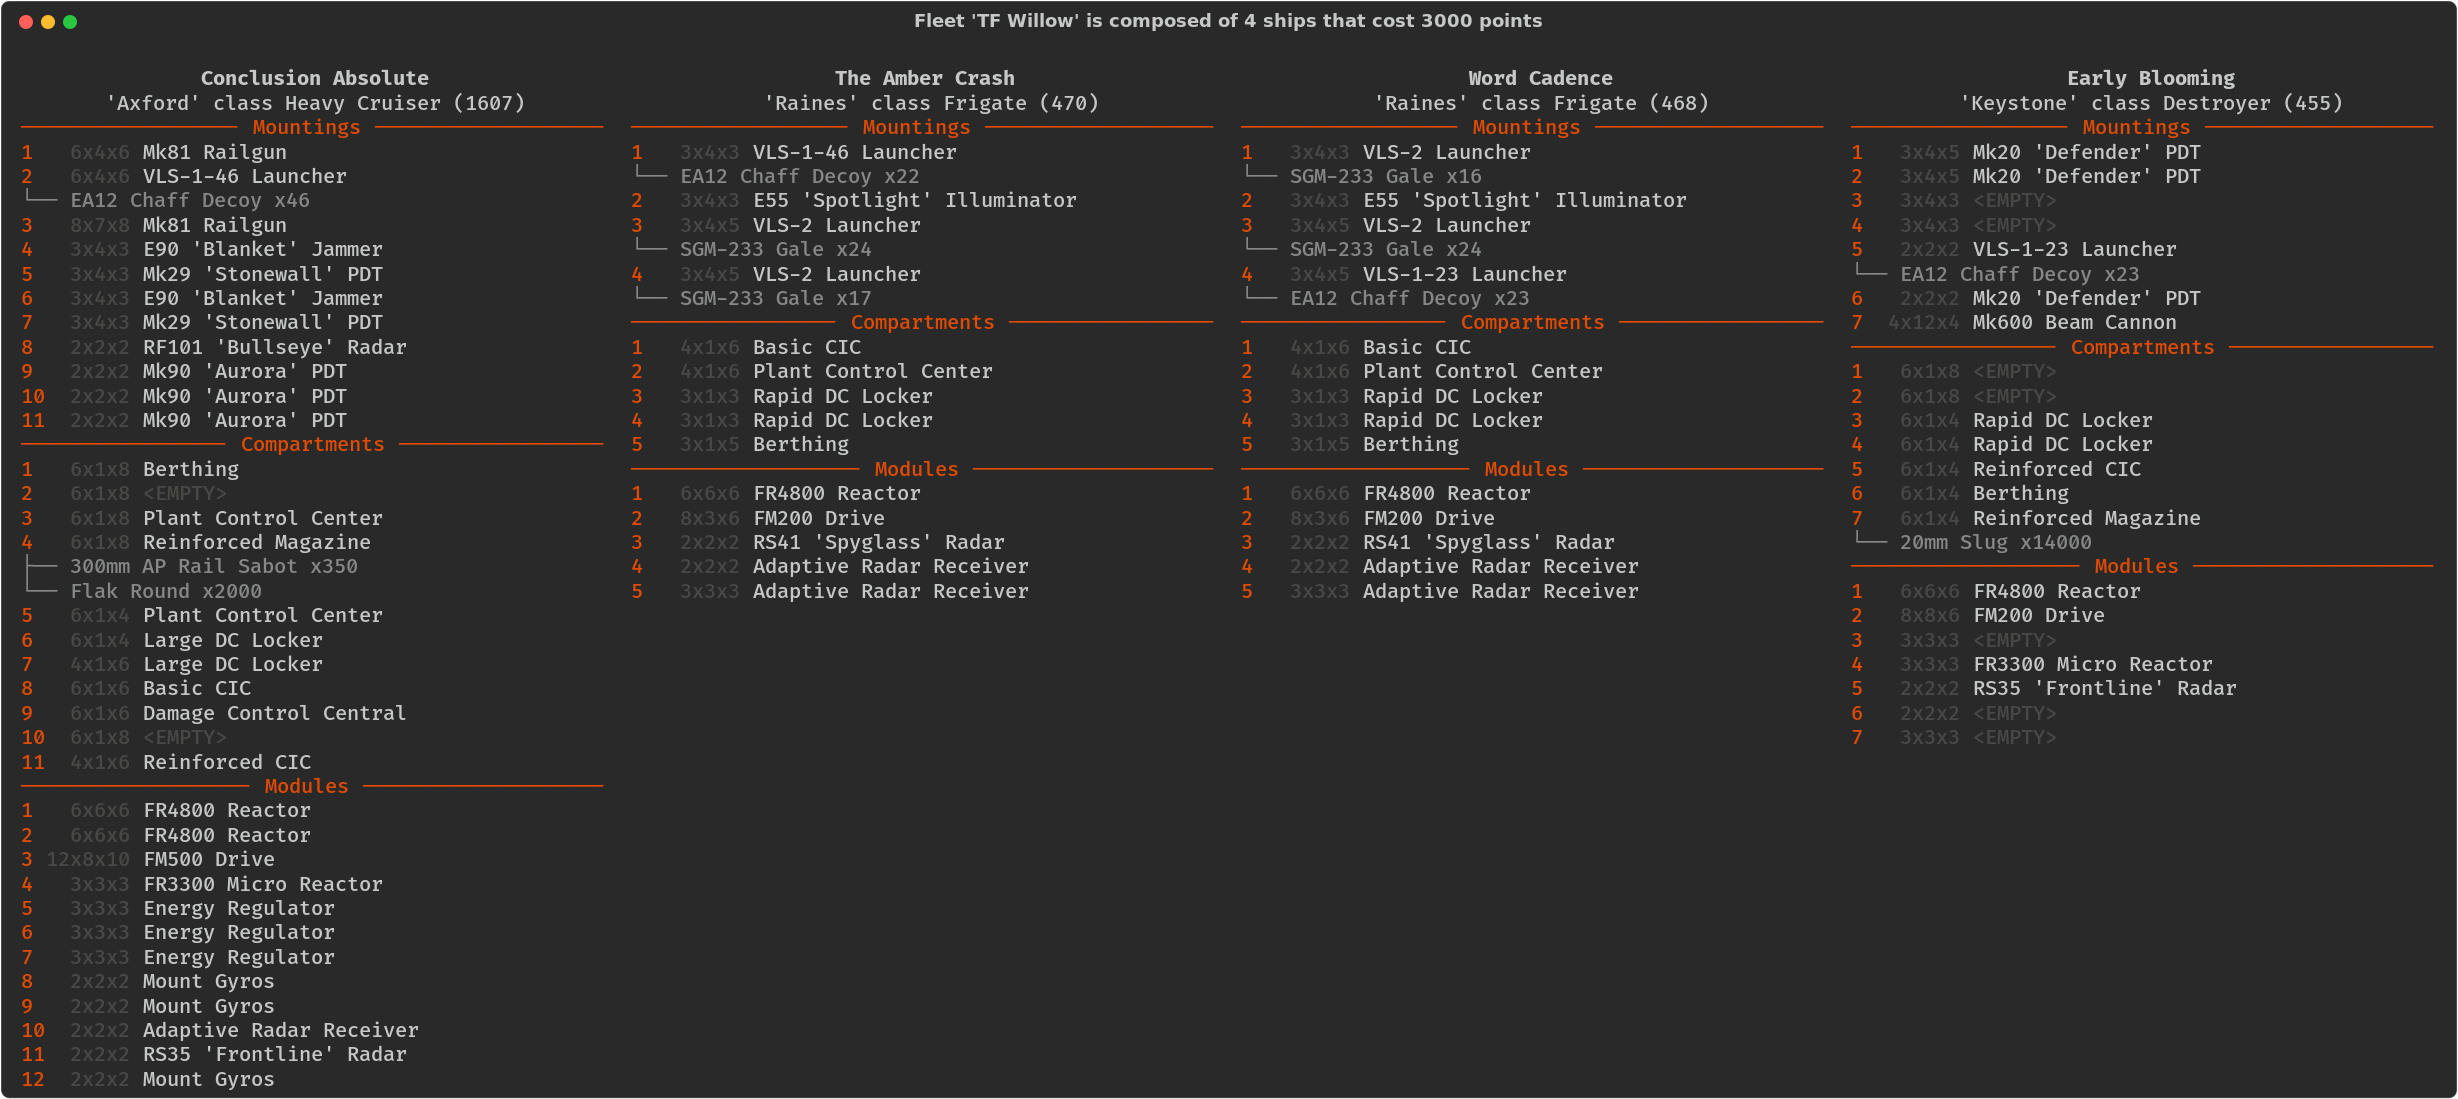
Task Force Willow is a combined arms fleet with answers to everything at all ranges, though it is quite complicated to use. For ranged support, it has the Conclusion Absolute a Railgun Axford able to apply debuffs to enemy ships in order to support allies and mess with enemy point defense.
The primary offensive power of this fleet comes from its supporting ships. The Early Blooming Keystone Destroyer is to be used similar to the destroyers of Task Force Ash. You pop out from behind cover and beam ships to death. You can do this either close by with the Conclusion Absolute Railgun Axord providing you with jamming, or by using rock cover.
Willow also has two Raines – Class frigates loaded to the brim with Gale Semi-Active Radar Homing Missiles. These are cheap missiles. They need you to point an illuminator onto the garget, and they are also easily decoyed by chaff and jammed. They also have no terminal manoeuvres so they can be shot down by Defender or P11s. You need to use the Railgun Axford to soften the enemy up and apply debuffs before firing the missiles at the target. Use the Spyglass radars of your frigates to help you make decisions on whether to engage or not, and then move the Axford in to engage and fire railgun rounds before using the destroyer and missiles to finish enemy targets.
Due to the fact that Willow has so many components, I recommend trying to engage only one enemy battlegroup at a time. Trying to take on multiple and managing all the ranges and sightlines of your warships is liable to give you a headache. Use cover and the scouting provided by the Spyglass frigates to do this.
Protectorate Starter Fleets
WIP
Azurite Squadron
Designer:
Tempest, OSPN Tester
Usage:
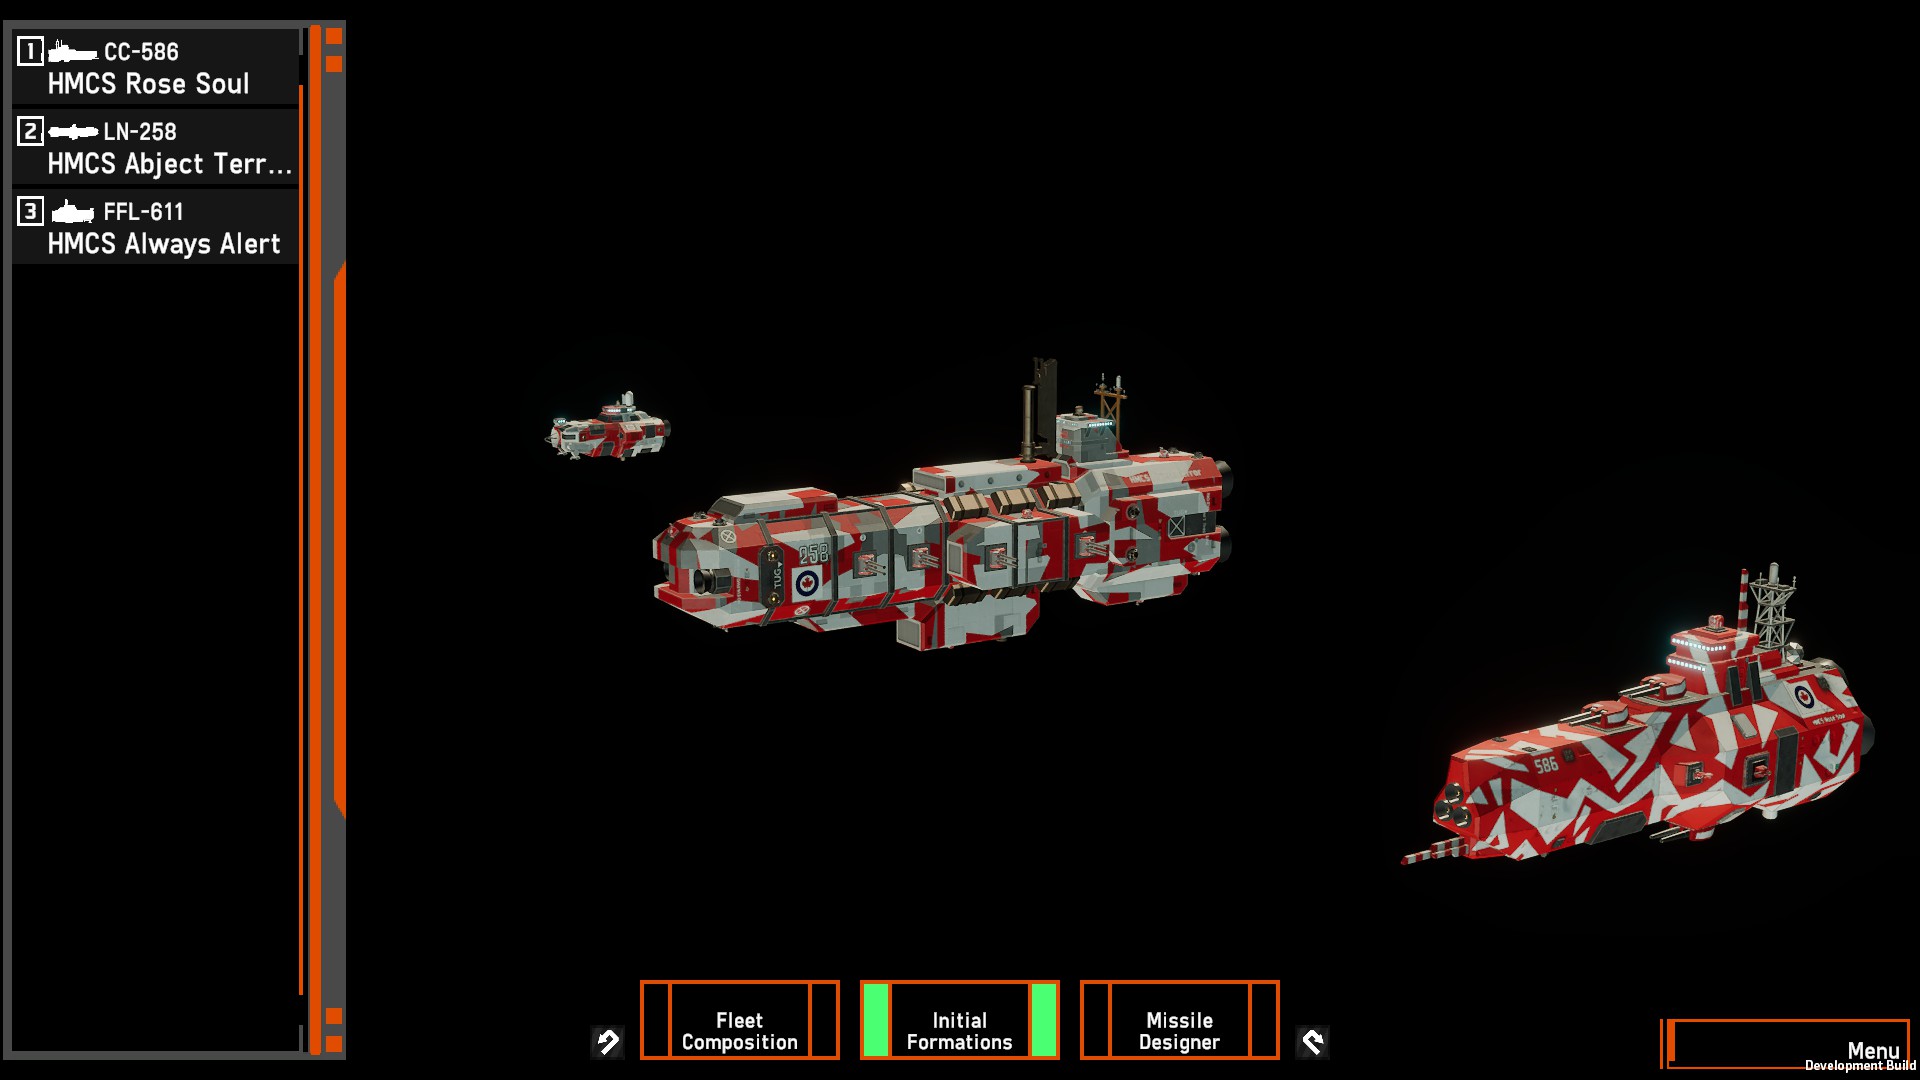
The description for this fleet is quite accurate and as a battlegroup, this is incredibly formidable for ranged engagements while offering some seriously stiff missile countermeasures.
Beyond 9km Bullseye lock range, Azurite’s Tugboat has an R400 long range tracking radar, allowing for the Lineship and Ocello to open fire with 450mm cannons. Within 9km, the Ocello can provide a Bullseye lock to enable a very accurate track.
There is also a fun thing to note that Tempest mentioned in his initial pitch for this to be a starter fleet. The Lineship is built to unleash it’s 450mm autoloaders as quickly as it can, meaning it can unload 16 x 8 450mm shots in around 10 seconds. That’s insane, but that means the vessel has a 90 second reload before its 450mms can fire again. However, on the other side of the Lineship is a bank of 250mm cannons which can be brought to bear with a clear fire, and then roll command. After the 250mm cannons fire, the line ship can be rotated again.
If that didn’t make this fleet any more deadly, Azurite has the potential to jam out a significant number of missiles, and shoot down those that aren’t jammed. The Ocello is equipped with a spherical radar jammer, an interrupter spherical communications jammer, an Electro-Optical jammer, which can nullify some of the most common high-value seekers. It also has Sarissas and P60 turrets, while the Line Ship can put up a wall of Flak and Defender rounds, along with anti-missile missiles.
There are a few things that I can conceive this starter fleet being vulnerable to. One, it’s a fast fleet, but the Lineship is best used to pop in and out of cover is possible. Two, the fleet is equipped without any illuminators, meaning its liable to be jammed. It does have an R400 Tugboat that can be offset to provide a track, but that can be shot down by a missile or by gunfire. To survive and do well, you will need cover nearby to make this fleet work and be able to watch your flanks. Finally, you have to keep the battlegroup together which means you can’t really spread it out to contest different points.
That being said, if you do watch your flanks and manage how many enemy ships you are engaging, Azurite Squadron is a deadly fleet composition for OSPN.
Garnet Squadron

Designer:
Kryptic, OSPN Update Tester
Usage:
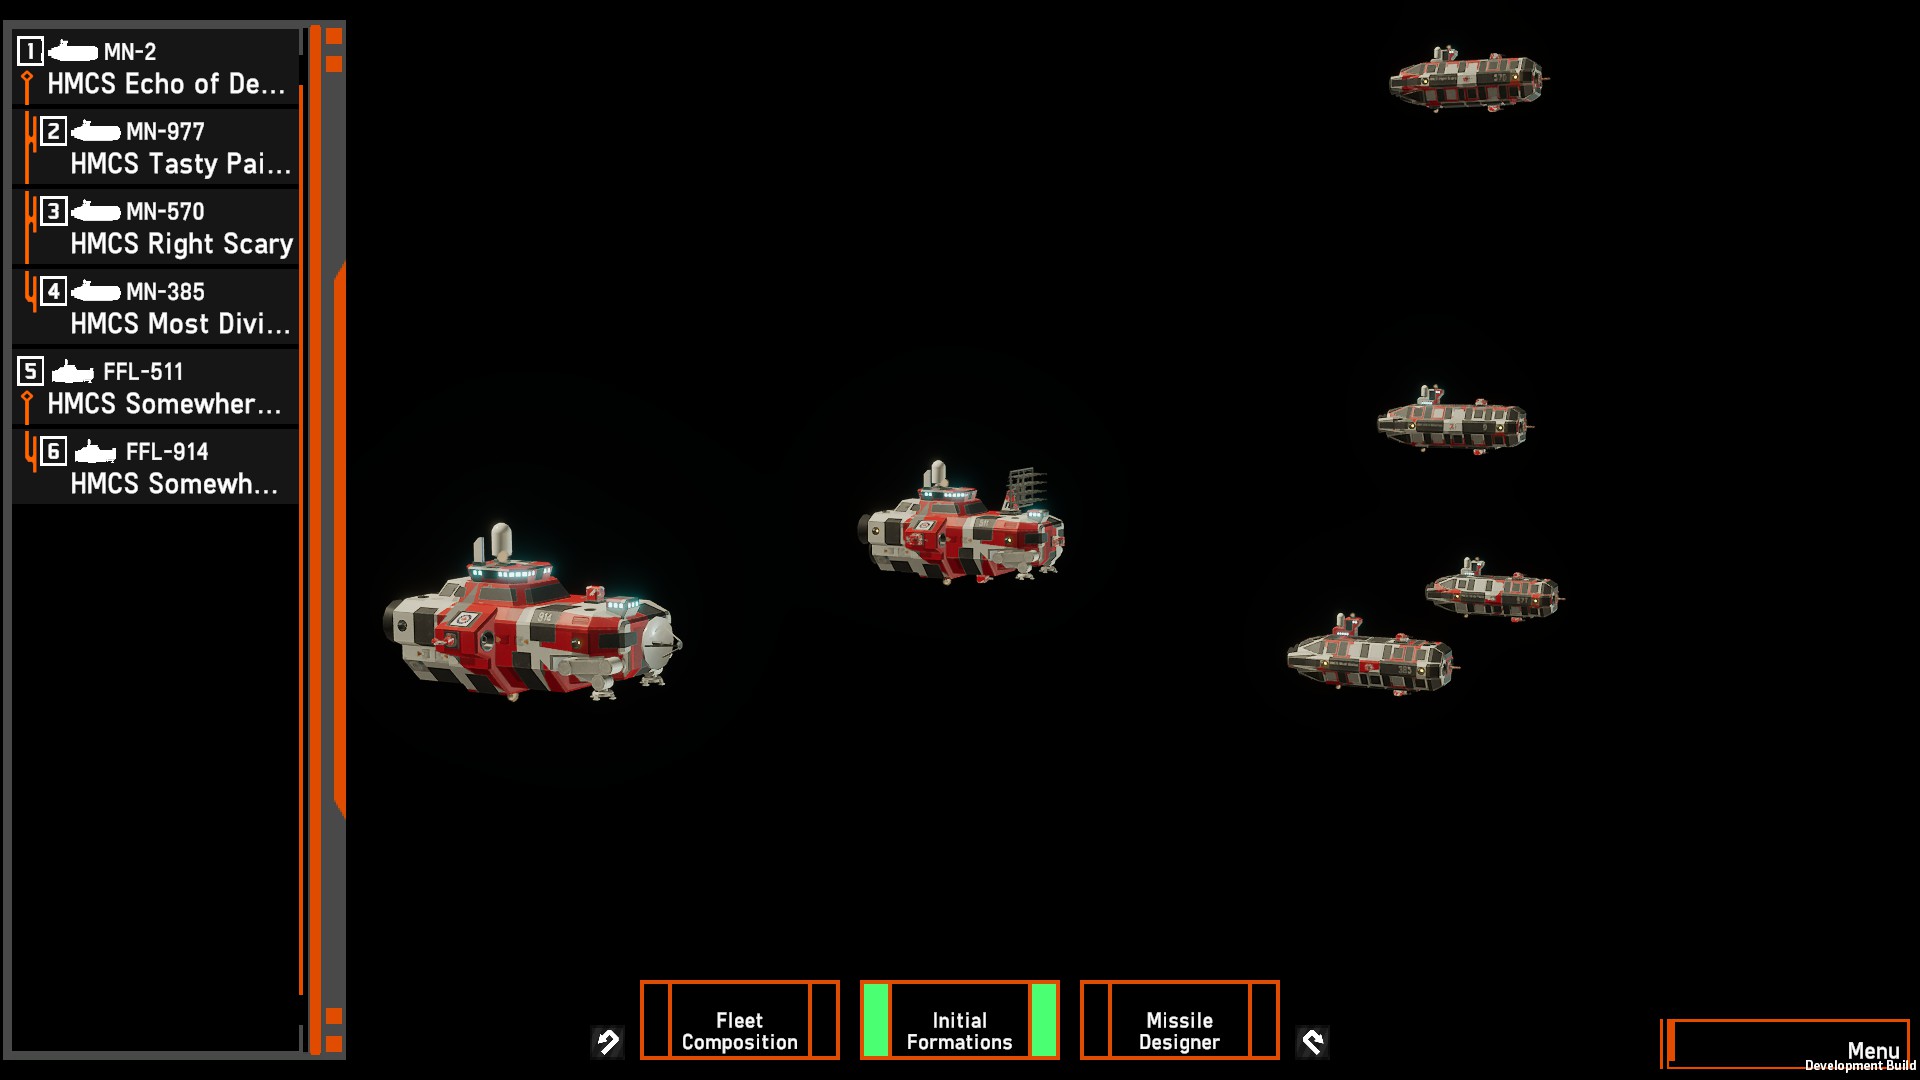
Garnet Squadron is an angrier version of Task Force Ash with more map awareness. The Plasma-100mm combination is powerful, but due to the range of the 100mm guns, this is is a formation built best to confront enemies at mid ranges of around 7km. This task is achieved through the two main group of the Squadron.
Group 1 is a formation of four Cargo Feeders. Each Cargo Feeder is armed with a Plasma Spinal Cannon and two T30 100mm cannons. The trick to using this formation is to first fire your plasma at the enemy warship, then followup with a barrage of the newly introduced 100mm High Explosive High Impact shells that take advantage of the fact that the Plasma just stripped the enemy warship’s armor.
Plasma however, is notoriously difficult to actually hit and none of the first formation’s feeders have fire control radars. To counteract this, Tempest included two support tugs, which are crucial.
The first tug Somewhere Out There has the OSPN-only Early Warning Radar. This long-ranged directional radar can pick up tracks from 15km out, which enables map awareness and helps a player to plan to set up their ambushes and moves. This is also essential because the Cargo Feeders are running Yard drives. Yard drives are great for manoeuvring ships, but they have a lower top speed which means the Early Warning Radar has to be used to help a player plan their next move.
When shooting at a target, the player then must use the R400 Long Ranged Tracking radar on the second tug Somewhere in Here to get a better track on the target. This is because while the Early Warning Radar has a great range, it’s horribly inaccurate and the R400 radar is thus essential for the player to get a track to hit anything beyond 11km. Once that’s achieved, a player can then move their Cargo Feeder group around the map, popping in and out to throw plasma, or get stuck in with their 100mm guns.
Do be careful using this fleet. Cargo Feeders are built tough, but 250mm AP can penetrate them and 450mm HE shells just rip them up. Isolate Solomon battleships, Axford heavy cruisers and try not to get kited by Vauxhall light cruisers. Also keep in mind that while Garnet Squadron has a comprehensive point defense suite with 54 anti-missile missiles, laser, flak and defender point defense, it’s divided up between the different ships. You may not fair so well from being missile striked at from certain angles.
Set up ambushes with your OSPN radars, confront your enemies bow on, leave burning wrecks behind. That’s how you want to play Garnet Squadron.
Comments from Kryptic:
The goal of this fleet is to provide a multi role heavy assault force for the OSP. Four monitors form the tough yet flexible backbone of the fleet. The combination of T30’s HEHC and plasma can threaten both heavy capitals and lighter ships. Their small size and high maneuverability drives make the monitors excellent at dodging return fire from heavy caliber rounds while their armor will help deflect smaller caliber more accurate fire. To complete their defenses the combined force employs a well rounded PD network. A pair of LRT-EWR tugs complement the fleet with long range scouting and support. The EWR element can help with early detection for positioning while the LRT can supply targeting support for team mates or provide a counter to jamming for the monitors.
This fleet is best used as a first wave assault squad along a flank after the majority of enemy positions are known. They are capable of pressing the attack against capitals but care should be taken not to engage the entire enemy force at once. Although the fleet carries a large amount of PD it is still vulnerable to concentrated missile strikes especially if caught out in the open. Beware of enemy beams which have a similar attack range and will quickly defang the plasma and T30’s carried by the fleet.
Just one note, the feeders are equipped with one pinpoint radar as a backup if the LRT isn’t on target or they have succesfully ambushed within range.
Kyanite Squadron
Designer:
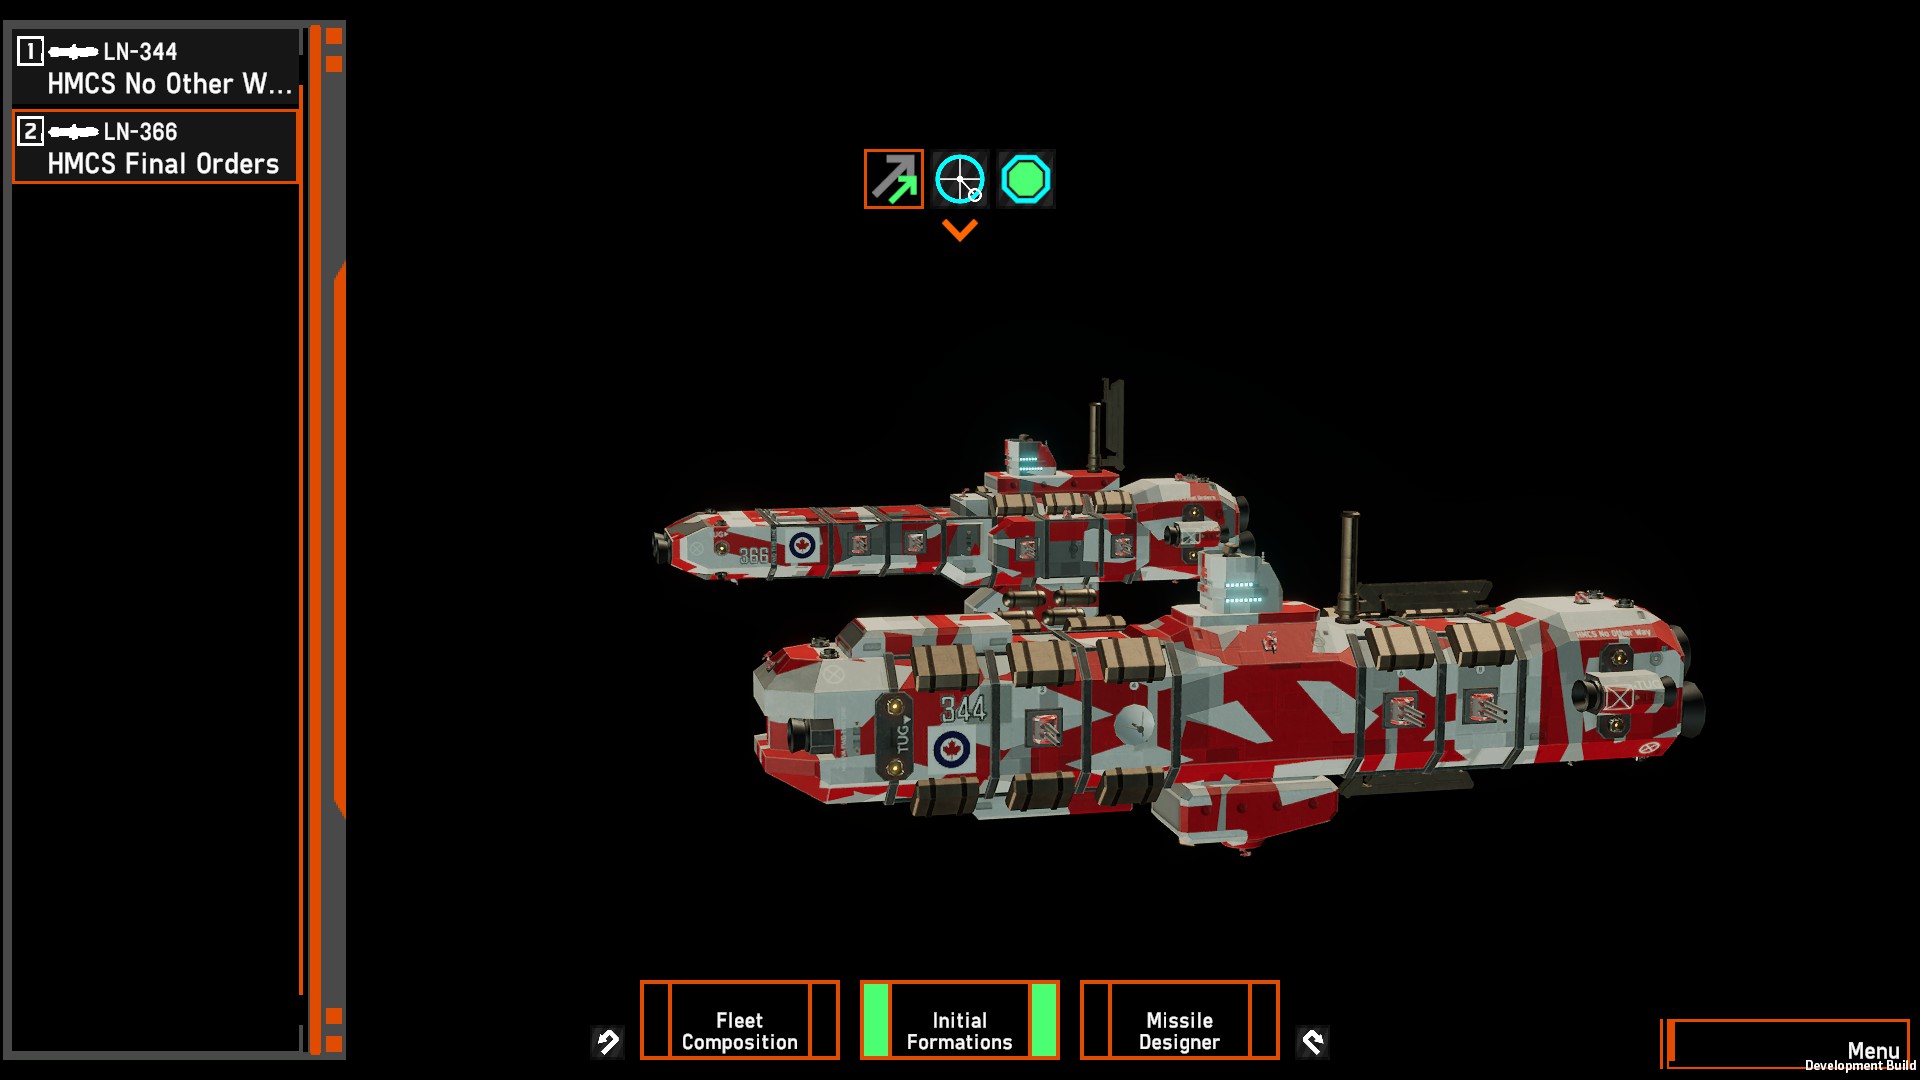
vren55 (hey that’s me), OSPN and Missile Update Tester
Usage:
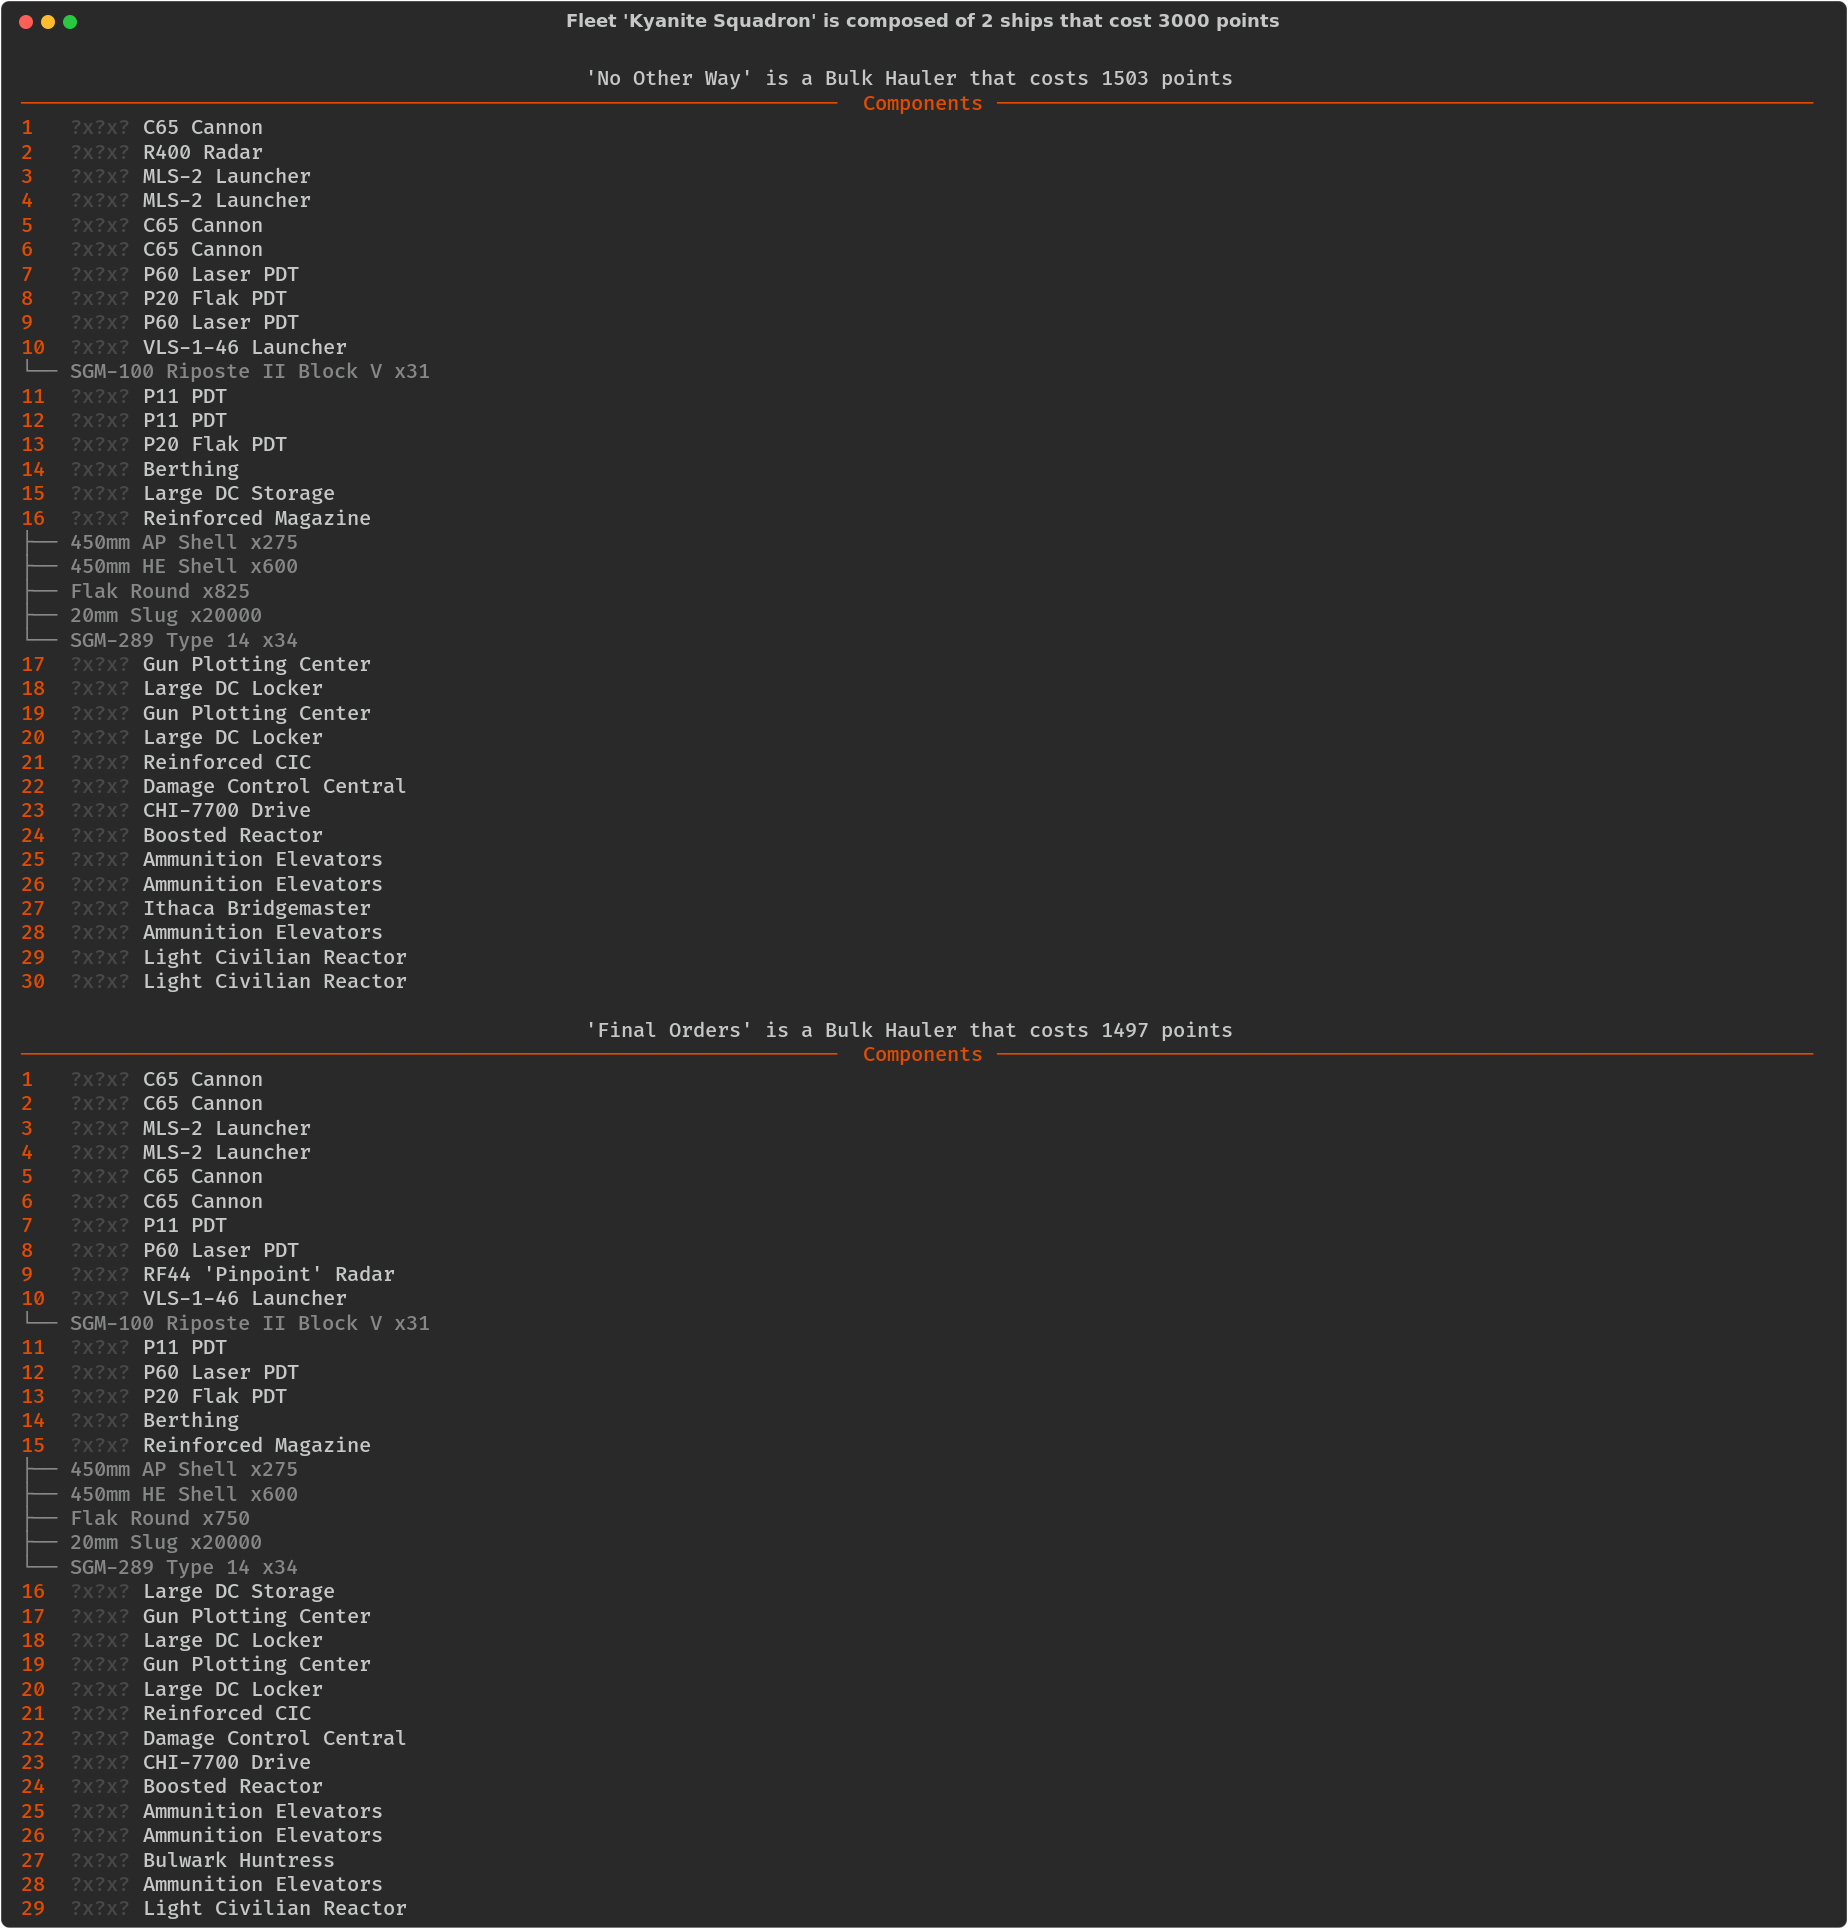
Kyanite Squadron features two very similar Bulk Freighter line ships: No Other Way and Final Orders. Its primary armament, a bank of 450mm Casemated guns requires careful control of heading and roll. In fact, I advise setting your heading and roll first right after you start moving. Don’t worry too much about the roll being precise, a command to fire your guns will override the roll command, but you do want to make sure the 450mm guns are facing in roughly the right direction.
Very similar to Task Force Oak, range and sight line control are the most important aspects of using Kyanite. The two line ships are designed to have as fast a reload as possible, so they can fight at range against Alliance cruisers. Just maintain your map awareness so you don’t end up fighting more than two fleets and getting shot at from the side. Even without a Bullseye lock, the shots from the two lineships are fairly accurate as No Other Way has a R400 radar and both ships have Gun Plotting Centres to improve their gun accuracy. Final Orders does have a RF44 Pinpoint fire control radar to enable locks, but that’s more to lock on to enemies that end up coming close enough and you can’t escape.
With regards to durability and missile defense, Kyanite has CHI 7700 Drives which give the ships slightly slower top speeds, but better manoeuvrability. Put the ship on Flank, Evade manoeuvring posture and Orbit Command and you can actually dodge a moderate amount of 450 fire at the 9km range this fleet best operates in. The two ships when side by side also have a dense and layered point defense grid combining P11 Pavises, P20 Bastions and P60s with Anti-Missile Missiles to thin out missile dumps. If you do get hit, as long as one of your Damage Control Lockers survive you can use the Large DC Storage lockers to bring the ship back into action.
The huge weakness with Kyanite is that it’s only really got cannons and point defense on one side. I attempted to mitigate this weakness by equipping the vessels with MLS – 2 Rolloff launchers on the non-cannon side. The Type 14 S2 missiles are not primary weapons. They are strictly side-arms intended to hit flanking small Alliance or OSPN warships, or as desperation weapons if you need just something to throw at your enemy.
Remember, Kyanite can hurt any fleet that gets on the wrong side of its cannons, but it’s got a really big weak side and it can’t kill every fleet very quickly. Manage the threats you are facing and you are shooting at. Support your team. Think a step ahead before you move the ships and you’ll do just fine.
Trivia:
Kyanite Squadron was originally Task Force Copper with a name that had a bit too much of a real-life reference so Mazer changed it to the epic: Final Orders and No Other Way.
Wulfenite Squadron
Designer:
Notsolonewolf, Nebulous Discord Moderator
Usage:
Notsolonewolf explains the usage of his starter fleet here better than I could honestly so I’m going to post his explanation of the design philosophy of his starter fleet.
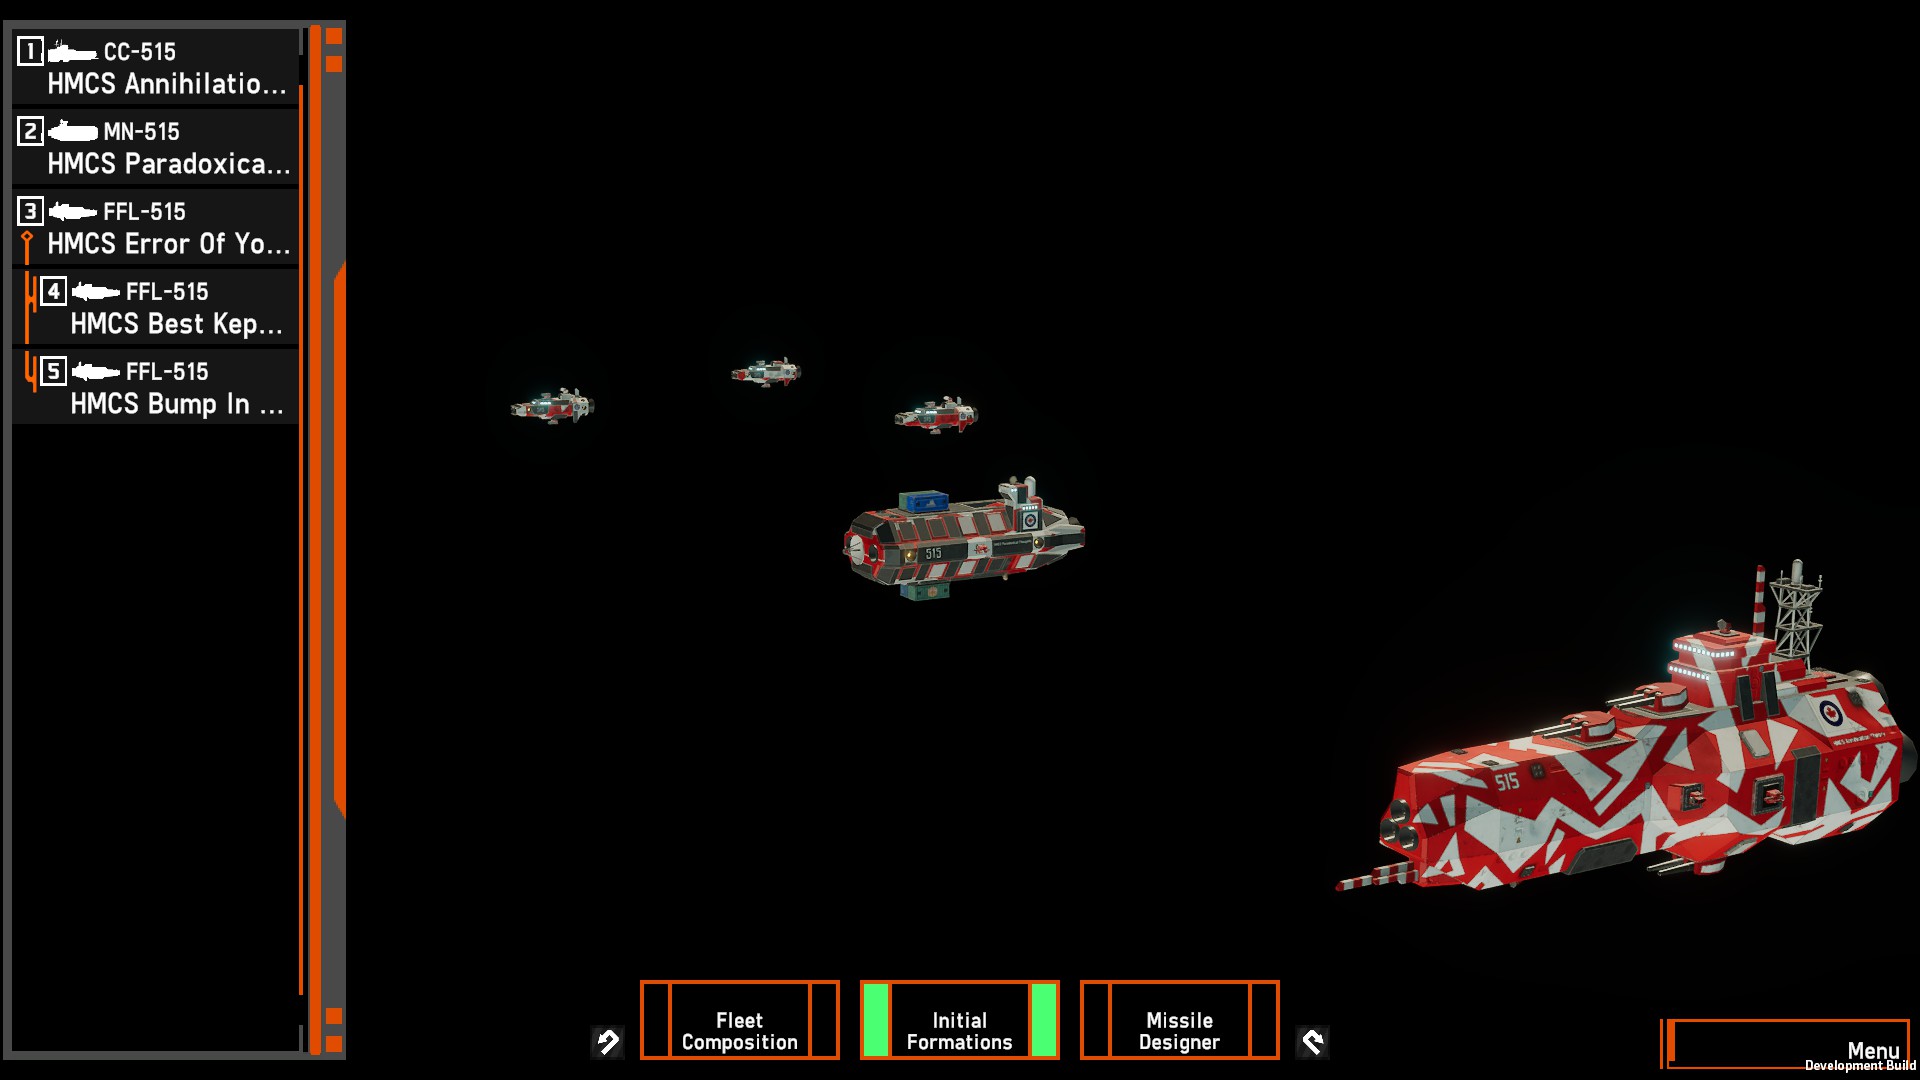
“This fleet is intended to introduce players to some new OSP-specific mechanics while providing a familiar grounding with the Ocello. In the hands of the AI, this fleet will present challenges to players without escorts and potentially bait them into wasting munitions through use of container decoys, necessitating a balanced and judicious use of available firepower. There are three formations total, presenting a moderate but doable multitasking challenge.
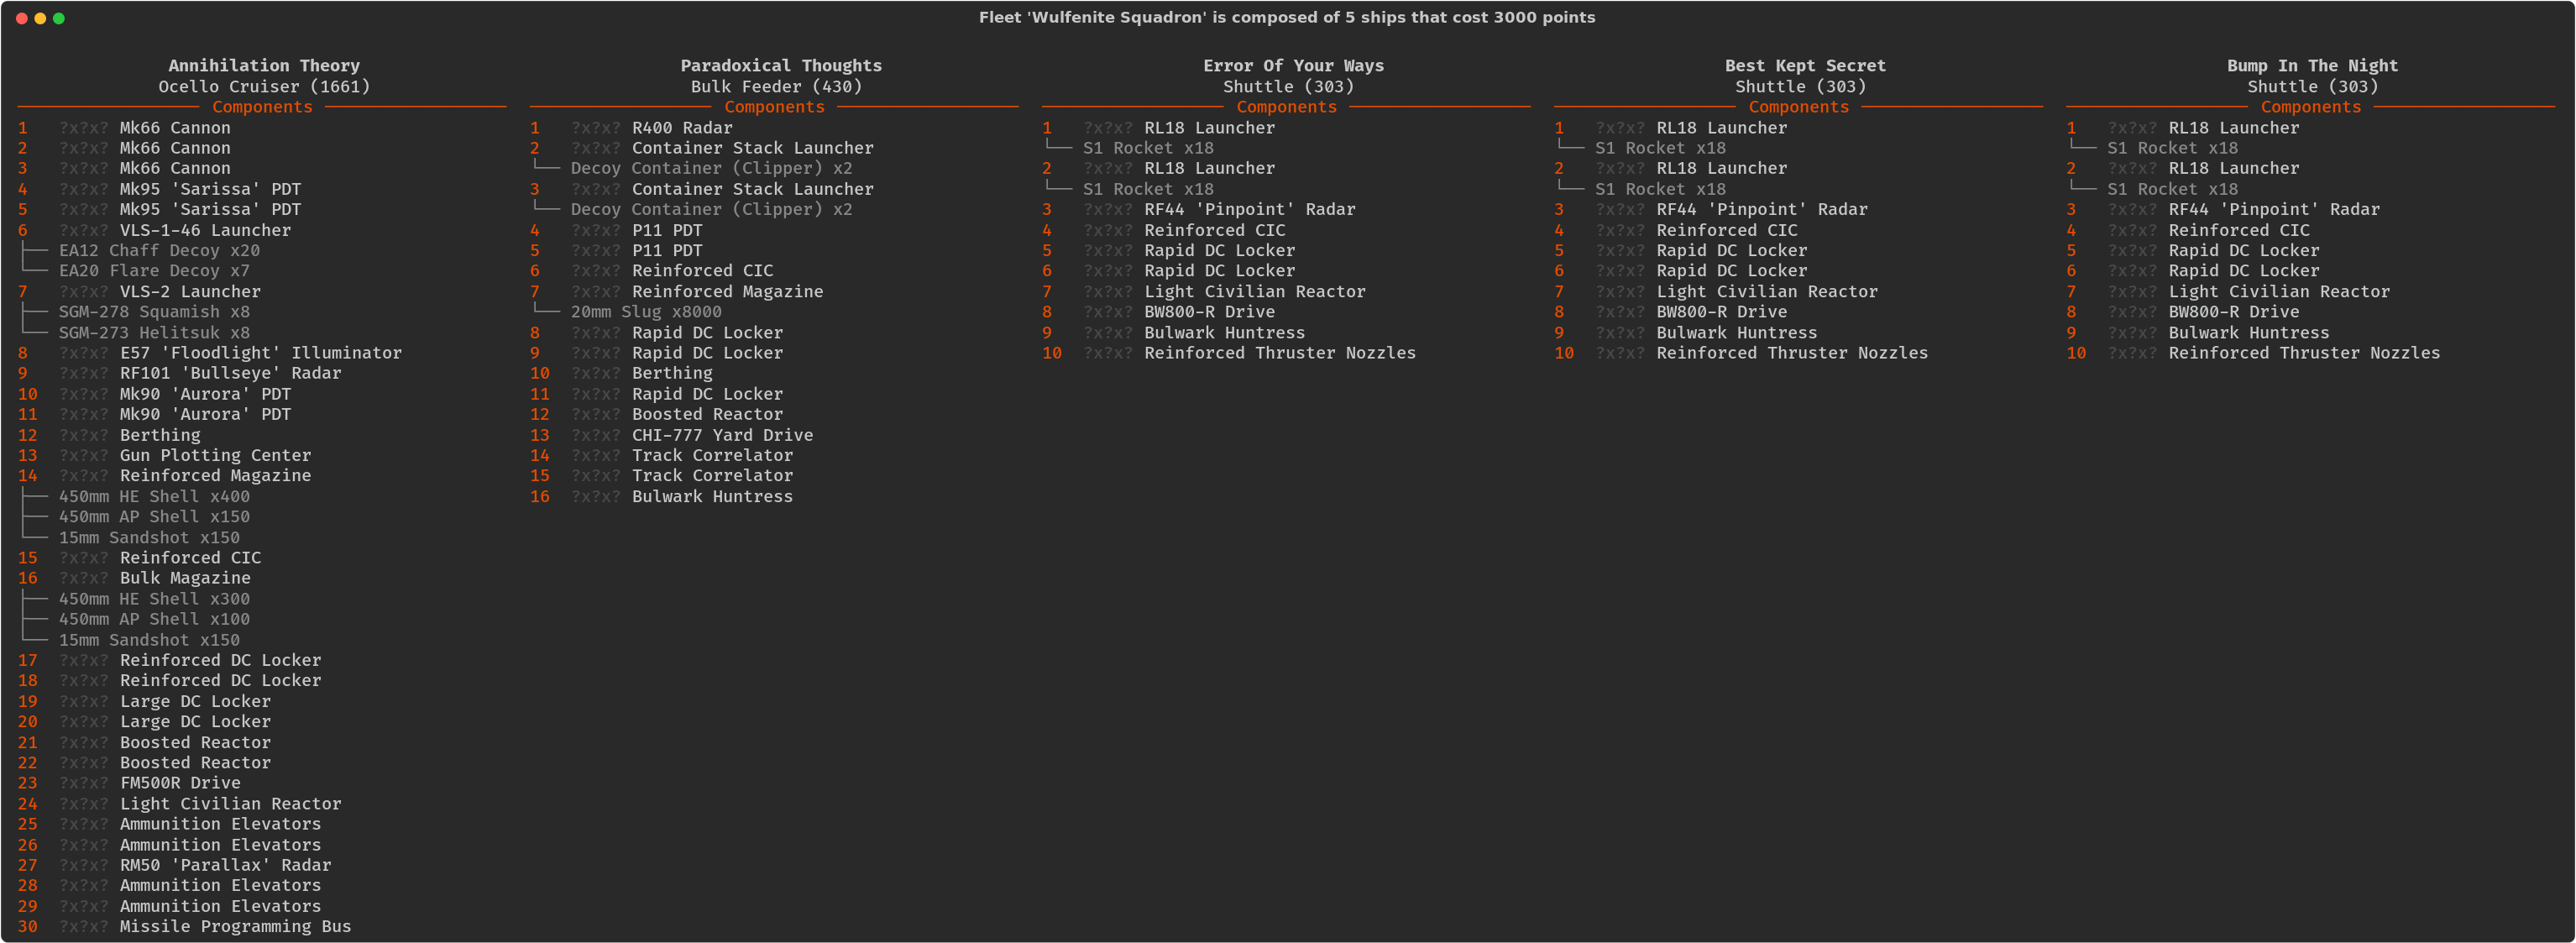
The Annihilation Theory is the fleet’s centrepiece Command Cruiser. It is built in a mostly typical fashion with triple Mk66 cannons, ammunition elevators, and plenty of damage control. Its defensive armament consists of two Auroras and two Sarissas, which gives the ship some defence against hybrid missiles. The Sarissas can also be used to cover friendly ships. To demonstrate the use of Alliance items to support an OSP fleet, the ship brings along a grab bag of tools. The ship’s Parallax, Floodlight, and Bullseye can be used to counter enemy jamming and fight in a similar fashion to an Alliance capital ship. Finally, there is a small VLS-2 loaded with Helitsuk scouting missiles and Squamish finisher missiles.
The Paradoxical Thoughts is a utility Cargo Feeder meant to deploy mindgames and remain useful afterwards. Its main feature is two Container Stack Launchers loaded with four Clipper Decoys, which can be used to throw enemies off balance and open holes for the fleet’s rocket squadron. After the decoys are expended, players can still make use of its Bloodhound to cut through enemy jamming and improve track quality. The ship carries two P11 ‘Pavise’ PDTs for personal defence, as well as a small amount of damage control.
The Error Of Your Ways, Best Kept Secret, and Bump In The Night are the fleet’s resident rocket squadron. Each shuttle is identical, forgivingly equipped with a Pinpoint and Huntress for redundancy and reinforced CIC and main drive for resilience. As the names imply, players should be sneaky and use them in conjunction with mindgame-deployer-in-chief, the Paradoxical Thoughts. However these shuttles are very vulnerable to a missile strike without the support of the Ocello, which provides a weakness to exploit when facing an AI-controlled fleet and an area for players to build upon and tweak to their own playstyle. The rocket squadron’s ships are formed together in an initial formation for ease of control.”
Zircon Squadron

Designer:
Hardworkingslaker OSPN Tester
Usage:
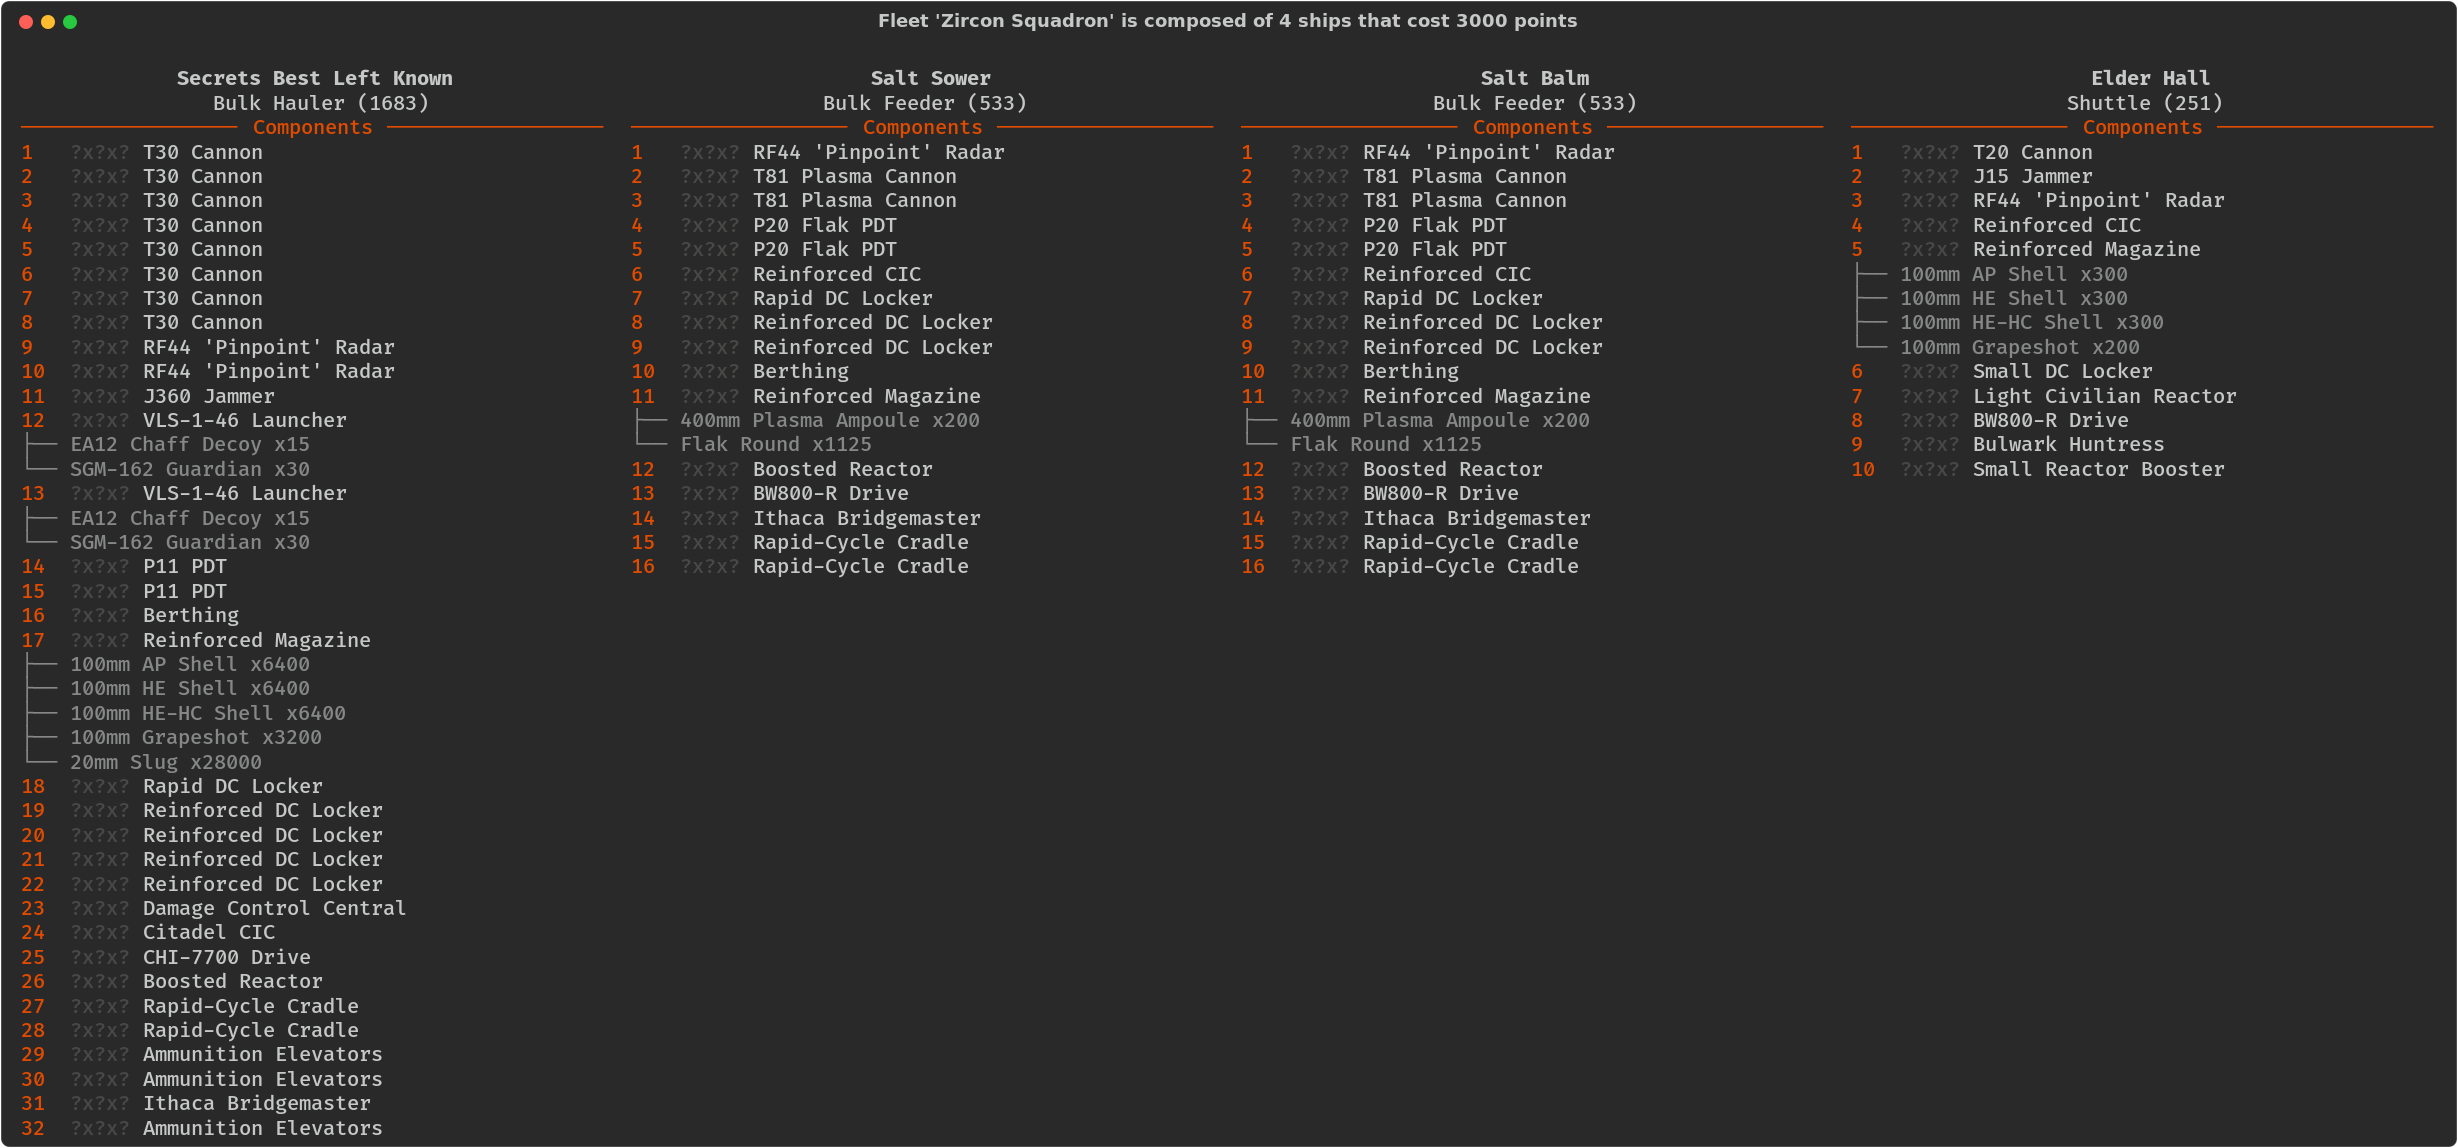
So, recall Garnet Squadron? Zircon Squadron is if you decided to take all the T30 cannons from the different Cargo Feeders and just stick them on a massive Bulk Freighter Class Line Ship.
I’m not entirely sure how to describe this fleet as I have not played anything like it or seen a similar concept. From the design though, here’s my breakdown.
You will have to rely on your Shuttle with T20 to do scouting for you. It is equipped with a directional jammer to hide itself and a Dual Purpose T20, though, don’t rely on the T20 to shoot down many missiles.
Why do you need to scout? Well this fleet is primarily a short-medium-range fleet designed to fight at about 7km but preferably 6.5 km (Maximum Pinpoint range). Use cover to hide the massive line ship and cargo feeders you have. You can engage the enemy at ranges beyond 7km, but to actually kill enemy warships you really do need to do it within 100mm range. This is because slugging it out with a 450mm Axford is probably not going to work with this fleet. You can kill an Axford very quickly, but only within the 7.2km engagement range of your 100mm guns. You could also have the cargo feeders fire Plasma at the enemy warship, but don’t expect many hits without the pinpoint and be careful about return fire. Cargo Feeders are tanky, but they are not invincible.
When you are in an ideal range for the ambush or to show the T30 lineship, first make sure you have the Plasma T81 cannons have softened apart enemy armor. Ideally you should have used the Cargo Feeders equipped with Pinpoint to lock on and plaster the specific enemy warship with Plasma. Once the enemy is plasma’d, run the lineship out and unload that barrage of 100mm HEHC shells you have in that magazine. This should take out most warships if executed properly. Then duck back into cover and rinse and repeat.
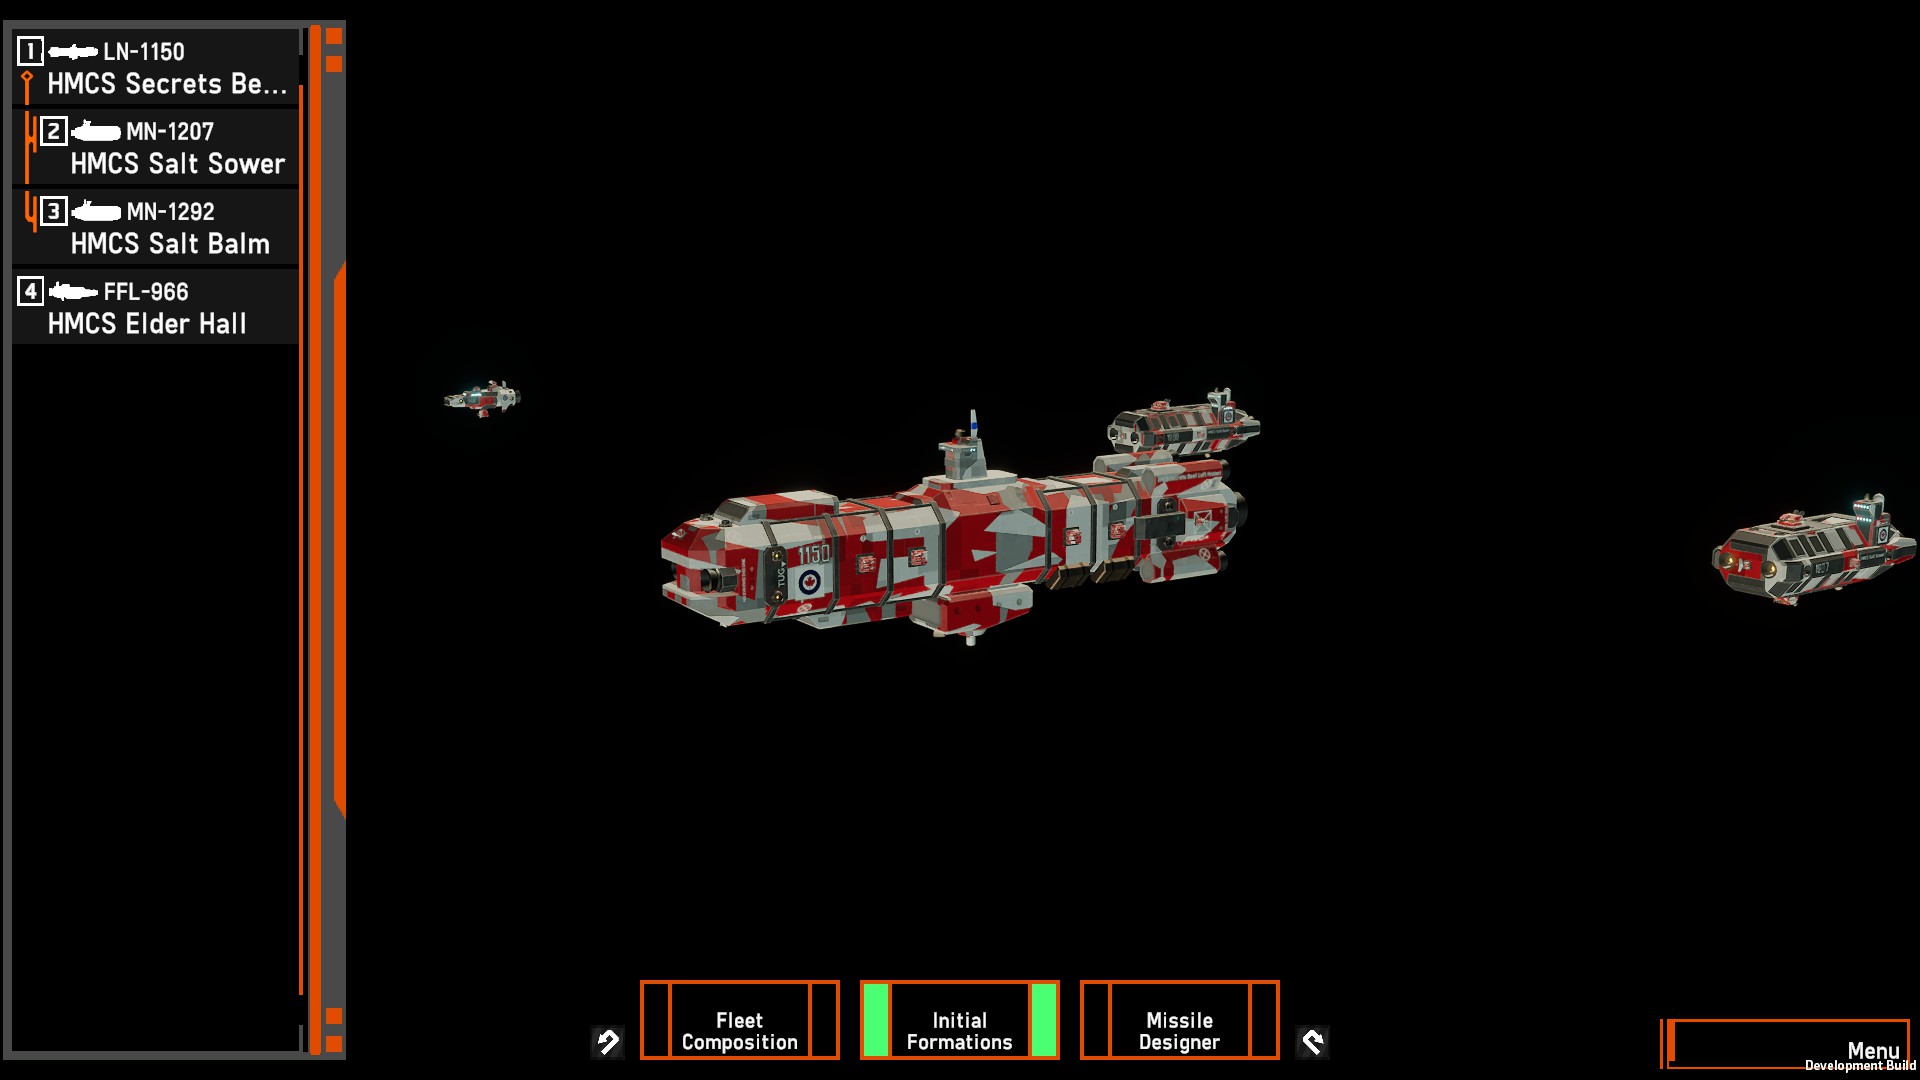
This is because the Secrets Best Left Known has no point defense turrets except for a lot of Anti-Missile missiles and two Bastion Flak guns. The T30s can be used as point defense, but as their reload is quite long, you may not necessarily want them to be used as point defense. Keep your Cargo Feeders close as well as they have two Bastion flak guns each which will help dissipate missile strikes. The Line Ship also has a spherical J360 Jammer which can jam radar missiles.
That being said, in my opinion, this Starter fleet is quite vulnerable to hybrid strikes, especially once the Anti-Missile Missiles are depleted.