Destiny 2 All Neomuna Action Figure Locations
This guide is under construction and will include additional figures as they’re added. The locations for Action Figures hidden away in Neomuna. Collecting them is required for Lightfall seal and earning the Virtual Fighter title.
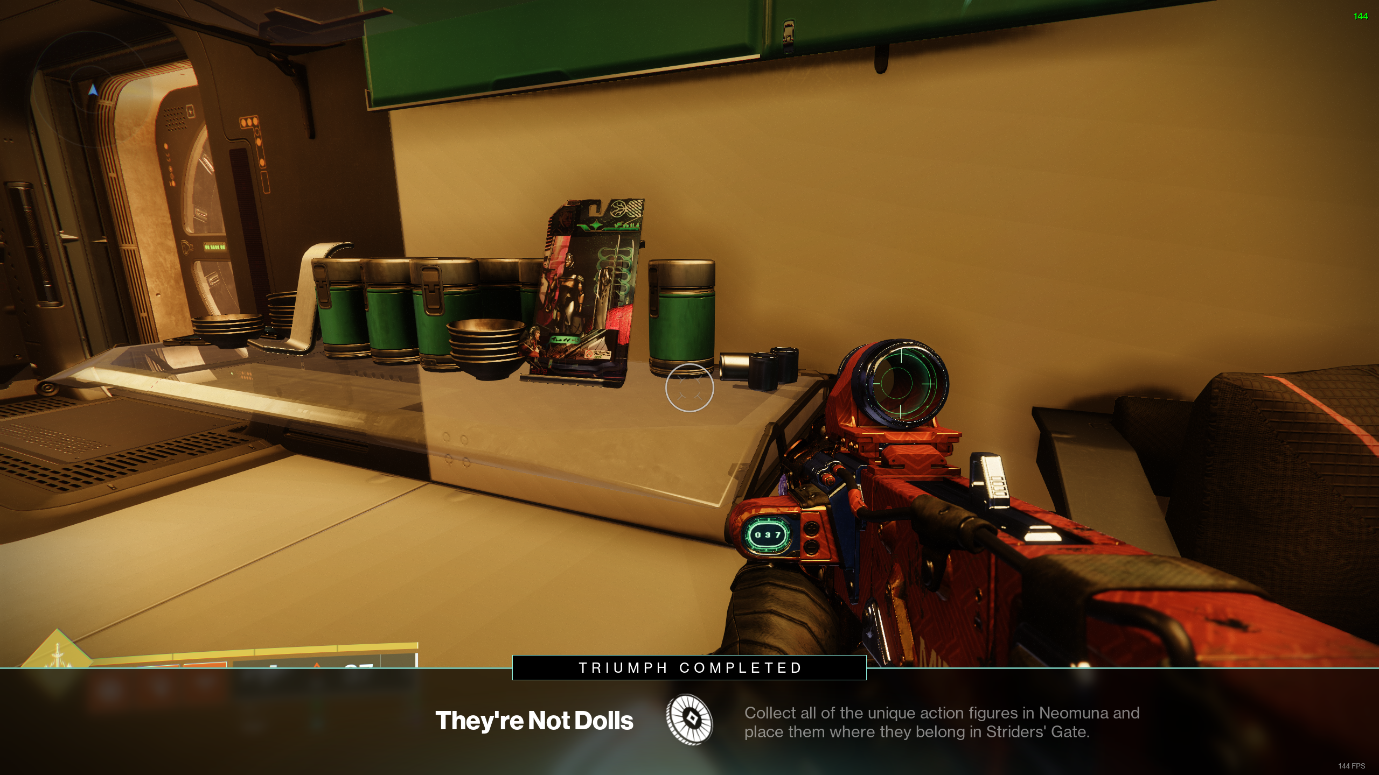
Where to turn in Action Figures
Figures can be turned in a quick jump away from the Striders’ Gate landing zone.

Down by the right side of Nimbus lies this building with the large blue florescent sign. Approaching the door will open it automatically, where you’ll be greeted by a small apartment. Walking around the room will display markers where you can turn in your figures.
Amimsa Park
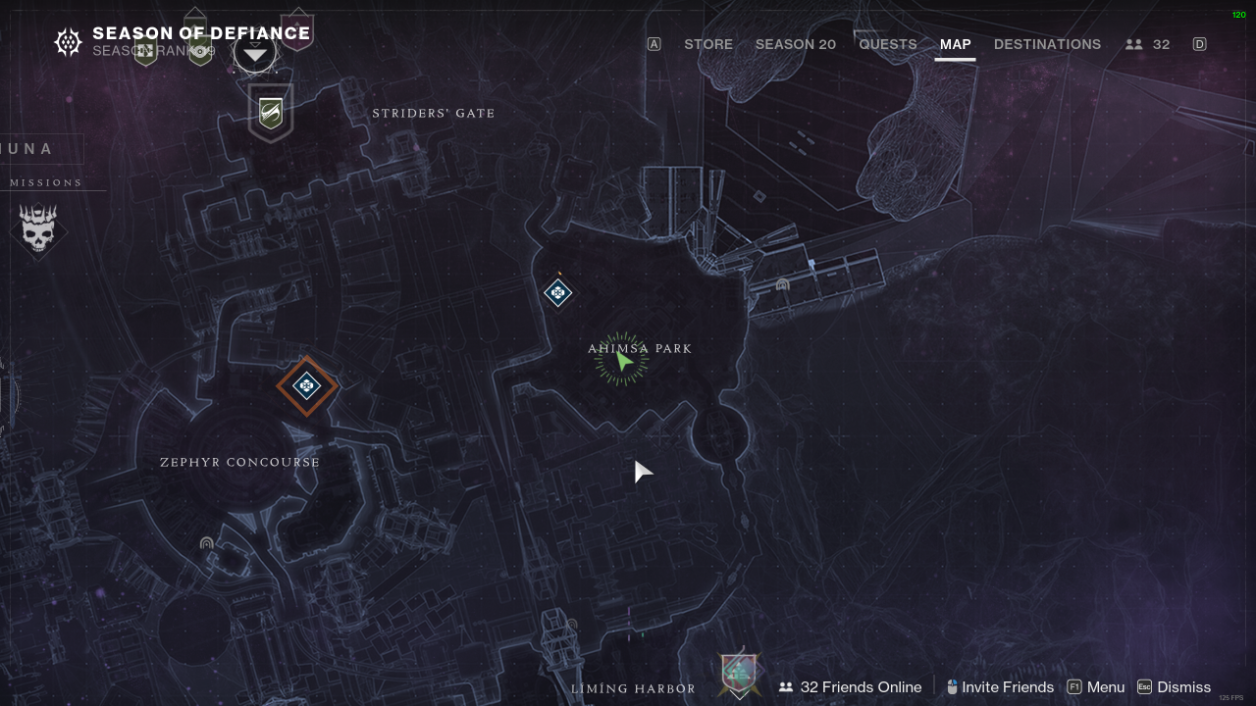
This first action figure is very easy to grab. Located in the large, central building within Amimsa Park.
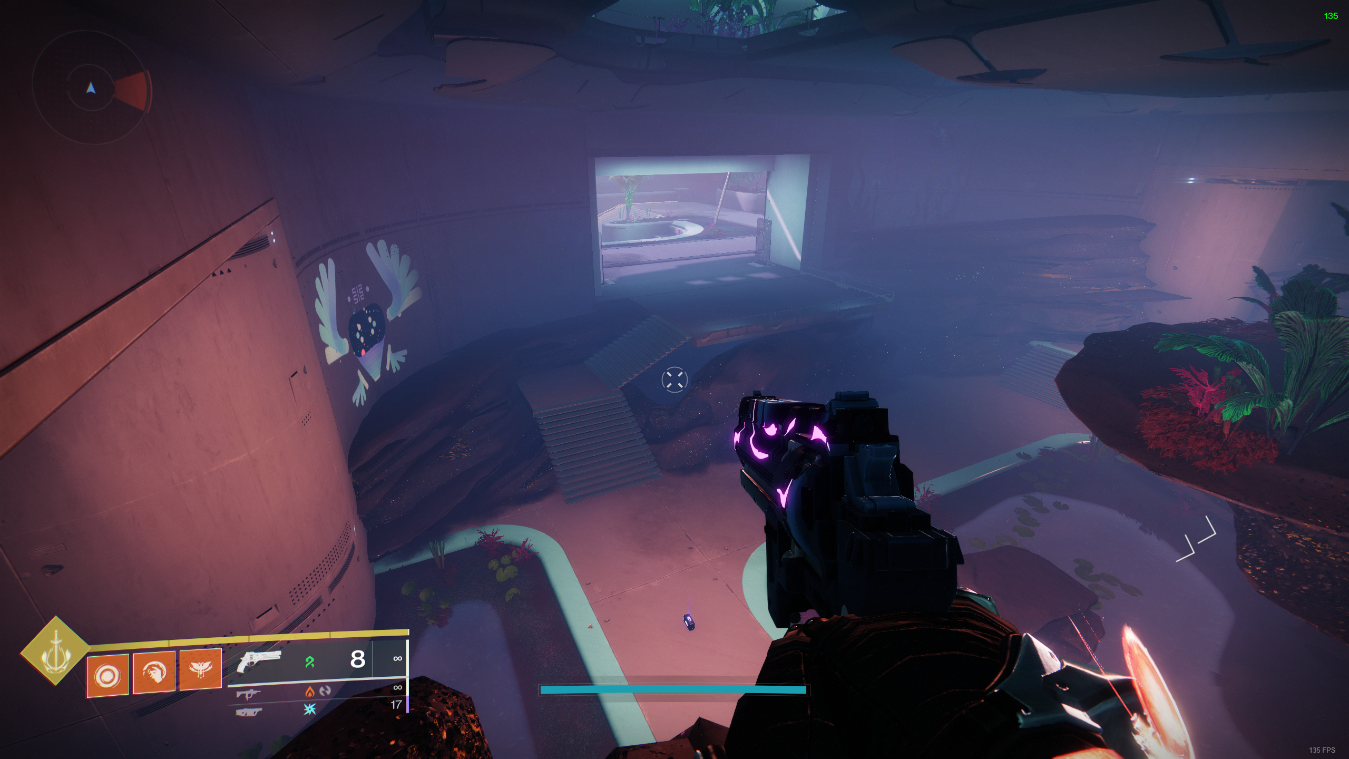
This figure is hidden under the stairs by the ground floor entrance. Tucked away in a small cave.
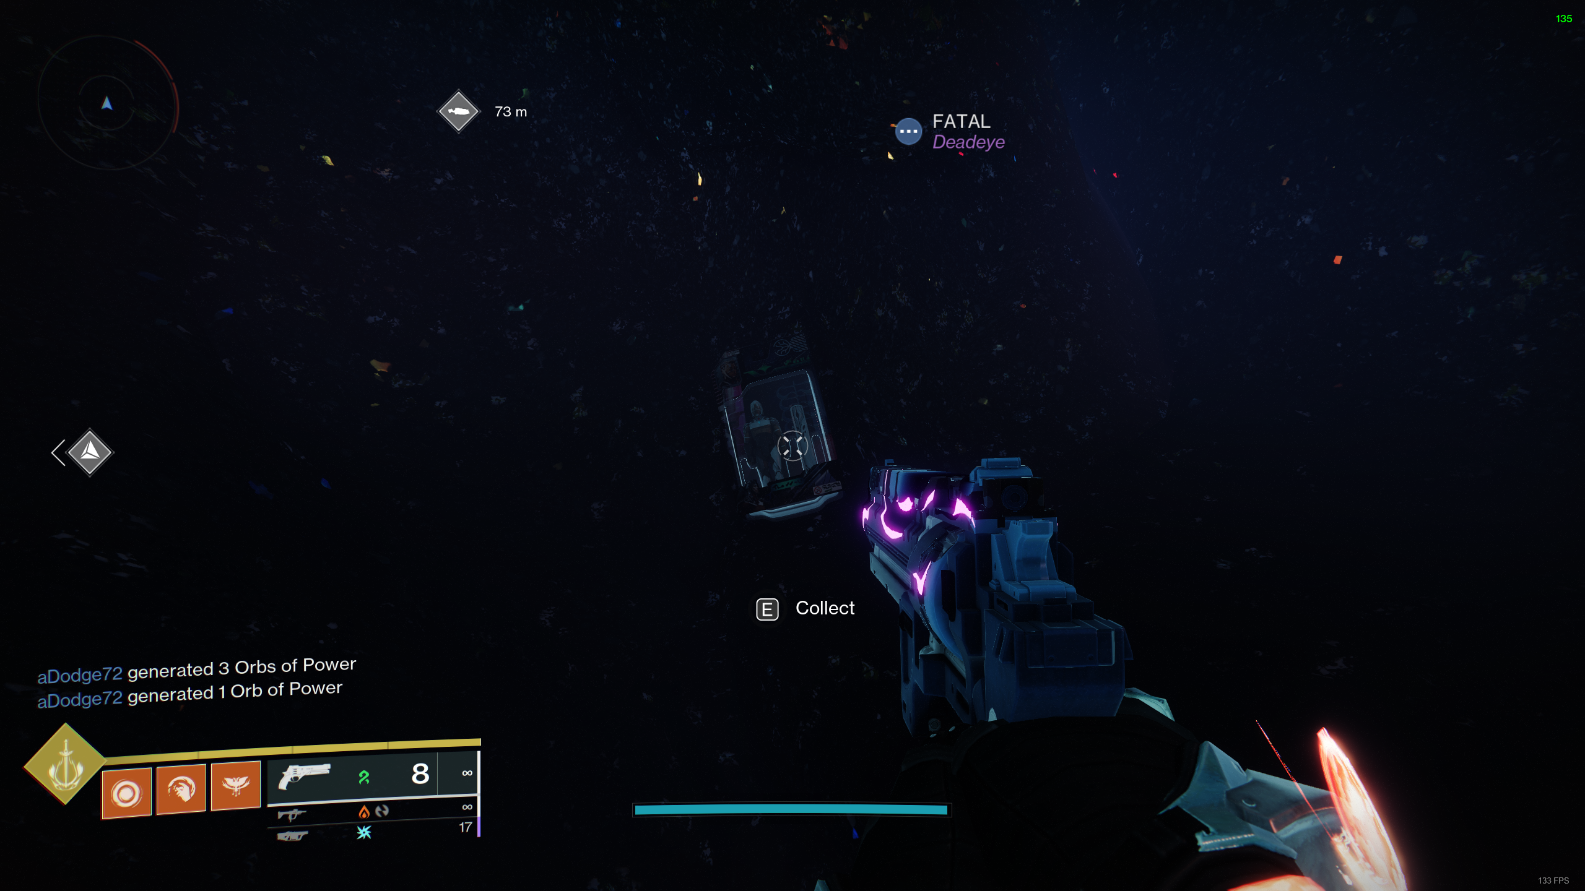
A short walk in, turn to the right and you’ll find it waiting to be collected.
Irkalla Complex
This figure is much harder to find, and requires completion of a hidden puzzle to collect.
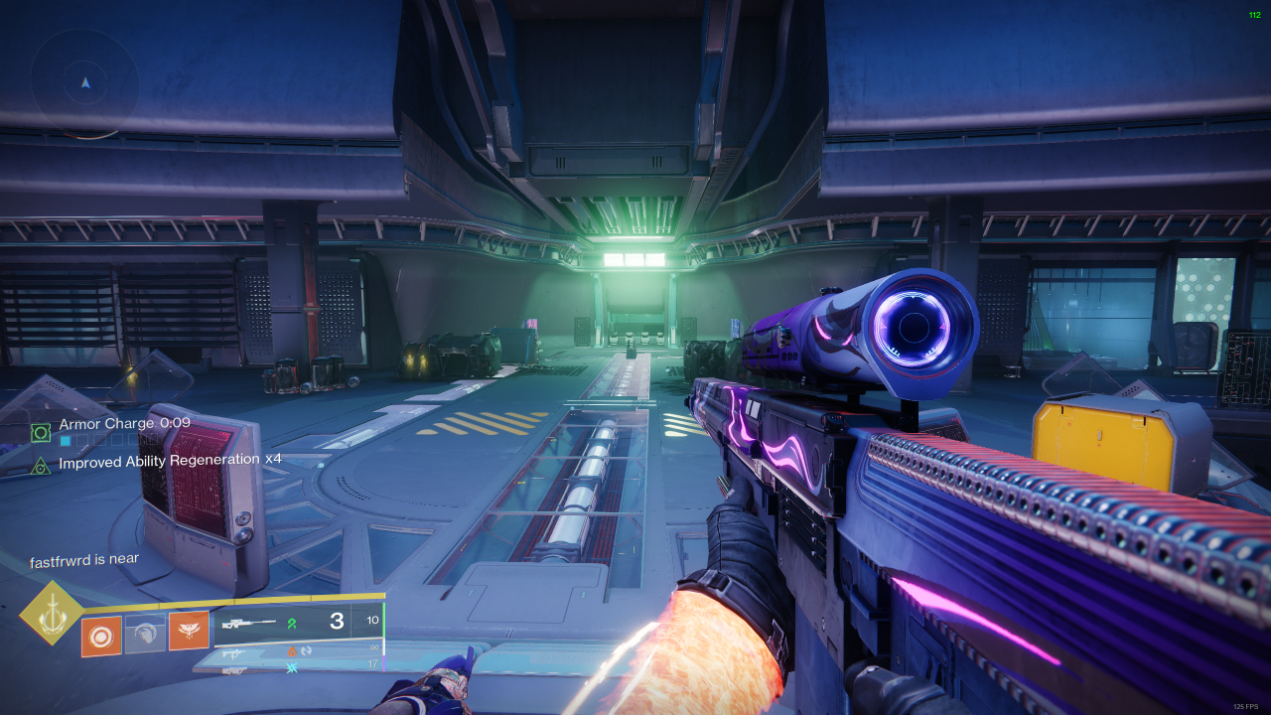
Begin by travelling into Esi Terminal from Zephyr Concourse.
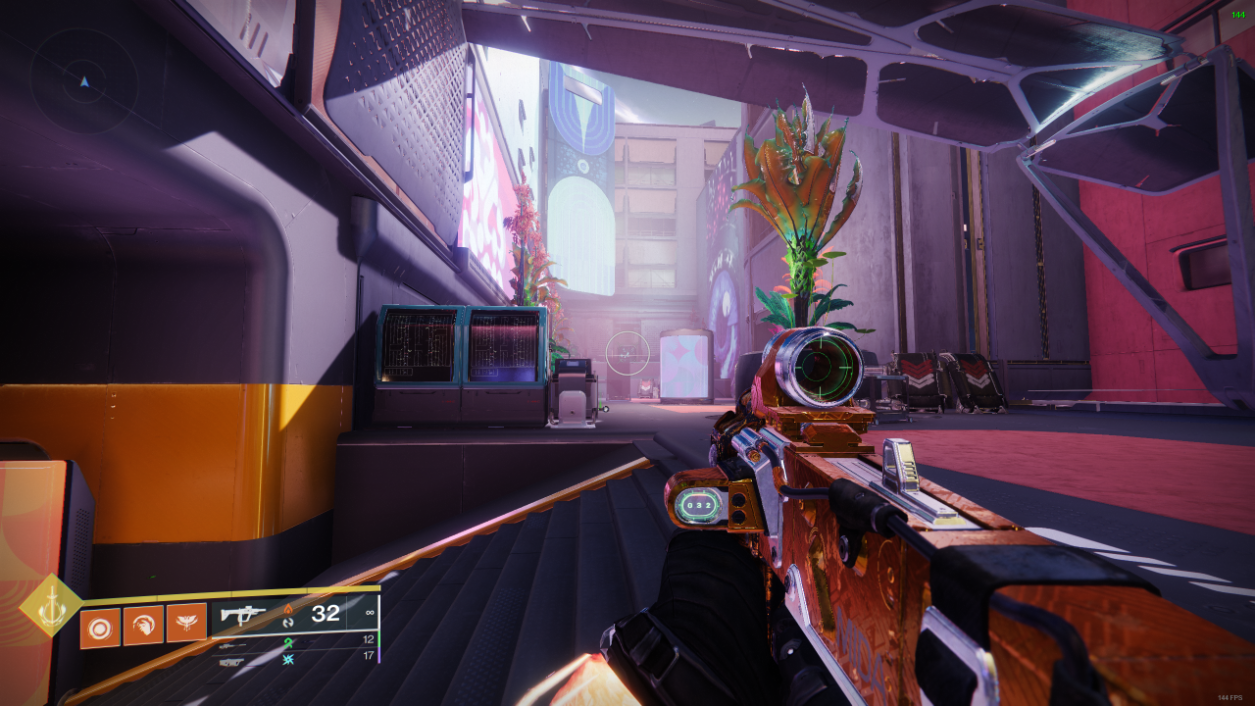
From there, turn left and continue straight into the door. Follow this path until you’re outside again. Continue to drop down onto the third terrace, where a portal will be waiting.
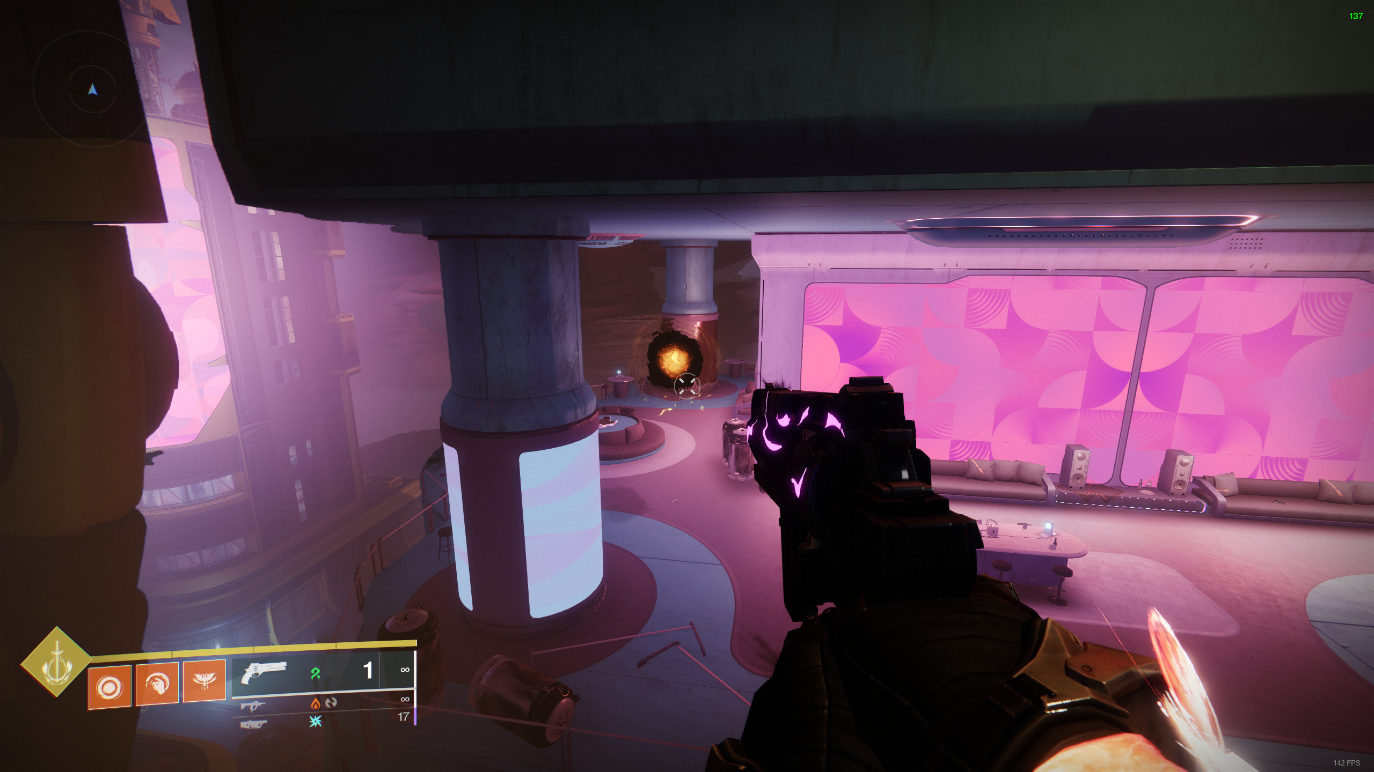
Enter the portal and walk through the hole in the wall. Immediately turn left once inside.
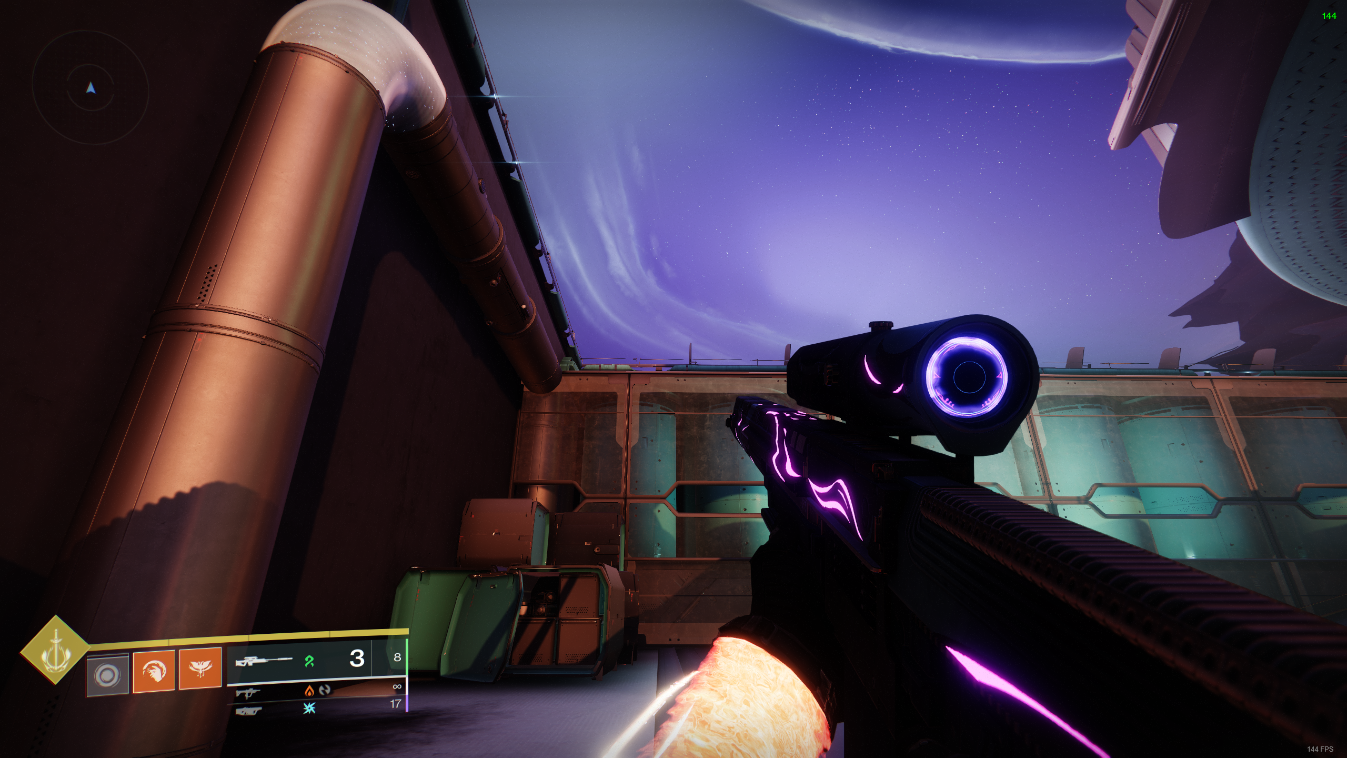
From here, you’ll want to climb up onto the outer wall from the crates and pipes. Once up top, turn left once more where you’ll see three broken cannons.
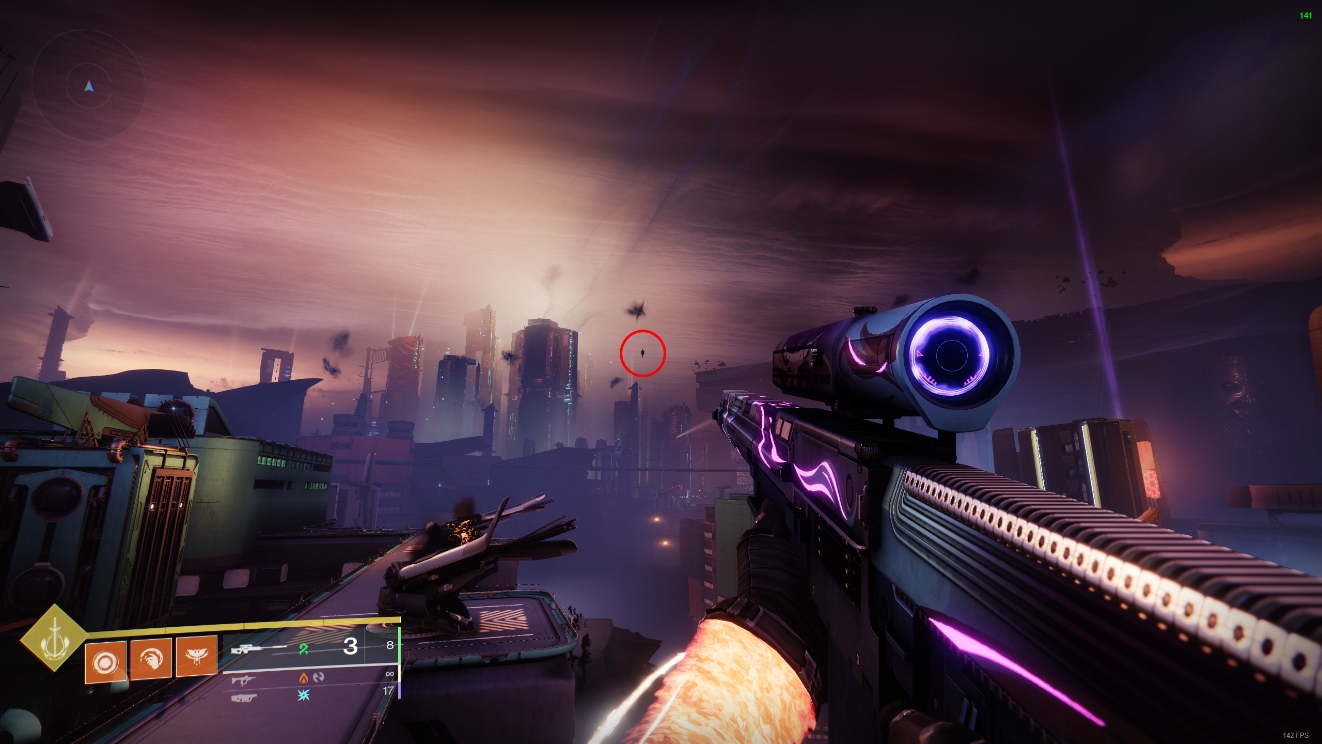
Walk onto the first cannon, a shard will appear far in the sky. Shoot it.
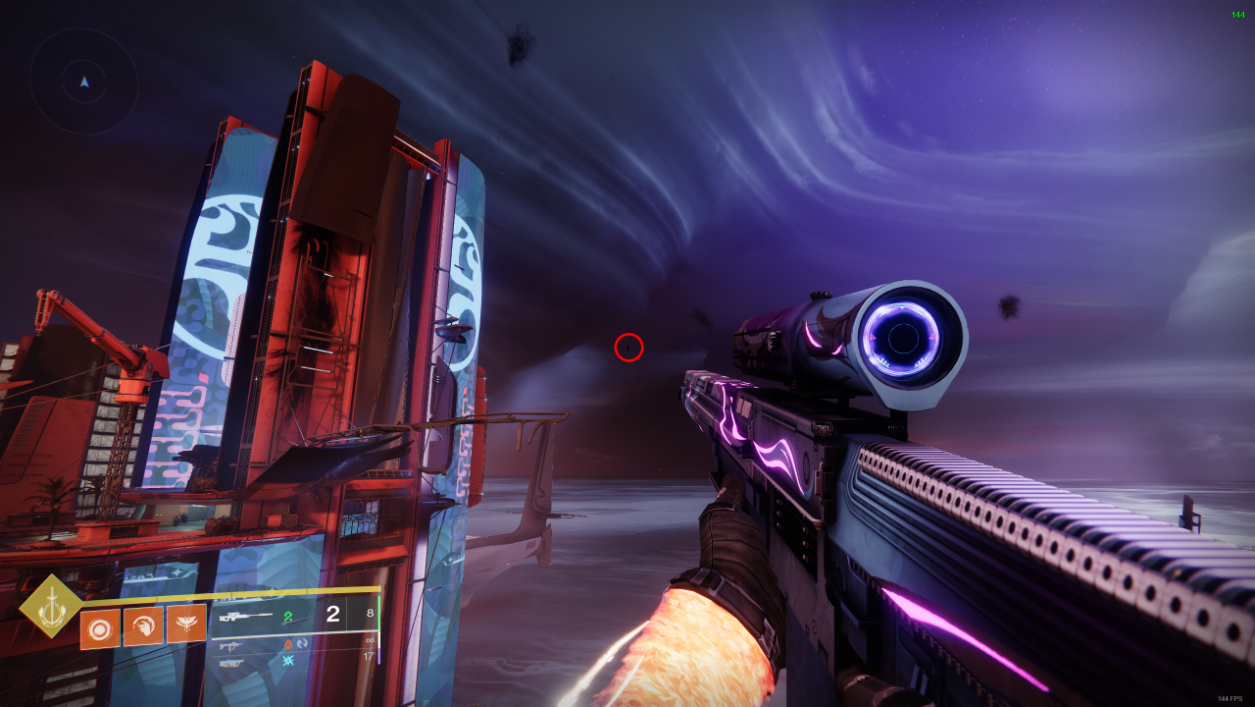
Repeat these steps for the remaining two cannons.
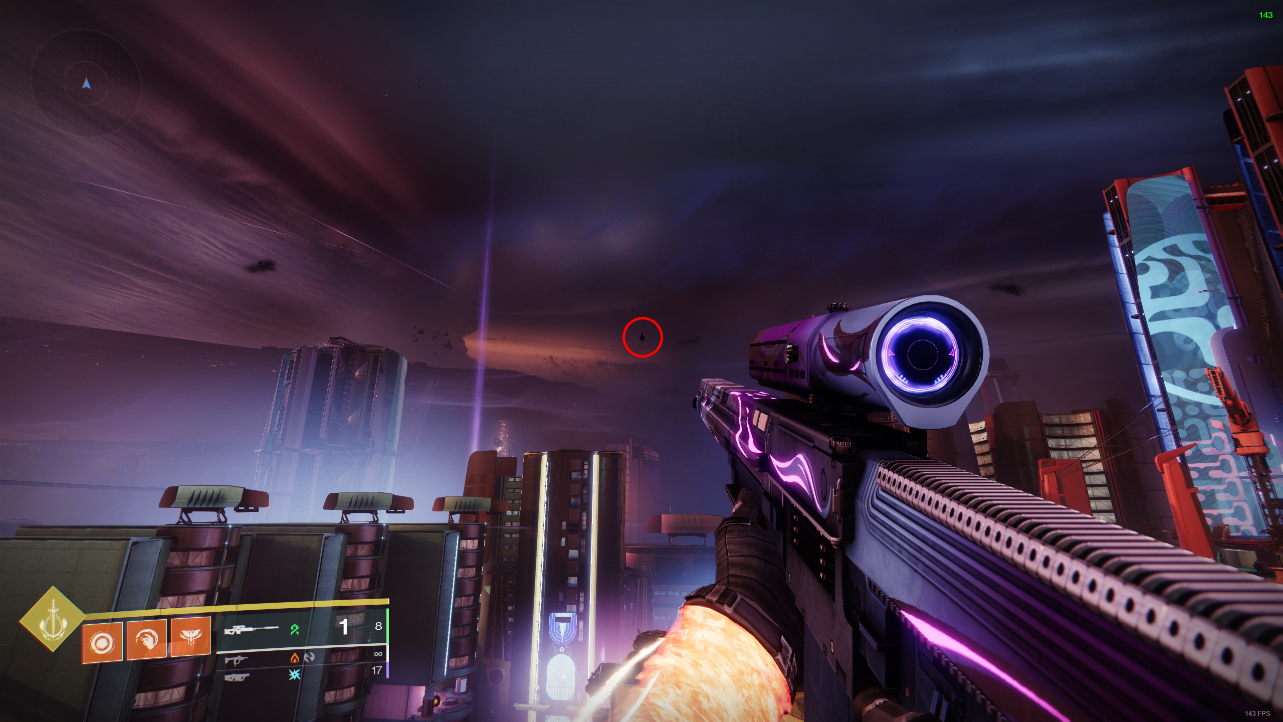
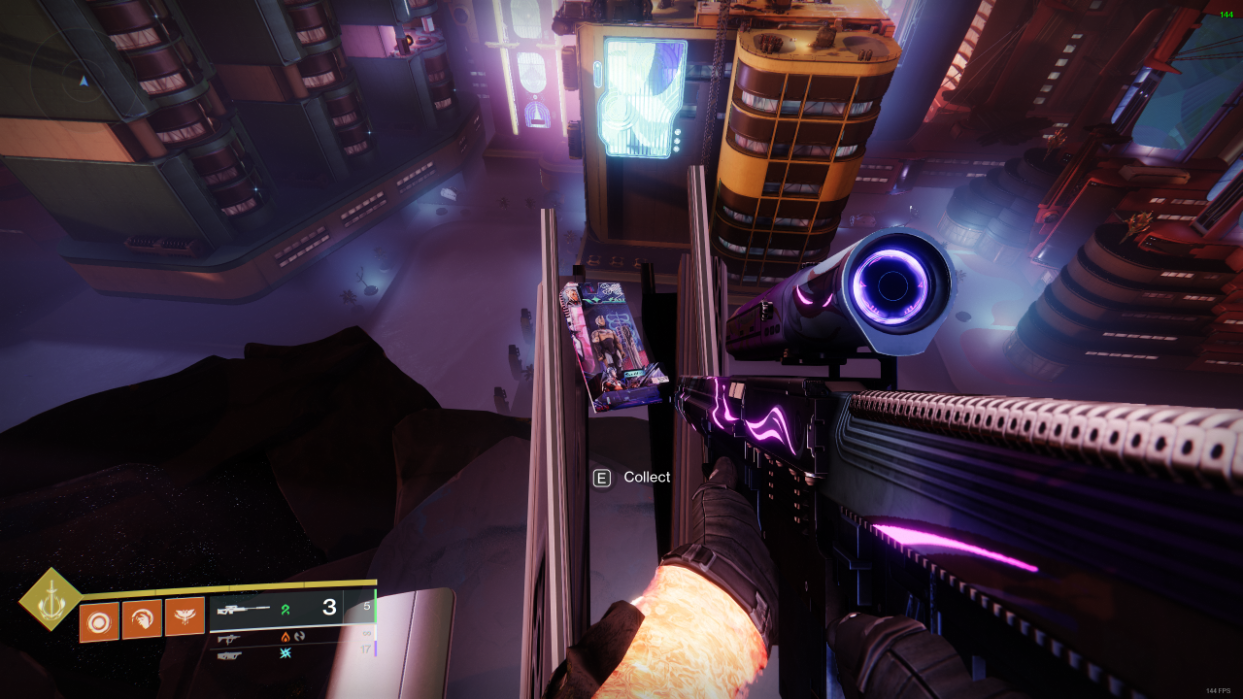
Upon completion of the third cannon, you’ll find the action figure laying at your feet.
Zephyr Concourse
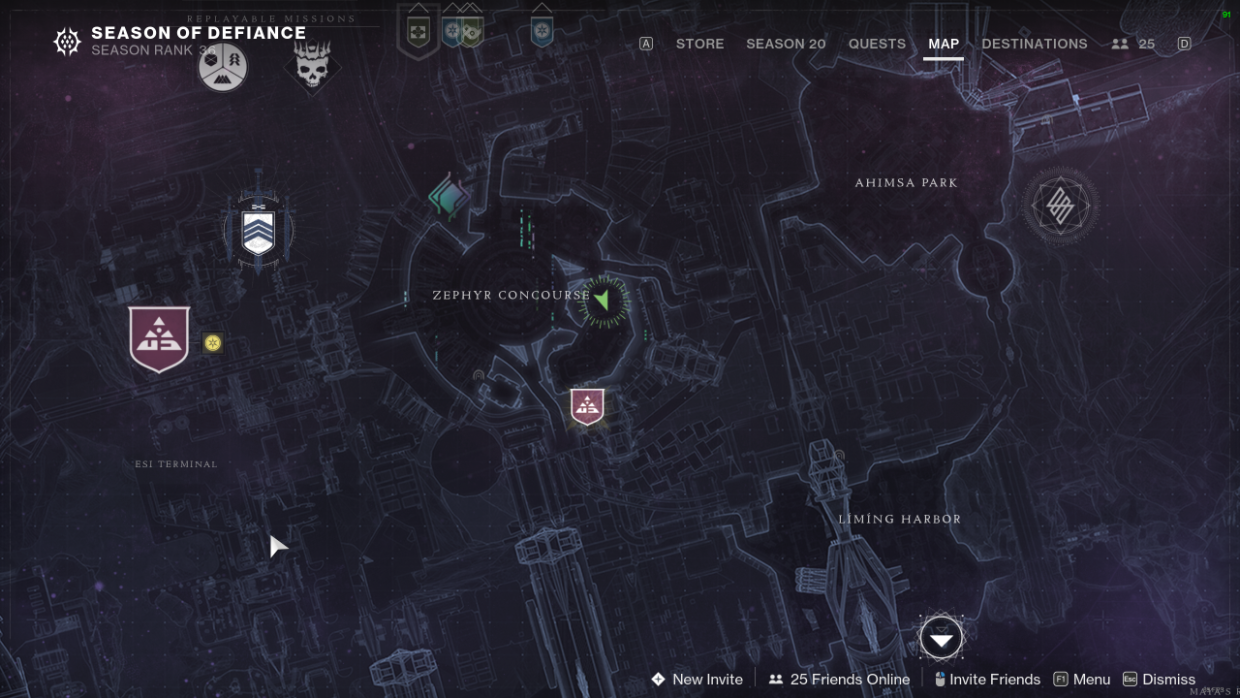
Week 2 starts off with a crawl through the bar in Zerphr Concourse.
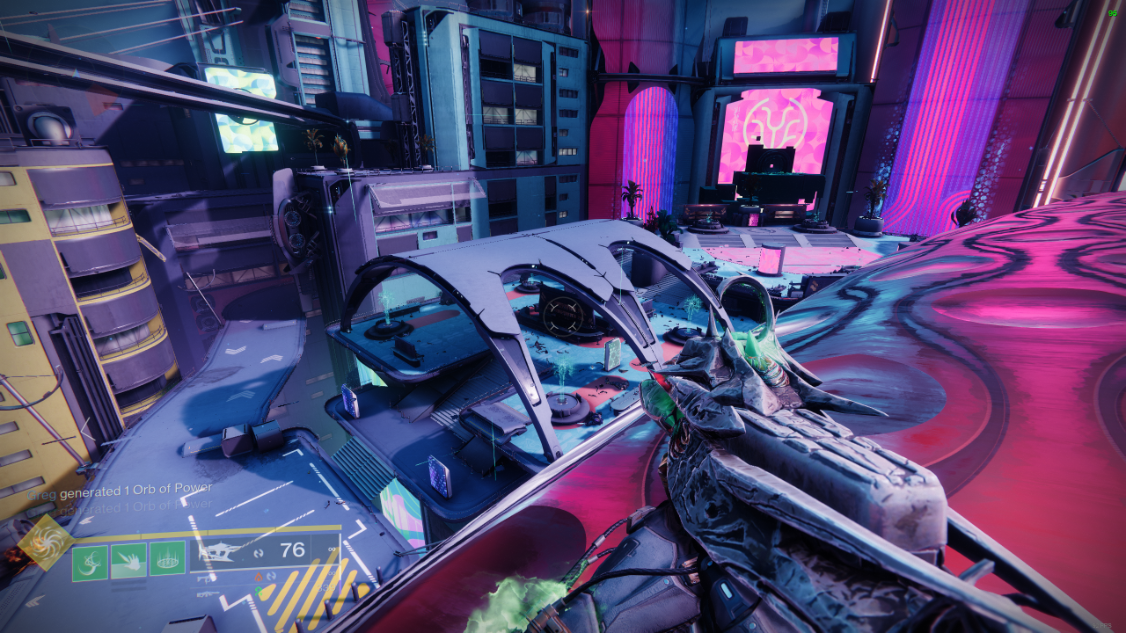
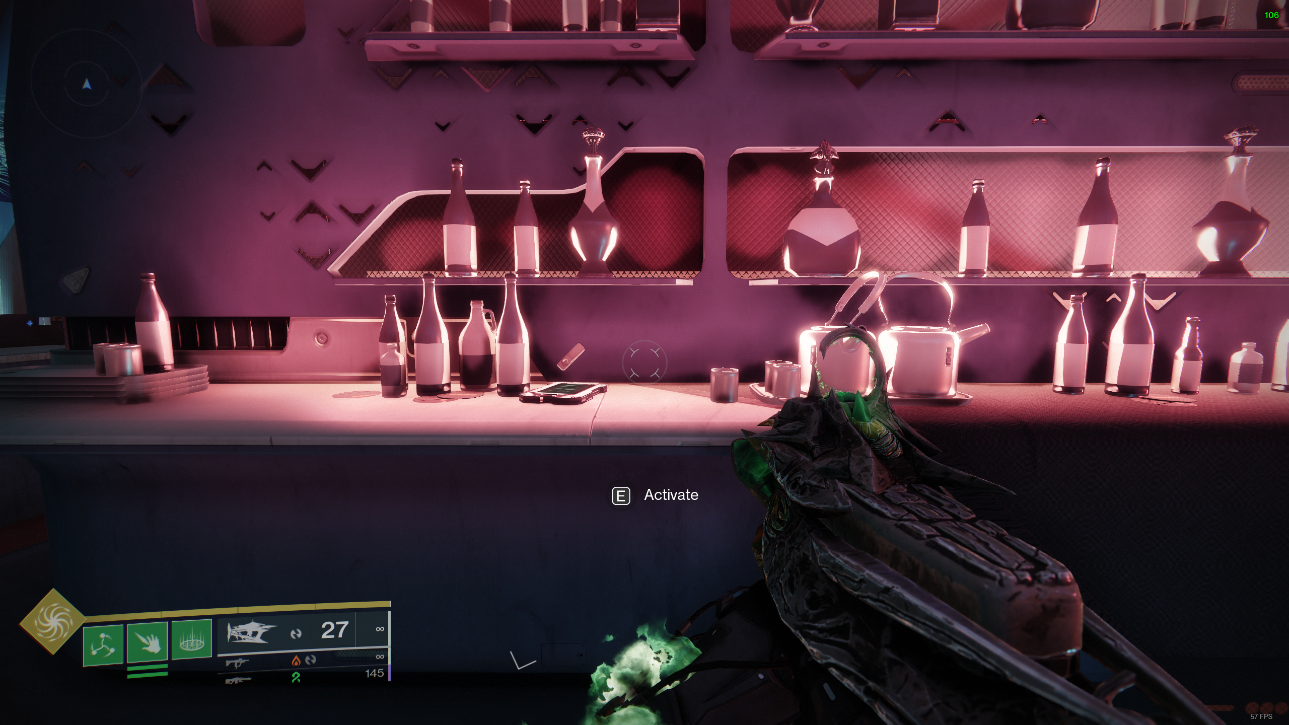
Approaching the bar you’ll see a prompt to activate.
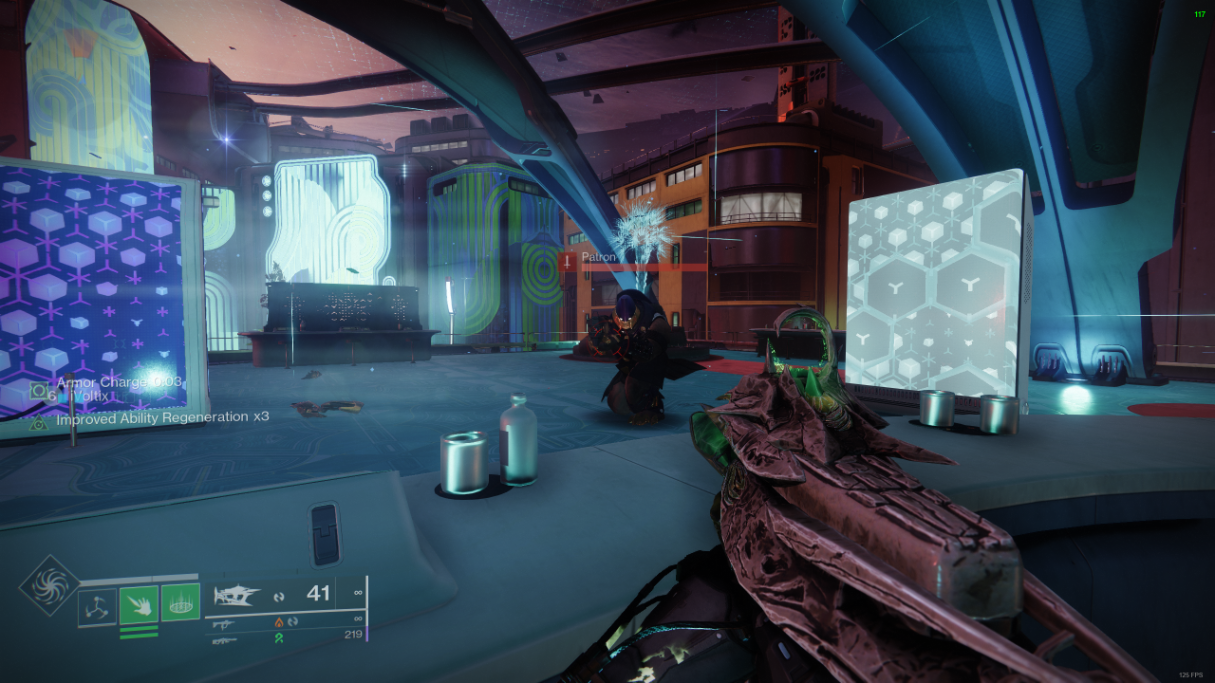
At this point you need to defend your bar from progressively stronger patrons. If you leave the bar or allow the patrons to reach the bar, you must start over again.
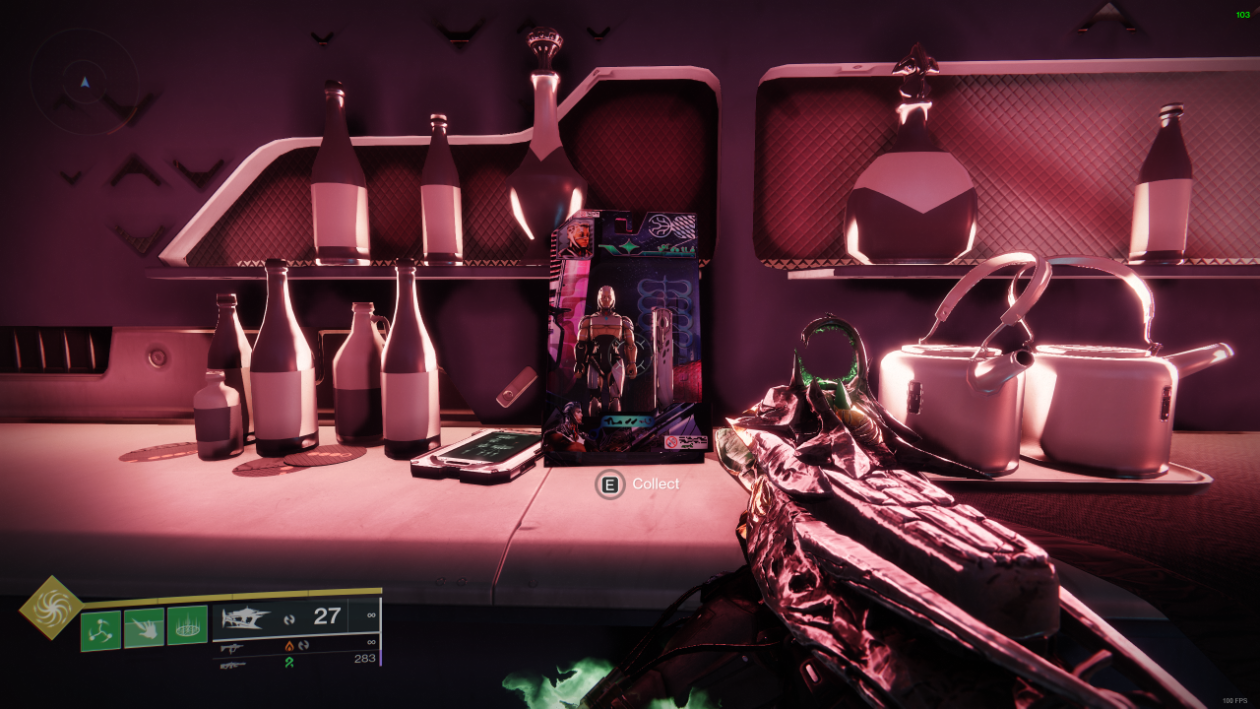
After kicking the last patron out, you’ll find the action figure in the same space you activated.
Maya’s Retreat
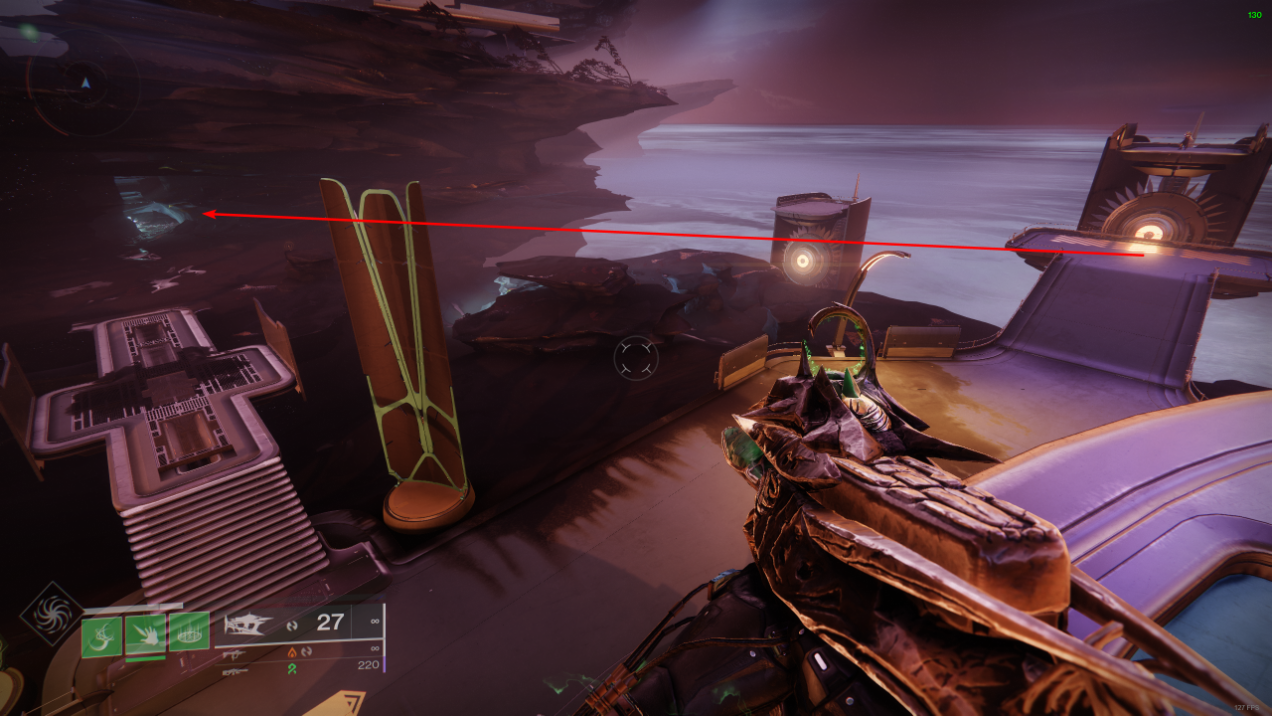
Starting from the Liming Harbor landing zone, follow this path to Maya’s Retreat. If you do not have this landing zone unlocked you’ll need to travel from Striders’ Gate.
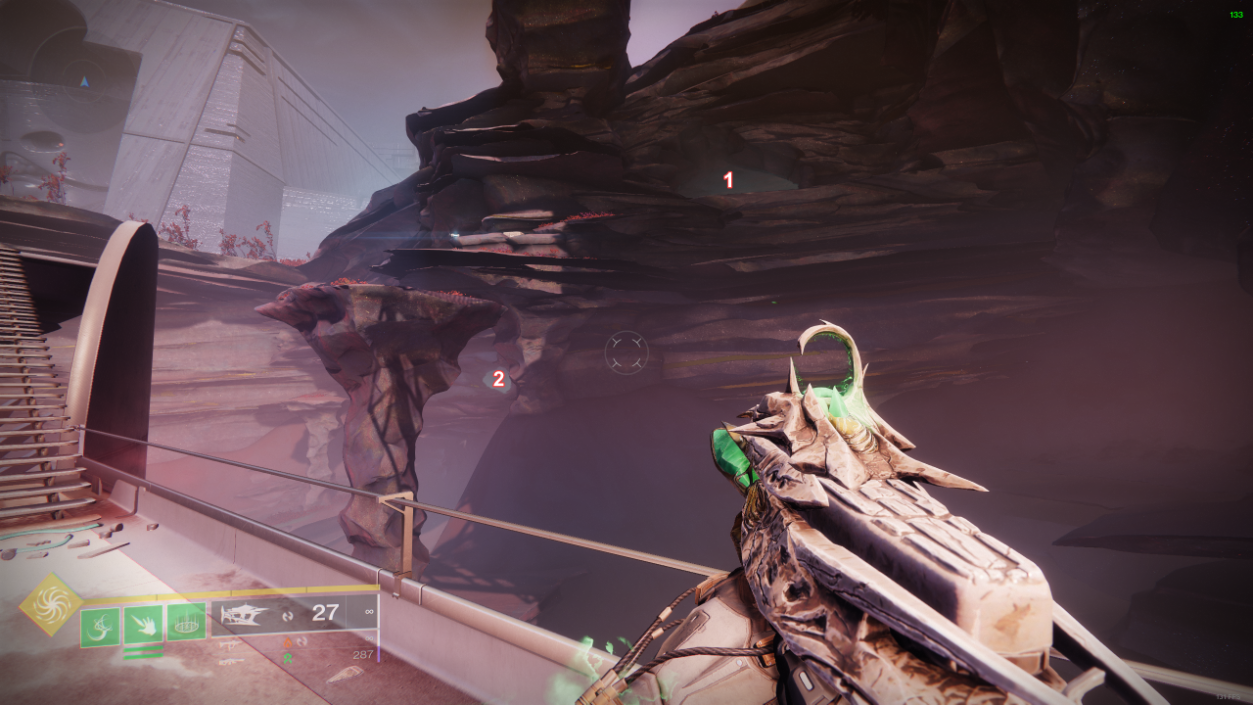
Continue down this path until you reach the end of the bridge. Take note of the two caves, labeled 1 and 2. Continue to the first cave.
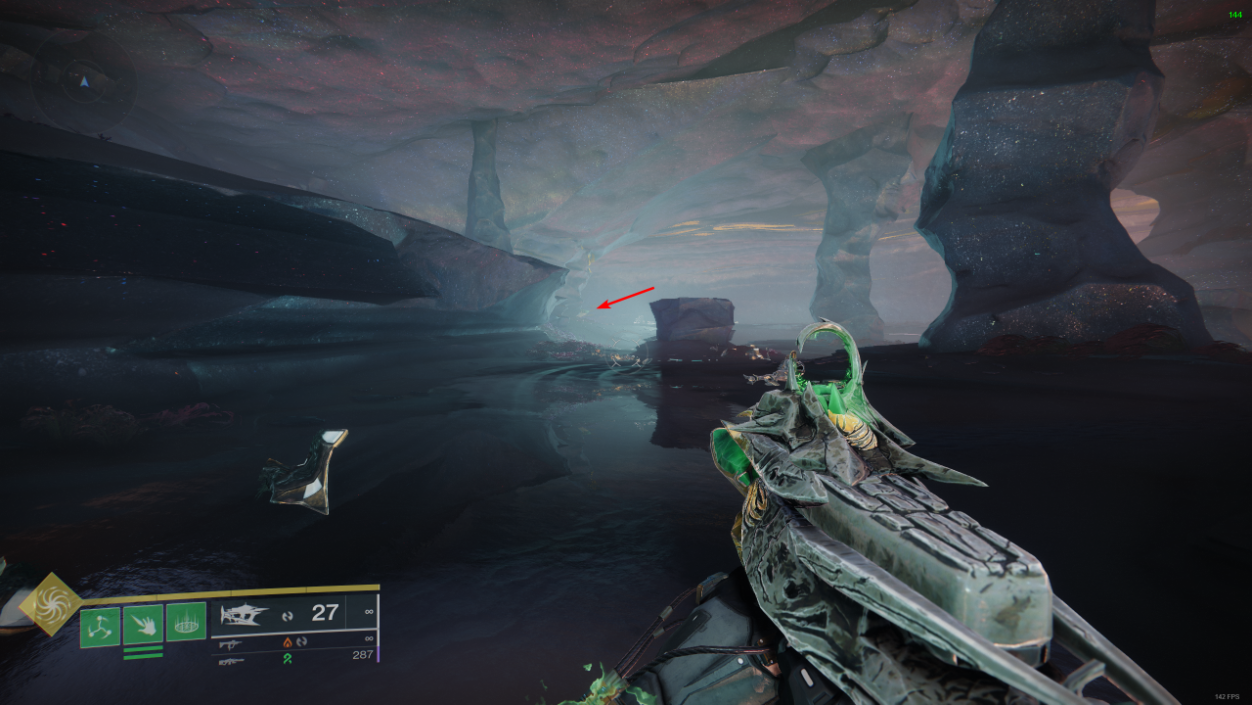
In the back of the cave you’ll see a brazier in the distance.
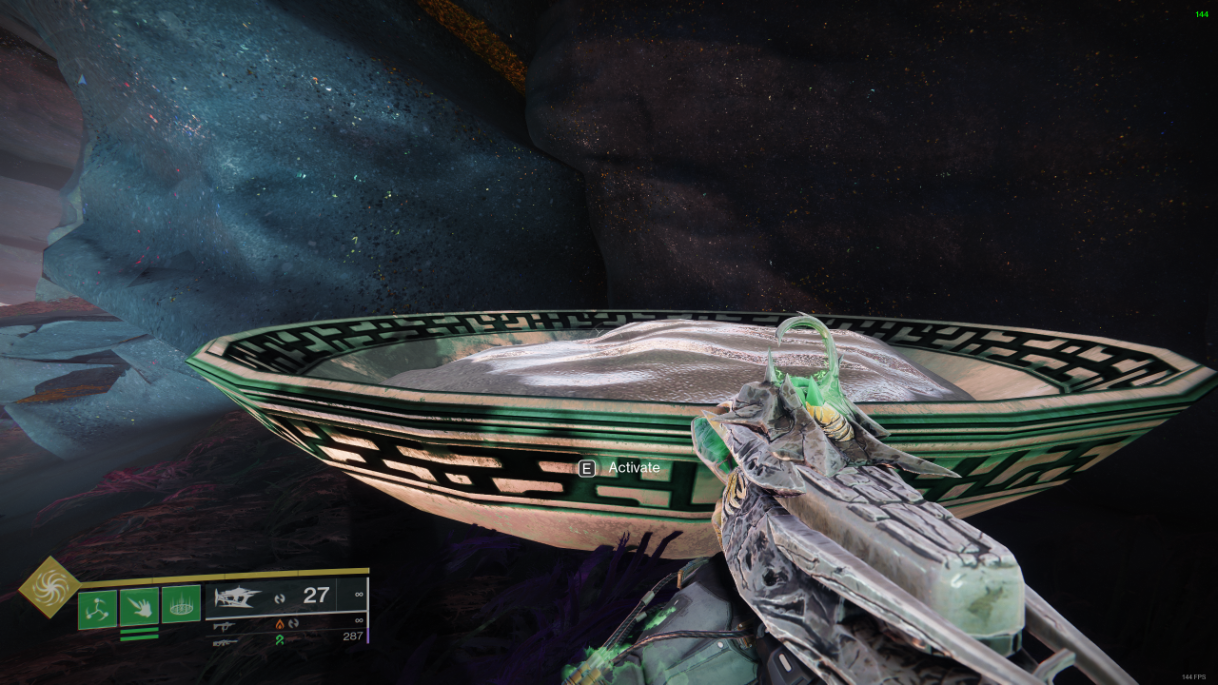
Approach and light it.
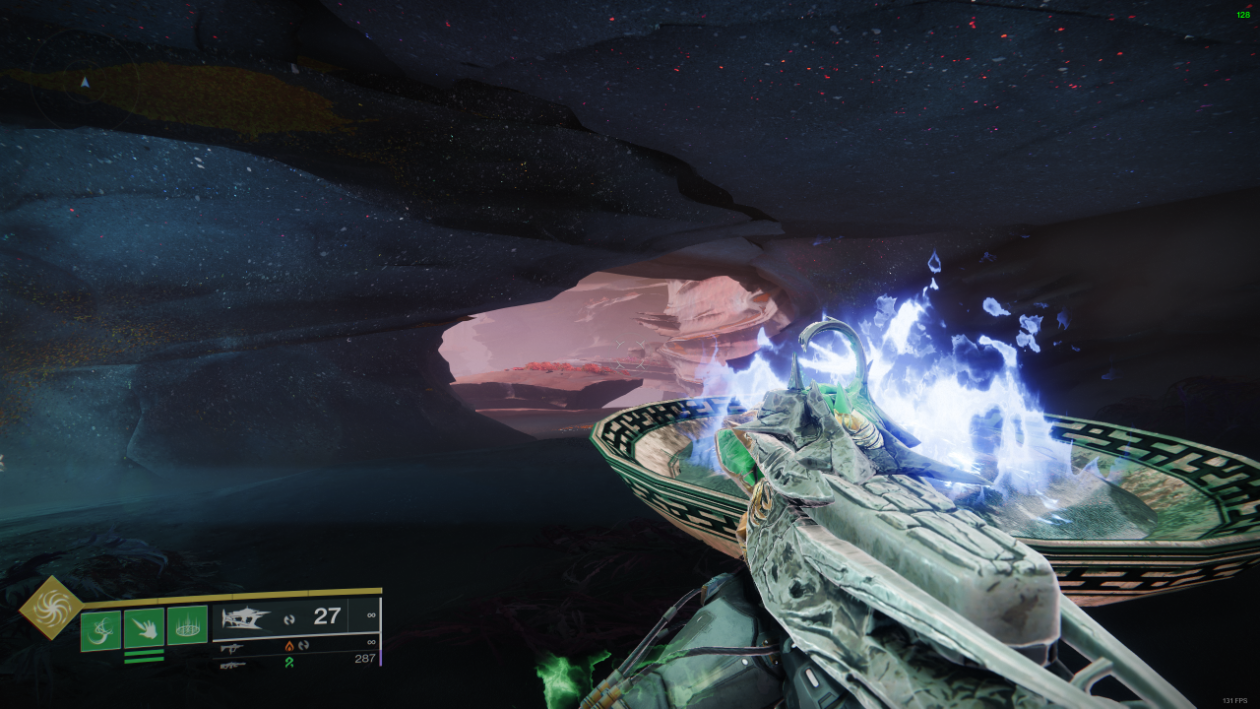
Backtrack and head into the smaller, second cave.
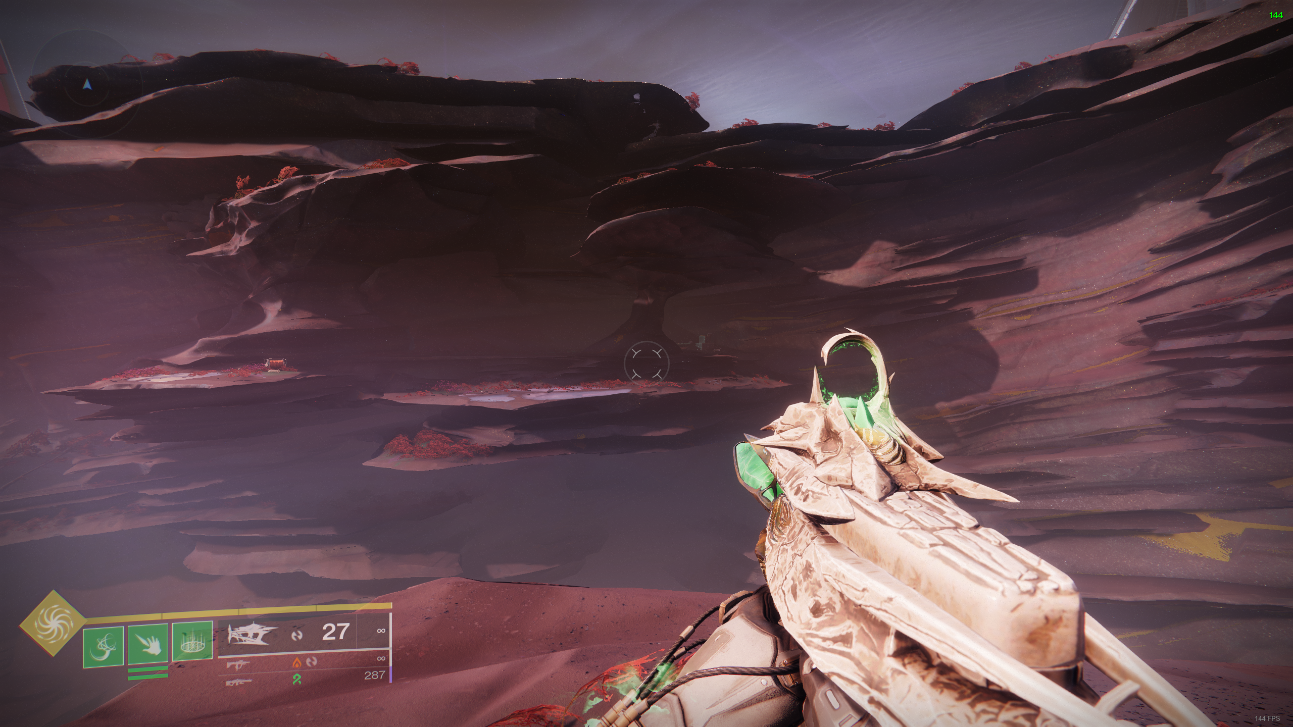
From the second brazier you’ll want to head left along the side of the walls until you see this formation over a large gap. Jump over where you’ll find the last brazier.
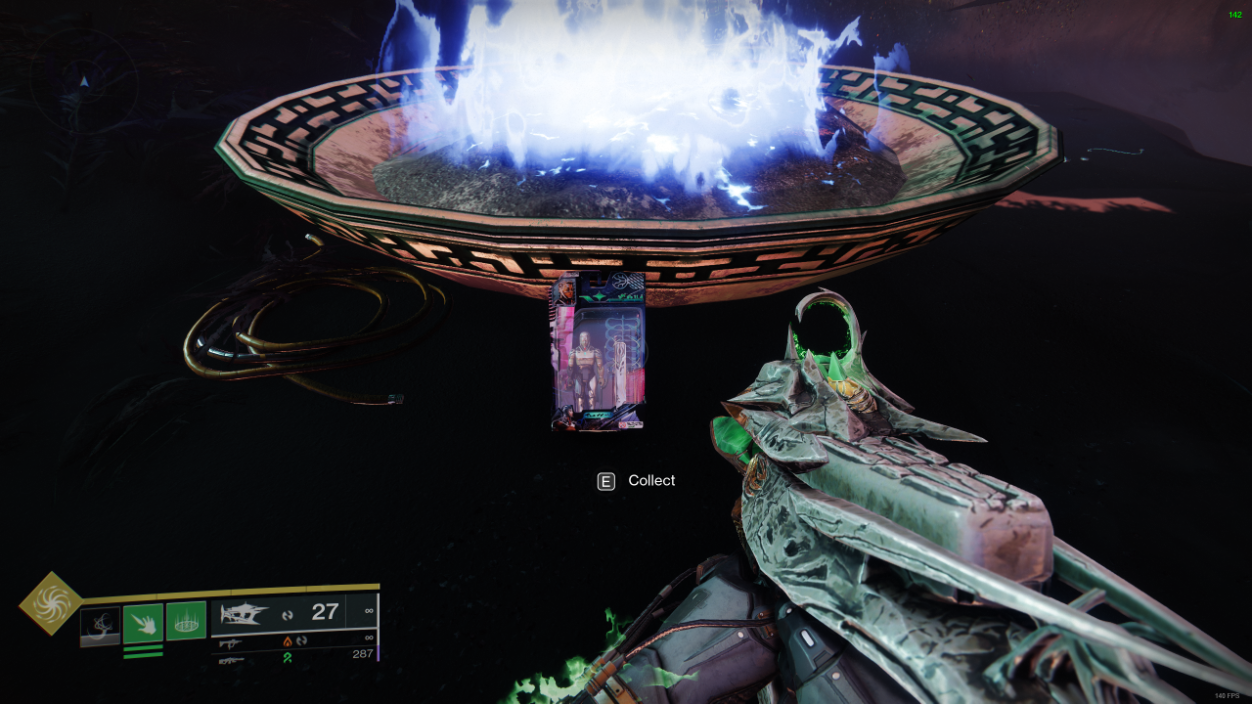
Light the final flame, you’ll find the action figure against the brazier.
Credits: Thank you to Saint Index for pointing out the two figures this week. (Week 2)