Welcome to our Pathfinder Wrath of the Righteous Crusade System guide. This guide will show you what you need to know about Crusader’s Camp.
Pathfinder Wrath of the Righteous Crusade System
Crusader’s Camp
- Go into the camping tent on the west side of Crusader’s Camp to begin your next main missions and stock up on products, scrolls, etc (talk to Vissaly).
- The Commander’s Tent on the northwest side contains Half-Plate of Vigor.
- Provide Elven Notes from the Gray Garrison to Storyteller in the center of the map to acquire 330 XP, completing Notes for the Storyteller.
- Examine the encampment on the north side of the map
- Take A Look At the Eagle Watch encampment on the west side of the map
- Successfully intimidate Wilcer Garms to get Righteous Crusader’s Ring and a little XP.
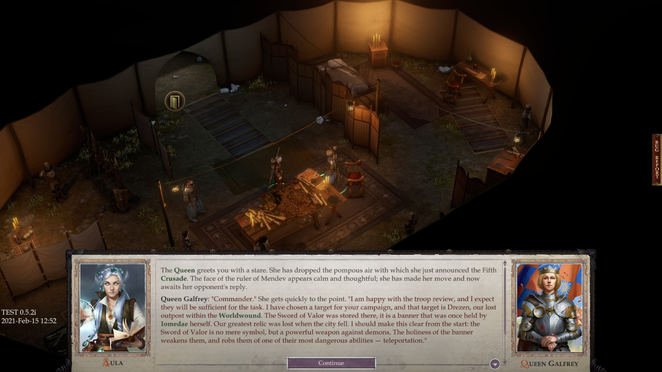
Once you’ve done all that, go into the primary, large camping tent and speak to Queen Galfrey. If you pick the “wicked” choice in regards to Staunton, she’ll reply, “Not in my army.” Once you’re finished with organization, she’ll provide Sosiel into your party.
Just outside the primary tent to the right is Liotr Hawkblade. Speak to him to advance While the World Burns.
Go into the main camping tent once again and use the world map icon to leave the location.
Crusade System


As soon as on the world map you’ll get your intro to the Crusade system. Start by recruiting a basic. To do this, select equipment icon in the bottom ideal corner. It can be discovered to the left of the “Legion I” button. Then choose “set leader” then “purchase leader”. Choose whichever you like, then click their portrait to set them as the leader of Legion I.


Next, send the “Legion I” pawn toward the “Demon’s Army” pawn with an exclamation mark beside its name. (Select it manually or with the “Legion I” button in the bottom right corner of your screen.) As soon as in battle, use you general’s capability to buff your footmen, then protect in the corner with the footmen. When the enemies show up, attack until dead (merely click on the enemies to eliminate them). For your victory you will make 1200 Finance Points (FP).
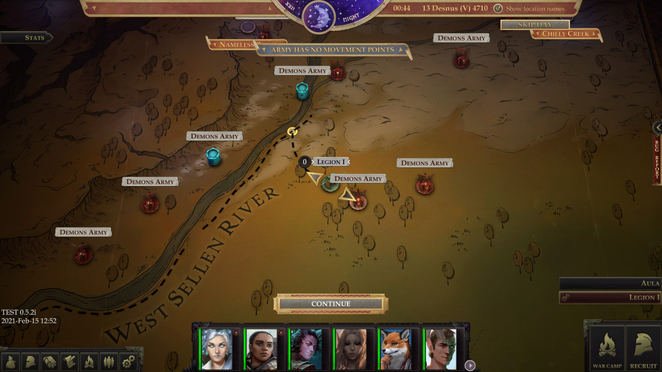
Hover over your Legion I pawn now and you’ll see its “Estimated Army Strength” is 2. What you want is to have that pawn battle only other pawns of equal or preferably lesser strength, hence minimizing losses. Have the pawn take a right and battle the Giant Flies (still marked as “Demon’s Army”, with the rewards listed as FP). When you lack movement points, click the “Skip Day” button in the top right to reset them, then continue on.

When the Giant Flies are beat, go to the Recruit menu and recruit another 100 Footmen. These will form “Legion II”. Have Legion II meet Legion I and integrate forces (a button will appear when they are on top of each other). Use the combined forces to take on the unit a little east of Nameless Ruins, which will yield Divine Favour x20.
Crusade System More
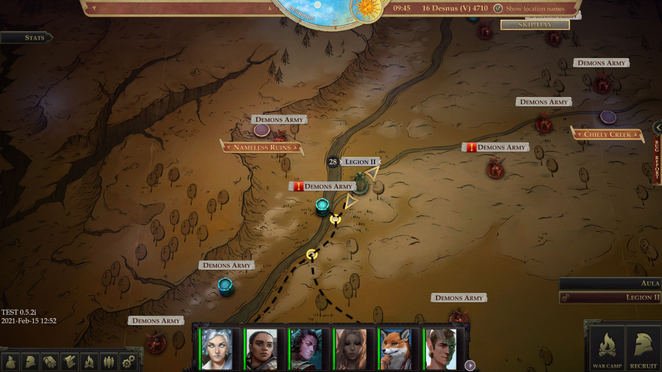
Utilize the Divine Favour to recruit some Clerics, and have them integrate with the other systems, then level them up (Defensive Training works well). Use this unit to combat the first blue unit, near Nameless Ruins and marked by an exclamation point. Don’t be tricked by the number 16: your priests are extremely sturdy and in combination with the footmen, will make short work of the opponent.
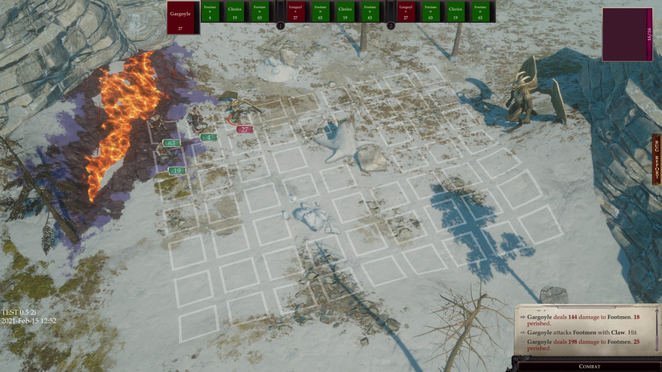
Later, use the “Skip Day” function till more employees become available on the Recruit screen. Employee a 100 stack of Footmen (plus enough to make up for any losses you sustained for any previous losses in your other unit) and 4 Clerics to a second unit (Legion I). Send Legion I to Legion II and combine the forces, splitting them as necessary so you have 2 stacks of 100 Footmen and one stack of Clerics. Make certain the Clerics are in the front (top) row, so they can tank, and position the Footmen to the left and right of them so they can attack quickly. Then send this system to the blue opponent system south of Nameless Ruins, which is consisted of a Gargoyle and his leader.
More Crusade System
When the systems battle, merely have the Cleric heal himself while the Footmen attack the Gargoyle. Utilize your leader’s power on the Cleric each turn. With this you will suffer no losses.
Level up now; “Cure Wounds” is a good concept. As soon as everyone south of Drezen/Leper’s Smile has been wiped out (minus the Strength 7 and Strength 4 units to the west and east, respectively), you need to advance the primary video game with your main character system as normal in order to gain access to the staying areas with your army. Going forward in this chapter, you must have the ability to manage it on your own. Simply keep utilizing the defend and heal strategy, recruit in order to strengthen your system rank, get smaller sized enemy units, etc, until you’ve wiped out everyone. As soon as you get Hellknights in the next area, things will end up being considerably easier.