This guide provides a detailed overview of the enemies encountered in Seed of the Dead: Sweet Home. Each enemy type is classified by rarity, risk level, primary targets, weaknesses, and recommended tactics.
Table of Contents


All Enemies in Seed of the Dead Sweet Home
Welcome to our Seed of the Dead Sweet Home Enemies List guide. You might a unstoppable killing machine, with a team of 4 cute girls backing you up, but it never hurts to do some research on what your fighting.
Enemy Classifications
Rarity
- Common – Appears in every level, frequently encountered.
- Uncommon – Present in most levels, but less frequent than Common enemies.
- Rare – Usually encountered only once or twice per level.
- Exotic – Appears irregularly; not guaranteed to show up in every stage.
- Unique – Extremely rare, only seen once or twice in the entire game. Approach with extreme caution.
Risk Levels
- Cannon Fodder – Little to no threat.
- Low – Dangerous only if ignored.
- Medium – A real danger to teammates if not dealt with quickly.
- High – Capable of heavily disrupting or wiping out squads.
- Dangerous – Even with preparation, these enemies can devastate the team.
Target Priority
Indicates which character is most at risk when the enemy appears:
- Player – The player directly.
- The Team – NPC allies are the primary target.
- Everyone – The entire squad is at risk.
- Specific Character – A particular heroine is more vulnerable to this threat.
Weapon Categories
- PDW (Personal Defense Weapons): V014, AP5, SMG90, Battlehawk, Backup Pistol
- Assault: KA47, AR4, N90, Phantom
- Close Quarters: Shot12, Moss500, MAS12
- Heavy: Grenade Launcher, Rocket Launcher, Flamethrower, Grenades
- Sniper: SKS, CM200, Pulserifle
- Melee: Denma, Katana, Chainsaw, AscSword
Note: Battlehawk is categorized as a PDW despite its single-tap power due to limited accuracy without a scope, making it most effective at mid-range.
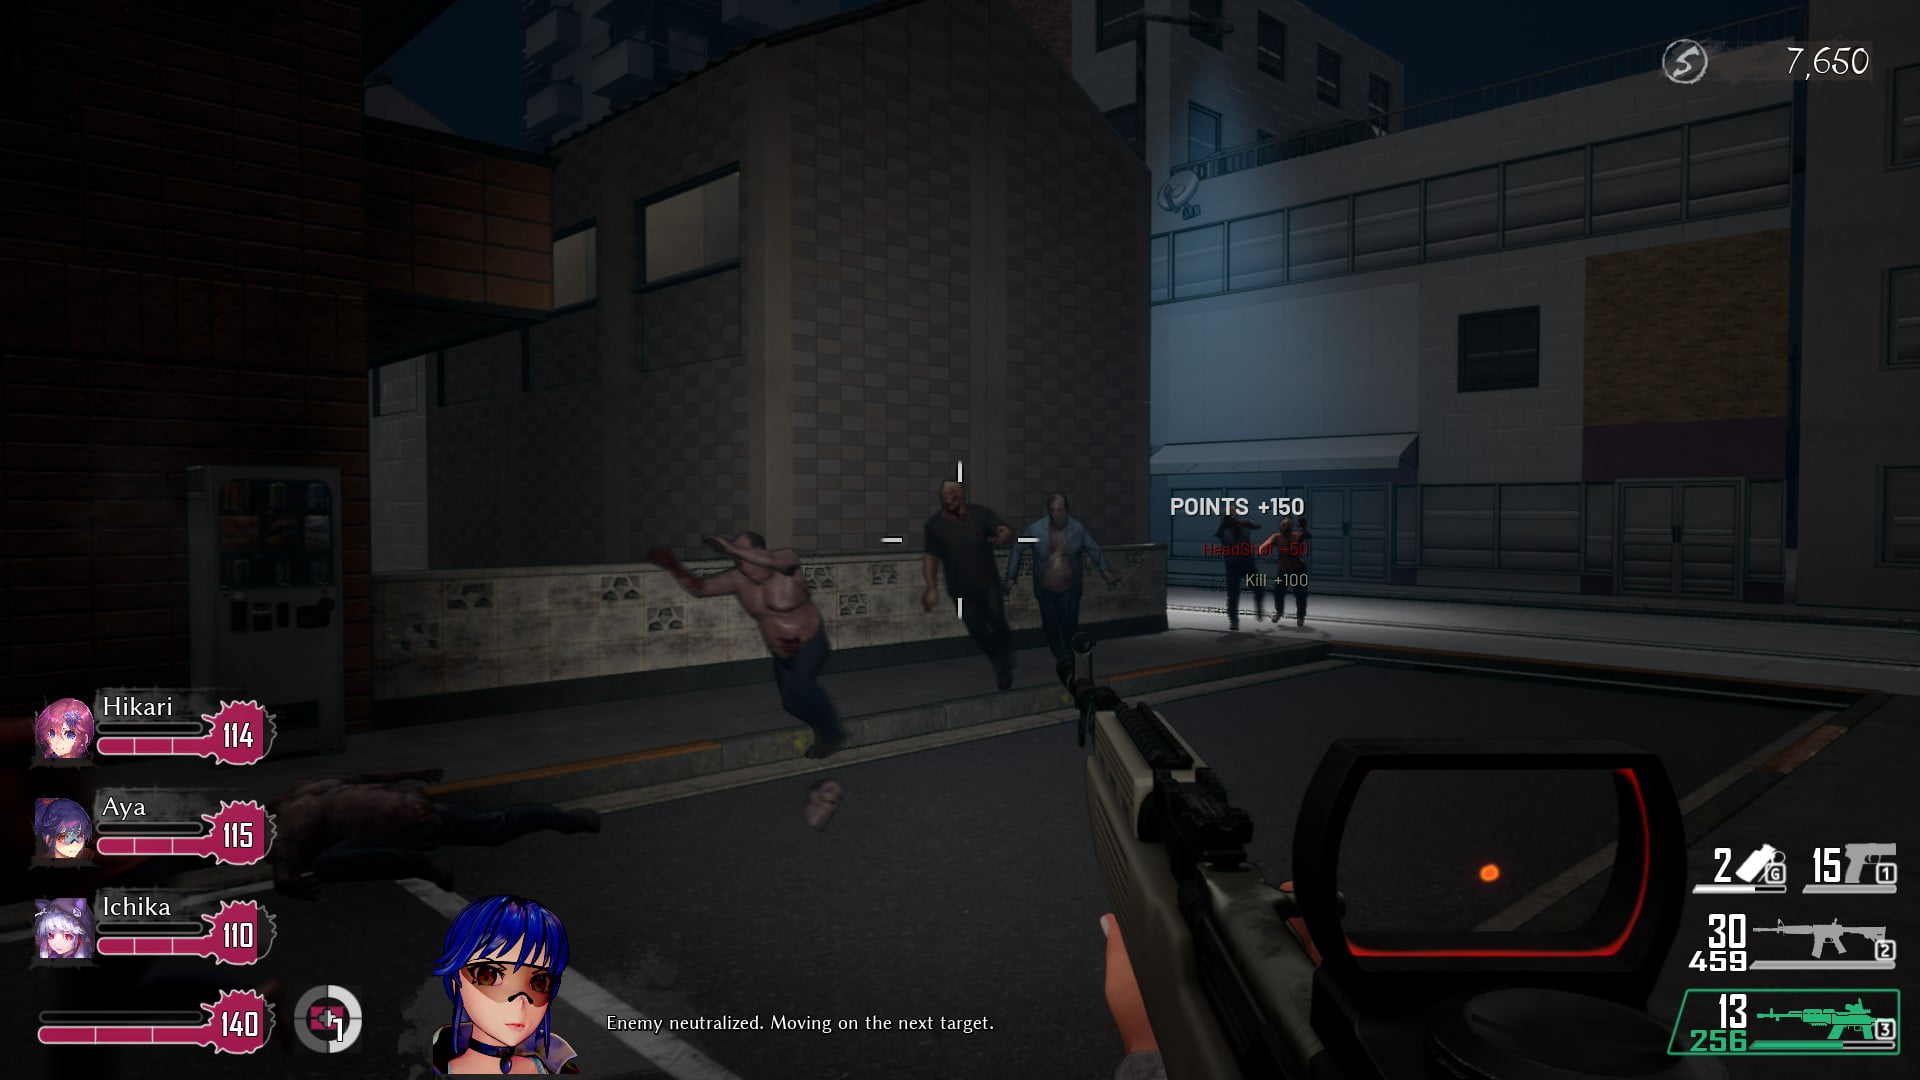
Z
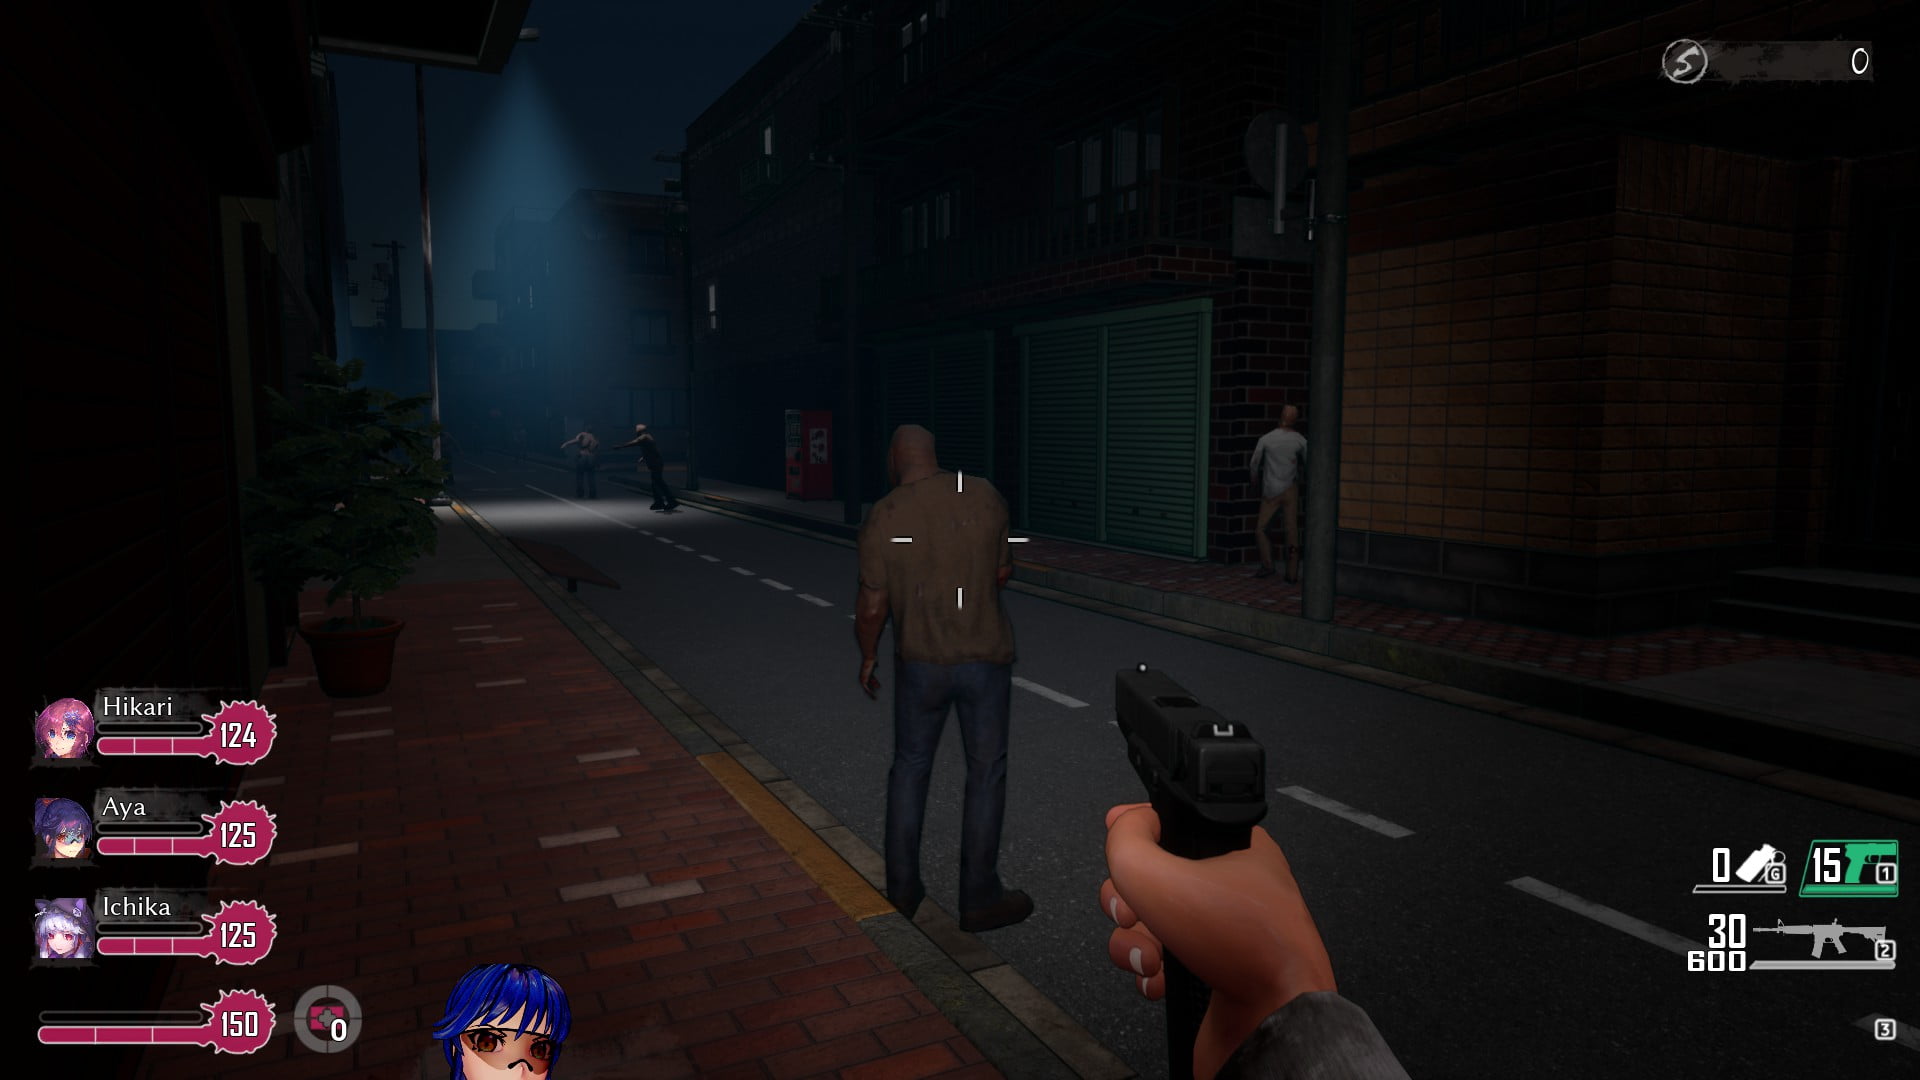
- Rarity: Common
- Risk Level: Cannon Fodder
- Risk To: Aya
Why: Aya tends to charge directly into combat. When she rushes into groups of Zs, she risks being surrounded, which significantly increases the damage she takes. Zs are weak individually but dangerous in numbers.
Tactics:
- Engage from a distance with Sniper or Assault weapons.
- Expect nearby Zs to aggro when one is killed.
- If Aya attracts a horde, advance with PDWs, grenades, or shotguns to thin the crowd.
Recommended Weapons: Sniper, Assault, PDW, Melee
Avoid using Heavy weapons on single Zs.
Z Horde
- Rarity: Rare to Exotic
- Risk Level: Medium
- Risk To: Everyone
Why: Hordes overwhelm by sheer numbers, surrounding and trapping allies while dealing high damage.
Tactics:
- When you hear the horde warning, regroup immediately.
- Stay close to teammates to prevent flanking.
- Watch for Mutants, as they often spawn with hordes and attack from behind.
Recommended Weapons: Close Quarters, PDW, Assault, Heavy
Creaper
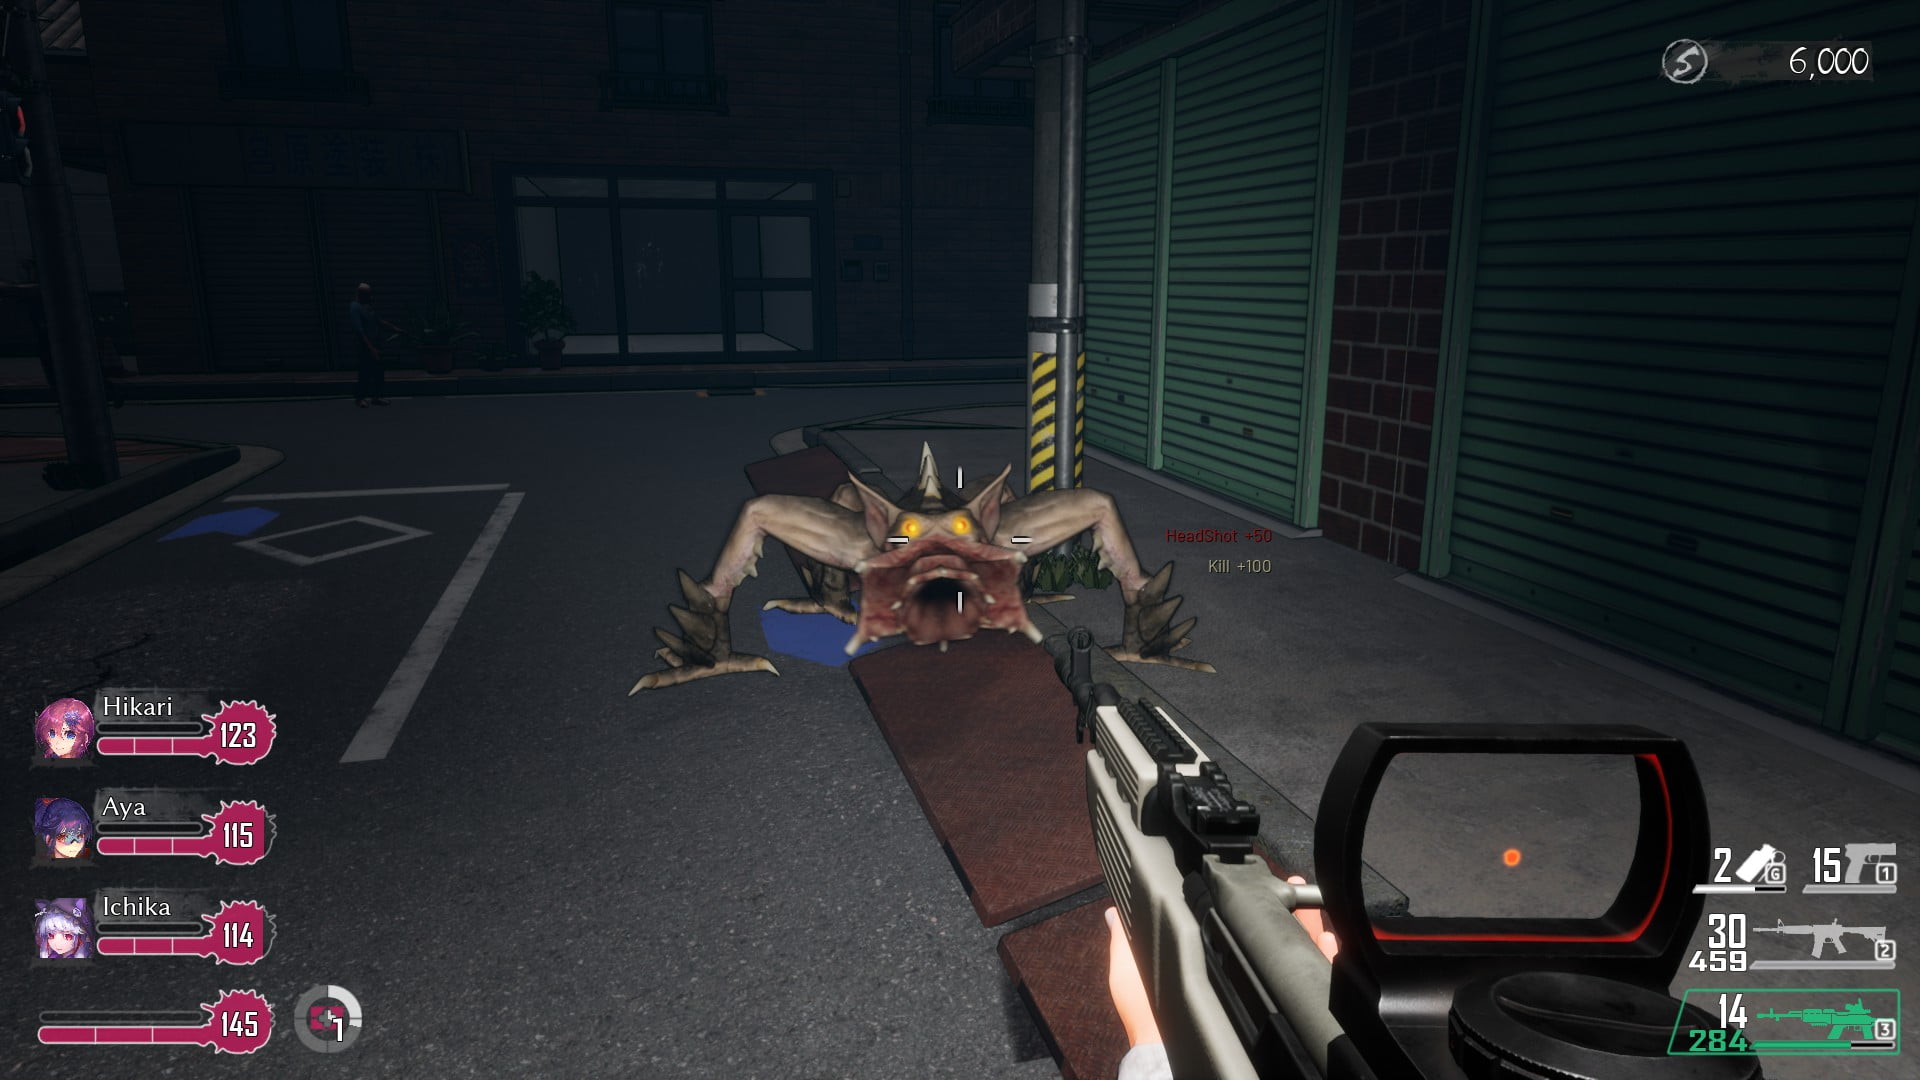
- Rarity: Uncommon
- Risk Level: Low
- Risk To: The Team
Why: Creapers can lunge, pinning allies and incapacitating them until rescued. They often attack stragglers or teammates at the rear.
Tactics:
- Listen for teammate distress calls and check highlighted allies.
- Focus fire on the Creaper’s head or mouth to release pinned characters.
Recommended Weapons: PDWs are most effective, though any weapon works.
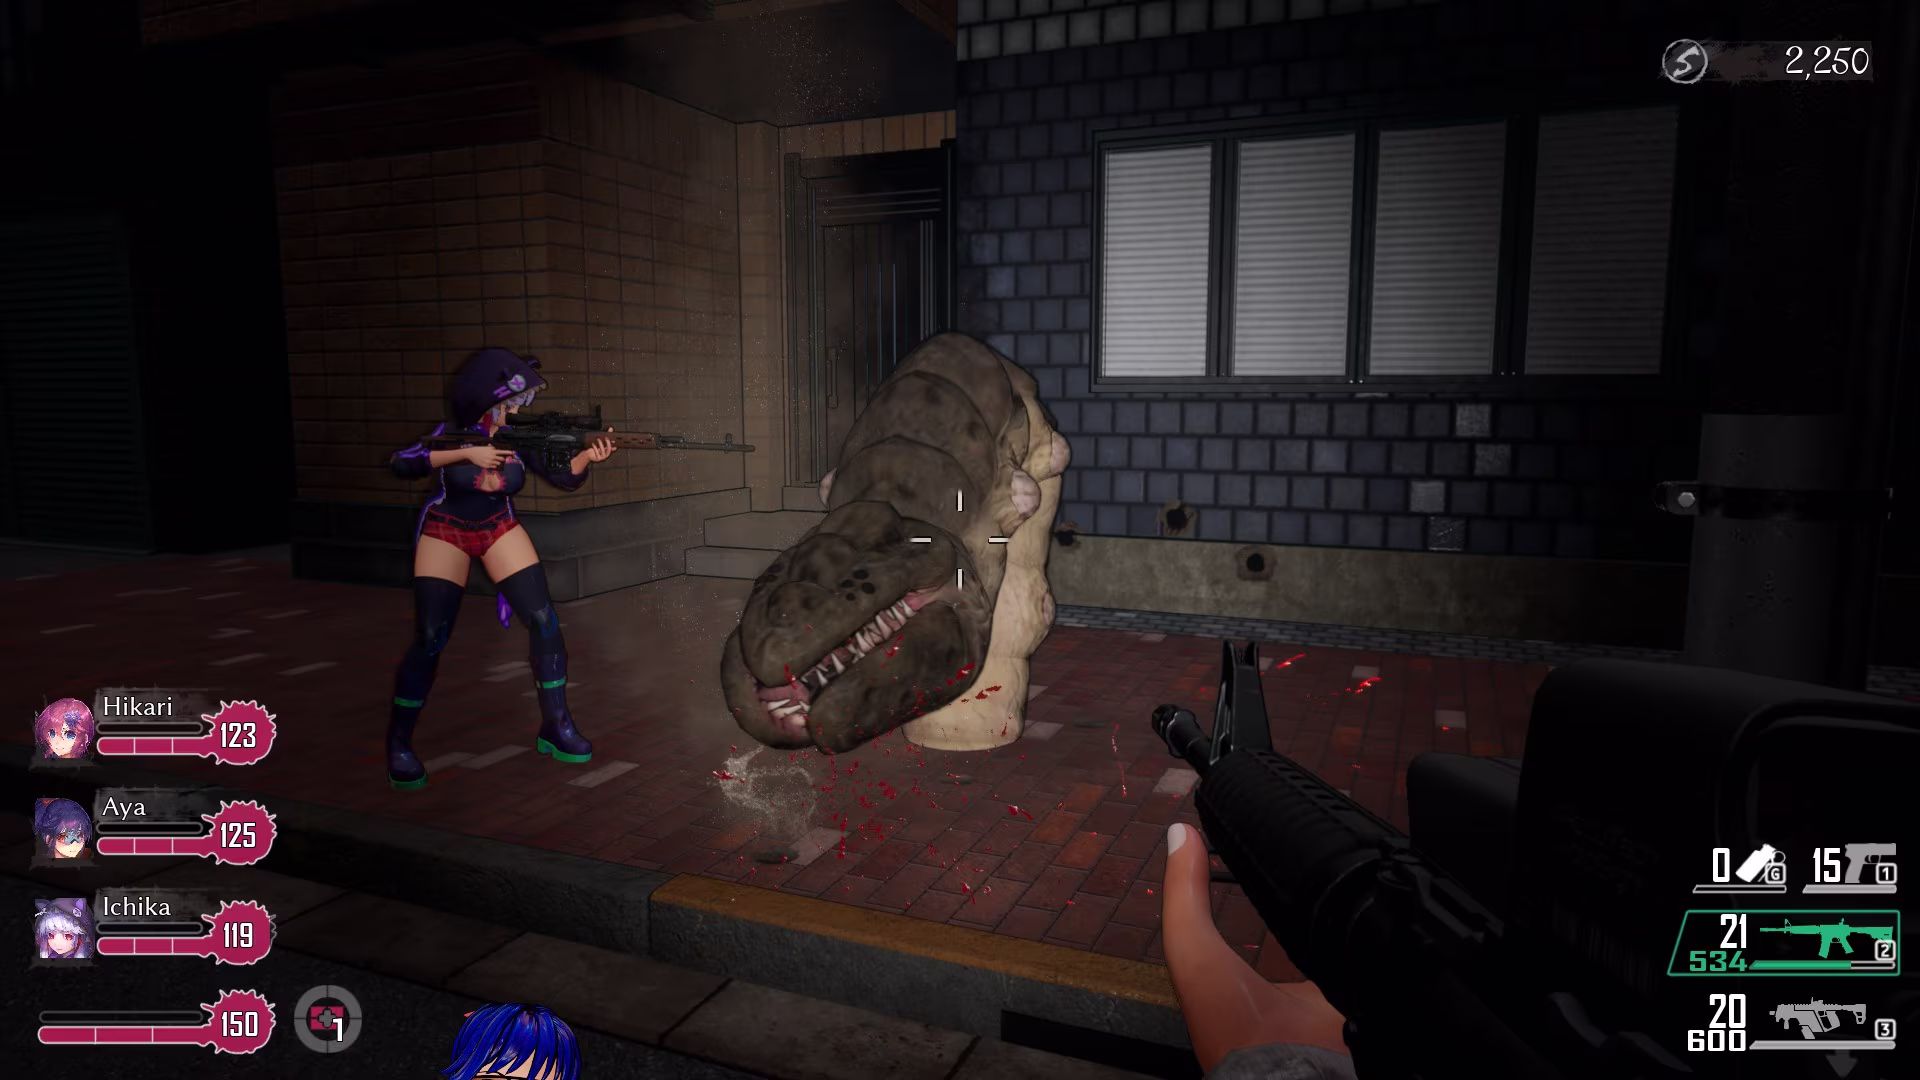
Worm
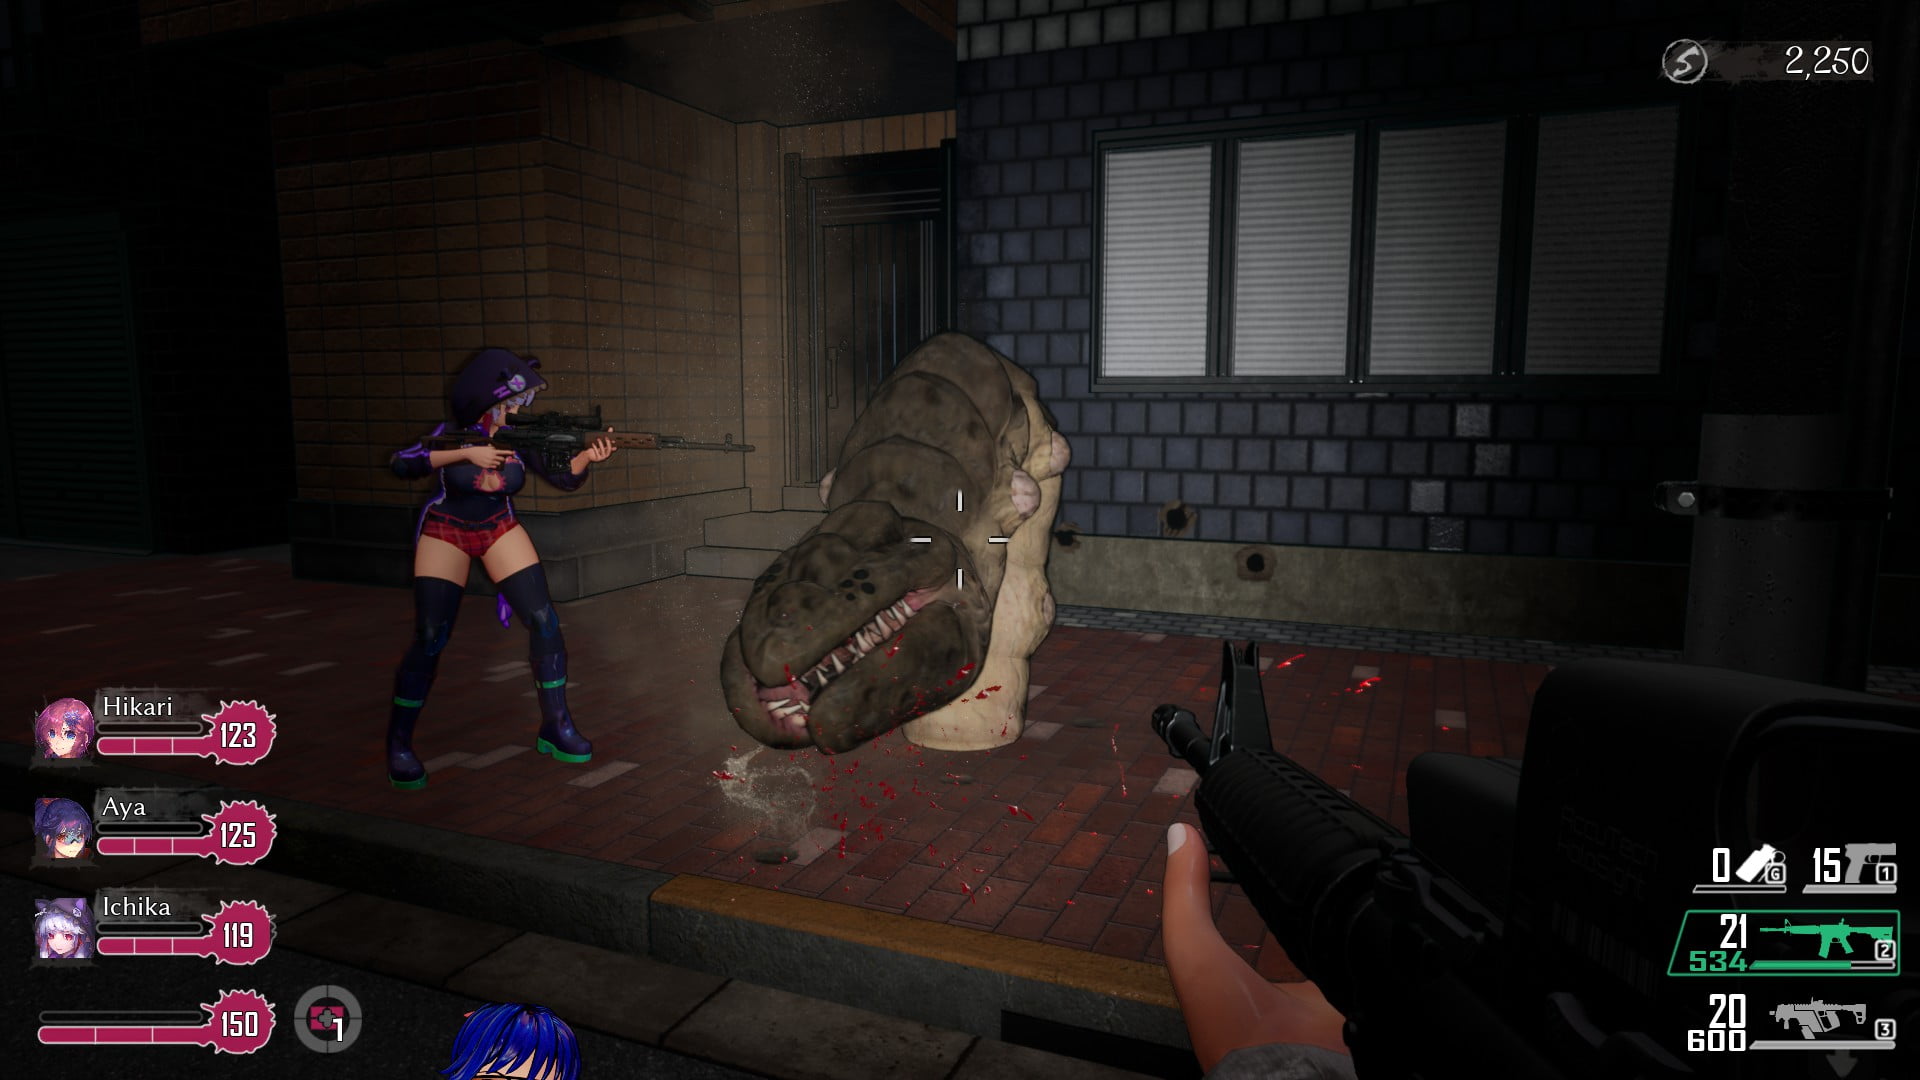
- Rarity: Uncommon
- Risk Level: Medium
- Risk To: Everyone
Why: Worms spawn explosive larvae from cover, forcing the team into vulnerable positions. Their babies deal heavy damage if ignored.
Tactics:
- In open areas, shoot directly at the Worm’s mouth (weak point).
- If hiding behind cover, only push once other threats are cleared.
Recommended Weapons: Assault, PDW, Sniper
Butcher
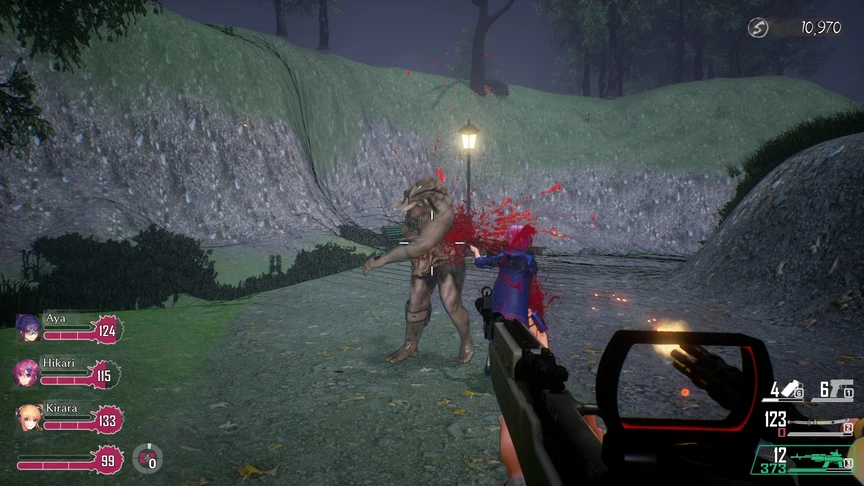
- Rarity: Uncommon
- Risk Level: High
- Risk To: Everyone
Why: Butchers are mini-boss enemies with high health. They charge and deal heavy melee damage, but their most dangerous move is grabbing and incapacitating allies to “consume” them. Only killing the Butcher frees the victim.
Tactics:
- Maintain distance and fire at the head (weak point revealed during attacks).
- If he grabs a teammate, focus fire immediately.
Recommended Weapons: PDW, Assault, Sniper, Close Quarters
TehepreoMan
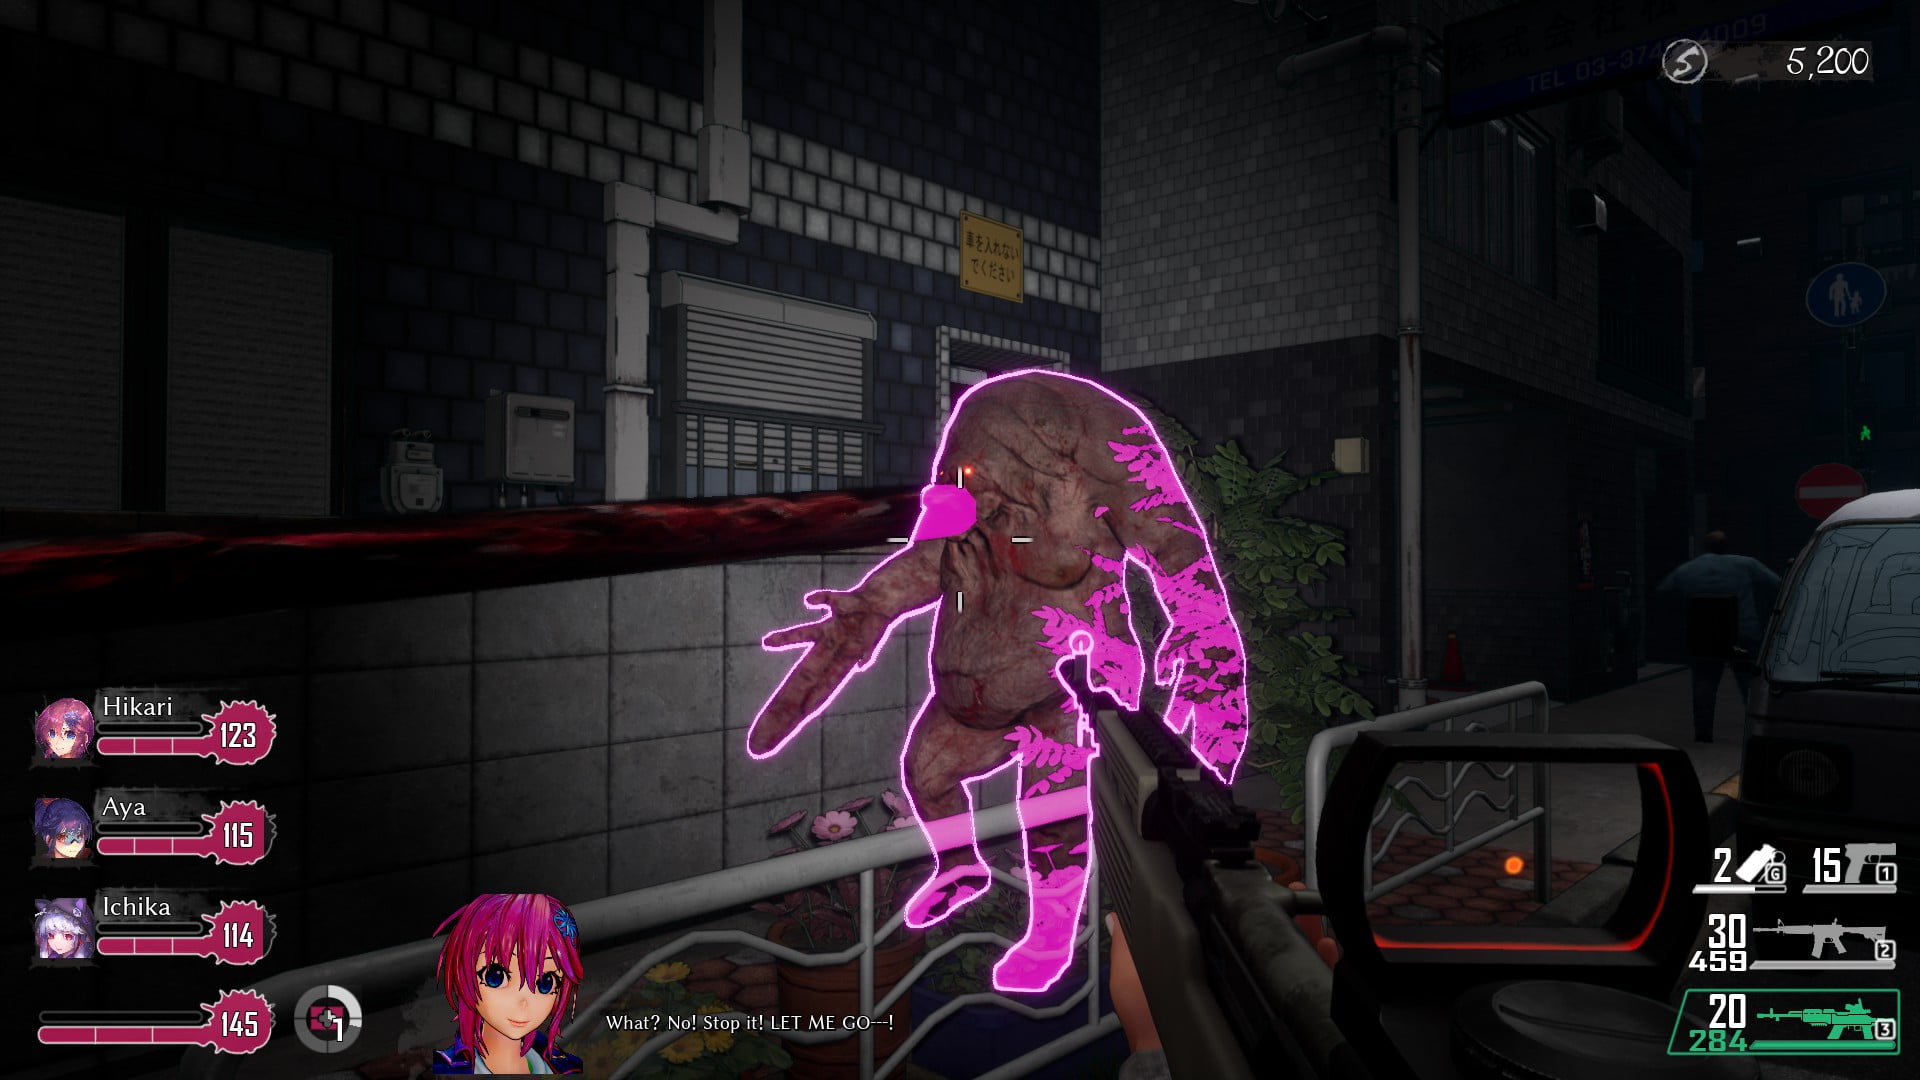
- Rarity: Uncommon
- Risk Level: Medium (High in chaotic battles)
- Risk To: The Team
Why: Similar to Left 4 Dead’s Smoker, TehepreoMan grabs teammates with its tongue, dragging them out of position. Victims cannot escape without outside help.
Tactics:
- Listen for its distinctive growl and teammate distress lines.
- Place yourself between allies and the TehepreoMan; it cannot grab you directly.
- Shoot the tongue (its weak point) to kill quickly.
Recommended Weapons: PDW, Assault, Sniper, Heavy, Close Quarters
ZBBA

- Rarity: Rare
- Risk Level: Medium
- Risk To: Player
Why: ZBBA exclusively targets the player with a grapple that incapacitates and forces you to rely on the Backup Pistol. While trapped, you take continuous damage until freed. Though not overly threatening alone, combined with other mutants, she becomes a serious danger.
Tactics:
- Fall back into formation when she appears. Teammates’ crossfire will quickly weaken her.
- Aim for her chest (weak point) to deal extra damage.
- Maintain distance and kite if isolated.
Recommended Weapons: PDW, Assault, Close Quarters
Tintan
- Rarity: Unique
- Risk Level: Dangerous
- Risk To: Everyone
Why: Tintans act as mini-bosses with enormous health and devastating melee power. They target one person at a time but deal increasingly high damage when enraged.
Tactics:
- Priority target – focus fire immediately.
- Aim for the head when exposed.
- Shotguns and melee weapons are highly effective at close range.
Recommended Weapons: Melee, Heavy, Close Quarters
Tintan Juvenile
- Rarity: Unique
- Risk Level: High
- Risk To: Everyone
Why: A smaller, weaker version of the Tintan, but still far stronger than regular mutants. Possesses high health and aggressive targeting behavior.
Tactics:
- Engage as you would a Butcher, but expect higher resilience.
- Monitor teammates closely; it can inflict severe damage if unchecked.
Recommended Weapons: Assault, PDW, Close Quarters
Z Elite
- Rarity: Exotic (encountered more frequently in later levels)
- Risk Level:
- Low when alone
- Medium when grouped with standard Zs
- High during Horde events
- Risk To: Everyone (especially Aya)
The Z Elite is a tougher variant of the standard Z, posing a significant threat when encountered in groups. Unlike their weaker counterparts, Z Elites resist stagger from melee attacks and can survive a grenade blast that would normally wipe out surrounding Zs. Their increased durability and aggression make them a persistent danger, particularly to Aya, who is prone to charging into combat and becoming overwhelmed.
Key Traits
- 50% more health than regular Zs.
- Higher damage output and attack speed.
- Increased aggro chance, meaning they often prioritize players and heroines over weaker Zs.
- Causes stagger when striking heroines, leaving them vulnerable.
Combined, these factors allow Z Elites to drain team health quickly, especially when hidden within larger groups.
Tactics
- Long-Range Engagement:
Snipers are the most efficient weapon against Z Elites. They take approximately 3 headshots or 5–7 body shots from an SRS rifle to eliminate. - Group Threats:
Z Elites often spawn in packs of four alongside normal Zs. This makes precision shooting essential to avoid being overrun. Sharpshooter skills are critical when facing multiple Elites at once. - Close Quarters:
If they manage to close the distance, apply the same tactics as with standard Zs—shotguns and melee weapons are effective, but focus them down quickly, especially if mutants are nearby.
Recommended Weapons
- Preferred: Sniper rifles
- Effective: Assault rifles, Close Quarters (shotguns), Melee weapons
- Avoid: Heavy weapons, unless fighting in a Horde event
Survivor Notes:
“They may be Zs, but they never let an opportunity to work out go to waste. I can respect that.” — Hikari
“These guys aren’t exactly ‘new.’ Hikari, Aya, Kirara, the player, and Ichika first encountered them during the ___ campaign. At first, I thought they were just a one-off experiment, but either some escaped, ___ introduced them into the horde, or they represent a new type of mutant altogether.” — Training Guide Writer Trainman