This guide was created to show players how to get all achievements.
She Sees Red Achievements

No Means No
AT THE VERY BEGINNING OF THE GAME, when it asks you to start the game, press NO for the achievement.
What’s the Difference?
At any point in the game, don’t make a decision, just let the timer play out. Or if you’re like me, accidentally miss the opportunity to answer cause you’re busy with something else.
Collateral Damage
After murdering the first guard you will be given the choice to search the room or leave without taking a risk. Search the room. WARNING, if you kill this guard you will NOT be able to unlock the “Three to Tango” achievement later on in this playthrough.
Wet Work Or Lights Out
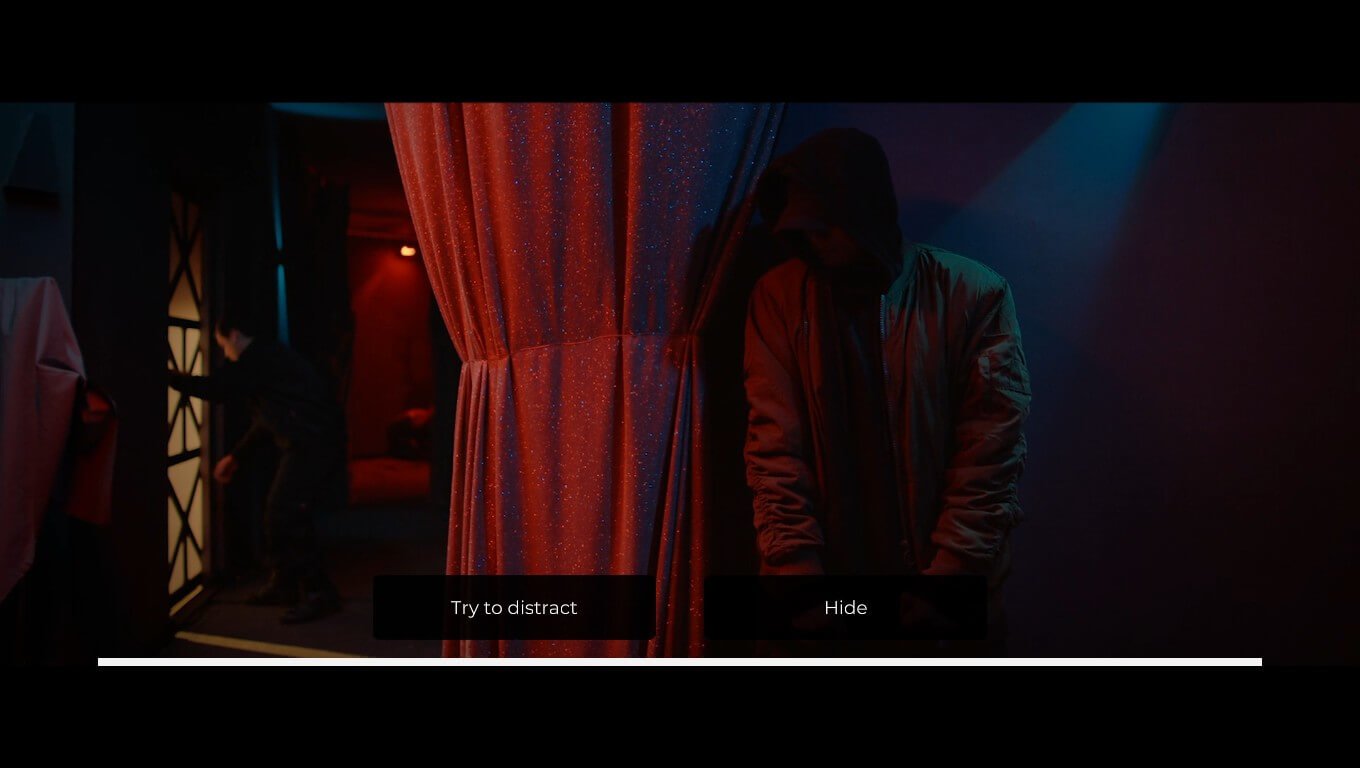
After murdering the 1st guard and sneaking past the 2nd, you will come to the hallway intersection where the 3rd guard is checking doors down the passage. In your choice of “Try to Distract” or “Hide”, choose “Distract.” It will show a scene where you puncture and spill a water jug. If you choose “Hide” instead, you will get the Lights Out achievement. Whichever decision you chose, the achievement will show up after the detective’s investigation.
After Wet Work/Lights Out, you come to a intersection where your path is blocked by electricians. Your decision is either to “Go Around” or “Stick With the Plan.” This leads you in two different directions. Go around will lead you to the kitchen area, the Plan will lead you to the renovated room.

Three to Tango Or Pacifist / Unlocking She Lost and She’s Angry
In the Kitchen, your choice is between Attack or Try to Escape. Both unlocks the documents safe in the boss’s office giving you the ability to choose between the She Lost and She’s Angry endings/achievements. If you killed the guard with the meat thermometer near the beginning, then escaping gives you the “Pacifist” achievement. IF YOU DID NOT KILL THE SECOND GUARD AT THE BEGINNING: Try to escape here will unlock the “Three to Tango” achievement.
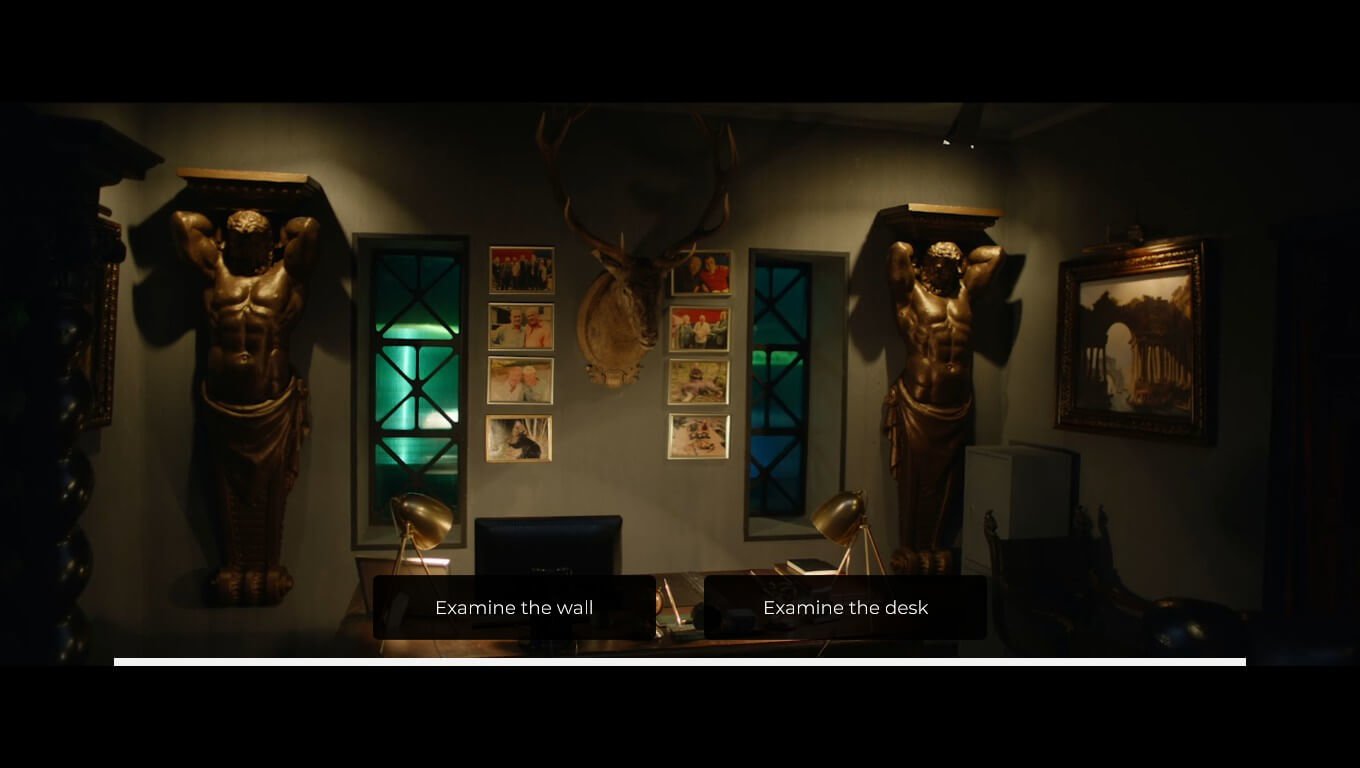
In the boss’s office you are given a choice to examine the wall or examine the desk. Each gives you a different scene which you’ll have to see for the last achievement. Examine the desk for gratuitous shot. You’re welcome.
She Lost Or She’s Angry Ending 1&2
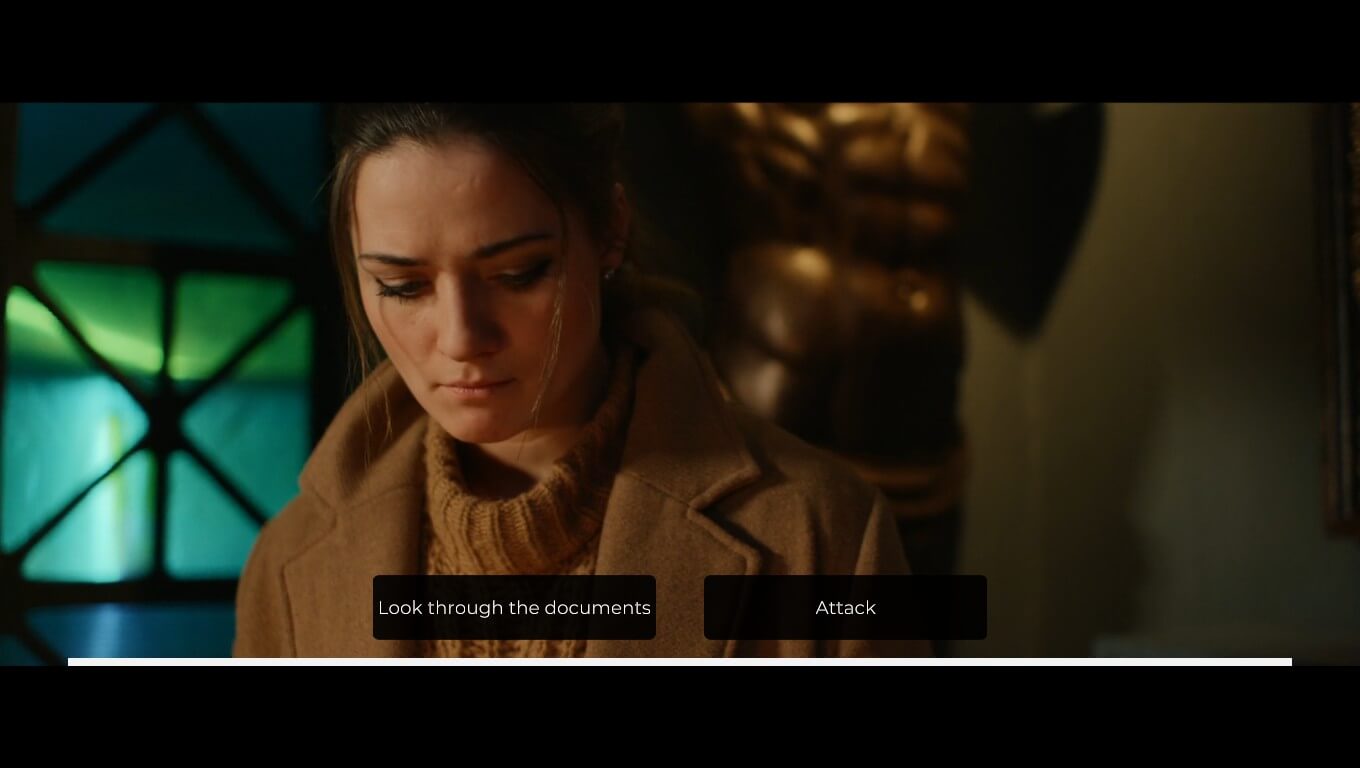
If you chose the documents safe you can either look at them or not. One gives you “She Lost” and the other gives you “She’s Angry”
Mercy
After “Wet Work” you make your way down the hall to the room being renovated, after the scene in there you will have a choice to either kill or spare “The Informant” character on the ground with a machete. Spare him for the achievement.
Say No To Drugs!
After “Mercy”, in the renovated room you can either destroy or take the cocaine found in the bag. Destroy it for the achievement. Achievement unlocks after investigation.
He is Upset Or She is Not Angry: Ending 3&4
In the boss’s office, once you grab the shotgun, you are given a choice to follow the plan or to improvise. Follow the plan for ending 3 “He is Upset”. Improvise for ending 4 “She is Not Angry.”
Full Set
After watching all 4 main endings you will receive this achievement.
Time Line
Time line is achieved by watching all 62 available scenes. There are 4 main “endings,” 4 different police talking scenes in the 2 “Good” endings, 3 different guard fights in the kitchen plus one escape from the kitchen, 2 bad endings, different ways to progress through some scenes, other guard-murders that do or do not happen…
There’s a lot, but the info above should help. Otherwise, I will soon have a plan for play-throughs below to walk you through the scenes.
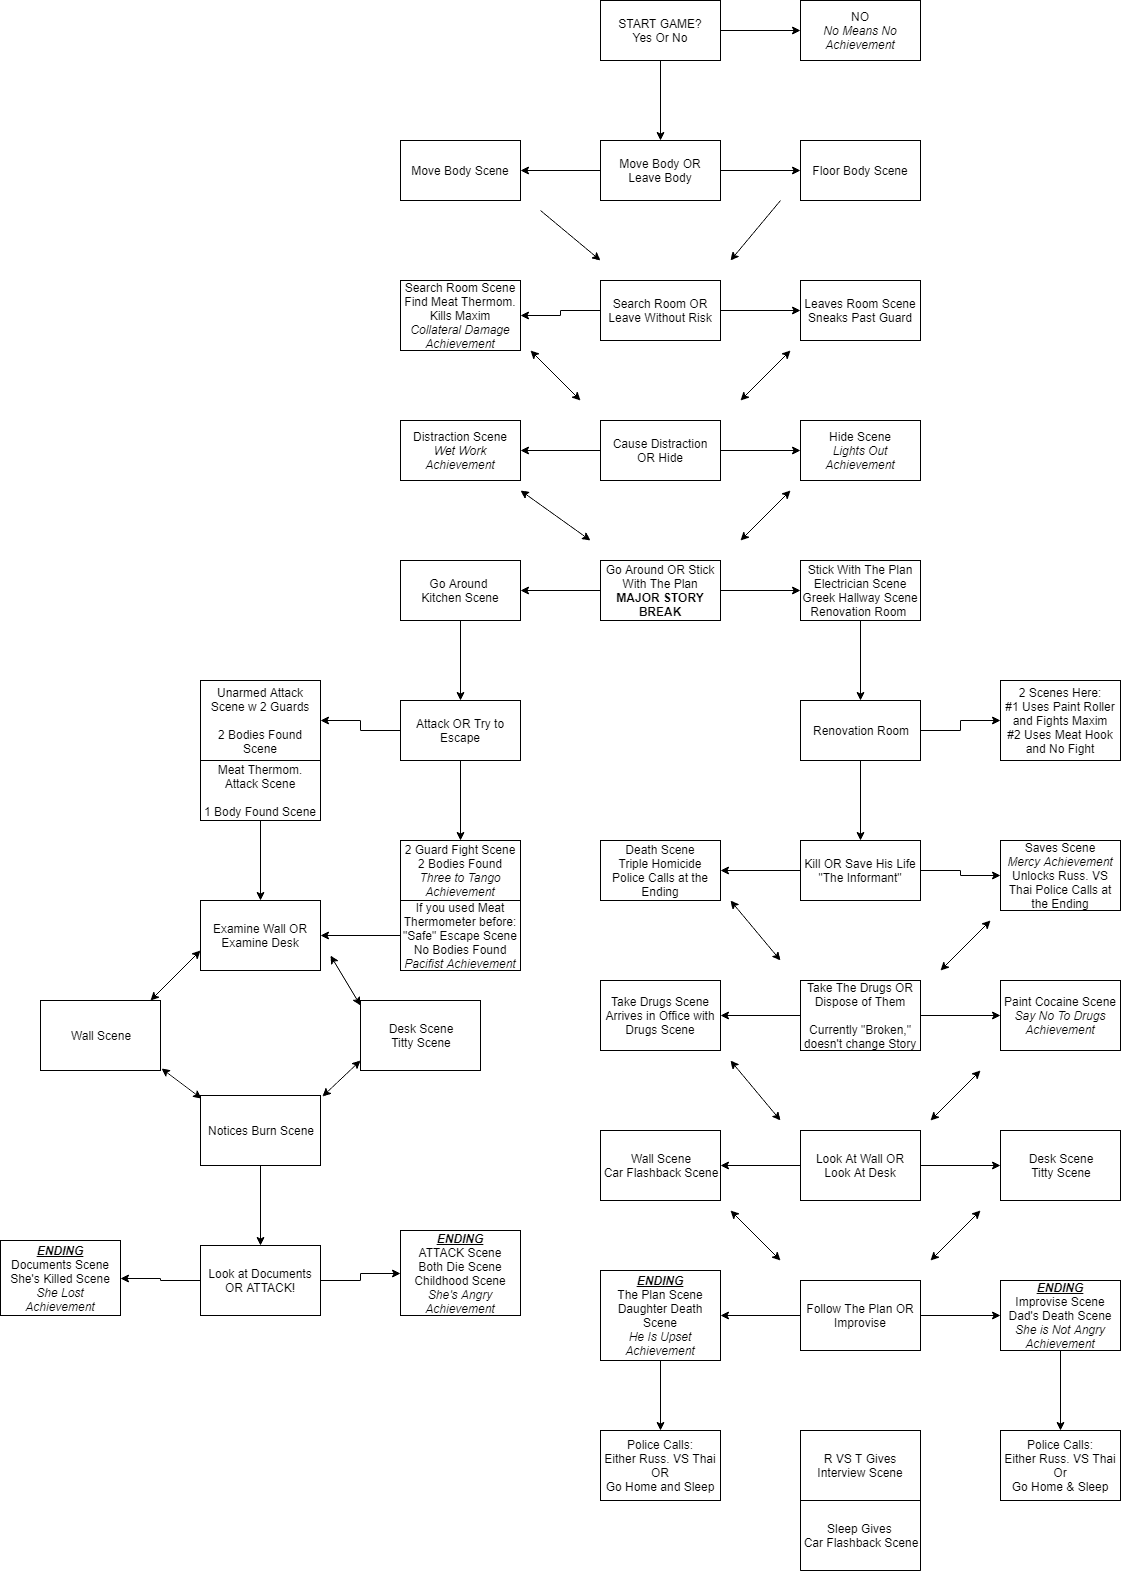
Flowchart of Decisions and Consequences
Battleplan for Most Achievements in Least Playthroughs
Coming Soon
A Guide For Watching EVERY Scene
Coming Soon
Basic Map For Fun’s Sake