Hello from our Starfield Ebon Hawk Build guide. How to build your very own Ebon Hawk for wandering the Settled Systems? Don’t worry, this guide will show you detailed information about Ebon Hawk!
This is the guide Charles Foster Ofdensen it was created by. You can find the author’s link at the end of the guide.
Starfield Ebon Hawk Build
Welcome to our Starfield Ebon Hawk Build guide. A step by step guide on how to recreate Kotor’s classic ship for use in your Starfield adventures.
Photos of the Final Product
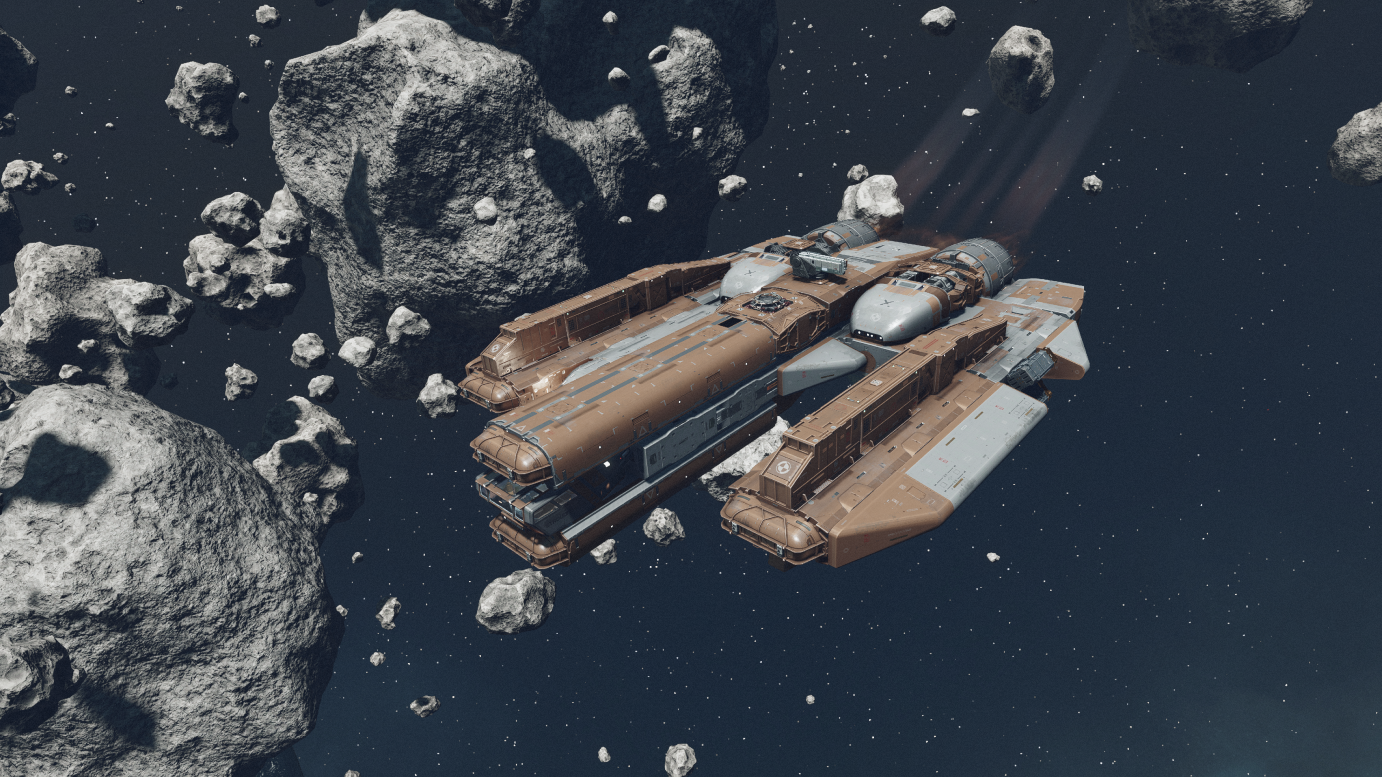
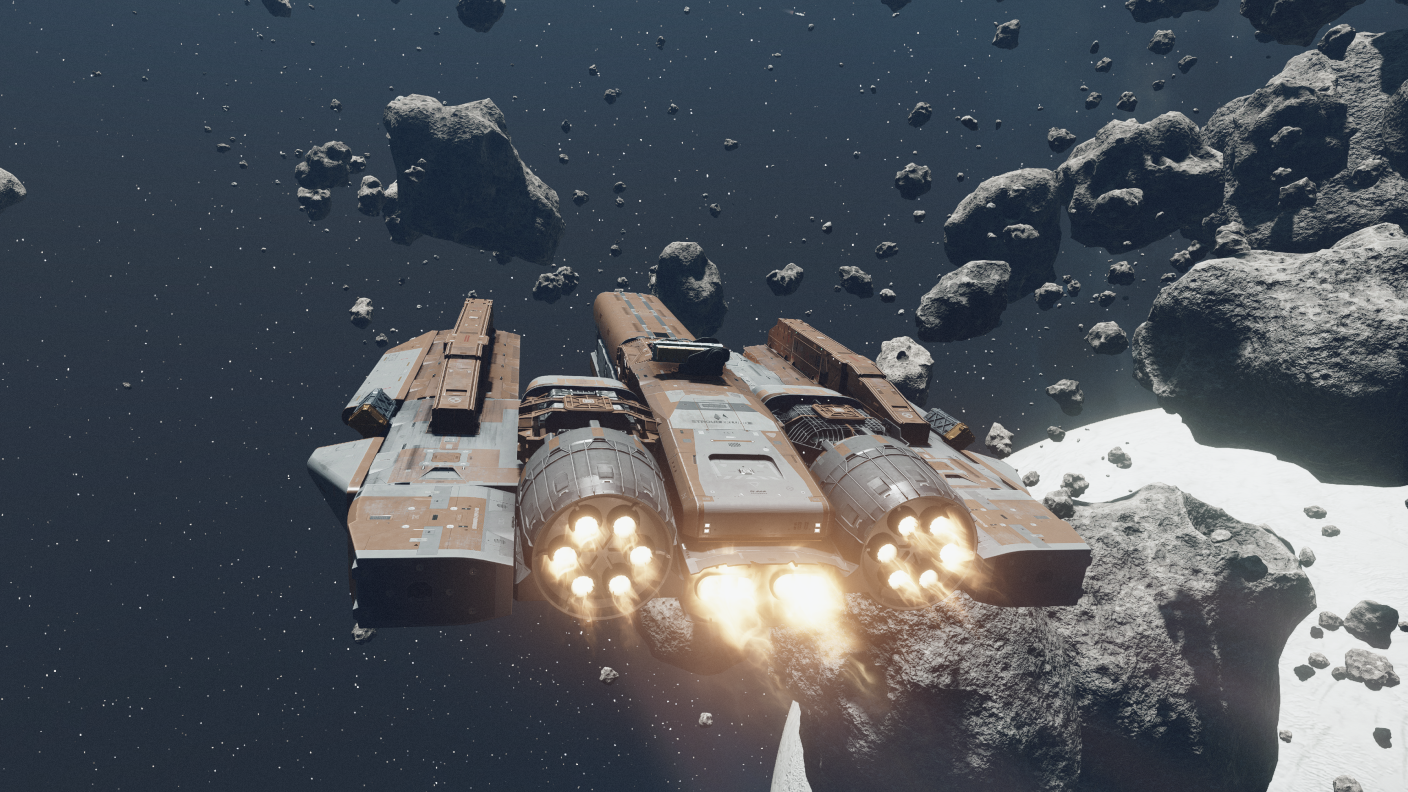
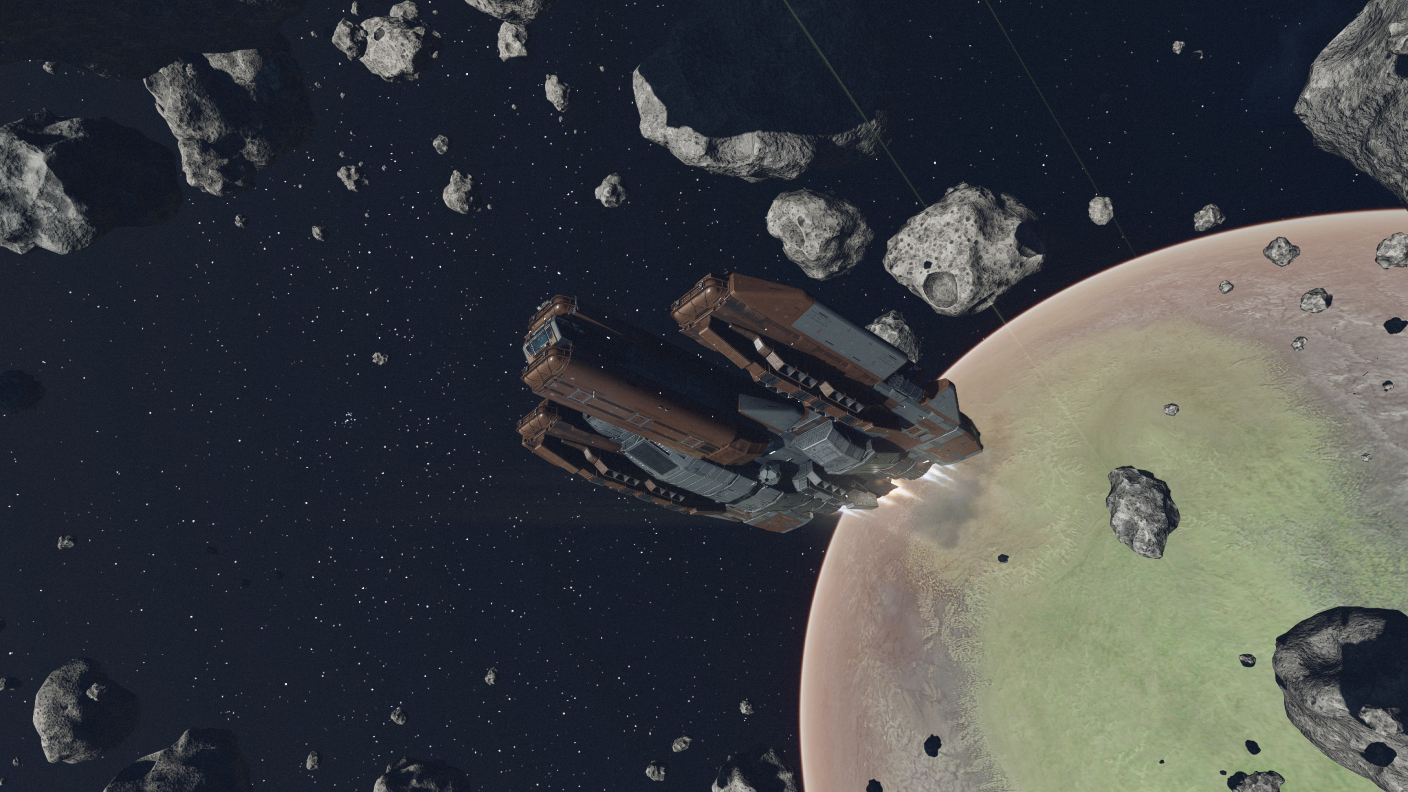
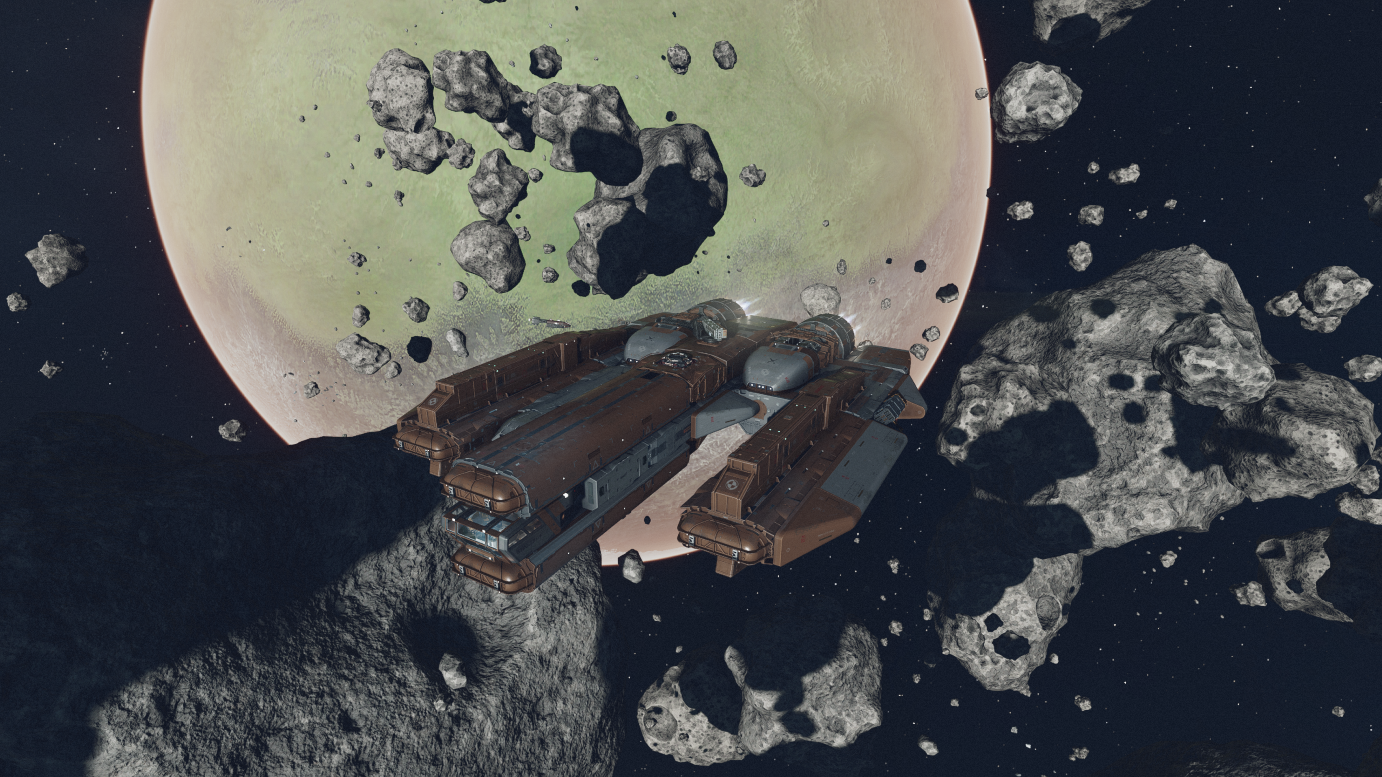
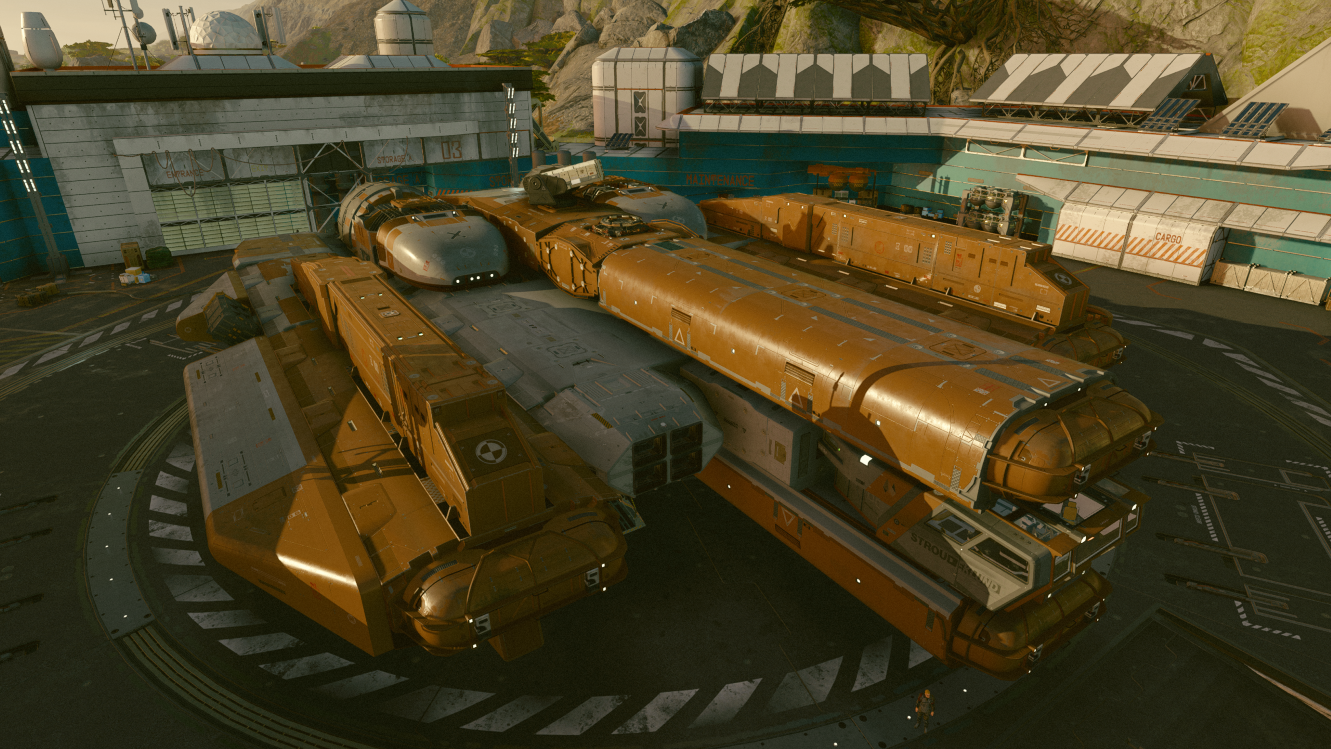
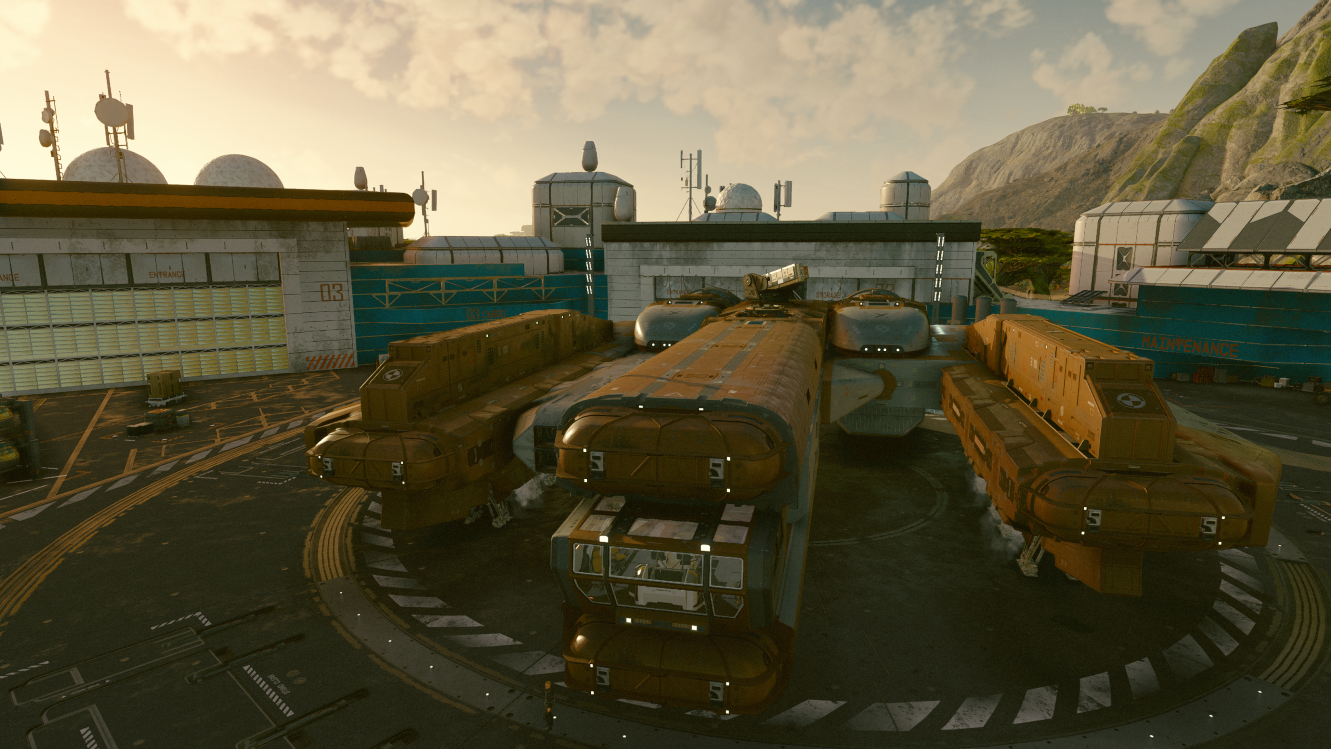
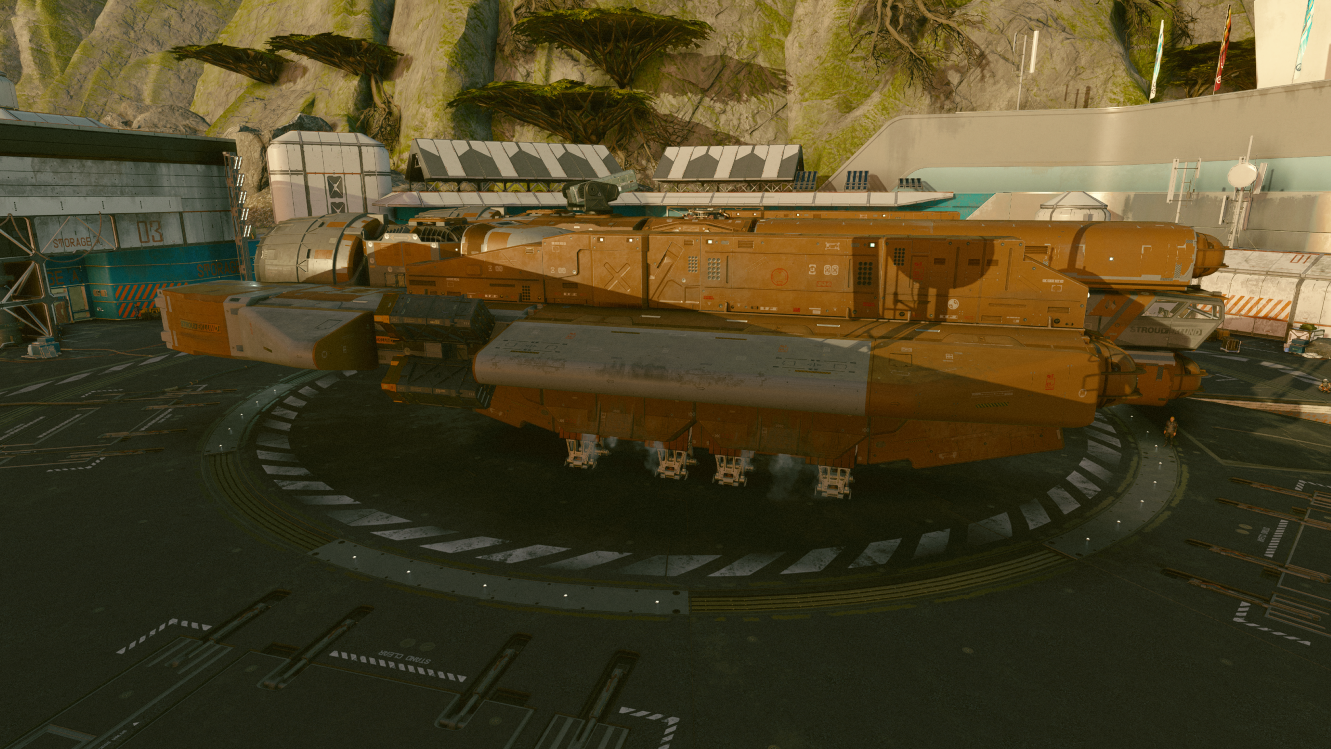
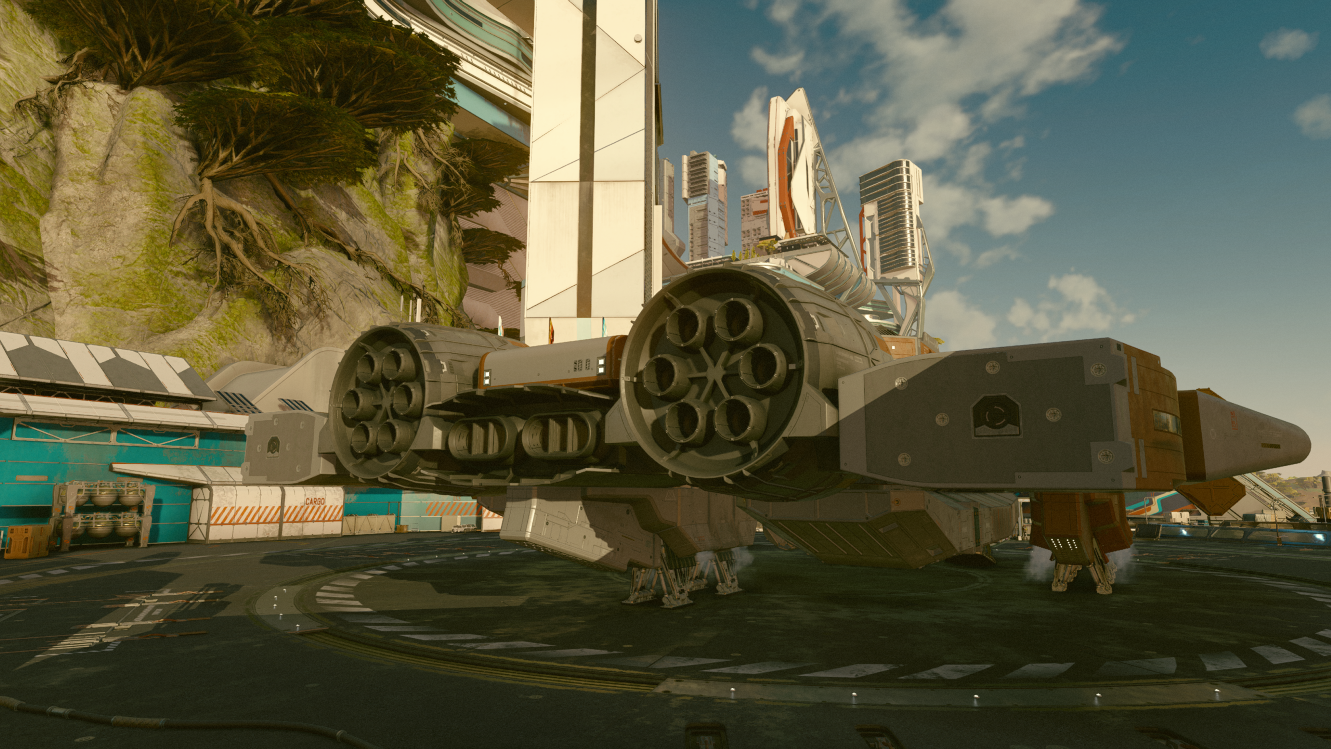
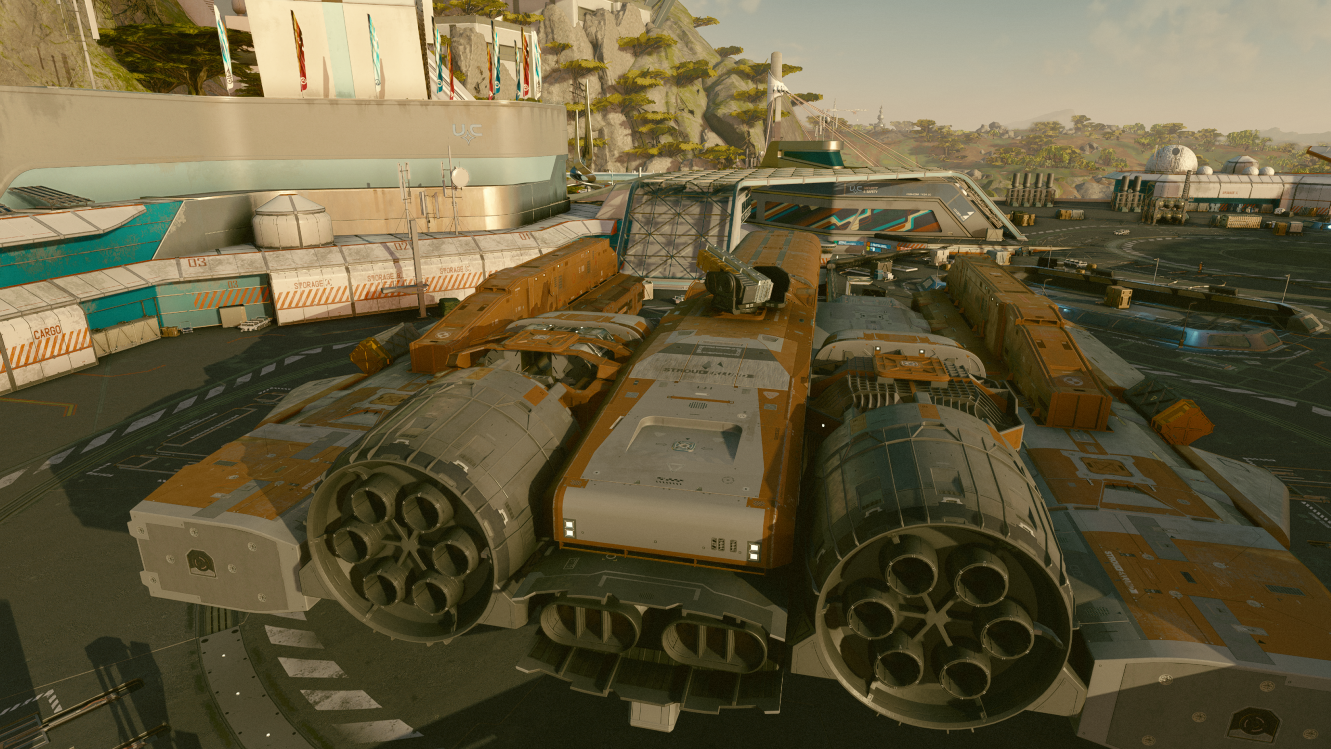
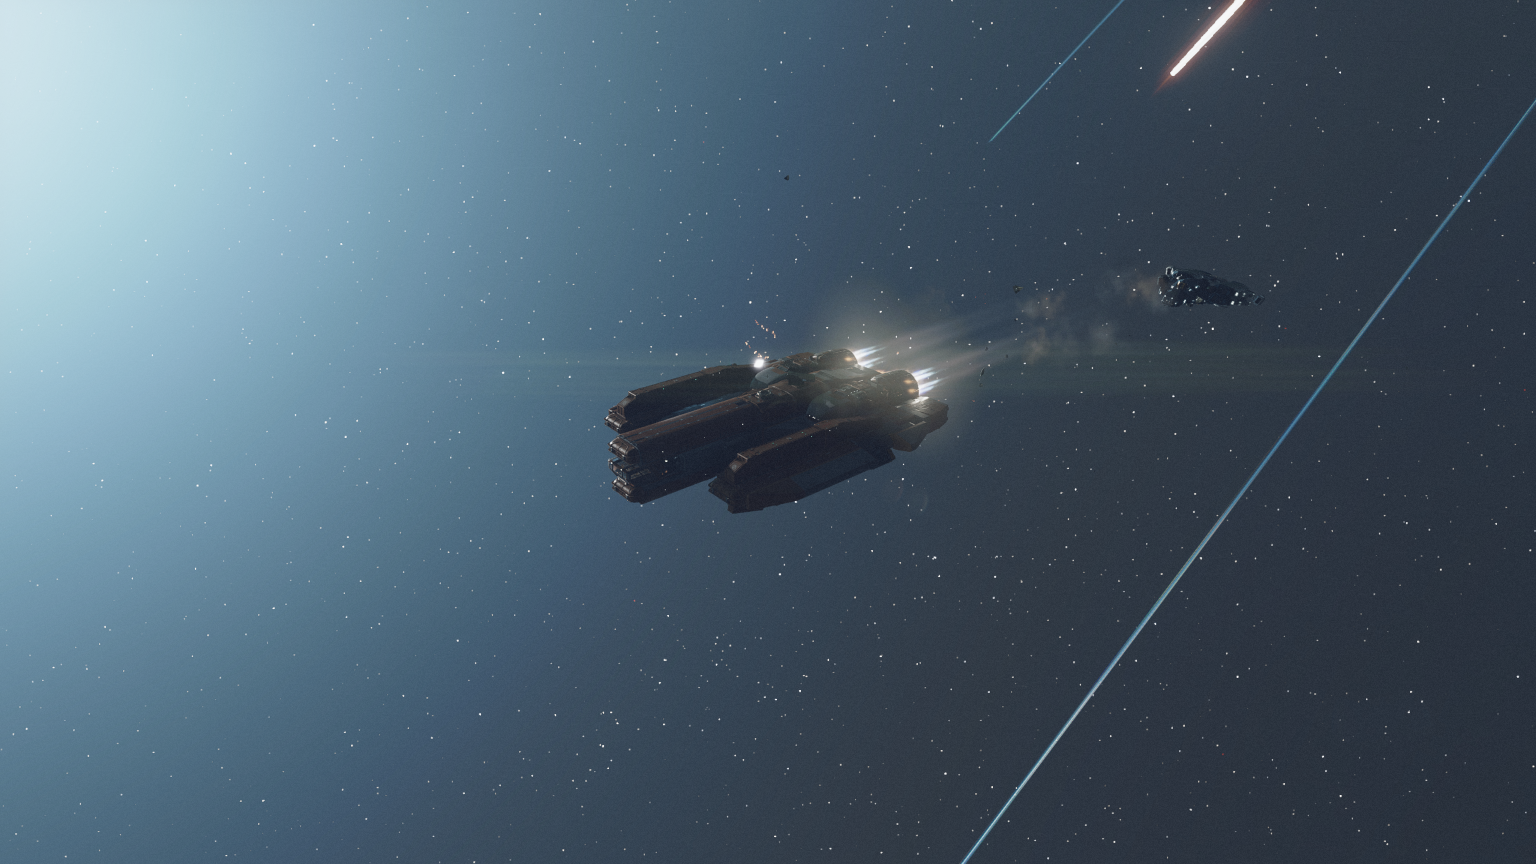
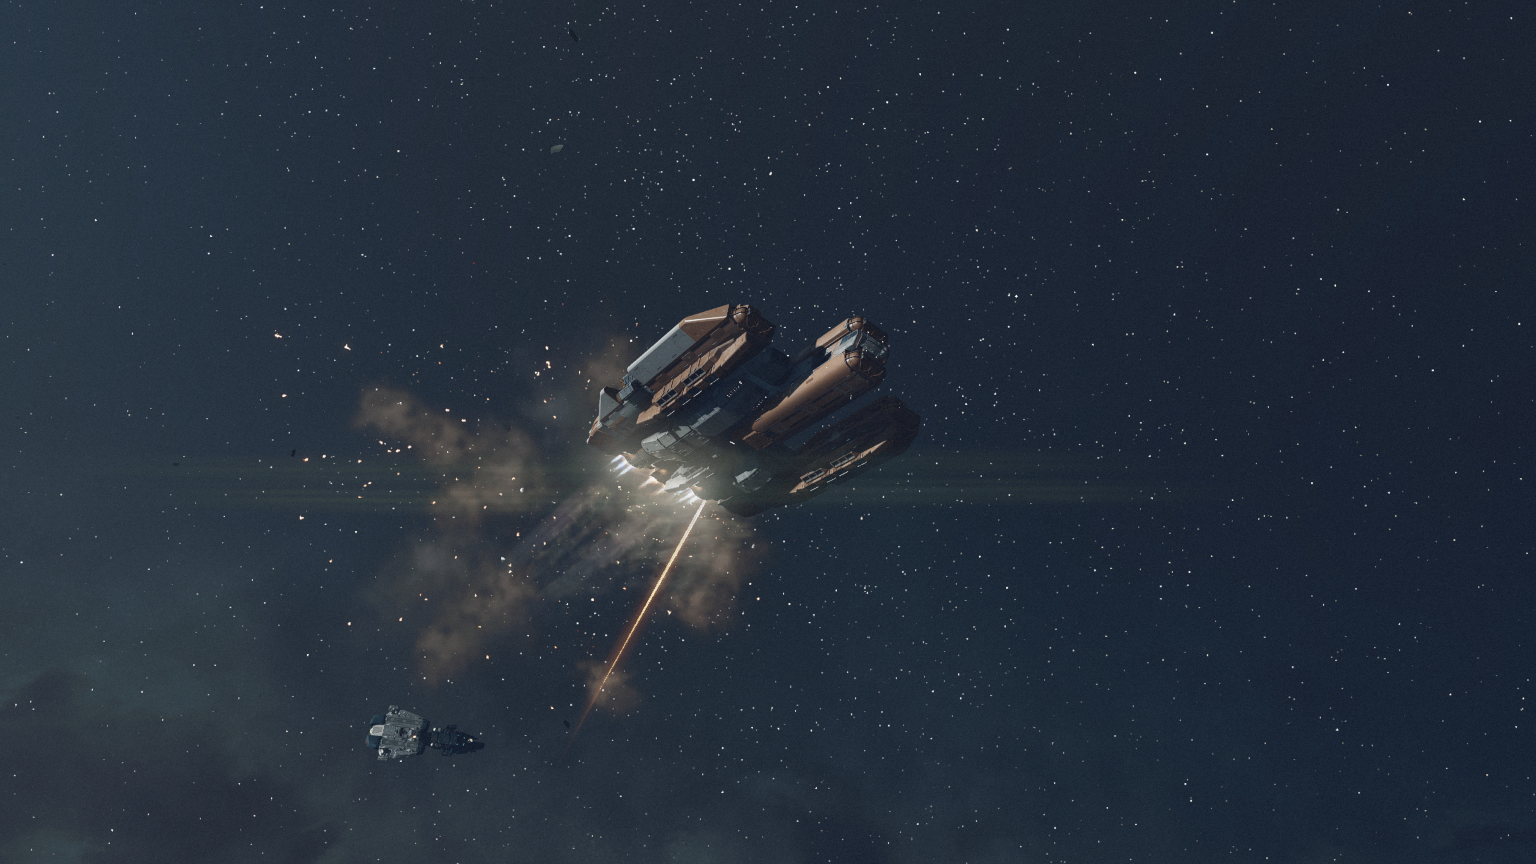
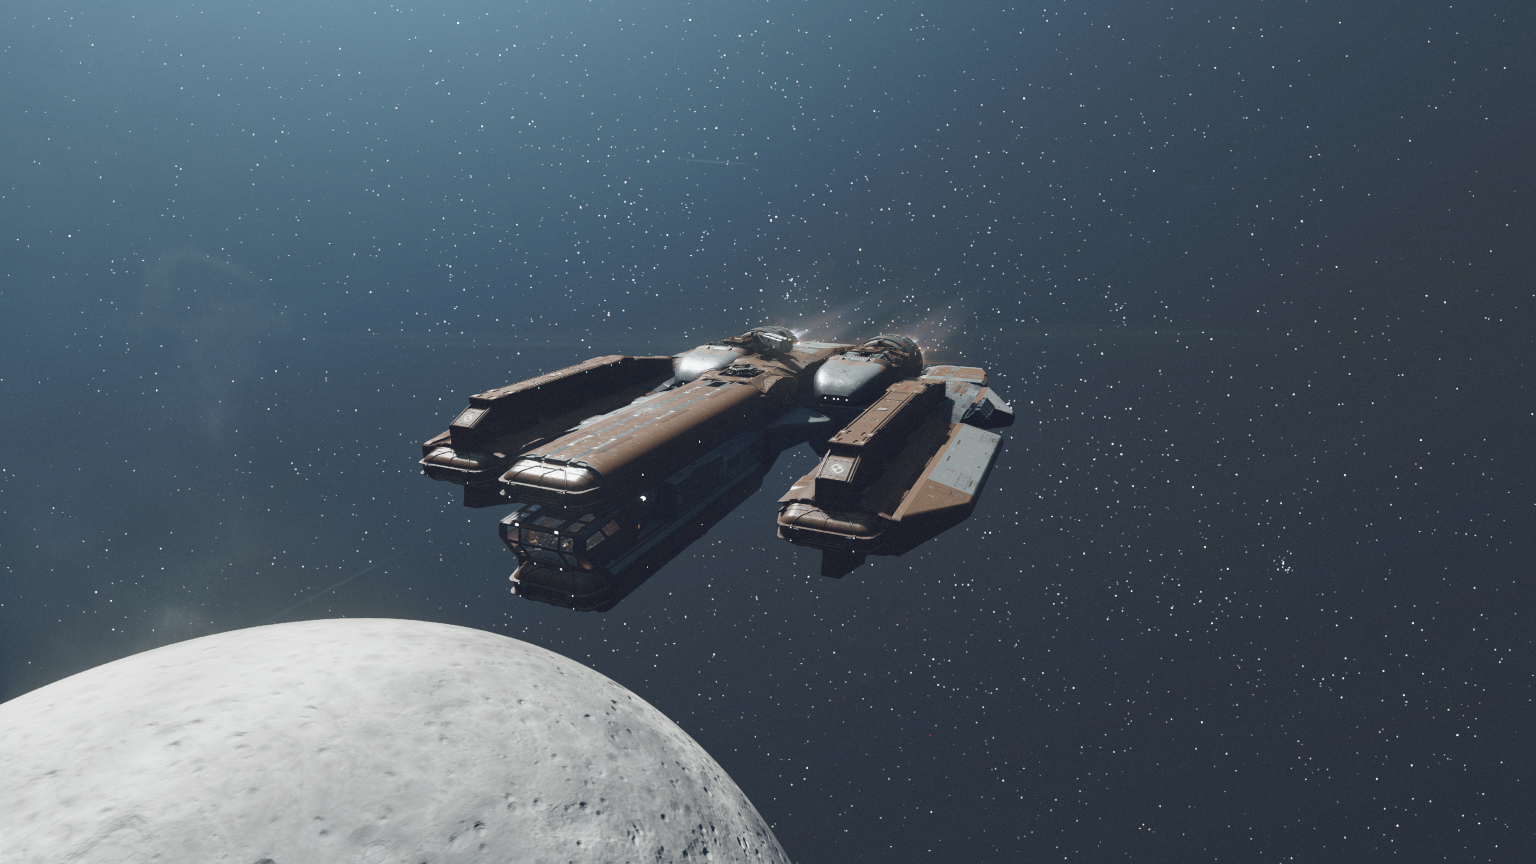
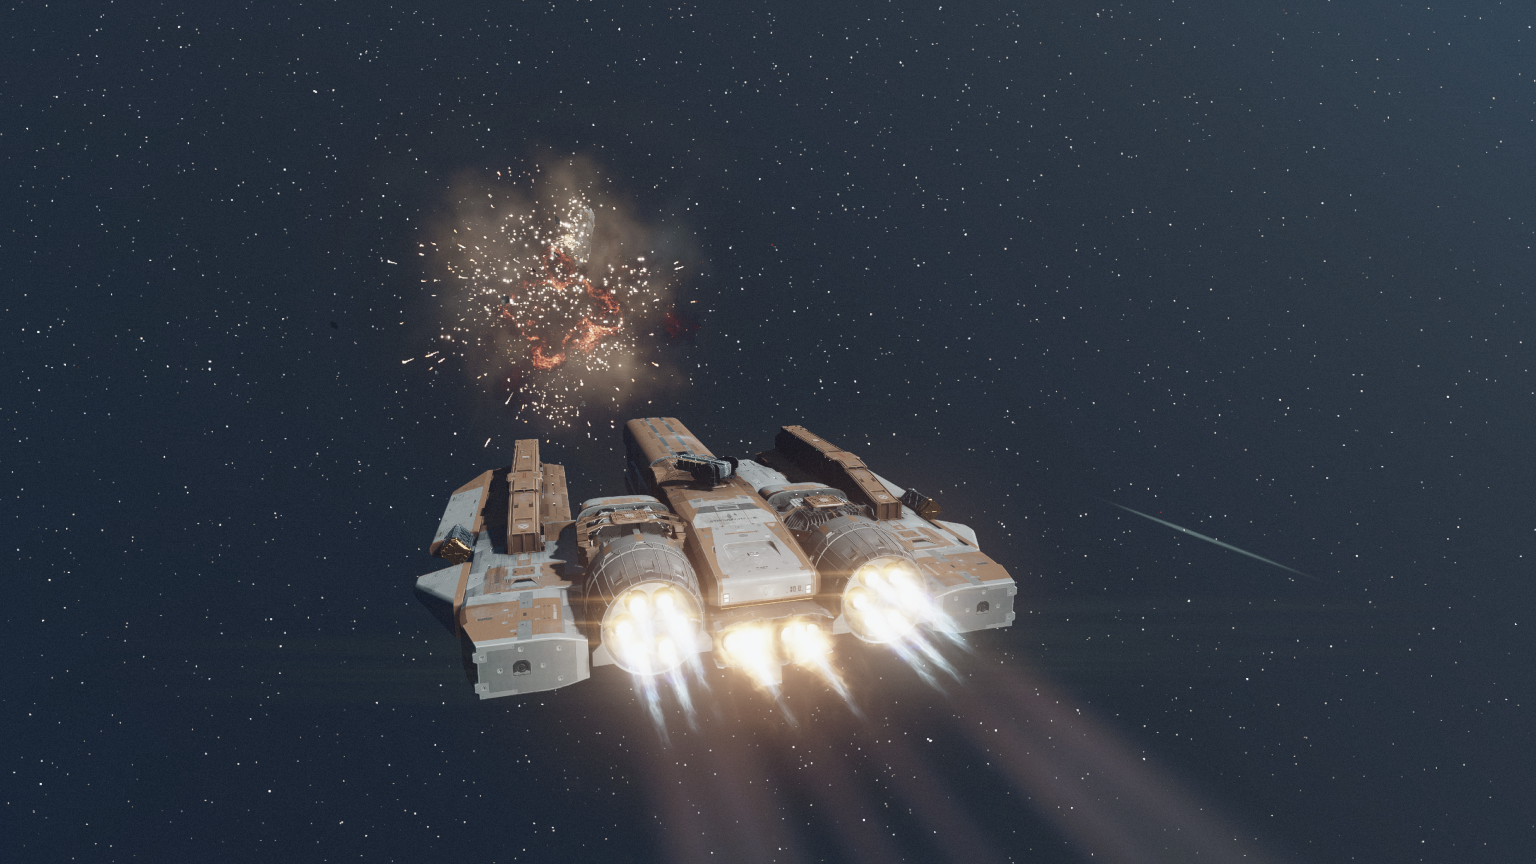
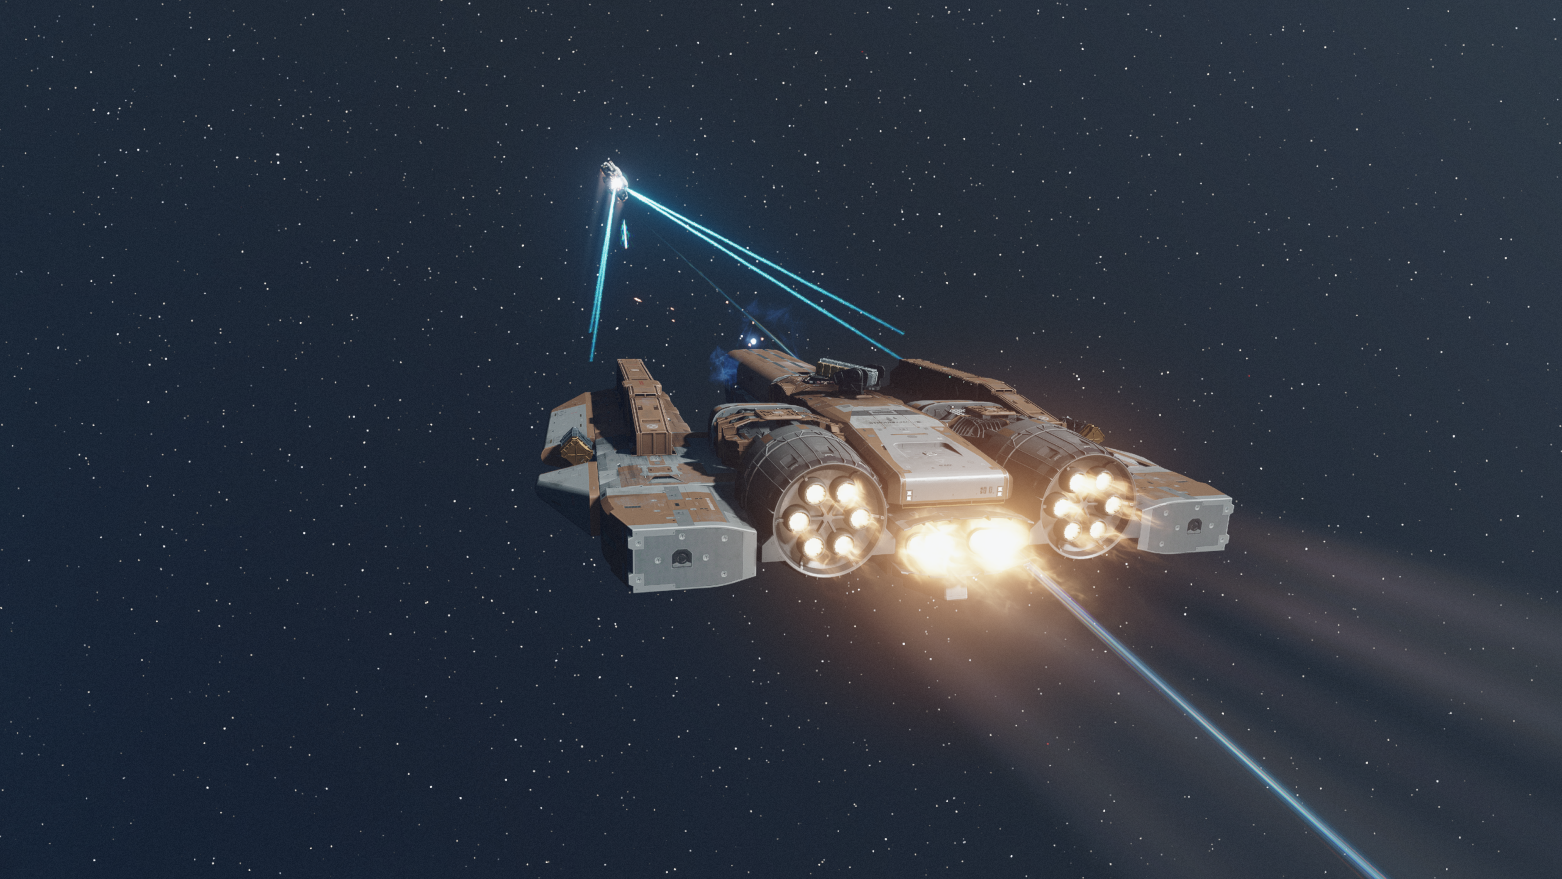
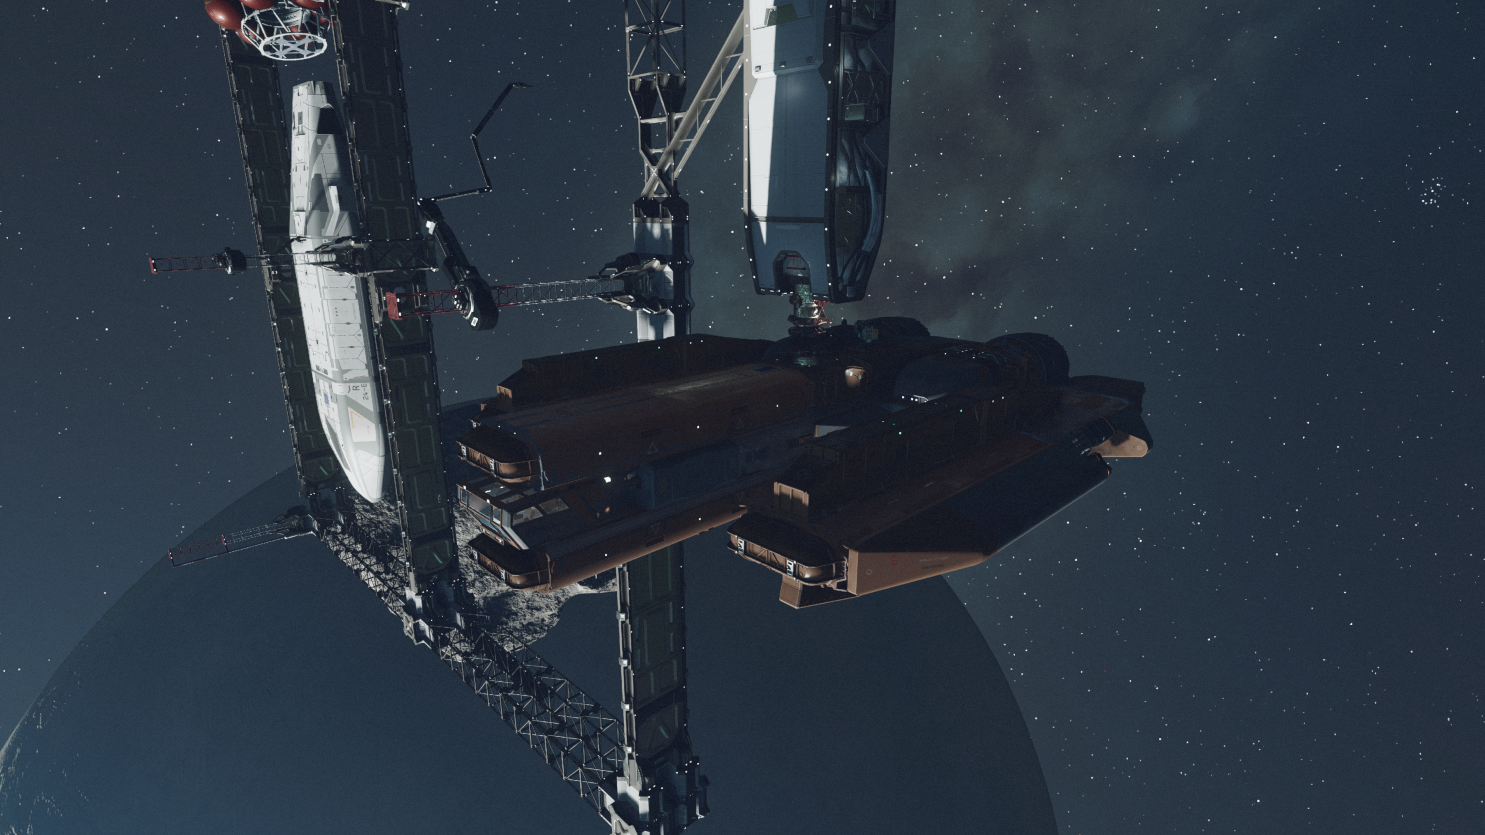
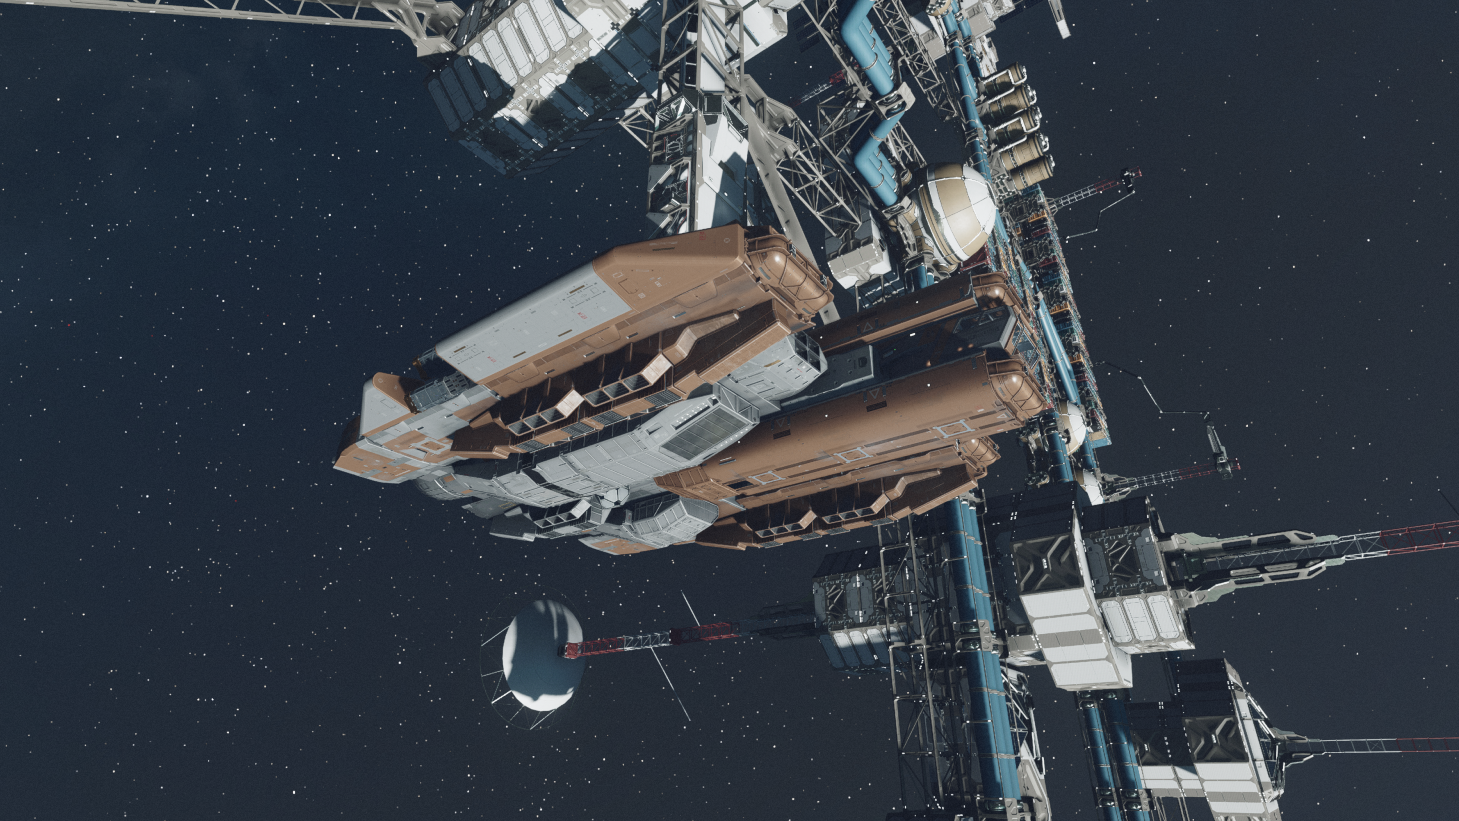
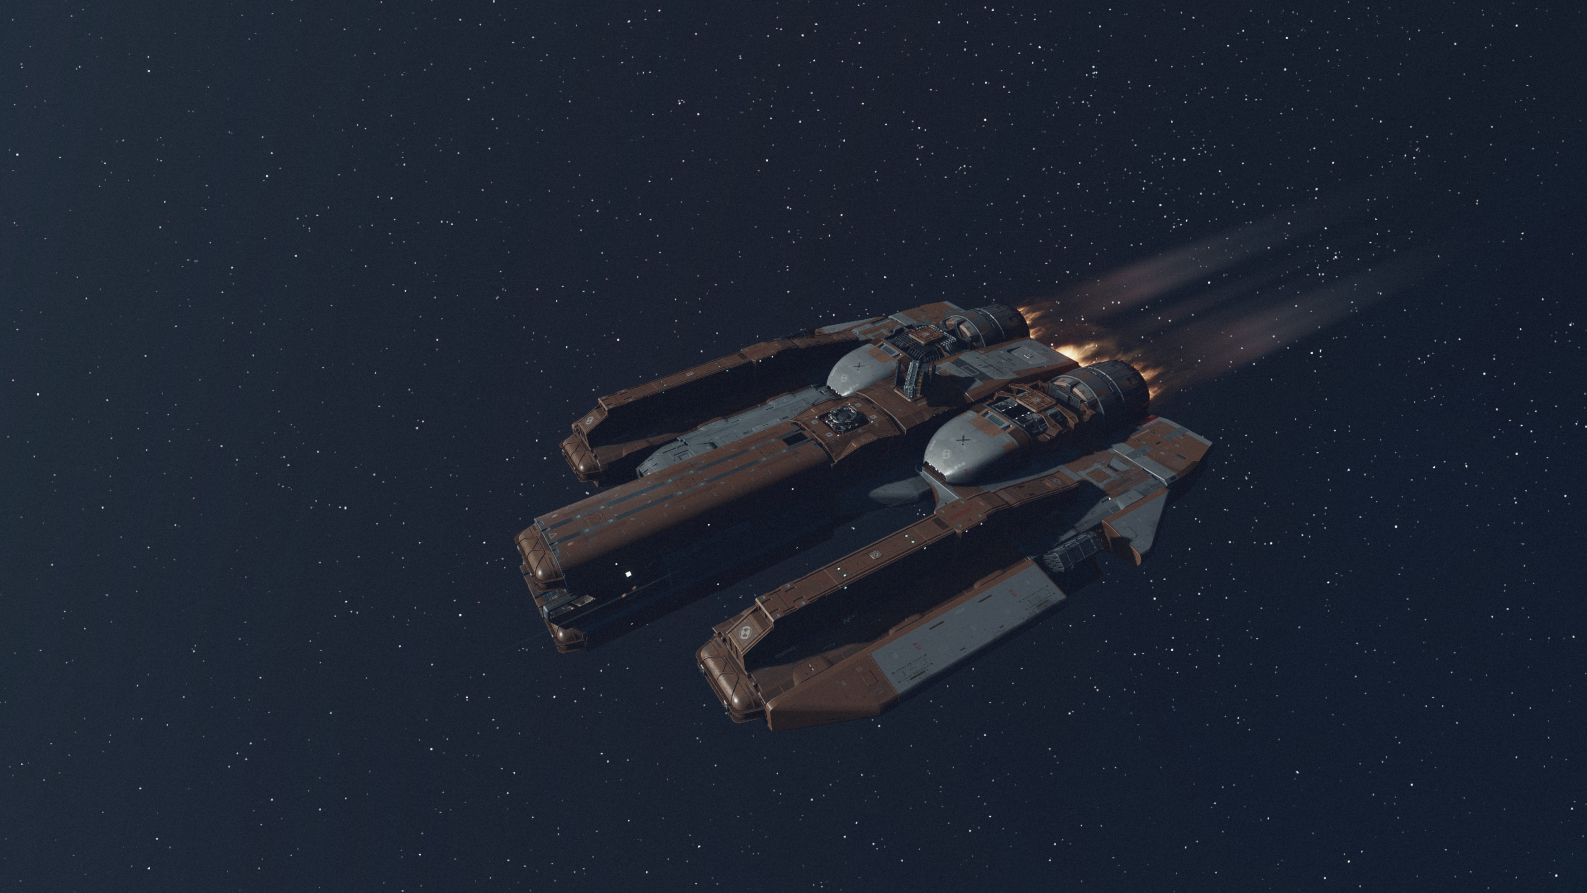
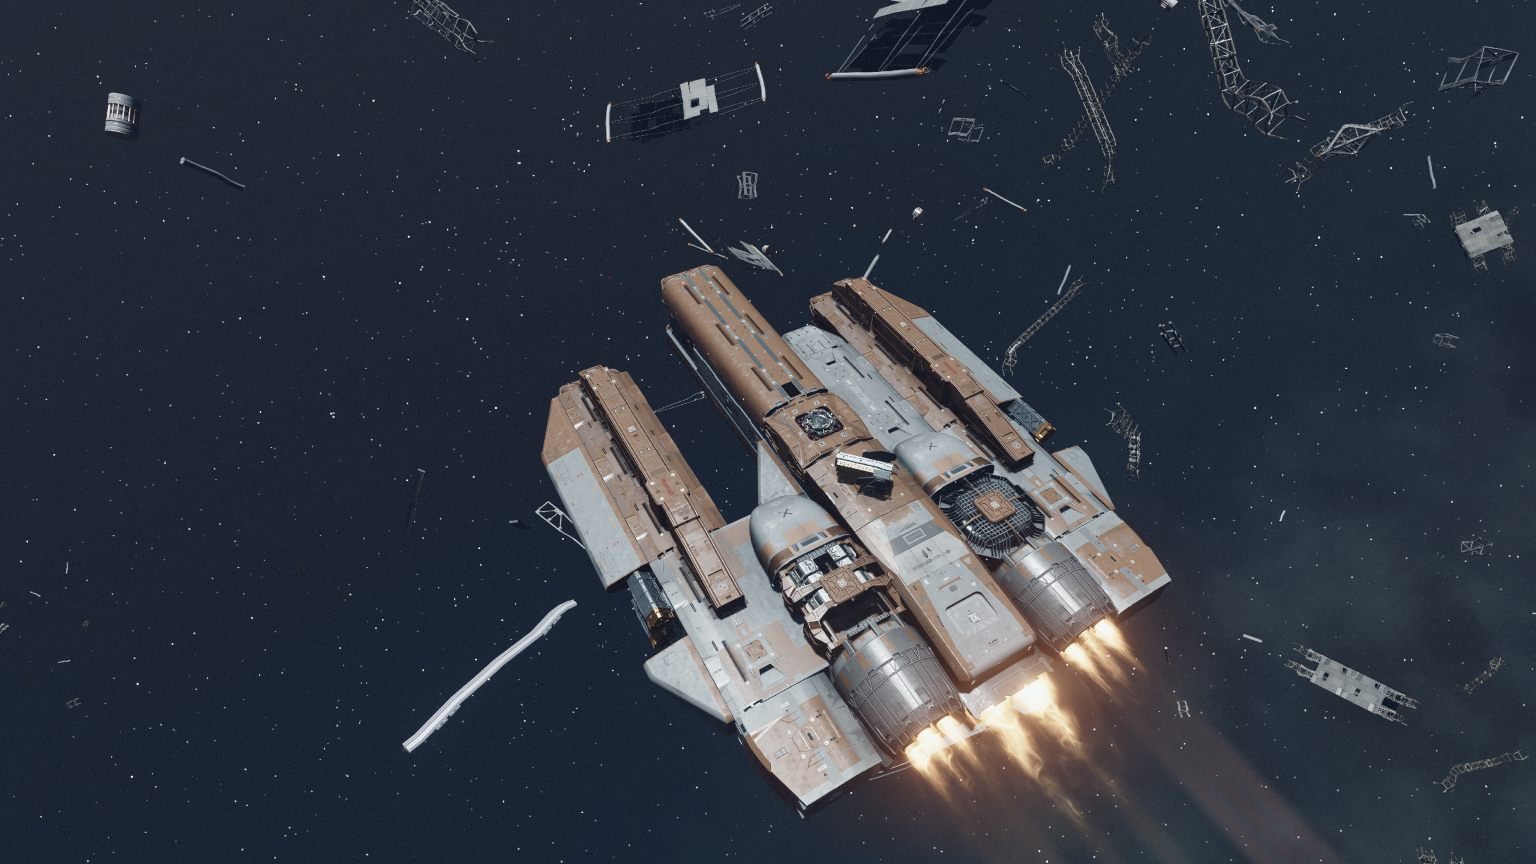
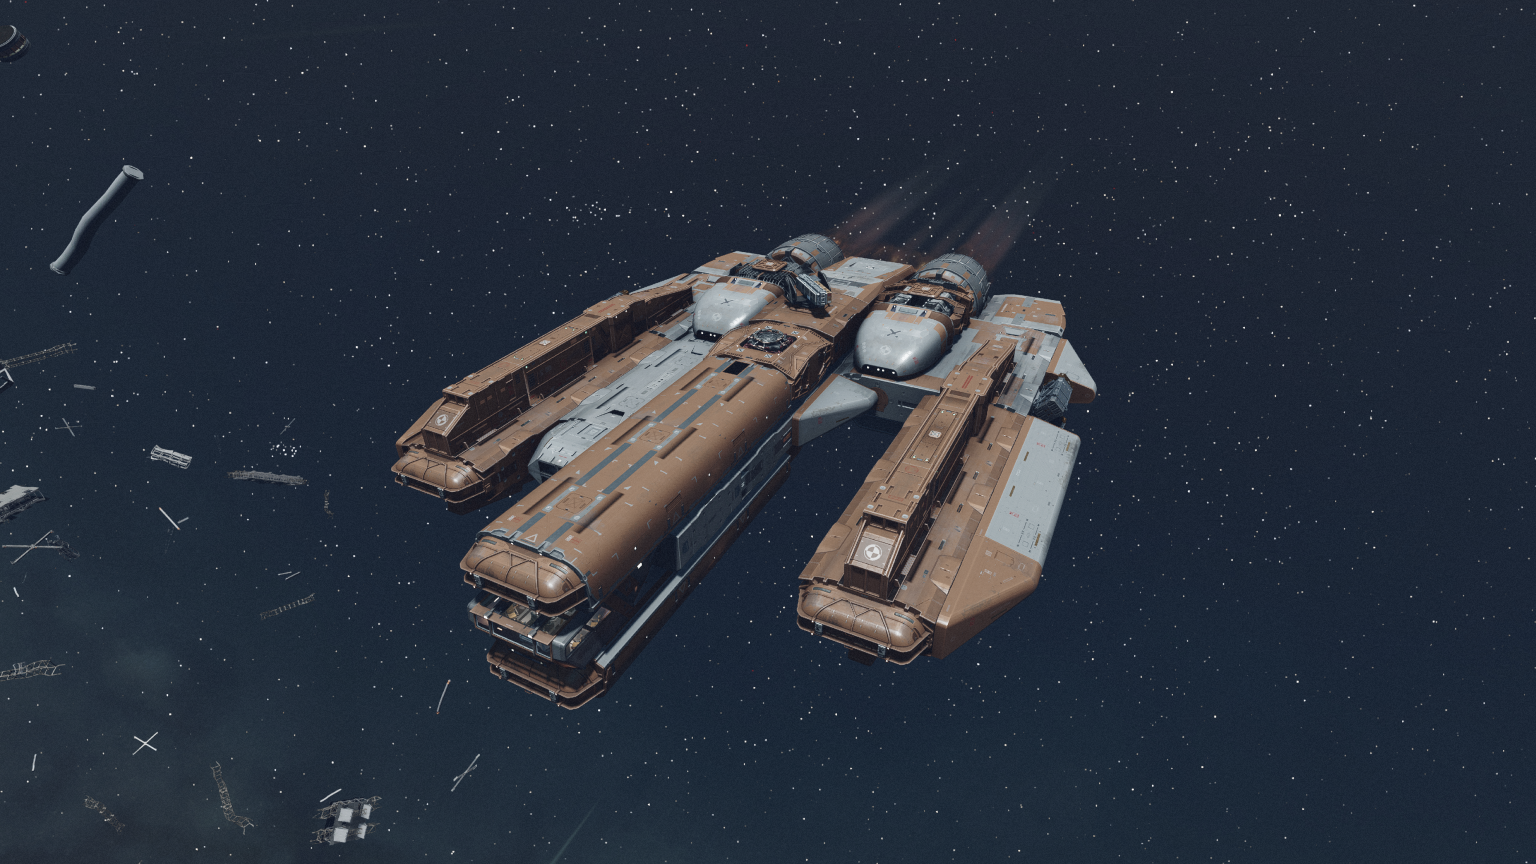
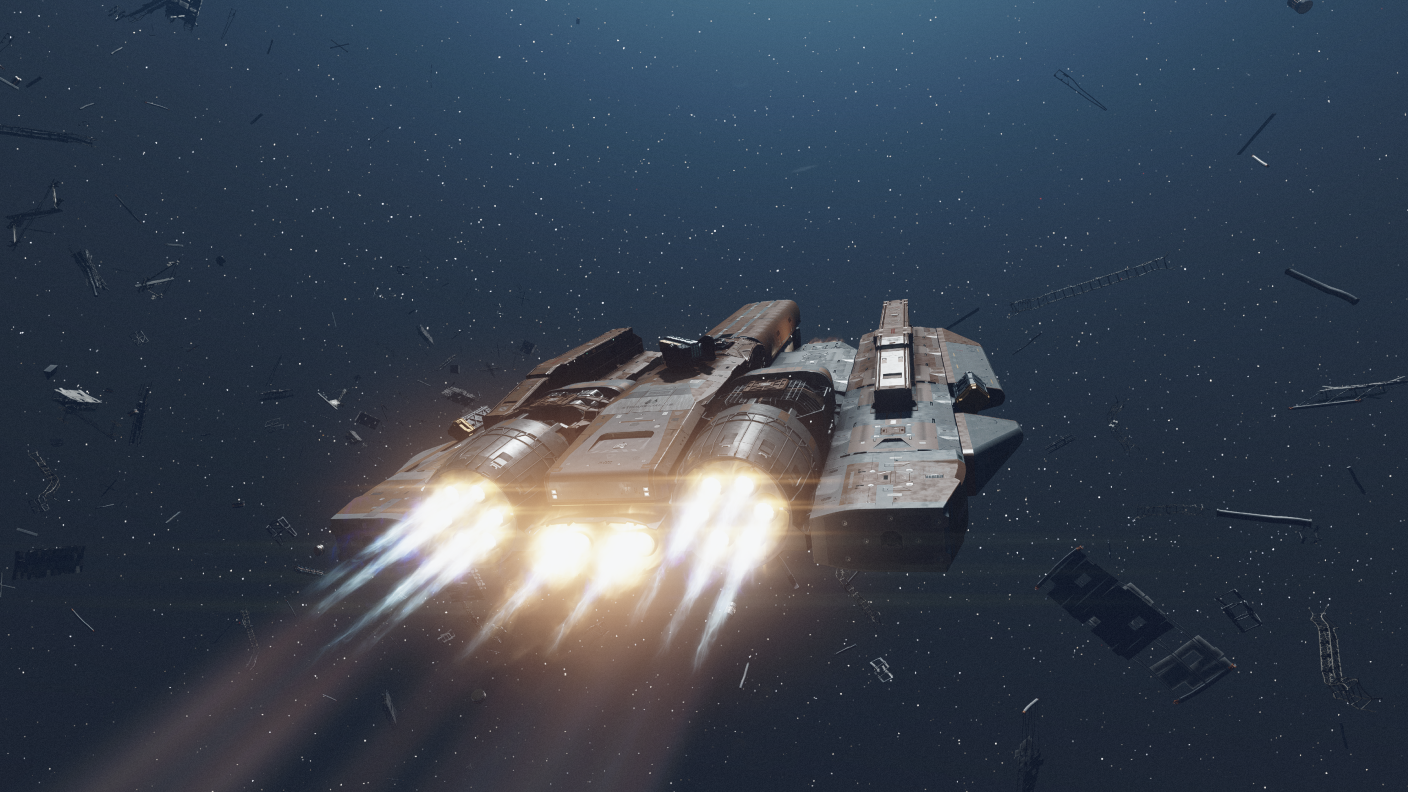
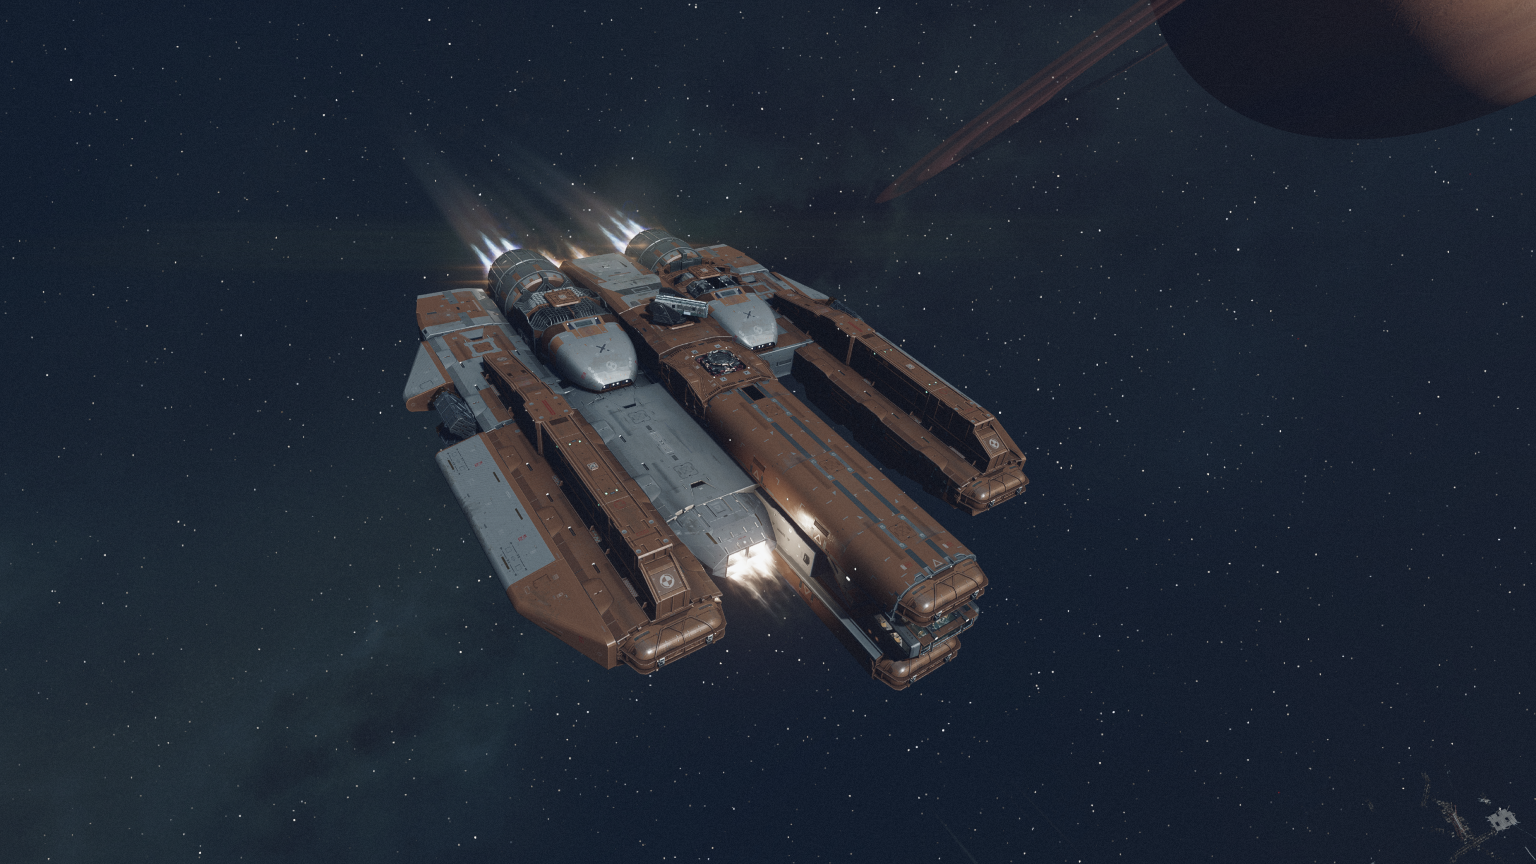
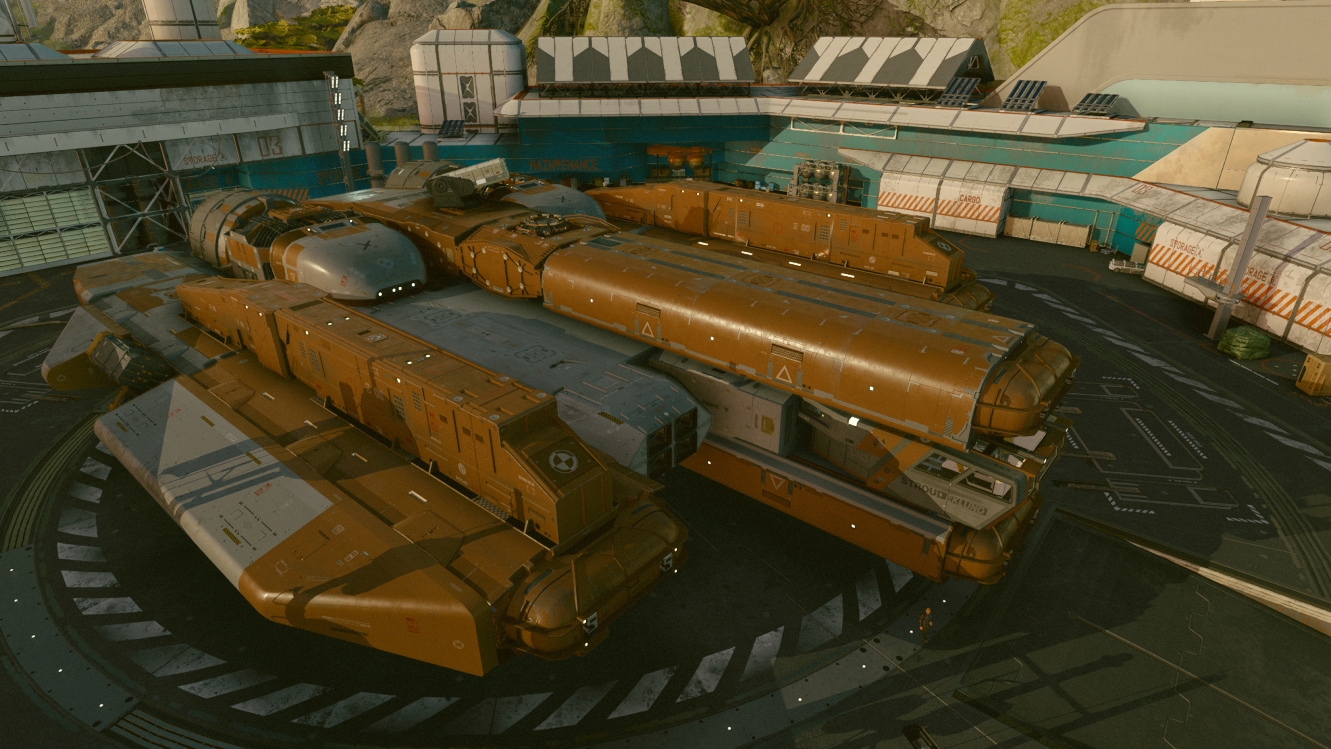
The Details in Brief
The in-game ship menu values the completed build (including about 50,000 credits in weapons) at 275,000 credits. So expect to spend around that to complete the build as described.
The parts used in this build also require the player to be able to pilot Class C ships (so 4 points in Piloting) and 2 point in Starship Design.
The build uses mainly Stroud Eklund parts for the habs, mainly because the cockpit is the Stroud Eklund Kon-Tikki B-300 Bridge, and I wanted the rest of the ship’s interiors to match Stroud Eklund’s internal aesthetic. The only exception to this are the two Taiyo Astroneering 3×1 habs that form the top and bottom of the ship’s center. But honestly, you are free to use whatever hab pieces you wish. It’s really the external structures/cowling that give the Ebon Hawk its iconic look.
Lastly, I made this design with practicality and usefulness in mind rather than purely aesthetic look. This means I wanted this ship to be able to fulfill whatever I needed for my various playthroughs, so I tried to ensure that the layout of the ship made sense for a player to use regularly. Put simply, the less confusing hallways and ladder systems the better. I want to use this ship as much as I used the Ebon Hawk in Kotor.
This is somewhat hampered by the fact that the Kon-Tikki B-300 Bridge only allows players to enter it via a ladder from the bottom rather than a freaking door. But until modders fix this, it is what it is.
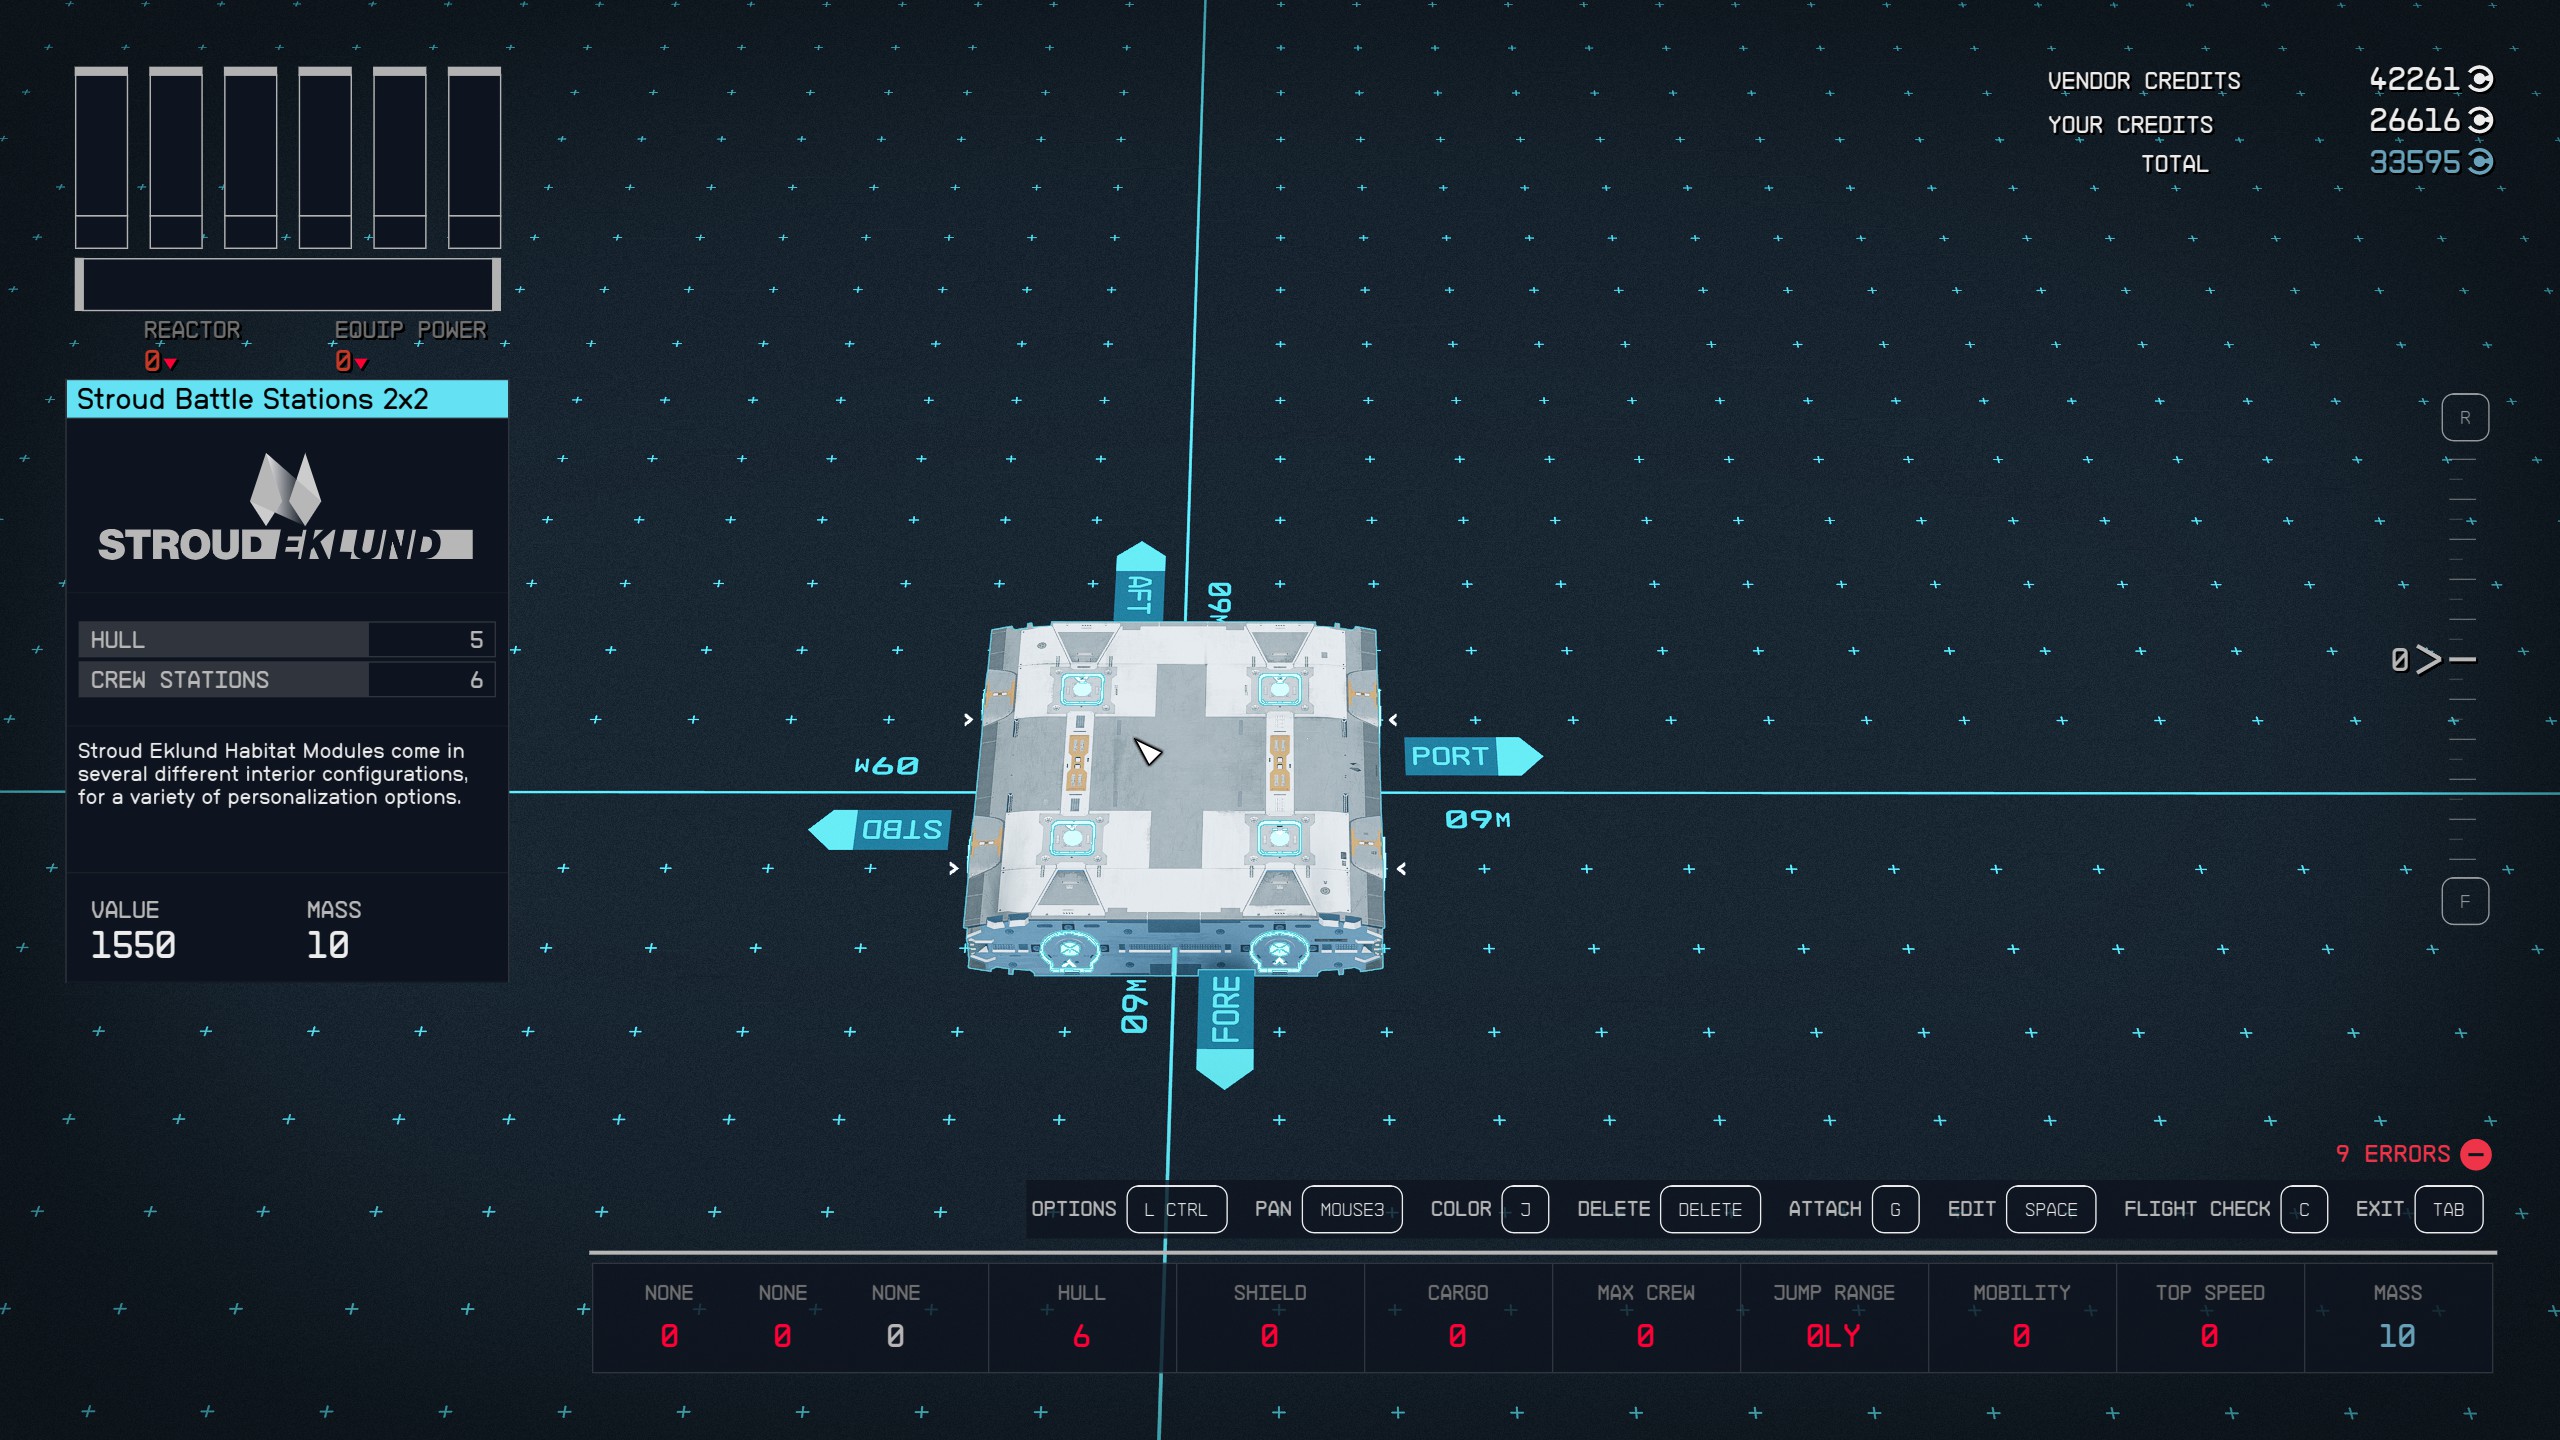
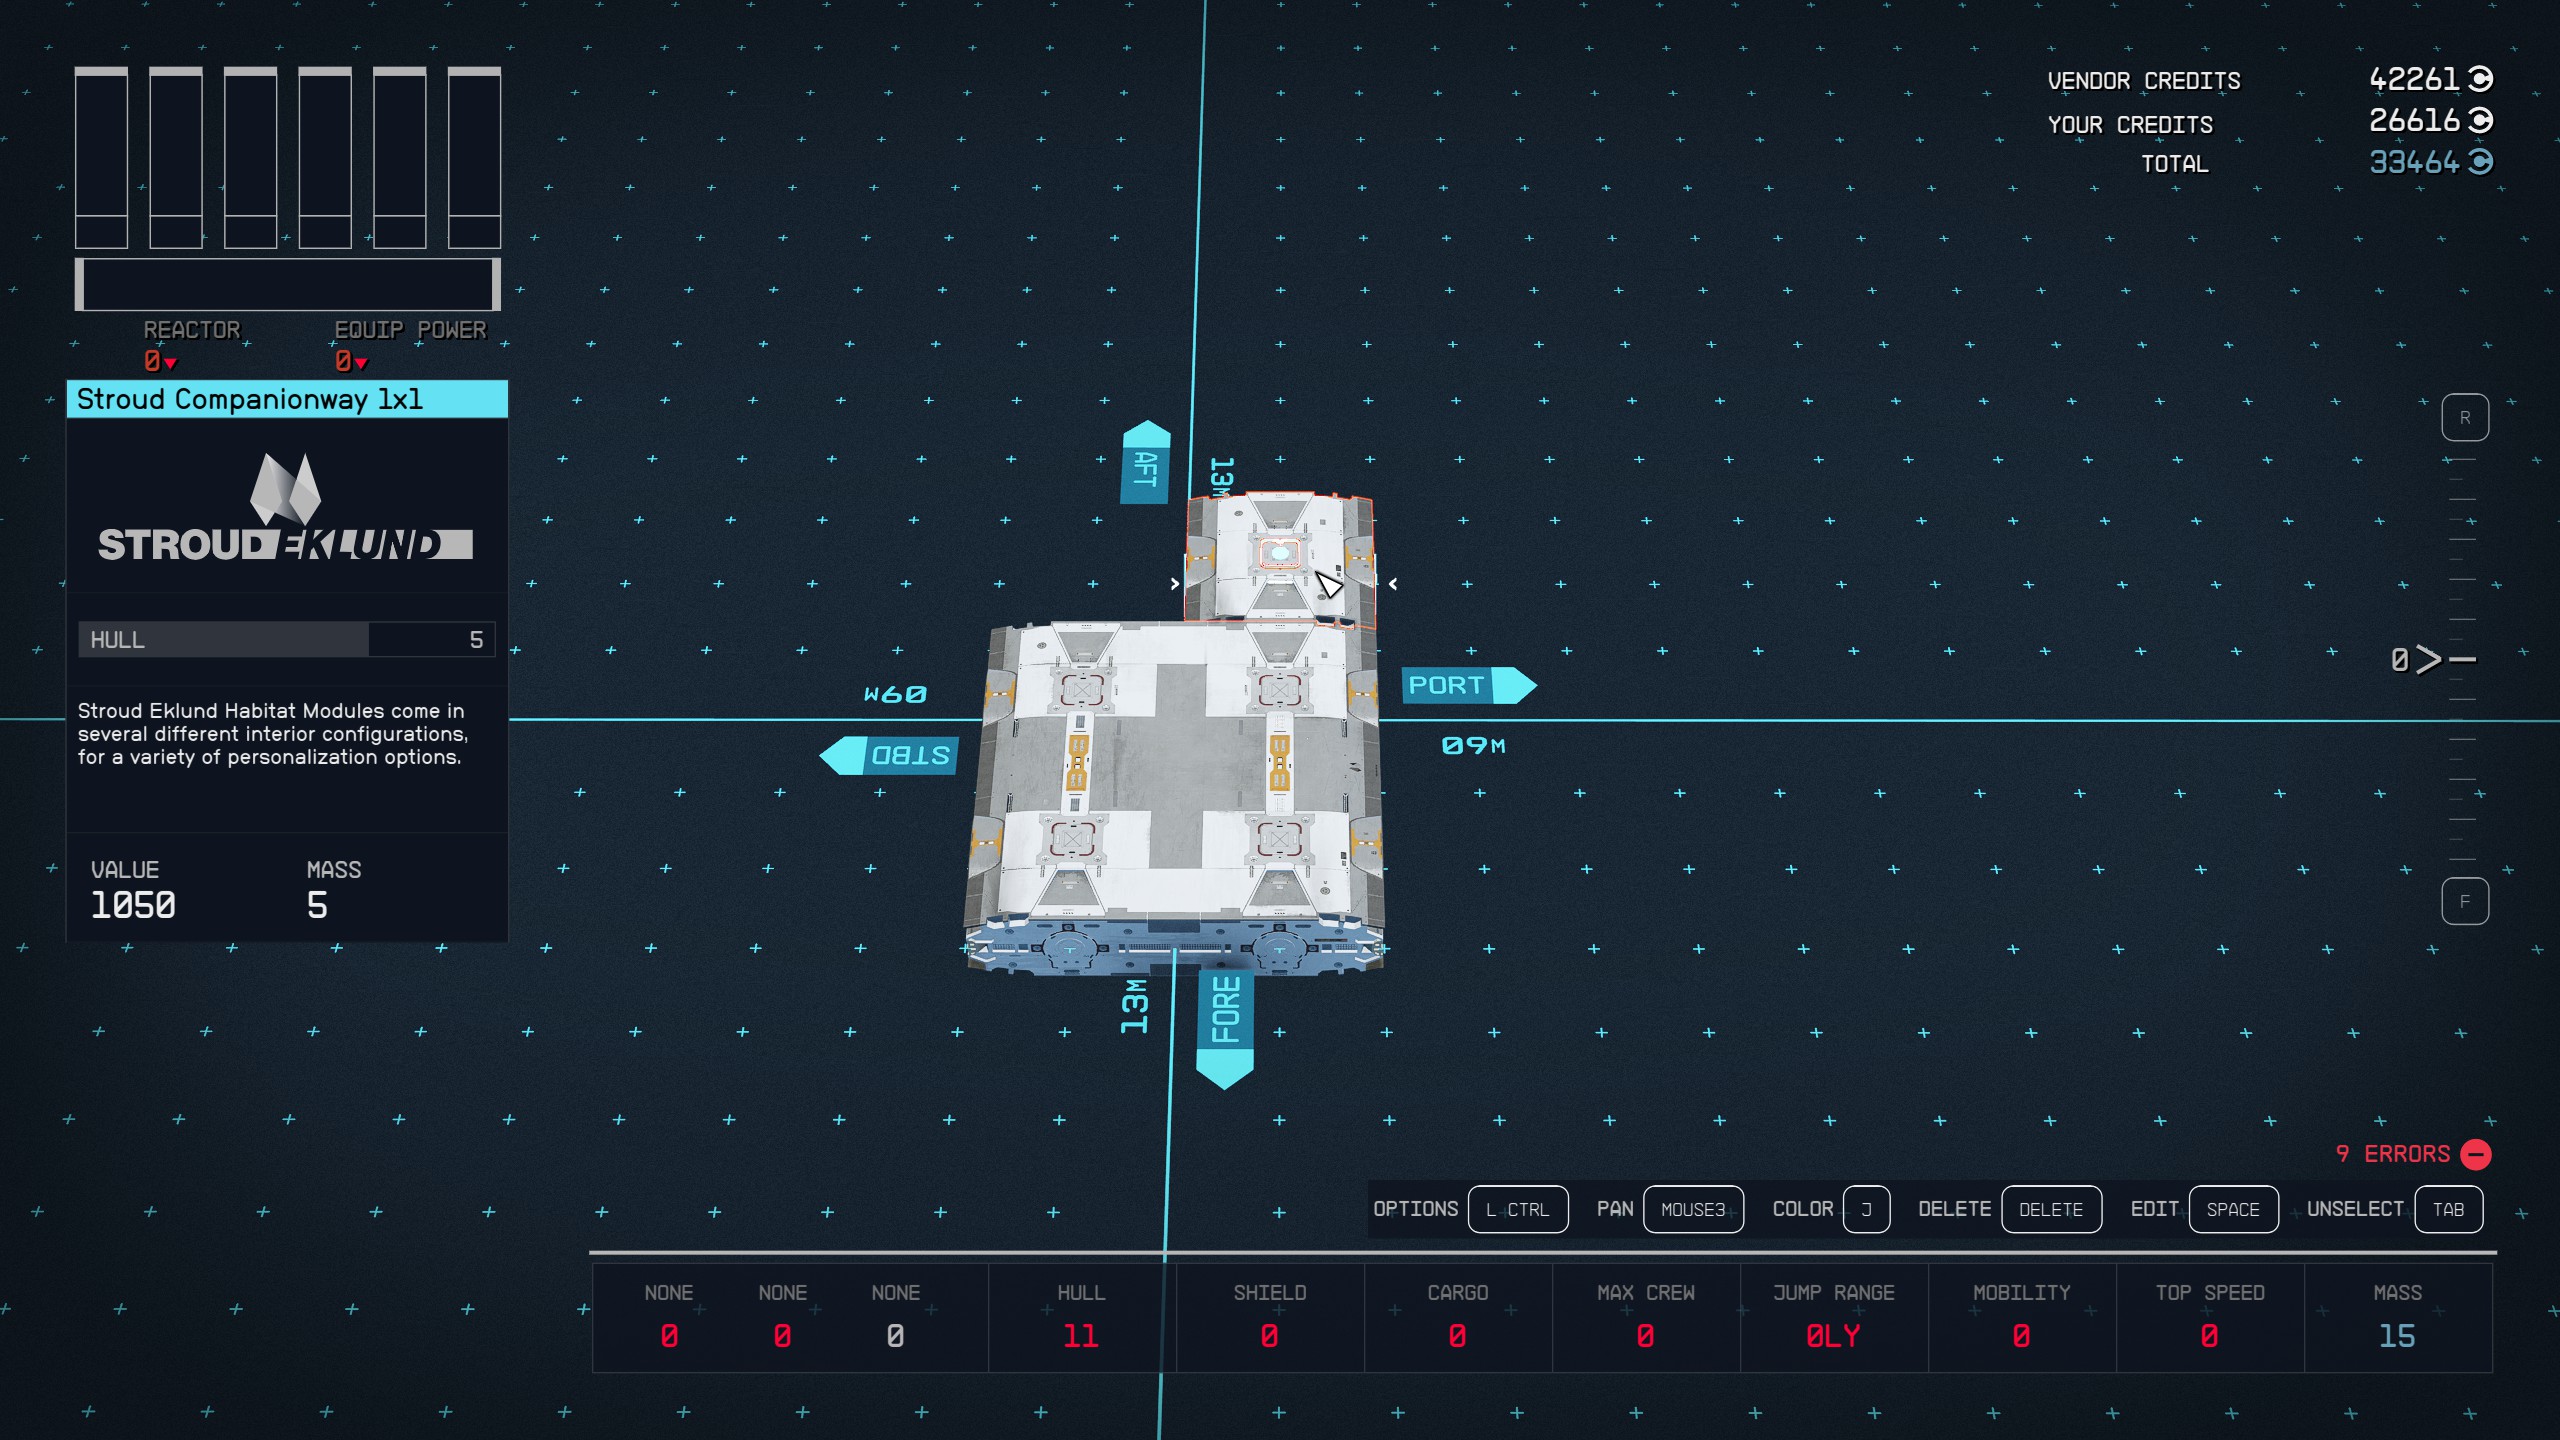
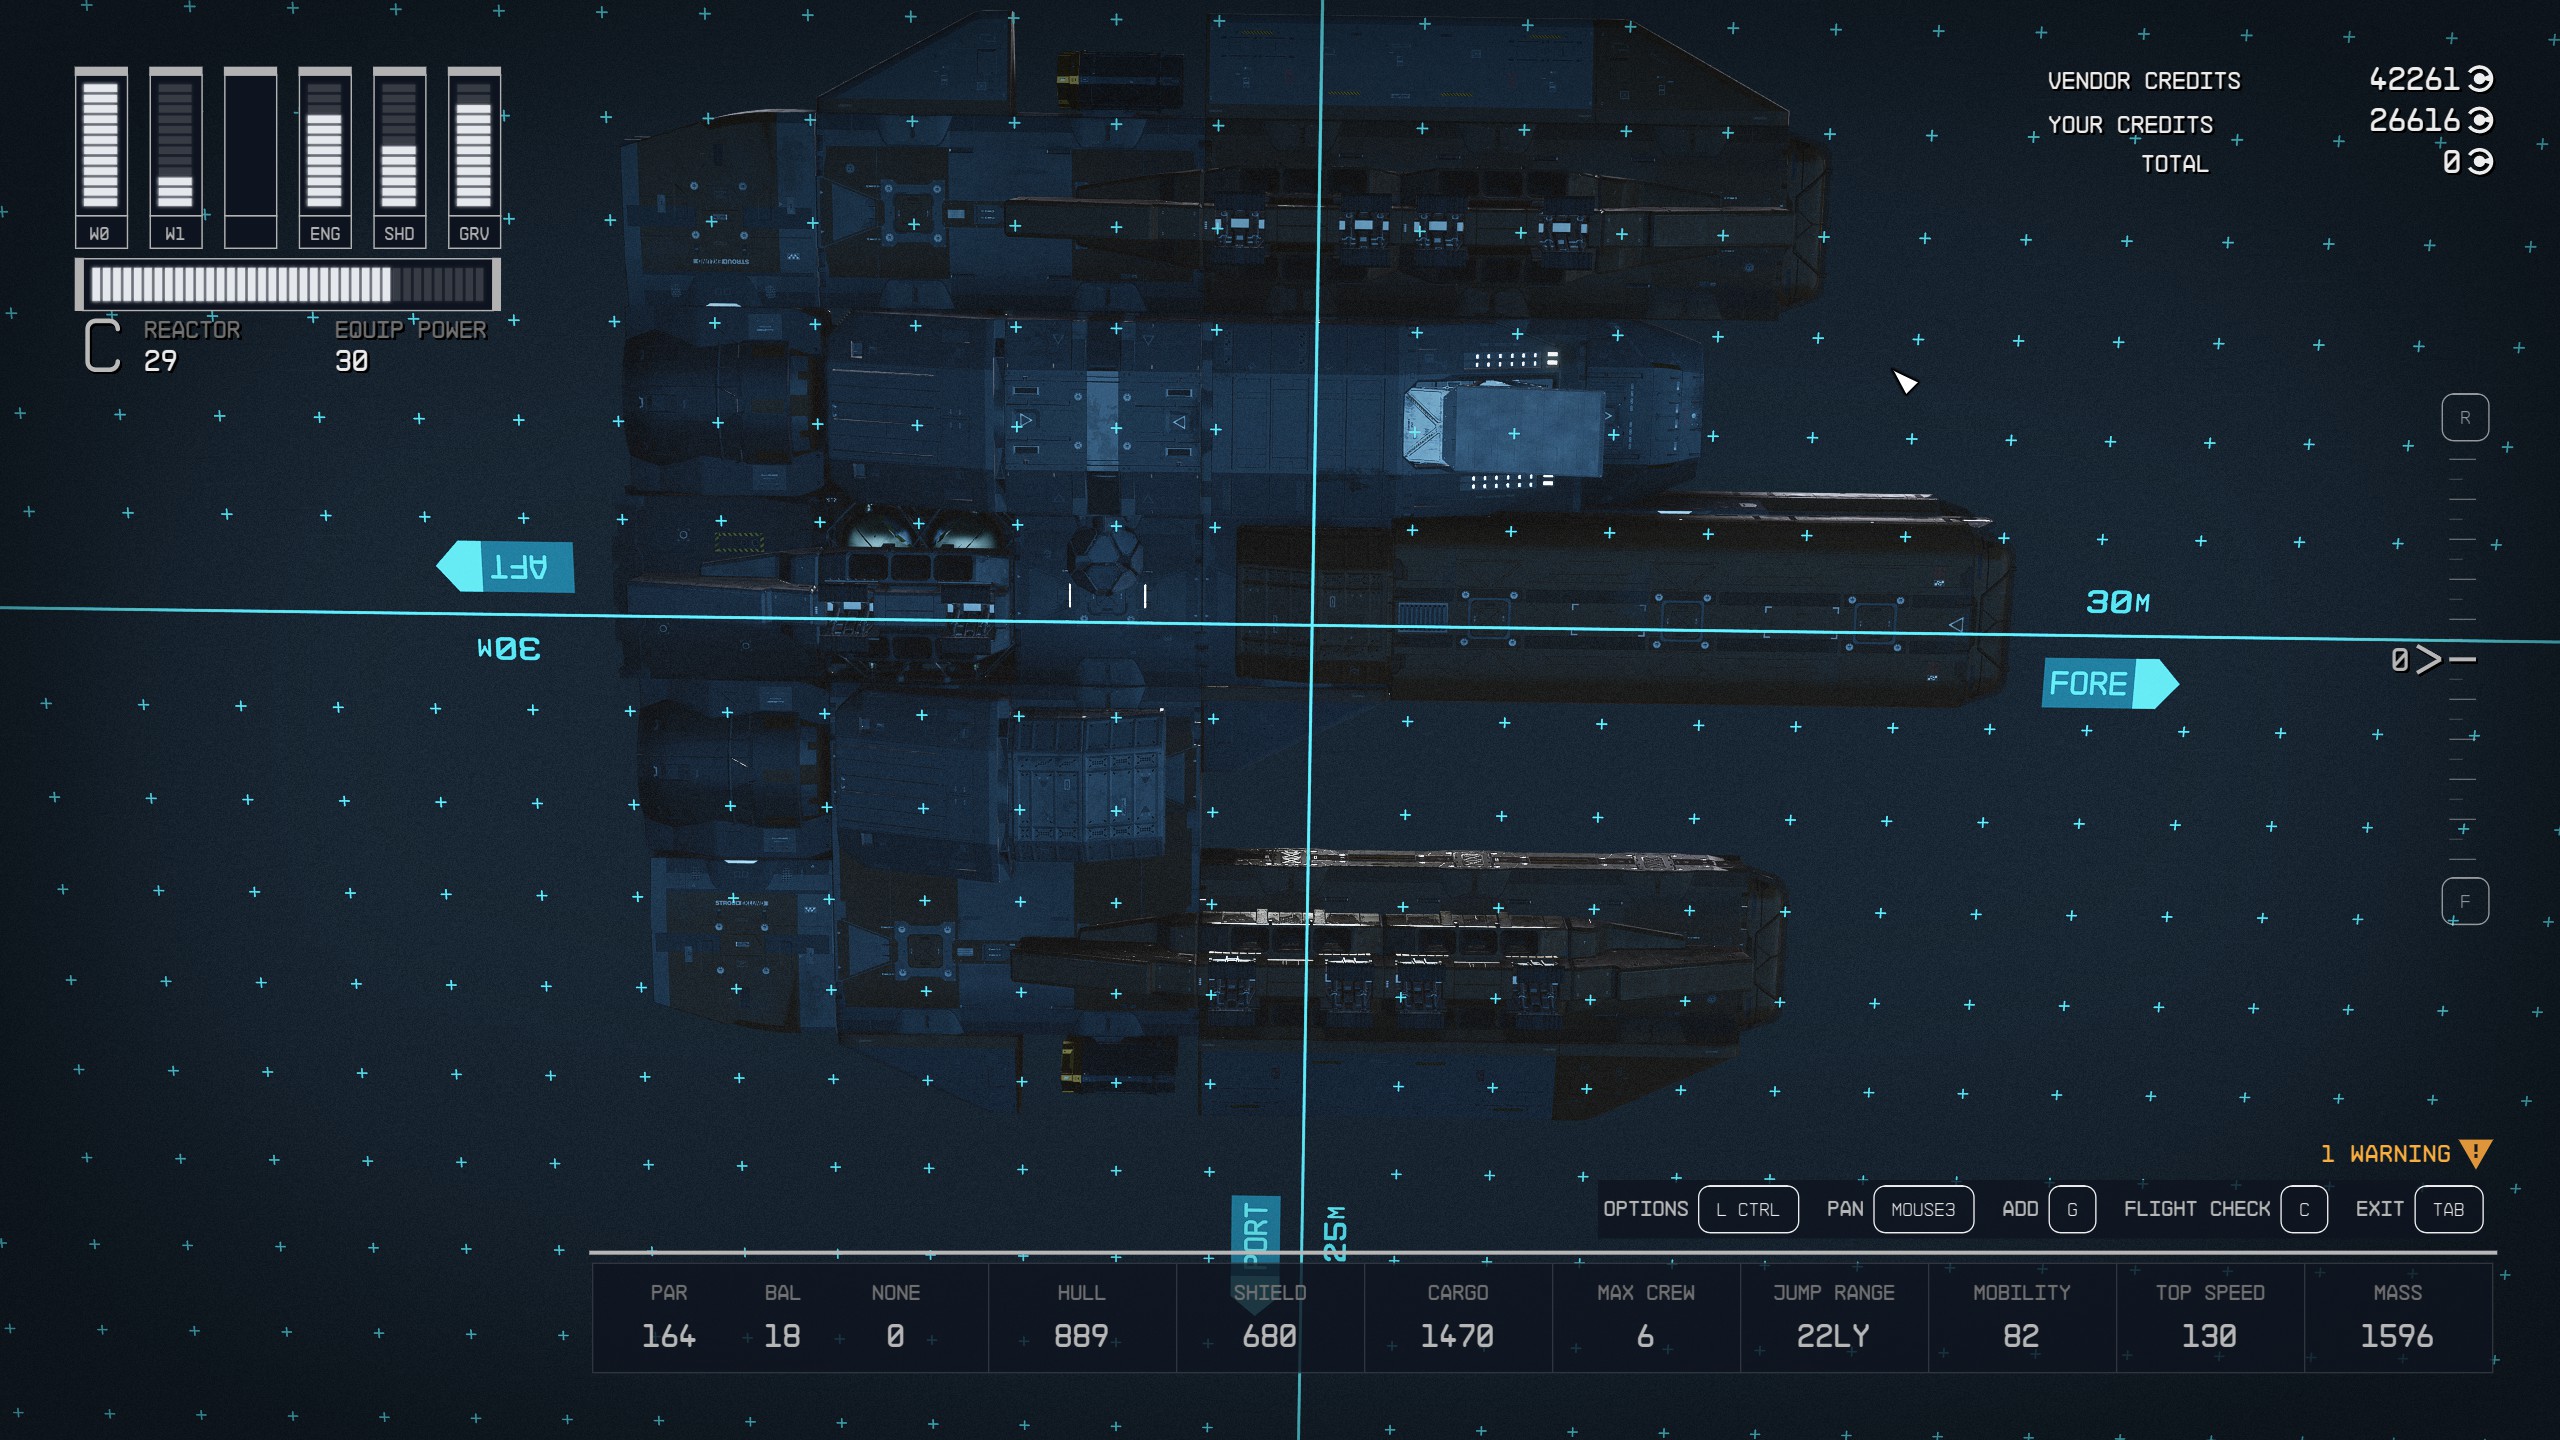
What follows is a shot by shot recreation of my Ebon Hawk build which you can follow along with to recreate yourself. Let’s get to it.
Part One: The Main Body
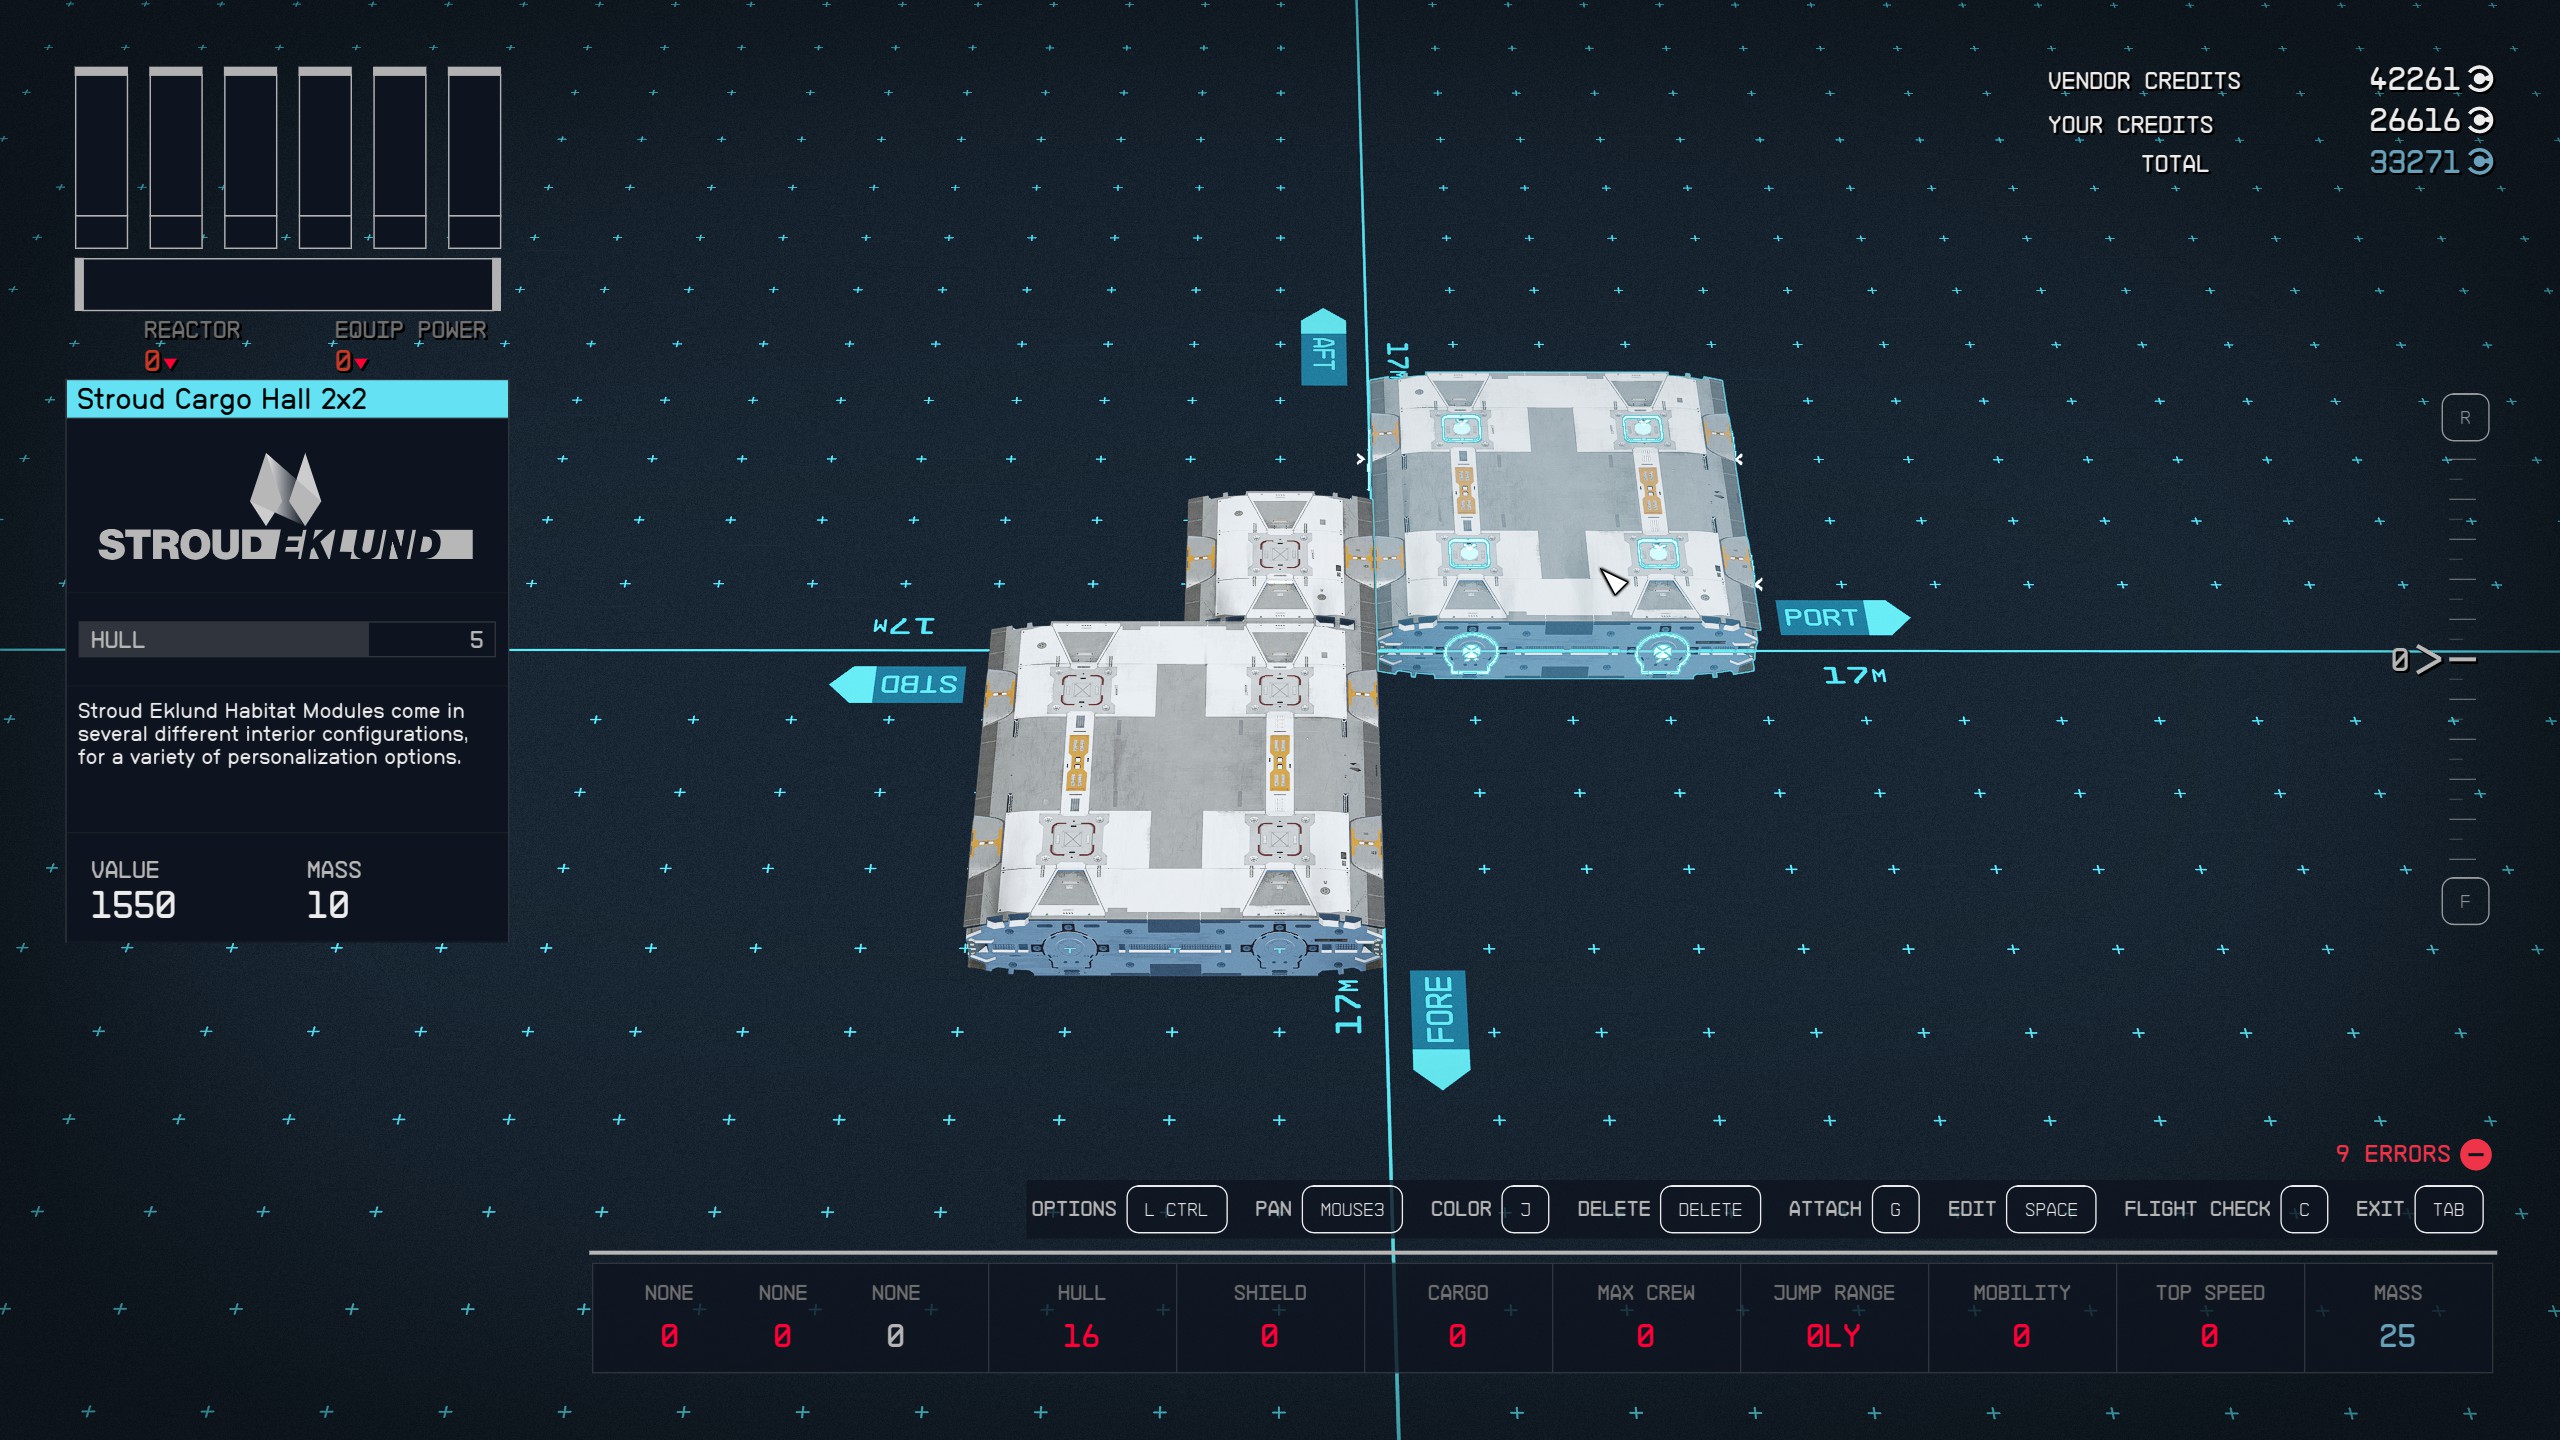
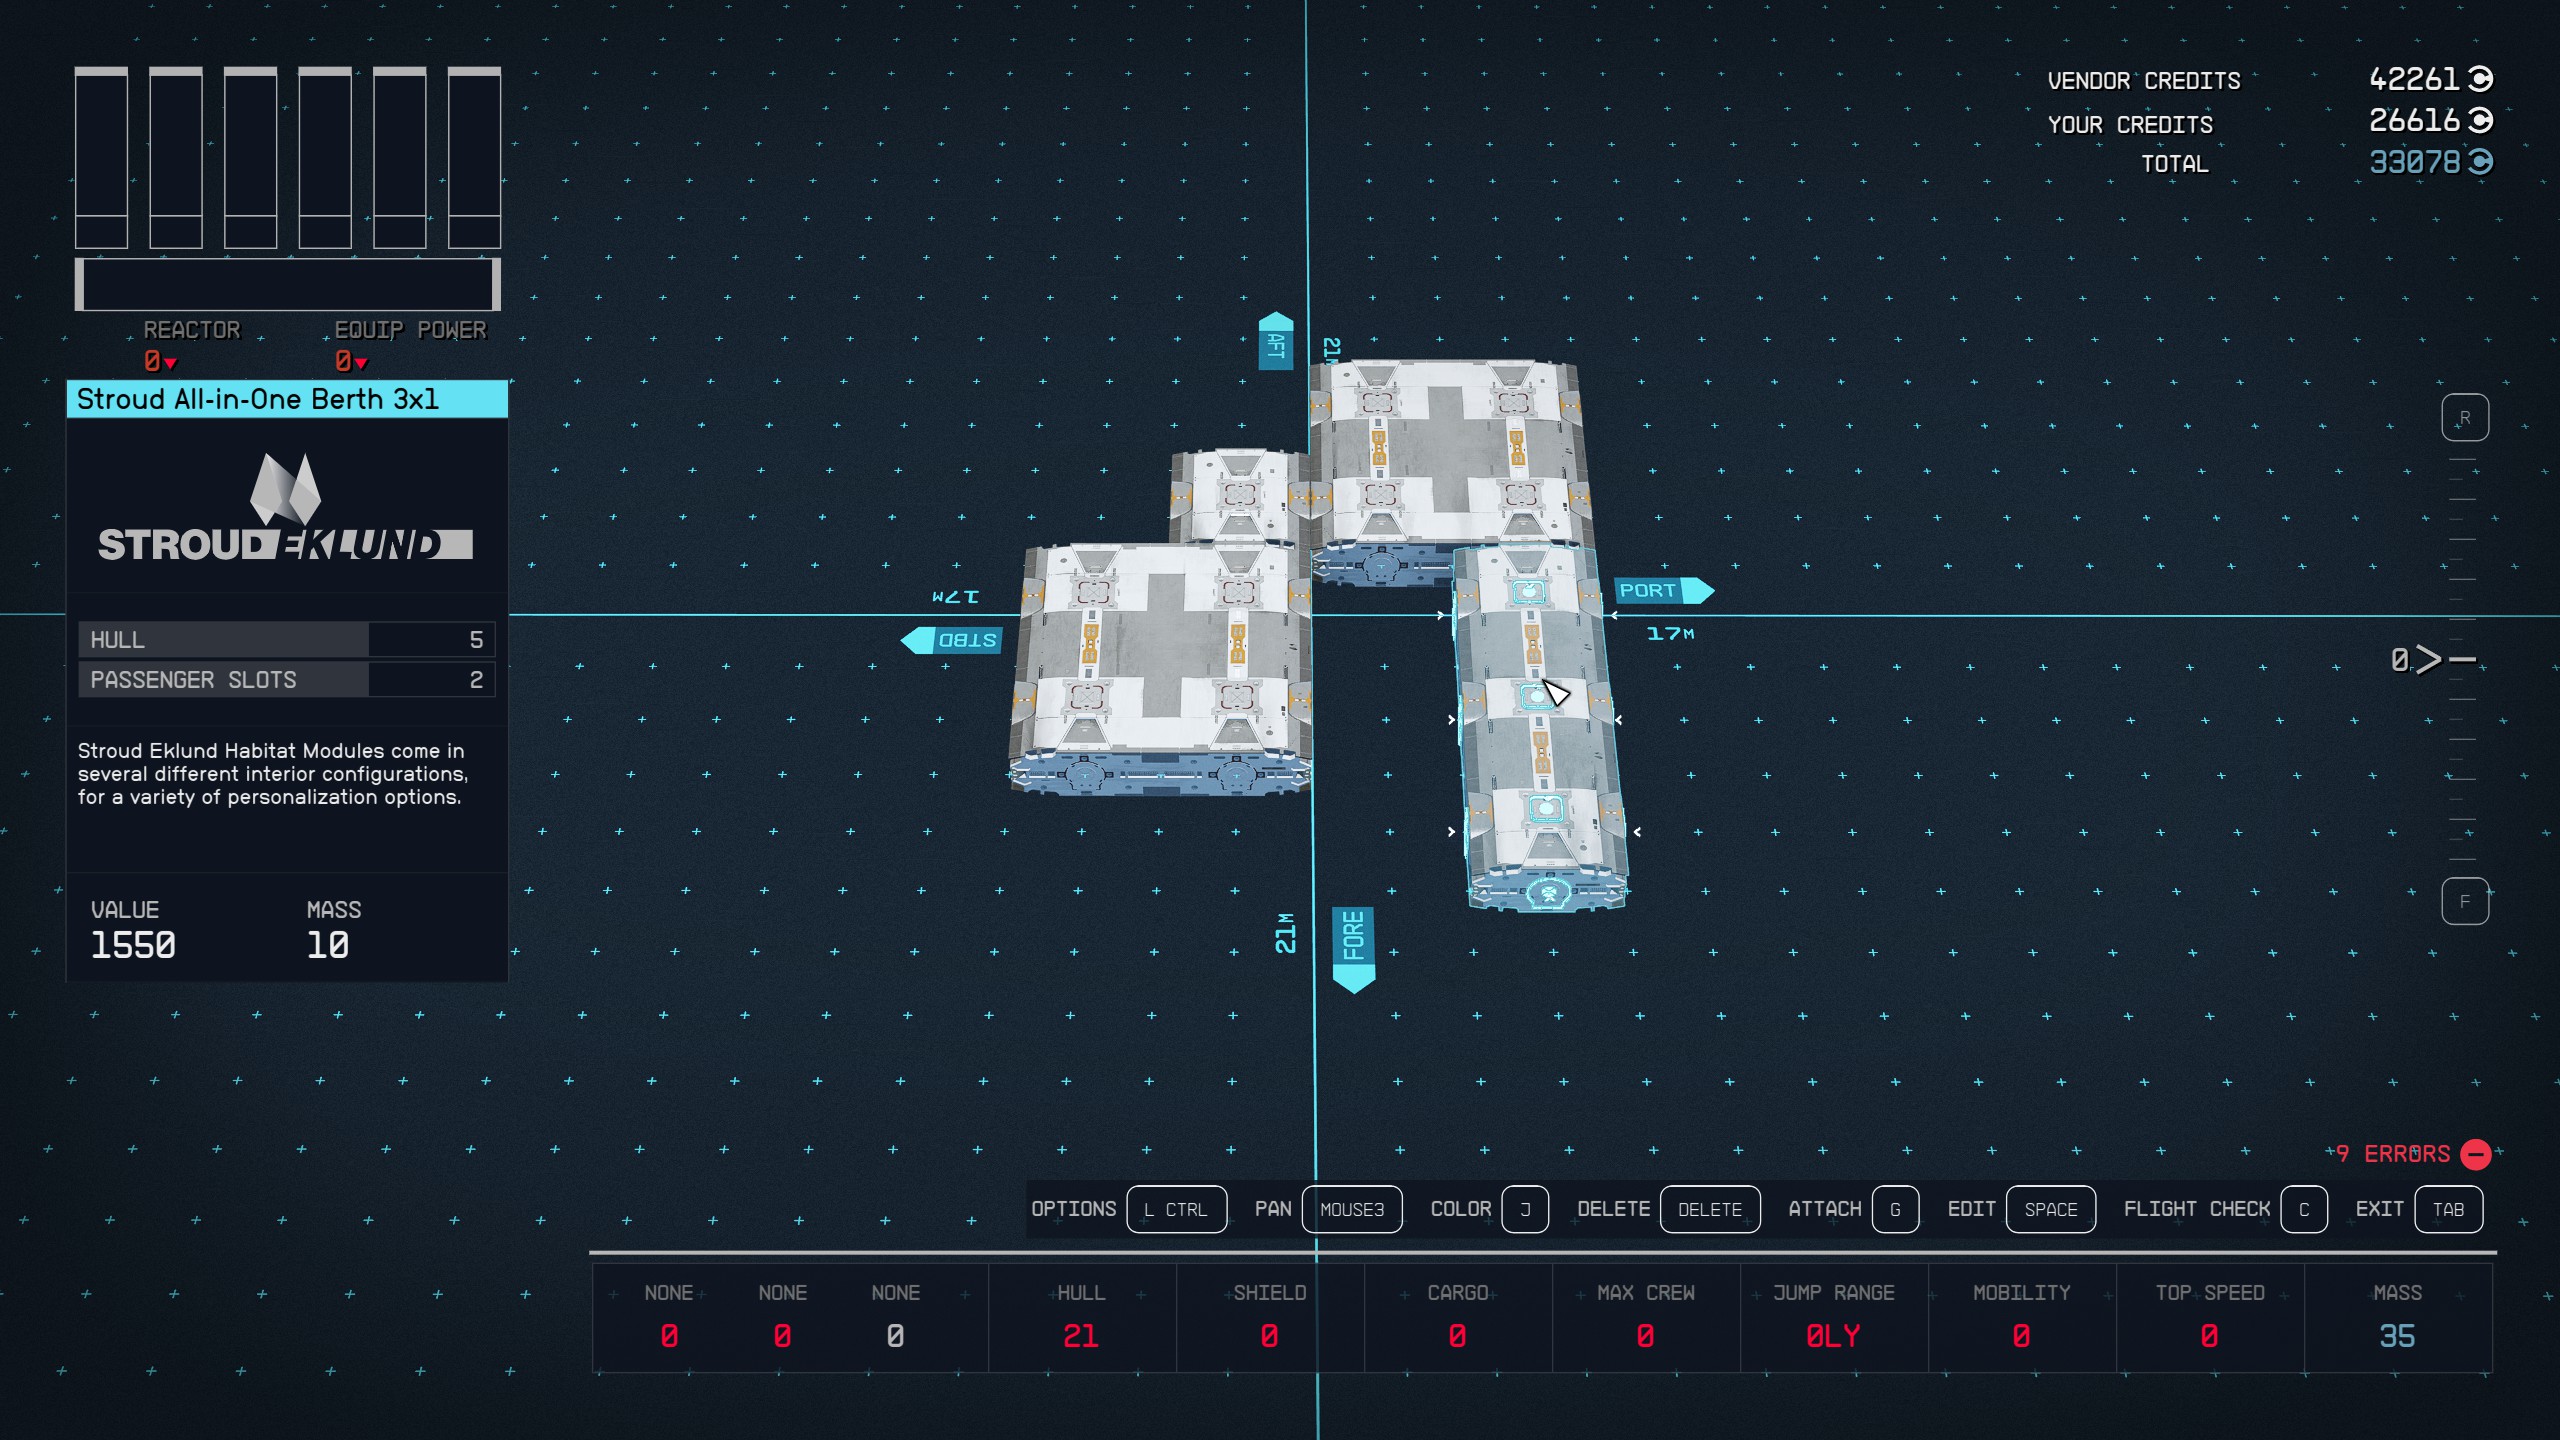
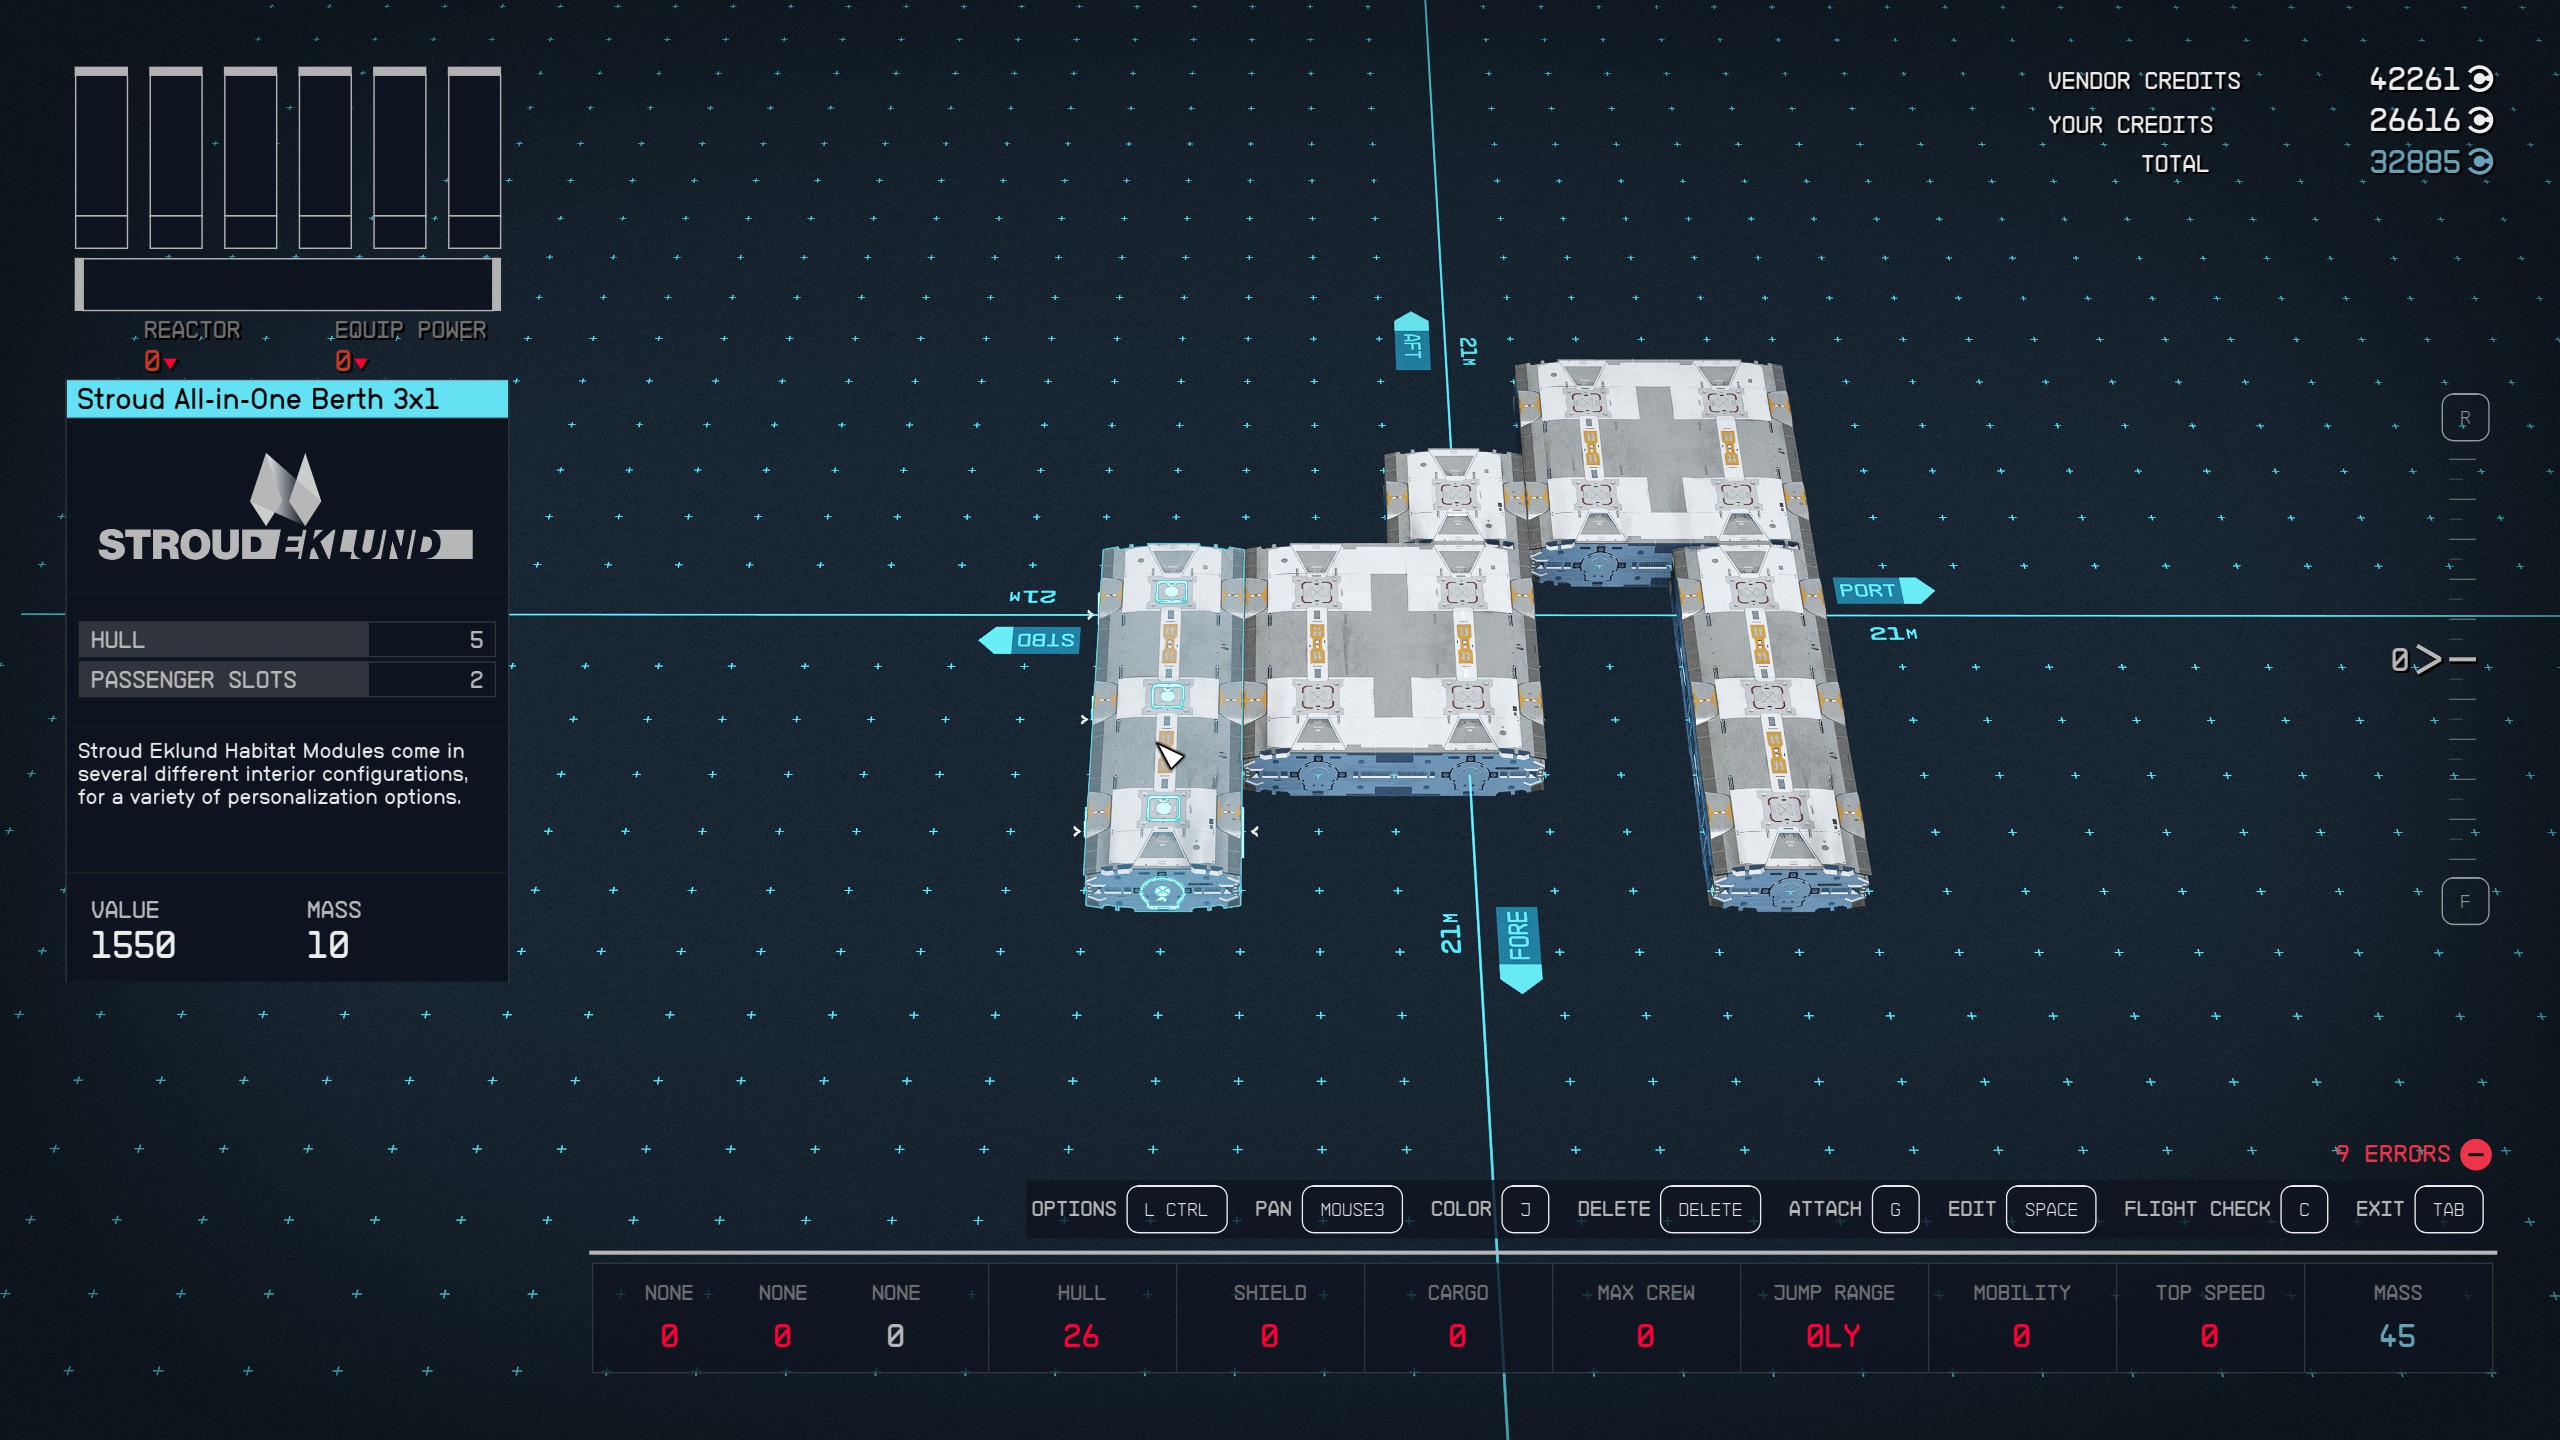
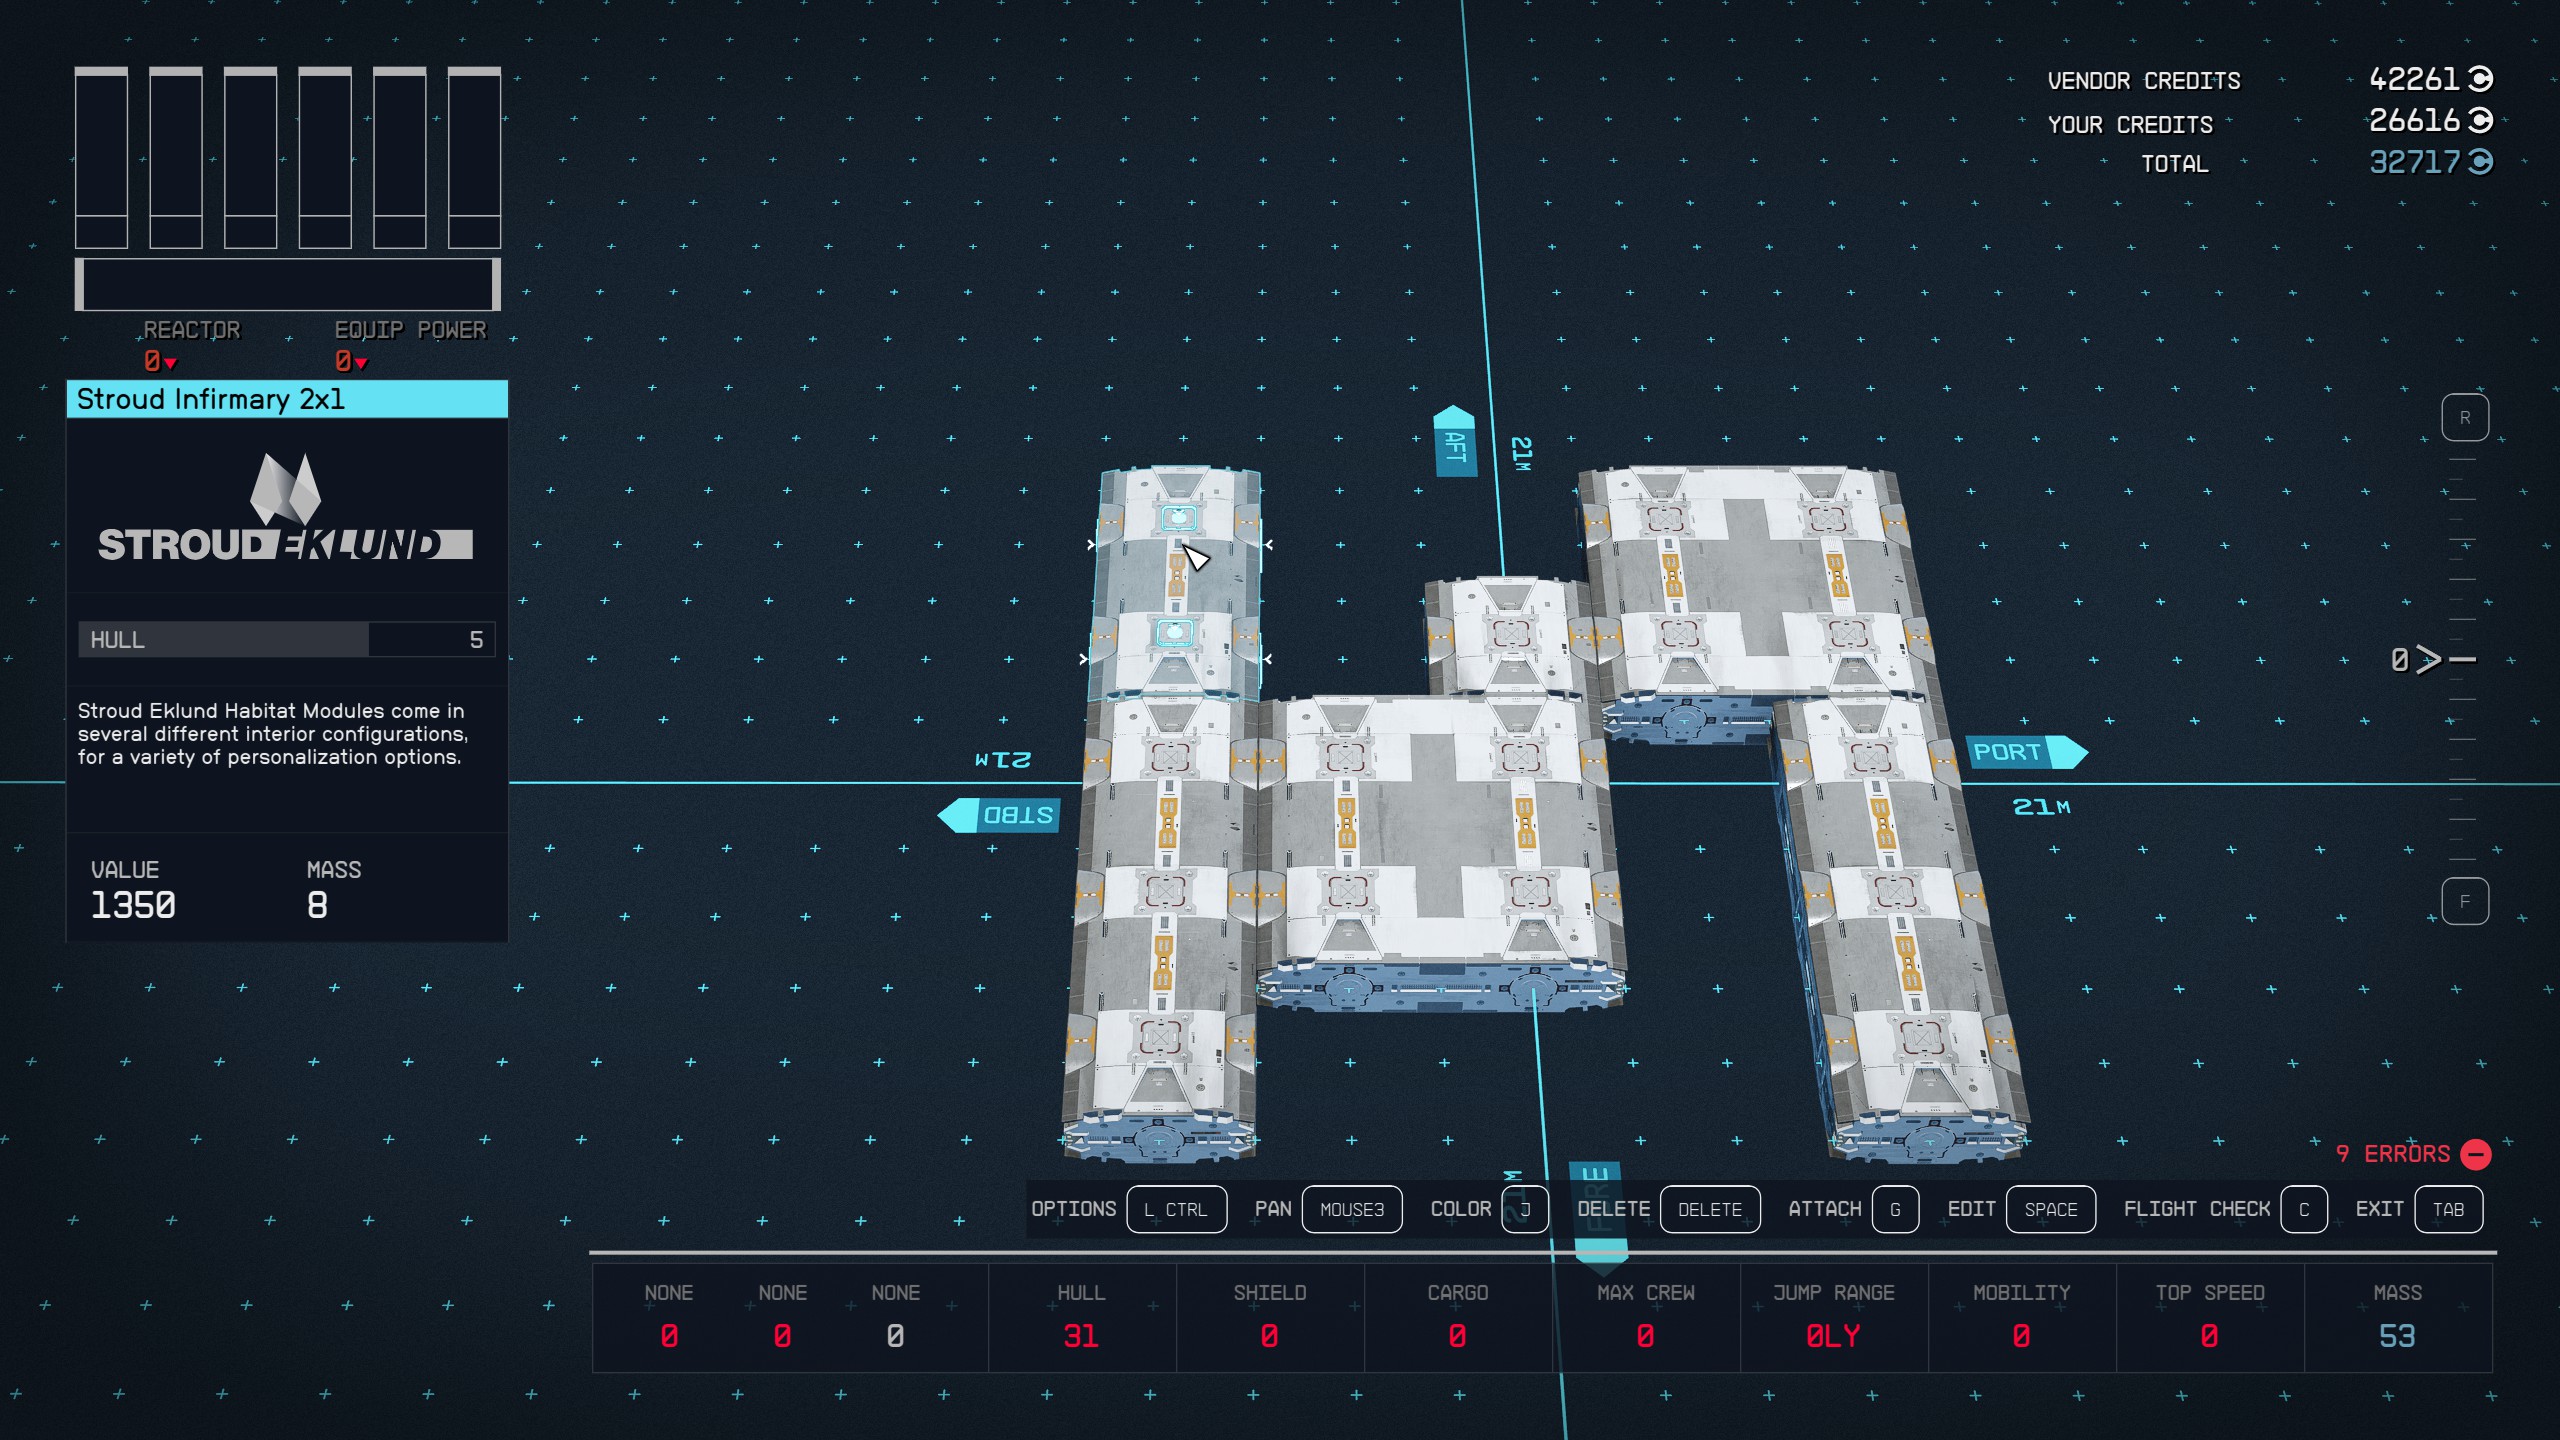
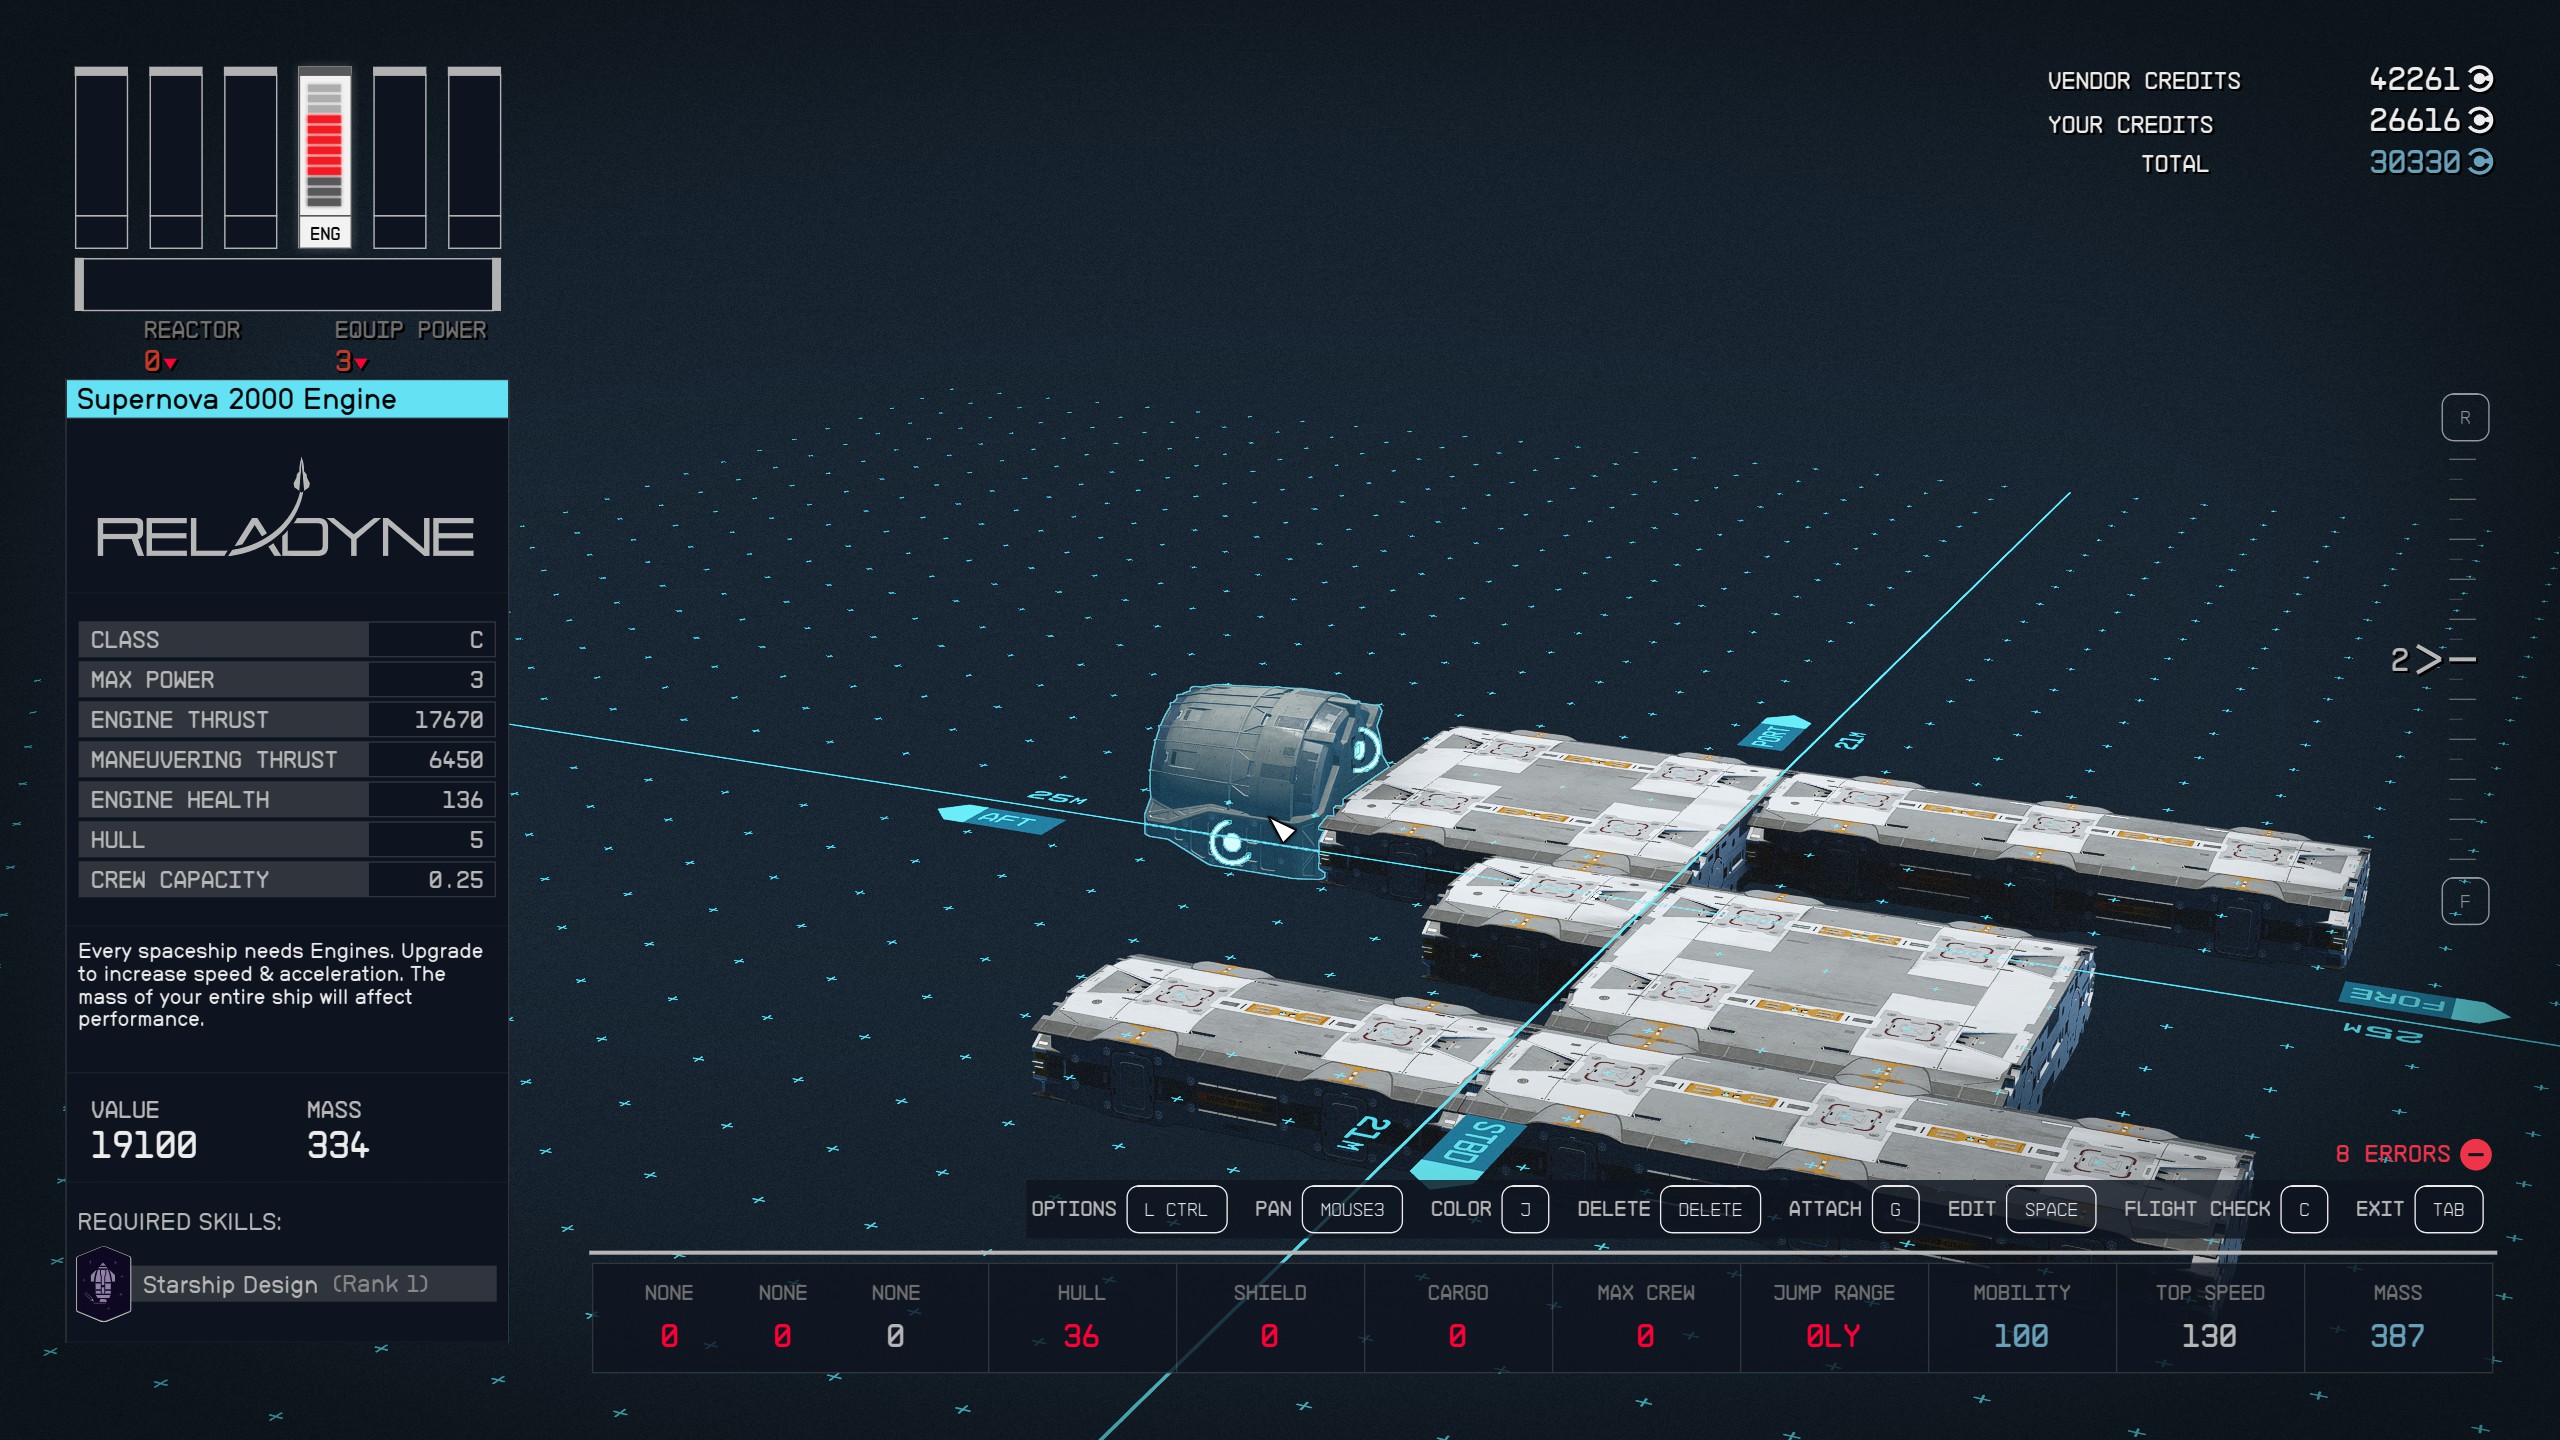
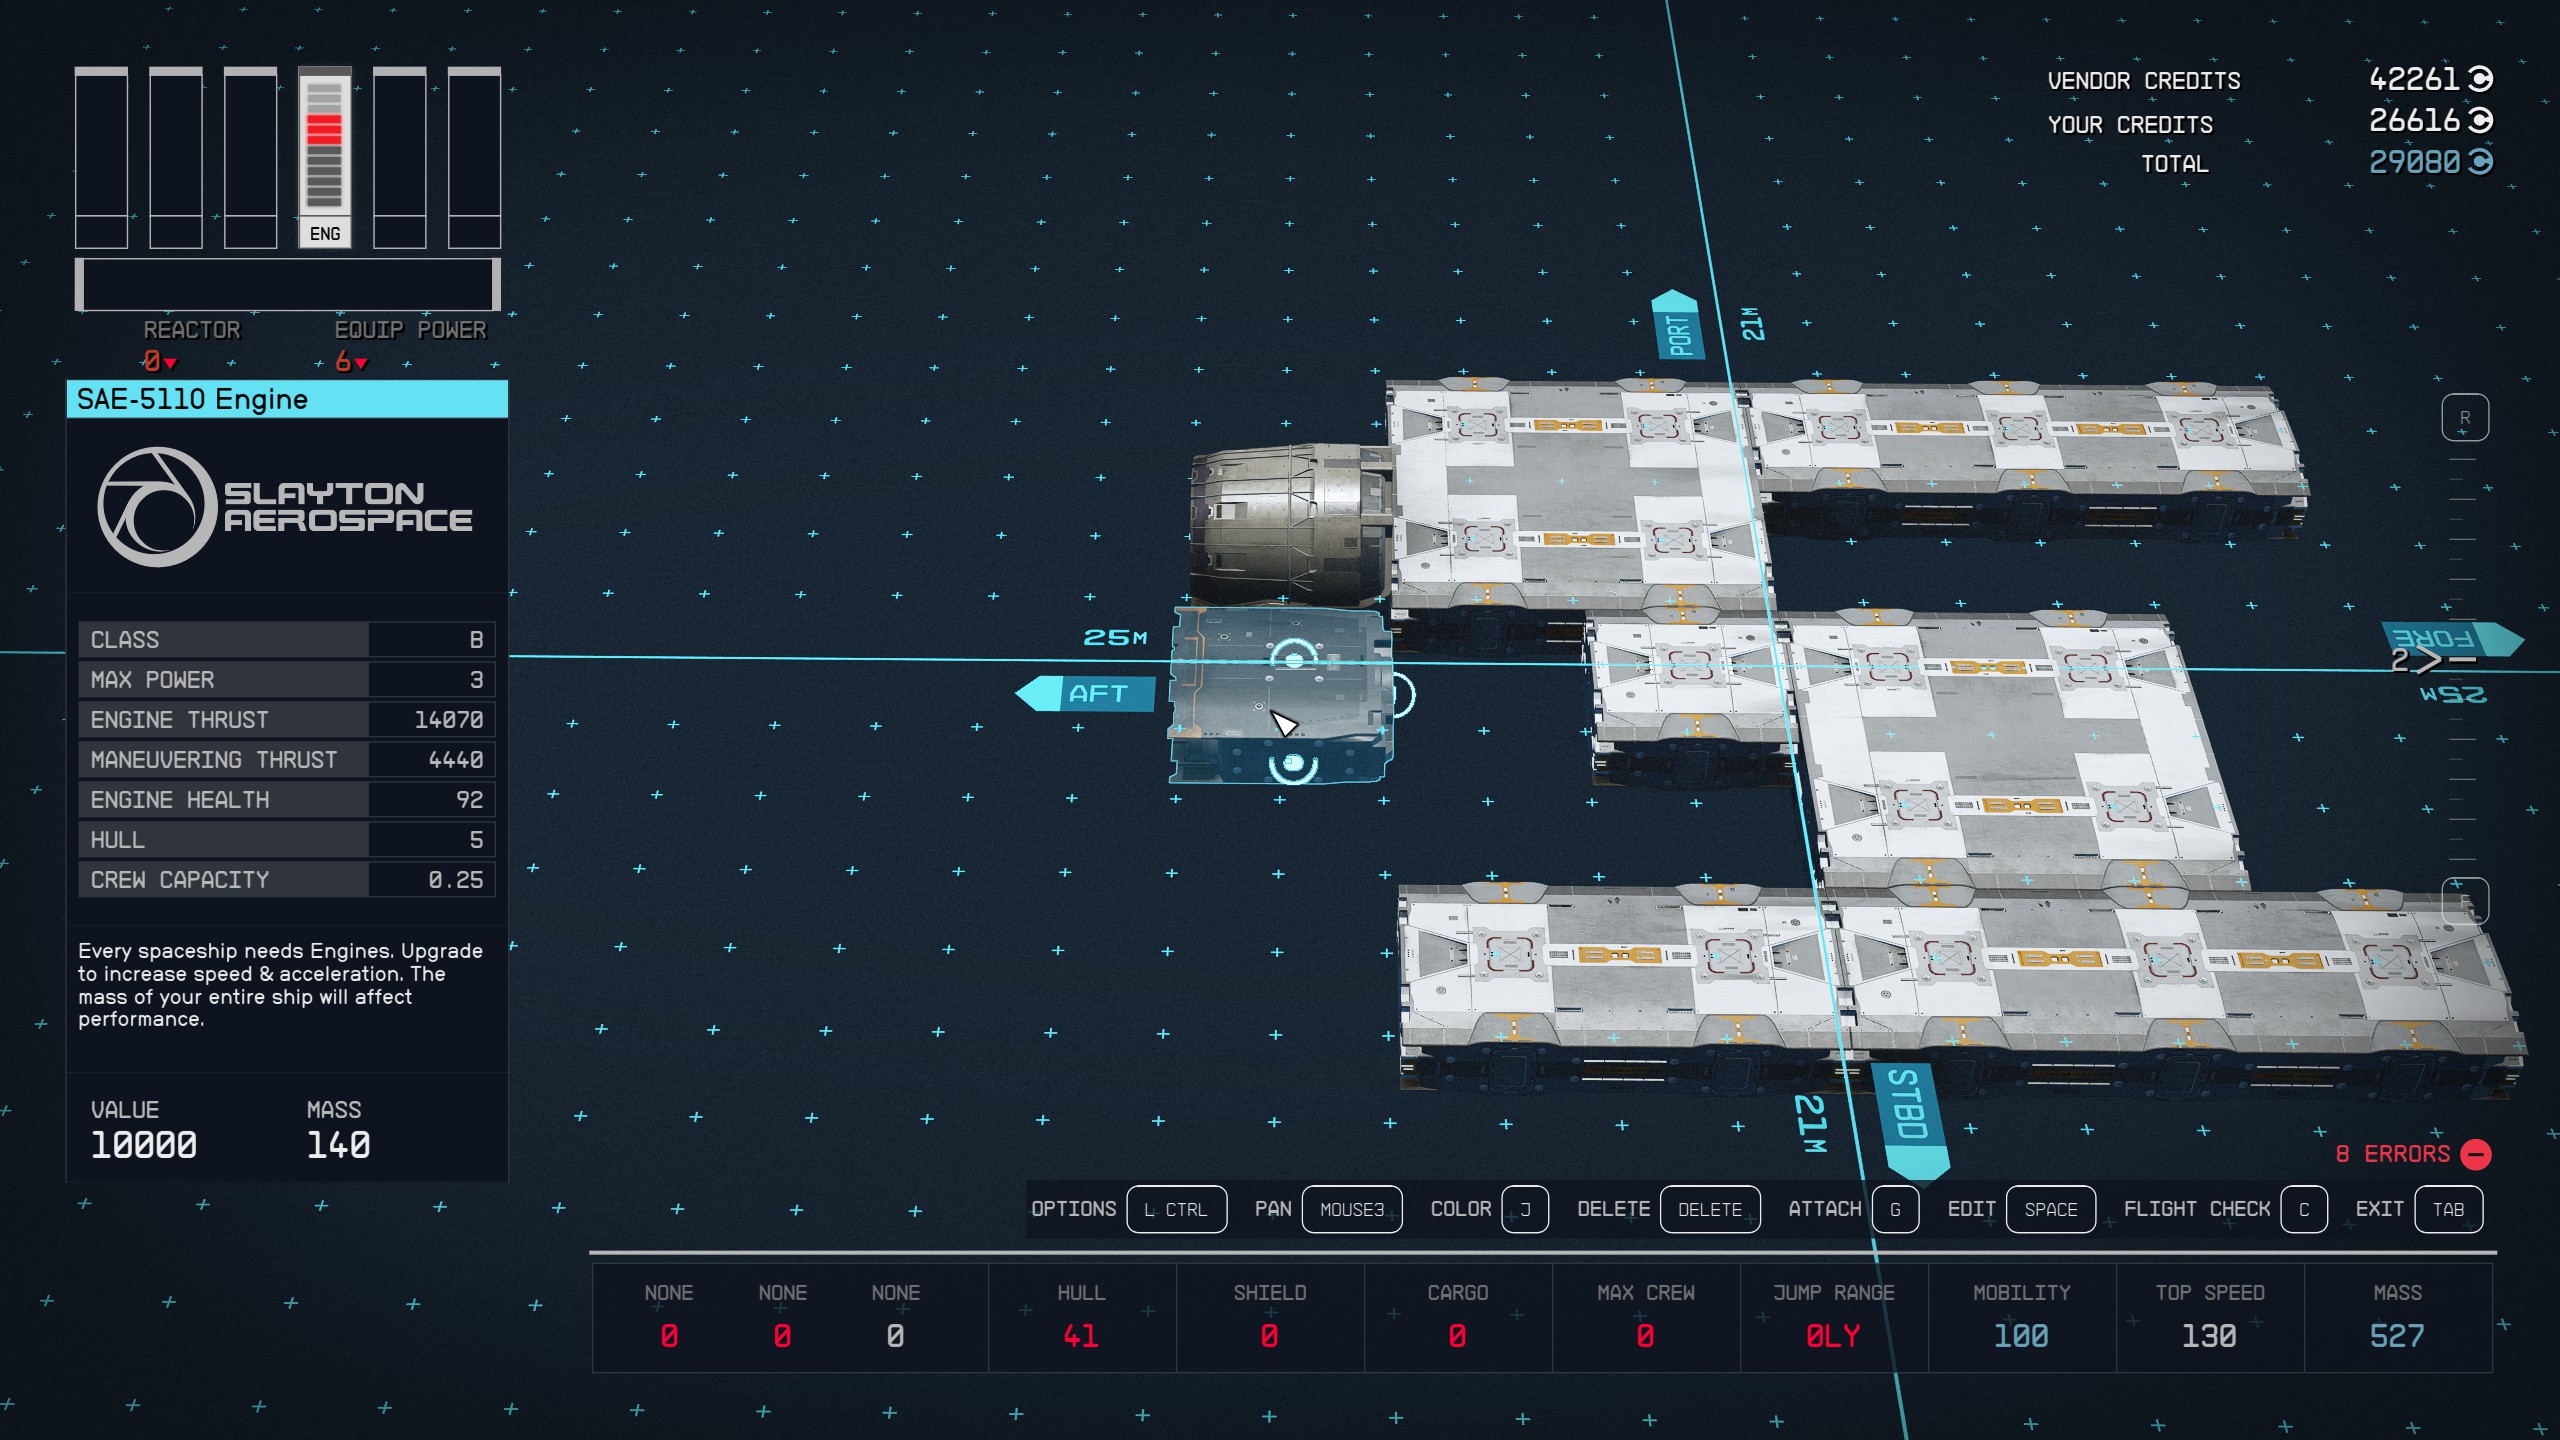

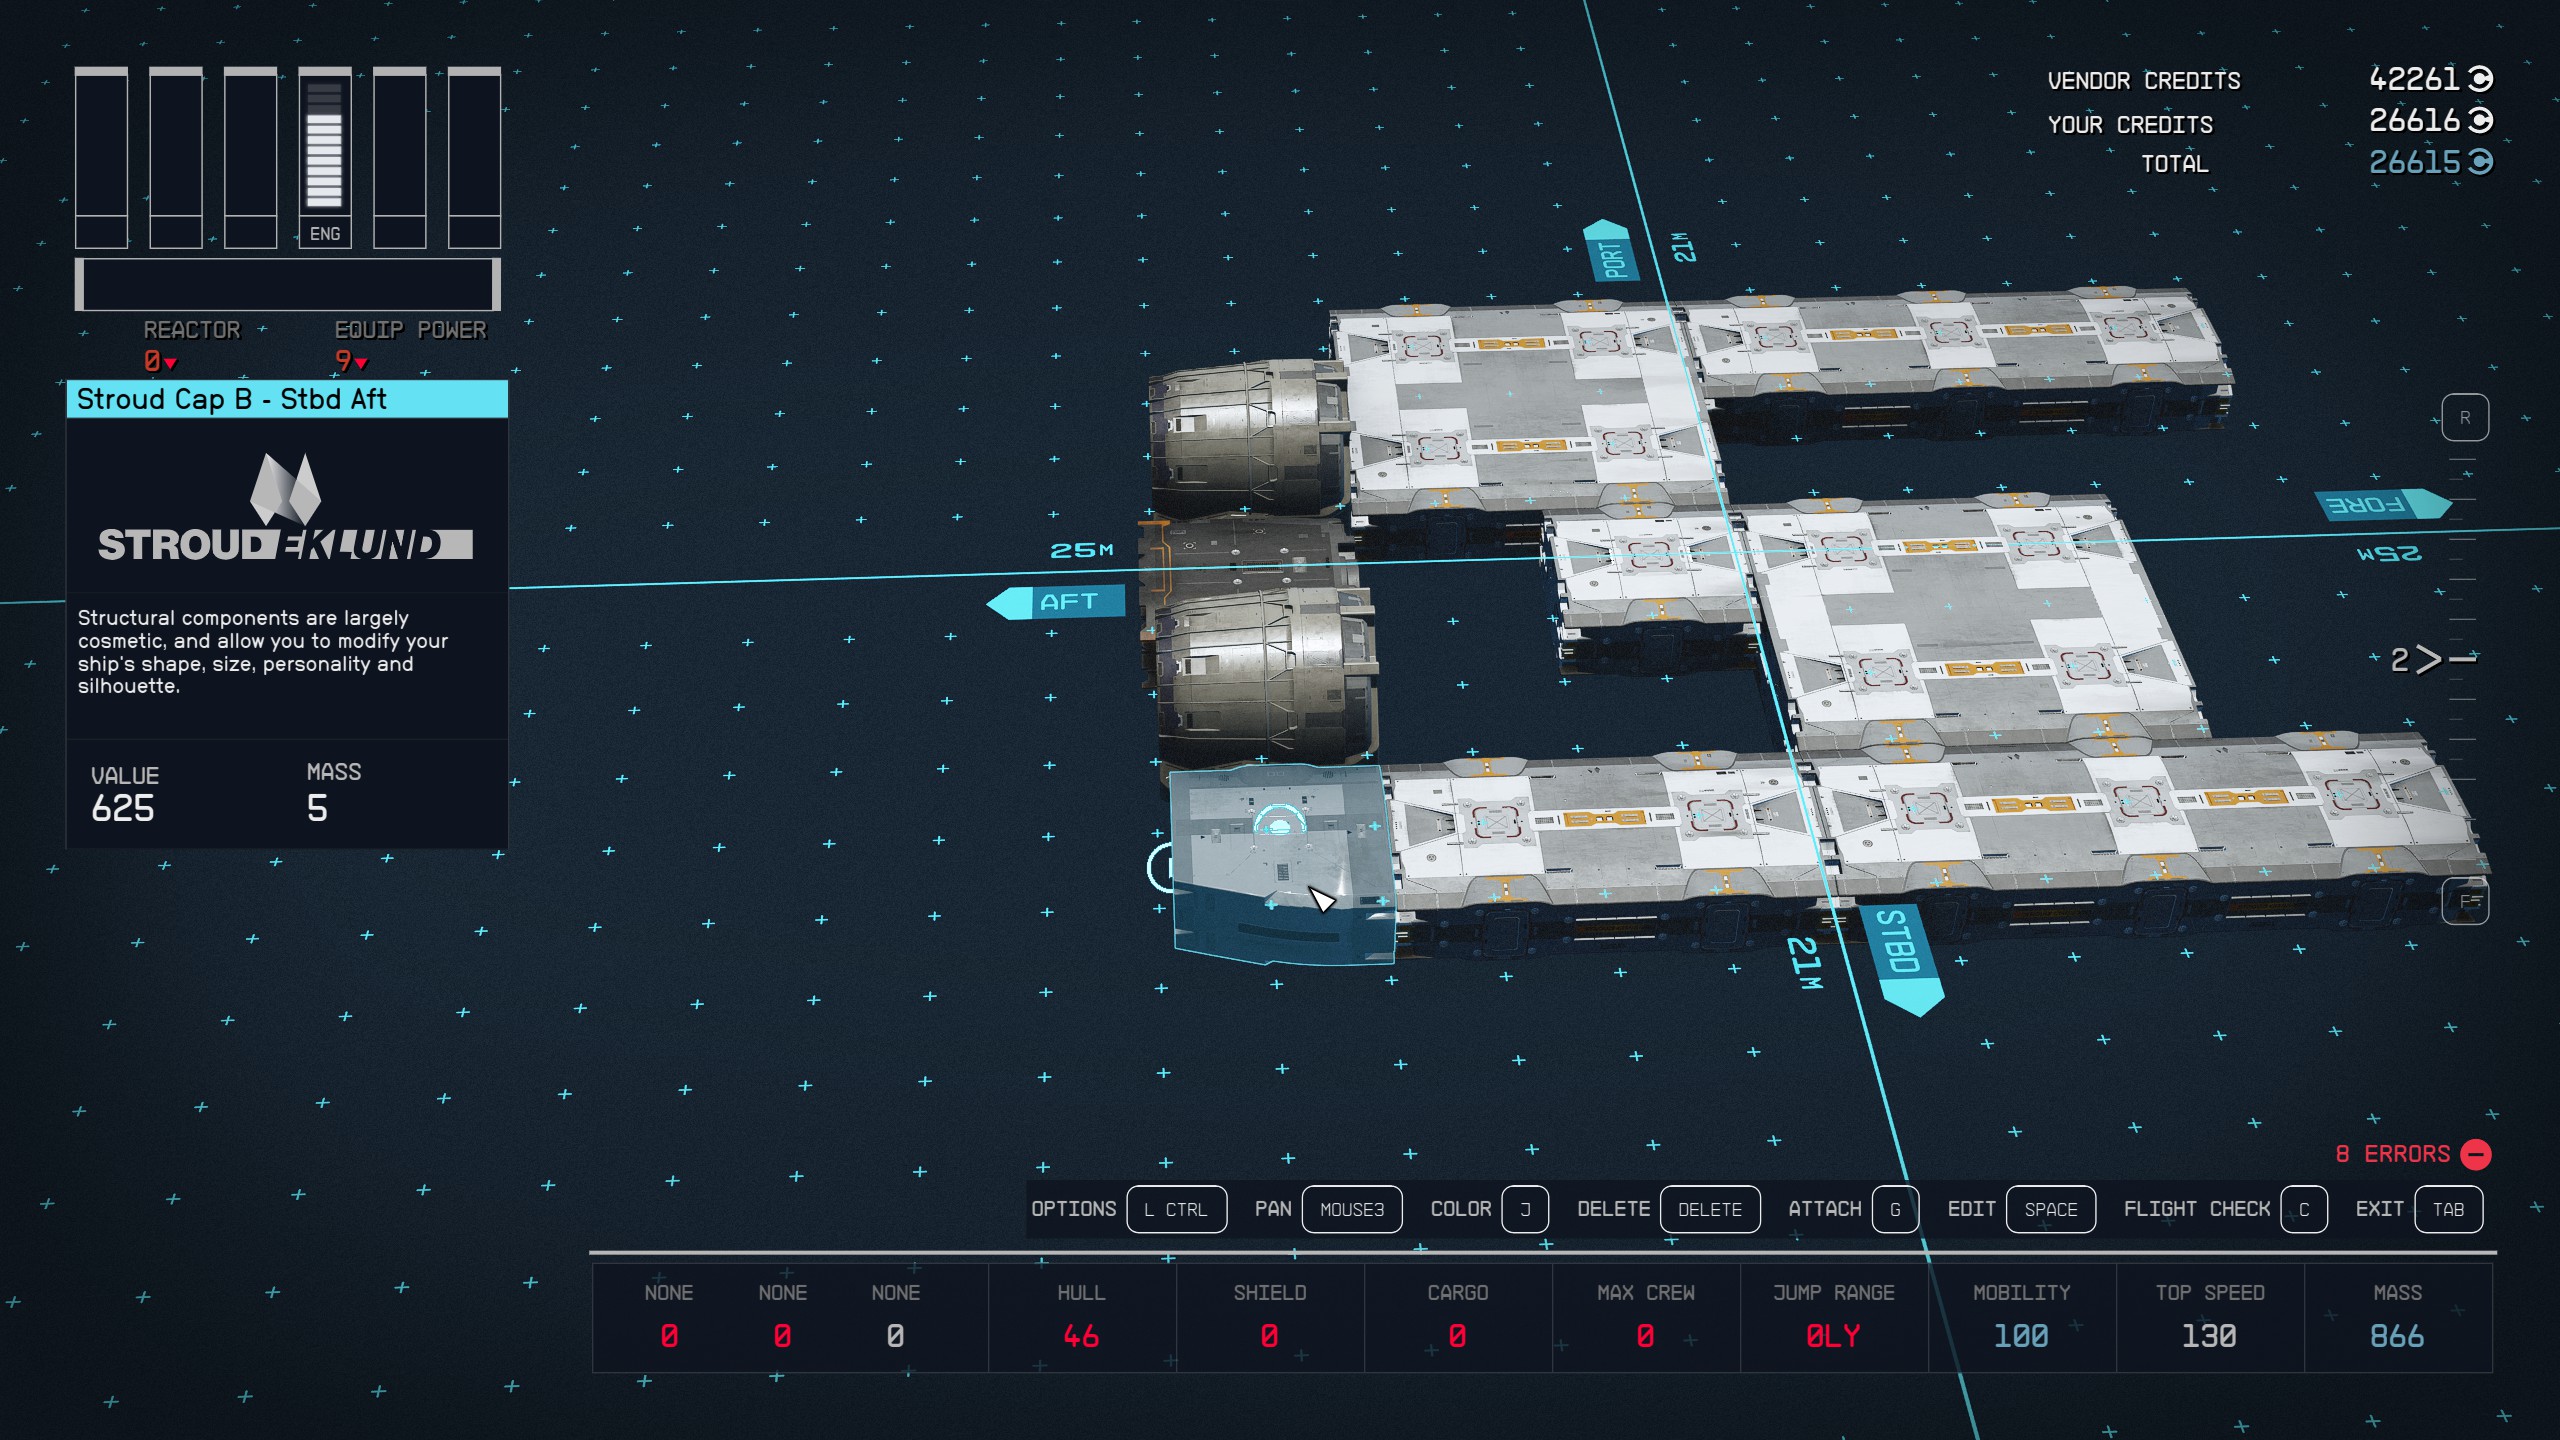
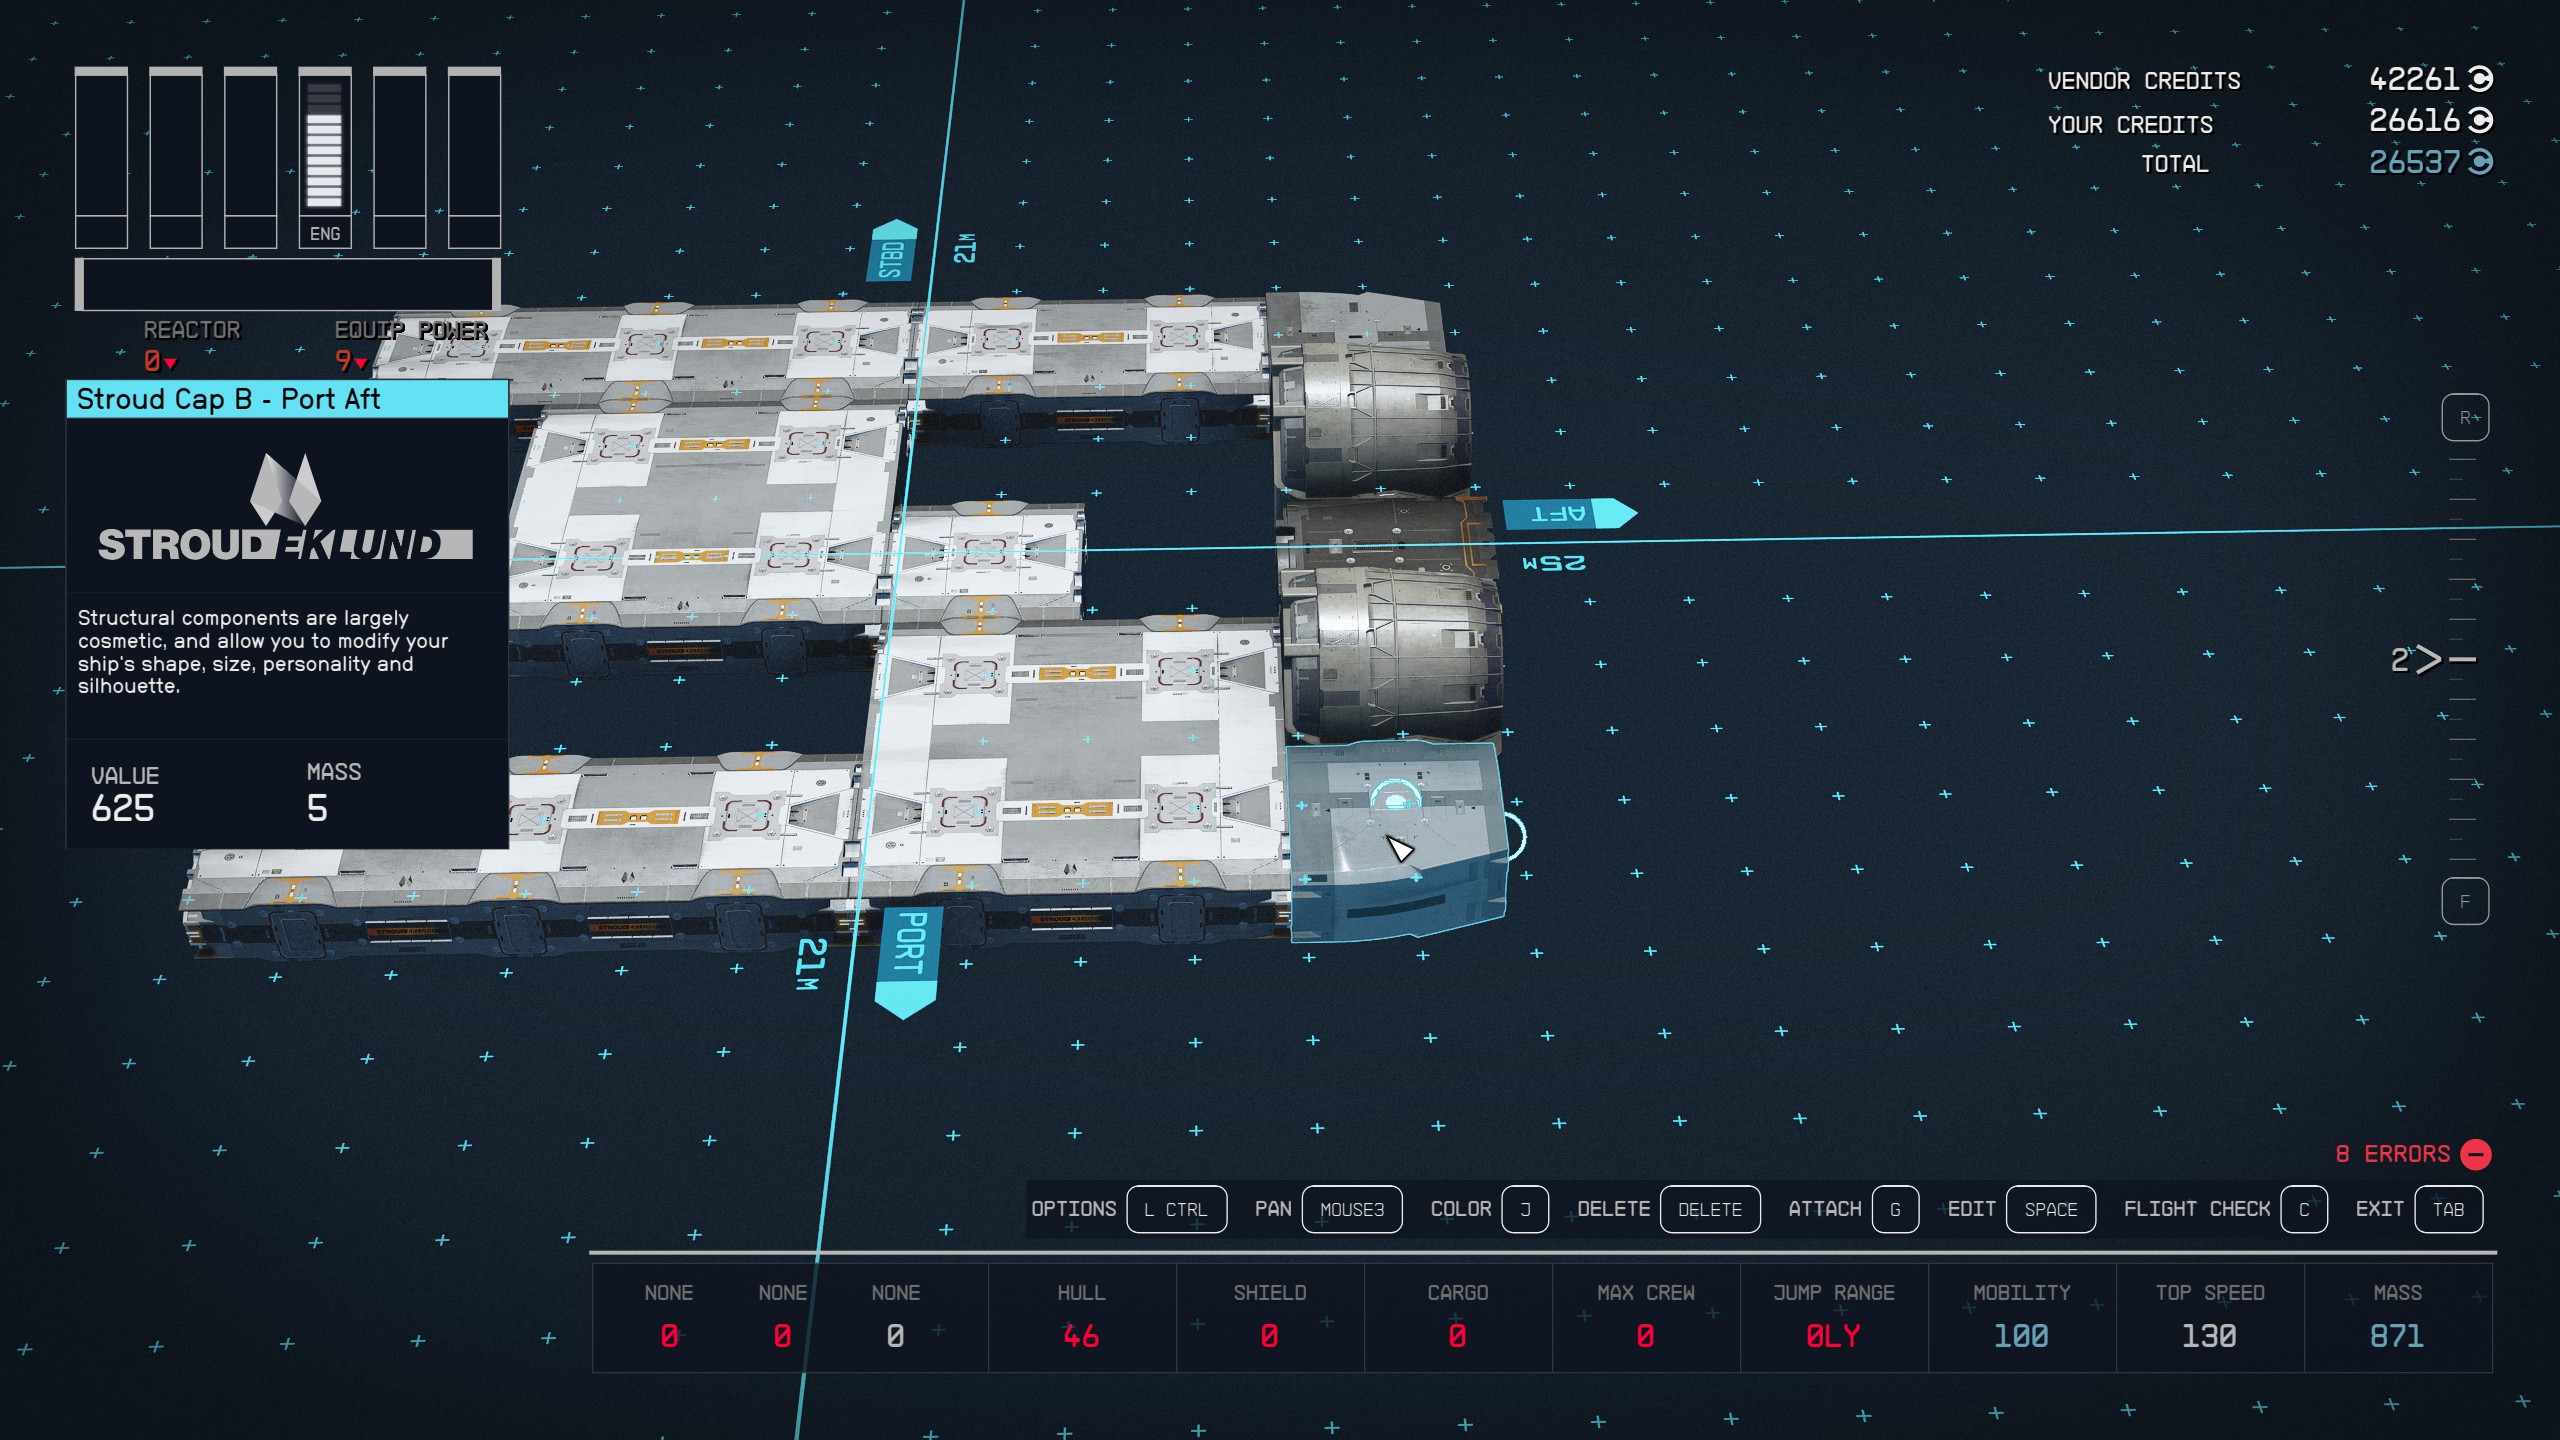
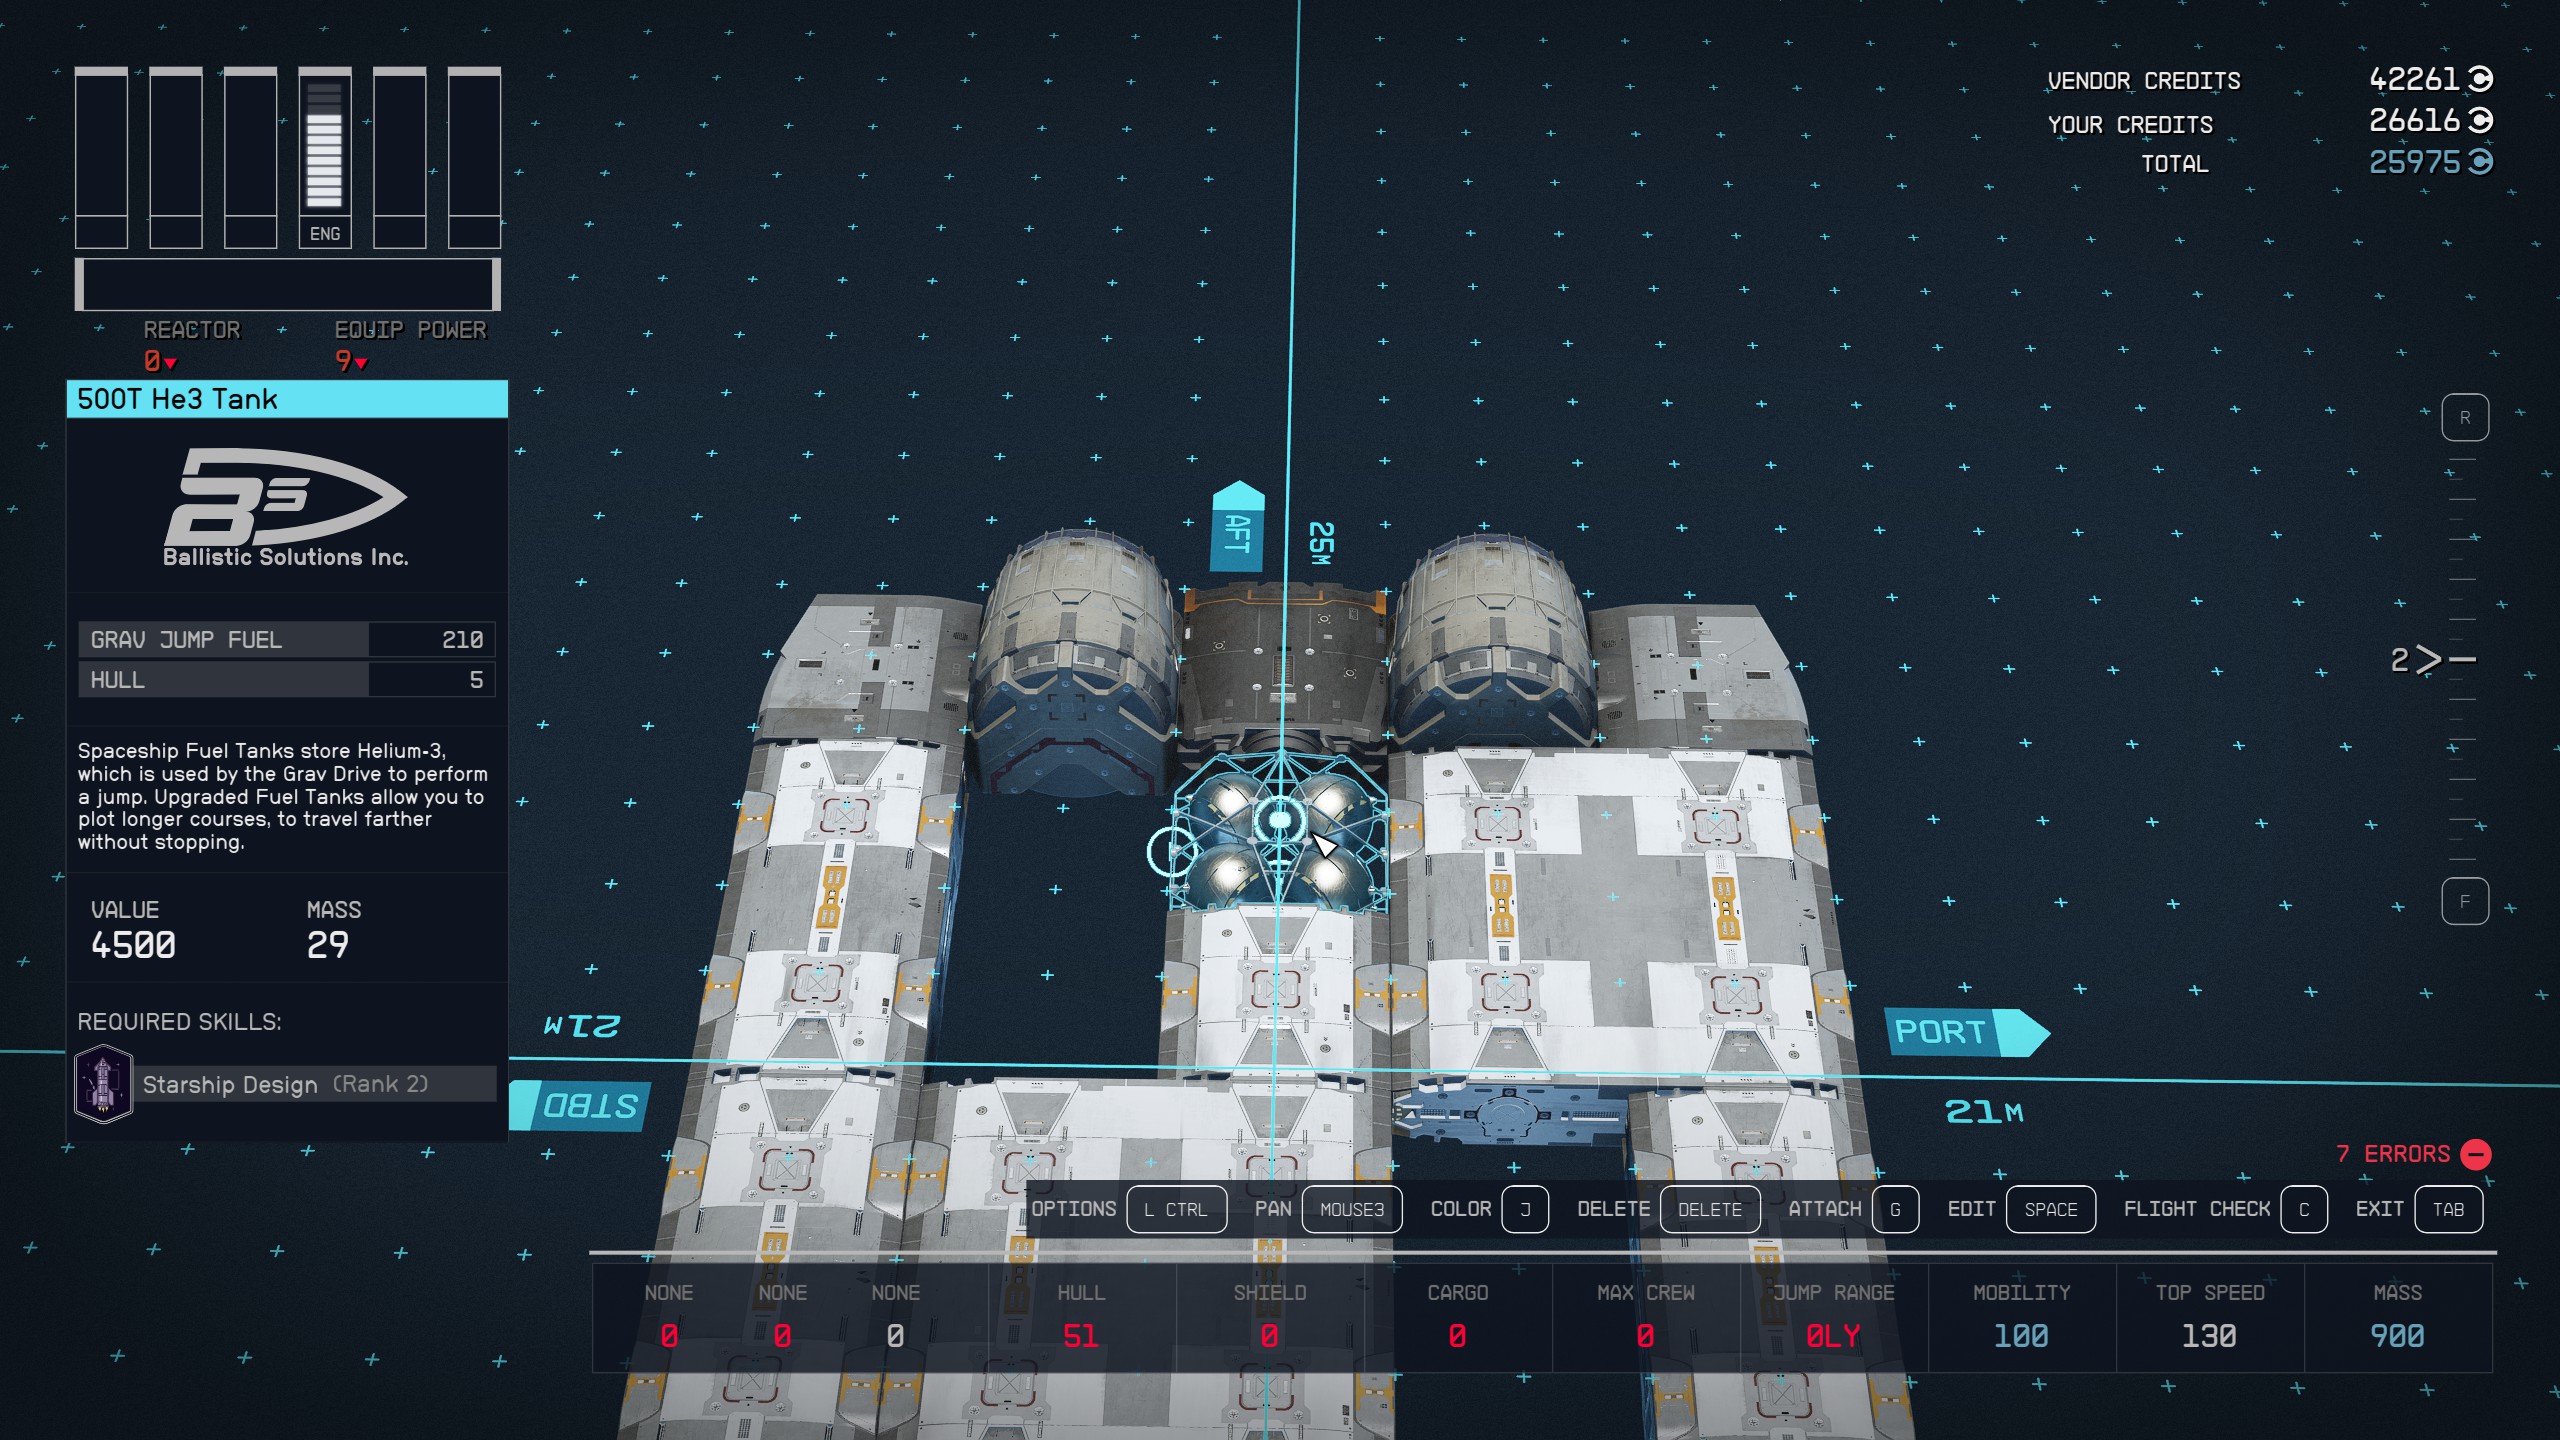

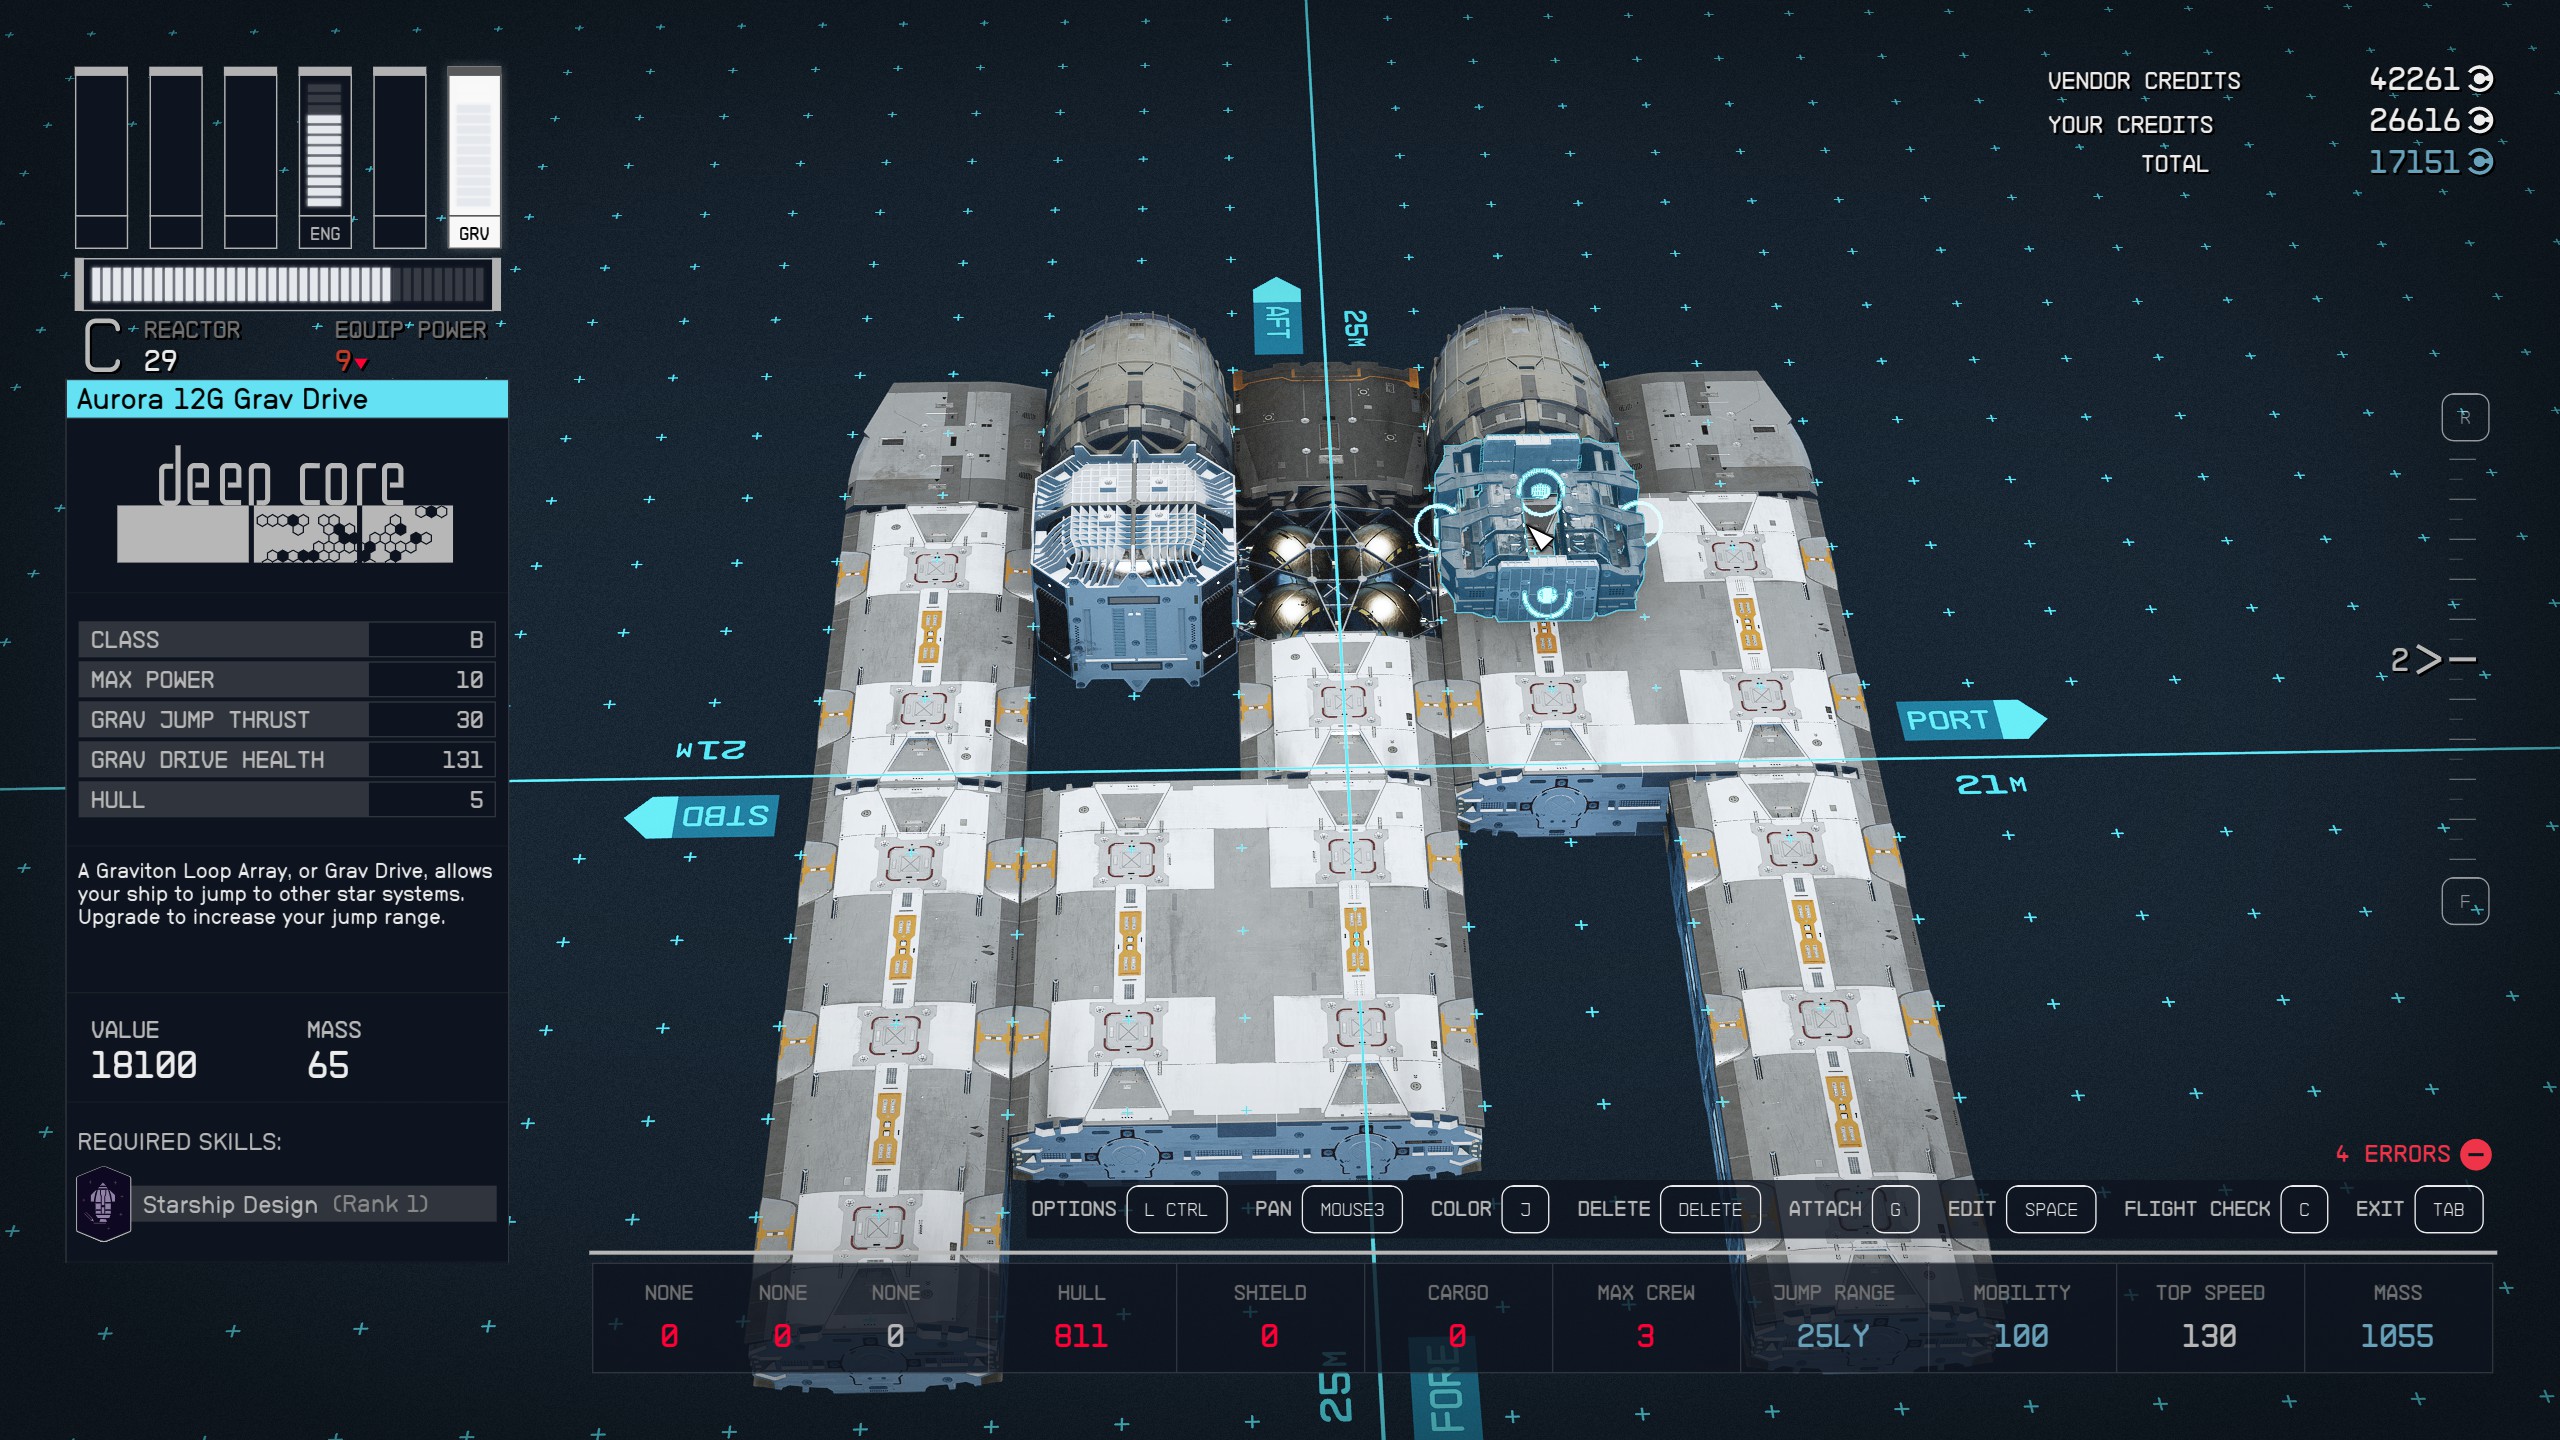
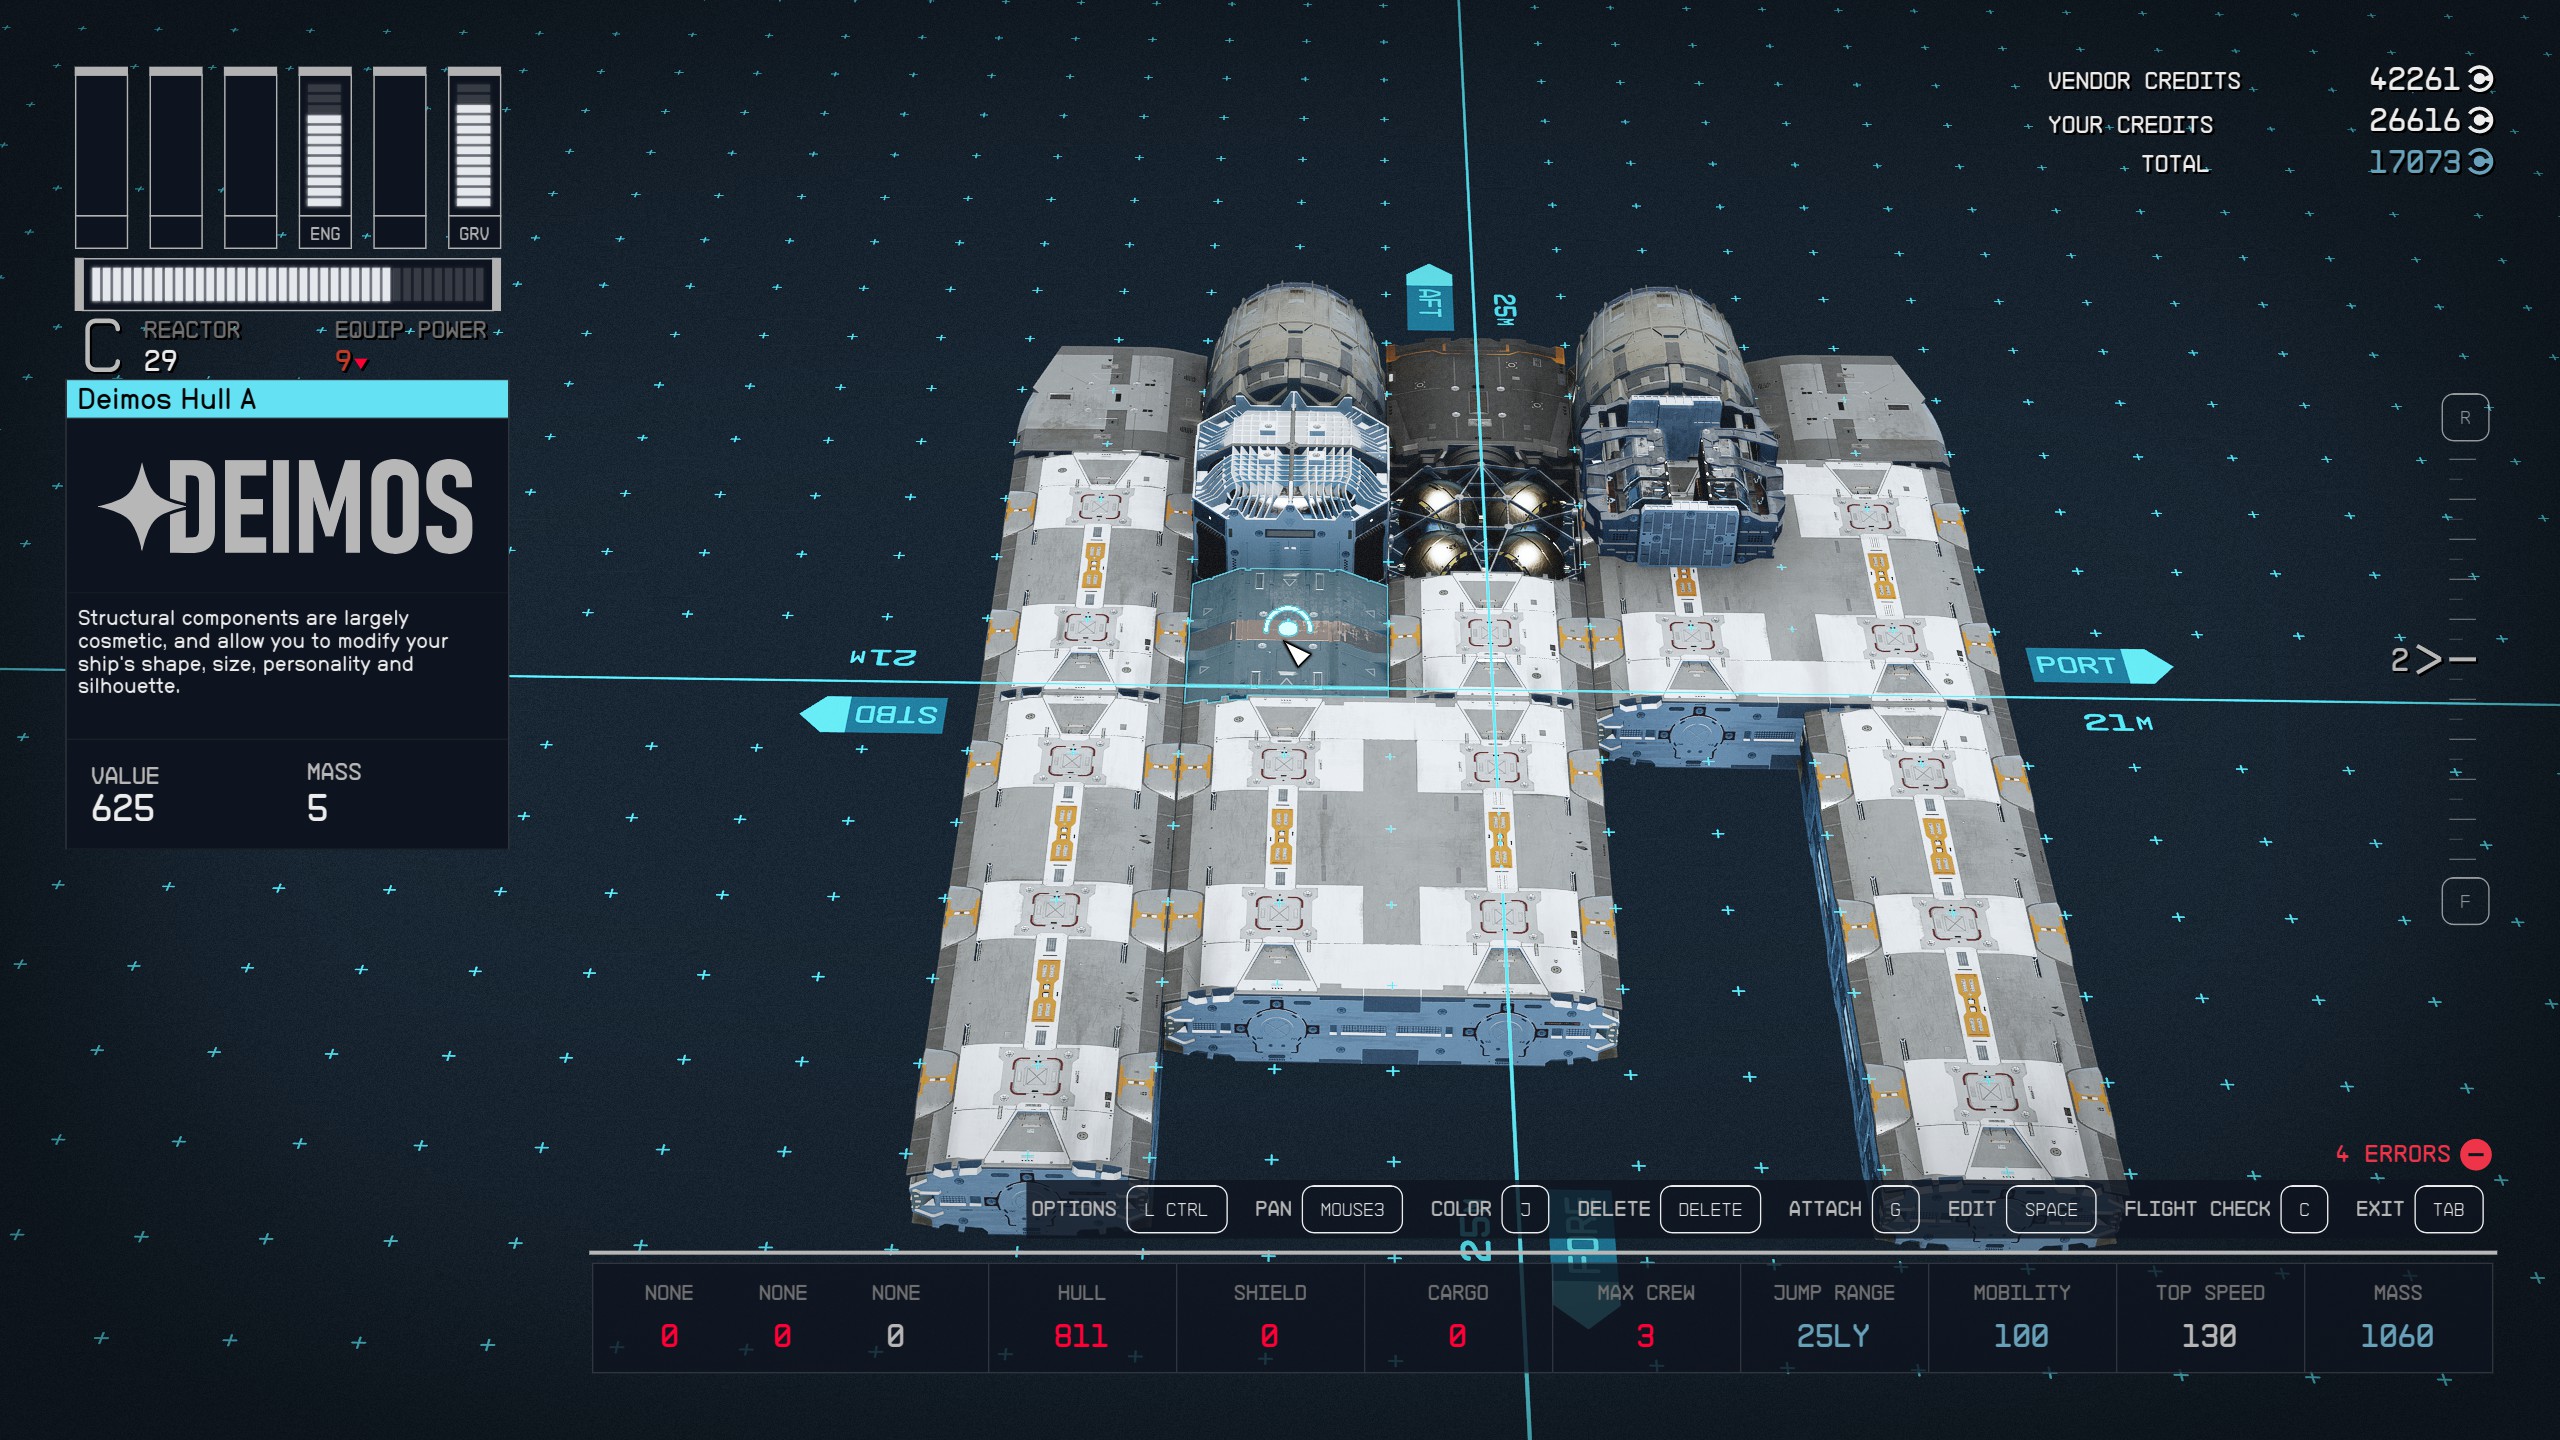
Part Two: The Central Body and Cockpit
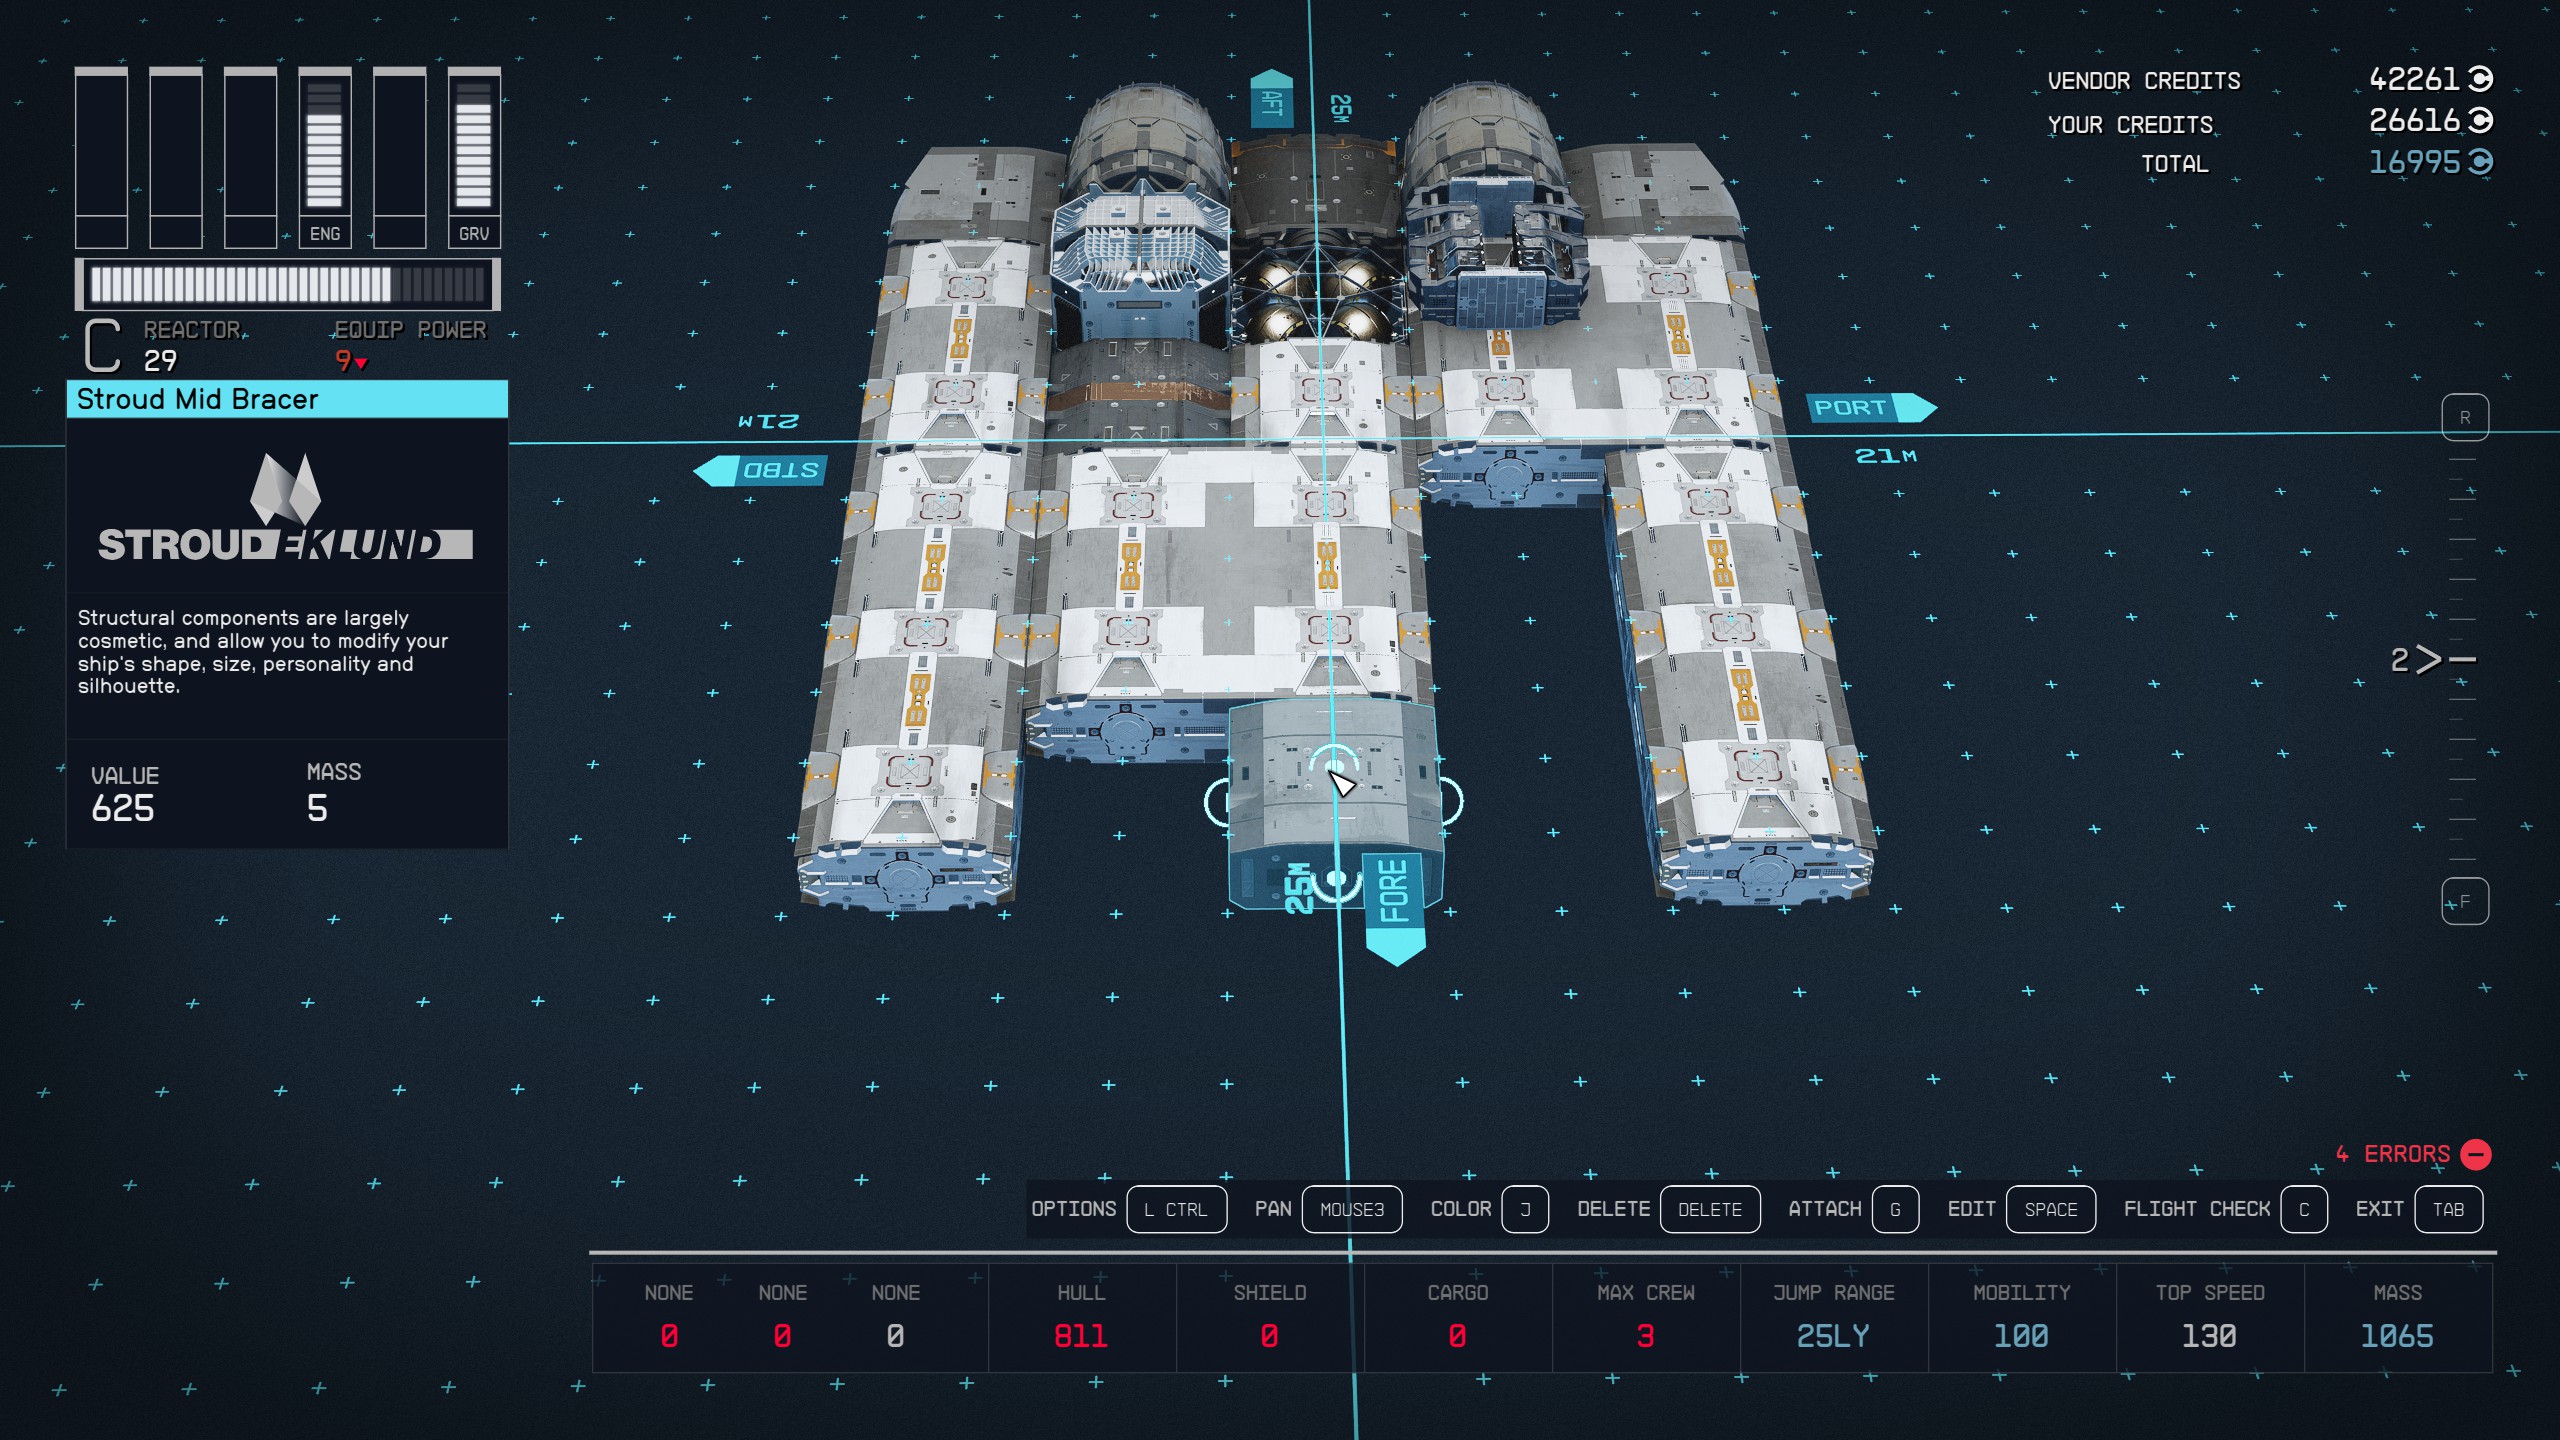
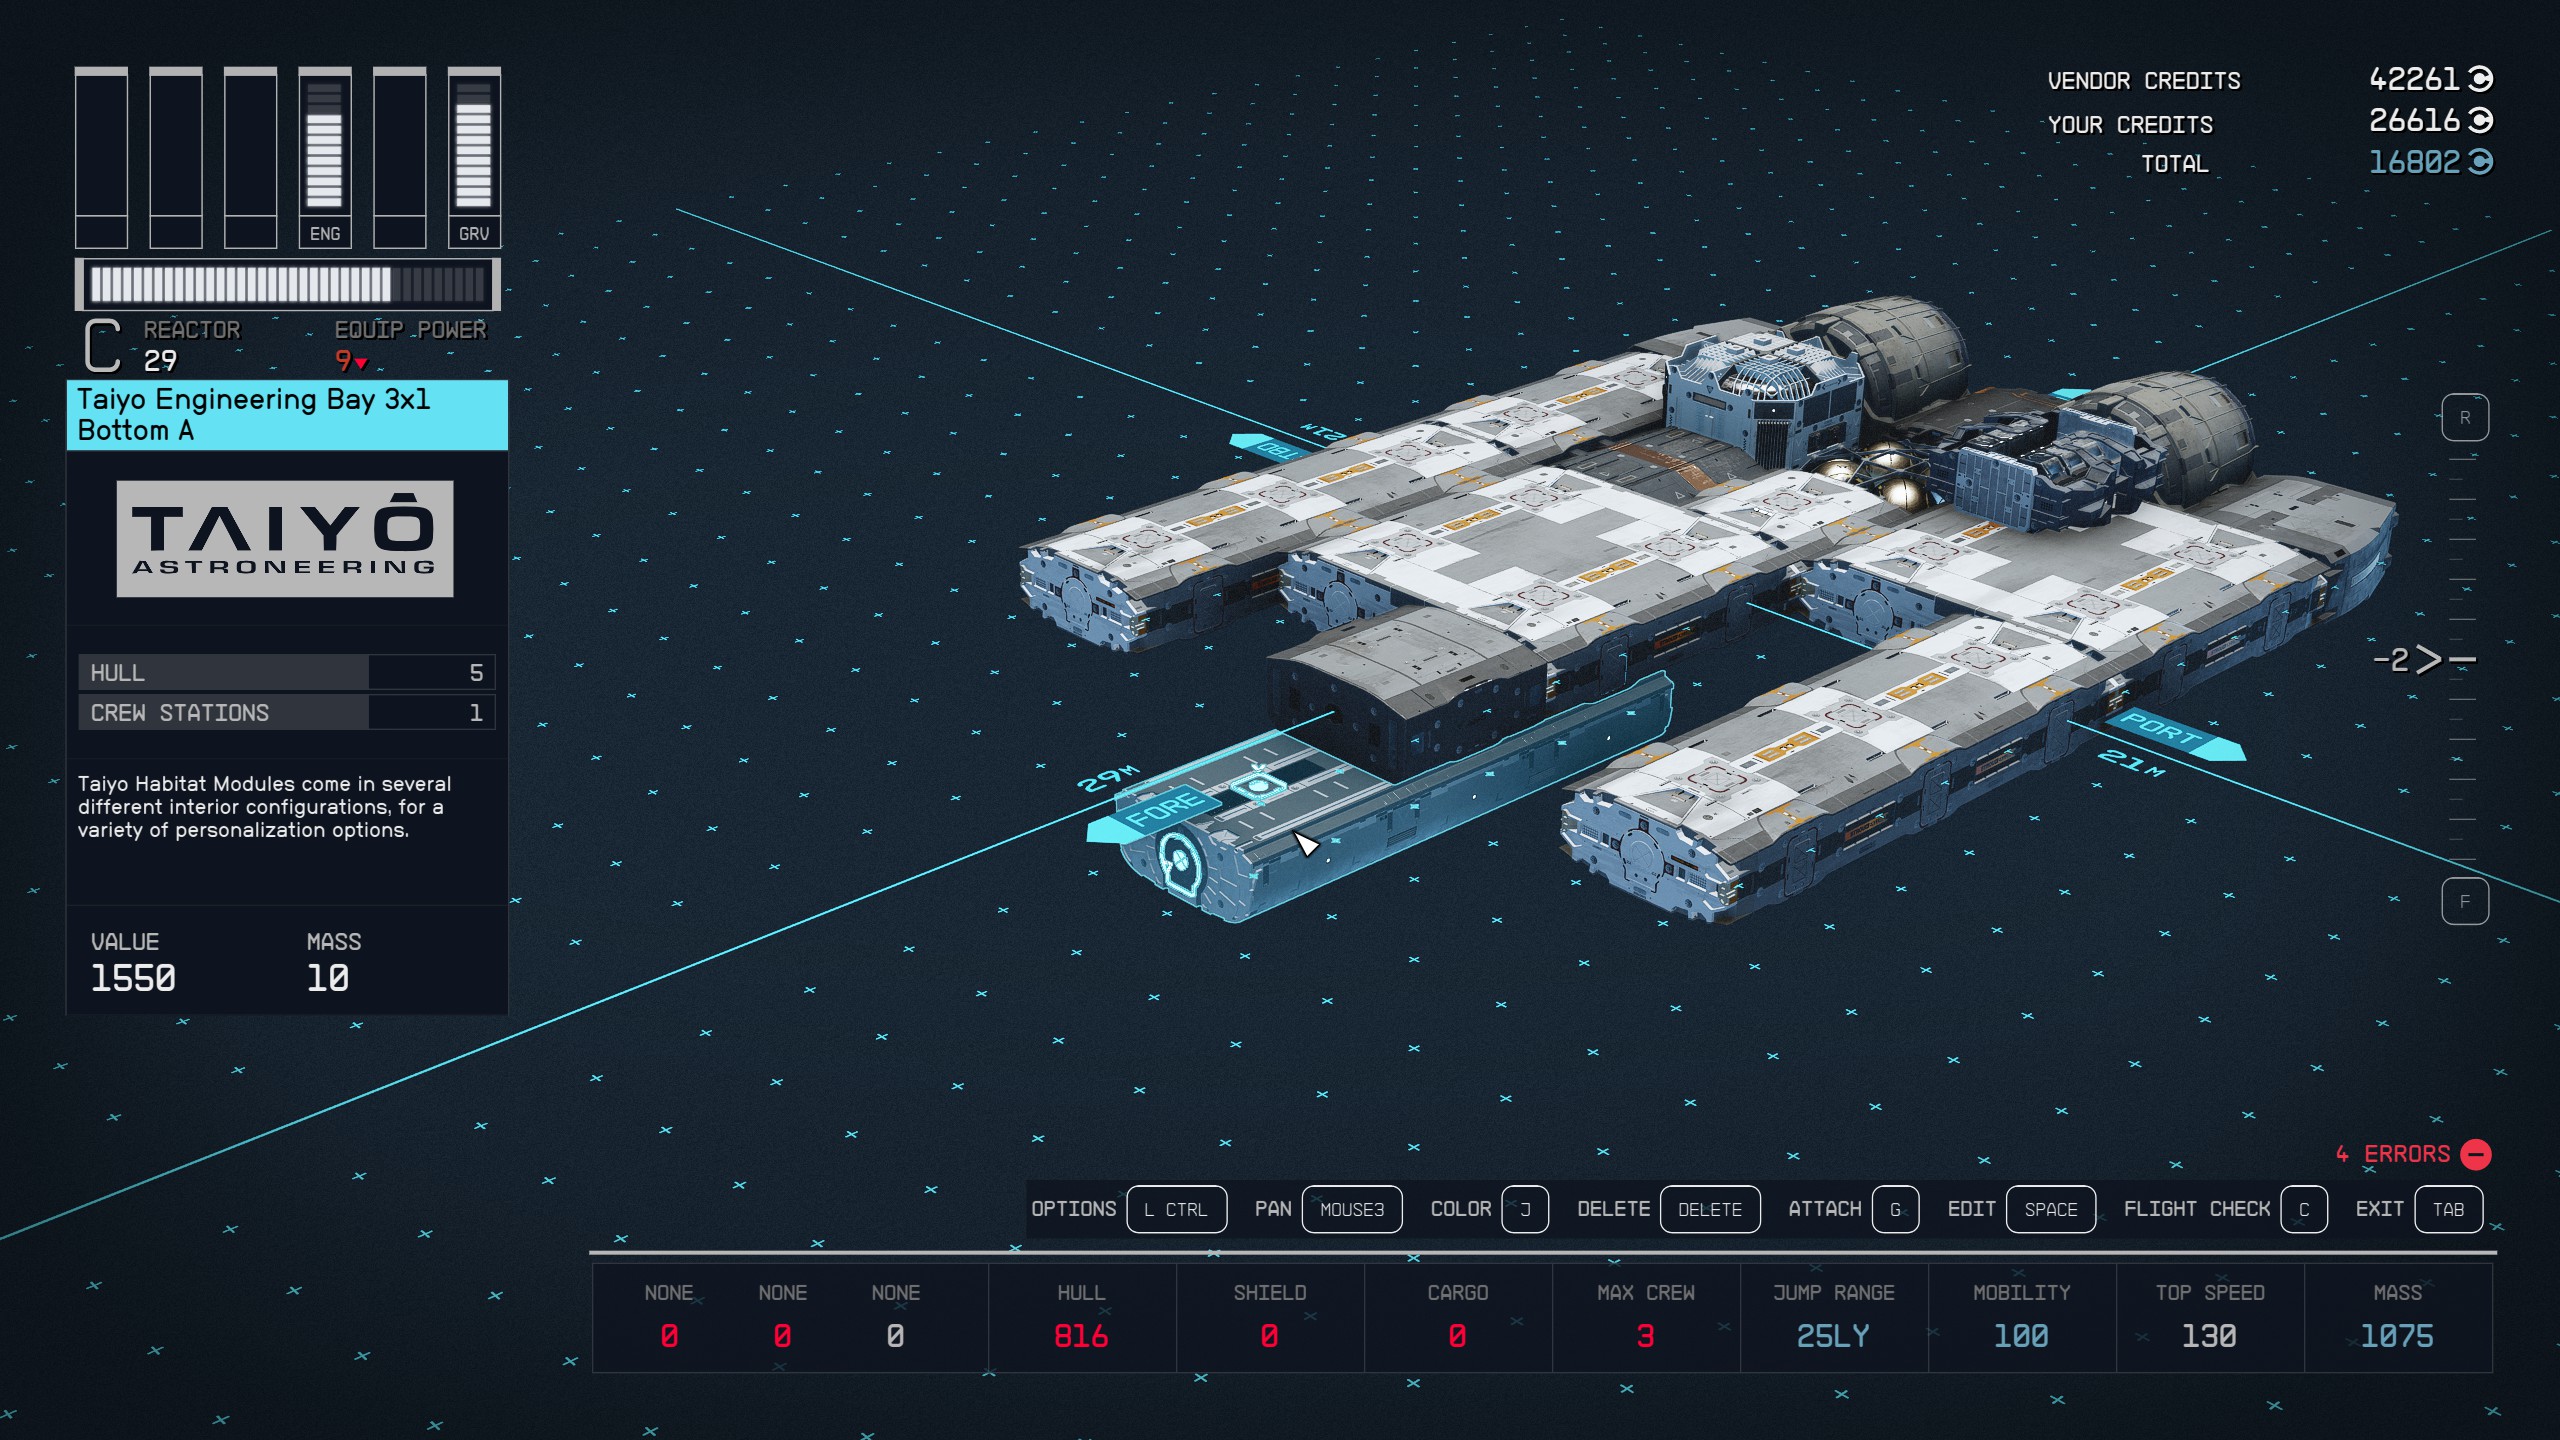
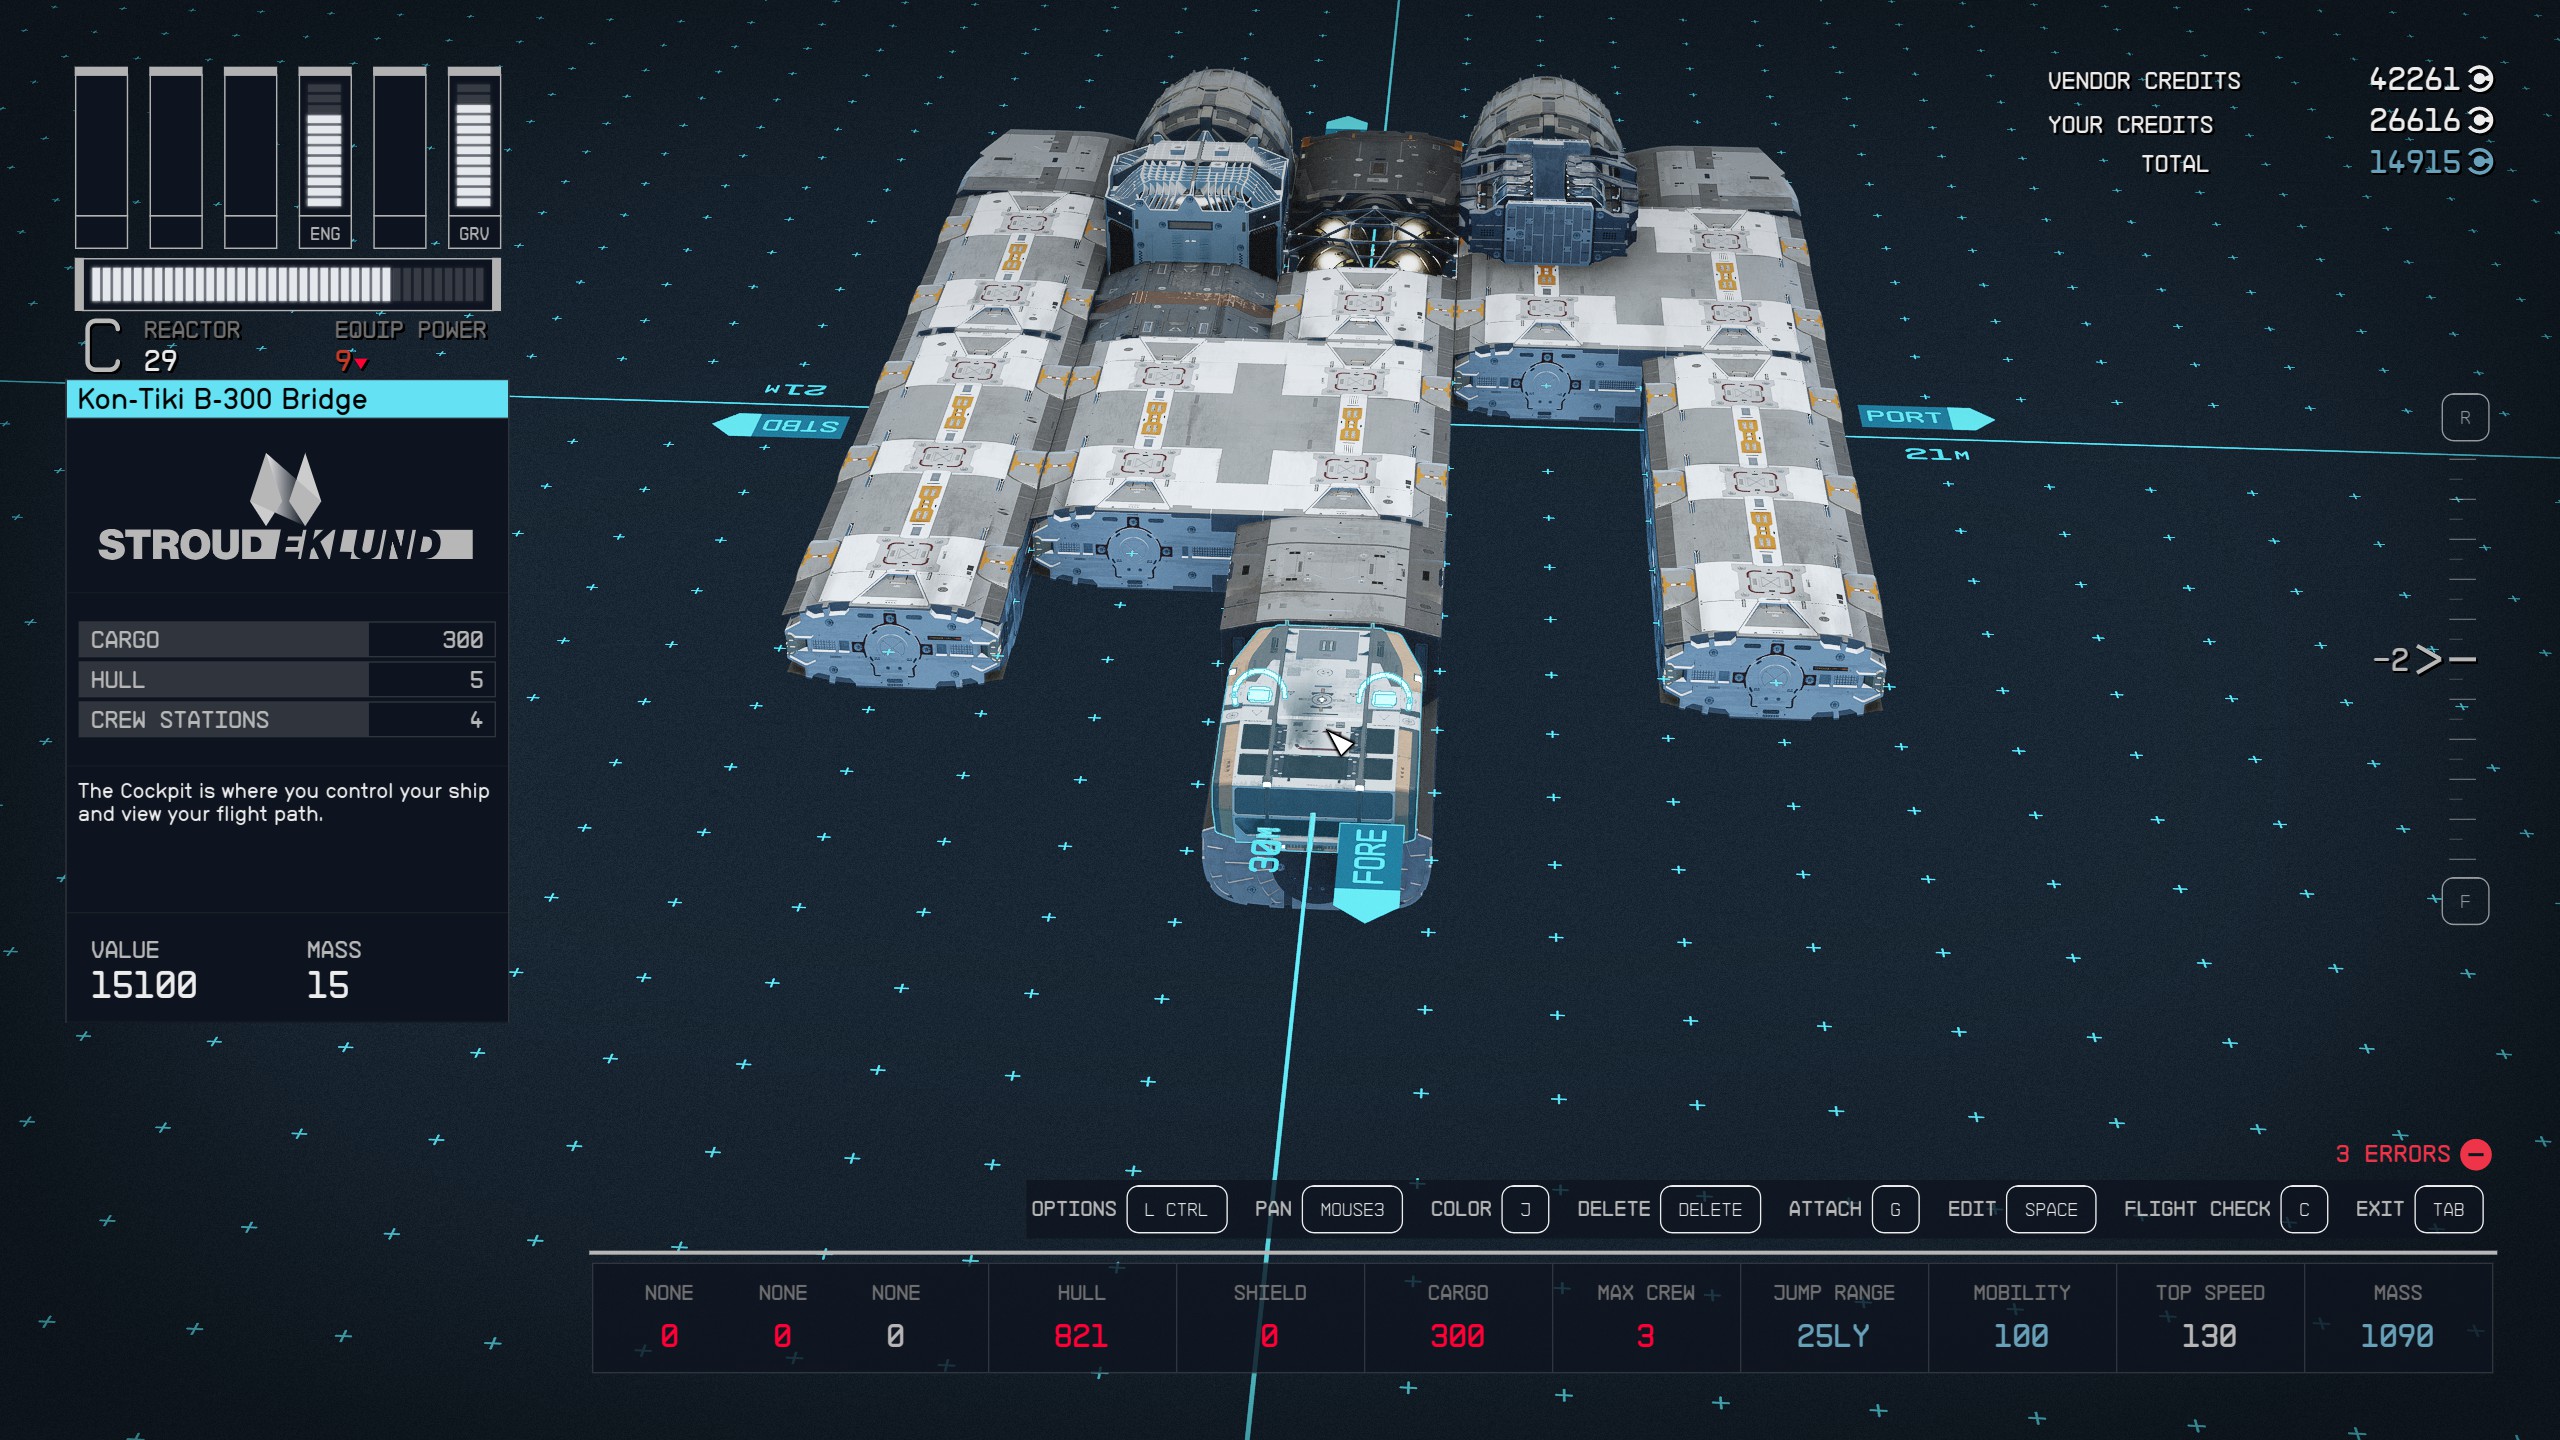
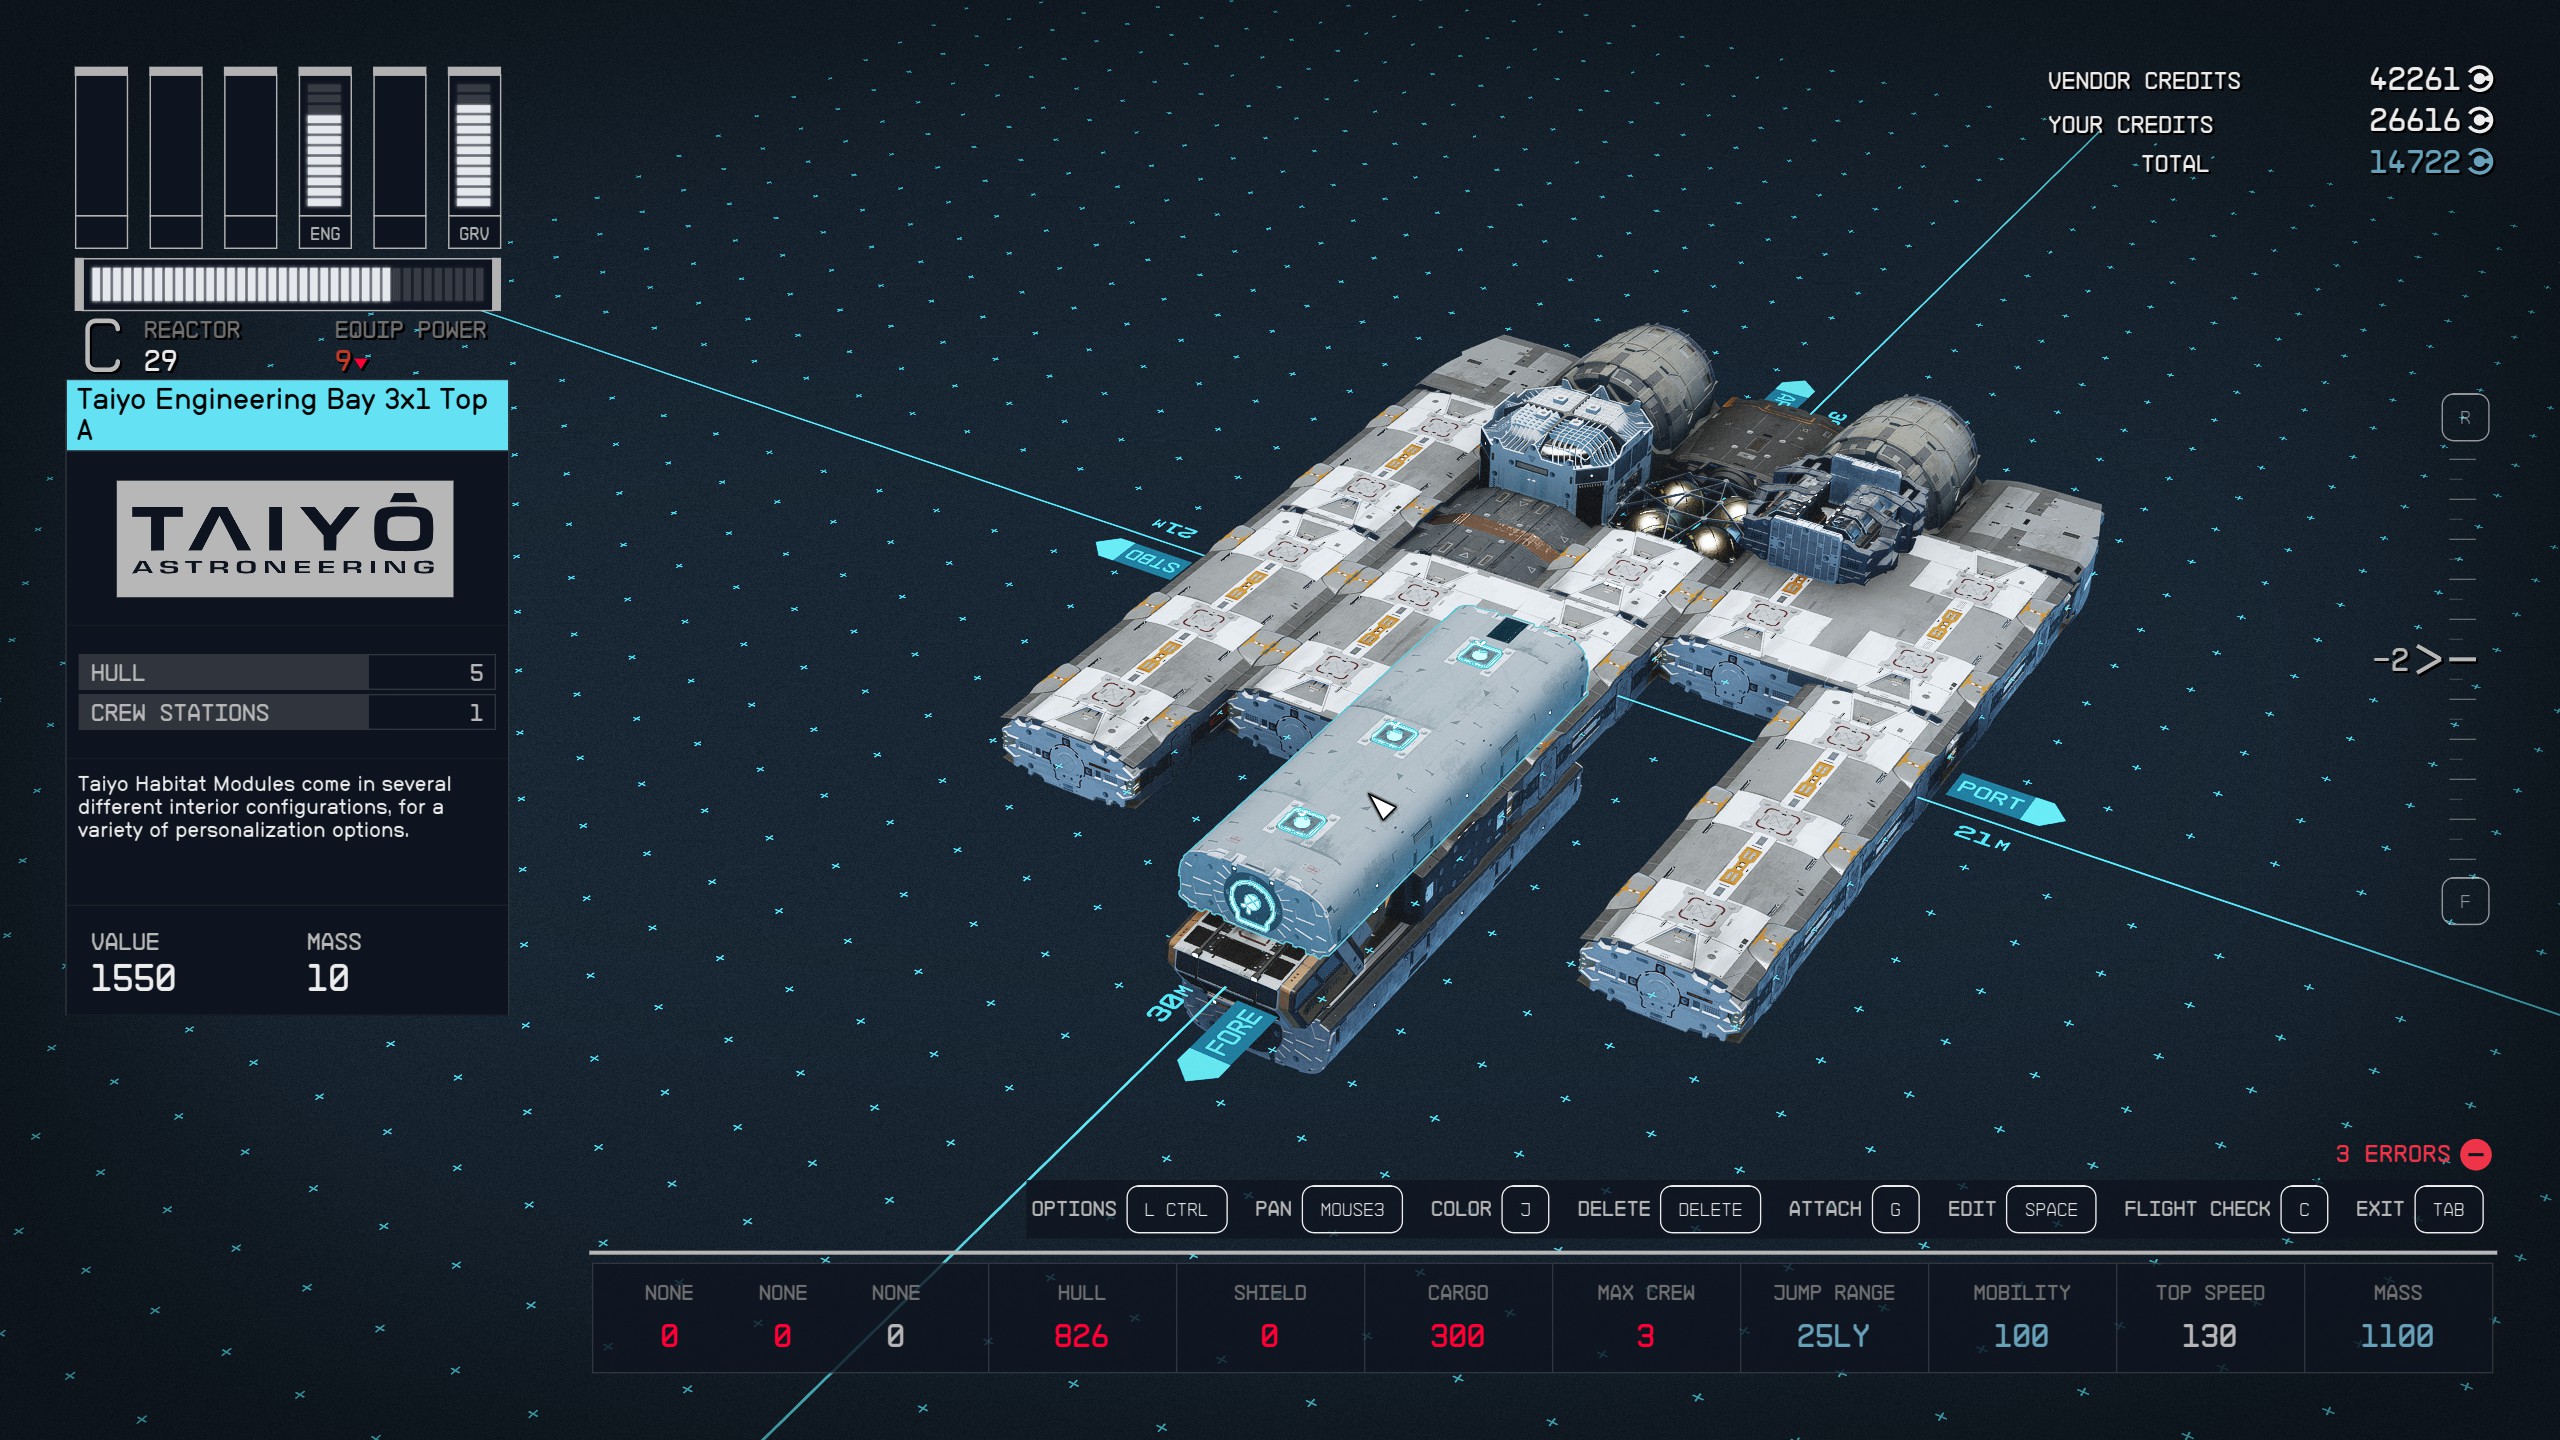
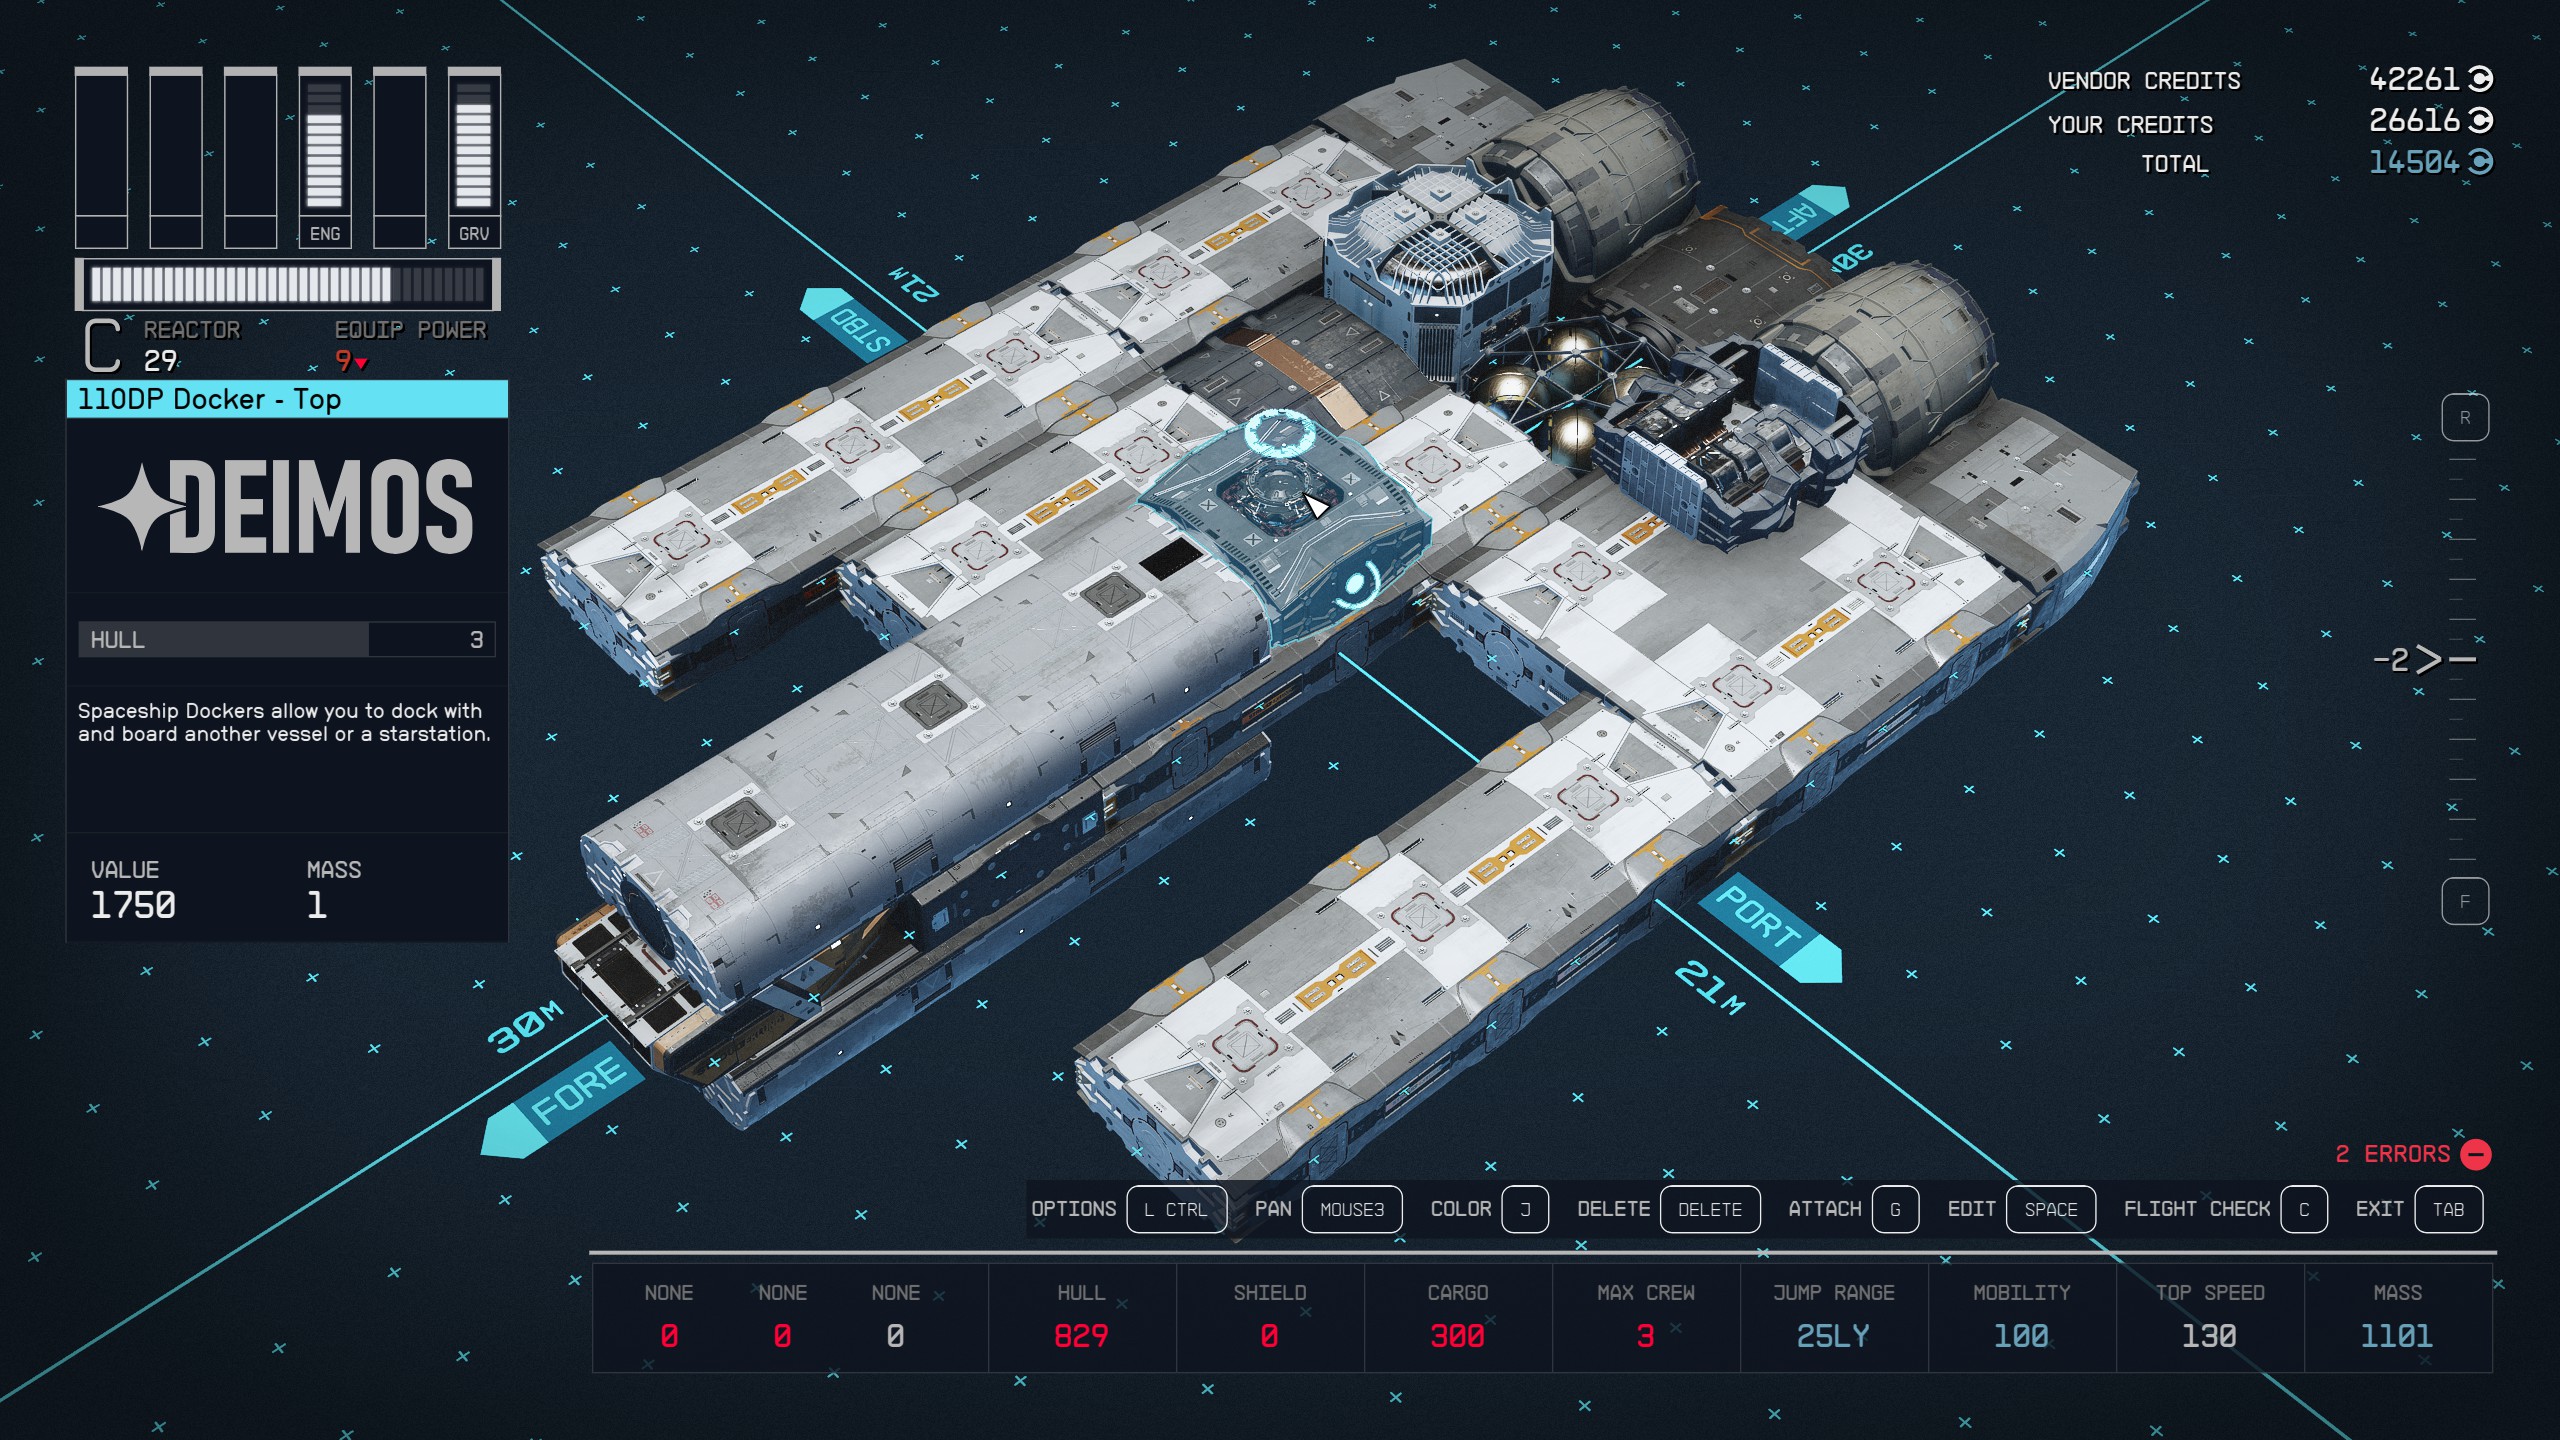
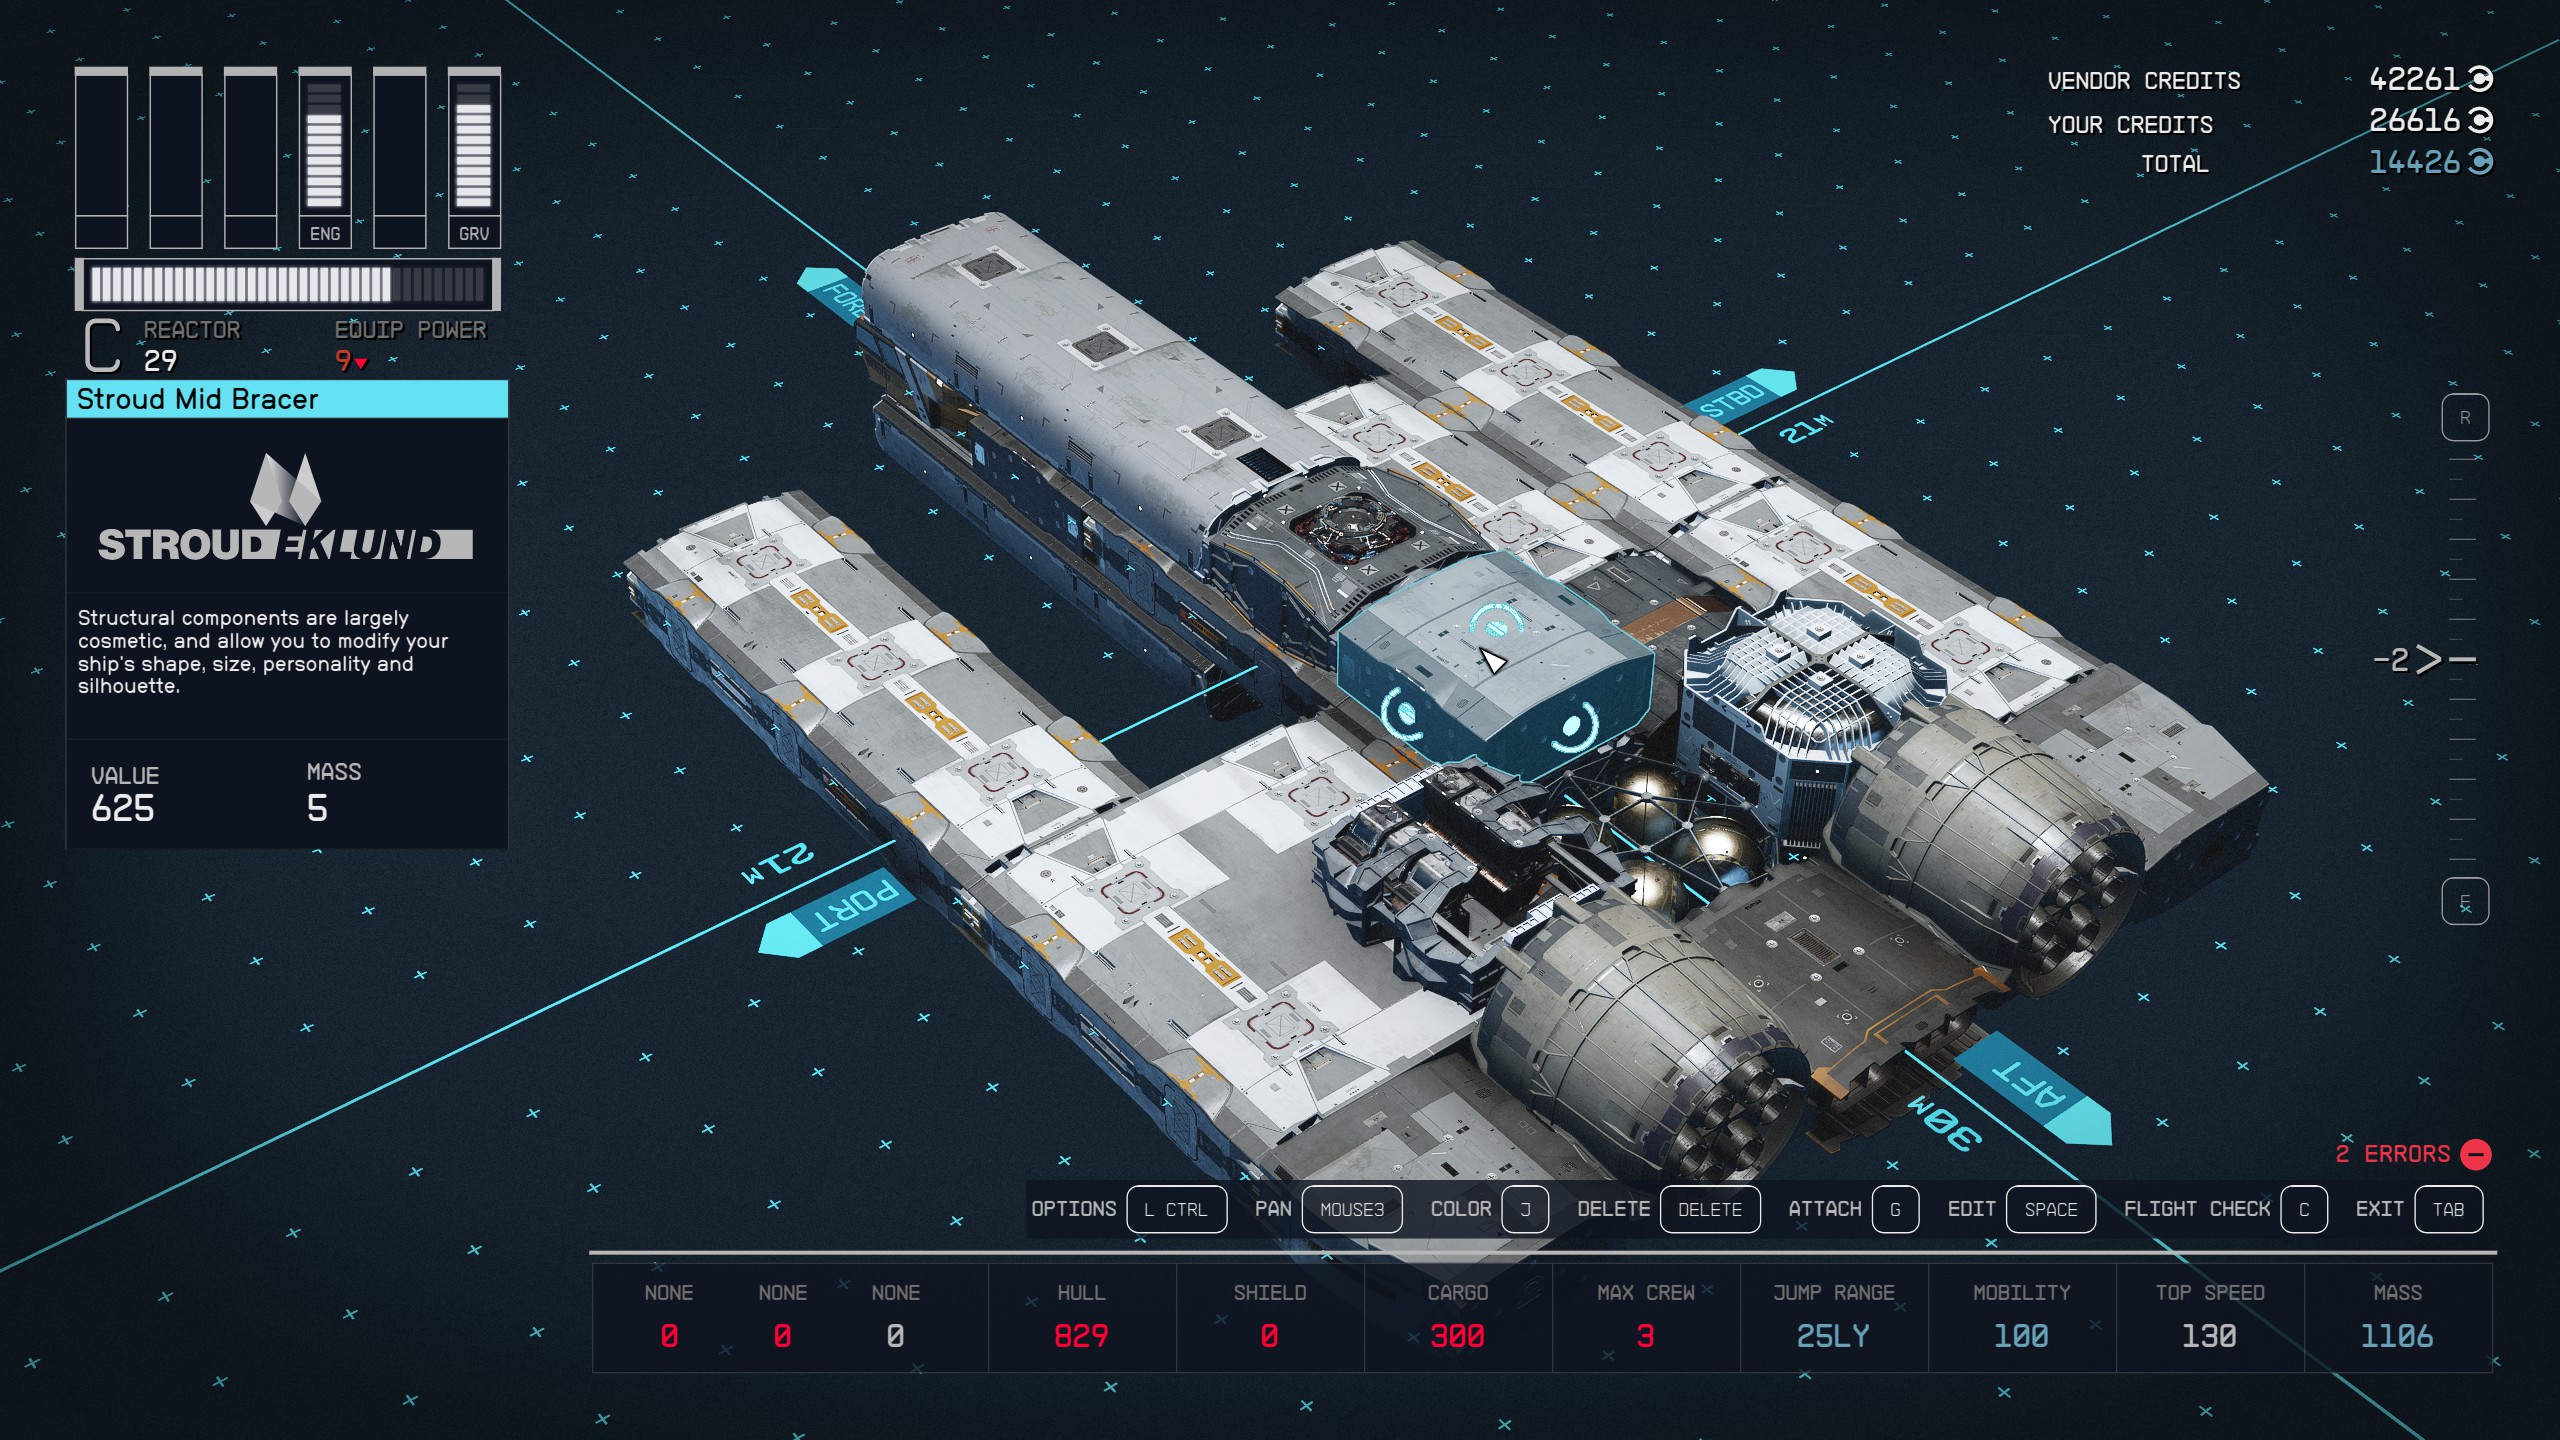

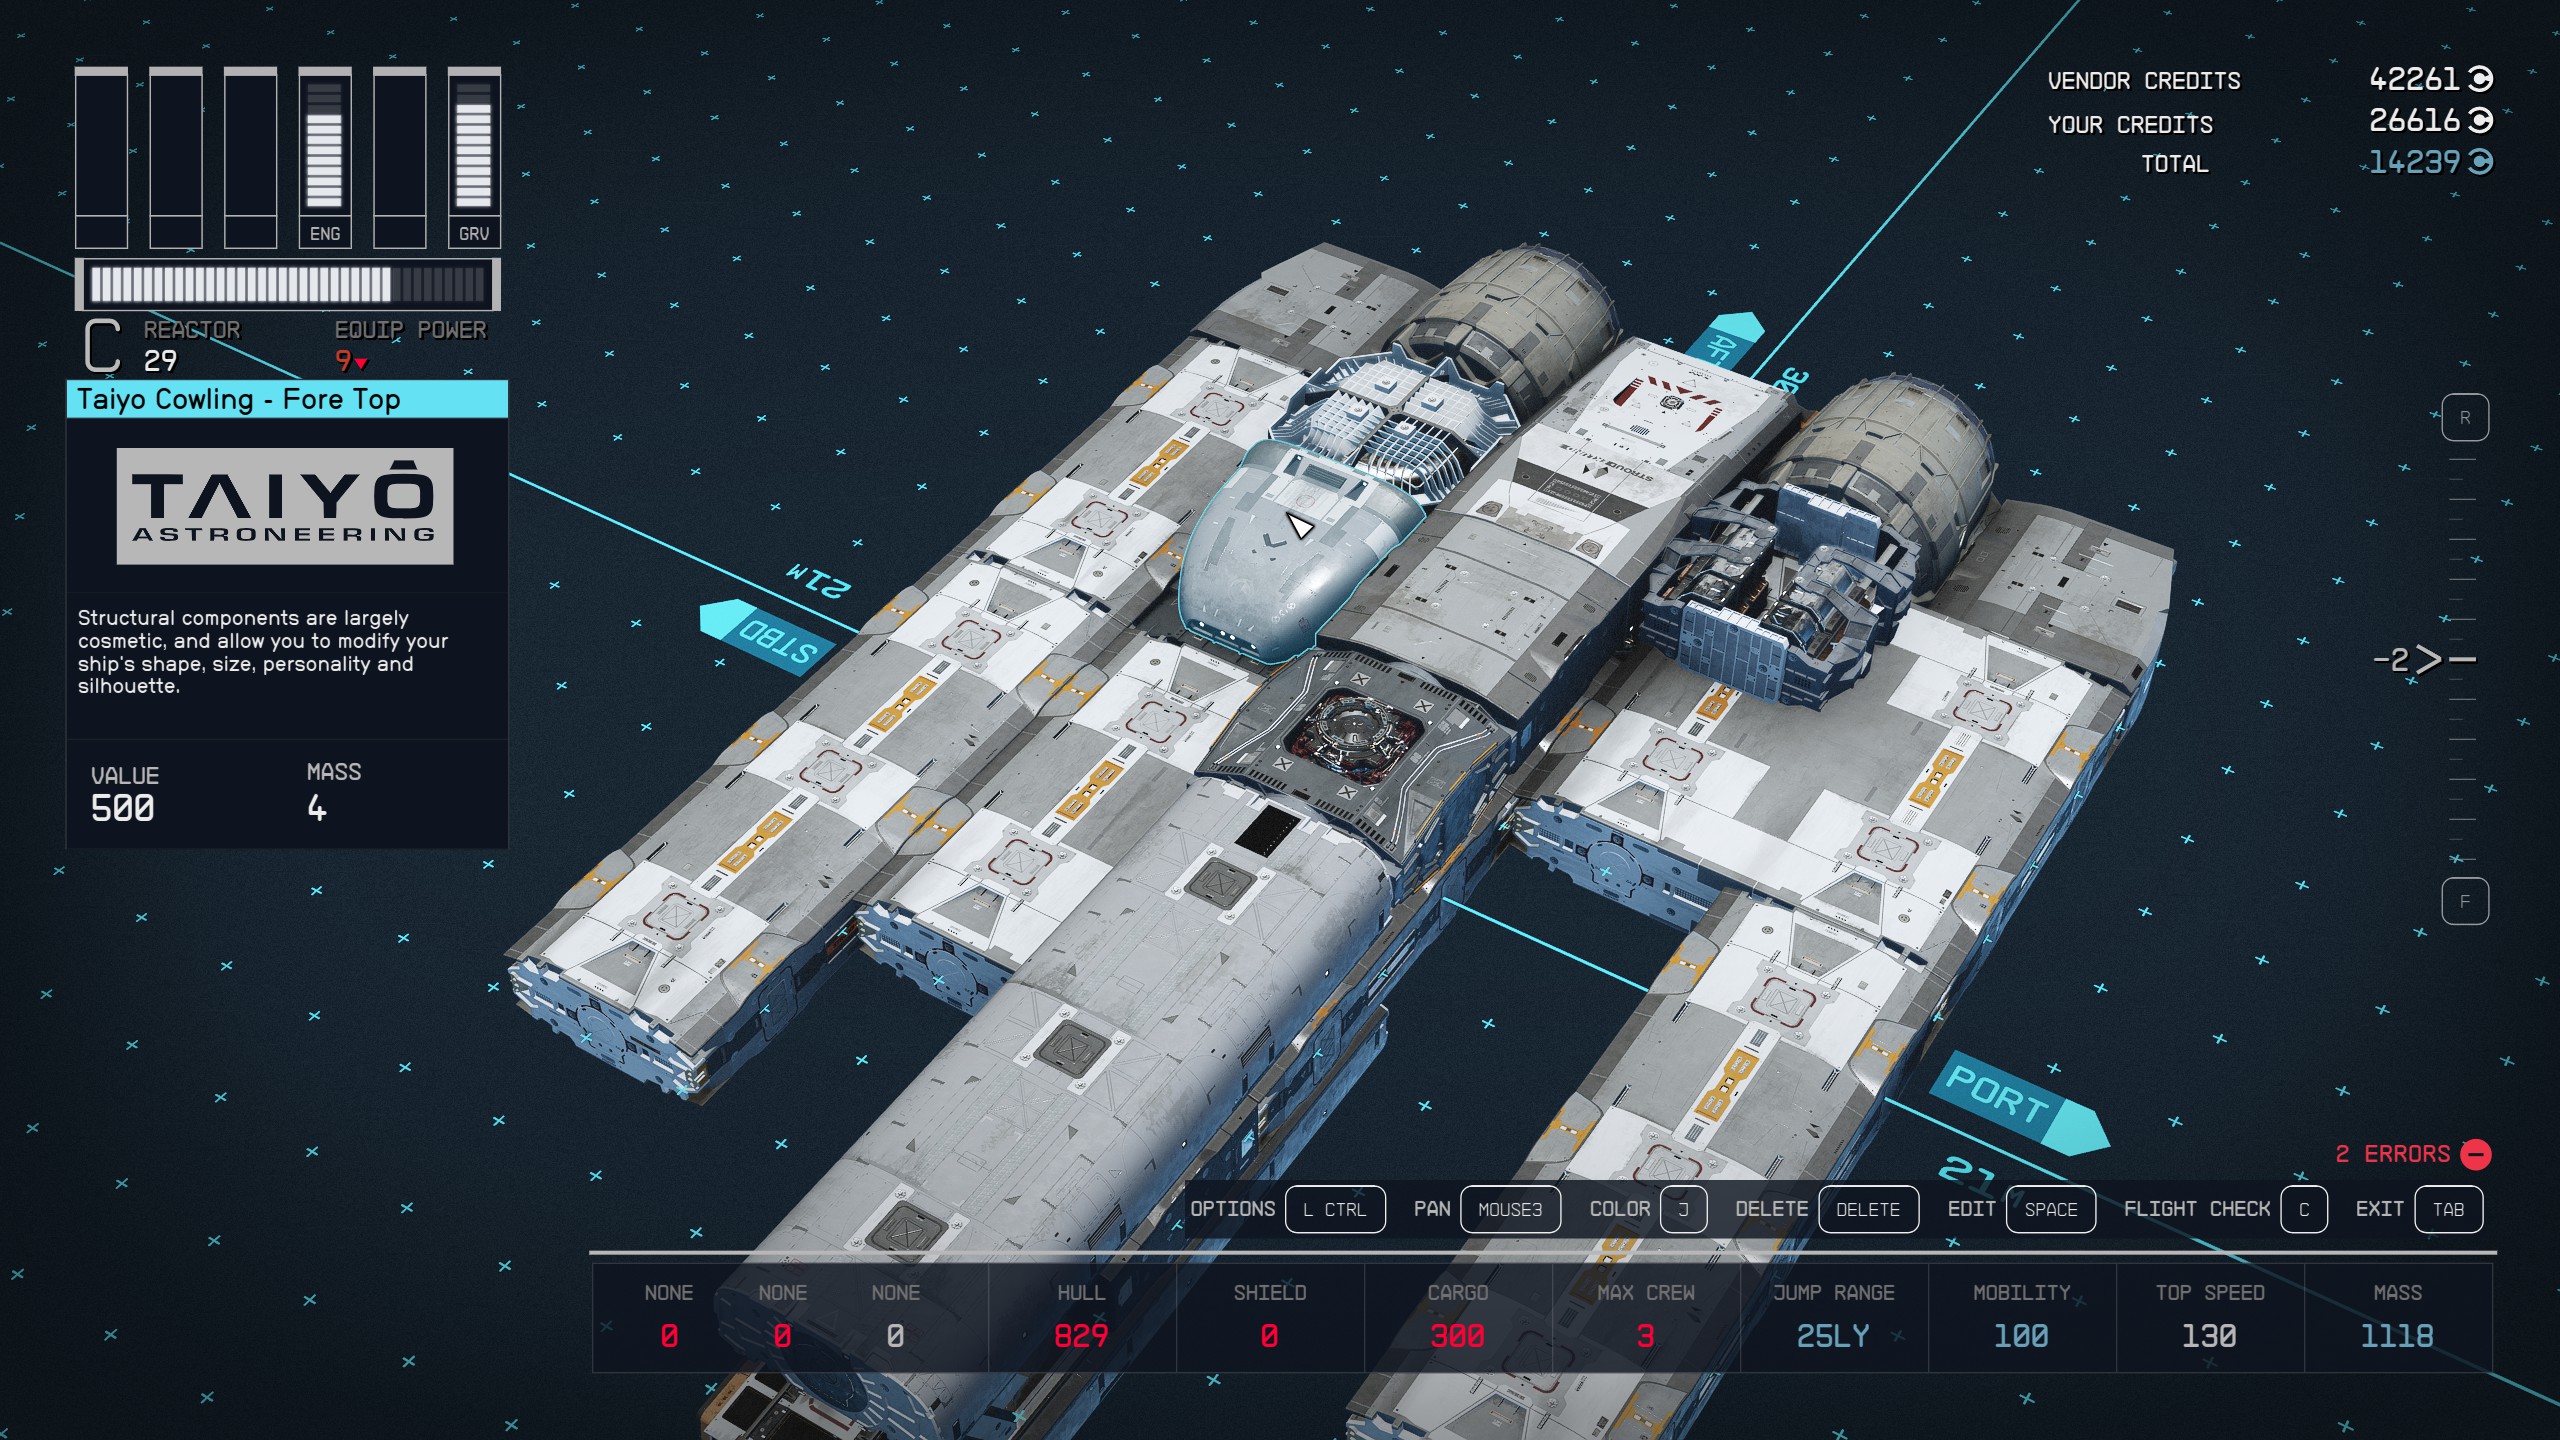
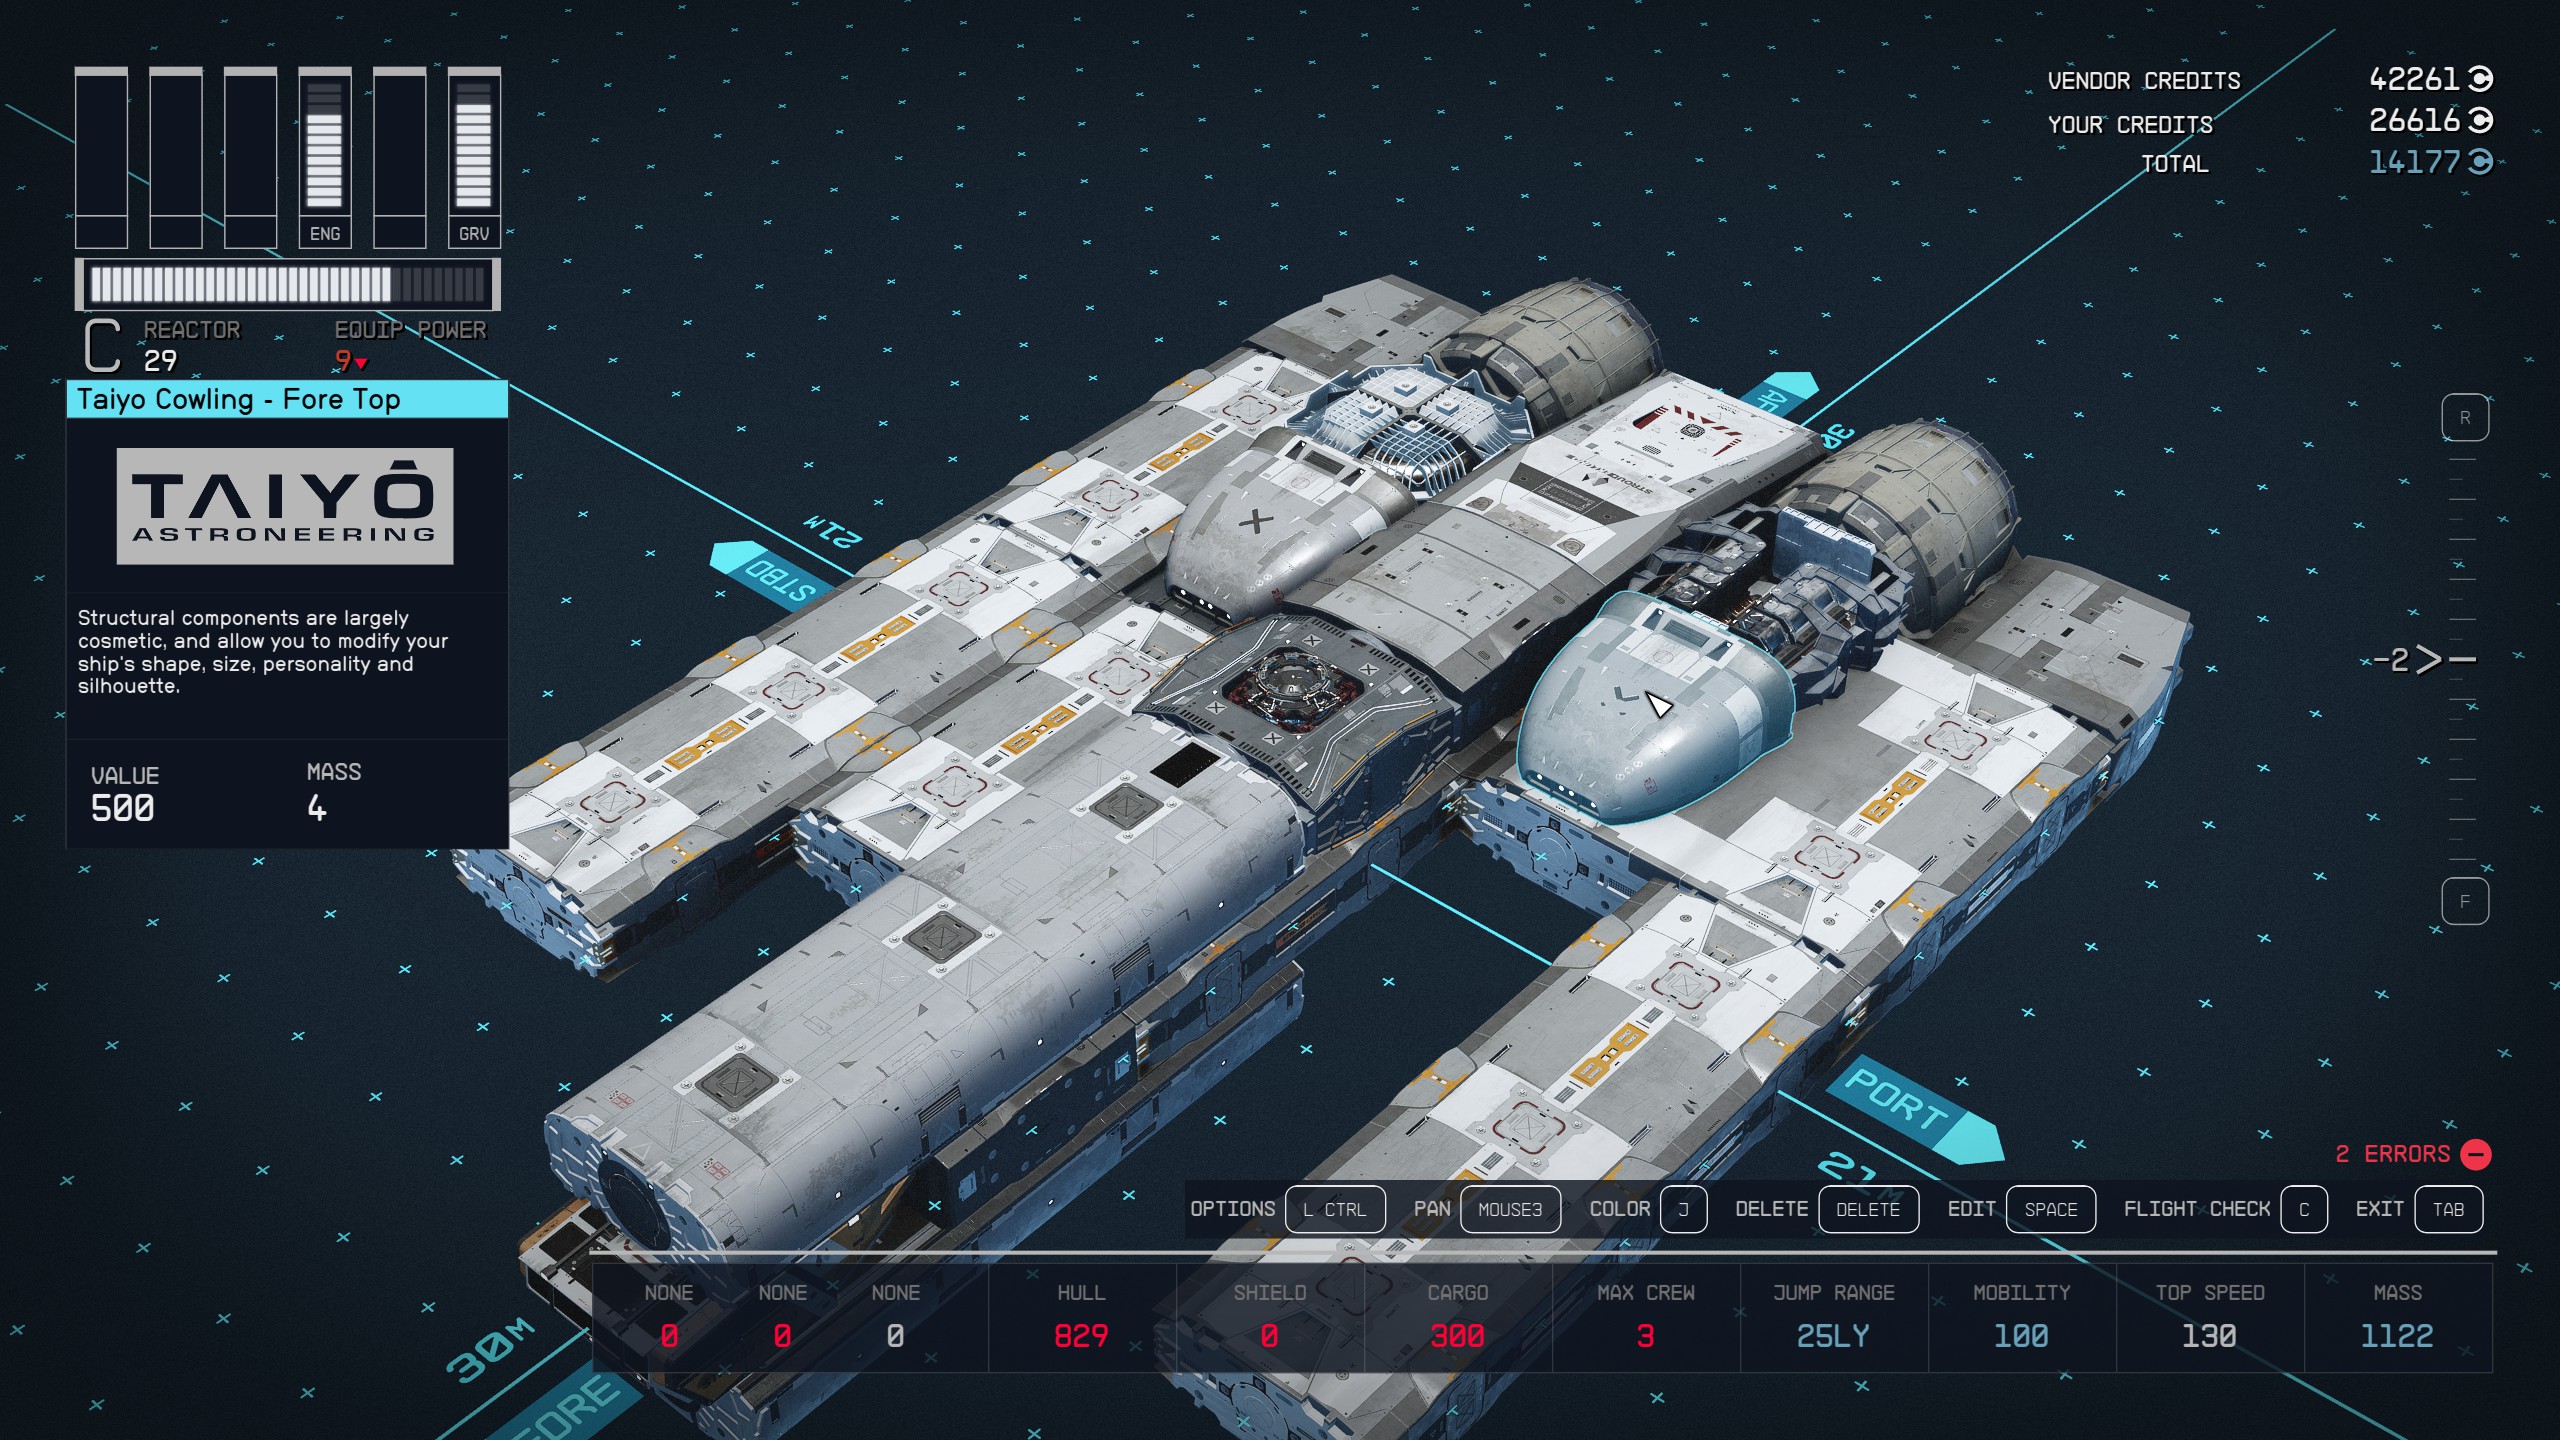
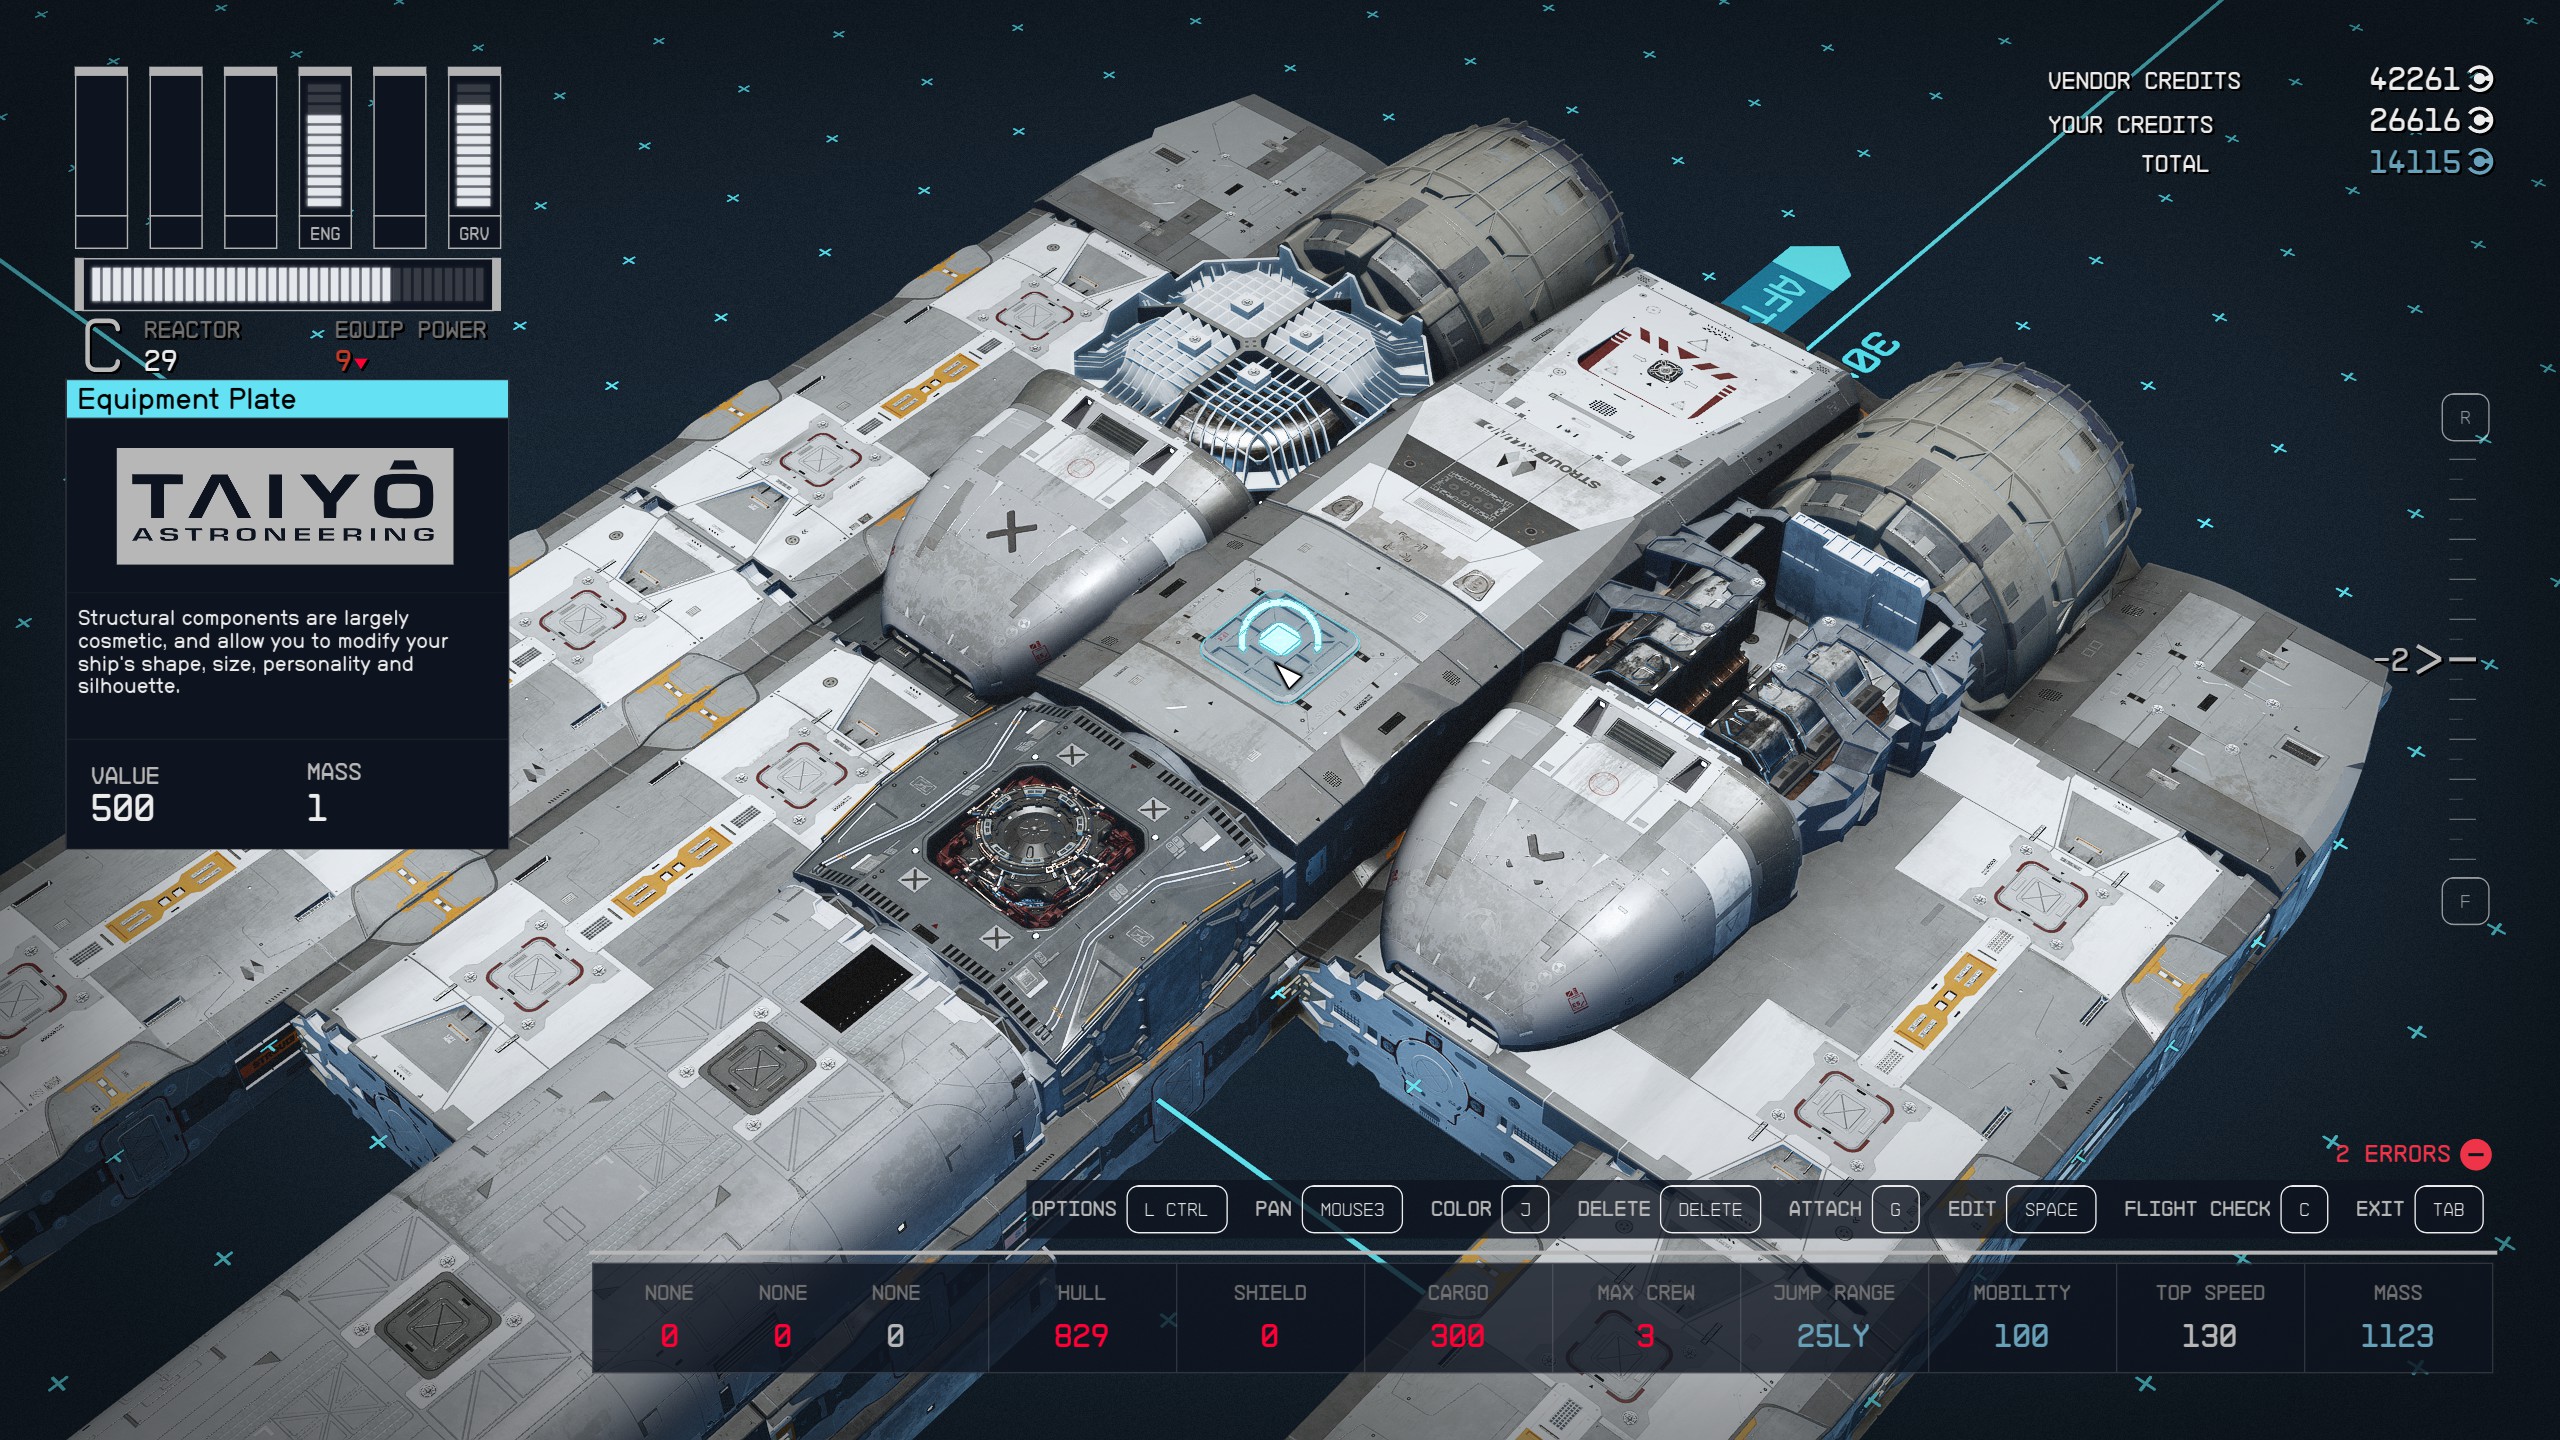
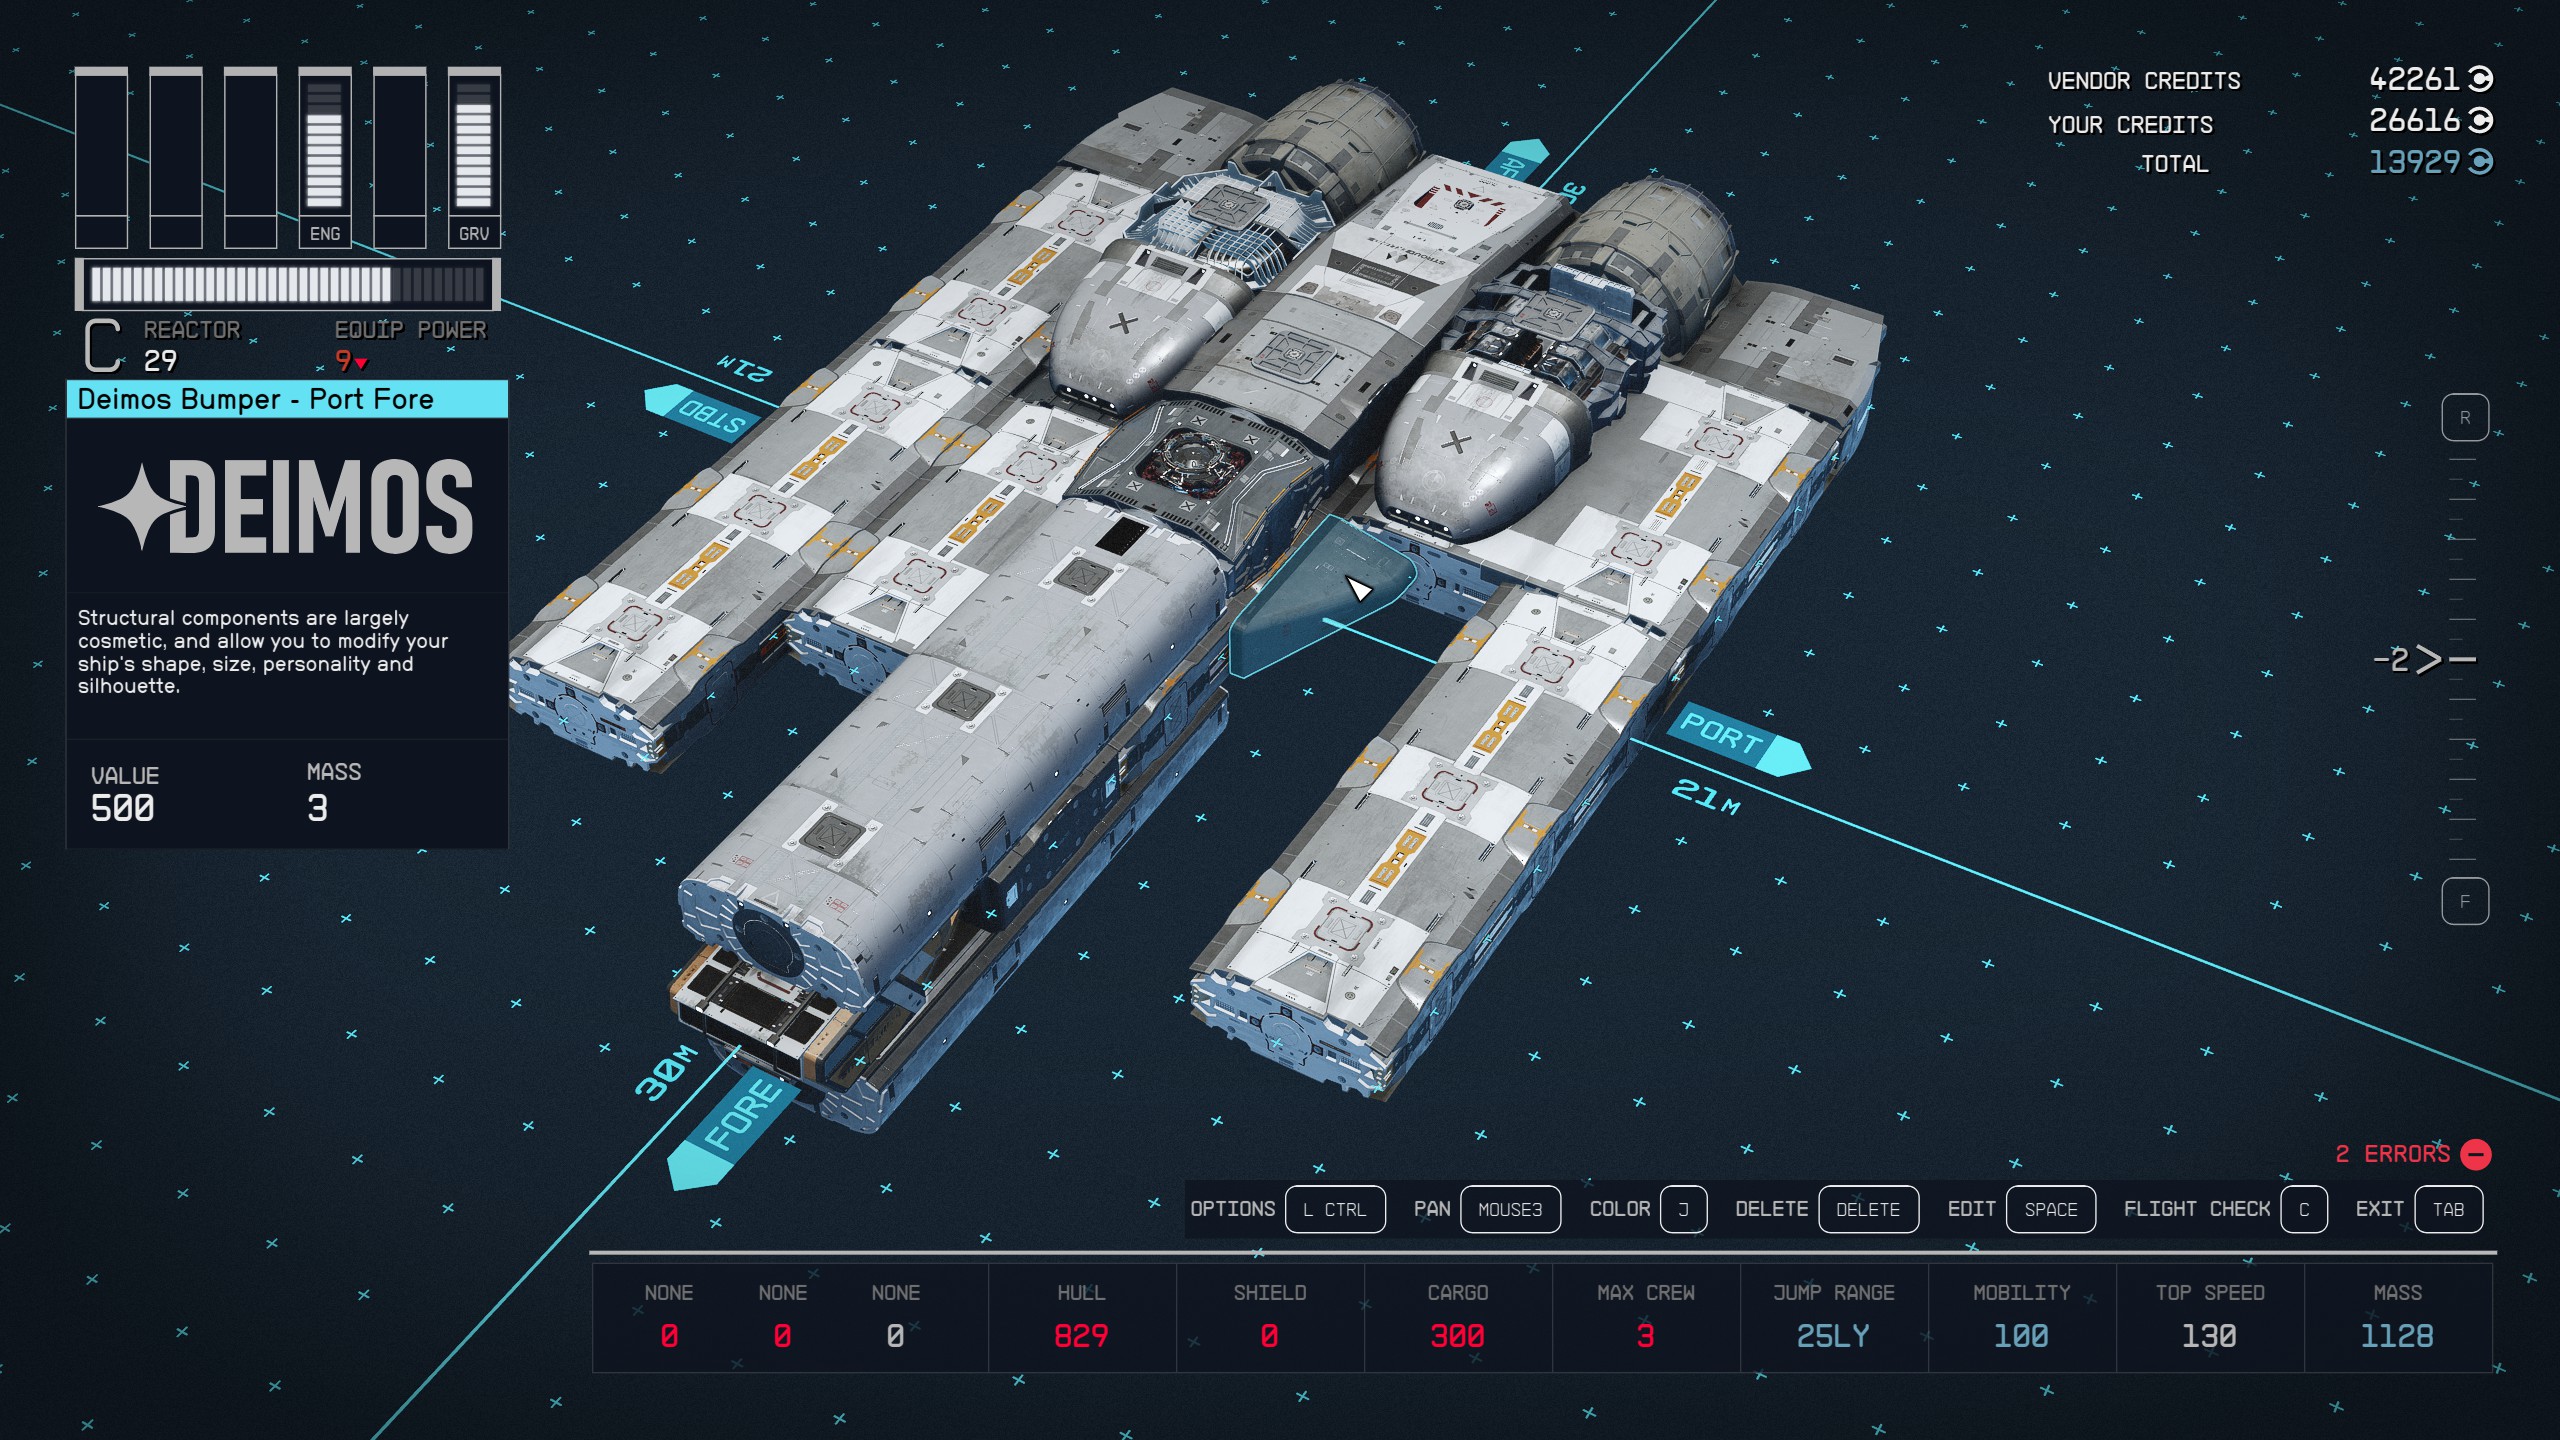

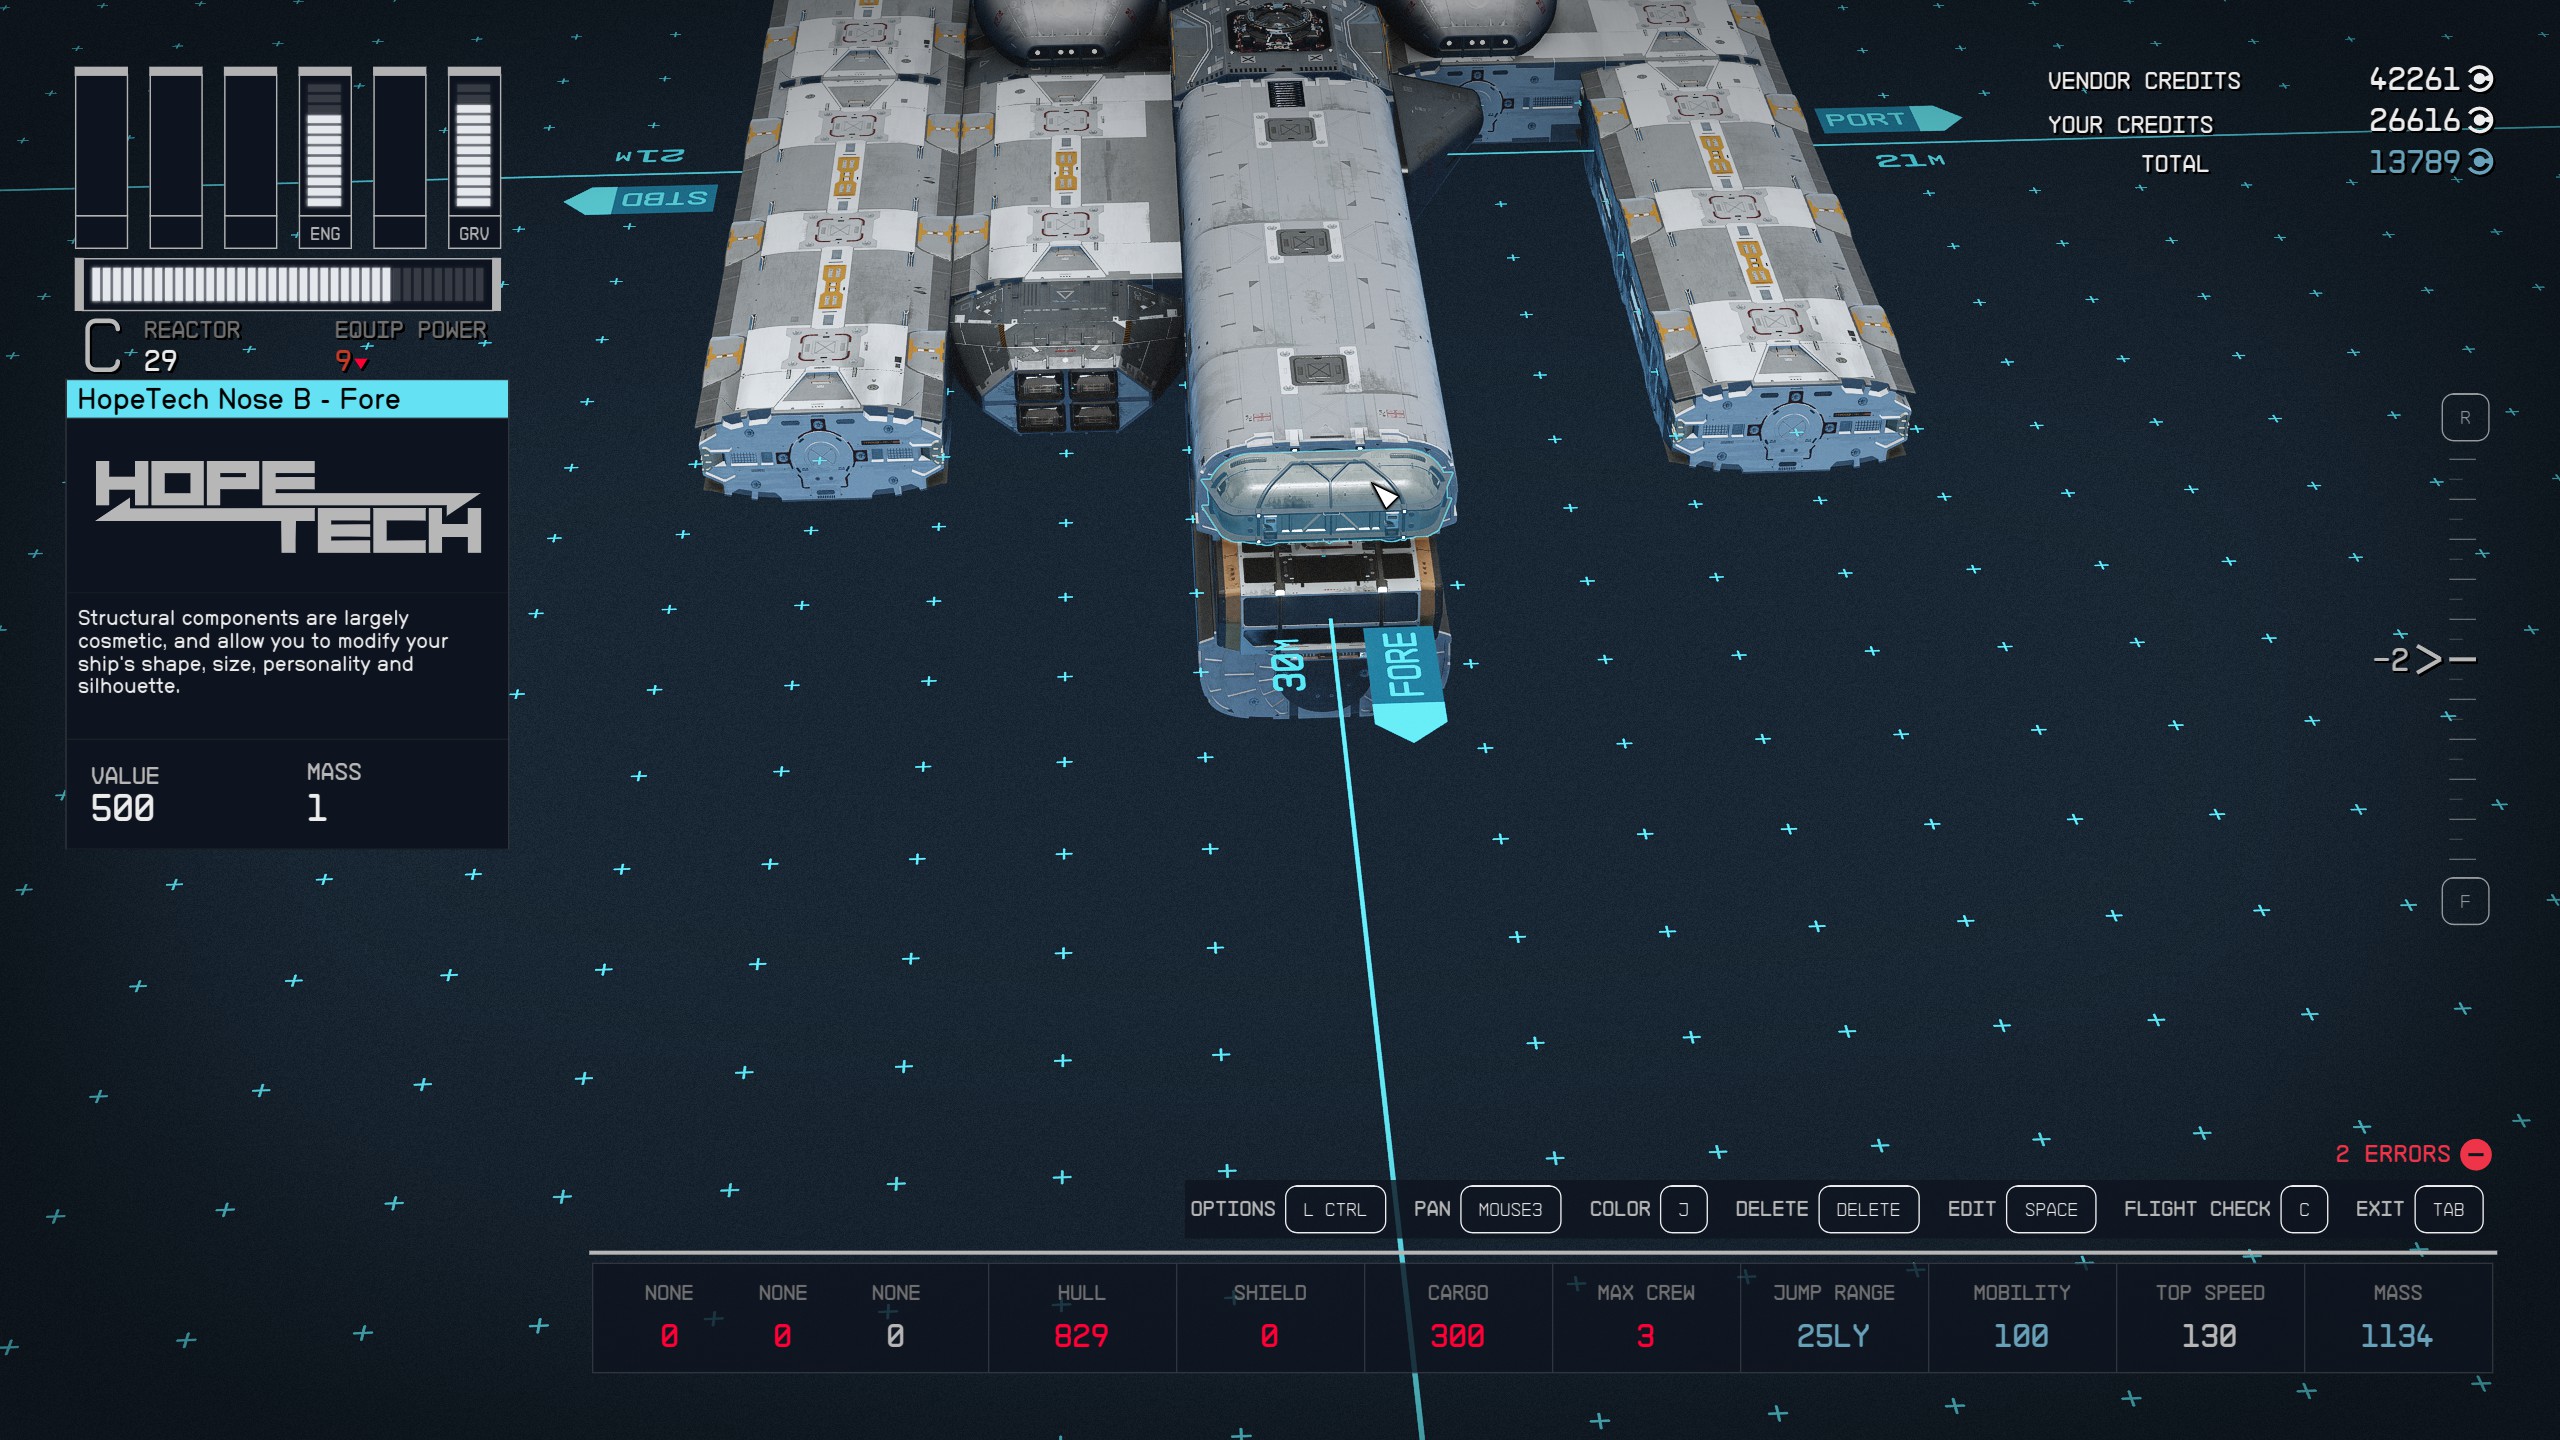
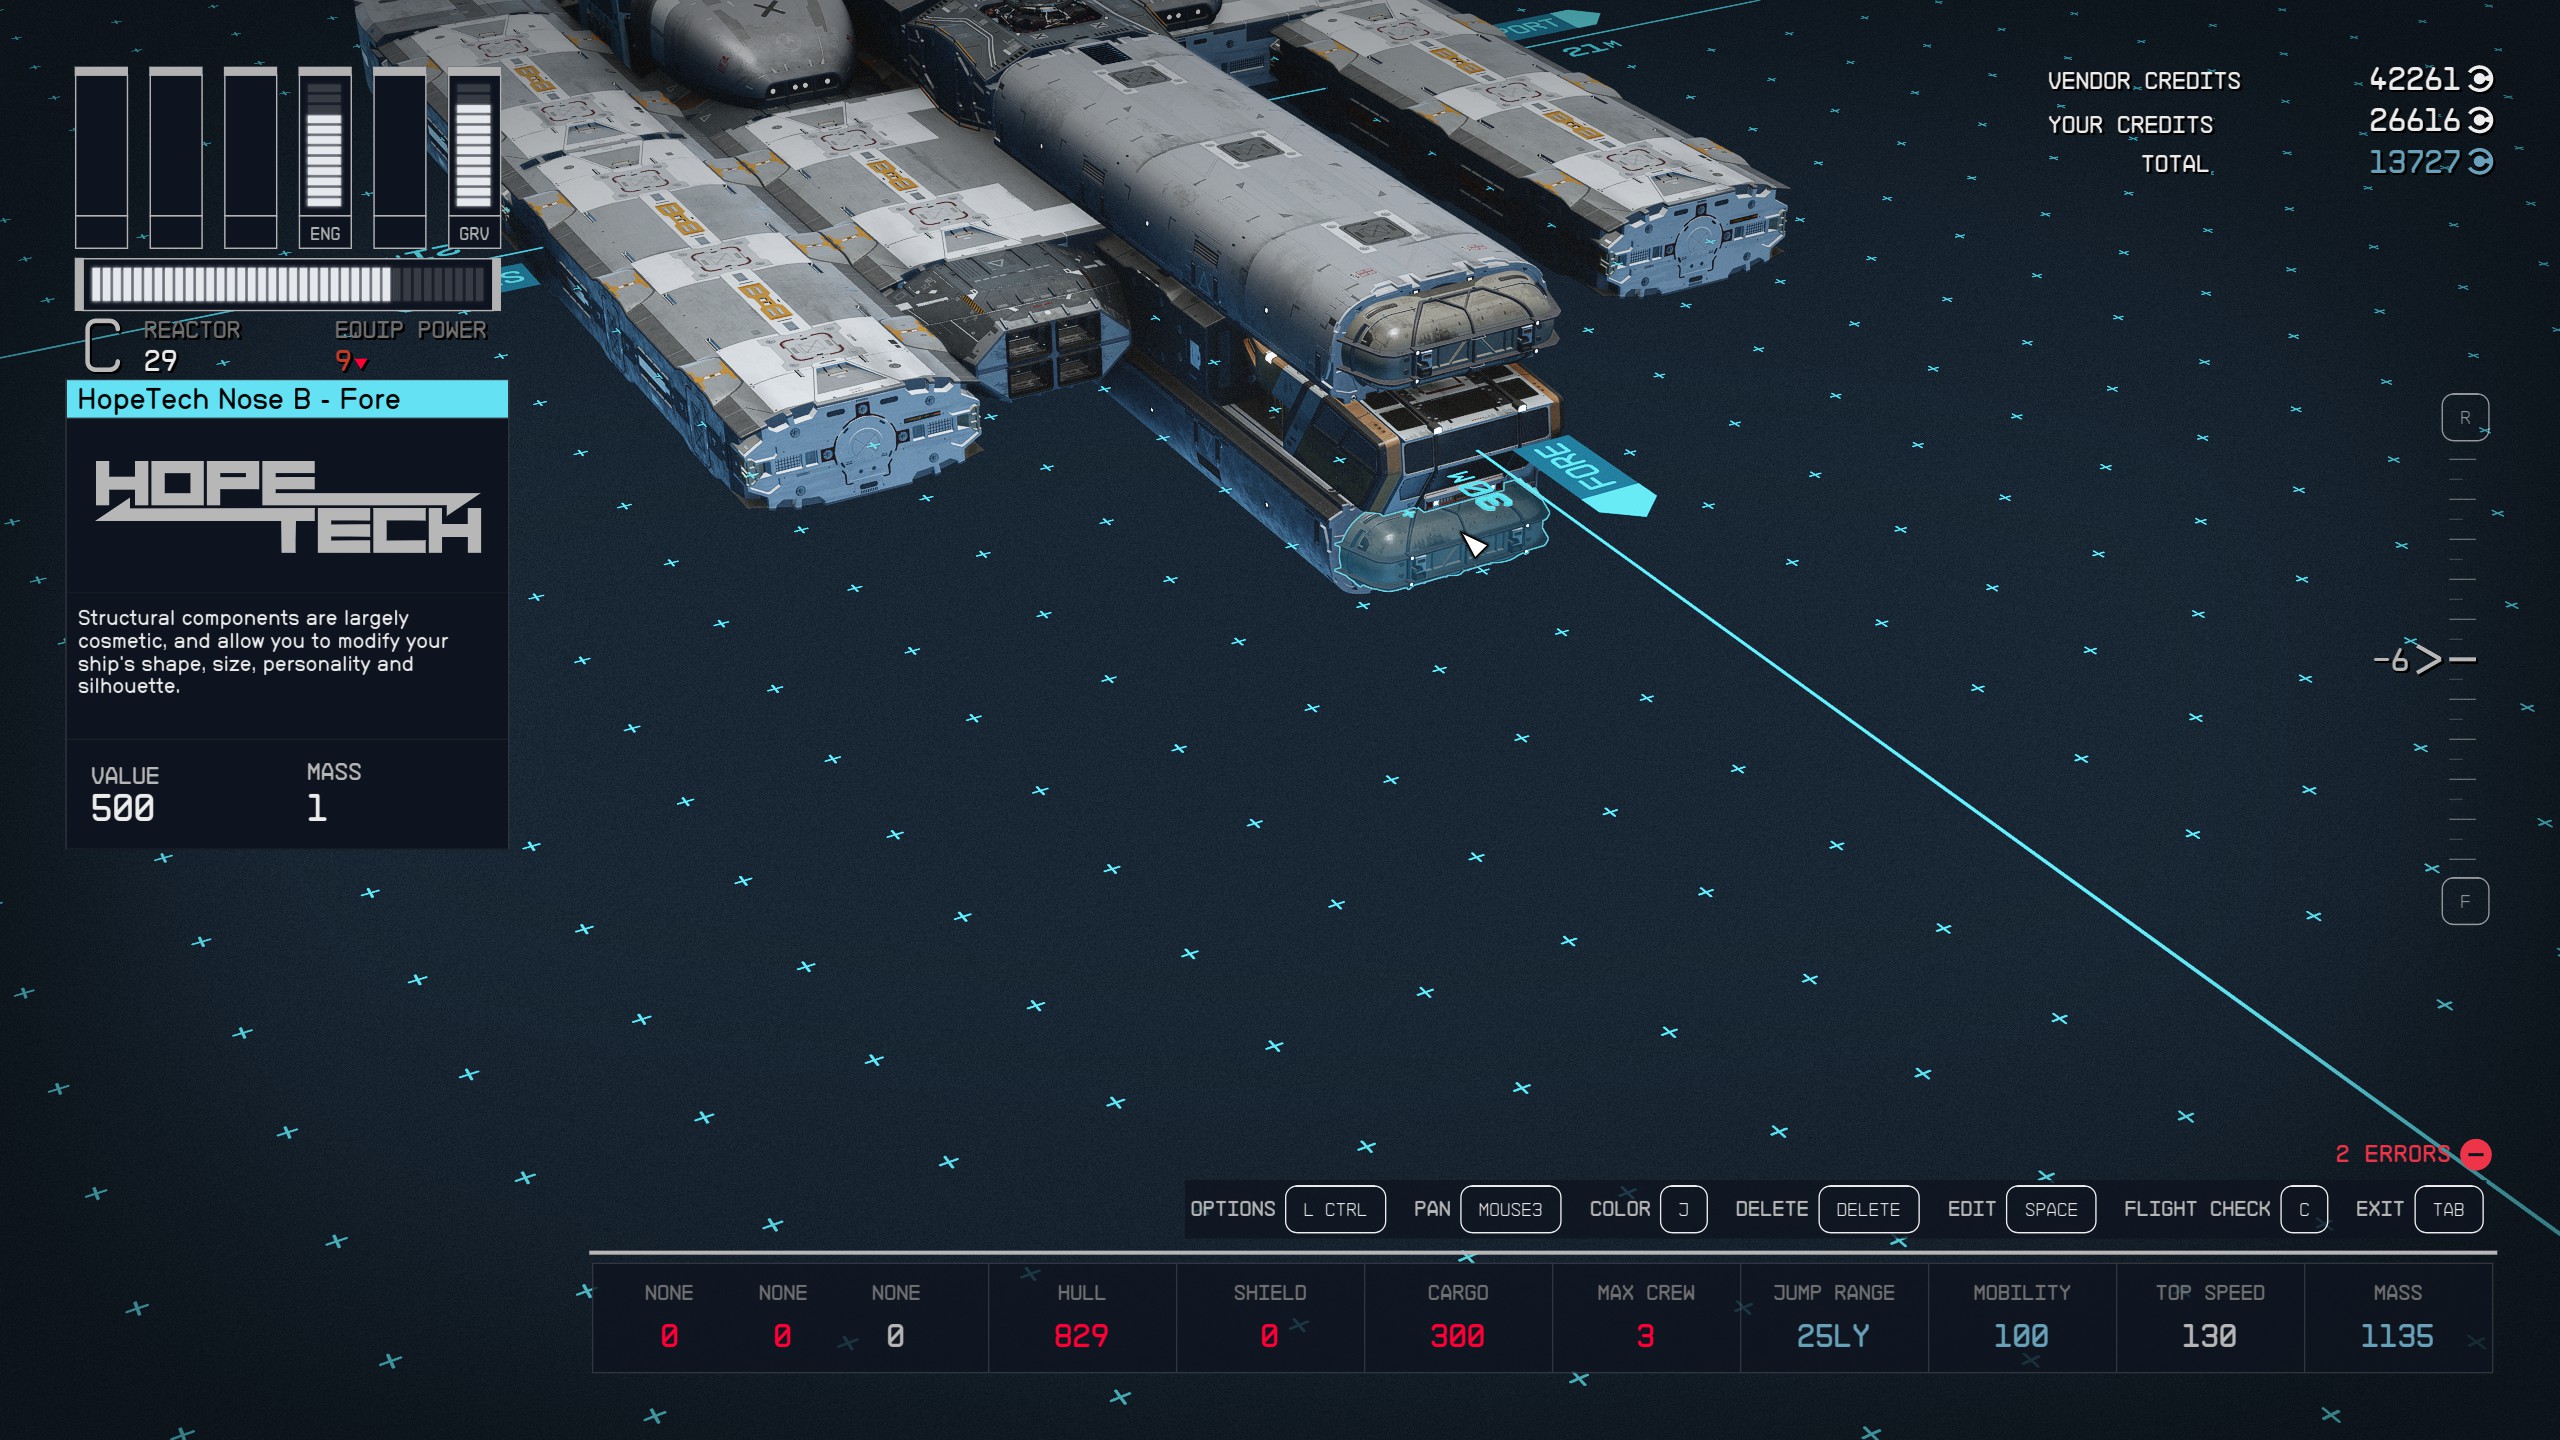
Part Three: Cowling the Port and Starboard Wings

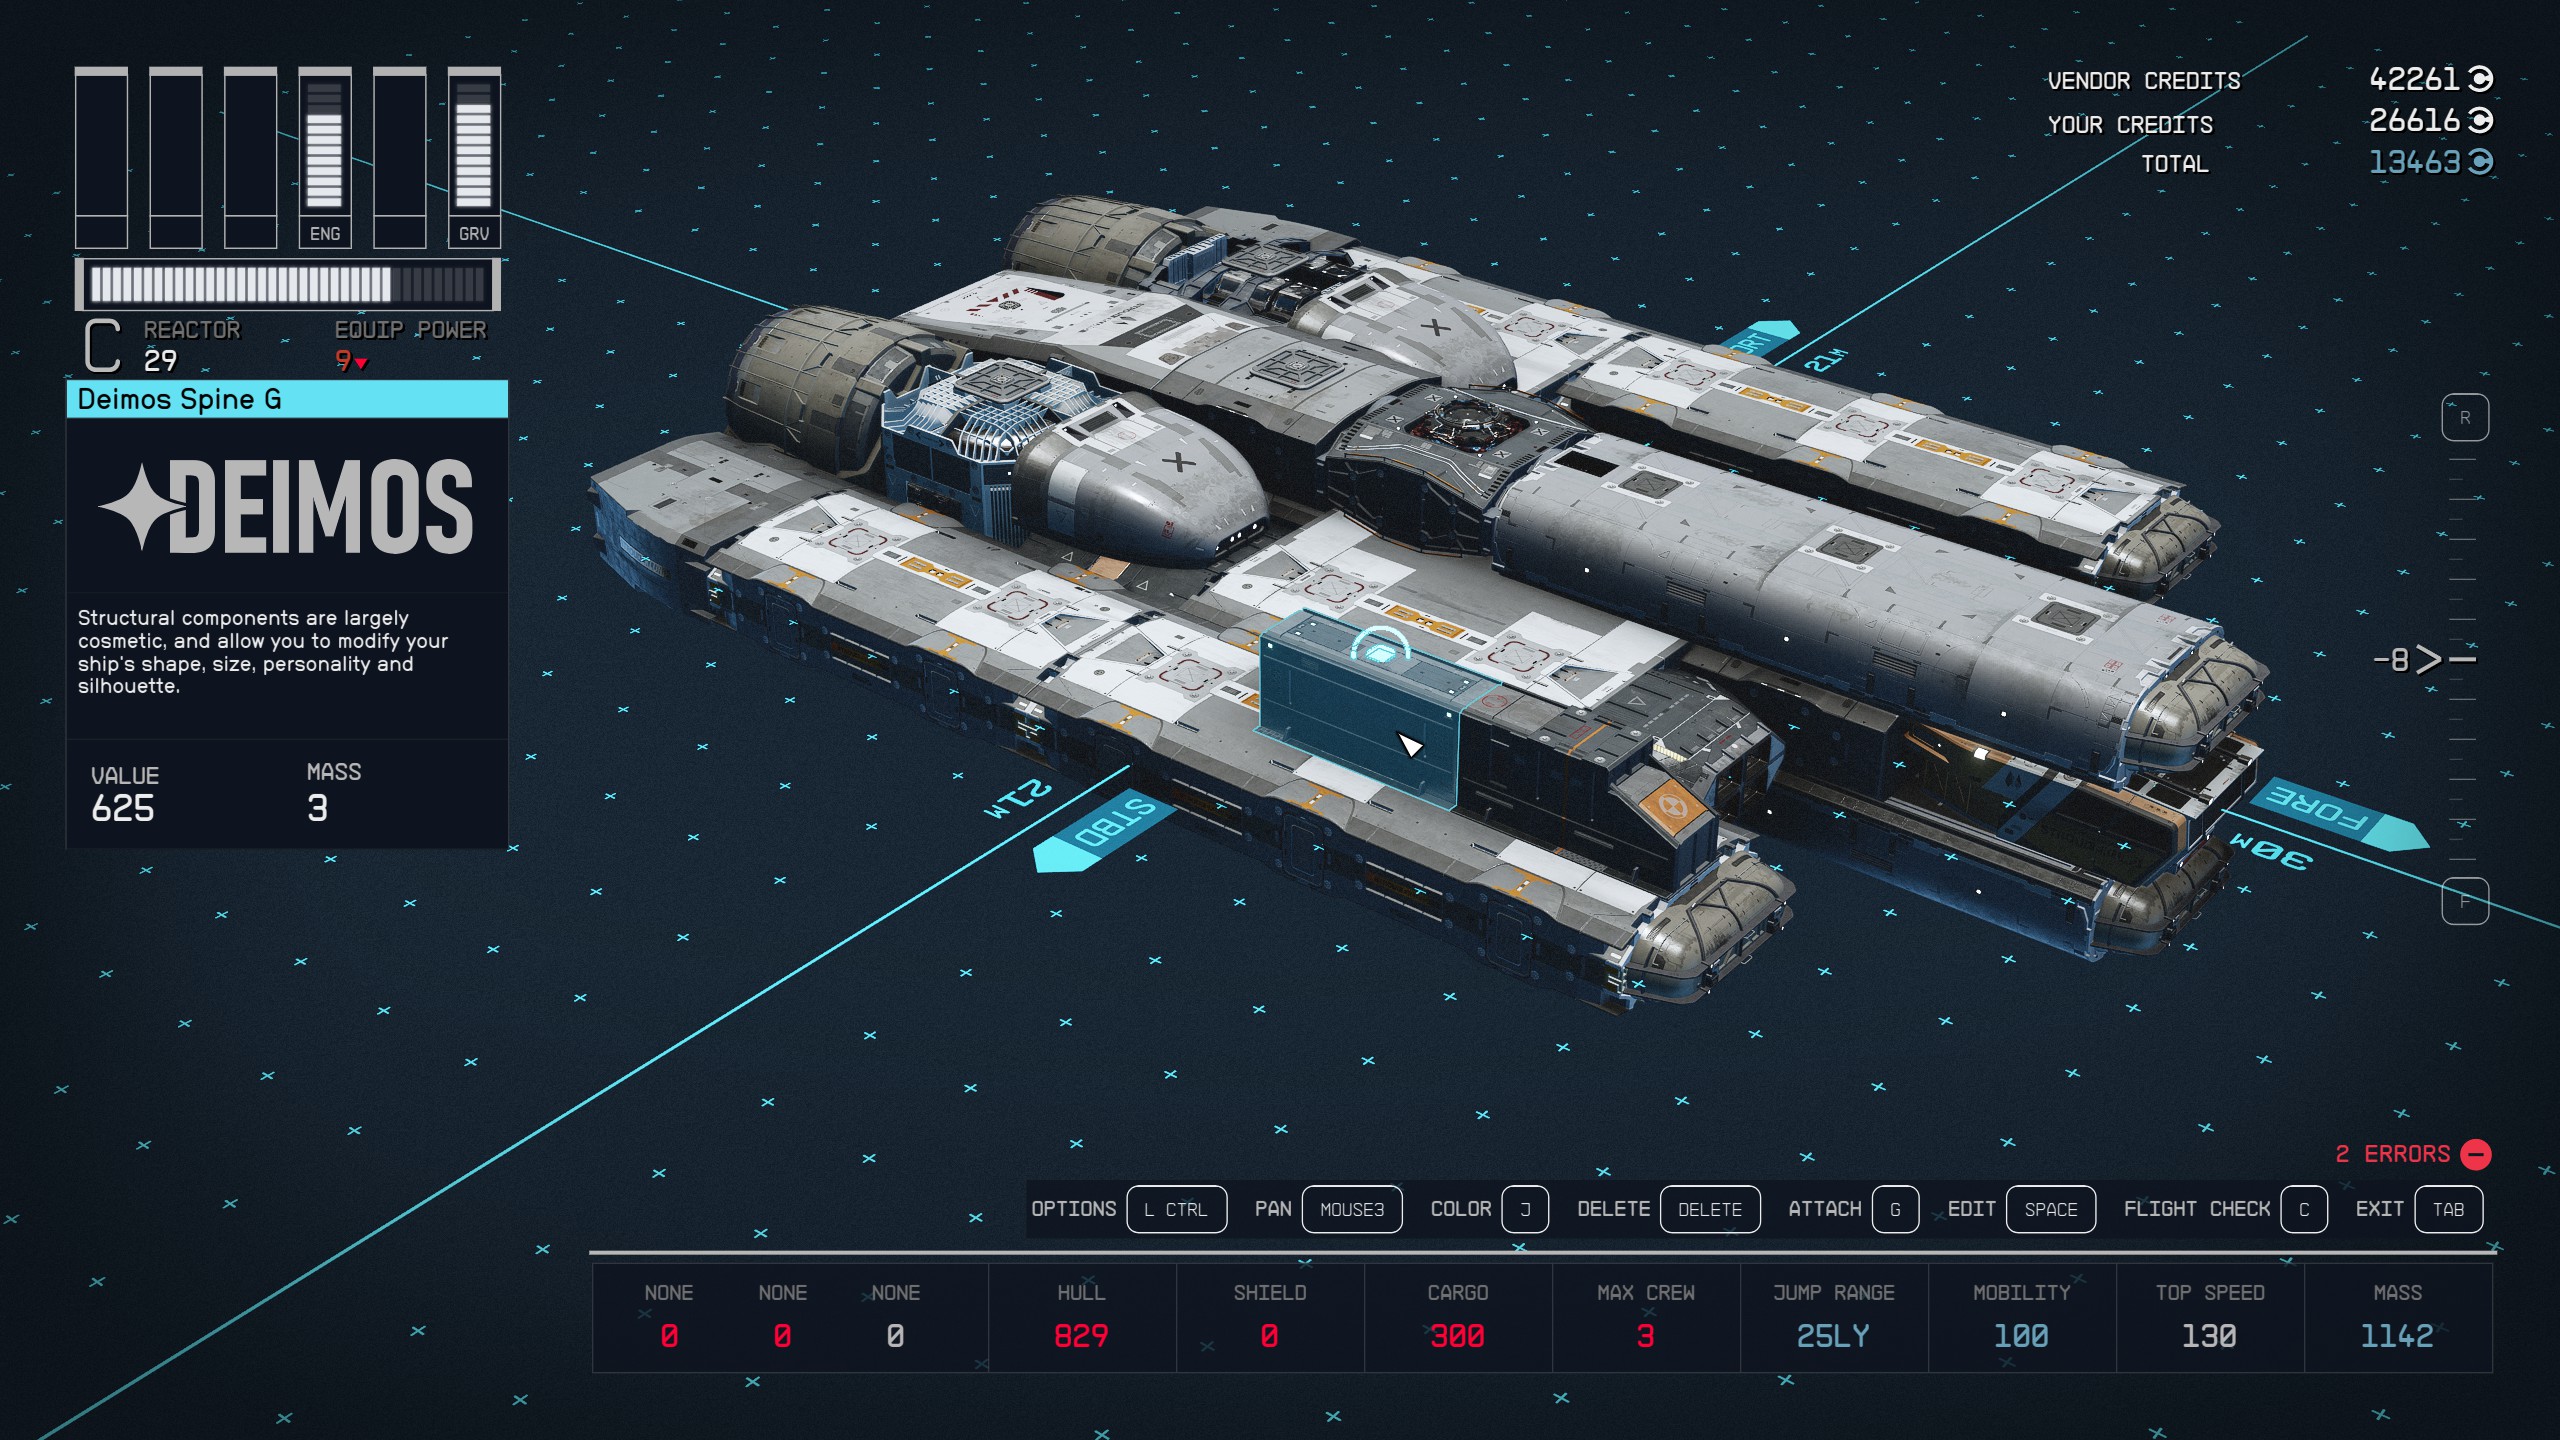
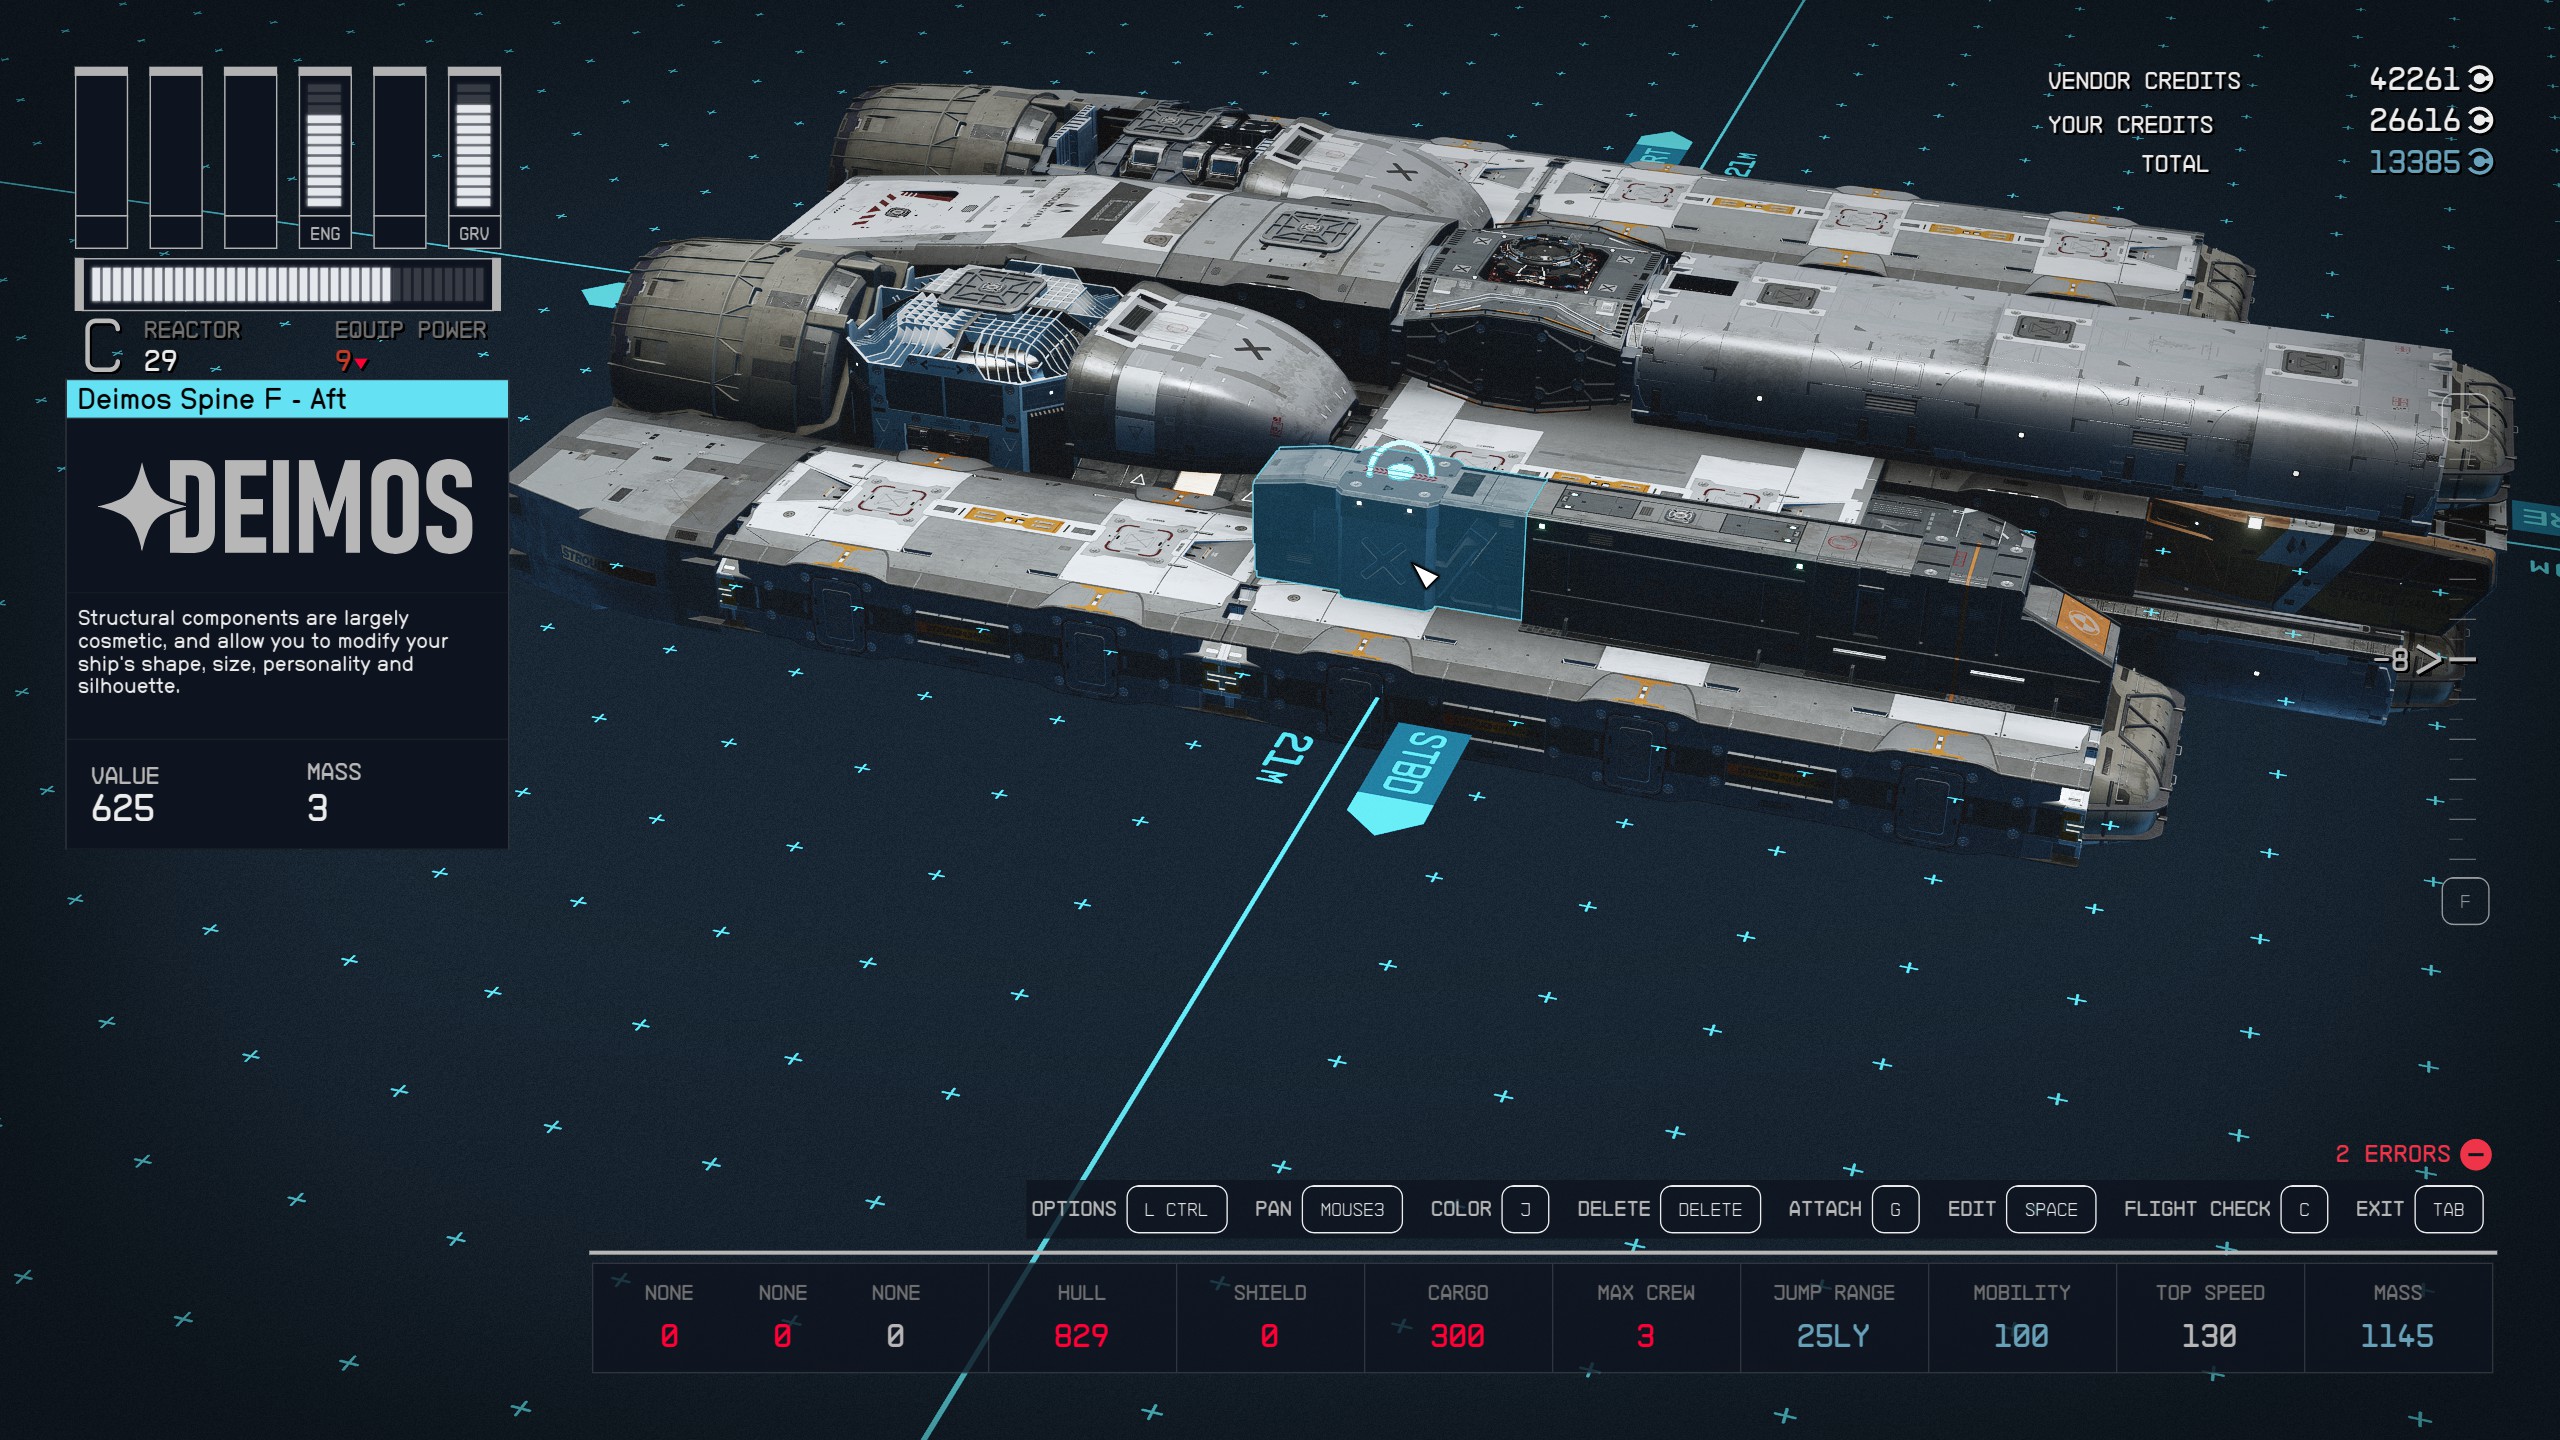
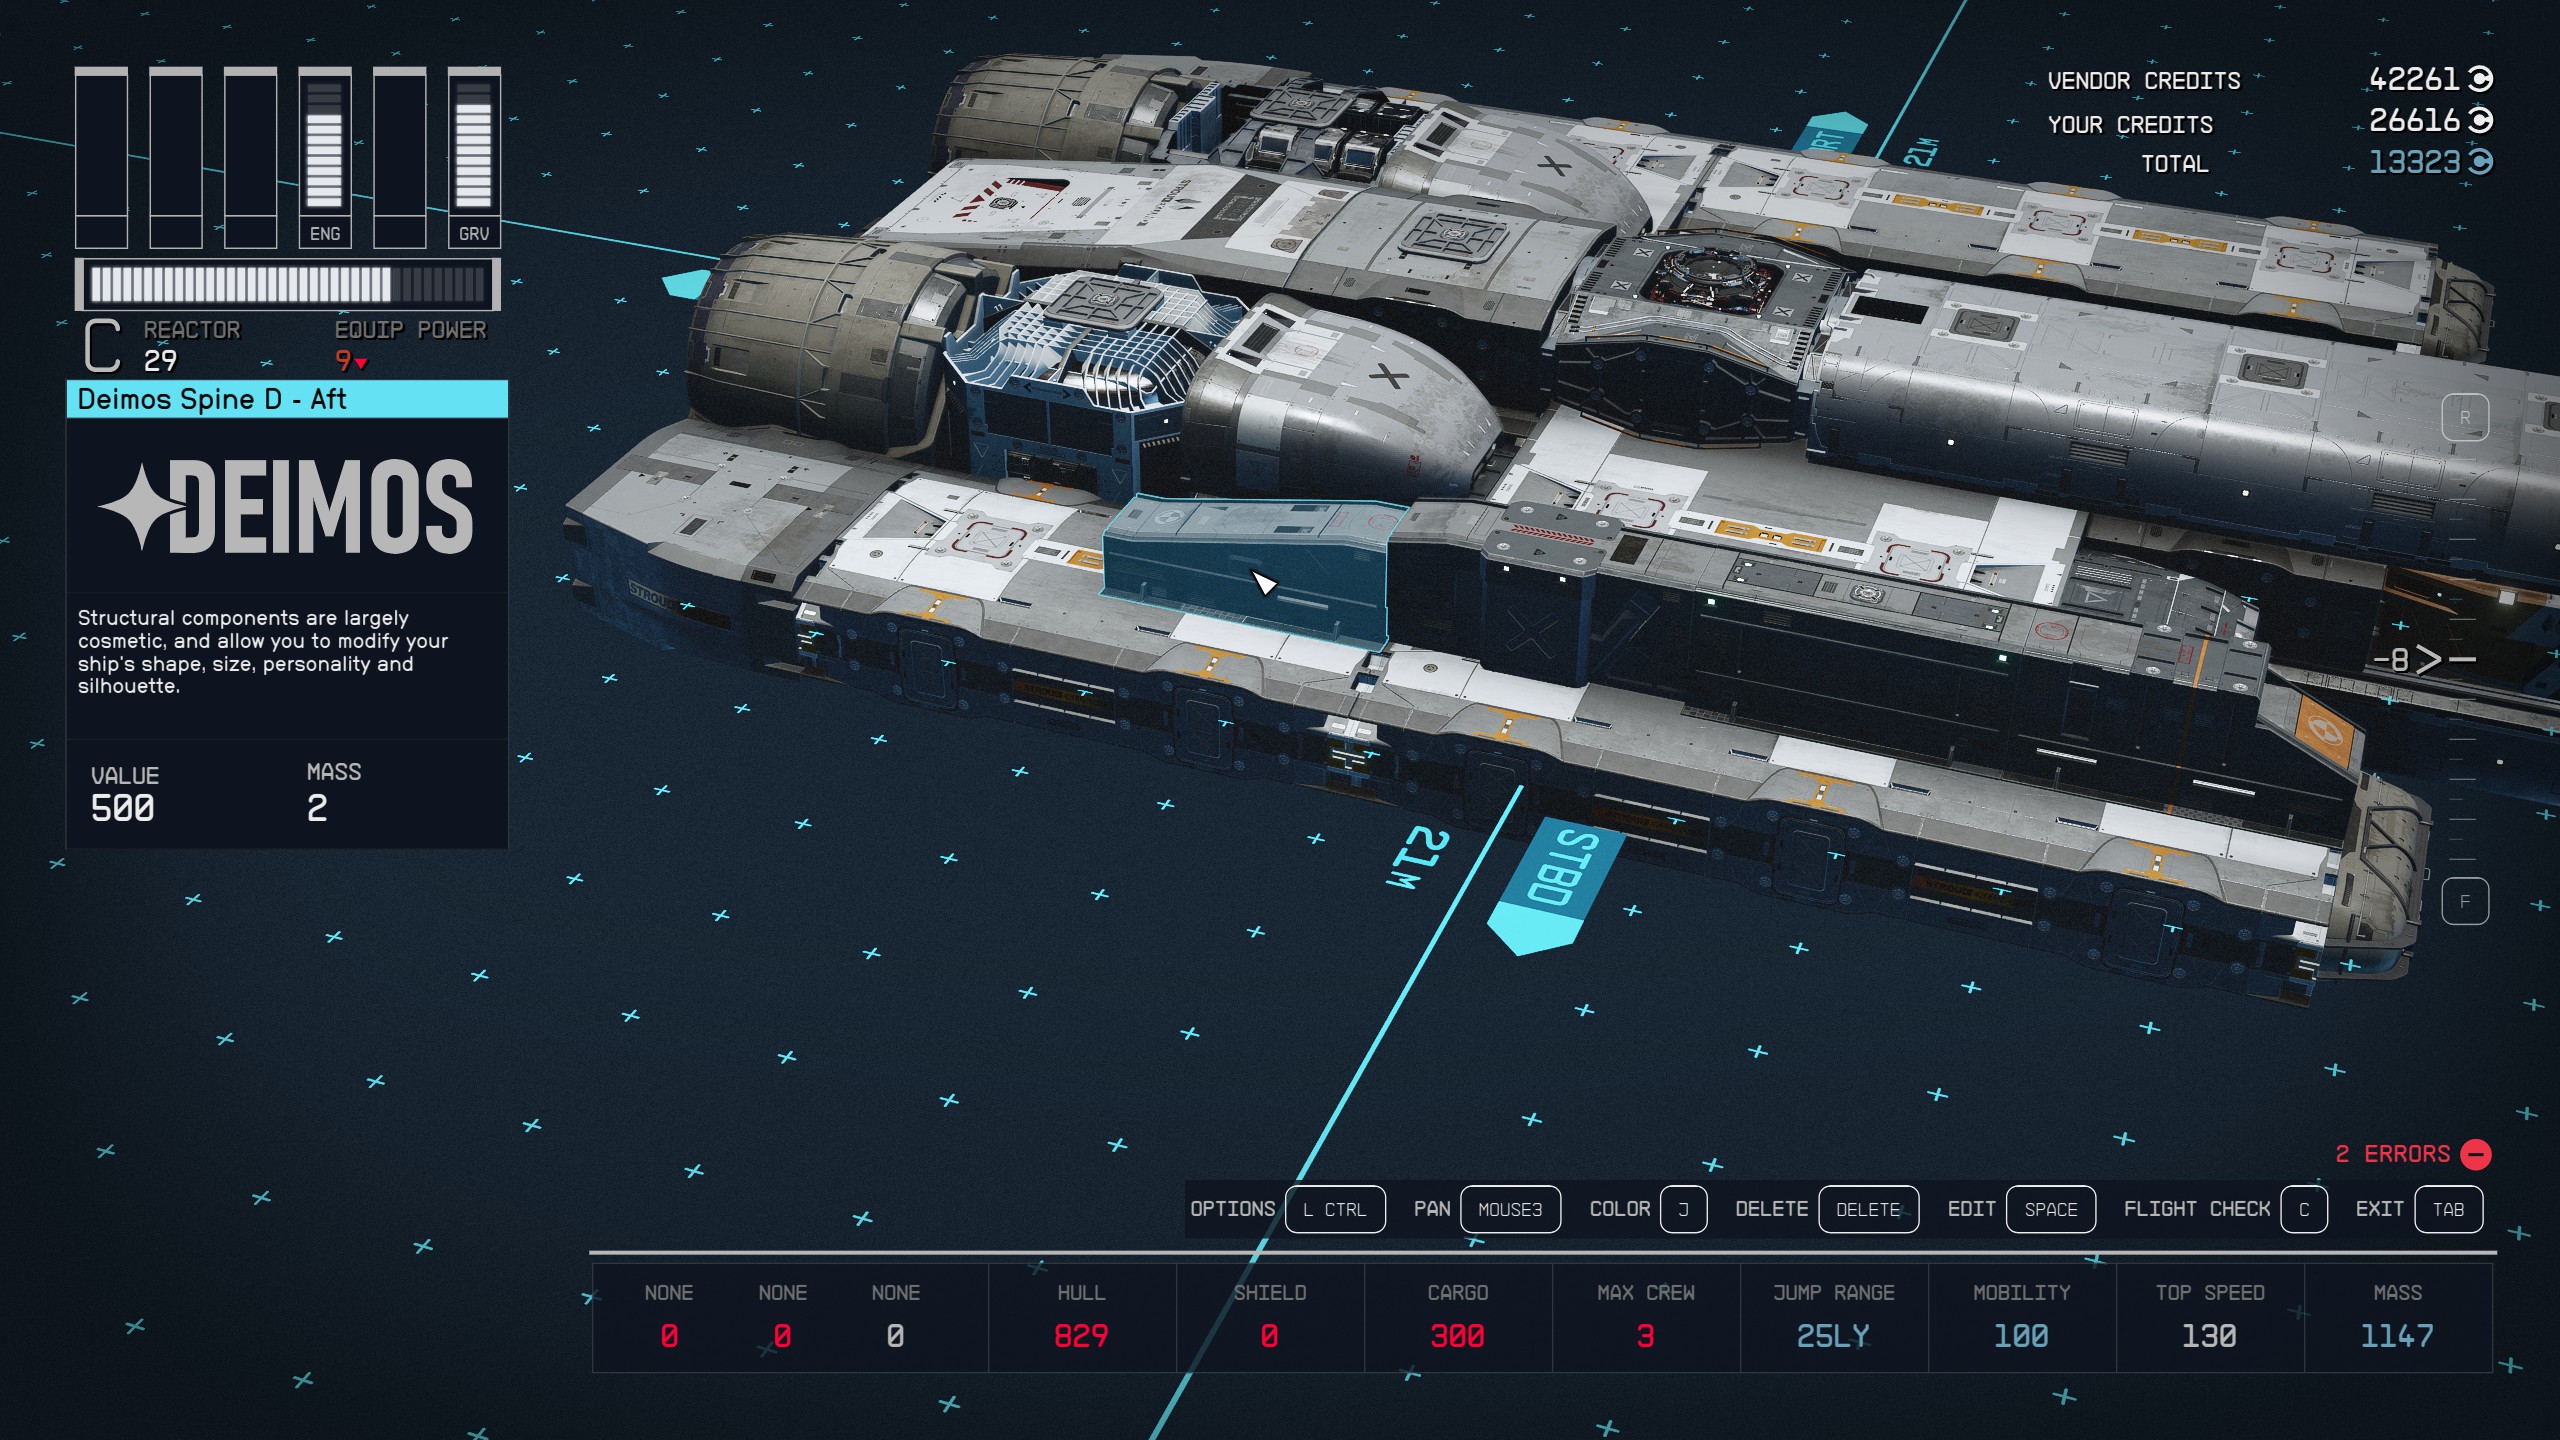
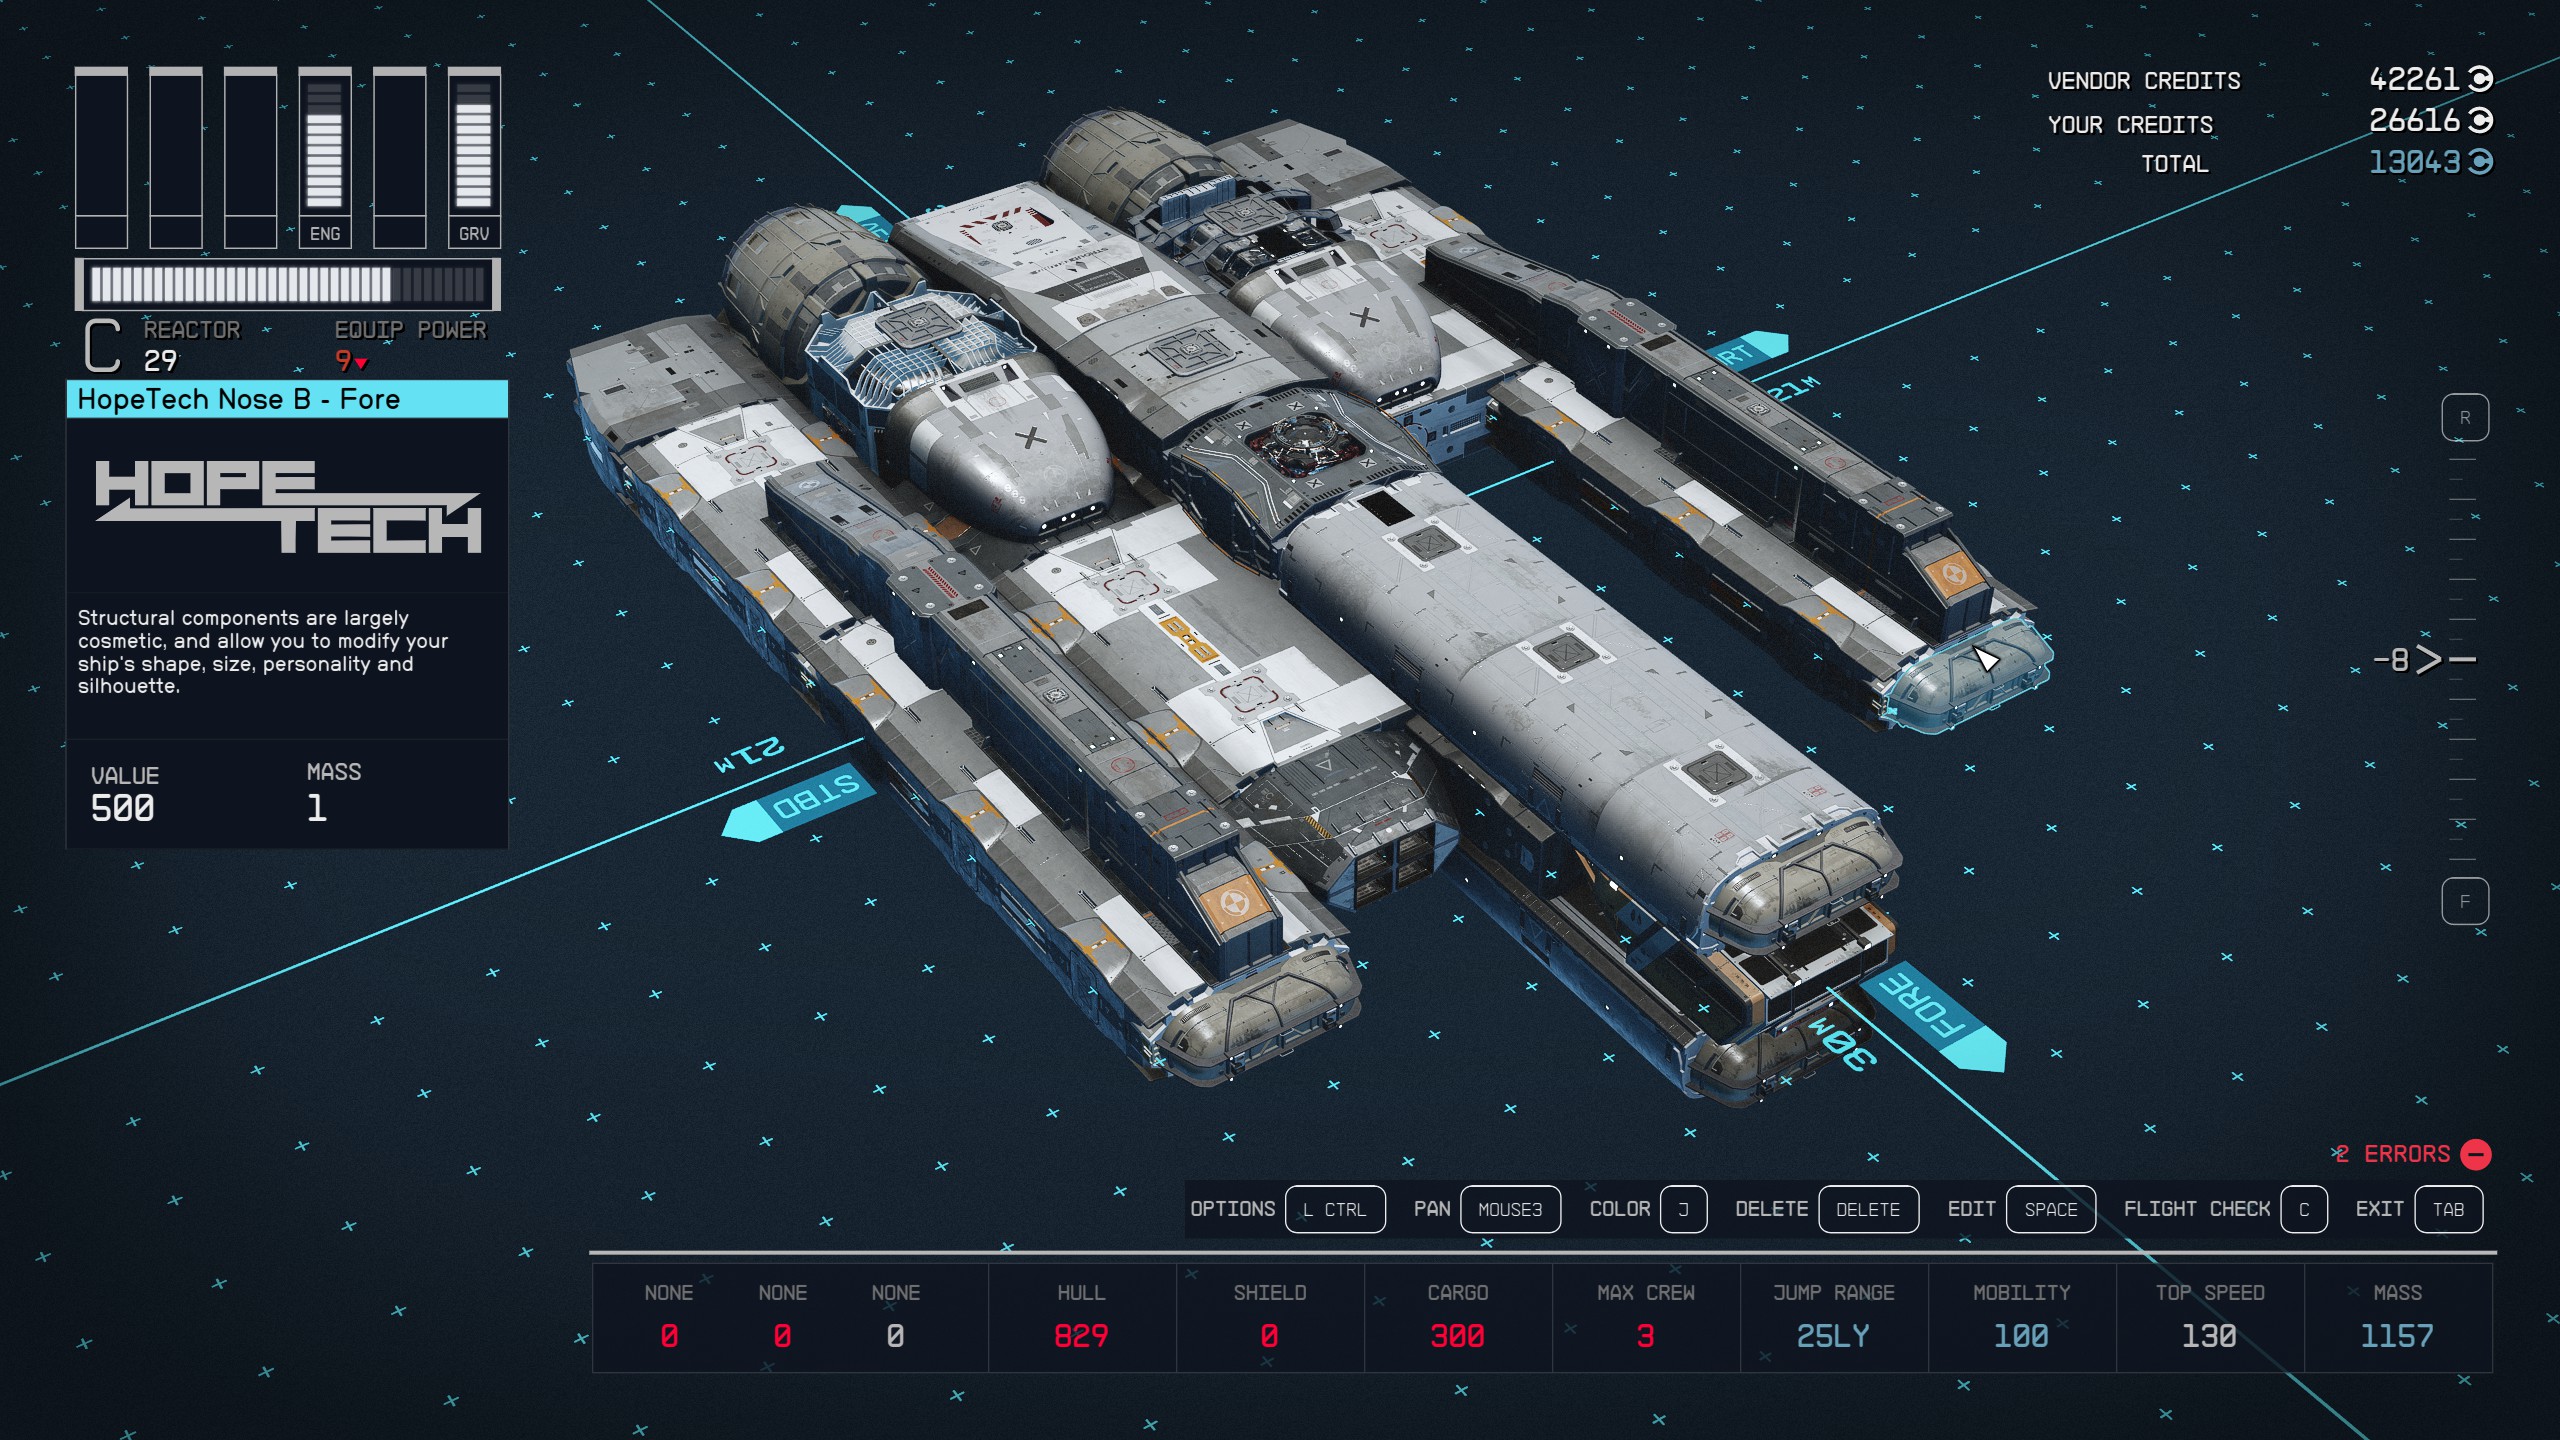
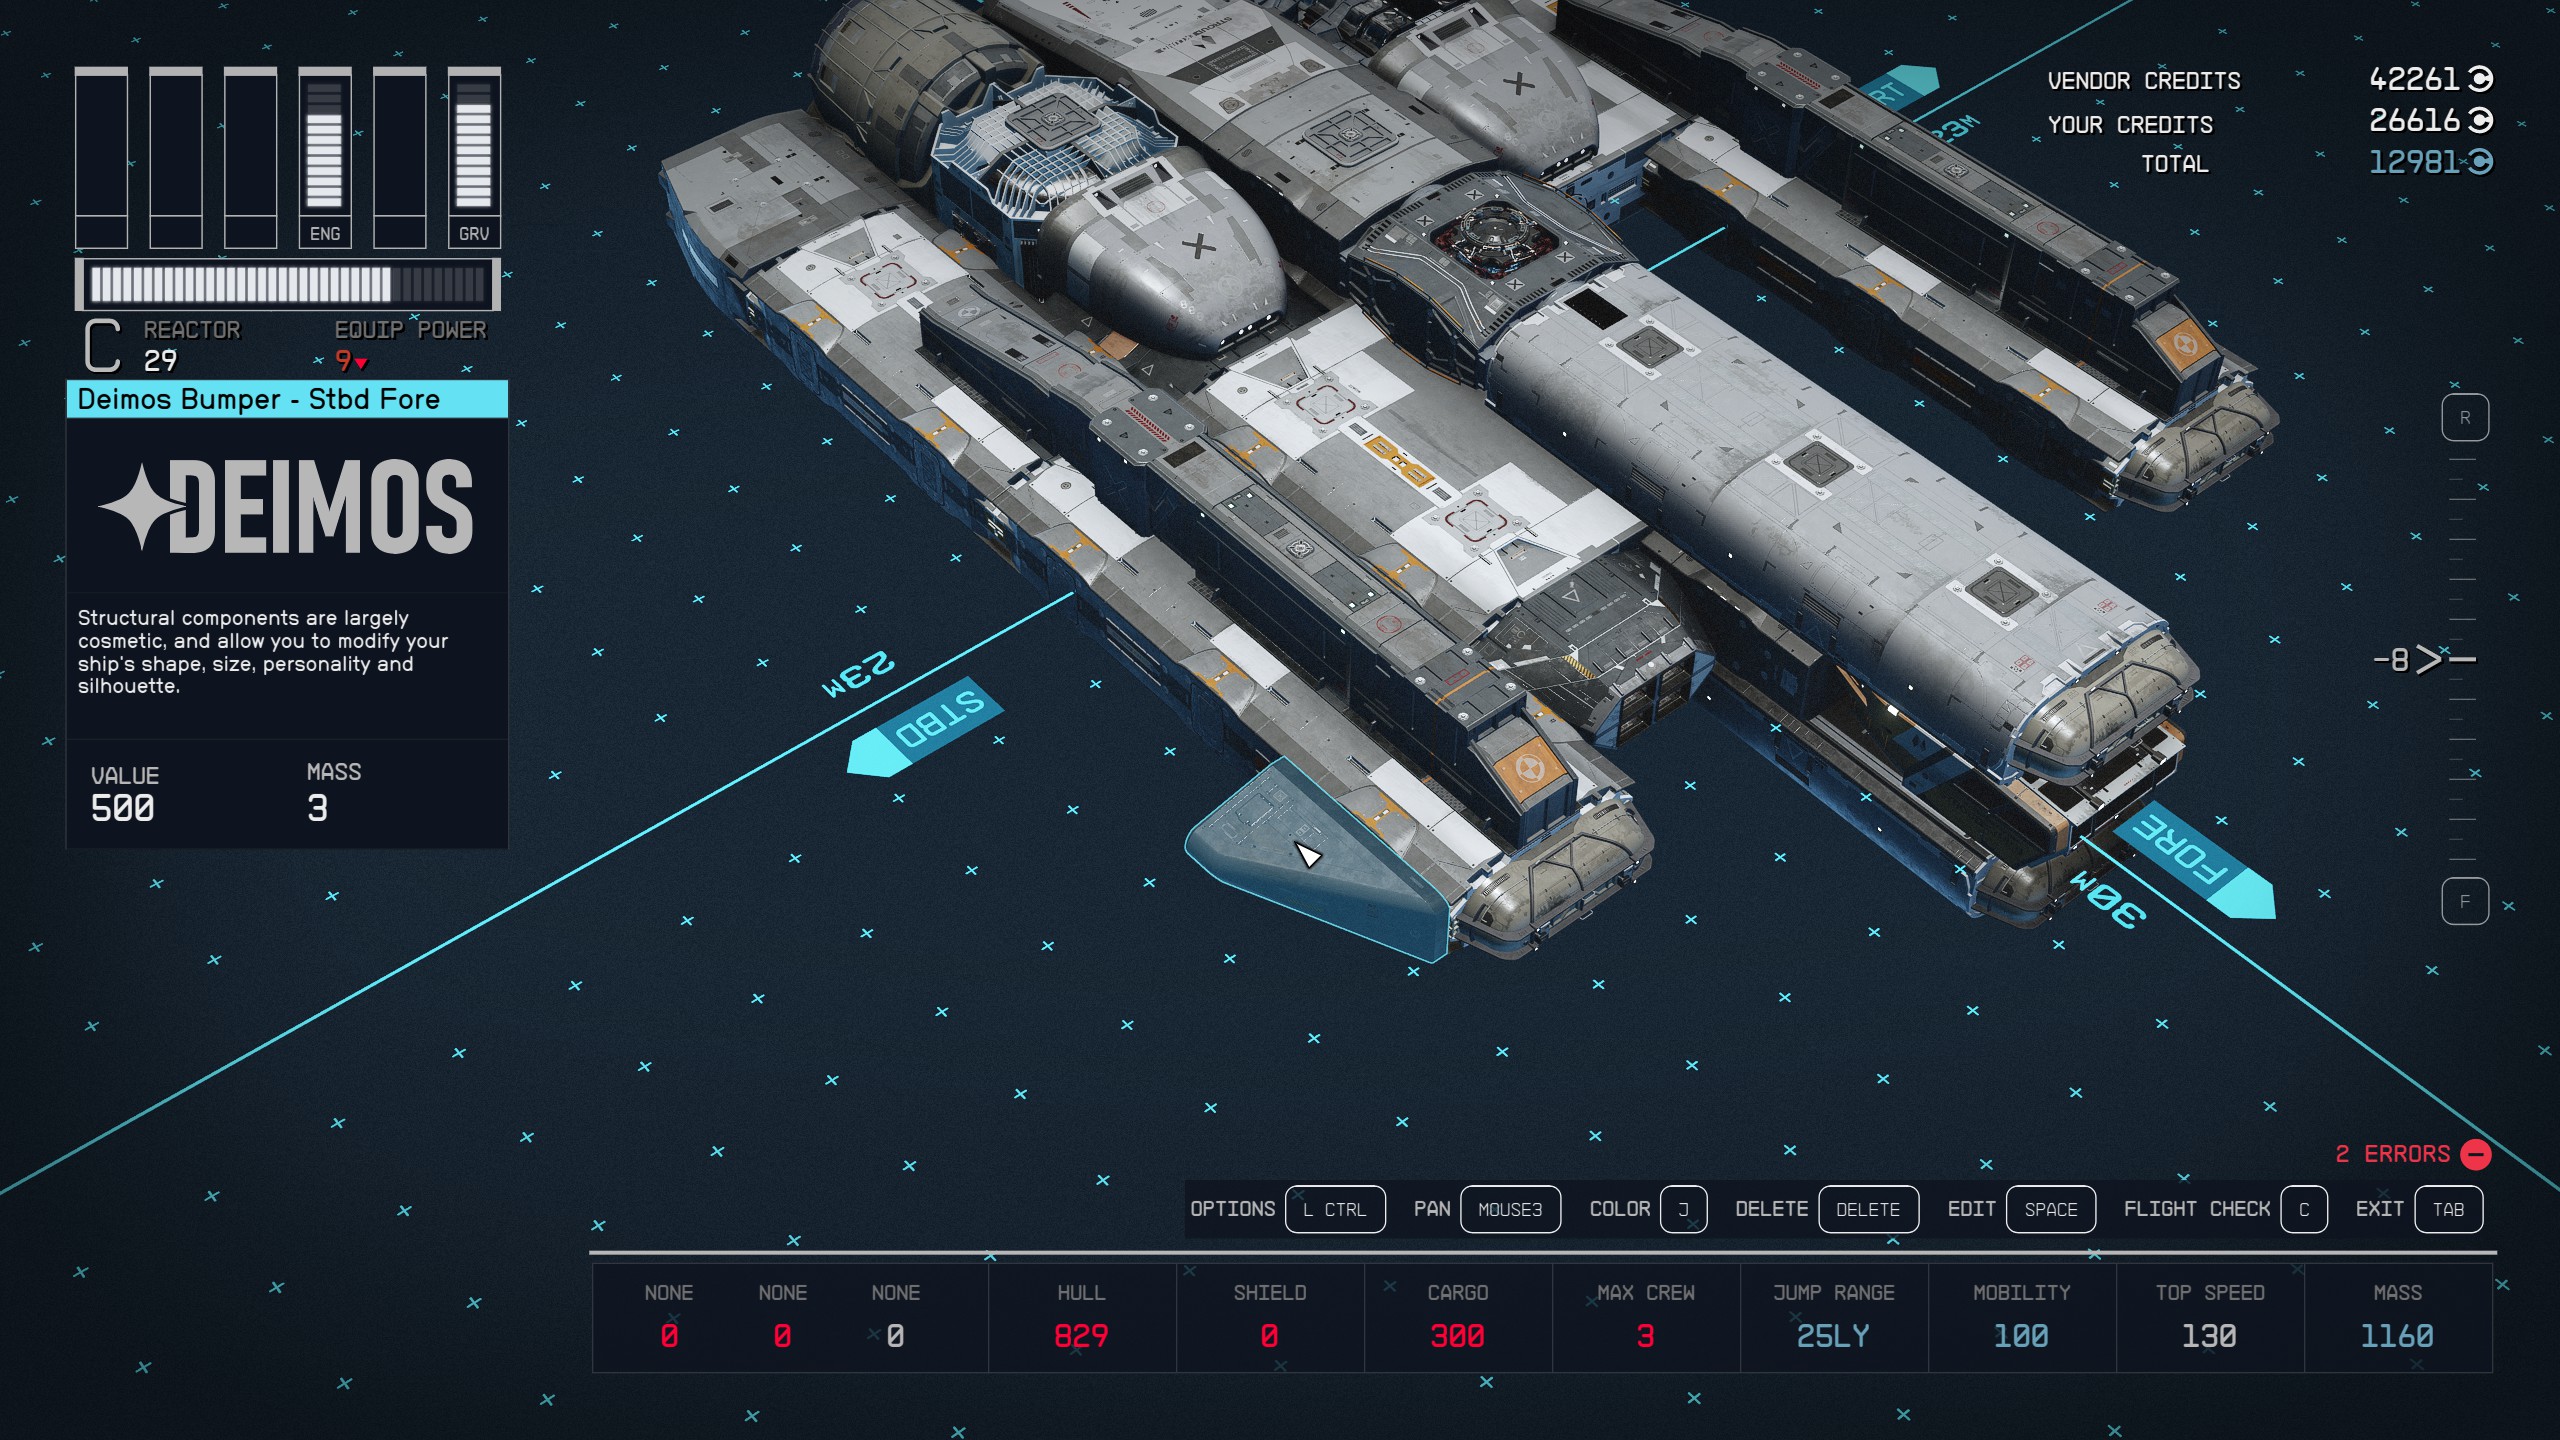
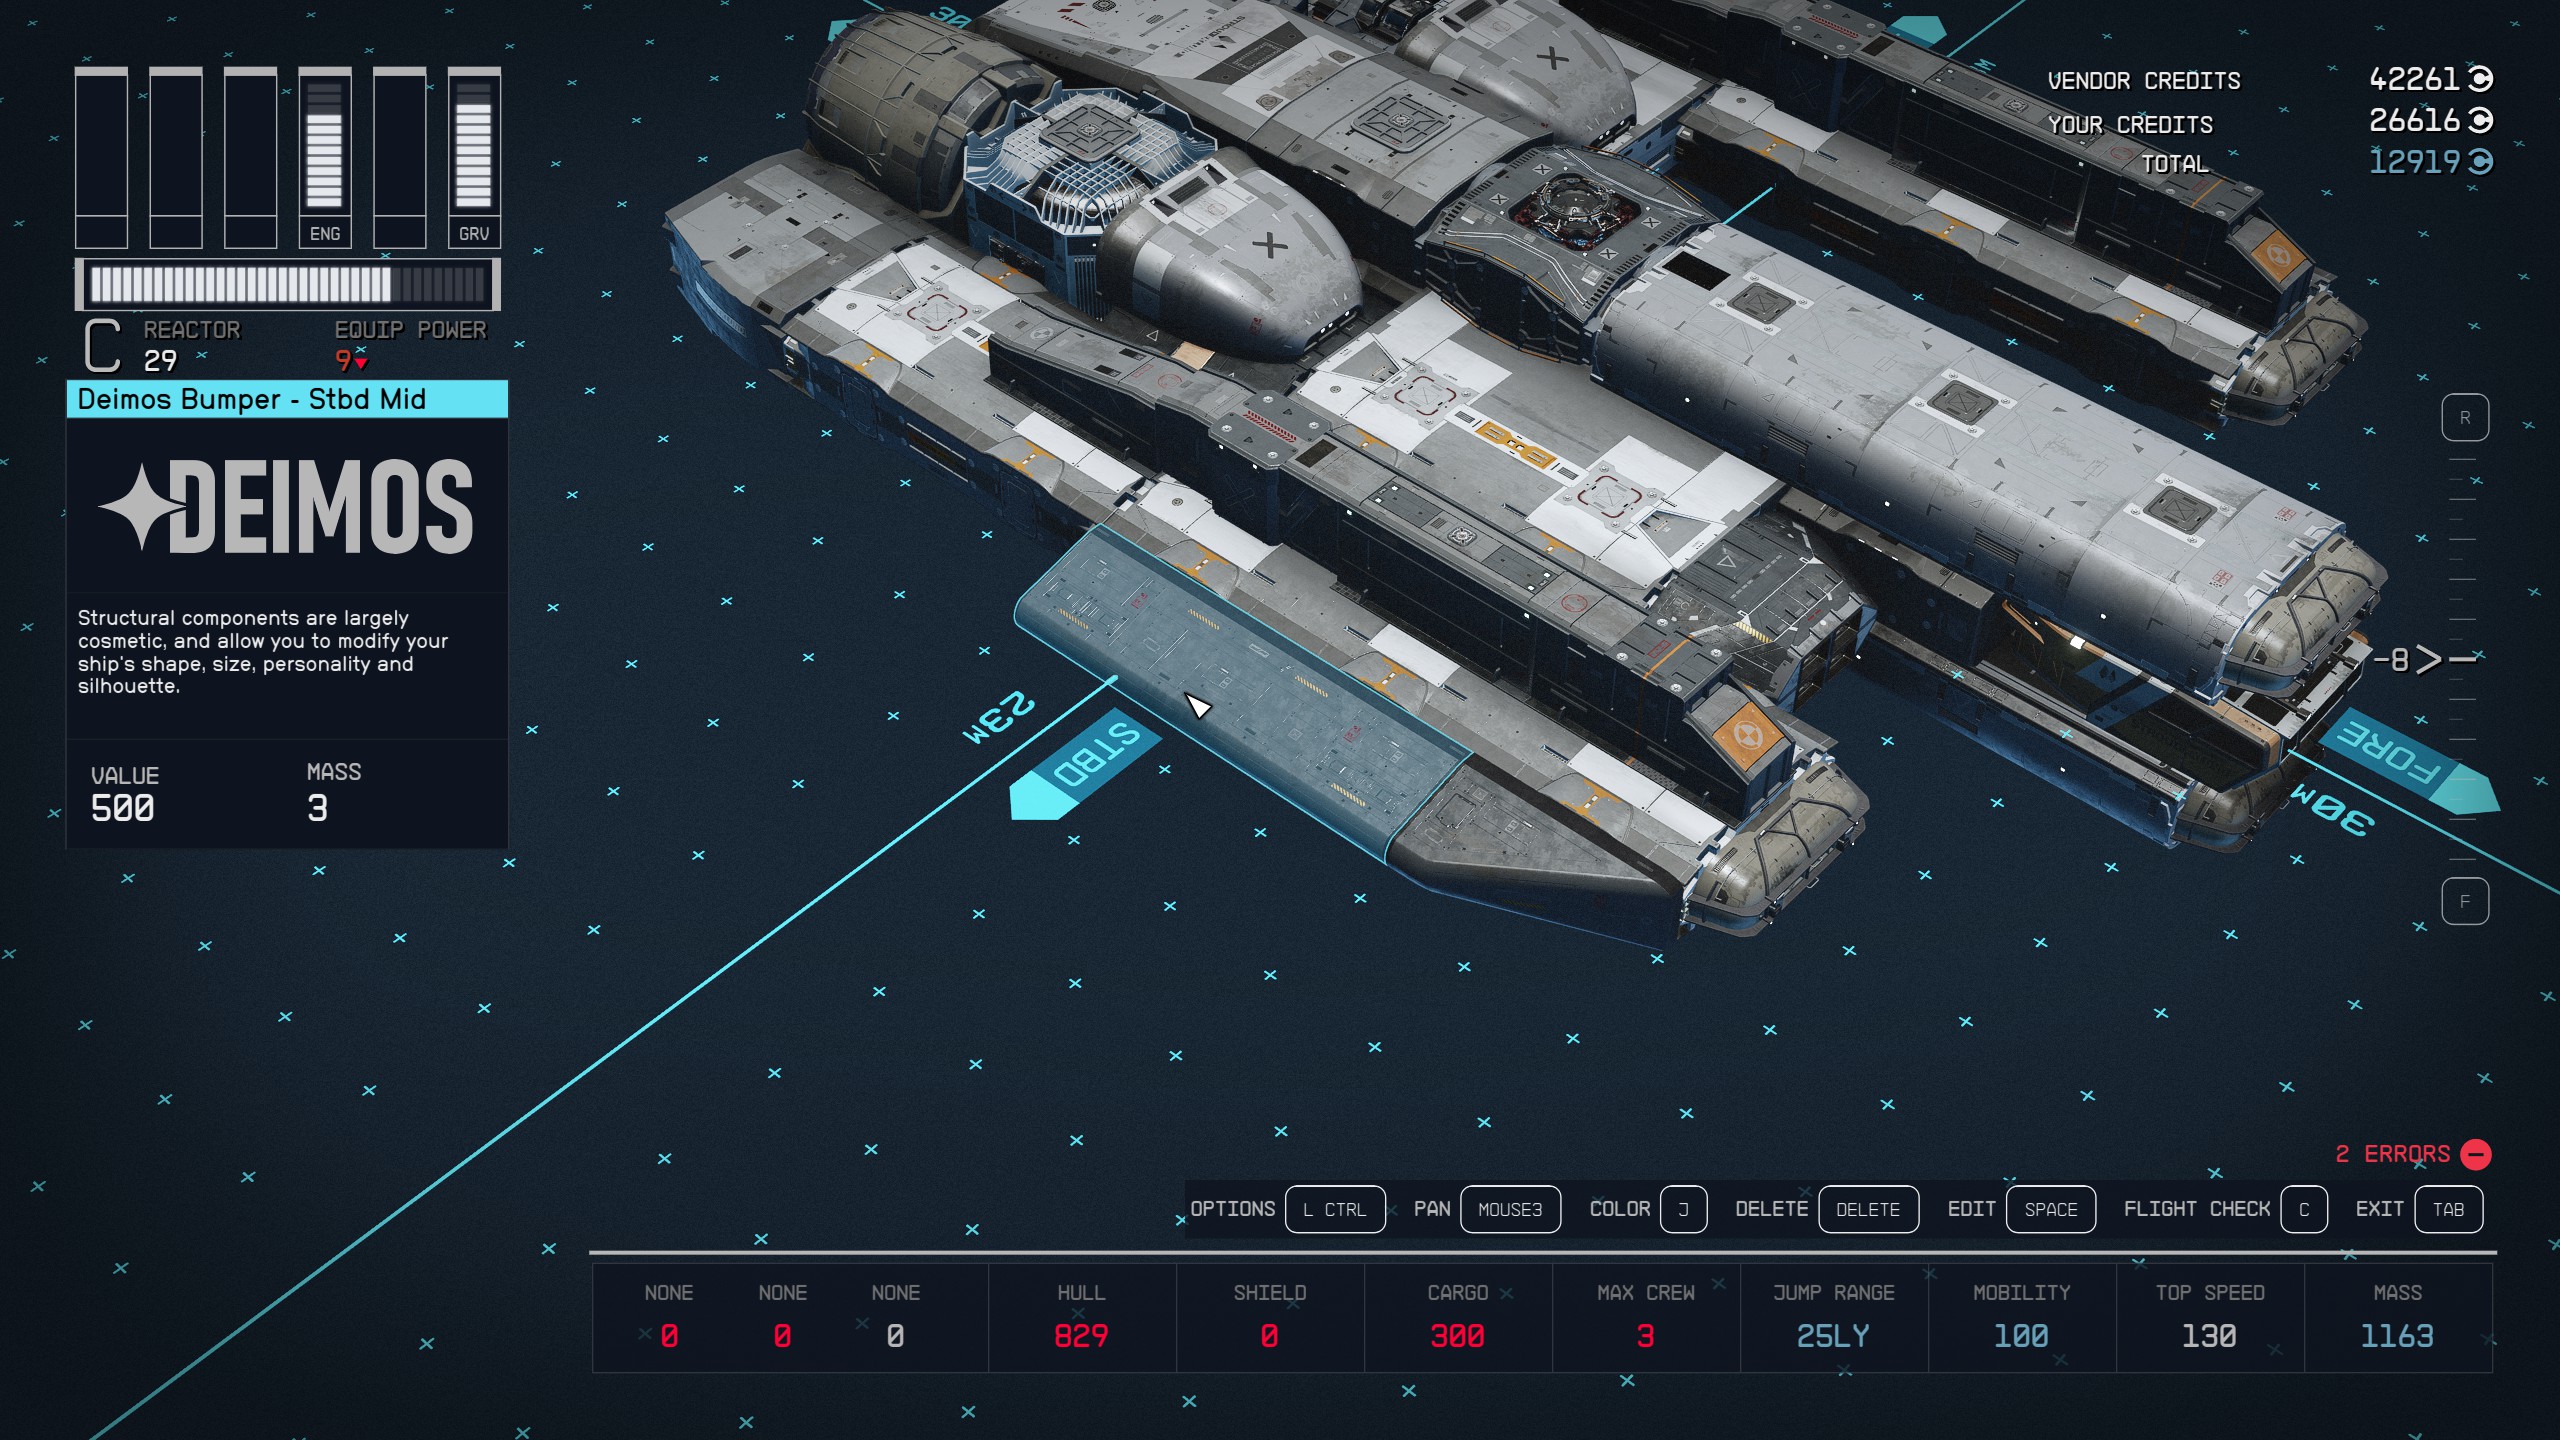
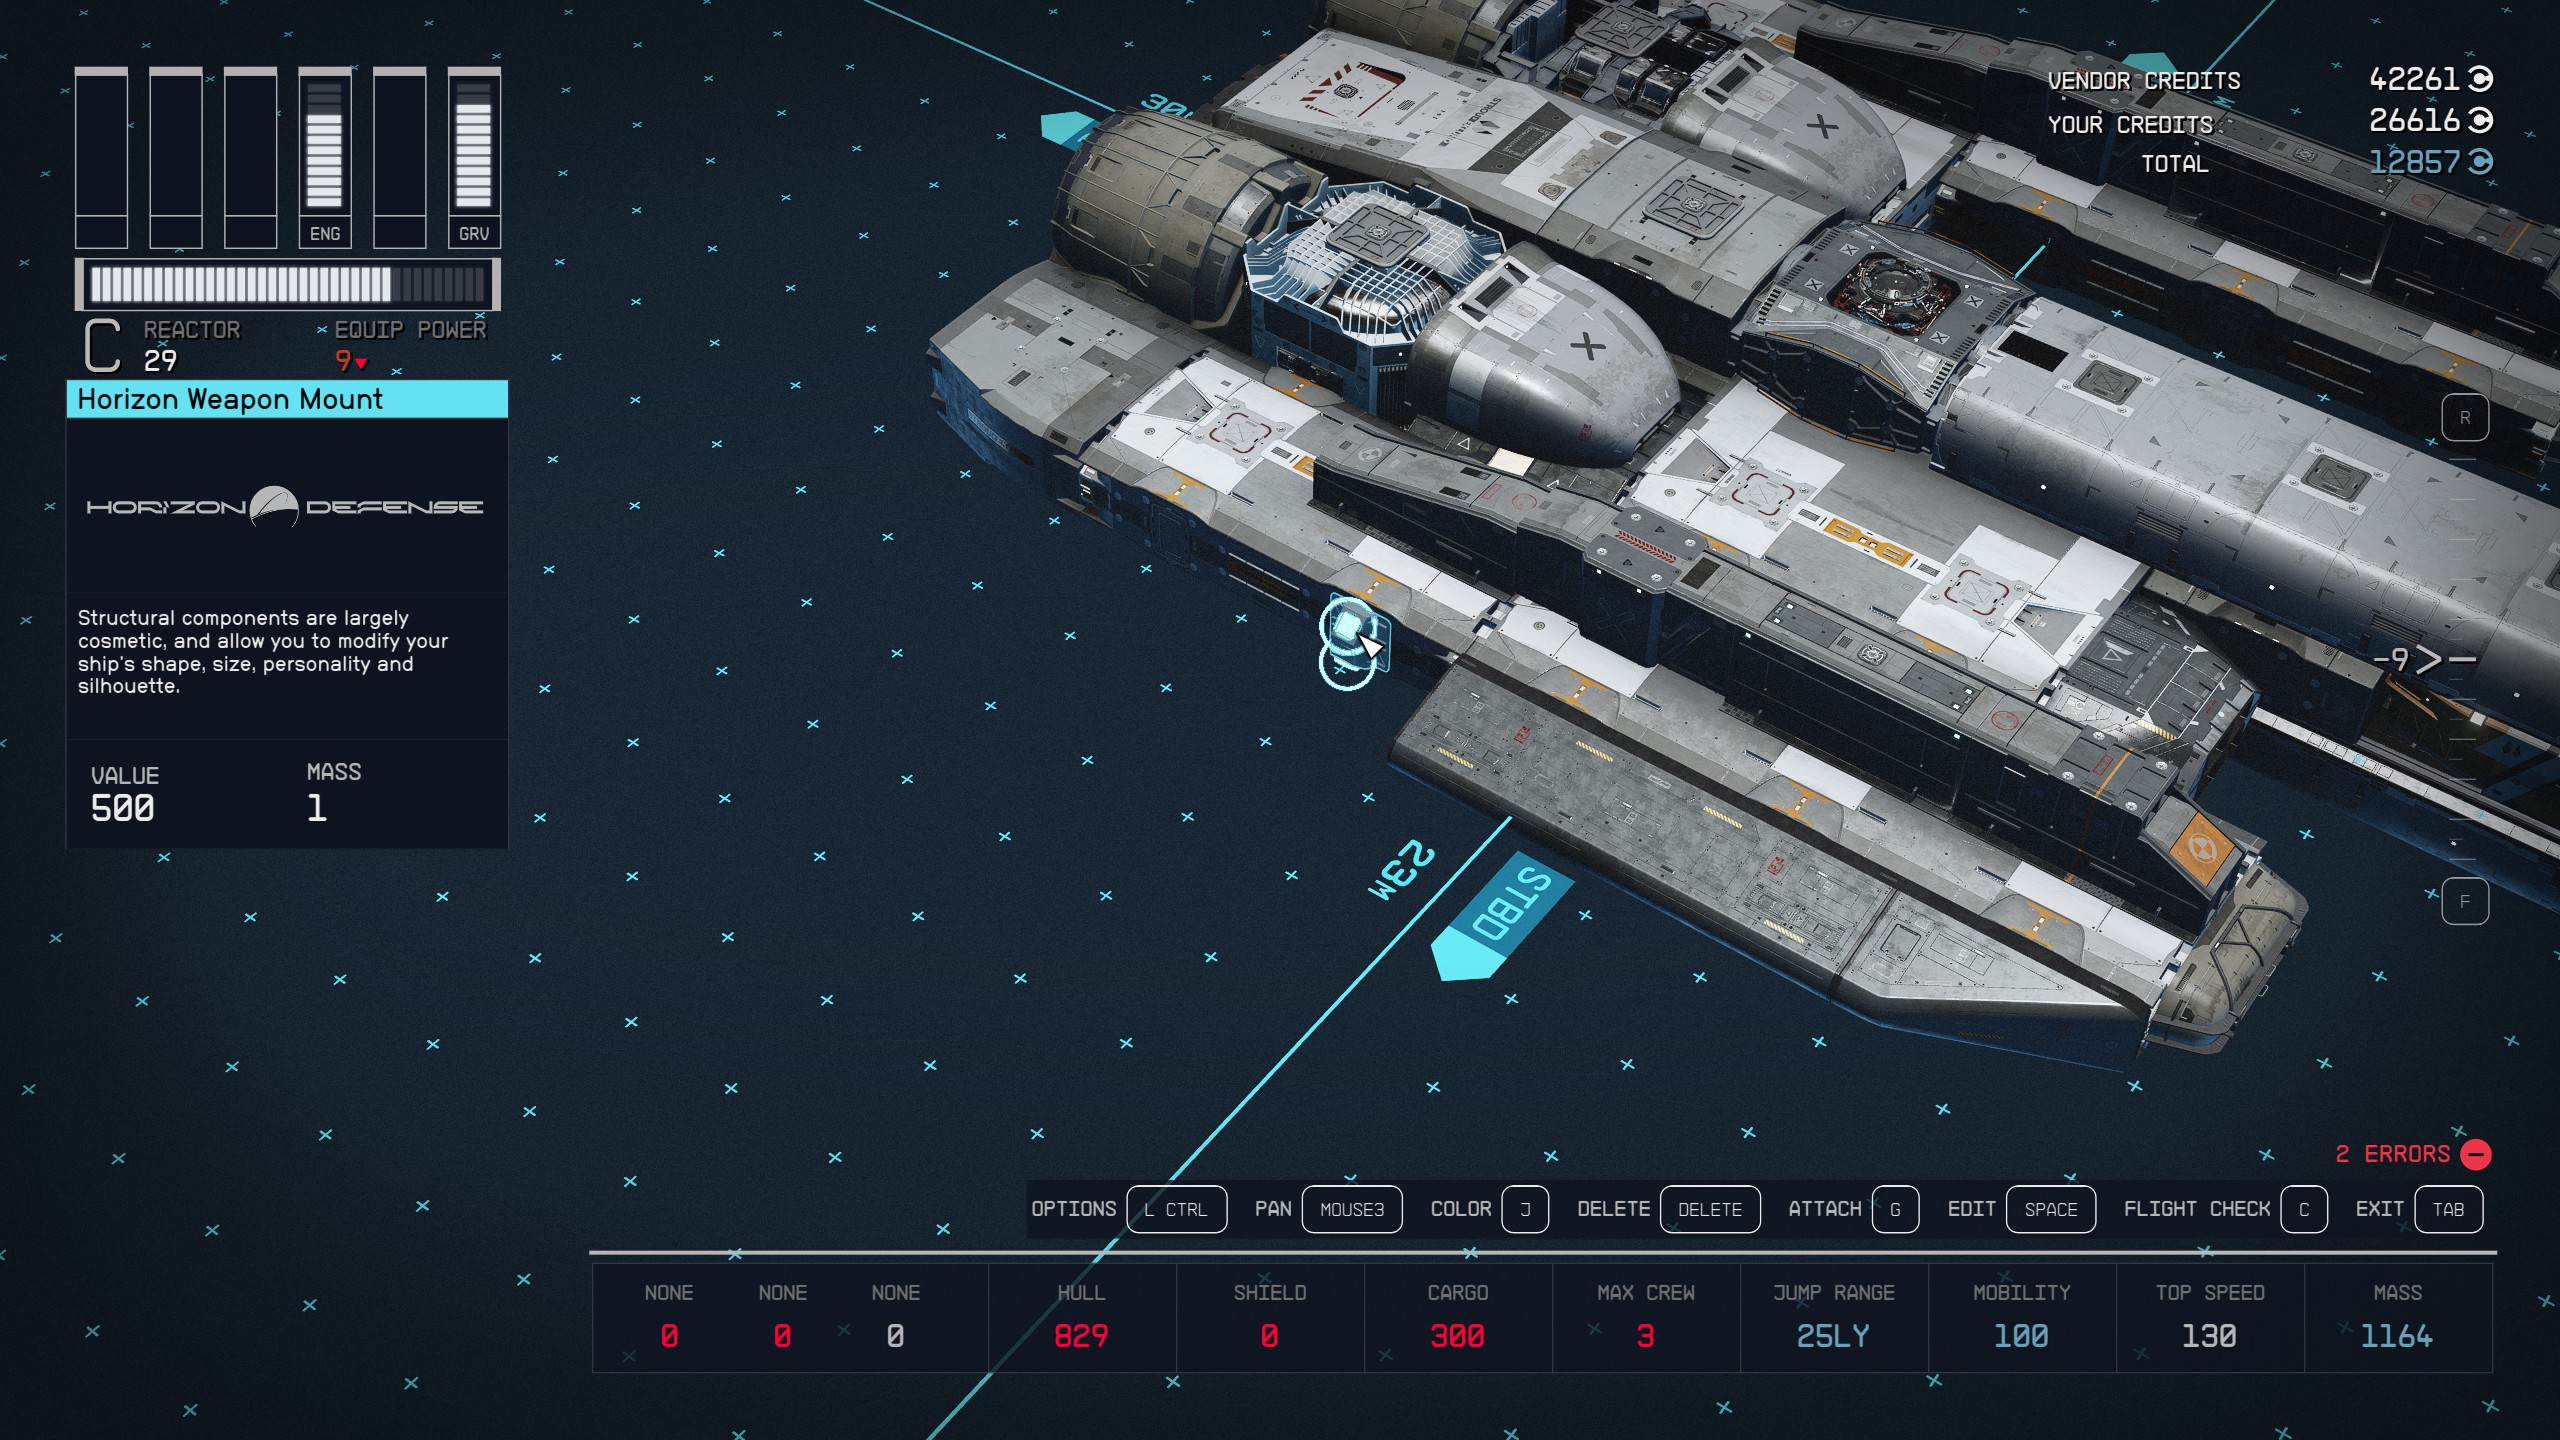
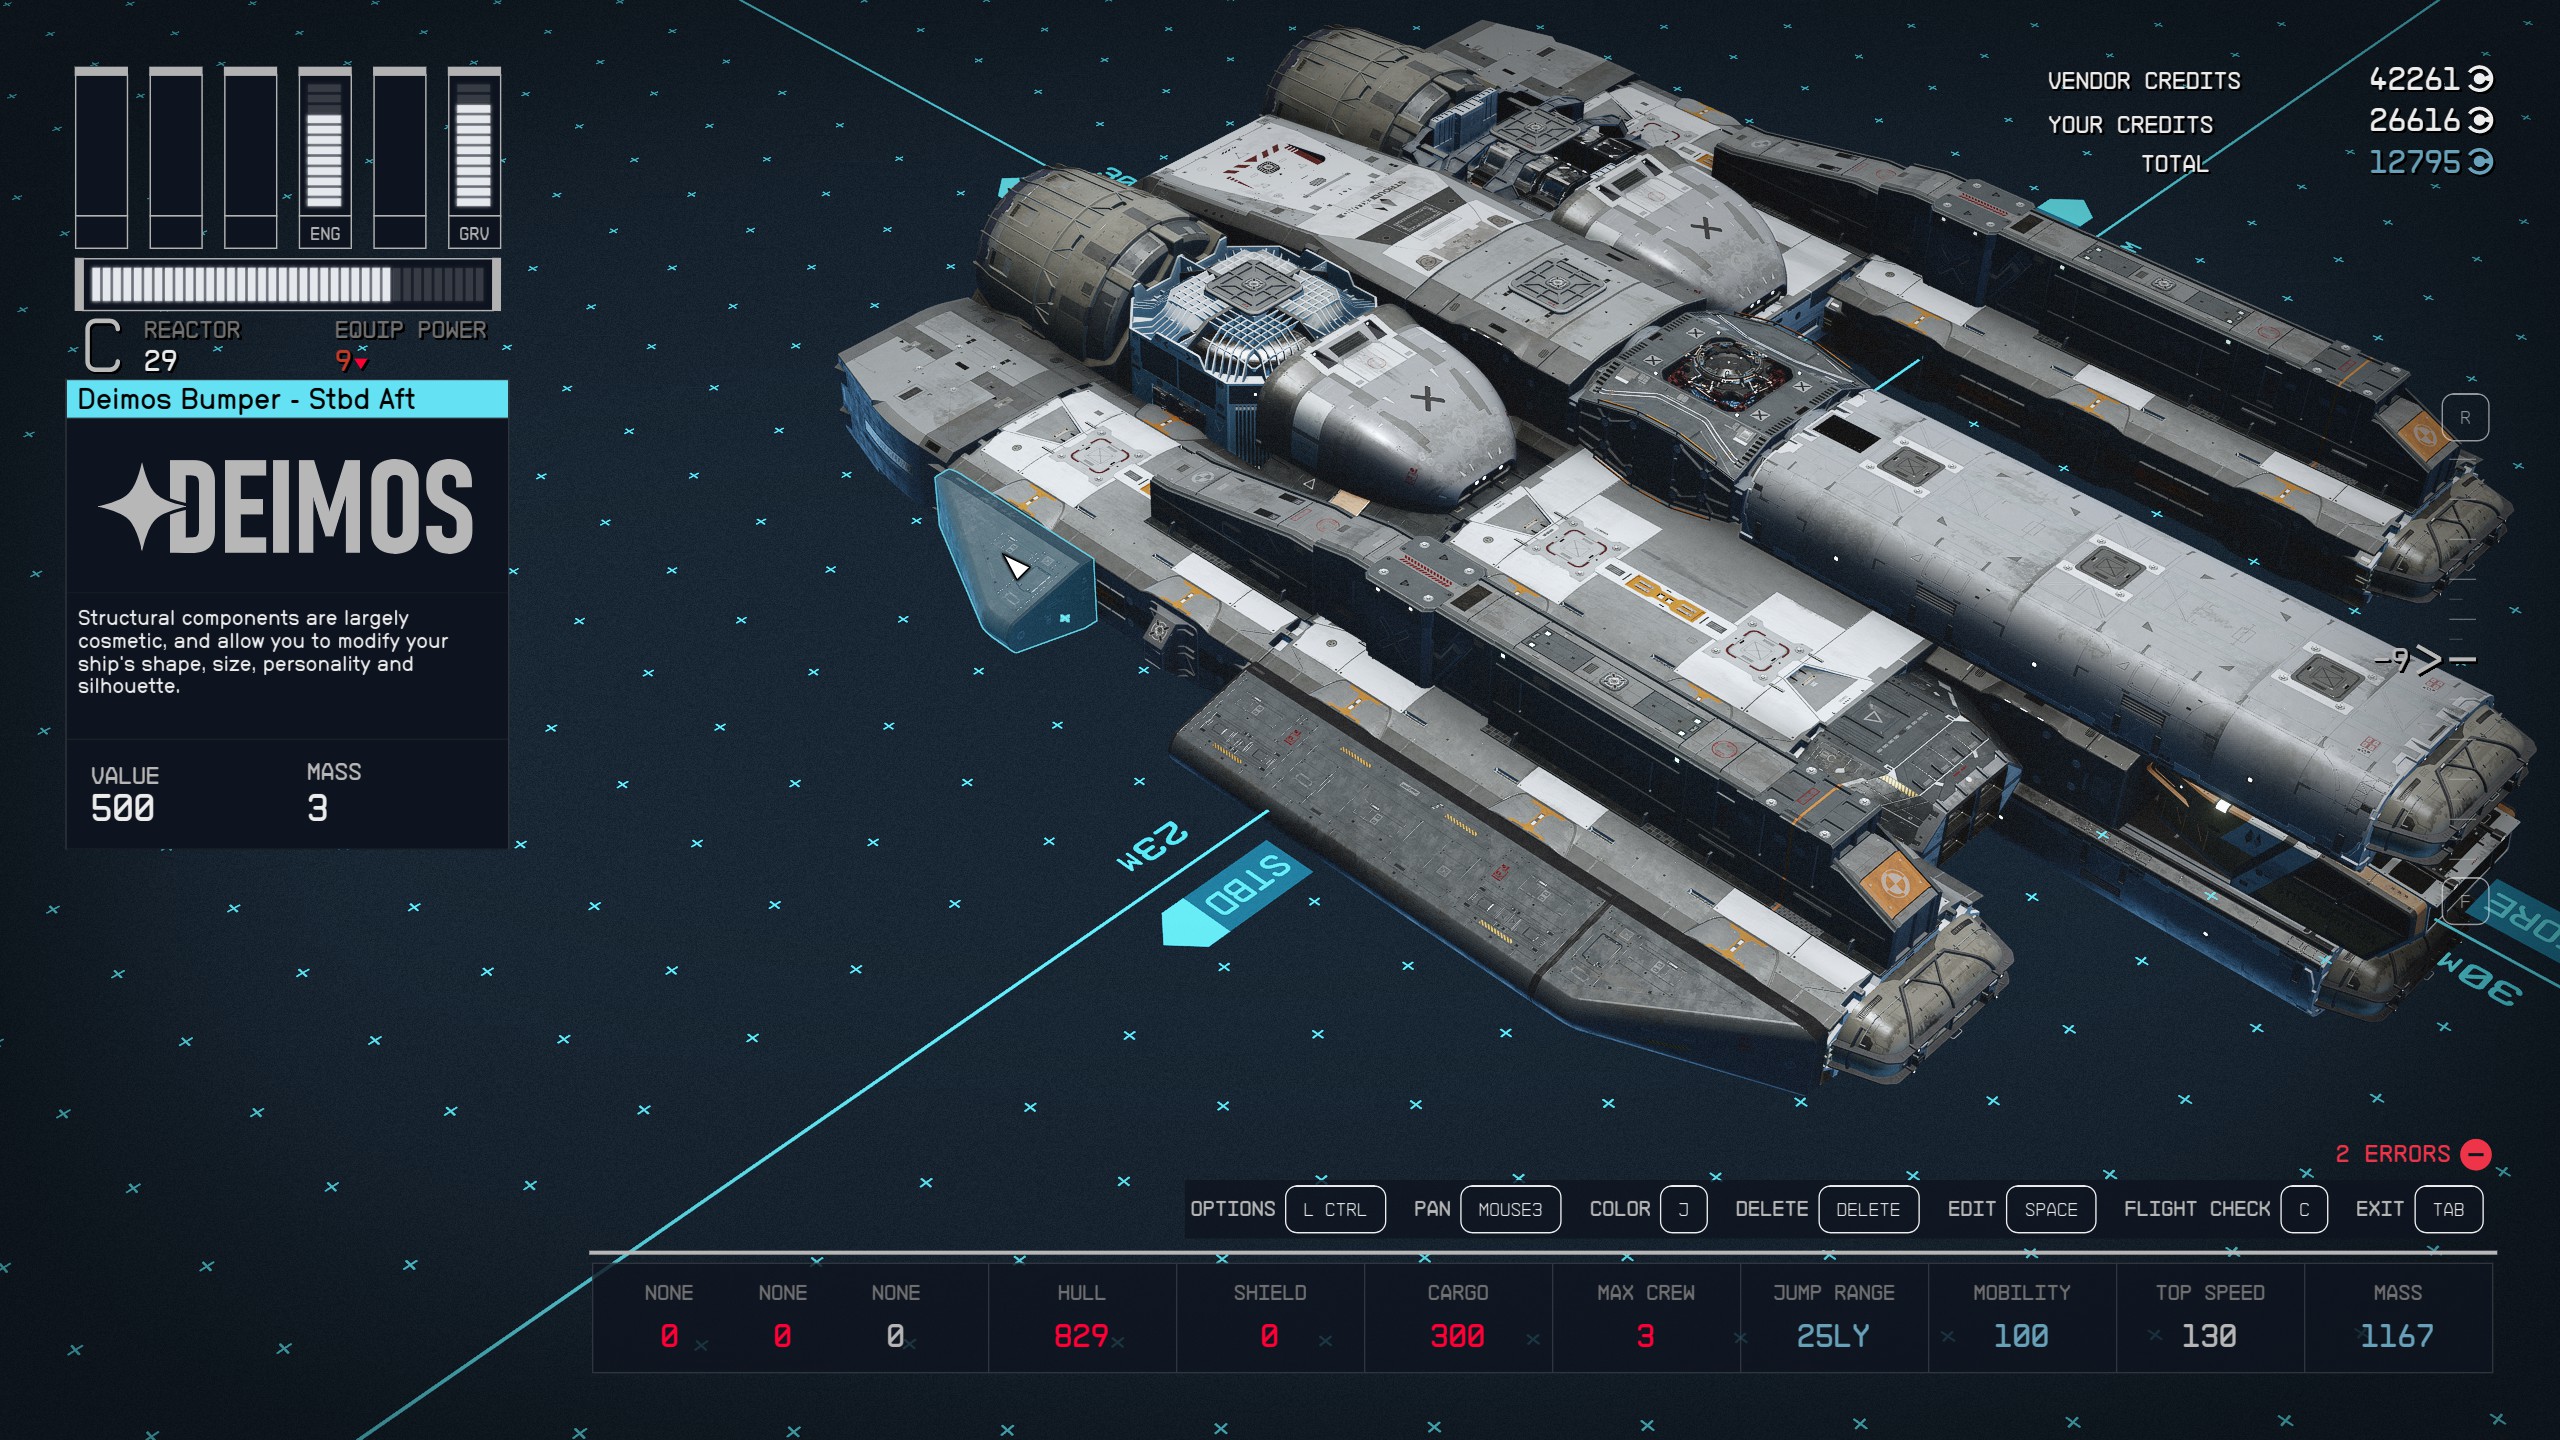
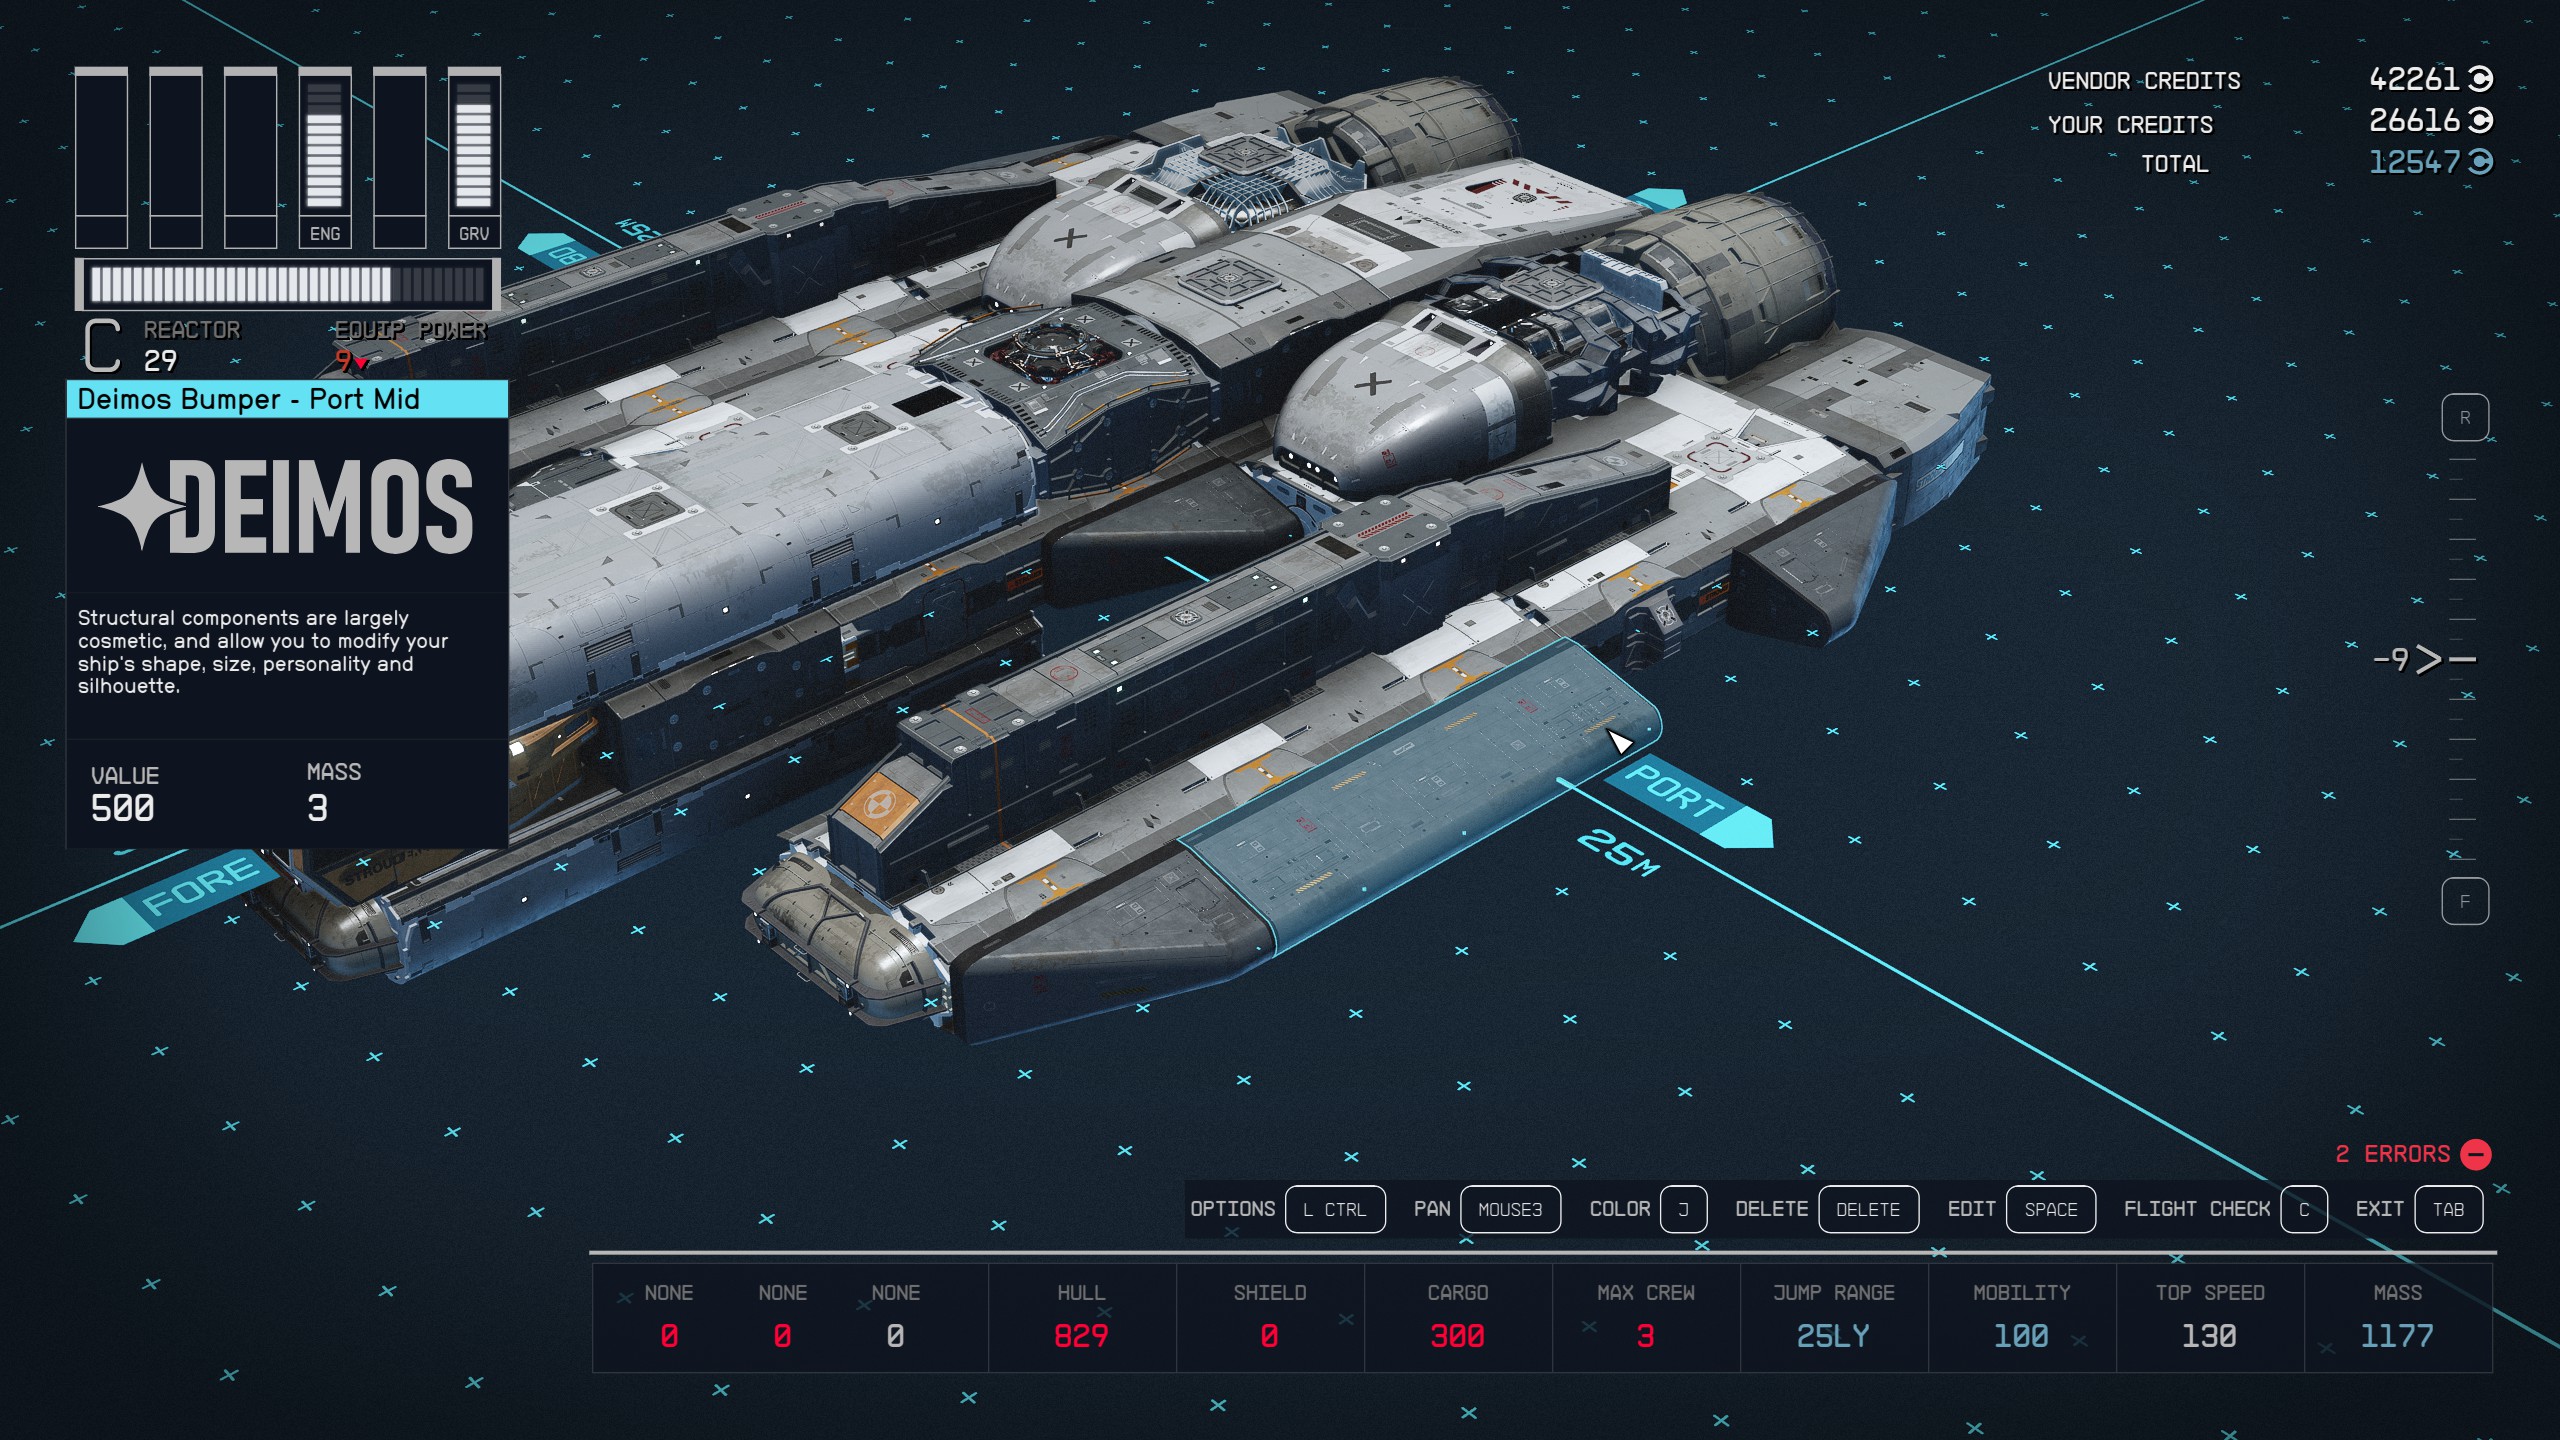
Part Four: The Undercarriage
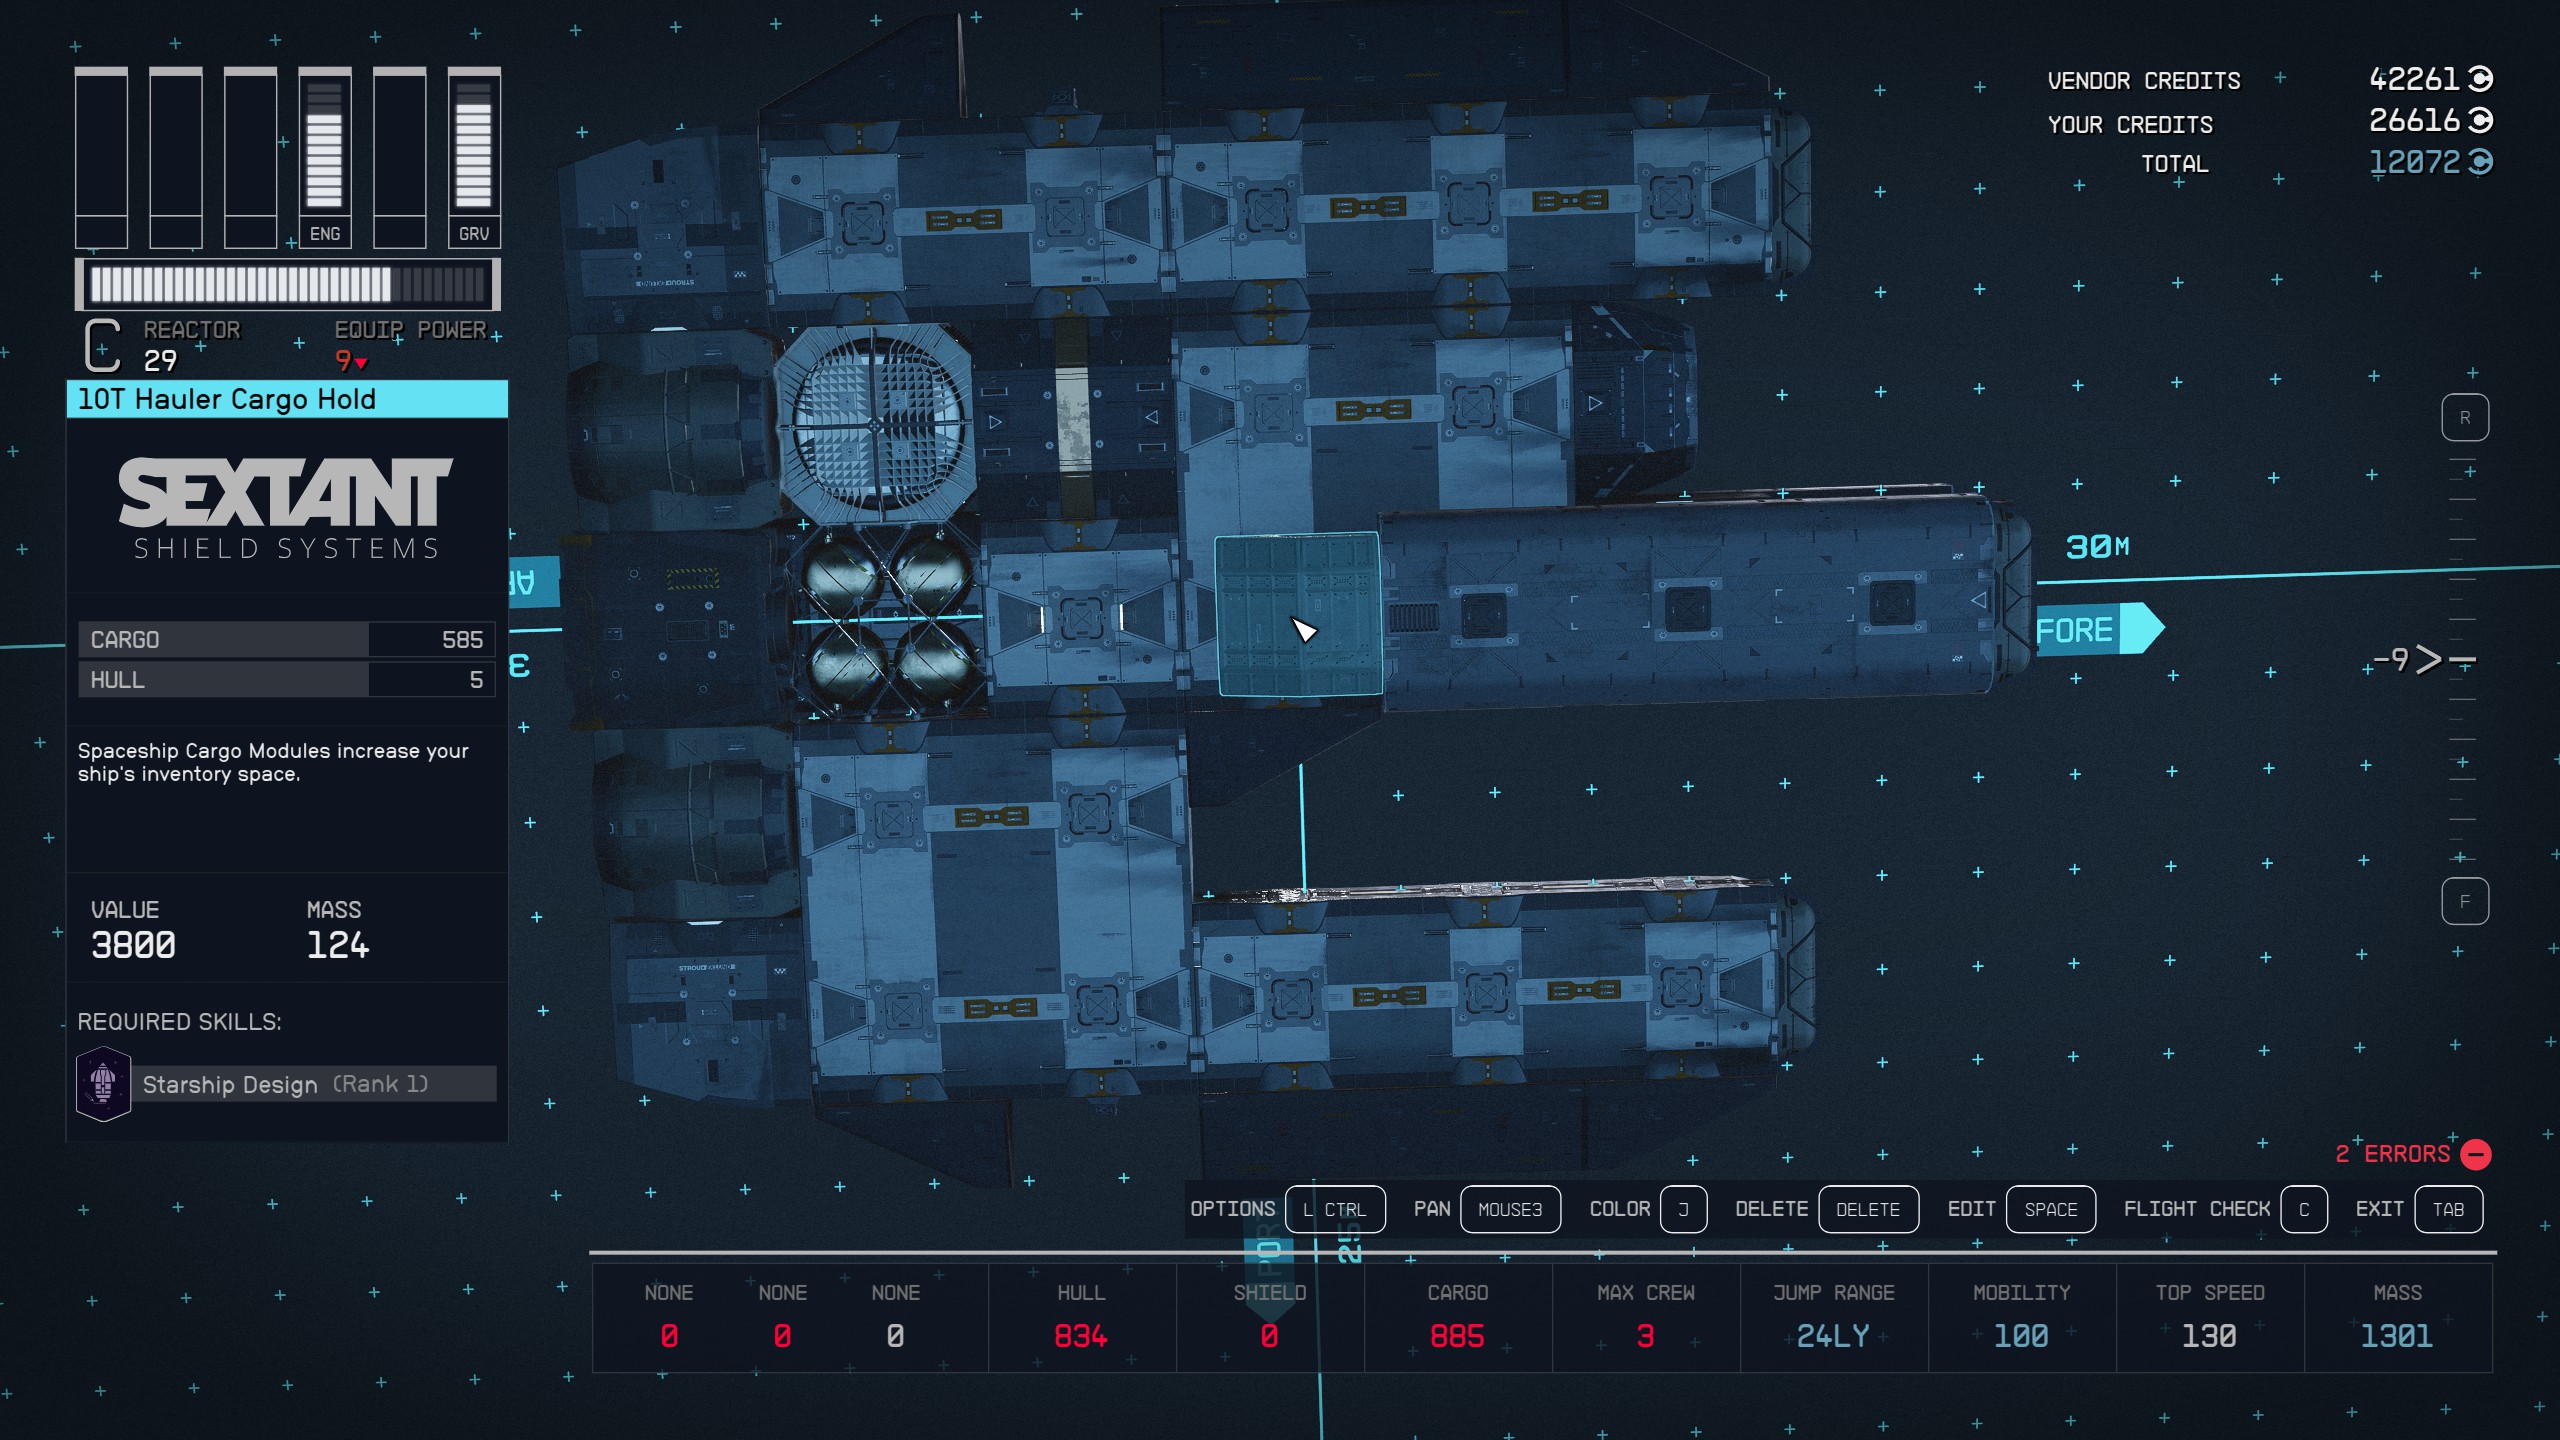

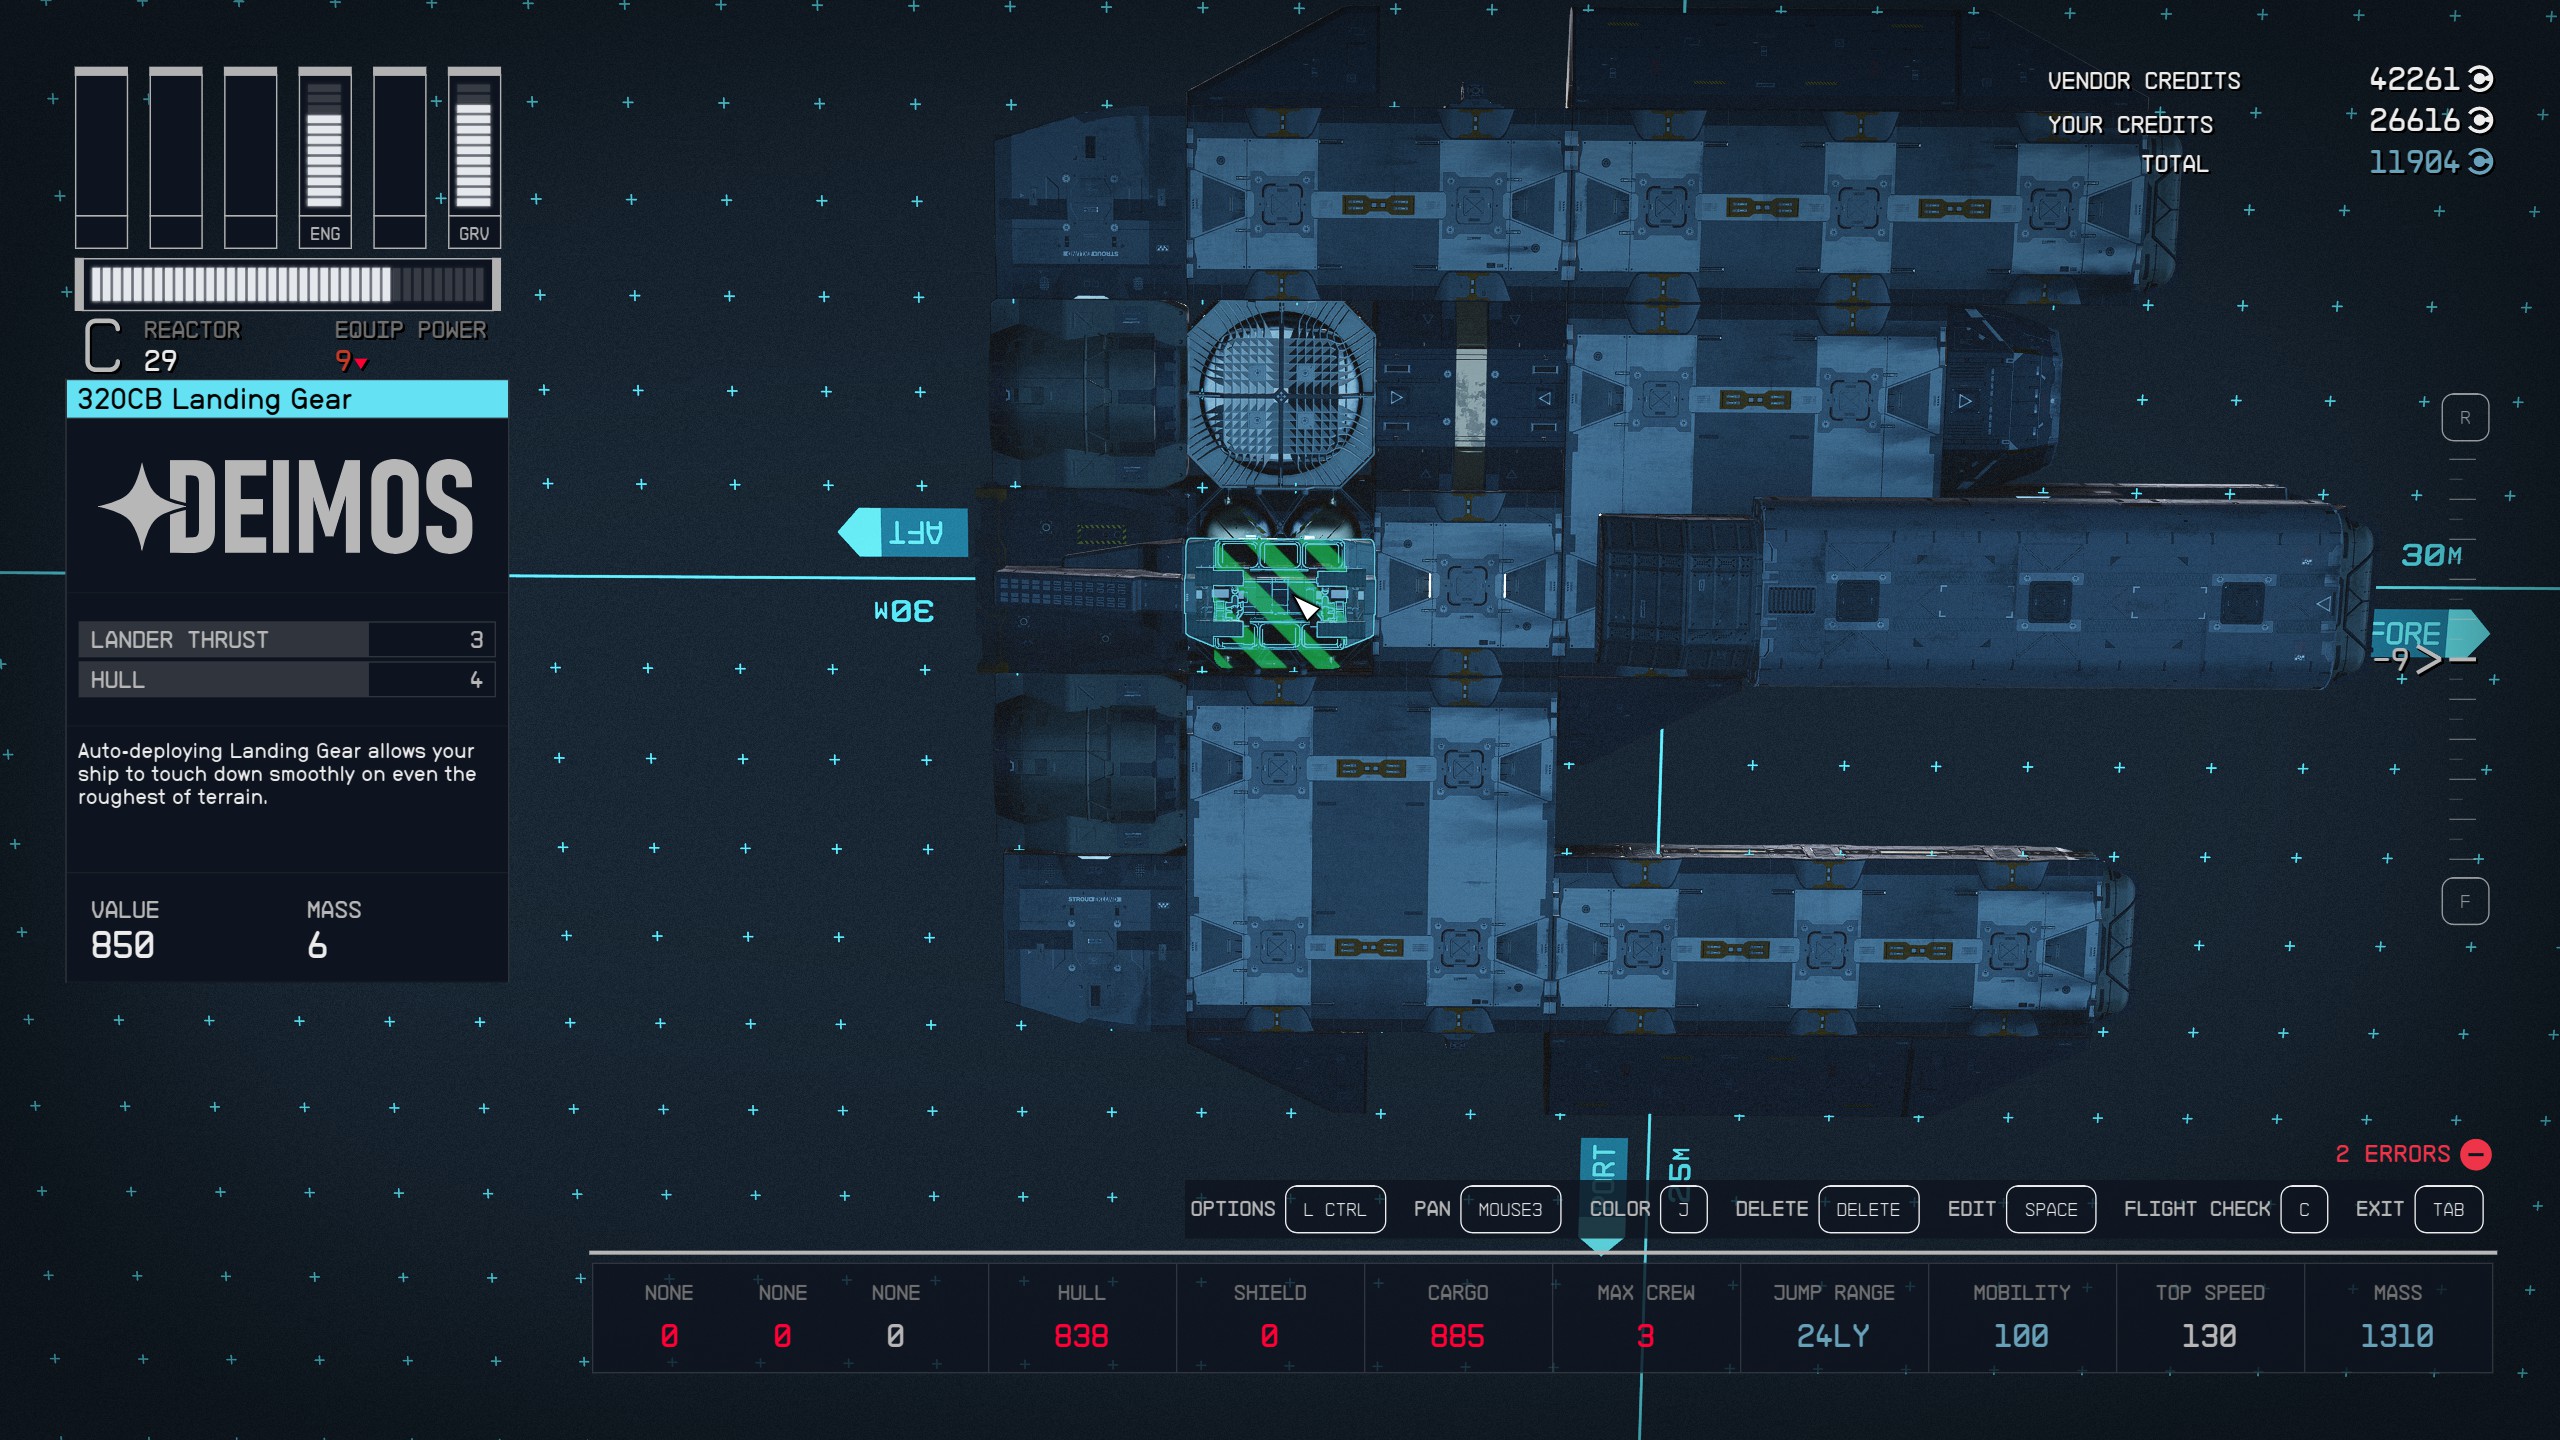
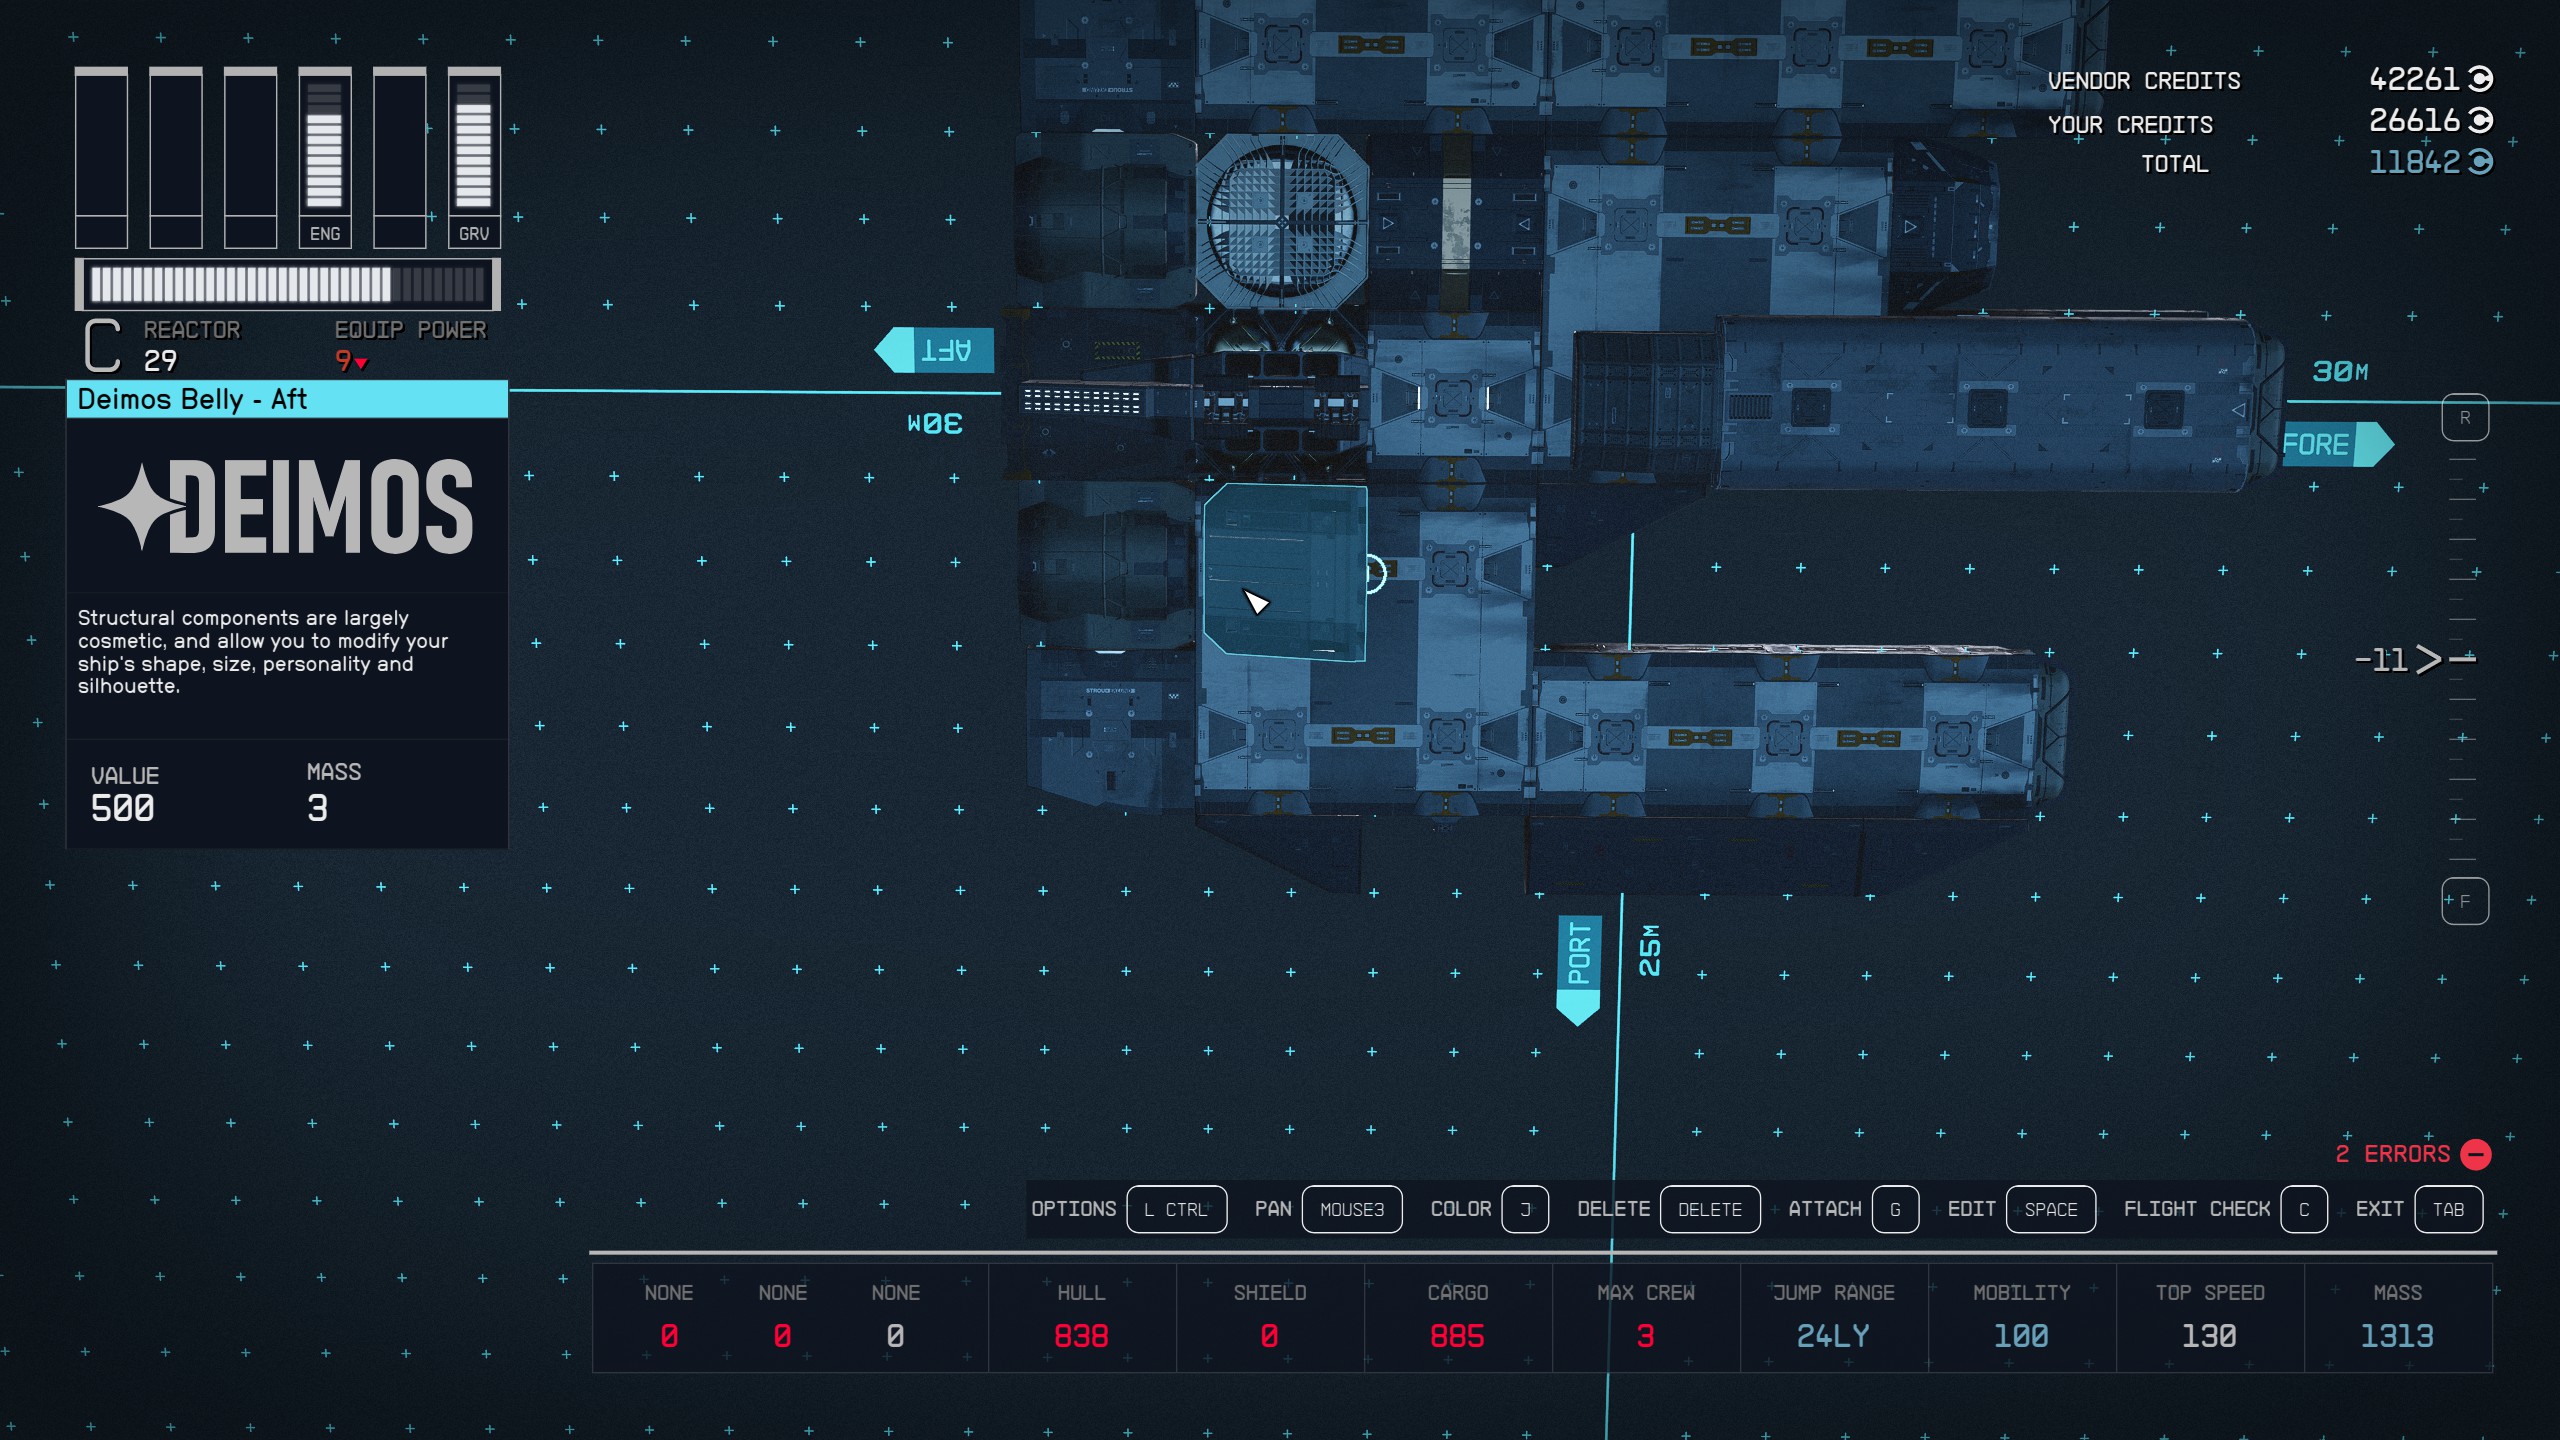
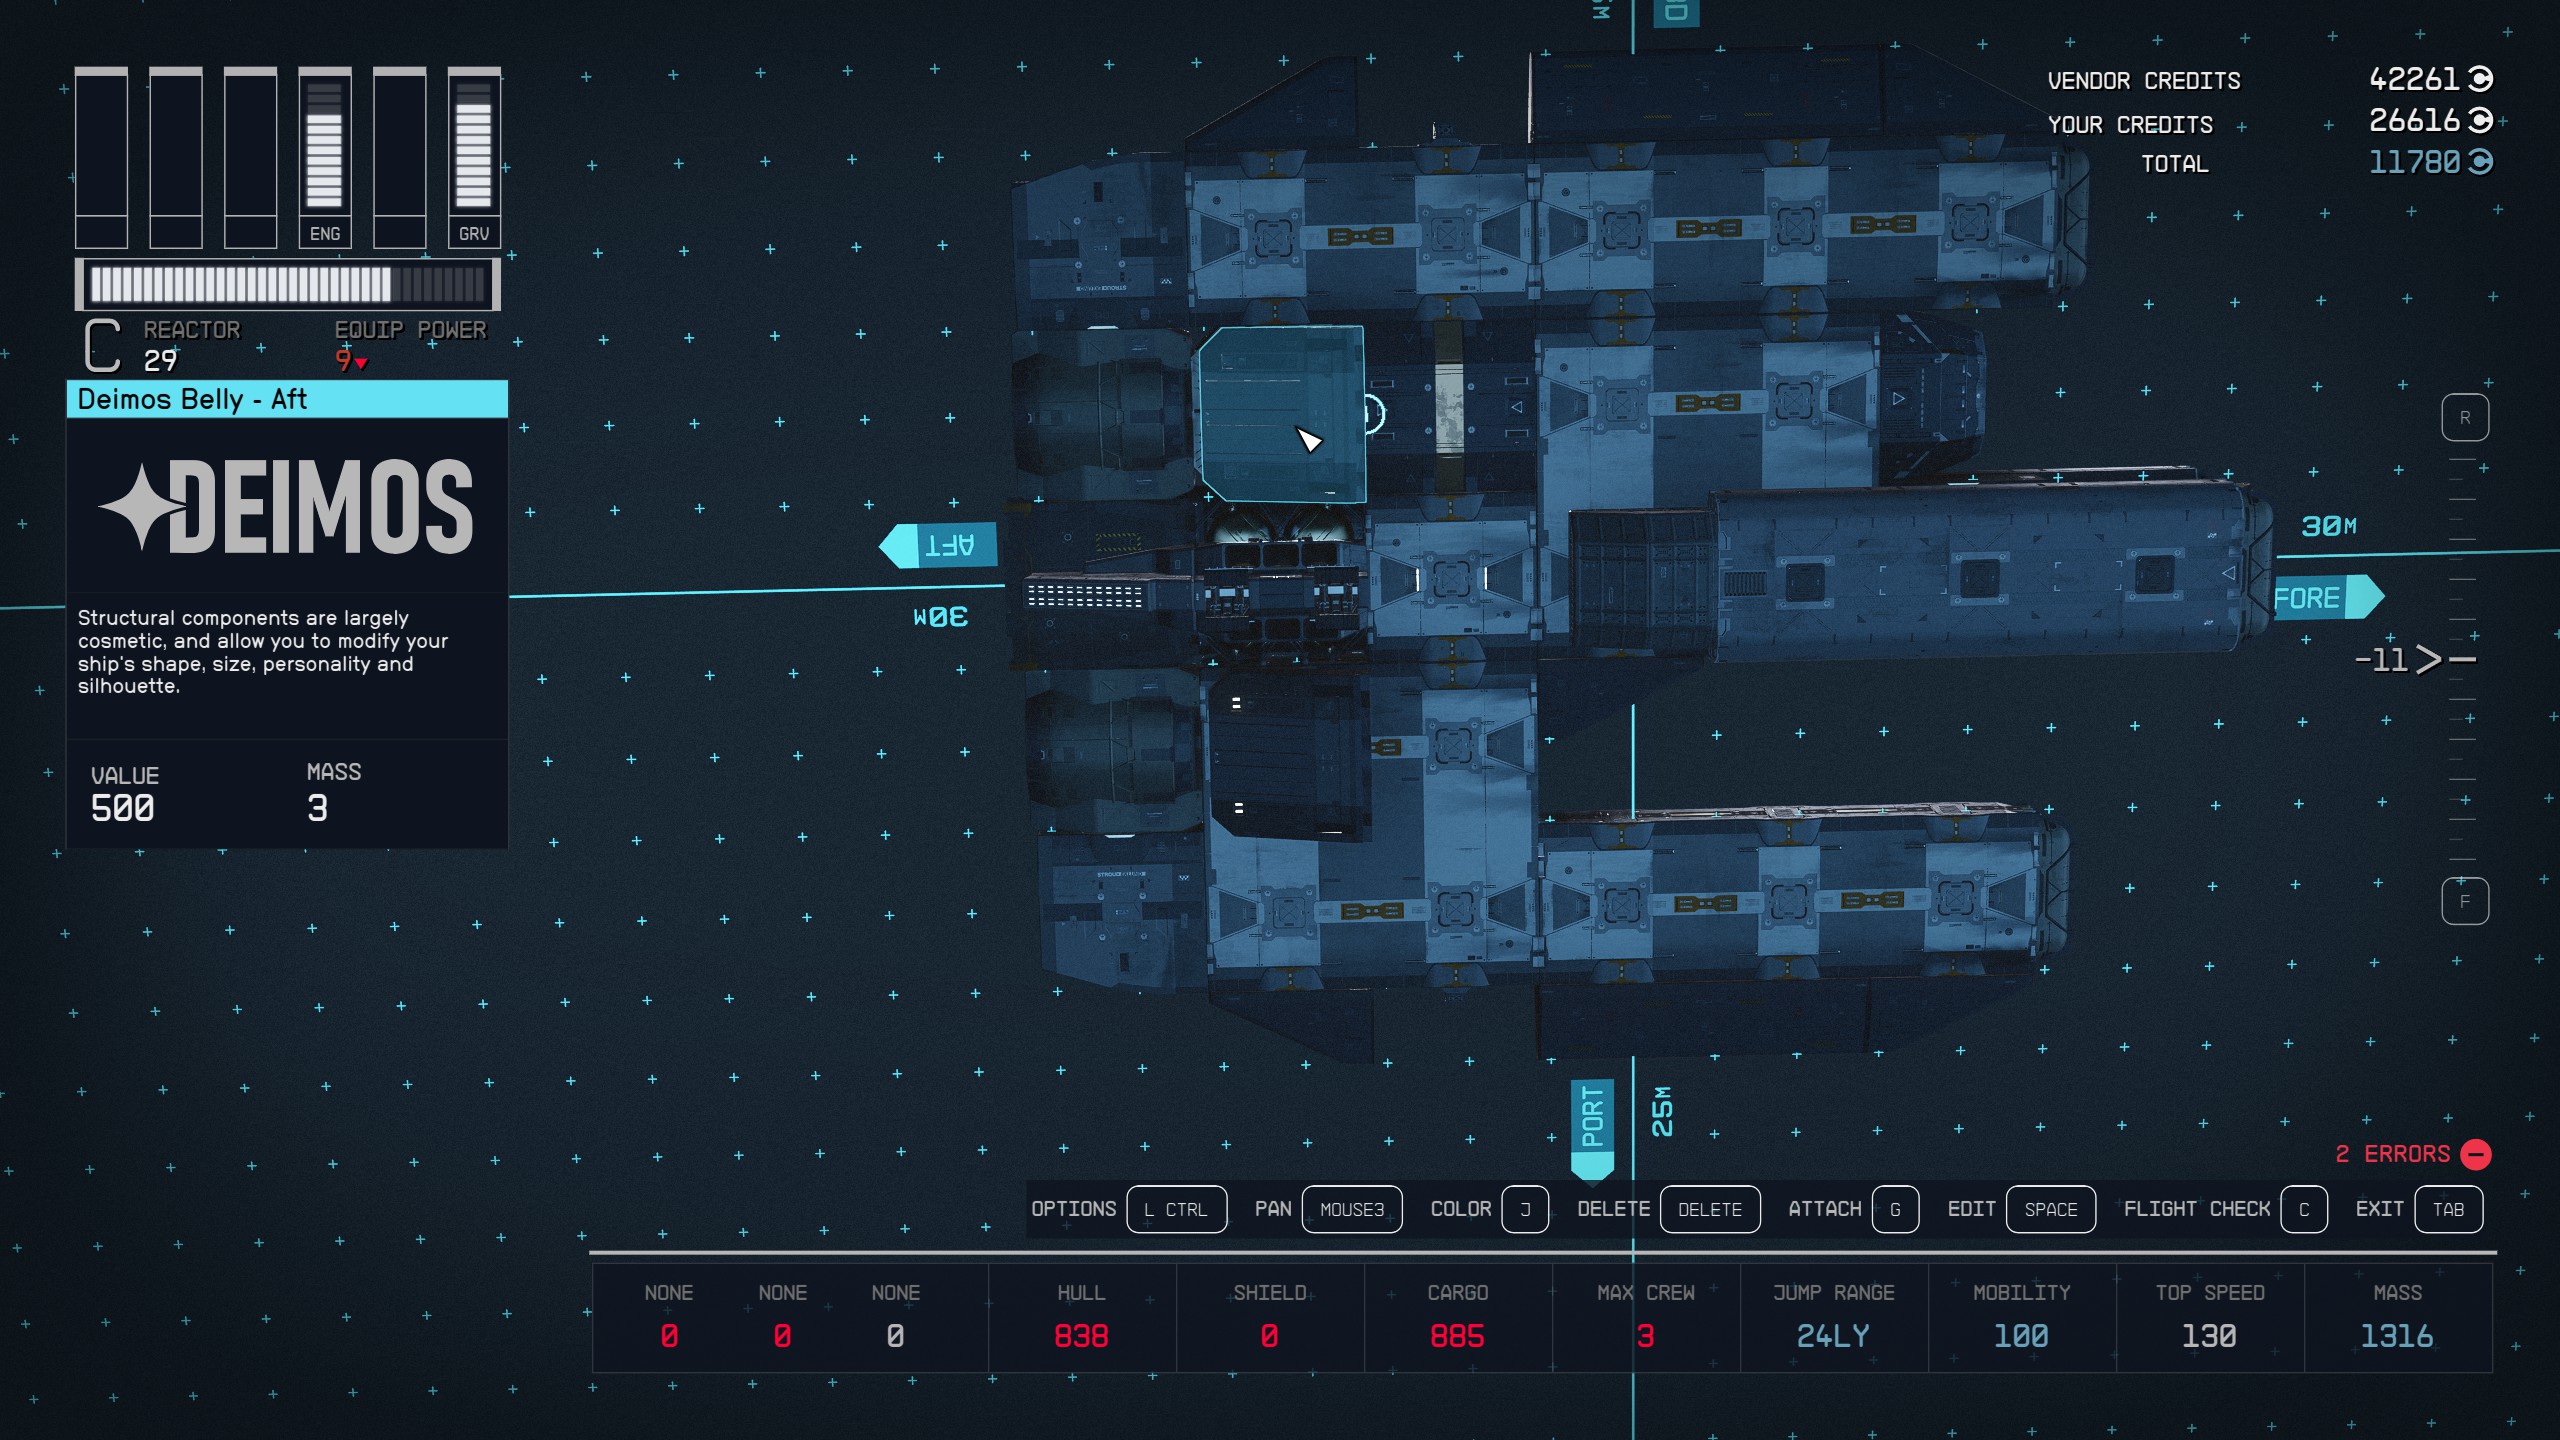

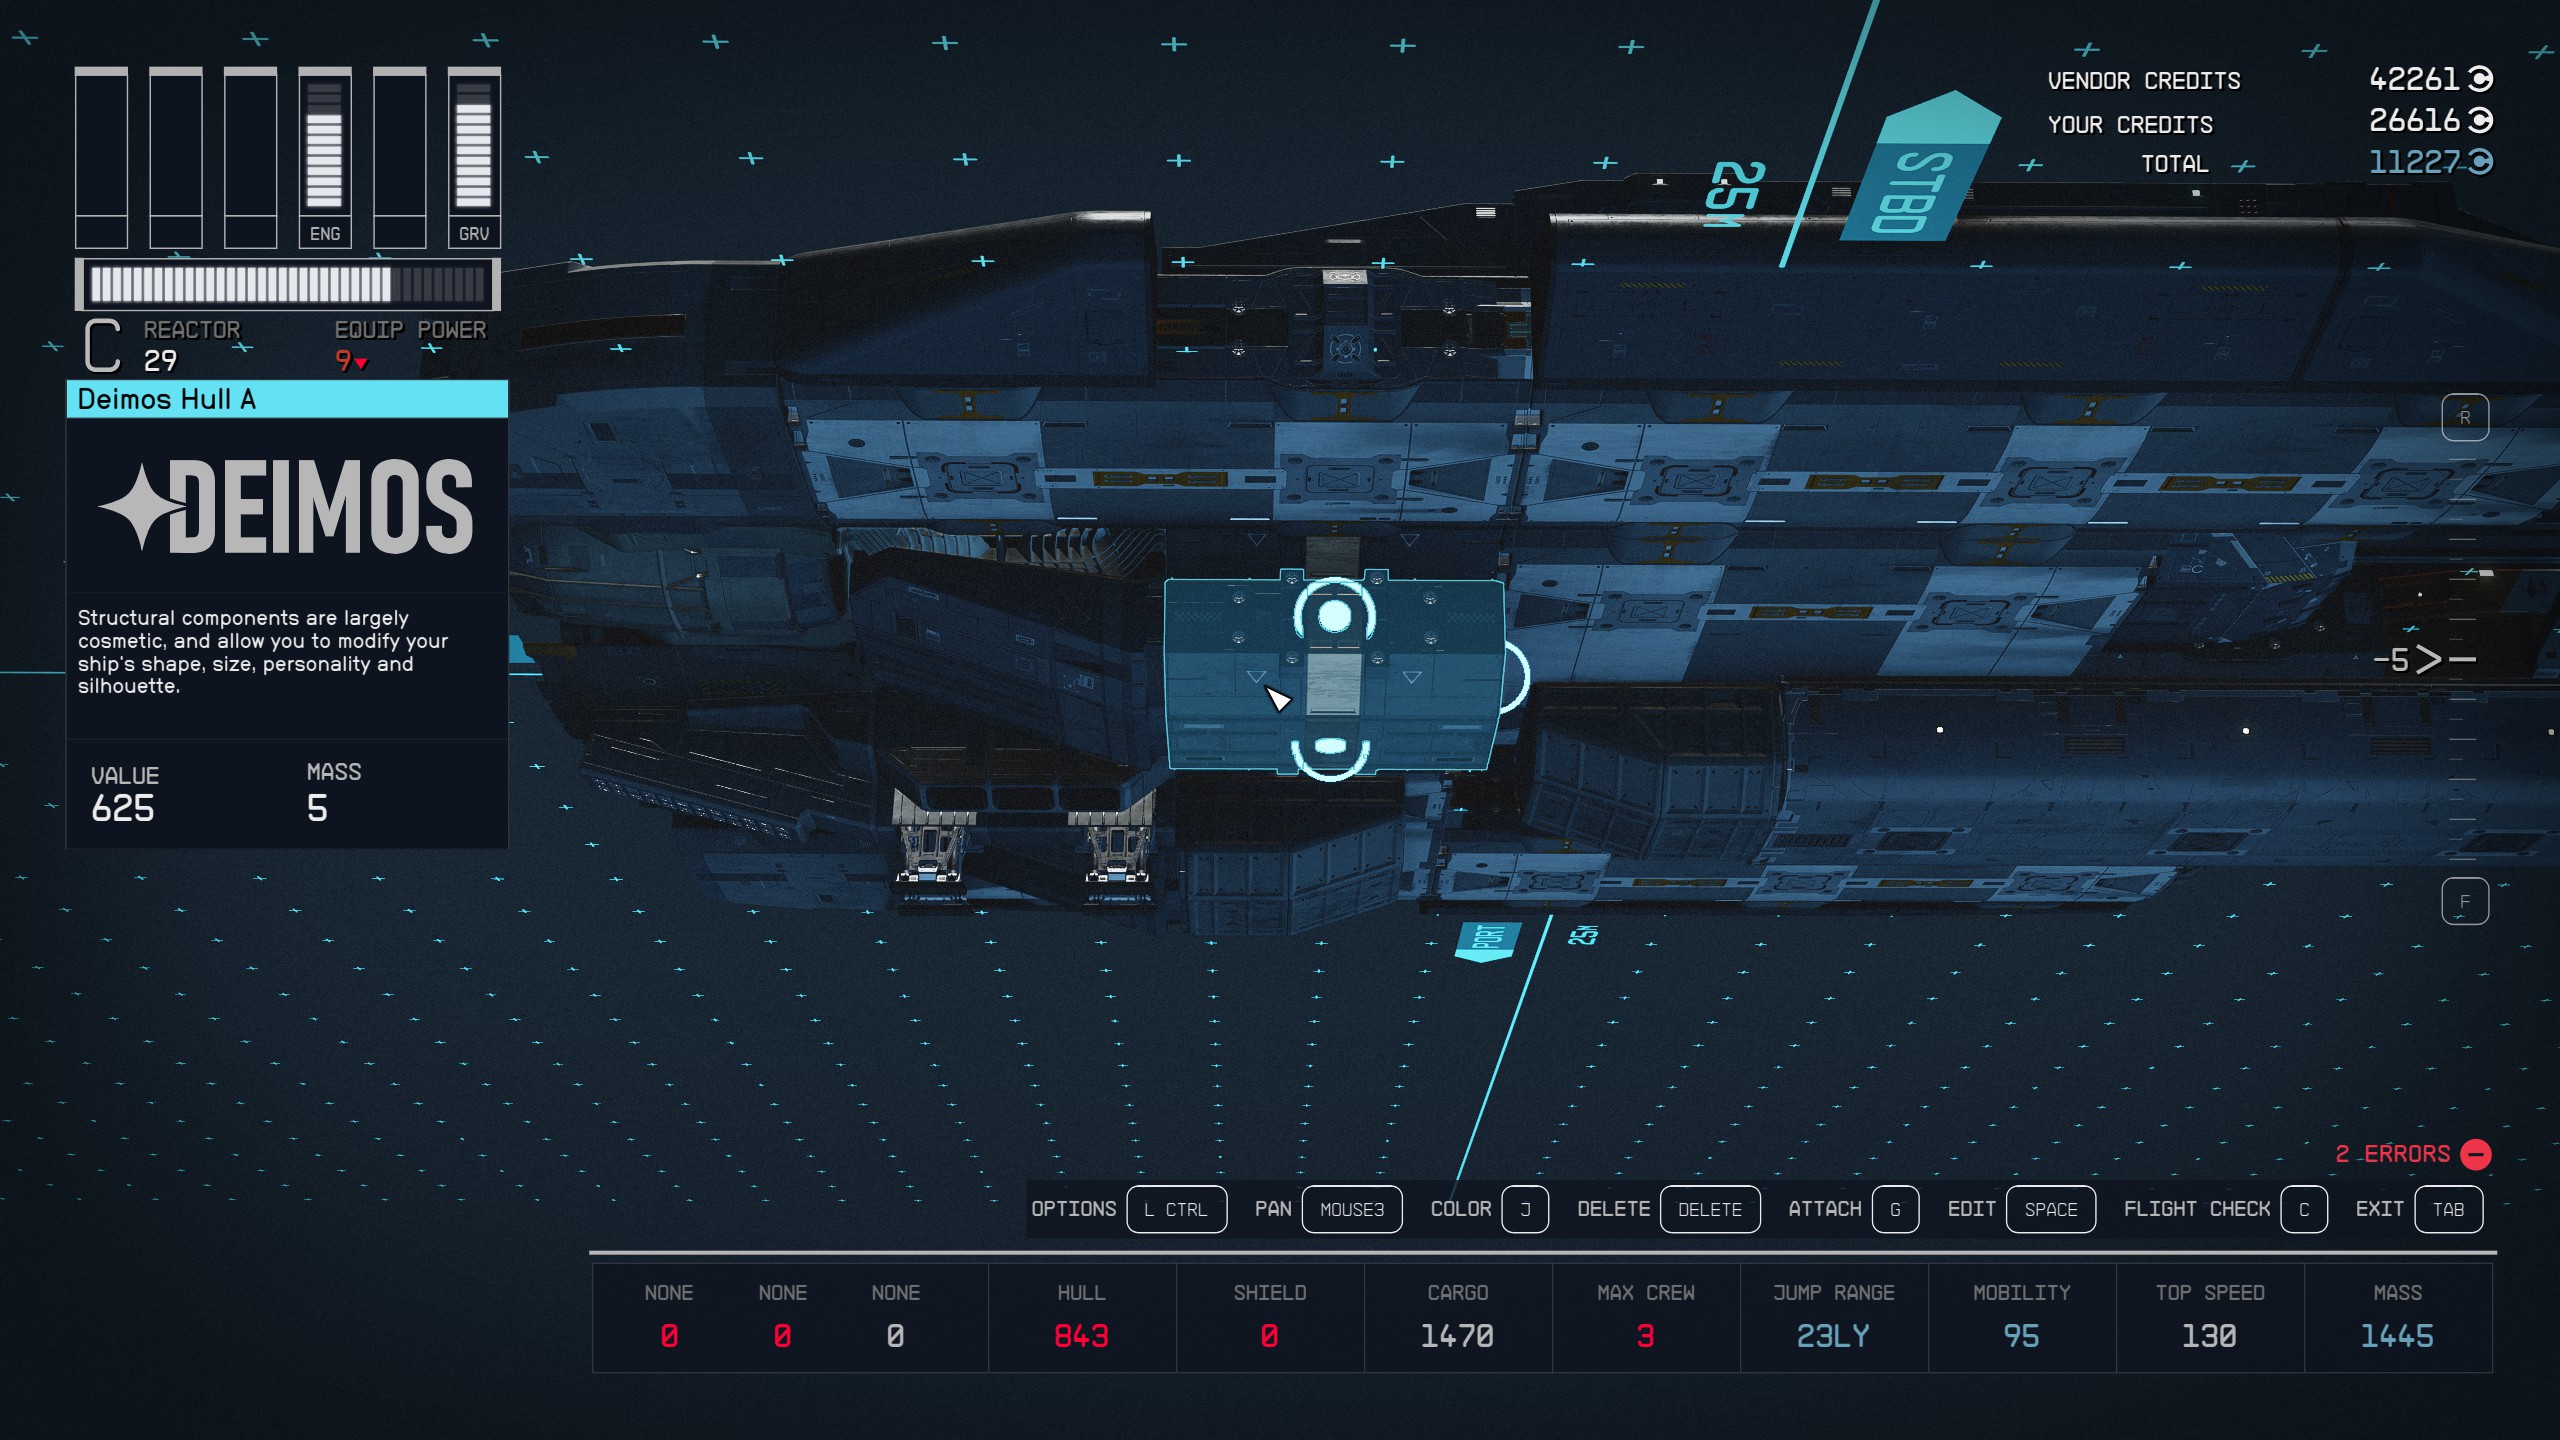
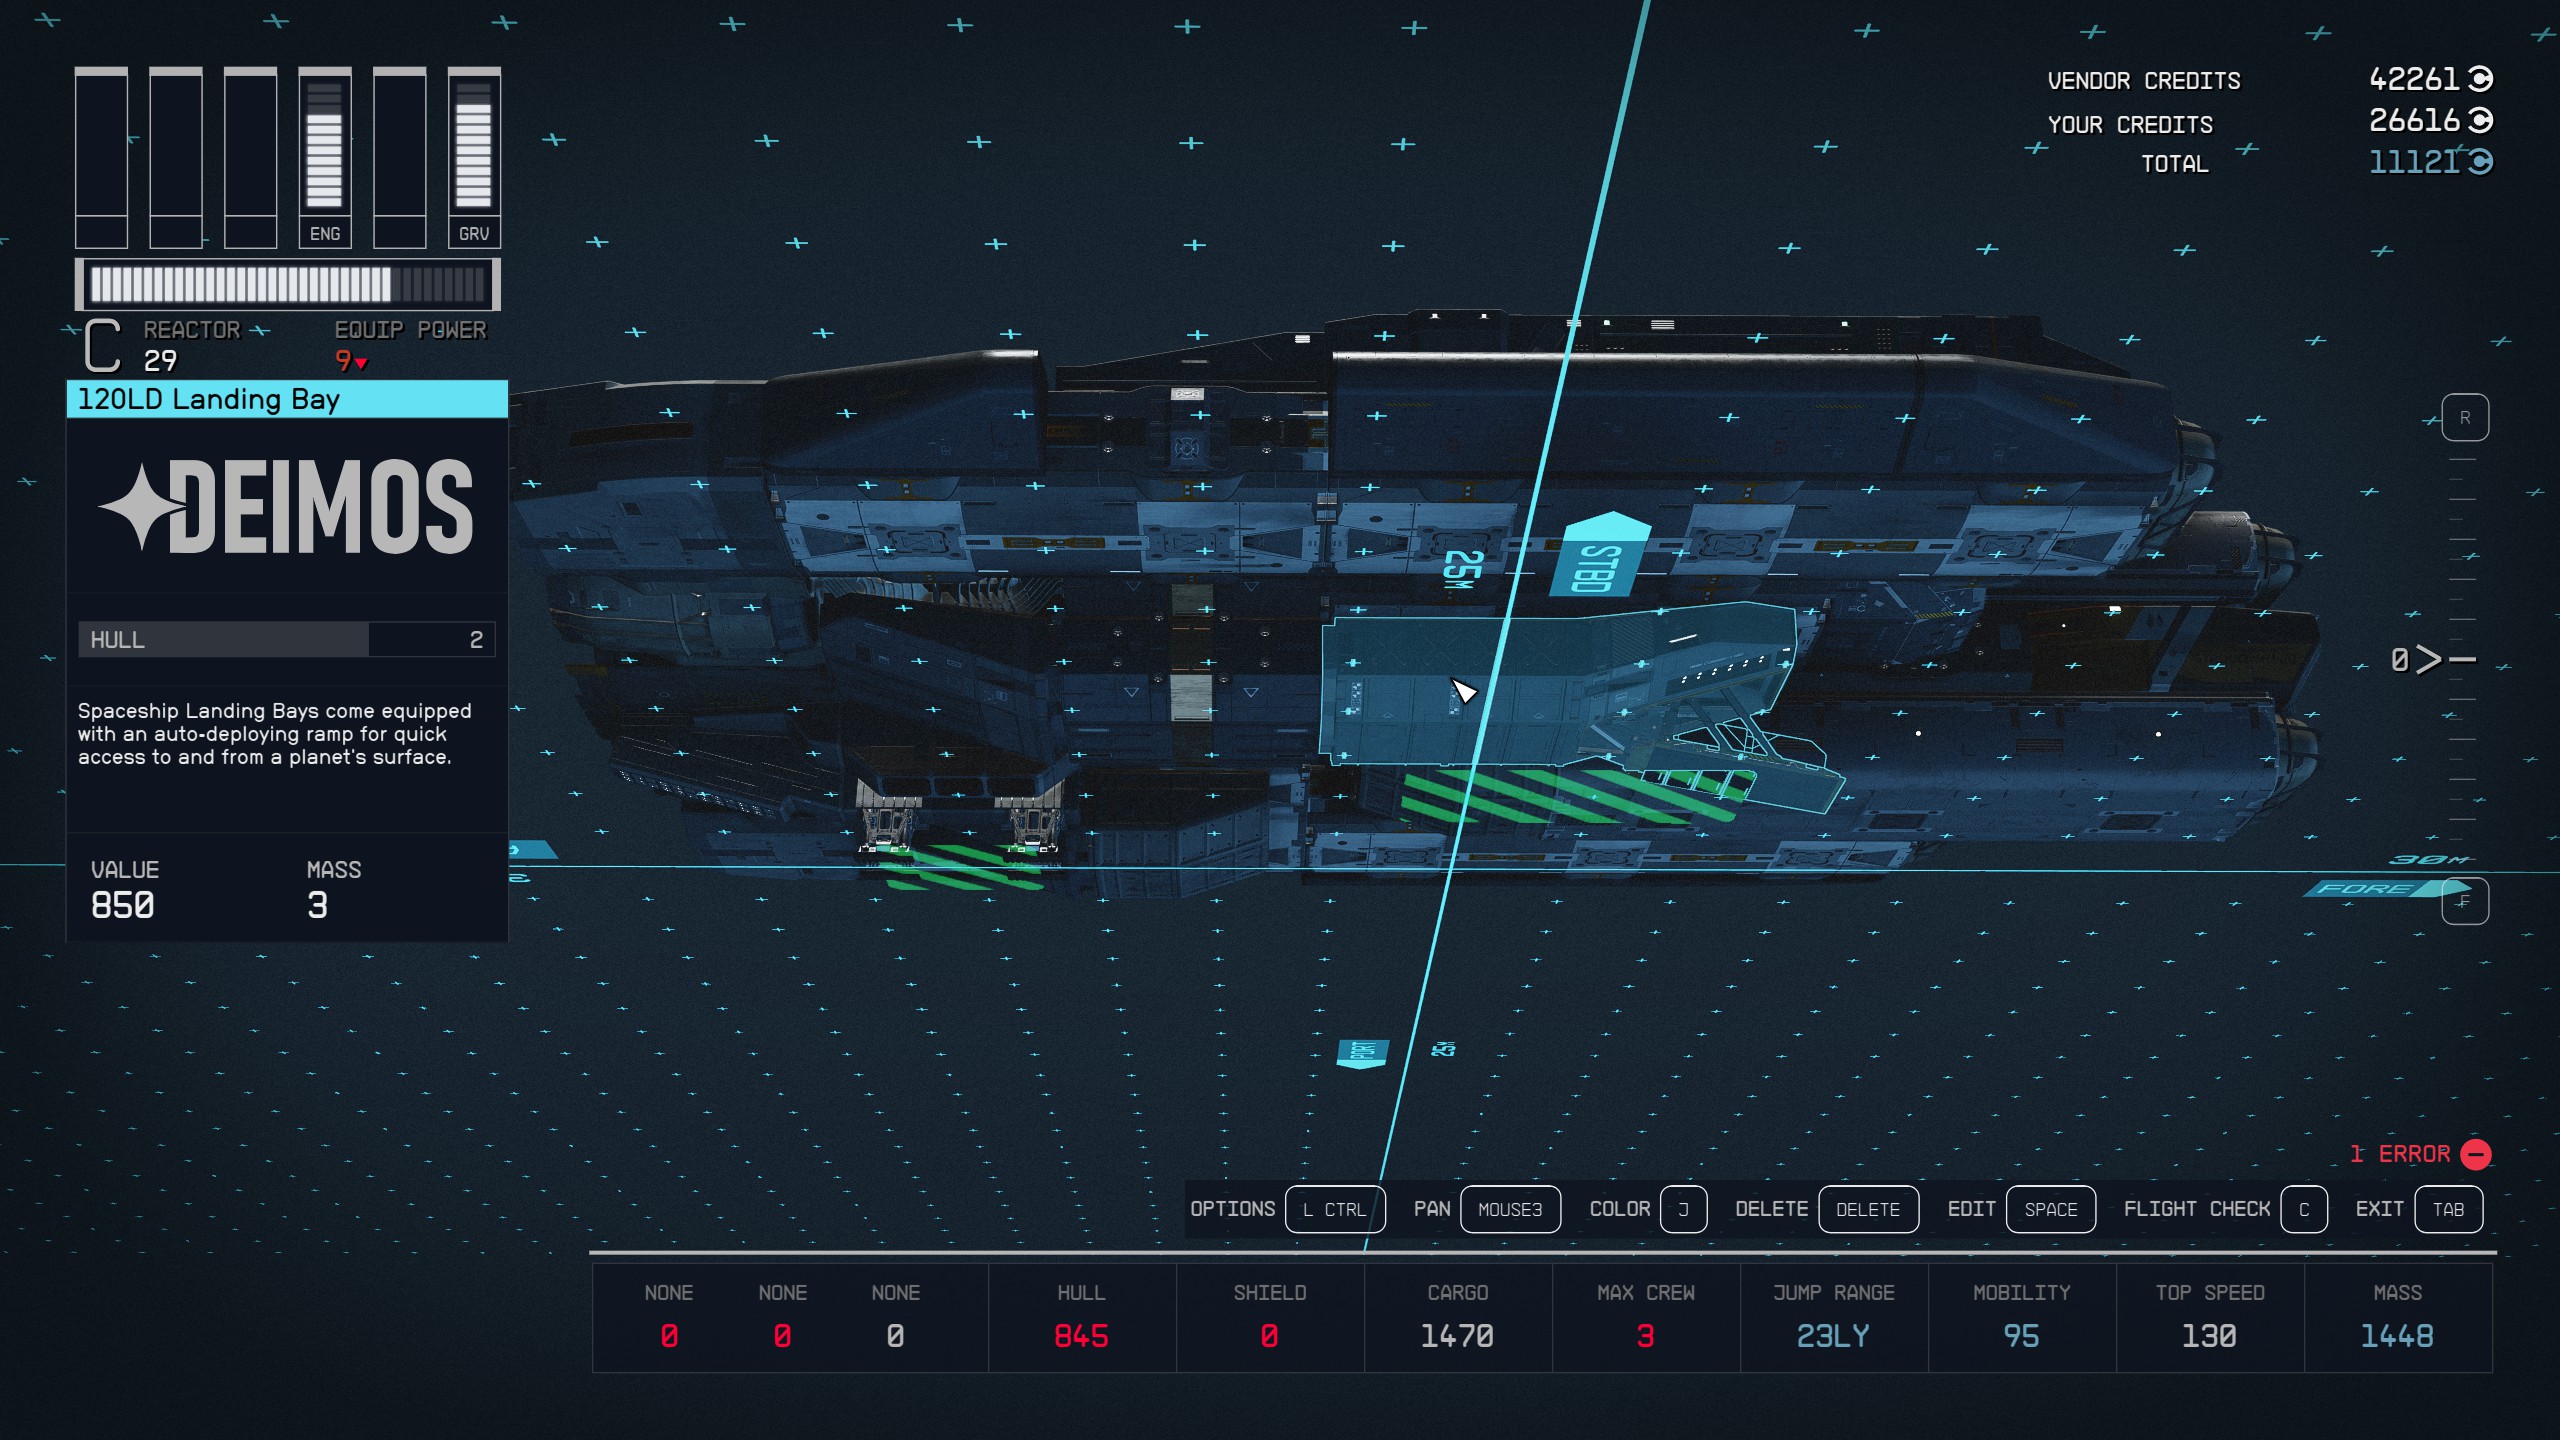
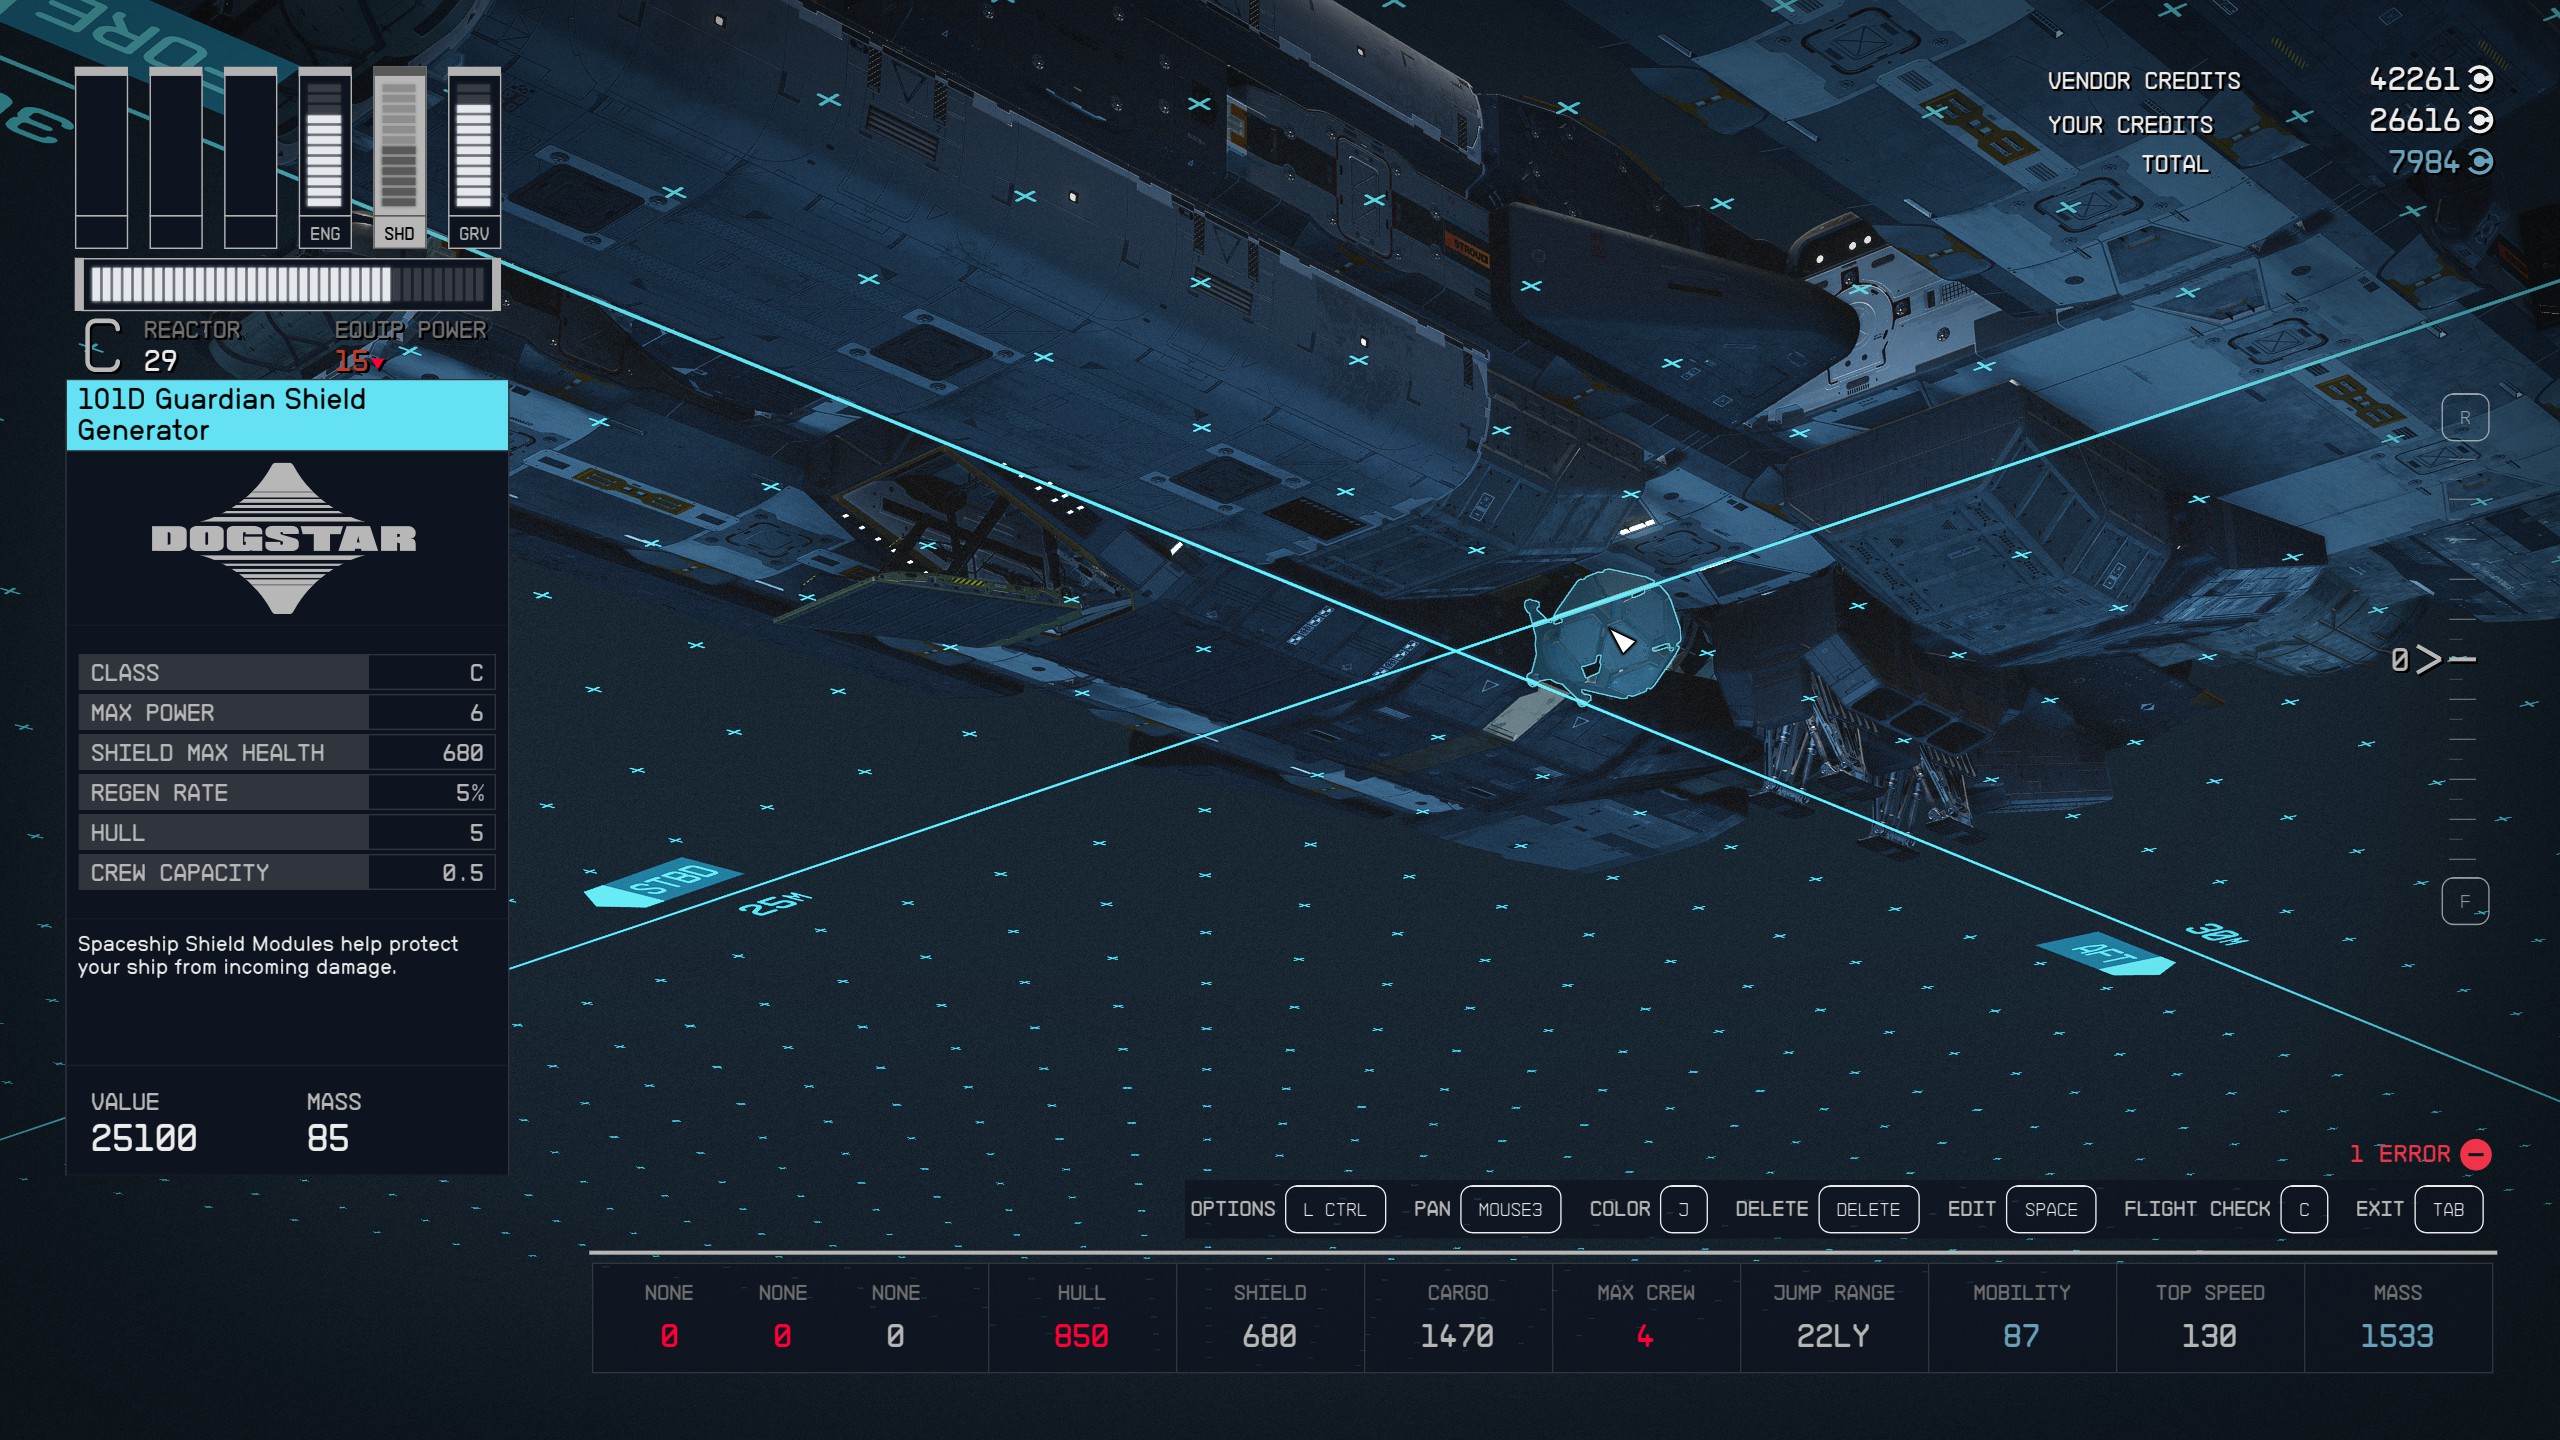
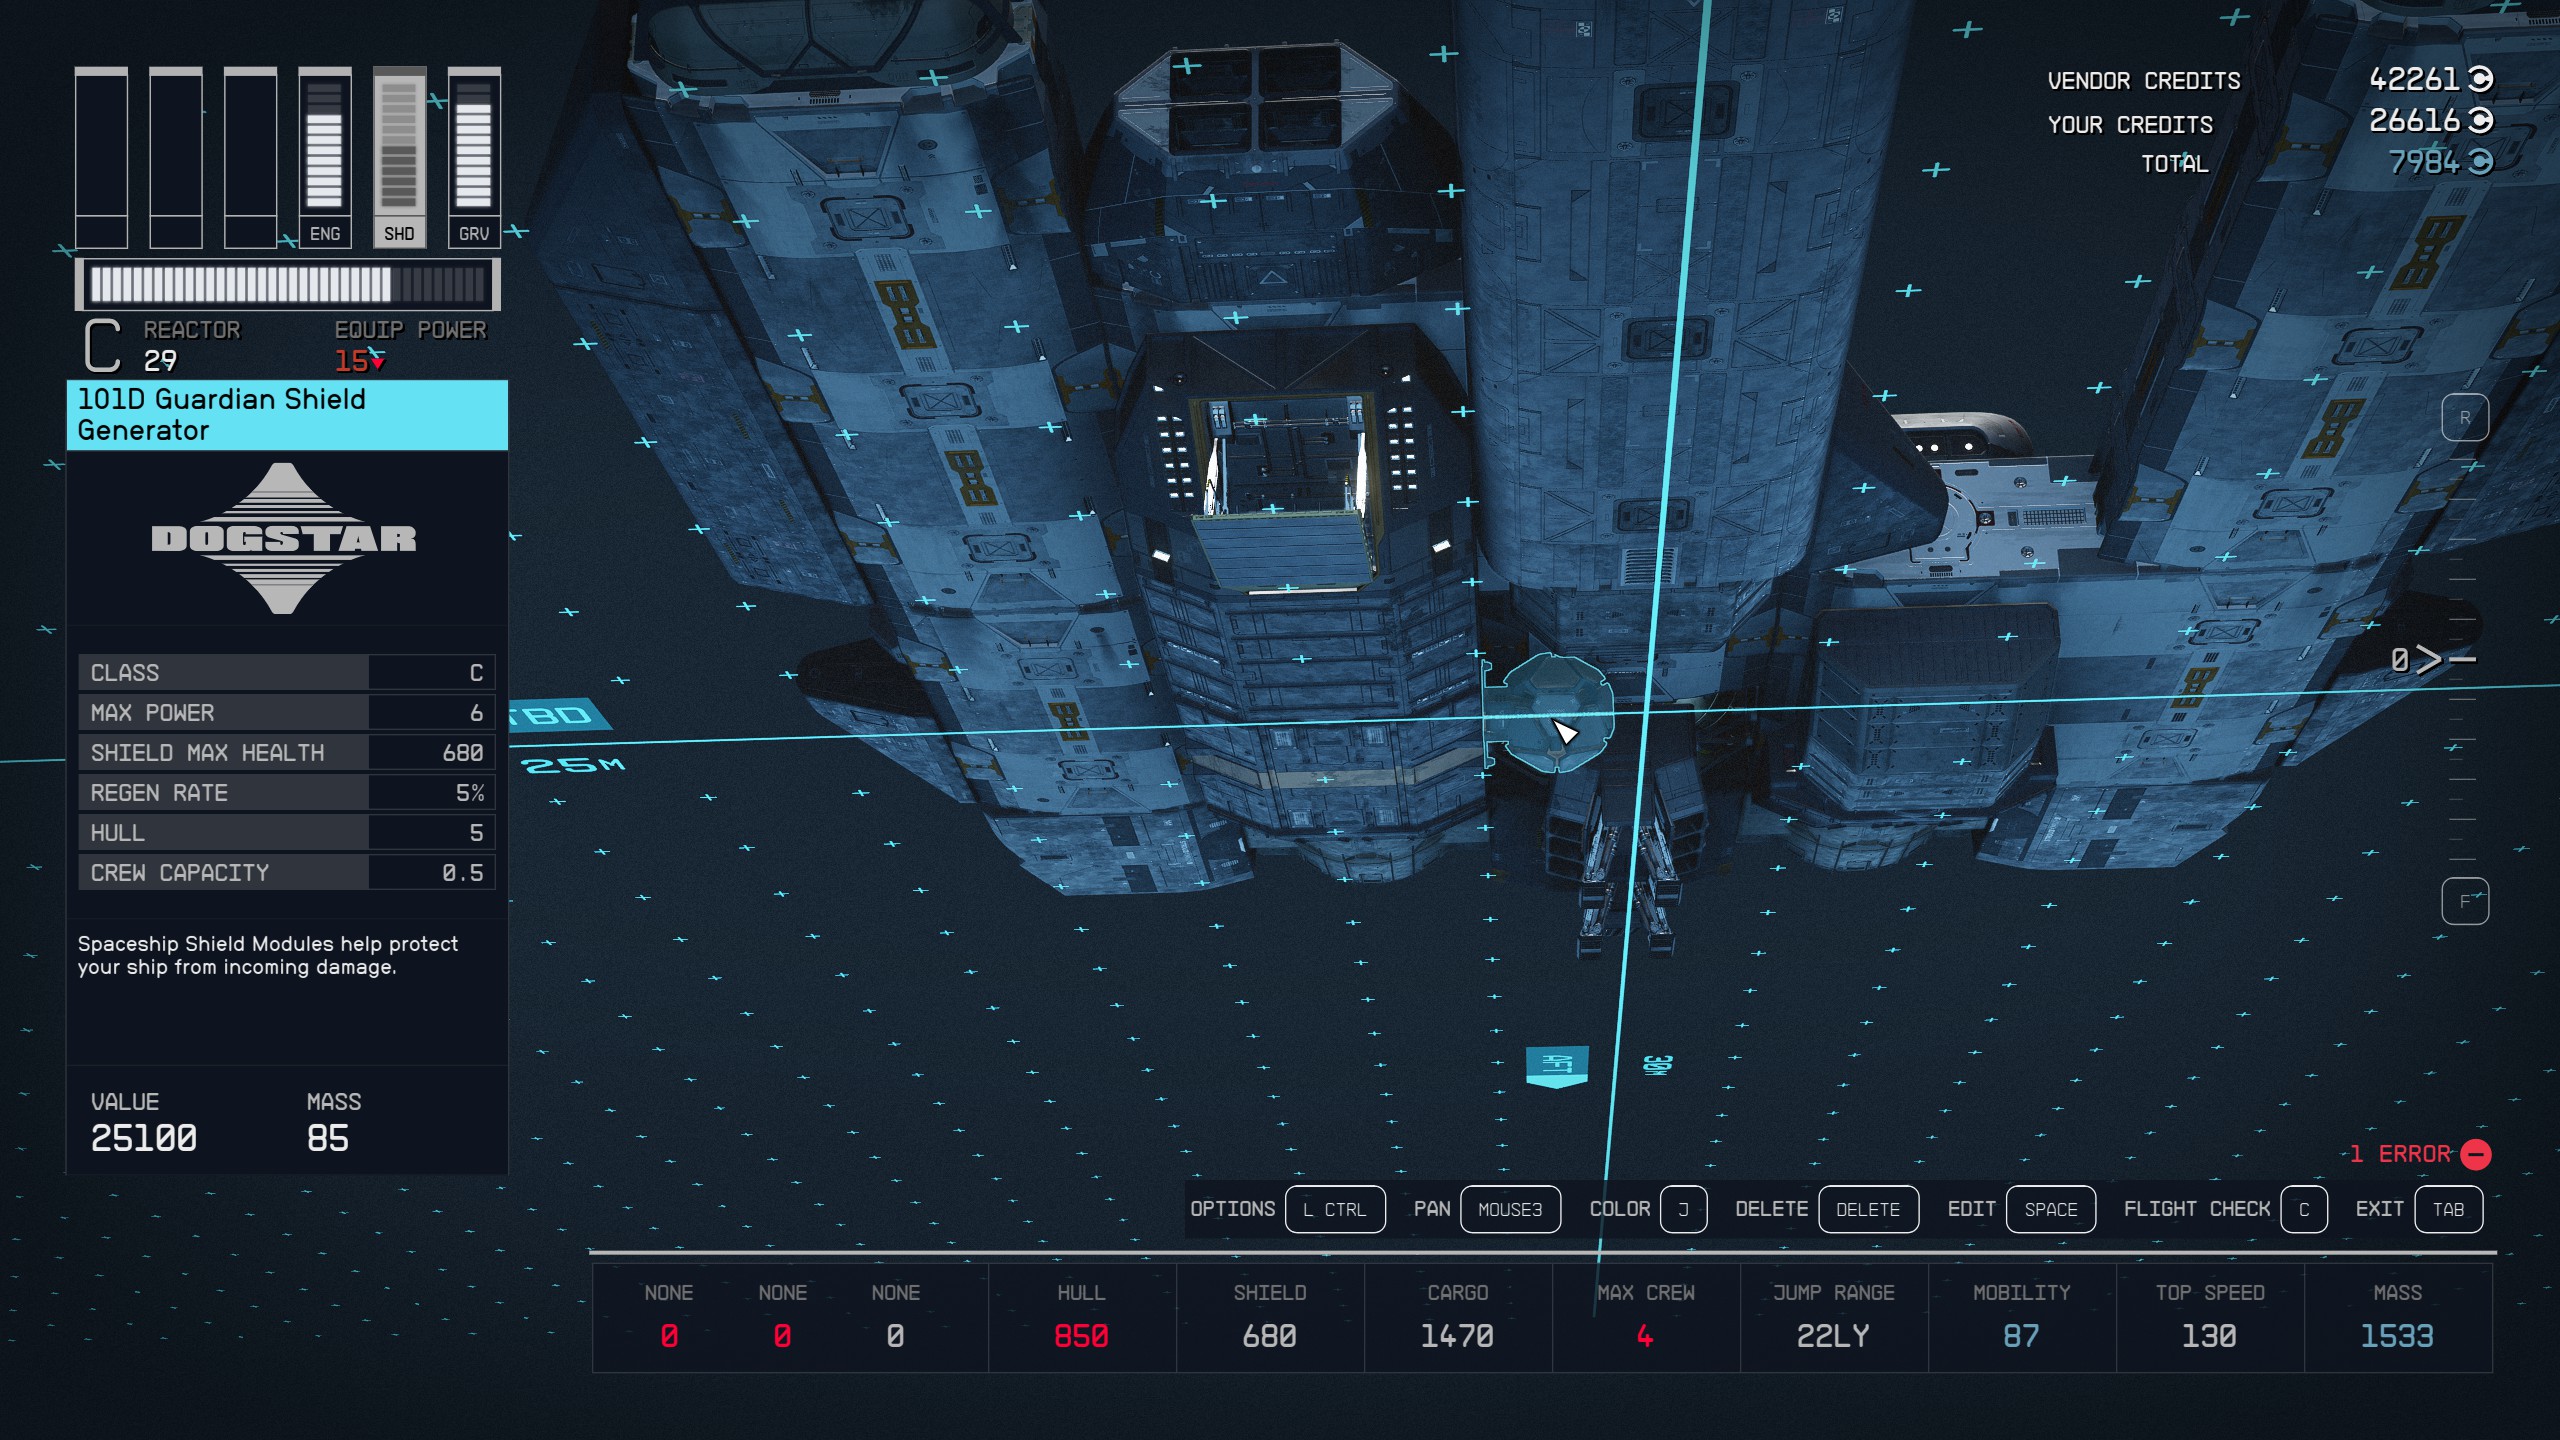
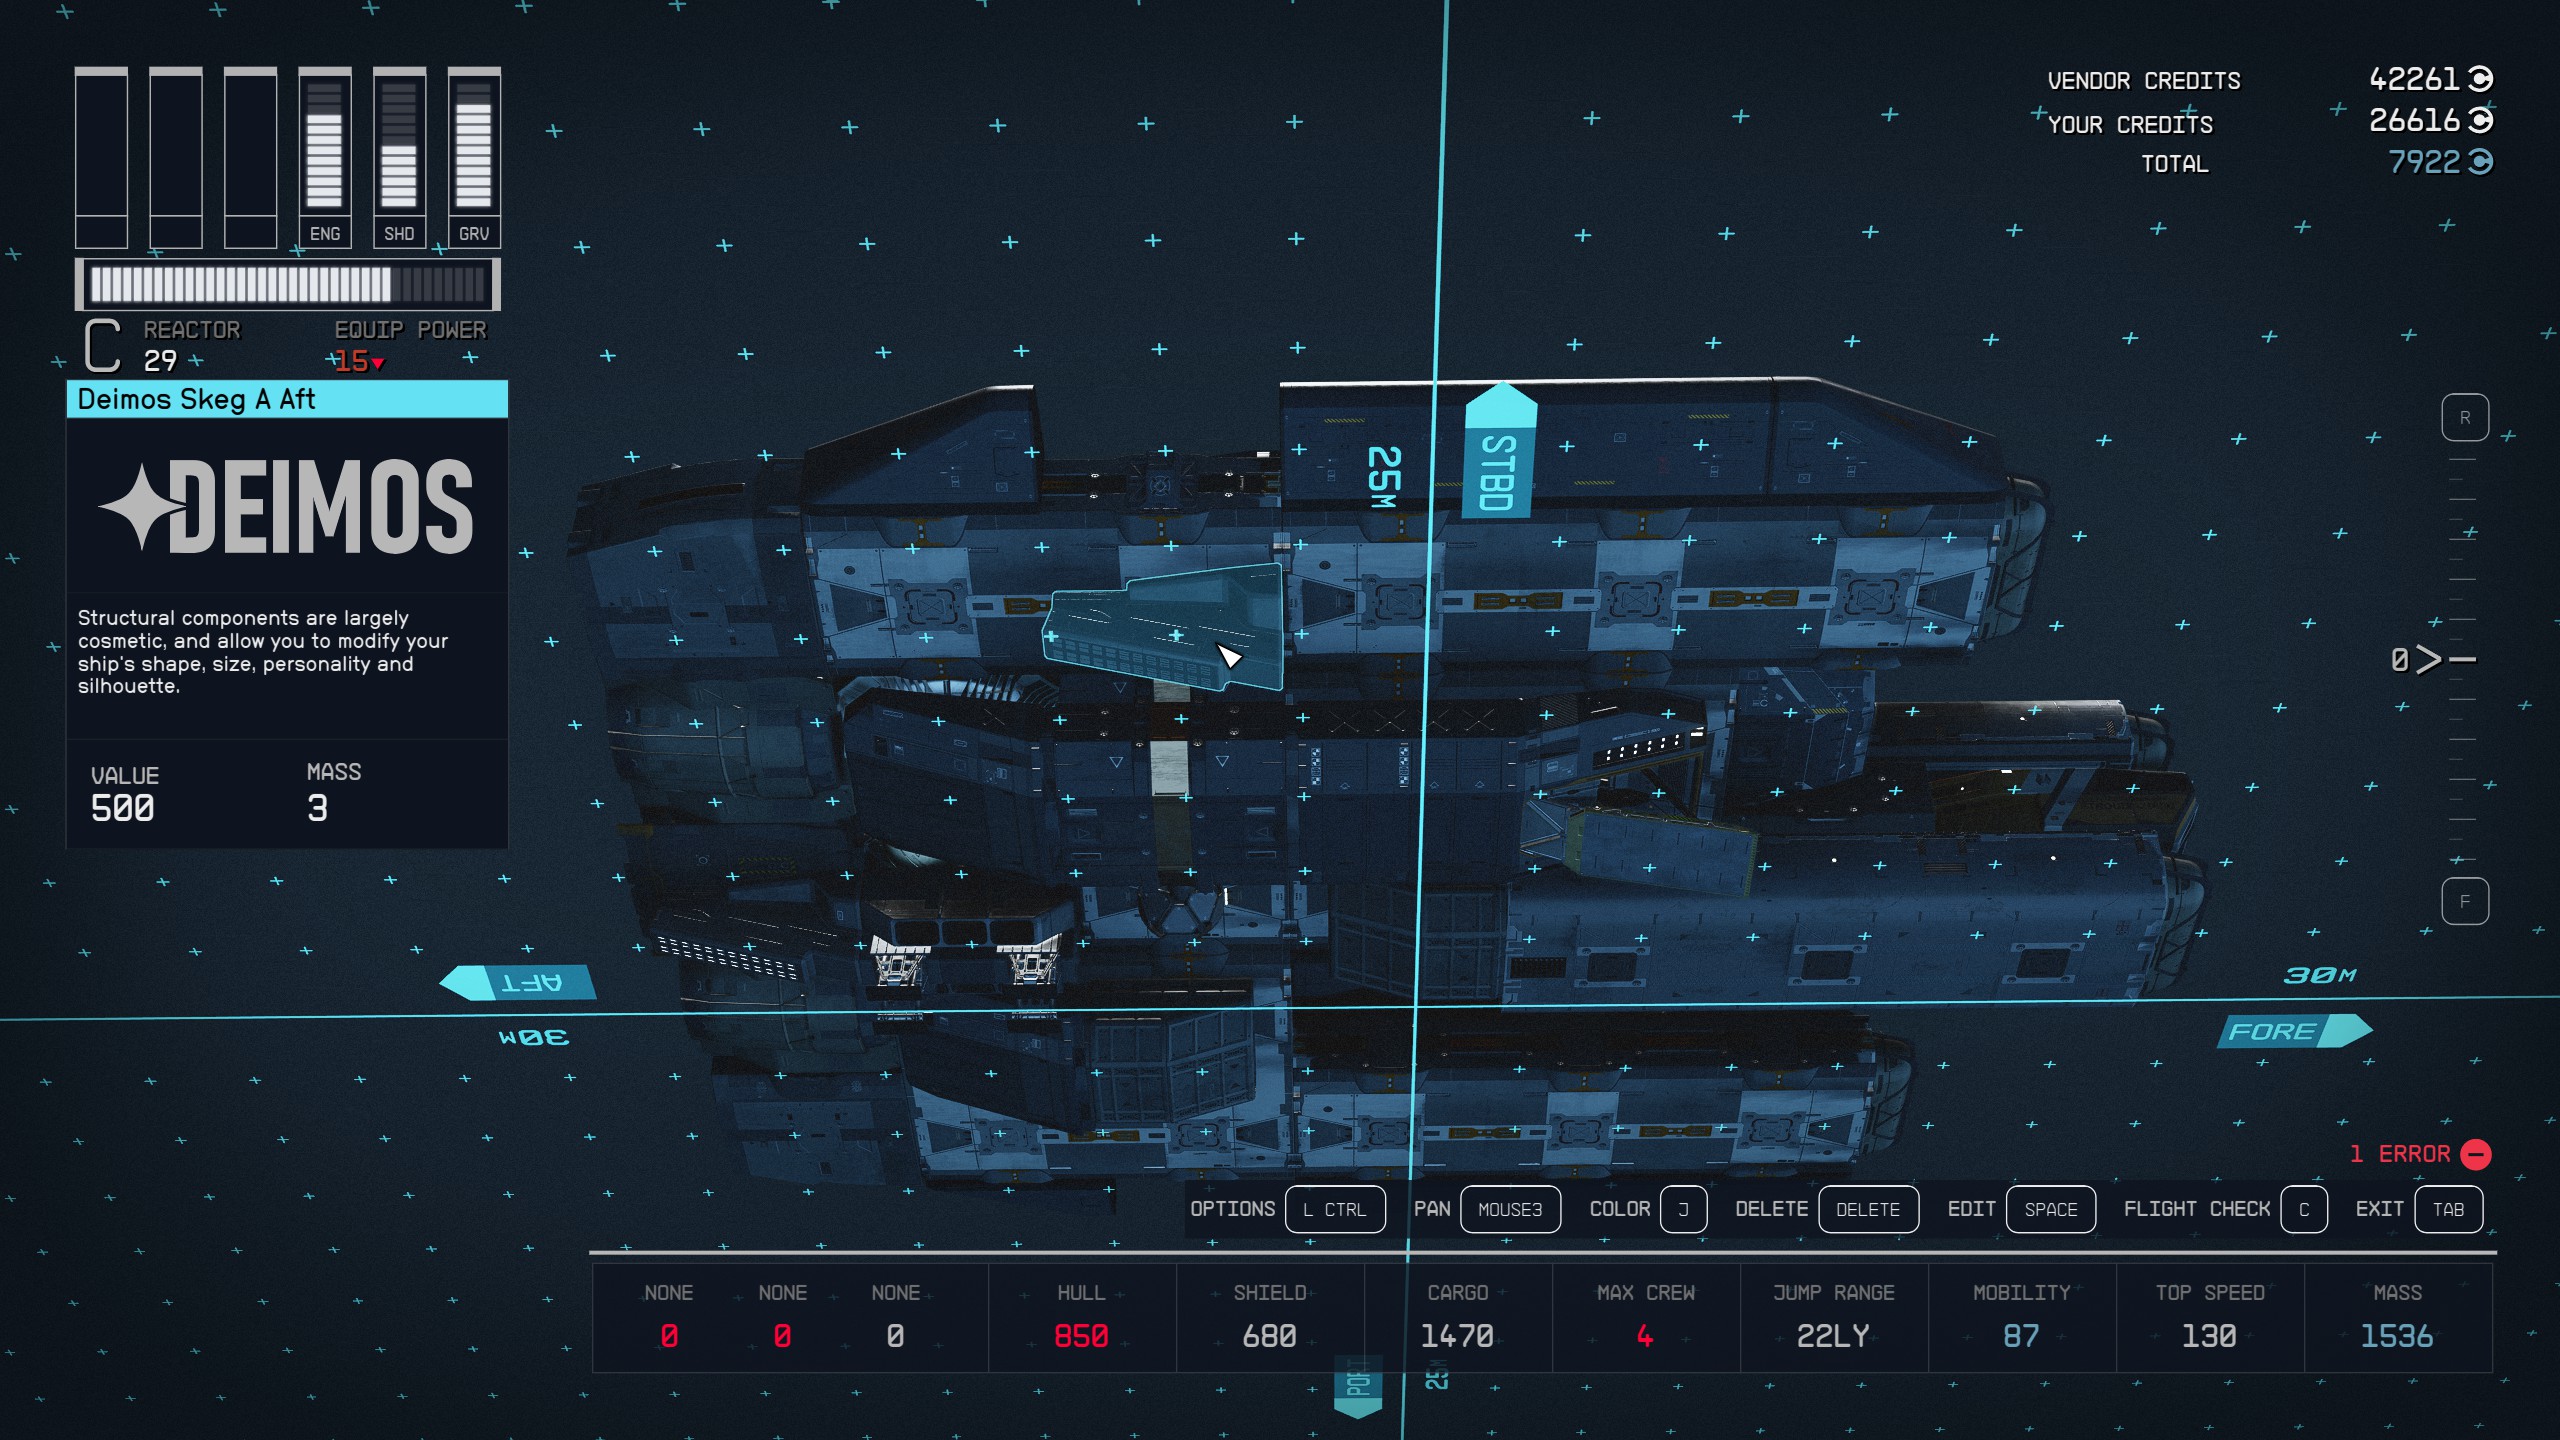
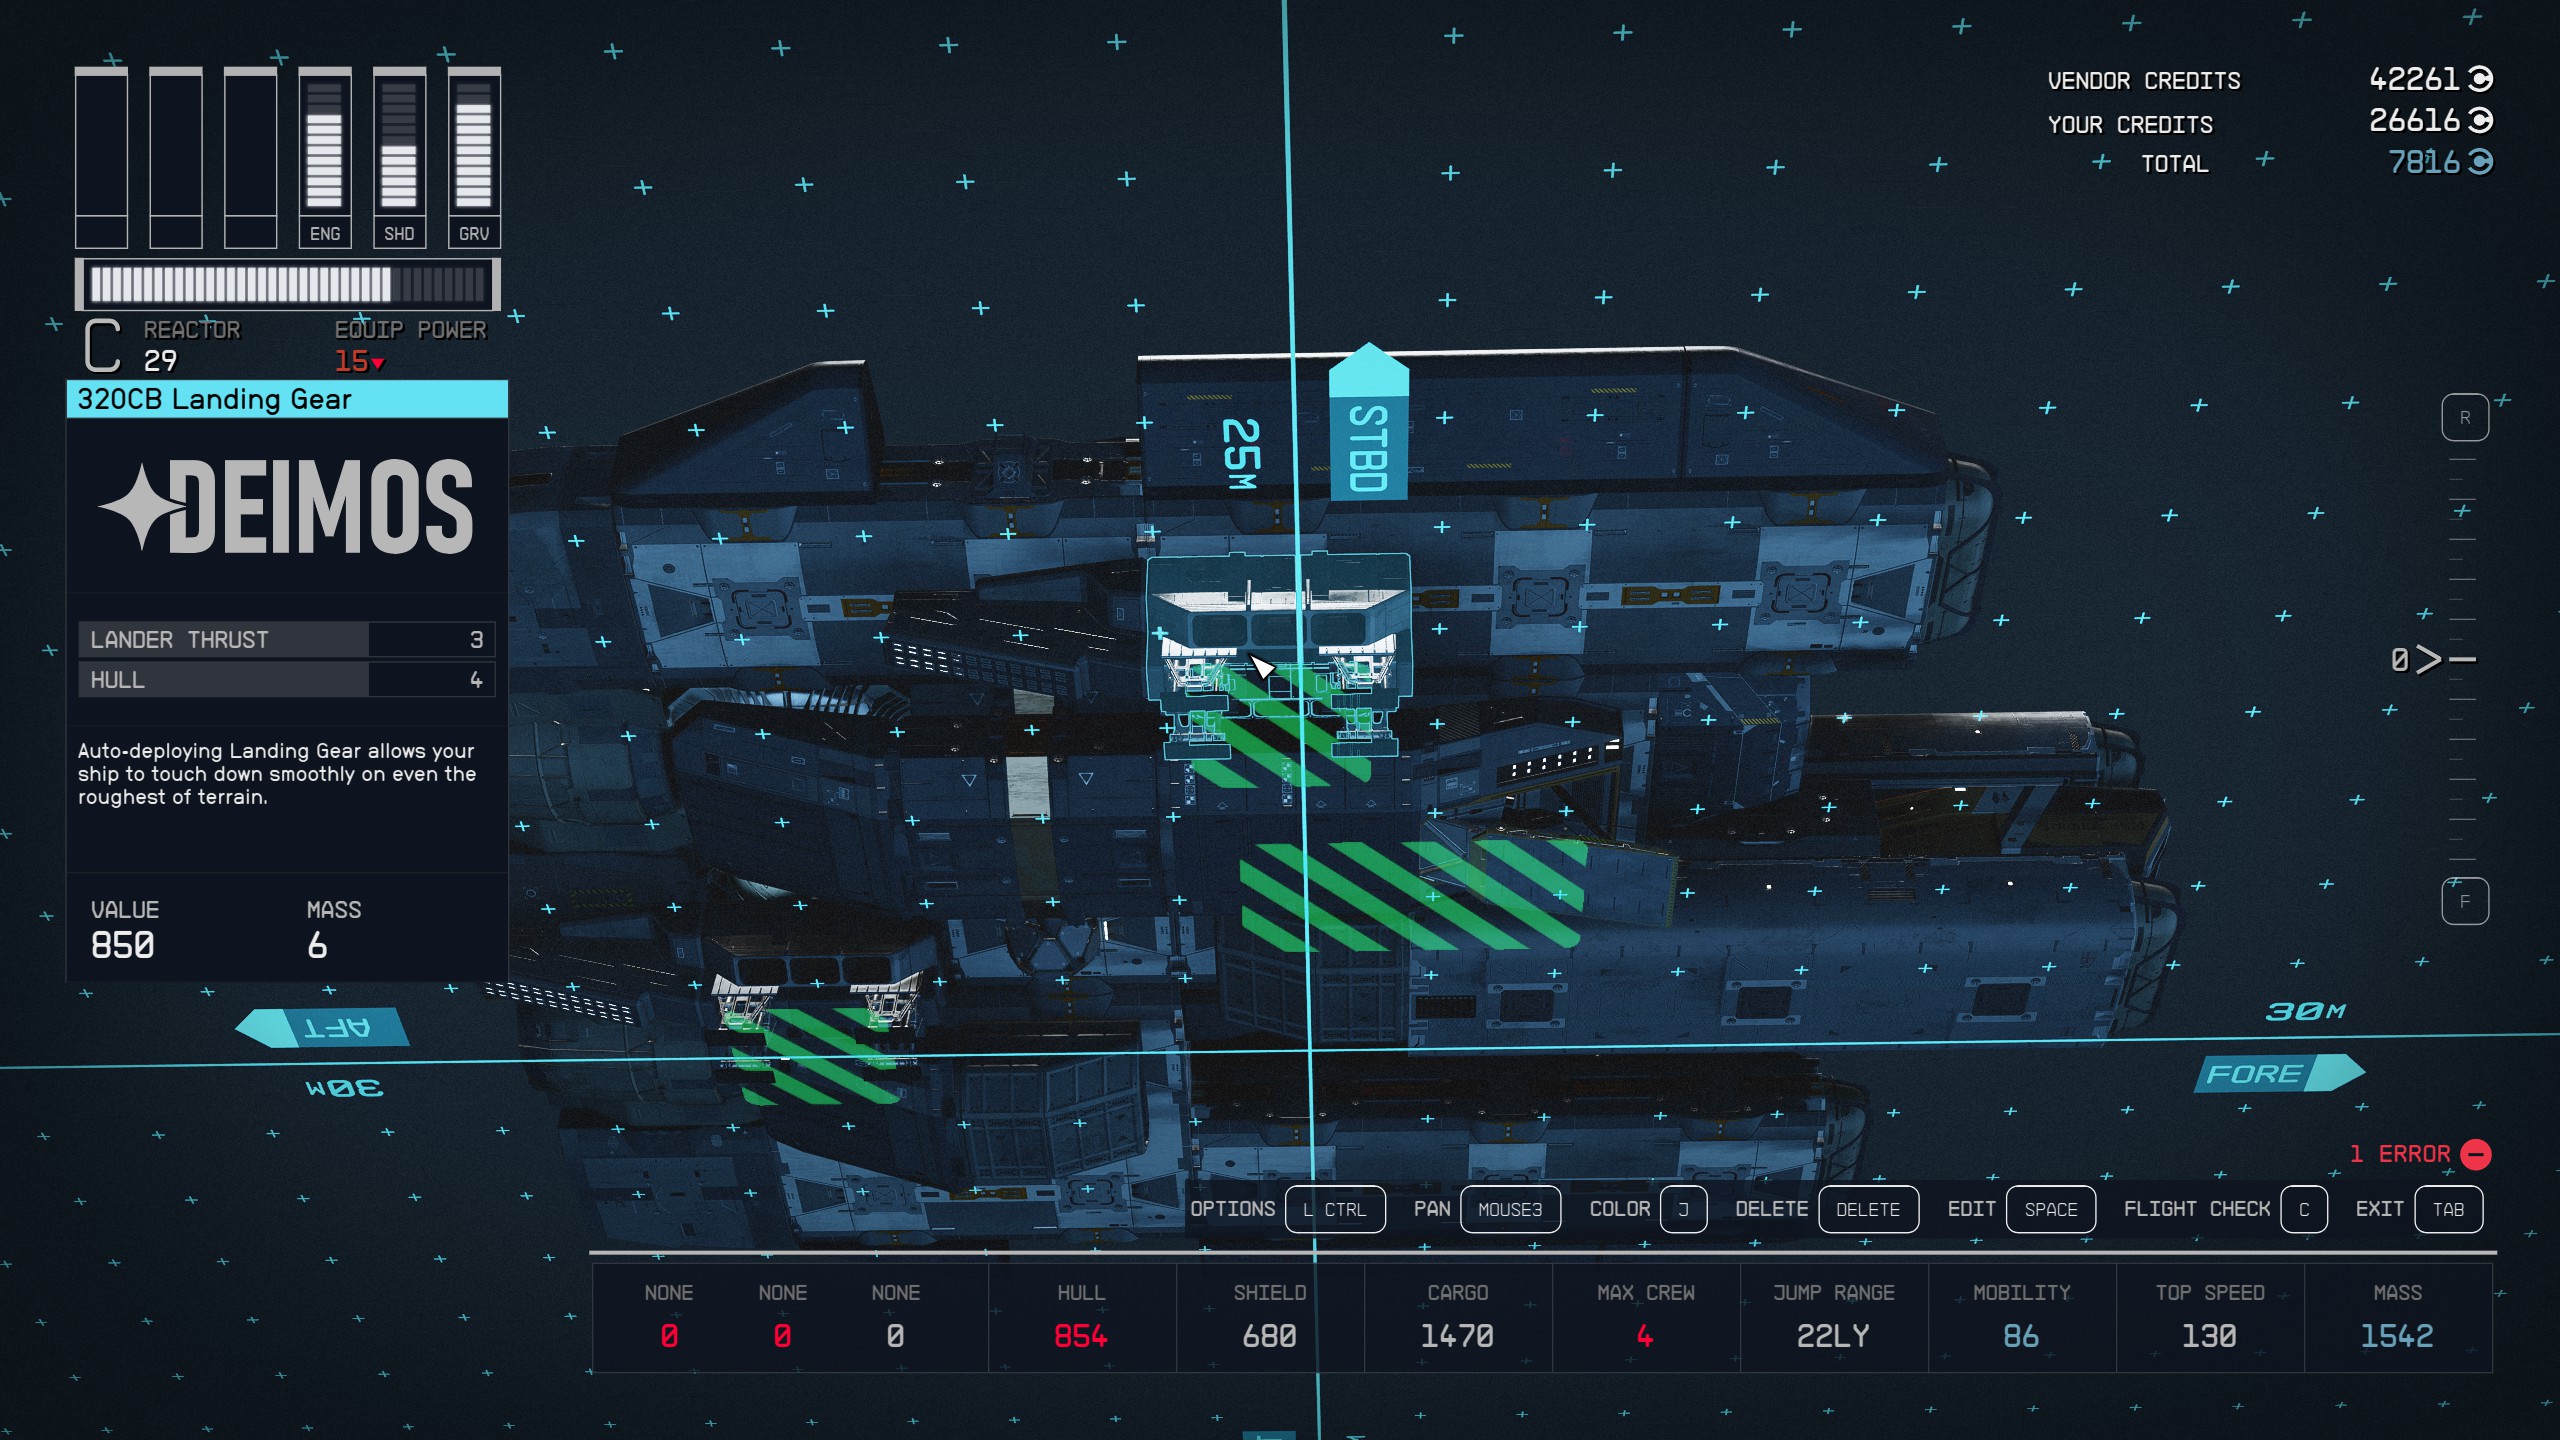


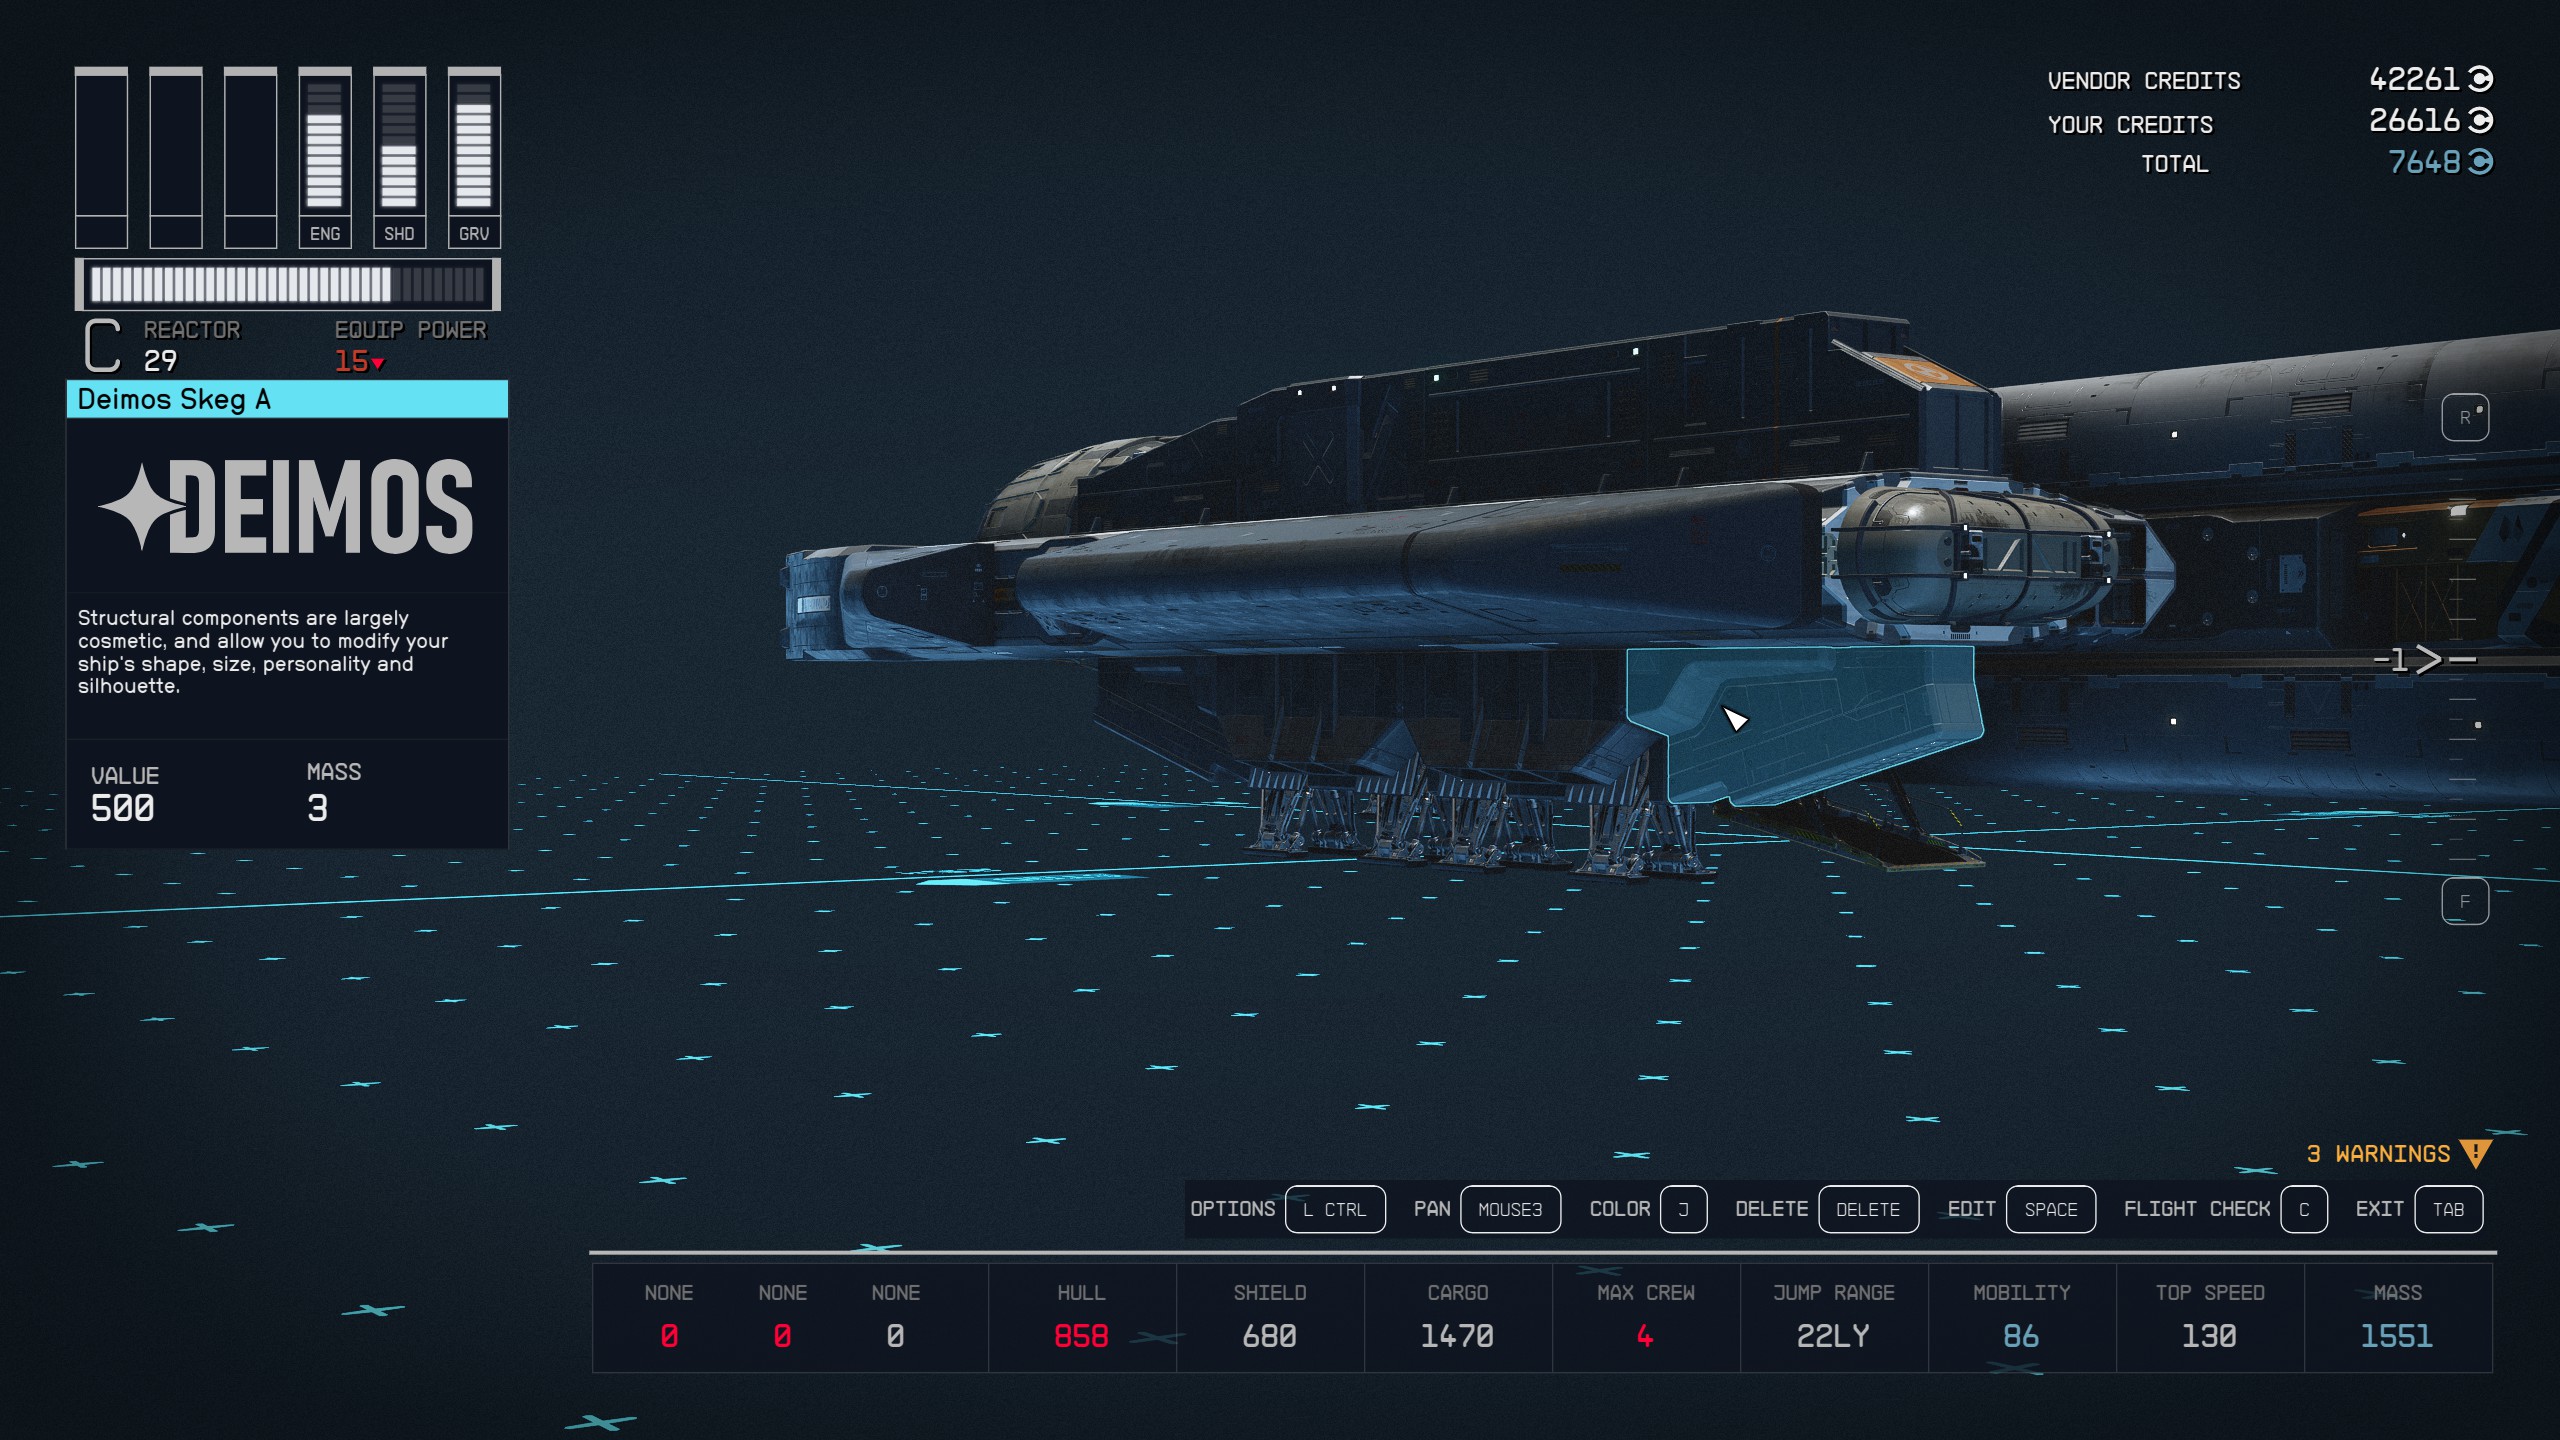
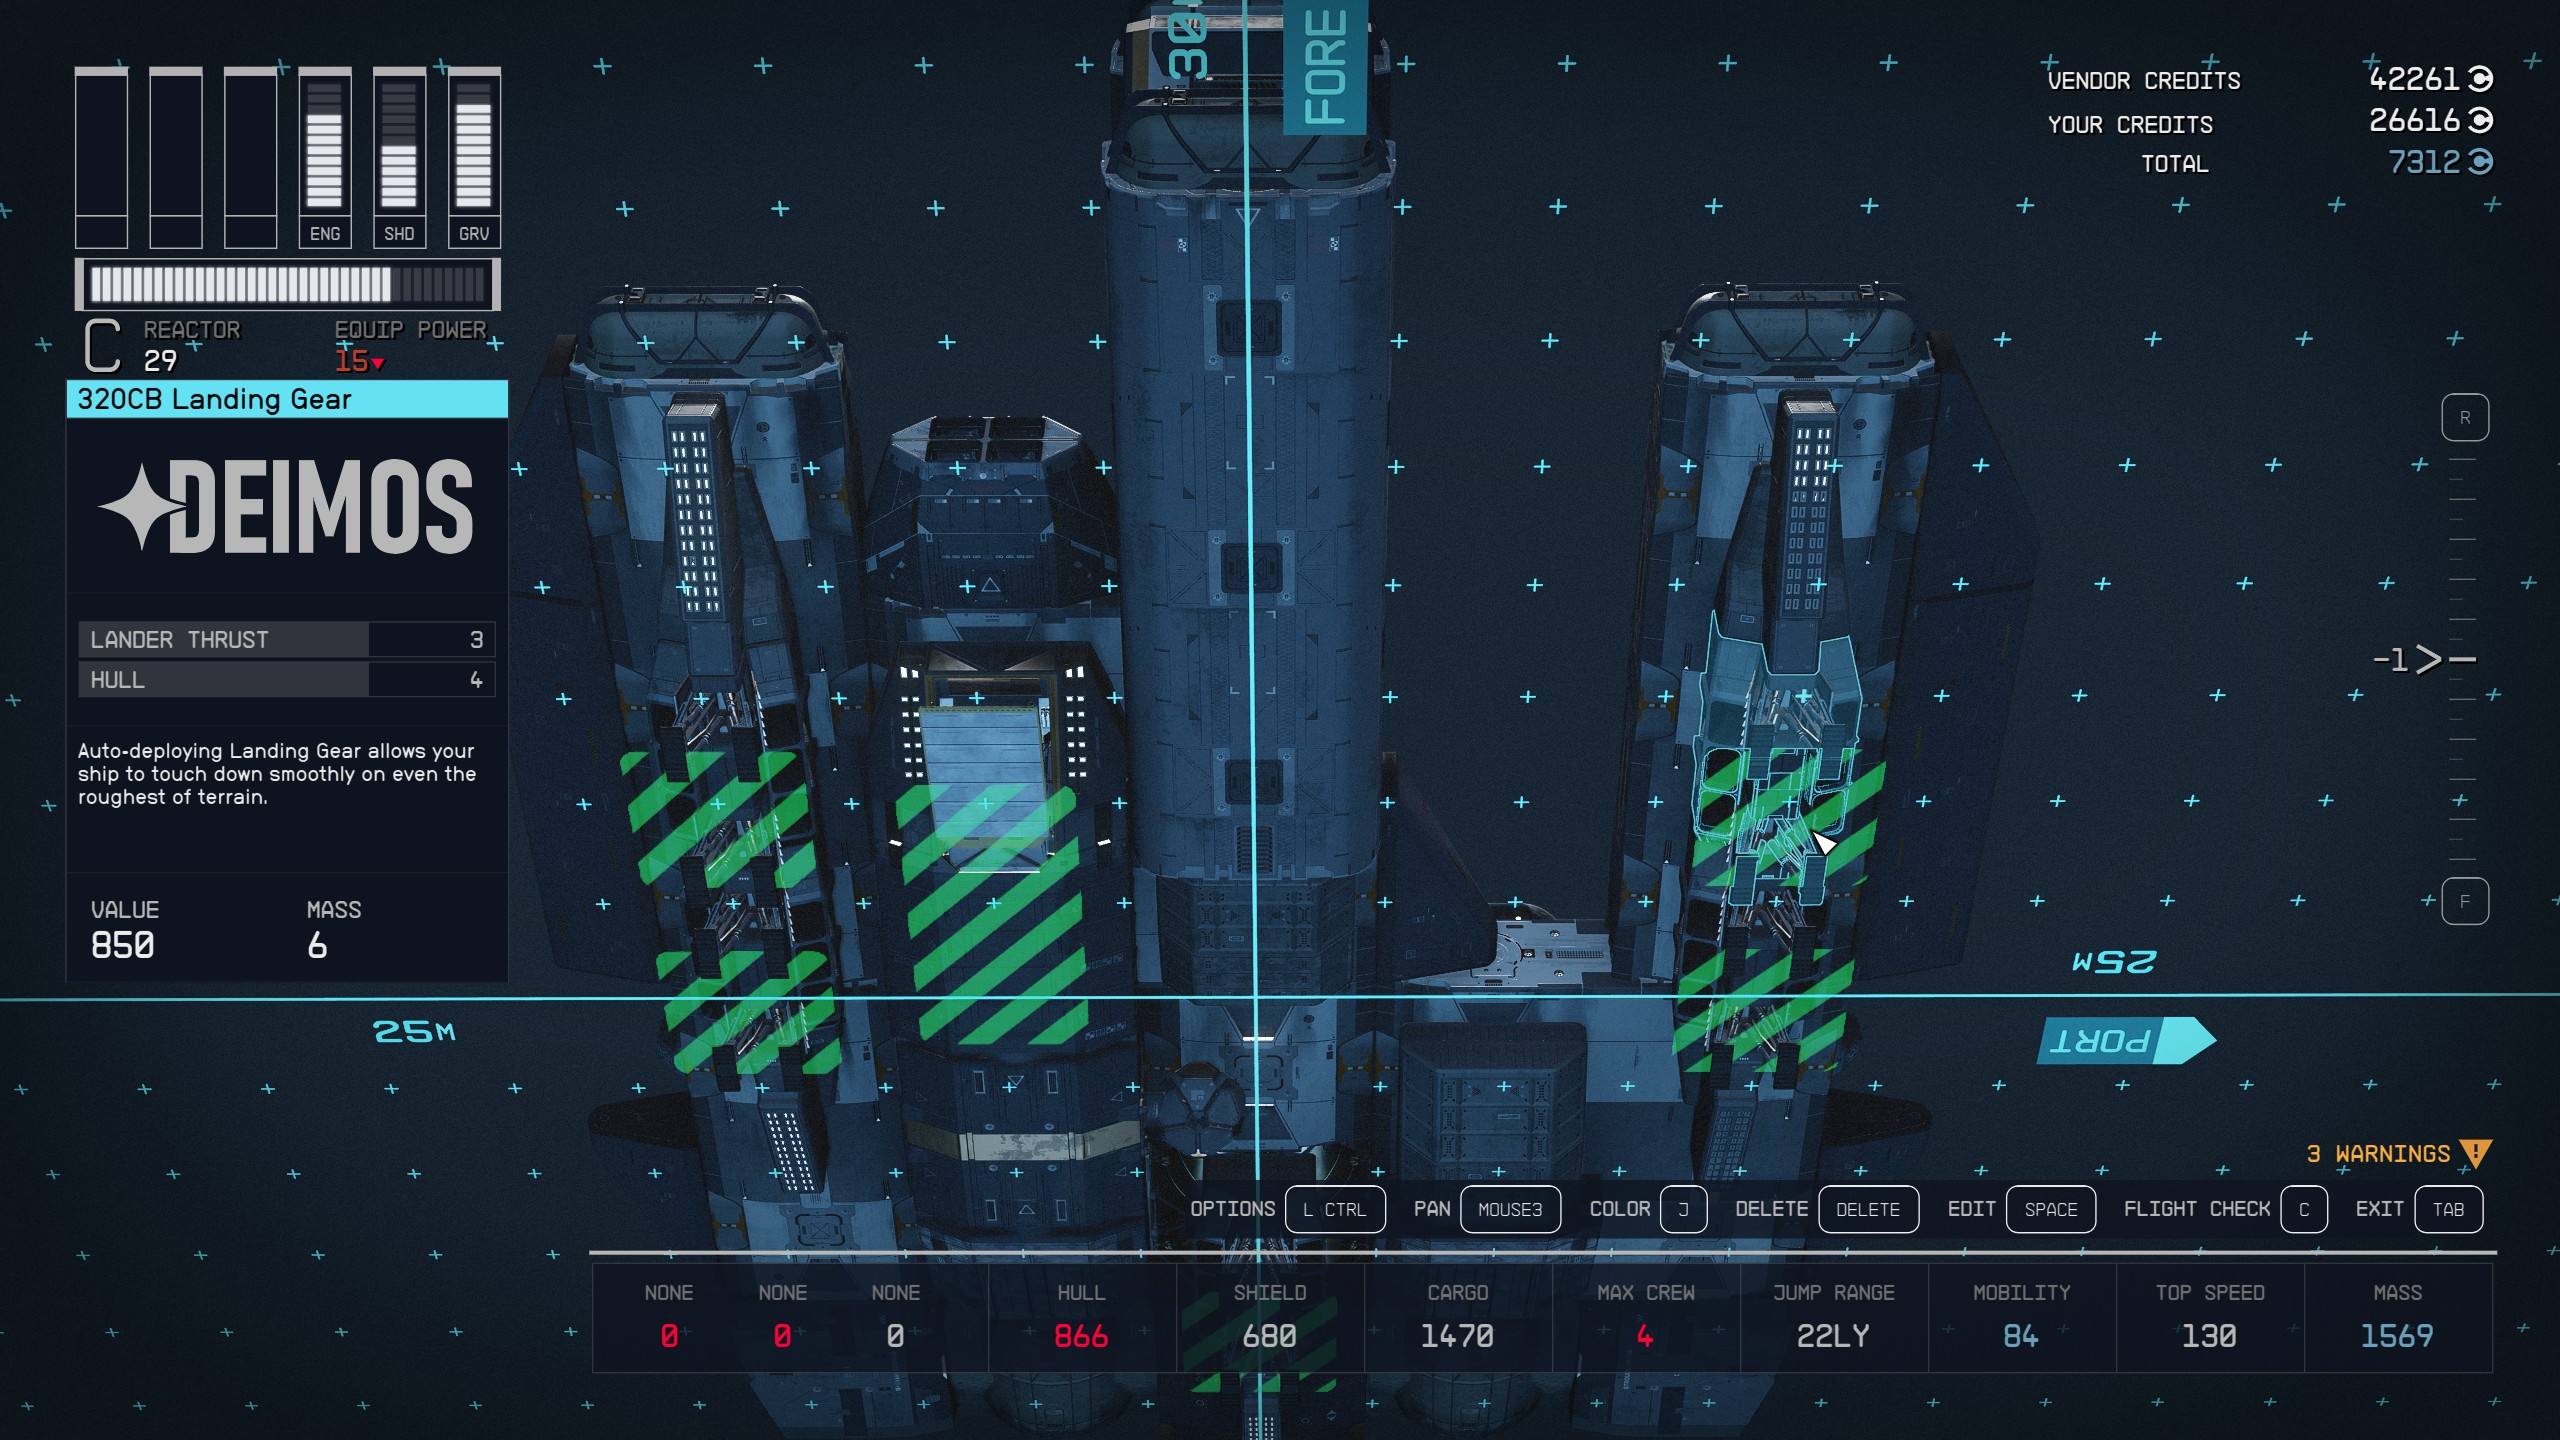
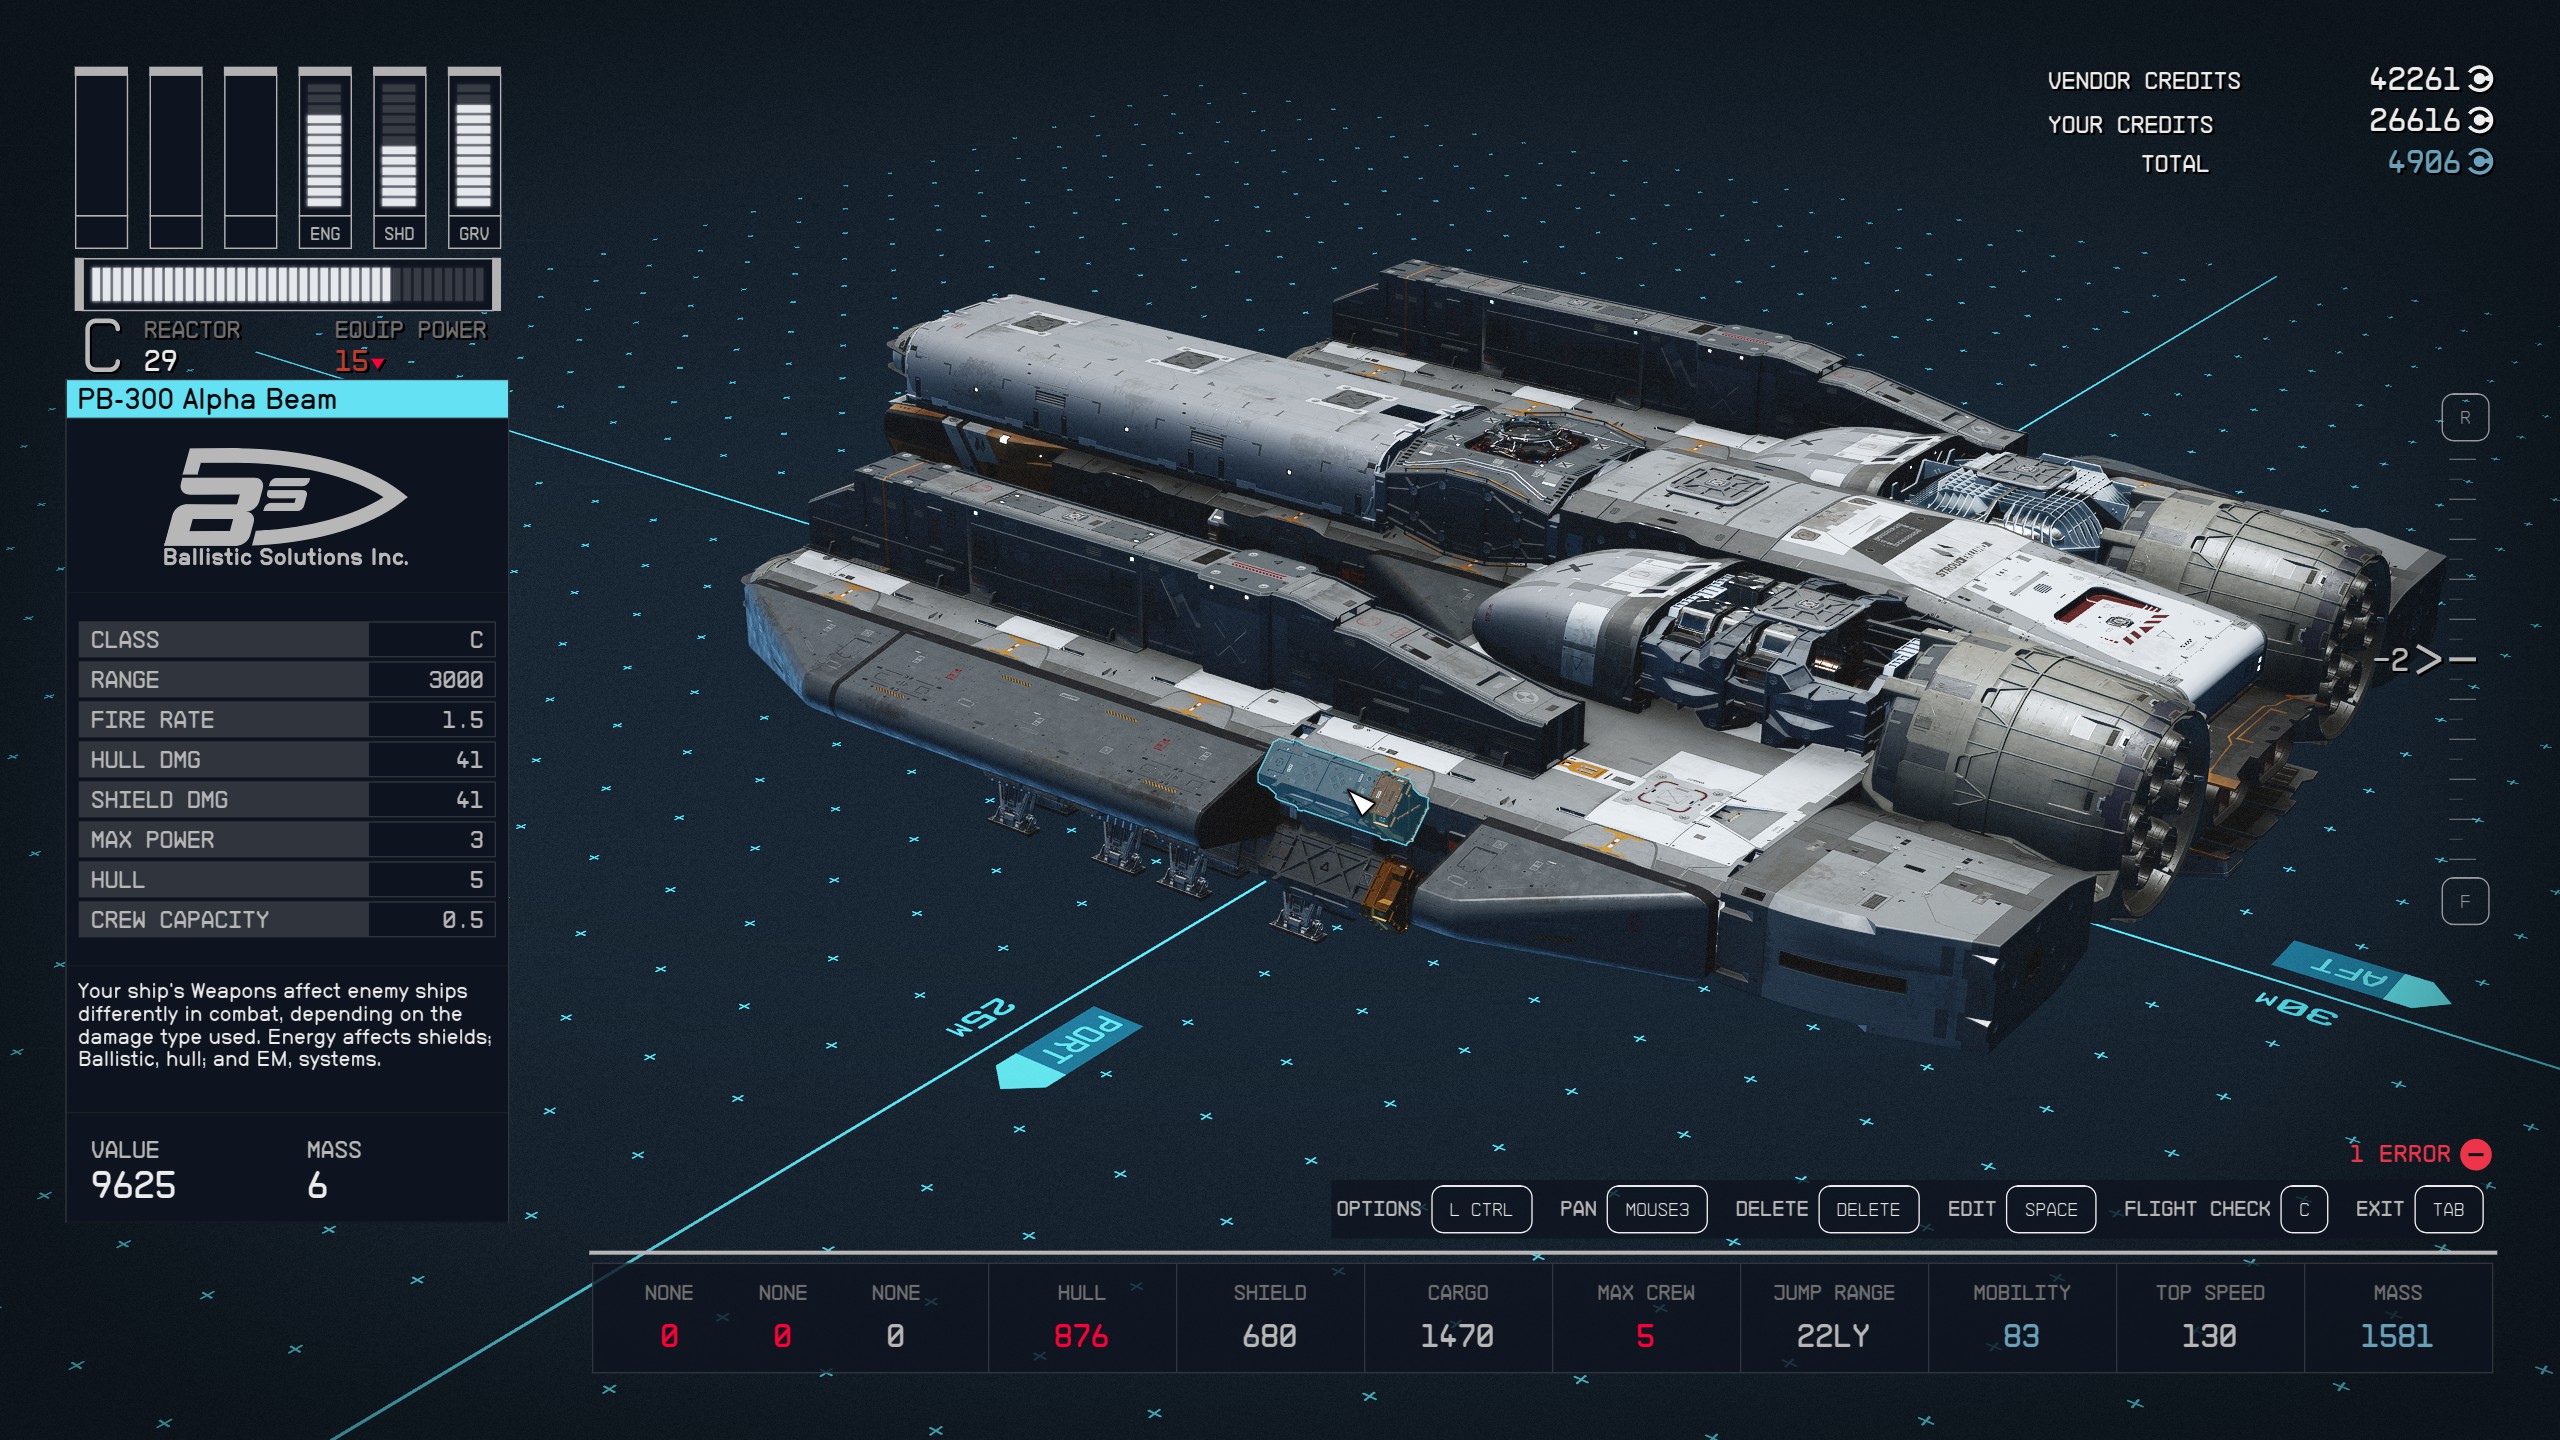
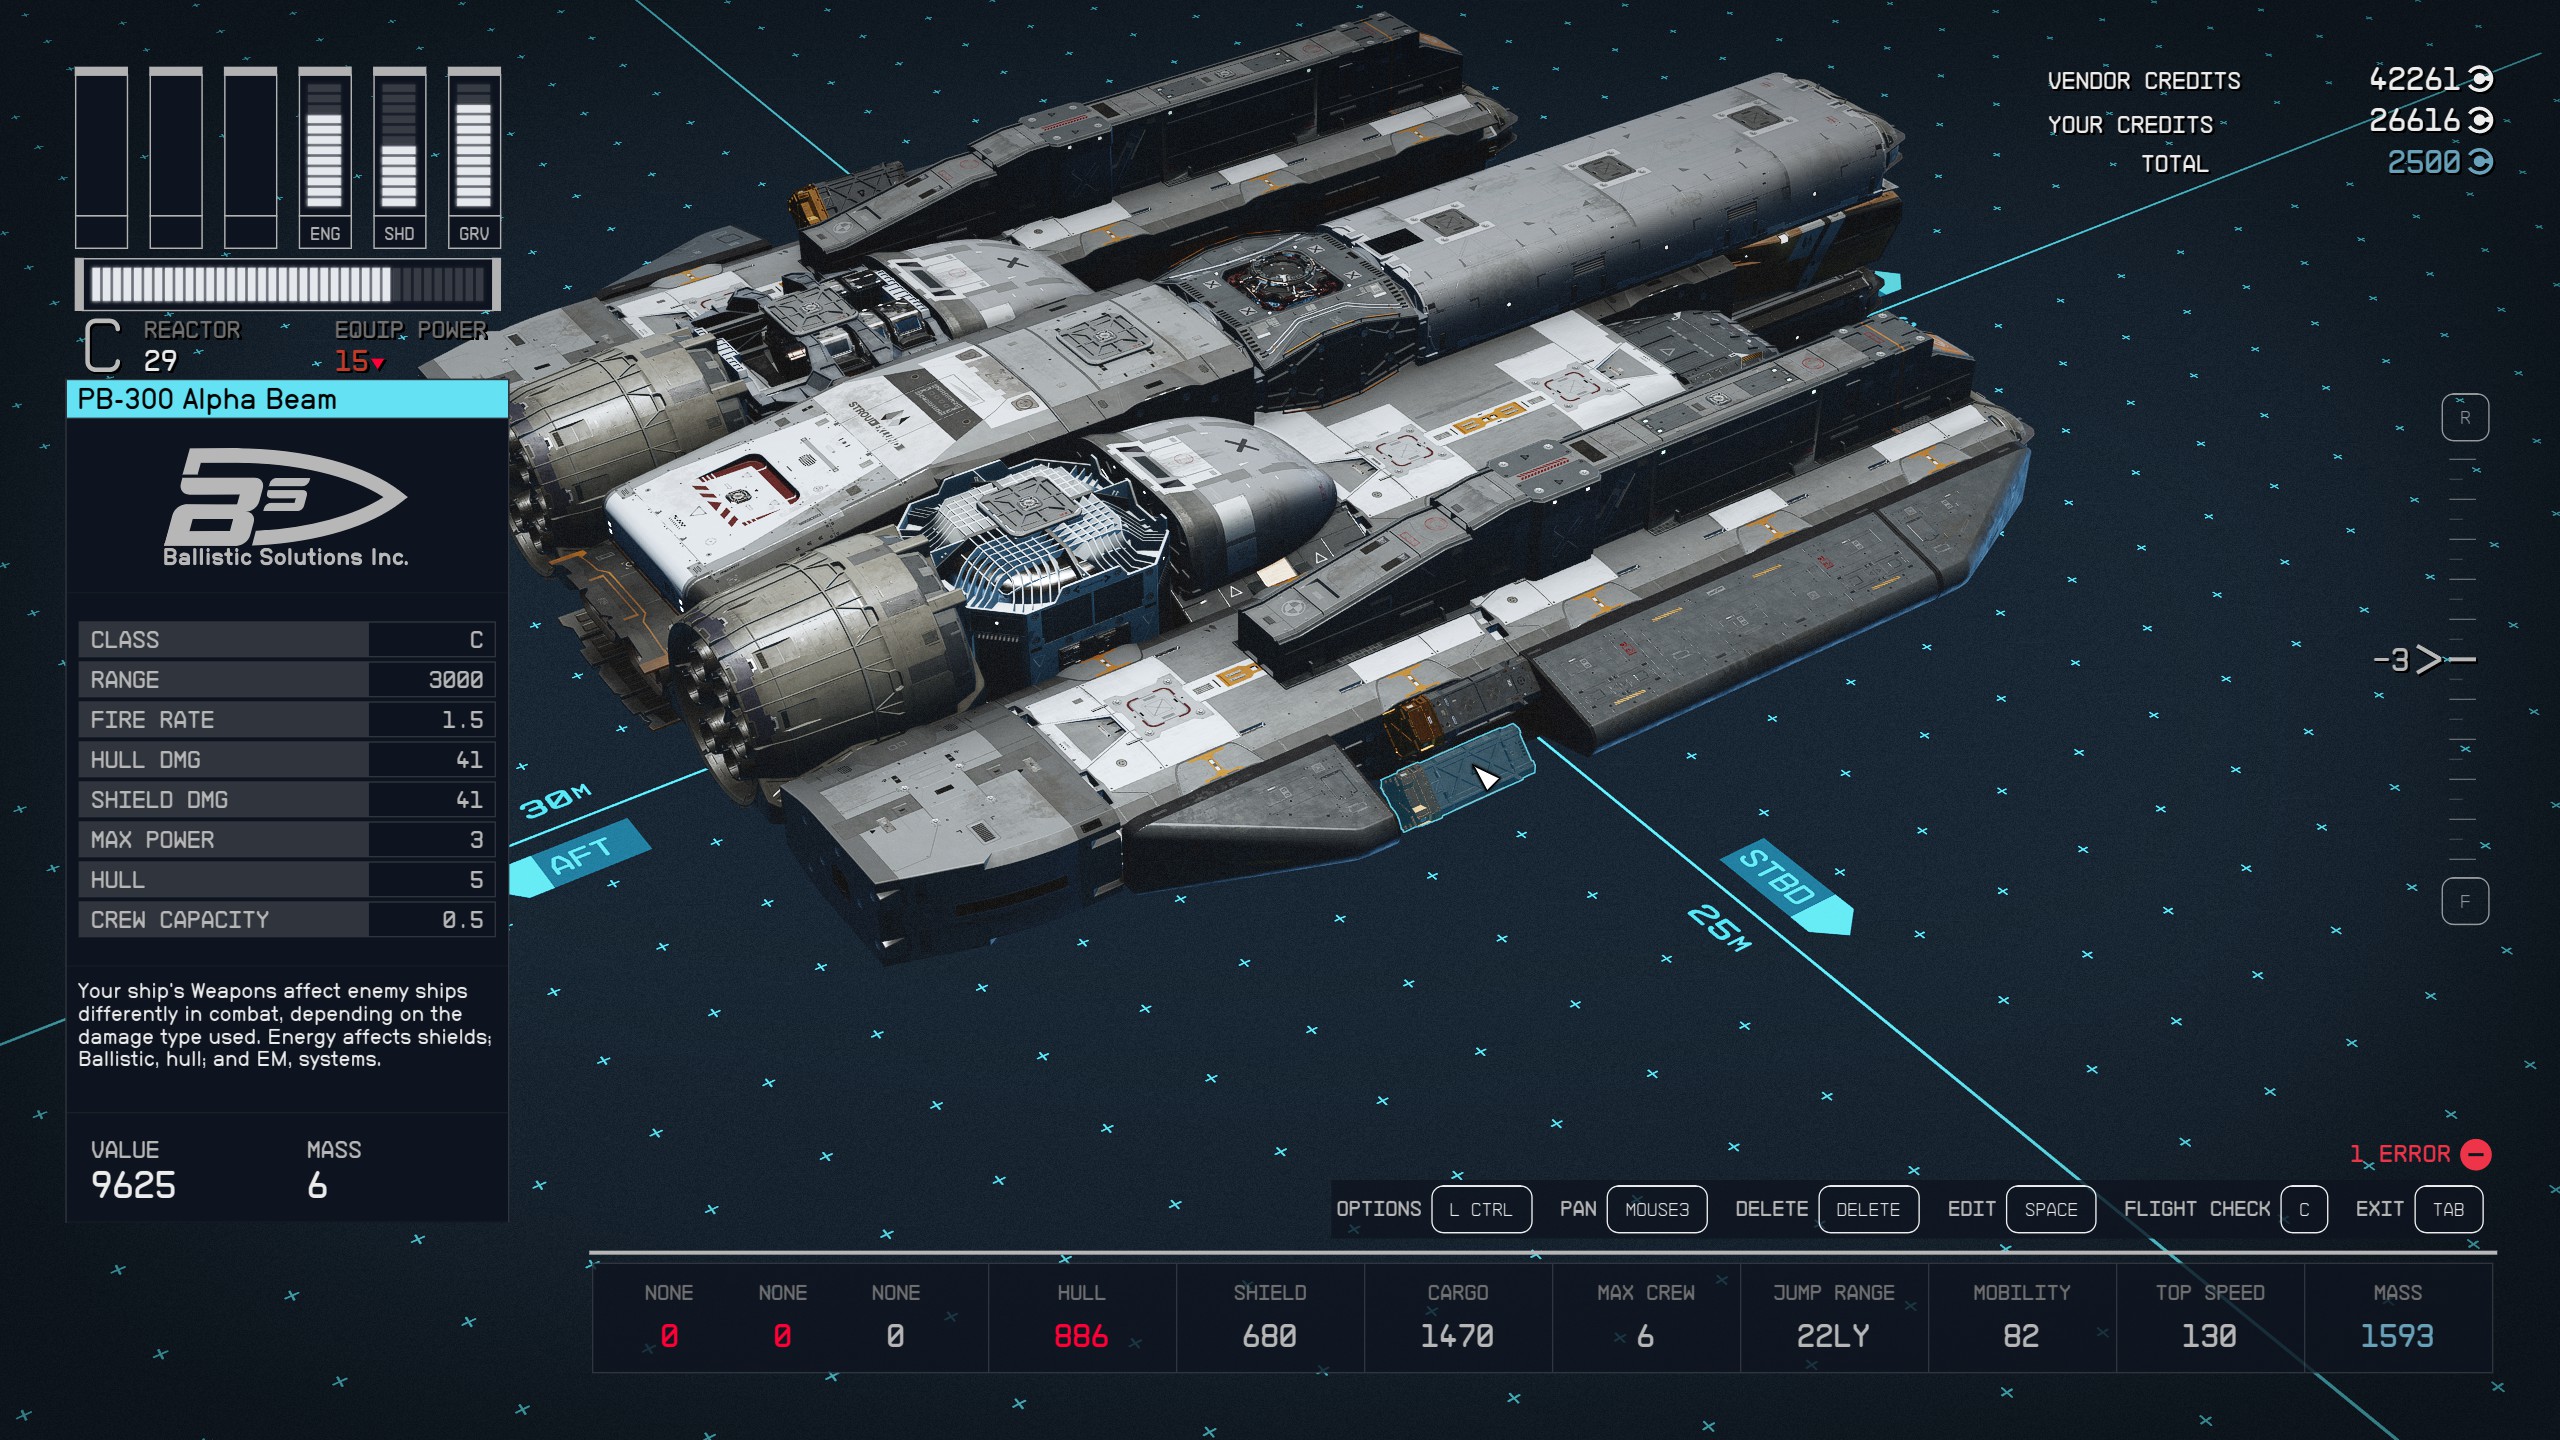
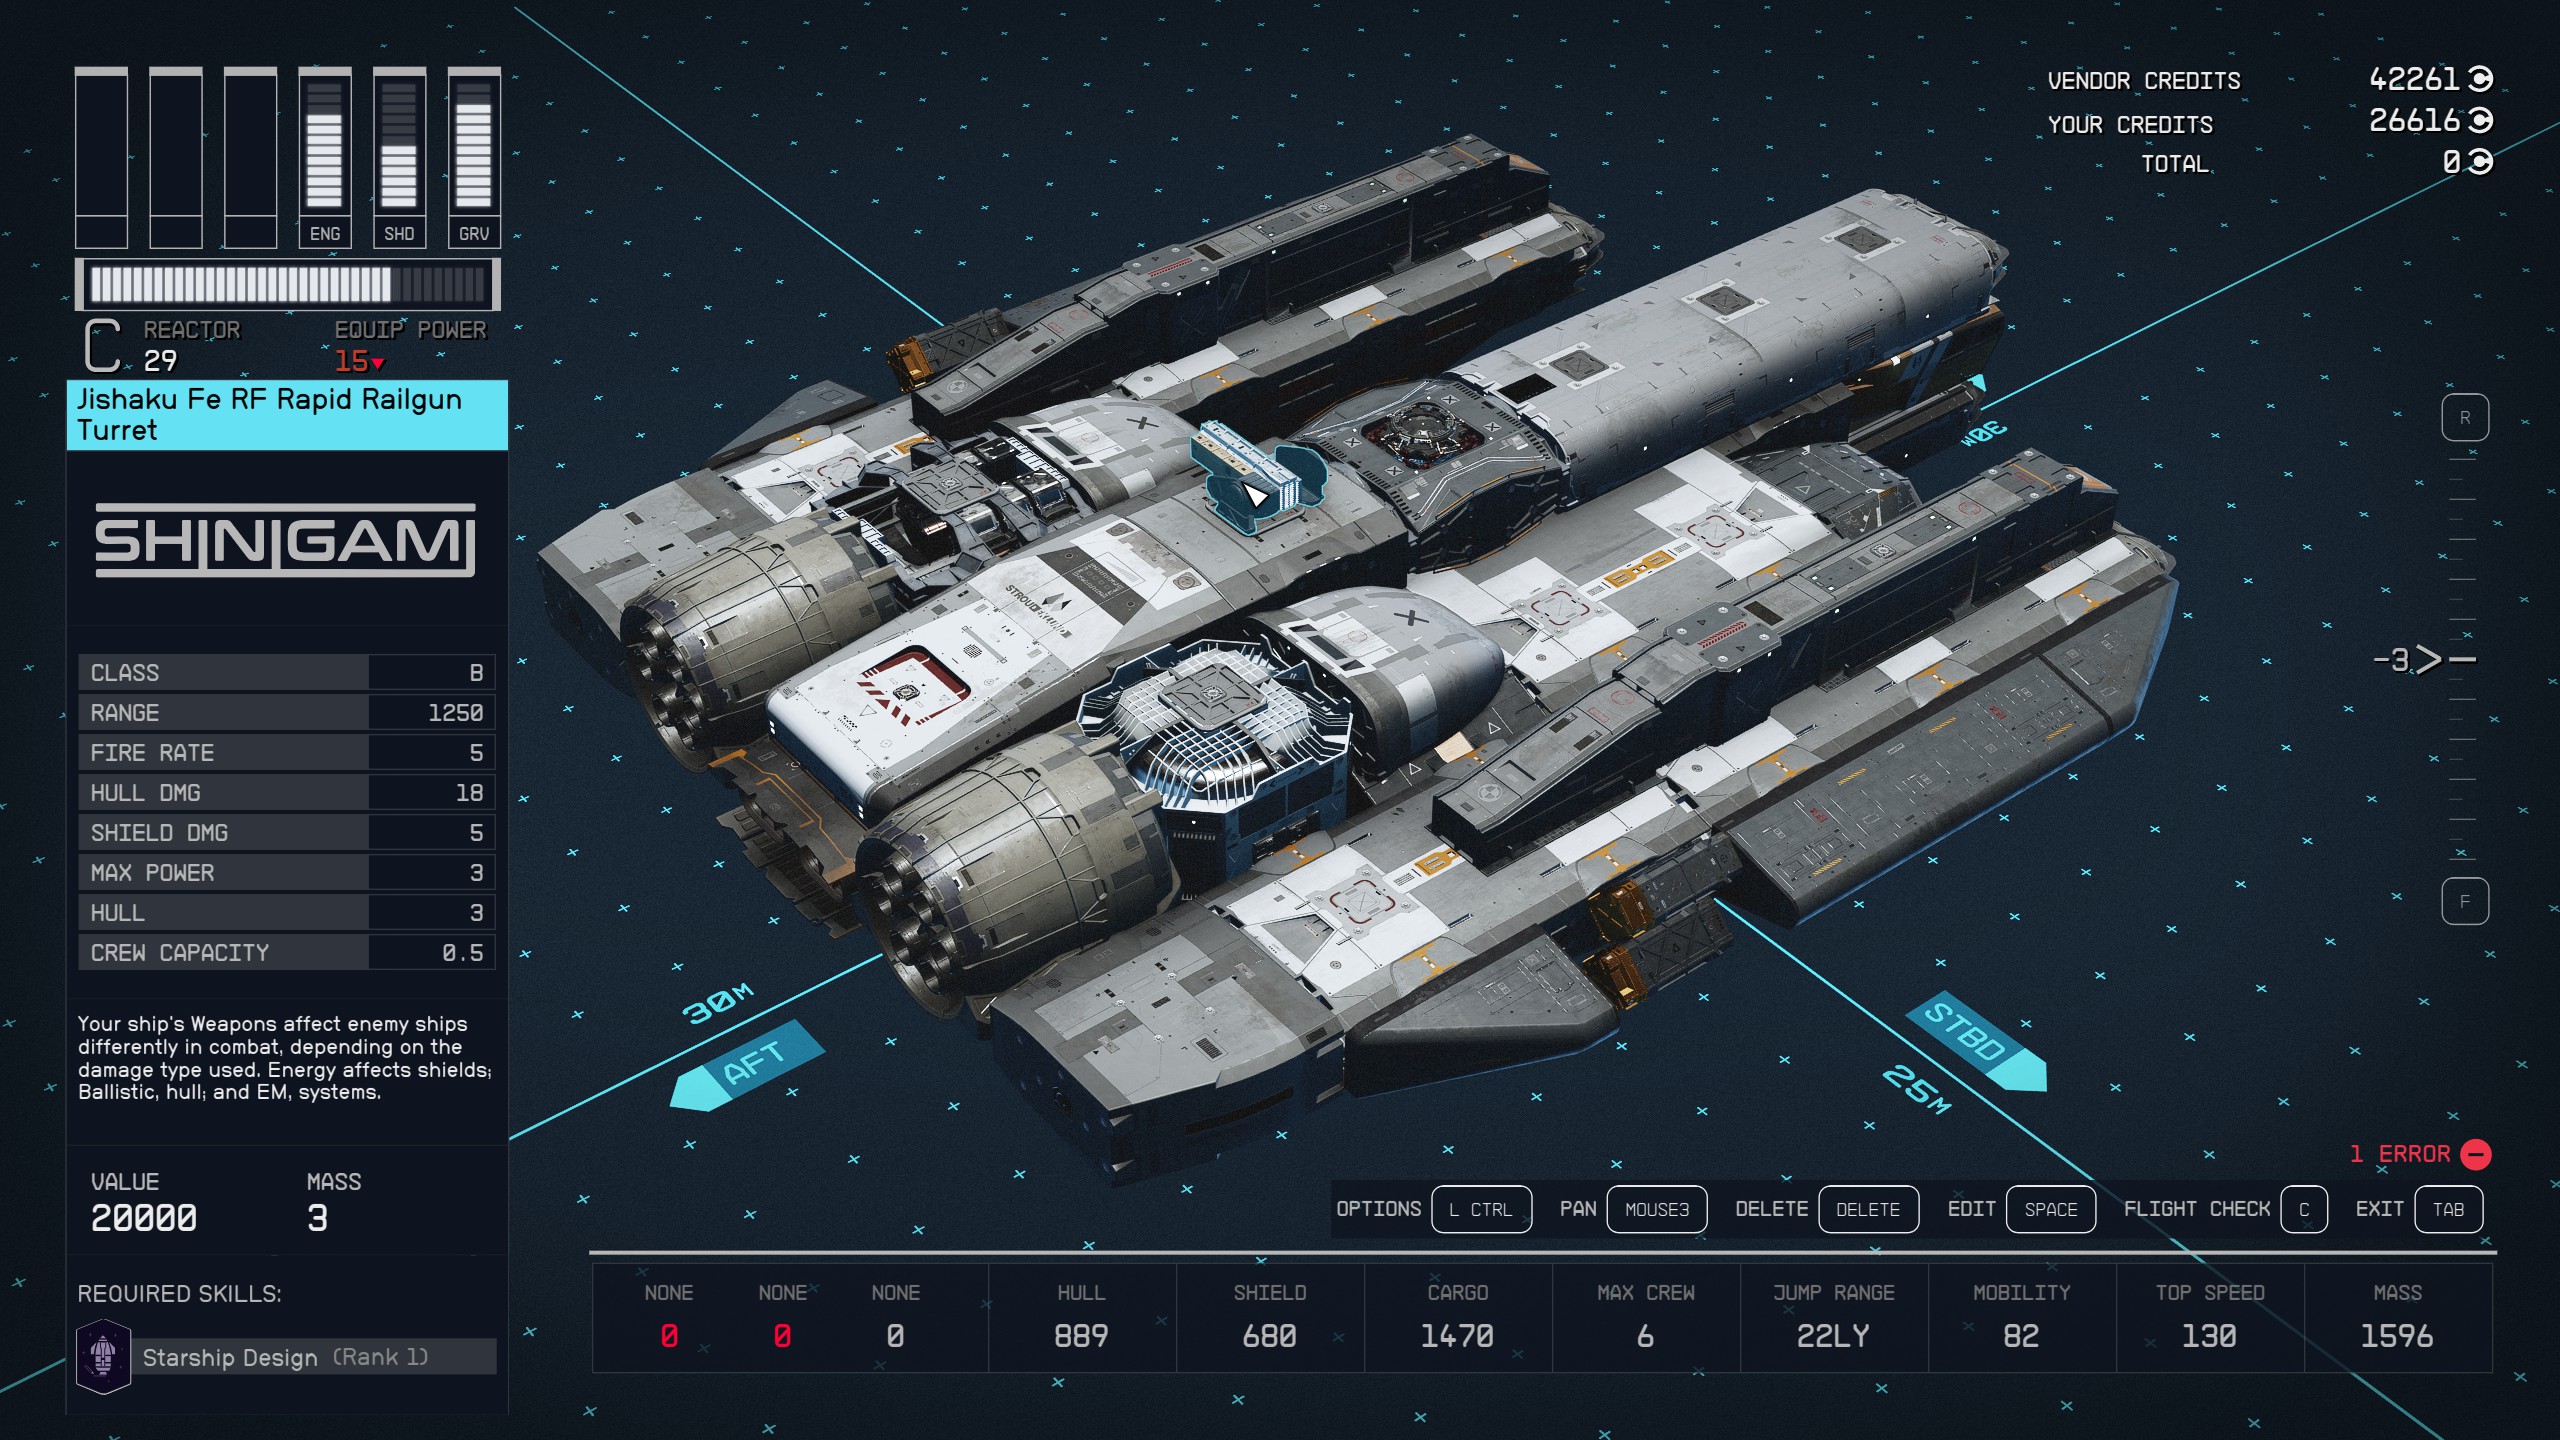
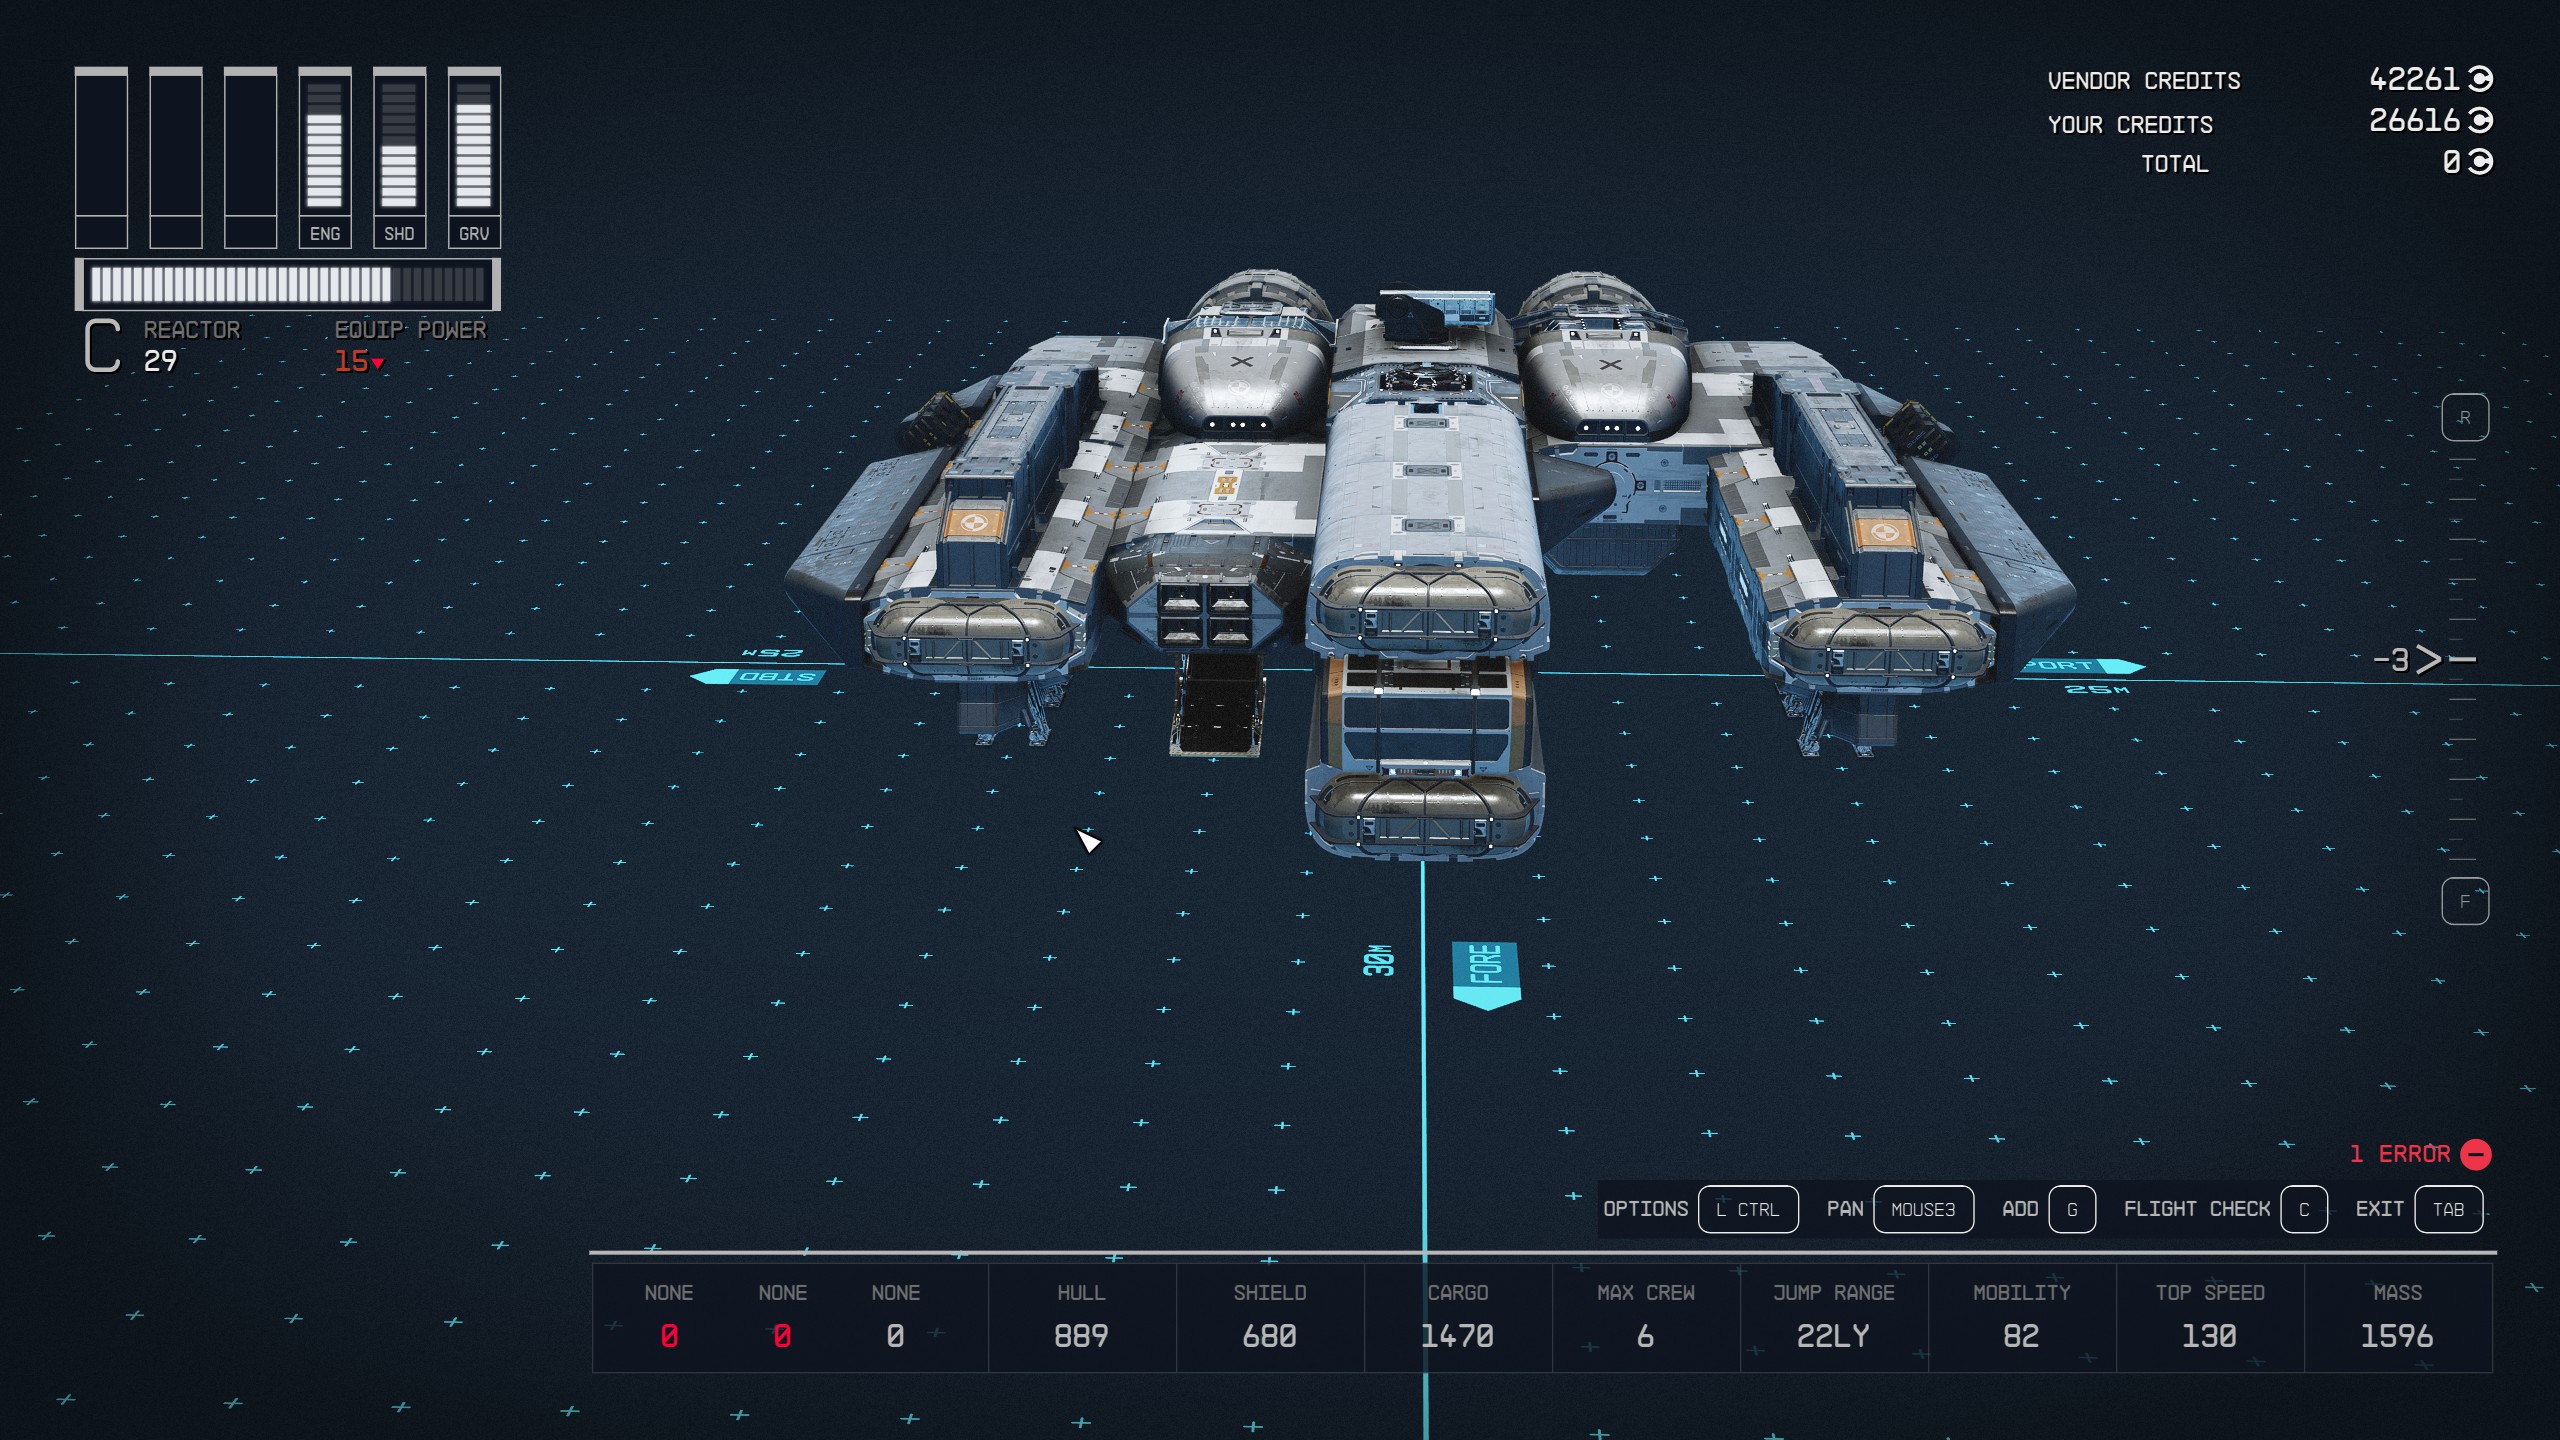
Part Five: Weapons
Honestly, you can use whatever weapons you want. Just attach them to the same area identified by the pictures below.
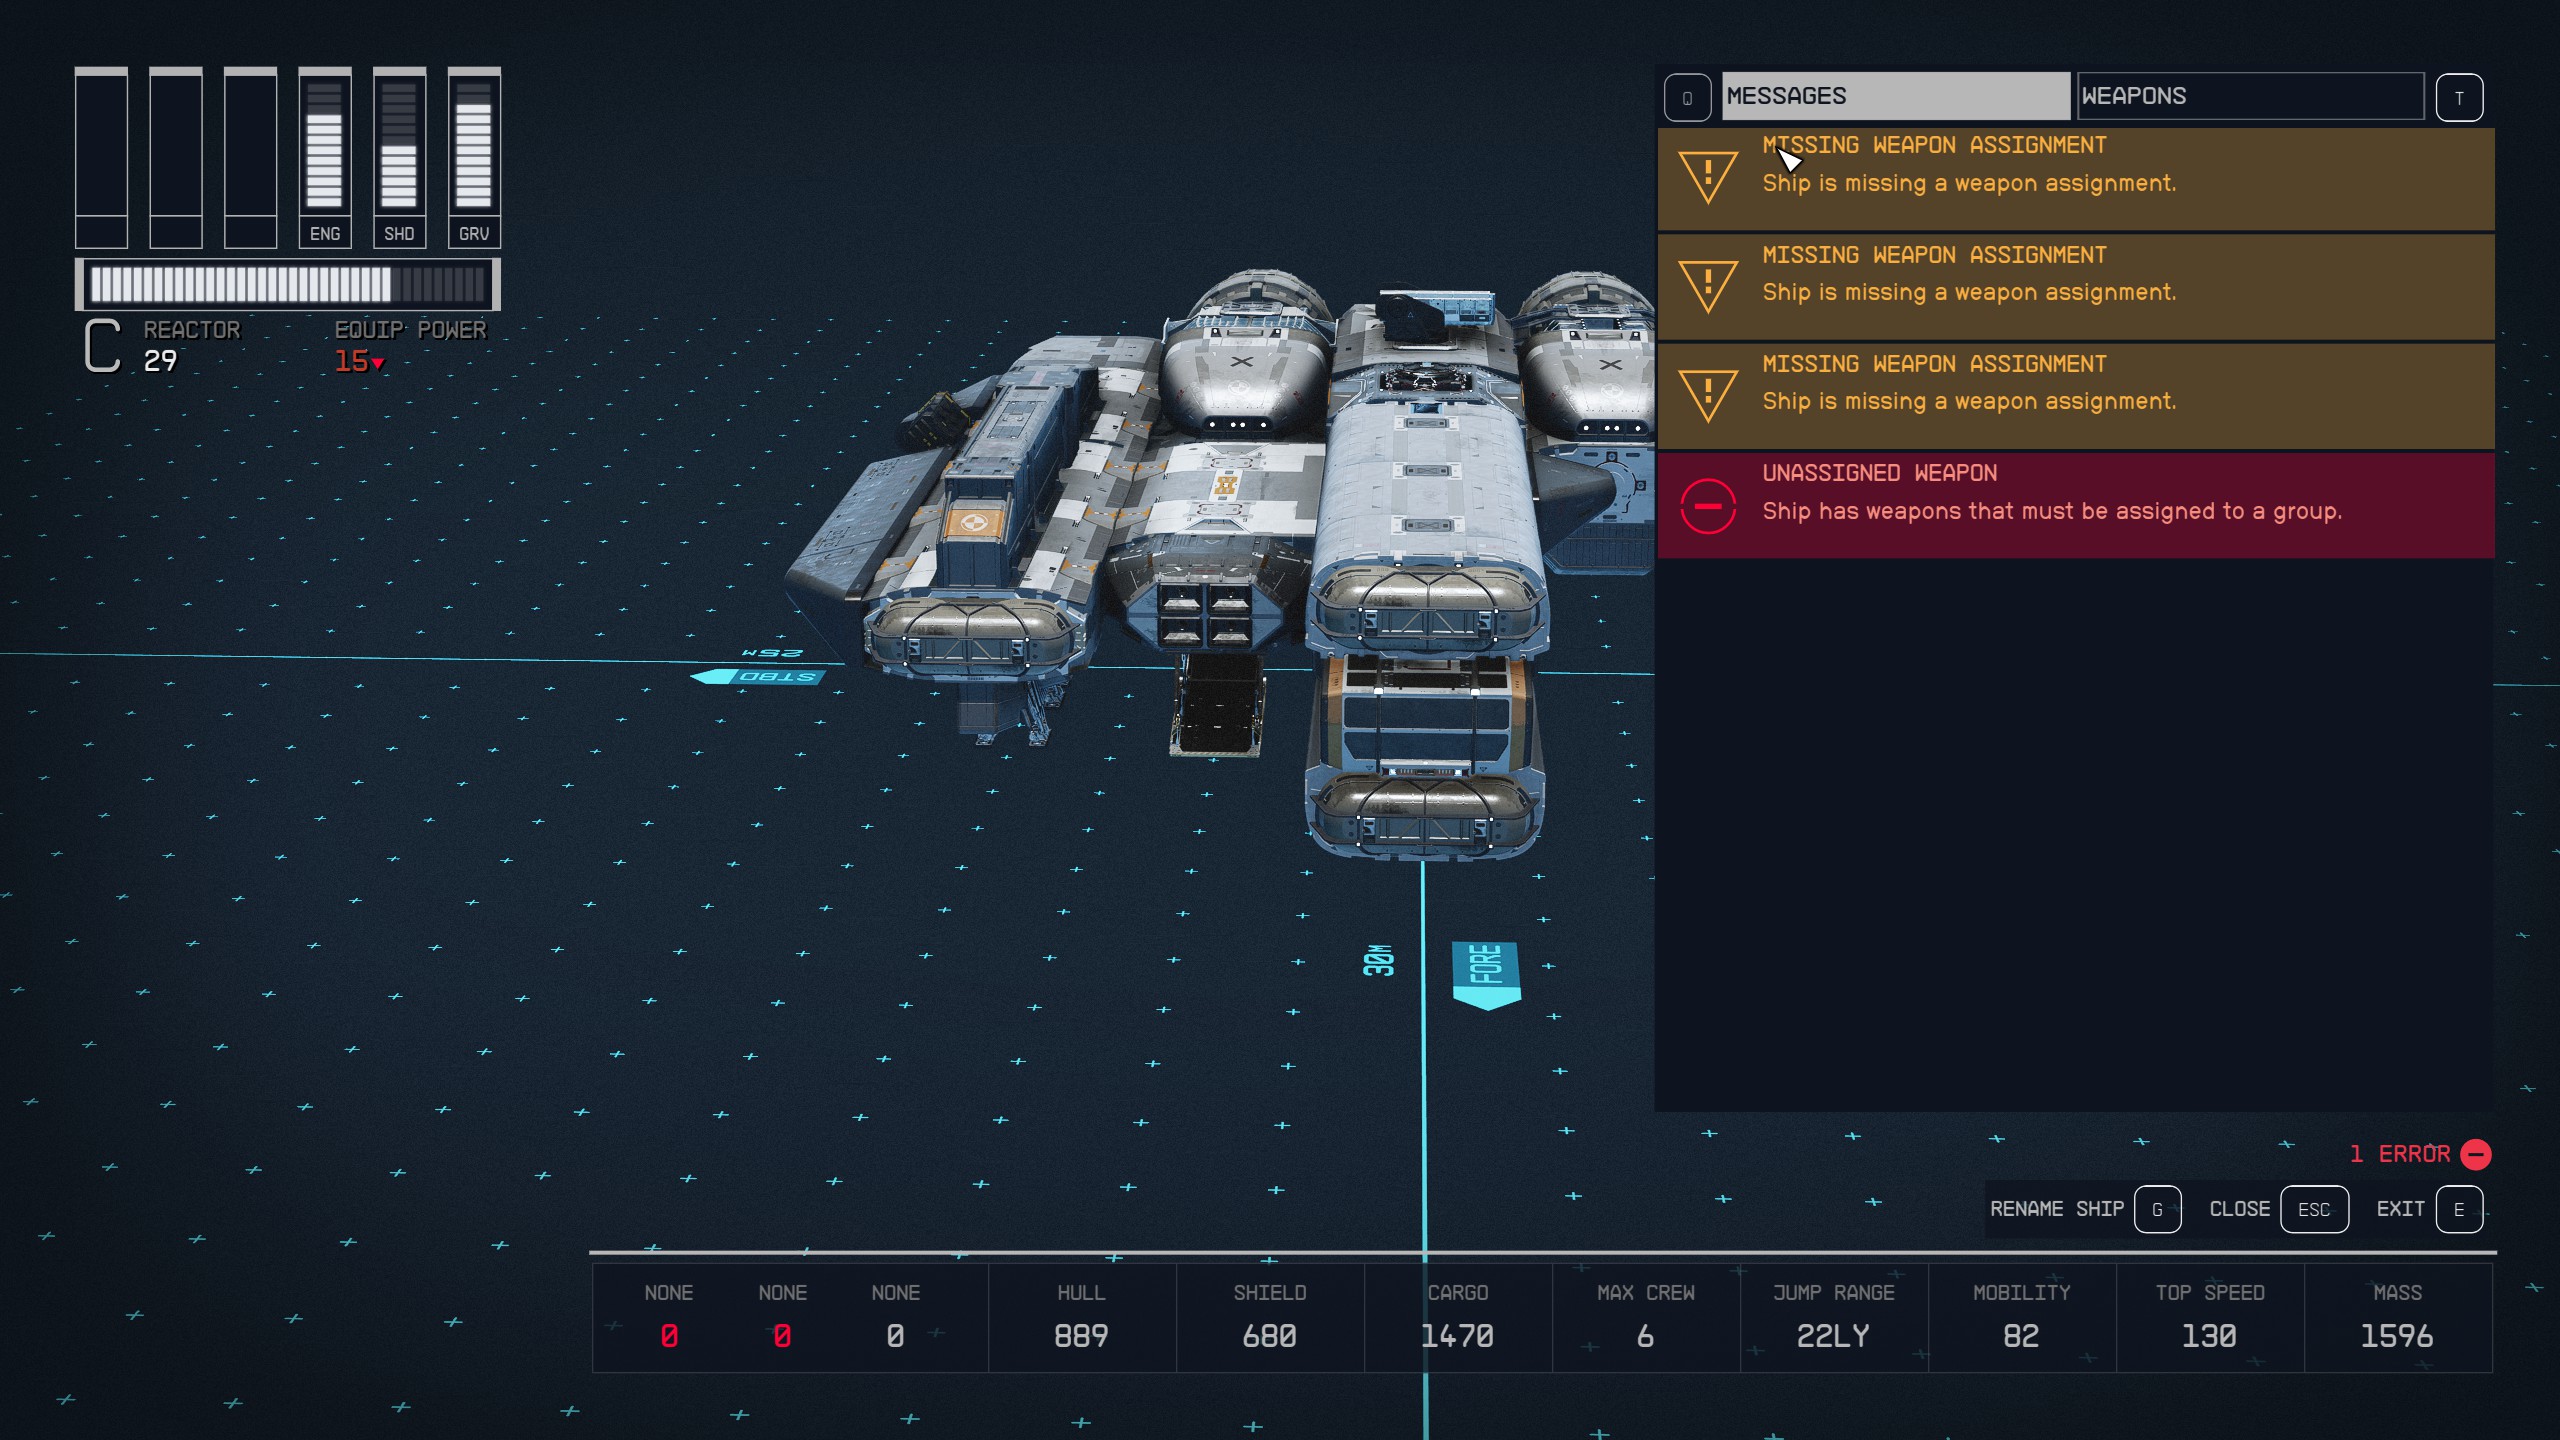
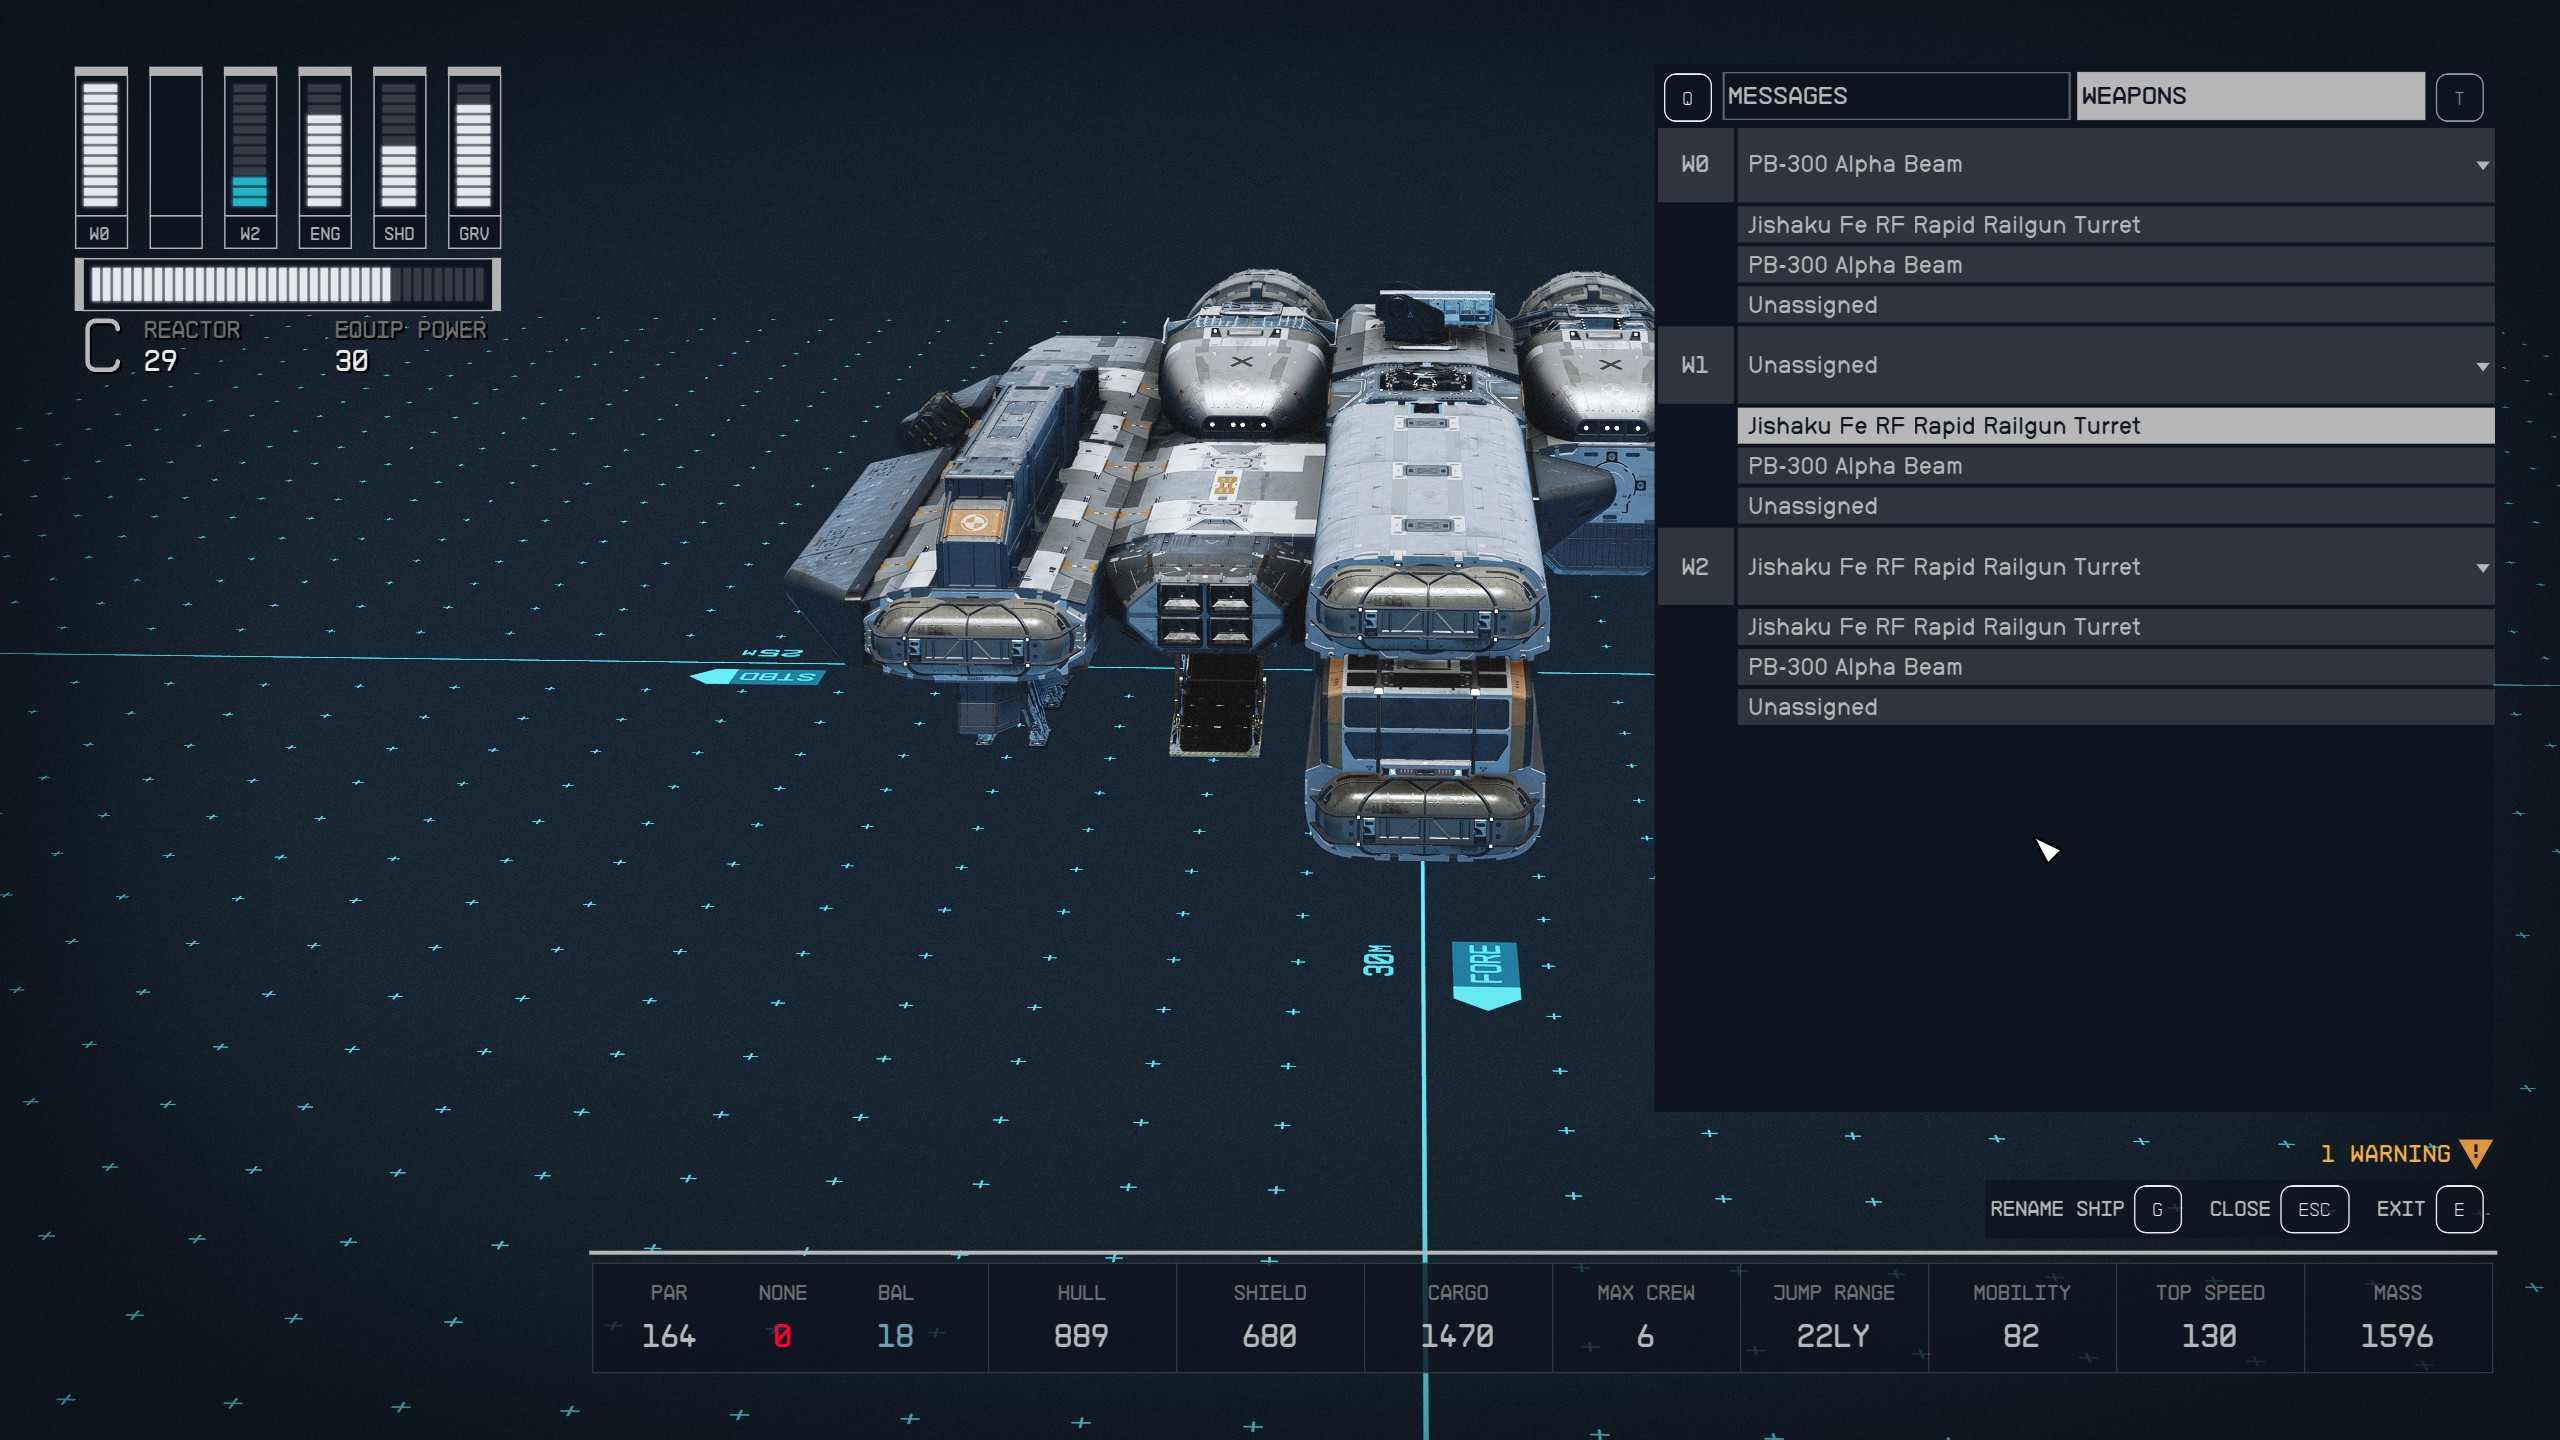
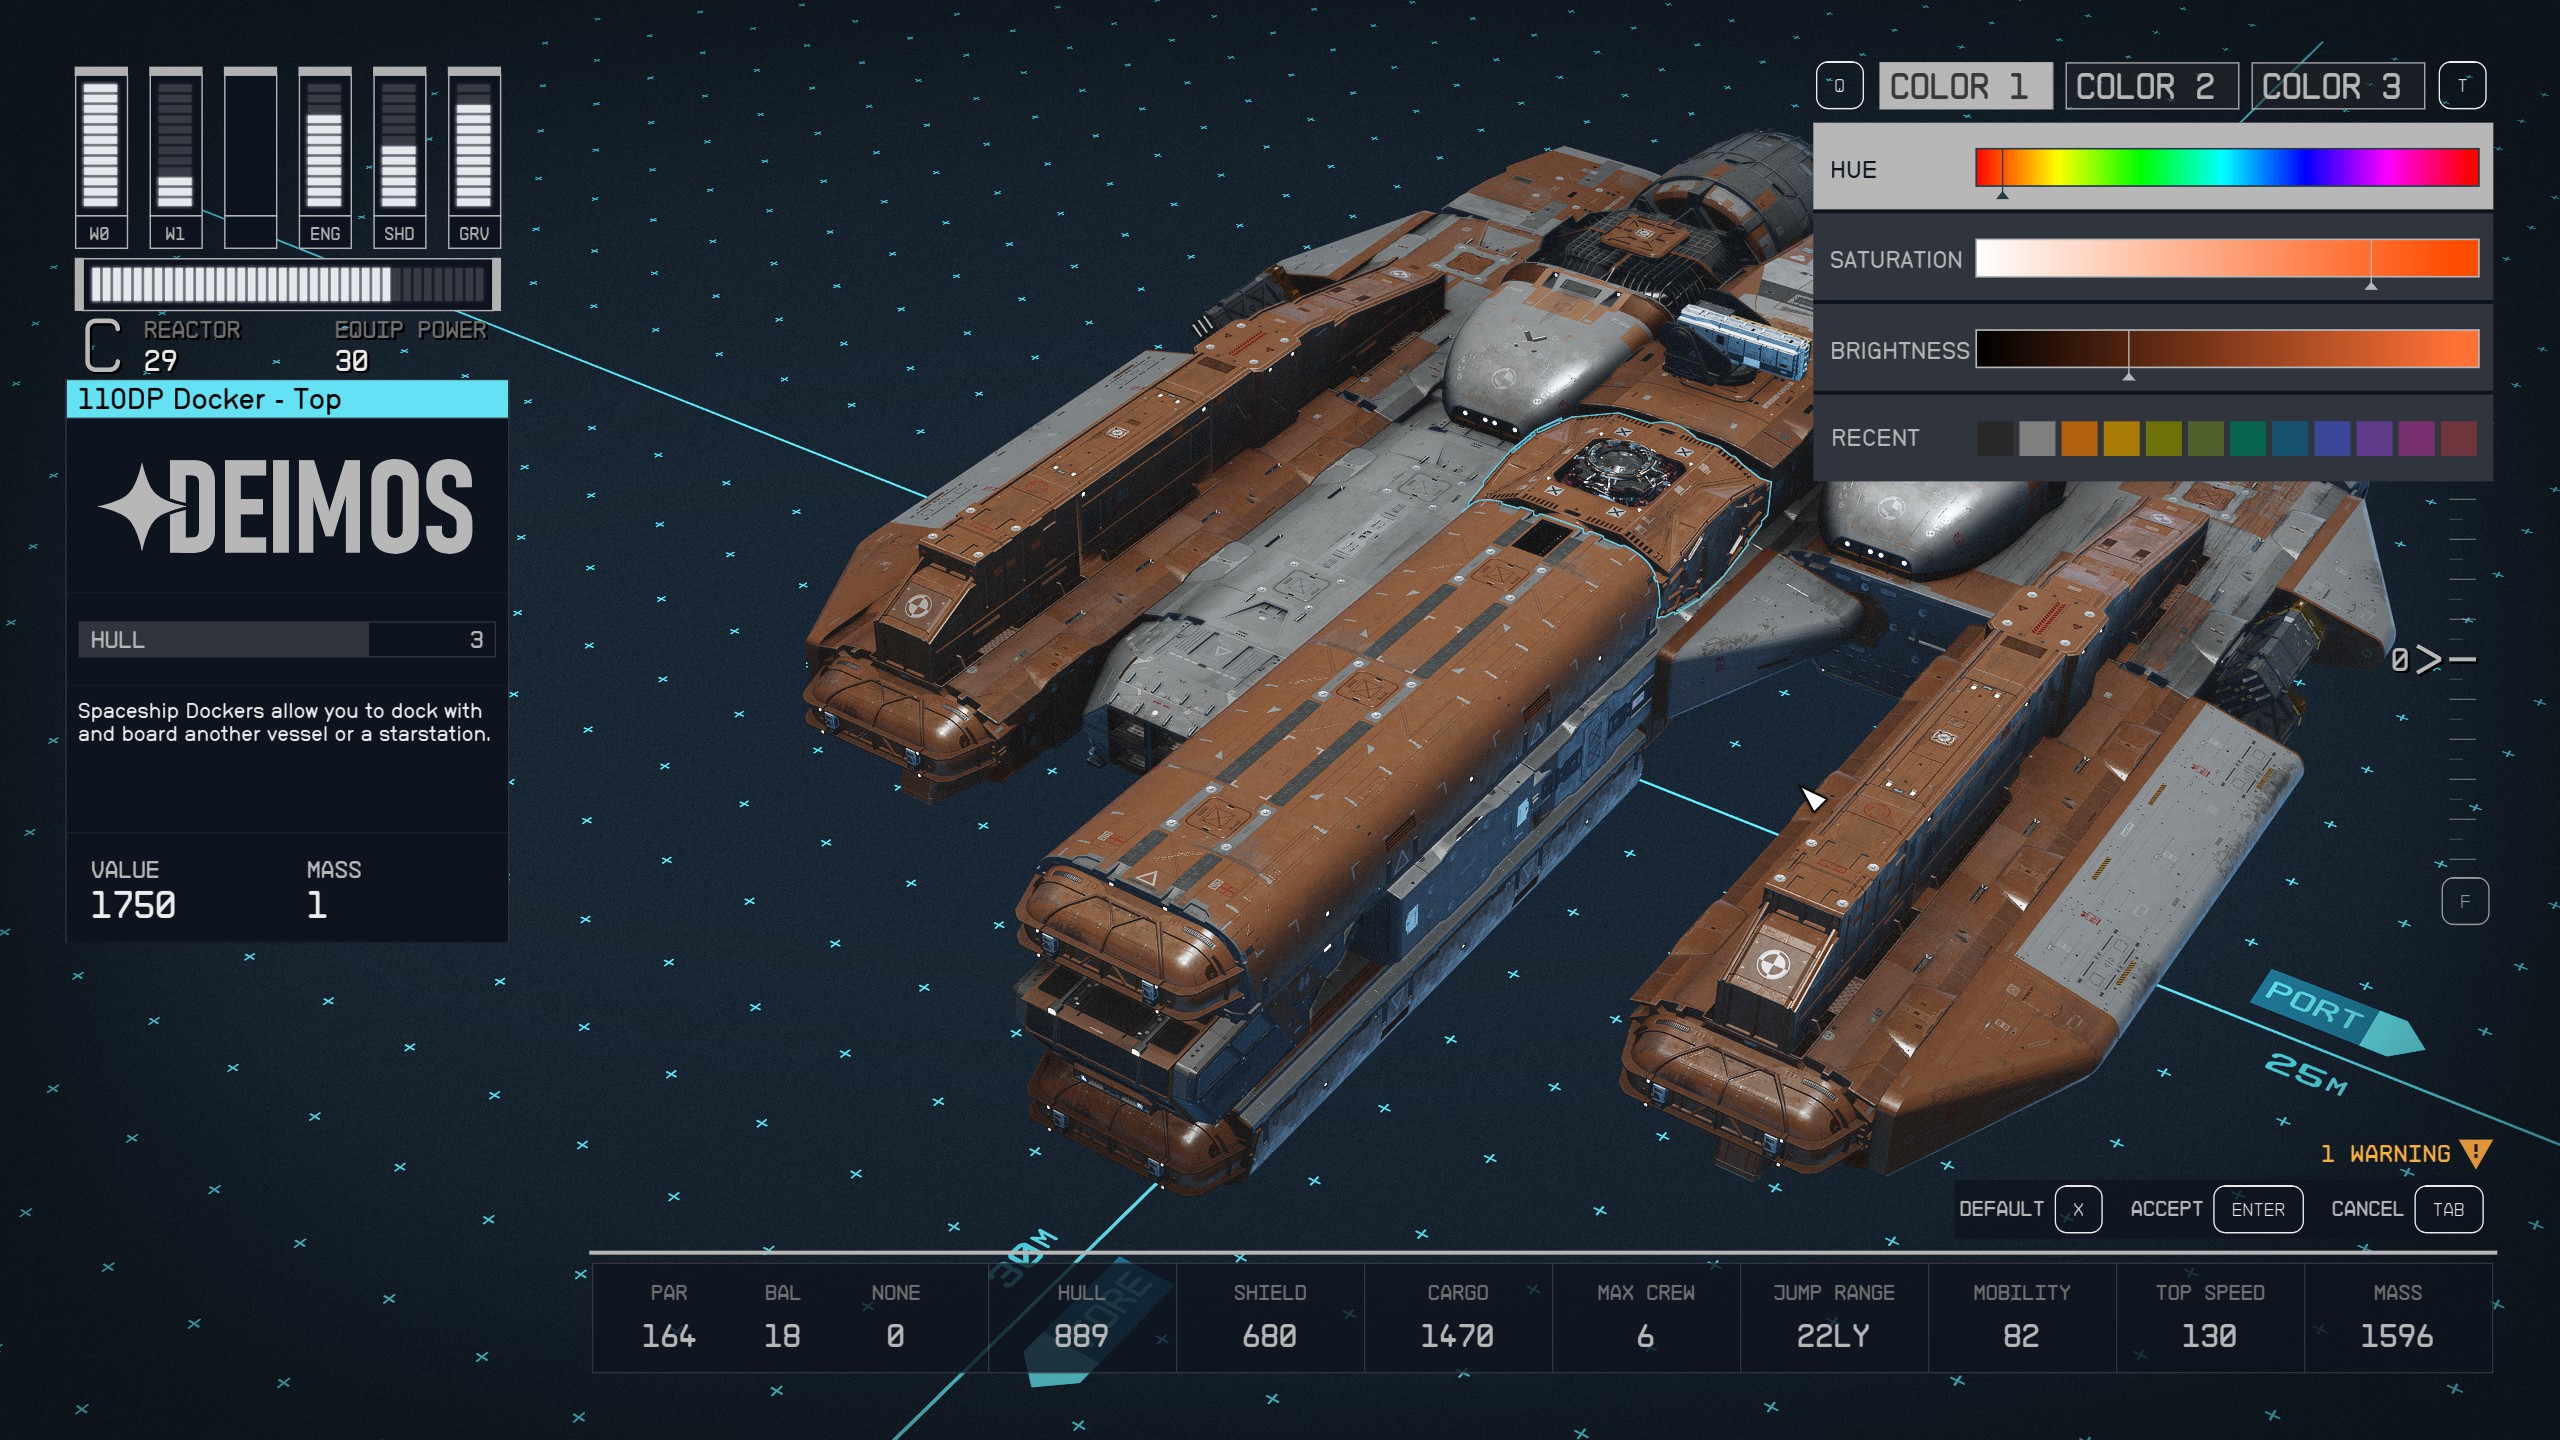
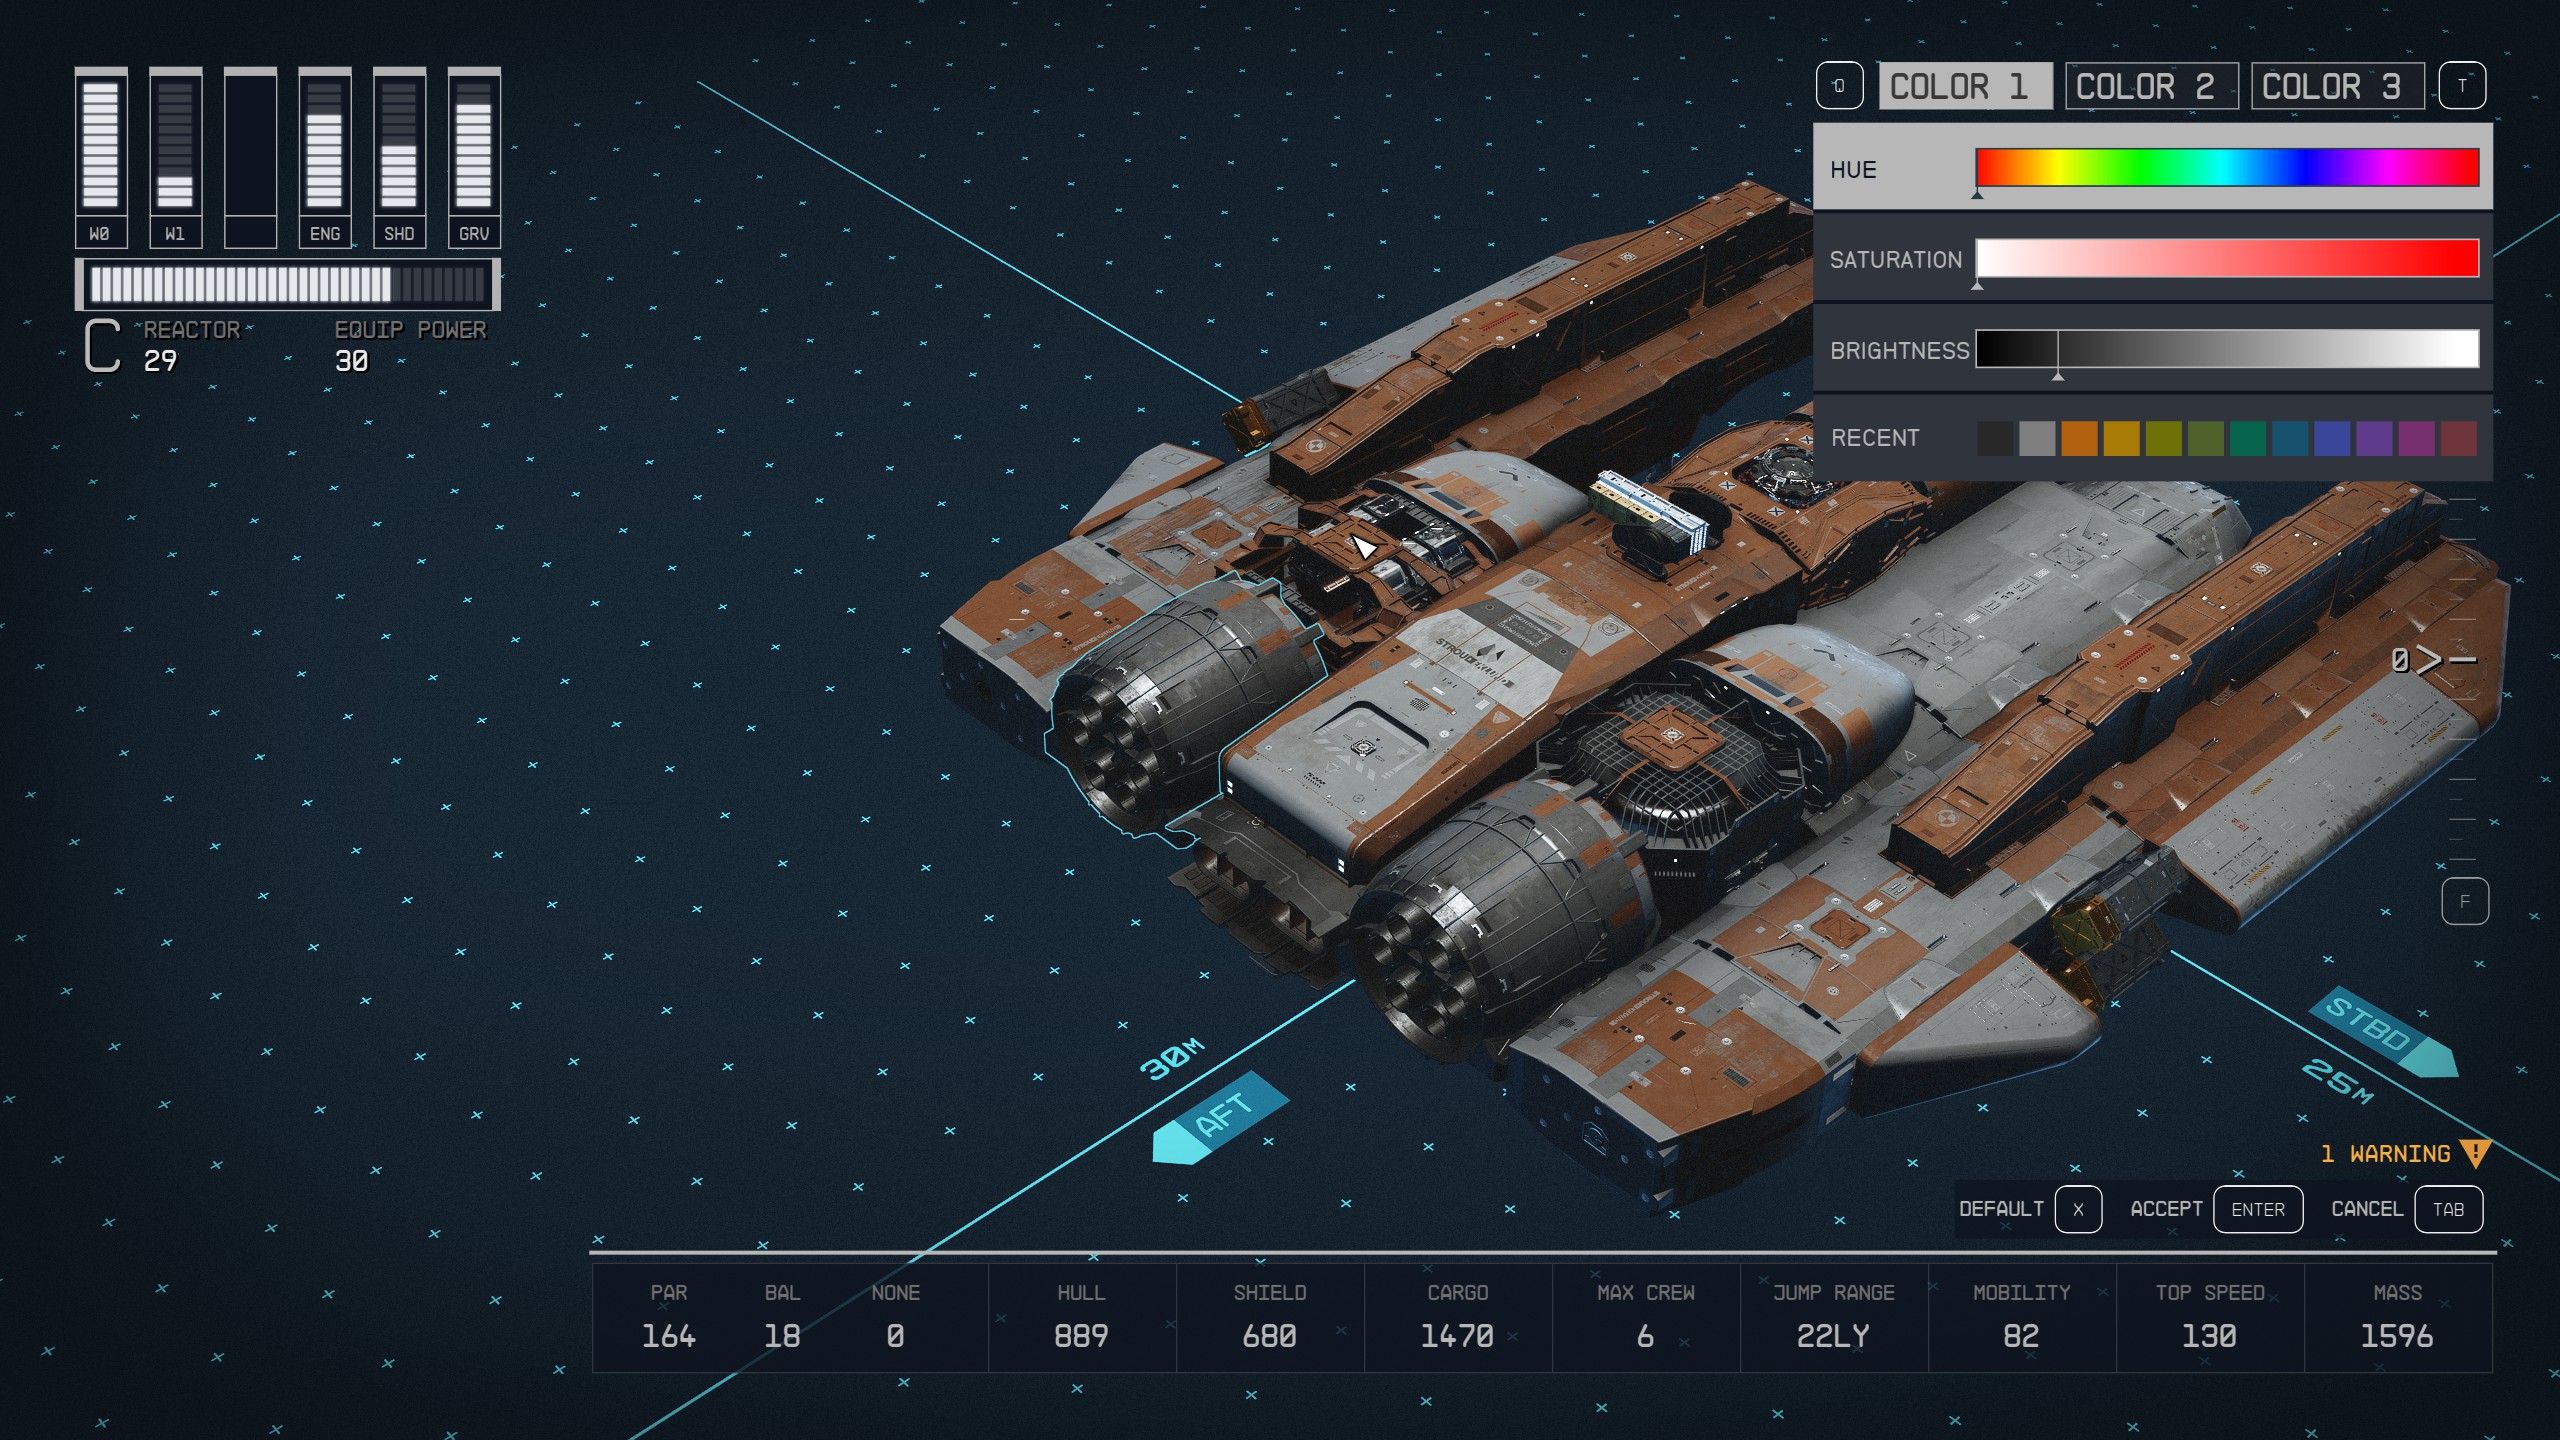
Part Six: Paint Color
Here is setting I used for the rust color:
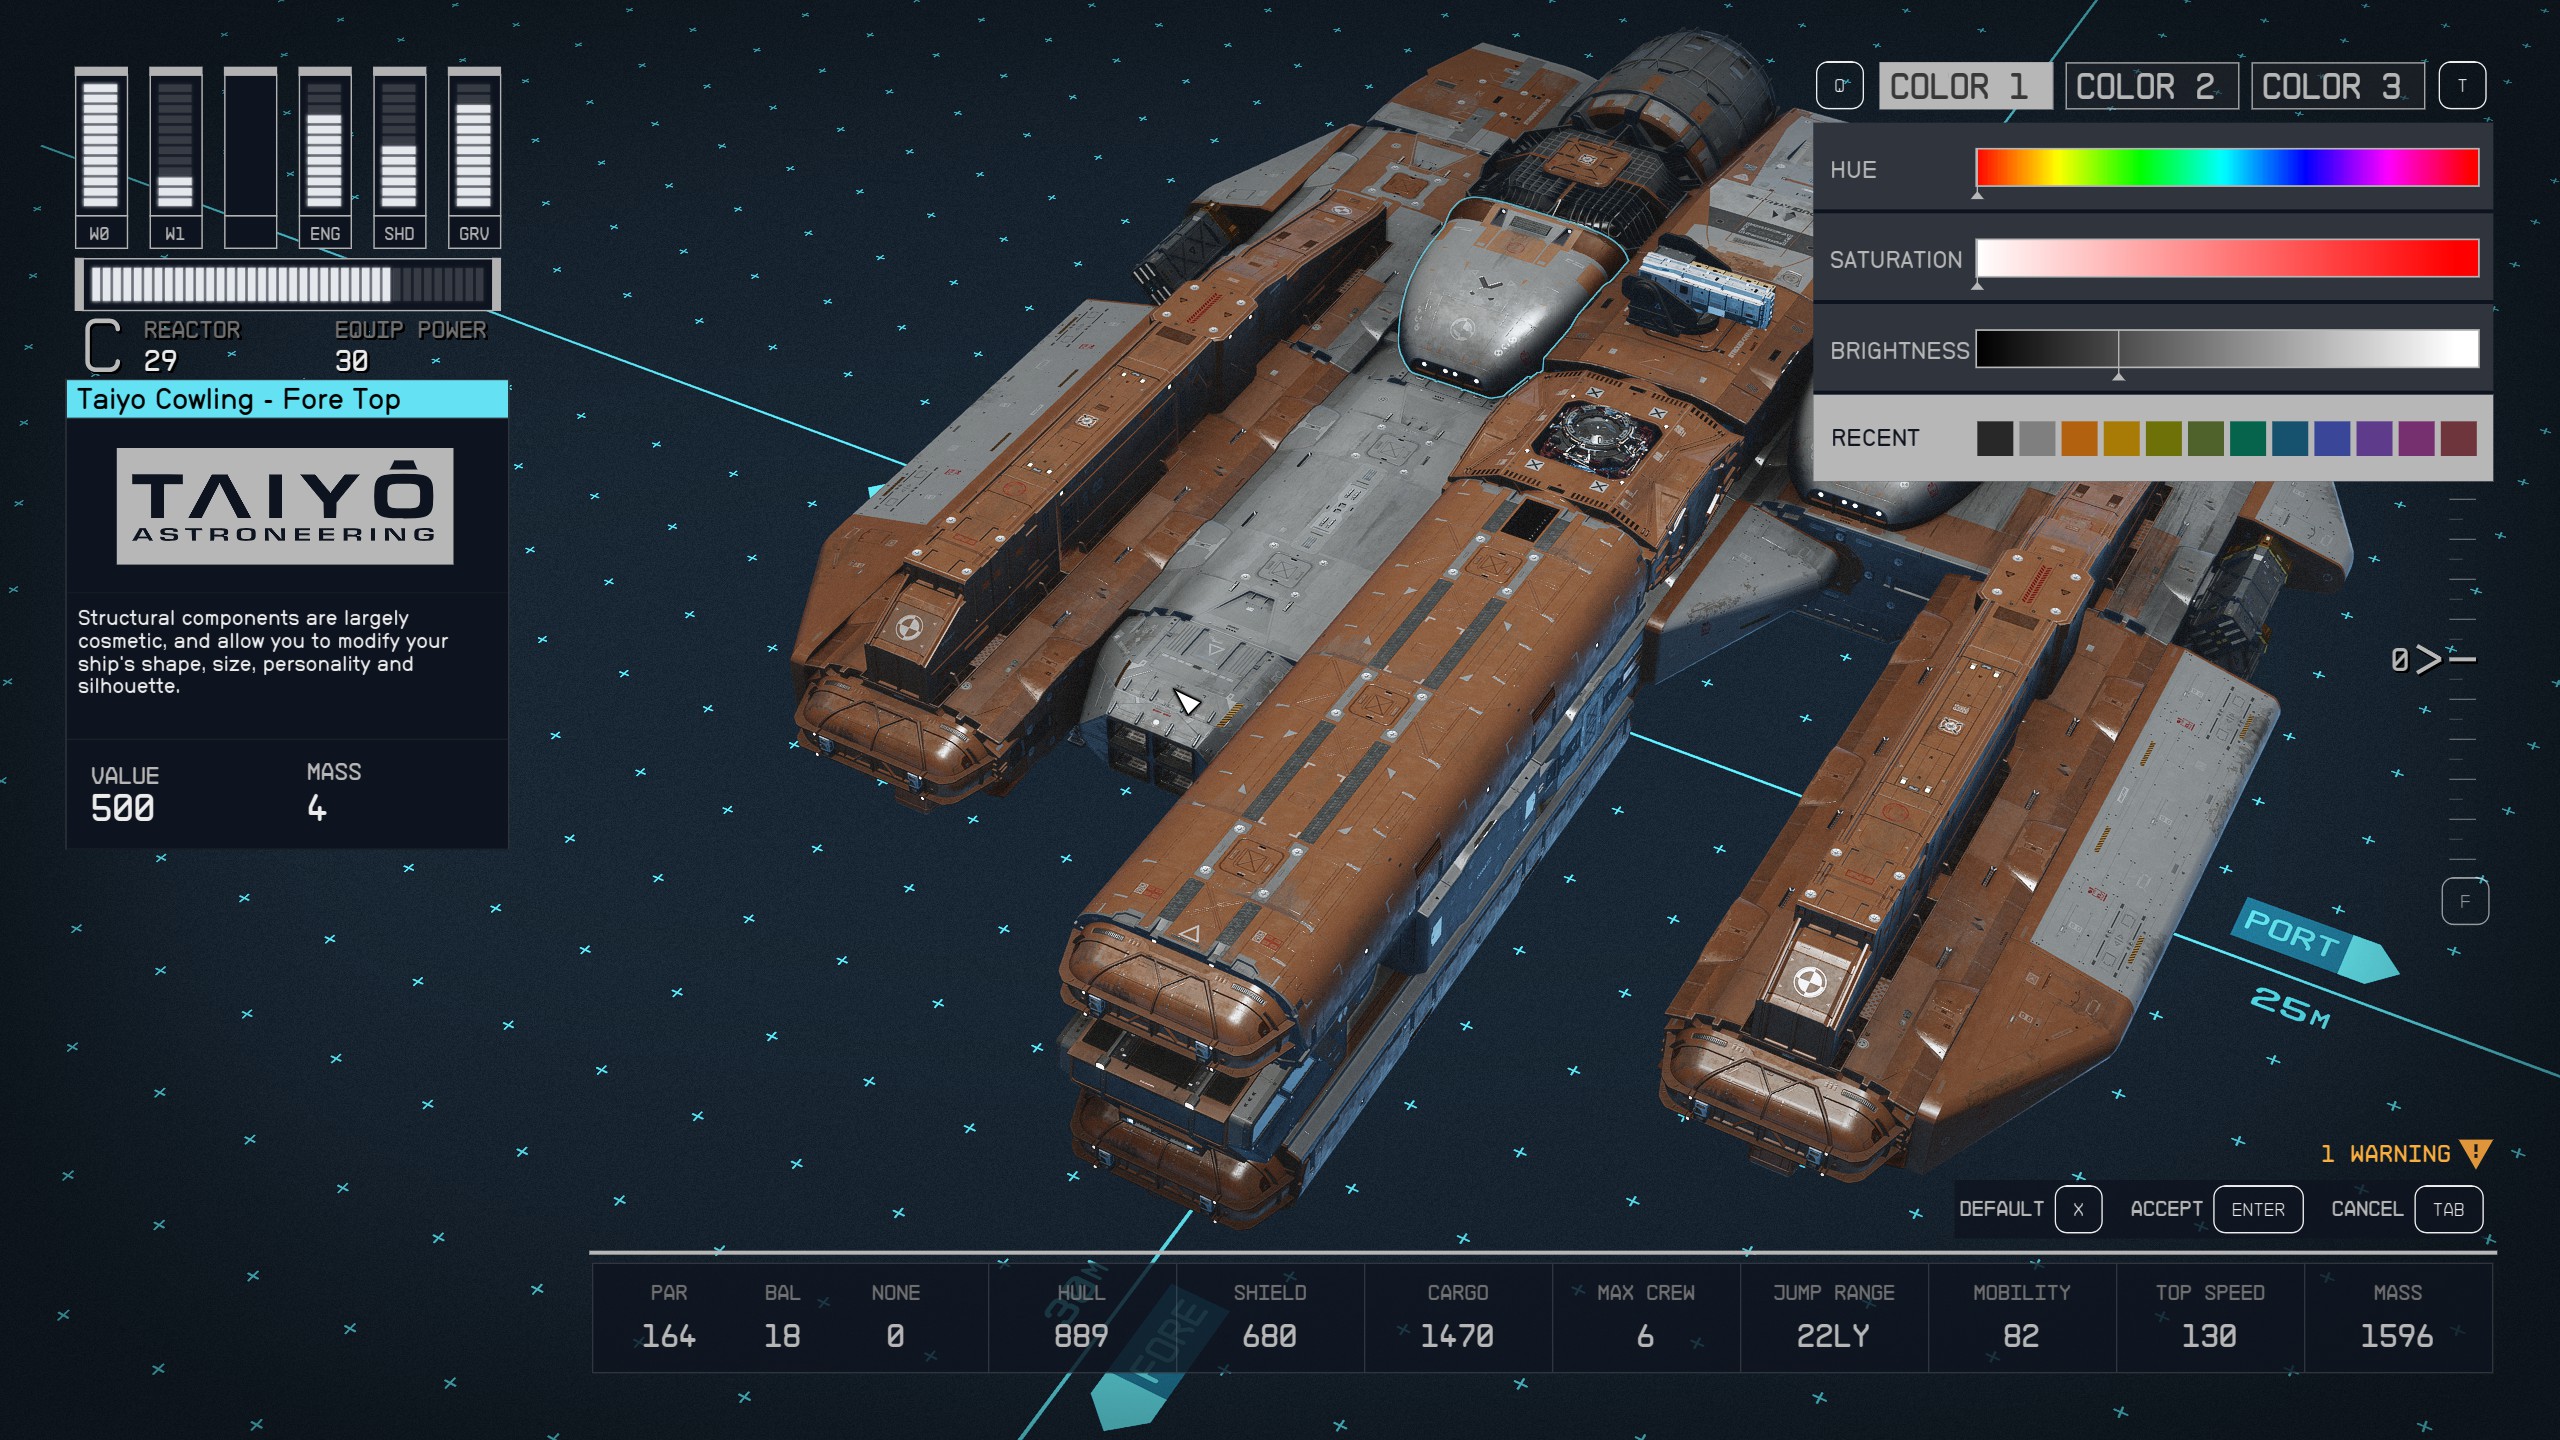
And here is the color setting for the grey-ish color for the rest of the ship:
Lastly, here is the black used for the engines:
Part Seven: Painting Multiple Pieces at Once
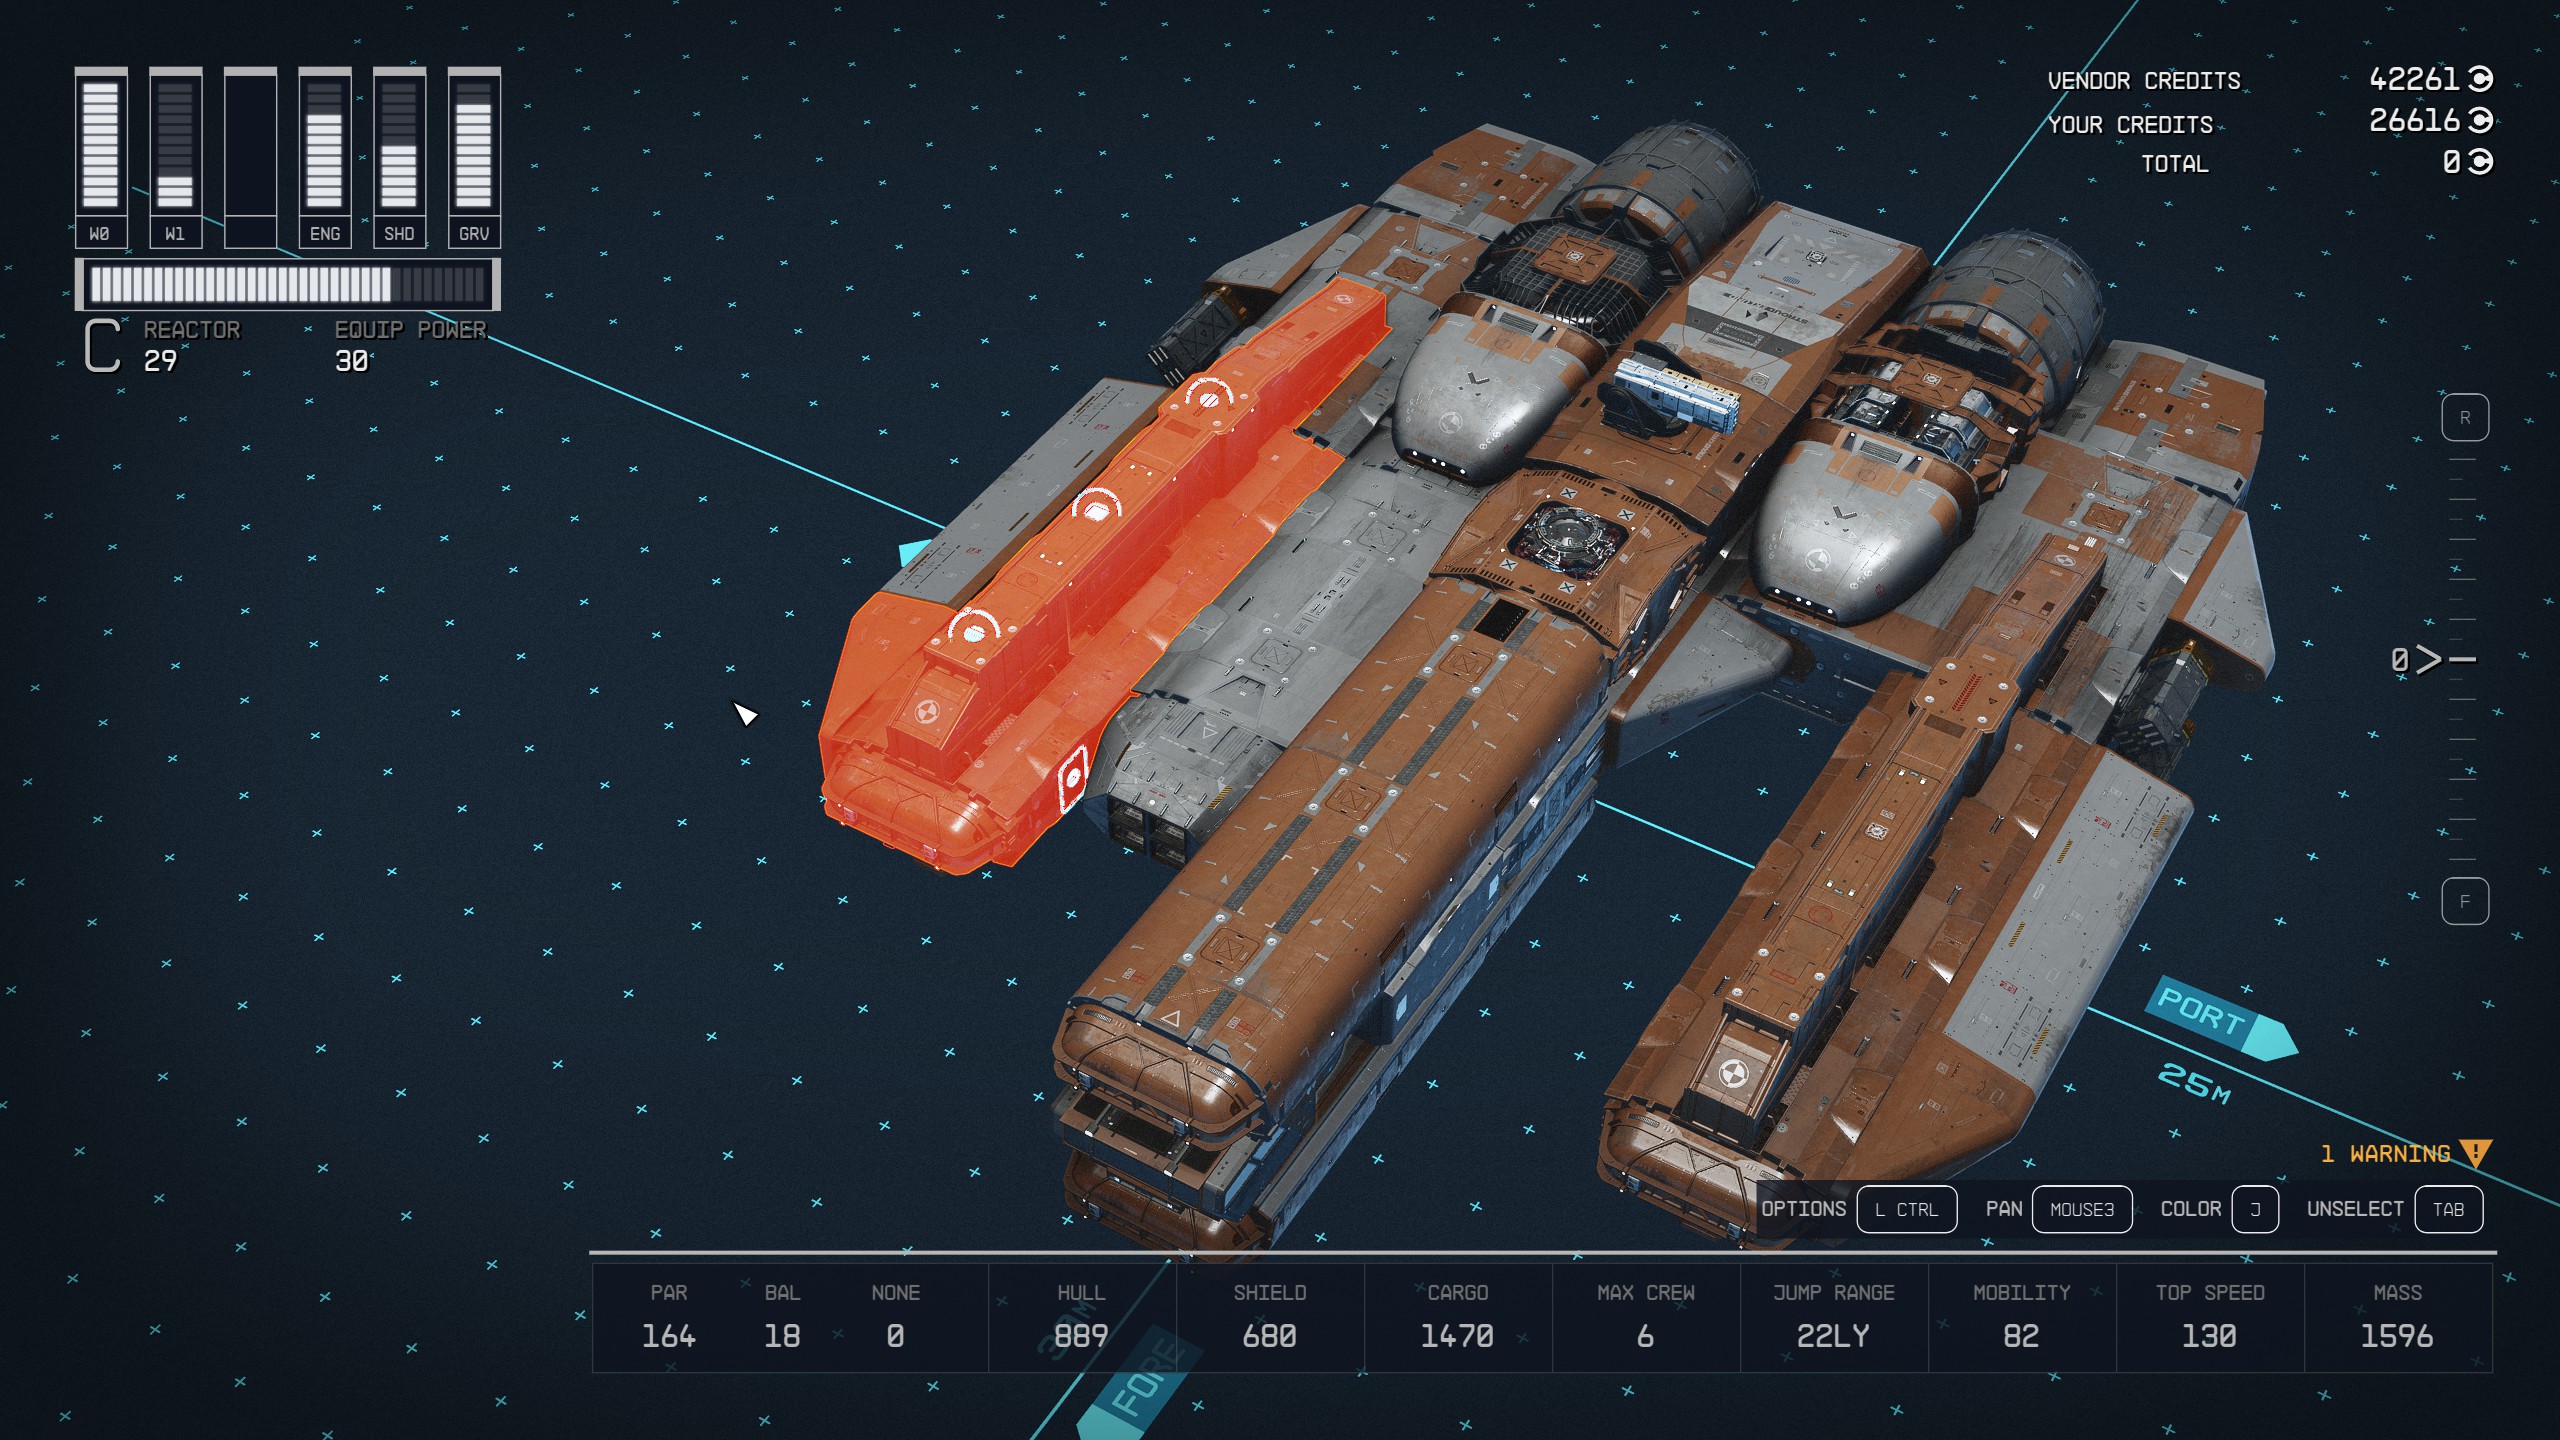
In case you don’t know, you can select multiple ship pieces at once in order to paint them the same color simultaneously. Control + left click each ship piece you want to select like so:
You can then paint these pieces however you want:
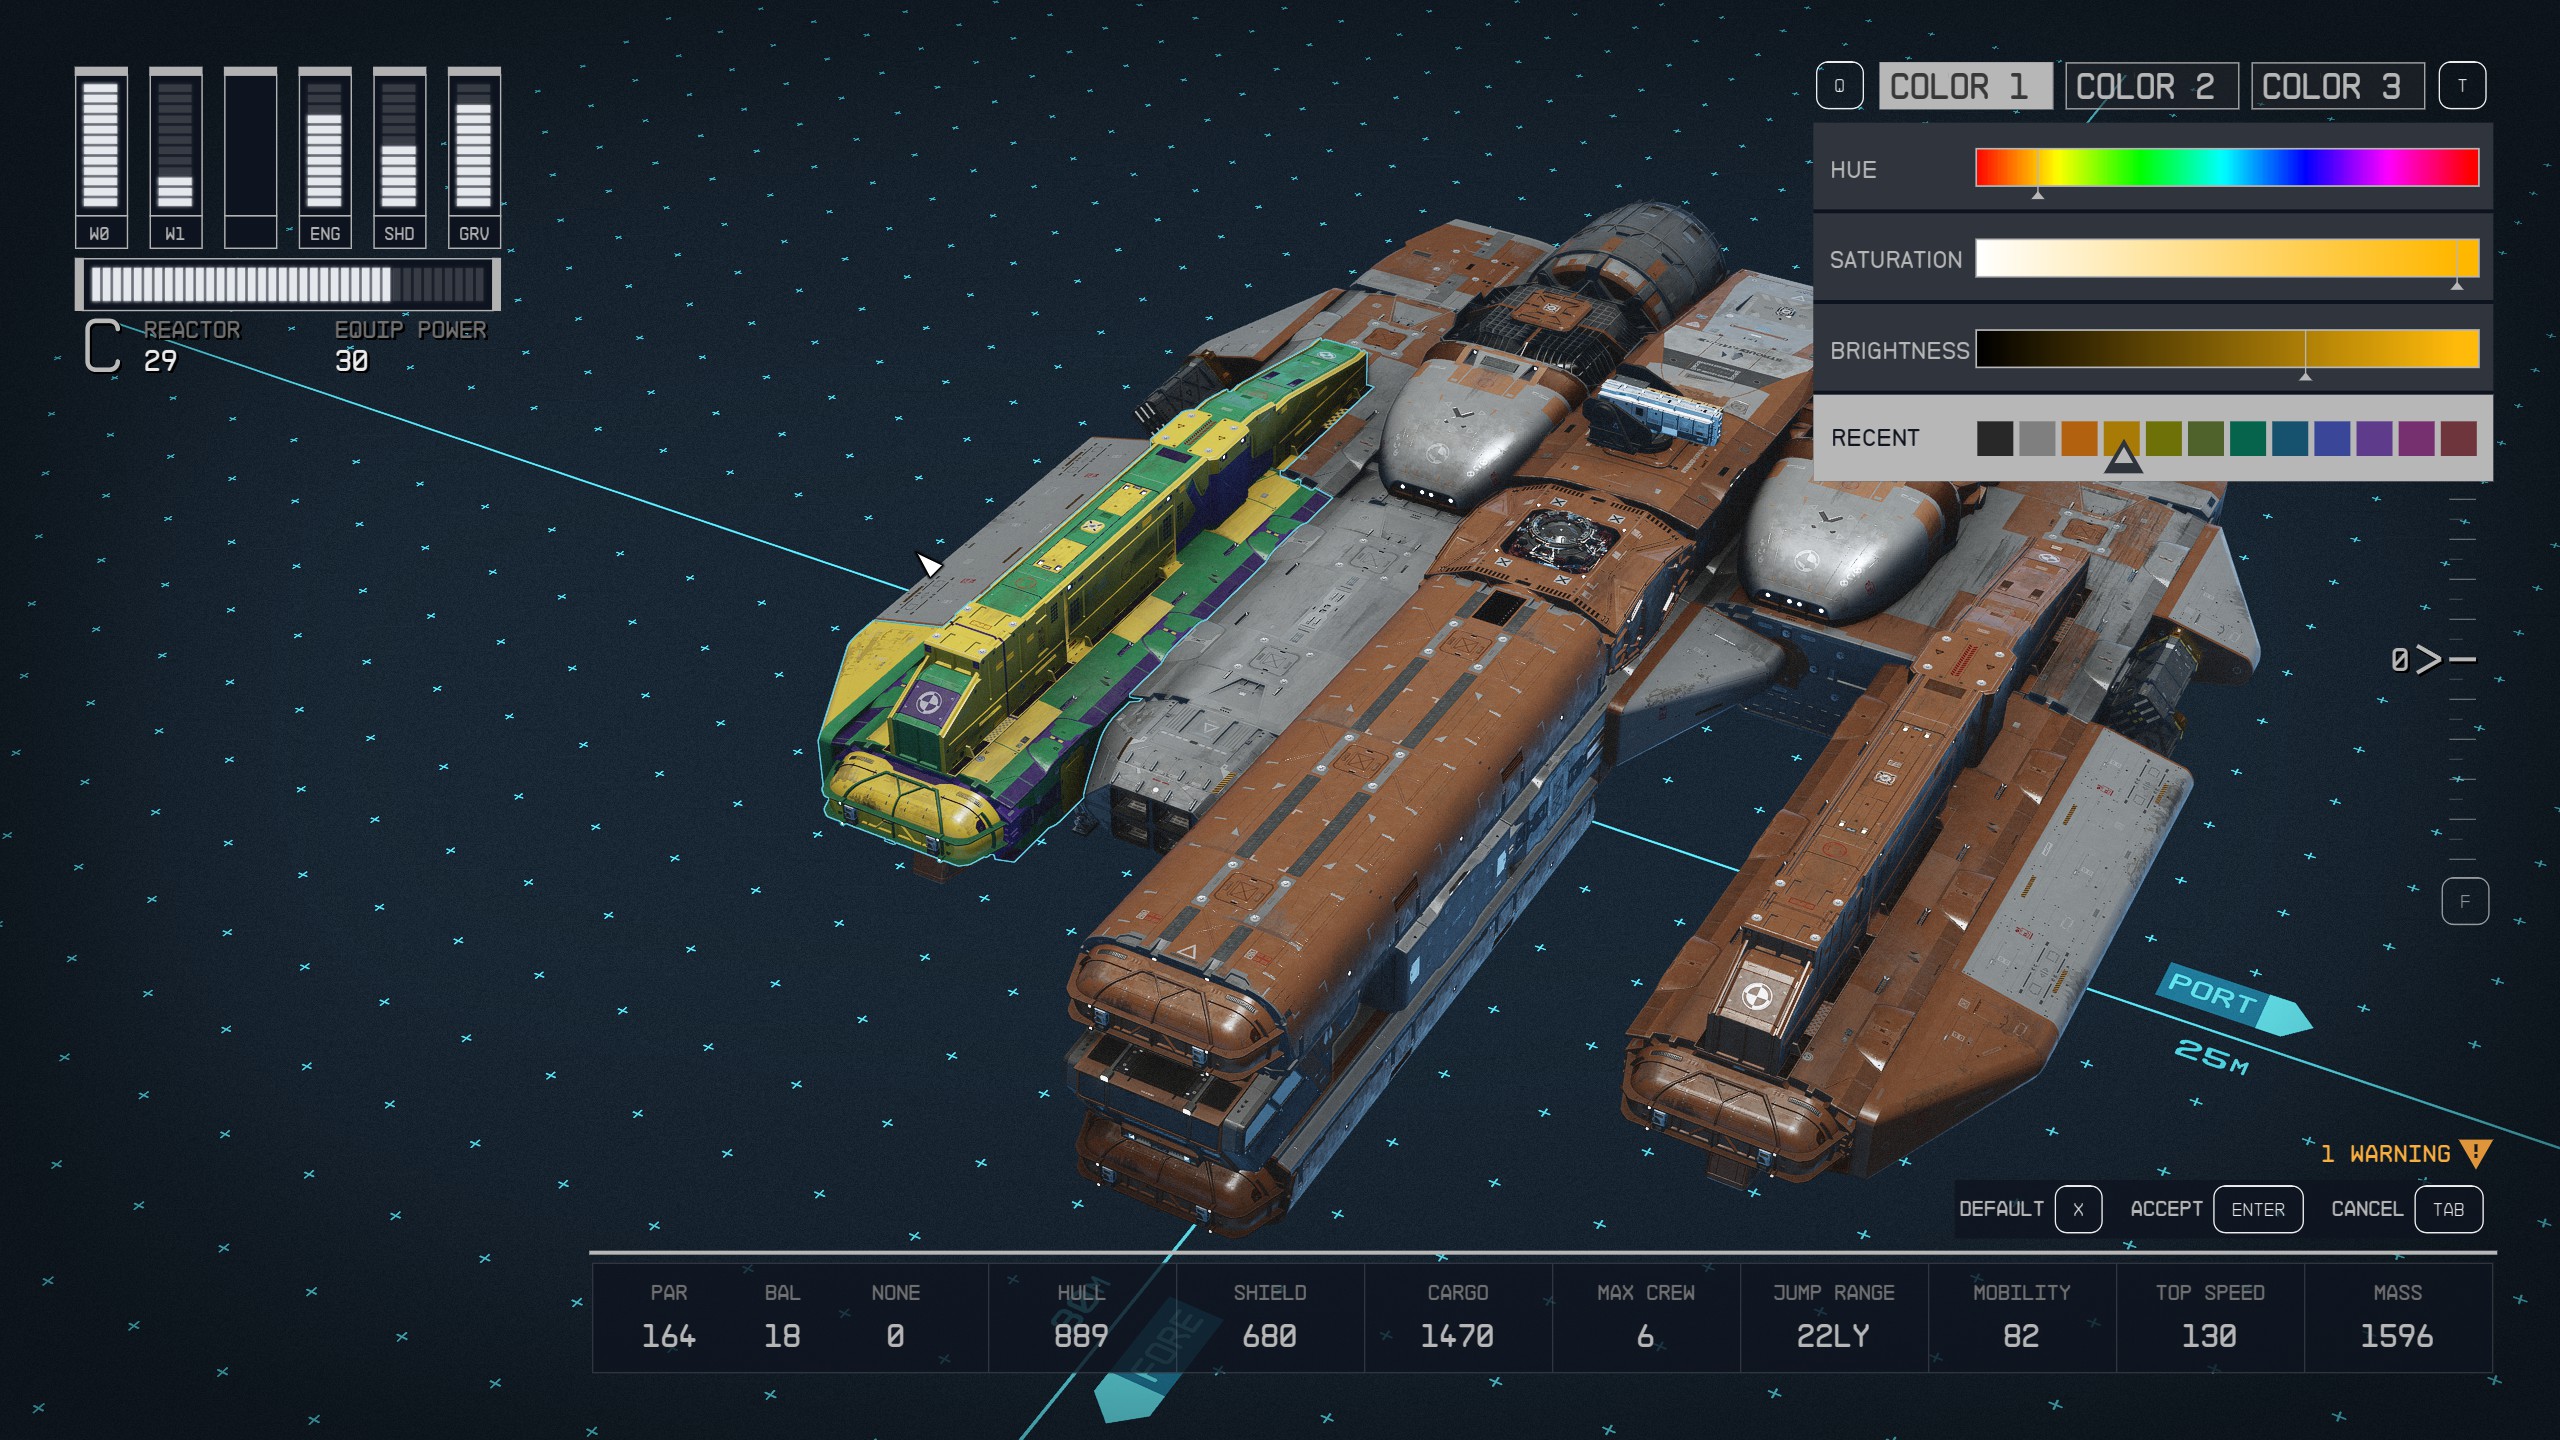
Using this trick will help paint everything much faster.
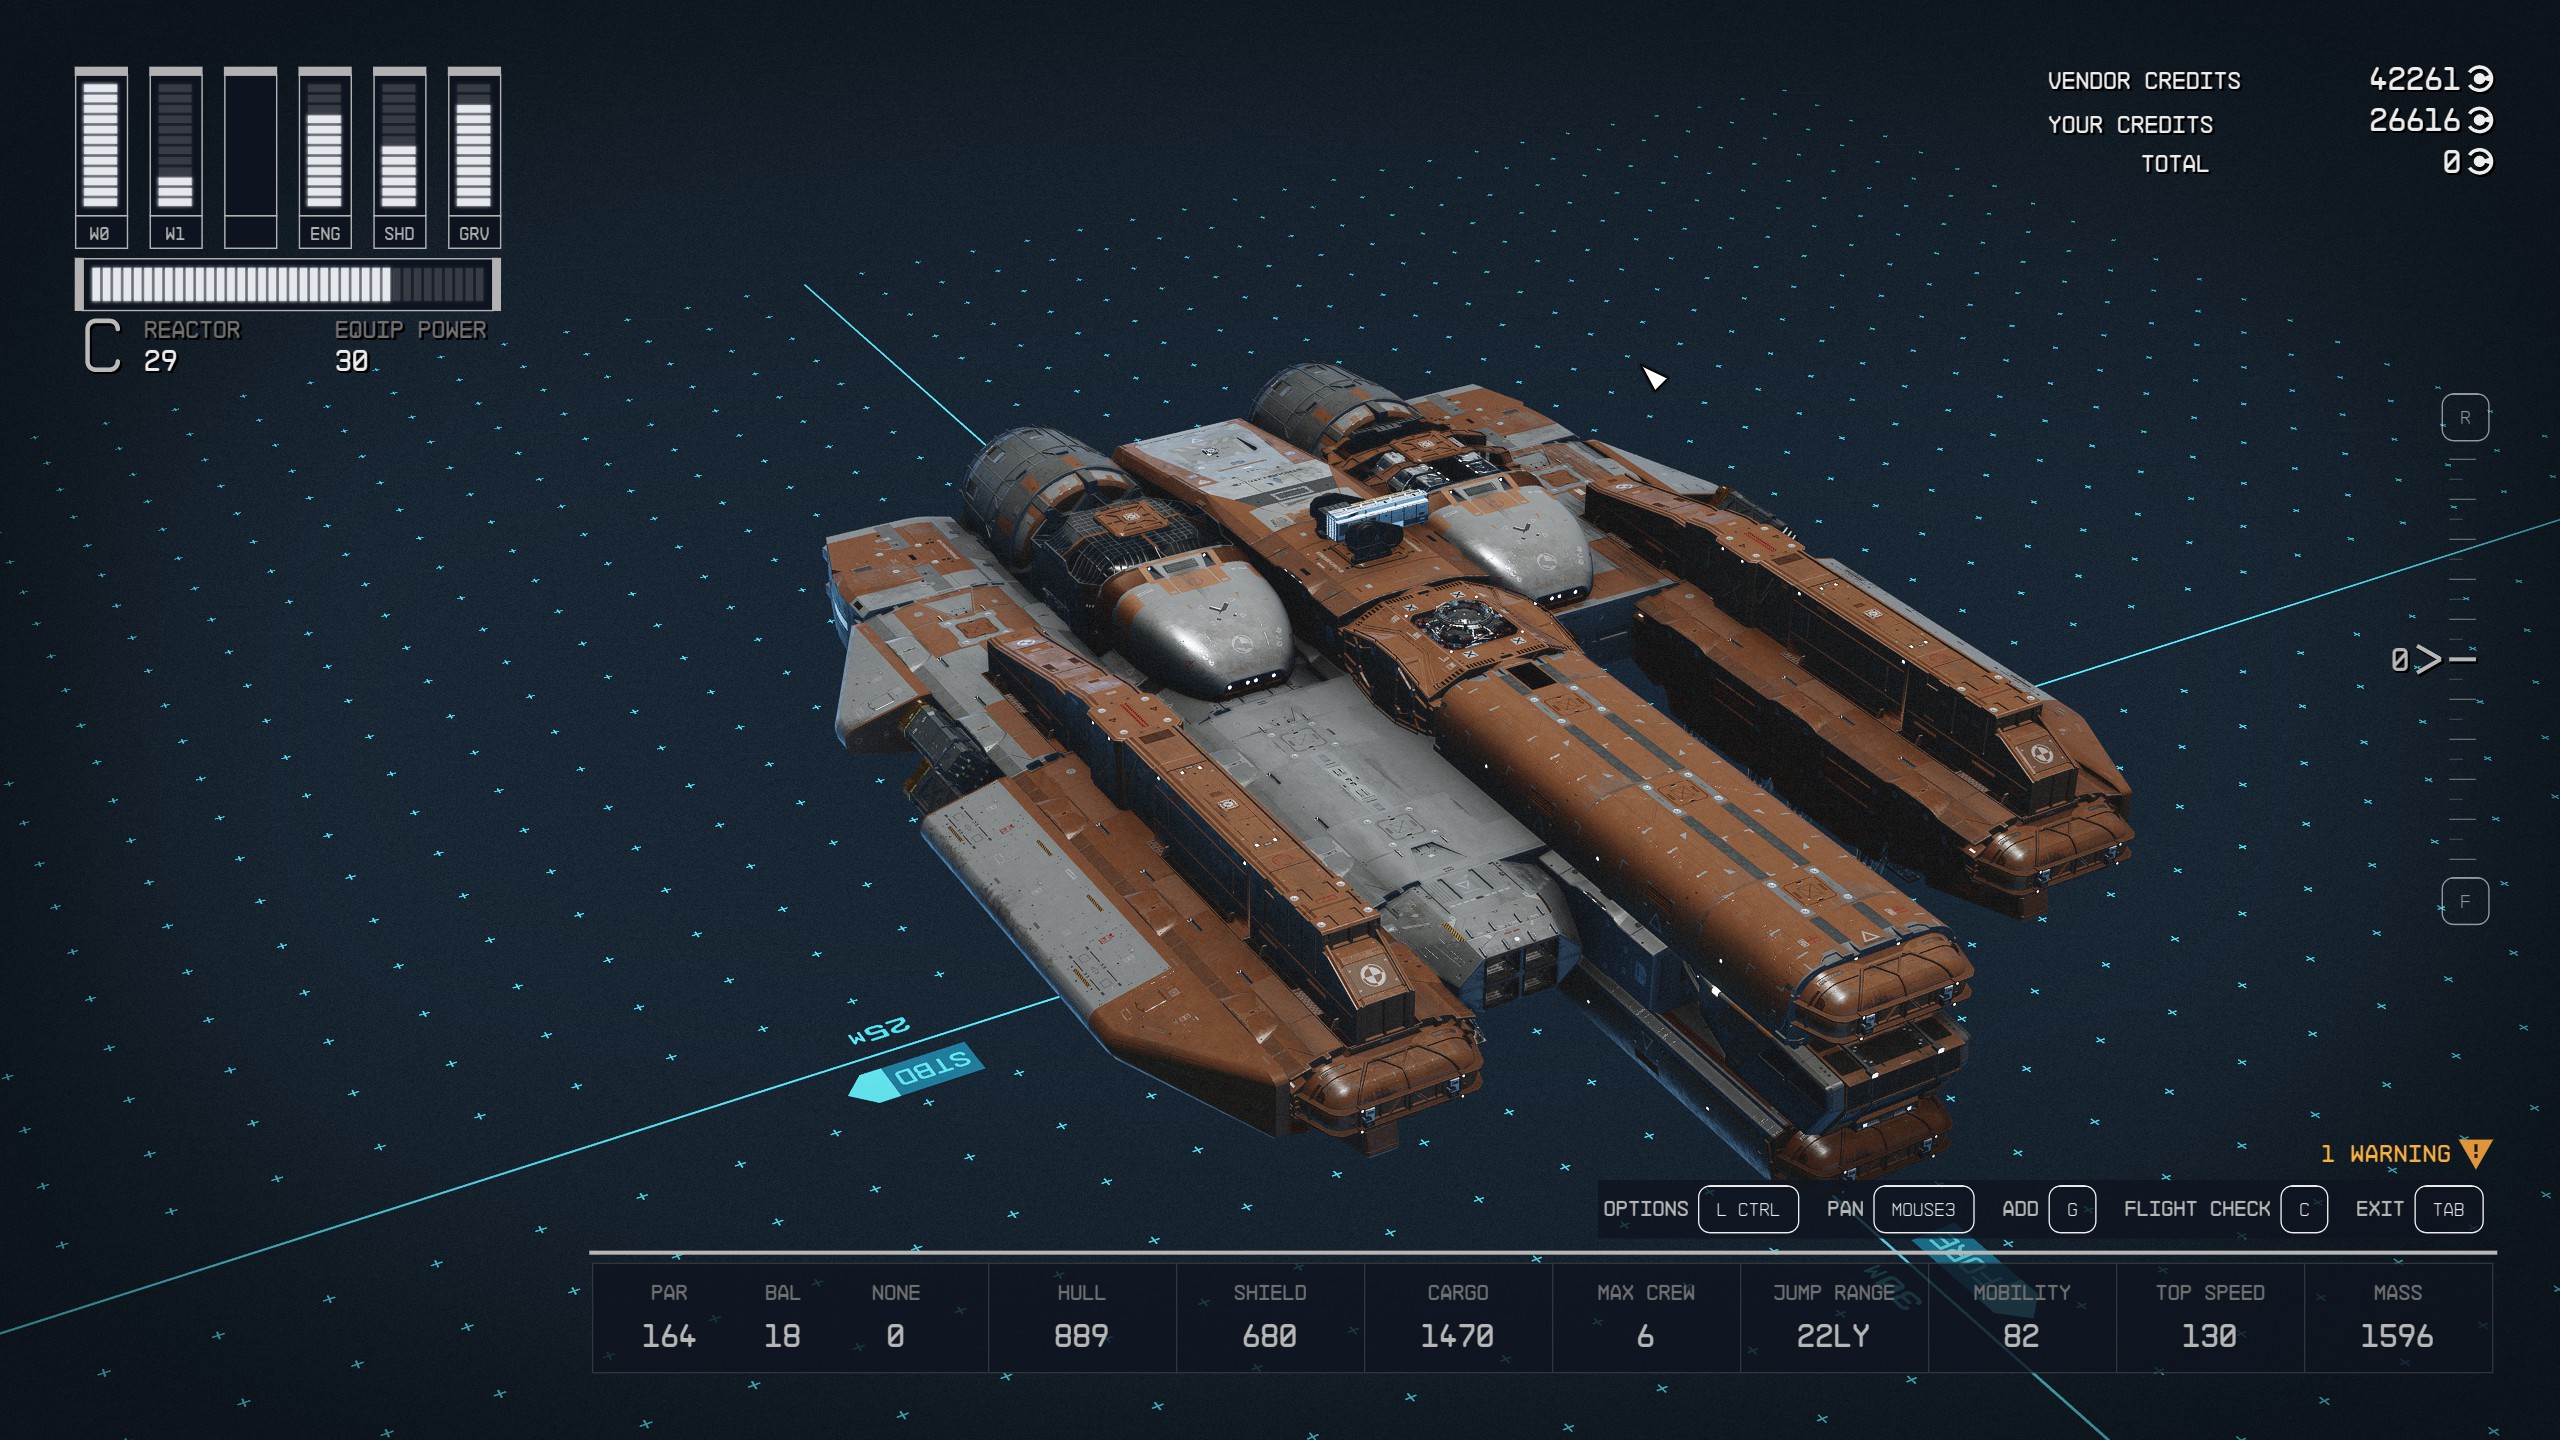
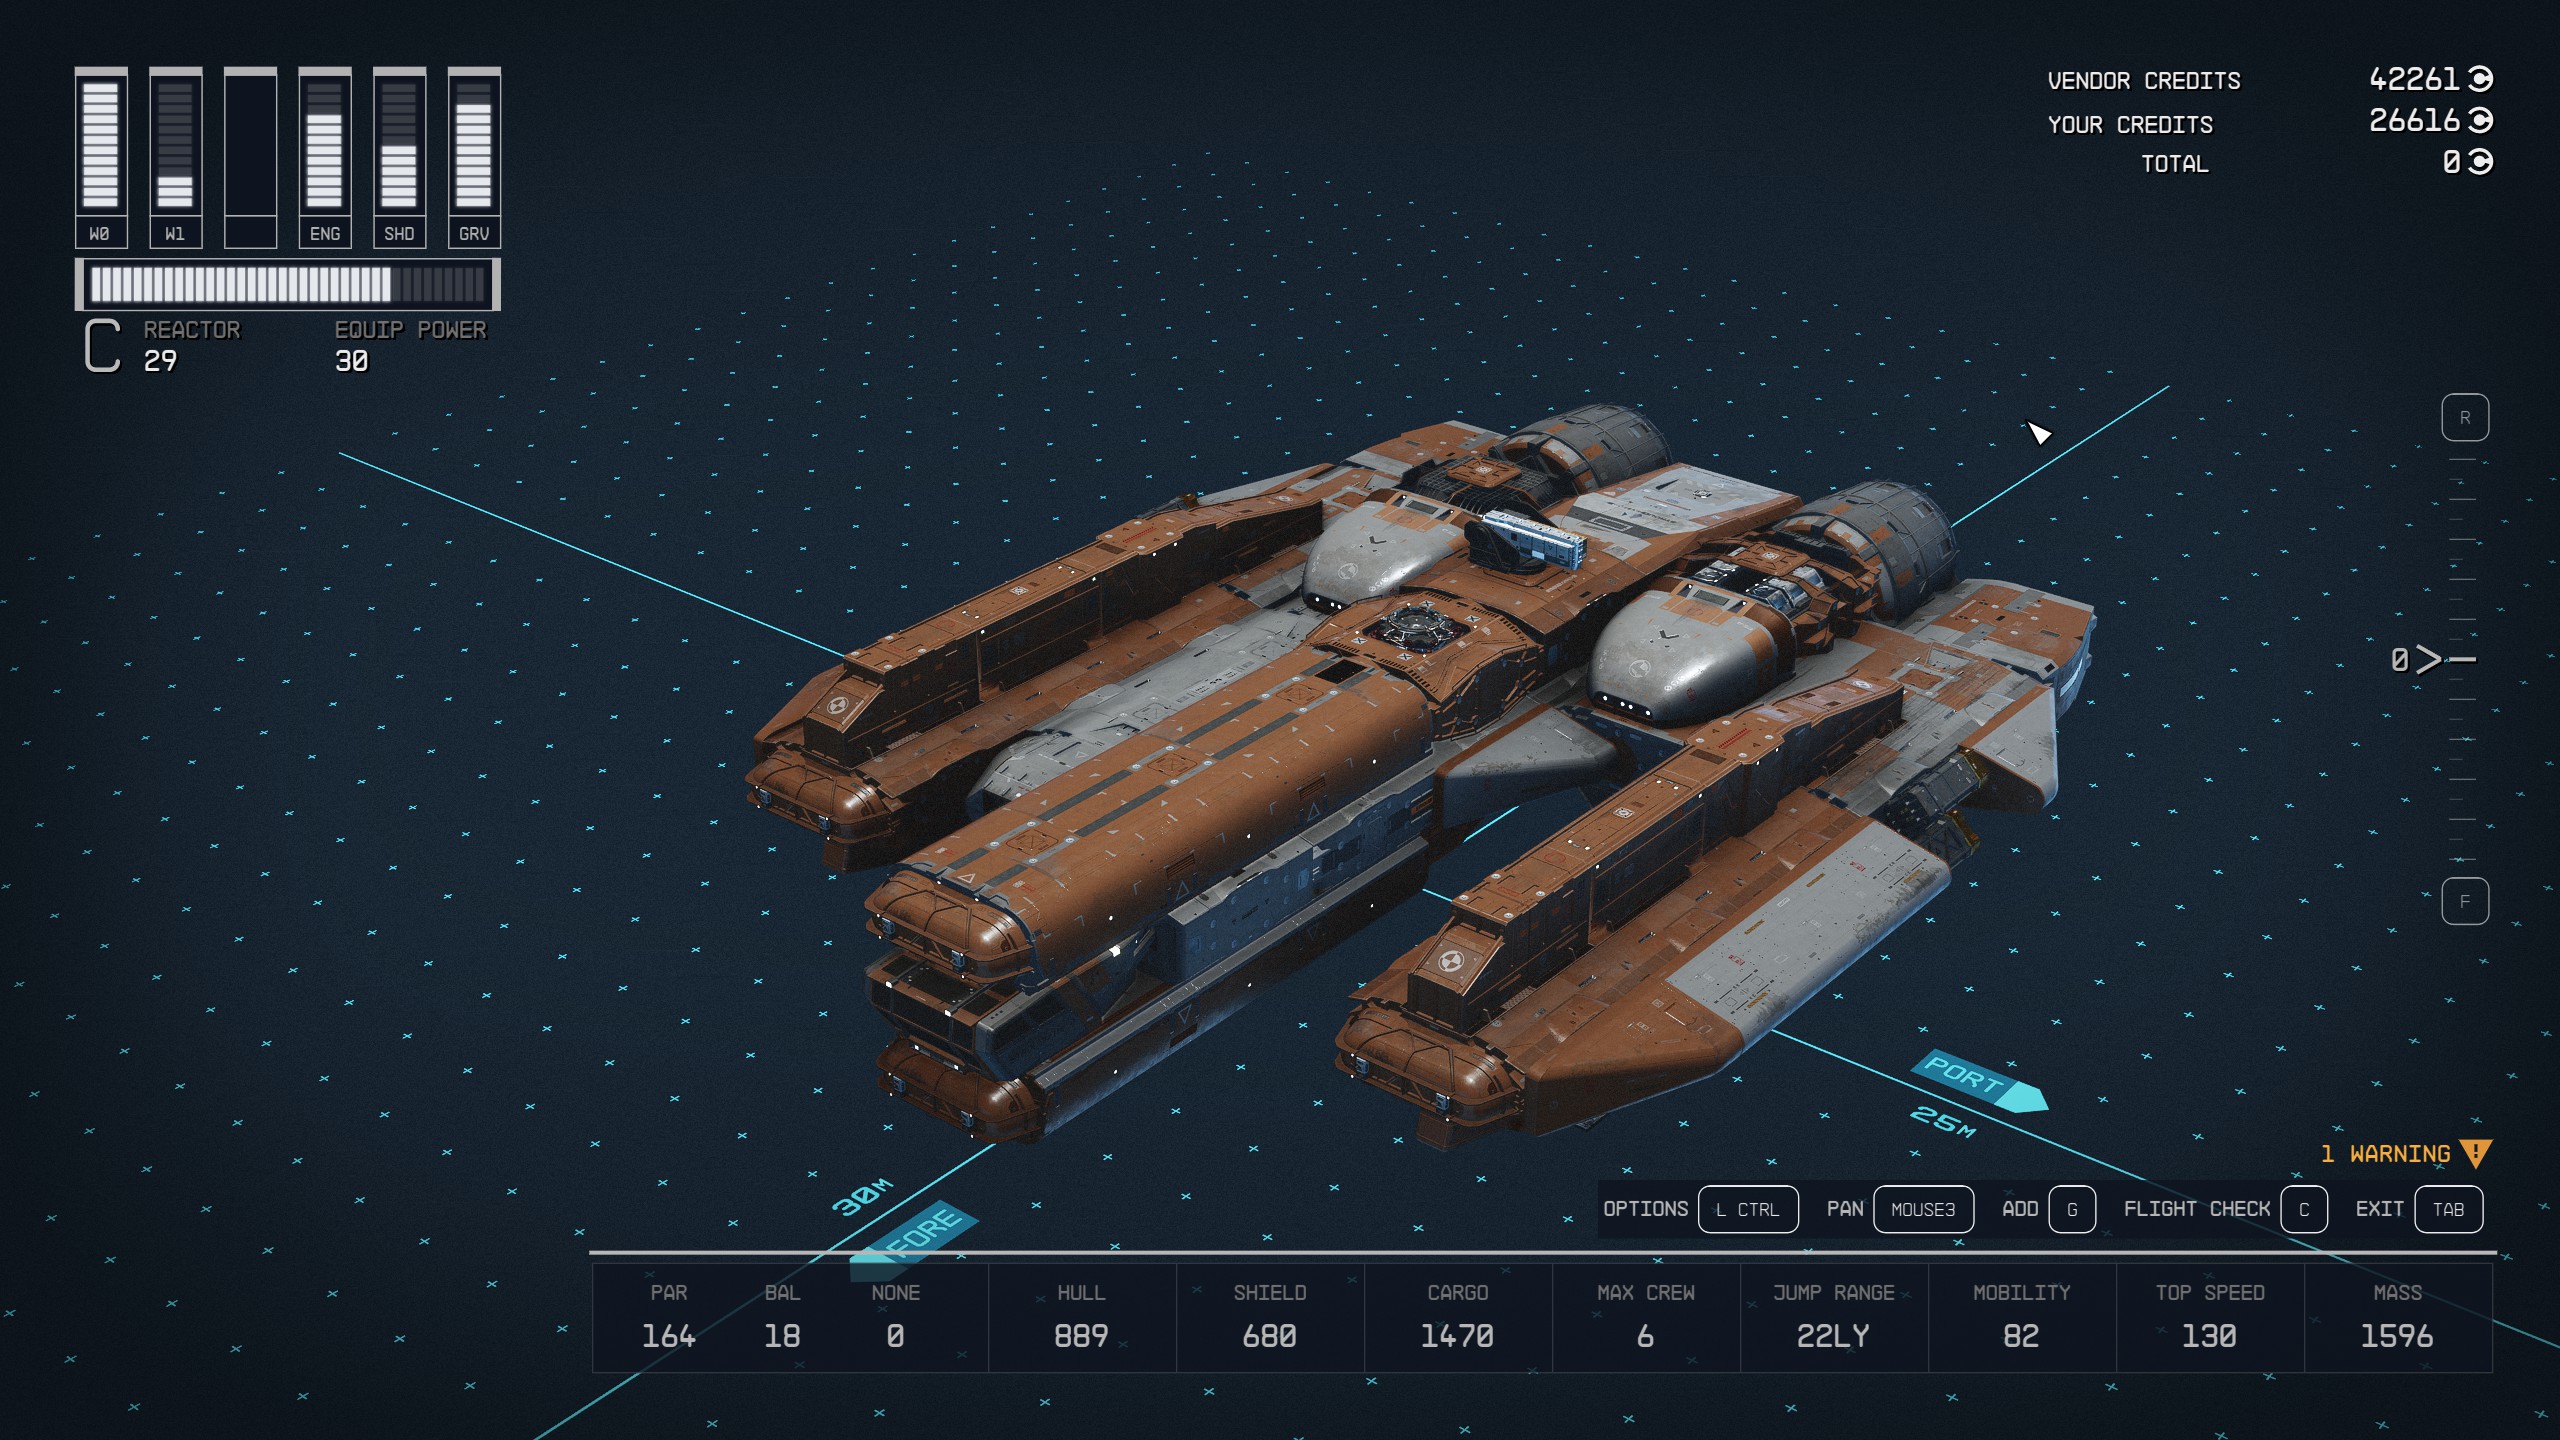
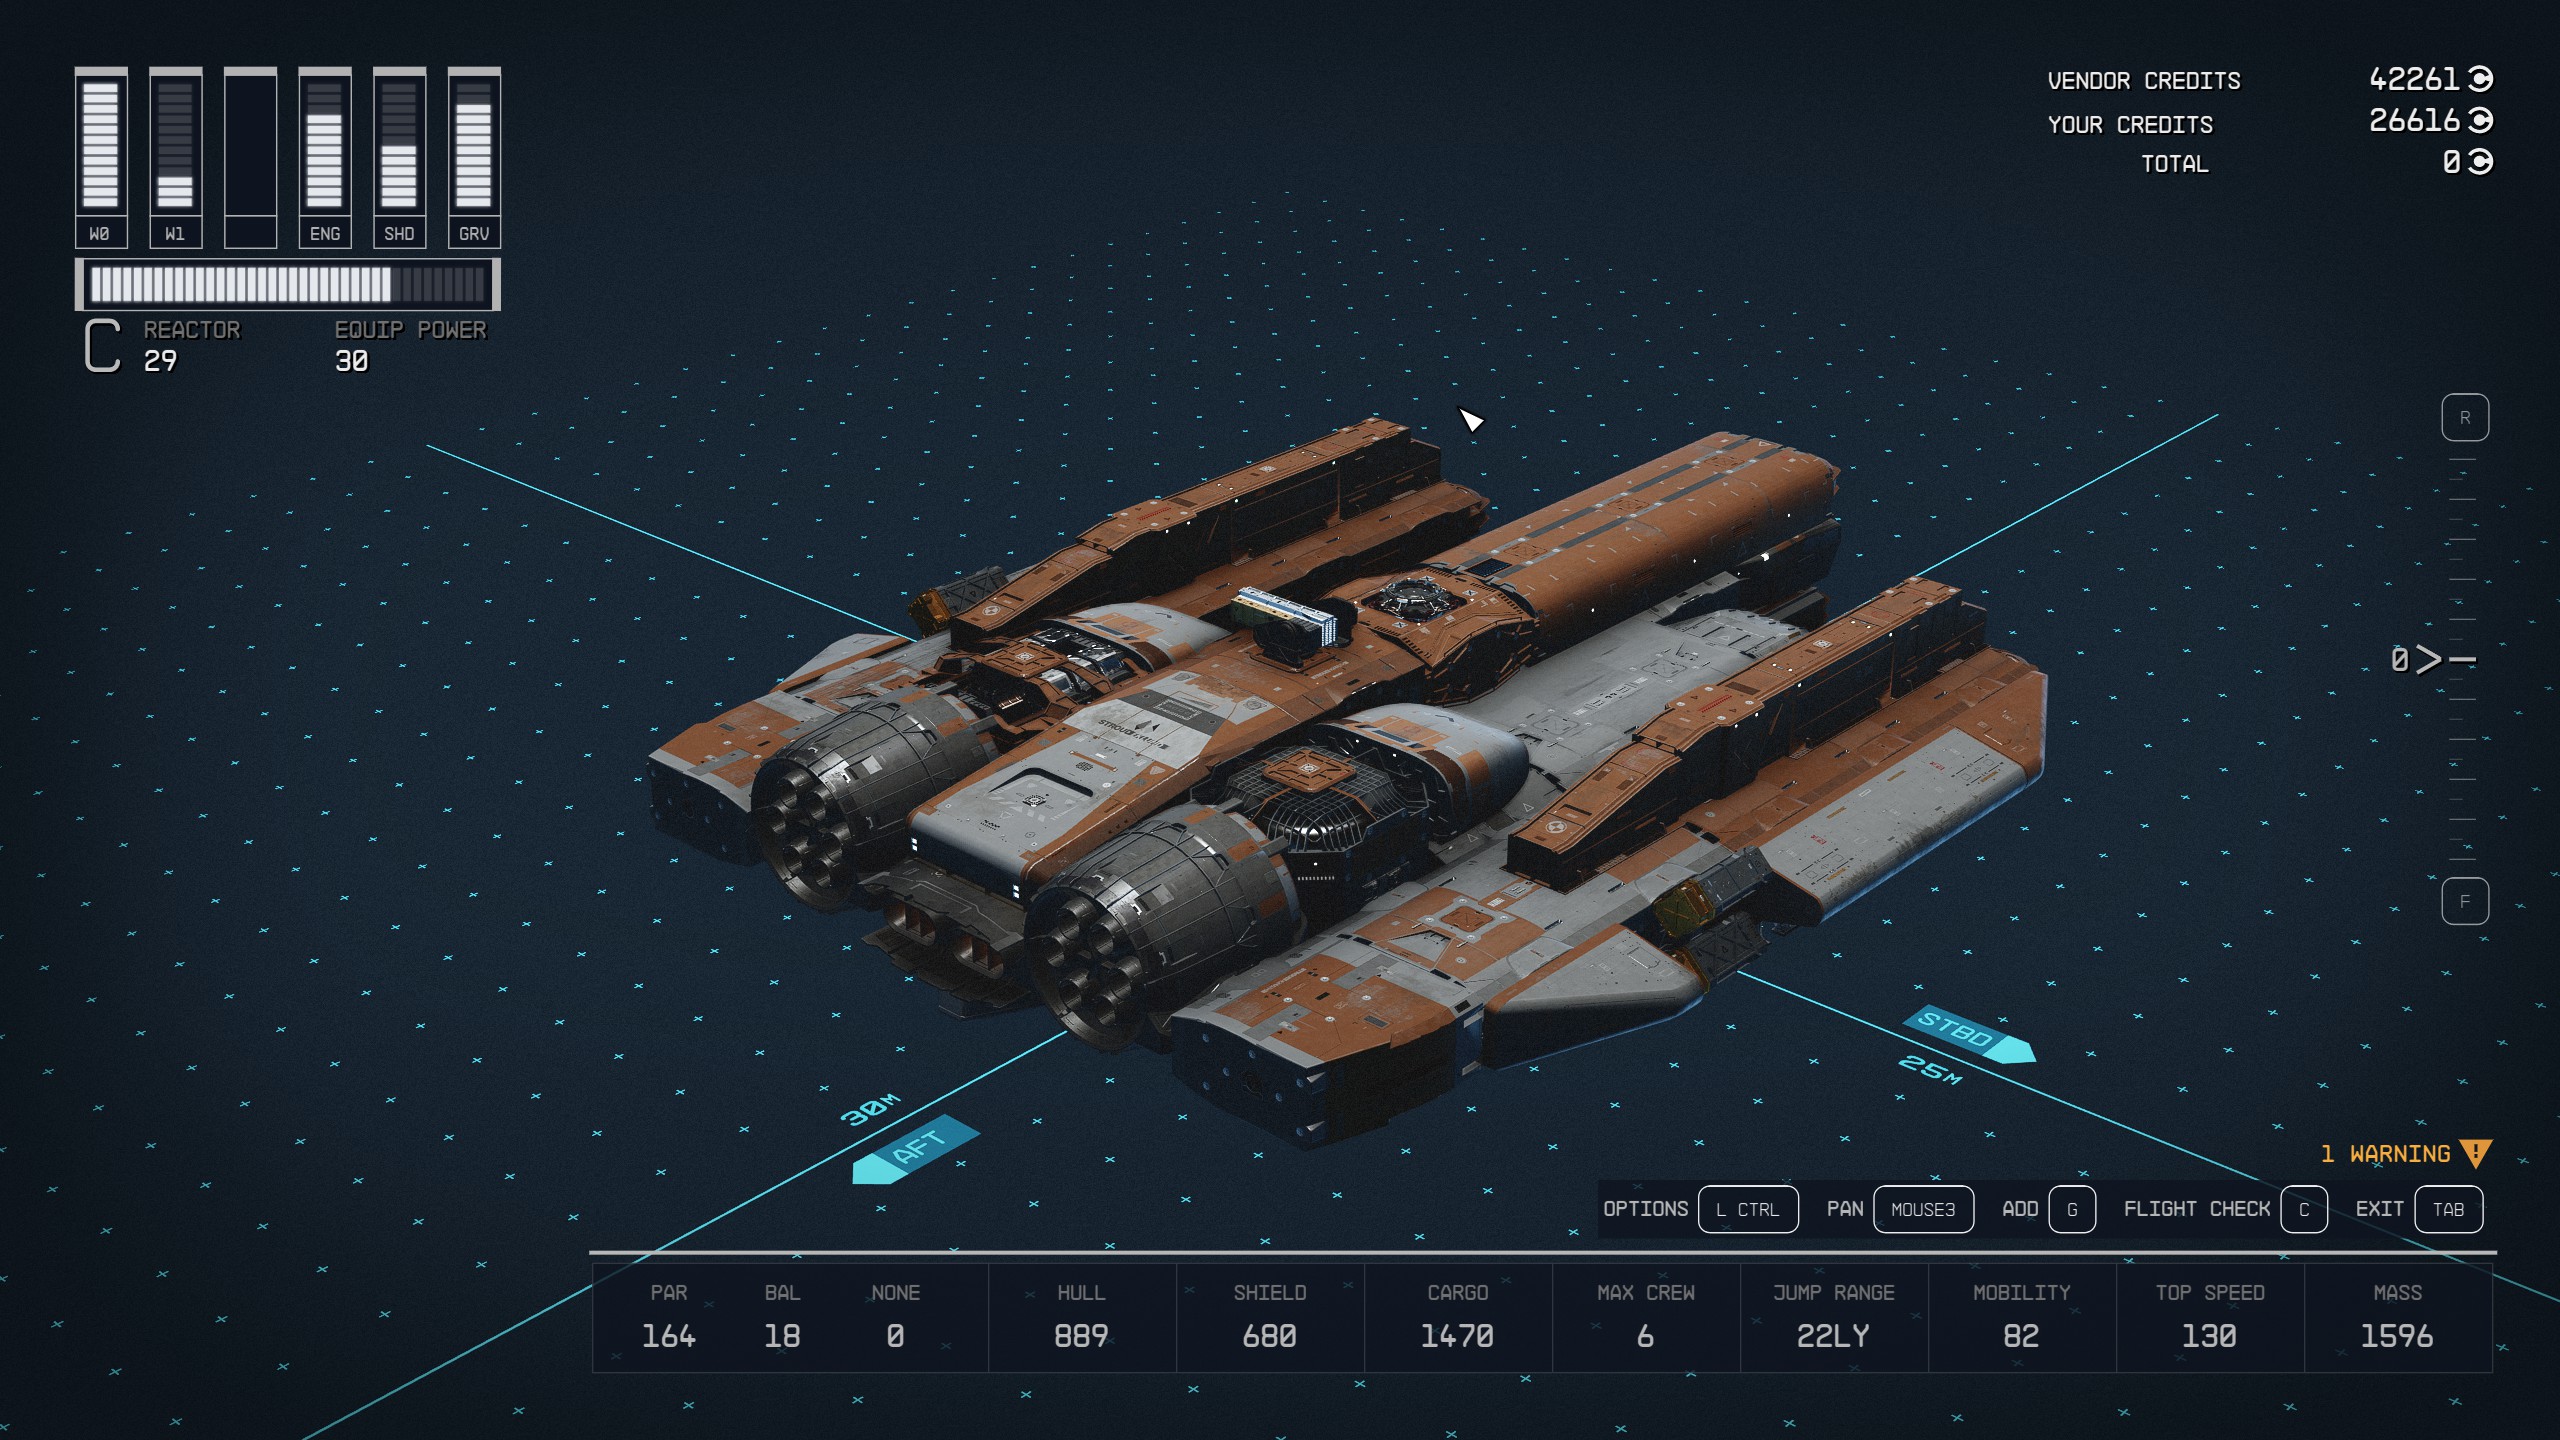
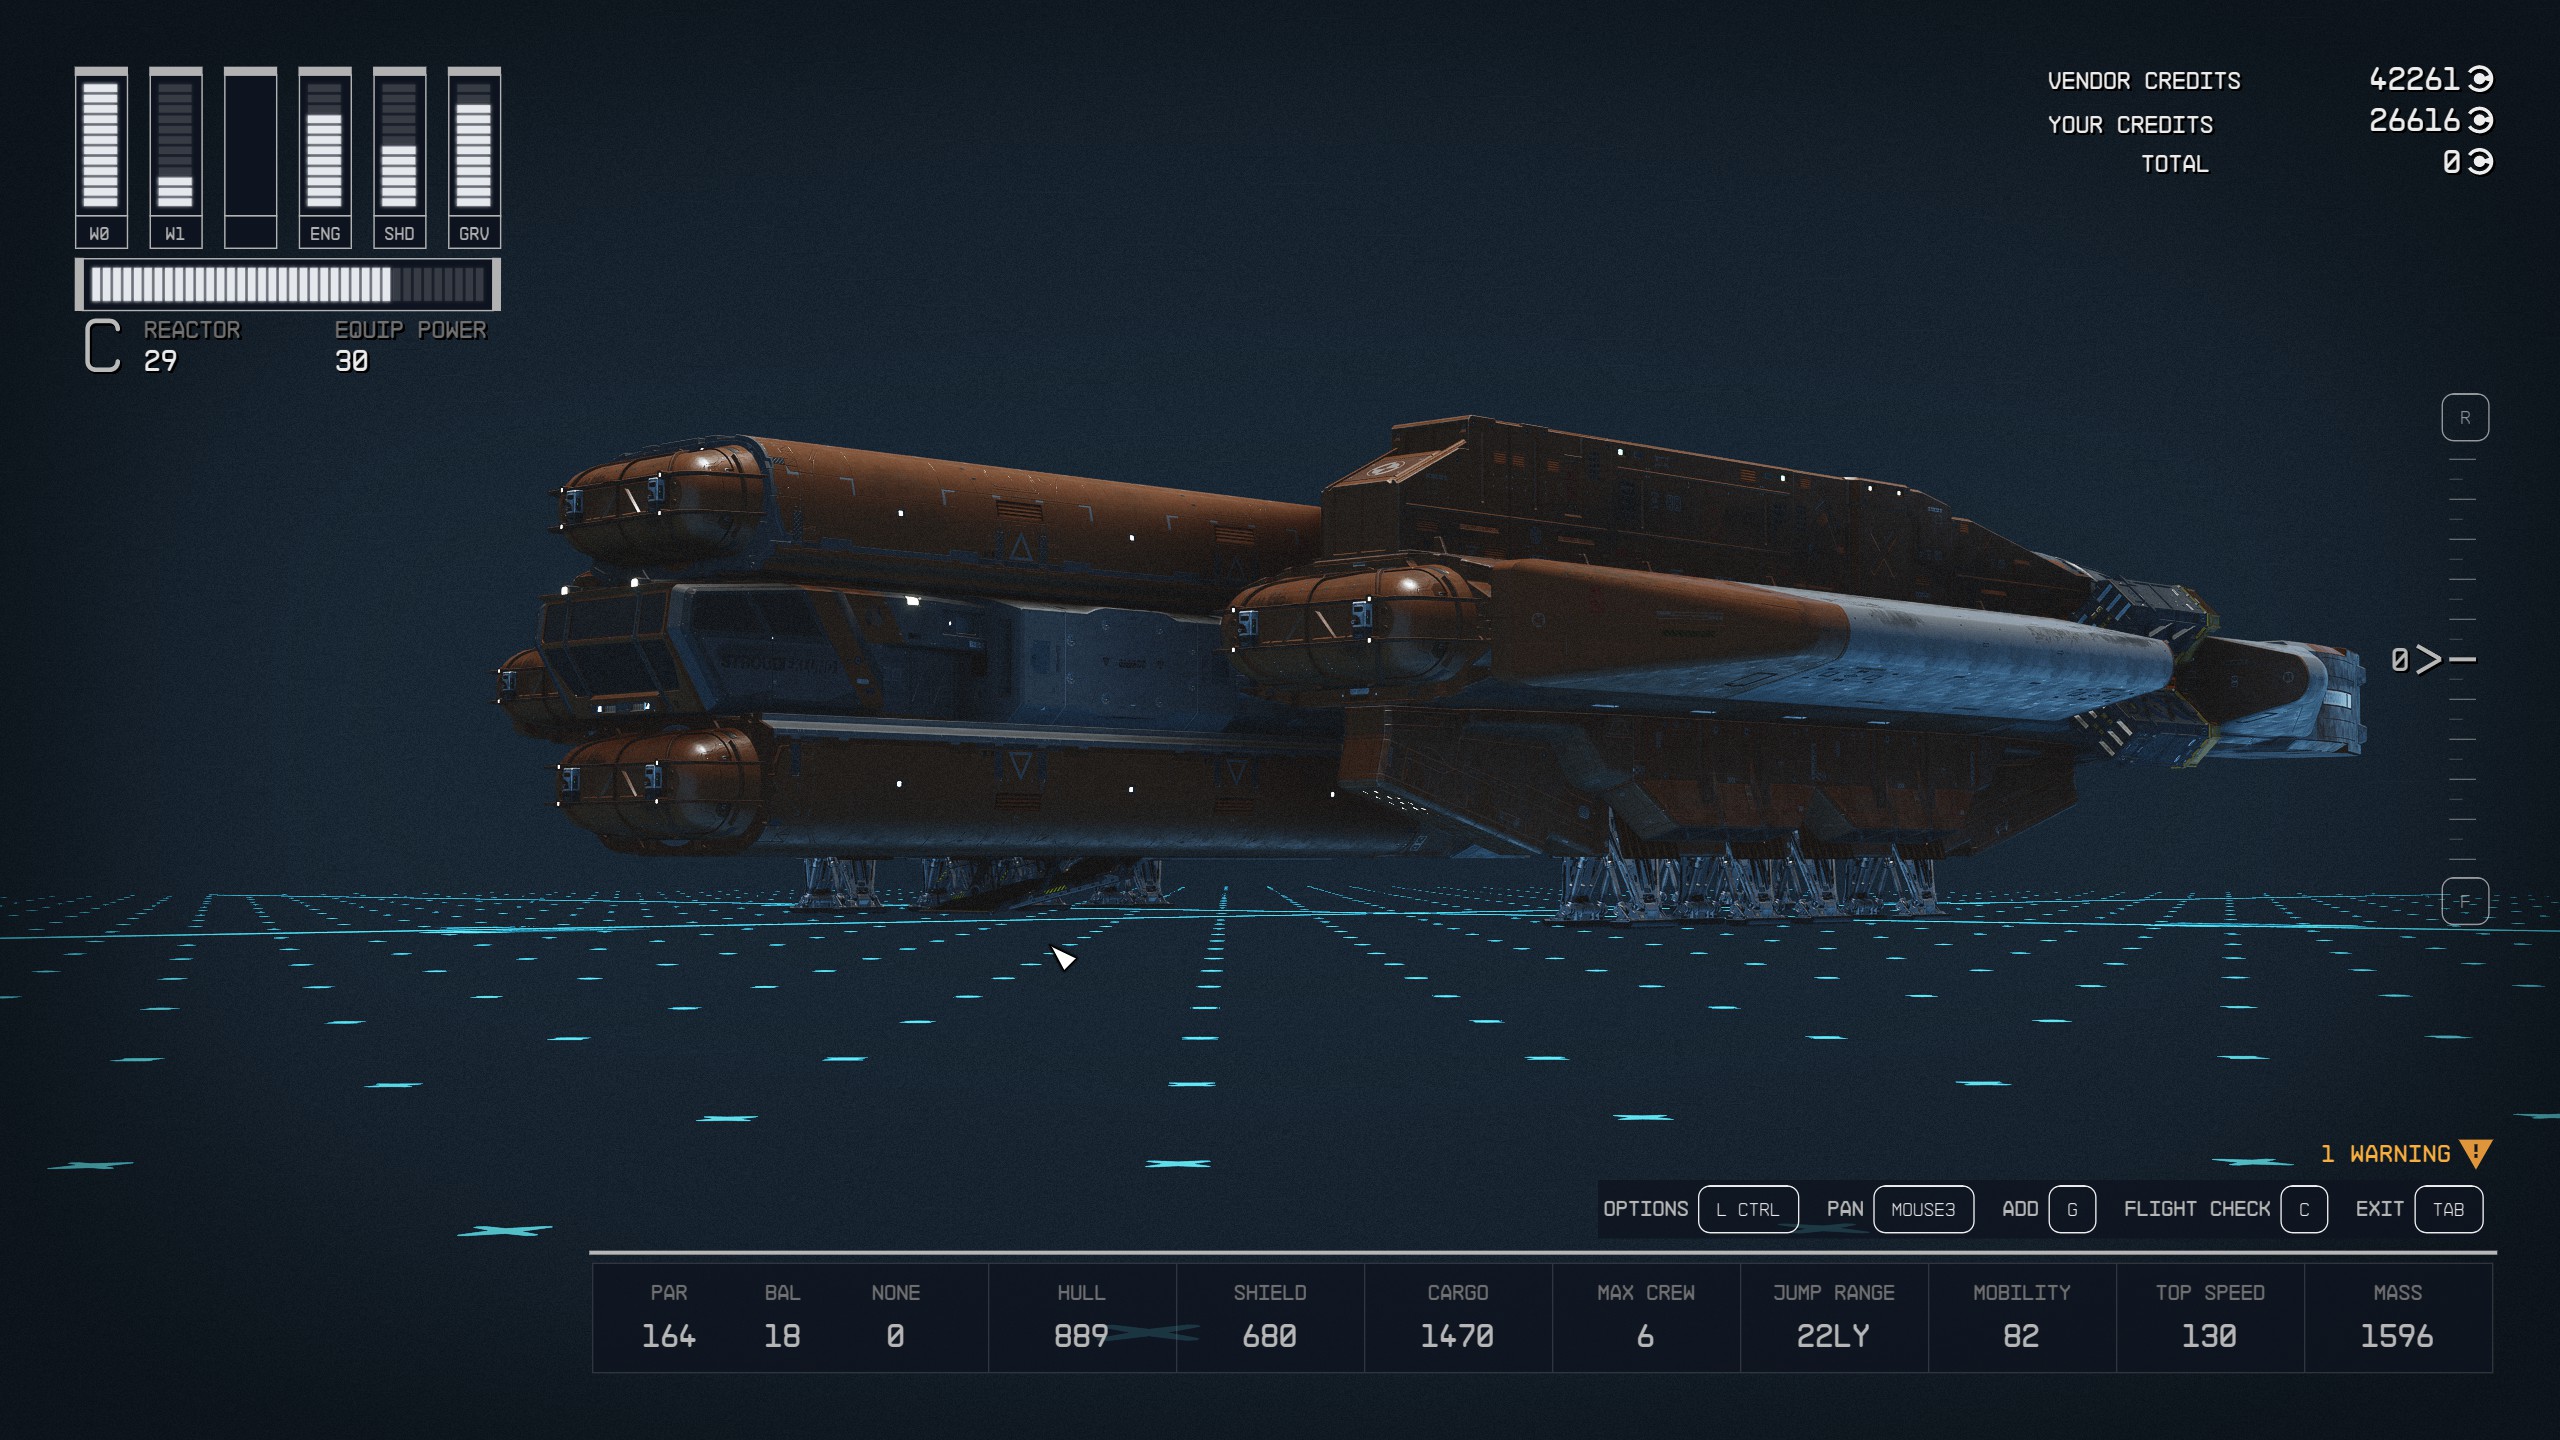
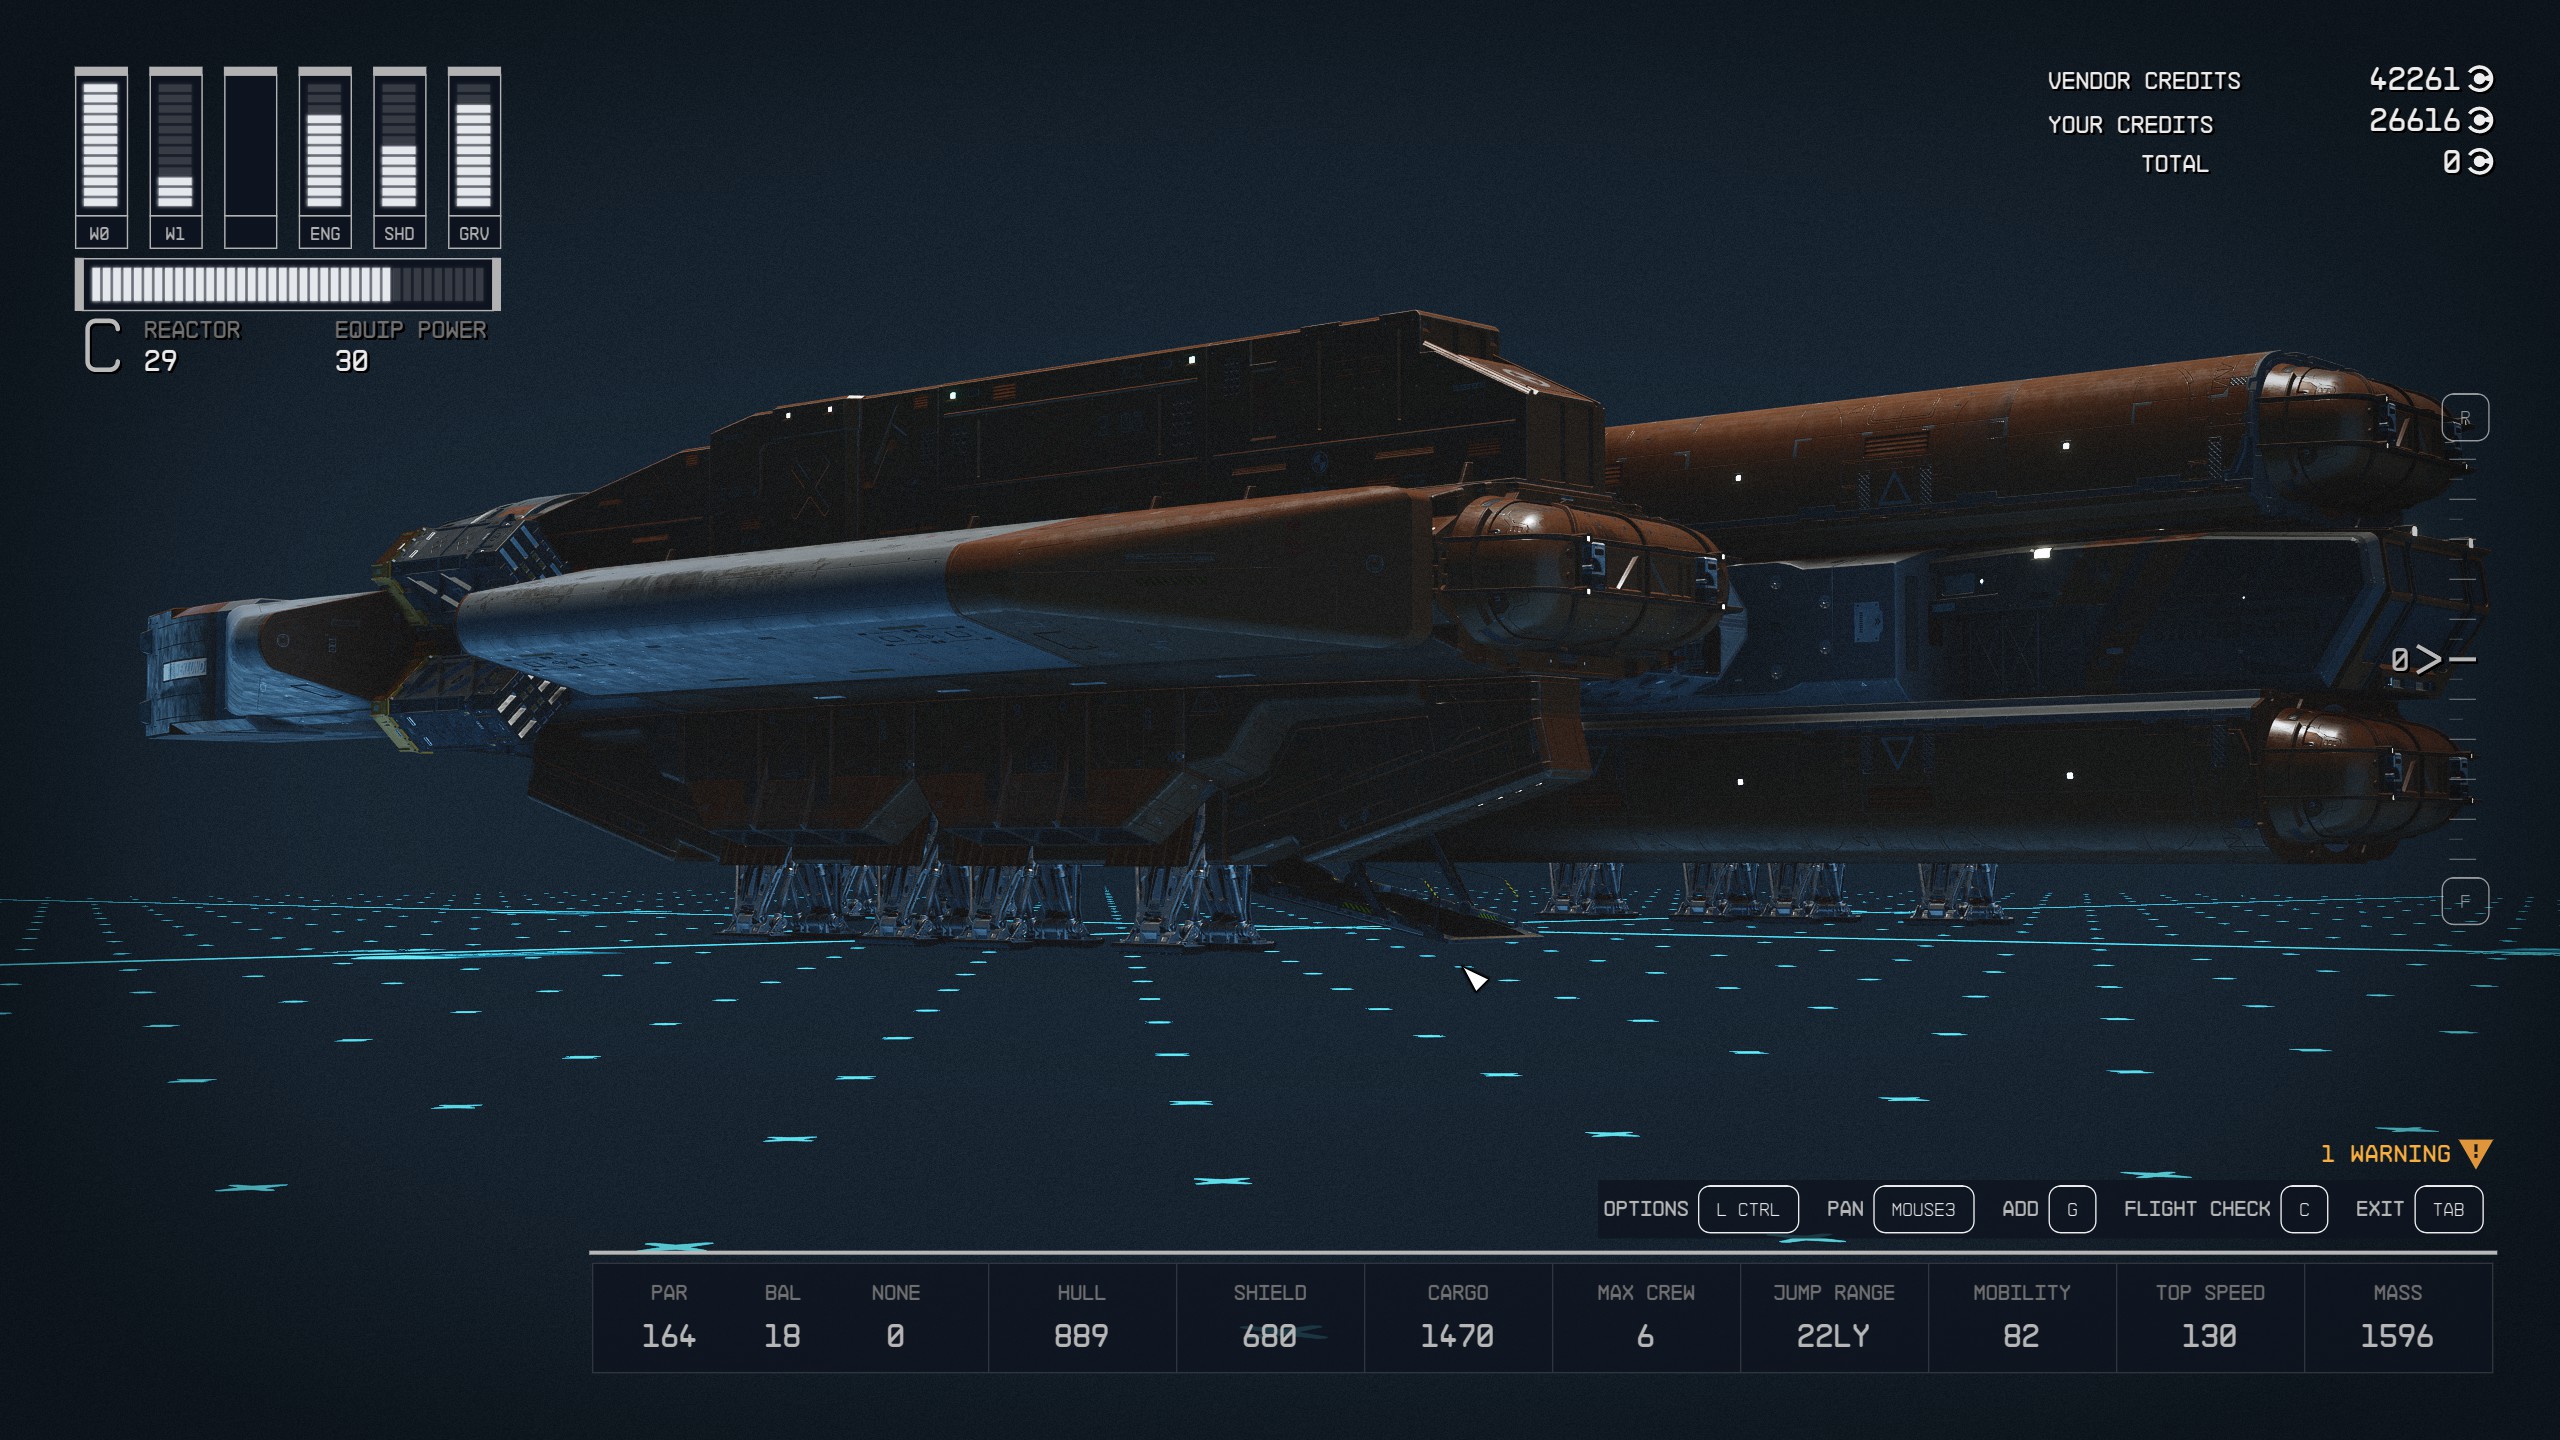
Part Eight: References Photos
Below are a handful of photos from different angles to serve as a reference guide for applying the paint. I hope this guide helped, and remember, apathy is death.

step 12 does not work, the fuel tank part highlights red and won’t let me place there