Killing the Ropalolyst – Flydolon
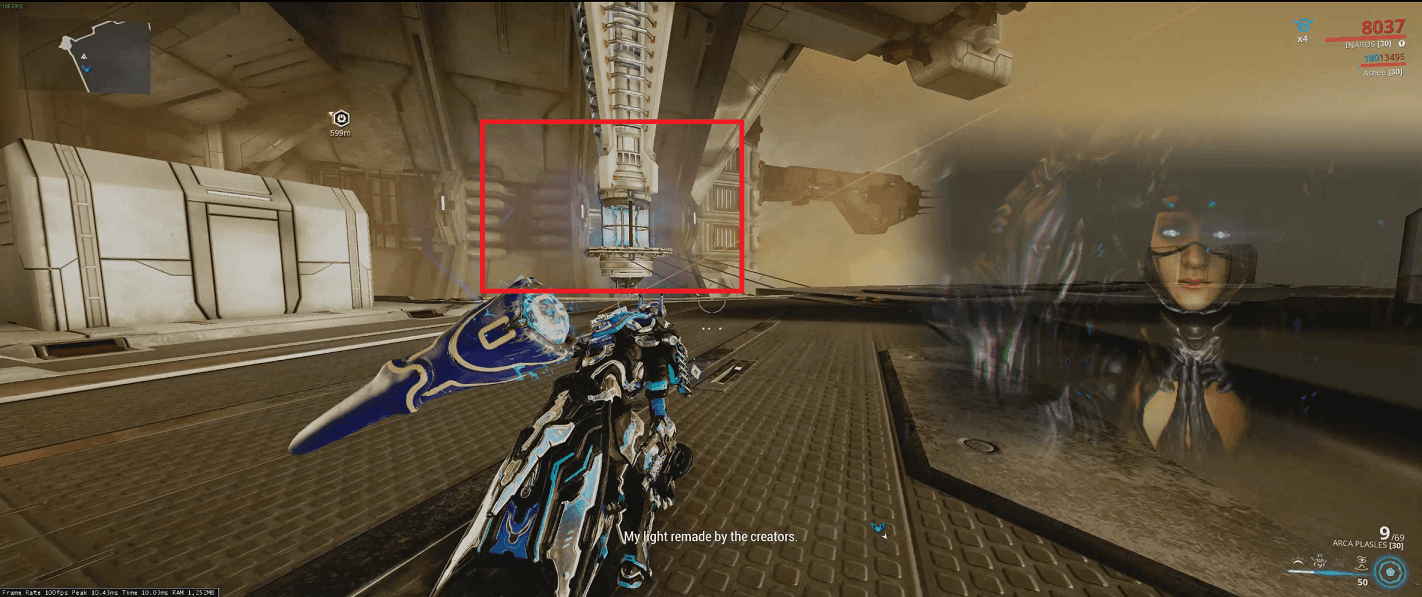
1. Capacitors
Go to the capacitors.
![Warframe Killing the Ropalolyst 1](https://www.naguide.com/wp-content/uploads/2019/05/Warframe-Killing-the-Ropalolyst-1.png)
2. Charging Capacitors
Hide behind the capacitors while Rapalolyst uses it’s beam attack.
![Warframe Killing the Ropalolyst 2](https://www.naguide.com/wp-content/uploads/2019/05/Warframe-Killing-the-Ropalolyst-2.png)
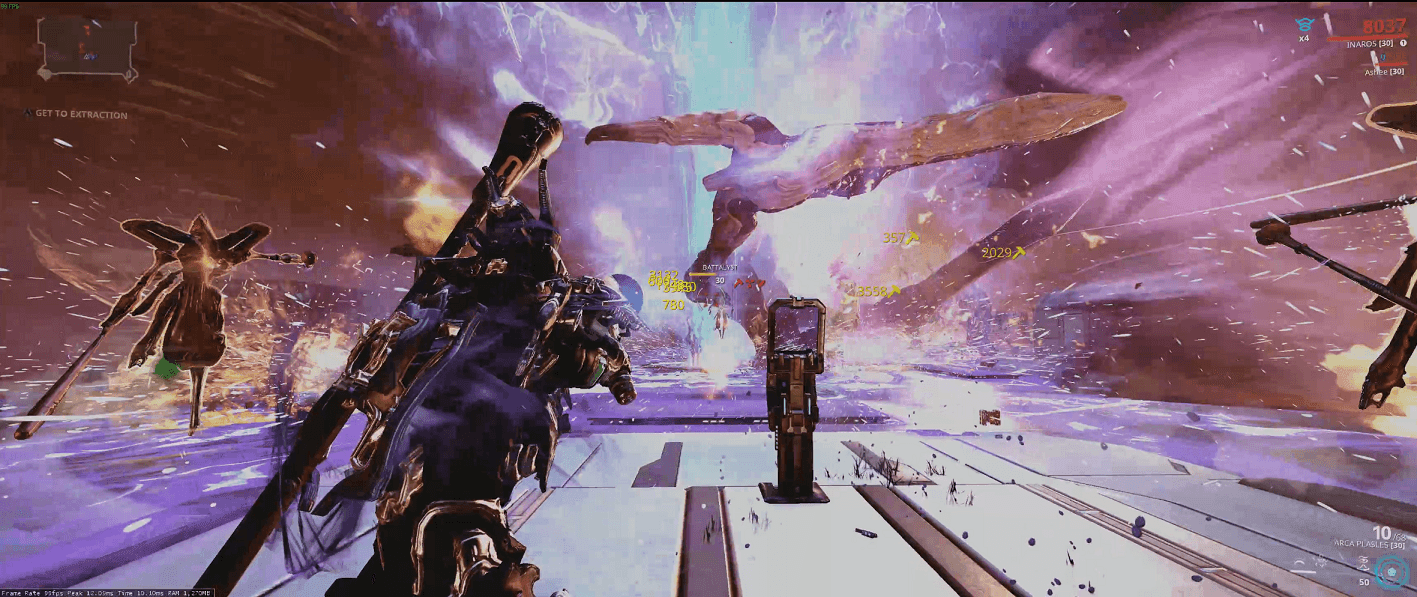
3. Ropalolyst Shields
Use operator to shoot down it’s shields (like eidolons)^.
Note: This step can be done before steps 1 & 2.
![Warframe Killing the Ropalolyst 3](https://www.naguide.com/wp-content/uploads/2019/05/Warframe-Killing-the-Ropalolyst-3.png)
4. Riding the Ropalolyst
Once shields are down, use bullet jump towards it.
When close enough, a prompt to ride the Ropalolyst will show.
![Warframe Killing the Ropalolyst 4](https://www.naguide.com/wp-content/uploads/2019/05/Warframe-Killing-the-Ropalolyst-4.png)
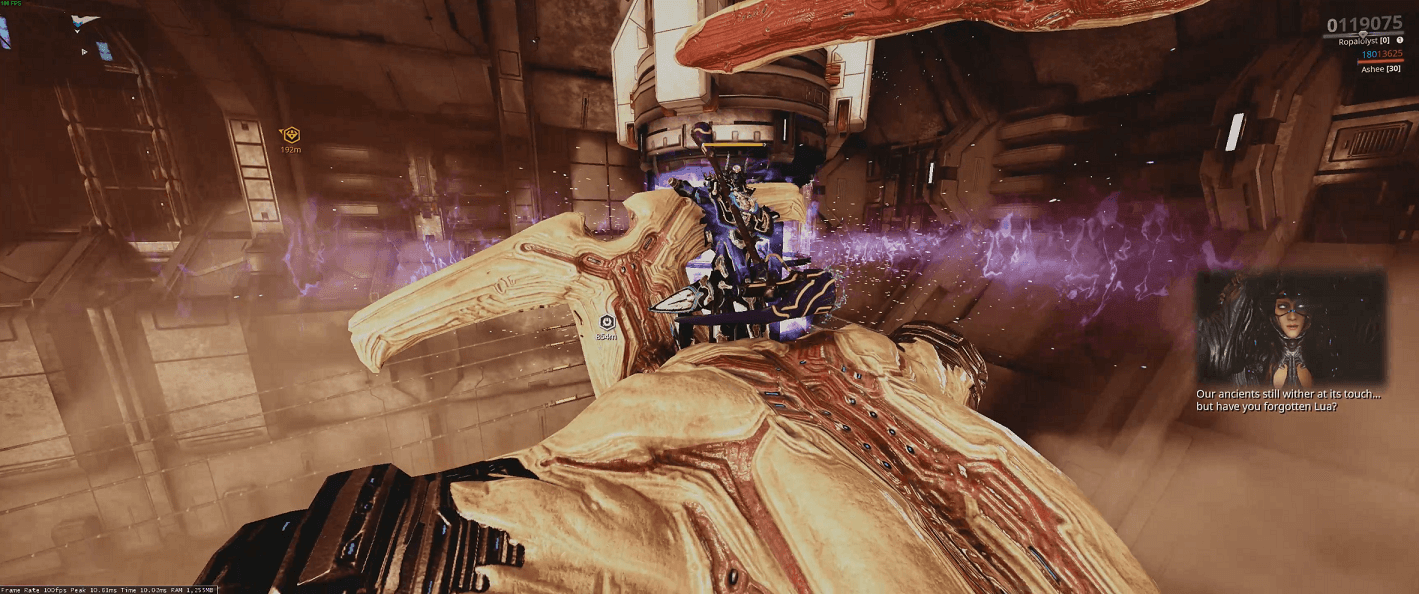
5. Ramming the Capacitor
Now on the Ropalolyst, ram the charged capacitor.
![Warframe Killing the Ropalolyst 5](https://www.naguide.com/wp-content/uploads/2019/05/Warframe-Killing-the-Ropalolyst-5.png)
6. Destroying Joints
After ramming capacitor, the Ropalolyst will return to the main platform.
Destroy its joints on it’s back,
![Warframe Killing the Ropalolyst 6](https://www.naguide.com/wp-content/uploads/2019/05/Warframe-Killing-the-Ropalolyst-6.png)
then activate the terminal in the middle while it’s down.
![Warframe Killing the Ropalolyst 7](https://www.naguide.com/wp-content/uploads/2019/05/Warframe-Killing-the-Ropalolyst-7.png)
7. Repeat
Repeats step 1-6 for the next Joint, and other capacitors.
8. Final Part
After destroying final capacitor, it’ll be vulnerable to attacks.
![Warframe Killing the Ropalolyst 8](https://www.naguide.com/wp-content/uploads/2019/05/Warframe-Killing-the-Ropalolyst-8.png)