Vermintide is back… But this time, it’s darker, bloodier and much more animated! Warhammer: Vermintide 2 is the sequel to the critically acclaimed Vermintide. It’s time to return to groundbreaking melee action and brutal carnage with the apocalyptic End Times edition of the war-torn world of Warhammer Fantasy Battles. In this comeback Marks Locations is in our Warhammer Vermintide 2 Marks Locations guide!
Warhammer Vermintide 2 Marks Locations
Welcome to our Warhammer Vermintide 2 Marks Locations guide. There are 10 markings to be found in one playthrough. The map has alternating paths in three sections.
We know that there are people who have a hard time finishing the Warhammer Vermintide 2 game. If you are one of those who find it difficult to finish the game, let’s take you to our Warhammer Vermintide 2 guide.
Mark #1 (Left Path)

After leaving the spawn area, if you happen to get the left path where the upper left gate is open, there is a small side room in the mine section. On the backside of the crate.
Mark #2 (Left Path)

Proceeding through the mine section, at the next dropdown, on the middle step.
Mark #1 (Right Path)

After leaving the spawn area, if you happen to get the right path where the bottom right gate is open, in the first big room you enter, on the wall. To reach it, jump from the stairs onto the shelves.
Mark #2 (Right Path)

Proceed through the next room. After entering the big open cave, on the door on the right-hand side.
Mark #3

Behind the big statue, on the wall.
Mark #4 (Left Path)

If you happen to get the left path where you can leave the big hall with the statue over the left side, on the wall in the closed entrance on the left-hand side.
Mark #4 (Right Path)

If you happen to get the right path where you can leave the big hall with the statue over the right side, on the wall around the corner on the right-hand side.
Mark #5

Before dropping down into the mid event area, above the doorway you come through.
Mark #6

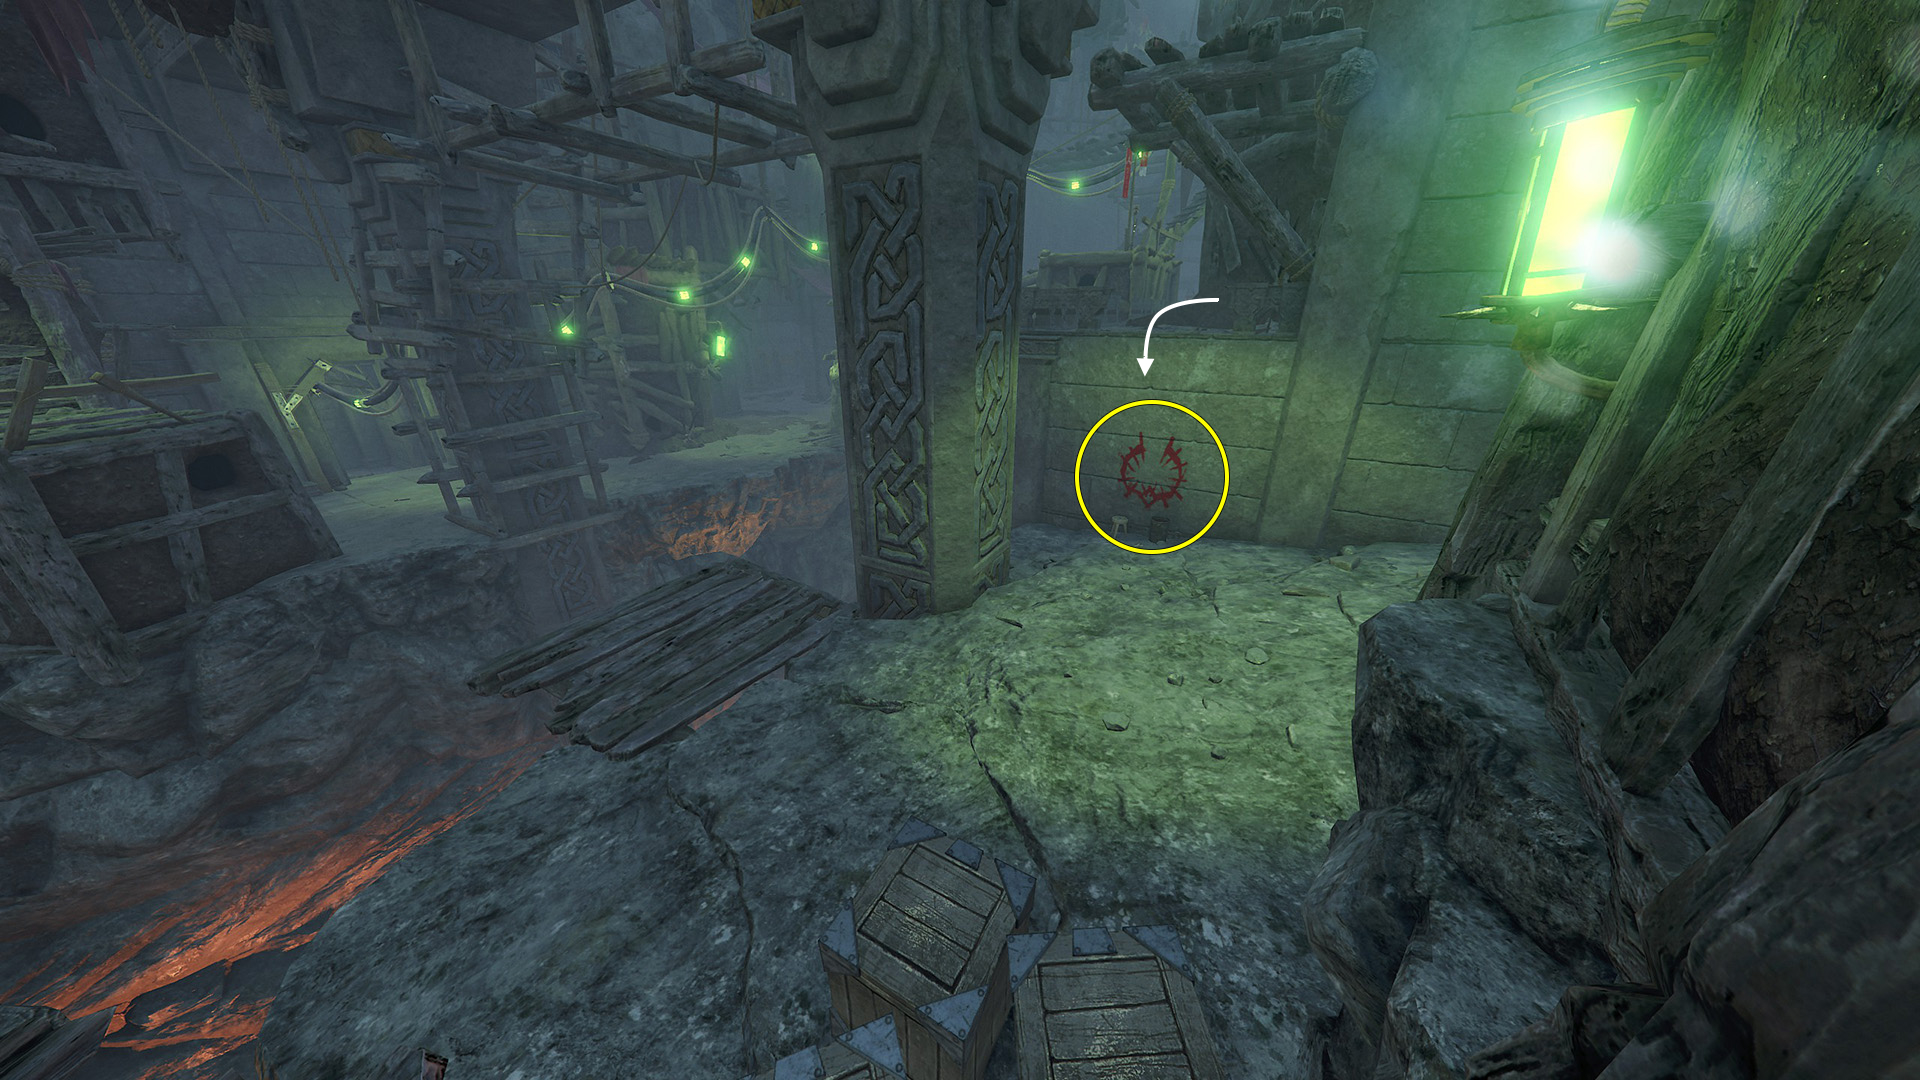
After the mid event, proceeding into the huge chasm area. Before crossing the chasm to the other side, on a wall on the left, at a dropdown.
Mark #7

After the mid event, proceeding into the huge chasm area. After crossing the chasm to the other side, on the backside of a pillar on the right.
Mark #8

After leaving the huge chasm area, at the next dropdown. Before dropping down, on the wall on the left side.
Mark #9 (Left Path)

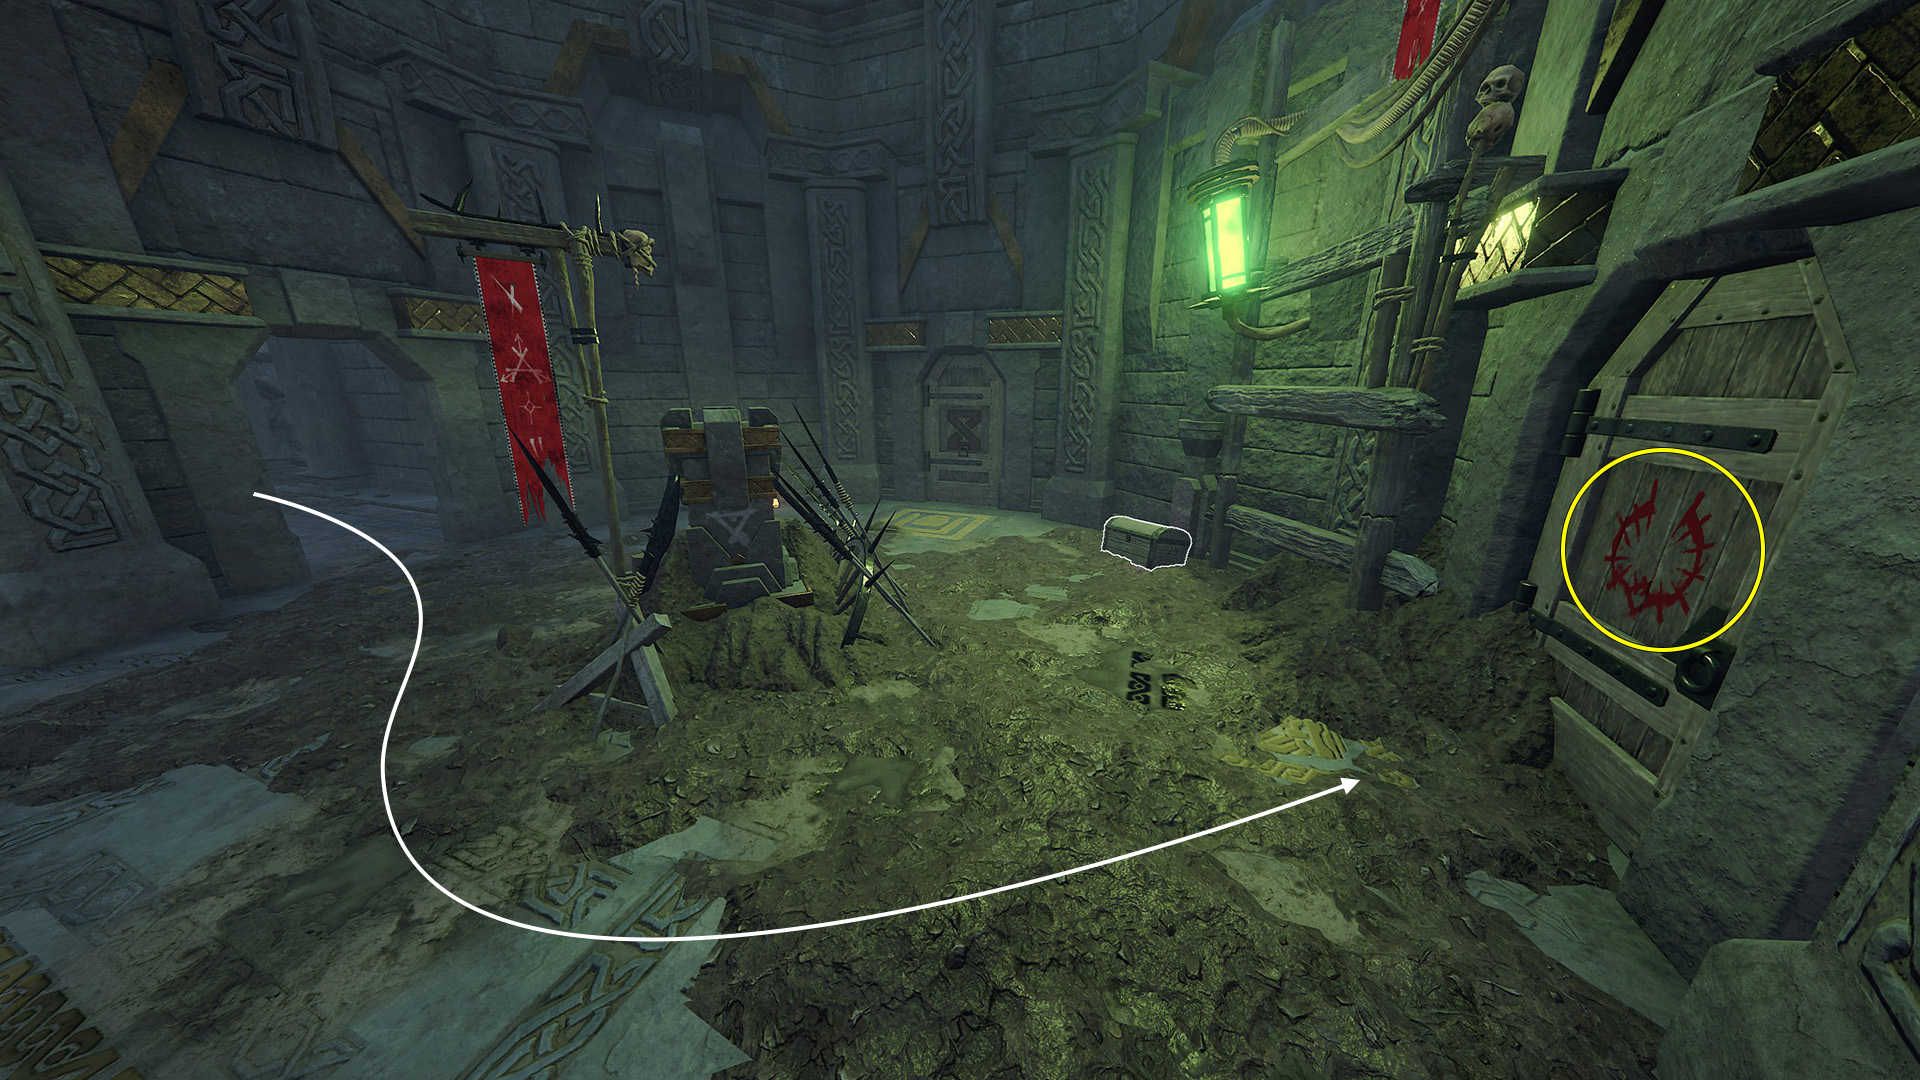
If you happen to get the left path where the left door is open after dropping down at the location of Mark #8, proceed until you arrive at the round room where you can go either left or right. Go left, proceed and after crossing the wooden bridge go left again. In the round room, on the door.
Mark #9 (Right Path)

If you happen to get the right path where the right door is open after dropping down at the location of Mark #8, proceed until you arrive at a bifurcation. Go left through the area where you cross a small lava river. At the dead-end on the left, in front of the lavafall.
Mark #10

After the last dropdown leading to the final event area, in the round room with some cages. On the wall on the right-hand side.