Hello from our WitchSpring R How to make NG+ guide. How to make NG+ in WitchSpring R? If you are looking for the answer to this question, you are in the right place. This guide will show information that will allow you to move Items/stats to a new Save, since there is a lack of NG+ supported natively in the game!
This is the guide Sixcross it was created by. You can find the author’s link at the end of the guide.
WitchSpring R How to make NG+
Welcome to our WitchSpring R How to make NG+ guide. Since there is a lack of NG+ supported natively in the game we have built a guide to allow you to carry over Items/Stats to a new Save.
Modifying Save Files to Carry Over
WARNING – BACKUP ALL SAVE DATA BEFORE YOU MODIFY ANYTHING – this will modify save data and can potentially corrupt or render your save game unusable if done incorrectly.
NG+ is not currently supported, however the save files – including progress, data, and stats are all
stored in unencrypetd data files which can be modified with some experimentation.
* Since this game forces cloud saving enabled it is recommended to launch the game with your computer disconnected from the internet. This guide won’t go into details on how specifically to do that, however you can disable your network interface as a quick option.
Navigate to the cloud saves folder for the game: {Install Drive “C:”}Program Files (x86)Steamuserdata{UserID}1958220remote
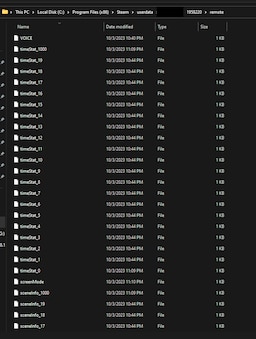
In this folder is the contents of your save and progress. The main file you want to pay attention to is the “playerStat_{SaveNumber}” file. If you open up this file you will notice that the entirety of your player data is saved here. This includes stats, inventory, spells, equips, etc.
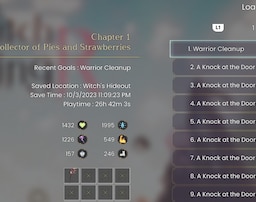
Create a new save in game and play up through the tutorial to the point where you can save. From there, navigate back to the saves folder and open up the new corresponding save file “playerStat_{SaveNumber}”
Then all you need do is simply copy the stats and elements you wish to carry over into the new file and save it. Then simply relaunch the game and load in with your carried over choices.
Save your game again and then close. Re-Enable your internet connection and when you receive a warning about cloud save mismatch select your local files to overwrite the cloud data.
That’s it – happy NG+
Additional Note: If you wish to carry over your playtime, you can follow the previous steps and copy the playtime from the sceneInfo_{SaveNumber} file.