Memories of Player Walkthrough
To get here, teleport to the Cathedral Perimeter in the Cathedral of the Sacred Blood. Backtrack to the area right after the Argent Wolf Berserker boss fight and interact with the large weapon on the ground.
This will take you to the Memories of Player.
Memories of Player
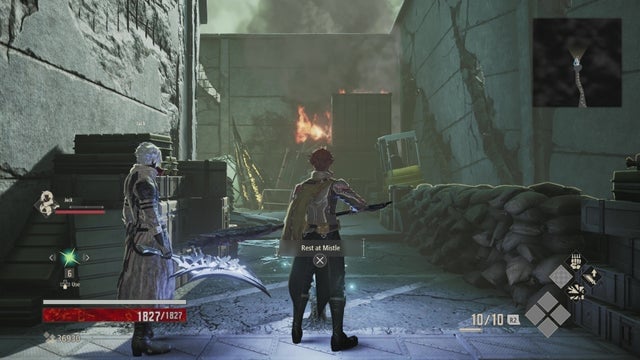
When you’re ready, speak to Jack to advance. Follow the linear path to the Mistle.
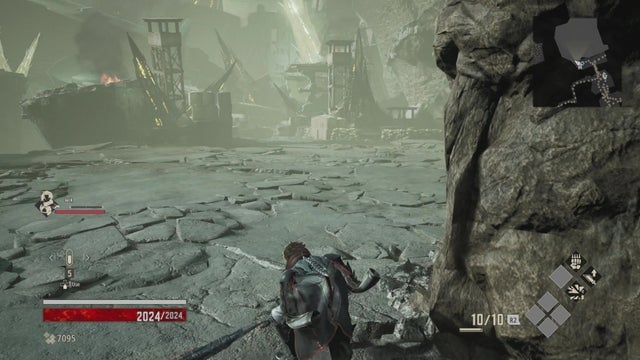
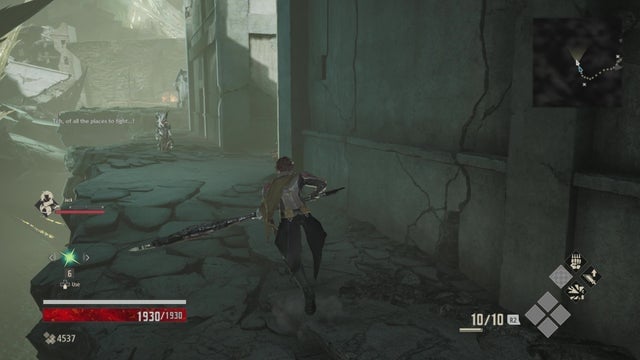
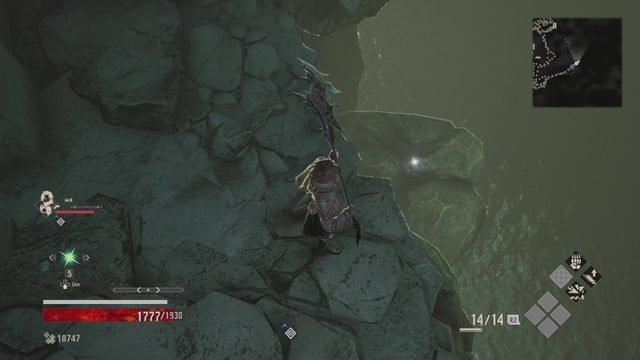
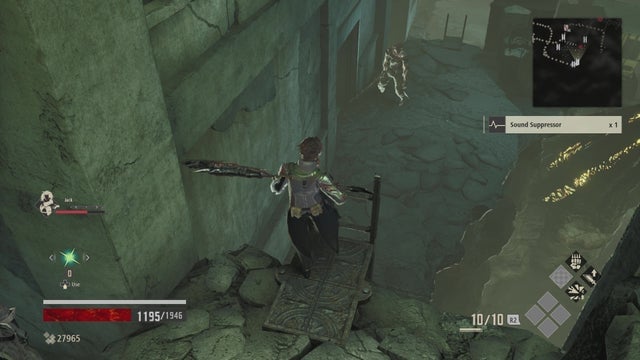
From the Mistle, follow the path ahead. You’ll encounter an enemy next to a ledge. Careful not to fall off. You’ll then come to an area with a locked gate in the distance and a ladder to the right.

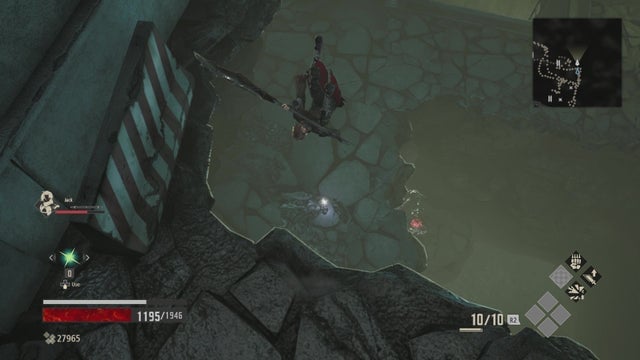
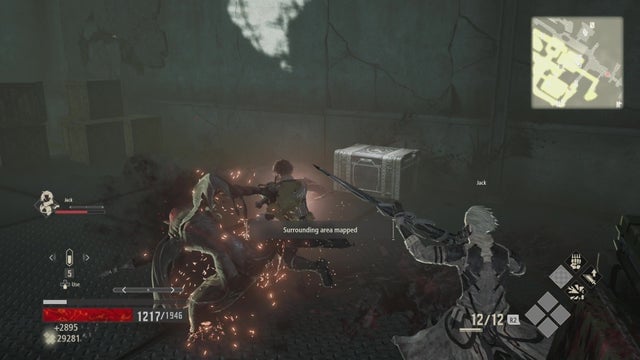
Drop down to the section below and start making your way upward, towards the enemies. You don’t have to take them on all at once, so instead, use the path on the right to get around. You’ll see some crates in the way.
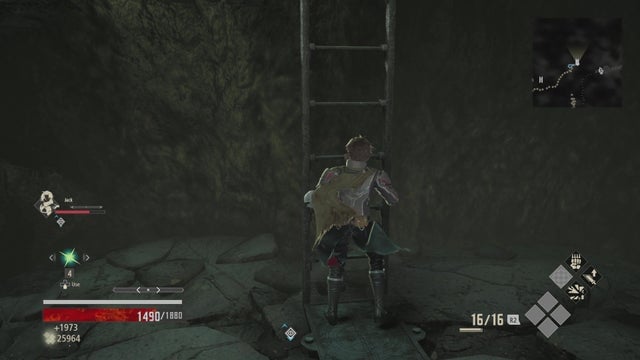
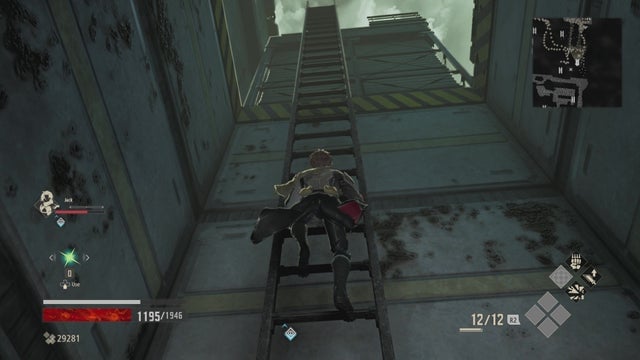
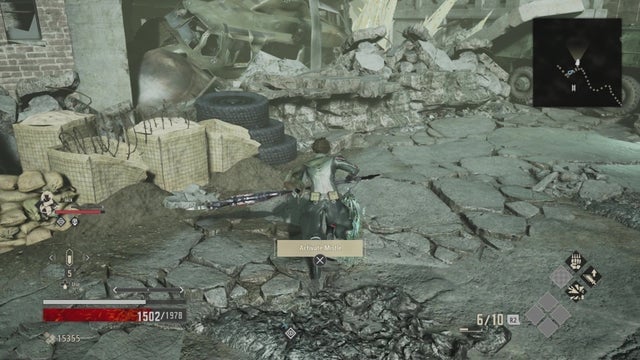
After you take out the enemies nearby, continue through this narrow path and you’ll see a ladder on the right. Climb it to get to the next area.
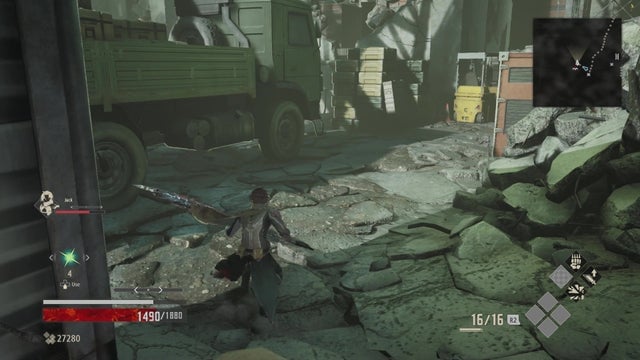
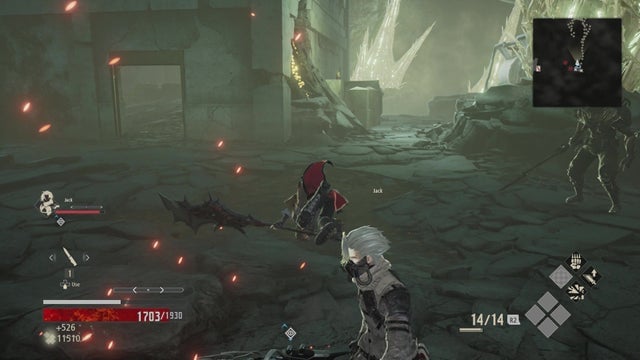
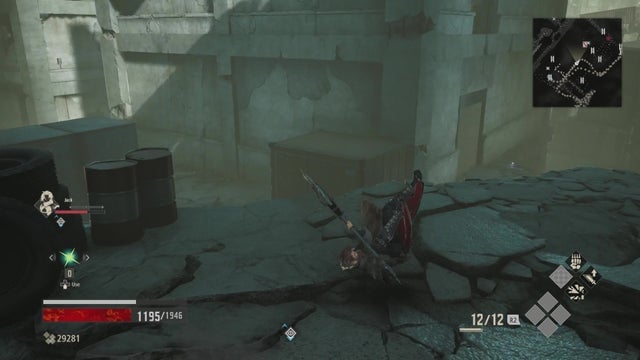
When you reach the top, be careful of the enemy straight ahead. Take it out and then continue along the path. It’ll take you past some trucks and a forklift, with enemies hiding around corners. Be cautious here.
Make sure you pick off the enemies one-by-one, because they can quickly swarm you and make it hard to even get by. At the end of this narrow section, you’ll come to a split – the left will lead you up to a ladder, while the path ahead will lead you to the next Mistle inside a building on the right. Take the path ahead and rest at the Mistle for now.
After you rest up, exit the way you came in and make a right, following the path past the barbed wire cans and debris. When you reach a cliff in front of you, turn left to see an enemy in the distance.
Keep going this way, but be aware of the enemy hiding in the alcove on your right. Once they’re both taken out, head past the building on the right with a few enemies in it. Make sure you take them out, as well.
The path will wrap around to the right and lead to an open area with several enemies. Make sure you defeat them and then head into the other side of the building you just passed. This will allow you to move through the wreckage of the nearby structures.
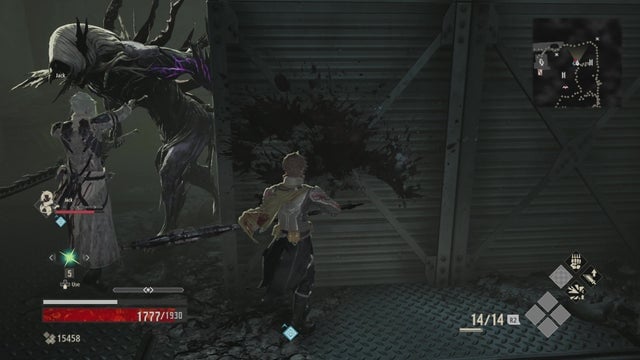
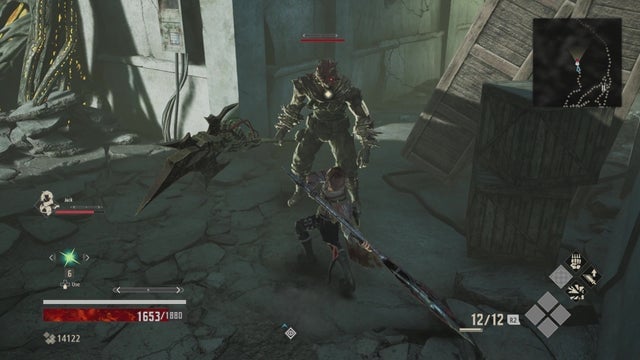
When you reach the next building over, you’ll come to a wall with a large enemy waiting behind it. You can actually attack it through the wall for some added protection. Hooray for bugs (or is this a feature?) In this same building is a ladder you can climb, so do that.
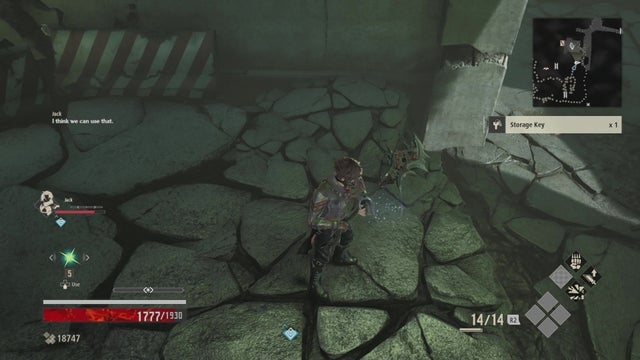
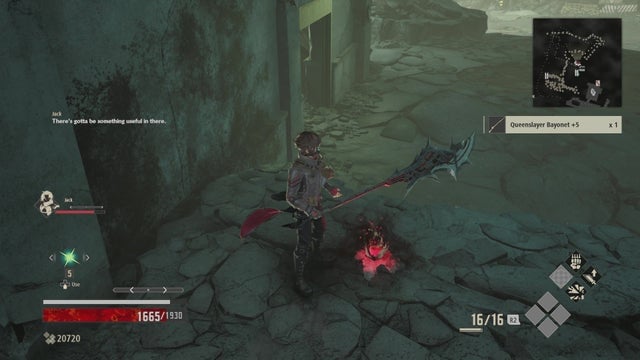
Make sure you head outside to grab the Storage Key, which you’ll need in just a bit. Then, head all the way back the way you came, out the buildings and throw the narrow path that overlooks the water below.
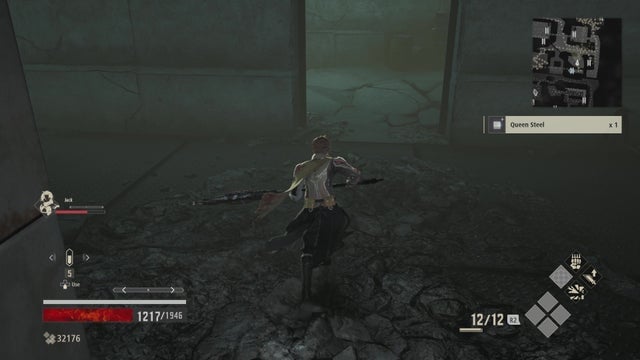
You’ll need to head back through the narrow alley and look over the cliff to a ledge you can drop down on. You’ll notice it right below a massive crystal on the wall. Drop down and follow the path to the ladder that will take you back up. Here, you’ll find a rotten Mistle, so purify it.
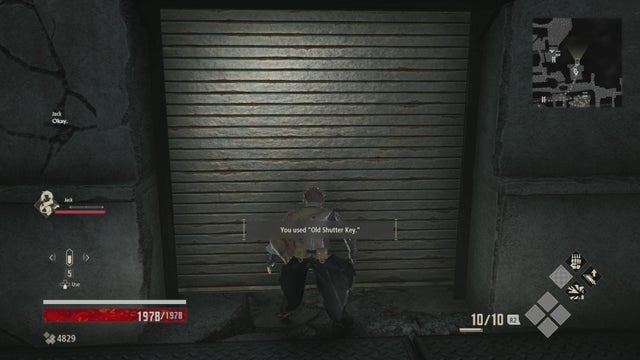
At this point, head back to the Mistle inside the building from before (Military Storehouse). You’ll notice a shutter door inside, which can only be opened with the Old Shutter Key. Let’s go get that. From the Mistle, exit the building to the left and then make a right towards the ladder we skipped from before.
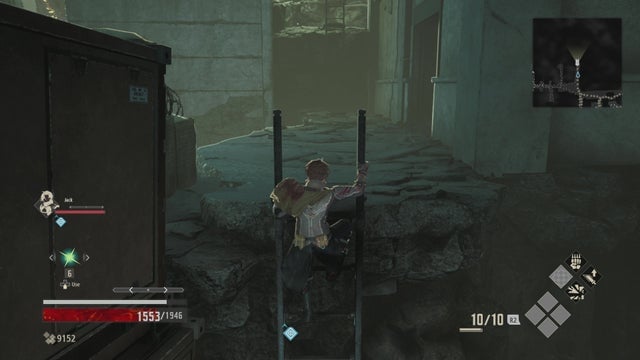
After you climb the ladder, you’ll see a building you can enter on your right. Keep your guard up when you go in, since several enemies will ambush you here.
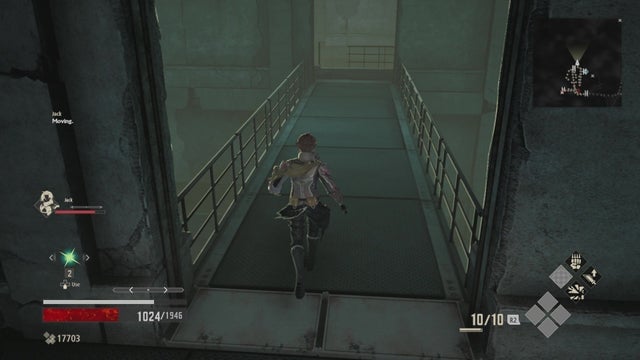
After you enter the building, climb the ladder and you’ll see a little bridge connecting you to the next building. Cross it and go inside. From here, you’ll see an enemy on the floor below. You can drop down on it from the right, next to some crates.

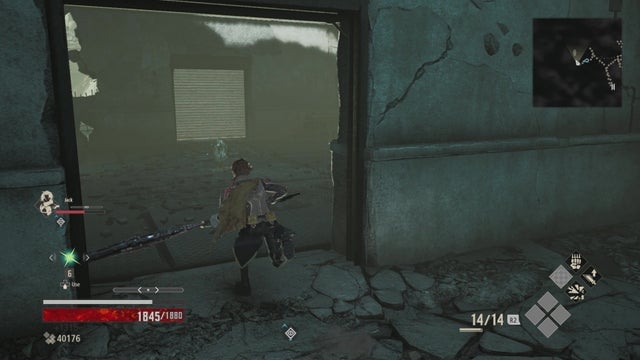
Exit the building and make a right, towards a stack of crates. Just before that, take another right and you’ll come to another narrow path. A building will be on your left, with a short path ahead that leads to a lone enemy sitting by a truck on the right.

Take this enemy out to acquire the Old Shutter Key. You can now head back to the last Mistle to open the door inside. But first, take the path behind the enemy you just killed. It’ll lead you to a ladder. Defeat the two dogs, climb the ladder, and unlock the shortcut by kicking down the next ladder.
Now, head back the way you came, past the building on the right, past the large crates, and past the waterfall on your right. If you head to the end of this cliff, you’ll see a platform you can jump down onto, with a Mistle.
Purify the rotten Mistle below, and follow the path to the ladder ahead. There are actually two ladders – one to the right and one ahead. Head straight and climb up the ladder to reach the roof and an item.
Roll off the roof to the left and head straight, towards a giant busted crane. You’ll see a little drop-off on the left that leads to another shutter door. You can use your Storage Key here.
Defeat the enemy inside to reveal more of the map. Grab the item in the chest and then drop down the hole that’s hidden by some boxes.
Follow the path, up a ladder, and back into a building with an item.
From here, exit the building and make your way back to the Military Storage Mistle to open the door, using the Old Shutter Key.
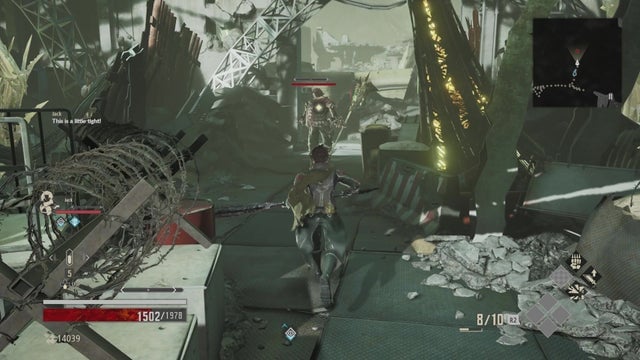
From here, the path to the boss is pretty straightforward. You’ll run into a lot of enemies on the way, though. Luckily, you’re right next to a Mistle.
Follow the narrow path ahead and you’ll reach another Mistle.
Right by the Mistle is a path you can take that leads to a drop-off. There’s a ladder nearby. Jump down here to trigger the boss.