Welcome to our Curse of the Old Gods Walkthrough Guide! Curse of the Old Gods is a mystery adventure game set in today’s Lovecraftian universe. Will you solve the case or surrender in this challenging adventure? If you’re ready, let’s take a look at the guide for all the information you need!
The guide can be used to win the game and get all the achievements the shortest way, which will require at least three runs (or one and two halves if you use saved games and follow instructions). Version 1.0!
Curse of the Old Gods Walkthrough
Welcome to our Curse of the Old Gods Walkthrough guide. This is a complete guide for Curse of the Old Gods (Tim Rachor), an adventure thriller game with lovecraftian flavour.
Walkthrough Part 1: Dead by Flashlight

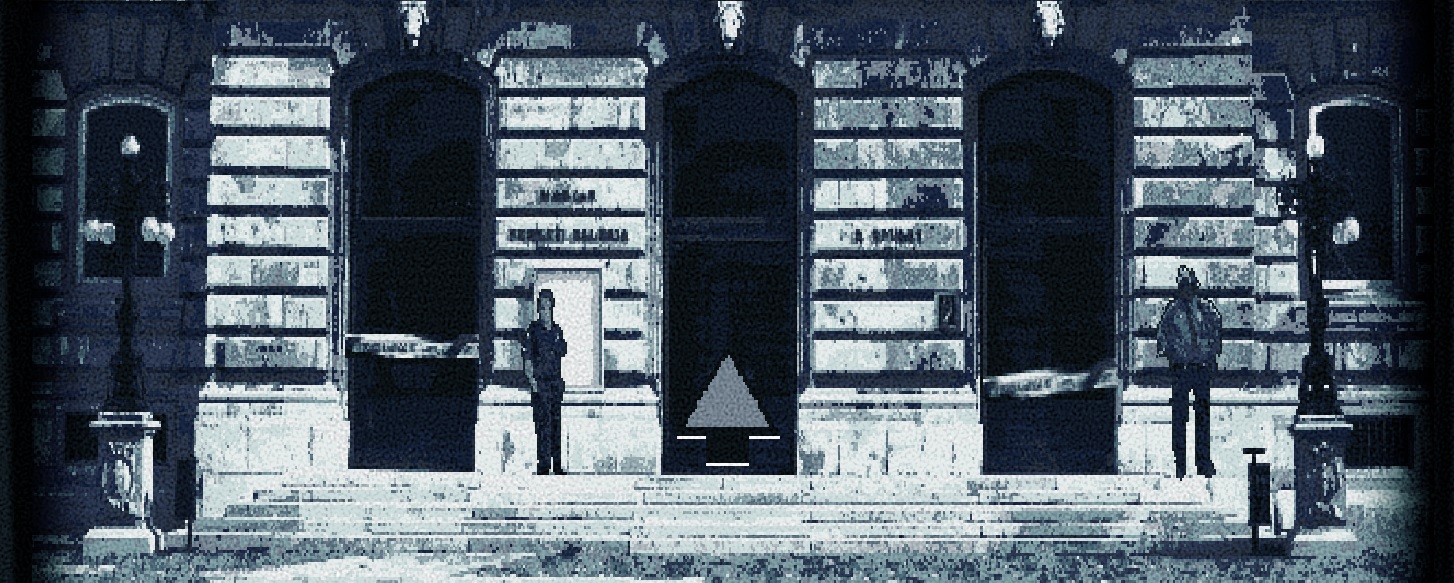
Greenich Museum: Meeting people
- Talk to Officer Bristol (left one) and touch the Counter (get an ID)
- Go inside and check the stairs. Take the Skull Fragments at the head of the chalk drawing.
- Go upstairs and touch another Counter (get a second ID)
- Enter the door, after a scene you can talk to Prof. Clayton there.
- Continue straight and talk to Dir. Madison, pick a Business Card from the table. Look at it.
- Back on the corridor, take the left door to talk to Miss Carlson, the secretary. She gives you the victim’s Personel File. Look at it.
- Pick up the Tea Cup (Cup of Tea achievement) from the table and go outside.
- You should be at 235 points
Greenich Museum: Murder Myster
- Outside find Cathy Bennon (sitting left). Give her the Tea Cup and talk to her.
- Give the Skull Fragments to officer Bristol (again the left one). She sends it to the lab and you have to wander for the results. Just go upstairs till you getan e-mail (you will see a “!” sign next to your inventory arrow, check your smartphone). This unlocks the A Murder Case achievement.
- Now talk to Dir. Madison to get access to the African Exhibit.
- From downstairs, you can now go left. Do it.
- Take the Ritual Mask from the right counter and talk to Prof. Whiskermeyer.
- Touch the Counter, but the ID is faded. Use the smartphone on it (Get the third ID)
- Look at your smartphone and all Angel Security for some info.
- Talk to Prof. Whiskermeyer again and use the Ritual Mask on him.
- Get out of the museum and give the mask to Cathy Bennon (still sitting left)
- You should be at 760 points
Greenwich Museum: Family Matters
- Let’s go to Prof. Clayton’s office, upstairs and on your right from the corridor. He left!
- Here’s a tricky puzzle involving dates and numbers:
- Look at the Calendar to get three birthday dates.
- Cross the corridor to ask Miss Carlson and you add years to those dates (you can now see al the info if you look at the calendar again).
- Hint: Look at all the dates. Do they have anything in common?
- Answer: Common numbers from month, day and year, 135.
- Look at the globe and use the code to open it and take a notebook. Look at the notebook.
- Go outside one more time.
- You should be at 890 points
Greenwich Museum: Suspects on the run
- Talk once again to Officer Bristol and use the notebook on her.
- Go to the African Exhibit again and use the notebook on Prof. Whiskermeyer.
- Go upstairs and the alarm will go off. Finally some action!
- Go back to the African Exhibit to find a suspect and BLAST HIM TO DEATH LIKE A GOOD COP.
- I mean use your gun on him if necessary, proportional and lawful.
- Follow him to the backdoor to find Officer Carlson and a coin on the floor.
- Pick up the coin and talk to the Officer.
- It’s a good moment to use your ammo on your gunto reload, there may be more chances to shoot people.
- Go upstairs, talk to Dir. Madison.
- Go back to Prof. Clayton’s office (right side from the corridor) and look the Coin in your inventory.
- The game will show you the full coin. Remember the symbols.
- NOTE: If you are playing on wide screen mode you might see only half of it. Change mode to see the whole coin with three symbols.
- Use the coin on the bookshelf on the left.
- Here’s a simple puzzle where you have to identify the three symbols on the coin and click on them. Order doesn’t matter.
- Answer: Evil, Protection, Human.
- Go outside for the last time and talk to the one there, Detective Hammer from NYPD.
- You should be at 1135 points
Walkthrough Part 2: Mall to Home

Mall: Stupid, Sexy Sanders!
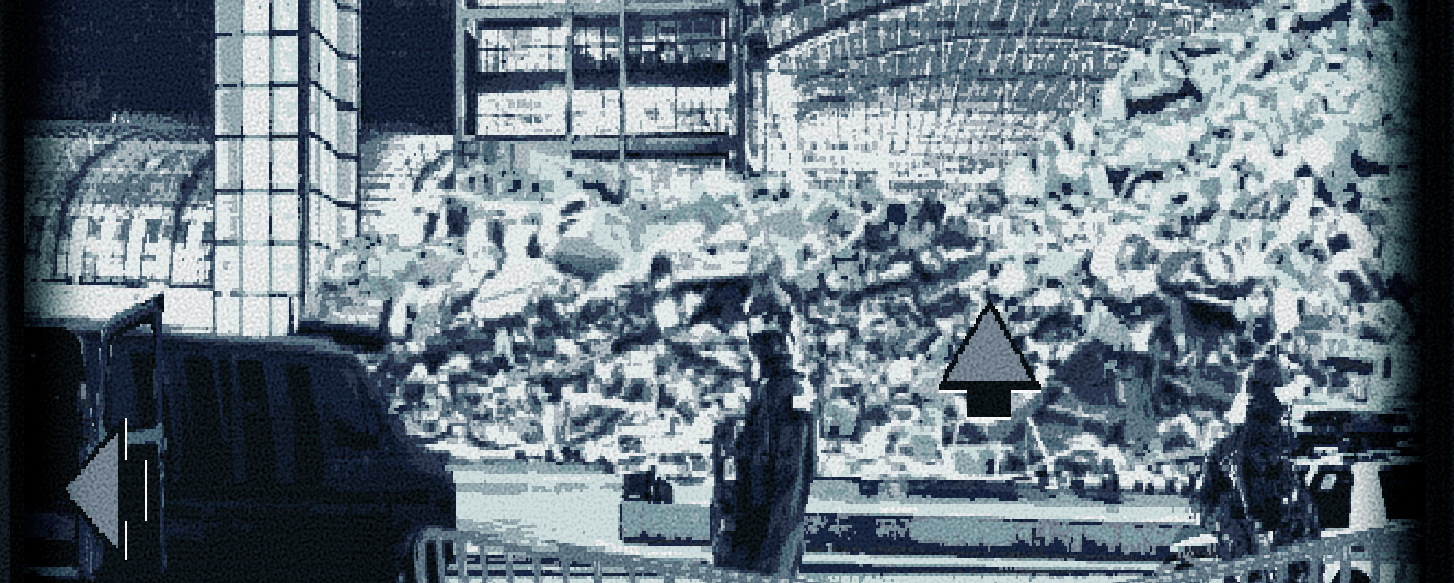
- Watch the news about the terrorist attack and notice the “!” sign next to your inventory arrow.
- Answer your phone and you will move to the attack scene.
- Pick up Shimmering Object, which is a pen, and look at it in your inventory for a hint.
- Go left to find Officer Sanders in the van.
- Talk to Officer Sanders, and talk to him again for further info.
- Look at your smartphone and call Dir. Madison to ask about the pen.
- Use the pen on Officer Sanders, he will let you help and use the Computer next to him.
- Use the computer and check all the cameras. Make sure you look at the hooded figures near the staircase (the suspects from the museum).
- You should be at 1310 points.
Mall: Finders Keepers
- Go into the demolished Mall (straight up).
- Take the broom end on the left side, then go to the right.
- You can touch the CC camera on the right and you will get an ID for it.
- Use the broom on the rubble on the left, a rune circle with a Statue will be revealed.
- SAVE GAME: Your next actions will decide the possible endings and achievements, so this is the point of no return where you must have a save if you want to catch’em all. This guide will continue on a first run getting all the points, but I will point some actions for a SECOND RUN (Empty handed) and a THIRD RUN (Keep the coin).
- Use the coin with the Grotesque Statue for a quick exchange (you can take the statue without using the coin for a Sierra-style death scene)
- SECOND RUN (Empty handed): You can do the exchange and later give the Grotesque Statue to Sanders, or keep the coin here for an achievement later.
- THIRD RUN (Keep the coin): Just forget about the statue this time, you don’t want to lose your coin no matter what, you greedy one.
- Go back to Sanders and talk to him.
- Look at your smartphone and call Angel Security about the CC Cam. Pay attention to instructions.
- Use the computer for a new interface where you write the archive name you want to check.
- For the Illuminati confirmed achievement, look for dsc0003.raw. dsc0001.raw shows only a corrupted image.
- Answer: dsc0002.raw Once you find it you can’t search for any other picture.
- Look at the “face” of the hooded suspect.
- A “!” sign will indicate that your phone is ringing, answer it.
- When you try to leave the area, a message will suggest you to give the statue to Sanders. A message you shall IGNORE.
- SECOND RUN (Empty handed): If you got the Grotesque Statue give it to Sanders before leaving.
- THIRD RUN (Keep the coin): You have nothing to give Sanders, so go on.
- You should be at 1540 points.
Clayton’s house: Hello, Mummy
- Enter the house and go straight to the crime scene and talk to Detective Hammer.
- Pick up the Music Box on the table and play it, it gets stuck.
- Touch the Casket under the table (locked).
- Go back to the corridor and talk to Officer Miller for a Lockpick.
- Again to the crime scene, use the Lockpick on the Casket to get some make-up brush.
- Use the lockpick also on the Music Box to fix it.
- Touch the corpse of Mrs. Clayton. Ugh, looks like National Gallery material, but unstolen.
- Use the make-up brush on the mark on the cheek and look at the rune.
- Go back to the corridor.
- SECOND RUN (Empty handed): If you kept the coin, throw it into the well in the front garden for the Make a wish achievement. At this point you should have neither the statue (left or given to Sanders) or the coin (exchanged for the statue or thrown into the well). Also if you gave the statue you will receive an e-mail at this point.
- THIRD RUN (Keep the coin): Just keep your treasure, good Smeagol.
- You should be at 1805 points.
Clayton’s House: Following Clues
- Look at the table to read about Clayton’s investigation.
- Take the strange book (not on the table but behind) and you get paper scraps and a photograph.
- Use the paper scraps on the table to assemble te puzzle and get the Paper Puzzle achievement.
- Pick up the shovel on the left before leaving the room.
Solution:

- Go back down and to the crime scene and talk to Detective Hammer. Then go out.
- Look at te footprints on the left side. Another footprint will appear next to it. Repeat the process for a third one, then to find a Pile of dirt.
- Use your shovel on the Pile of dirt to get a Little Casket and open it. You receive pages and metal plates.
- Look at the pages to read Prof. Clayton’s diary.
- Look at the plates to reveal it’s the cube.
- Go inside again, talk to Detective Hammer and show him the metal plates.
- You should be at 2365points.
Walkthrough Part 3: World Tour

Paris: The Usual Suspects
- Calling someone during breakfast should be illegal, but…
- answer your phone and travel to Paris to interrogate the suspects.
- Touch the suitcase to recover the Ritual Mask.
- Talk to Cathy Bannon first till she won’t talk to you anymore.
- Talk to the hipster suspect, Connor McMillan.
- Use the photograph in your inventory with Connor to know where to go.
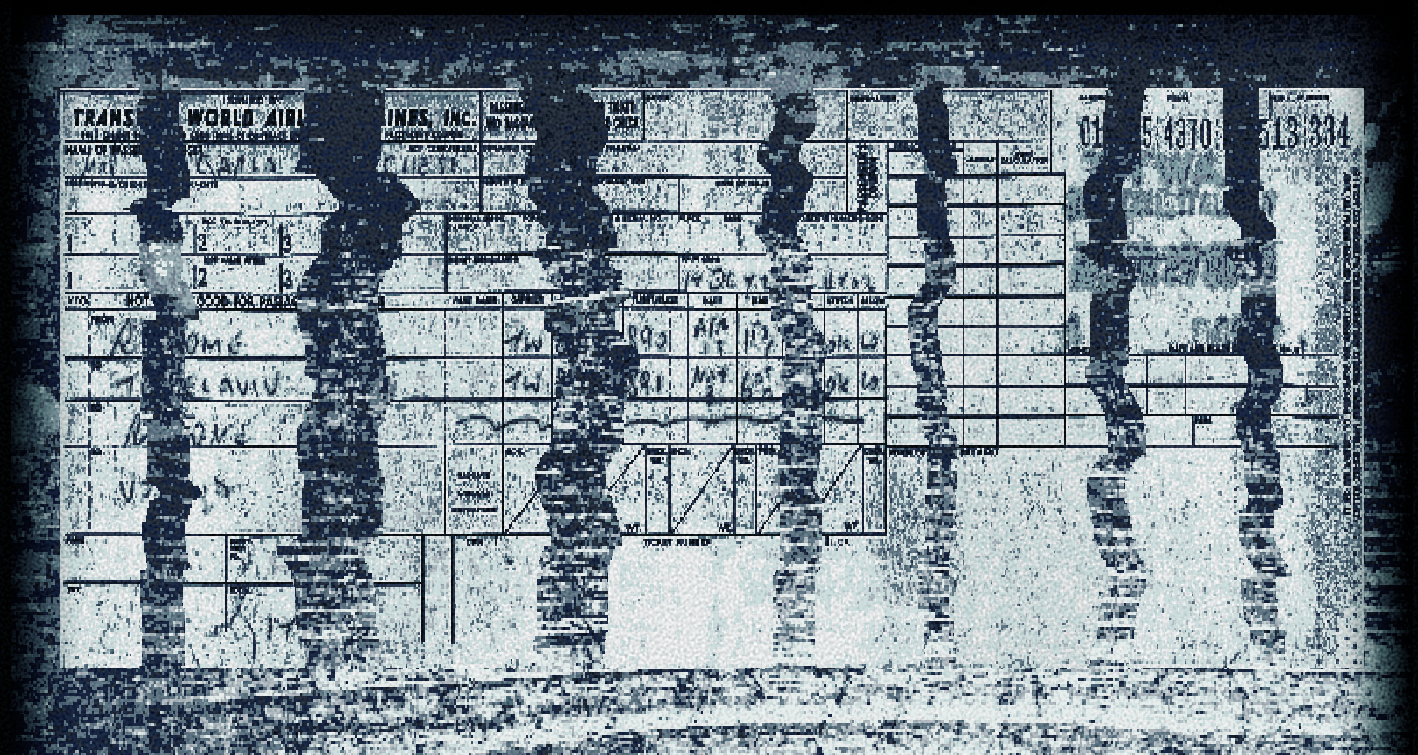
- Look at the flightplan on the wall and now you will travel to Congo.
- You should be at 2505 points
Congo: Bed & Breakfast
- Talk to the woman there, Maria, for a room.
- Go left to your room. Confy.
- Look at the Tourist Brochures on the right side to recognize the guy at the bar.
- Go back to the bar ant talk to the guy, Miguel, to hire his services.
- Talk to Maria again and order something by touching the different parts of the menu. Touch all of them to order an enormous dinner and get an achievement later.
- Go back to your room and then right to the bedroom. You will have to wander a bit till the food arrives and is seen next to the TV there.
- Eat the food, if you ordered a lot you will get the A Hungry Man achievement.
- Touch your bed to go to sleep.
- You should be at 2630 points
Congo: Road Trip
- The day starts with a nice road trip, it’s sunny, Miguel is nice, the landscap…OHSHITOHSHIT
- Use your gun with THAT and send it back to hell!
- Open the car trunk, pick up the Duct Tape, Flashlight, Shovel (behind) and First Aid Kit (right).
- Use the Pen in your inventory on dying Miguel so he can breath again.
- Use the First Aid Kit on Miguel so he doesn’t die by your medical malpractice, getting the Save a Friend achievement.
- Use the Flashlight with the Duct Tape to make a Taped Light, then use it on the car.
- Talk to Miguel to make him drive again right after being about to die in the hands of a monster.
- The trip, as weird as it might look, continues with Miguel talking perfectly.
- You should be at 3020 points
Congo: Save the world!
- Finally you get to Congo Mesa and the beast attacks again.
- Use the shovel on the monster and crush it to bits. Ok, didn’t work as expected.
- Use the Ritual Mask on the monster and it leaves you alone.
- Use the Music Box to get Clayton’s attention. Ew, thats a terrible rash, professor.
- FINISH HIM! Shoot him on his ugly face to get the Bullseye achievement. Then shoot him on that eye thing on his forehead for real results.
- While the portal opens, use the shovel on the ground, on the left side, creating a rune circle.
- Use the statue on the circle and ZAP! You are the hero and get the Saved the world achievement.
- Touch Clayton’s body to get the Relic and put it in your metal plates to rebuild the Cube.
- Go back down the mountain, talk to Sanders and give him the Cube.
- SECOND RUN (Empty handed): You got there with no statue or coin, so you have no chance against the dark powers and just wait for your fate. Iä! Iä! You die horribly, but get a nice last vision and the Empty Handed achievement.
- THIRD RUN (Keep the coin): You didn’t take the statue but kept the coin. Put the coin in the rune circle to discover that it is useless and your greed is your doom. You get the Failing Coin achievement and die horribly anyway.
- You should be at 5000 points on first run and get the Perfection achievement
Curse of the Old Gods Achievements
Saved the World
- Saved the world from the Old Gods.
- Complete the game with the good ending.
Failing Coin
- The Coin wasn’t strong enough to close the Portal.
- Get to the final scene with the coin and use it on the rune circle.
Empty Handed
- You tried to save the world with empty hands.
- Get to the final scene without the coin or the statue.
Cup of Tea
- You’ve found a nice hot cup of tea.
- Story related. Take the cup from the secretary’s desk.
Perfection
- You’ve reached the maximum score.
- Just follow the walkthrough.
A Murder Case
- You’ve found evidence that the nightwatchman was murdered.
- Story related. Give the Skull Fragments to Officer Bristol for examination.
The Hungry Man
- You’ve tried to eat he giant lunch.
- Order everything from Maria, wait for it to show in the bedroom and eat.
Save a Friend
- You saved Miguel’s life.
- Save miguel with the pen and then with the First Aid Kit.
Bullseye
- You’ve tried to shoot clayton in the face.
- Just shoot his face instead of his forehead.
Paper Puzzle
- You’ve puzzled the pieces of paper together.
- Story related. Solve the puzzle.
Make a Wish
- You’ve wished for a walkthrough.
- …and here is it! But remember to throw the coin in the well at Clayton’s.
Illuminati Confirmed!
- You’ve found the connection to the Illuminati.
- When looking for video files in the van, write dsc0003.rar to find a hidden picture.
That’s the end of our Curse of the Old Gods Walkthrough guide. I hope you were able to learn how to progress in this adventure and what achievements you can achieve. If you have a problem or suggestion, you can write a comment!