Welcome to our ELDEN RING Smithing Stone Guide. Here’s How To Unlock The Ability To Buy Infinite Ironstones +1, +2, +3, +4, +5, +6, +7, +8 and gloomy smithing stones.
ELDEN RING Smithing Stone Guide
This guide will show you how to get +1, +2, +3, +4, +5, +6, +7, +8 smithing stone in game.
How to get +1 and +2
If you’ve visited the hub, you’ve likely seen the twin husks merchant off to the side, who also gives you the option to offer her “bell bearings.” This functions just like ashes with the shrine handmaid in Dark Souls 3; giving her bell bearings increases her shop with new items.
… In Liurnia of the Lakes, there is a cave off to the North East Side. Location below, Raya Lucaria Crystal Caves.
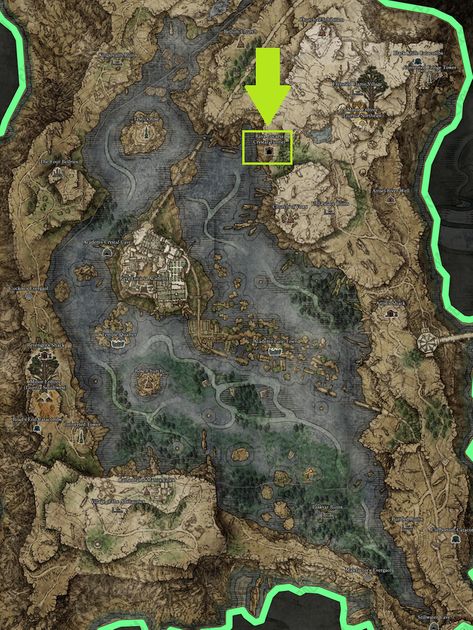
Fighting your way to the end and beating the boss rewards you with a smithing bell bearing to give to the Twin Maiden Husks. This unlocks infinite smithing stone (1) and (2) at her shop.
How to get +3 and +4 – ELDEN RING Smithing Stone
You need to find the Smithing-Stone Miner’s Bell Bearing to unlock the Smithing Stones 3 & 4 for purchase. To find this item make your way to the Atlas Plateau and visit the Sealed Tunnel named location to the southeast of the Outer Wall Phantom Tree Site of Grace.
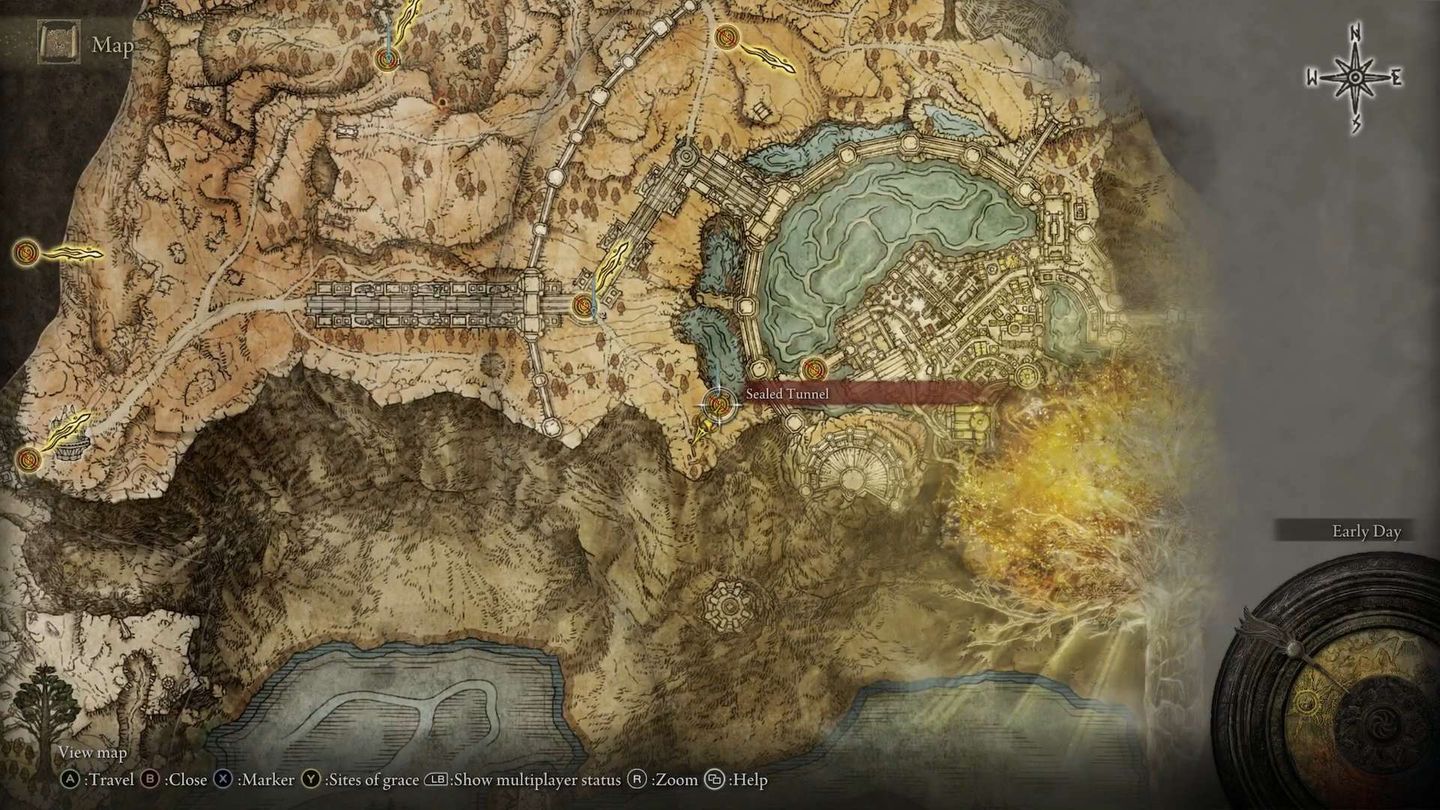
To start hit the tunnel entrance to reveal a path going forward. Head forward past the first enemy and take your first right along the path blocked by some barrels, crates, and a wheelbarrow. Inside the room here there is a chest. Open the chest to get the Smithing-Stone Miner’s Bell Bearing.
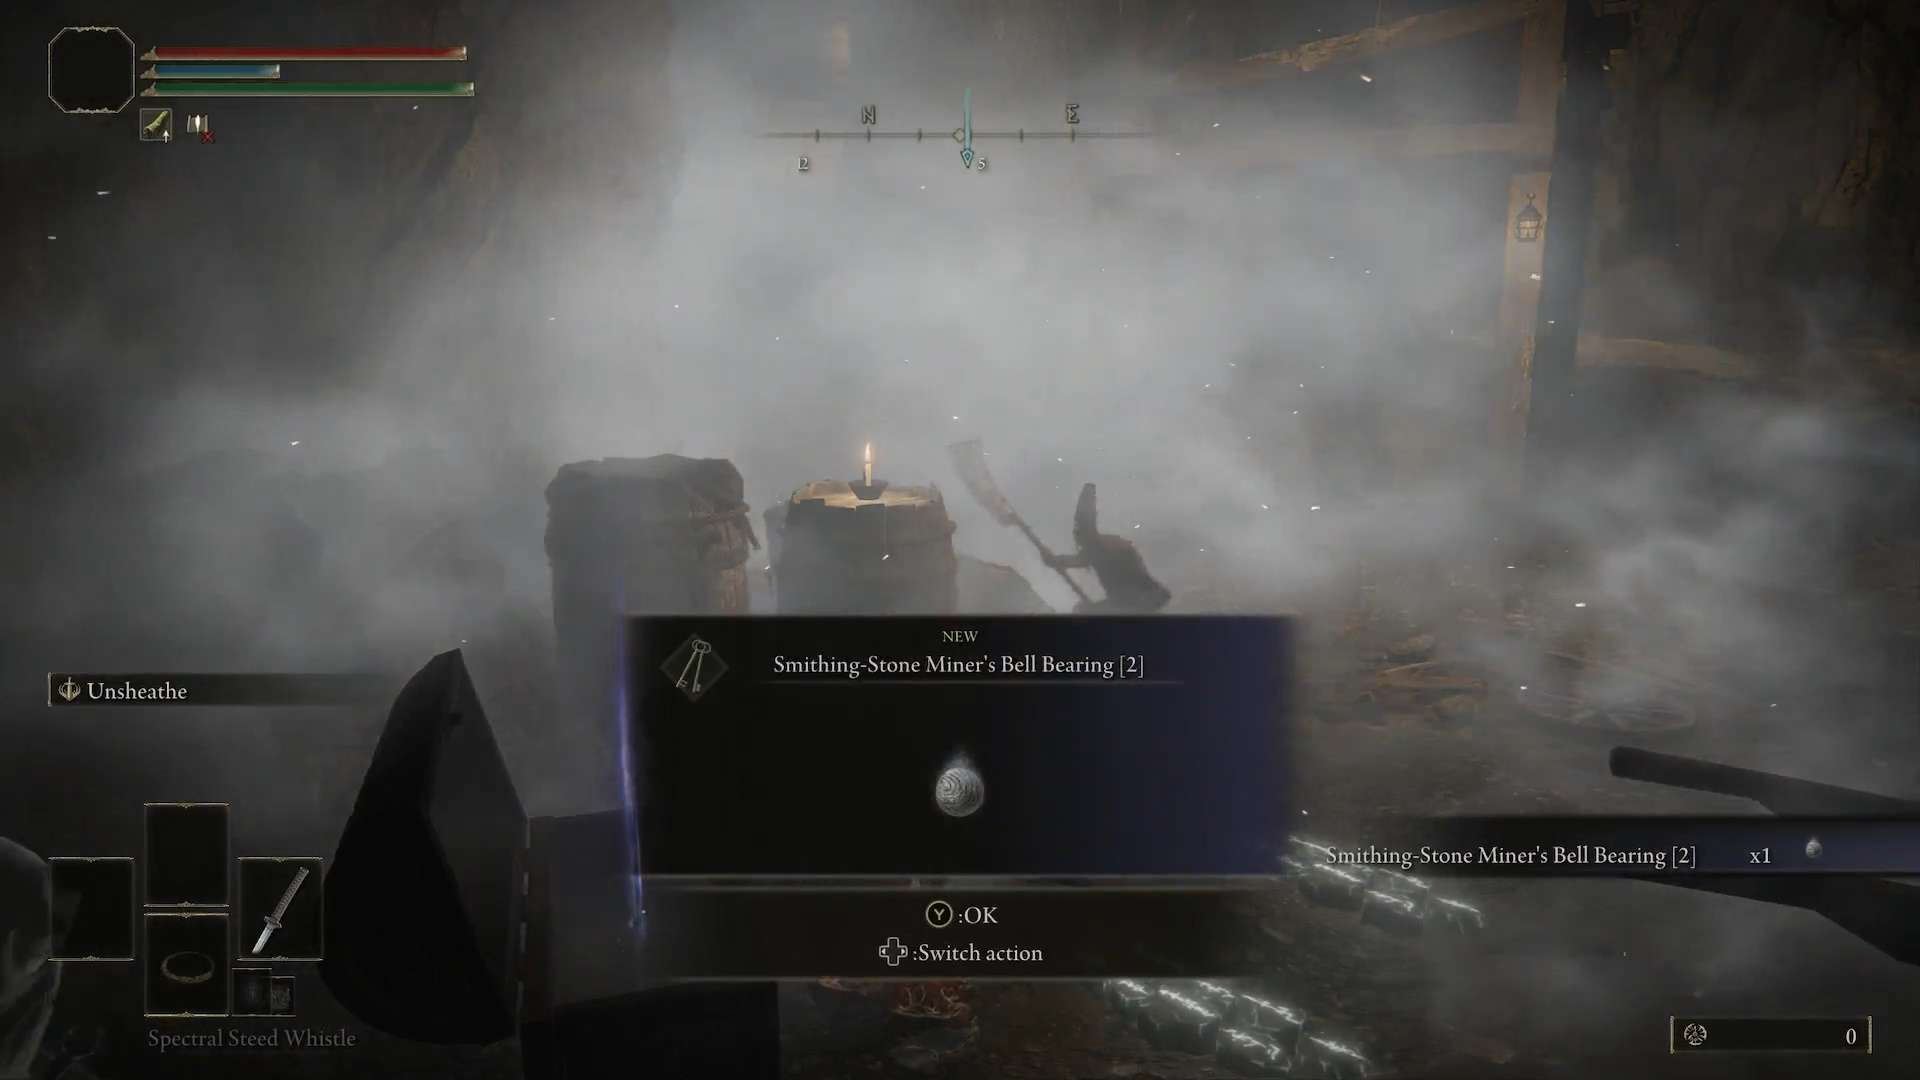
Take the Smithing-Stone Miner’s Bell Bearing and head to the Roundtable Hold. Go to the Twin Maiden Husks and offer the Smithing-Stone Miner’s Bell Bearing to them. Doing this unlocks the Smithing Stones 3 & 4 for purchase from them. The prices are as follows:
- Smithing Stone [3] – 2400.
- Smithing Stone [4] – 3600.
These are the first set of major materials you can unlock from the twins. Once unlocked the sisters sell an infinite amount. The next few sets follow the same system. Find a bell, bring it to them, unlock the materials.
How to get +5 and +6
The third Smithing Bell Bearing comes up much later in the game, and this is where we get into SPOILER territory. It’s south of the Zamor Ruins site of grace, in the ruins. You’ll find a staircase with torches on either side leading underground. Open the door, then the chest, and that’s where it is.
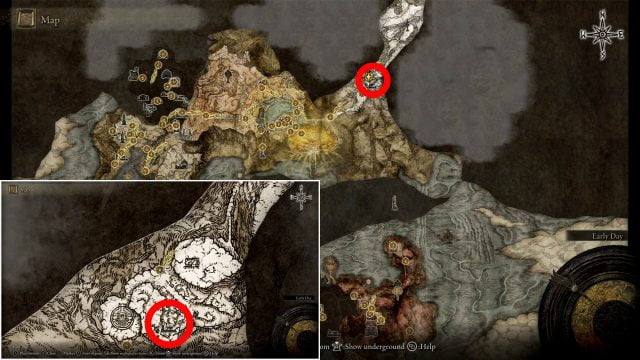
How to get +7 and +8 – ELDEN RING Smithing Stone
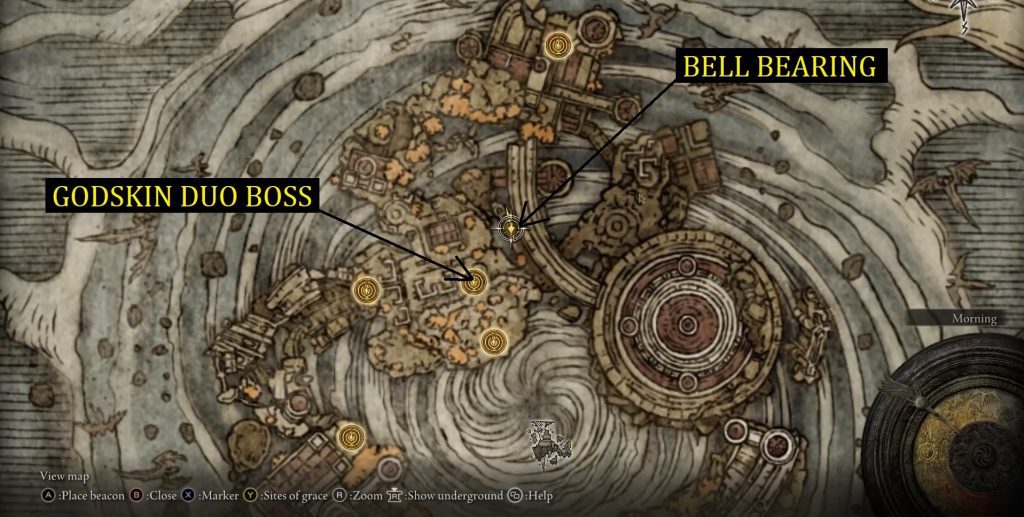
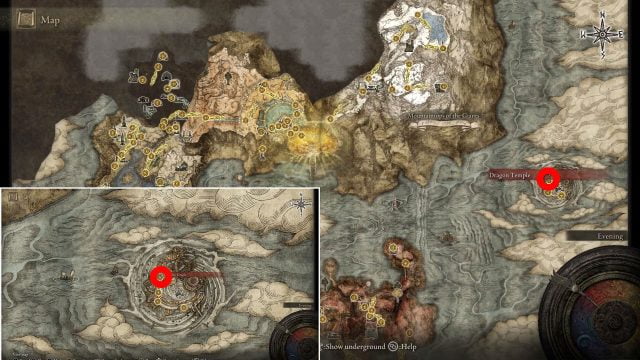
The fourth and final Smithing Bell Bearing drops from the main story boss called Godskin Duo, in the Dragon Temple.
Somber Smithing Stones – All Locations and Bell Bearing
Somber Smithing Stones are used to upgrade unique equipment, up to +9. Useful for unique weapons that are generally of a much better quality from the get-go.
Somberstone ball bearing 1 will be dropped by Fallingstar Beast boss in the Sellia Crystal Tunnel in Caelid.

Somber smithing stone 1 and somber smithing stone 2 can be bought from the Smithing Master Iji in Lirunia. You should run into him naturally near the Site of Grace named Road to the Manor.
Somber smithing stone 3 and somber smithing stone 4 can be bought from the Twin Maiden Husks at Roundtable Hold as long as you bring them the Somberstone Miner’s Bell Bearing 2, which will be dropped by a pair of Crystalin bosses at the Site of Grace named Altus Tunnel.

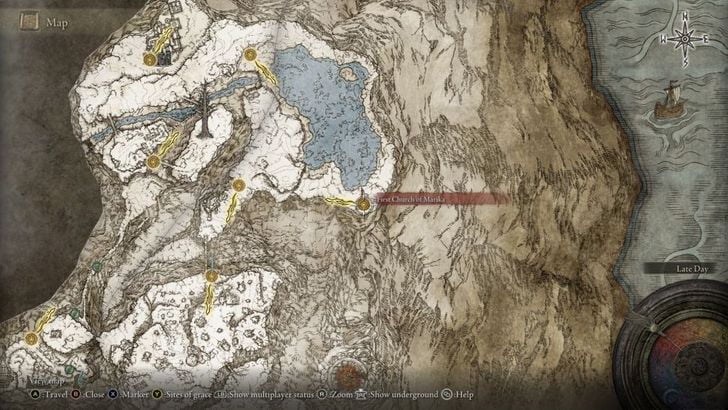
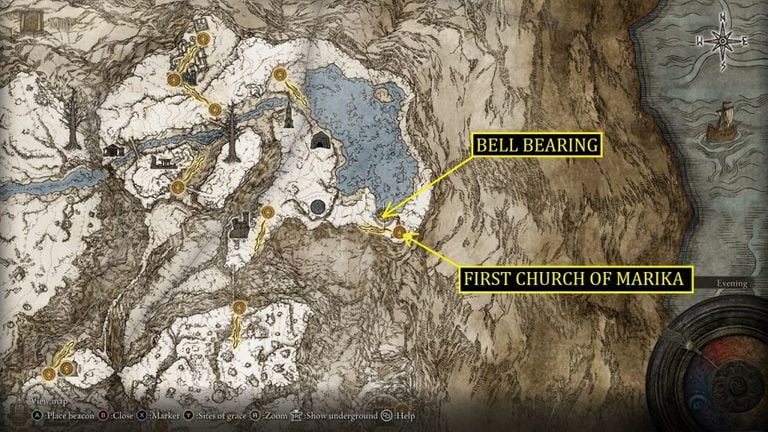
You’ll be able to buy somber smithing stone 5 and somber smithing stone 6 after you bring Somberstone Miner’s Bell Bearing 3 to the Twin Maiden Husks. This particular ball bearing can be found on a corpse near the Site of Grace named First Church of Marika.
Somber smithing stone 7 and somber smithing stone 8 can be bought from the Twin Maiden Husks after you bring them Somberstone Miner’s Bell Bearing 4 – that ball bearing is found very late in the game near a Site of Grace named Tempest Facing Balcony (up in the Crumbling Farum Azula area of the map).
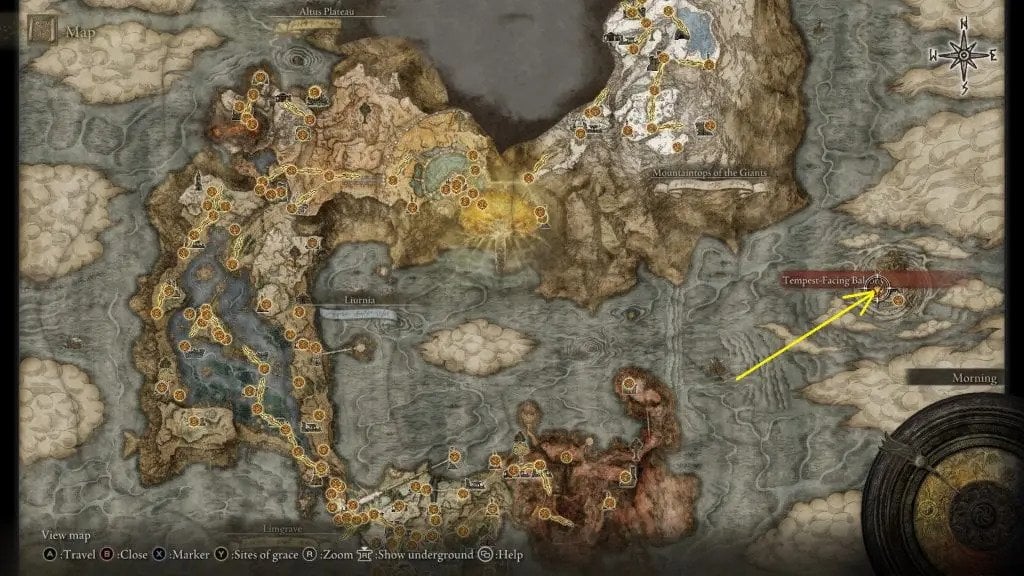
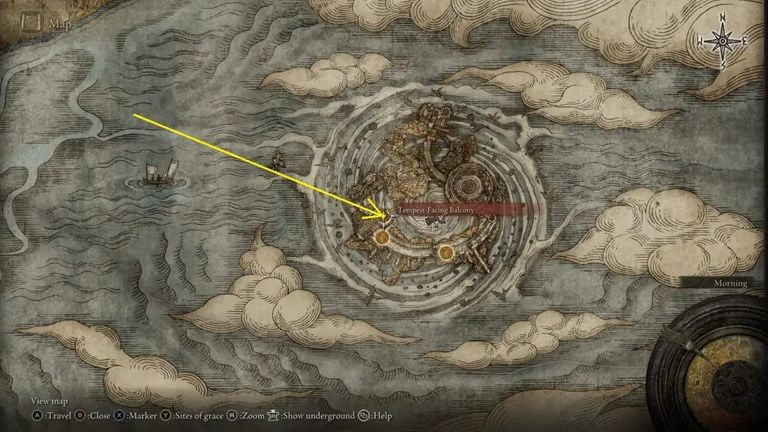
You will find Somberstone Miner’s Bell Bearing [5] towards the very later stage of the game. After you unlock Forge of the Giants, you will be able to teleport to the small island on the southeast end of the map (Crumbling Farum Azula) as shown in the picture below.
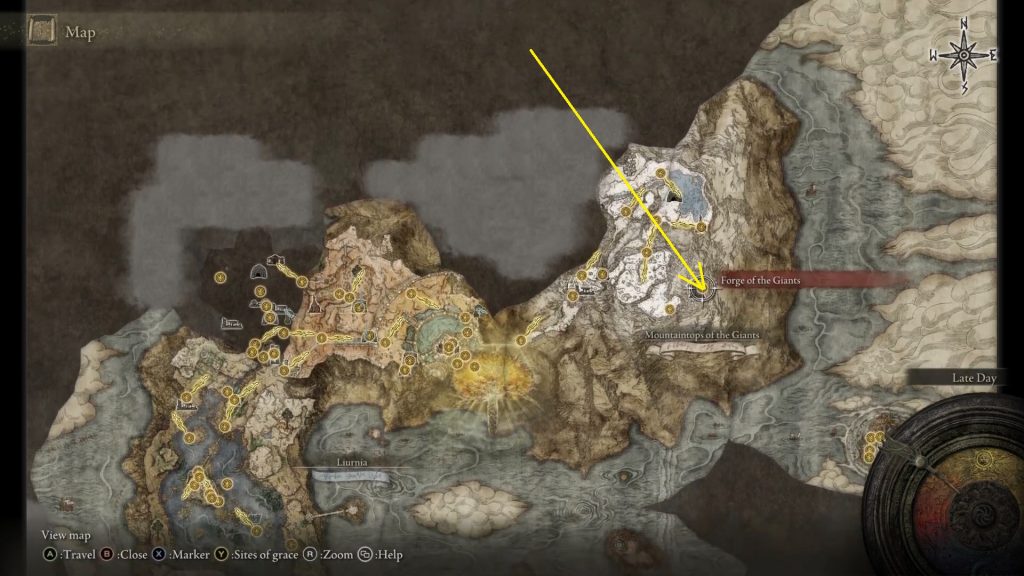
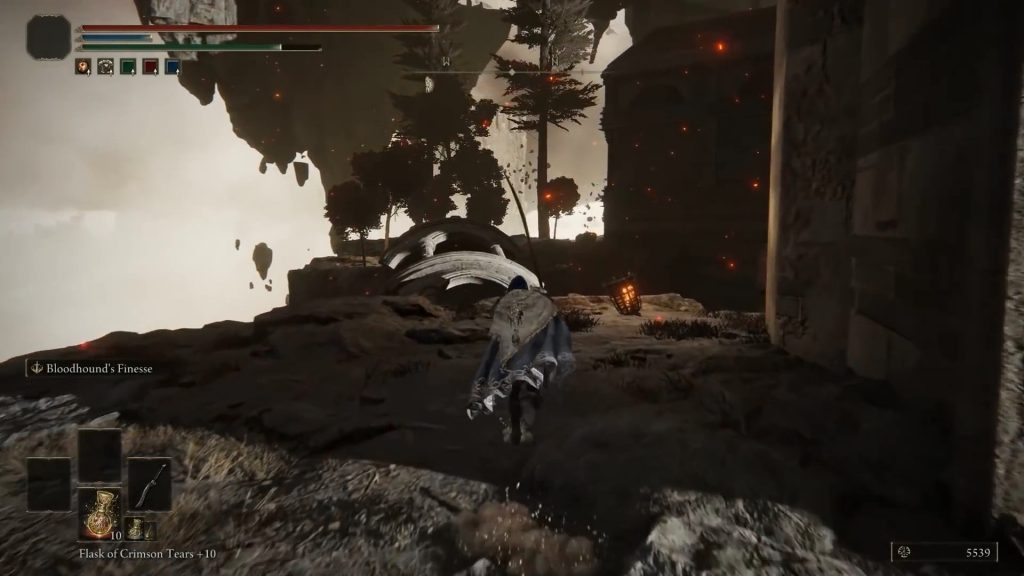
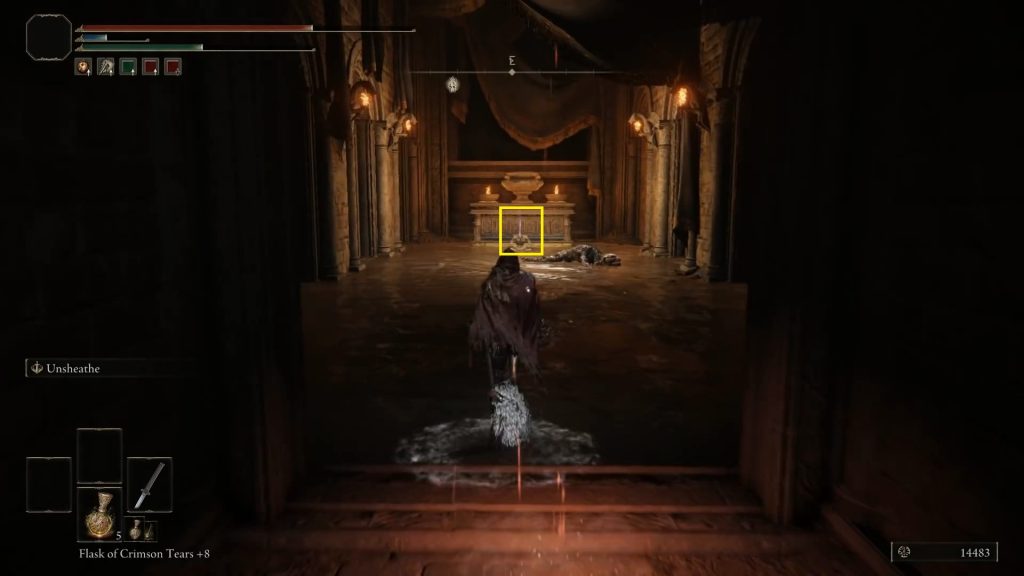
In Crumbling Farum Azula, you need to go to the location marked in the picture below. From the Godskin Duo boss, get out from the north door and keep progressing until you reach a dragon casting red lightning. From there, turn right and you will reach the area marked in the pictures below. Use the fallen building to cross the path and then enter the building on the right side. Here you will find the Somberstone Miner’s Bell Bearing [5] on a corpse as shown in the third picture below.
