Drive the big trains and build your career on a vast open railway network. So what do you know about locomotives in this adventure? Here in this Derail Valley Gradients and Tonnage guide, we will talk about the relativity of the tonnages that the locomotives will haul and the factors that affect it.
This is the guide GreatNortherner it was created by. You can find the author’s link at the end of the guide.
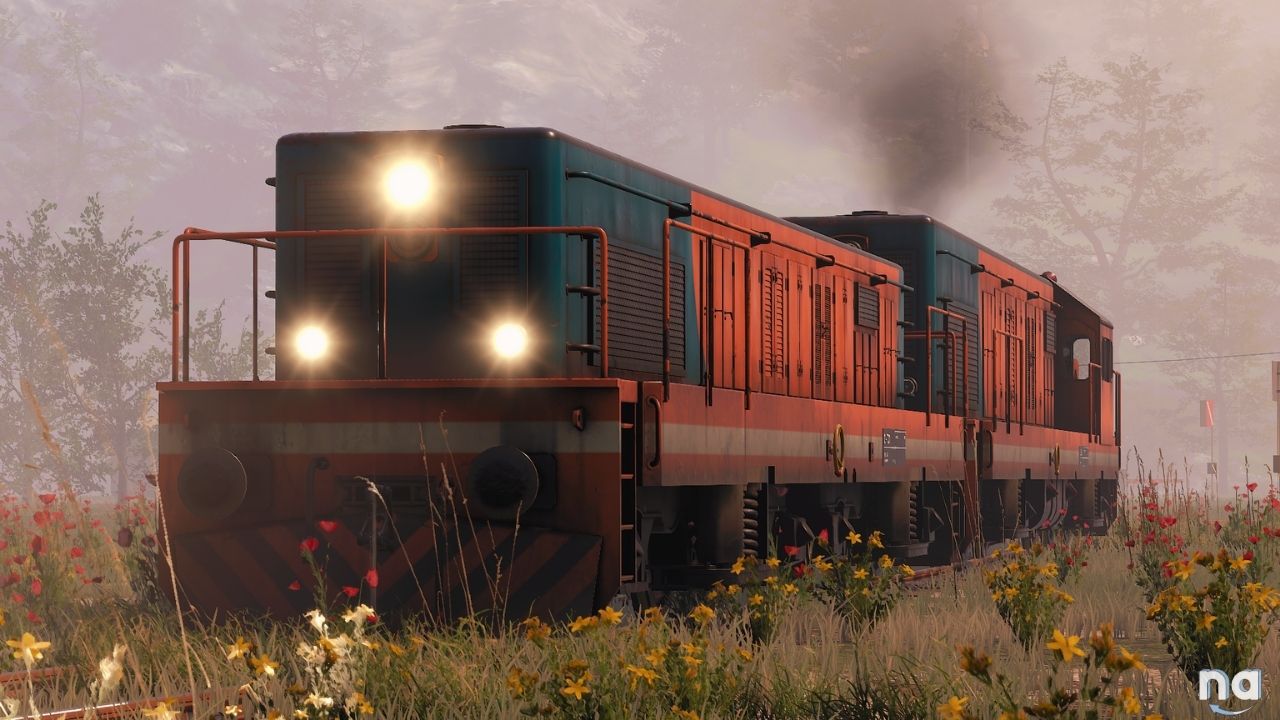
Derail Valley Gradients and Tonnage
This is not a guide to tell you how much tonnage each locomotive can pull. This is a Derail Valley Gradients and Tonnage guide that tries to show how it’s all relative and depends on many factors, and go into a bit of detail about these factors.
Maximum Tonnage Ratings?
There is a lot of information floating around the Derail Valley web concerning each locomotive’s maximum tonnage ratings. My advice: treat these only as rough guidelines. Some of them are outdated, and all suffer from the fundamental issue that stating a fixed tonnage rating or pulling capacity for any locomotive can be misleading.
Gradients as the Key Factor
Gradients are the key factor determining how heavy a load a locomotive can pull. The speed at which we want to climb the grade also plays an important role.
The map in DV contains some pretty severe gradients for a railroad. Now a gradient of 2% does not sound like much, but on a railroad it is properly steep. Let’s look at some simplified calculations for real-world trains (using US values, courtesy of a Hp/tonnage calculator from Al Krug’s now sadly defunct website):
Let’s assume we have a locomotive with 1,000 horsepower which weighs 100 tons (something like a medium sized switcher).
If we want to tackle a grade at 30 mph:
- 1% grade: 400 tons — 2%: 180 tons — 3%: 90 tons
If we go only 20 mph, we get:
- 1%: 660 tons — 2%: 320 tons — 3%: 190 tons
And if we crawl up the hill at 10 mph:
- 1%: 1,460 tons — 2%: 750 tons — 3%: 490 tons
Mind that the examples above don’t translate to DV directly as they’re not using metric values and look at ideal conditions, ignoring a host of other factors, so please read on…
Contributing Factors
There are other aspects that determine how much load you can successfully haul up a grade:
Adhesion — Wheel Slip, Wet Rails, Sanding
Your locomotive needs to have sufficient adhesion to put its power on the rails or the wheels slip and you need to reduce your throttle, which in turn reduces your pulling power. This disadvantages lighter locomotives and those with fewer driven axles (and is why slugs are so useful).
Wet rails drastically reduce adhesion, so expect much lower pulling power during and after rainy weather. Using the sander improves adhesion, so use it liberally and always top off your sand supplies before starting a run with a heavy load.
Engineer Experience and Engine Characteristics
This is particularly important on steam locomotives, where the amount of steam one can generate and how one uses cut-off and regulator have a huge impact on the locomotive’s performance.
It also plays a role on the diesel locomotives, like how easily overheating occurs or the need to shift gears on some of the locomotives, all of which can lower your maximum tonnage because you have to throttle down occasionally.
And Now What?
With so many factors impacting my locomotive’s pulling capacity, how on earth shall I know which job I can take?
Route and Locomotive Knowledge
Over time, you will gain knowledge of the map and learn where the tricky steep bits are and your locomotive’s potential. But until you are there, you can find some help on the handy gradient map that’s available online.
Knowing where the grades are and if you’ll be going up- or downhill can already tell you a lot about which job you can take or give you ideas for potential alternative routes (example: going to the Sawmill the long way around via Farm and Oil Well Central and thus bypassing the heavy grades on the southern route).
The available max. tonnage rating data can also help, but they must be up to date (for DV Simulator) and ideally also state which gradient was used to determine the tonnages. And remember that even so you might not reach those tonnages yourself in all conditions, but on the other hand can massively exceed them on level terrain and dry rails (like easily pulling 800+ tons with the DE-2 in Harbor).
Short or Long Climb
Whether you’re faced with a short or a long climb is especially important on the locomotives that tend to overheat easily when pushed for a prolonged time. Running up a short, steep gradient at max. throttle and with the temps in the red zone may be possible, but a long climb at max. throttle will break your locomotive.
Similarly, a short climb can often be overcome by building good speed before it and using your momentum to crest it even if your engine in theory does not have enough power to pull the train over it.
Double the Hill (Double the Fun?)
You can apply a real-world method to get heavy trains up a hill that’s too much for your locomotive: split the train into two parts at the bottom and bring it up in sections. For that to work, you need to have a place where to store the first cut of the train on top of the hill, typically a wye where you can shove the cars into so that you can return your engine to the start point and fetch the second cut of cars.
Reunite the train when both parts are at the top and then continue along your way. This is also a very useful method to save yourself (and be able to complete your jobs) when you have stalled on a hill. Just don’t forget to tie down all the hand brakes on the cars you uncouple or you’ll likely find them in a big pile at the bottom of the hill later on.