Killer Frequency is a 1987 first-person horror puzzle game that puts you in the role of a late-night radio talk show host in a small American town where callers are pursued by a mysterious killer. All information on how to progress and achievements in this adventurous game is in our Killer Frequency Walkthrough and Achievements guide!
You can also check out our Killer Frequency Collectibles guide here. This guide includes: Ad tapes, Hidden records, Record list, Keys and doors.
Killer Frequency Walkthrough Guide
Welcome to our Killer Frequency Walkthrough and Achievements Guide. A complete walkthrough of the game, including how to unlock all achievements along the way.
Some other things to keep in mind:
- Keep track of the records you are playing and play a different one each time when prompted to start up the music. This will help you toward completing (Disc Jockey).
- Same thing with the radio ad tapes for. (A Word from Our Sponsors). (See the Collectibles section for more info)
- When in doubt, make a manual save! You can always create a manual save file before you start each call. That way, if you mess up or happen to choose the wrong option, you can just reload your manual save. Use your best judgment here if you think you’ll need the safety net!
Achievement List
Speed Run
- 「Forrest Dash」 – Finish the game in under 4 hours with all callers surviving.
Collectible
- 「Disc Jockey」 – Play all records during the course of the night.
- 「Complete Discography」 – Collect all hidden records around the station.
- 「Master of Unlocking」 – Unlock all doors in the station.
- 「A Word from Our Sponsors」 – Play all radio ads during the course of the night.
Playthrough Dependent
- 「Not All Talk」 – Save all Whistling Man Targets.
- 「Killer Frequently」 – Nobody survives The Whistling Man.
Other
- 「Dead Air」 – Don’t respond when prompted for 30 seconds.
- 「Sound Blaster Master」 – Play a sound on the soundboard while on air.
- 「Fridge Horror」 – Place the mannequin head into the fridge. {Technically Hidden}
Hidden/Story Related
- 「A Shocking Turn of Events」 – Deputy Martinez survived The Whistling Man.
- 「Keep Talking and Nobody Dies」 – Sandra Sharpe survived The Whistling Man.
- 「Game Over」 – Maurice Russell survived the Whistling Man.
- 「Somebody Order a Savior?」 – Virginia Sullivan survived The Whistling Man.
- 「Child of the Corn Maize」 – Eugene Stine survived The Whistling Man.
- 「For Fernando!」 – Murphy survived The Whistling Man.
- 「Not So Stupid Teens」 – All Teens (except Jimmy) survived The Whistling Man.
- 「Let Me In」 – Gain access to the station after being locked out.
- 「An Explosive Escape」 – Chuck Brody survived The Whistling Man.
- 「From Beyond the Grave」 – Uncover Clive’s Research.
- 「An Alarming Development」 – Roller Ricky survived The Whistling Man.
- 「Jason Lives」 – Jason Parker survived The Whistling Man.
- 「Let There Be Light」 – Restore power to the station after the blackout.
- 「Took a Swing for Teddy Gallows」 – Teddy Gallows Jr survived The Whistling Man.
- 「A Tale of Two Sisters」 – Peggy Weaver survived The Whistling Man.
- 「The Man, The Myth, The Scream」 – Forrest Nash survived The Whistling Man.
- 「The End?」 – Reach the end of Whistling Night.
All Survivors Playthrough – Part 1
This walkthrough is written with the speed run achievement in mind, but if you follow along and move with purpose, you should still have the time to collect the various collectibles and unlock all the other achievements, save for 「Killer Frequently」 which requires a separate playthrough. Remember, in order to unlock 「Forrest Dash」, you will have to get a playtime under four [4] hours. You can always check your playtime in the pause menu.
Or, if you’re not at all concerned about playtime then following this walkthrough will at the very least assure that all of The Whistling Man’s targets survive the night while netting you the majority of the achievements in the process.
Lastly, before diving right in, a few quick notes:
- For the sake of length, I have removed any response that had no effect on the outcome of who would survive. So, if you don’t see an option listed in this guide, it’s likely because it’s just banter. In that case, feel free to choose whatever option you vibe with most.
- You can always check your total playtime in the pause menu.
- Hitting [ESCAPE] to pause seems to pause your playtime clock, so it’s helpful to pause the game whenever you need to check the guide or even just need some time to think. Every minute counts!
- If you are attempting the speed run, do not spend too much time deliberating over non-essential dialogue options or music choices.
- While the characters are talking, you can always load the next record or ad you are going to play. Make best use of your down time.
- The speed run margin of error can be incredibly close, anywhere from 5-10 minutes remaining. Because of this, if this is your first time playing/first playthrough, it might be smart to start the game and do the tutorials to get comfortable picking up and manipulating items, then restart a fresh save file to start in earnest.
- If you hit the point of no return and have a total playtime that exceeds 3 hrs and 30 minutes, it’s likely you may JUST miss the 「Forrest Dash」 achievement.
Dive into the short tutorial to get a better feel for the controls. After the opening sequence, Peggy will also walk you through how to use your DJ equipment.
12:00 am
When prompted to record a scream for “Guess that Scream”, just don’t select an option for 30 seconds. Note, this can be completed at any time you are on the air but choose not to respond for 30 seconds (non-timed responses). This will unlock 「Dead Air」. Once you’ve got that, pick out a scream for your listeners.
Caller #1 – Leslie – 911 Operator
Seeing as to how this is the first phone call you receive, you can easily earn 「Sound Blast Master」. Just hit one of the sound effects on the sound blaster panel while Leslie is talking.
This is your first life or death situation and the goal is to keep Deputy Martinez alive.
Responses:
- Find another set of keys?
- Check Sherriff Matthews?
- (Timed) Lock the doors!
- Take a police cruiser!
- Take the Sheriff’s Gun?
- Can you see any other weapons?
- Take the taser.
Wait for Leslie to call you back, then:
- (Timed) Leslie? What’s happening?
- (Timed) Drive!
With Leslie and Martinez speeding away, that should earn you: 「A Shocking Turn of Events」
Caller #2 is a Prank Caller, just cut him off when you can.
Caller #3 – Sandra Sharpe
The initial choices don’t matter here. Sandra will panic and tell you she does not have her keys to start her car. Wait for her to tell you she’ll call you back, then you will be free to spin a record and head out into the hallway to search for a magazine about how to hot wire a car.
Enter the first bathroom on your left, the magazine will be in the first stall on the left as you enter, on the floor next to the toilet. Pick it up and examine it with E. The magazine should read: Hoi Polloi Alloy, turn it around while examining it to find the directions on how to hot key. This will be invaluable for your next little puzzle.
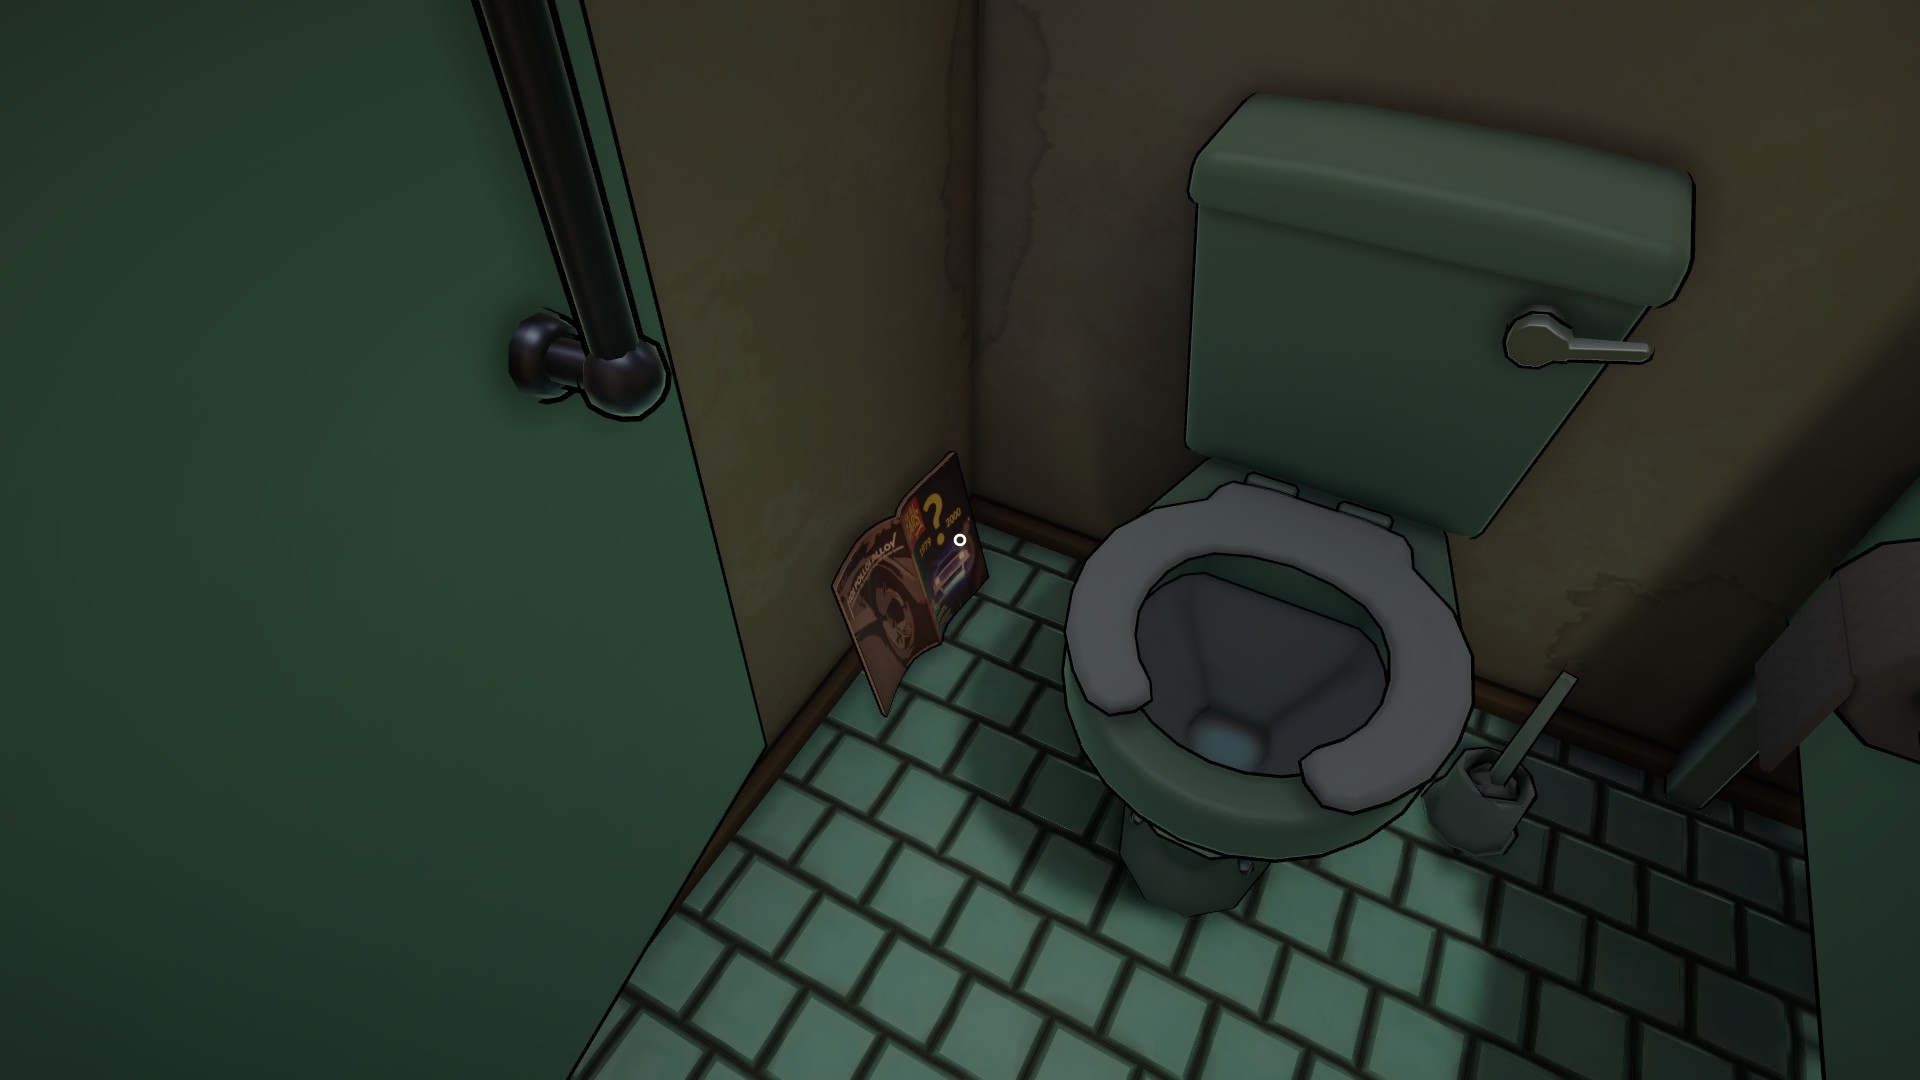
Return to the recording booth and place the magazine on the tray in front of the volume controls. Press the button to talk to Peggy to begin the stressful part — SAVING SANDRA!
Responses:
- Put the screwdriver into ignition and twist clockwise.
- Unscrew the steering column.
- Do your jazz breathing. Don’t panic.
- What’s the serial number on the steering column?
- Strip and twist together the red and yellow wires.
- Strip the purple wire and brush against the twisted wires!
This should assure that Sandra is able to drive away from the killer safely, awarding 「Keep Talking and Nobody Dies」.
12:42 am
Caller #4 is Ponty’s Pizza.
Time to play an ad, grab one from the side console and insert into the tape deck then press play. Let it play to the very end.
Caller #5 – Maurice Russell
Maurice works for the local newspaper and he needs your help. He’ll tell you a bit of what he knows, then send you a fax.
While Maurice faxes you the layout of the office, you can quickly stop by and grab the Grilling Spree Ad tape if you’re going for a speed run. The tape is in the same room at the end of the hall, at the second pair of desks on the desk with the trophy to the left of the type writer.
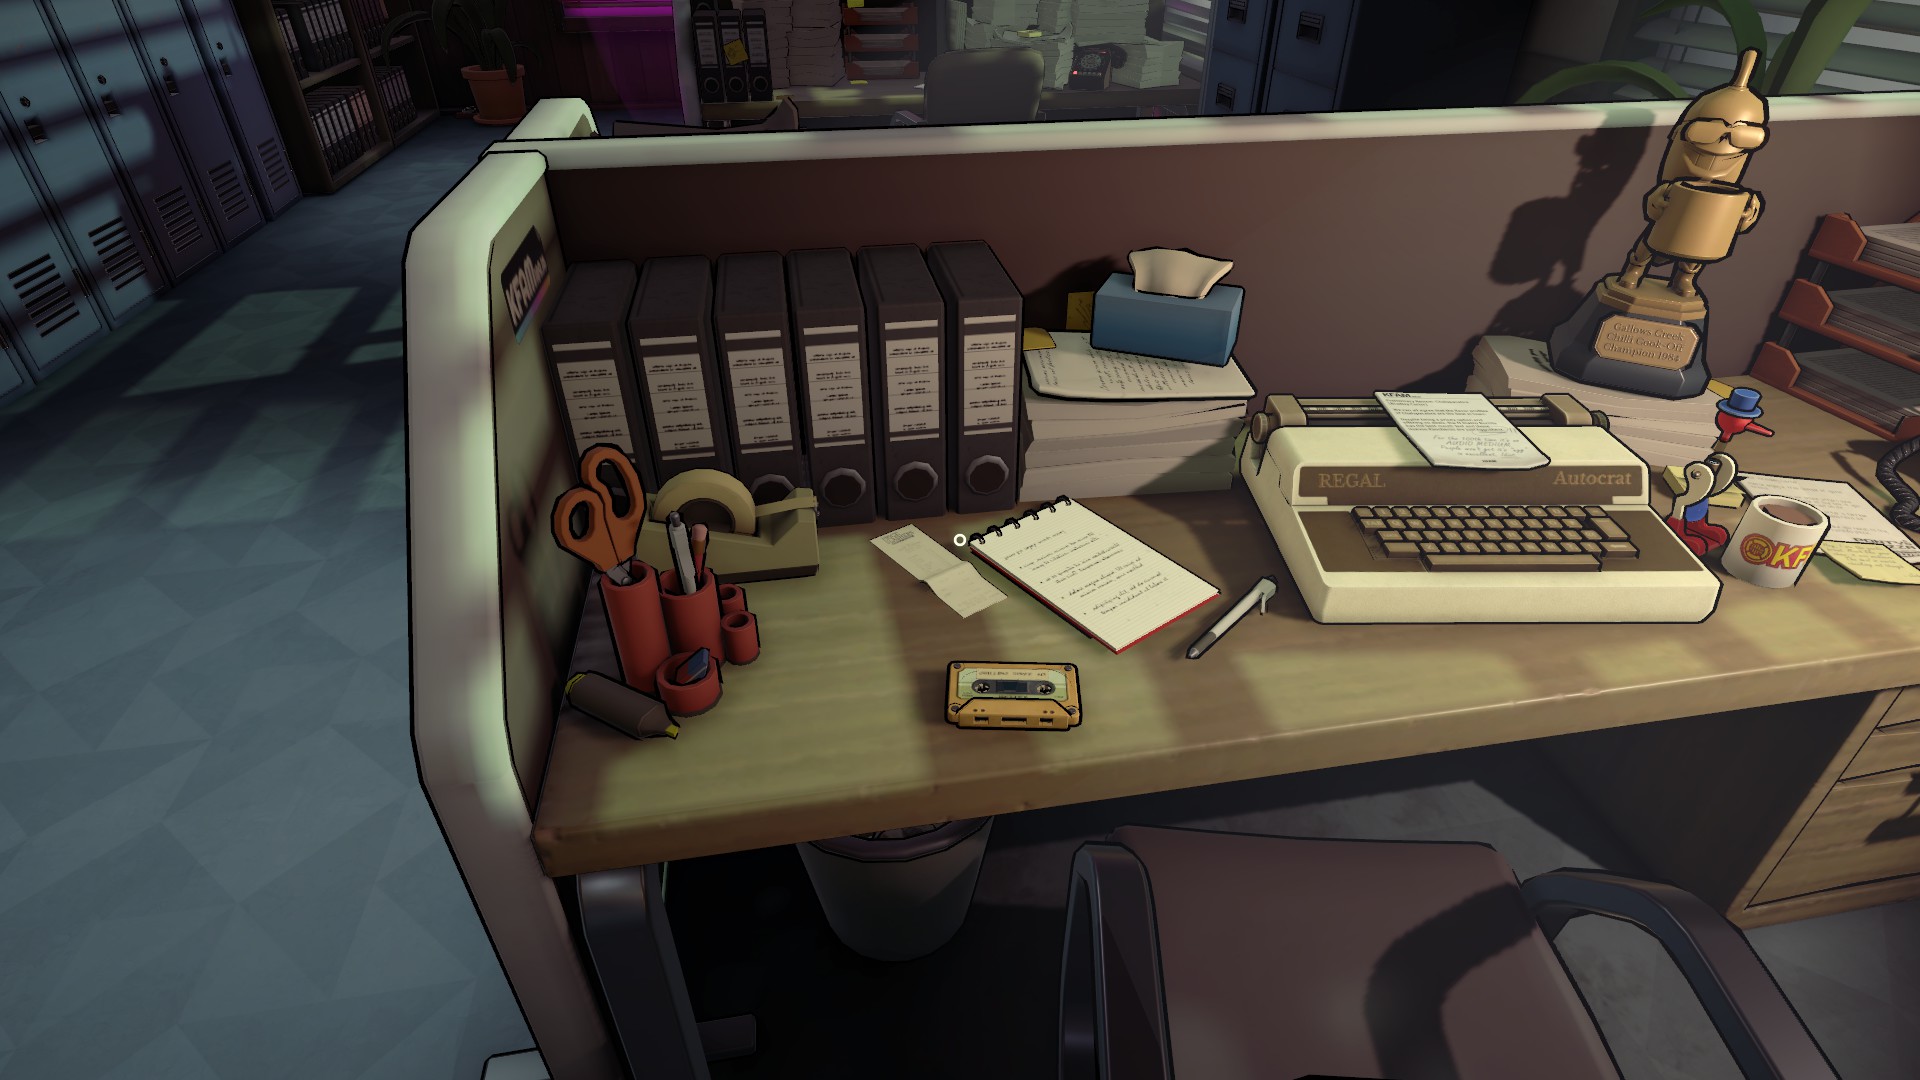
With the tape picked up, toggle it into your left hand so you can free up space to also collect the fax from the fax machine.
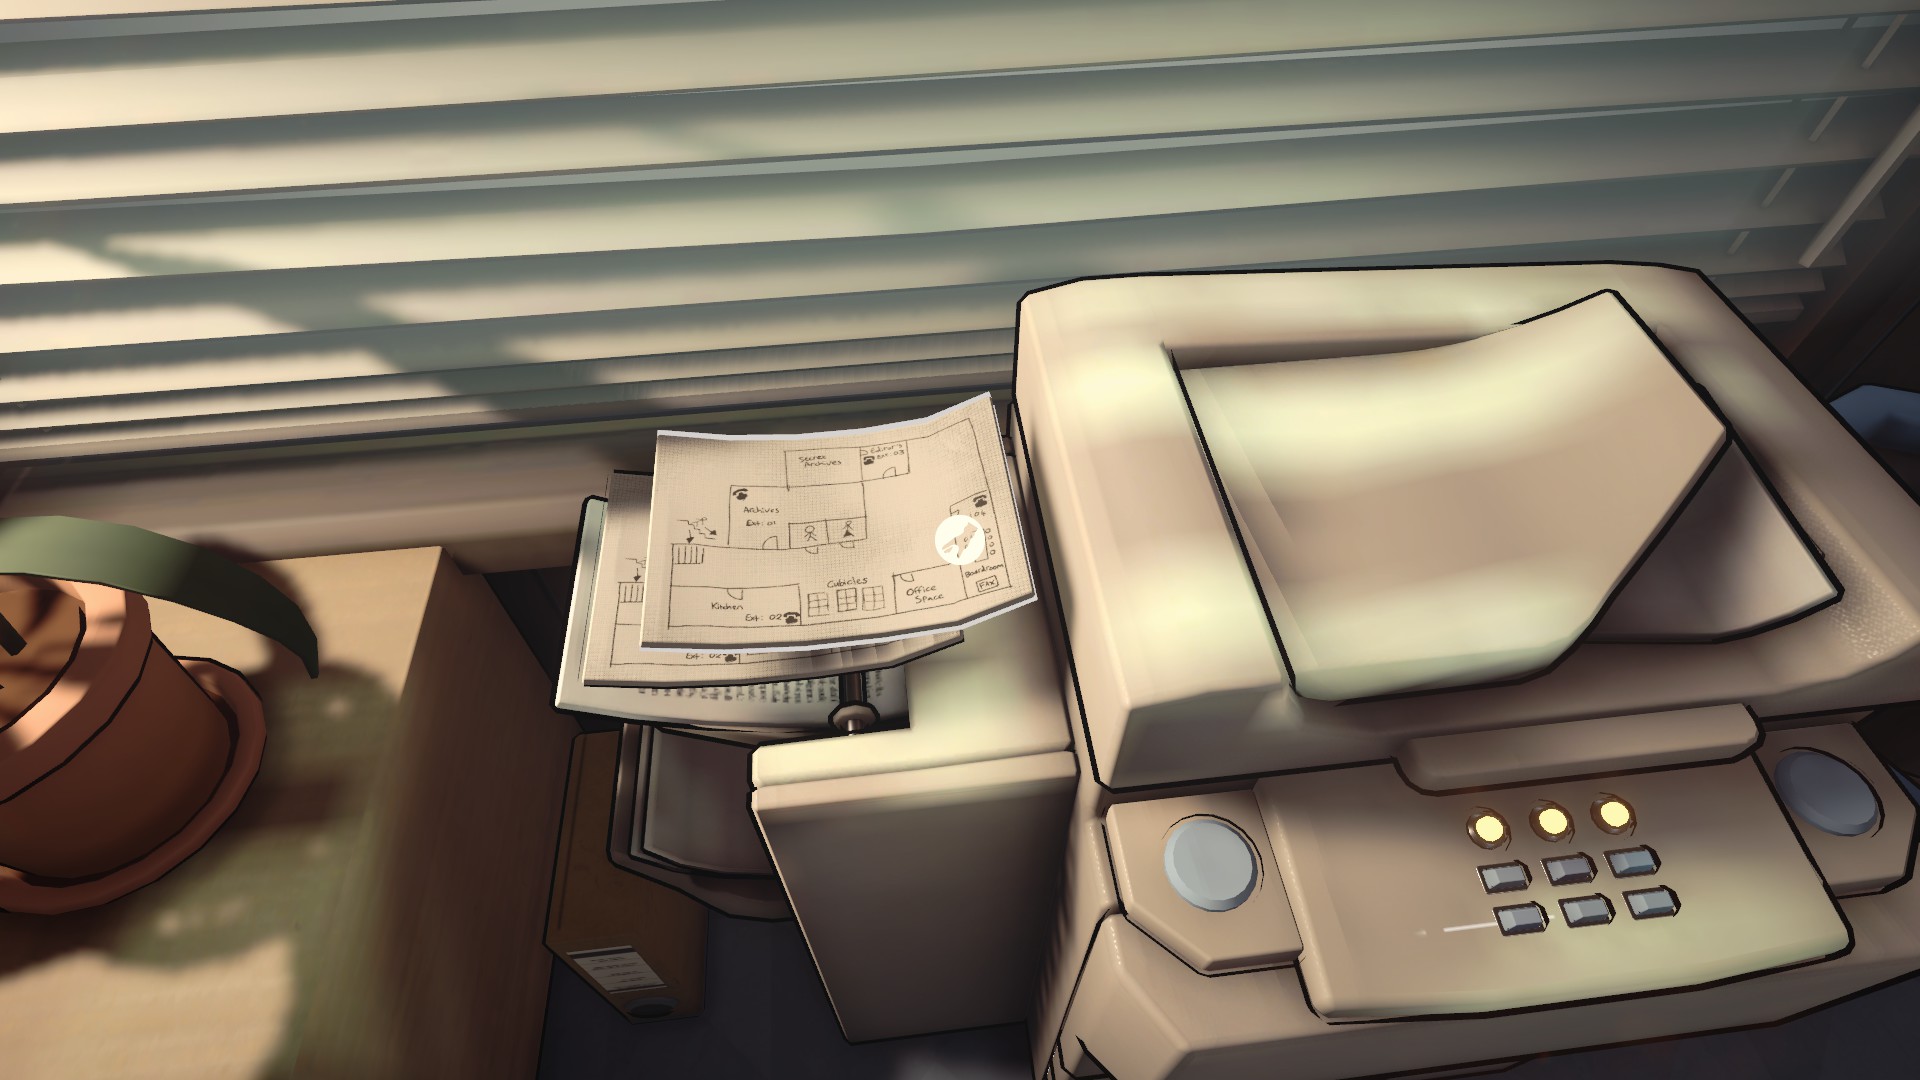
Return to your booth, place the fax on the tray and the tape somewhere for safe keeping then press the Peggy button to continue.
- Call the editor’s office.
- Go to the kitchen.
- Can you lock him in a room?
- Use a radio?
Maurice will need to call you back yet again, he has to go get the radio from the archives room.
- (Timed) Maurice, turn the volume down!
- Call the board room.
- I’m sure. Make the call.
- I’ll impersonate Mr. Russell.
- Hide in your cabinet.
- Let the timer run down and don’t say anything, Peggy will prompt you when it’s safe to speak.
Maurice should survive the ordeal and that’ll unlock the achievement, 「Game Over」.
Start a record and now you’ve earned yourself some down time. After getting to know Peggy a little better, she will give you the key to the downstairs reception and entrance area. That’s where you can grab a new record before you pick up the tape that was slipped under the door by a suspicious stranger. The record is Roddy Snatcher’s ‘Final Breath’, and once you go behind the reception counter you will have to crouch near the cubby on the right hand side when facing the doors, next to the blue waste bin.
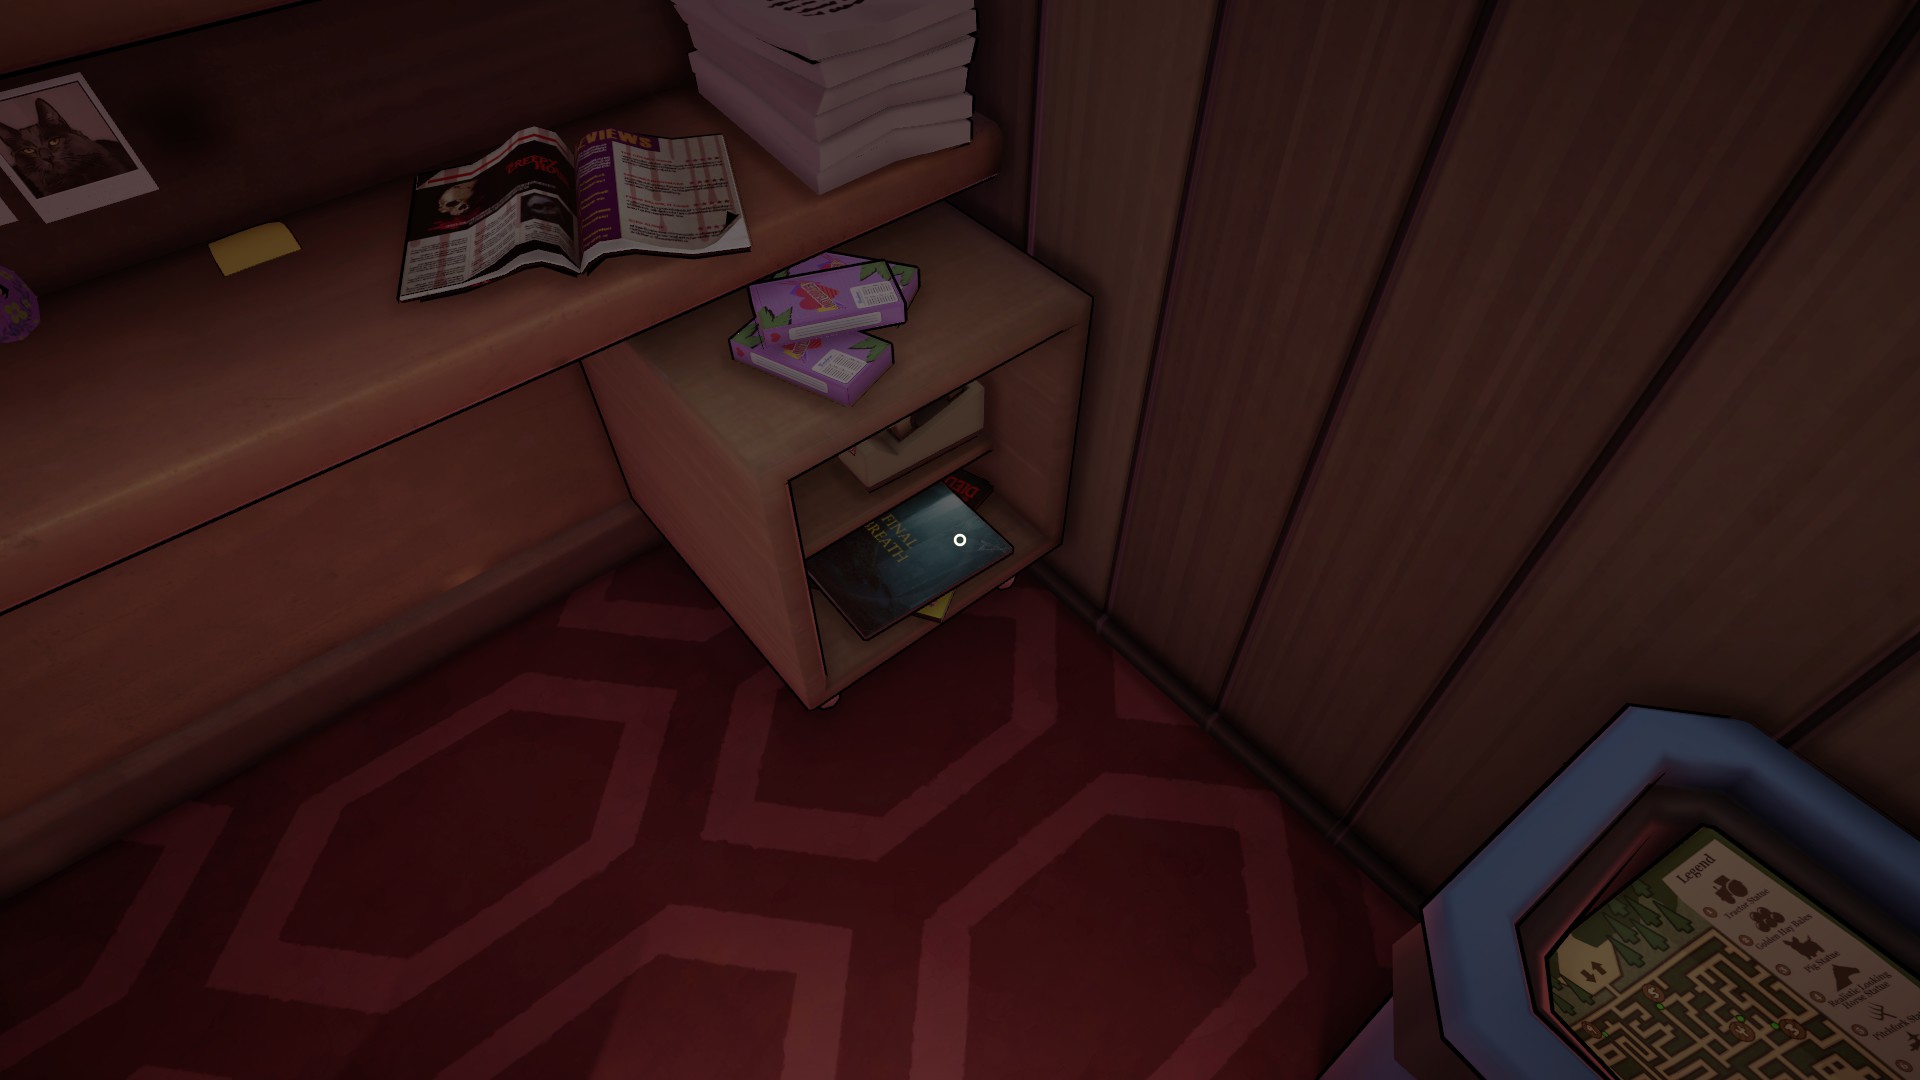
Collect the record then head for the doors to pick up the mysterious tape with explicit instructions to “Play On Air”.
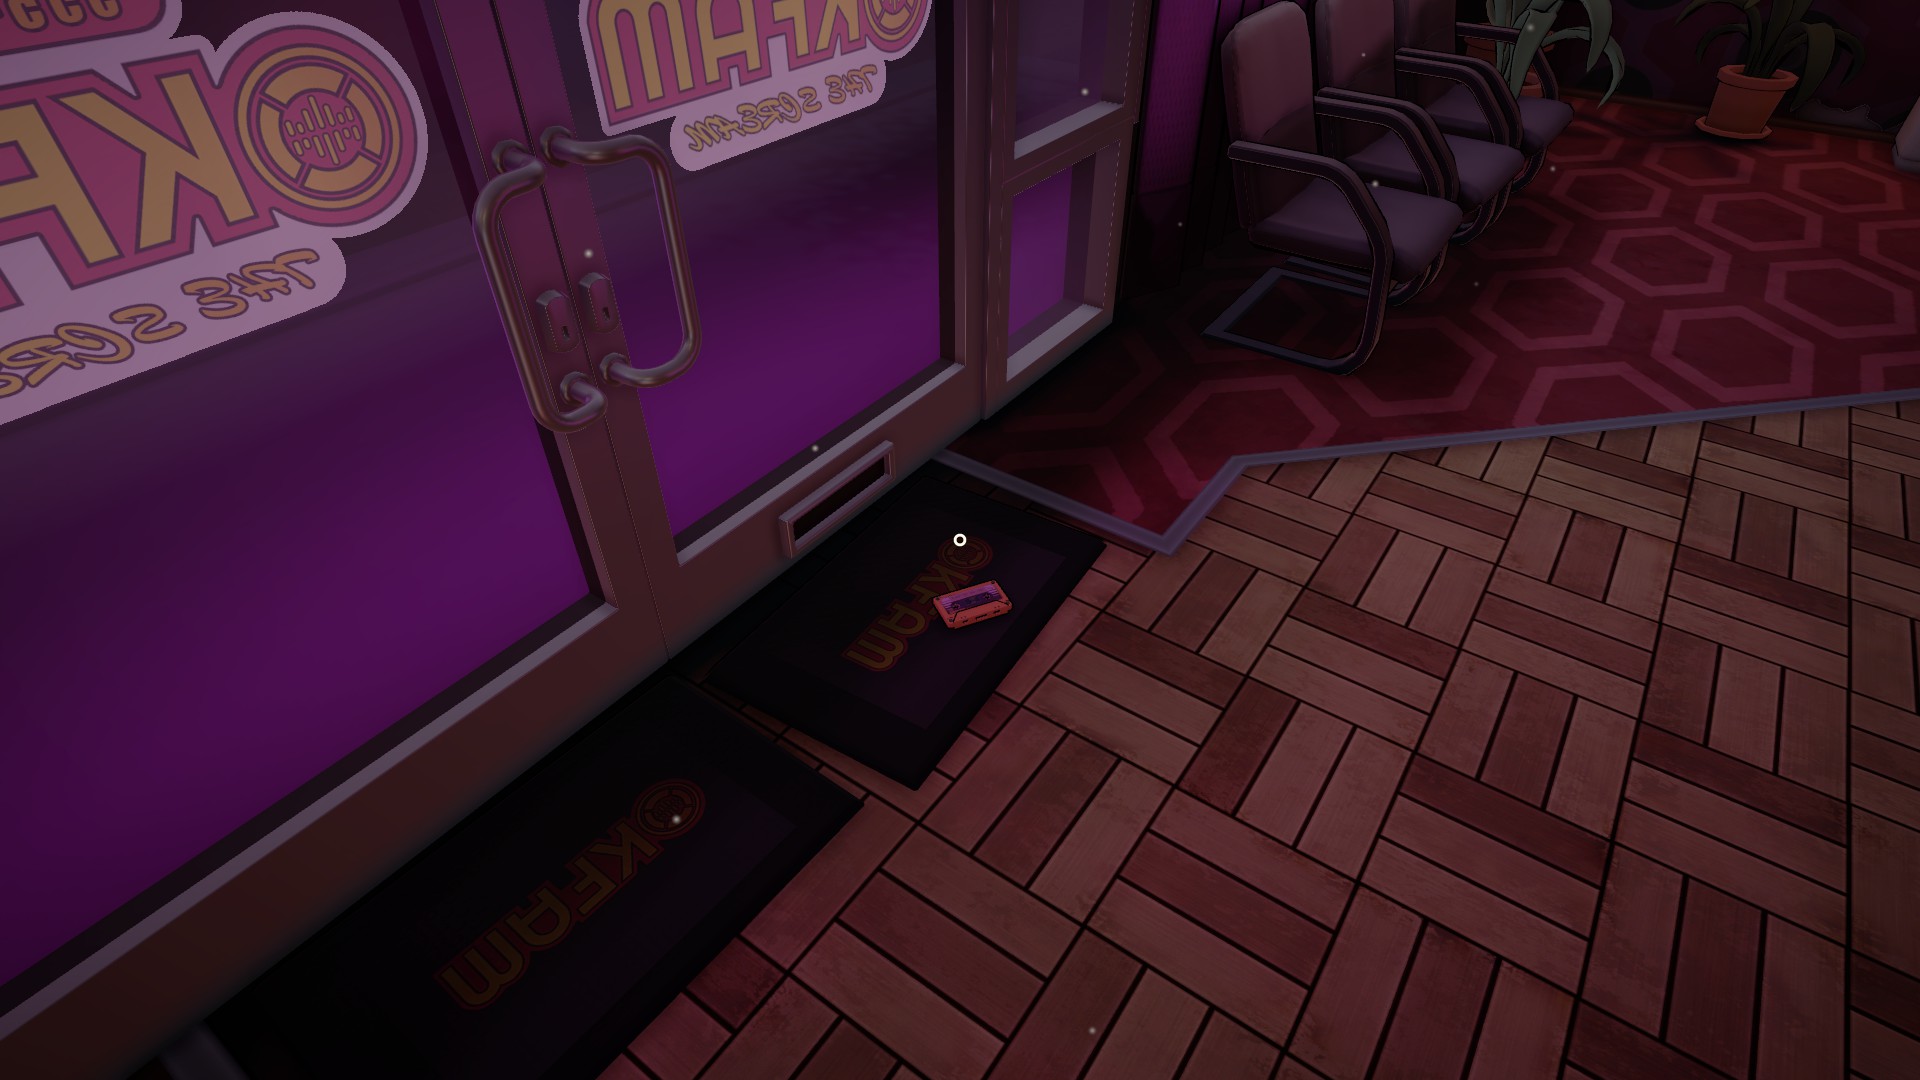
Bring it back upstairs, place into the tape player, and them hit the Peggy button.
After playing the tape, Maurice will call you back to tell you that… SURPRISE, the killer has escaped.
All Survivor’s Playthrough – Part 2
01:04 am
After putting on some music, Peggy will mention she has another tape for you to play. Go outside her door to pick it up, then put it into the tape deck and hit the Peggy button. After the banter, play the tape. It will be Roddy Snatcher’s upset manager, and she wants you to play Roddy’s newest single ‘Final Breath’. Good thing we already grabbed it, so put it on the turn table and let it spin.
Caller #6 is the “junkyard dog” Murphy. Nothing we can do for him but pray.
Now it’s time to cut to a commercial and play another ad, again let it play until the very end to count toward 「A Word from Our Sponsors」.
Caller #7 – Virginia Sullivan
Virginia’s the next caller and she sounds like she’s in a pretty bad place.
Responses:
- Call a neighbor?
- Don’t worry…
She will panic and hang up. This will lead you to hatching a plan to figure out which take out place the nearby Frat House ordered from. Peggy will prompt you to check the kitchen downstairs, and give you a key to unlock the door.
Go downstairs and use the key to open the door behind reception. Then, take a left and enter the room at the end of the hall with the coffee sign. This’ll bring you to the kitchen/staff room. After unlocking the door, wander to the back of the room to pick up the hidden record. It is tucked away on the shelf to the left of the television set, settled next to some binders.
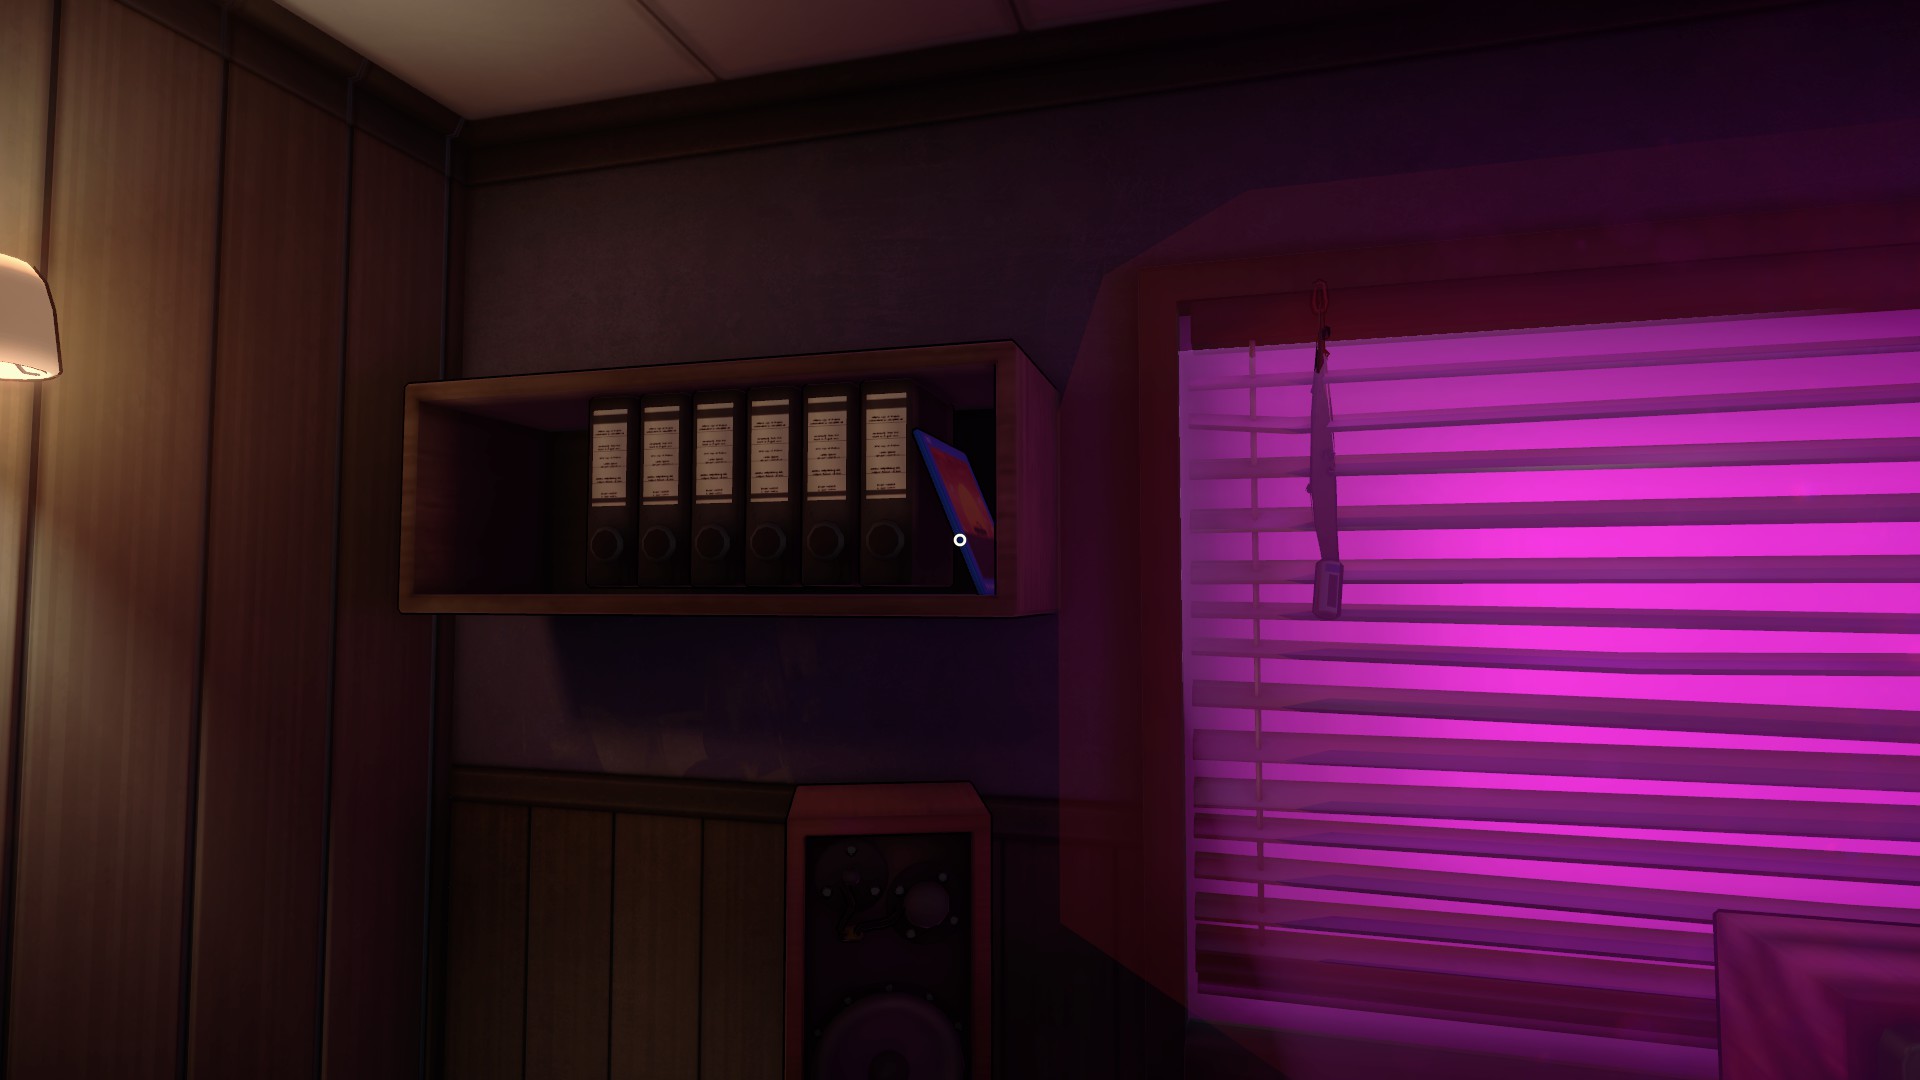
Now, go back to the kitchen area, check the waste bin and grab the empty Ponty’s Pizza box.
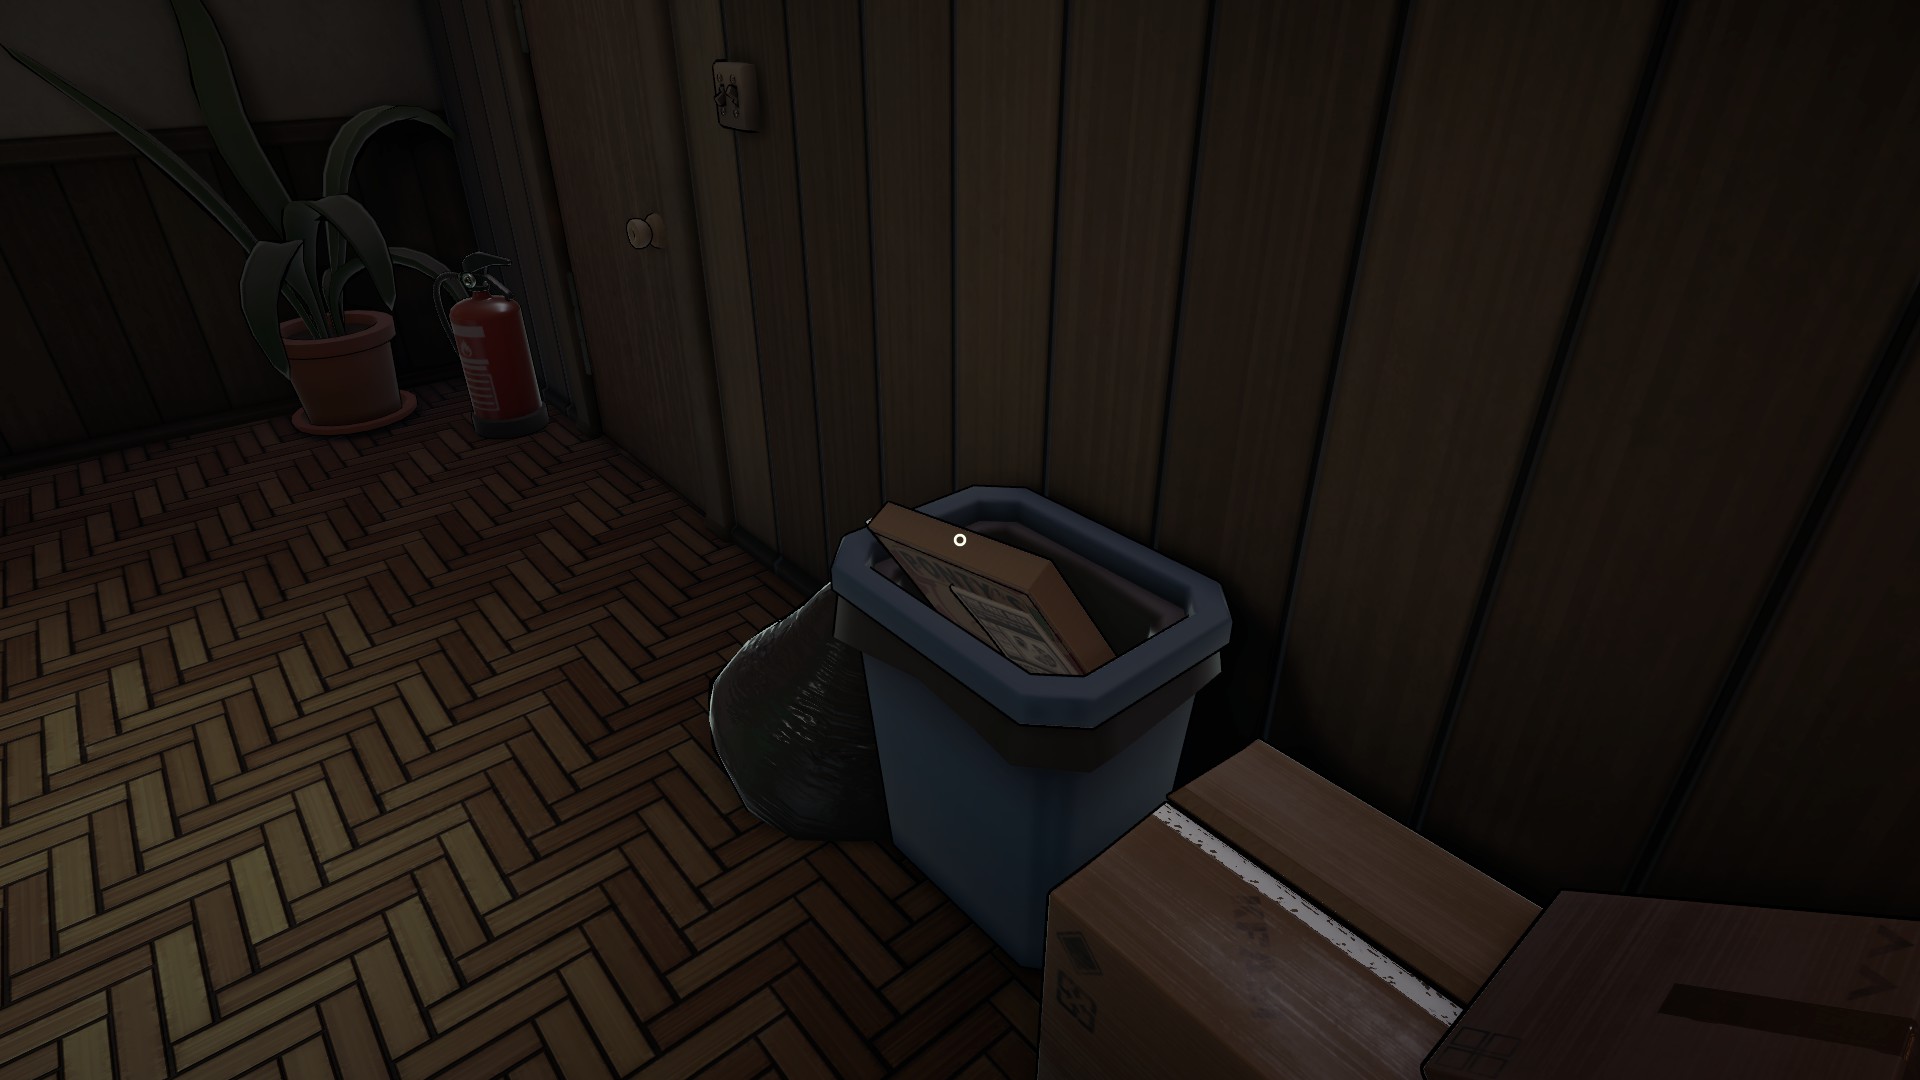
Bring it back to the recording room and hit that Peggy button to let her know you’re ready to continue.
Responses:
- Call Ponty’s Pizza.
- FRAT MAN CALLING
- Garlic bread!
With that done, you’ll need to put on some music then time will pass. After some banter with Peggy, you’ll get Frat Man Plunker on the line.
Responses:
- This is Forrest.
- Play “The Flow” as requested by the Frat Dudes
Now, answer the caller on line 2. Plunker will move the party next door which will save Virginia and secure the achievement, 「Somebody Order a Savior?」
Caller #8 is “Small Business Owner”.
Caller #9 – Eugene Stine
Eugene Stine has a heart full of love, and unfortunately that’s what is about to wind him up into some big trouble. The choices don’t matter so much here, time to come up with a plan and call him back.
Go downstairs to reception and grab the Maize Maze map inside the blue waste bin.
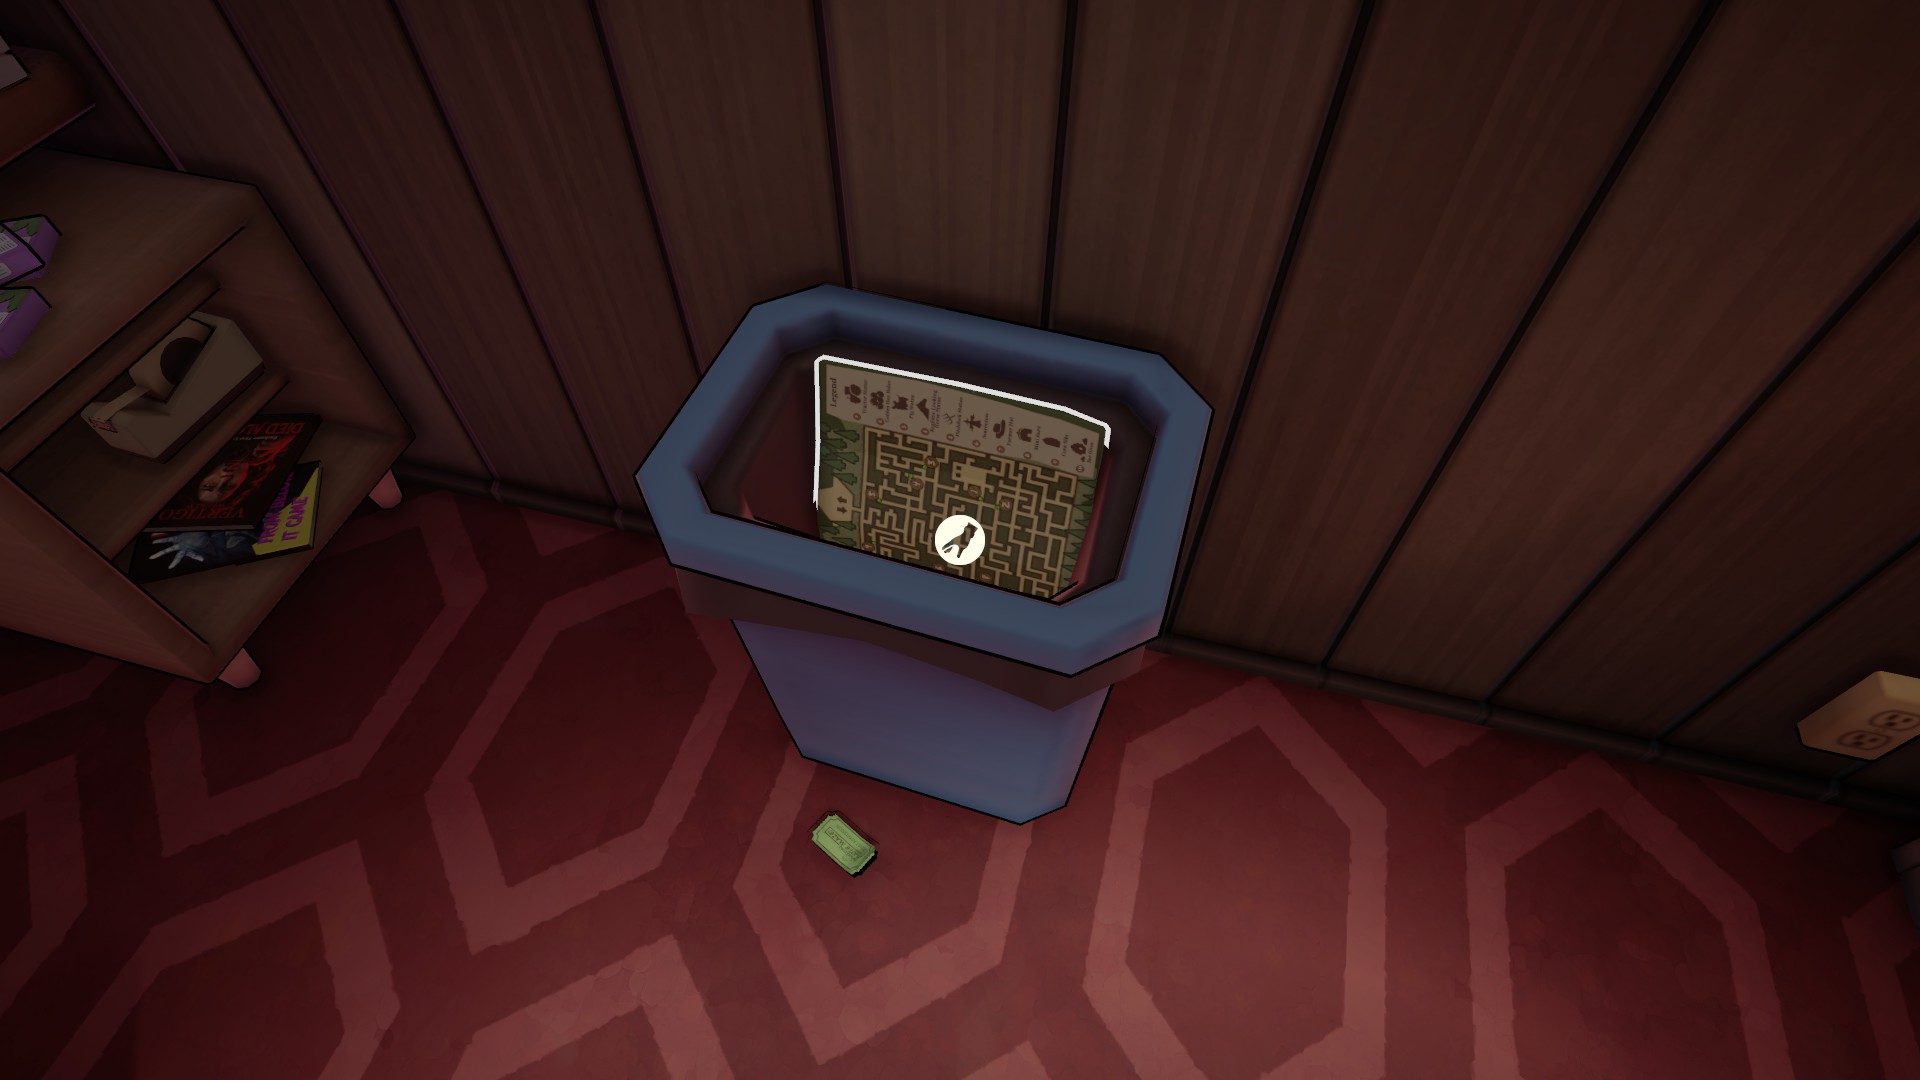
Return to your booth and press the Peggy button to begin the call again with Eugene.
Responses:
- Go left!
- Go backwards!
- Go left!
- Go right!
- Go right!
Eugene will be able to bike away, earning you the 「Child of the Corn Maize」 achievement.
All Survivors Playthrough – Part 3
1:49 am
Caller #10 is a woman named Dawn, and she has a request. Unfortunately, you can’t play her song at the moment though.
Caller #11 – Murphy
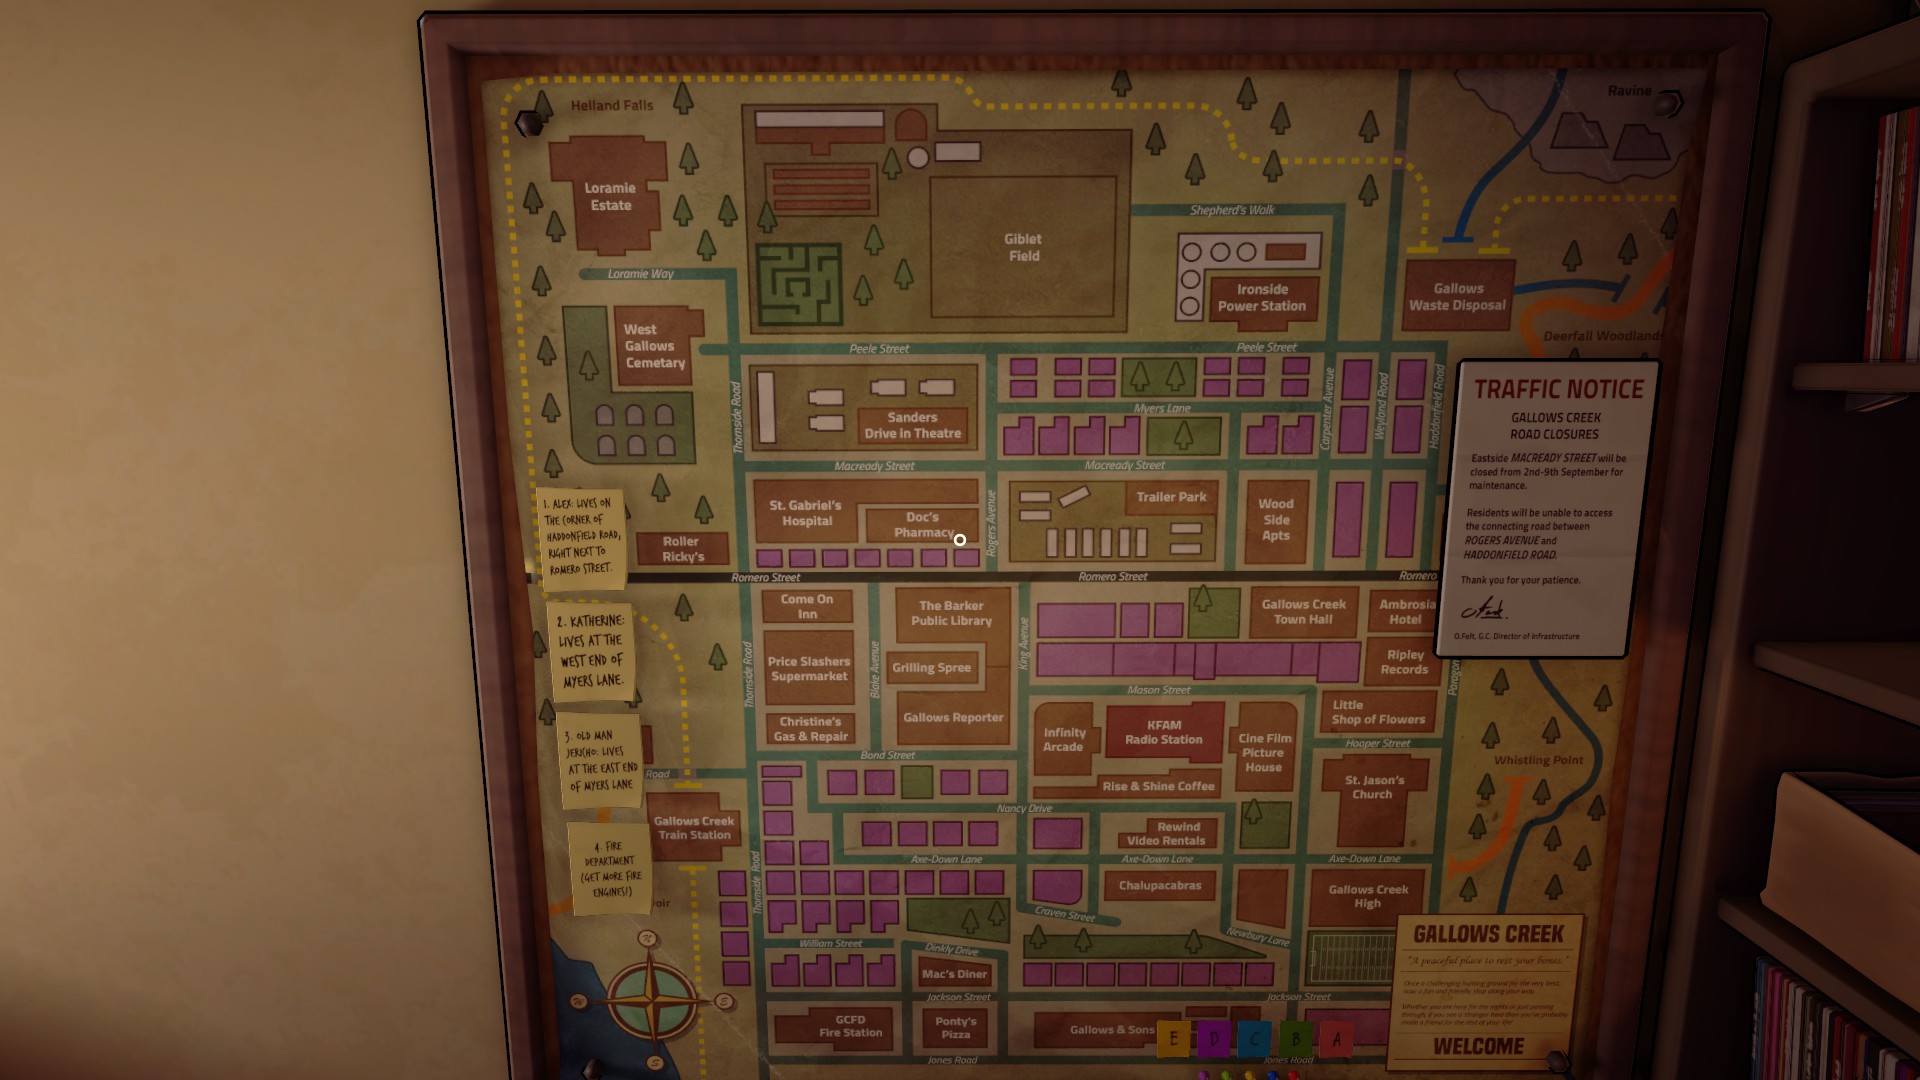
It’s Murphy again, our lord and savior… but he’s in trouble! And, of course there’s only one fire truck in town and it’s not currently operational. Looks like this is another job for Forrest. Peggy will tell you a couple names of her friends who live nearby who could help. The map on the side of the wall has all the clues you need to solve this puzzle, but… to save us some time, Katherine is the one we want to call.
You know what to do at this point. Press the Peggy button so we can bail Murphy out.
Responses:
(Note, you can talk to Murphy to sus out where he is located in the processing plant, but to save us some time I’ve opted to just jump to leading Katherine to where she needs to go.)
- Call Katherine.
- Katherine – Recycling!
- Katherine, go to the crusher!
- Henderson!
Katherine and Murphy will escape the fire, unlocking 「For Fernando!」
Caller #12 is Teddy Gallows Jr., and after his nauseating speech it’s time to play another ad! Be sure to choose one you haven’t played already and let it play to the very end.
Caller #13 – Carrie
The first three options do not matter here… just trust me. 🙂
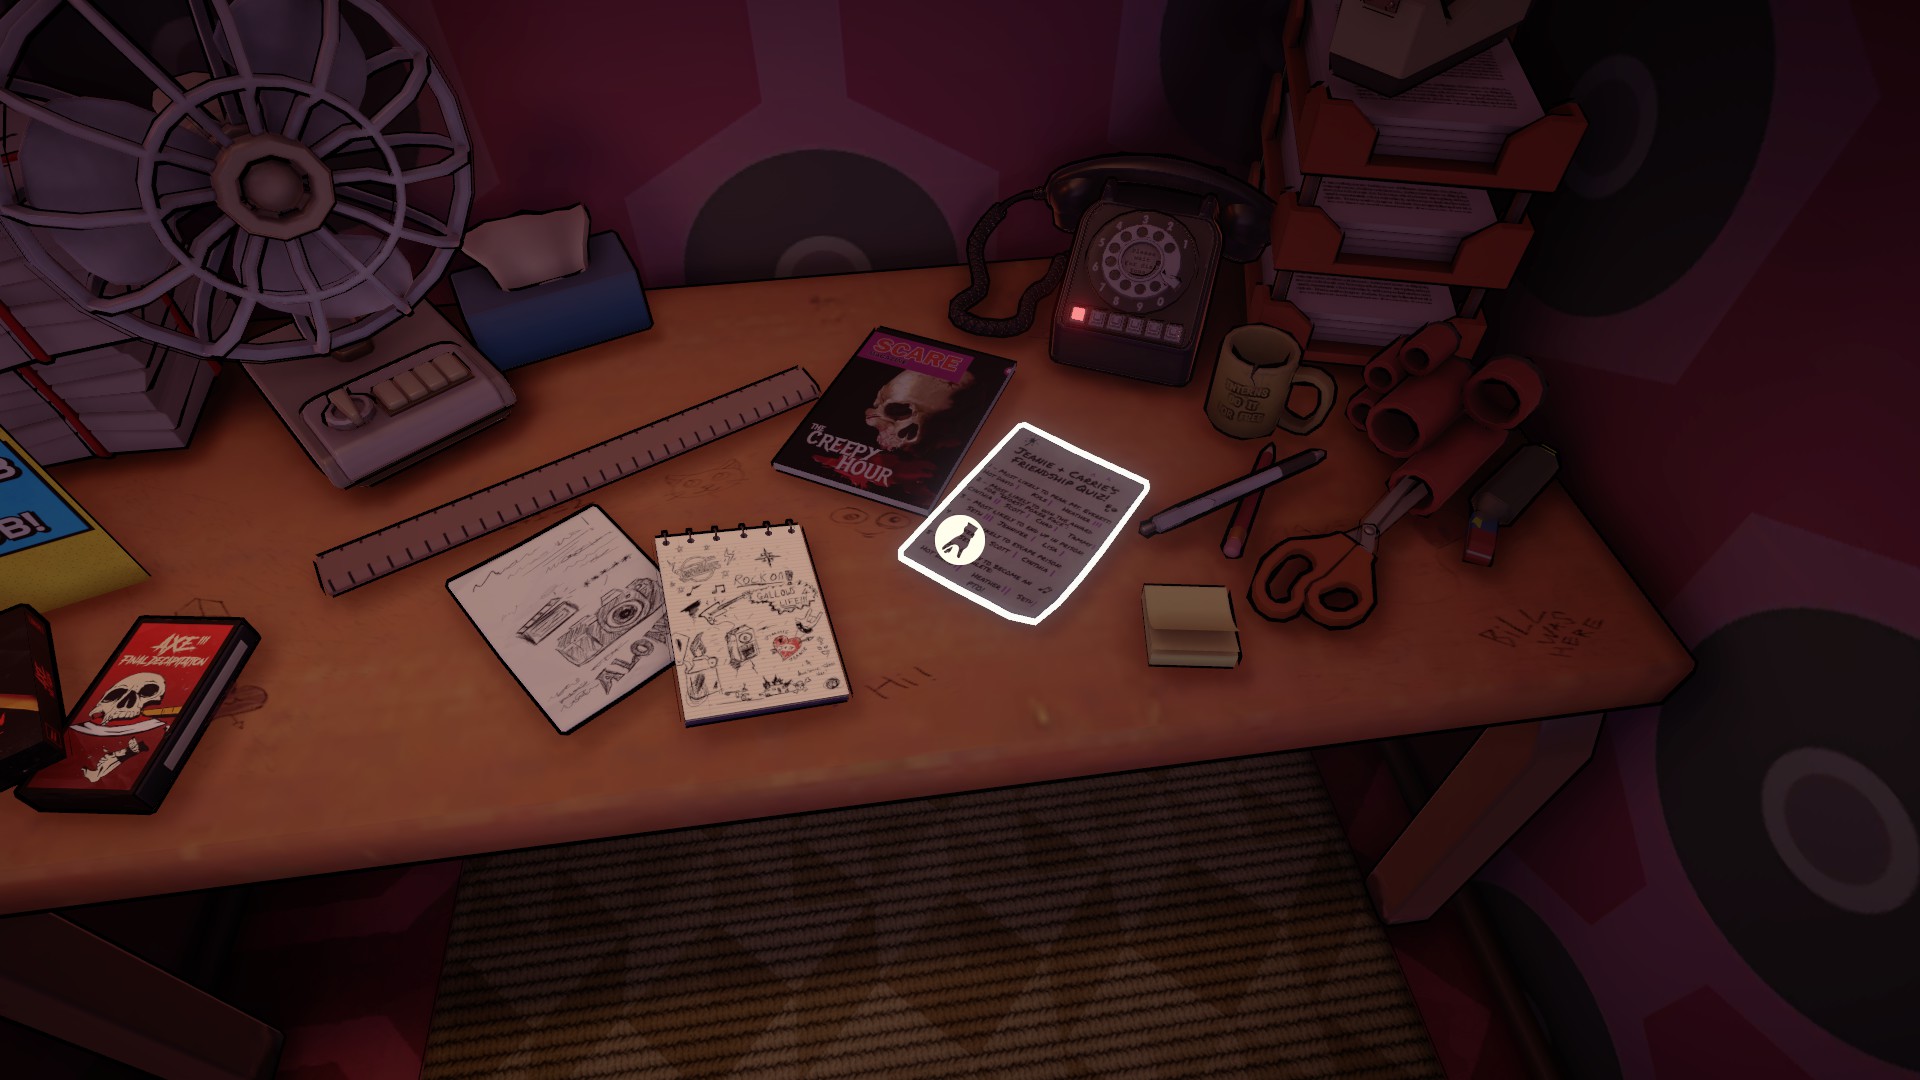
After Jimmy has his comeuppance, comfort and reassure Carrie that it’s all going to be okay. Once the phone call is over, travel downstairs to get Jeanie’s friendship quiz. In case you haven’t already found Jeanie’s desk by accident when exploring the reception area, walk past the front doors into an alcove with a desk tucked away in the far corner. The quiz is on top of the desk.
Return to the Peggy button and get ready for the following options:
- Heather
- Jennifer
- Hot David
- Lisa
- Chad
Carrie will let you know she needs to call you back, so wait for Peggy to tell you to pick up line 1. Now it’s time to get the escape plan rolling.
Responses:
- Focus.
Once all of the teens are secure (except Jimmy, rip Jimmy) and you start spinning the next track “for the girl walking home in the dark”, the achievement should unlock: 「Not So Stupid Teens」.
Time for another caller. Caller #14 is Roller Ricky and his emotional support doggo, Maxy.
The next caller is Carrie again!
… And she’s home safe thanks to you. She’ll want you to play the song by Blast Processor (the first record in the box).
Now’s some time to stretch your legs, but since we’re on a timer and we have everything we need at the moment you can hit the Peggy button to continue.
Caller #16 – Dawn (Again)
Dawn’s on the line again, and she’s playing hard ball. She still wants you to play her song, which means Forrest is going to have to brave going outside the building.
Peggy will give you the key to the fire exit door which is located past the reception area, in the long hallway.
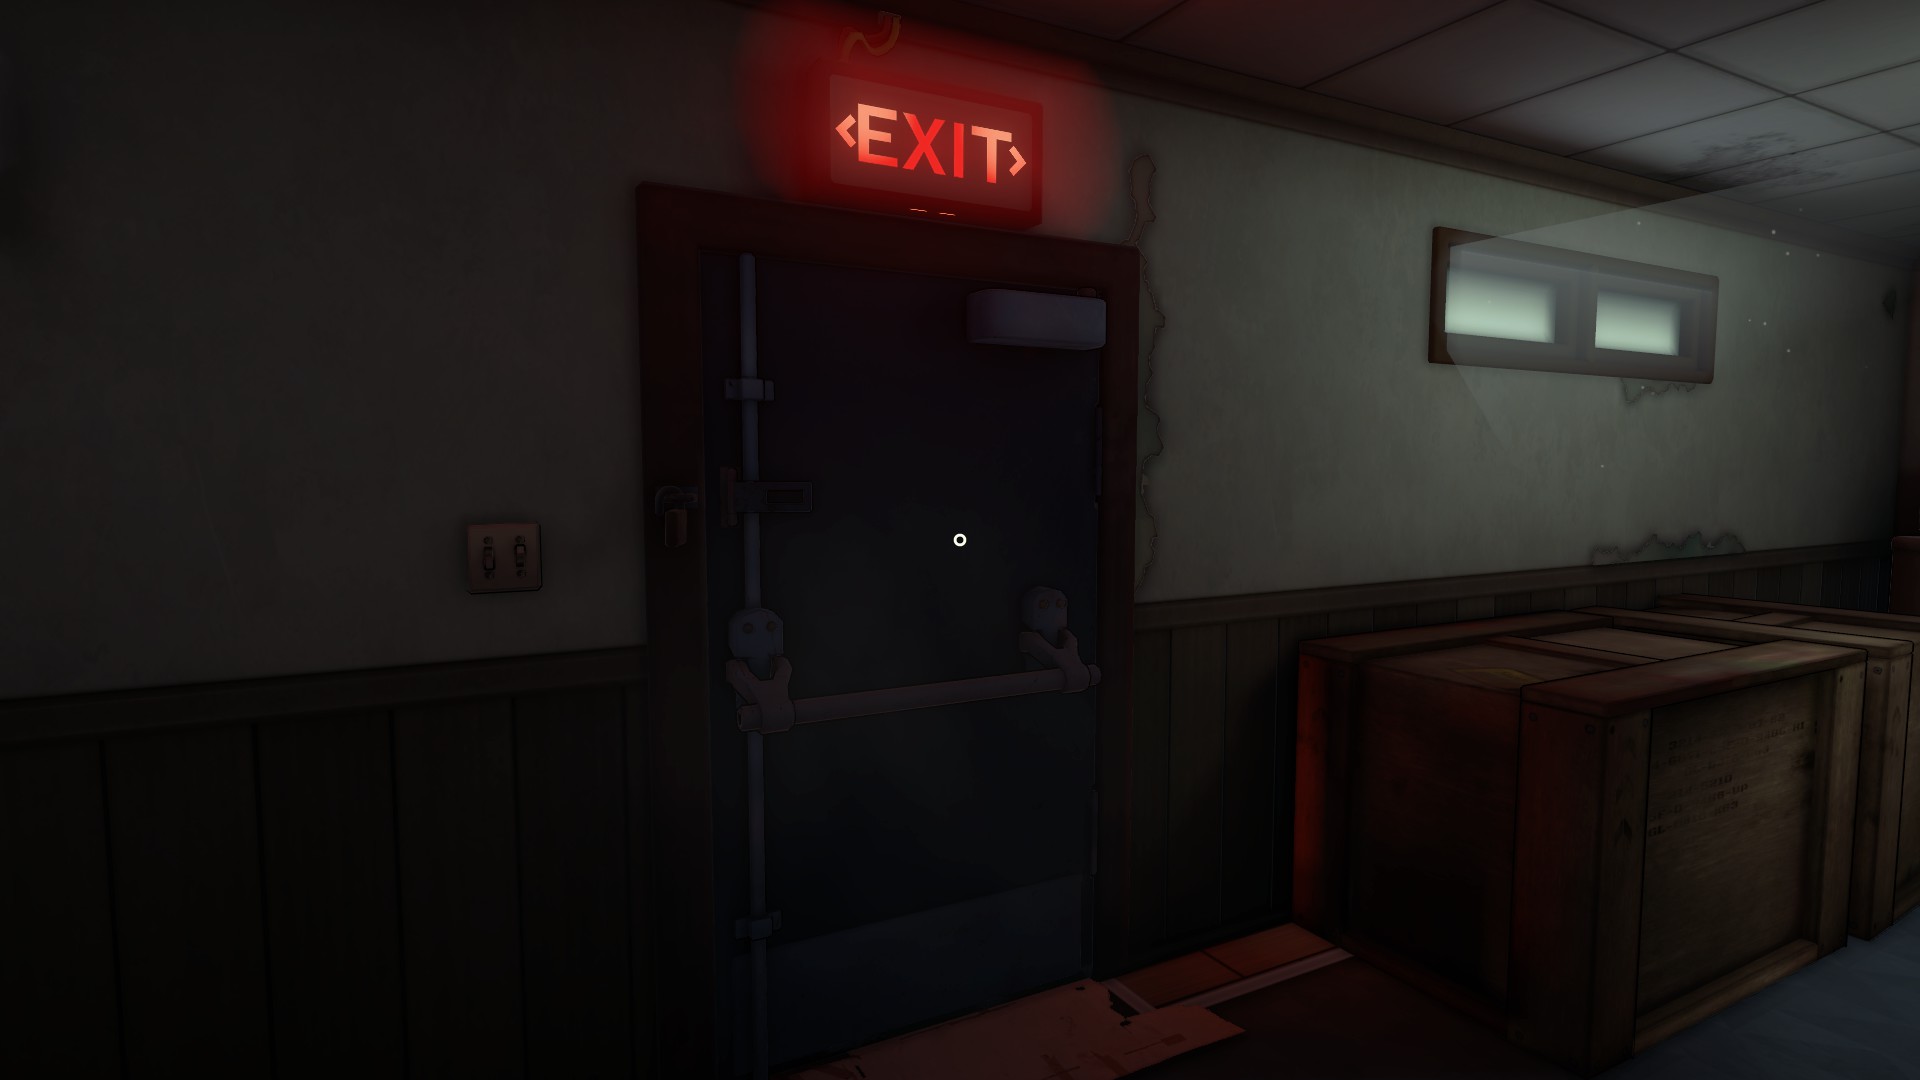
Once you open the door you will be locked outside in the creepy alley. Here, you’re tasked with finding the record to play Dawn’s song but also keep an eye out for the fuses laying strewn about. You will need one yellow, one red, and one blue fuse.
From the door, if you go left and turn down the alley on your left you’ll find the fuse box and a mattress which will have Dawn’s song sitting on it, waiting for you to pick up.
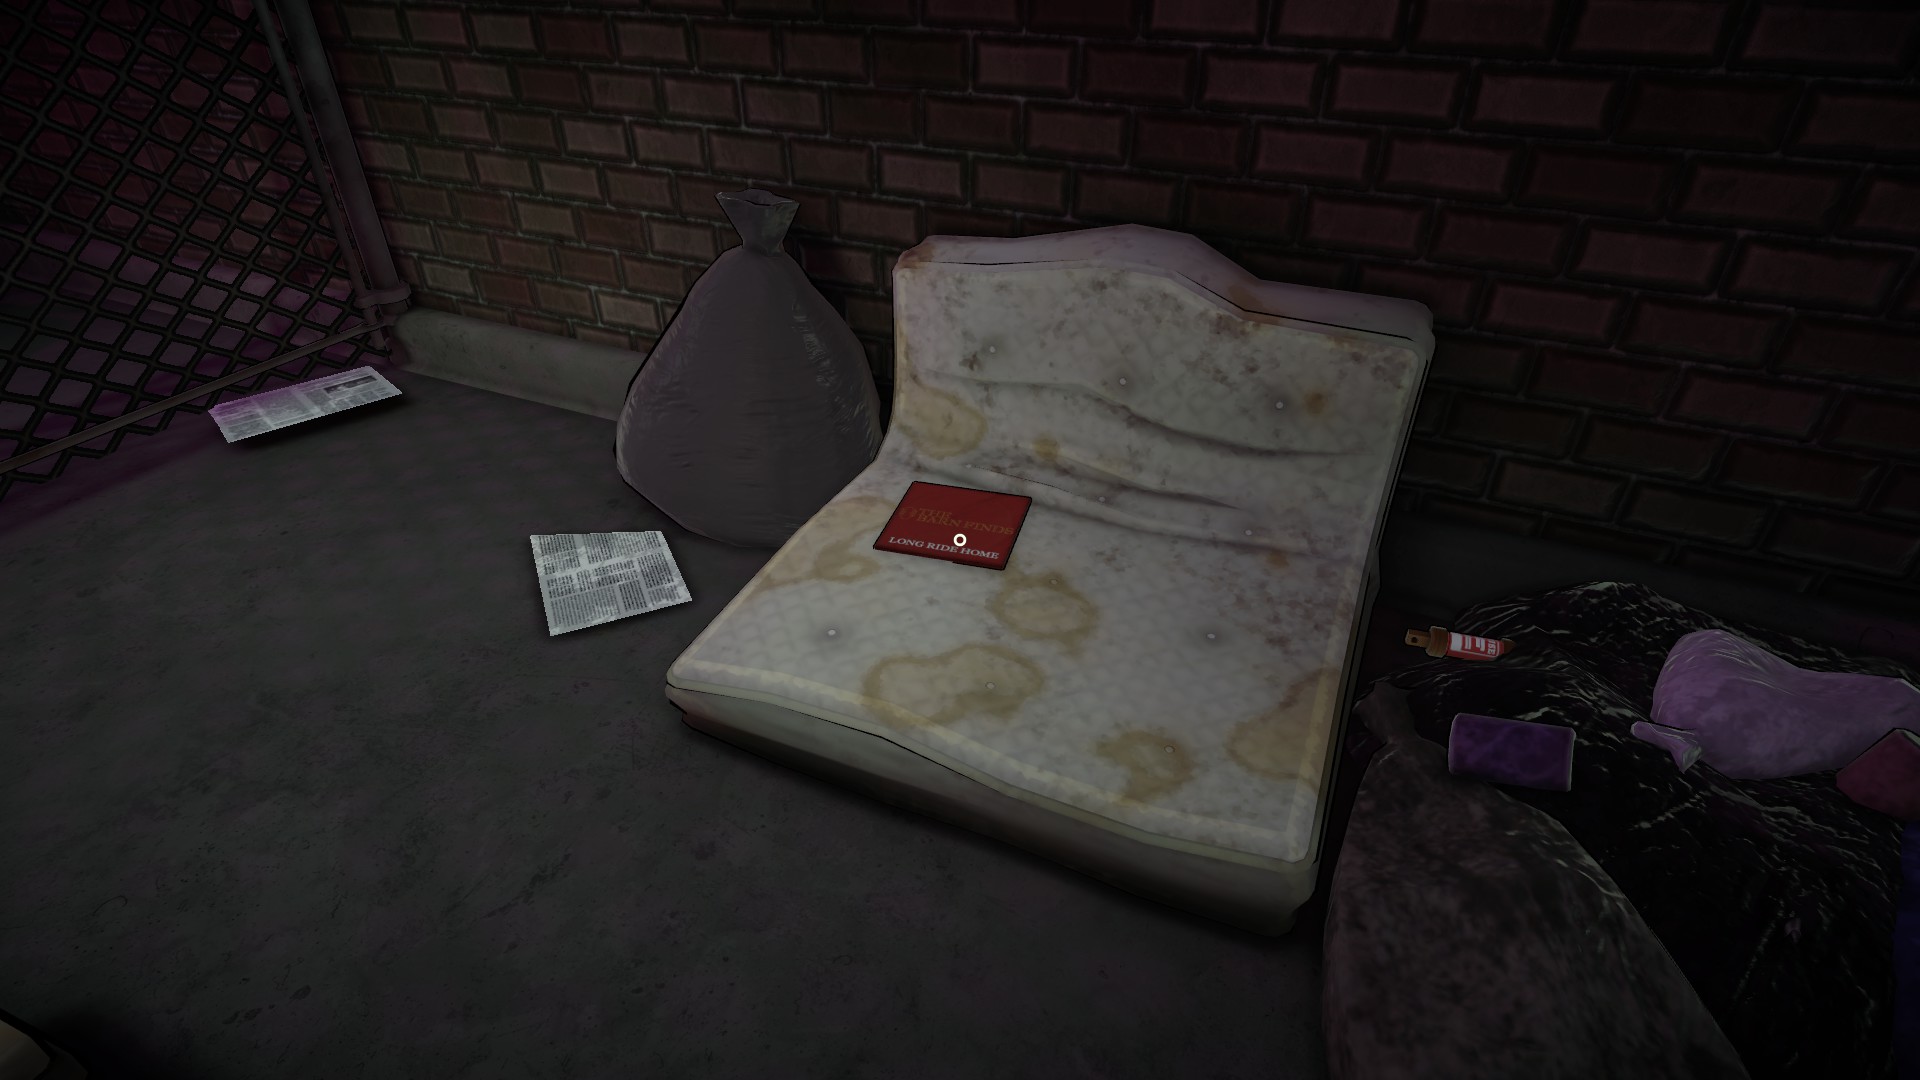
Once you’ve got the record for The Barn Find’s ‘Long Ride Home’ in hand, you’re tasked with replacing the rusted fuses that power the basement elevator. To quickly solve this puzzle, gather one [1] 15 fuse, one [1] 20 fuse, and one [1] 30 fuse to get the total to add up to 70 and pull the lever to restore power to the elevator.
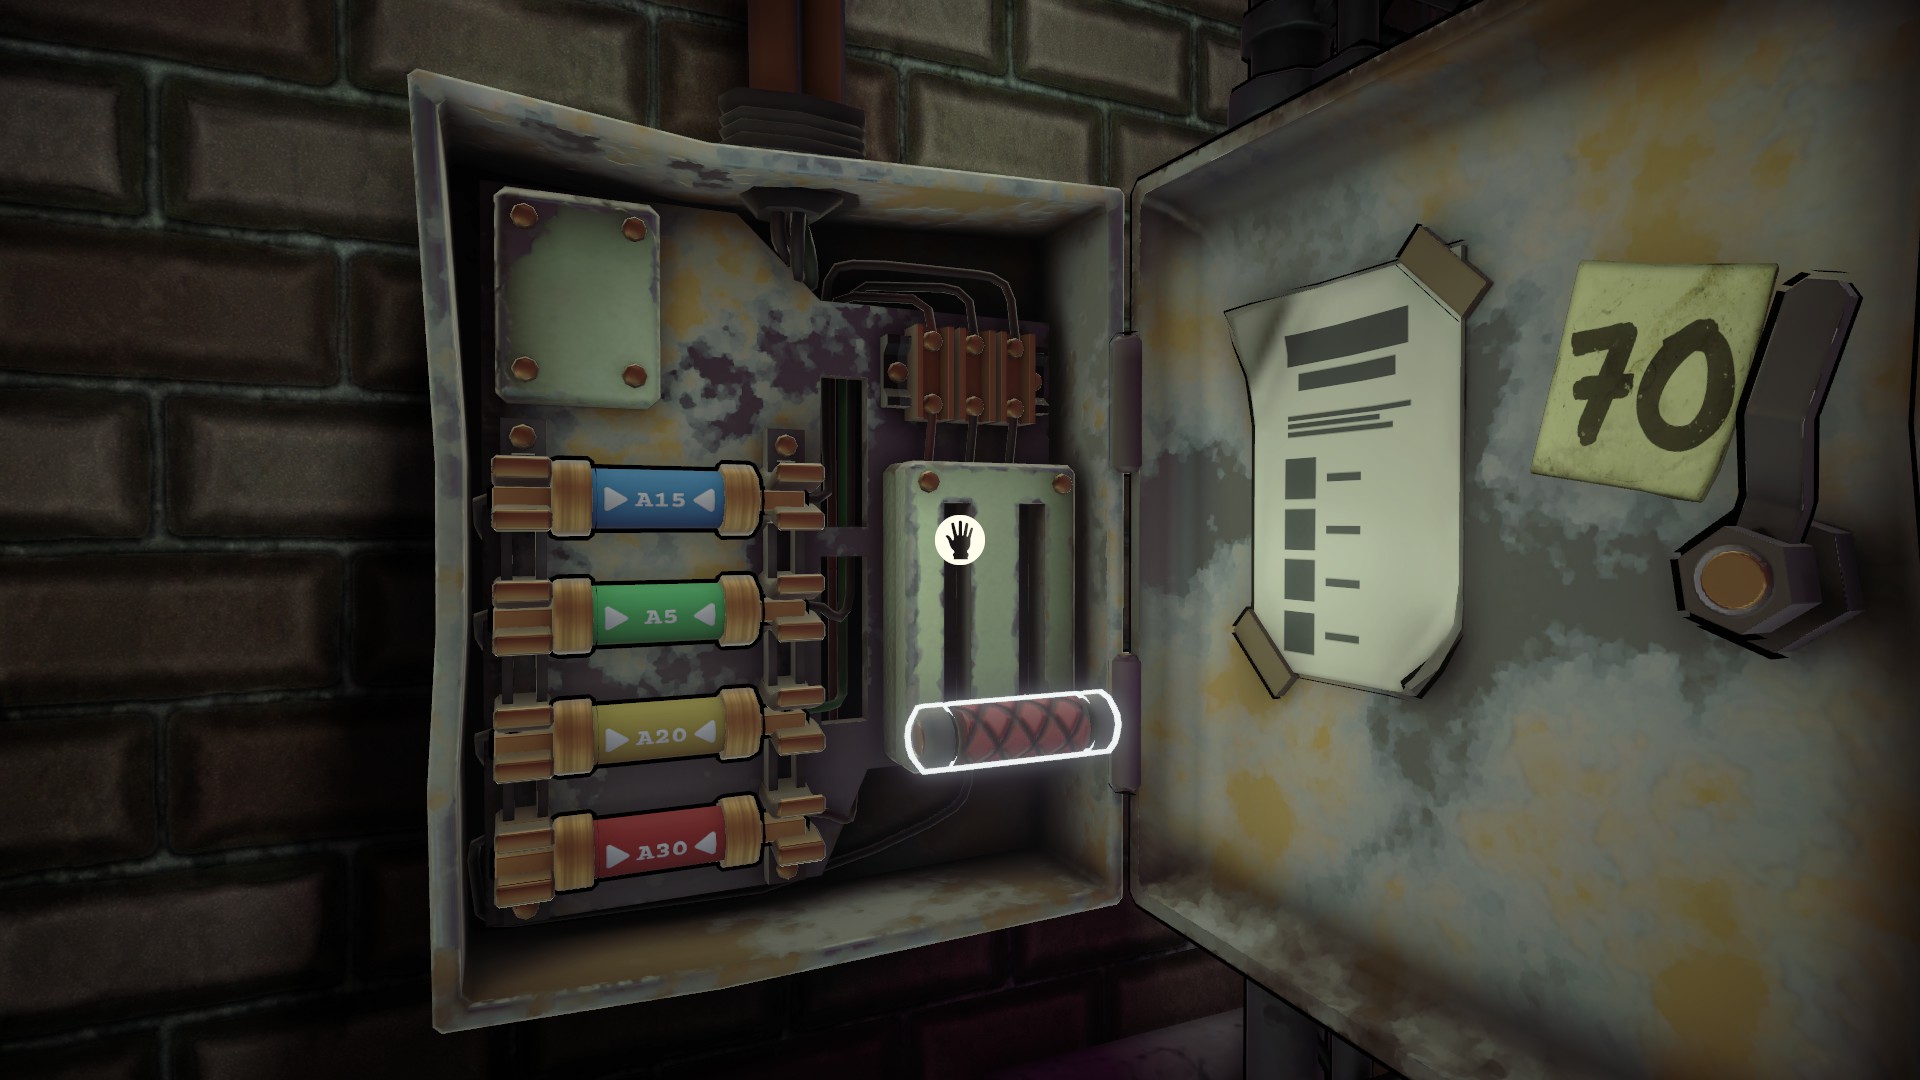
Congrats on unlocking the achievement: 「Let Me In」.
Crouch down into the elevator shaft and enter the KFAM station building’s basement. Once inside, gain access to a janitorial closet on your right and then open up the set of doors that resemble a locker to unveil a secret room. Be sure to collect the basement stairwell key from off the desk, and then grab the mannequin head and hold onto it for safe keeping!
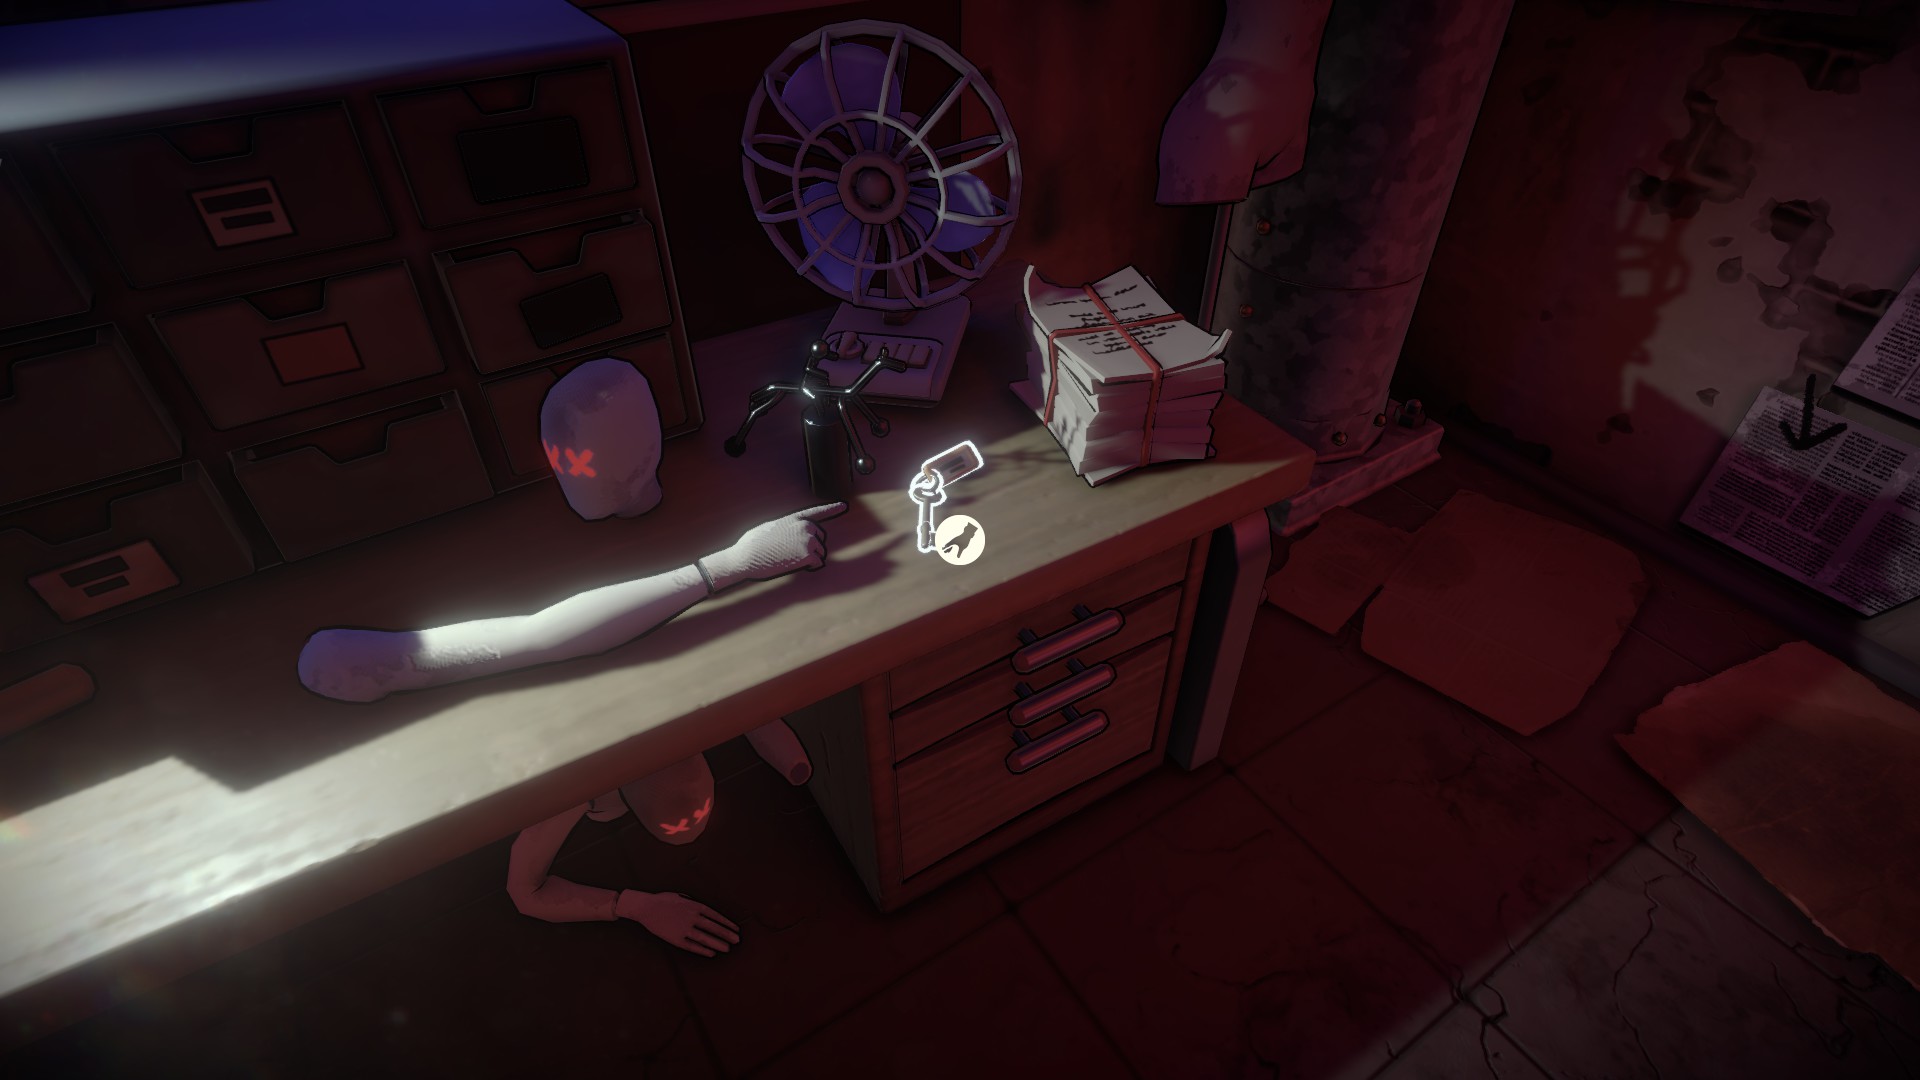
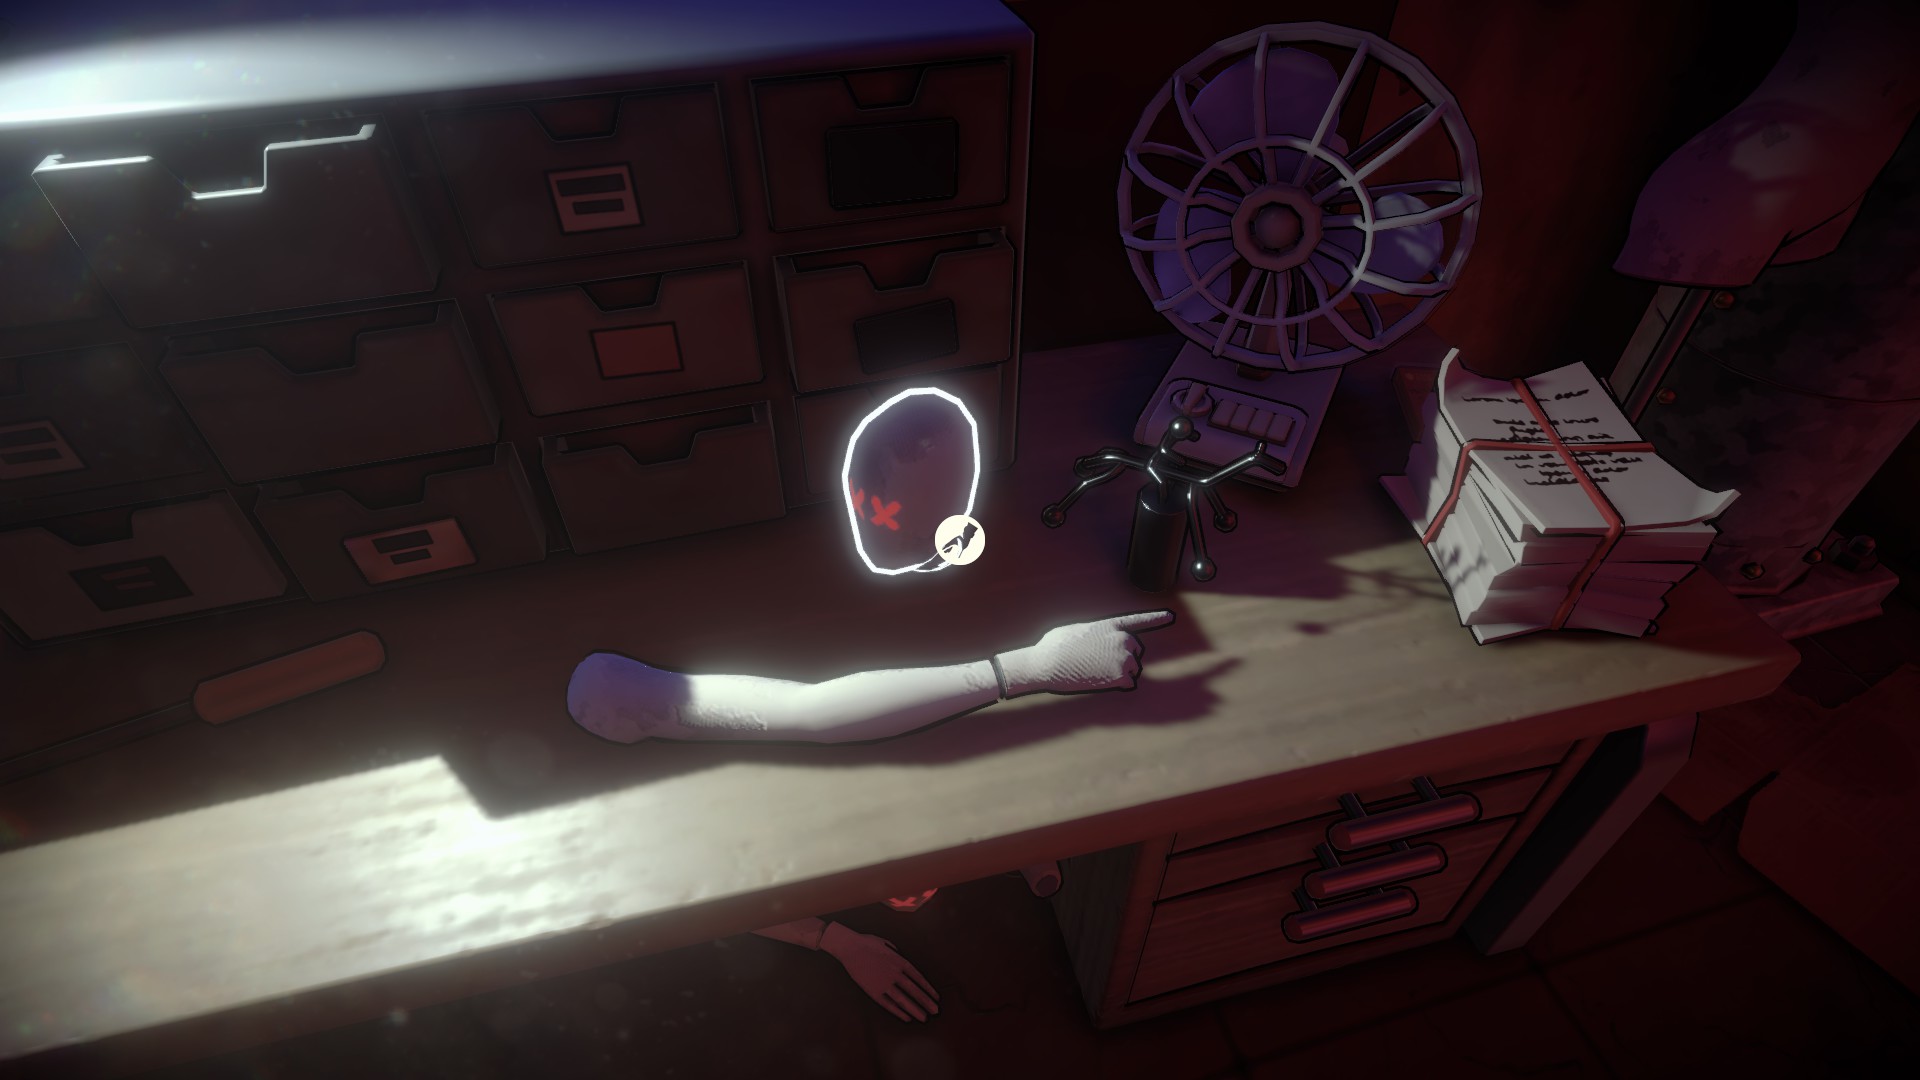
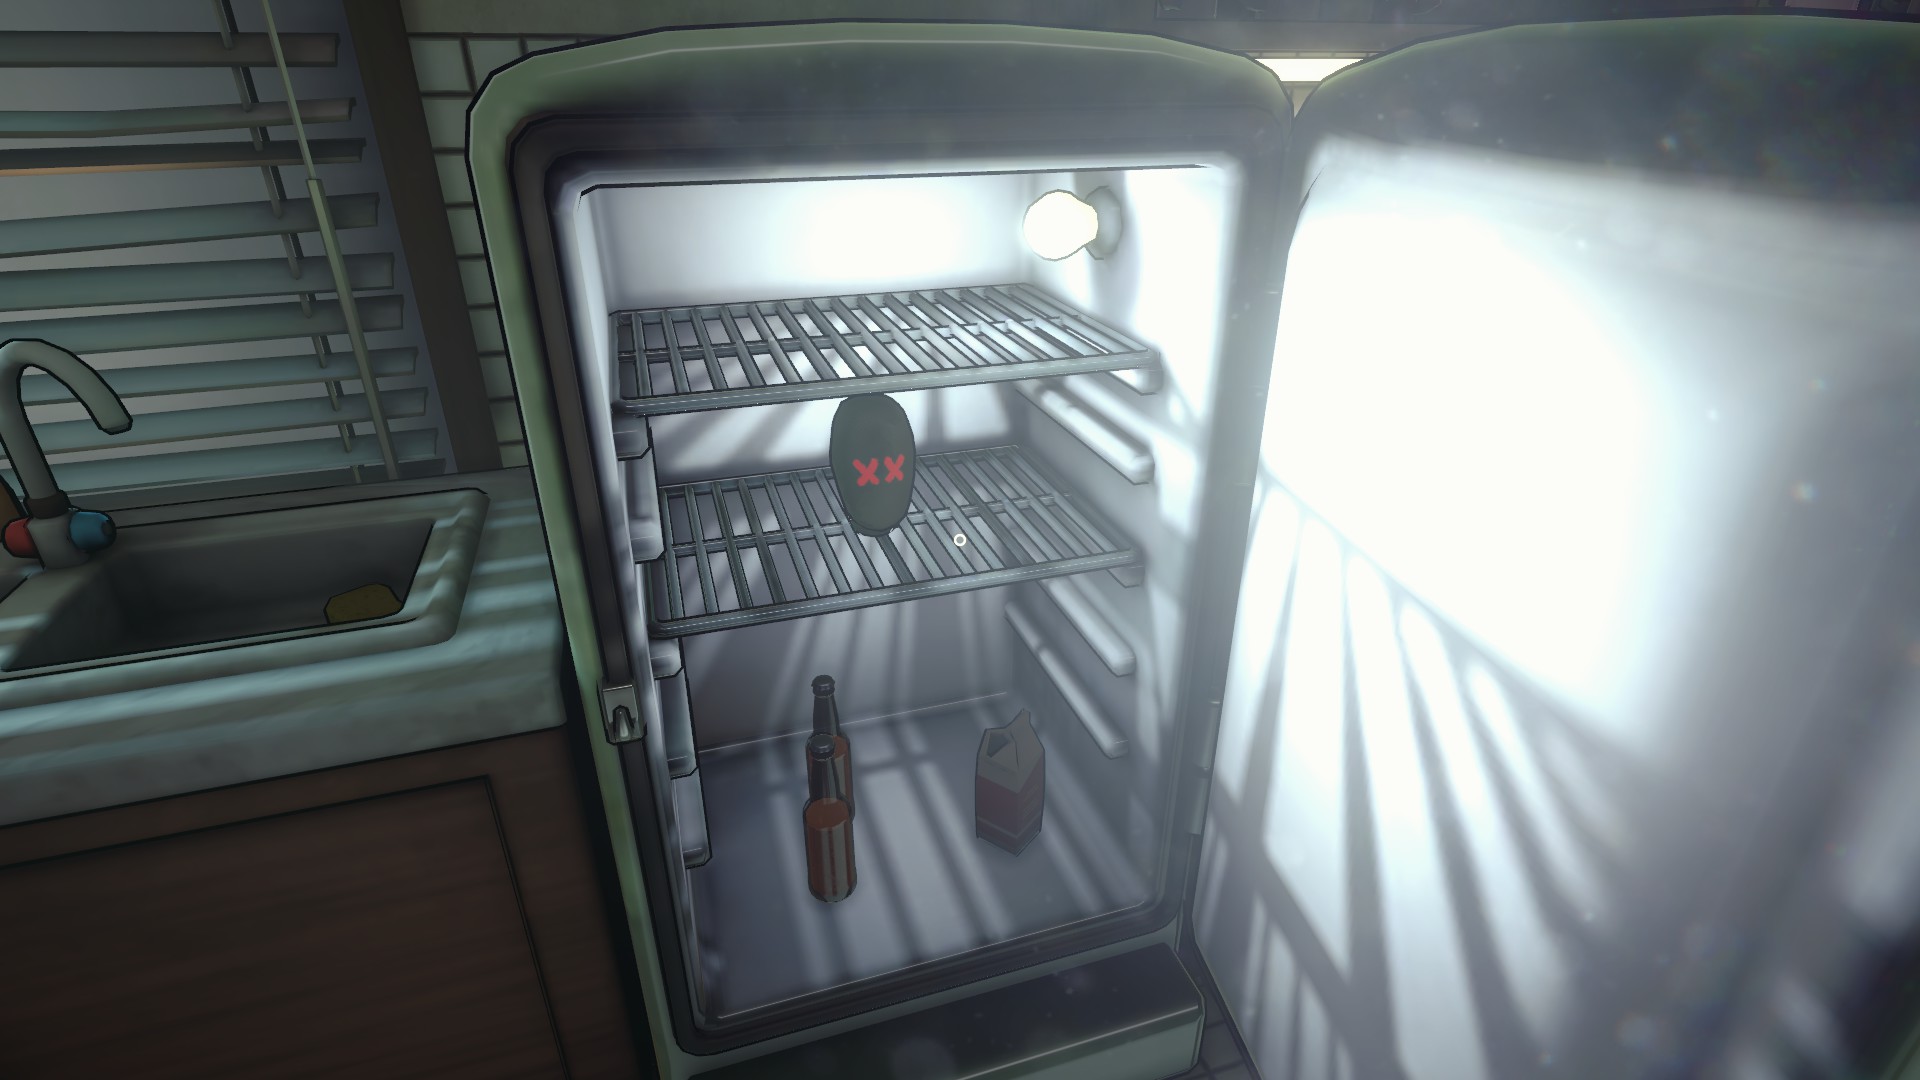
Now, advance and follow the path until you are back inside the station. The stairwell will lead you back into the hallway behind reception, where you can take the mannequin head to the fridge in the kitchen (again, the door with the sign of a coffee cup outside). Open up the fridge and place the head inside to unlock the 「Fridge Horror」 achievement.
Time to head upstairs and check back in on Peggy.
All Survivors Playthrough – Part 4
2:40 am
Next up, you’re tasked with using the clues on Clive’s corkboard to figure out who the Whistling Man’s next target will be so that you can reach out to them before it’s too late.
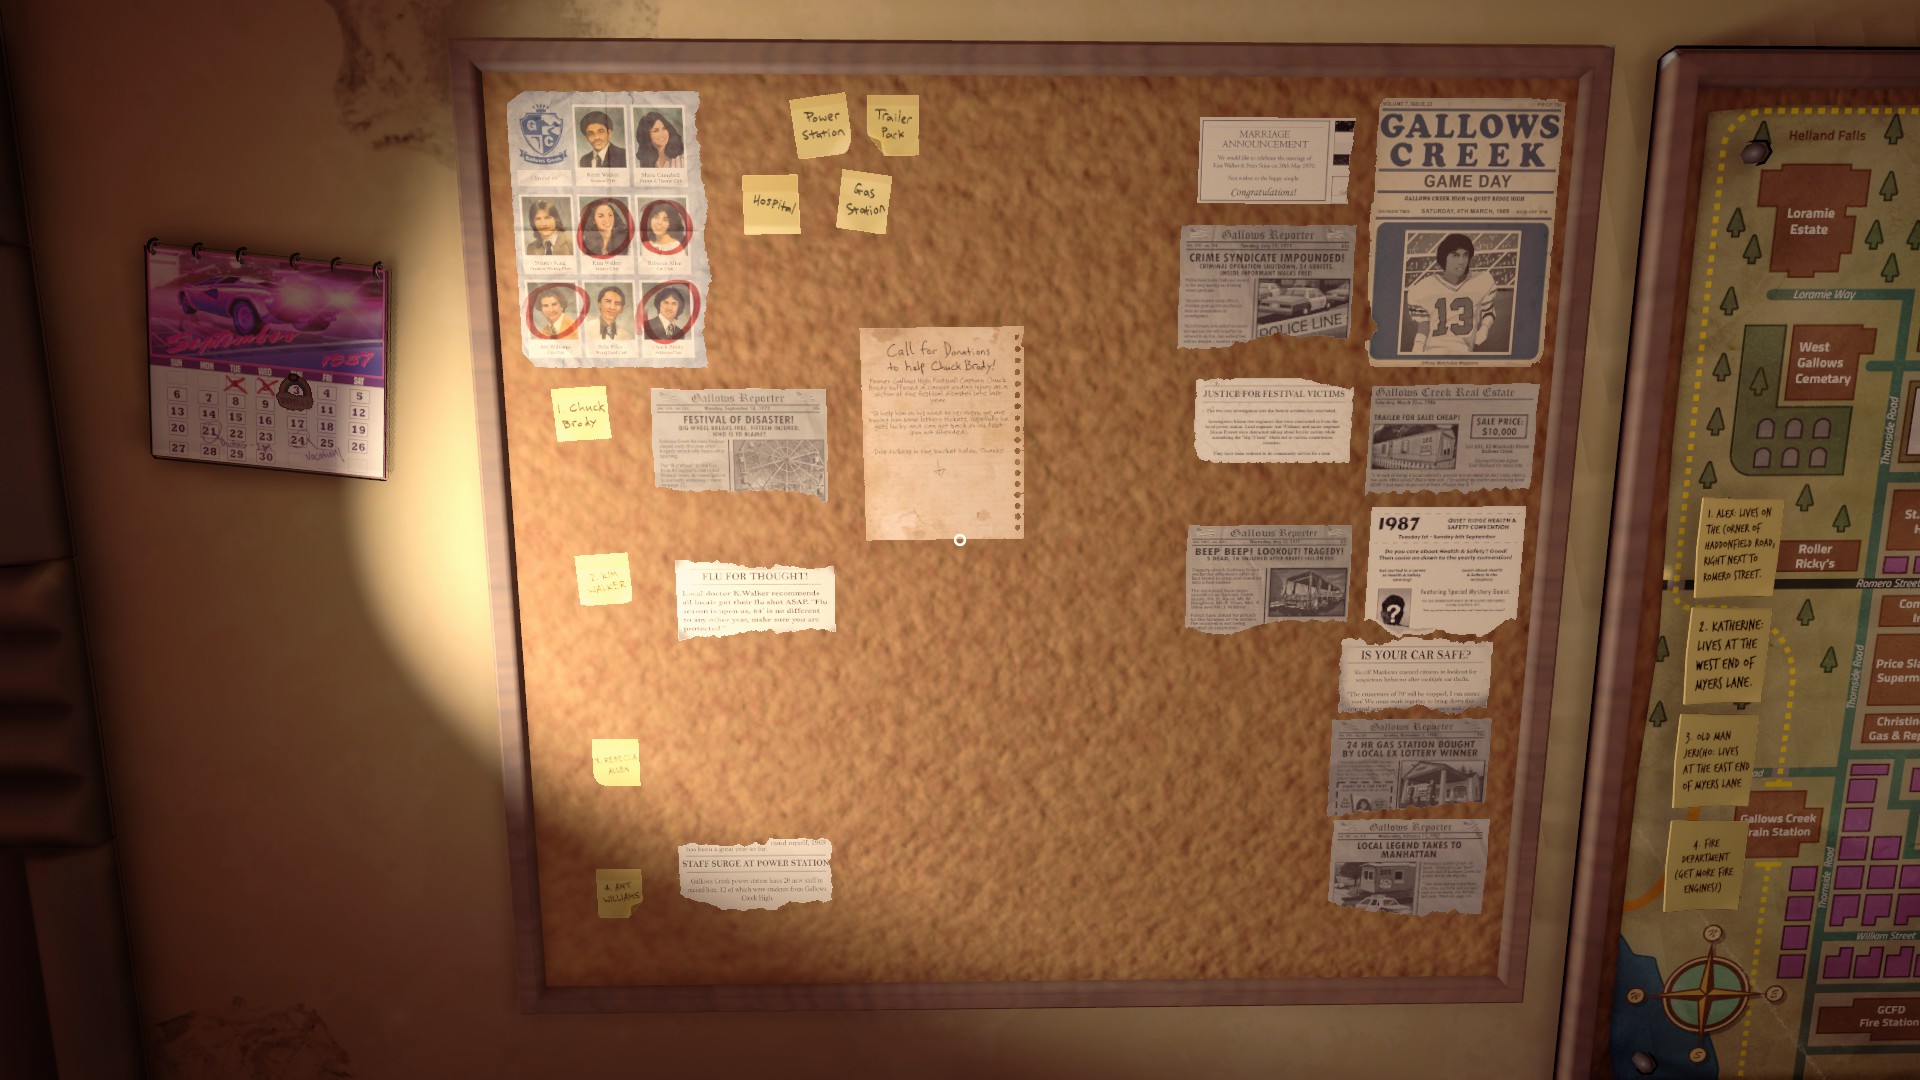
If you actually follow the clues, it will point you in the direction of Chuck Brody, who will be at the Gas Station. But, assuming you want to save the time, just hit the Peggy button and let her know you’re ready.
Responses:
- Chuck Brody
- The Gas Station
- RUN!
That was a close call, but for your quick thinking, you will be rewarded the achievement 「An Explosive Escape」.
Now it’s time to head back down to the basement. Return to the mannequin room and Forrest will prompt you to retrieve the key that is tucked away in a hidey hole in the wall in front of you.
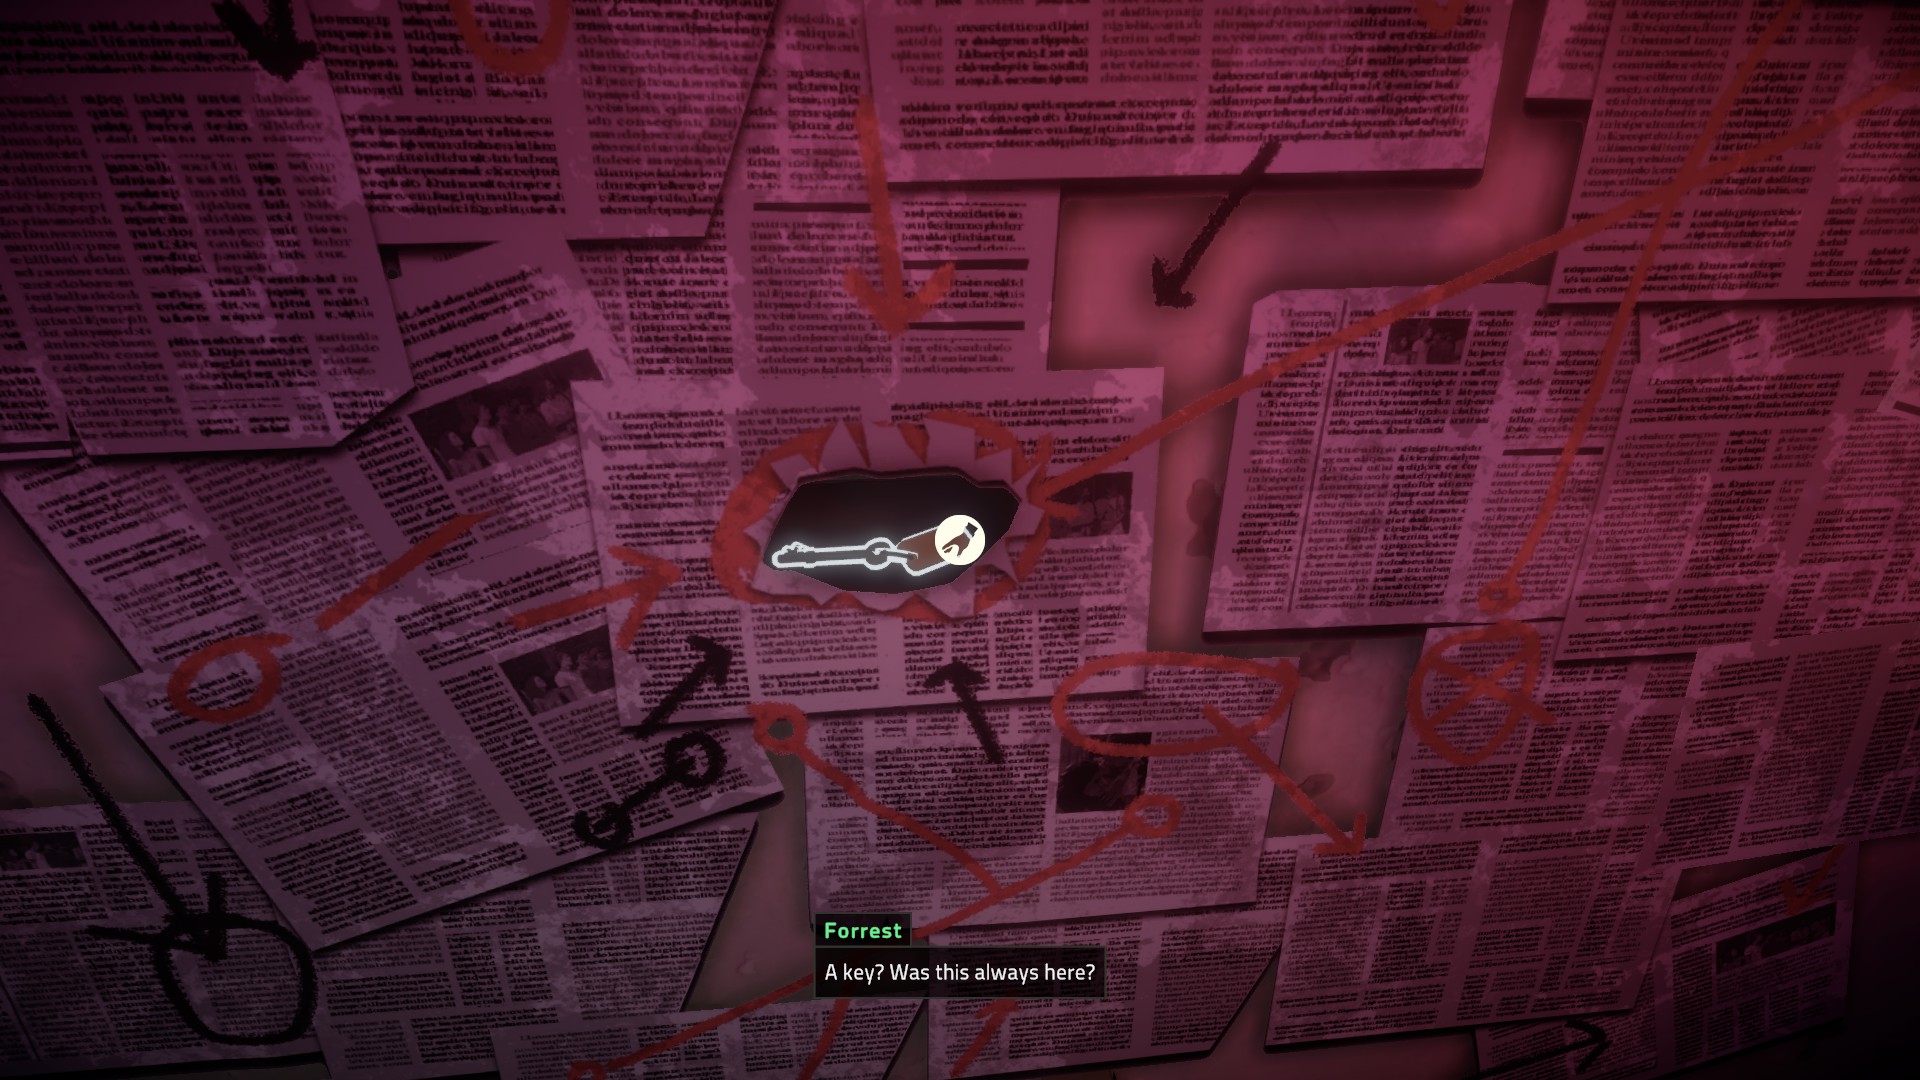
This key is for the Basement Storage, and it will allow you to unlock the blue door at the end of the hall, located before the stairs that lead up into the staff hallway inside the station.
Once inside the room, head over to the desk and pick up the tape which Peggy suggests you listen to.
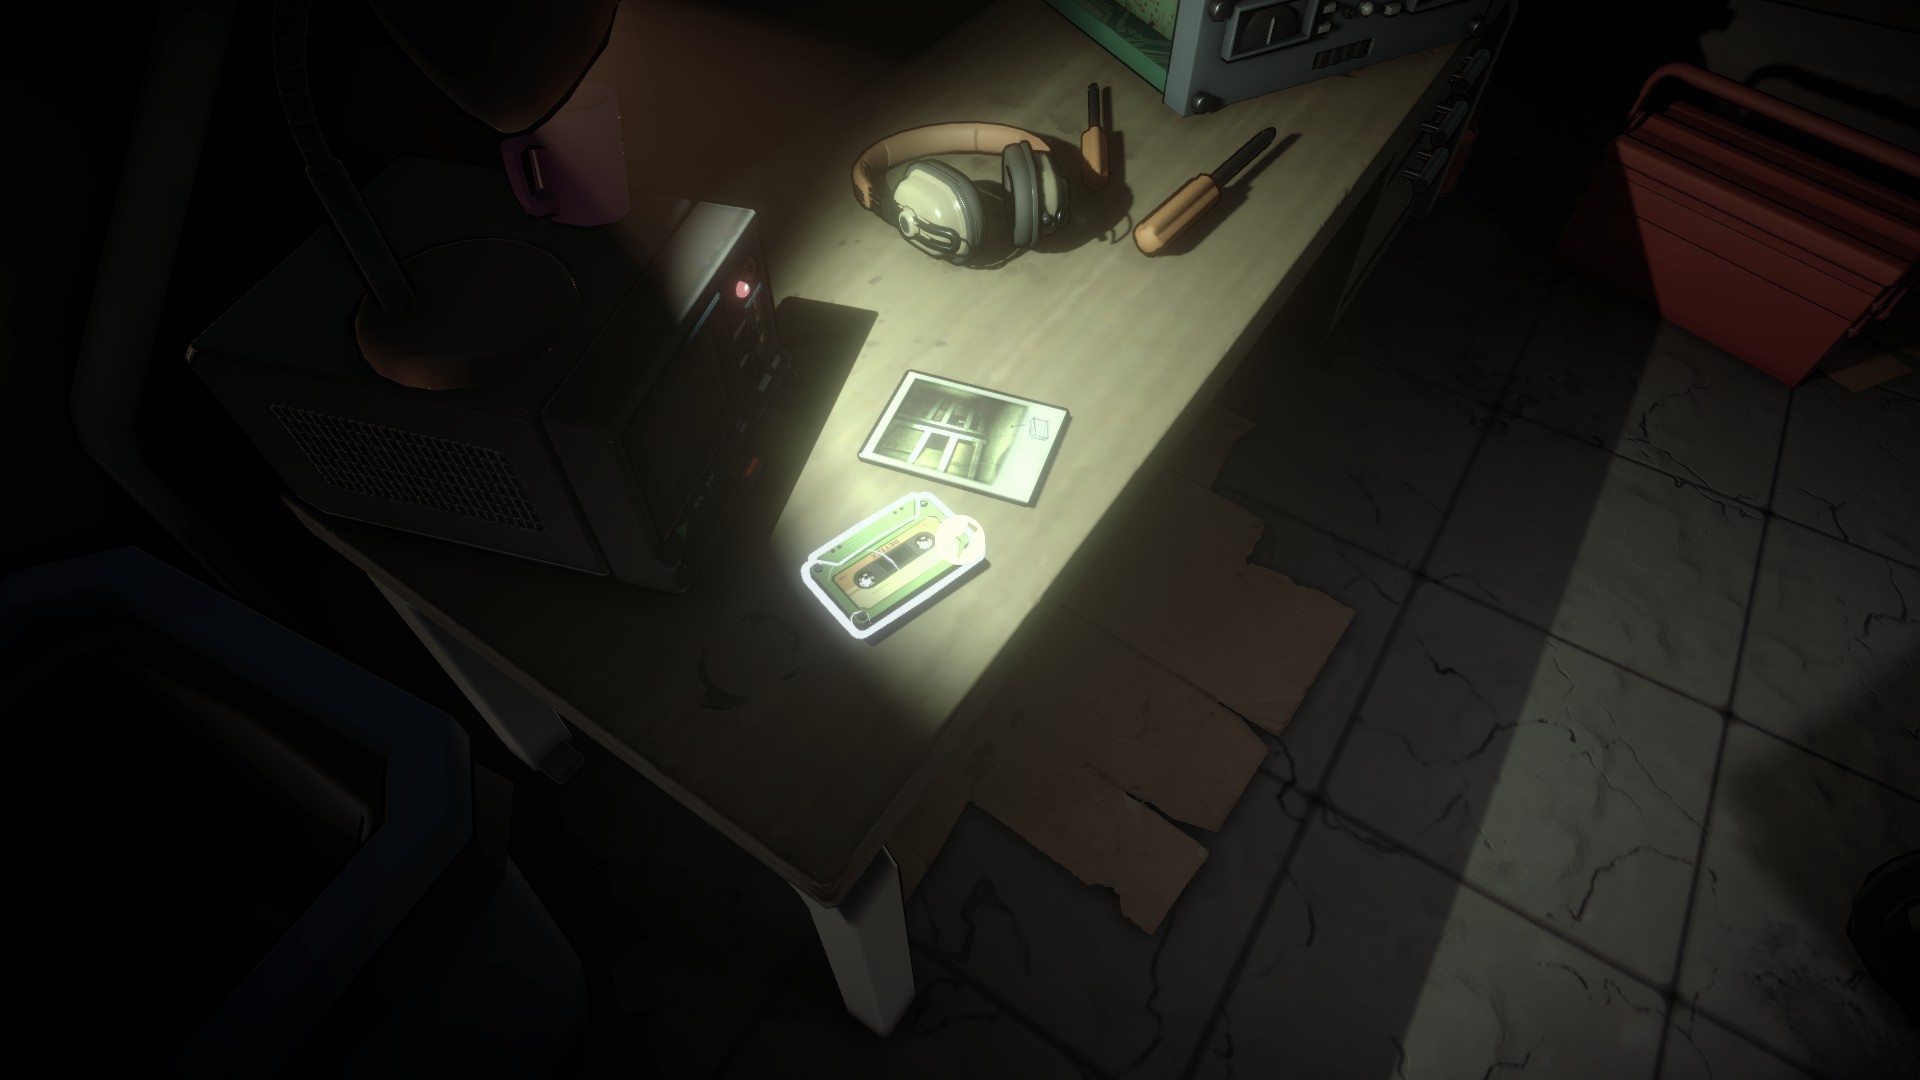
Pop it into the tape deck and listen to the recording.
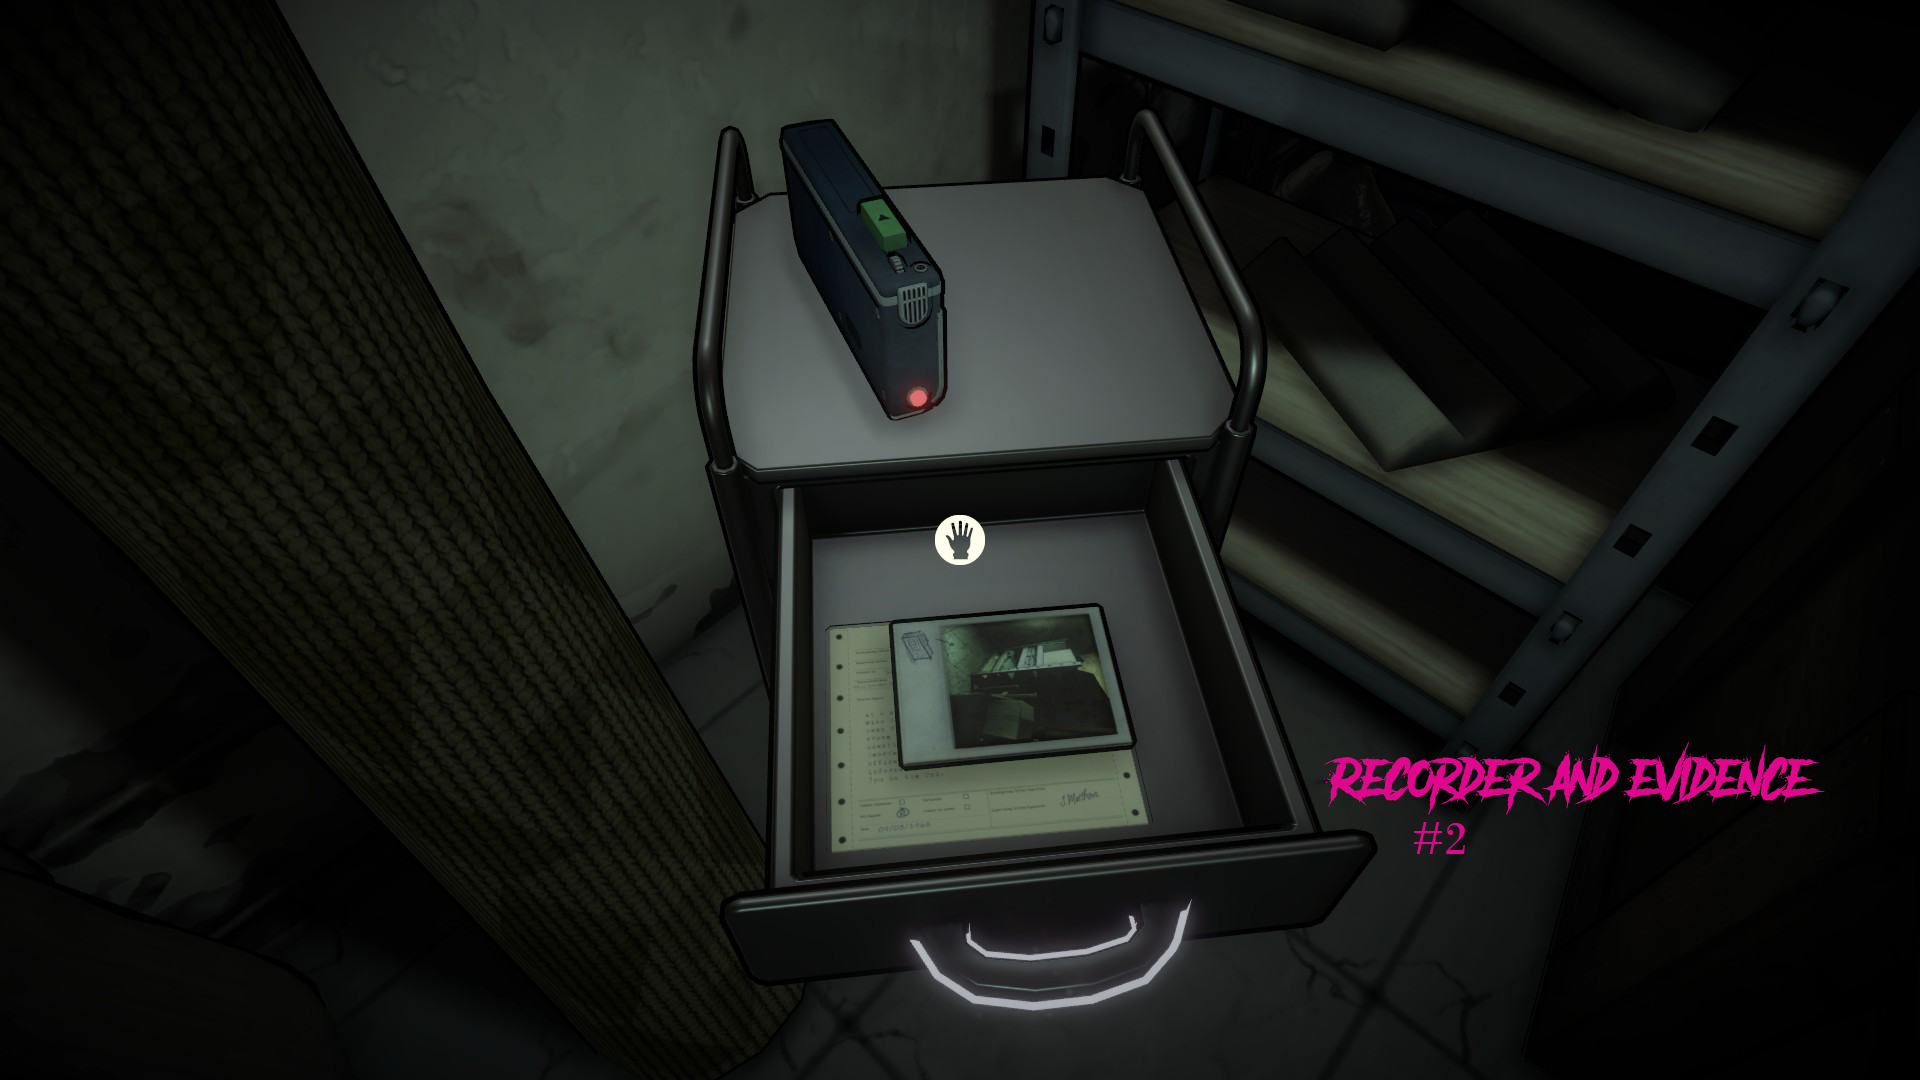
Now, head through the door into the next room. The area can be a bit of a maze, taking you across a hoarder’s nest where you must examine the pertinent documents and listen to recordings on the tapes. If you’re having trouble, use the polaroid pictures to point you in the direction of the next clue. The pictures will also have a little sketch at the bottom indicating if there will just be a recorder or also a document for you to look at.
One thing to note for the speed run is, you do not actually have to sit and listen to the tapes. You just have to press play. So once you find them, hit play and keep going to the next tape. Be sure to still pick up the documents and set them back down, though. If this is your first playthrough and you’re worried about missing out on story, you will still get the gist since Forrest will go over the evidence in a fairly long conversation with Peggy later.
It’s pretty dark down here, so here are some images to help navigate from clue to clue. The first recorder is right ahead of you as you enter the room.
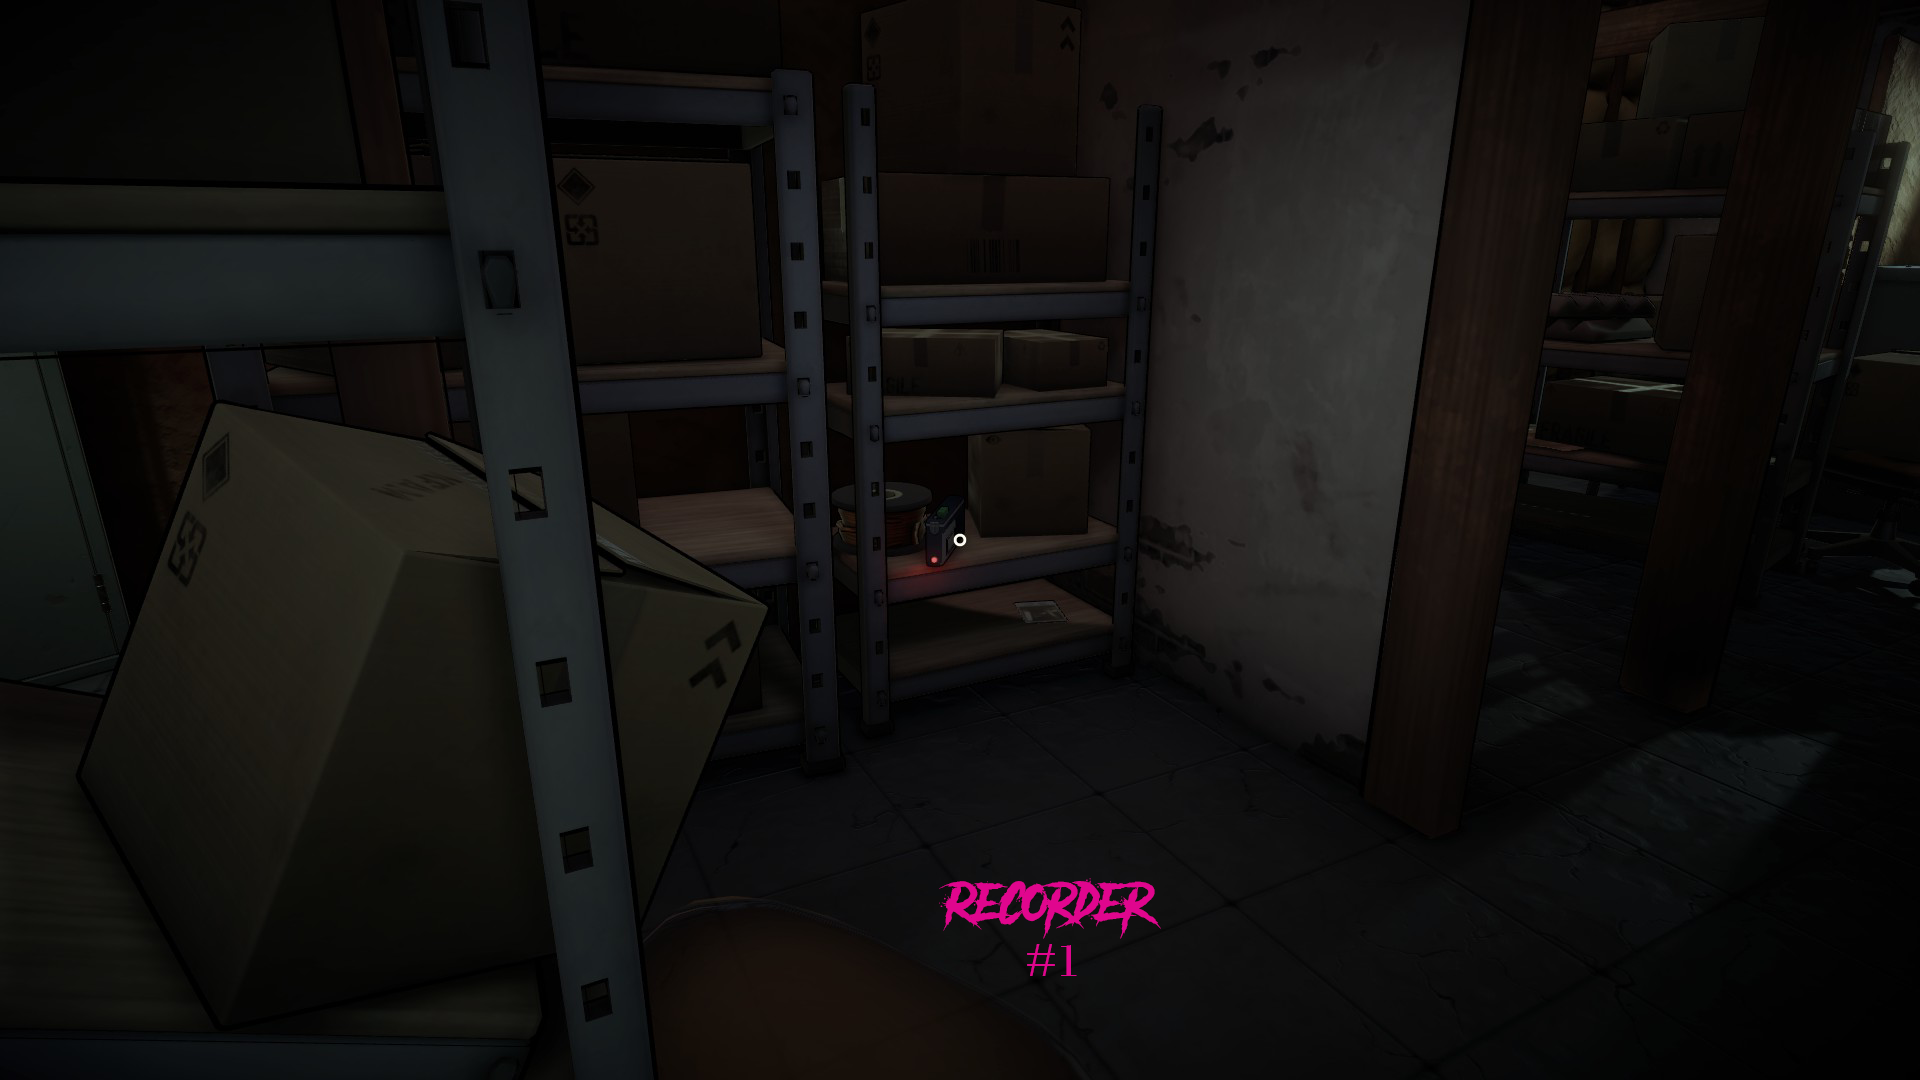
Next, let’s go right and continue moving right to round the corner past some tables.
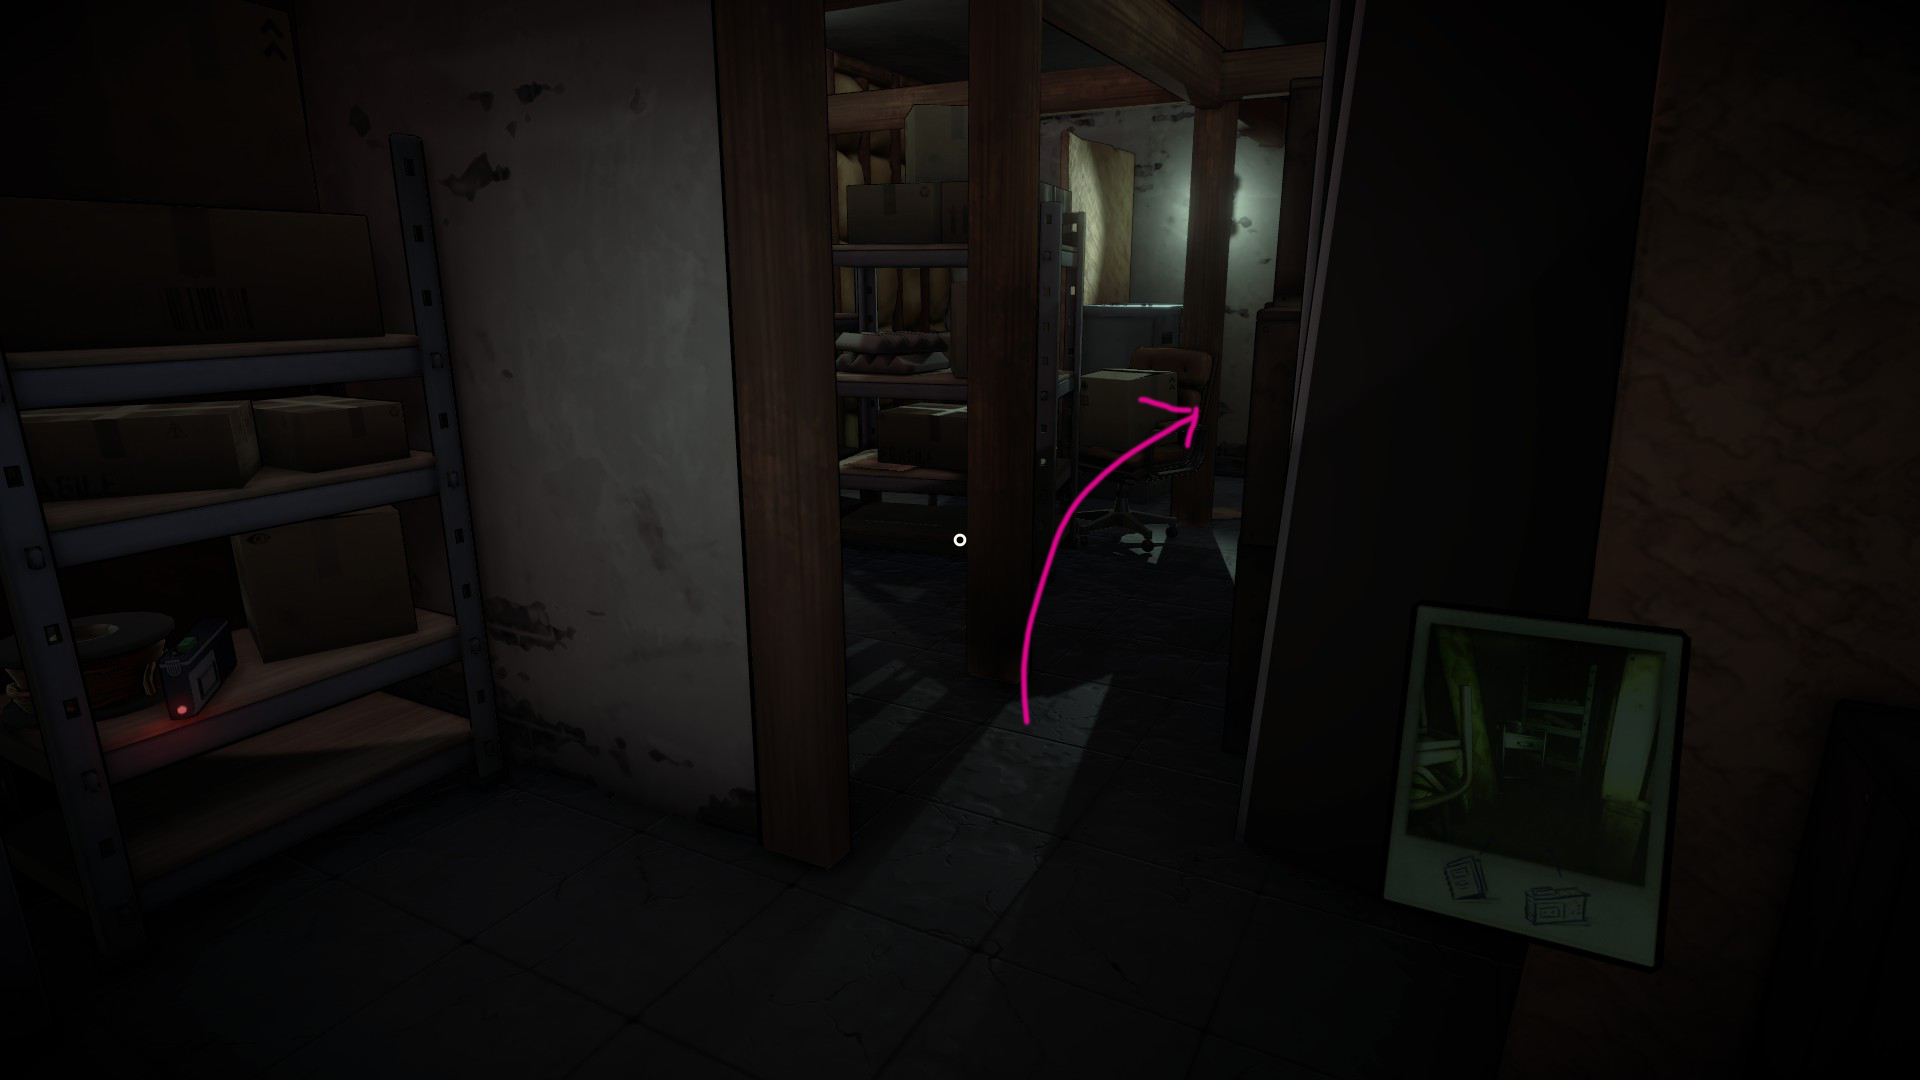
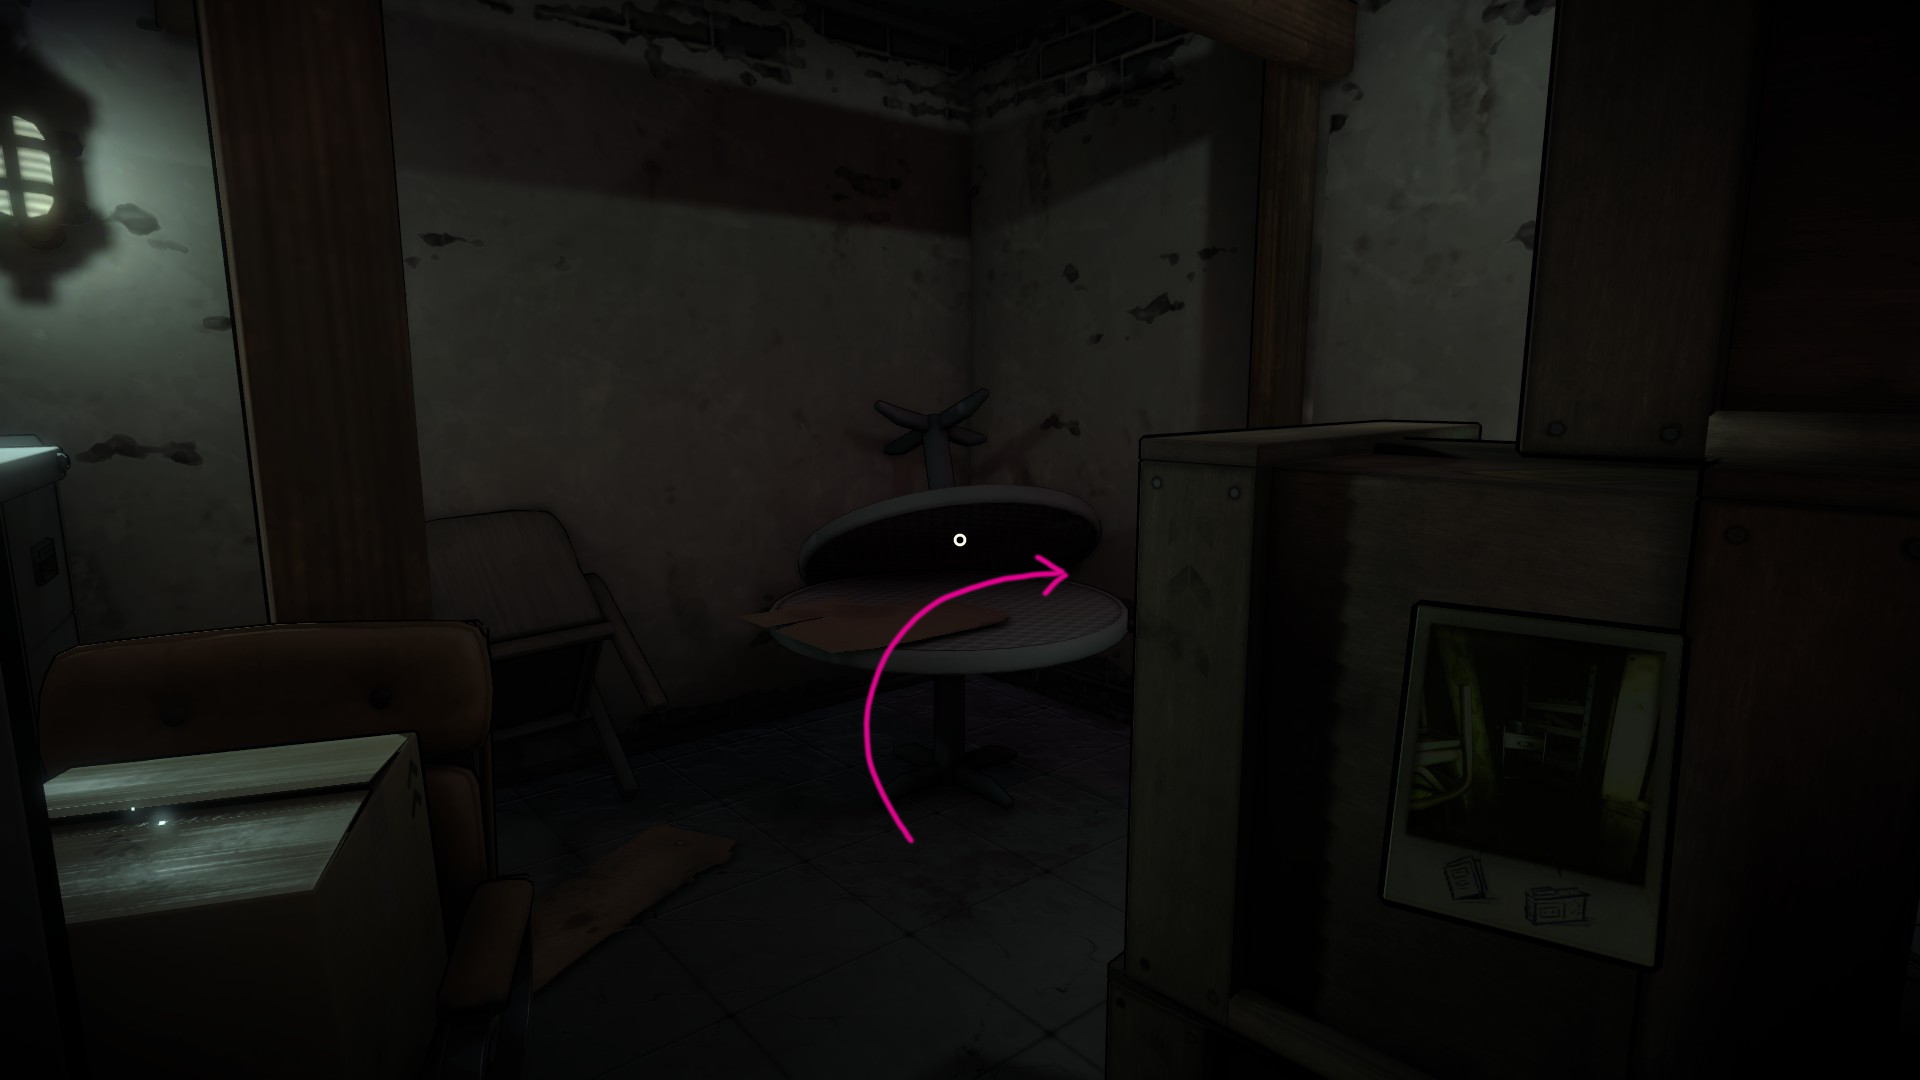
You’ll find recorder #2 on top of a metal tray table, and if you pull open the drawer there will be important evidence inside. Be sure to pick up the evidence and examine it, then place it back down before moving onto the next.
Turn around and move past the tables, ducking to your right into the cramped space between two shelves.
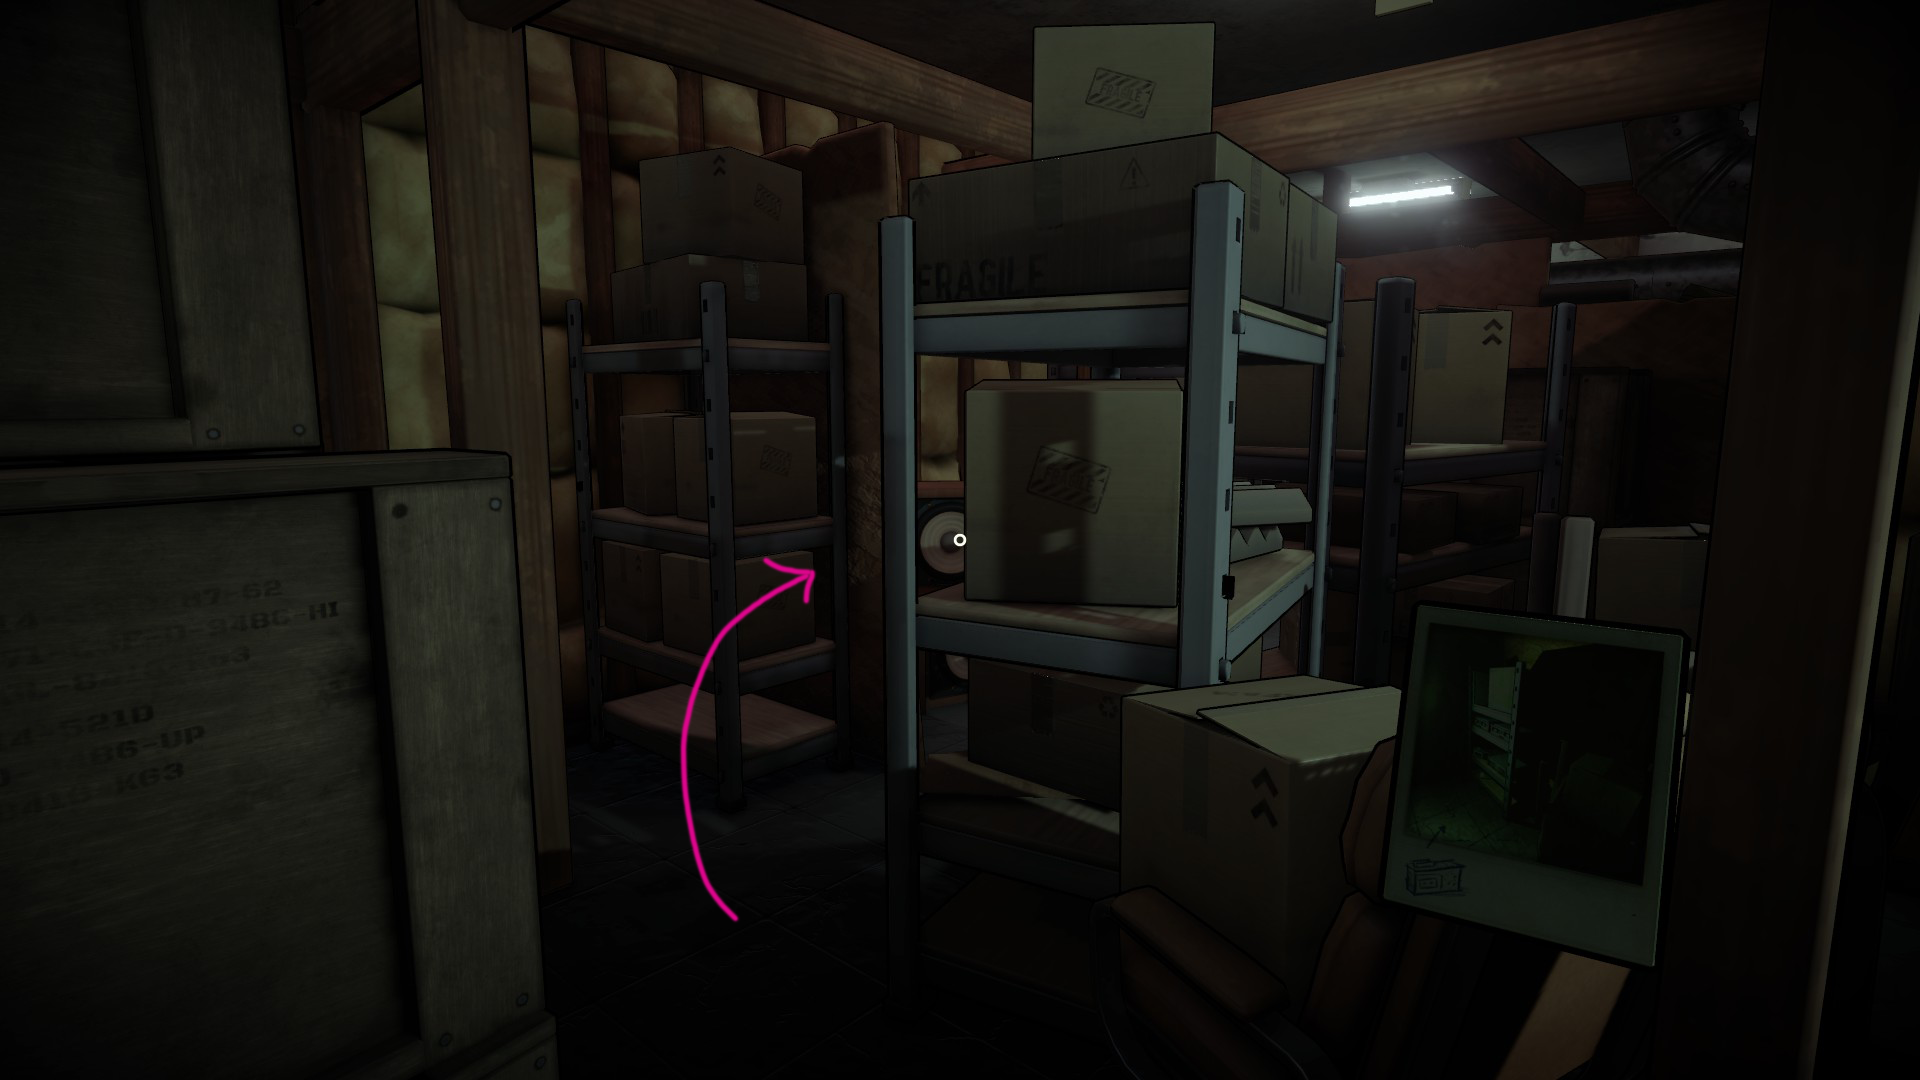
Continue along the curving path, moving to your right.
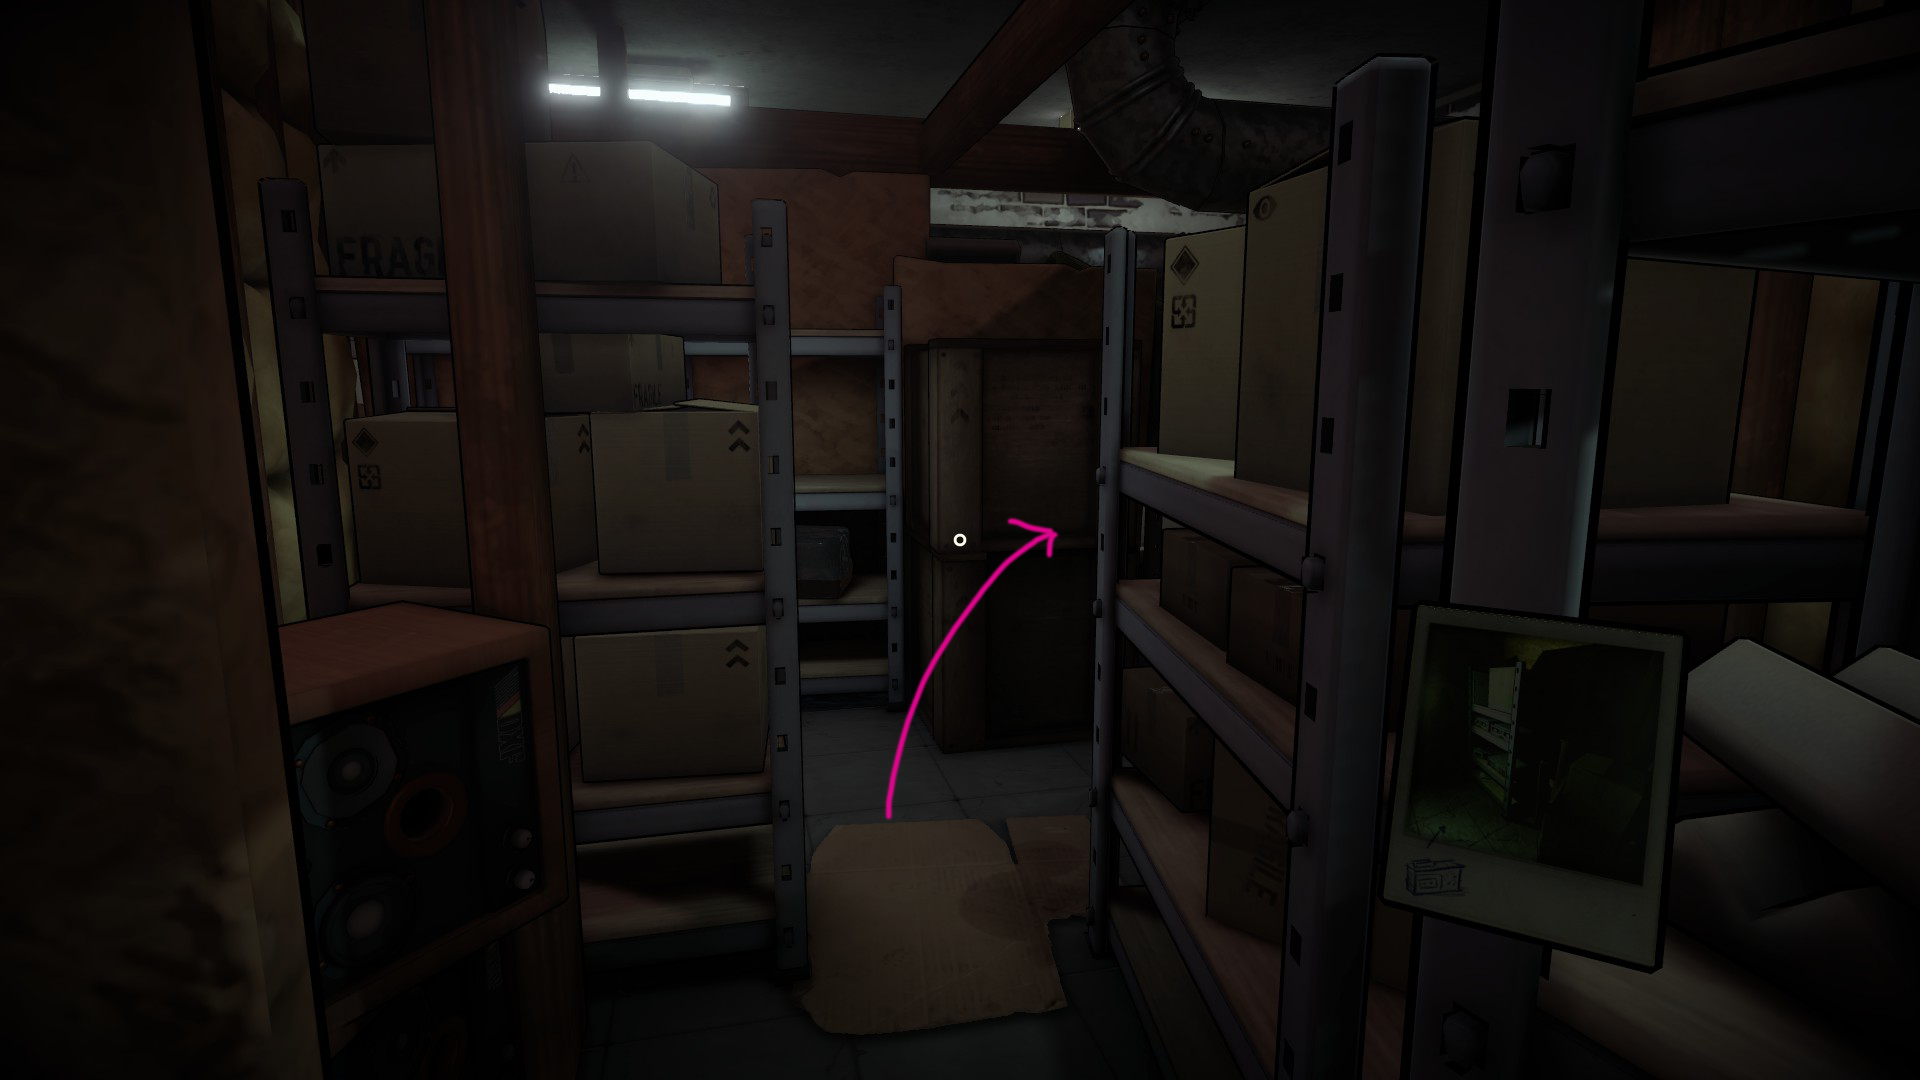
You should now be able to see the red light of the recorder, it’s tucked away in a very dark little niche on your left.
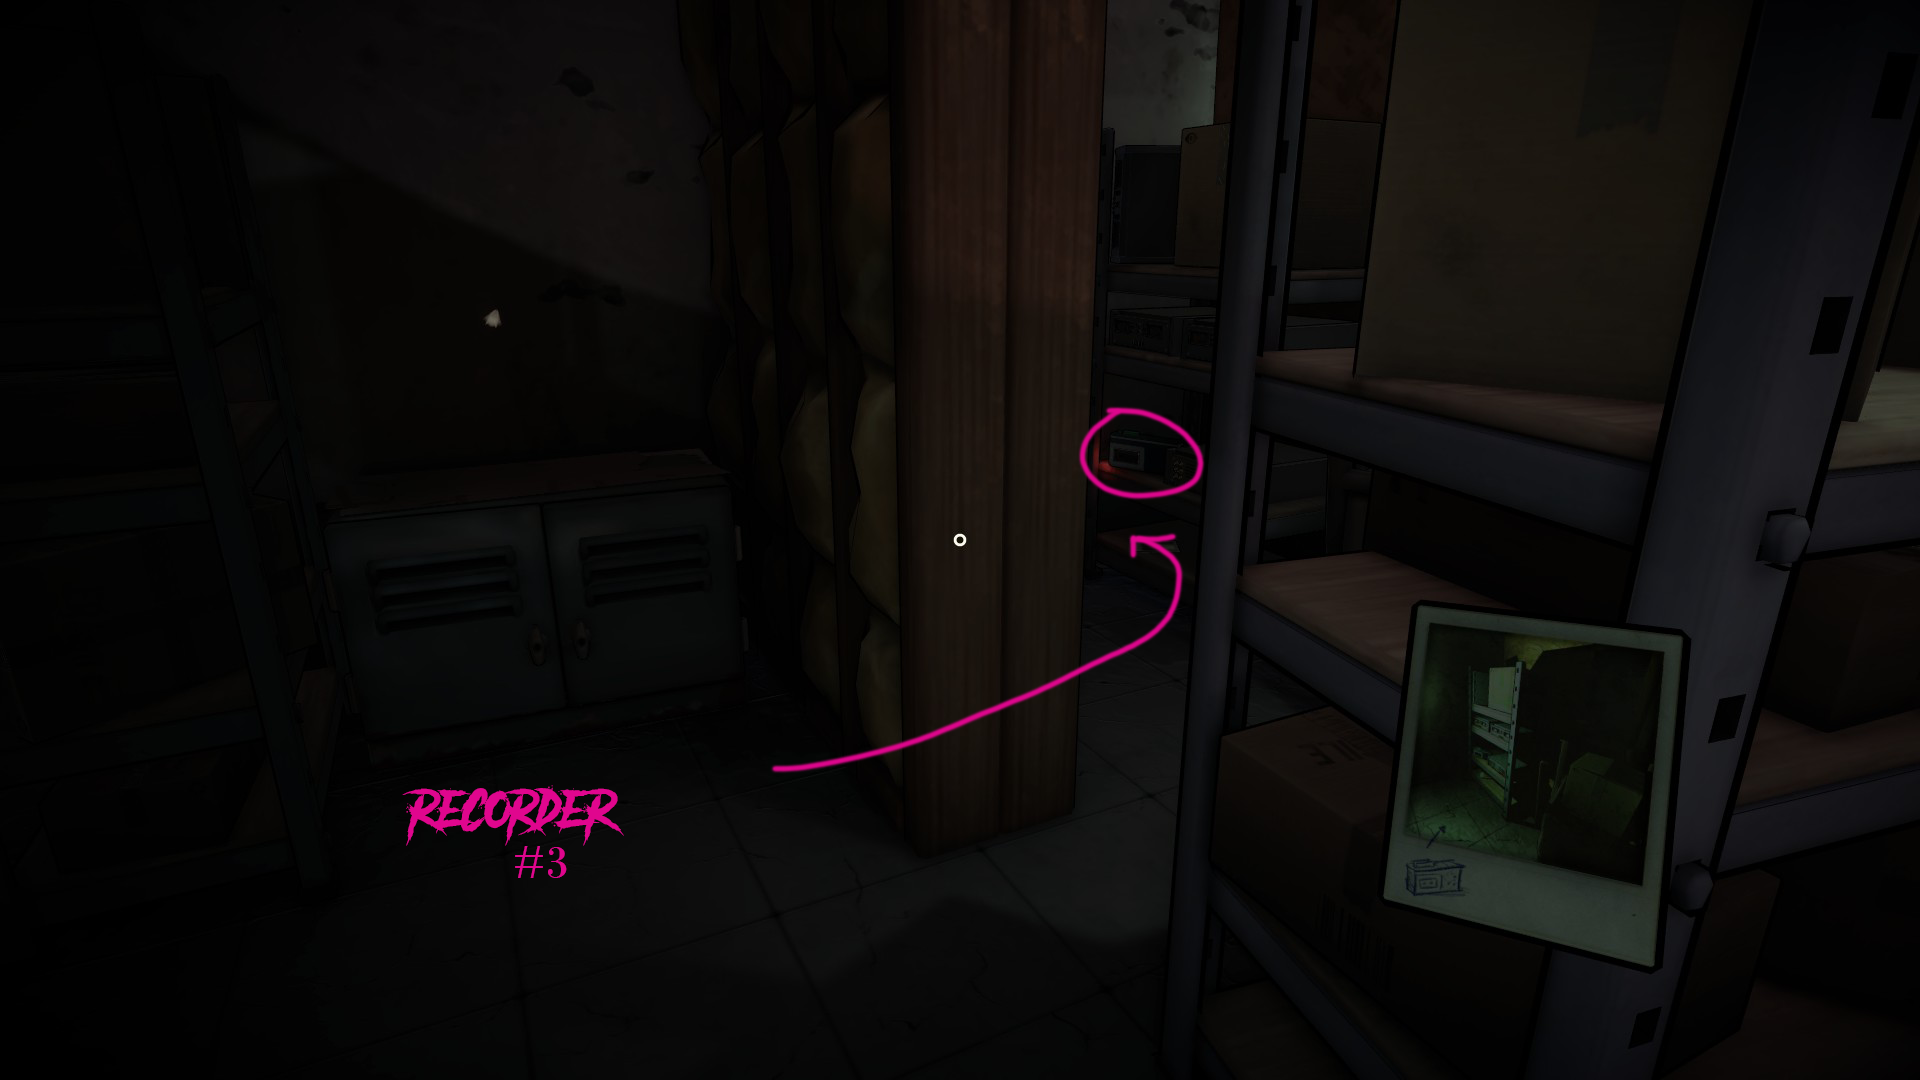
Turn back around and take a sharp right.
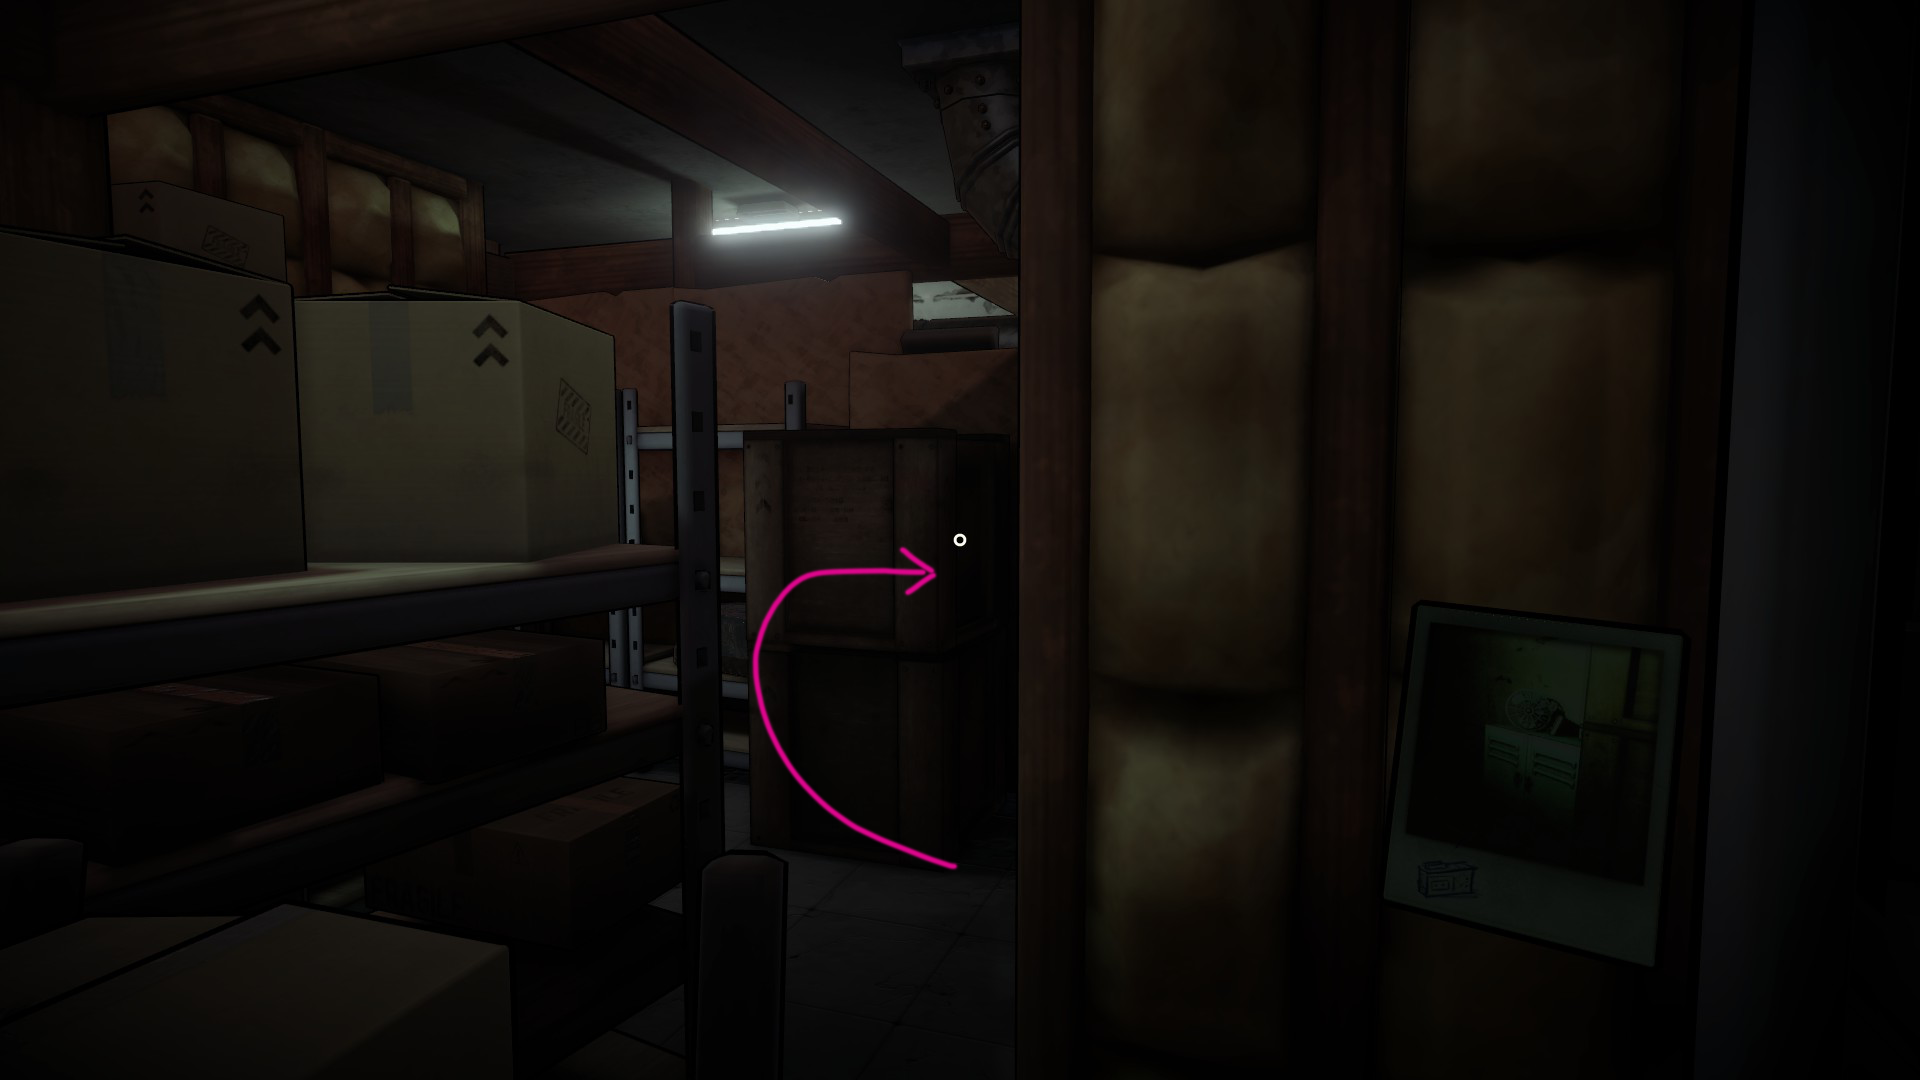
Then continue to your left, zig-zagging and moving past a metal cabinet on the wall with a caution sign.
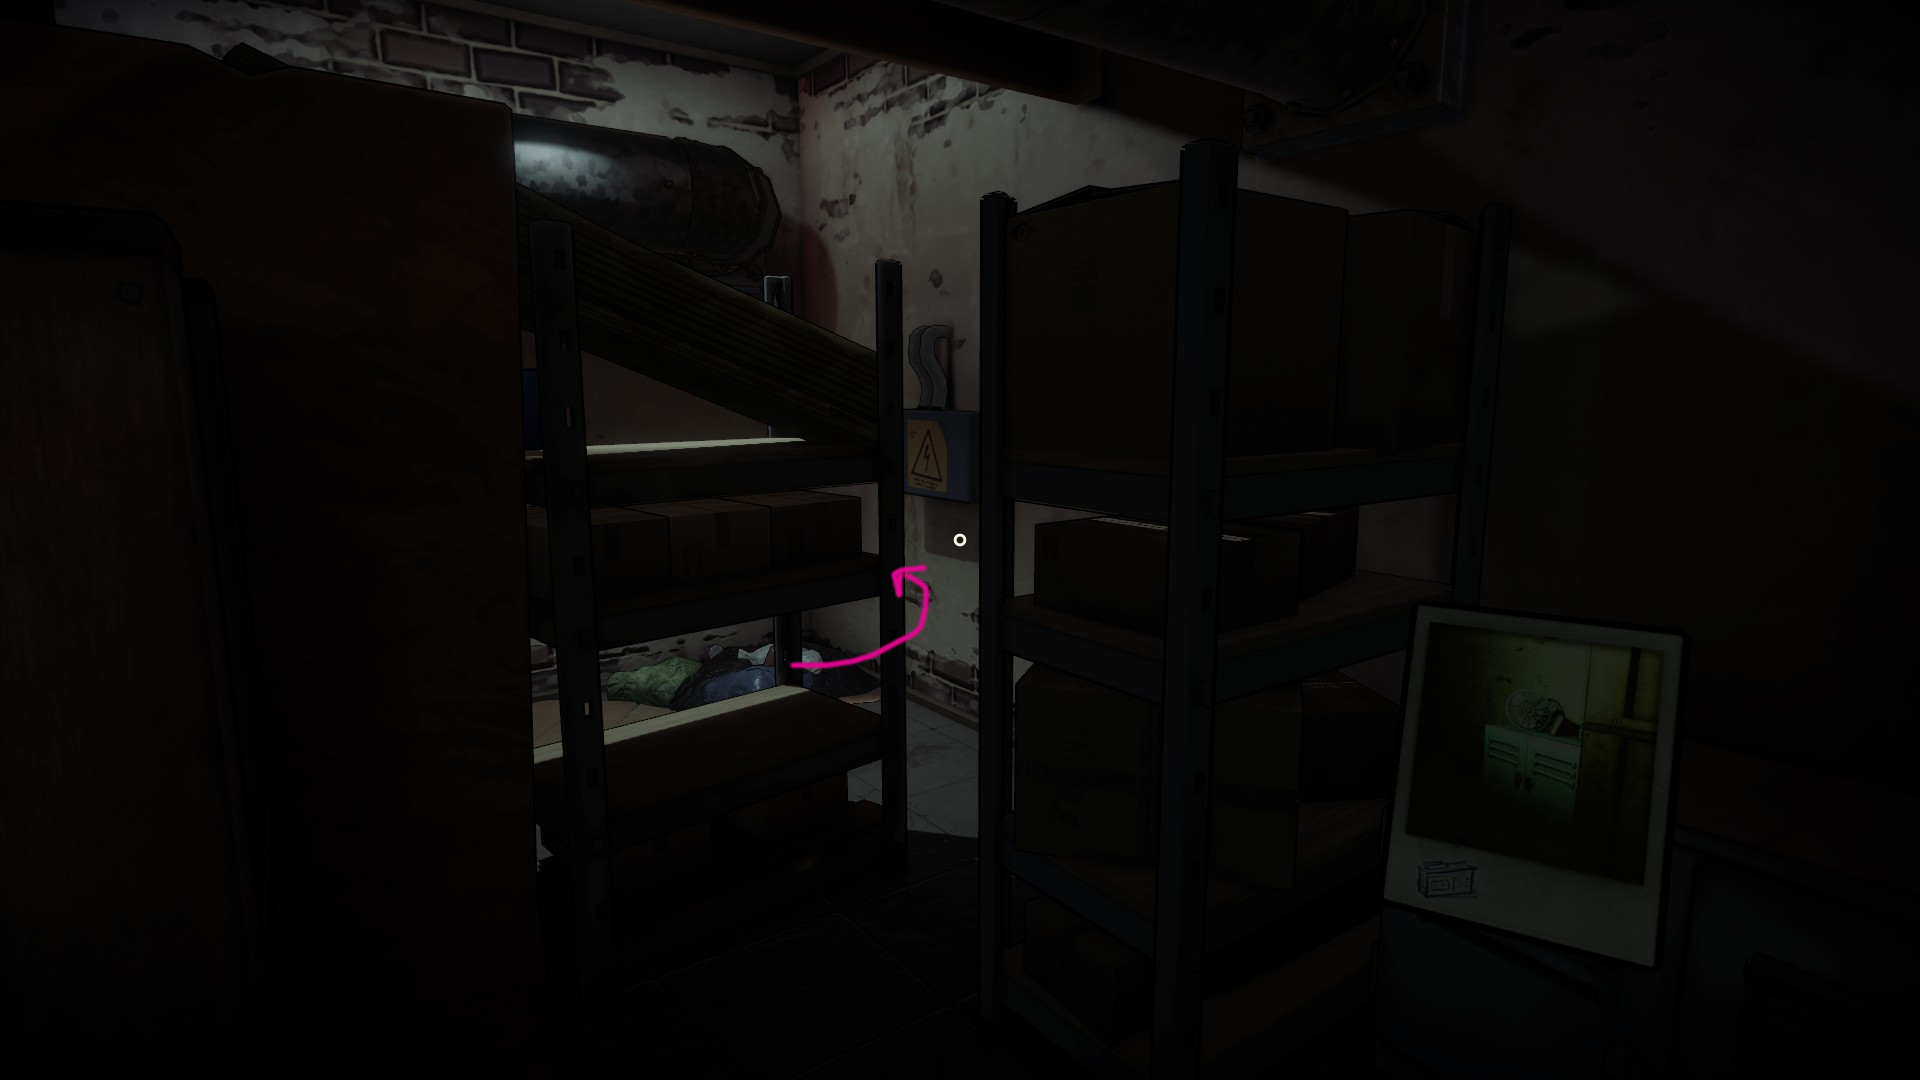
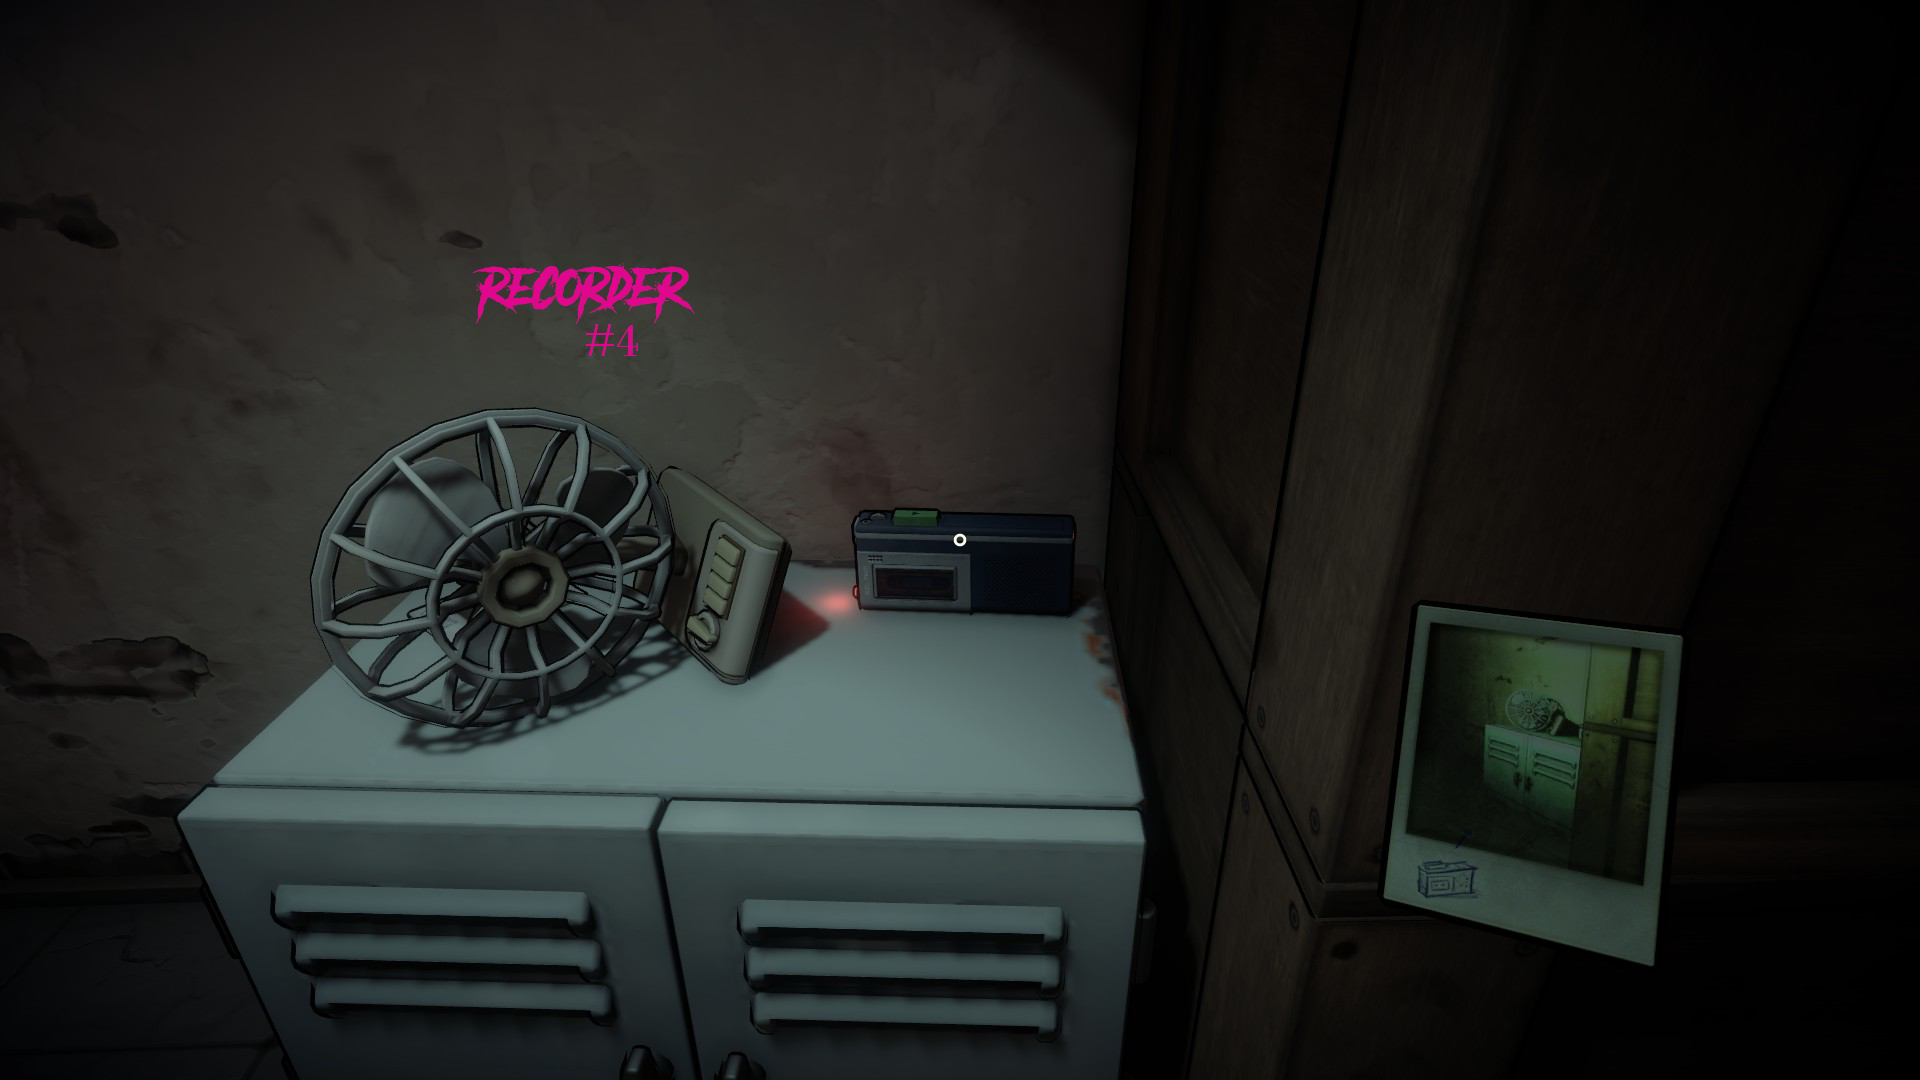
Recorder #4 is sitting on a metal cabinet next to a fan.
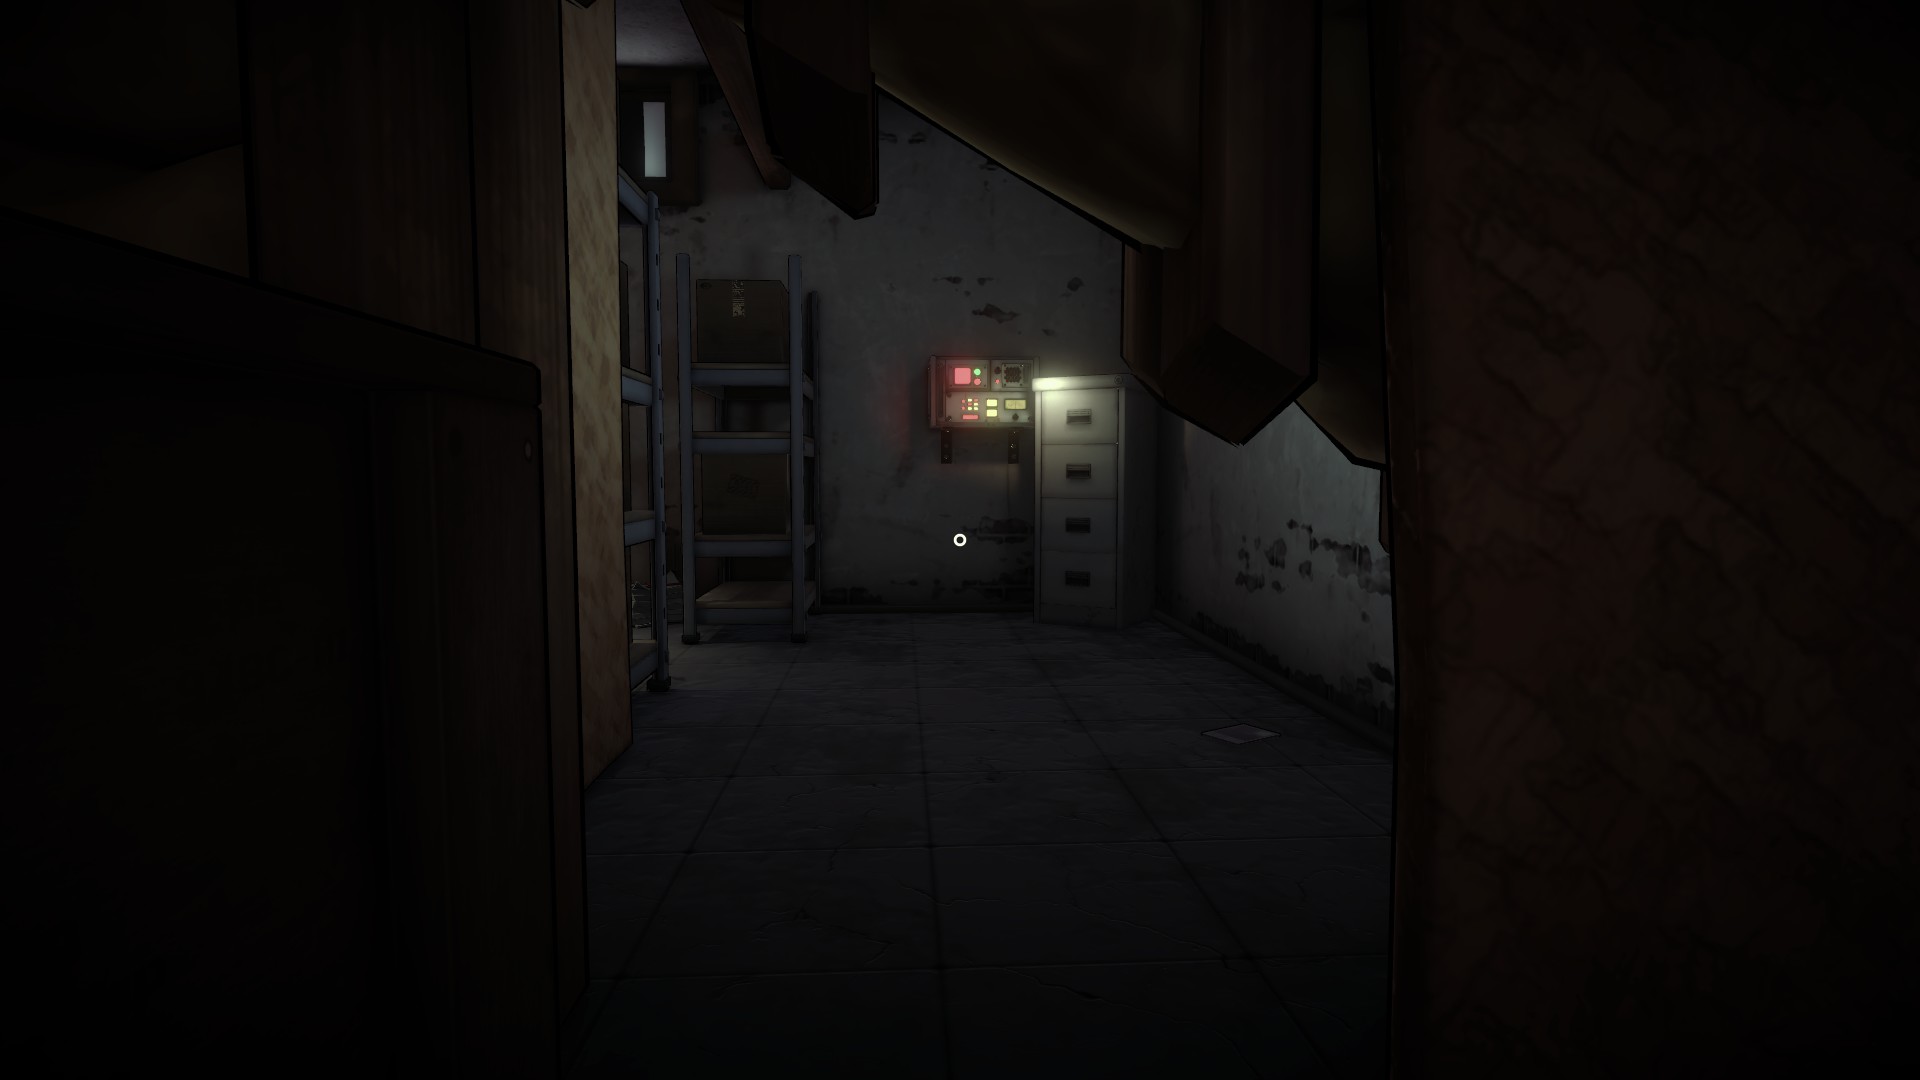
Now, the rest of the path is completely linear so crouch and continue through the broken wooden beams. As you go, you’ll see an electrical panel on the wall with a bright RED button. Keep this in mind for later, it might come in handy!
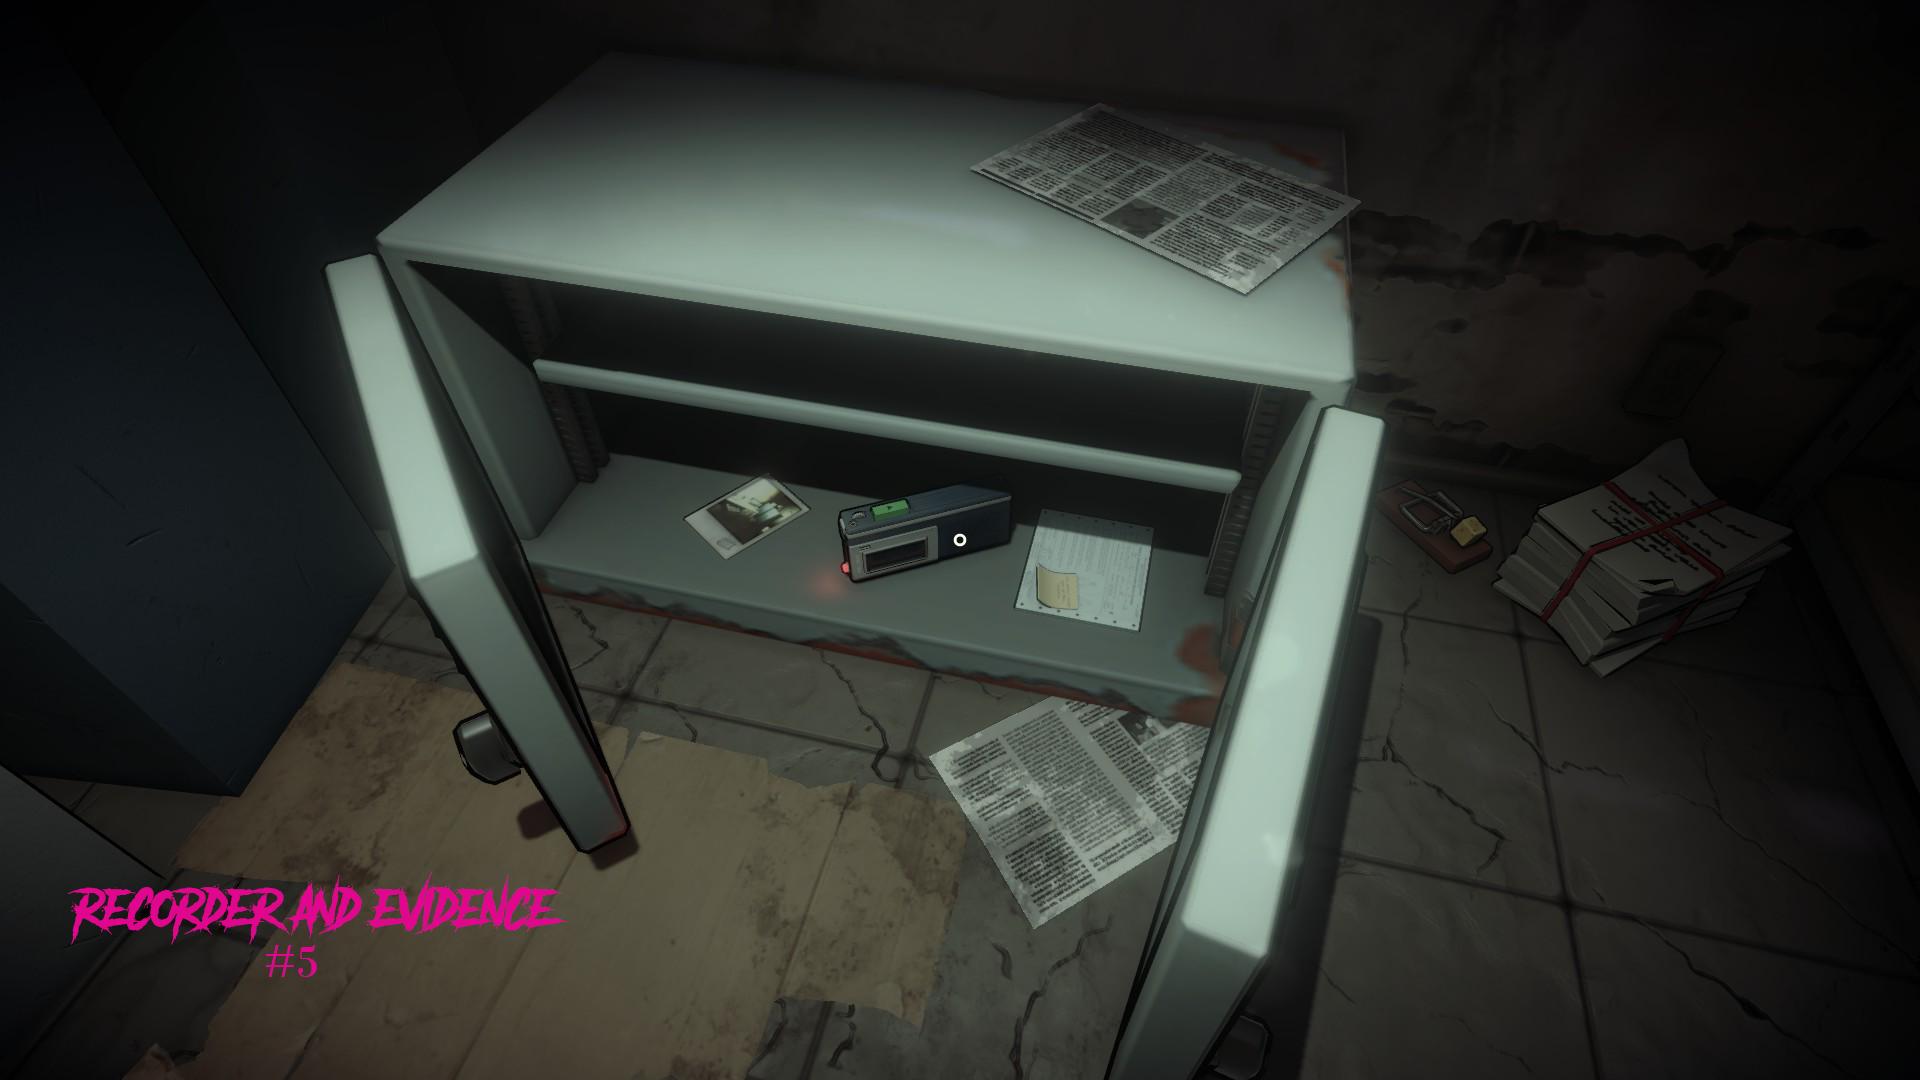
Just as you pass the electrical panel with the big red button, there will be a metal cabinet to your right. Open up the doors to reveal documents and recorder #5 and crouch down to examine the papers. Then, play the tape.
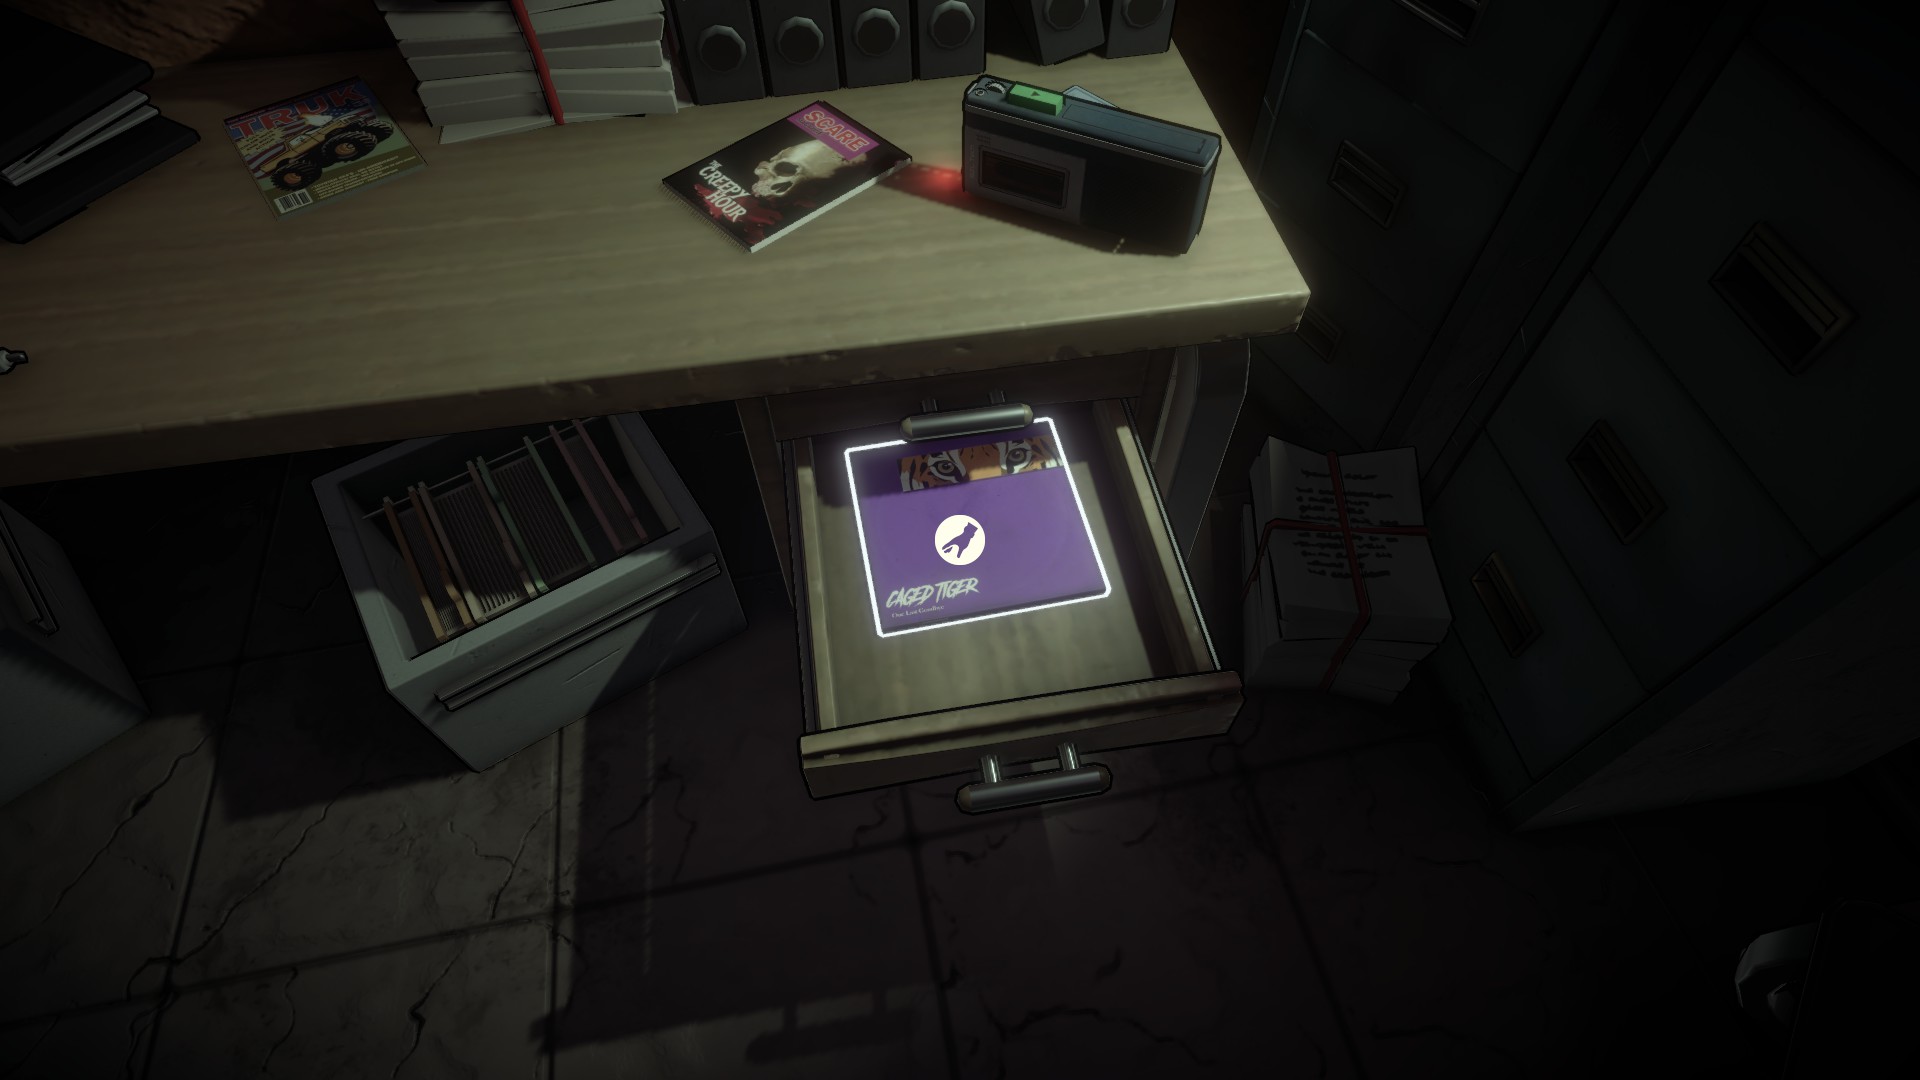
Finally wind your way through the file cabinets to find your prize at the very end. There’s a long desk, and if you open the middle drawer on the right side you’ll find Caged Tiger’s ‘One Last Goodbye’, the final hidden record that you need to unlock 「Complete Discography」.
With that done, click the play button on the final recorder.
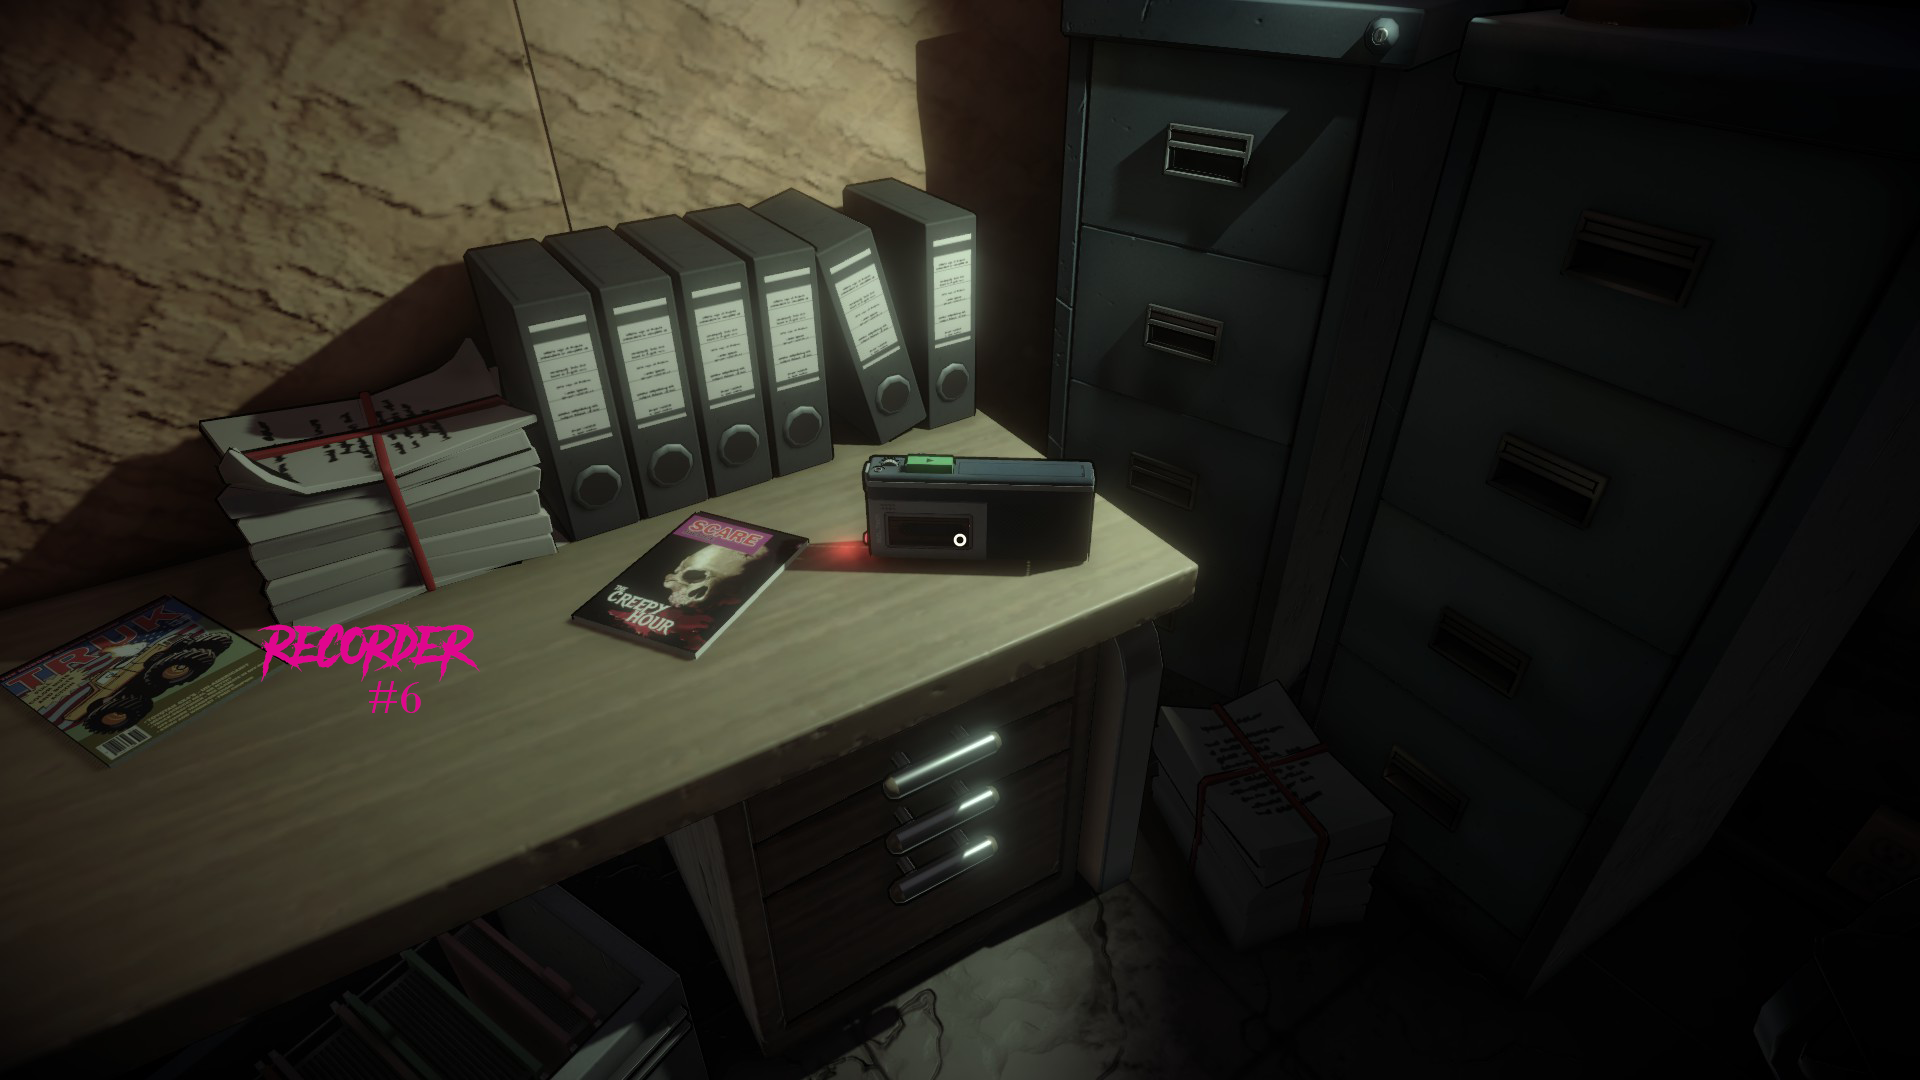
Peggy is going to want to hear about what you’ve found, but if you’re attempting the speed run then first we’re going to make a quick detour. Return to the door you entered the room in, then instead of going right through the maze of filing cabinets let’s take a left.
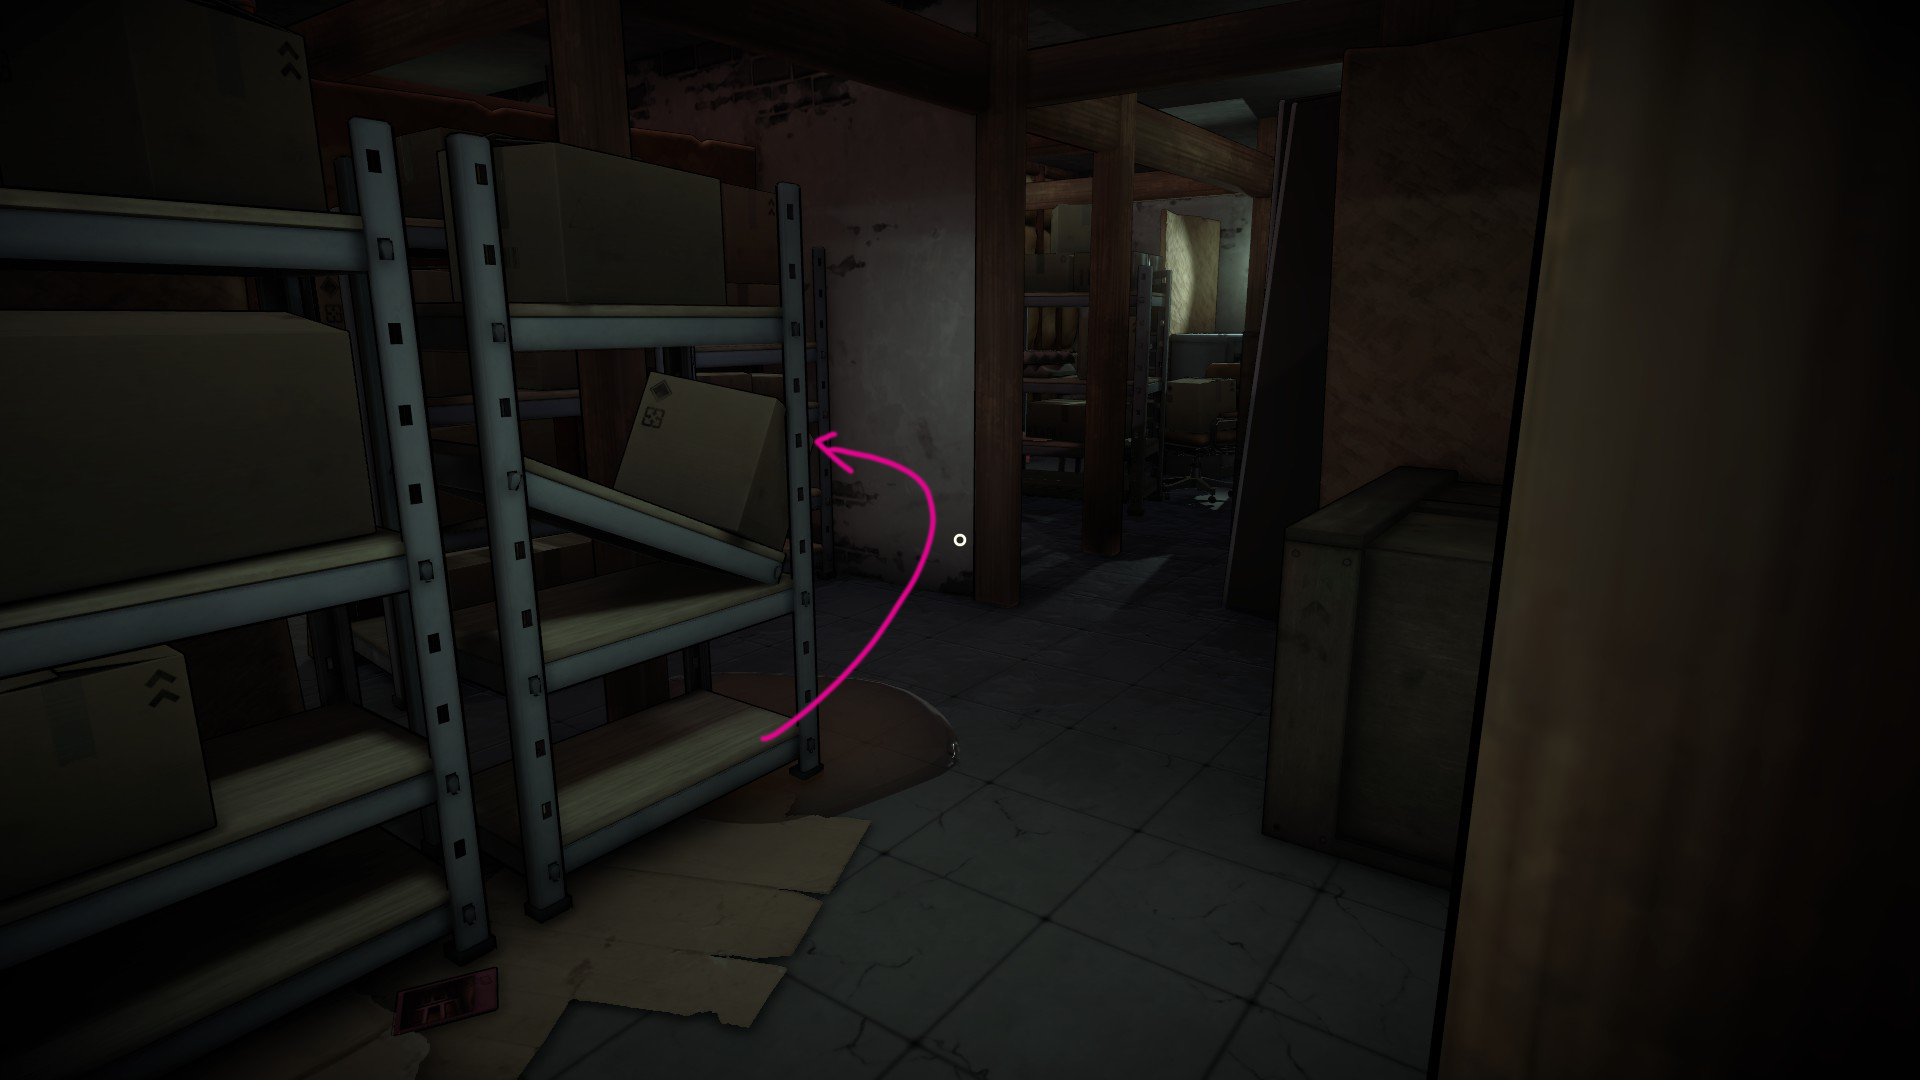
This will take you to a small room that’s tucked away, with two metal cabinets that have documents on them. One is a delivery note for the Starling Security 4000 System, and the other is a user manual. These will be used for your next puzzle during your call with Dawn, but to save you time so you do not have to back track down to the basement, pick them up. Grab the delivery note then toggle it into your left hand so you can also pick up the user manual.
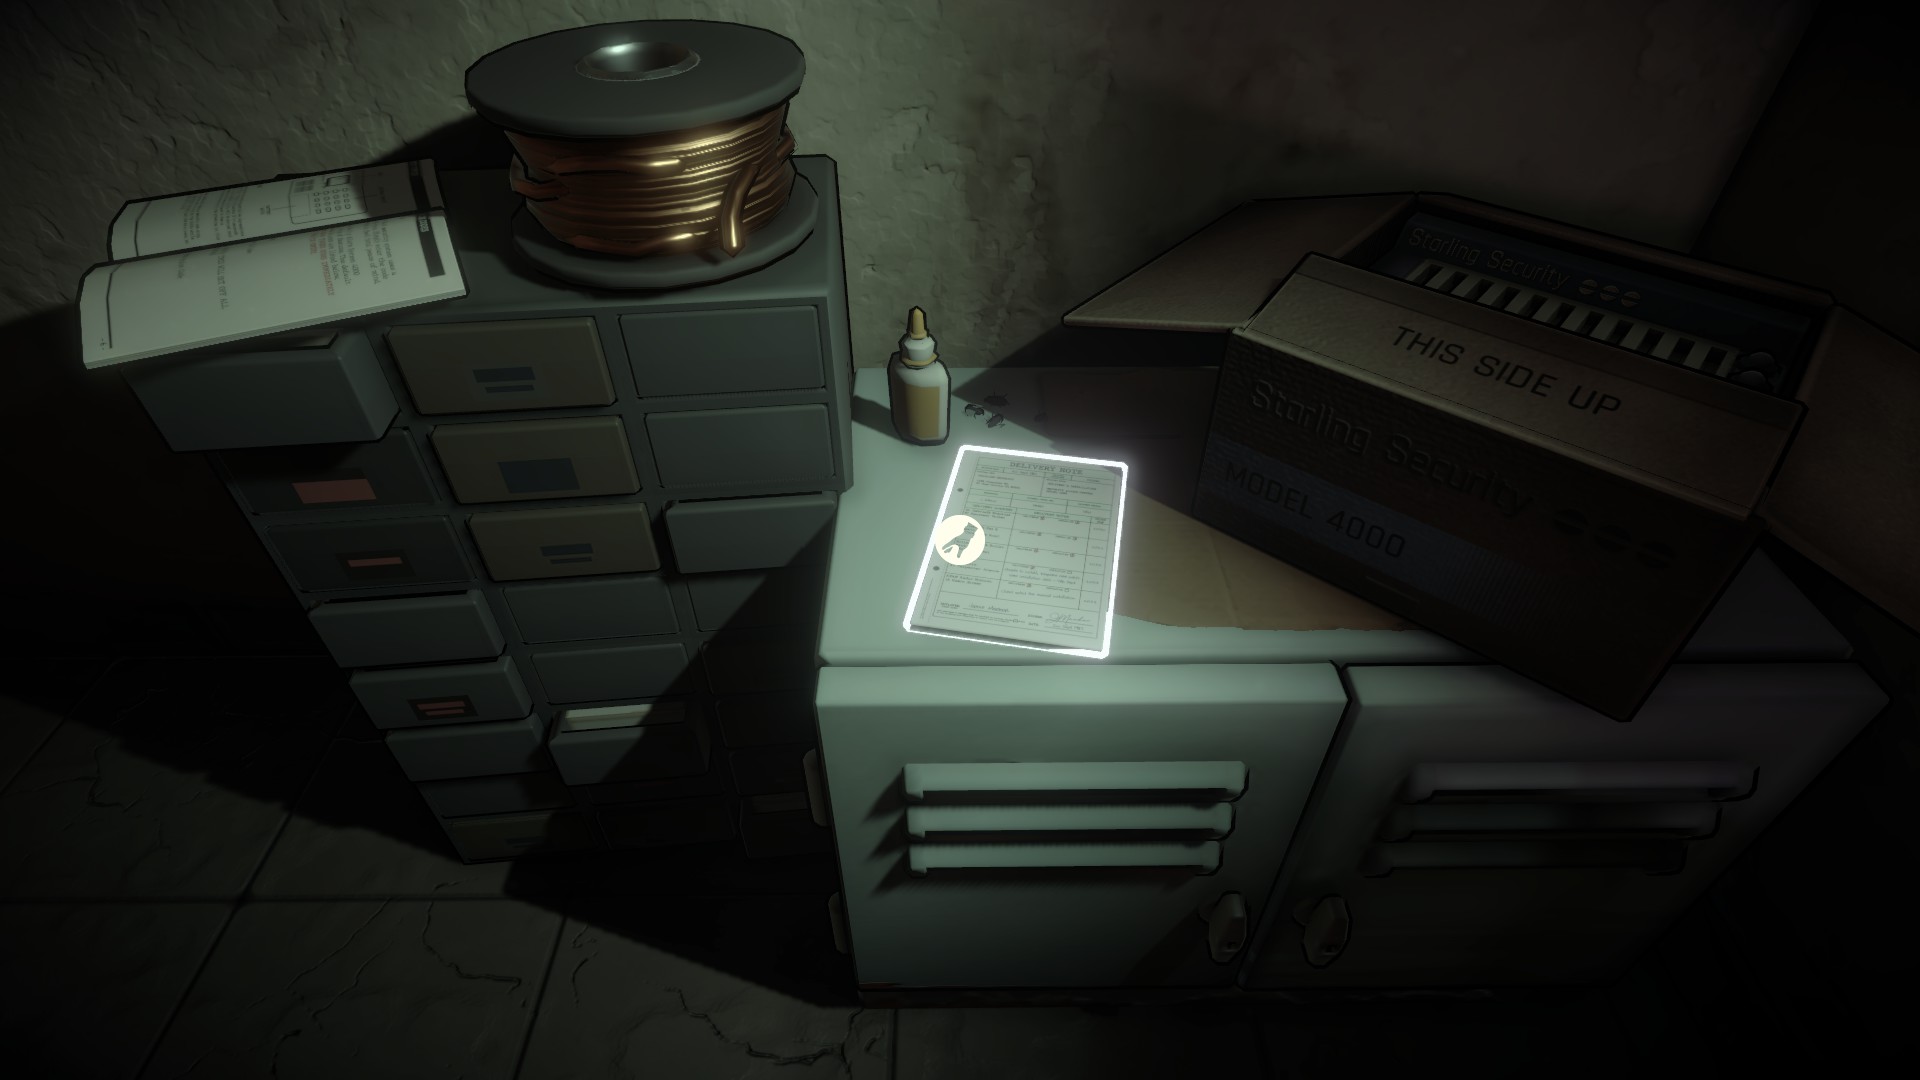
Hold onto them so that when you return upstairs, they will be in your hands. Now you can return to the main room where you found the first tape and click on the button on the intercom attached to the wall to page Peggy. After going over all the evidence, time will pass and you will be awarded with the achievement: 「From Beyond the Grave」.
All Survivors Playthrough – Part 5
3:00 am
Begin by having a conversation with Virginia, and after that is over you will automatically go into another phone call with Sandra. The goal here is to not be too pushy, you don’t want her to hang up on you.
- That sounds nice.
- Are you keeping secrets?
- You okay?
- We know.
- Sure.
- Of course.
Sandra will still end up hanging up on you, but Peggy should say that the conversation couldn’t have gone any better.
Calls are happening in pretty quick succession at this rate. Get through them until it’s Dawn on the line again and she says she needs your help with the security codes. Only, something seems a little fishy with her request.
Thankfully we already got the things we needed on our last trip down to the basement! If you haven’t already, place the user manual and the delivery note down somewhere at your station and then pick them back up. This should prompt Forrest into some voice lines, and then you can quickly page Peggy to continue! This saves a lot of extra time!
Peggy will ask if you’d like to call Roller Ricky because he also has one of those security systems and you can either choose to call him or decline, it won’t have any effect either way. The important part here is what information you give to Dawn.
When she asks for the access code, give her the alarm test activation code. This will assure that the alarm alerts Roller Ricky and his life is spared, popping 「An Alarming Development」.
Murphy will call in again, but he’s not much help.
Important Call – Casey
Casey’s call starts off stressful. Her friend has been stabbed by The Whistling Man and she needs help. Feel free to answer however you’d like, the choices that matter are following the conversation with the nurse who walks you through how to administer first aid.
- How is Jason?
- Don’t touch the knife.
- We need to secure the knife.
- Use the laundry.
- Okay.
- Any suggestions?
After the side conversation with Peggy, Forrest will need to go into Reggie’s office to attempt to find the sensitive information to help save Jason. Peggy will give you the final key you’ll need for the 「Master of Unlocking」 achievement, so head on out and pick it up off the ground. Then, proceed downstairs, past reception, and into the staff hallway. Reggie’s office is the door marked “private”, with the sign with a man wearing a tie.
Once inside, we need to get into the safe which is barred by a 4-number code. The hint says a very important date. If you want to find the code, head over to the desk and open the first drawer on your right, then insert the floppy disc into the computer. The “important date” is 11/07, so go back to the safe and enter 1-1-0-7.
Nice! The safe is open, so the idea is to pull out the personnel files and check them to see who received first aid training and who lives close to 25 Nancy Lane. To make this short and sweet, pick up the white floppy on the top left and insert it into the computer. This is our guy, John Hedges.
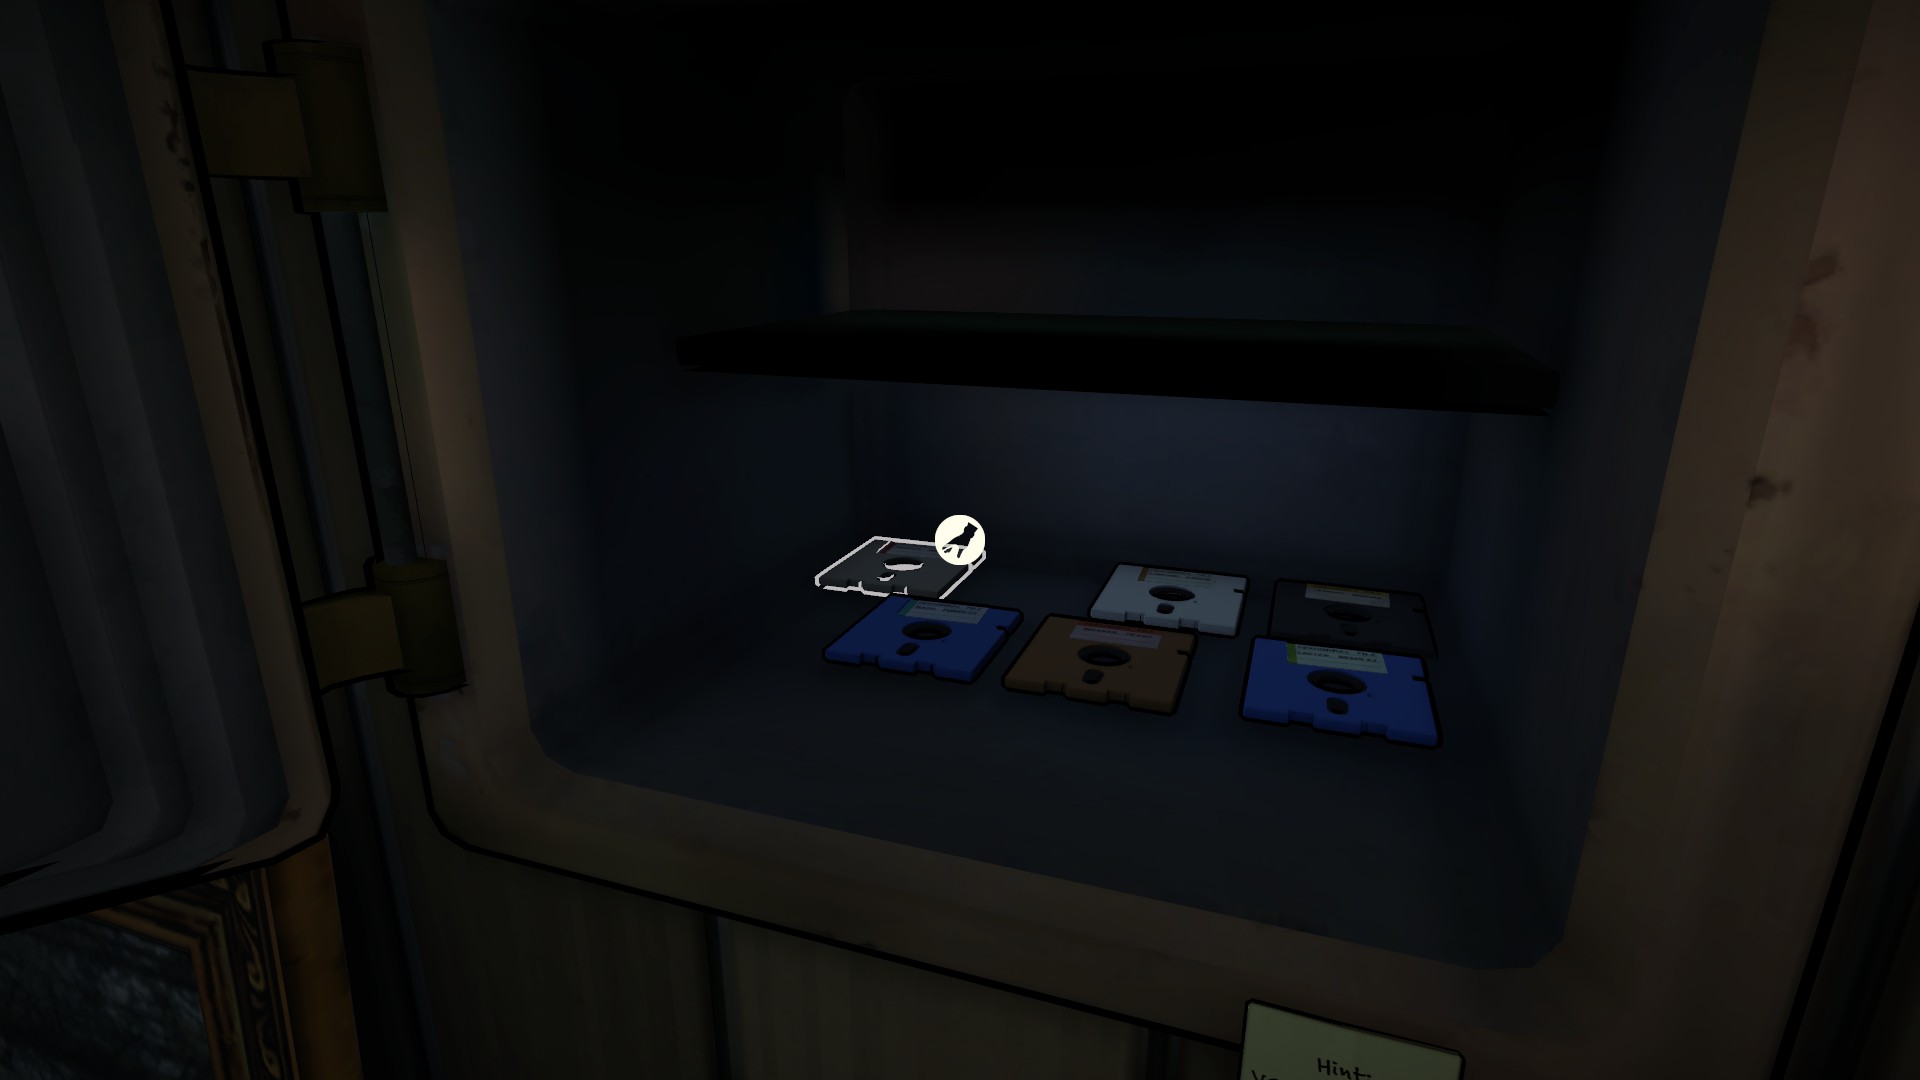
Now talk to Peggy on the intercom to tell her you’ve got the info.
Before you can give her your answer, though, Casey will panic because Jason is not doing well. Here are your options to choose:
Responses:
- He’s going into shock.
- Elevate Jason’s legs.
- Apply an additional bandage.
- Be strong for Jason.
- John Hedges.
- Someone’s been stabbed.
Once the call concludes, head back upstairs to play some music. Peggy will warn you this will be your last break, meaning the end is in sight. If you hit the Peggy Button, you’ll go past the point of no return. If you missed something somewhere along the way, this is your chance to mop up any collectibles/play any missed songs or ads. Since ther was only three opportunities to play ads, chances are you still have one left to play so just play it for yourself on the tape deck and 「A Word from Our Sponsors」 should unlock. After that, if you’ve been following along and made sure to save everyone so far, you should have 18/27 achievements and at this point you shouldn’t have anything left to do. So, you can just page Peggy again to keep the game rolling.
The next call is from our friend Roller Ricky (and goodest boi Maxy) and he gives you a little bit more information. After that phone call, you’ll receive another from Leslie, and she’s got the cavalry coming! This nightmare is almost over, but if the killer calls again, Leslie wants you to stall them for as long as you can.
The next call is from Casey and John, granted you chose the appropriate options then Jason should be stabilized and ready to move to the hospital. This will unlock the achievement, 「Jason Lives」.
During this phone call, the power will mysteriously be cut short. So, it’s up to you again to brave the basement. Run down there and hit the big red button on the back up generator. It’s in the back of the room with the recorders, you probably saw it while you were down there before it’s kind of hard to miss.
As soon as the lights come back on, you’ll receive 「Let There Be Light」.
And… is that whistling, we hear?
You can attempt to contact Peggy in the main room in the basement via intercom but no dice. Quickly make your way upstairs toward the DJ booth.
Unfortunately our worst nightmare has happened. Peggy’s door is now wide open and she’s nowhere to be found. Head inside and let the events unfold. Now, remember how Leslie wanted us to start stalling for time? It’s time to put that into action. Most of the conversation will flow naturally, and options only have consequences once you start questioning Teddy.
Responses:
- I’ll do it.
- I can do that.
- Be honest, Teddy.
- Whistling night, right?
- Did you ask Ricky?
- Just a prank?
- How did you feel?
- Who was under the mask?
- How do you know?
- Then why the cover up?
- (Timed) He wasn’t a blip.
- Answer the question.
- You’ve been through hell.
- The School Gym!
Not that he probably deserves it, but congrats, you saved Teddy from certain doom. Oh, and unlocked 「Took a Swing for Teddy Gallows」!
The conversation will continue, and it’s smart to preemptively pick up the hand-made card with a drawing of a cat sitting on Peggy’s desk. Just keep hold of it while the events unfold. Once everything is said and done, you’ll receive 「A Tale of Two Sisters」.
Now just sign off after this long, stressful night to finally unlock:
- 「The Man, The Myth, The Scream」
- 「The End?」
- 「Not All Talk」
- 「Forrest Dash」 (If you beat the game in under 4 hours played time)
That’s a wrap on the first playthrough with all survivors! If you also completed 「Forrest Dash」, then all that remains is to have no survivors, which is essentially the “bad ending”.
All Deaths Playthrough
This playthrough is recommended as your second or third playthrough, and it should be fairly easy to know what options to choose now that you know the given outcomes.
Your main goal here is to allow The Whistling Man to kill each of the important callers and characters.
If you need a bit of help, here’s a quick break down:
- Have Leslie choose the baton as her weapon against The Whistling Man.
- Have Sandra strip and twist the blue and red wires.
- For Maurice, don’t bother picking up the fax at all. Tell Peggy you lost it and ask Maurice to fax the layout of the office to you again. Still don’t go and collect the fax, but continue with the phone call anyway.
- When Virginia calls, you can call any of the take out joints other than Ponty’s Pizza.
- To end Eugene’s segment quickly, tell him first to go forwards and then backwards.
- For Murphy, call Alex.
- To lead Carrie’s “friends” to certain doom, choose: Kyle, Scott, Seth, Cynthia, Tammy. Note that Carrie will always survive.
- To assure that Chuck meets his end, just choose a different name and do not call the Gas Station.
- For Ricky, give Dawn the entry code. (Warning, this is probably the hardest one to listen to.)
- For Jason, pull out the knife, apply the cleaning cloths, elevate his wounds, replace the bandage, call anyone other than John.
- During your final call with Dawn, say that you’ll get going.
That should net you the final achievement you need to earn 100%: 「Killer Frequently」!
Collectibles
For the collectibles, you can check in the pause menu at any time to see how many keys and records you’ve collected. When all is said and done, you should have six [6] keys and four [4] hidden records in total.
Ad Tapes
1. Master Robbie’s Dojo
2. Teddy Gallows Jr. Campaign Ad
3. Gallow’s Creek Harvest Festival
4. Grilling Spree Ad – The only tape you actually have to find. It is located in the room with the fax machine at the second pair of desks. You’ll find it on the desk with the chili cook off trophy, to the left of the type writer.
** I have confirmed that you do not need to be prompted by Peggy to get credit for playing the radio ad tapes. You can pop them into the player, you just must LISTEN TO THEM IN FULL. I am fairly certain Peggy only actually prompts you to play three [3] ads during the course of the night, so you will need to play the one you’re missing before the point of no return.
The 「A Word from Our Sponsors」 achievement should pop once the fourth tape comes to an end.
Record List
1. Blast Processors – 198X
2. David Scopo – Moonlight
3. Crying for Help – The Flow
4. The Late Night Lurkers – If You Dare
5. Knife and Ez – Stab in the Twilight
6. Stormriders – The Glam Jam
7. Smooth – The Word
8. The Hang-Ups feat the 1984 hit ‘Let Me Go’
9. Roddy Snatcher – Final Breath (Hidden)
10. Vice – I’m Coming to Getcha (Hidden)
11. The Barn Finds – Long Ride Home (Not truly hidden, story related)
12. Caged Tiger – One Last Goodbye (Hidden)
Hidden Records
1. Roddy Snatcher – Final Breath
- Located on the first floor, behind the reception desk. Look in the side cubby nearest to the blue trash can. (On your far right behind the desk when facing the front doors.) Crouch to retrieve the record.
2. Vice – I’m Coming to Getcha
- Located in the staff room. Head to the very back of the room, past the kitchen toward the television and arcade game. To the left of the television set is a shelf with binders, the record is tucked away on this shelf.
3. The Barn Finds – Long Ride Home (Story Related)
- Found in the alleyway accessible after Dawn’s second phone call and Peggy gives you the key to the fire exit door.
4. Caged Tiger – One Last Goodbye
- Located in the second drawer in the desk at the end of the maze of file cabinets in the basement. This is the same desk where you find the final recording from Clive.
Keys and Doors
Fun Fact, the 「Master of Unlocking」 achievement’s descriptions is “Unlock all doors in the station”, but you’ll receive it after you simply pick up all keys. You do not physically have to open up all of the doors to receive the achievement, but chances are you’ll be opening them anyway to complete the story.
1. 2nd Floor Stairway – The key is given to you by Peggy after the call with Maurice. This will give you access to the first floor.
2. Kitchen Key – Given to you by Peggy after Virginia hangs up for the first time. It unlocks the staff area by reception.
3. Fire Exit Door – Given to you by Peggy after Dawn’s second call.
4. Basement Key – Pick up the key from the desk in Clive’s hidden mannequin room in the basement.
5. Basement Key 2 – This key is located inside the wall in the mannqeuin room but only after you’ve helped save Chuck Brody from an explosive death.
6. Reggie’s Office Key – Peggy slips this key under the door for you during the call with Casey, after administering initial first aid.
We’ve completed our Killer Frequency walkthrough guide here. If you have problems with the sections, write to us as a comment. Let us help you as soon as possible about Killer Frequency.