Welcome to our LEGO Star Wars The Skywalker Saga Studs Farming guide. These are the best ways to farm studs in LEGO Star Wars: The Skywalker Saga.
LEGO Star Wars The Skywalker Saga Studs Farming
Method 1 – Bespin
This is the best method for farming studs currently. With this method I was able to earn around 2 billion studs every 10 minutes or about 12 billion studs per hour.
Prerequisites:
- You must have completed Episode 5: The Empire Strikes Back. This is because the method takes place in Cloud City.
- You should upgrade the ‘Attract Studs’ upgrade to the maximum possible. This will ensure that you do not miss any of the studs dropped.
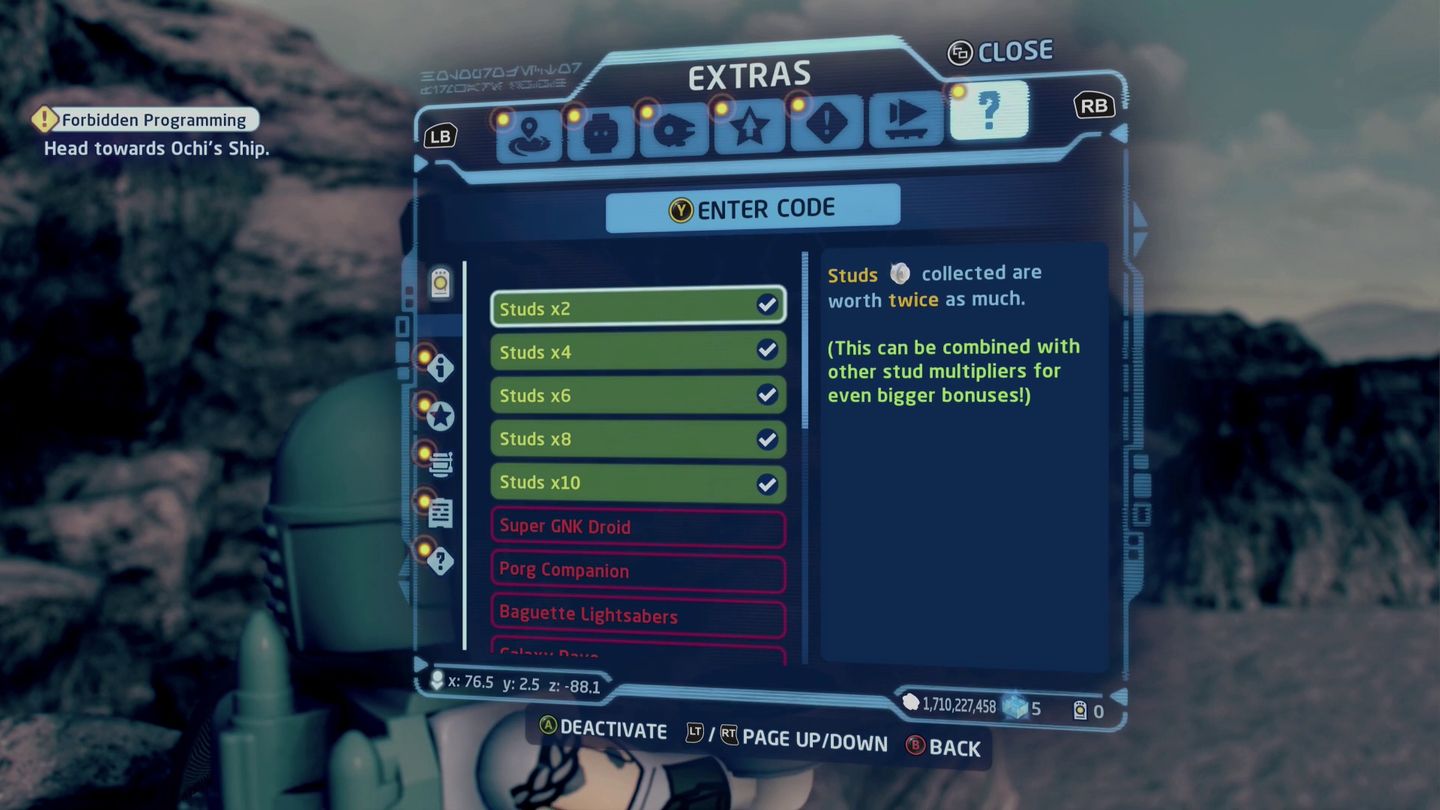
- I recommend that you have at least one multiplier to make the process slightly easier, however without one you can still earn around 500,000 studs every 10 minutes or so.


Method:
- Travel to Cloud City.
- When you first arrive you will see some walkers. These are the key to this method. Get in one.
- Walk around the entire area, trampling all of the destructible objects that you see.
- All of the things that you break will respawn, so walk around breaking everything.
- One you have broken everything head back to where you started. Everything will have respawned and you can start over again.


This is a before and after comparison of my stud counter after one run (about 5 minutes)
Method 2 – The Rise of Skywalker – LEGO Star Wars The Skywalker Saga Studs Farming
This method is not as efficient as the first one, but is less tedious so may be more enjoyable for longer runs. With this method, I was able to earn around 500 million studs per run. Each run takes about 4-6 minutes.
Prerequisites:
- You must have completed the first mission Episode 9: The Rise of Skywalker.
- I recommend that you have at least one multiplier to make the process slightly easier.

Method:
- Go to episodes and select Episode 9
- Select the first mission “A Skip and a Jump” and play it in freeplay (so you can skip the cutscenes)
- This is an on-rails mission where you have to destroy 10 Tie Fighters. If you ignore the Tie Fighters, it is endless.
- All you have to do to earn studs is shoot the pipes on the top and sides of the map. These will give you a fair amount of studs each time you break one.
- Continue this until you get bored. When you do, shoot the tie fighters and finish the level.

Method 3 – A New Hope
This method is the least efficient one, but is less tedious than the Cloud City method and so may be more enjoyable for longer runs. With this method, I was able to earn around 600 million studs per run. Each run takes about 4-6 minutes. This means that without multipliers I was earning about 150,000 studs per run.
Prerequisites:
- You must have completed “Stay on Target” which is the final mission of A New Hope.
- You should upgrade the ‘Attract Studs’ upgrade to the maximum possible. This will ensure that you do not miss any of the studs dropped.
- I recommend that you have at least one multiplier to make the process slightly easier.


Method:
- Go to episodes and select Episode 4
- Select the last mission “Stay on Target” and play it in freeplay (so you can skip the cutscenes)
- This is the mission where you have to blow up the Death Star. It starts on rail and becomes more open later on.
- All you have to do to earn studs is shoot the Tie Fighters that are flying at you. Each time you kill one you will earn studs.
- When you get to the more open section, shoot everything you see. This will get you a few more studs before the end of the mission.


Method 4 – The Phantom Menace – LEGO Star Wars The Skywalker Saga Studs Farming
This method is one of the more efficient mission-based ones. For each run I was able to earn 768 million studs. Without multipliers, you can expect to earn around 200,000 studs per run. Each run is 2-3 minutes.
Prerequisites:
- You must have completed the first mission Episode 1: A Phantom Menace
- I recommend that you have at least one multiplier to make the process slightly easier.
- You should upgrade the ‘Attract Studs’ upgrade to the maximum possible. This will ensure that you do not miss any of the studs dropped.

Method:
- Go to episodes and select Episode 1
- Select the first mission “A Bigger Fish” and play it in freeplay (so you can skip the cutscenes)
- This is an on-rails mission where you have to run away from a series of sea creatures.
- All you have to do to earn studs is shoot the fishes, any breakable objects and and bubbles full of studs.


Method 5 – Tatooine
This method is surprisingly efficient, but repetitive. With this method, I was able to earn around 500-600,000 studs per run, with no multipliers. With multipliers, I was earning over 2 billion. This was with around 5 minutes of using this method. YOU CAN ONLY DO THIS METHOD ONCE SO MAKE IT COUNT.
Prerequisites:
- You must have got to Tatooine in Episode 4: A New Hope.
- You should upgrade the ‘Attract Studs’ upgrade to the maximum possible. This will ensure that you do not miss any of the studs dropped.
- You must acquire and upgrade the ‘hidden bounties’ perk in the Bounty Hunter skill tree. This will allow you to earn studs for each enemy you kill.
- I recommend that you have at least one multiplier to make the process slightly easier.


Method:
- Go to the Mos Eisley on Tatooine
- Travel to the Mos Eisley Cantina, to the right of the entrance, you will see three Storm Troopers.
- The middle one has a mission for you called “Ma Klounkee Most Foul” you must accept it.
- Once you have accepted the mission, select a bounty hunter character and start shooting at them. They respawn instantly and every time you kill one of them with a maxed out ‘hidden bounties’ perk you will earn 750 studs.
- Repeat this for as long as you want. The longer skill chain you build up the more studs you get as a reward when it ends.
- As soon as you complete the side-mission they give this quest will no longer be available.


Video Guide