In this guide, we’ll help you find Gerlinde, the blacksmith in Lords of the Fallen, and provide you with valuable information on her location, how to unlock her services, and where to find special tablets to upgrade your weapons. Let’s get started.
Finding Gerlinde, the Blacksmith Location
After defeating the first true boss, Pieta, you’ll reach the hub area. From there, follow these steps to find Blacksmith
- Head along a cliff face in the hub area.
- Reach the Vestige of Blind Agatha, known as the Pilgrim’s Perch Bellroom.
- Continue along the path until you find a lift leading back up to the Vestige of Blind Agatha.
- Go back down the lift after unlocking the shortcut.
- Defeat the mages nearby and drop down onto the cage below.
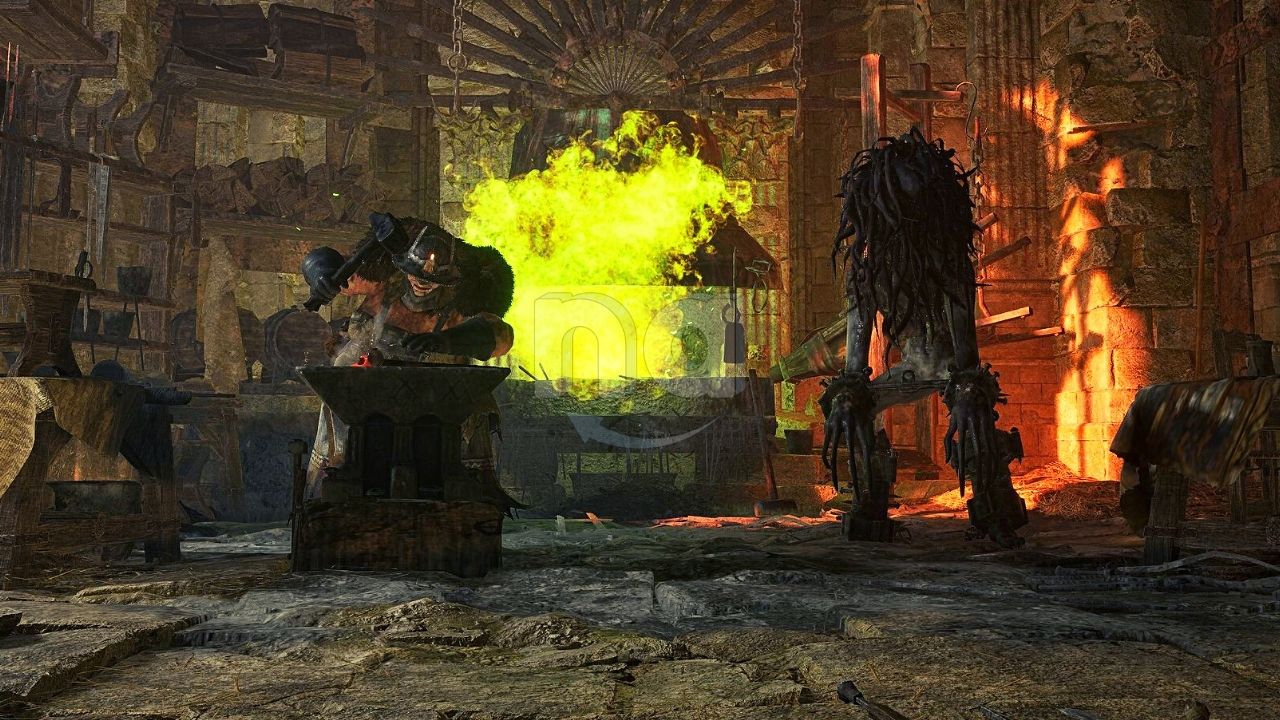
- The cage houses Gerlinde, the blacksmith, and a hostage.
- Defeat the enemy with a shield nearby to obtain the key.
- Talk to the blacksmith, and she will head back to the hub.
Where to Find Blacksmith Gerlinde
Blacksmith Gerlinde can be found in the game in the Pilgrim’s Perch area, which is the second area you’ll encounter, excluding the main hub. Here are the steps to find her:
- Exiting the Main Hub: Start by leaving the main hub area. The exit you need is to the right of the Vestige when you’re facing it.
- Path to Pilgrim’s Perch: Follow the path that leads you down a flight of stairs, which will eventually take you to Pilgrim’s Perch. Be cautious as this area is filled with hostile enemies, particularly mages who can attack from a distance.
- Climbing and Dropping: Upon reaching Pilgrim’s Perch, climb up a ladder, then follow the scaffolding until you can drop down. Before continuing, make sure to speak with Thehk-Ihir and exhaust their dialogue.
- Facing the Boss: At the end of this path, you’ll need to face the boss “Scourged Sister Selyth.” It’s a challenging battle, but the good news is that the run back is quick if you happen to die.
- Vestige of Chabui: After defeating the boss, go up the stairs, and you’ll encounter the Vestige of Chabui at the top of the stairs to the right. Activate the Vestige and heal if necessary, then proceed up the ladder opposite the Vestige to continue.
- Switch to the Umbral Realm: This is the point where you’ll need to switch to the Umbral Realm. Stand on the platform and lock onto the body on the other platform to pull yourself across.
- Narrow Corridor and Platforming: As you reach the other side, head down the ladder to your left and drop the plank to create a shortcut. Climb back up the ladder and continue on your journey.
- Challenging Enemies: Just before the next ladder, you’ll encounter another enemy with a spiked helmet. Defeat this enemy, and then switch back to the Axiom Realm.
- Parkour Challenge: You’ll come across a hanging platform, and you’ll need to run and jump onto it. Wait for it to get close to the next platform before jumping across. Continue this platforming challenge.
- Mages and Spiked Helmet Enemies: Along this route, you’ll encounter various enemies, including mages and spiked helmet enemies. Be cautious, as they can be challenging to deal with.
- Byron and Pilgrim Door: To the right of a doorway, you’ll find an NPC called Byron. Speak to him, exhaust his dialogue, and open the Pilgrim Door behind him if you have the key. It’s advisable to save this area for later since the enemies here are quite formidable.
- Elevator Shortcut: Opposite the Vestige, there’s an elevator shortcut, but you won’t be able to use it yet. Instead, head through the corridor to your left and face off against mages.
- Hanging Platforms: Cross the hanging platform and take on another mage, then proceed along your path.
- Shortcut Creation: After defeating a spiked helmet enemy, reach the ladder at the end of this section, drop it, and create a shortcut.
- More Enemies: Continue along the path in the opposite direction, facing three mages before heading toward a ladder.
- Umbral Entity: Enter the Umbral Realm, and you’ll encounter an Umbral entity blocking your way. To open this, you’ll need to find two bodies to Soul Flay.
- Unlocking the Door: Once you’ve found the required bodies, head back to the door and Soul Flay the body on it to open it.
- Exploring Further: Proceed through the new door, go through the hall, and descend a ladder. You’ll encounter Beds of Flowers, but it’s advisable to save your seeds for later.
- Encounter with Enemies: Defeat the non-hostile enemies in the area and face two mages at the other end of the path.
- Shortcut Activation: To activate the shortcut, reach the lever on your left before descending the ladder. When the elevator arrives, jump in and rest at the Vestige.
- Reaching Gerlinde: Move toward the ladder next to the elevator, but do not descend it. Instead, drop onto the cage where Gerlinde is located and deal with the enemies in the vicinity. Take them out using magic or ranged attacks.
- Conversing with Gerlinde: Finally, converse with Gerlinde in the Axiom realm. Hand her the key and exhaust her dialogue. Gerlinde, along with Sparky, will now provide blacksmithing services back at Skyrest. You can find her opposite the Vestige, up the stairs.
How to Upgrade Weapon?
Once Gerlinde is in her new place within the hub, you can start upgrading your weapons, provided you have the vigor and materials needed. If you talk to her, she’ll mention that there are tablets in the world that can further enhance your weapons. There are three of them:
- Cracked Rune Tablet: Find this tablet in Fitzroy’s Gorge, just after a section where you have to go Umbral to cross a bridge. Climb over a small ridge, and you’ll find an NPC. The tablet is a little further on, sitting on a ledge.
- Chipped Rune Tablet: In Upper Calrath after the Spurned Progeny fight, follow the path along until you drop down into a building with a flowerbed. Downstairs, you’ll find a menacing enemy guarding a fireplace, and that’s where this item is.
- Rune Tablet: This is inside a chest within the Tower of Penance, on the same level as the boss fight outside. Work your way down the tower until you reach a giant grill, and open the door. The chest is on your left when you enter the door.
Giving these tablets to Gerlinde will allow her to slot runes into your weapons, provided the weapons have rune slots. Rune slots are generally unlocked by upgrading weapons in the first place, creating a useful synergy.
Note: The Cracked and Chipped tablets upgrade her abilities, while the Rune Tablet only allows you to upgrade your weapons at vestiges. It’s recommended to give the Rune Tablet to Sparky for an achievement.
Conclusion: Congratulations, you’ve successfully located Blacksmith Gerlinde in Lords of the Fallen. Now you can utilize her blacksmithing services and upgrade your equipment for the challenging battles that lie ahead. Enjoy your gaming experience!