This guide will show you everything a beginner needs in No One Survived! We know that there are people who have a hard time finishing the No One Survived game. Learn about all the systems that beginners may need.
No One Survived Guide
Welcome to our No One Survived Beginner Guide. This could be you! Survive and slaughter zombies. This guide is not finished, it’s work in progress. Game will also change a lot due to alpha, thus the guide will also have to change
Starting No One Survived
Before I go through a more elaborate guide, I made a 10 point list with the most important things if you are a lazy reader (coordinates and pictures will be in the elaborate guide)
- Weapons slots: You have slots 1,2,3,4,5,6. The slots 1 and 2 is the only slots fitting for rifles and pickaxe because those slots are for big items, the rest of the slots are smaller items.
- When you start, loot mostly food, drinks, simple parts (many simple parts) and other small parts, leave the big ones for now.
- You will run into a issue very fast and that is where to put all your loot. Make storage fast with all the simple parts you find, so you can loot more and also the bigger parts.
- Where to build? Preferably close to a mine that has iron, close to water or a well, you will need a lot of forest also.
- Go to car repair merchant asap, get the repair, find some gas and start repairing a car (the ones with smoke coming from them)
- Cook food to save your time, it yields a lot more than just eating on the go. Check Nuaria’s cooking guide here!
- Make at least 3 furnace, one for making bricks, one for making cement and one for melting iron. Farm materials, fill them up and let it burn while you cook or loot.
- To defend against zombie horde, make spikes around you, repair them with right click while holding construction hammer. Have a gun or something for the ones jumping over, but the more spikes you have around you, the better.
- Keep books you dont need for trading.
- If you find a inverter, make sure you keep it or remember where it is. You will be gated hard by this if you don’t have one at later stages.
Extensive Guide
In the extensive guide I will cover more things and specify locations. Hopefully this will help in your journey to be a zombie killer chad or chadette. Don’t be a Kevin or Karen.
Creating your character
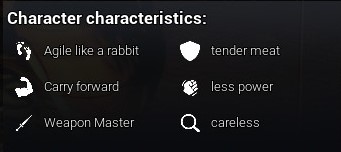
Be careful to not skip out on randomising features/stats, they are very valuable. My best combo of randomising would be +20 weight, +20 speed. If you have those two, the rest doesn’t really matter, unless it’s very bad negative traits. The best negative traits would easily be +20% malaria chance, -3 strenght and -5 defence. Those doesn’t really affect your gameplay that much. In Nuaria’s cook book you can learn to make tea and malaria is no issue 🙂
Weapons and slots

Slot 1 and 2 is able to carry big things, such as rifles, pickaxe, spears, bows and so on. You can also place smaller items there, but if you want any of the big bois with you then you’ll have to use one of those slots.
Slot 3,4,5 and 6 is only able to carry the smaller items, so don’t get frustrated when you can’t drag a rifle there, it won’t work due to their position on your bodyslot.
When it turns dark (night)
Make sure you charge your shoulder light with dry batteries, drag your shoulder light into your inventory, right click and click charge, then equip it again. There is light!
OR
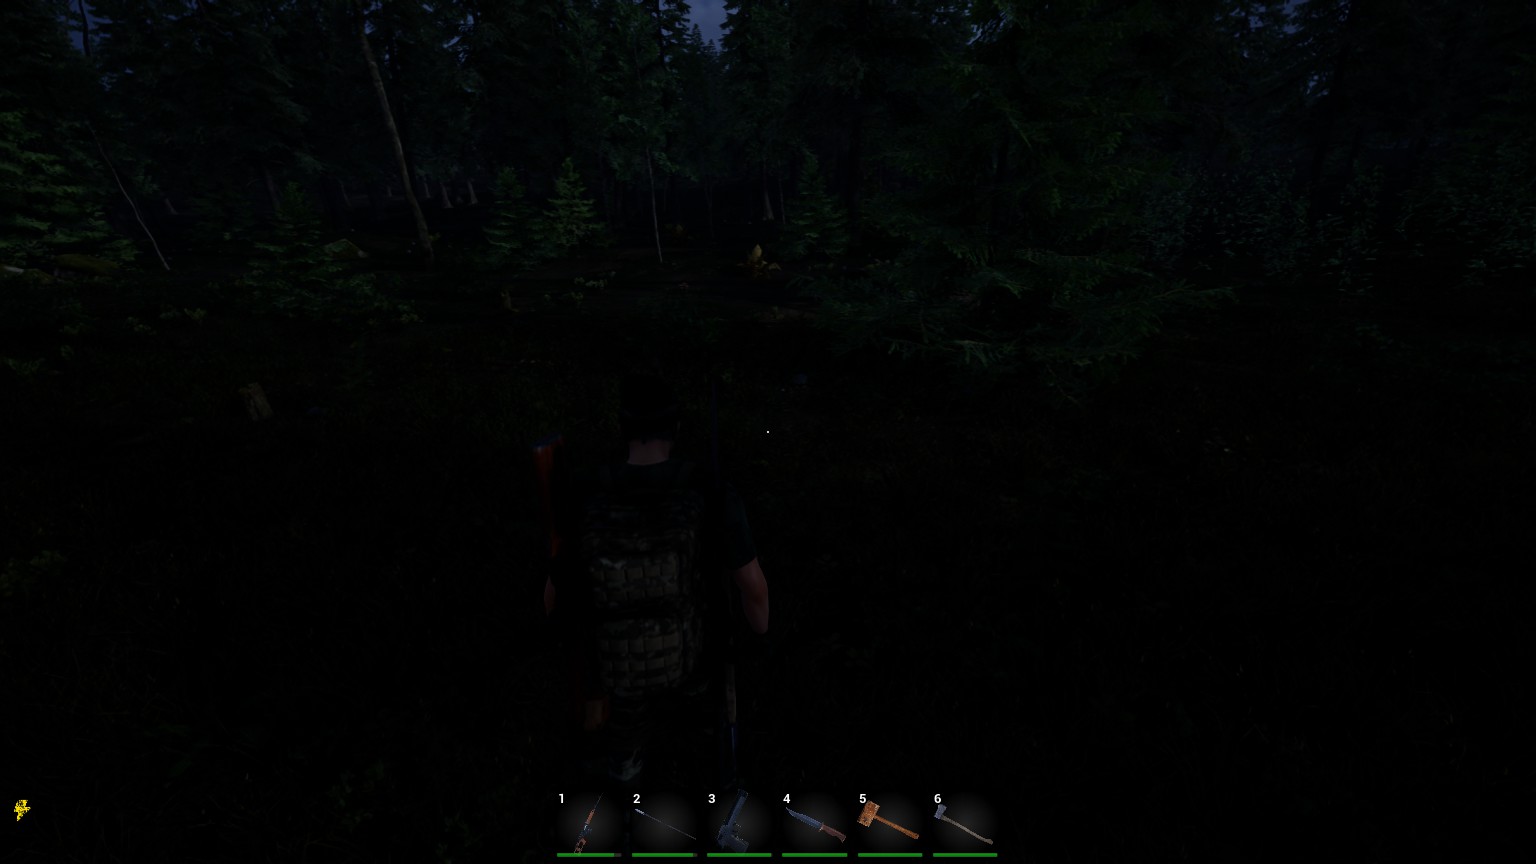
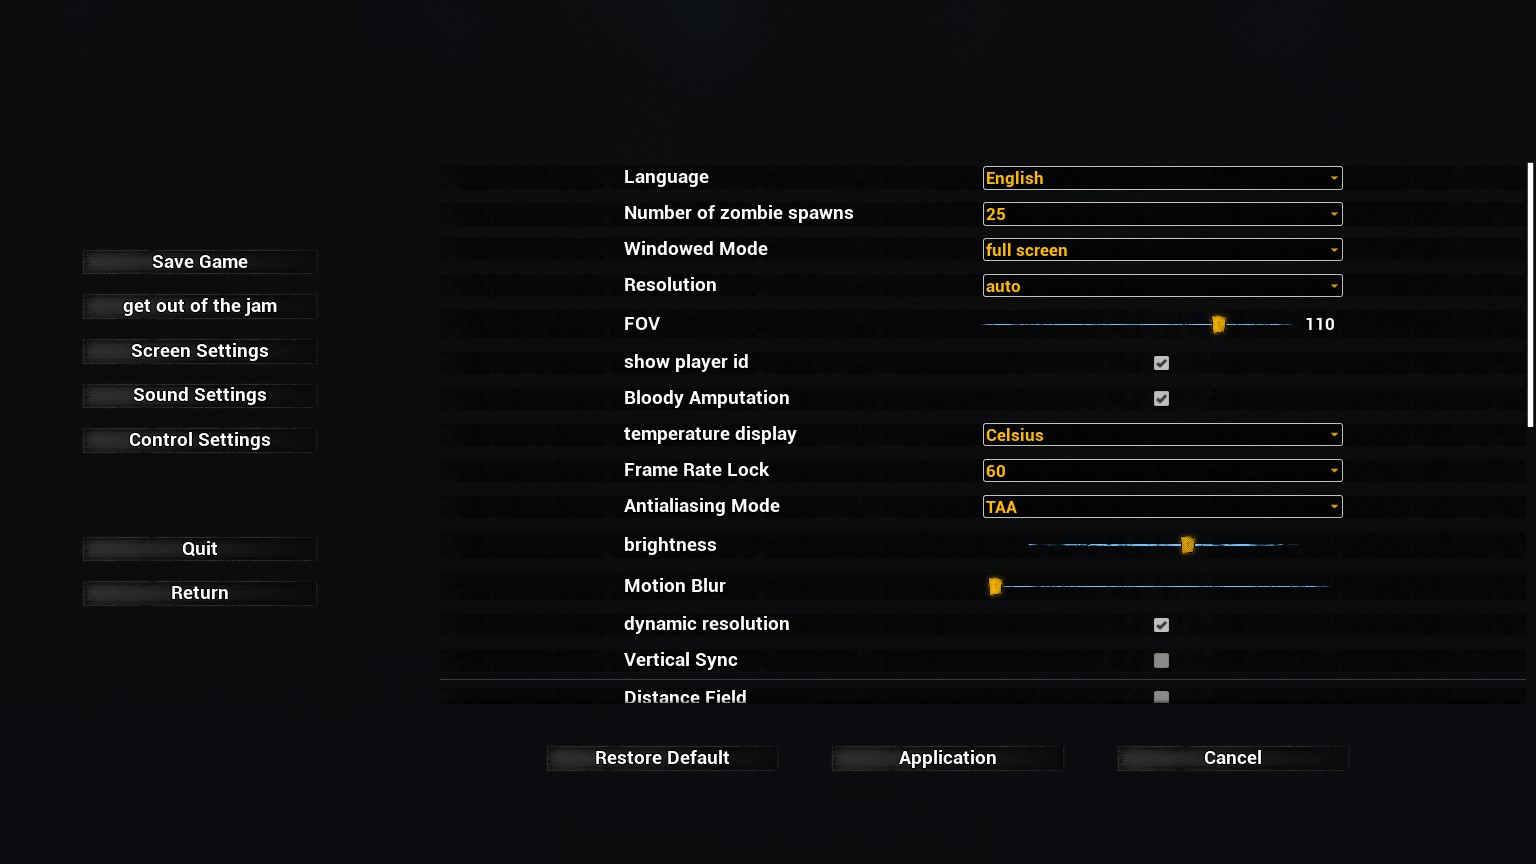
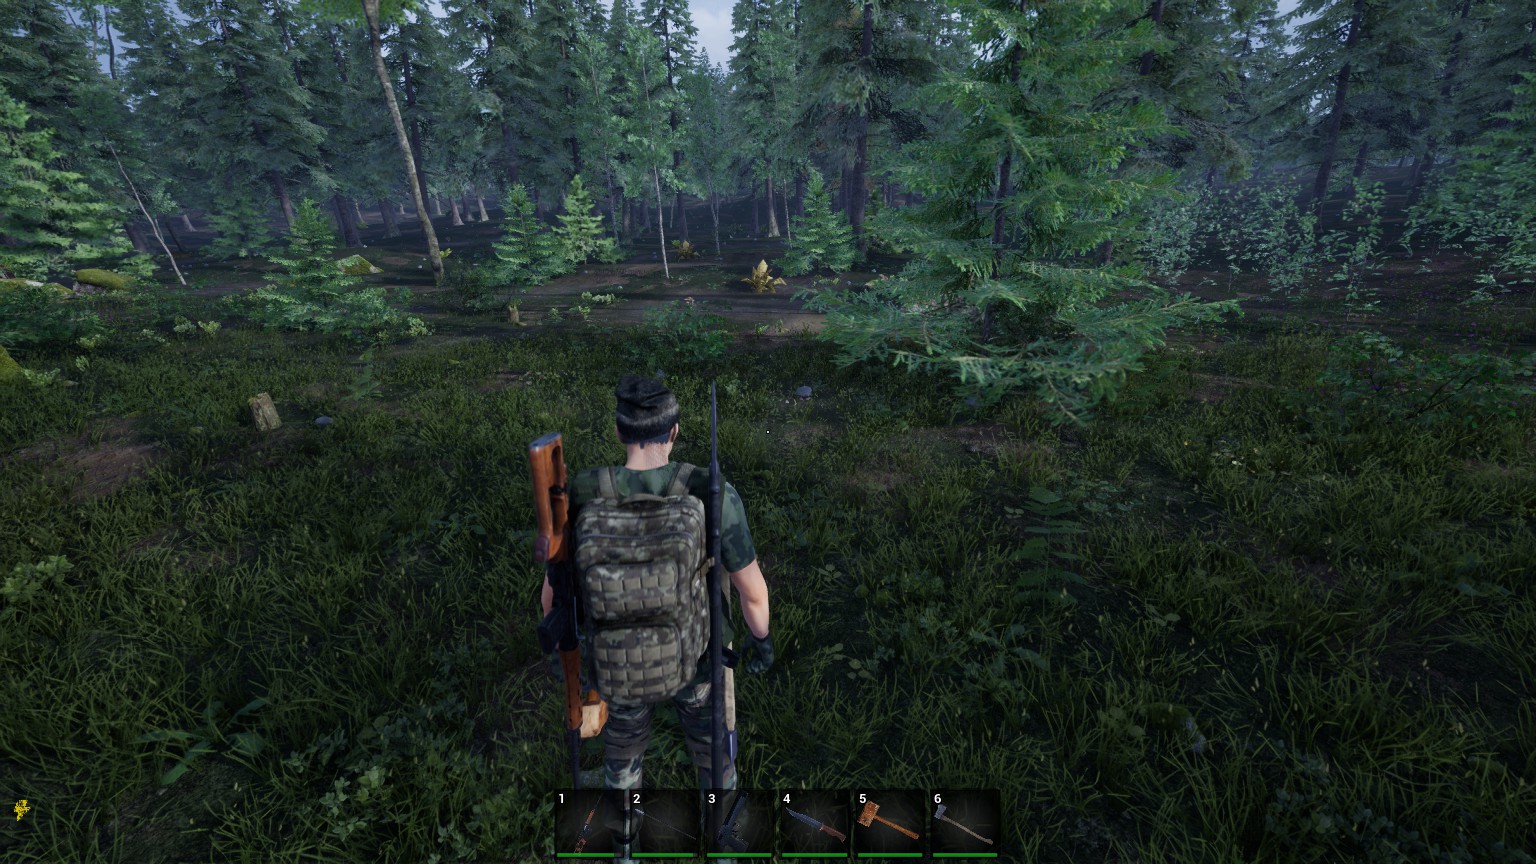
Adjust your screen brightness, here is a before and after picture after adjusting brightness from zero to night hero.
Inventory
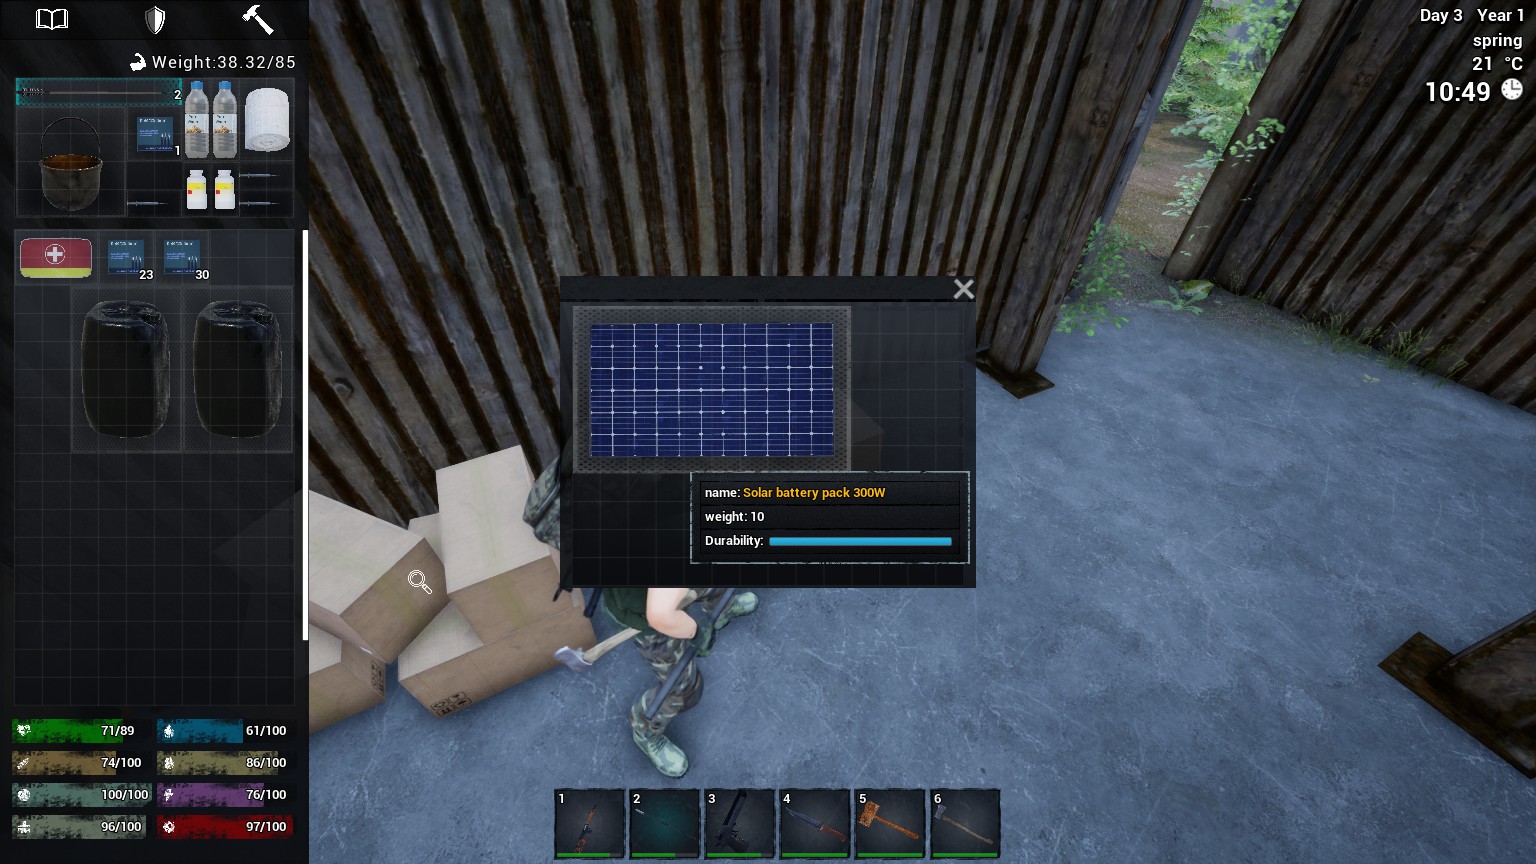
Your inventory is important to manage and sometimes you might have to play a bit tetris to get it to work, press R to rotate items in your inventory to fit as much as possible. Make sure you try to find a backpack with 1kg weight, they are the most spacious ones (that I have come by so far).
Skills
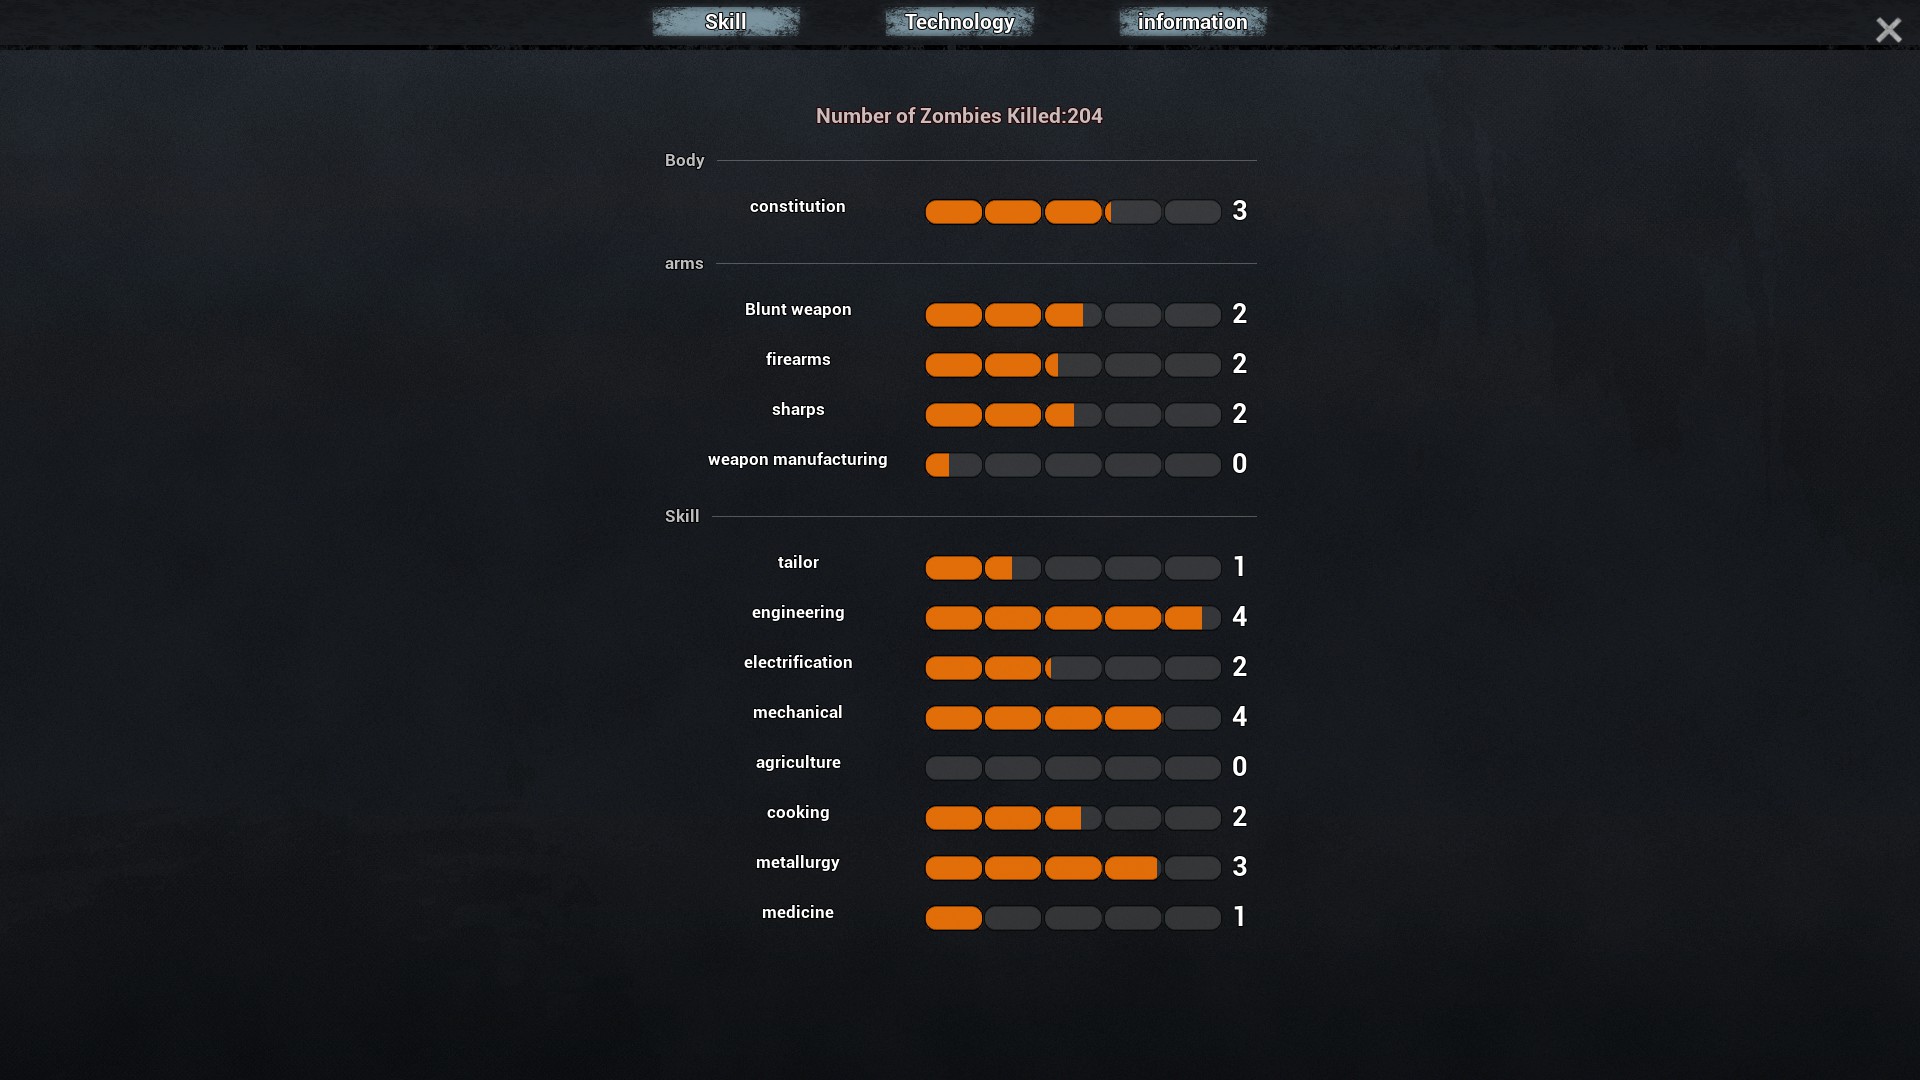
Skills can be learned in three ways:
- Perform a action, like hitting, shooting, crafting and so on.
- Read a book.
- Learn from merchants.
When you learn from performing action like crafting, you have to stay in the craftbench to actually get the skill, if you leave it, you won’t get anything. Reading books and learning from merchants will drain your mentality, so stack up on them smokes and wines, need to be a heavy drinker for this stuff..
Technology
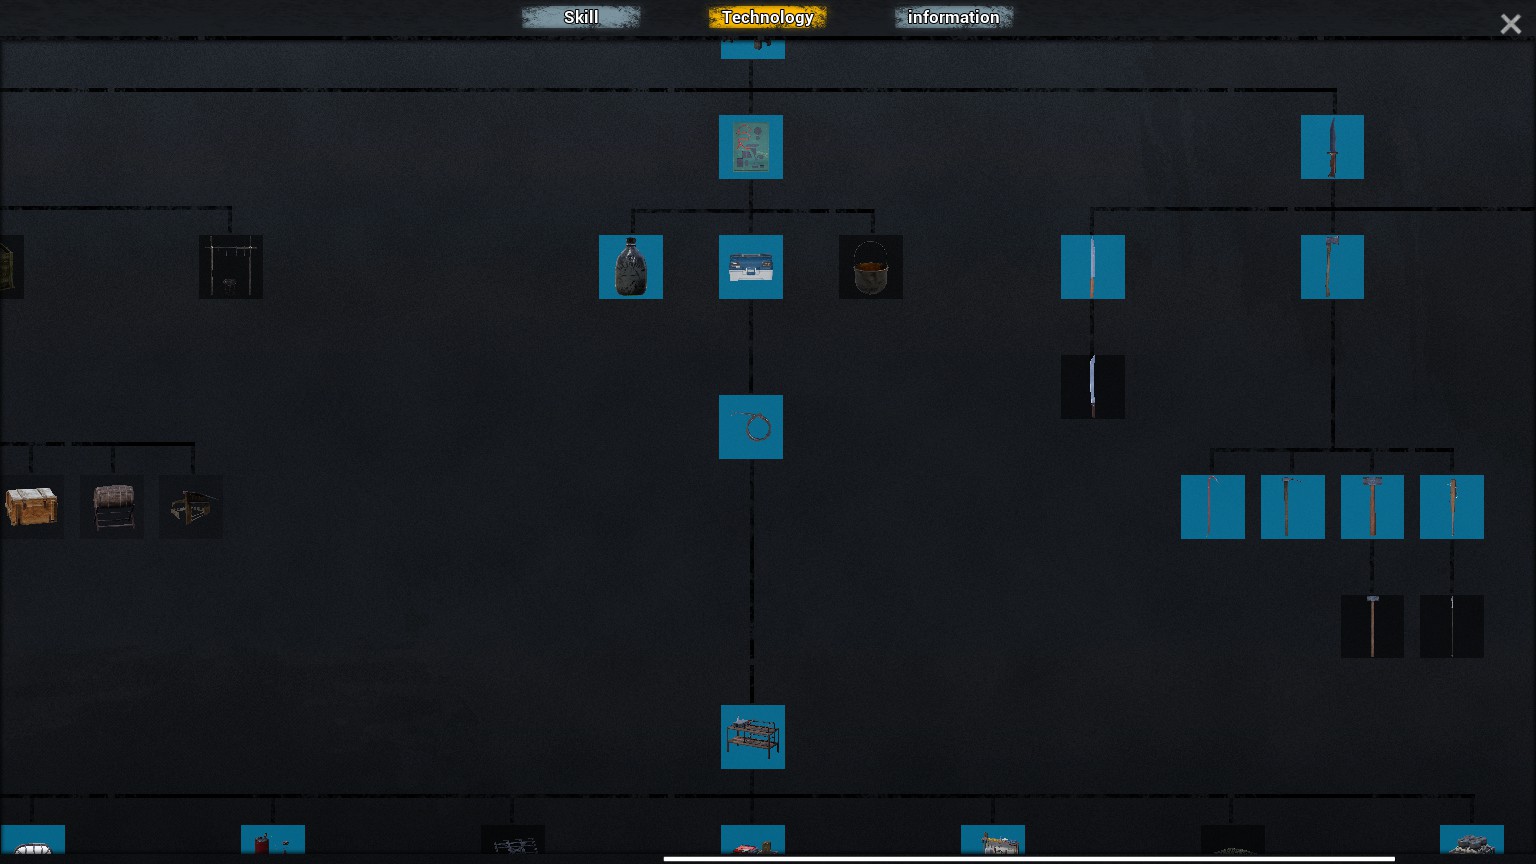
Technology is learned by having the item required to learn it in your inventory. Eventually you will run into the gating of drawings. So make sure you keep those drawings or take some trips to the drawings merchant (see further down on merchants).
Drinking and Cleaning
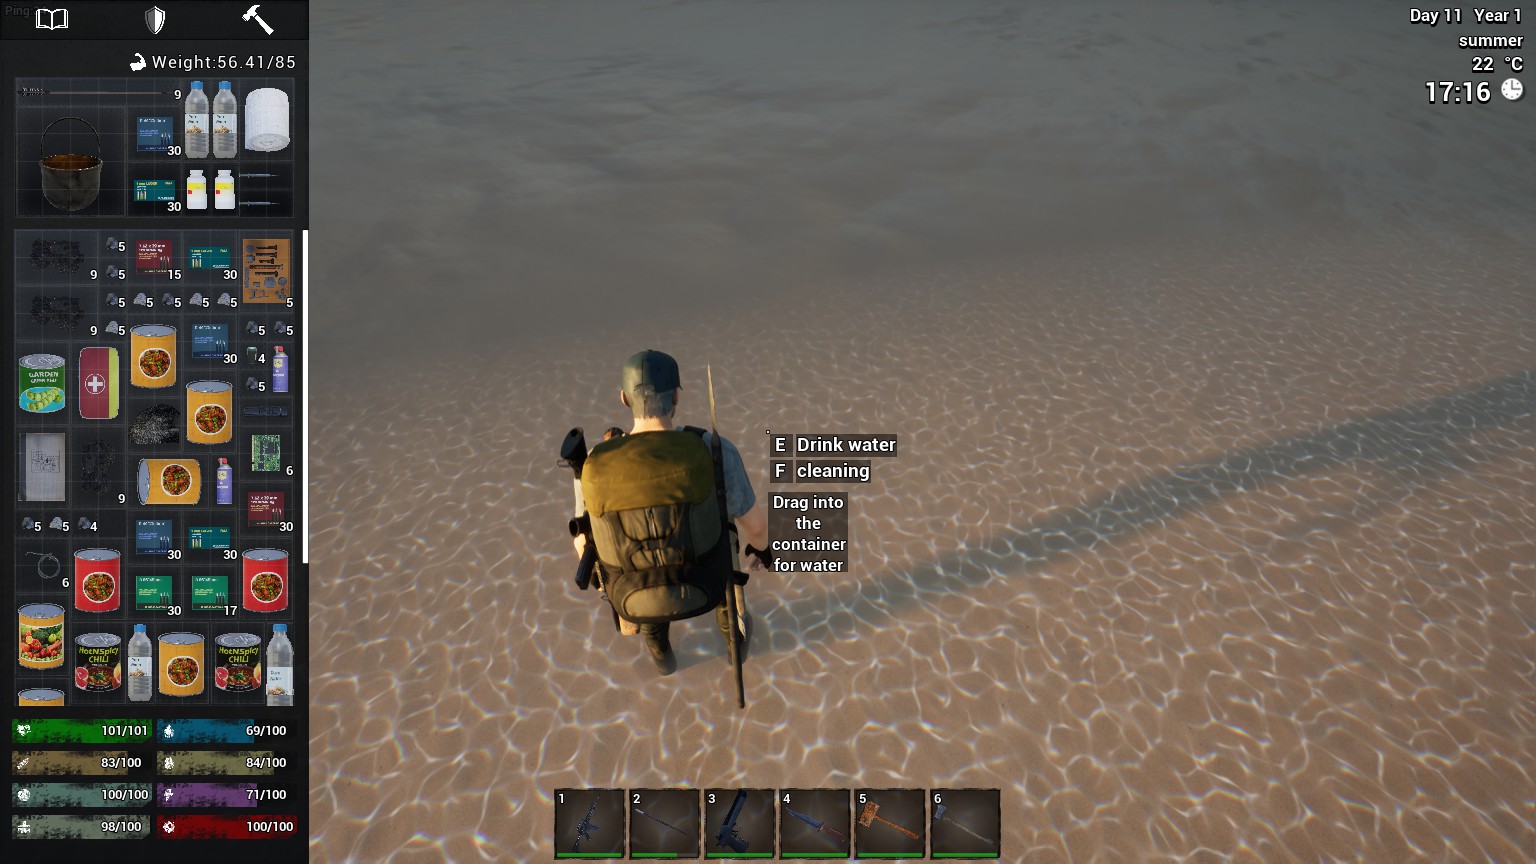
To clean yourself look at water and press F, or find a well, or use bottles in inventory (not worth though unless really needed). Drinking is also possible to do in water and wells, but you should always cook it to make clean water, unless you have tea or gastric medicine, as you might get malaria if you don’t cook it.
Storage
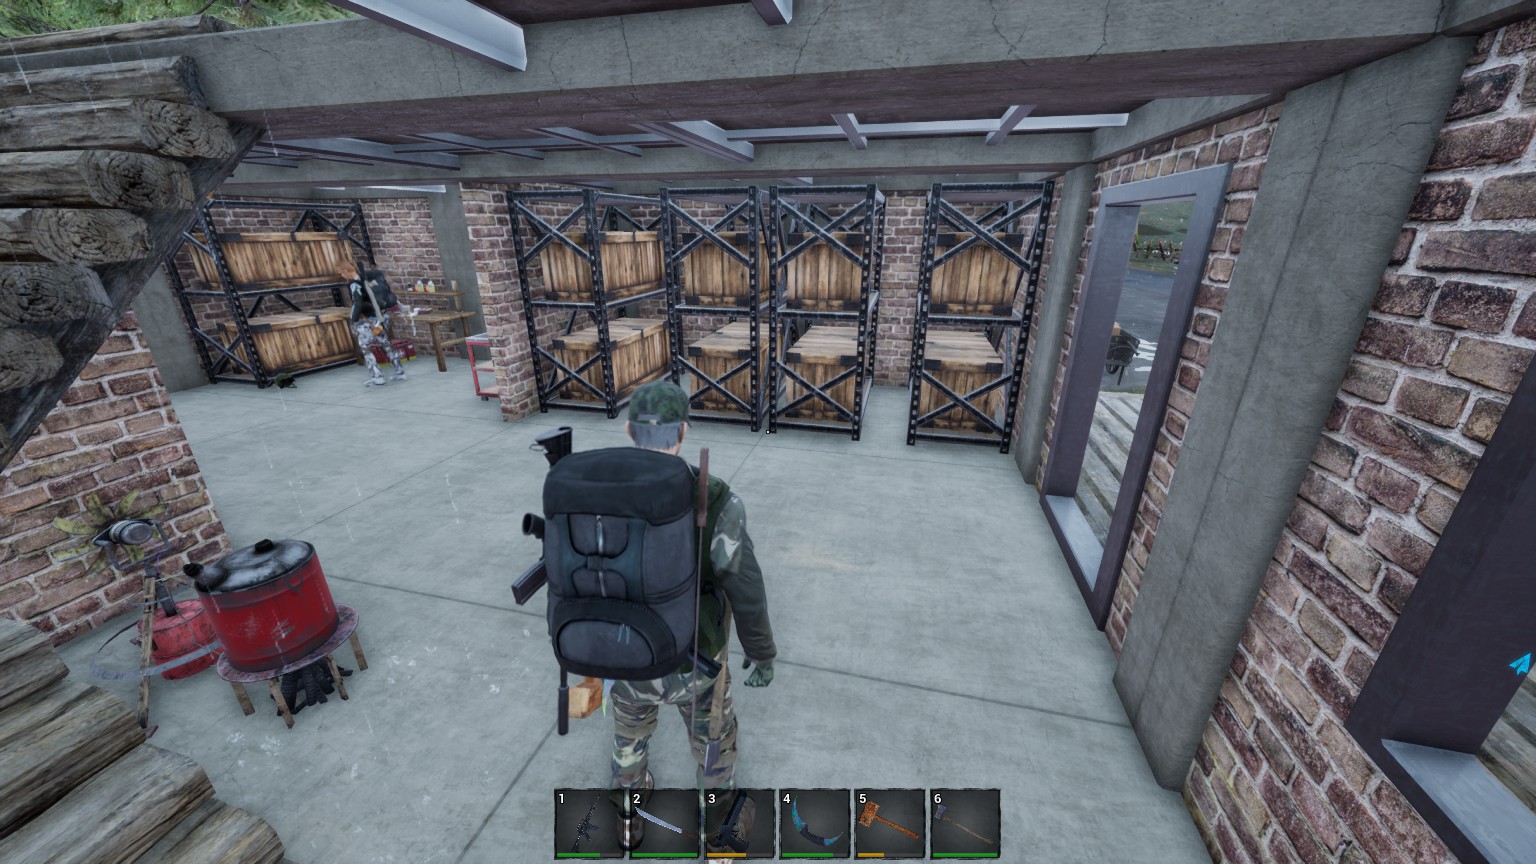
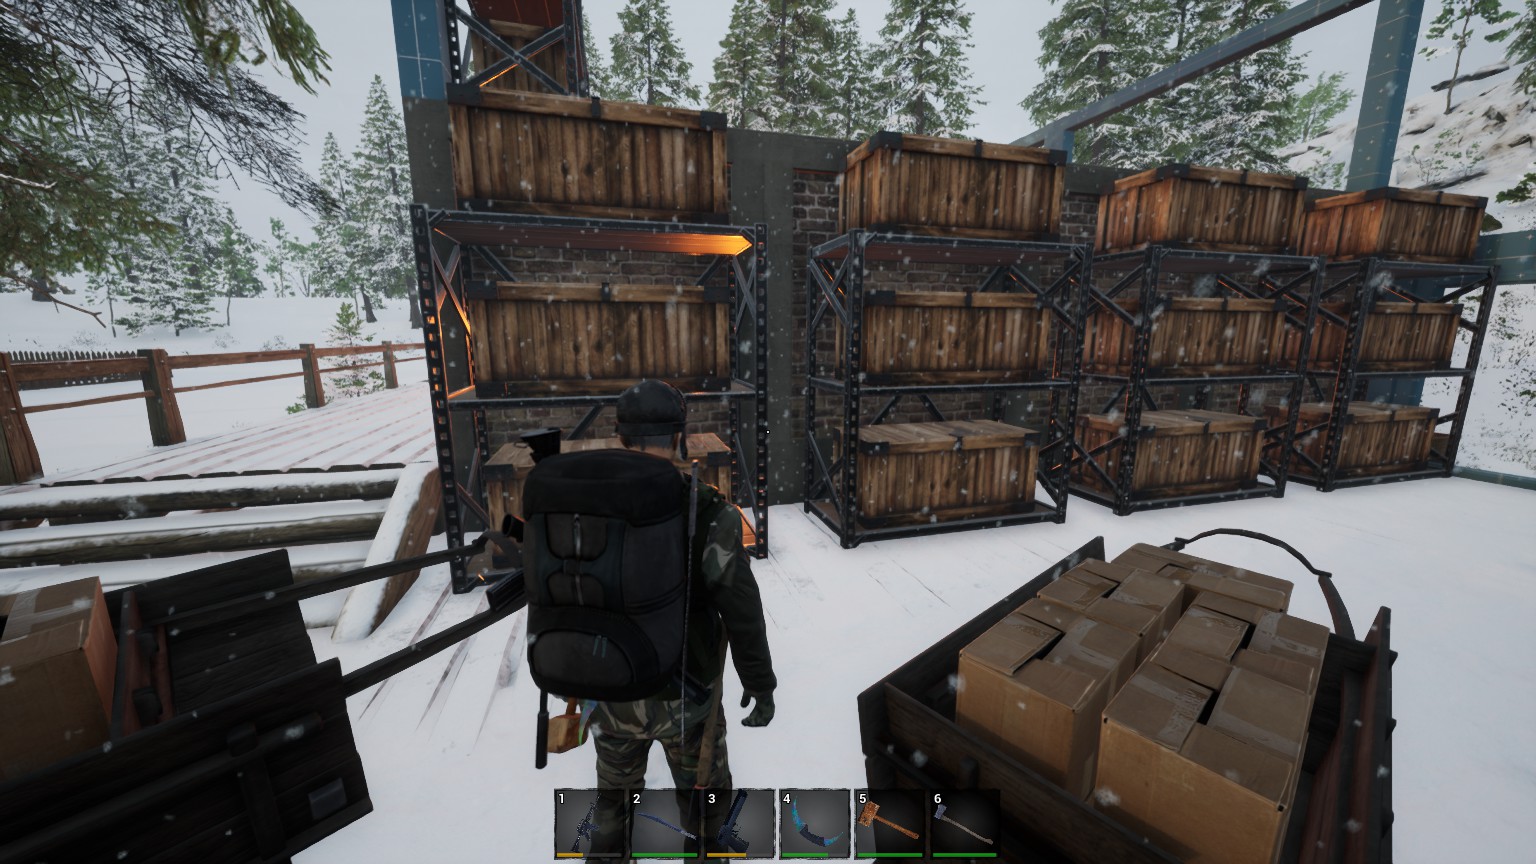
When you have enough simple parts, make sure you maximize your space by building the shelves for storing 2 boxes in the same space as 1.
Electricity
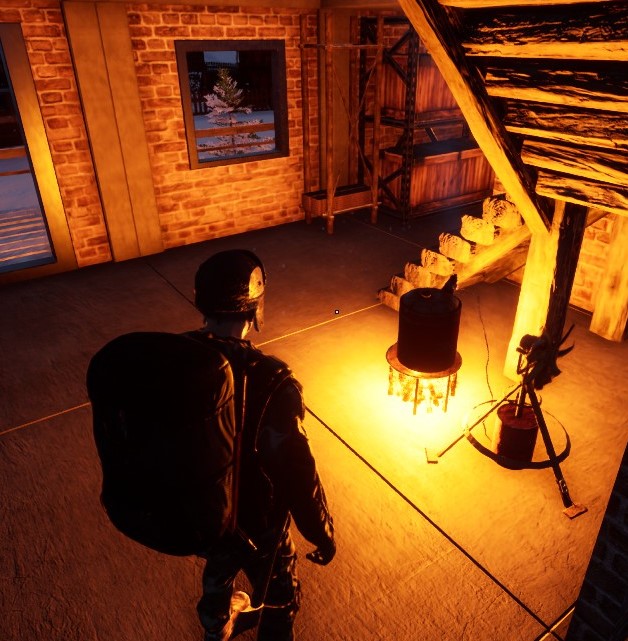
To get elictricity you need to have a generator source, this can be any of them. Solar, gas or thermal. You will also need a battery table where you place batteries to charge up. More on electricity further down.
Cooking
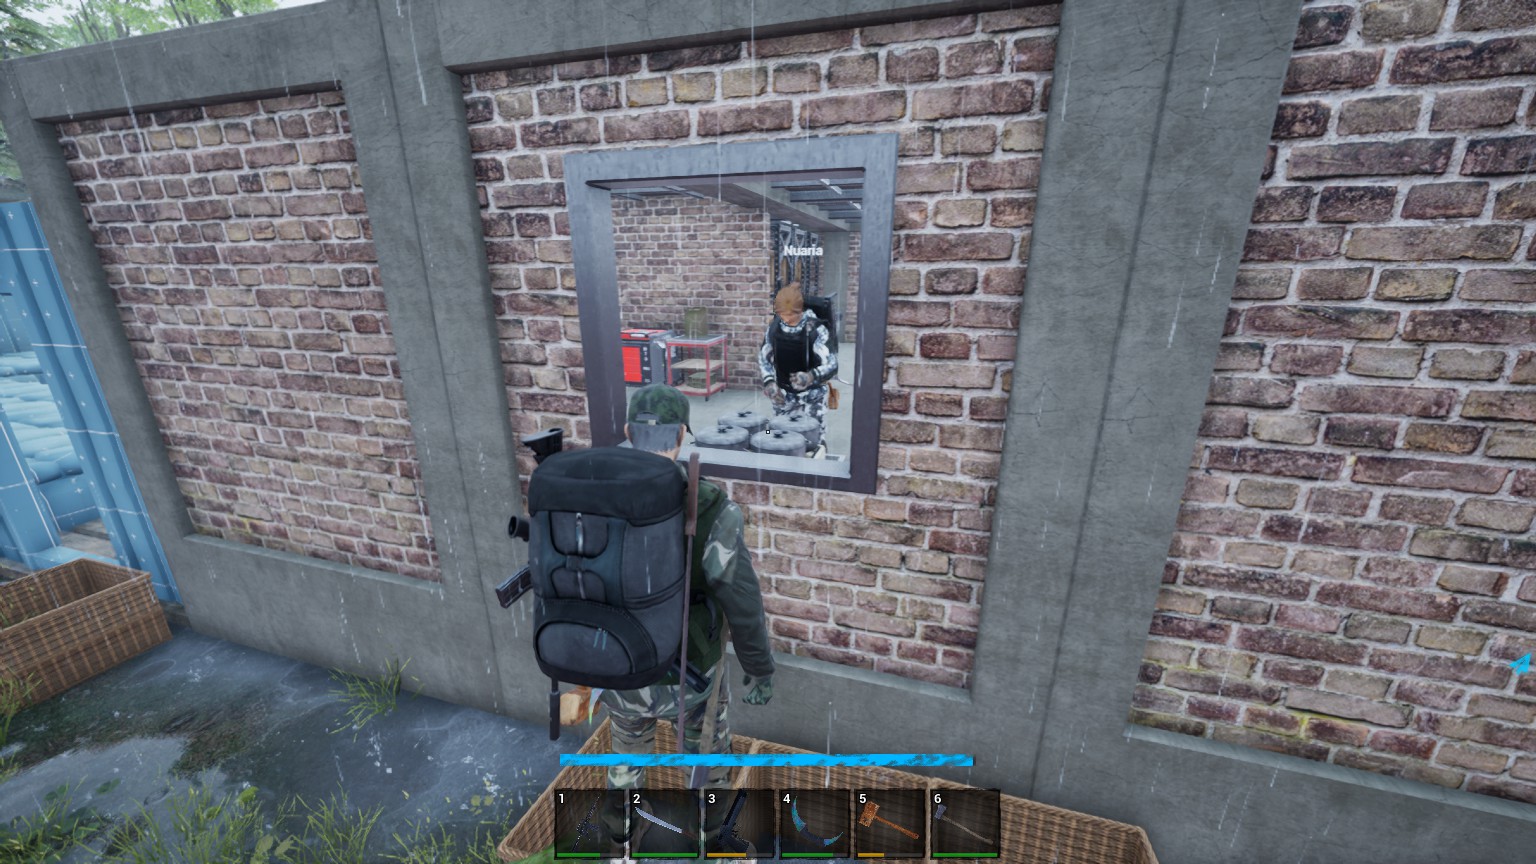
Follow our No One Survived Cooking guide here!
Agriculture
Cars
To run it you need car repair kit (can be obtained from merchant, look further down) and also one of the gasoline cans, preferably many of them. The big oil barrels are abundant at gas stations, but you can also find 3 different sizes around in random houses or farms. The two types of cars you can find and drive is the following (for now):
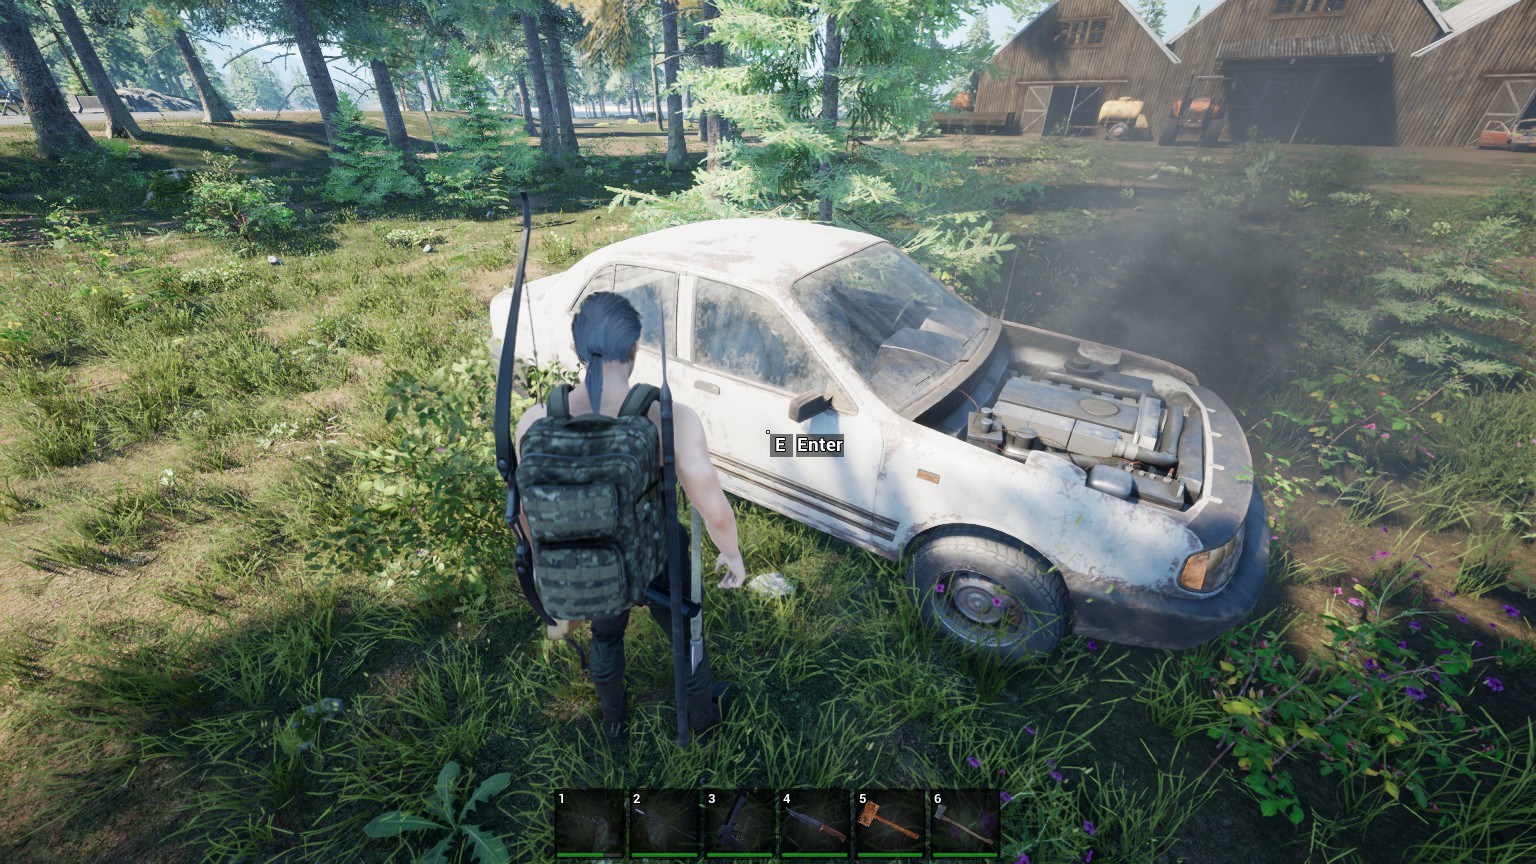
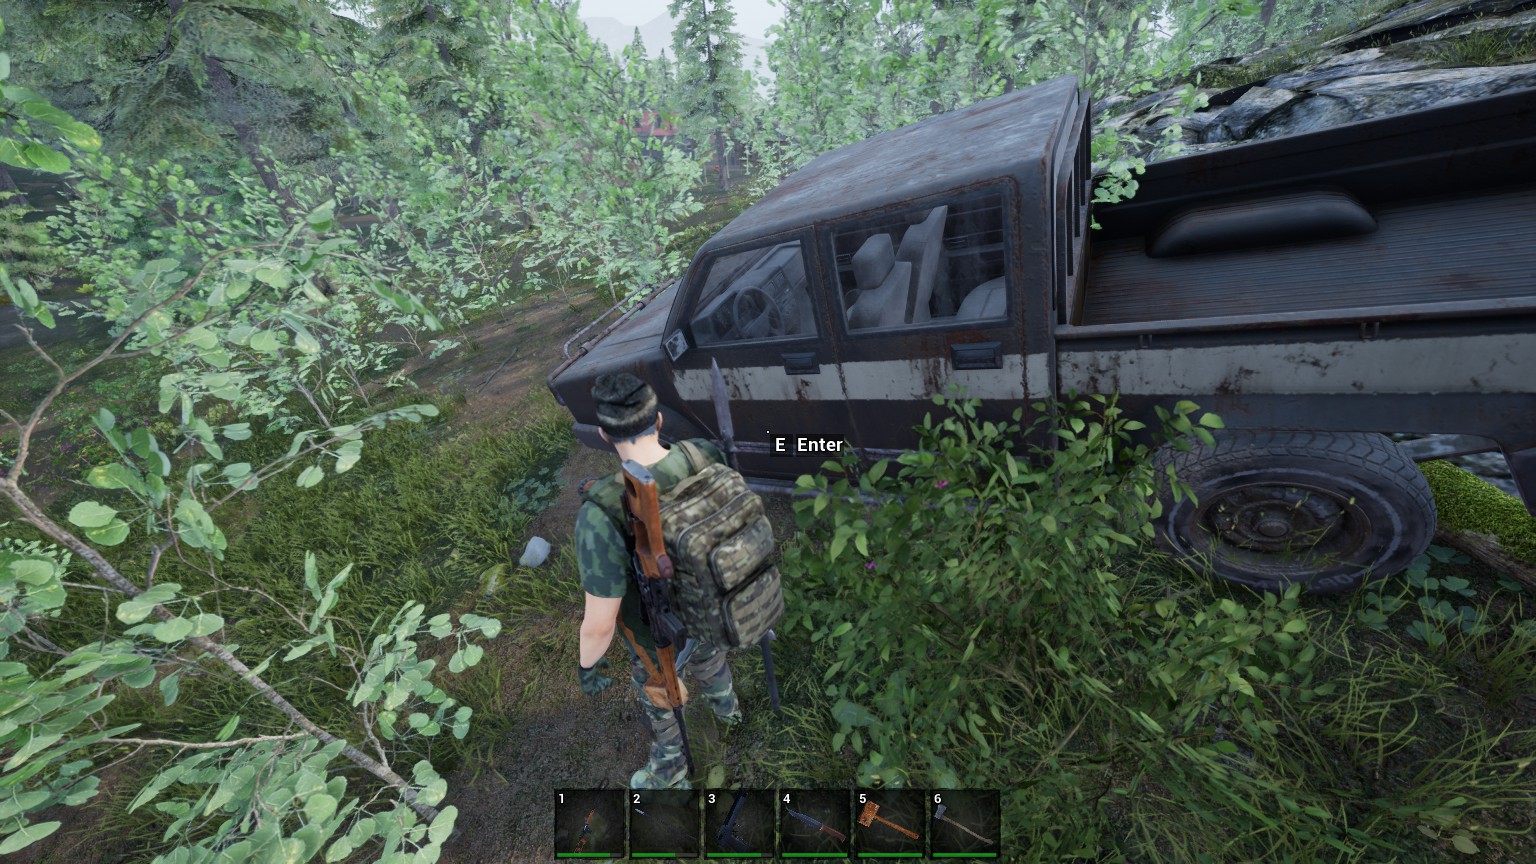
Open fields
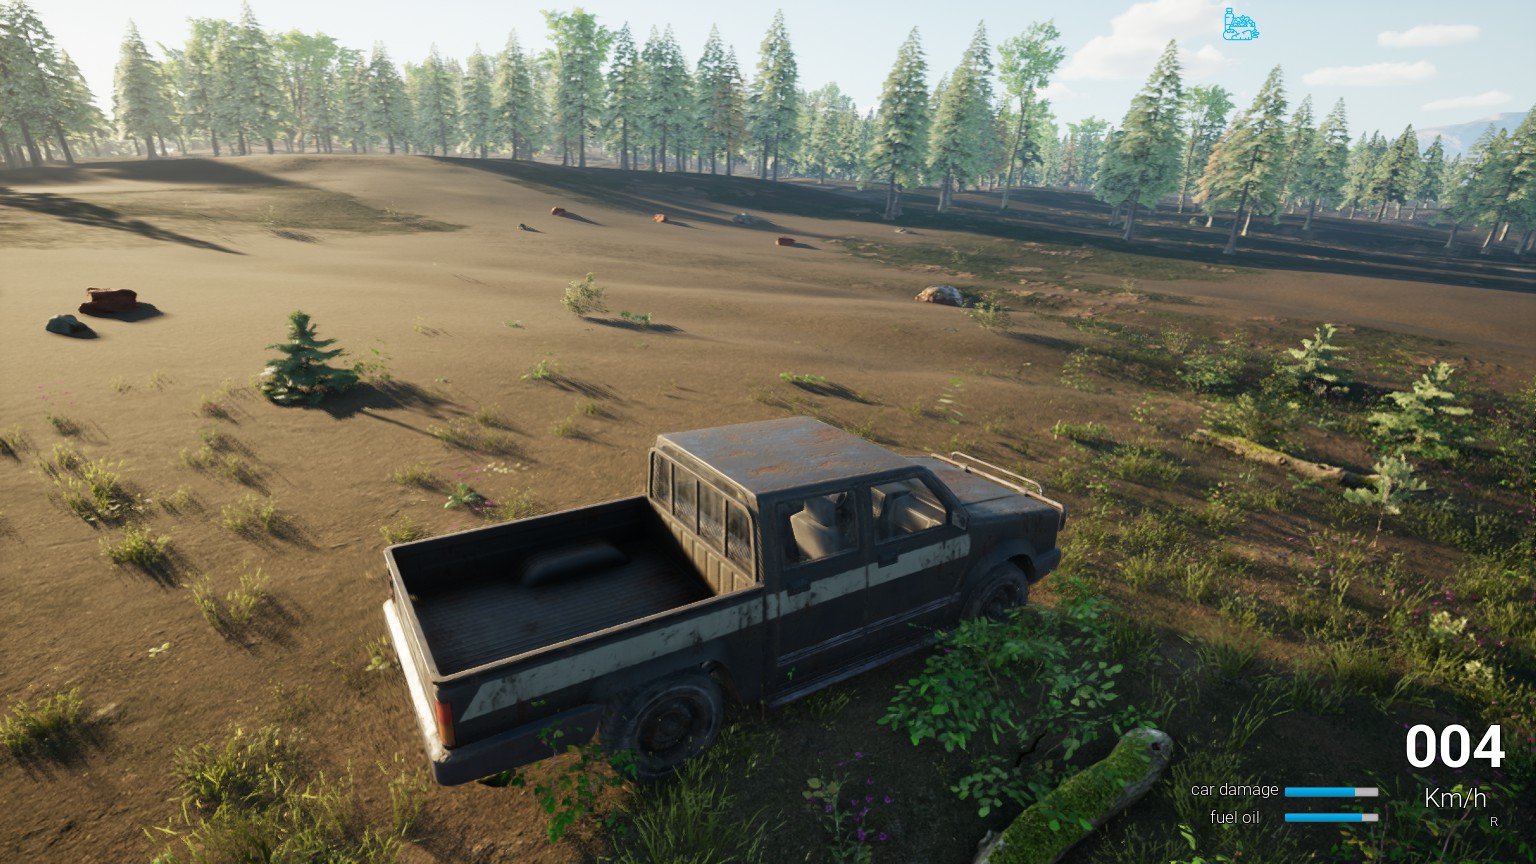
Many of the open fields contain these three: Clay, Iron and Silver. They are very useful, however it does not seem to respawn, just like trees.
Building
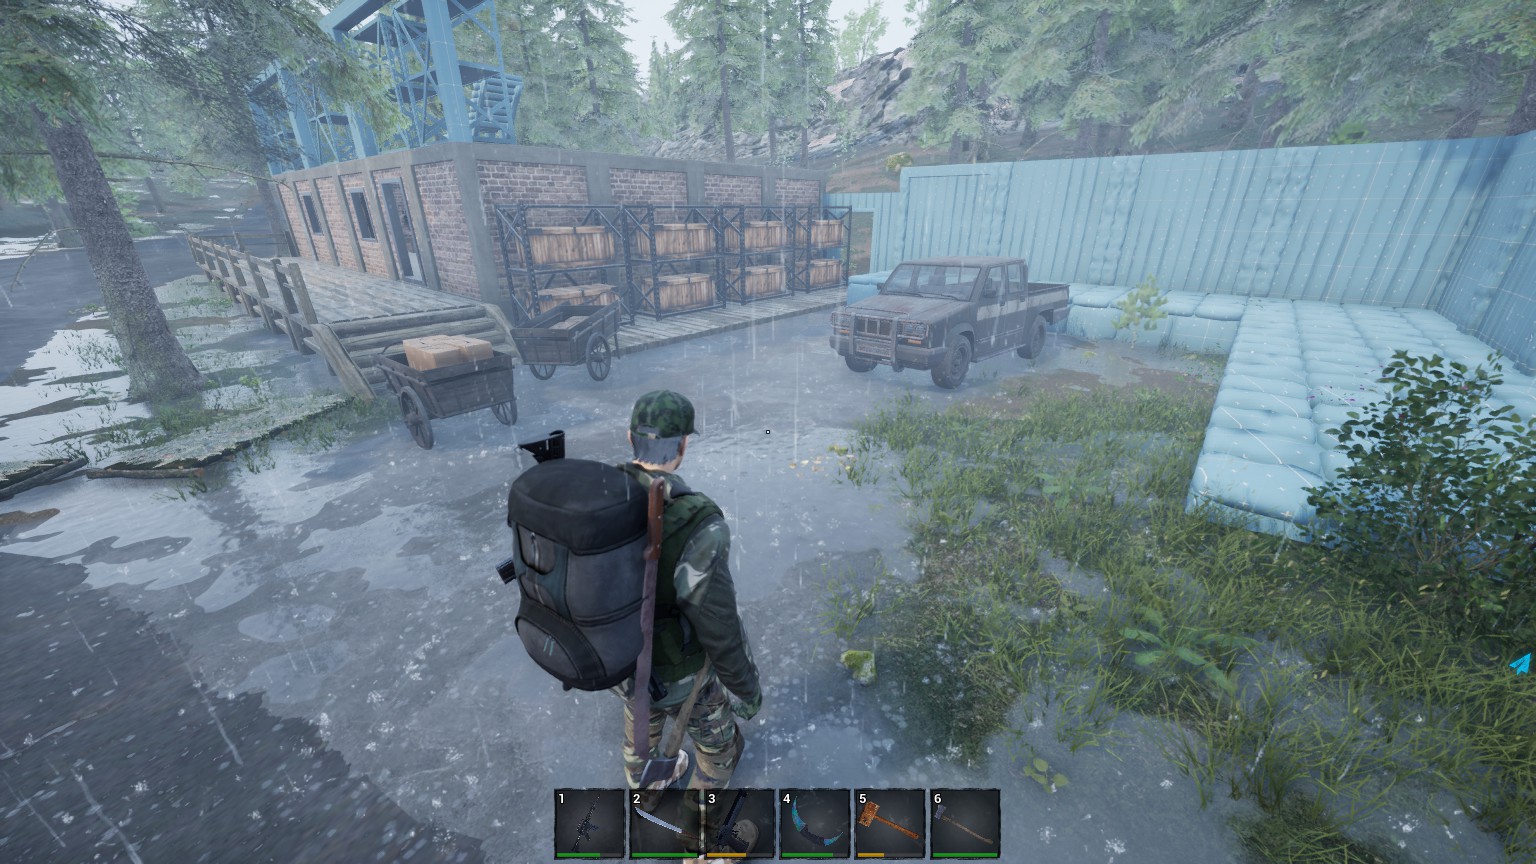
A better guide to this will be found further down. However I want to say, you need to support the ceiling with both vertical and horisontal beams. So place foundations, then beams, then walls and ceilings. Works like a charm.
Fighting the zombie horde
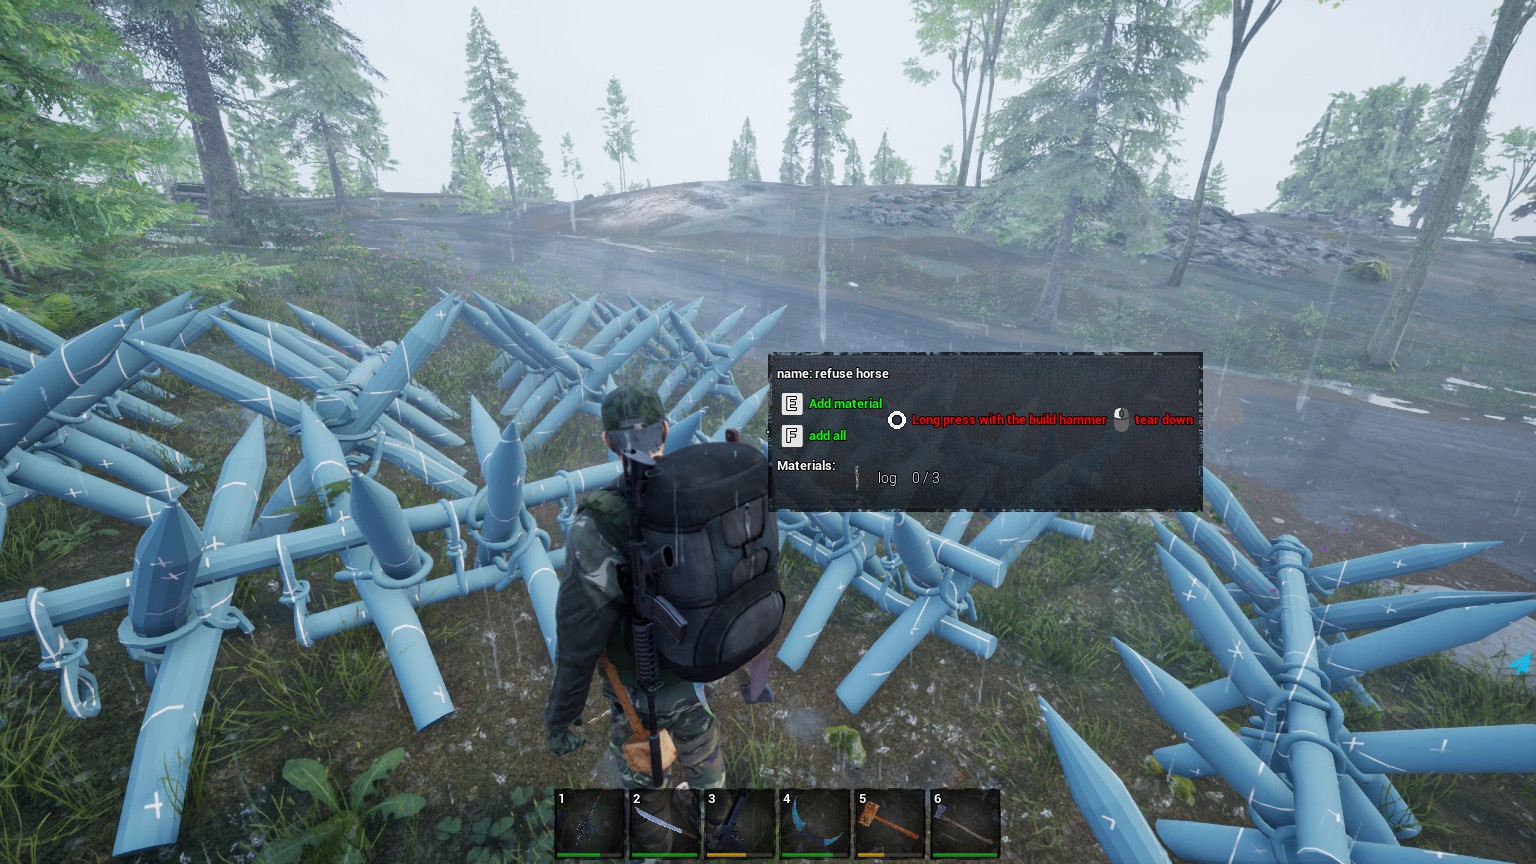
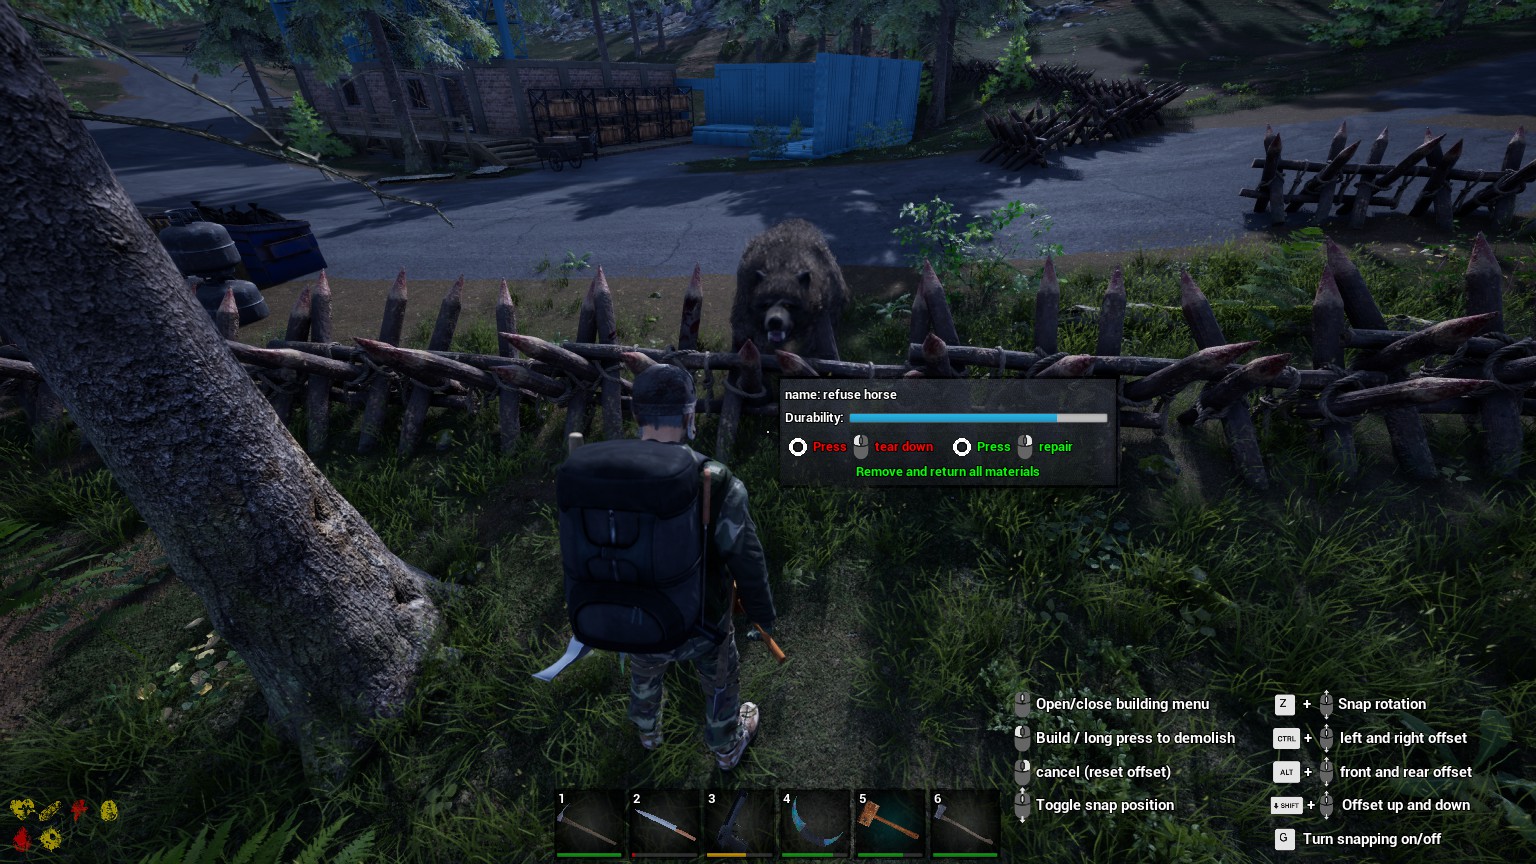
Lock yourself into a tight defensive position with many spikes. Also famously known as “horse refuser” lol
It also works great with animals, just make sure you keep repairing with the construction hammer!
Merchants
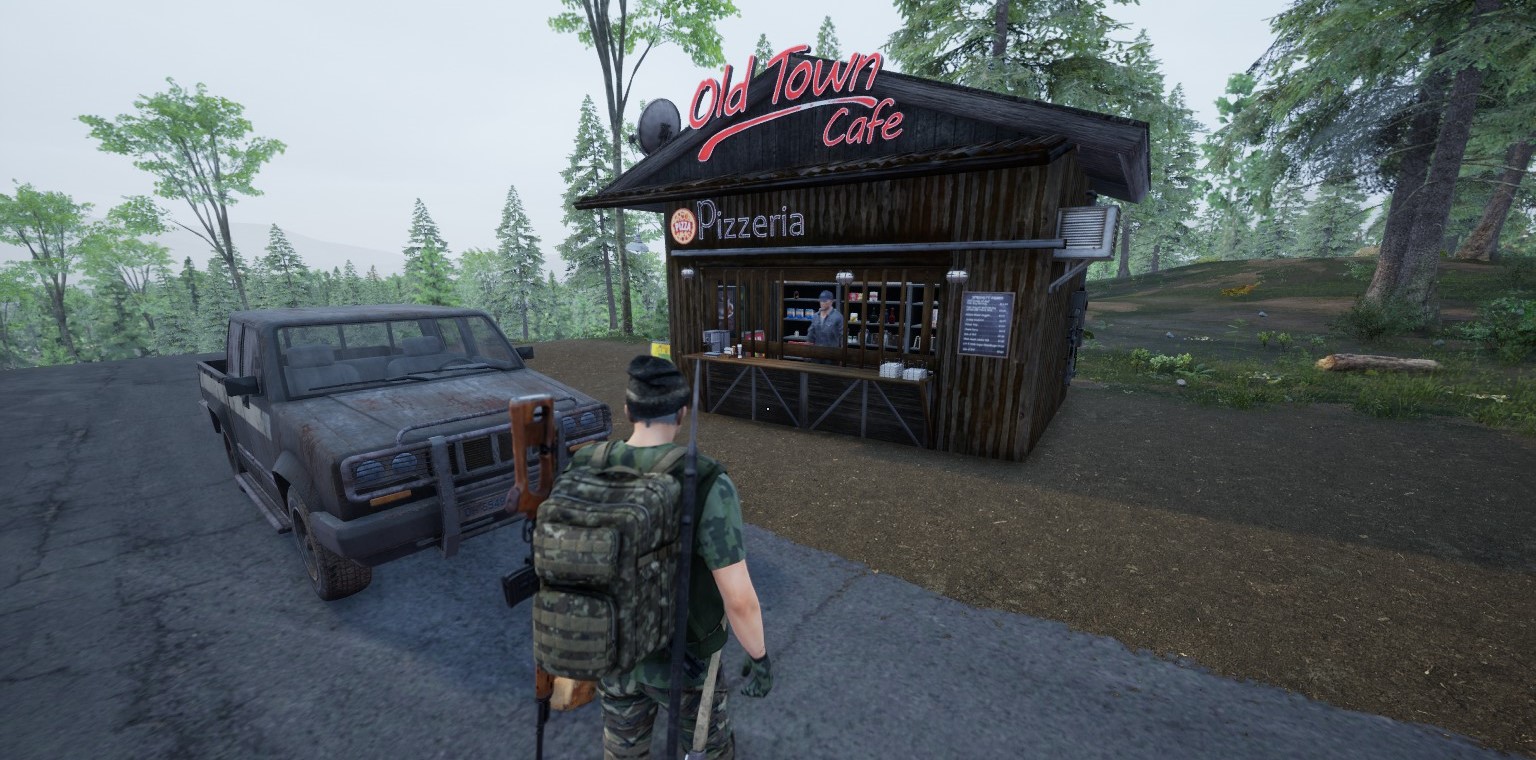
Check out our more detailed No One Survived Merchants Guide! The merchants in this game will restock their wares depending on the timer you put in the start, for example 10 days, they will restock every 10 days regardless of when you buy. They can also teach you skills, instead of reading books or getting skill from crafting.
Maria – Animal Trader
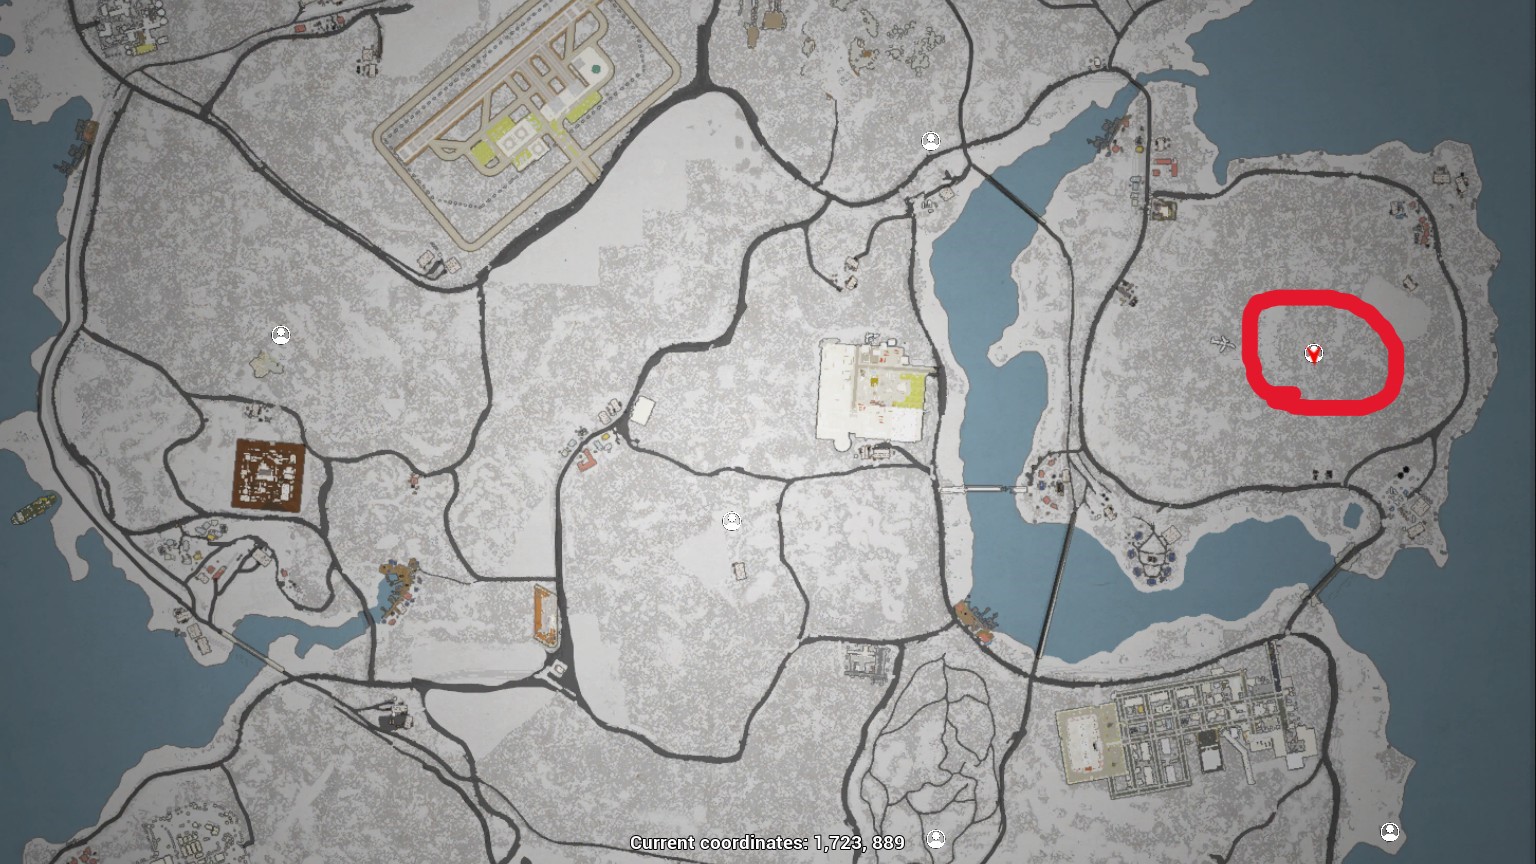
Coordinates: 1,723, 889
The first merchant you will meet is Maria. She sells animals and stuff that can increase your mentality. From her you learn Tailoring 1-5 and Weapon Manufacturing 1-3.
Hank – Gun Trader
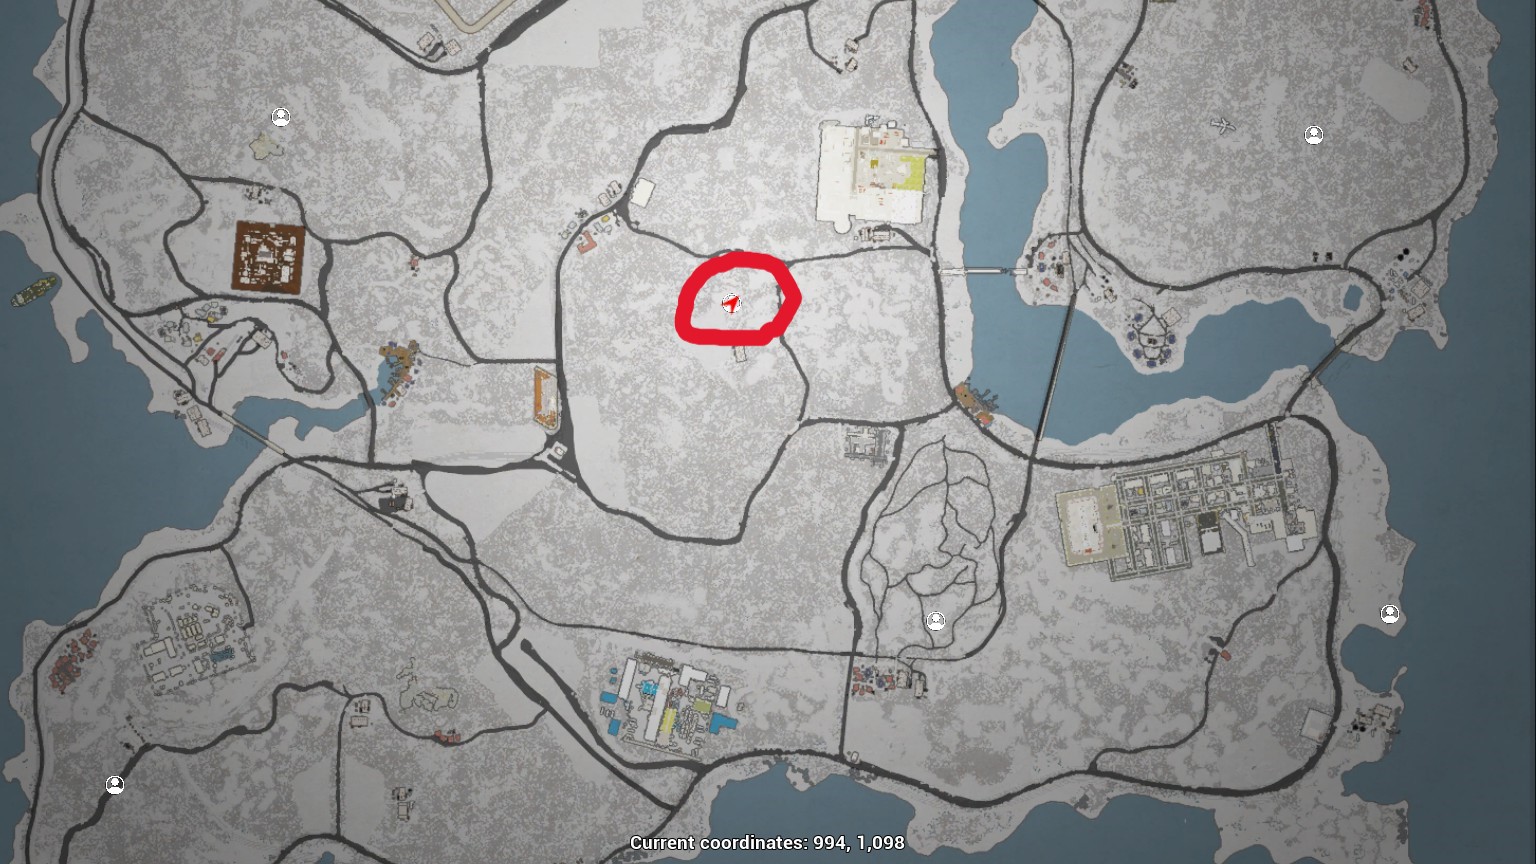
Coordinates: 994, 1,098
From Hank you can buy various guns, ammo and weapon attachments. From him you learn Medicine 1-5 and Metallurgy 1-3.
Maria – Car Repair Trader
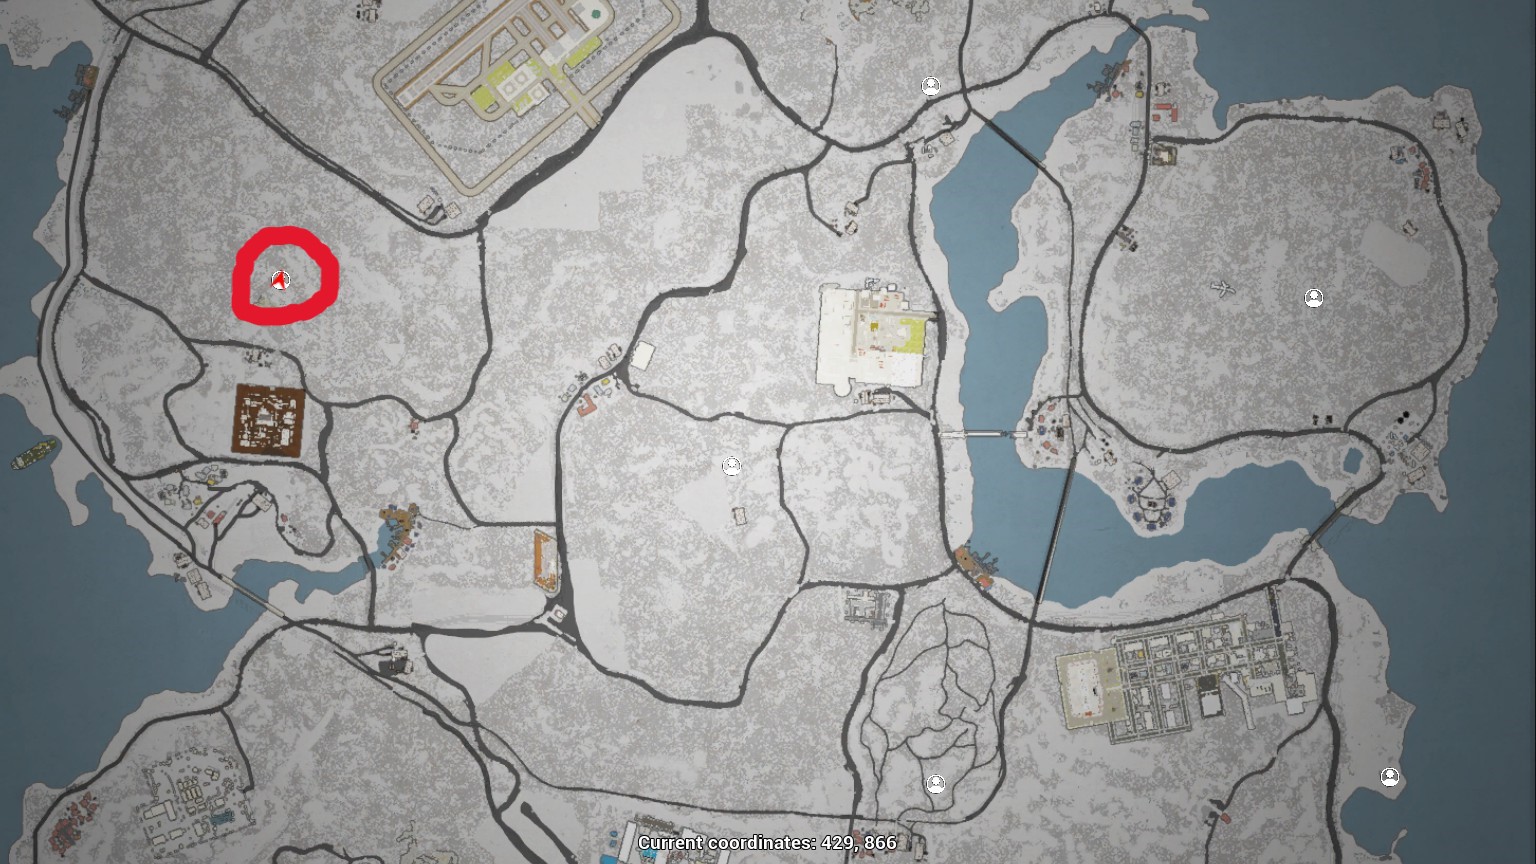
Coordinates: 429, 866
From Maria you can buy the much needed car repair kit, plus some food cans, meals, delicate parts and ammo. From her you learn Cooking 1-5 and Agriculture 1-3.
Hank – Drawings Trader
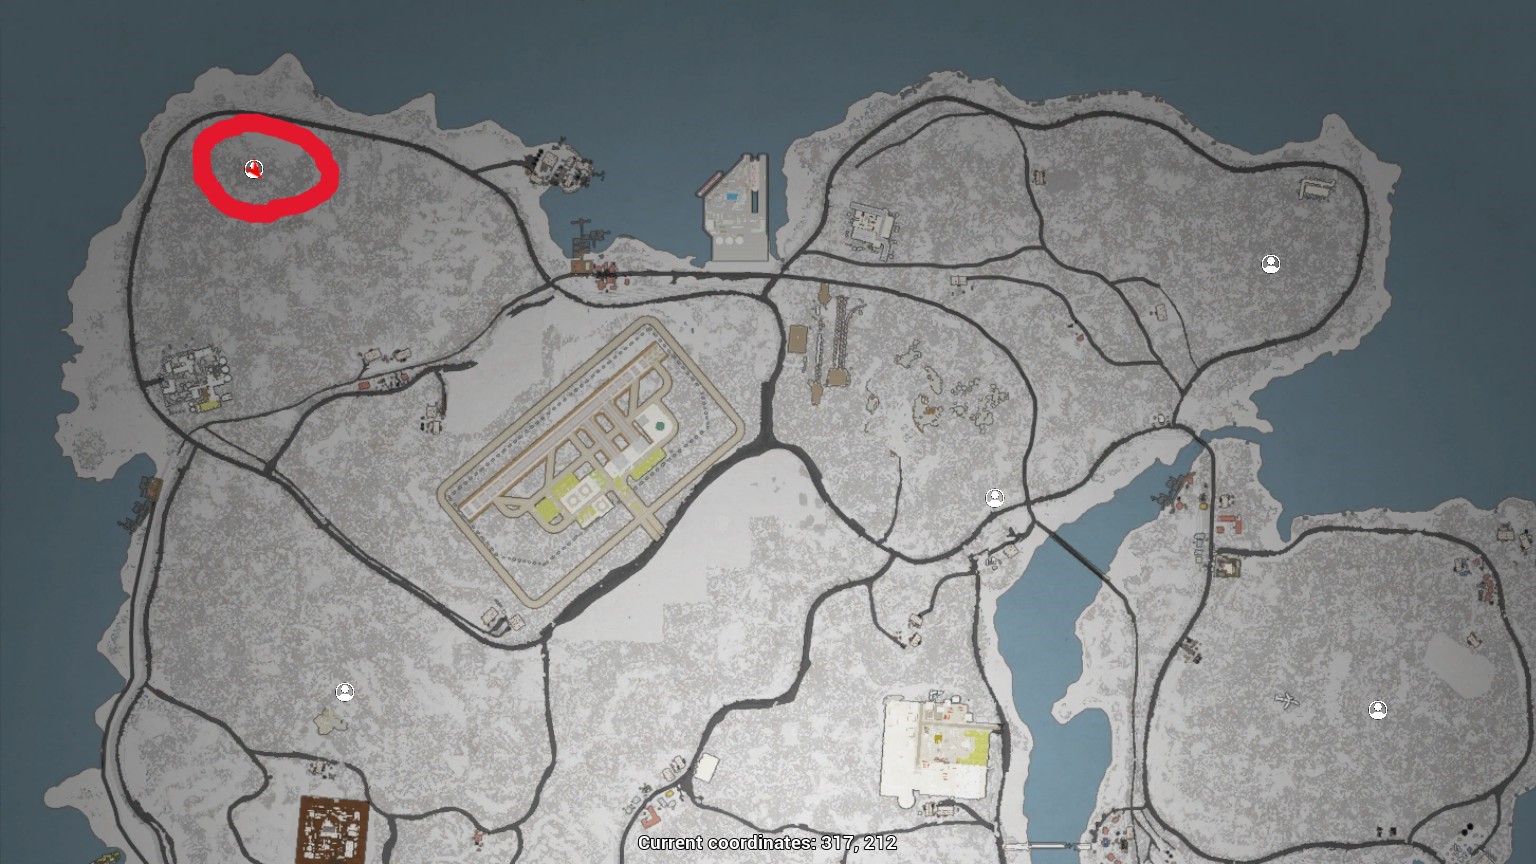
Coordinates: 317, 212
From Hank you can buy various drawings you will need to advance in technology. It seems to refresh with random drawings each time the merchants restock. From him you can learn Engineering 1-5 and Tailor 1-3.
Mike – Animals Trader
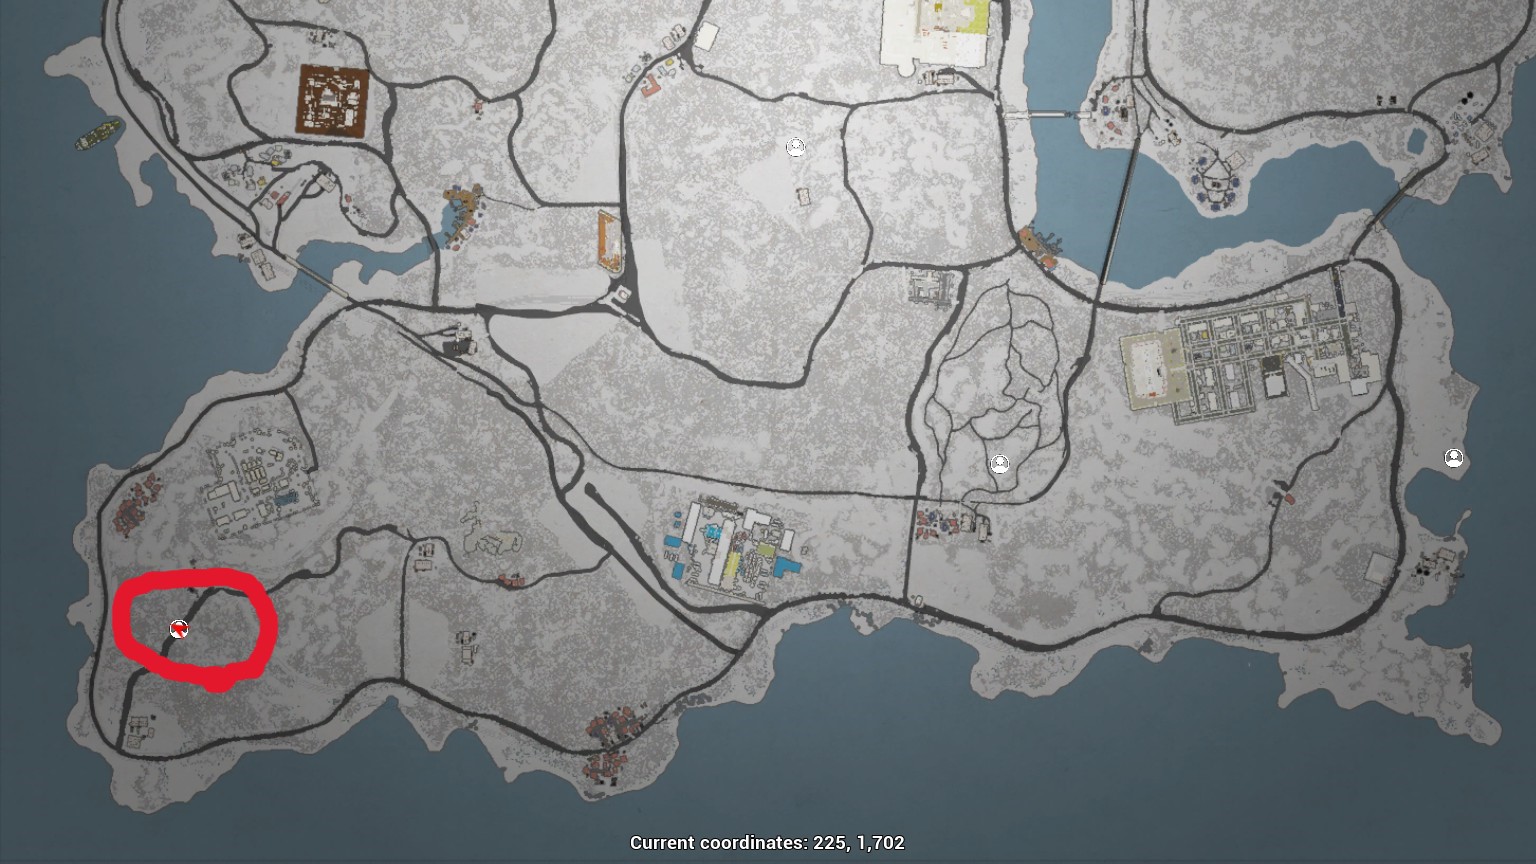
Coordinates: 225, 1,702
From Mike you can buy animals and stuff that can increase your mentality. From him you can learn Metallurgy 1-5 and Mechanical 1-3.
Sarah – Books Trader
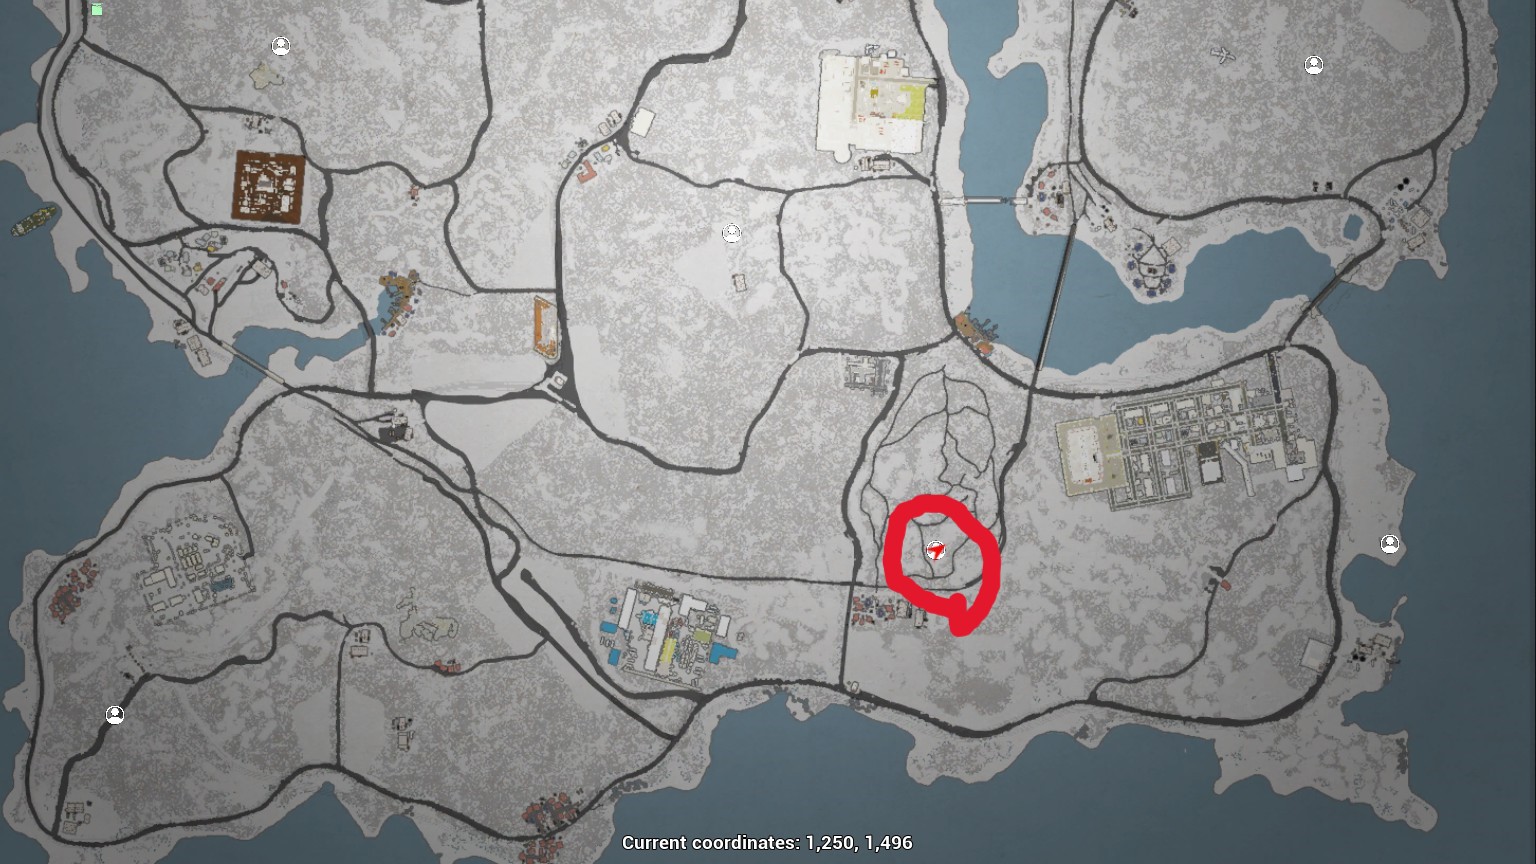
Coordinates: 1,250, 1,496
From Sarah you can buy books, whith random books each time the merchants restock. From her you can learn Weapon Manufactoring 1-5 and Medicine 1-3.
Mike – Armor Trader
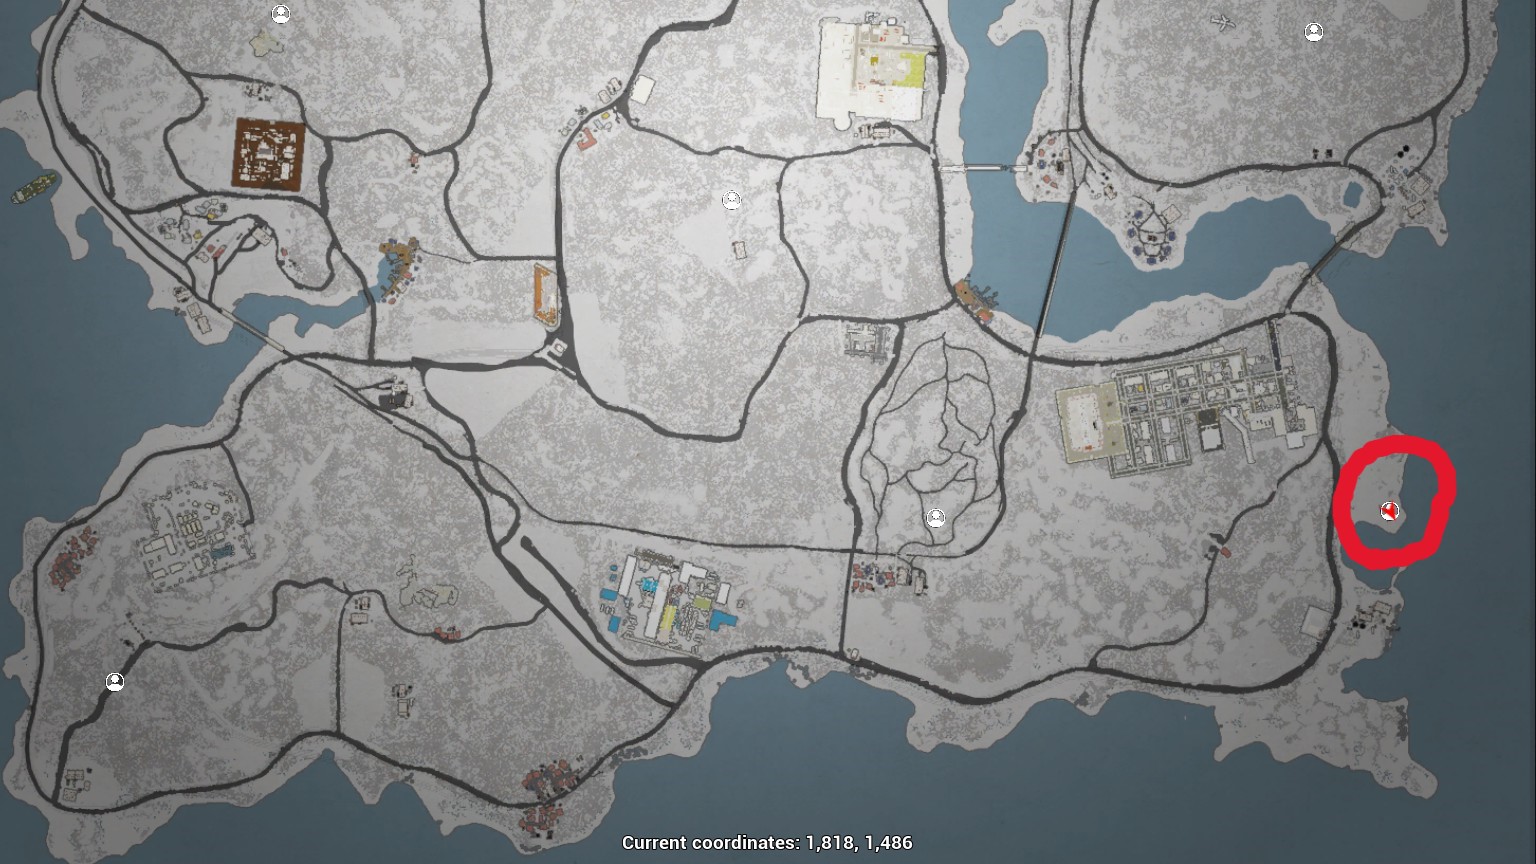
Coordinates: 1,818, 1,486
From Mike you can buy military grade armors or medieval armors. From him you can learn Agriculture 1-5 and Engineering 1-3.
Sarah – Solar Panel Trader
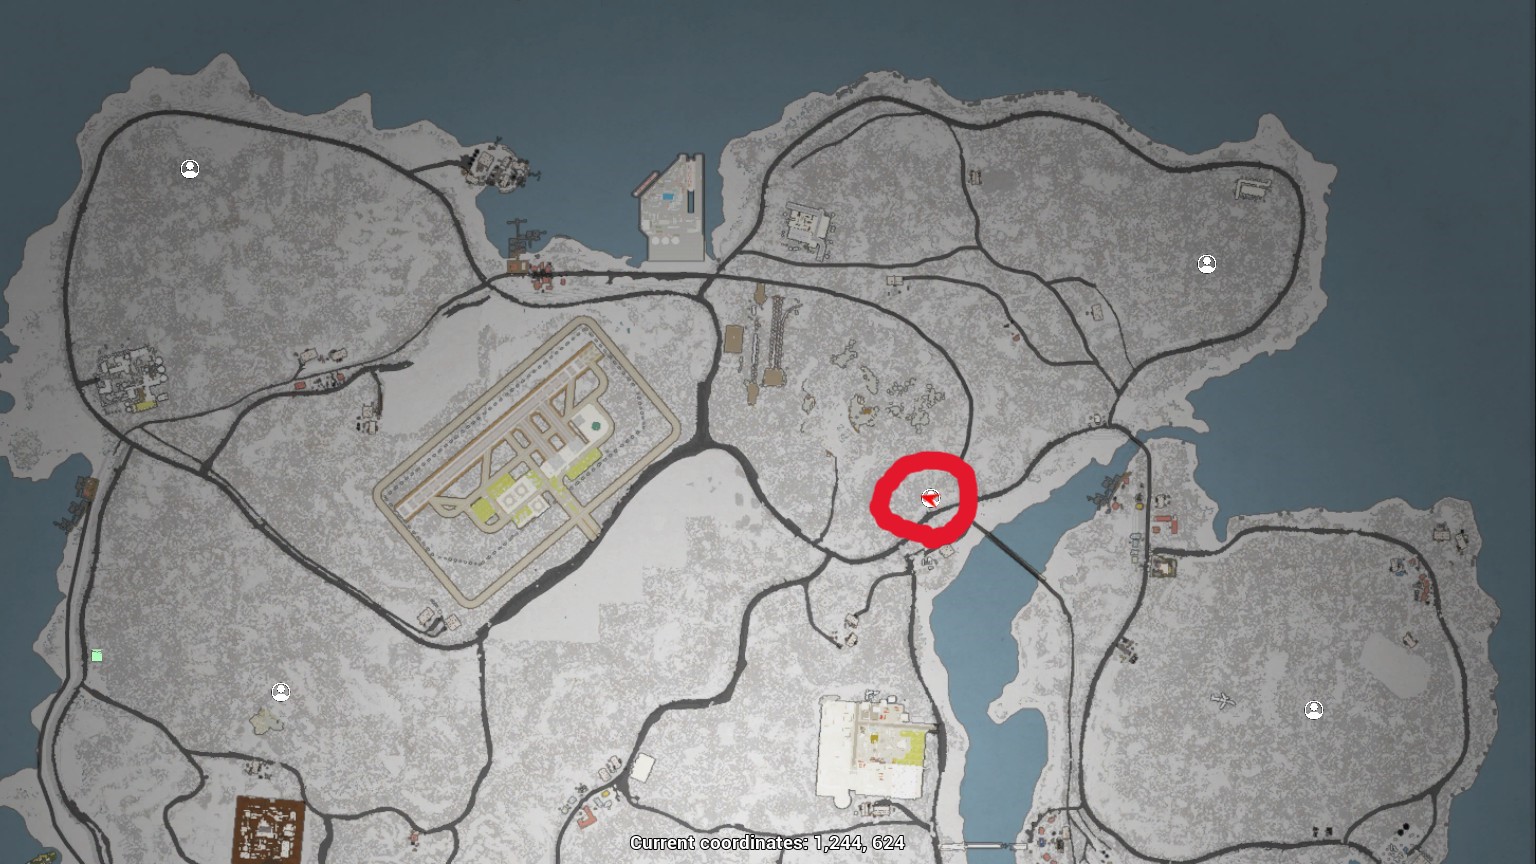
Coordinates: 1,244, 624
From Sarah you can buy Solar Panels, batteries and medical items. From her you can learn Mechanical 1-5 and Elicrification 1-3.
Hank – Food Trader
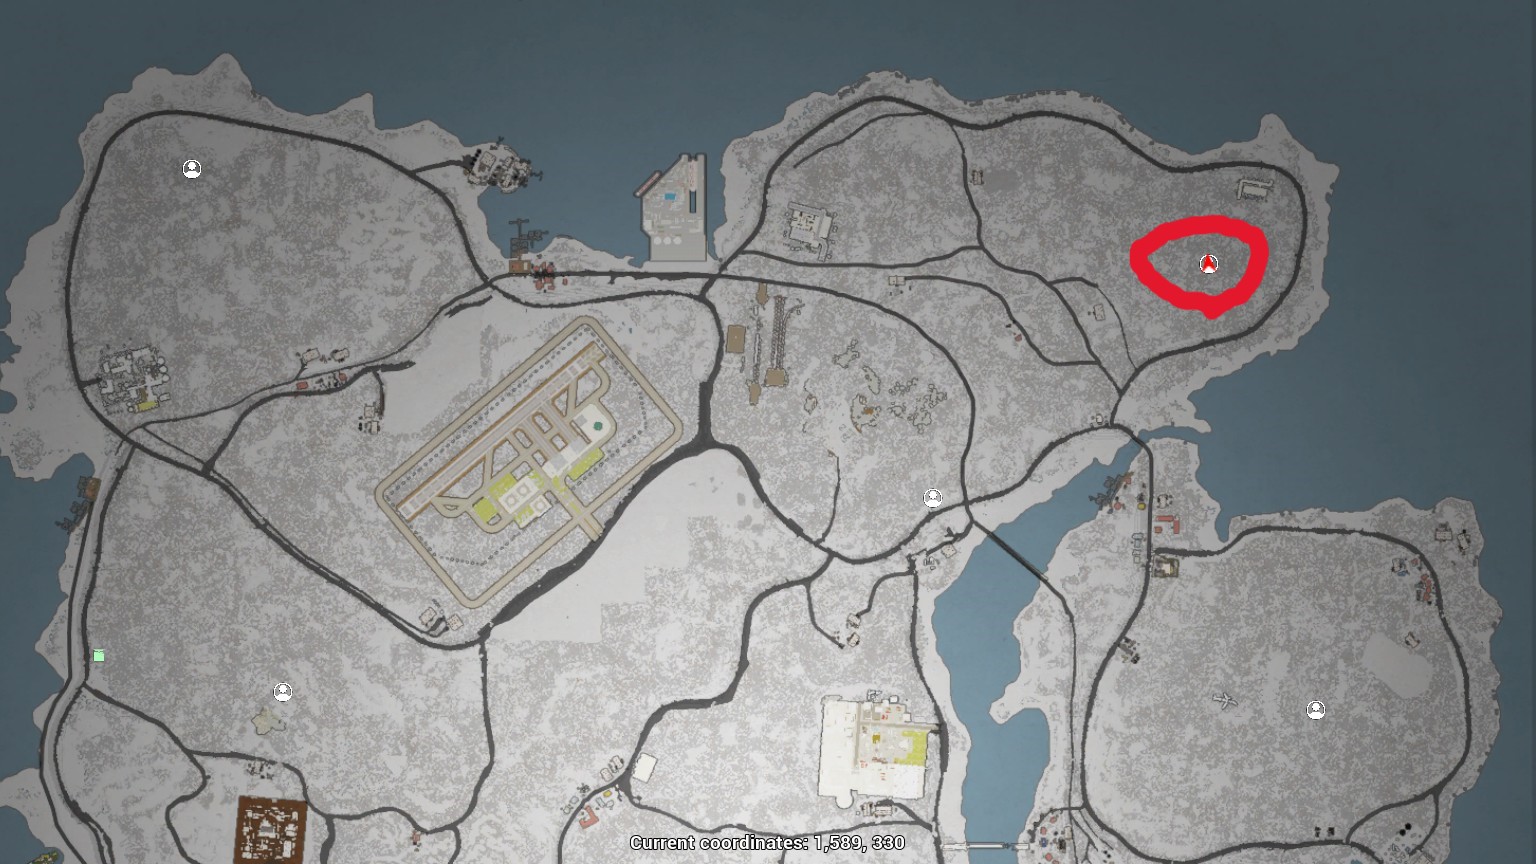
Coordinates: 1,589, 330
From Hank you get all kinds of fruit, vegetables and canned food. From him you can learn Tailor 1-5 and Elictrification 1-3.
Mining
Check out our more detailed No One Survived Mining. The mines in this game always have 2 ores. It varies from mine to mine. I am not sure if I have found all mines yet, but here is what I have found. They usually have a entrance and exit, but I found that not to be the case in at least one. Mines respawn the ore nodes very fast, so bring a lot to carry when you take the trip!
Mine 1
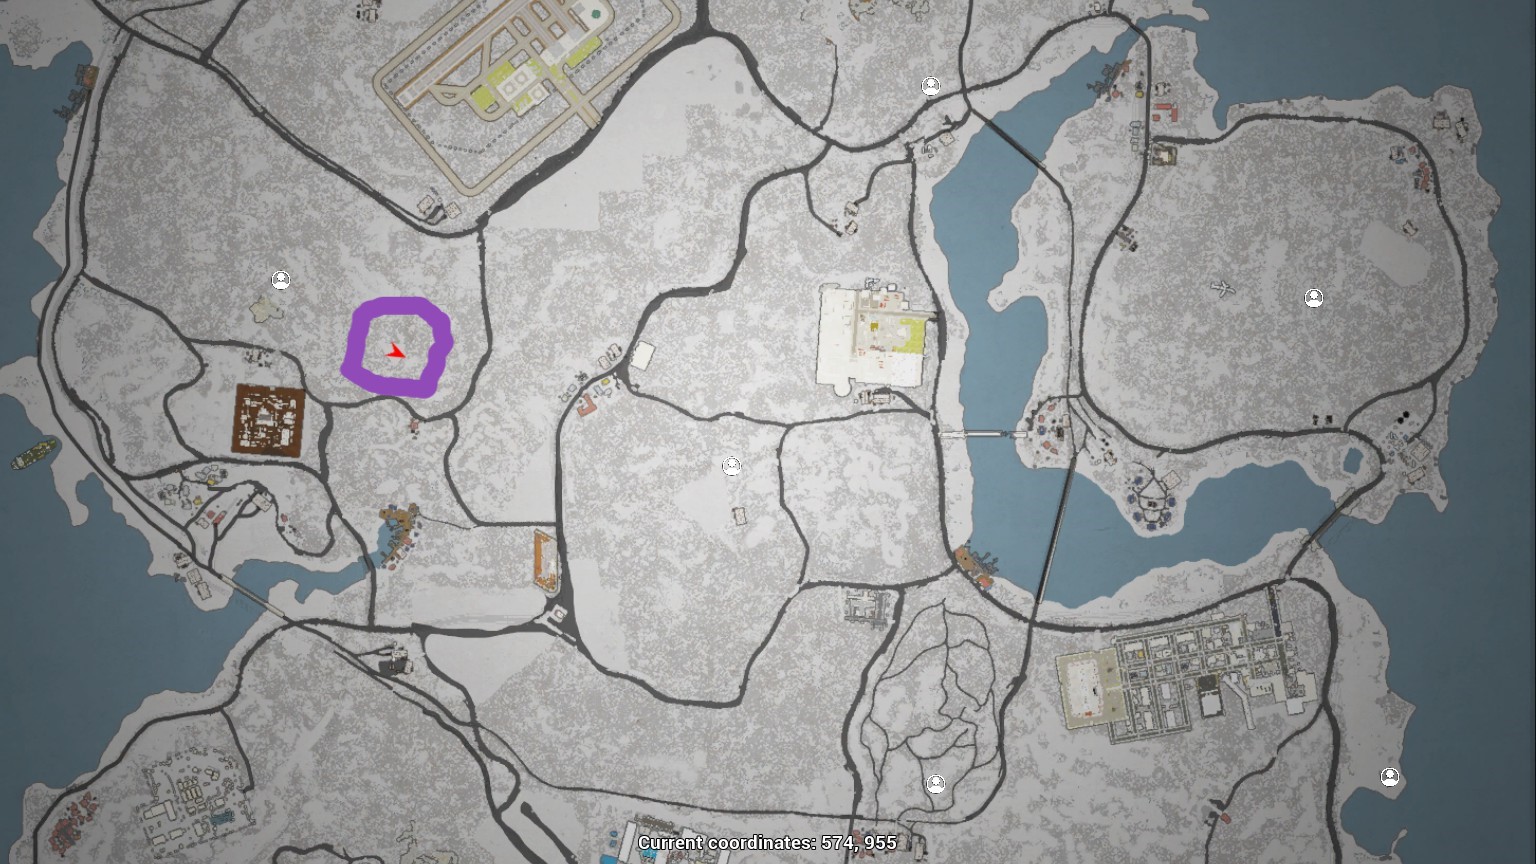
Coordinates: 574, 955
Iron and Saltpeter
Mine 2
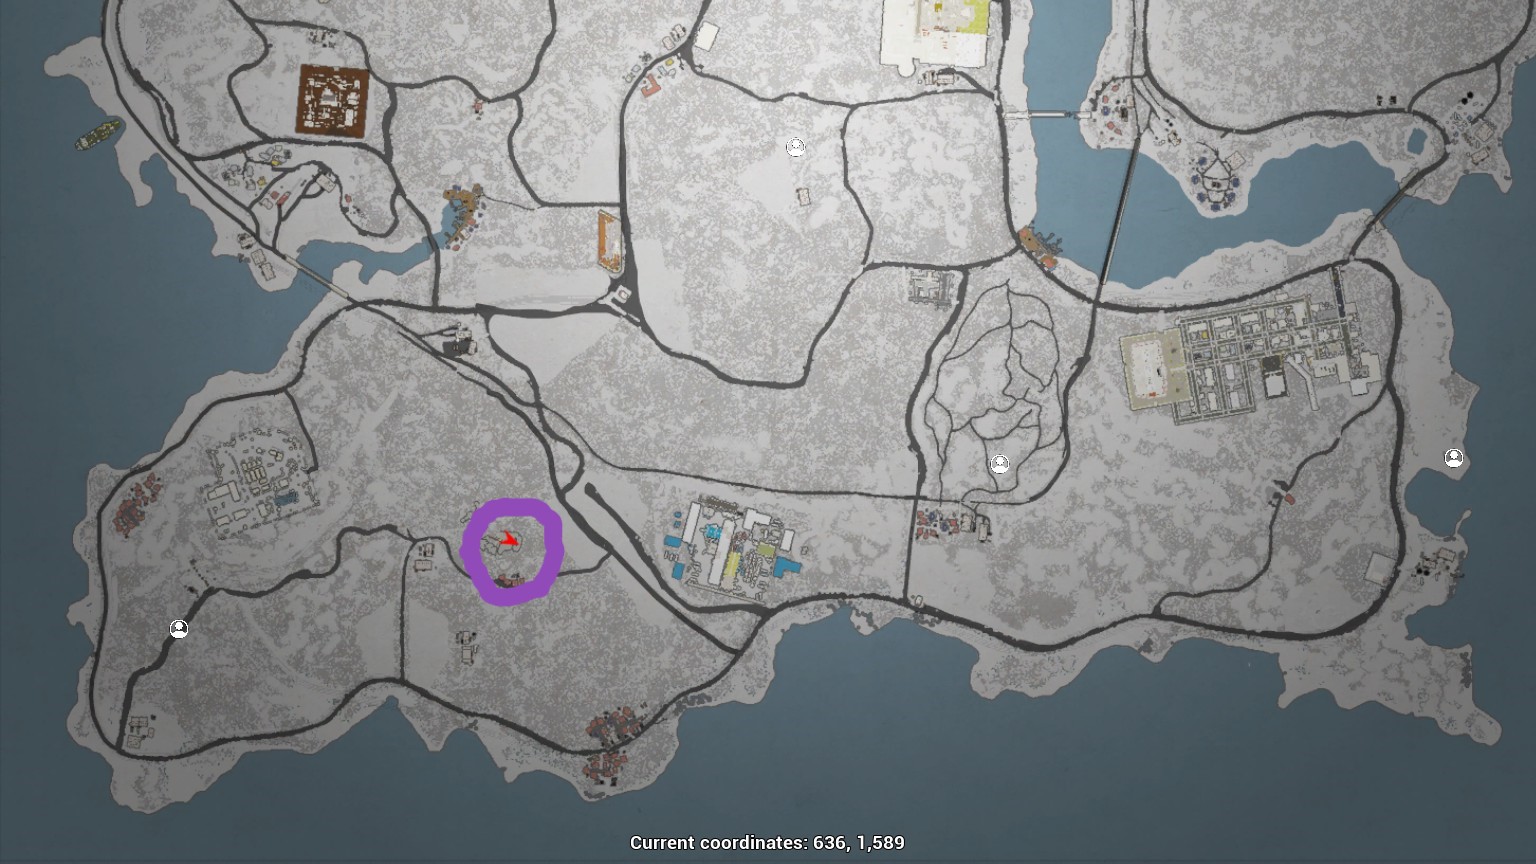
Coordinates: 636, 1,589
Aluminium and Coal
Mine 3
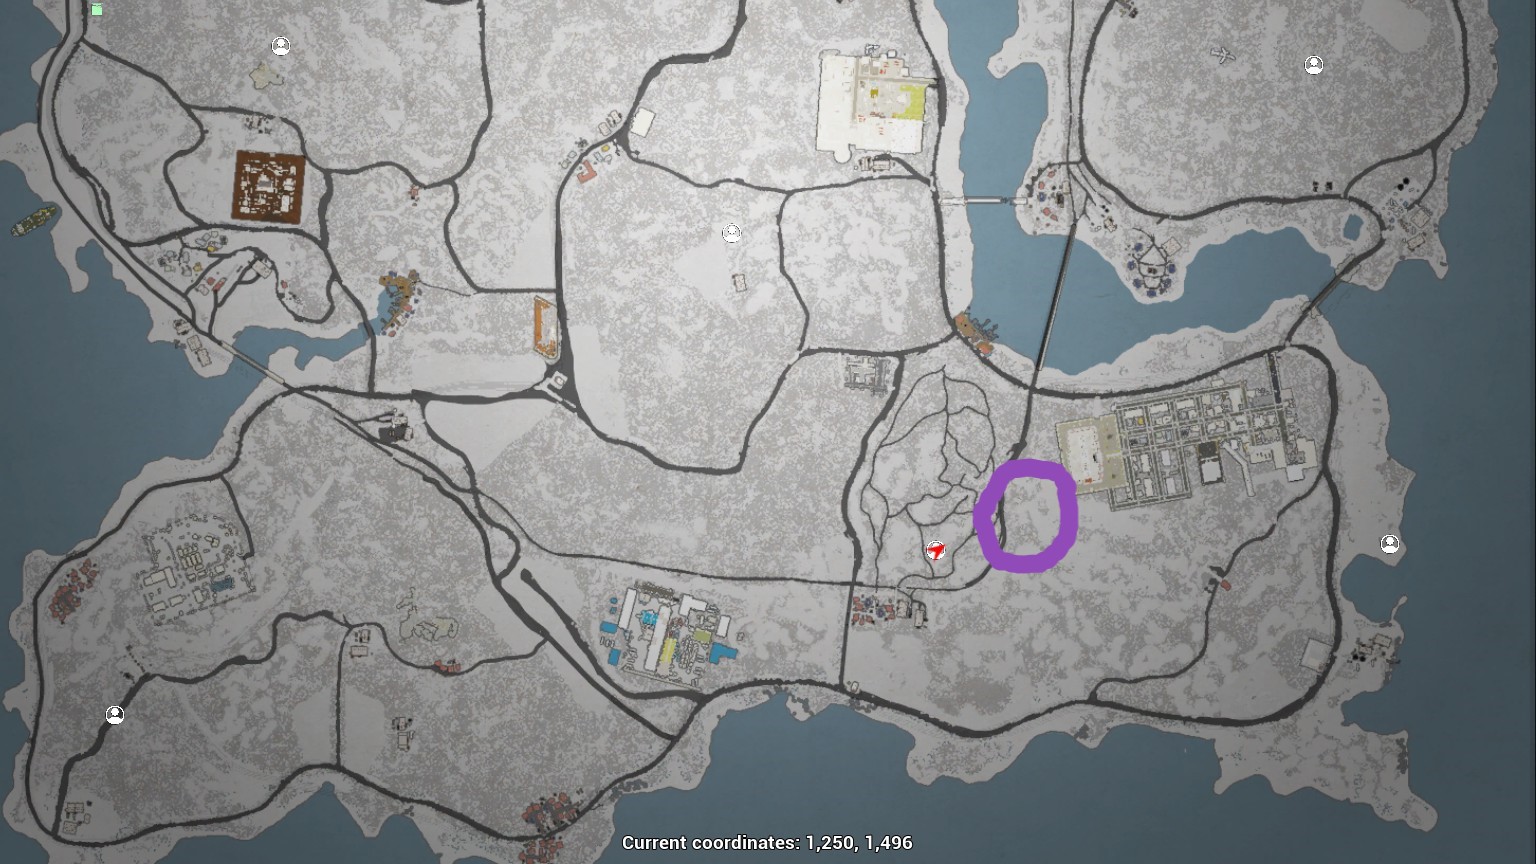
Coordinates:
Clay and Silver
Mine 4
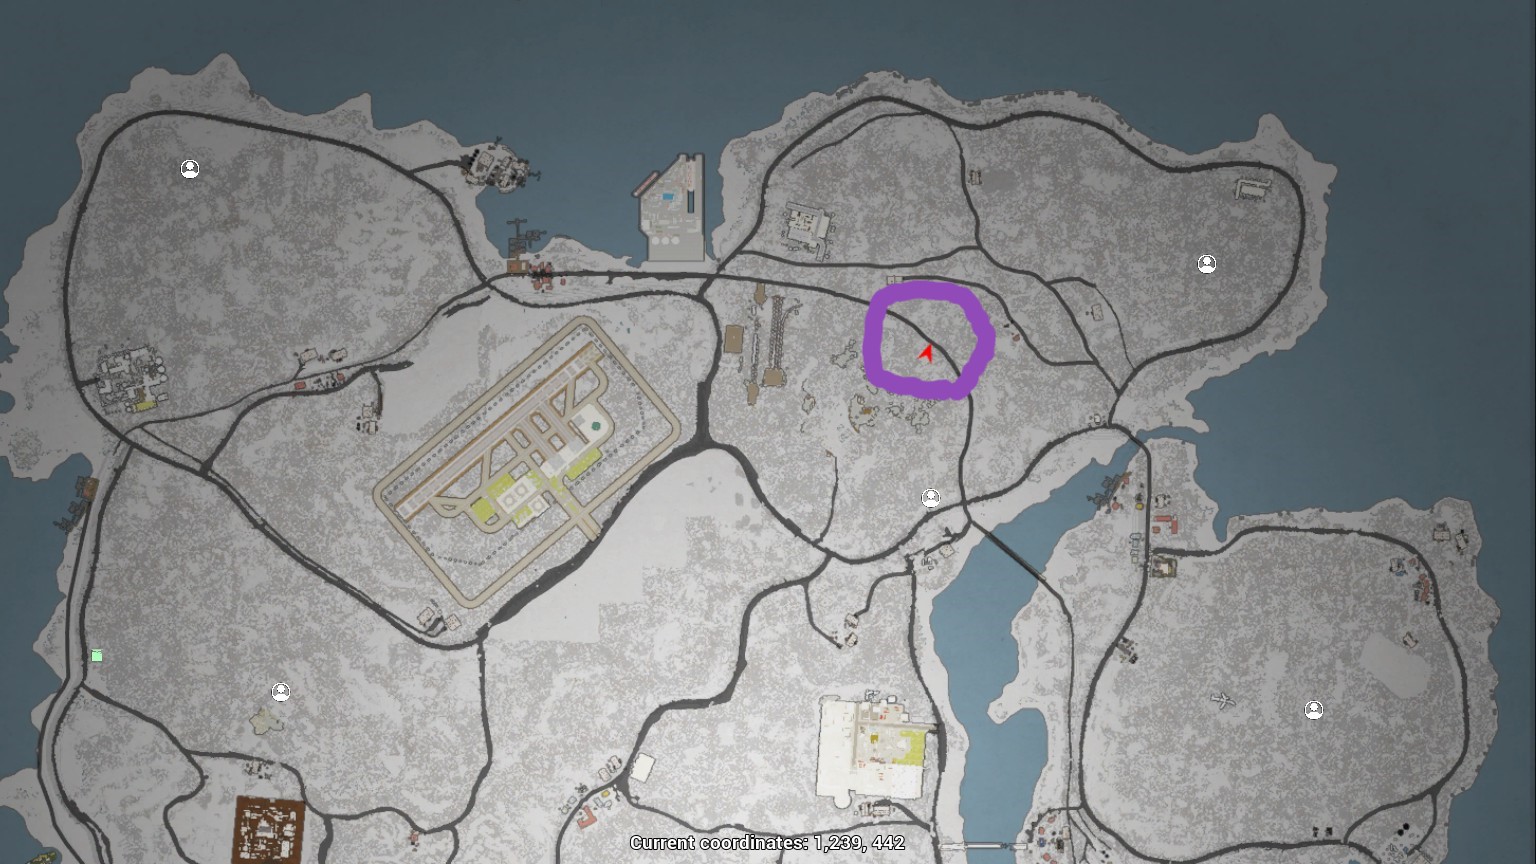
Coordinates: 1,239, 442
Limestone and Copper
Mine 5
Coordinates: Mystery mine, I can’t remember what was there and where I found it, but it had buildings inside and no exit. I found it at a whim while exploring and then it left my memory.
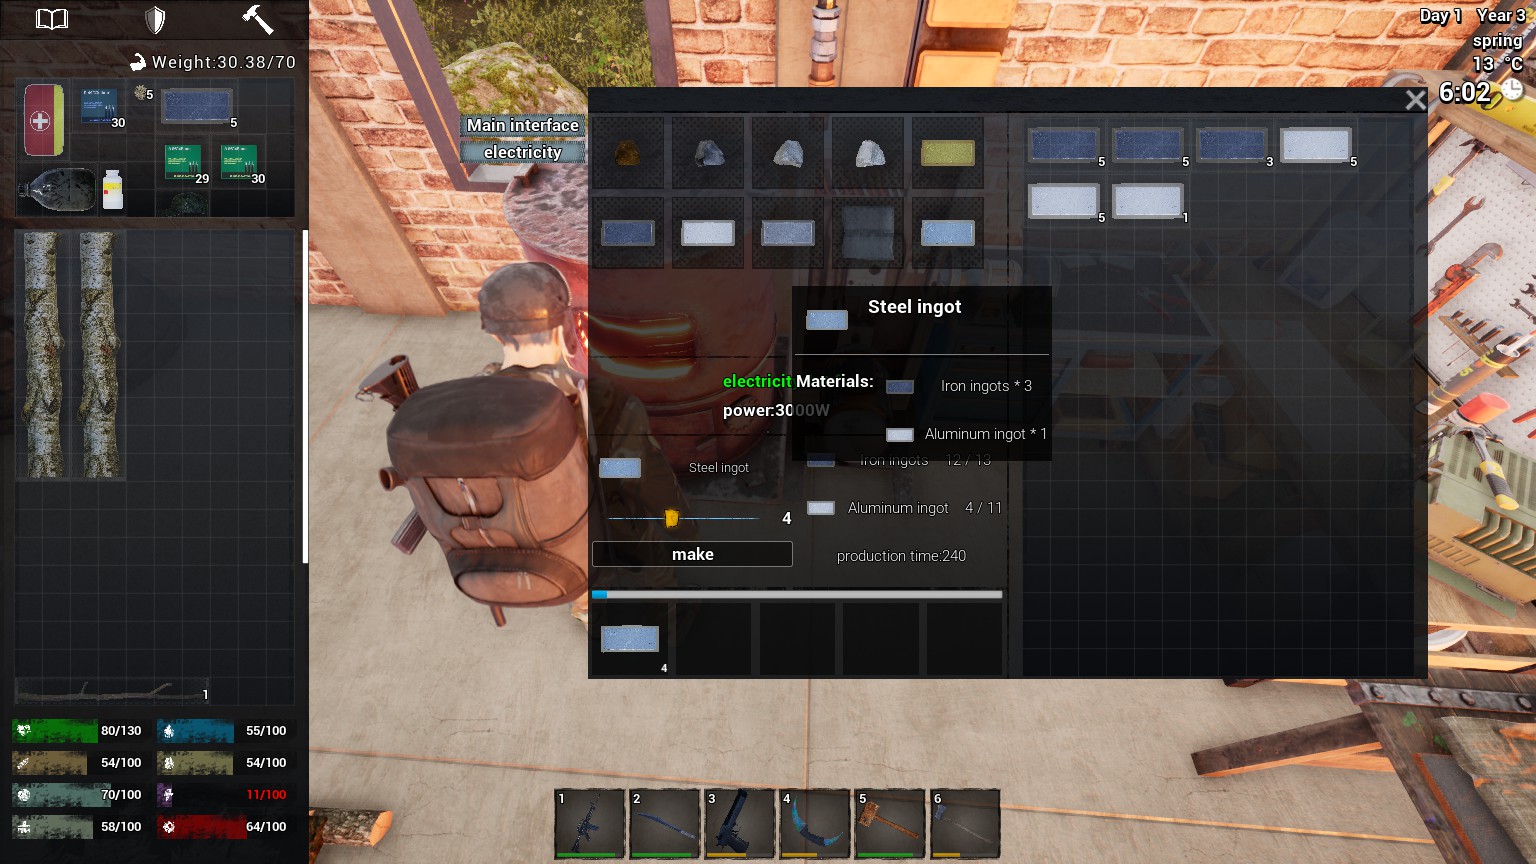
How to make steel?
Get the electric furnace and learn the steel ingot recipe
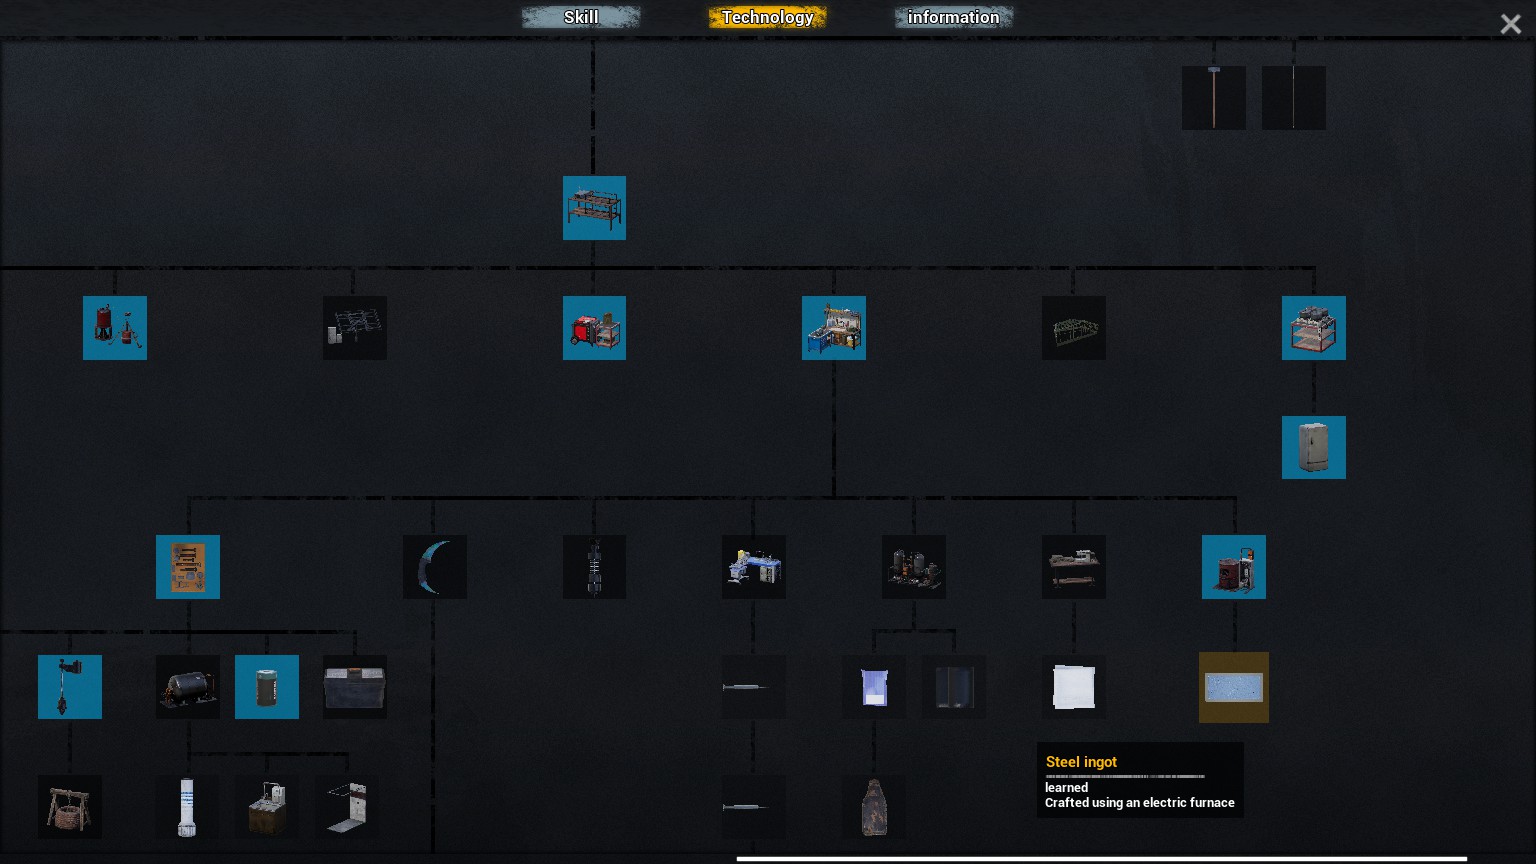
Then put ingredients in furnace and connect it to electricity
Building
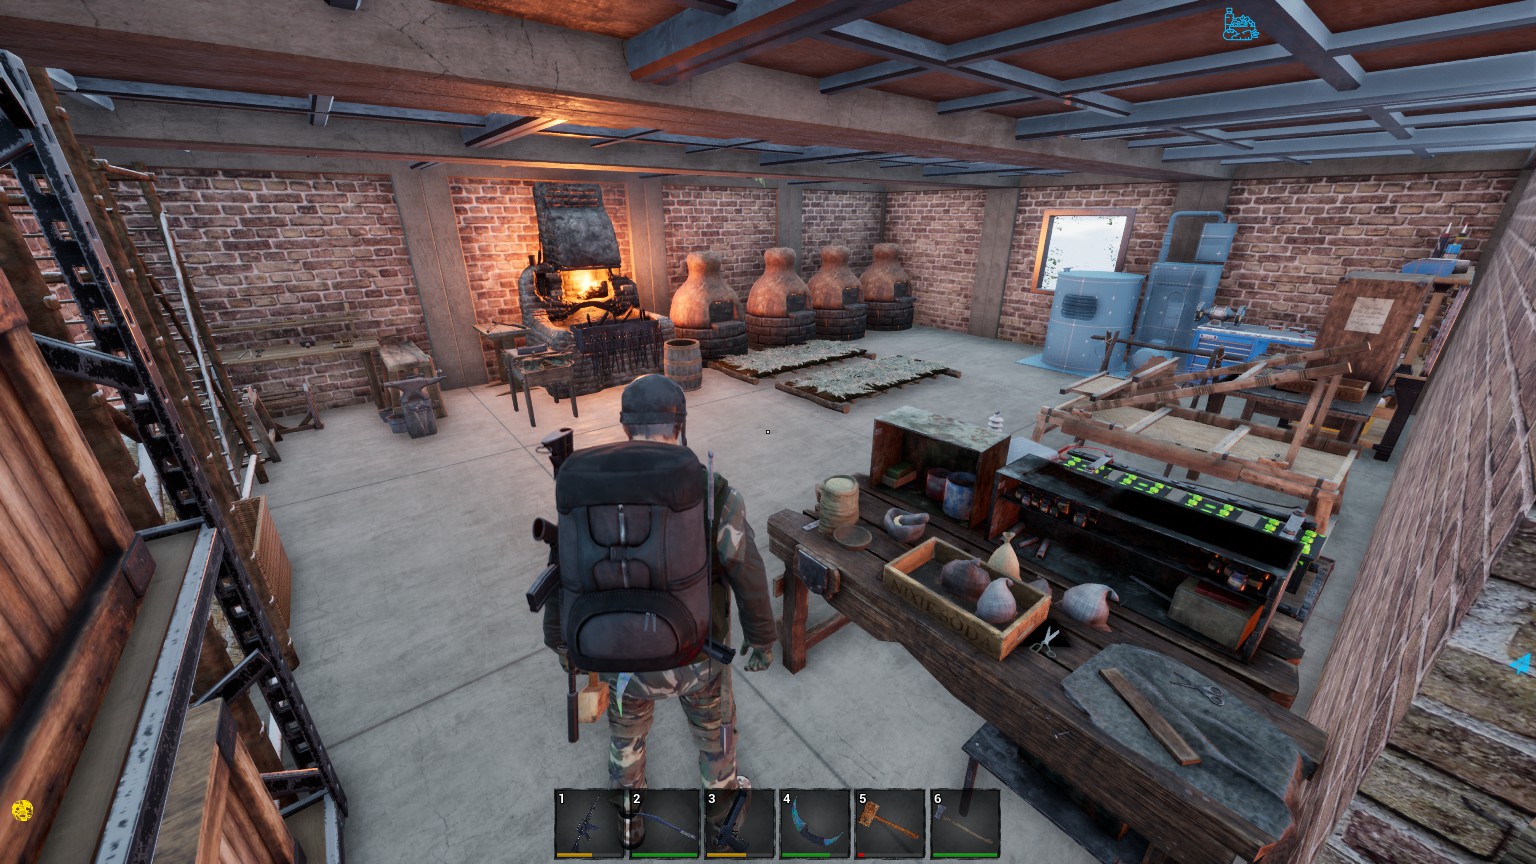
Check out our more detailed No One Survived Building.

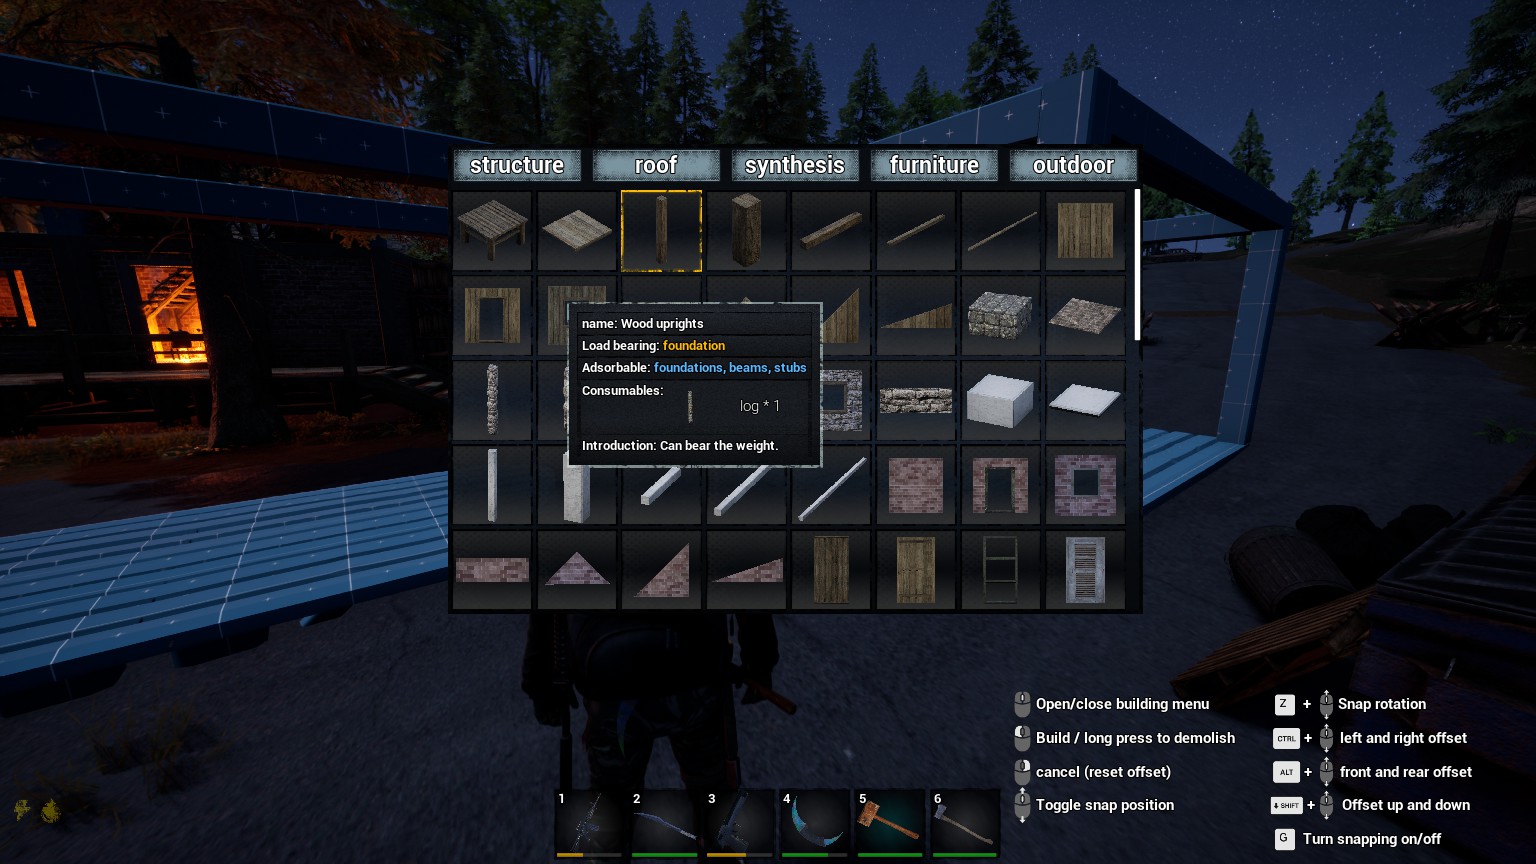
So first up you have many controls when building:
- Middle mouse button: Open build menu
- Left Click: Build selected item or demolish aimed at item
- Right Click: Cancel
- Middle mouse wheel up/down: Toggle snap position of item
- Z + Middle mouse wheel up/down: Rotate snap point
- Ctrl + Middle mouse wheel up/down: Move item left or right from snap point
- Shift + Middle mouse wheel up/down: Move item up or down at the current position
- G: Turn snapping off, free build if you don’t like to use time on positioning
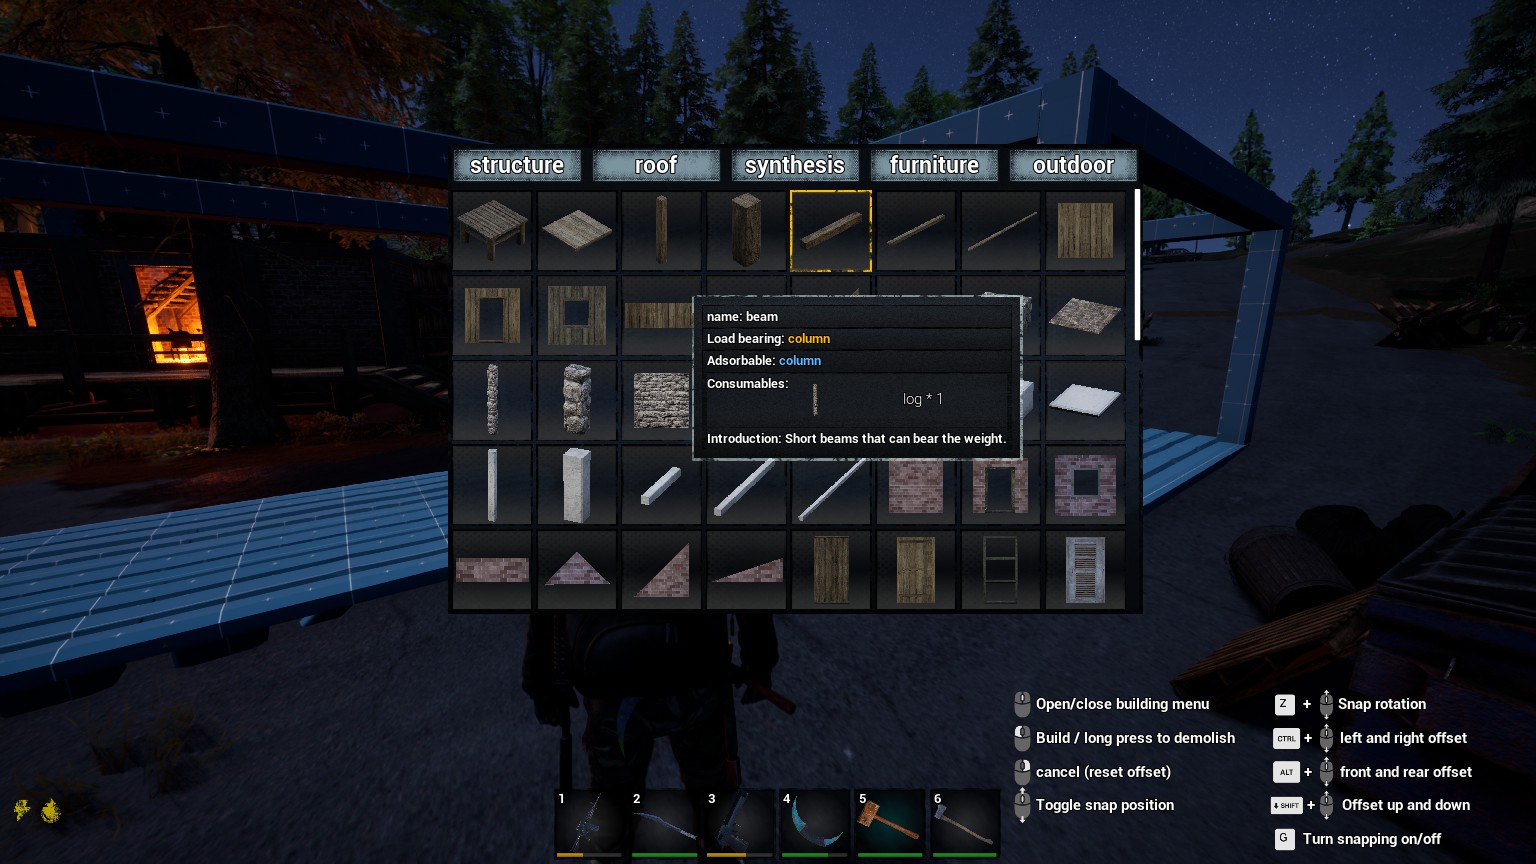
You have different beams which is cruicial for your structure integrity. If you don’t place the beams ceiling will not snap, which makes this fairly realistic.
Basic rules of Building
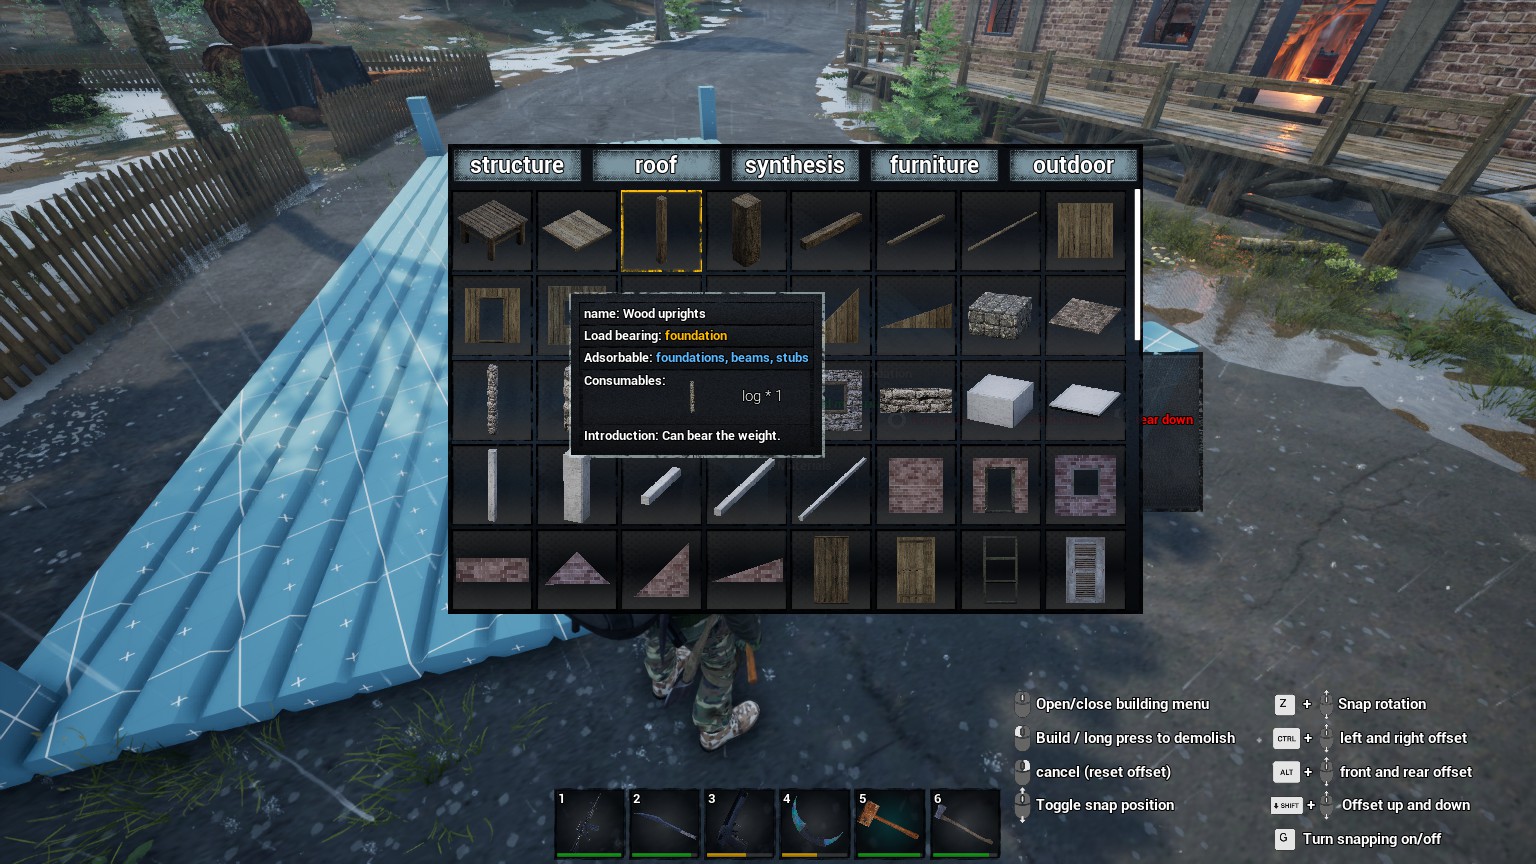
- Vertical beams can either be the foundation or you can build them ontop of a foundation
- Horisontal beams must rest on two vertical beams to work
- Walls, floors and ceiling must all rest on beams to be able to place
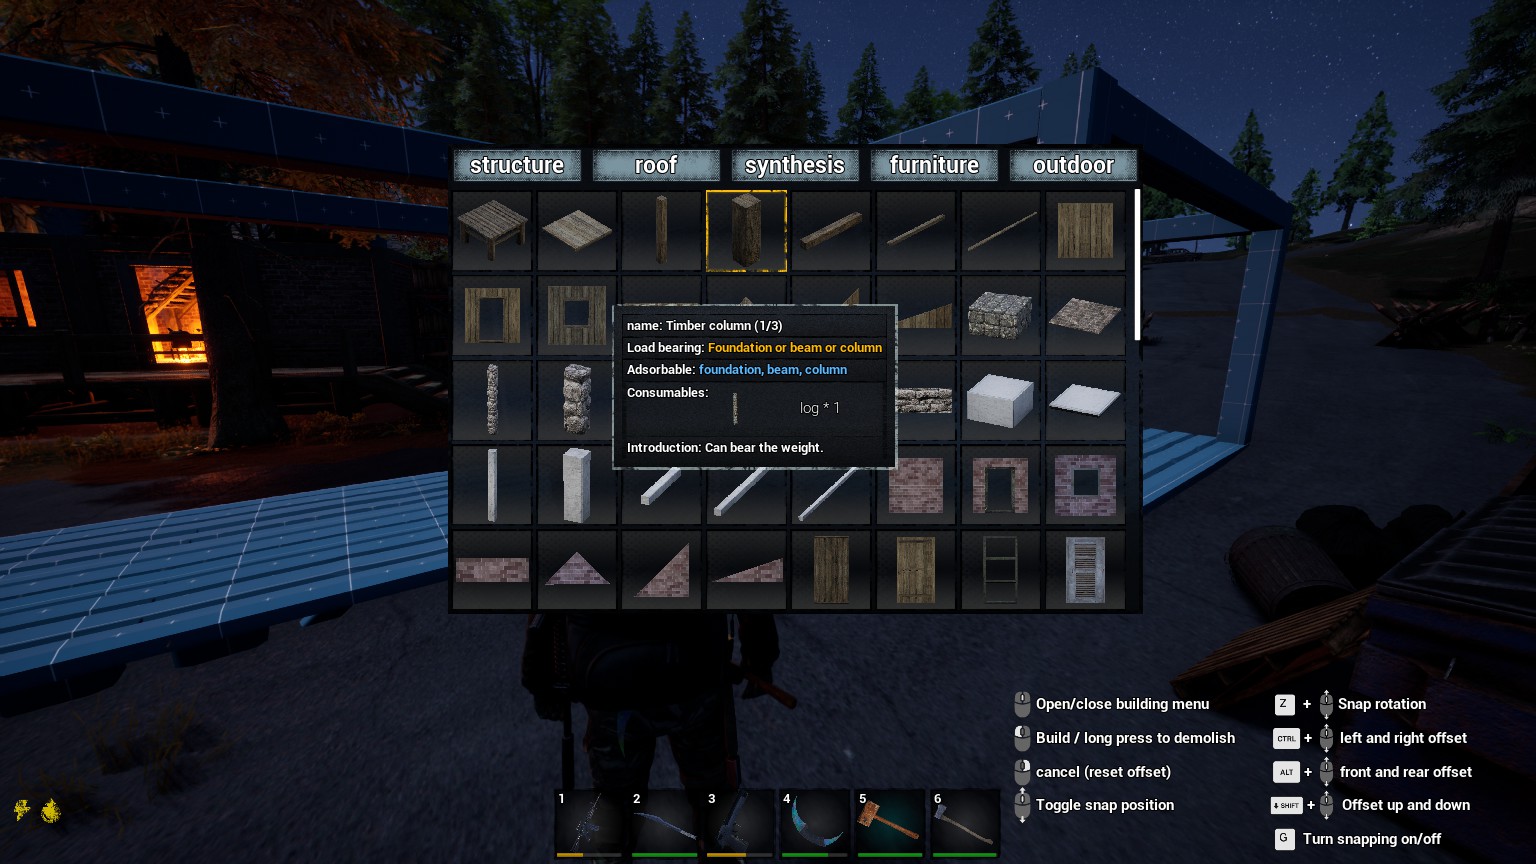
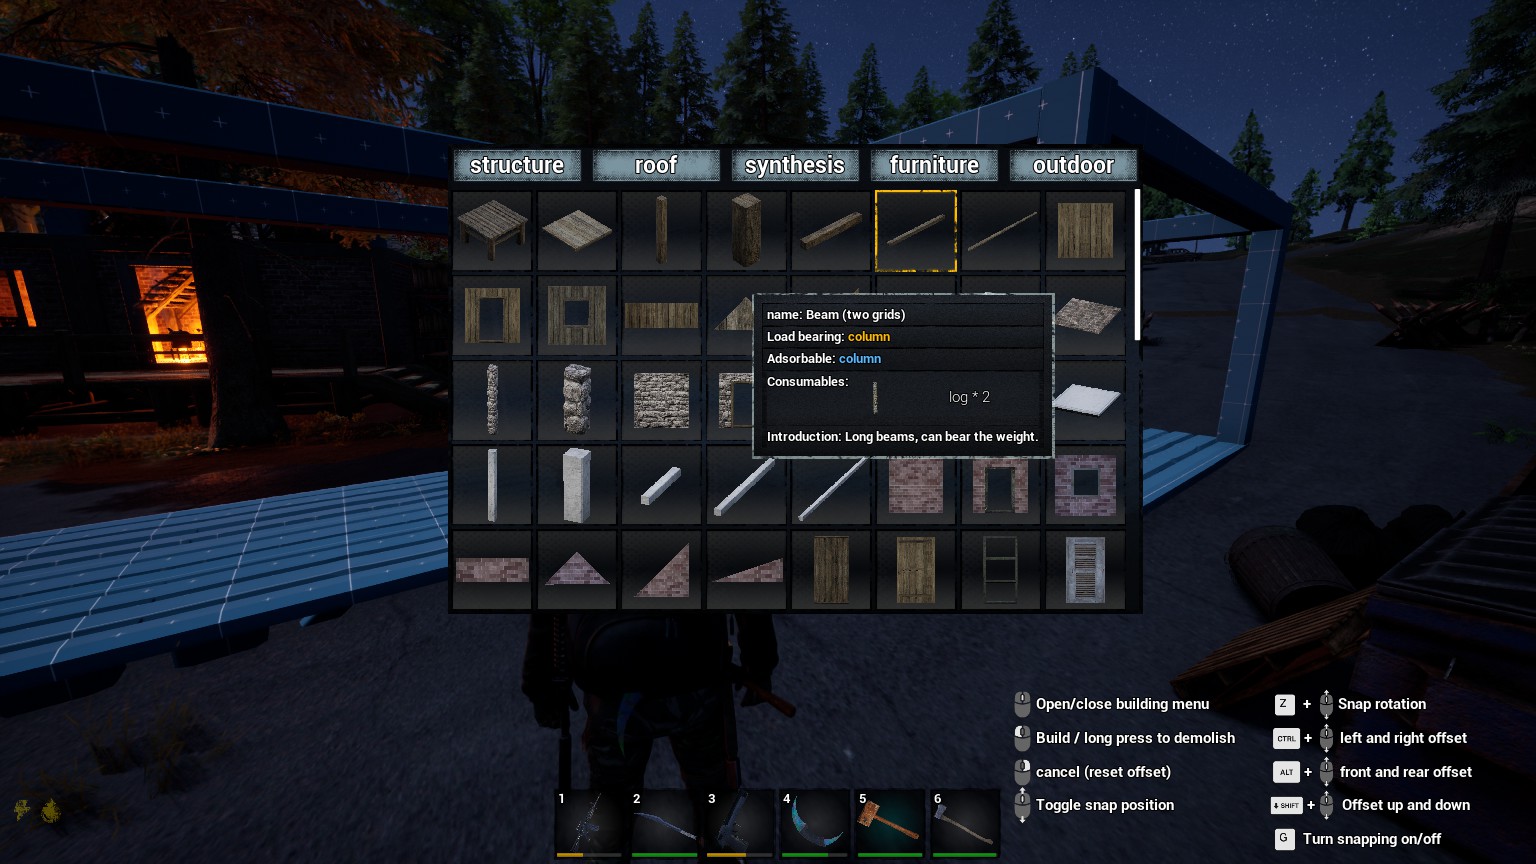
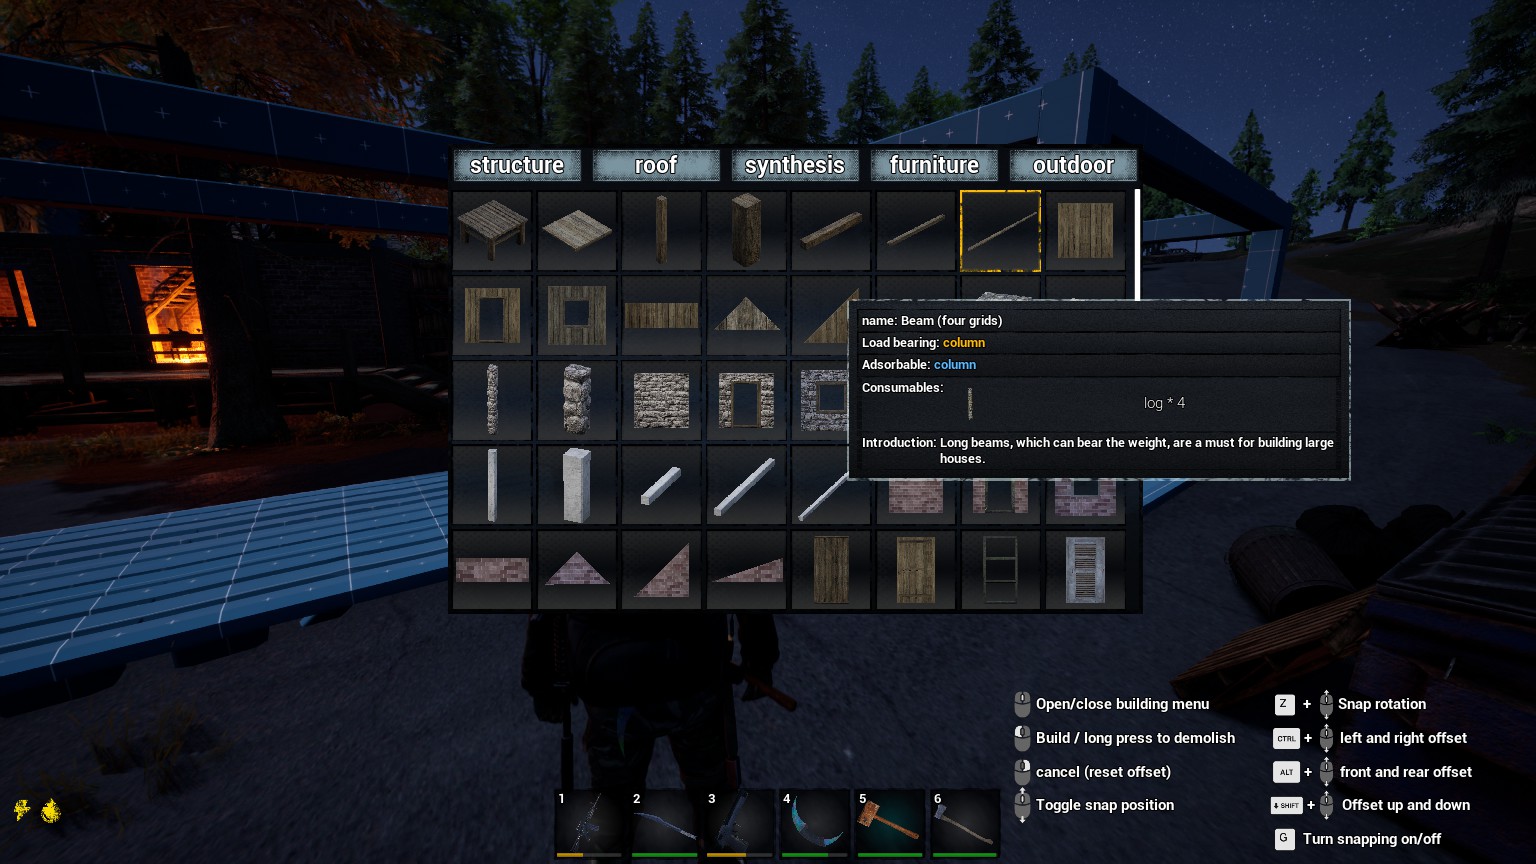
Vertical beams are there to make the horisontal beams snap. You can choose if you want to place them for each foundation or 2x foundation or 4x foundation. The reason for that is that the sizes of horisontal beams is that lenght:
Here is an example of how I made the first floor strong by adding many vertical beams, then I chose to start cunstructing with less vertical beams in second floor:
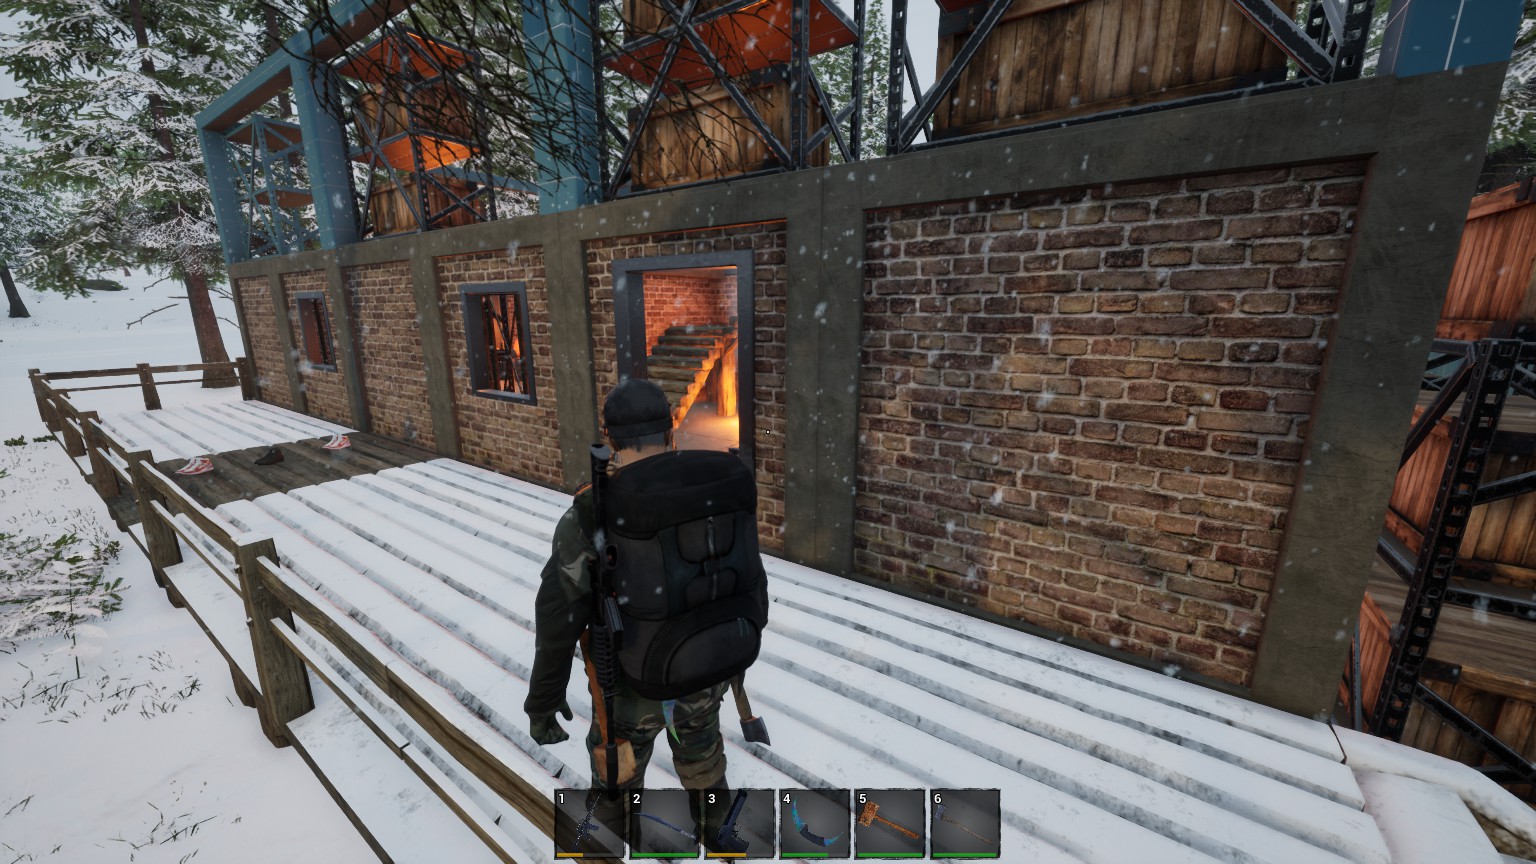
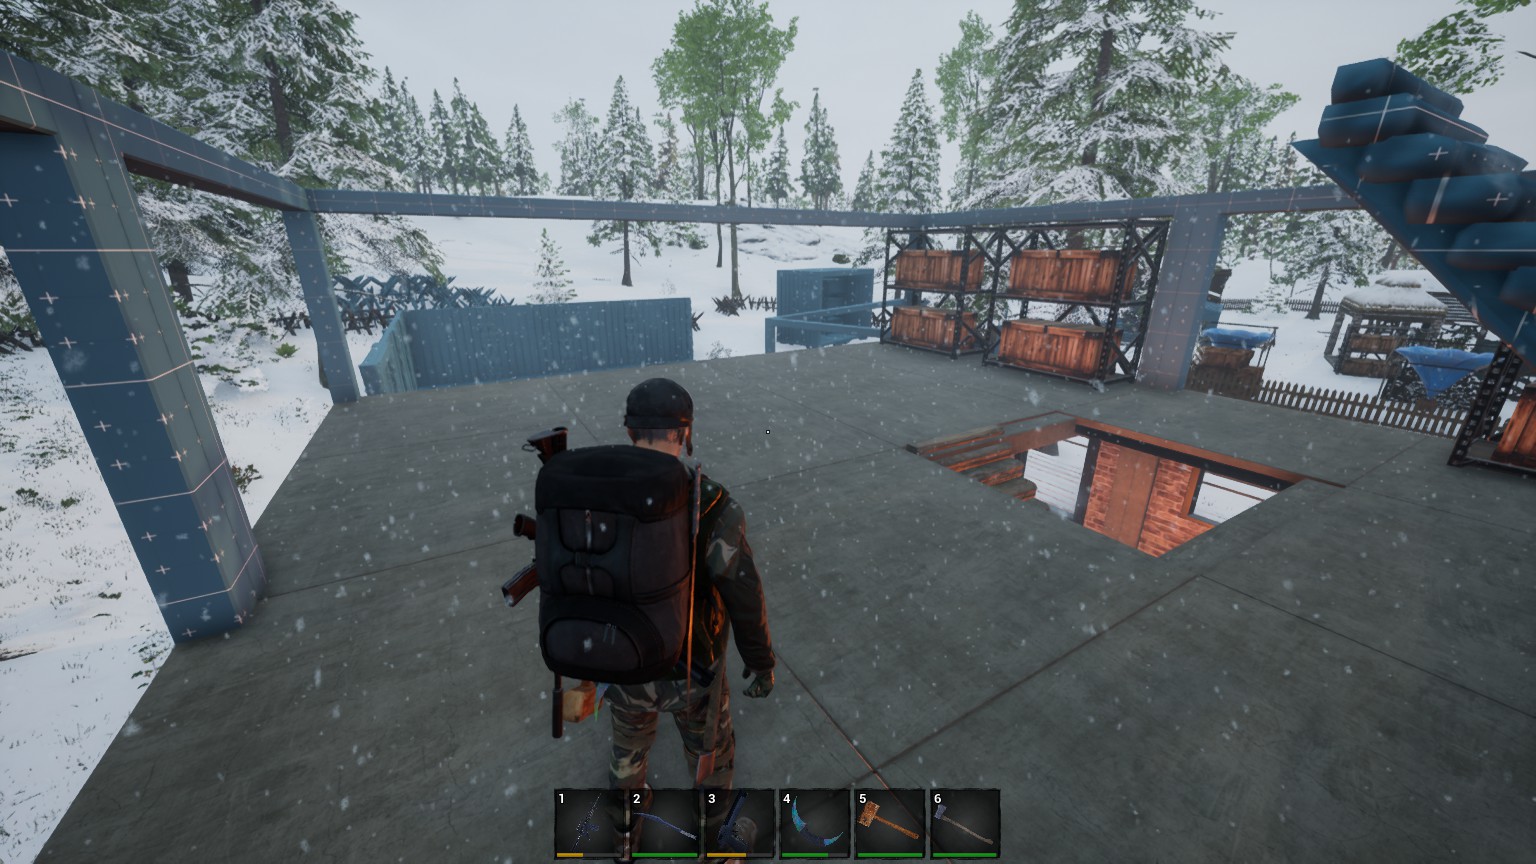
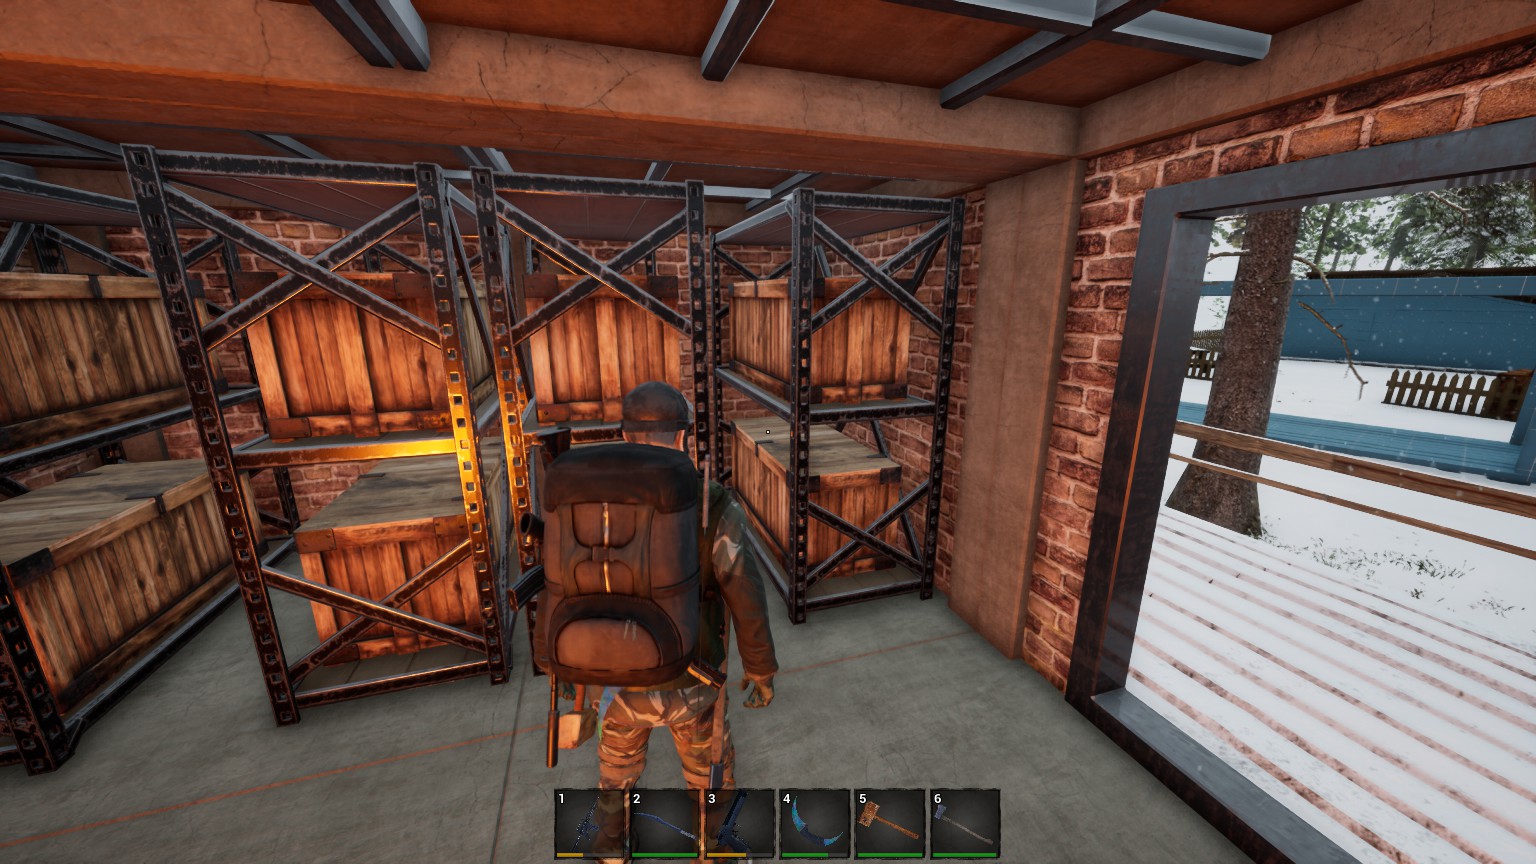
Another great thing to add is the 1/3 vertical beam, the reason for that is that only placing a normal beam will fit you 2 boxes in a shelf, while a normal vertical + a 1/3 beam will fit you 3 boxes in shelf under the ceiling!
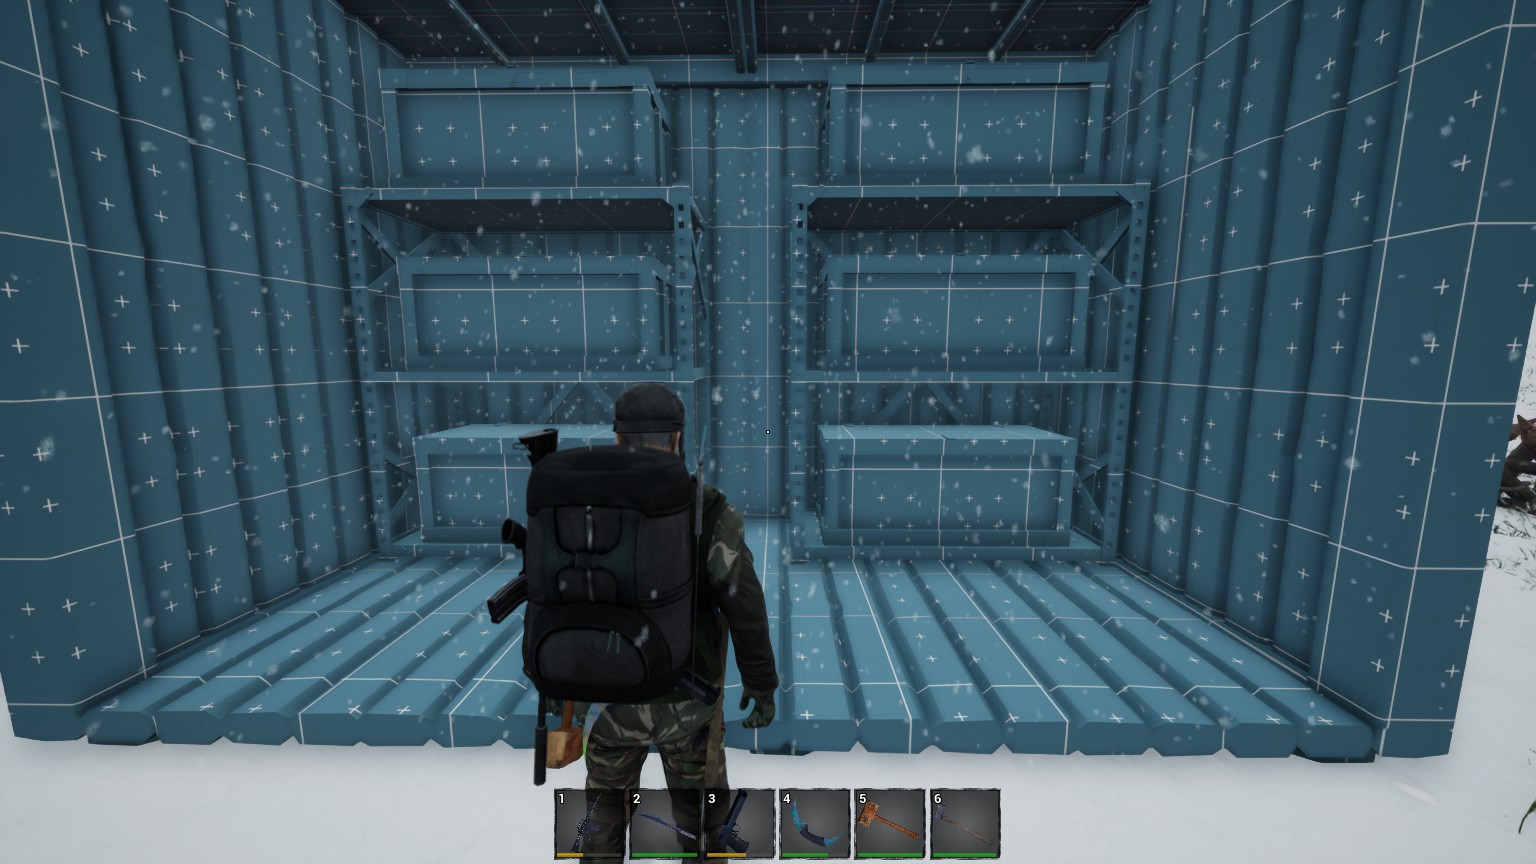
If you want your structure to have even more safety from being destroyed I suggest you use a flat area and use shift to place the foundation as low as possible, making it harder to hit, thus protecting your beams better, since if foundation is destroyed everything falls that was built on this foundation:
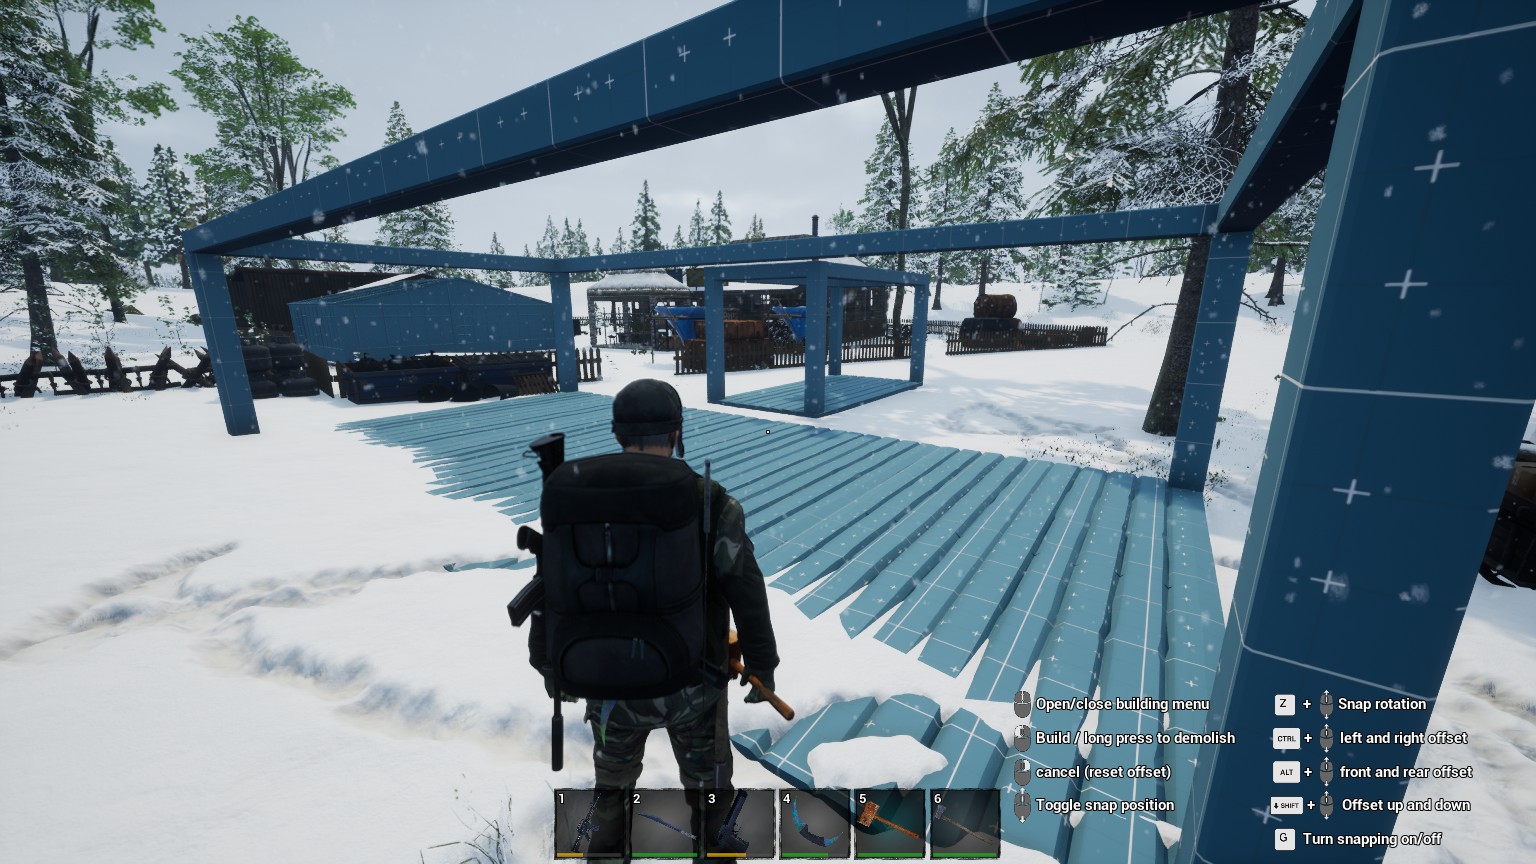
Example of how to make a very basic house 2×4 with all the parts fitting perfectly, it looks very good and is realistic.
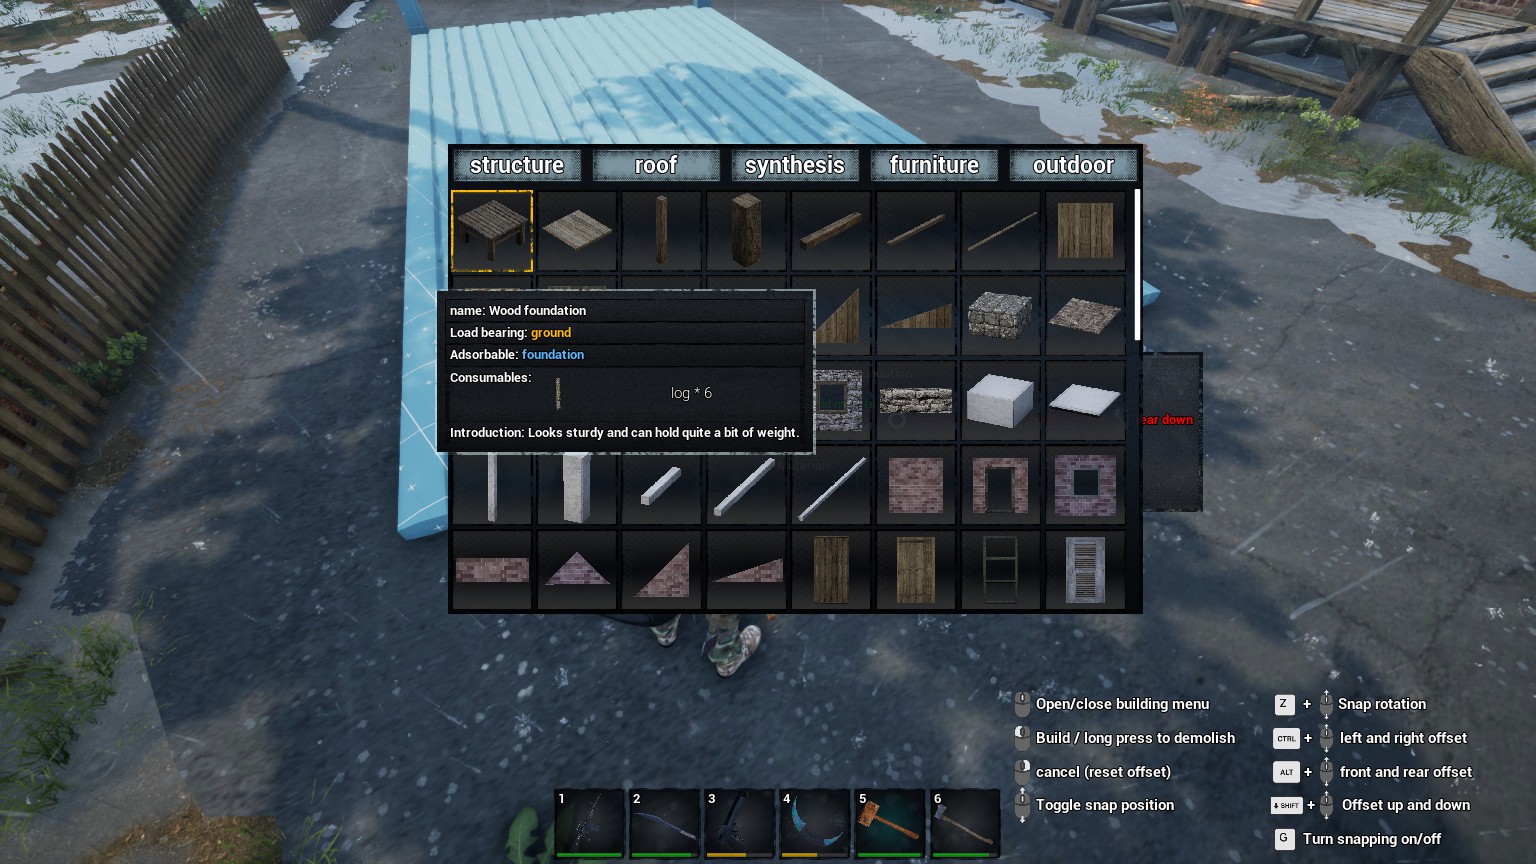
Start by placing foundations:
Continue with all the beams, vertical and horisontal:
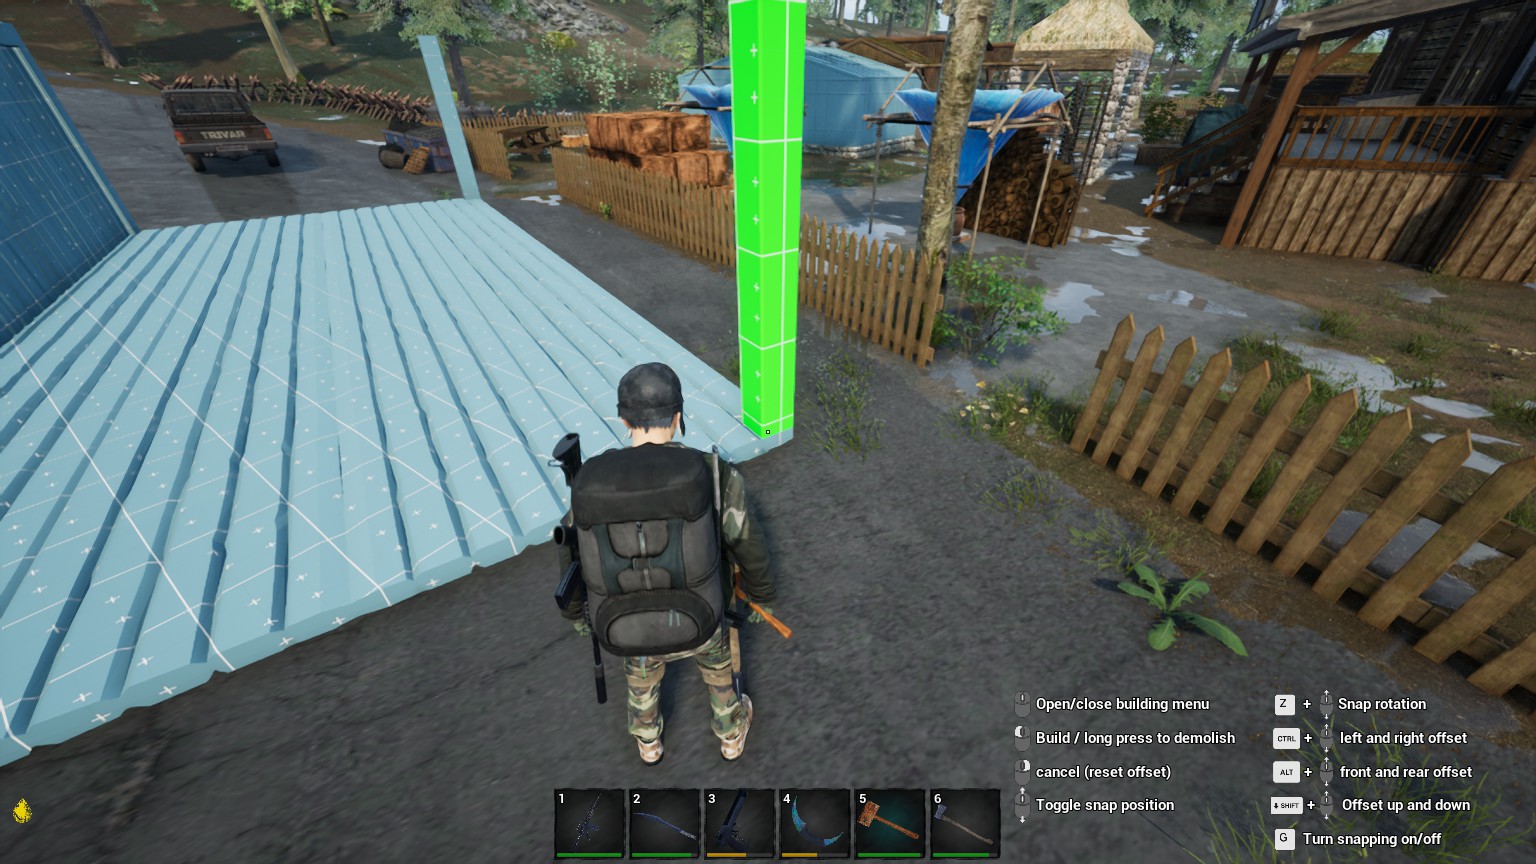
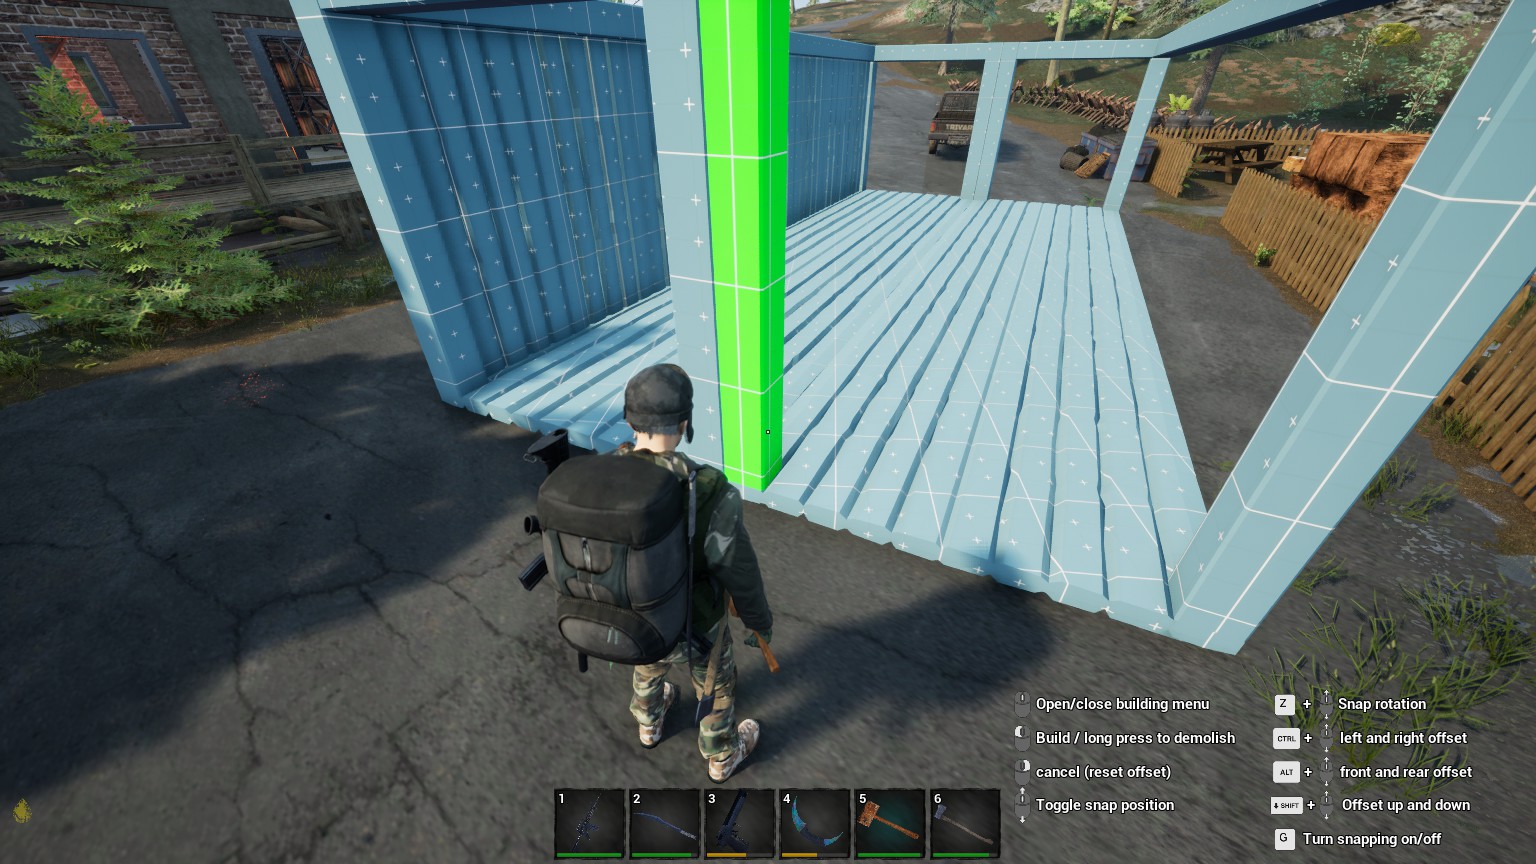
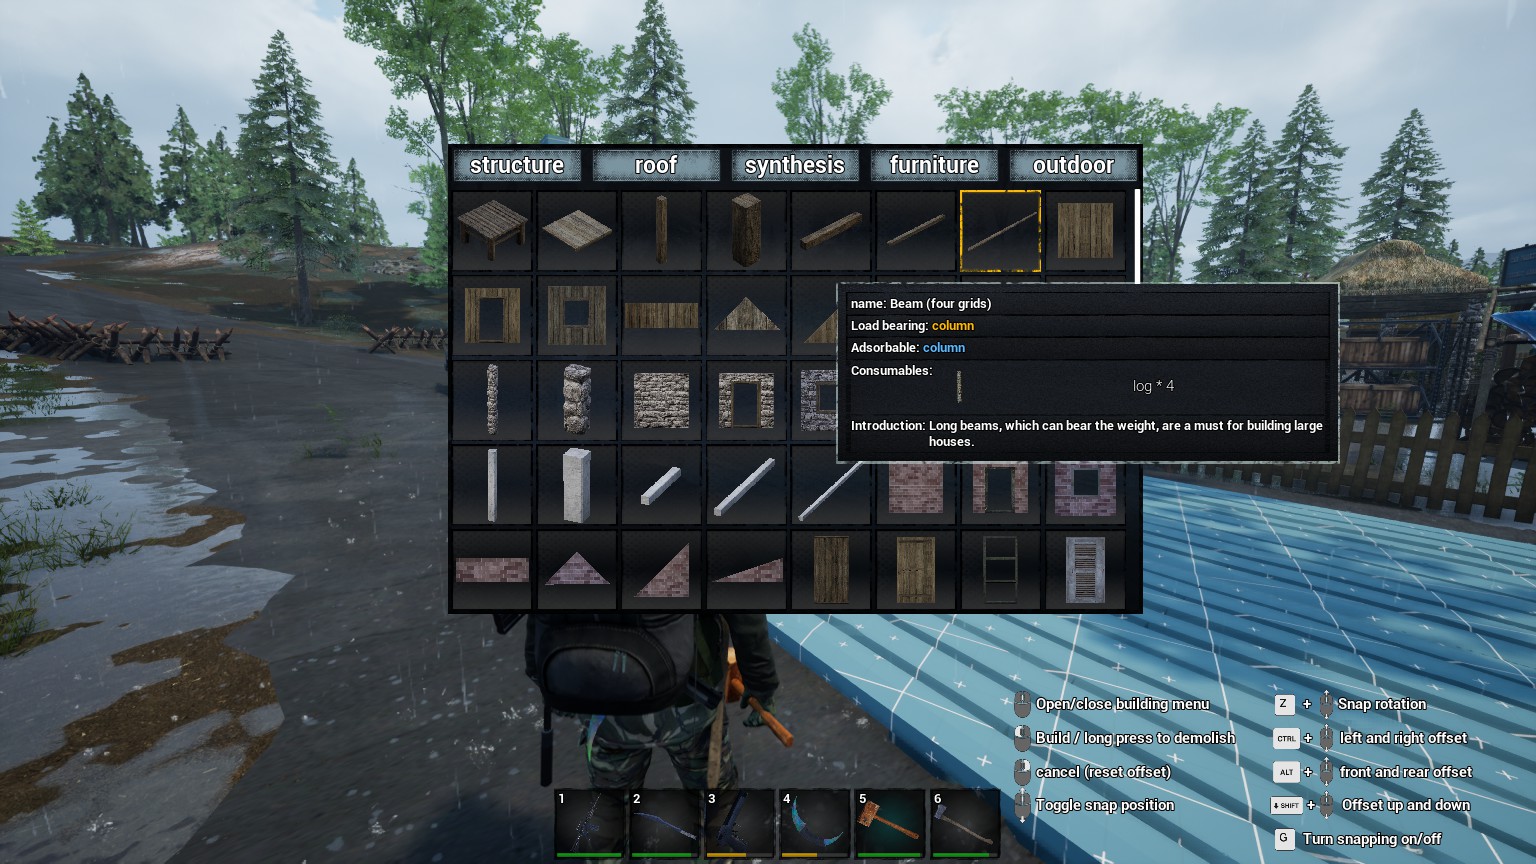
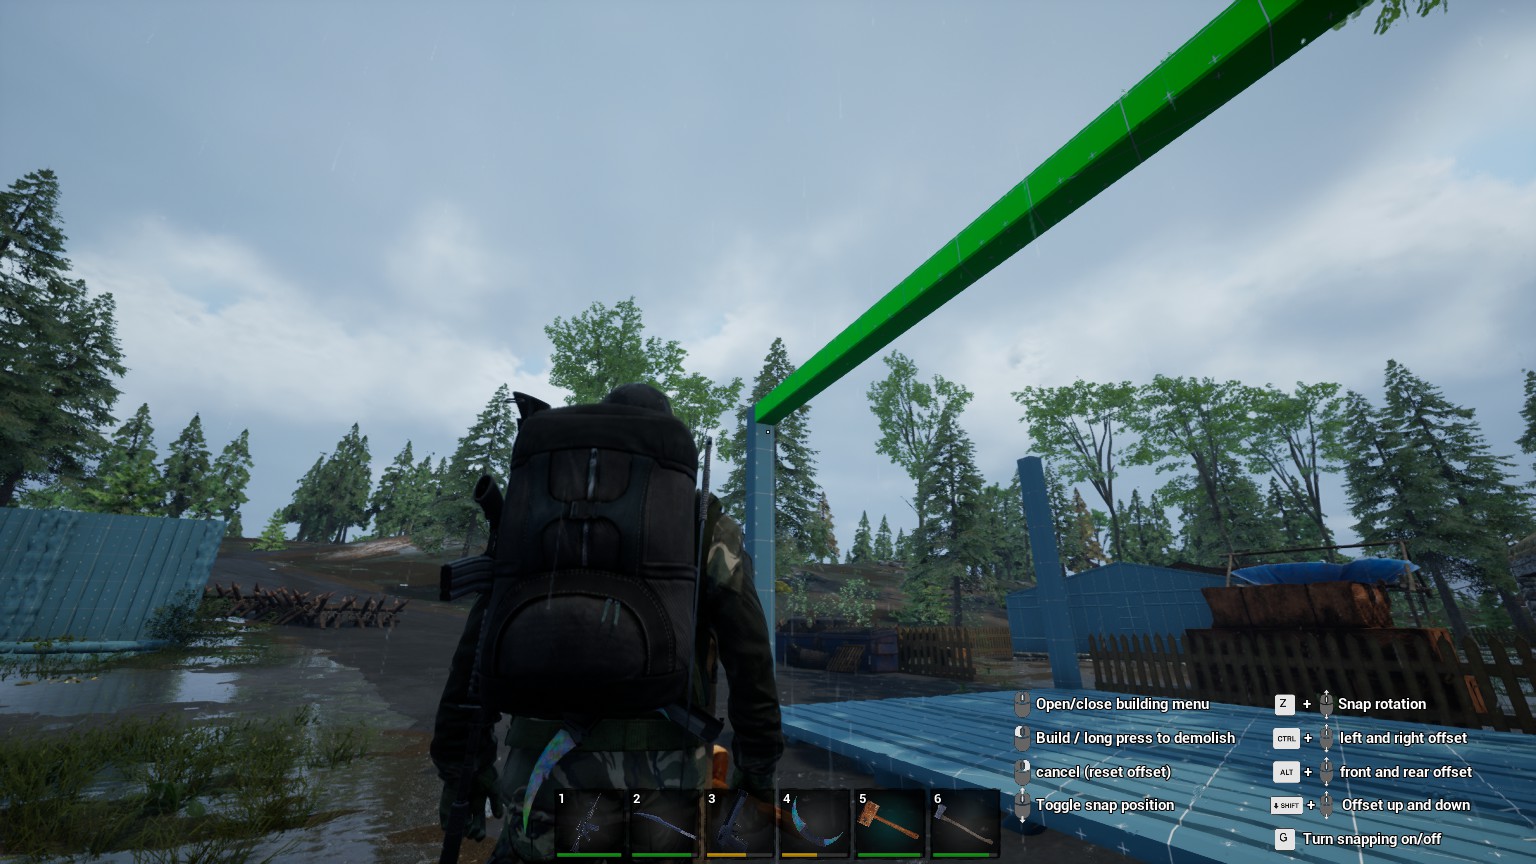
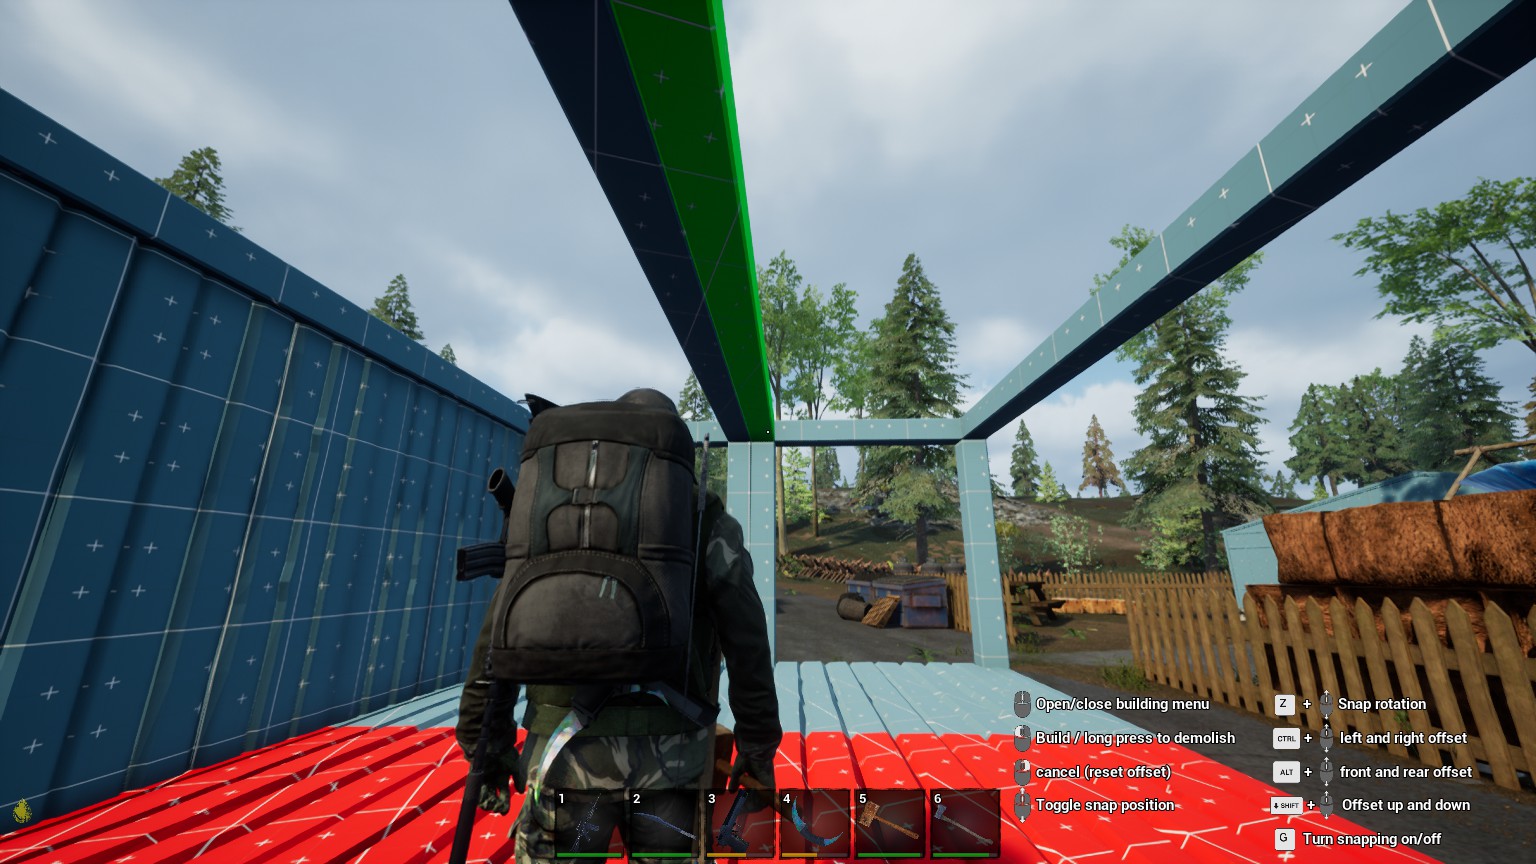
Also add a horisontal 2x on each end. Or two 1x. They will have the same effect.
You don’t have to place the flooring before creating the roof, but I do it for estetics. Then place the sloping walls:
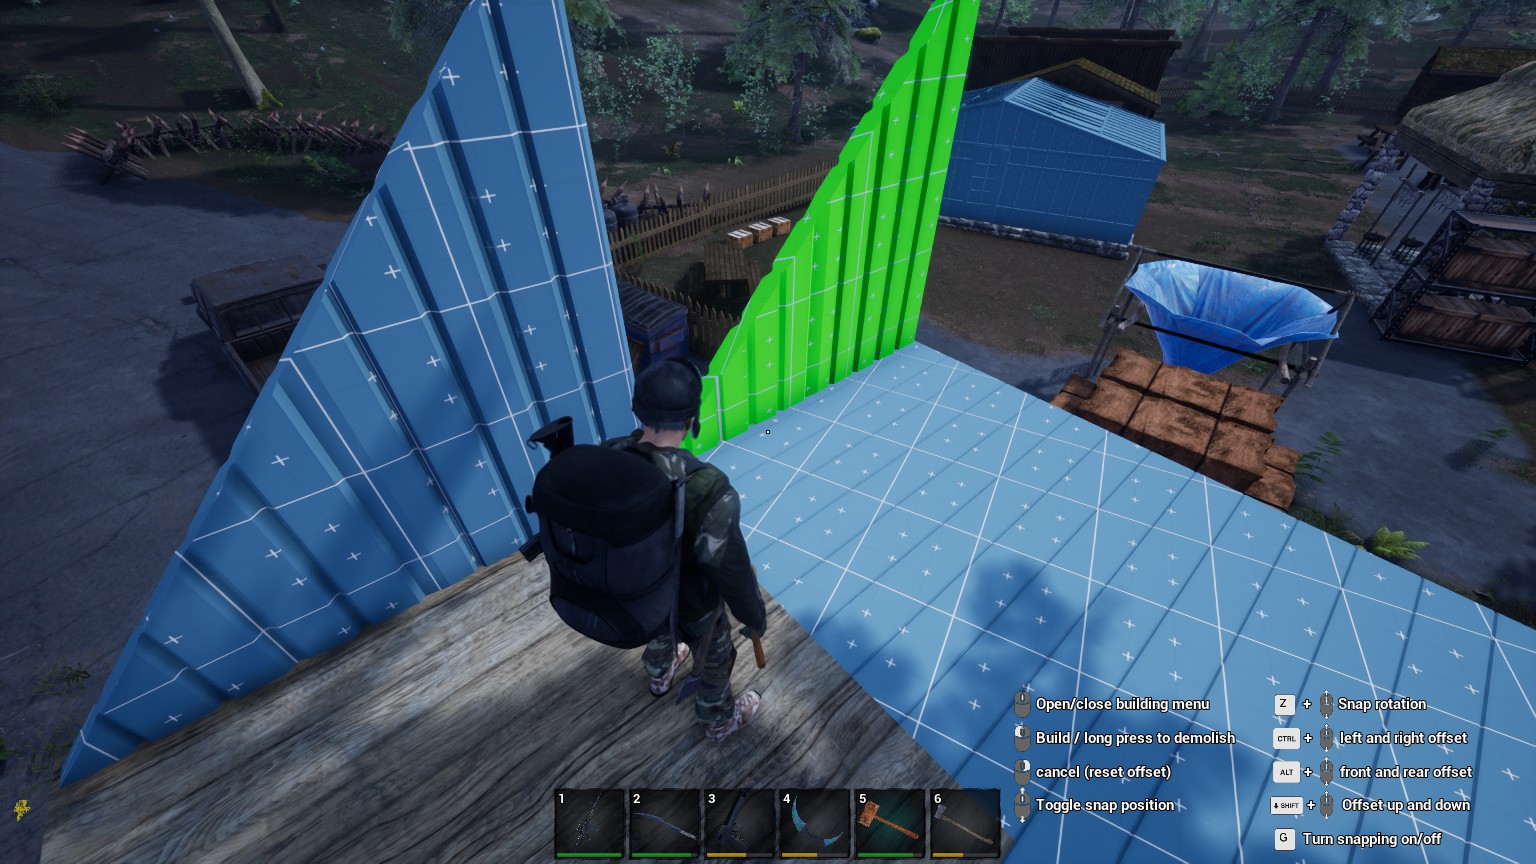
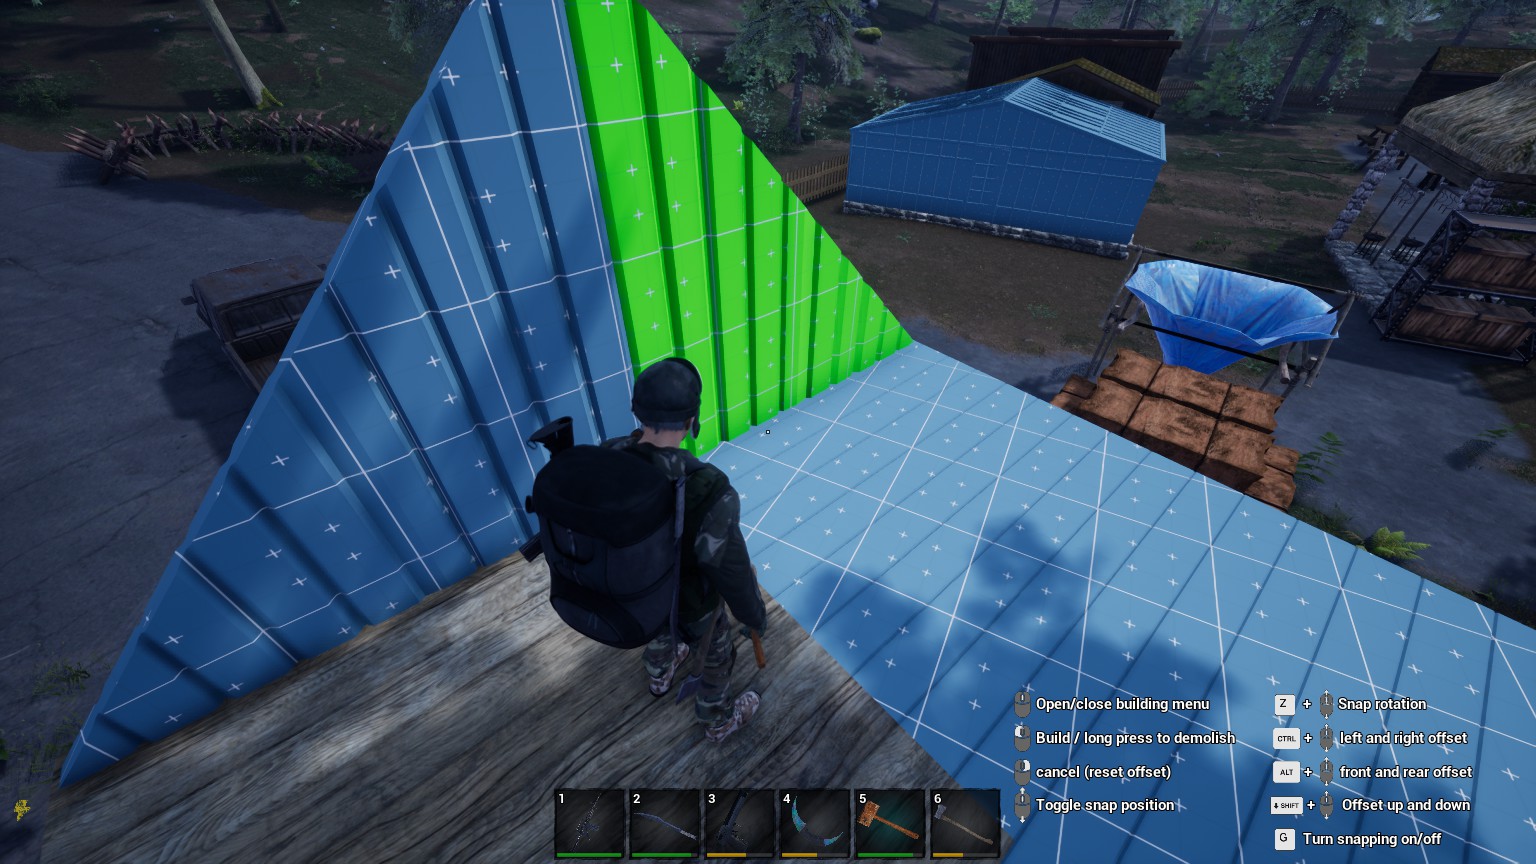
Press Z + scroll mouse button to rotate it in place:
Then place the sloped roof:
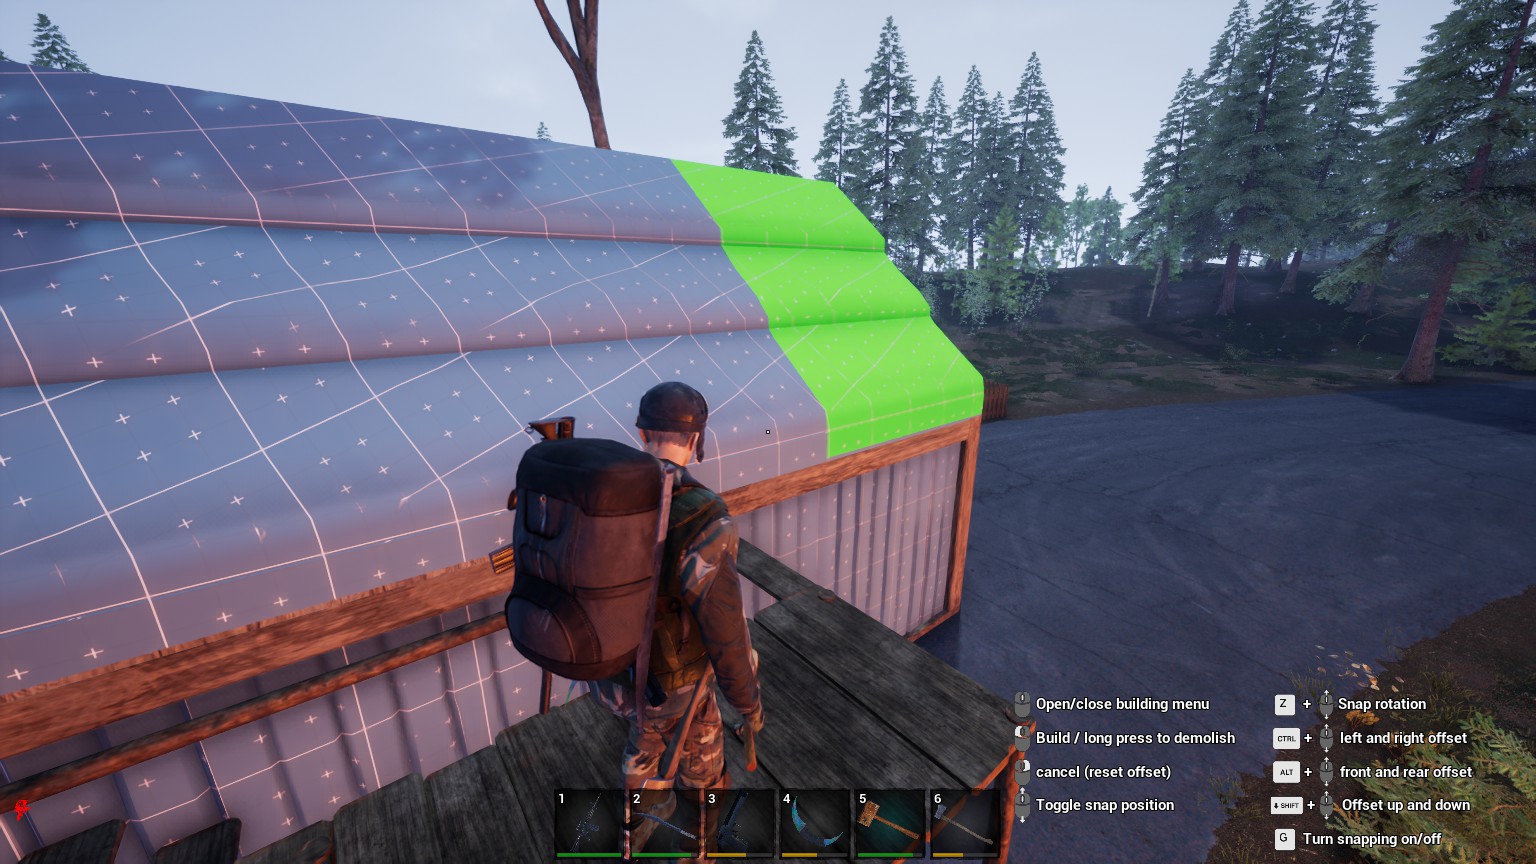
Voila! Your first little cottage:
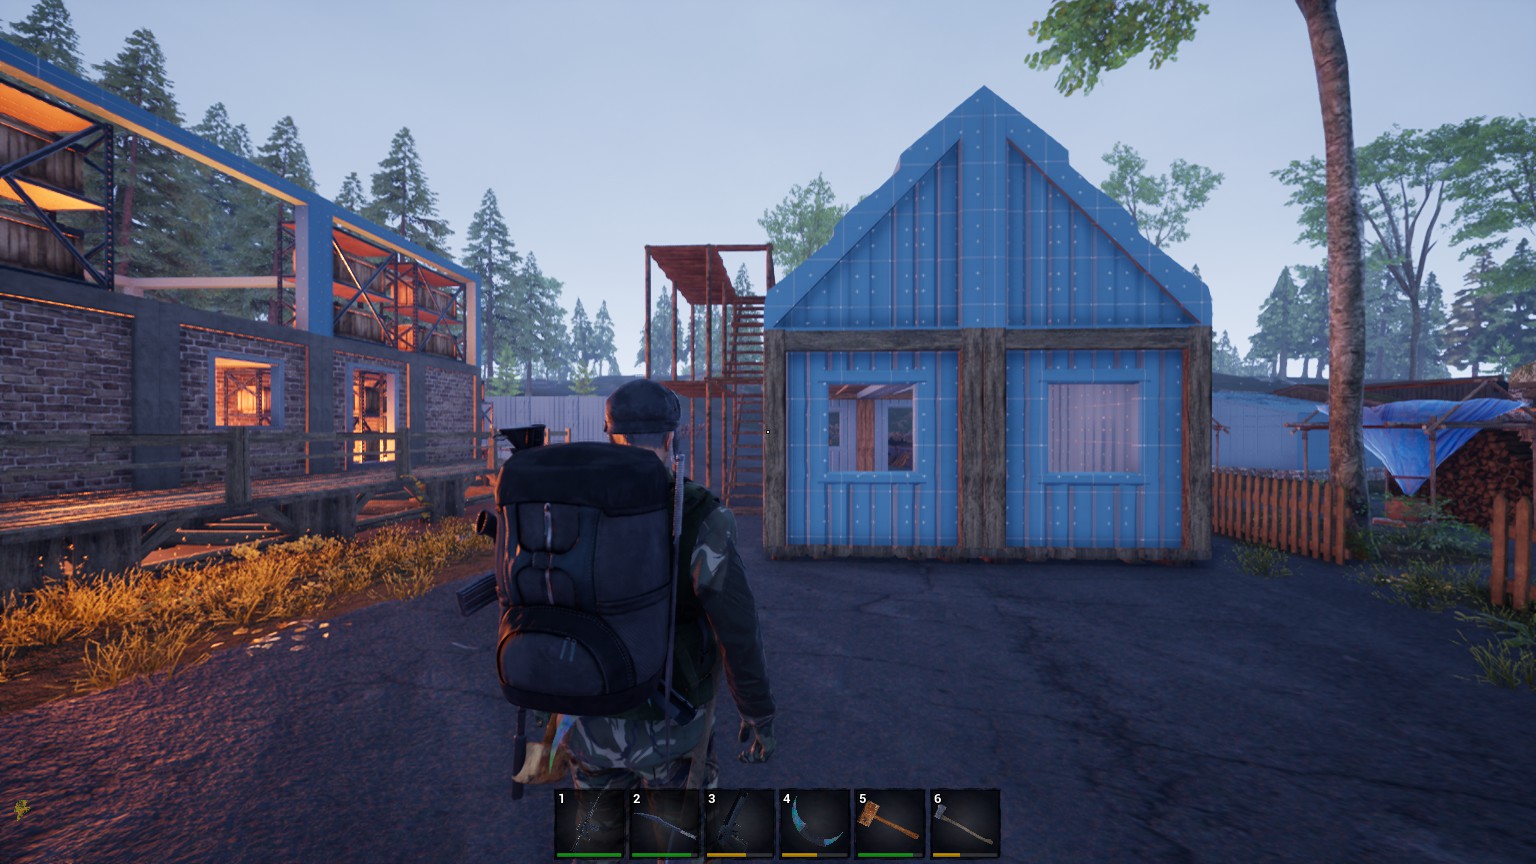
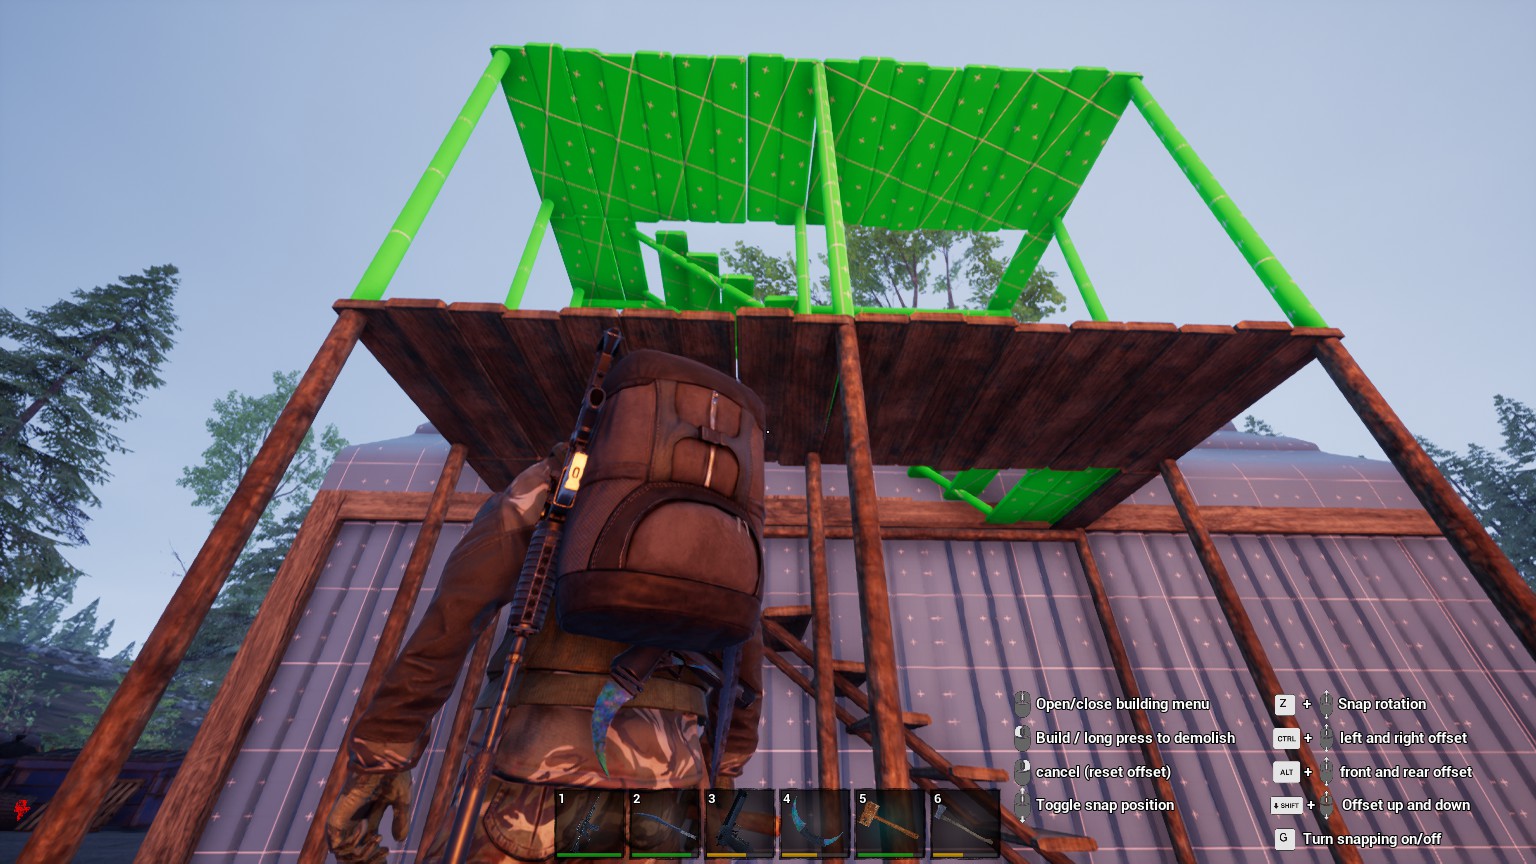
To better reach things you can make a scaffold, which stacks ontop of eachother:
Electricity
Battery
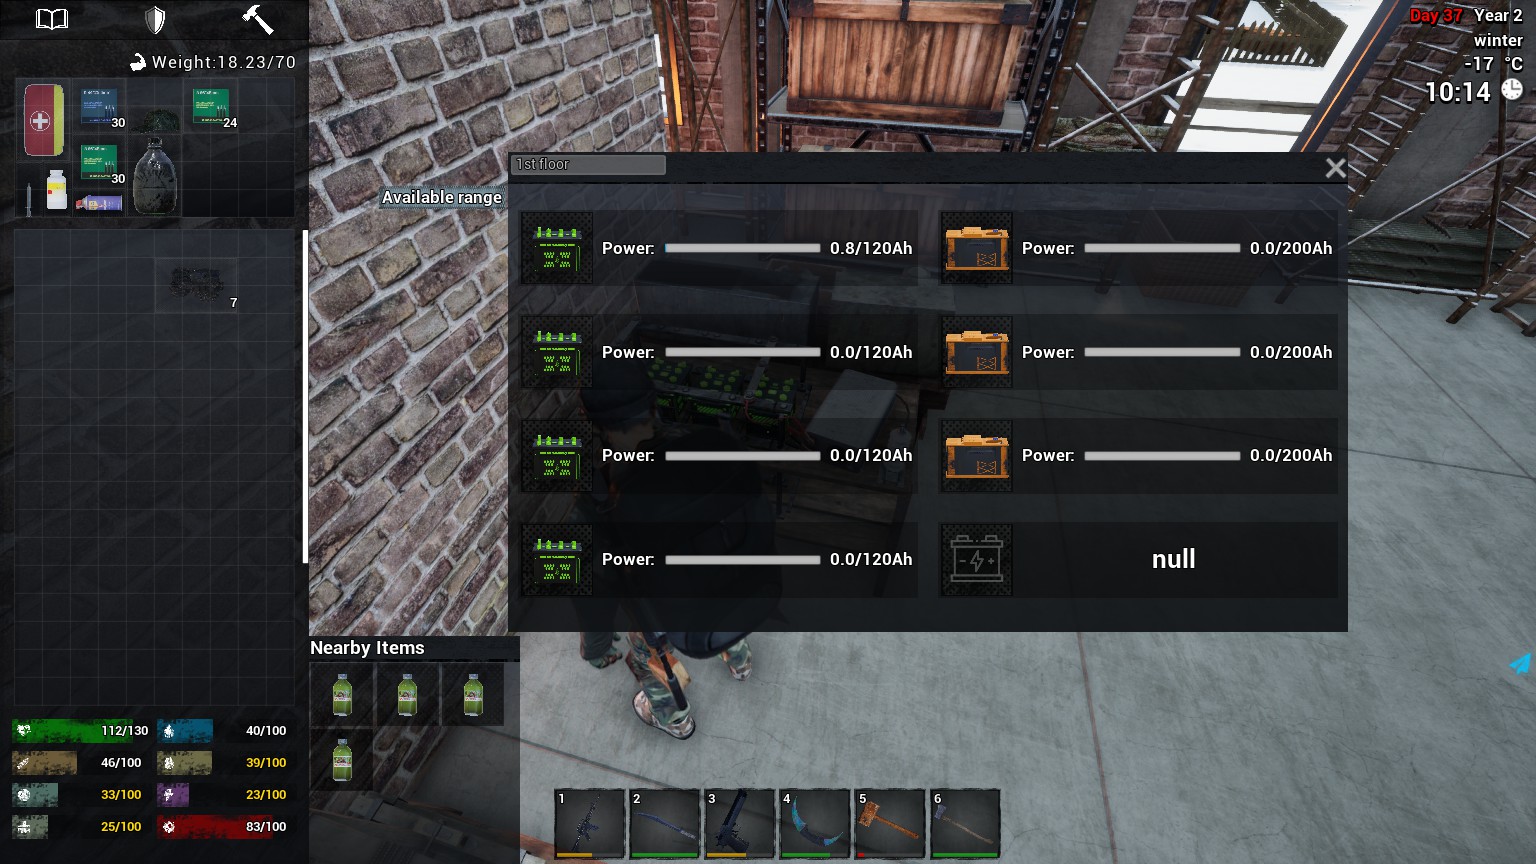
- The batteries have a specific range, but it seems to cover a medium sized base pretty well.
- To charge the batteries you need one of the generators or solar power which you see below.
- Once you have generators set up, put batteries in to the battery slots and make sure you connect all the generators and/or solar stations.
- The batteries are needed to run other stations since the battery is what connects all the electricity.
- You have car batteries (60Ah), small household batteries (80Ah), large houshold batteries (120Ah) and industrial batteries (200Ah).
Fuel Generator
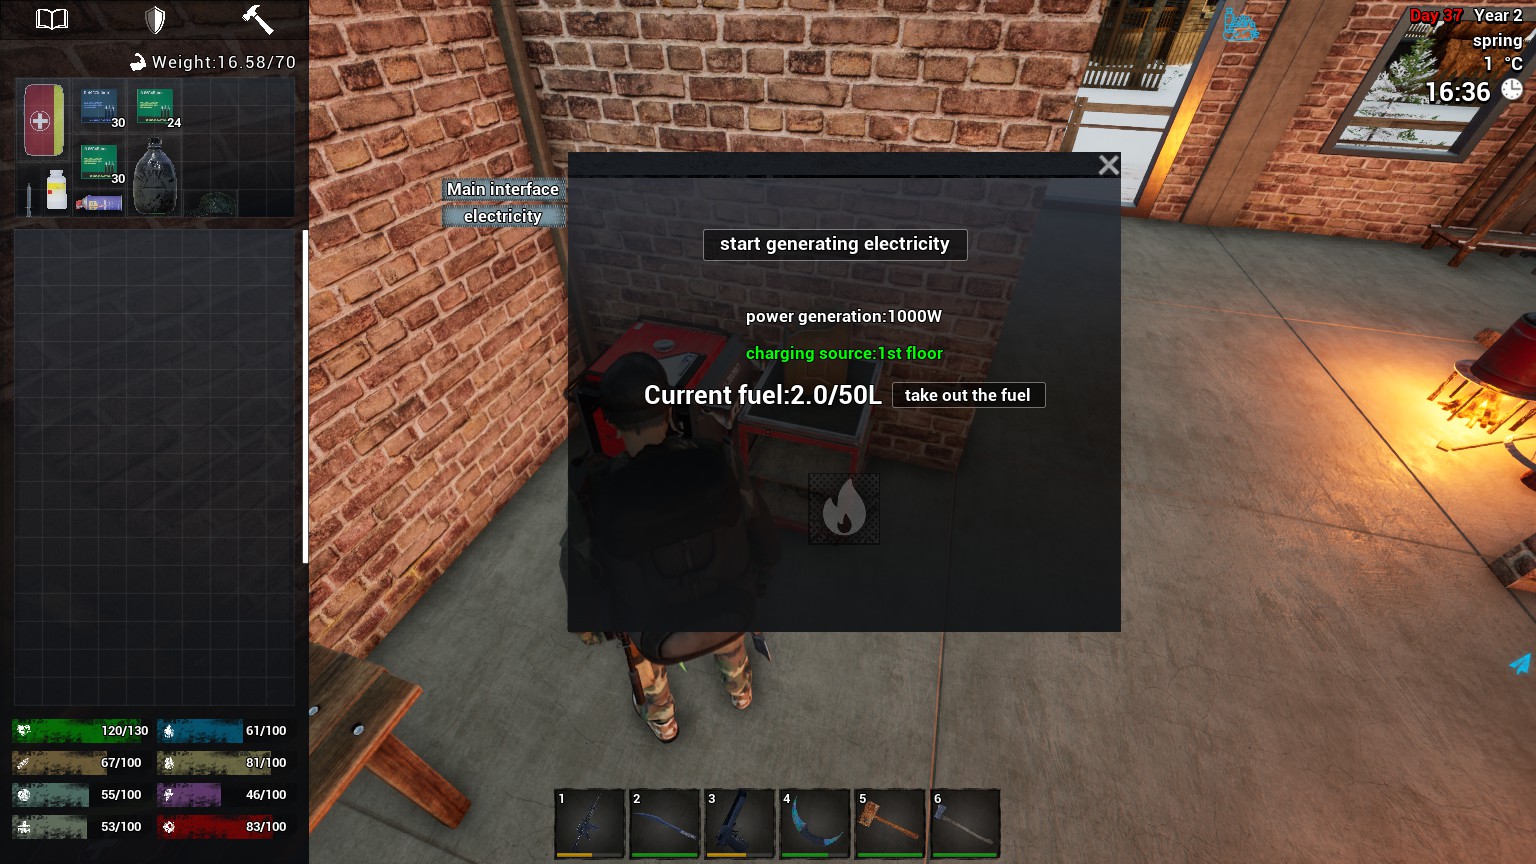
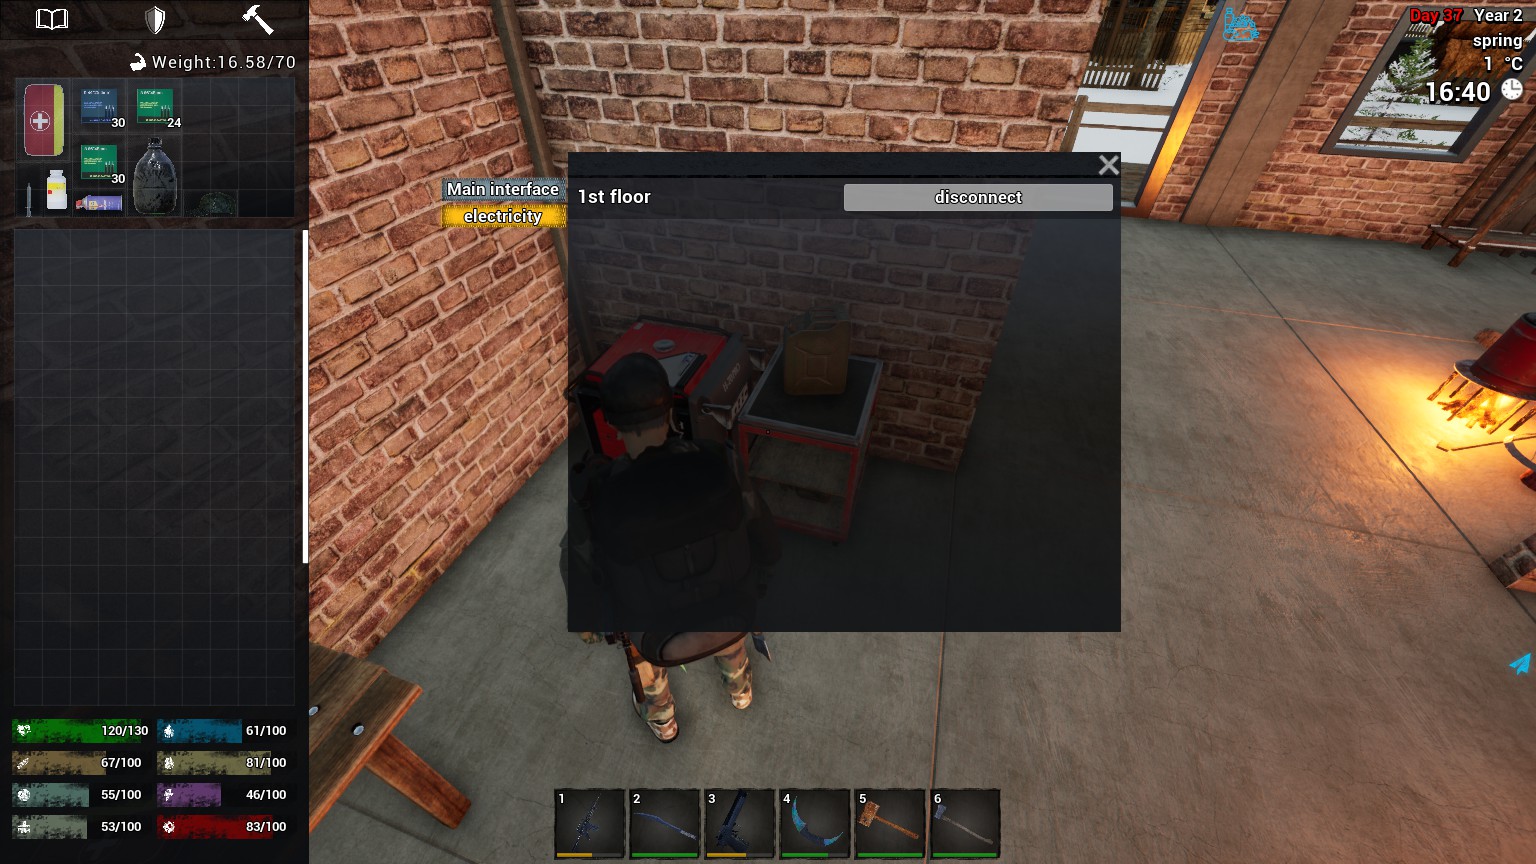
How it works:
- It runs with 1000W.
- To run it you need to fire it up with oil barrels, large cans or small cans. Just like a car.
- To connect it go to electricity page on the left side and click connect.
Thermal Generator
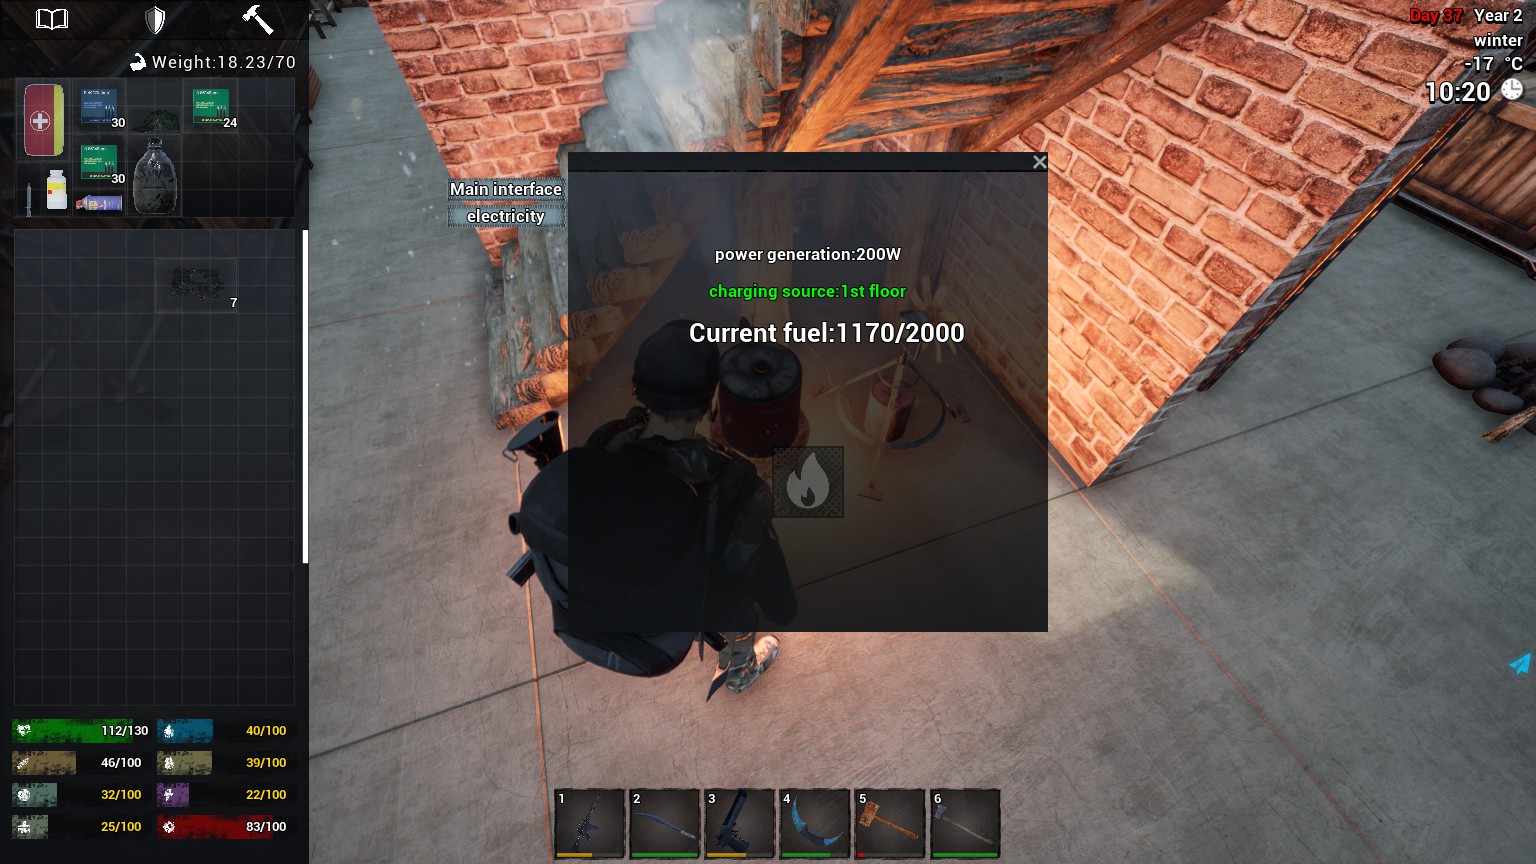
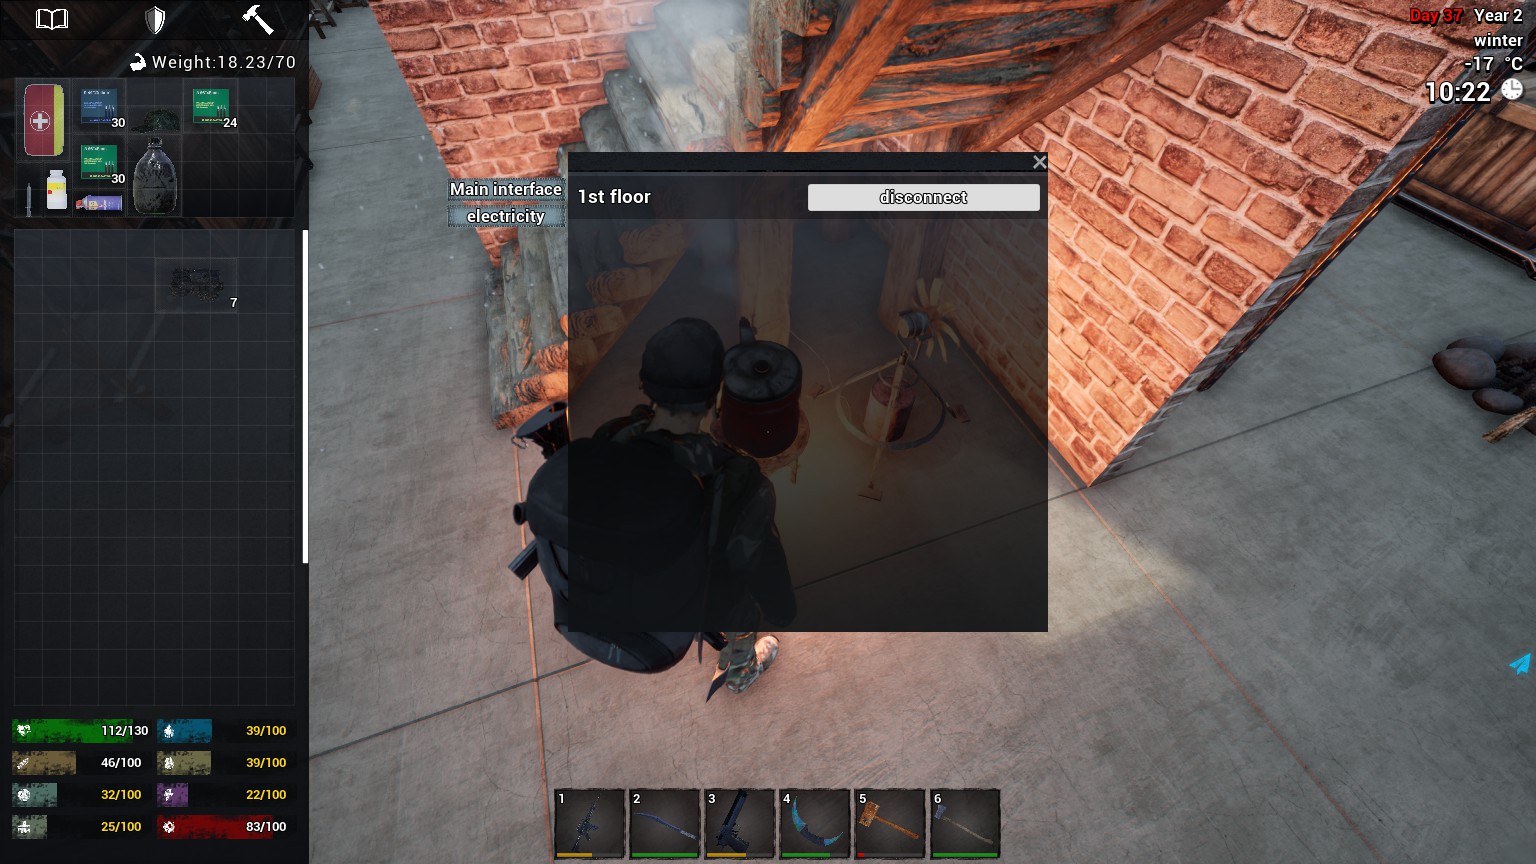
How it works:
- It runs with 200W.
- To run it you need to fire it up with sticks, logs, charcoal or coal. Just like a campfire.
- To connect it go to electricity page on the left side and click connect.
Solar Power Station
Stations
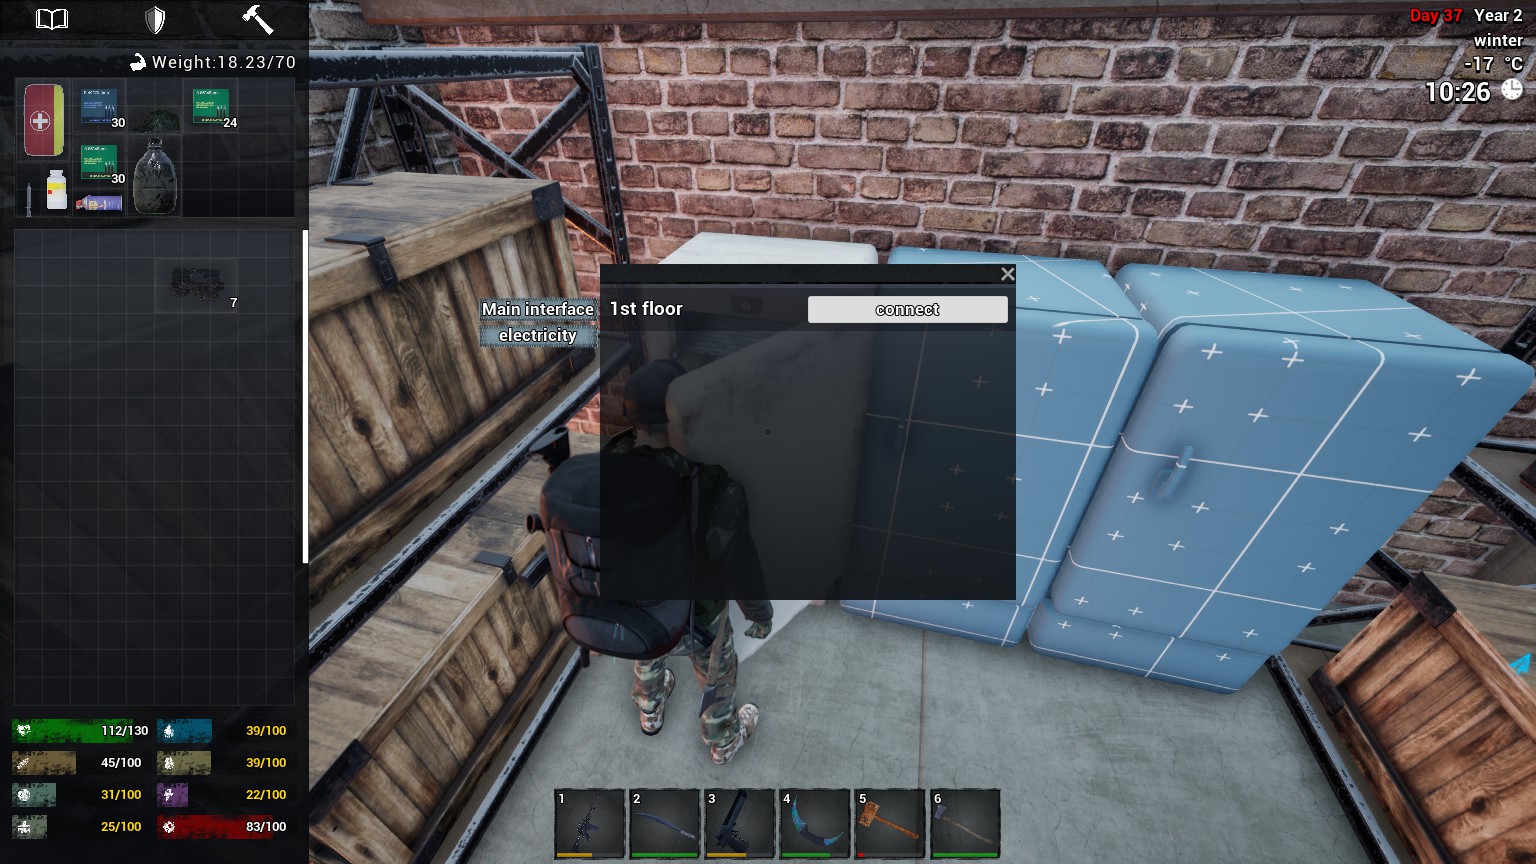
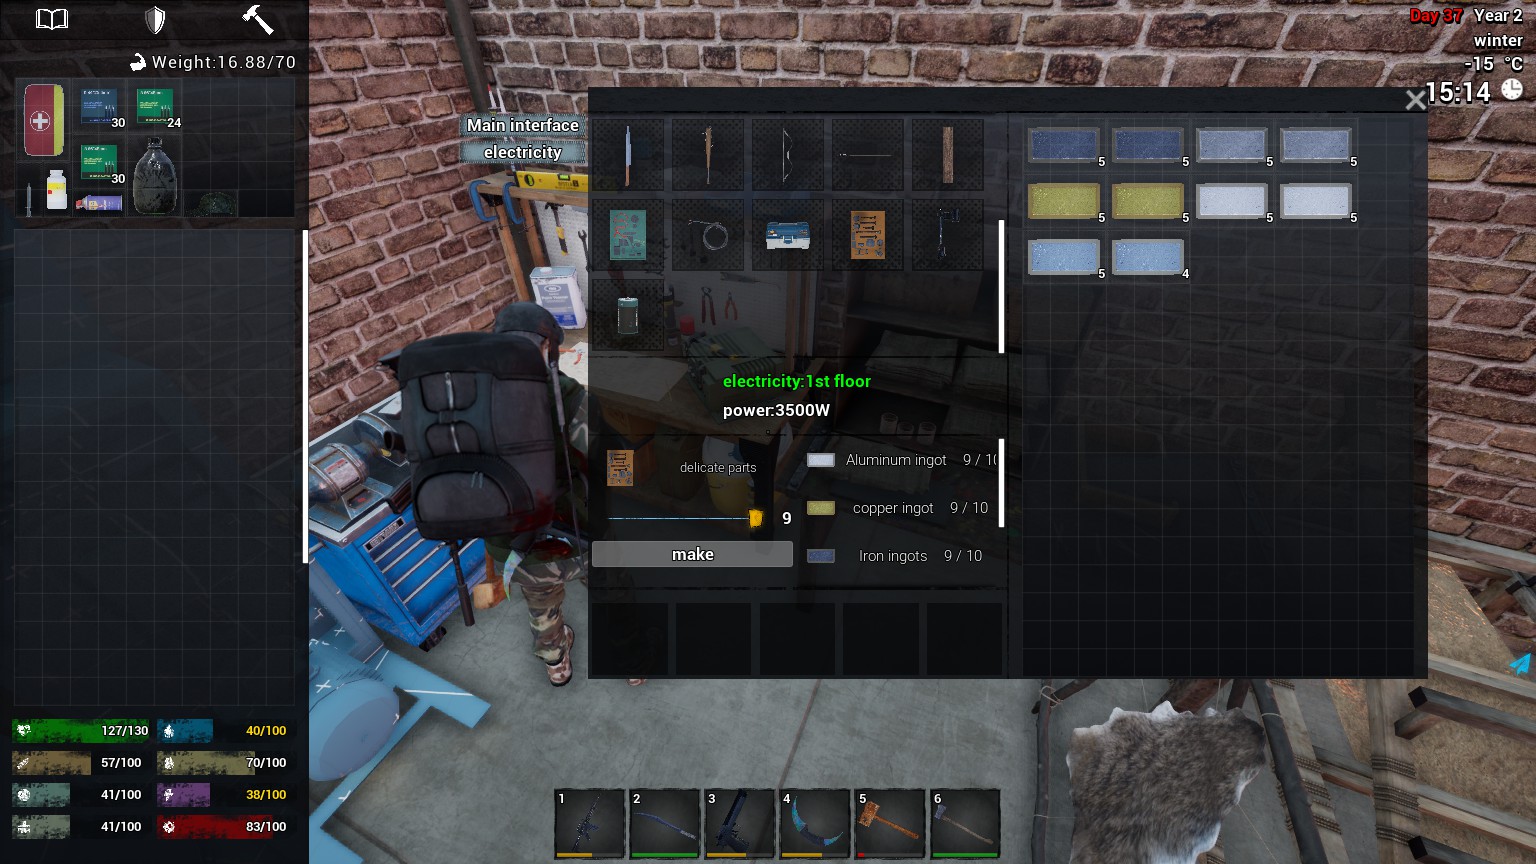
Stations needs to be connected to the battery to work, click the “electricity” page on the left and connect it, same as with the generators.
Looting Areas
This will be updated with pictures of areas and loot, also more information, when I have time.
For now I will just categorize:
Regular housing area
These areas have a lot of varied loot, but most commonly is normal tier parts, food and clothes. More fancy items will be found depending on house and lootcrates.
Industry Area
These areas have a lot of materials, simple parts, gas, blocks, rubber, cement, electric wire and so on. And it also have the famous Inverter that you will need for Battery.
Military Area
These areas have tons of military clothes, weapons, backpacks, weapon attachments, ammo and some other random items.
Mining Area
These areas have a lot of melee weapons/tools and blocks or ore for melting, also contains some random parts etc.
Gas Stations
In these areas you will find a lot of gas for your cars and fuel generators, they are found in the pumps. Also contains some food/water etc inside the shop.