Building and Construction
Handy Tips:
- Press R to edit a group of objects / blueprint item
- Press Z to rotate walls and other items while editing a custom building
- Planet Coaster tutorials can be used to learn the building / construction mechanics
Building can take some getting used to, but luckily there are a lot of tutorials out there to get the hang of it (Even if they are Planet Coaster ones!) But I’ll try to break down the basics here for you.
So when you start building, you usually start with one piece. Say, a wall, or a shop. We are going to use a shop for this tutorial.
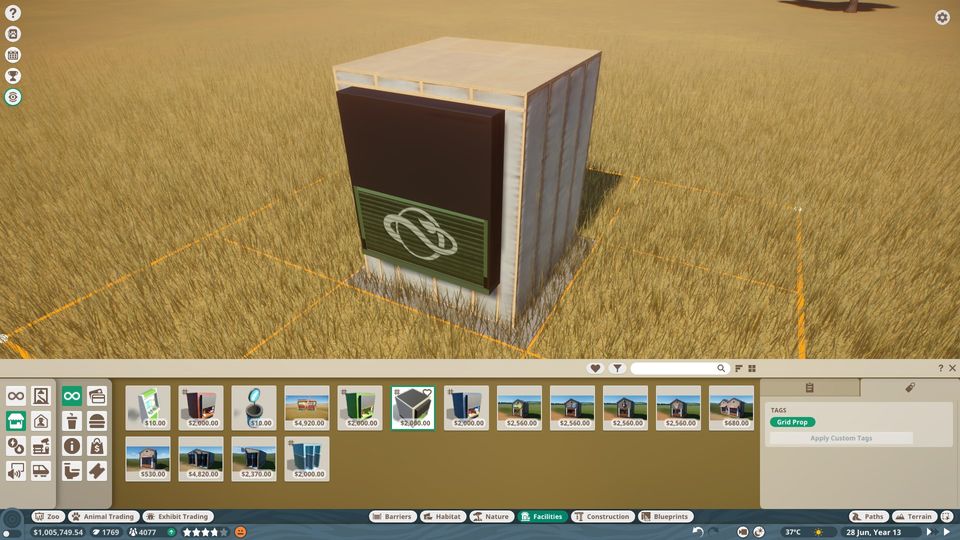
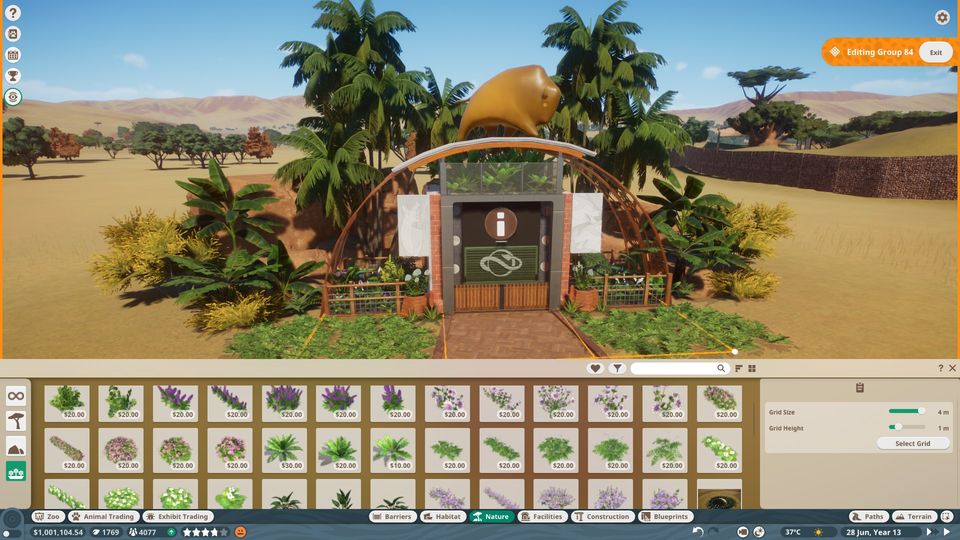
In the Facilities menu, you can get default basic block shops or staff buildings. I chose the basic Information Center.
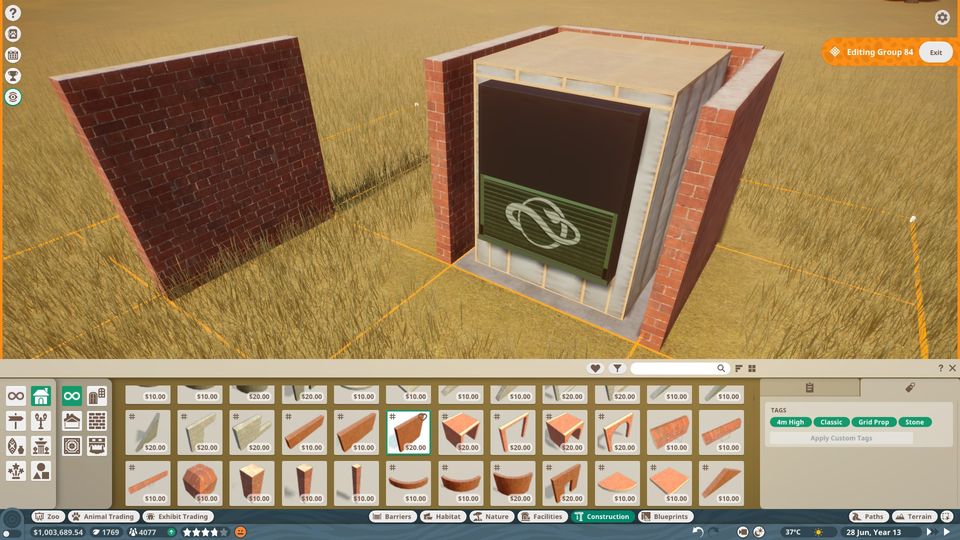
Next, you can start adding to it. You open the construction tab and begin. I started with some walls. Z lets you rotate the wall so that it is facing the direction you want.
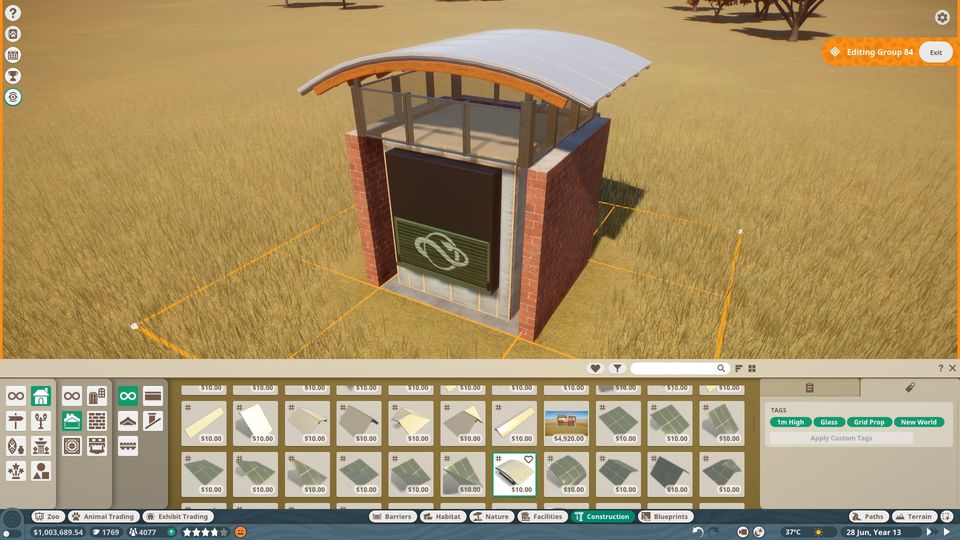
You can put on a roof, which should auto connect to the top of a wall.
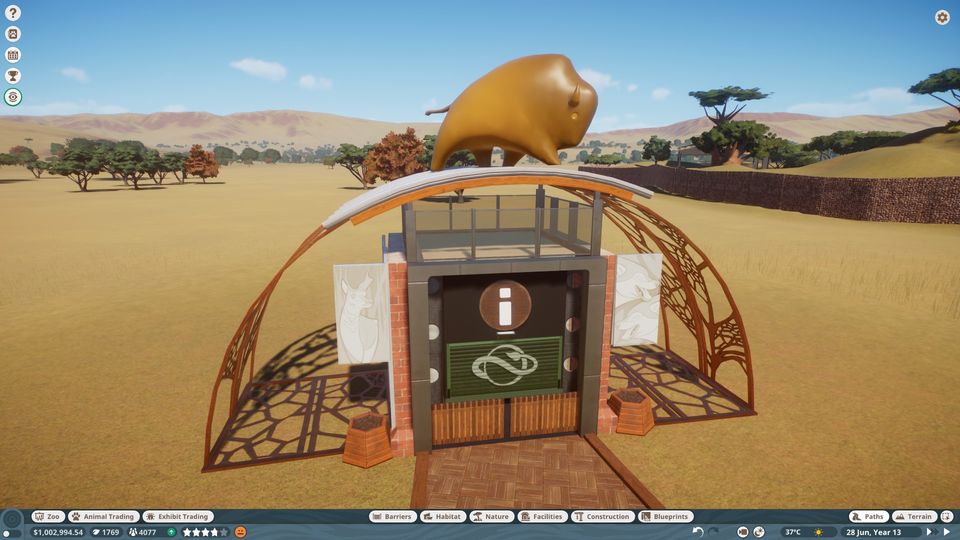
There are also many detail options like gutters, signs, and building additions. Dont’ be afraid to experiment, you can literally use any of the building materials you want, regardless of what they are. If you want to take a fence, rotate it, and make it a decorative banner then go for it.
You can add plants, trees, rocks. Everything is available to make a very creative building. When you’re done, you can save it as a blueprint and use it all over your park, or upload it to the Steam workshop so others can use it too.
You can duplicate one or multiple items in order to make things easier, as well. A lot of learning how to make things is through experience, just getting the hang of how to rotate and manipulate objects, and exploring the vast amount of pieces available to you.
Remember in-game Mechanics research will open up new decorative options, as well as new wall and ceiling types.