Welcome to our Retro Gadgets Built In Font How to use guide. Quick guide how to use the Built-In font and draw it to a screen (because the dev documentation is slightly wrong).
Retro Gadgets Built In Font How to use
Quick guide how to use the Built-In font and draw it to a screen (because the dev documentation is slightly wrong)
How to use?
In the developer provided documentation, it shows an incorrect way of calling the built in font. This is how it’s actually done.
In the pictures I’ve highlighted the code that we’ll be using. Please disregard the rest of it as it’s part of a project I’m working on. (feel free to use it if you want to though!)
————————————————————————————————————————————
If you just want the built in font:
local fontBasic = gdt.ROM.System.SpriteSheets[“StandardFont’]
————————————————————————————————————————————
You’ll need a video chip assigned to the screen if you wish to draw to the screen. You’ll also need a ROM chip installed.
NOTE: Steps 1 and 2 will need to be placed ABOVE the update function. Step 3 will need to be placed INSIDE the update function (or whatever function you’re using for the screen)
Step 1:
Code:
- local vid = gdt.VideoChip0
“vid” can be named whatever you want. If you have more than one Video Chip you’ll need to make sure it’s the right one.
Step 2:
Code:
- local fontBasic = gdt.ROM.System.SpriteSheets[“StandardFont’]
The “fontBasic” can be named whatever you want it to be.
")
Now, to draw it to a screen you simply do this (highlighted section)
")
Step 3:
Code:
- vid.DrawText(vid, vec2(0,0),fontBasic,”volume”,color.red,color.blue)
So first we call the Video Chip with vid. (or whatever you named it in Step 1). Then DrawText is the command to, well, draw text onto the screen.
Inside the parentheses() you call the Video Chip with vid (or whatever you named it in Step 1).
Then we choose where on the screen it will go with vec2(0,0). The numbers are X and Y co-ordinates. Since I want it in the top left, I simply put 0,0.
Next we call the font of the text that we want. We’ll just use the built in font by calling fontBasic (or whatever you named it in Step 2).
Then we type out what we want to be displayed in ” “
For this example I just want it to say “volume” on the screen.
Then we choose the color of the font, and lastly the color of the background.
If your text is something that will update (a volume number for example) you’ll want to make sure that it clears the old text before writing new text. Otherwise it will keep drawing over top of itself.
This is simply done with:
")
Code:
- vid.Clear(vid,color.blue)
vid – Once again calling the Video Chip.
.Clear – Clears the text.
(vid,color.blue) – Calling the Video Chip (no idea why this has to be done twice) then a background color.
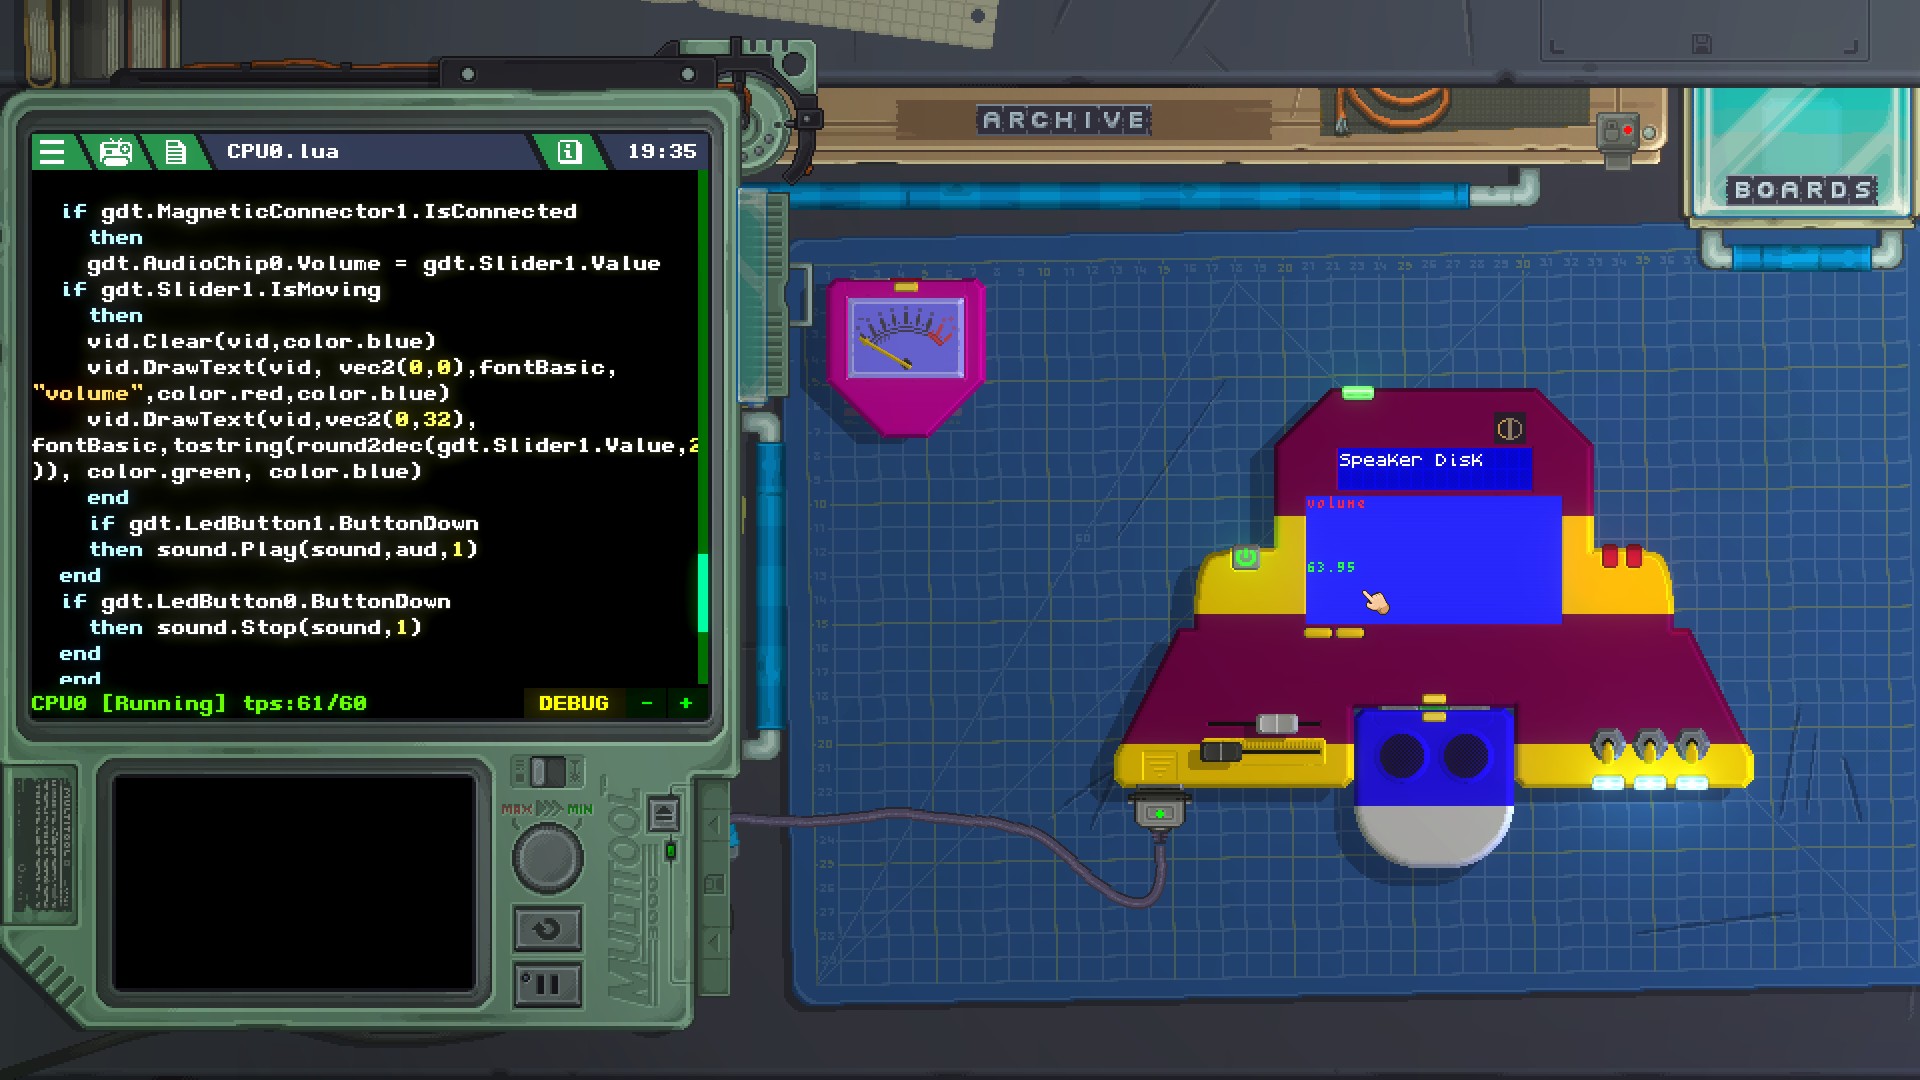
Now when we power it on we can see the red “volume” text being displayed in the top left of the screen with a blue background.