In this Final Fantasy XIV guide, we’ll show you how to raid Mount Ordeals with the game’s latest update. Follow our step-by-step guide below to beat Rubicante in EXTREME mode.
FFXIV Mount Ordeals Extreme Guide
The Warrior of Light fights through the fire and the flames in Final Fantasy XIV. Three archfiends have fallen to your bravery and now the final one remains. Rubicante stands in your way, his cloak wrapping around him like the flames he wields. Can you stand the heat?
Mount Ordeals EX Unlock Requirements
Mount Ordeals (Extreme) can be unlocked at level 90 after completing the main scenario quest “Desires Untold” and talking to the Wandering Minstrel in Old Sharlayan (x12.7, y14.2). It requires a minimum item level of 610 to queue, but this requirement can be bypassed by entering with a full party.
EX Raid Preparation
Split the raid into two light parties of one tank, one healer, and two DPS each – each party will take one side, either east or west. In addition, each DPS and support need to be partnered with one another in a quadrant. Colour-coded markers can make this easy – place ABCD on the cardinals and 1234 on intercardinals. All players will also need a clock spot.
Rubicante’s Skills
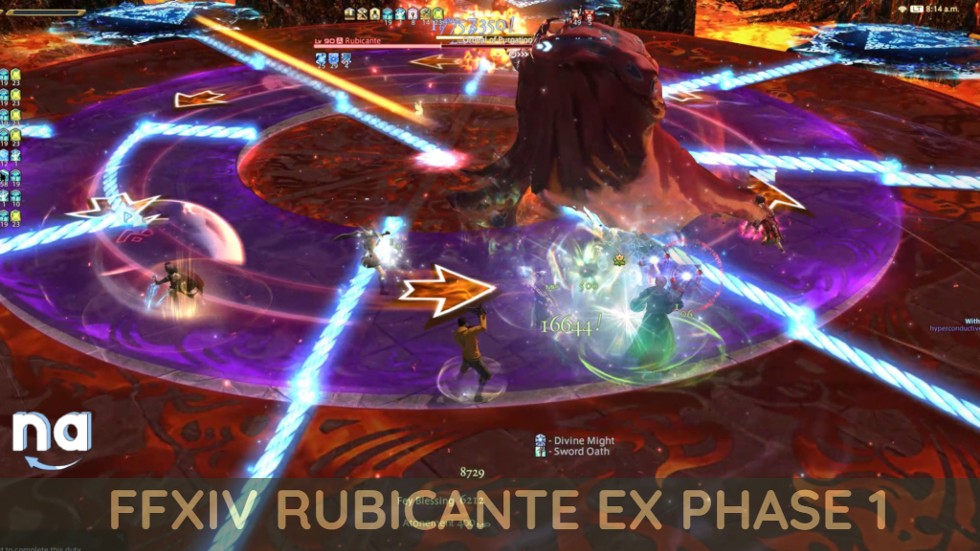
Ordeal of Purgation is the major mechanic of the fight. At certain points in the encounter, Rubicante will jump to the middle, face east, and summon three rings that have lines in them. At the end of the castbar, Rubicante will light a fuse through these lines to the runes that spawn on the outside of the arena, activating any rune that a fireball touches. He will also root all players in place at this time, so players must find the safe spot before the castbar ends.
- A blue triangle indicates a conal AoE from that rune going across the arena.
- A orange square indicates a large square AoE from that rune that covers the side the rune is on.
Rubicante will additionally spin rings in a direction indicated by arrows on the ring. This will rotate the fireball, the lines, and/or the rune on the specific ring.
Rubicante’s other abilities in this phase are as follows:
- Inferno: Moderate raidwide magical damage.
- Shattering Heat: A magical tank buster on the highest enmity player in a small AoE.
- Arch Inferno: Circle AoEs will rotate around the arena. Rubicante will also summon a fiery tornado in the middle of the arena that knocks players back if they are standing in it.
- Fourfold Flame: A stack marker on both healers that does magic damage.
- Twinfold Flame: A two-player stack marker on all players in one role that does magic damage.
- Spike of Flame: A prey marker on all players that explodes in a circle AoE, dealing magic damage and inflicting a short magic vulnerability up debuff.
- Conflagration: A line AoE in Rubicante’s hitbox.
- Radial Flagration: Conal AoEs from Rubicante towards all players.
This encounter consists of three main mechanic sets, with the main mechanic between each one. Rubicante leads with a raidwide, Inferno. He immediately goes into the first Ordeal of Purgation.
Rubicante EX Guide FFXIV
Rubicante is a two-phase boss fight that takes place in a circular arena. There’s no hazardous boundary, but there’s also no edge, so you can fall right off! Players should be prepared to collect stacks of Vulnerability if you’re not ready to dodge the boss’ area-of-effect (AoE) attacks.
Be warned that trial guides naturally contain light spoilers. If you prefer to preserve the surprise of trials for yourself, give Mount Ordeals a try first before referring to a guide. Then, come back here for some help if you have trouble!
Phase 1 Cloak
This phase of the fight is pretty straightforward. Rubicante starts with a few moves to get your blood burning before turning up the heat for Phase Two. The key mechanic in this phase is Ordeal of Purgation, explained below. It’s the second part of the attack that’ll trip up some folks.
- Inferno: This is Rubicante’s party-wide area-of-effect (AoE) attack. It hits for about 60% health on non-tanks, so healers be ready.

- Ordeal of Purgation: When you get the message “The torment of Rubicante’s heart is made manifest,” the arena will transition to a burning world. The boss moves to the center of the arena and begins to cast this spell. The arena will be divided in three concentric circles with eight triangle rules at the edge. Light blue lines will radiate from the center, tracing a path to each rune. Only one of these lines will go all the way to the center. This is the path of attack itself, also marked by a glowing orange line.
Every member of the party will be hit with the Penance debuff as well. When Rubicante finishes casting, the Penance debuff will end with Penitent’s Shackles, freezing everyone in place. Then the marked rune will fire a cone AoE across the center of the arena from its position. Standing in the wrong spot will see you hit with Fiery Expiation, dealing heavy damage and giving you a stack of Vulnerability. The ring will then rotate into a new pattern and Rubicante will cast Ordeal of Purgation again. The second time ends this attack.
- Shattering Heat: This is Rubicante’s single-target tankbuster. Tanks should use a cooldown to minimize damage.
- Arch Inferno: When Rubicante’s starts casting this, the arena directly under him will become unsafe. He’ll also mark two larger circle AoEs on opposite sides of the arena. These will explode eventually, replaced by successive circle AoEs that’ll move clockwise around the arena. The tank will also be marked with three successive circle AoEs. Then Rubicante will cast…
- Conflagration: A wide line AoE through the center of the arena. The dodge fest will end with…
- Radial Flagration: Rubicante will mark a set of conal AoEs radiating outward from the boss like a starburst. The safe spots are between the AoEs, but you also have to worry about the last part of Arch Inferno.

- Ordeal of Purgation (Part 2): This works exactly like the first version, but the first ring will be marked with arrows that move clockwise or counter-clockwise. At the end of the cast, the ring will rotate one position forward in the direction indicated by the arrows. You need to trace the path of Rubicante’s eventual attack, realizing that the second leg of the path will change with the rotation. Remember, his attack will always run along the light blue line that goes to the center of the arena.
Phase 2 Transition
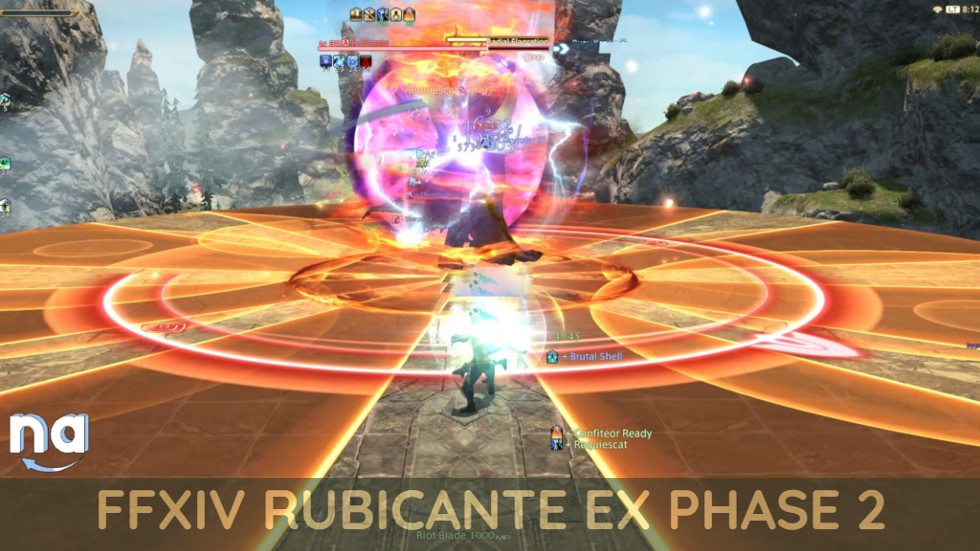
At half health, Rubicante will summon Flamesent minions and begin charging his power. All five minions need to die before the Rubicante’s Power bar reaches full. If it does, that’s a wipe. He’ll also randomly mark the arena with Ghastly Torch, a series of small circle AoEs that will explode and debuff you with Burns if you get hit. He may hit your tank with another Shattering Heat during this phase.
At the end of this phase, Rubicante will cast Blazing Rapture, hitting the entire party. This will scale upward in damage depending on how much power he has stored up. Healers, shield and heal up everyone!

Last Phase Wing
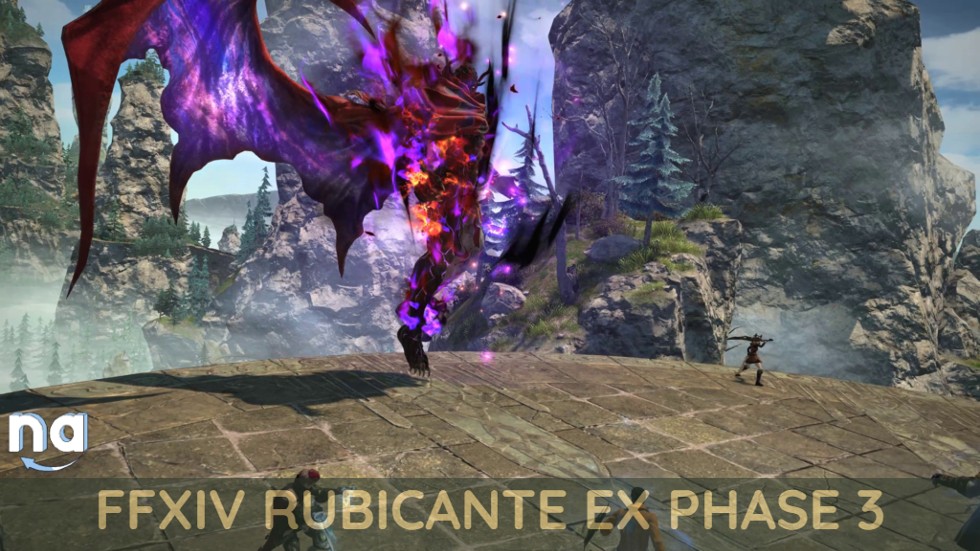
With the transition to this phase, Rubicante reveals his true form, with his cloak stretching out like… one winged angel. He has an entirely different set of attacks in this phase.
- Inferno: This now marks every player with a circle AoE. Spread out to avoid stacking damage.
- Flamerake: Rubicante teleports to the center of the arena and begins to cast this. A pair of arrows facing in opposite directions will start spinning very fast. Once the cast is finished, the arrows will stop spinning and Rubicante will fire a line AoE through the center of the arena in the direction indicated by the arrow. This will be immediately followed by two further sets of line AoEs moving outward from that first AoE. Dodge the first AoE and immediately move in the safe center.
- Soulscald: Rubicante will mark six party members with line AoEs. Clones of Rubicante will charge along these AoEs, so marked players need to spread out to avoid stacking the Scalding Fleet attacks that result. Be prepared! Marked players can’t dodge the first set, but the clones will turn around and charge back across the arena again. Everyone should avoid this second set of attacks.
- Dualfire: Rubicante marks both tanks with super-wide Conal AoEs. Both tanks should spread out to avoid sharing the damage, but also remember to leave space for the rest of the party. These are tankbusters, so tanks should use their cooldowns.
- Sweeping Immolation: The boss will cleave the arena and mark the entire party with a stack marker. Stack on the safe side of the arena to minimize damage.
From here on, the boss will switch between Phase One and Two of the fight until the end! Survive and you’ll win!
Rubicante EX Weapons Rewards
When Rubicante is defeated, it will drop one random item level 625 Rubellux weapon and one Rubellux Weapon Coffer. Rarely, it will drop a Lynx of Righteous Fire Flute, Faded Copy of Forged in Crimson, Rubicante Card, and/or a Pearl of Flames.
In addition, all party members will receive two Flamecloaked Archfiend Totems, ten of which can be exchanged for any item level 625 Rubellux weapon from Nesvaaz in Radz-at-Han (x10.6, y10.0).