| Talisman | Gems | Orbs | Powerup | Fodder |
| Magic Pick | 400 | 3 | 10/14 | Ladybugs |
Glimmer Walkthrough
Chapter 1
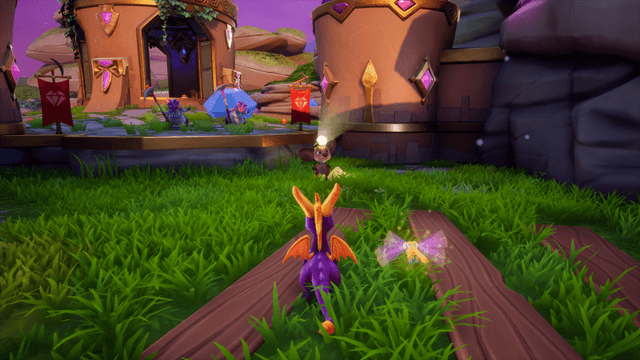
A new adventure begins! To start, take a few steps forward to the Pogo the Gemcutter to get your current objective. All levels have some sort of thing you need to do in them, but fortunately it often amounts to doing something standing in your way of the level exit anyway. Pogo is an NPC, and like many NPCs, he can be talked to a second time with the Triangle / Y button to hear more dialogue.
Rotate the camera using either L2/R2 (PS1) or the Right Stick (Reignited) to spot the Gems on the steps to your left. Hop up the steps to collect the three Red Gems and three Green Gems, then at the very top, attack the two Baskets with either the Flame Attack or Charge Attack to collect the two Purple Gems they hold.
[su_note note_color=”#64656b” text_color=”#fbfbfb”]Gems are the most common collectible in the game, and Spyro being a Dragon and all, you’ll be finding a whole lot of them. They can be found lying on the ground or found in various containers, or given as rewards in Speedway levels. For ease, this walkthrough describes Gems by their colour, rather than their total value. Gems can come in different values depending on their colour: Red are worth 1, Green 2, Purple 5, Gold 10 and Pink 25. Gems emit a bright glimmer from afar, making them easier to spot. This is especially important in the PS1 version of the game as Gems won’t be rendered at large distances in that version.[/su_note]
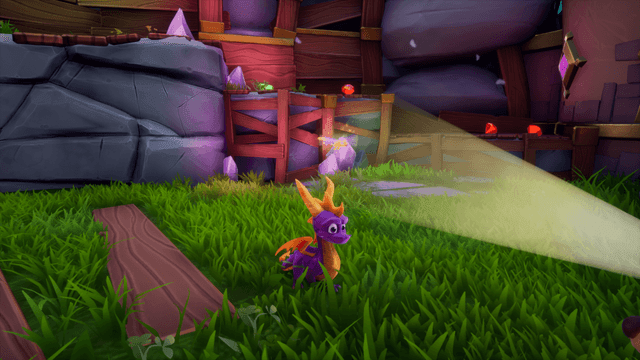
Okay, with that done, hop up the ledge behind Pogo to where the two Blue Lizards are, and they should run away into the distance. That’s okay, because right now we’re going to do a bit of a Gem sweep of this area. To start, pick up the three Red Gems and single Purple Gem visible on your right. Turn around and you should see a Basket to the right of the starting area. It will have a Green Gem.
Turn back around and approach the Blue Lizard. He’s both small and unarmoured, so he can be defeated with either a Charge or Flame attack. When you kill him, he’ll release a Spirit Particle, which we’ll get into later. For now, look past the giant purple crystal sunk into the ground for a large Brown Lizard. Being Large Enemies, Brown Lizards cannot be defeated with a Charge Attack, so use your Flame attack instead.Pick up the two Green Gems and one Red Gem around where the Brown Lizard was, then turn right and search past the large blue crystal to collect two Green Gems, one Red and one Purple. Keep heading forward to the corner of this area to find two Baskets holding a Green Gem each. Now turn right to make your way back to the starting point. On your right you should find two Red Gems and one Green near a large blue crystal in the ground, and visible to the left of the starting area is a basket with a Green Gem.
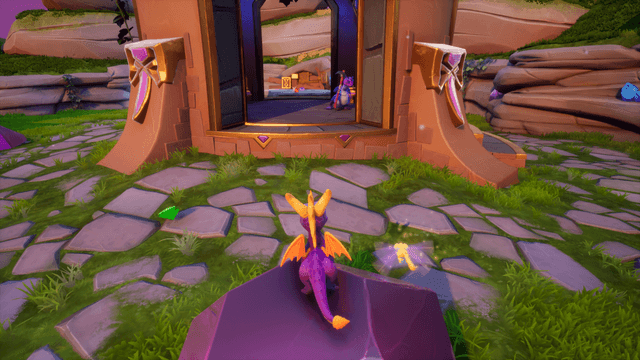
Now make your way back to the ledge in front of Bounsa and face the nearby building. Pick up the Green Gem in front of it, then hop inside and kill the Blue Lizard. In this building are four baskets, containing in total three Purple Gems and one Green. Next, stand in the middle of the building and face away from the starting area (West on the minimap) to spot a ledge with a Red and Purple Gem. Look right to find another ledge with a Purple and Gold Gem. Lastly, jump back to the first ledge and you should see two Green Gems resting on a “foot” on the side of the building (technically called a buttress).
Standing on the buttress, face the purple Gem and you should spot a rocky route just past it. Hop down the steps to collect a Green, Red and Purple Gem, as well as a Basket on the right with a Green Gem. Continue around the corner to find two Baskets with a Green Gem, each, two Red Gems, and a line of three Blue Lizards. This is a fantastic spot to Charge them all in one go for satisfaction. After hitting the third one, look right to find two Baskets with a Purple and Red Gem. Ignore the cave mouth for a second and follow the wall on the right to find two Red Gems in front of a step with a Green Gem.
Okay, now go to the cave mouth to meet a new character: Zoe.