You can find all the details you need to know about STAR OCEAN THE SECOND STORY R in this complete guide.
Walkthrough Guide
Star Ocean: The Second Story was my most-played game on the original PlayStation, and as such this remake was my most-anticipated game of 2023. I had always wanted to write a guide for the game prior to this, but until now there was little point in doing so. Many competent guides existed already, and even the PSP port wasn’t that different. This, however, is an entirely new version of the game with an entirely different feel to it. As such it makes sense to finally set out to write a complete guide to the game.
This is a complete guide to the entire story of Star Ocean: The Second Story R. Both paths will be covered simultaneously as, besides the opening act, they are mostly identical.
Introduction – Claude’s Scenario
After some opening cinematics and a bit of story, you’ll find yourself outside of the dome on Milokeenia.
Milokeenia
You can talk to the NPCs here if you want, or jsut check the control panel over by the dome door to get things moving again. In the next area, you can again talk to NPCs if you want, but the goal is at the far end of the area. Approach the sparking container to continue with the plot.
Sacred Forest
Items: 300 FOL, Fruit Syrup
After some story, you’ll be pitted against Ghark. Your regular attack won’t do much, but you can use the special art commands (the upper left and right triggers on a controller) to use the Phase Gun and win the fight fast. After that, there’s some more story and you’ll be free to wander the Sacred Forest. There’s a chest off to the right, and down the small path off to the left is another one. Near the entrance you’ll meet up with the girl from before, who will introduce herself as Rena. After a bit more story, you’ll be on the outskirts of Arlia.
Arlia
Items: Magic Canvas, Blueberries, Blackberries, 250 FOL, Leather Armor, Resurrection Elixir, Strawberry Jam
Shop Items: Aquaberries, Blackberries, Blueberries, Resurrection Elixir, Lavender, Rose Hip, Athelas, Spectacles
Shop Exclusives: Sandals
Unique Locations: Rustic Waterwheel (50 EXP, 2 Resurrection Elixir)
Walk into town proper for another story scene. Your goal is the house with the blue roof between the bridges, but you can explore all you’d like before then. Inside the church you can find a chest up on the top level. You can find two chests upstairs in the newlywed couple’s house. There are 3 chests over by Hahn’s shop, as well. One last chest can be found inside the house on the upper-right side of town. You can also examine the town waterwheel for some free experience. Enter the blue-roofed house when you’re ready. Now you’ll be prompted to explore around town a bit more. Enter all of the buildings and approach all of the locations to get more plot, and once you’re done you can head back to Rena’s house. More story will commence.
Head downstairs and then return to your room to get the plot moving again. The next morning, head downstairs and the Mayor will give you a sword. You are now free to wander a bit, and have access to the world map and the Sacred Forest. Your next goal is Salva.
World Map
Items: 5 Blueberries, Talisman
Enemies: Thieving Scumbag, Lizard Axeman
You can find a chest near the river nearby, and on the beach to the west is another chest. Your destination is Salva, which is north of Arlia
Salva
Items: Portrait B, Fried Egg, Talisman
Inn: 10 FOL
Jam Store: Strawberry Jam, Raspberry Jam, Apple Jam
Weapon Shop: Longsword, Twin Fury, Brass Knuckles, Leather Helmet, Leather Armor, Sandals, Leather Greaves
Shop Exclusives: Necklace, Ruby Earring, Silver Barette
You can find a chest in an alleyway halfway into town, another in the kitchen of the mansion, and one more in one of the second floor bedrooms of the mansion. Talk to the butler in the mansion and walk back outside to get the plot moving again. Head back to Arlia (you can use fast travel now if you want) for more story. Head on back to Salva and try to enter the mansion. Once inside, check the right room and then examine the statue nearby to open the path to the Salva Mines. A bit of story in the tunnel later, you’ll be in the mines proper.
Salva Mines
Items: Blueberries, Anklet, Blackberries, Buckler, Resurrection Elixir, Blueberries, Spectacles, Robe
Enemies: Lizard Axeman, Thieving Scum, Kobold, Vorpal Bunny
Unique Location: Quietly Gleaming Minerals (100 EXP, 2 Ruby, 2 Silver)
Head left right away to the end of the tunnel to get two chests. You can’t exit the mines from the nearby entrance, so just keep exploring. Another chest is down the right fork from the start of the area. The other chests are scattered about the dungeon mostly in dead ends, and the Unique Location is near the center of the mines. The last chest is only available later, after the introduction events. Anyway, enter the altar room for more plot and a boss encounter.
BOSS: Allen Tucks
Recommended Lv: 5-7
Allen isn’t too hard. Like all of the common enemies around here, he just walks up to you and attacks, meaning you can either avoid and retaliate or perfect counter and chain him. He does hit hard, but Rena should keep you healed alright. If he starts walking toward Rena, switch to her (hold RT and select her with a controller) and move her away from his attacks until Claude gets his attention again.
After the fight, a lot of plot will commence. Head inside the mayor’s house for more plot, then downstairs and out to the upper bridge to see Rena. After another bout of plot, you’ll be back on the world map.
New Shop Items: Antidote, Paralysis Cure, Stone Cure, Iron, Silver, Gold, Ruby, Mandrake, Wolfsbane, Seafood, Fruit, Grains, Meat, Vegetables, Eggs and Dairy, Magic Canvas, Magic Clay
At this point PAs open up (Private Actions), which are interactions between your party members in town. There are PAs in both Arlia and Salva right now, if you want to partake in them. Other than that, this is the end of the introduction to Claude’s scenario!
Rena’s Scenario
Arlia
Items: Magic Canvas, Blueberries, Blackberries, 250 FOL, Leather Armor, Resurrection Elixir, Strawberry Jam
Shop Items: Aquaberries, Blackberries, Blueberries, Resurrection Elixir, Lavender, Rose Hip, Athelas, Spectacles
Shop Exclusives: Sandals
Unique Locations: Rustic Waterwheel (50 EXP, 2 Resurrection Elixir)
You start out just outside Rena’s house. You can’t do much here just yet, mostly you just need to head to the Sacred Forest.
Sacred Forest
Items: 300 FOL, Fruit Syrup
Grab the chests, then visit the clearing the ! indicator points you to. After some story, you’ll be back in Arlia.
Arlia
Head into Rena’s house. Now you need to give Claude a tour of the town. This is pretty easy to do, just talk to the NPCs and visit the locations marked by the ! indicator. Once you’re done with that, return to Rena’s house. After some story, go back downstairs, then go visit the mayor’s house. Return to Rena’s house for more plot. When you get control again, head back to the Sacred Forest. Visit the clearing again, then return to Arlia. More story will commence.
Salva
Items: Portrait B, Fried Egg, Talisman
Inn: 10 FOL
Jam Store: Strawberry Jam, Raspberry Jam, Apple Jam
Weapon Shop: Longsword, Twin Fury, Brass Knuckles, Leather Helmet, Leather Armor, Sandals, Leather Greaves
Shop Exclusives: Necklace, Ruby Earring, Silver Barette
You’re stuck in Allen’s mansion, unfortunately. Check the room on the right on the first floor, then examine the statue in the back of the room. Head down the tunnel, and then into the mines.
Salva Mines
Items: Blueberries, Anklet, Blackberries, Buckler, Resurrection Elixir, Blueberries, Spectacles, Robe
Enemies: Lizard Axeman, Thieving Scum, Kobold, Vorpal Bunny
Unique Location: Quietly Gleaming Minerals (100 EXP, 2 Ruby, 2 Silver)
Head left right away to the end of the tunnel to get two chests. You can’t exit the mines from the nearby entrance, so just keep exploring. Another chest is down the right fork from the start of the area. The other chests are scattered about the dungeon mostly in dead ends, and the Unique Location is near the center of the mines. The last chest is only available later, after the introduction events. Anyway, enter the altar room for more plot and a boss encounter.
BOSS: Allen Tucks
Recommended Lv: 5-7
You’ll probably want to switch control to Claude as soon as the fight starts, since he’ll be a bit stupid in this battle otherwise. Allen isn’t too hard. Like all of the common enemies around here, he just walks up to you and attacks, meaning you can either avoid and retaliate or perfect counter and chain him. He does hit hard, but Rena should keep you healed alright. If he starts walking toward Rena, switch to her (hold RT and select her with a controller) and move her away from his attacks until Claude gets his attention again.
After the fight, a lot of plot will commence. Head back to Rena’s house for more plot, then back to the village and out to the upper bridge to see Claude. After another bout of plot, you’ll be on the world map.
New Shop Items: Antidote, Paralysis Cure, Stone Cure, Iron, Silver, Gold, Ruby, Mandrake, Wolfsbane, Seafood, Fruit, Grains, Meat, Vegetables, Eggs and Dairy, Magic Canvas, Magic Clay
World Map
Items: 5 Blueberries, Talisman
Enemies: Thieving Scumbag, Lizard Axeman
You can find a chest near the river nearby, and on the beach to the west is another chest. Your destination is Salva, which is north of Arlia
At this point PAs open up (Private Actions), which are interactions between your party members in town. There are PAs in both Arlia and Salva right now, if you want to partake in them. Other than that, this is the end of the introduction to Rena’s scenario!
Krosse Continent and Krosse Castle
World Map
Items: 3 Blackberries, Gold Cross, Lunar Talisman, 4 Artemis Leaf, 5 Magic Canvas, 5 Eggs and Dairy, 10 Lavender, 8 Athelas, Safety Shoes, 4 Potion of Merlin
New Encounters: Landworm, Slime, Alraune, Armored Knight, Kobold, Bugbear, Witchette, Robber Axeman
You now have free access to the entire Krosse continent! However, you’re limited in what you can do thanks to your inability to learn any skills yet. I suggest you swing by Salva Mines to get the chest from before that you couldn’t reach, as well as do any PAs in Arlia and Salva that you wish to do.
Arlia
Claude PA (Rena) – Head upstairs into Rena’s room. Option 1 gives the best result, option 3 is neutral, and option 2 is negative.
Salva
Claude PA (Rena) – Talk to Rena in the streets. You’ll be sent to an interactive flashback (you can even pickpocket some of the bridge crew if you’re on a replay!). Just leave the bridge to finish the PA.
You can find a chest northwest of Salva along a cliffside. Up near Lasgus Mountain is another chest (don’t go on the mountain just yet, enemies there are MUCH stronger than you are at this point!). South of Krosse itself is a chest up on a cliff. You can find a chest to the east of Krosse near the Krosse Cave as well. You can explore the cave now if you want, but the plot will be sending you there shortly anyway (and with extra help), so you mwy as well wait. Further along the east arm of the continent is the town of Marze, which you will also visit during the plot later. At the far east arm of the continent is Harley, as well as another chest up on a cliff.
There is a chest just north of Lasgus Mountain on a cliff, and there are 2 chests along the east coast of the north arm to grab as well. Up the hill across the bridge is the Mountain Palace (you can’t enter it proper just yet but can get it on your quick travel menu), and a chest beyond the Mountain Palace as well. Just north of Kurik (which is on the far end of the east arm of the continent) is one more chest. Below is an overview of all of the towns mentioned here.
Kurik
Items: Lyre, Seafood, Grain, Vegetables
Inn: 20 FOL
Shop Exclusives: Anklet, Harmonica
Weapon Shop: Sinclair, Hard Knuckles, Rod, Padded Armor, Robe, Wooden Shield, Round Shield, Boots, Boots of Happiness, Iron Greaves
Crepe Shop: Banana Crepe, Chocolate Crepe
Ice Cream Shop: Orange Sherbet, Vanilla Ice Cream
Food Shop: Hotcake, Egg Sandwich, Grains, Vegetables, Eggs and Dairy
Unique Locations: Old Lighthouse (500 EXP, Lunar Talisman+ (Temporary Measures))
There’s a chest in the small room of the mansion near the entrance of town. Three more chests can be found in the restaurant in the square. I advise you don’t do the PA here yet!
Marze Village
Items: Purple Amulet, Silence Card, Sour Syrup, Silk Robe
Unique Locations: Monument of Truth (500 EXP, 3 Witch Powder)
Inn: 20 FOL
Food Shop: Seafood, Fruit, Grains, Meat, Vegetables, Eggs and Dairy, Radish Miso Soup
Shop Exclusives: Flame Sword, Cestus, Ruby Wand, Open Helmet, Magical Cap, Ring Mail, Silk Robe, Round Shield, Suede Boots, Iron Greaves, Deadly Poison Bomb, Flare Bomb
Three chests reside in the mayor’s house (one is hidden a bit in the upper room). An additional chest is upstairs in Celine’s house. You can enter the Forest of Symbols nearby.
Forest of Symbols
Items: 3 Smelling Salts
Enemies: Witchette, Bugbear, Garuda Eagle, Robber Axeman, Bloodworm, Stingray
You can’t properly explore here just yet, and the enemies might be a bit much if you’re not ready yet.
Harley
Items: Ring of Sadness, Leather Boots, Ring Mail, 1200 FOL, Sinclair
Inn: 20 FOL
Food Shop: Luxury Grape Juice, Seafood, Fruit, Grains, Meat, Vegetables, Eggs and Dairy, Bean Paste Bun, Gyoza Dumplings, Shumai Dumplings, Tuna Sashimi, Sashimi
Weapon Shop: Ruby Wand, Silk Robe, Knight’s Shield, Boots of Happiness, Plate Greaves, Brigandine
Shop Exclusives: Thief’s Glove, Anklet
Unique Locations: The Emperor of Fish (500 XP, 5 Fishy Fragrance)
You can find a chest upstairs in the small house on the left side of town. There’s a chest just inside the mansion on the hill, as well as hidden in the right room on the first floor. There’s a chest in the bedroom on the second floor, and another chest in the sitting room on the left side of the second floor.
Once you’ve done everything you want, head into Krosse.
Krosse City
Inn: 20 FOL
Shop Exclusives: None
Food Shop: Seafood, Fruit, Grains, Meat, Vegetables, Eggs and Dairy
Weapon Shop: Broadsword, Venomous Stingers, Rod, Leather Helmet, Padded Helmet, Padded Armor, Robe, Wooden Shield, Boots, Iron Greaves
Other than the bar, the only place you can go to is the inn. Head into said inn to get the plot going again.
A few new PAs have opened up now.
Salva
Claude PA (Young Girl) – You can choose to tell the girl if you’re the Hero of Light. Doing so makes Rena like you more.
Claude PA (Rena) – Talk to Rena in the jewelery shop to start this one. You can offer to buy a Leaf Pendant accessory for Rena for 200 FOL (which is a great deal), the other options just change affection a bit. Buying the pendant has a much bigger effect than either!
Marze
Claude PA (Rena) – Approach Rena to start this one. Say “you’re right” to get access to the shop’s stuff. This shop is only available during the PA: Silver, Gold, Sapphire, Ruby, Green Beryl, Crystal, Silver Cross, Amulet of Antivenin, Amulet of Freedom, Sacrificial Doll, Regeneration Ring, Purple Amulet, Prism Ring
Head into the castle (there’ll be a scene as you head up that way).
Krosse Castle
Items: Leather Helmet, Wooden Shield, 400 FOL
Unique Location: Portrait of Prince Clauzer (100 EXP, Portrait A)
You can grab two chests from the nearby barracks off to the left. Talk to the left receptionist to move the plot forward. Be sure to check the Unique Location on your way up! Talk to any two marked NPCs to move the plot forward. There’s a chest in the prince’s chamber off to the left. Talk to the guards in front of the throne room to proceed. Ask all of the questions of the king (you’ll get 600 FOL and the Travel Permit), then exit the castle. After a scene in the middle of the town square, you’ll be forced to temporarily recruit Celine. You will get the Treasure Map at this point, and Item Creation will open up (as well as Guild Missions and Challenges).
New Events and PAs:
Marze – Visit the elder’s house to see a brief scene.
Harley – Talk to Reel over at the port to unlock fishing rewards.
Arlia PA
Claude PA (Celine) – By the item shop. If you reject her gift, nothing much happens. Accepting it gives you a ?JEWELRY which you can identify as a Talisman. Talk to Celine again afterward for a second affection boost with her.
Salva PA
Celine – In the jam shop; talk to her, agree to find the shopkeeper, and then go find Yuki at the Salva Mines entrance. Respond positively to slightly boost affection with other party members, negatively to slightly drop it.
Krosse PA
Claude PA (Rena and Celine) – If you listen in, Claude and Celine will lose affection. If you step in, Rena and Claude will like each other better. If you leave, nothing changes.
Claude PA (Rena) – In the church; the first 2 options will cost you affection, the bottom one will boost affection
Kurik PA
Philia at the fountain – Automatic and required for something in the postgame; be sure you can Pickpocket her because she is the sole source of the Sprite’s Bracelet in the entire game!
See the next section for how to best put Item Creation to use. Otherwise, I will assume you’ve headed to Krosse Cave and you can skip that section.
Interlude – Item Creation
World Map
Items: 5 Enginner’s Handbook, 2 The Bestiary, 4 Magic Canvas, 2 Veda Idol, 4 Star Ruby, 5 Eggs and Dairy, Lunar Talisman, 2 Faerie Mist, Plate Helmet, 3 Yogurt, Plate Helmet+ (CRT Heal), Princess Ring+ (Loving Care), 4 Friends of the Woods
Unique Locations: Ruins in the Desert (1000 EXP, Twin Splicers+ (MP Drain)), Dawn-Lit Cascades (100 EXP, Benefaction Card), A Coral Paradise (500 EXP, Blue Talisman+ (Loving Care))
Guild Missions Aavailable: Crafting Mission 1, Cooking Mission 1, Alchemy Mission 1, Fishing Mission 1
Now you can access Item Creation (IC) and missions. Check your Challenge Missions regularly for lots of rewards, which will make your journey much easier. Guilds will also have missions for you regularly (as will be noted in the guide henceforth). The first skill you should boost for all characters is Determination, right up to level 10, as it reduces SP requirements by 2 per level and adds up to potentially over 5,000 saved SP in the long run! I suggest you put at least a point or two in Resilience and at least one into Effort is also recommended so you can activate Train for your party members (which lets you boost your experience gain considerably). I would suggest as well that you get Danger Sense on everyone and have at least 2 allies with Lv4 Familiar so you can use Come On Bunny and get access to the world map’s chests. But most of all I suggest that you get one ally up to a high level of Penmanship and 1 point in a few key skills to write books. These books will save you insane levels of SP and can be written repeatedly. To get more Fountain Pens, just use Familiar Lv. 5 to call a Stork. (You can get Pet Food from Familiar Lv. 7, the Sprite’s Bracelet, Survival, or from the enemies in the Forest of Symbols.) If you need money, level Piety a bit.
Invest 1 point in Mental Science, Mineralogy, Item Knowledge, Eye for Detail, Recipe, Music Knowledge, Animal Training, Herbology, Biology, Sketching, Operation, Performance, Knife, Imitation, Keen Eye, Smithing, Power Burst, Machinery, Technology and Faeriology for whoever has level 10 Penmanship, so you can write books and get those up to level 7 for all allies.
Once Pickpocketing is at least level 4 and you have Nimble Fingers for your protagonist (you can get it by teaching them Crafting and using it a few times, Iron is cheap for practice), go steal a Goodie Box from the old man near the inn in Marze. Save and then check the box repeatedly until you get a Sword of Marvels, which will give you a huge edge in combat.
With Art at Lv 4, you can craft strange goods with Magic Clay, which can randomly give you Goodie Box items. These boxes give you 3 random items and can give you some VERY powerful goods, such as a Marvel Sword. They’re well worth crafting and using repeatedly!
The world map chests can be obtained once you get Bunny Call. Simnply ride the bunny up to the chests! They are located as follows:
* Small cliff near Salva
* Mountaintop close to Salva
* A cove south of Krosse Cave
* North side of the Lasgus Desert
* Small cove in the Lasgus Desert
* Cliff overlooking Lasgus Desert
* Cliff overlooking Marze
* Cliff north of Marze
* Small cliffside south of Kurik
* Hill between Kurik and Mountain Palace
* Rocky outcropping south of Mountain Palace
* Cliffside south of Mountain Palace
* Secluded beach northeast of Kurik
Once you get your Pickpocket skill high enough (I’d recommend at least Lv. 6) you can do the PA in Kurik and steal the Sprite’s Bracelet from Philia.
You can currently catch 35 types of fish, which can get you some very nice rewards from Reel in Harley.
You can use Scouting to summon enemies and run chain battles in the Forest of Symbols for a bit to get your level up around 25, and then start chaining battles on Lasgus Mountain to get up to Lv. 60+ quite easily. This is not expected of you at all, but it is an option.
Lasgus Mountain
Items: Flare Ring+ (Metabolism)
Enemies: Savant, Kobold King, Sorceress, Cockatrice, Flyray, Black Balloon
Unique Locations: The Monarch’s Roost (500 EXP, 3 The Bestiary)
You can find the Unique Location at the peak on the left side. This mountain is mostly just an enemy nest, as you can see. The far right exit, however leads out to the Lasgus Desert, which has very useful encounters!
World Map – Lasgus Desert
Enemies: Sandworm, Shadow Flower, Hourglass
All of these encounters have amazing drops! You can obtain Orichalcum and Damascus from Sandworms, Mandrake and Wolfsbane from Shadow Flowers, and Orichalcum and Faerie Elixirs from Hourglasses. They also all have very high drop rates! You can use the ores in conjunction with Familiar Lv. 7 to buy Smith’s Hammers and the Blacksmith Super Specialty (Lv. 5 or higher) to make some very powerful equipment out of the Damascus and Orichalcum.
At present there are two raid battles available, both of them pretty hard. The Ultra Untrained Assassin near Harley is the easier of the two, and nets you a Scumbag Slayer upon defeat. The Ultra Aulbear is in the Lasgus Desert, is obscenely hard, and rewards you with an ultimate weapon for a future party member on Rena’s path upon defeat. Taking either on will necessitate Bloody Armor and a powerful healing option (ideally a fully upgraded Sword of Life), as well as a strong attack power level (1100+), at least 5000 HP, and a lot of MP healing items. Using an Experience Card during the Ultra Aulbear fight is highly recommended!
Krosse Cave and Kurik
Krosse Cave
Items: 1000 FOL, Blackberries, Blueberries, Resurrection Mist, Leather Boots, 5 Eggs and Dairy, 5 Silver, 2 Blackberries, Walls of the Soul, Sweet Potion, 500 FOL, Wooden Shield+ (DEF UP +5%), Ancient Text
Enemies: Slime, Alraune, Landworm, Armored Knight, Gargoyle (chest only)
Unique Locations: Jade Green Columns (500 EXP, 5 Green Beryl)
The cave has a lot of branches, but it’s not that hard to traverse. At one point you do have to jump off an edge, but other than that it’s easy to navigate. Be sure to explore all of the dead ends for treasure. The plot continues in the back room, where you’ll find the last few chests (the bottom chest in the room has a battle tied to it) and the Unique Location. Grab the chest with the Ancient Text to get things moving again. You’ll also get the AA Device, which allows you to use Assault Actions, and the Laeticia Jewel. At the entrance of the cave Celine will offer to join you; accept or reject her at your discretion. After this, you’ll need to head to Kurik on the far western arm of the continent.
Kurik
Items: Lyre, Seafood, Grain, Vegetables
Inn: 20 FOL
Shop Exclusives: Anklet, Harmonica
Weapon Shop: Sinclair, Hard Knuckles, Rod, Padded Armor, Robe, Wooden Shield, Round Shield, Boots, Boots of Happiness, Iron Greaves
Crepe Shop: Banana Crepe, Chocolate Crepe
Ice Cream Shop: Orange Sherbet, Vanilla Ice Cream
Food Shop: Hotcake, Egg Sandwich, Grains, Vegetables, Eggs and Dairy
Unique Locations: Old Lighthouse (500 EXP, Lunar Talisman+ (Temporary Measures))
If you want to get the Sprite’s Bracelet (a rare accessory that gives you items for free), you will need to teach your chosen lead Pickpocketing and have Nimble Fingers on them, then steal it from Philia during a PA in this town. This is your final chance to do this, so if you want the item, do it now!
To move forward with the plot, go talk to the captain on the pier. Head back into town, and then talk to the kids by the docks. Go back into town and find the blue-haired boy. You can visit several different locations and shops and have interactions with Ketil if you’d like, but you don’t have to do that at all if you don’t want to. If you just want to get on with the plot, go approach the kids on the dock. After that, go talk to the captain. Head back into town, then further in. Now run through town up to the top of the hill, then head back down the hill and talk to the captain again. Now you have a new goal: Marze Village!
Note that you can return to Krosse Castle and inform the king of Kurik’s fate at this point if you so desire. There is no reward for doing so.
Marze Village, Harley and Ashton’s Quest
Marze Village
Items: Purple Amulet, Silence Card, Sour Syrup, Silk Robe
Unique Locations: Monument of Truth (500 EXP, 3 Witch Powder)
Inn: 20 FOL
Food Shop: Seafood, Fruit, Grains, Meat, Vegetables, Eggs and Dairy, Radish Miso Soup
Shop Exclusives: Flame Sword, Cestus, Ruby Wand, Open Helmet, Magical Cap, Ring Mail, Silk Robe, Round Shield, Suede Boots, Iron Greaves, Deadly Poison Bomb, Flare Bomb
To get things moving, go into the elder’s house. What happens from here differs between Claude and Rena’s scenarios. In Rena’s scenario, you’ll need to go talk to Dias at the inn. For Claude, there’s nothing to do at this point. Either way, go talk to the elder again. In Rena’s scenario, head back to the inn and tell Dias you’re ready; in Claude’s, just tell the elder you’re ready.
The next morning, head into the forest.
Forest of Symbols
Items: 3 Smelling Salts, Knight’s Shield+ (AVD UP 5%), Amber Robe, 1000 FOL, 5 Crystal, 3 Resurrection Elixir
Enemies: Witchette, Bugbear, Garuda Eagle, Robber Axeman, Bloodworm, Stingray, Bandit (fixed encounters)
There’s 2 paths through the forest, go ahead and explore the whole place to get all of the treasures though. As you go, you’ll fight three pre-scripted battles against Bandits. At the end, you’ll face off a boss, which differs depending on the scenario you’re playing.
Claude’s Scenario Boss: Snow Ogre
Recommended Level: 12
He fights exactly like Allen Tucks did. The same strategy applies, except that Rena can’t heal you. That should not be a problem, however.
Rena’s Scenario Boss: Azam Gille, 4 Shielders
Recommended Level: 12
Cast spells to kill the accompanying Shielders, and let Dias do the hard work of wrecking shop on Azam Gille. It’s not a tough battle at all.
After the boss fights, more plot commences. Try to leave town to get the plot moving again. After that, you’ll be ready to continue onward to Harley and the new continent!
New shop items: Sapphire, Green Beryl, Crystal, Athelas, Artemis Leaf, Fountain Pen, Pet Food, Smith’s Hammer, Feather Pen, Mechanic’s Toolbox, Premium Paper, Magic Film, Conductor Baton, Relax Perfume
New Guild Missions: Customization Mission 1, Writing Mission 1, Art Mission 1, Customization Mission 2, Crafting Mission 2, Art Mission 2, Writing Mission 2
Harley
Items: Ring of Sadness, Leather Boots, Ring Mail, 1200 FOL, Sinclair
Inn: 20 FOL
Food Shop: Luxury Grape Juice, Seafood, Fruit, Grains, Meat, Vegetables, Eggs and Dairy, Bean Paste Bun, Gyoza Dumplings, Shumai Dumplings, Tuna Sashimi, Sashimi
Weapon Shop: Ruby Wand, Silk Robe, Knight’s Shield, Boots of Happiness, Plate Greaves, Brigandine
Shop Exclusives: Thief’s Glove, Anklet
Unique Locations: The Emperor of Fish (500 XP, 5 Fishy Fragrance)
Before you sail over, do consider taking advantage of the new shop items available to you! You can craft quite a wide array of useful items with Machinist now, as well as forge new armor, write and perform songs, replicate items, and even do some Contraband if you’re feeling bold. It’s also a good idea to do the new Guild missions, especially Customization Mission 2, as the formation it gives you can boost your experience gained from fights by 50%.
At the entrance of Harley are two gentlemen who can direct you to an optional event in Salva. If you don’t want to recruit Ashton, you can opt to skip out on this. However, it doesn’t hurt anything to do the mission, and I will be outlining what to do here. Talk to the sailor in Harley and sail over to Hilton, then go to the next guide section, if you want to skip this.
Location: Salva Mines – The Dragon’s Lair
Items: Sweet Potion, Open Helmet, Brigandine, Gold Earring, Silver Greaves, Swords of Deflection, Dragon’s Ribbon, Diamond, Star Ruby
Enemies: Sandglass, Gerel, Beastmaster, Werewolf, Green Gelatin, Scylla
Just go into the mines as usual and then head toward the part of the mine that you previously could not access. As you enter the dragon area, you’ll see the fighter already inside run past on the upper bridge. Make your way through the lair, grabbing the chests as you go, and you should have no problem getting to the save point at the end. If you want Ashton to join you, take responsibility; otherwise leave the mine entirely. A new sidequest opens up at this point for Ashton. Before you start it, though, go talk to Ferguson in the weapon and item shop for a free Twin Splicers. You should also go grab the last few chests from the Salva Mines that were behind the dragon.
Since you have Ashton, 2 new PAs have opened up.
Arlia PA
Ashton – At the item shop; you can choose to spend 80% of your current FOL to buy a Dragon’s Ribbon, or don’t. Since you can find one in a chest in the Dragon’s Lair earlier, this is not necessary!
Marze PA
Ashton – By the food shop; The top 3 will reduce Ashton’s affection, while the bottom option raises it.
Read the lower bookshelf in the Marze elder’s house, and then travel to Krosse Castle to see the king again (talk to the receptionist). You’ll get 3000 FOL and access to the Mountain Palace now!
Mountain Palace
Items: Faerie Elixir, Foot Insignia+ (MP UP 10%), X Clip Kit, Silver Greaves, Fruit Syrup, Warrior Idol, Ring of Healing, 3 Hot Syrup, 2000 FOL, Plate Helmet, 4 Resurrectiom Elixir
Enemies: Hound, Archer, Fudd, Thieving Scum, Slime Pool, Petrigerel
Unique Locations: A Strange Laboratory (500 EXP, 3 Hermetic Philosophy)
Talk to the guard to officially get access. There’s two paths through this place, generally left and right. The right path is one that Opera’s recruitment uses later, while Ashton’s is the left path. That said, you can fully explore both paths with no penalty. None of the items are particularly hidden, so it shouldn’t be too hard to find them all. Once you get to the end of Ashton’s path, you’ll face a boss.
Boss: Nightmare
Suggested Level: 18
She can dodge physical attacks pretty easily, but only for the first few seconds of battle. Spells will stll hit her, or you can just tough it out and slay her with your attackers.
Once you’re done, head back to the entrance for a story scene, then make your way to Lasgus Mountain.
NOTE: If you’ve been collecting every chest to this point, you should get the Treasure Detector from the challenge to find 100 chests in this dungeon.
Lasgus Mountain
Items: Flare Ring+ (Metabolism)
Enemies: Savant, Kobold King, Sorceress, Cockatrice, Flyray, Black Balloon
Unique Locations: The Monarch’s Roost (500 EXP, 3 The Bestiary)
This is just an enemy nest, but the enemies are VERY tough here! You may want to level up a bit before you tackle this place. At the peak, you will fight the boss of the area.
Boss: Zinae
Suggested Level: 28
This guy’s no joke! He flies, so he can’t be hit by most attacks. You may well have to use regular attacks and stunning him to get your attacks in when he’s on the ground. When Zinae glows, get away as he’s about to do a straight-line bomb attack that does a LOT of damage! Keep up on your healing and you should succeed.
After the fight, return to the Salva Mines and this sidequest will conclude. Ashton formally joins you at this point, though you had no way to get rid of him anyway. A new PA is open now. Head back to Harley and hop on the boat to Hilton when you’re ready.
Salva PA
Ashton – In the Salva Mine entrance; this is automatic and boosts the whole party’s affection with Ashton.
Interlude – The Lacuer Continent
New Guild Missions: Appraising Mission 1, Familiar Mission, Training Mission, Music Mission, Fishing Mission 2, Alchemy Mission 2, Appraising Mission 2, Cooking Mission 2
Hilton
Inn: 30 FOL per ally
Music Shop: Harmonica, Cembalo, Feather Pen, Conductor Baton
Food Shop: Luxury Grape Juice, Steamed Bun, Bean Paste Bun, Chicken Shish Kebab, Seafood, Fruit, Grains, Meat, Vegetables, Eggs and Dairy, Cola
Weapon Shop: Venomous Stingers, Cestus, Splinter, Iron Helmet, Ring Mail, Silk Robe, Round Shield, Leather Boots, High Heels, Brigandine
Shop Exclusives: Thief’s Glove
Unique Location: Hilton’s Open-Air Market (500 EXP, 3 Cinderella Glass)
Just a few PAs in this town at this point, and back in Marze.
Hilton PA
Claude/Rena – Stay at the inn. This PA is non-interactive.
“Clyde” (Claude only) – Near the port, you’ll find a man standing there. Agree to go to the tavern with him, you’ll get a Ring of the General from him.
Young Boy (Claude only) – Steal the Locket from him, then return it to him. That’s it.
Marze PA
Rena (Claude only, need Ashton) – Head into the elder’s house. The first option boosts affection, the second is neutral, and the third will drop affection.
World Map
Items: 2 Orichalcum, 7 Shrimp, 5 Scroll of Power, Starry Night, 7 Blackberries, Silver Greaves, Fuzzy Handy Stick, 5 Goddess Statuette, Meteorite, Meteorite, Star Necklace, Aphrodisiac
Enemies: Black Balloon, Sorceress, Flyray, Kobold King, Cockatrice, Archer, Slimepool, Mandrake
Unique Locations: Gift from the Sky (1000 EXP, Meteor Ring+ (Spheres Up))
There’s a lot of new stuff on the new continent to do! Let’s start with the items.
* Cliff near Hilton
* South side of the land bridge near Hilton
* North side of the land bridge near Hilton
* Cliff near Lacuer Front Line Base
* Small cliff near Lacuer
* Beach southeast of Lacuer
* Cliff southwest of Lacuer
* 4 chests at the meteor craters north of Linga
* Cliffside southwest of Linga
Linga
Inn: 30 FOL per ally
CSV Pharmacy: Apple Jam, Aloe Jam, Aquaberries, Blackberries, Blueberries
Jeane’s Medicine House: Mandrake, Rose Hip, Artemis Leaf, Wolfsbane, Lavender, Athelas, Antidote, Paralysis Cure, Stone Cure, Strength Bottle
Shop Exclusives: Reference Book, Handy Stick, Amber Robe, Magic Camera, Thief’s Glove
Unique Locations: Lacuer Academy (500 EXP, 2 All About Herbs, 2 Pocket Encyclopedia, 2 Secrets of the Earth, 2 Life in Nature
The first time you enter Linga you’ll see a scene with Precis. If you do a PA in this town before completing the Sanctuary of Linga, you can recruit her to your party. For Claude, just talk to her outside the Jeane’s Medicine House; for Rena, try to enter Precis’ house; let her join at the end of the PA either way if you want her in your party. Leave town to finalize her joining! A whole bunch of new PAs open up if you do, which is a nice touch.
Linga PAs
Suspicious Merchant – Approach the university; you can get a good price on a random skill book if you buy one.
Rena (Claue only) – Talk to Rena, then go and talk to her again to get a boost in affection.
Precis – After the jam shop PA in Salva below. Enter her house. Join them for tea, and if you want to avoid disaster, stay around.
Marze PAs
Precis – Go talk to her in the item shop, agree to do hide-and-seek next time. This opens a PA later in the game.
Krosse PAs
Ashton and Precis – At the merchant. Cheer on Ashton to get 19,900 FOL, and either to get a Music Box.
Precis – Follow-up to the previous PA. Say this might be fun to watch to get a free Aphrodisiac, which is a very hard-to-get item otherwise.
Salva PA
Precis – Talk to her in the jam shop and pick whatever jam you want to try.
Arlia PA
Rena and Precis (Claude only) – Outside Rena’s house. Option 1 is neutral, option 2 boosts Rena affection but drops Precis affection, and option 3 does the opposite of that.
Lacuer Front Line Base
Shop Exclusives: Walloon Sword, Guthgwine, Taloned Knuckles, Heavy Whip, Chameleon Rod
Unique Locations: The Lacuer Hope (1000 EXP, X Clip+ (Revenge))
There’s nothing to do here just yet. Check out the Unique Location, buy anything you want, and move on.
Sacred Grounds of Linga
Items: Magic Clay, Mechanic’s Toolbox, Medicine Bottle, Rainbow Diamond, Mixed Syrup, Chain of Might, 7000 FOL, Twin Splicers, Cinderella Glass, ?ARMOR (Rune Buckler)
Enemies: Blood Hound, Wolfhead, Mandrake, Killer Rabbit, Ooze, Croquettish Whip
Unique Locations: A Grand Burial Ground (1000 EXP, 5 Goddess Statuette)
You don’t need to explore this place just yet if you don’t want to, but there’s plenty of treasures to gather and some really good experience to earn. Feel free to wait for later to explore it, the plot will have you going here soon enough.
Once you’ve had your fill, head to Lacuer in the middle of the continent.
The Lacuer Tournament of Arms
Lacuer City
Inn: 30 FOL per ally
Shop Exclusives: Amulet of Antivenin, Strength Bottle
Food Shop: Luxury Grape Juice, Seafood, Fruit, Grains, Meat, Vegetables, Eggs and Dairy
Publisher: Whatever you sell them (1000 FOL per copy)
Unique Locations: Statue of the 3 Warriors (500 EXP, 3 Scroll of Power)
There will be a short scene as you enter the town. There’s a PA available, too.
Lacuer PAs:
Little Girl (Claude only) – Near the food shop. Talk to her and choose that you can’t just leave her alone to open up another PA in Harley.
Old Woman – Down the alley. Talk to her and agree to shop for her. Go get the Errand Gold from Nor’s shop, then give it to her to get a Star Ruby and Rainbow Diamond.
Harley PAs:
Little Girl (Claude only) – Follow-up to previous PA in Lacuer, in warehouse. Talk to her and say you can’t leave her alone to battle 3 Untrained Assassins. This will open up her final PA in Linga.
Linga PA:
Little Girl (Claude only) – Go into CSV pharmacy. The event is automatic and ends this PA chain.
Head into Lacuer Castle.
Lacuer Castle
Items: 3 Sour Syrup, Star Earring, Star Ruby
Feel free to gather the items around the castle. A few chests are unavailable at the moment, but I’ll mention them proper when they become available. Once you’re ready to continue with the plot, talk to the receptionist and enter the Tournament of Arms. Exit the castle after for more story. You need to pick a weapon shop now. Personally I usually go with Knockout (the guy in the bottom-right), but if you don’t feel confident with your base defense, you may want to pick a different shop. This is your last chance to leave Lacuer before the tournament starts, so if you want to level up or anything, now’s the time! You should be able to finish the tournament successfully as long as you’re at least level 25, if you need a baseline of preparation.
When you feel ready, head to the inn and agree to stay. If you’re on Rena’s story path, there will be a slight divergence from Claude’s here.
Rena:
Walk on over to the far left side of town. Sufia will now be following you. Go over to the tavern and talk to the men inside, then try to leave. After that, go back to the spot where you met Sufia to finish up this plot cul-de-sac. Then you just need to head back to the inn and return to your room.
Both:
On the day of the tournament, make your way to the arena (you can find it in the castle). Talk to the guard at reception to get things moving again.
Claude:
After the story bits, you will be thrown into the first battle of the Tournament of Arms. It’s a knight type, so the usual strategies work: circle around to avoid attacks, use techniques in retaliation, and heal if you need to (you probably won’t).
Rena:
Go on back to Gamgee’s place. After that, check out the tavern again. You’ll be thrown into a pitched battle with 3 combatants, who should fall pretty fast to Dias’ blade. After that, just go up to the arena and talk to the receptionist.
Both:
Talk to your allies in the stands (they’re in the back).
Claude:
You’ll be taken away to the next battle of the tournament. This one’s a gorilla, and is not much of a threat. Just dodge, circle around and destroy him. After some more forced plot you’ll be taken to the third battle of the tournament. This opponent is an ogre, and he can (rather cheaply) cause paralysis. Not cool! You’ll really want to play the old dodge-and-retaliate game here, as any one blow can potentially end your whole run should paralysis land.
Rena:
Go around to the other side of the stands and talk to Gamgee. After that, go back and talk to your allies to watch Claude’s second match. Hopefully AI-controlled Claude will survive the fight, but the odds are definitely in his favor as long as he’s not poorly equipped art-wise! Talk with your allies if you wish, then walk about the edge of the arena and back over to the upper part of the stands again. The plot will advance automatically from here until the end of the tournament, for the most part. You just need to go partway toward the front of the stands and back to where your allies are one more time before it’s all over.
Claude:
Return to your allies one last time, and then it’s time for the final match! Unfortunately you can’t beat Dias, no matter how well-prepared you are. He has an absurd amount of HP, ignores your defense, and is hard to stagger. And even if you did get him down to a low enough HP, eventually he’ll fire off a Chaos Sword attack that will do an impossibly high amount of damage to you (we’re talking 300,000+!). Sorry, them’s the breaks.
Both:
A bit of plot will commence, and you’ll be free to depart the arena at last. Go back into town and talk to the weapon shop owner that you selected to get your runner-up prize. BEFORE YOU LEAVE TOWN, go visit Gamgee (if you’re on Claude’s story, Gamgee’s house is the one on the far left side of town). He will give you the Deadly Edge, which can be customized into one of the most powerful weapons in the entire game.
If you want to make said weapon, you will need Claude to have at least level 8 Customization (9 is better, 10 is recommended) and the Talents necessary to excel at Customization. You will also need 2 Mithril, which you can acquire a few ways (a few challenges provide it, and you can get it randomly when upgrading ESP). Save, then customize the Deadly Edge with Mithril to get the Sword of Minos. Save again and customize that with Mithril to get the deadly Aeterna. Obviously you’ll need to reload if you fail. Enjoy your overpowered weapon!
There are a few new events and PAs you can watch now. In Arlia you can find Ketil from Kurik. In Salva, you’ll find Ruddle the Traveler. Tell him to go north. Next find Ruddle in the shop in Marze and tell him to go east. Next find him in Hilton and tell him to get on the boat. Lastly talk to Ruddle in the inn in Harley to get a Scumbag Slayer.
Lacuer PAs:
Welch – Approach the castle and Welch will show up. You can recruit her if you want, she’s a pretty good melee fighter. If you don’t want her, tell her no 4 times. Yes, really.
Welch – Approach the merchant and say this might be fun to get 50,000 FOL.
Arlia PAs:
Welch – Head into Bosman’s house. It’s automatic and will boost your affection with Welch.
Krosse PAs:
Welch and Ashton – Ask to see it for kicks. Otherwise Ashton will like you better.
Marze PAs:
Precis – Option 1 does nothing. Option 2 reduces affection. Option 3 raises it.
Linga and the Sacred Grounds
New Guild Missions: Compounding Mission 1, Survival Mission, Scouting Mission, Machinist Mission 1, Compounding Mission 2, Crafting Mission 3, Machinist Mission 2, Machinist Mission 3
Linga
Inn: 30 FOL per ally
CSV Pharmacy: Apple Jam, Aloe Jam, Aquaberries, Blackberries, Blueberries
Jeane’s Medicine House: Mandrake, Rose Hip, Artemis Leaf, Wolfsbane, Lavender, Athelas, Antidote, Paralysis Cure, Stone Cure, Strength Bottle
Shop Exclusives: Reference Book, Handy Stick, Amber Robe, Magic Camera, Thief’s Glove
Unique Locations: Lacuer Academy (500 EXP, 2 All About Herbs, 2 Pocket Encyclopedia, 2 Secrets of the Earth, 2 Life in Nature
To begin with, go try to enter Keith’s house. After that, you should head to Jeane’s Medicine House and talk to Bowman. Next up, head to the Sacred Grounds of Linga.
Sacred Grounds of Linga
Items: Magic Clay, Mechanic’s Toolbox, Medicine Bottle, Rainbow Diamond, Mixed Syrup, Chain of Might, 7000 FOL, Twin Splicers, Cinderella Glass, ?ARMOR (Rune Buckler)
Enemies: Blood Hound, Wolfhead, Mandrake, Killer Rabbit, Ooze, Croquettish Whip
Unique Locations: A Grand Burial Ground (1000 EXP, 5 Goddess Statuette)
After a brief story sequence, you’re set loose on this dungeon. You have two possible destinations here: either the large cul-de-sac at the far end (which has a boss encounter), or the large cul-de-sac right below that (which has regular monsters). The former has the “better” item which will get you a reward from Bowman. I will assume you went to that one.
BOSS: 3 Visseya
Suggested Level: 32
These things can eat your allies. Just attack them to get them to spit your allies back out. They’re not especially difficult to kill, just somewhat annoying.
After the fight’s over, grab the herb to get the Dillwhip. Then it’s back to Bowman to give it to him! You’ll get a Resurrection Mist for the Dillwhip. (Note that this is your last chance to do anything in Lacuer; don’t give the herb to Bowman until you’re satisfied with what you’ve done there!)
Head over to Keith’s house again. Now you’l lbe inside! Head upstairs to see Keith. After that, you’ll be back in the Jeane’s Medicine House. Go talk to Bowman to move forward. If you don’t have Precis recruited, he’ll offer to join your party at this point. Allow him if you’d like, and then we’re going back to Lacuer!
Except that something’s amiss in Lacuer! Everybody’s fled to the castle and you’re told to go there. There’s only a few people wandering about town, so you might as well.
Lacuer Castle
Items: 5000 FOL
Talk to the receptionist, and now you can wander about the castle. Talk to Gamgee on the steps nearby to get a free Plate Armor, then go grab the chest in the king’s bedroom (you won’t get another chance to do so shortly!). To continue the plot, head to the lab in the bottom right of the castle. You will get the Combo Link (which lets you assign a second art/spell for each character to follow up each regular art), and Leon will temporarily join the party. Go back to the foyer, then leave Lacuer entirely. Return to Hilton’s port and take the ship to the Hoffman continent.
Hoffman Ruins and the Lacuer Front Line Base
World Map
Items: 8 Meat, 3 Magical Clay, 3 Goddess Statuette, 5 Wolfsbane, Mithril
Enemies: Petri Gerel, Archer, Salamander, Mandrake, Cockatrice
Now that you’re on the Hoffman Continent, you can find some new chests. Four of them are in the woods outside the ruins, and the last one is on the top-left isthmus of the continent. Once you’re ready, head into the ruins.
Hoffman Ruins
Items: 5 ?HERB (Artemis Leaf), Splinter+ (HIT UP 10%), While Clip+ (ATK UP 5%), Fine Shield, 2 ?MINERAL (Orichalcum), 3 Goddess Statuette,, 3 Hexagram Card, Primavera, Wizard’s Cap, ?JEWELRY (Light Cross+ (MP UP 10%)), Holy Mist, Playful Handy Stick
Enemies: Bowlady, Axeman of Doom, Black Slime, Salamander, Whelp
Unique Locations: The Glint of Hidden Power (1000 EXP, Light Cross+ (Leader Slayer))
Go ahead and enter the main building. There’s 3 chests on the first floor, a save point, and a plot trigger. Check the plot trigger to proceed. The ruins themselves have a pretty simple gimmick: you have to hit switches to blow up walls. Some of the switches are in sequence, you can see dots highlighted below each switch. Hit them in the correct order to blow up those walls (if you hit the wrong one you’ll have to fight a battle and start over with the switches for that wall). Once you’ve opened the last wall, you’ll find the Energy Stone… and a boss fight.
BOSS: 2 Halfynx
Suggested Level: 36
Kill the bigger one first. They’re both mages, so it’s worth it to move about when you see one get a spell off. They’re really not too difficult, as long as you keep them from casting.
After the fight, make your way back to the coast and ride back to Hilton. If you recruited Opera and saw her scene in the Sacred Forest, you’ll find Ernest at this point and fight a ghost (who’s way easier than the Halfynxes). You then get the choice to either recruit Ernest or abandon both him and Opera. I suggest you recruit him.
New Guild Missions: Bodyguard Mission, Bunny Call Mission, Blacksmith Mission 1, Blacksmith Mission 2, Compounding Mission 3, Fishing Mission 3, Art Mission 3
Back in Hilton, you can once more visit the Krosse continent if you wish. To continue the plot, hop over to Lacuer and return to the castle. In the throne room, you’ll be given your next goal: the Lacuer Front Line Base!
(If you’ve been keeping up on fishing, you should have caught 46 types at this point.)
Lacuer Front Line Base
Equipment Shop: Farcutter, Crested Rod, Tedious Handy Stick, Plate Helmet, Brigandine, Knight’s Shield, Buckler, Silver Greaves, Plate Armor, Fine Shield, Resurrection Elixir
Shop Exclusives: Walloon Sword, Guthgwine, Taloned Knuckles, Heavy Whip, Chameleon Rod
Unique Locations: The Lacuer Hope (1000 EXP, X Clip+ (Revenge))
Head on up to the commander’s office to get things moving. Then head back outside and talk to Dias. If you’re playing as Rena, you can recruit him at this point. After that, head to the balcony. Talk to 3 NPCs to bring up the next plot point upstairs. At this point, going forward will lock you out of the rest of Expel until the postgame. So if there’s anything you still want to do before then, do it now! Once you’re ready, head upstairs.
Boss: Cynne
Suggested Level: 40
You can’t actually beat this guy, you just have to do about 1/4th of his HP in damage. It won’t take long.
After that, head upstairs again, and into the infirmary. As you leave it, there will be another attack! Head out onto the balcony. If you have Precis, you will get a Thunder Puncher at this point. Enjoy the visuals! After the Lacuer Hope fires, head back into the shop area to continue the plot. After a bit you’ll be fighting 3 Gargoyles. They’re just as weak as they were back in Krosse Cave. After that, there’s a fake boss battle with Cynne that you aren’t supposed to win (but you can if you’re REALLY overleved and have really amazing equipment; the game assumes you lose, so don’t feel pressured to do so; you can cause instant death on him too).
The Ell Continent
Depending on who you’re playing, you’ll either be missing everyone but Claude and Leon, or be missing Claude. Either way, head to the world map (no encounters yet) and the Eluria Settlement.
Eluria Settlement
Items: Rune Cap, Silver Robe, Silver Robe, Metal Fang, Fine Shield, Shield Swords, Veil Piercer, Plate Armor, Plate Armor, Fists of the Giant, Silver Greaves, Silver Greaves
Shop Exclusives: None
Your party will reunite, and you’ll be told to go visit the elder. If you’re playing as Claude, you’ll have the opportunity to recruit Leon permanently at this point. After talking with the elder, you can go grab a bunch of free loot in the item shop. As you try to leave, you’ll get the ID Card. Head out to the world map (if you’re playing as Claude you’ll get a short story scene here).
World Map
Items: Searing Sword, 3 Resurrection Mist, Gale Earring+ (HP Drain), Mirror of Knowledge, 4 Meat
Enemies: Defender, Elder Witchette, Goathead, Timekeeper
Unique Locations: The Claw Marks of Calamity (1000 EXP, Moonlight)
Hop on your bunny and go grab those chests!
* Inside the giant crater
* Near the mountains west of the crater
* Up on a cliff with a nearby pond
* South of the big crater
* Northeast corner of the continent
There’s also a raid battle on this continent with Ultra Phantom Phoenix (who drops a Battle Suit), but it is exceptionally hard even for a raid battle. You may want to leave it for the postgame.
When you’re ready, head to Eluria Tower.
Eluria Tower
Items: Pixie’s Bracelet, Crested Shield, Holy Mist, Light Cross+ (HP UP 10%), Amulet of Freedom, Steel Helmet, Meteor Ring, Music Editor, Fruit Syrup, ?ARMOR (Blessed Plate Armor+ (Back Guard)), 5 Crystal, 5 Star Ruby, Dream Bracelet+ (Revenge), Fists of the Giant, Amulet of Flexibility, Theory of Symbology
Enemies: Goathead, Frost Lizard, Orange Gelatin, Darth Widow, Elder Witchette, Timekeeper
Unique Locations: Where Monsters Rule (1000 EXP, The Scream)
There’s lots of items in the foyer to grab (and a Unique Location), and no enemies! Grab them, then hop on the elevator to get to the dungeon proper. Grab the chests in the area and up the elevators to the left and right (they lead to the same area), then check the statue near the central elevator. Input DEATH to get the Key Card needed to continue. On the next floor, check the path to the exit, then head to the dead end nearby. If you are playing as Rena, this is not an interactive bit, but if you’re playing as Claude, you get taken to a new area. Steal from the bridge crew (they have lots of good stuff, including a Battle Suit!), then talk to Ronyx to continue the plot. Return to the exit to the next level and head up.
After the save point up here is another boss fight.
Boss: Cynne, 2 Stone Statues
Suggested Level: 45
Cynne is pretty easy now, honestly. His allies aren’t really much of a threat, either. Just completely steamroll him with your best arts.
After the fight, take the elevator up. There’s 2 chests you can grab here, one to the left and one to the right. Head toward the center to get a huge plot dump and a boss fight. The boss can’t be hurt, so just run about and avoid him until time runs out. Lots of plot will commence!
The Centropolis and North City
New Shop Items: Diamond, Factor Energy
New Guild Missions: Master Chef Mission 1, Master Chef Mission 2, Compounding Mission 4, Machinist Mission EX 1, Machinist Mission EX 2, Writing Mission EX
Centropolis
Items:
Inn: 50 FOL per ally
Weapon Shop: Searing Sword, Luminous Slicers, Cestus of Poison, Hetacon’s Punch, Silver Rod, Majestic Puncher, Light Whip, Theory of Symbology, Megawatt Stunner, Steel Helmet, Silver Robe, Plate Armor, Fine Shield, Silver Greaves, Tense Handy Stick
Food Shop: Seafood, Fruit, Grains, Meat, Vegetables, Eggs and Dairy, Steak, Flat Soda
Shop Exclusives: Lezard’s Flask, Beret
Unique Locations: Otherworldly Garden (10000 EXP, 5 Revival Card), Faded City of the Future (10000 EXP, Amoeba Soup)
After the plot’s done, you should go back into the transporter behind you and check out the Unique Location. Return to City Hall and enter Nall’s office to get a LOT of plot. Head outside of City Hall and check the left street to see a scene. You can now buy the Lezard’s Flask from the item shop, which lets you make any ore with Alchemy. You can REALLY exploit this! Using Group Appraising, you can craft and sell Philosopher’s Stones for decent profit, and you can also use Blacksmith to make some excellent armor (especially Star Guards). Crafting also gets a huge dose of useful items you can craft from this.
Once you’ve had your fill, head out to the world map.
Centropolis PAs:
Rena (Claude only) – In the inn. Ask her what’s up. Option 1 gives poor results, option 2 gives an affection boost, and option 3 is neutral.
World Map
Items: 3 The Bestiary, Slimy Gelatin
Enemies: Hellhound, Otiph, Shockray, Dark Crusader, Red Balloon, Insane Lord
Unique Locations: The Energy Field (10000 EXP, Mithril Coat+ (Symbology Field))
This is a pretty small island you start on, so this won’t take long. Hop on your Bunny and gather the two chests (one near the Centropolis, the other by North City). Check the Unique Location near the Centropolis, then head into North City.
North City
Inn: 50 FOL per ally
Food Shop: Seafood, Fruit, Grains, Meat, Vegetables, Eggs and Dairy, Aquabarries, Blackberries, Blueberries
Weapon Shop: Eagle’s Claws, Cestus of Poison, Hetacon’s Punch, Light Whip, Steel Helmet, Tiara of the Arc, Mithril Coat, Steel Armor, Crested Shield, Laced Boots, Silver Greaves, Safety Shoes
Shop Exclusives: Lezard’s Flask, Strength Bottle, Cembalo, Harmonica, Pipe Organ, Piano, Lyre, Violin, Luxury Grape Juice
Unique Locations: Nedepedia (10000 EXP, 3 Operation Manual, 3 Engineer’s Handbook, 3 The Bestiary, 3 Hermetic Philosophy)
North City PAs:
Rena (Claude only) – Enter the library. This event is just a bit of silliness and doesn’t affect anything.
Welch and Ashton – In the food shop. You can’t actually do anything, but you do get 20 Fruit for viewing this one.
Approach the item shop for another event. For the sake of a future event, you should read every entry in the library database (and attempt to view the classified information). Do anything you’d like in town before you head into the Psynard Breeding Facility and talk to the receptionist. Then go talk to Artis in his office. After some events, you’ll be fighting a boss!
Boss: Psynard
Suggested Level: 50
This guy’s no joke! He flies, he bites, he spits flames, and he moves fast. Good equipment is a must, as well as good healing options. He should fall fairly fast overall, that said.
After the fight, more story commences. Hop into the teleporter.
Location: Noel’s Home
Items: Life in Nature, 20000 FOL, 3 Pet Food
Grab the nearby chests, then head upstairs. After some story, Noel will temporarily join your party. Now, to the world map!
World Map
Items: Robe of Deception+ (Quick Fix), 5 Death of Originality, Saad Blade, 2 Amulet of Freedom
Enemies: Same as Centropolis/North City area
Raid Battles: Ultra Robinette Captain
There’s a few chests about to grab on your Bunny.
* At the far northeast side of the island
* Hill above the Cave of Crimson Crystals
* North central beach
* South of the Cave of Crimson Crystals
You can also challenge Ultra Robinette Captain if you’d like, but she can petrify and does a lot of damage, so you might want to wait ’til later (or use Bloody Armor). The formation manual she drops can be useful, but it’s far from critical. Once you’re satisfied, head into the Cave of Crimson Crystals.
Cave of Crimson Crystals
Items: Amulet of Flexibility, Dream Bracelet, 7 ?MINERAL (Moonstone), 6 ?MINERAL (Meteorite), Cinderella Glass, Theory of Symbology, 15000 FOL, 8 Spectacles, Eagle’s Shawl, 3 Fruit Syrup
Enemies: Hellhound, Peryton, Shock Ray, Red Balloon
Unique Locations: Crimson Prisms (10000 EXP, 5 Rainbow Diamond)
If you visit the crystal outcrop area with the 3 chests nearby, you’ll see a brief scene. There’s a lot of chests here, so you’re going to be busy for a bit! Check the ground where that journalist was to get her ID. The dungeon is mostly just twisty, there’s not much hard about it. At the far end, after a bit of story, you’ll fight a boss.
Boss: 2 Arachnovia
Suggested Level: 55
Focus on the huge one first, it’s draining your HP as the fight goes otherwise. They’re spider ladies, there’s nothing particularly noteworthy about them otherwise.
After the battle, plot commences, and Noel offers to join the party. Take him along if you’d like, and now you have full access to Nede!
New Shop Items: Re-Creation Gem, Shrimp
New Guild Missions: Orchestra Mission, Group Appraising Mission, Replication Mission 1, Writing Mission 3, Blacksmith Mission 3, Item Mission 1, Replication Mission 2
Interlude – The Psynard
World Map
Items: 2 Veda Idol, 3 Hermetic Philosophy, 5 Goddess Statuette, 4 Potion of Might, 3 Experience Card, 3 Strength Bottle, 3 Scroll of Power, 6 Artemis Leaf, 3 Mixed Syrup, 10 Rune Metal, 3 Resurrection Mist
Enemies: Same as before
Unique Locations: An Out-of-Place Artifact (10000 EXP, 3 Potion of Merlin, 3 Holy Mist), Islands Shrouded in Ice (10000 EXP, 3 Resurrection Mist, 3 Faerie Mist), A Serene Garden in the Sky (20000 EXP, Aphrodisiac)
Now that you have the Psynard, you can explore the whole of this world. There’s a bunch of chests you can grab at this point, a lot of raid battles (all of which are quite challenging), and a few new towns to visit to boot. Let’s get started with the items!
* Behind the blocky structure on the island near Noel’s house
* On an external outcropping on that same island
* North large snowy island, south of Princebridge
* Hill near Field of Power; need Bunny to reach
* On a small island between Princebridge and Field of Power; For a Few Fol More is on the same island, hidden away
* Chest atop the Field of Courage
* South of Minae Cave
* Chest on hill north of Armlock
* Chest on a lower tier of the same hill north of Armlock
* Chest north of Fun City, near a raid battle
* South of L’Aqua
You can also find a few unique locations: in front of the blocky structure on the island near Noel’s house, on the western side of the island Princebridge is located on, and an outcropping between Fun City and Armlock.
Now that you can buy Re-Creation Gems, you can finally control the factors on your equipment. I highly recommend putting HP Drain on all of your best weapons.
There’s a lot of raid battles available right now, all tough: Ultra Whelp (near Princebridge, drops the manual for Heavy Hitter), Ultra Phantom Knight (east of Fun City, drops a Ring of the Deep King), and Ultra Darth Widow (next to L’Aqua, drops Soul Helmet). Face them at your own risk, Bloody Armor is highly recommended. Next up, let’s go over locations you can visit now.
For a Few Fol More
Shady Shop: Wizard’s Cap, Mithril Helmet, Mithril Mesh, Wizard’s Armor, Steel Armor, Crested Shield, Gauntlet of Air, Mithril Greaves, tri-Emblum, Wyrm King’s Ribbon, Magical Rasp
Pick up that Magical Rasp! It gives you some very good new blacksmithing options.
Princebridge
Items: Faerie Elixir
Inn: 50 FOL per ally
Shop Exclusives: Faerie Statuette, Mirror of Knowledge, Amulet of Antivenin, Amulet of Freedom, Amulet of Flexibility
Food Shop: Seafood, Meat, Eggs and Dairy, Hamburg Steak, Beef Croquette, Steak
Merchant of the Snow: Dictionary, Holy Cloak, Beret, Aquaberries, Blackberries, Blueberries, Magic Canvas, Magic Clay, Feather Pen, Conductor Baton, Magic Camera, Magic Film, Spectacles, Fountain Pen, Pet Food, Thief’s Glove, Smith’s Hammer, Iron, Premium Paper, Mechanic’s Toolbox, Weighty Ring
Unique Locations: The Big White Neighbor (10000 EXP, 5 Cream Stew)
Not much to do here just yet. Mostly just a unique location to check out and a few NPCs to chat with. Specifically, talk to the professor in the far right room on the first floor of the university, then visit the professor in the lab on the second floor (which is where the chest is). This will start a quest that spans the next few story sections, and will be covered accordingly.
If you’ve been checking every unique location so far, you should get the Variable Bolt from the challenge to check 30 unique locations around this point. It’s Chisato’s ultimate weapon, and well worth using!
Princebridge PAs:
Precis – A follow-up to that PA in Marze. Head into the university and talk to Rena (or Claude, if you’re playing as Rena). Then go up to the library for another bit. Check the snowman at the foot of the stairs to the university to end the event. You’ll get a Nuclear Bomb and a boost of affection.
Chisato – Talk to her in the library of the university. This is just a story bit PA.
Precis – In the item shop. Pick option 1 for an affection boost, option 2 for no boost, and option 3 for a drop.
Full Party – In the first floor classroom. Your party will propose a university of their own, and everyone will like everyone better afterward.
Armlock
Inn: 50 FOL per ally
Shop Exclusives: Thief’s Glove, Potion of Lilith
Weapon Shop: Force Sword, Blade of Ruin, Lotus Eaters, Knuckles of the Moon, Grisly Clasp, Ruby Wand, Atomic Puncher, Spark Whip, Encyclopedia, Lightning Gun, Alpha Clip, Annoying Handy Stick
Food Shop: Seafood, Fruit, Grains, Meat, Vegetables, Eggs and Dairy
Unique Locations: The City of Weaponsmiths (10000 EXP, 2 Meteorite, 2 Mithril)
Nothing to do here but buy weapons and check a unique location out. That’s it. Oh, and a few PAs.
Armlock PAs:
Ashton – At the food shop. Agree to grab a bite. Order the Racing Heart to open another PA later.
Rena (Claude only) – A follow-up to the above. Agree to go with Rena and then order the Racing Heart for a big boost of affection.
Precis – Head to the top level of the inn. Guess Precis for an affection boost.
Welch and Precis – Inside Mirage’s house. Automatic, Welch will learn Mithril Fist.
Fun City
Inn: 50 FOL per ally
Shop Exclusives: Keen Kitchen Knife, Magic Camera, Beret, Crown, Harmonica, Evening Grown, Pin Heels, Strawberry Jam, Raspberry Jam, Apple Jam, Aloe Jam
Food Shop: Luxury Grape Juice, Chicken Doria, Orange Soda, Apple Crepe, Hotcake, Chicken Shish Kebab, Egg Fried Rice, Gyoza Dumplings, Strawberry Rice Cake, Cola
Unique Locations: A Whimsical Fairground (10000 EXP, Dream Bracelet+ (War Cry))
Fanfic Booth: Fanfic, Fanfic!, Fanfic!!!, Fanfic X
It costs 75 FOL per ally to enter Fun City, but it’s well worth it! You can buy a lot of good items and fight arena battles to get some great items.
Fun City PAs:
Ashton and Precis – In the arena stands. Just watch, and Precis will learn Super Holograph.
Welch (Claude only) – Over by the fanfic shop. Buy the Fellpool one for a boost in affection, the pink catgirl one for a drop, and nothing for no change.
Leon – Up near the arena. Stay to the end to get a boost of affection for all allies.
Welch – Near the Cooking Master arena. Stay put and watch for an affection boost, intervene to lose affection.
Rena (Claude only) – Need pretty high affection for this, it’s in the fortune teller’s area. Say you saw the whole thing. The first choice gets you a boost to affection, the second a drop, and the third is neutral.
L’Aqua
You can find Reel here. Nothing else to do here at this point, though.
In the Centropolis, you can now recruit Chisato in City Hall. As long as you got her ID card in the Cavern of Crimson Crystals, she’ll offer to join.
Centropolis PAs:
Chisato and Welch – Near the inn. Welch and Chisato will get a boost with each other.
Chisato and Leon – In City Hall. Option one will give a boost to Claude, Leon and Chisato with one another.
Chisato – In the newspaper office. This one doesn’t require you to recruit Chisato, as it’s a part of the event you started in Princebridge.
Chisato – The follow-up to the above. To see it, travel to another town and then back to the Centropolis.
If you did the last two PAs there, you can head back to North City and try the password with the Classified Information. Try to read one of the entries. We’ll be able to finish this quest later.
Back in North City, visit Artis for a brief story scene if you recruited Noel. You know, if you’d like.
North City PAs:
Chisato – Upstairs in the shop. Choose option 1 for a small drop of affection, option 2 for a small boost, and option 3 for a neutral response.
When you’re satisfied, return to the Centropolis and talk to Nall in City Hall to continue. You will obtain the Phase Unit and the Rune Code, the latter of which allows you to access the next dungeons of the game: the Four Fields!
The Four Fields
You can visit the Fields in any order you want. I’ll go with the order the game seems to intend you to do them in. First, let’s cover L’Aqua.
L’Aqua
Free inn
Unique Locations: A Relaxing Aquarium (10000 EXP, Aqua Ring+ (Full Bonus))
Might as well grab the unique location! Other than that, it’s not a very useful location just yet.
Field of Wisdom
Items: 3 Fruit Syrup, 6 Tune Metal, Twin Tails, Tiara of the Arc, 2 Faerie Elixir, Majestic Puncher, Alpha Clip
Enemies: Magic Defender, Rikka, Wizard, Controller
You can find this on a small island between North City and the Cavern of Crimson Crystals. This dungeon is a bit weird and very confusing if you’re not ready. The general rule is: teleporters are linked to the closest of the same color to them, and every time you take a color of teleporter (red or yellow), that type will be disabled until you’ve used a teleporter of the other color.
Through the center mirror, after hitting all 6 switches, you will find a blue teleporter to the boss chamber.
Boss: Guard Hand, Guard Box, Magic Box, Force Box
Suggested Level: 60
The laser arm is your main target, obviously, but the smaller “box” enemies are going to make killing it a pain in the butt if you don’t take them down first. Stay out of the arm’s firing range and take down those boxes first. Once they’re down, the arm has little threat to you.
After the boss fight is more plot, and then you get the Orb of Wisdom. That’s one field down!
Field of Might
Items: Armor of the Arc, Potion of Merlin, Holy Mist, Sword of Marvels+ (Poison), Knuckles of the Moon, Mithril Helmet+ (DEF UP 10%), Ring of Might
Enemies: Insane Lord, Yeti, Dark Crusader, Athul Athul, Ghast
Unique Locations: Sunlight on the Snow (20000 EXP, 5 Hot Syrup)
This one is located on the second snowy large island, south of Princebridge. This Field’s gimmick is that, when you enter a cave, you must defeat all enemies in that cave to leave. This makes it the simplest of the Fields, mostly just a slog to get all items before taking on the boss. The Unique Location is located on the mountainside between the caves, where there’s also an event you can trigger to cause an avalanche to quickly leave the Field of Might. This is not advised. Anyway, at the top you’ll face off against a Guardian.
Boss: Guardian
Suggested Level: 62
It’s not too hard to battle this guy, as he’s extremely melee-focused. Dodging around him and hitting from behind works well, and after enough damage he’ll lose his long-range attack. Once he’s down to 1/4 HP he’ll get a new long-range attack but be immobile. This shouldn’t take long at all. Warp back to the entrance save point for an easy exit.
After the fight, check the altar for plot and the Orb of Might.
Field of Courage
Items: 3 Sour Syrup, 4 Medicine Bottle, Luminous Slicers, Amulet of Flexibility, Furious Handy Stick, Shield of the Arc, Mithril Greaves, Faerie Mist
Enemies: Fenrir Beast, Rikke, Otiph, Dark Crusader
You can find this Field on a small island in the south. This field’s gimmick is that you cannot backtrack. Any step backward will cause you to take continuous damage (5% max HP per 3 secodns) until you move forward again. It’s not particularly difficult, as a result, as it’s just a straight line forward. Grab the Idol of the Warrior on the way (there’s a 2-way warp right before that), then place the statue at the end to fight a Guardian.
Boss: Guardian
Suggested Level: 62
Exactly like the Guardian above in every way, because it’s the same boss. Same tactics apply.
After that, there will be story, and you’ll get the Orb of Courage.
Field of Love
Items: 5 Fruit Syrup, Resurrection Mist, Serpent’s Tooth, Silver Charm+ (HP UP 10%), 40000 FOL, Holy Rod, 3 Wonder Drug
Enemies: Rikki, Niquia HG, Master Wizard, Magic Defender, Joypad
This one is floating in the air not far from Fun City. This Field’s gimmick is that you can only cross each dark-colored bridge once. Crossing it again will erase the flowers on it, necessitating you to cross it again to get the flowers back. You just have to get all dark bridges to have flowers, which isn’t hard to do. After you complete this task, the path to the boss will open. Story commences, and then the fight!
Boss: Lavarre, 2 Sunbreaker
Suggested Level: 67
Lavarre’s not really that threatening. Honestly her Sunbreaker allies are a bigger threat with their spells, so take them out first. Once they’re gone, she’ll be cake.
After the boss is more plot, and the Orb of Love.
Now that that’s all out of the way, you can continue the plot by visiting Nall in CIty Hall of the Centropolis.
Confronting the Ten Wise Men
Approach Nall to get the plot moving. After a bit you’ll be on the Phynal Pier, and finally have access to the area around Phynal.
World Map
Enemies: Same as elsewhere
Items: Reflecting Plate
Hop on your Bunny and ride behind Phynal to find the chest. You can also find a raid battle back here against Ultra Takikodus (drops Symbol of Antiquity), but as usual it’s hard and not recommended if you’re not well-prepared! That said, it’s probably the easiest raid battle in the game.
NOTE: If you’ve been catching all possible fish, you should find you have 65 of 66 types caught after trolling the waters about Phynal.
Phynal
Just run to the central area for plot and battles. The first few are no problem, but then you’re pitted against Zaphkiel himself, and like Metatron, he takes 0 damage from any attack. You’re thus required to lose in order to proceed. More plot commences, and you’ll have a new goal: get to the Symbological Weapons Research Facility in Armlock! Before that, though, some new PAs have opened up.
Centropolis PAs
Noel – In the inn. The first answer boosts affection, the second lowers it.
North City PAs:
Precis – Talk to her wandering about. Option 1 gives a boost to affection, option 2 lowers, option 3 does nothing.
Armlock
There will be a small bit of plot as you enter town. Before continuing, there is a potential PA here right now.
Armlock PAs:
Leon – Inside Mirage’s house. Option 1 is an affection boost. The other two are neutral or mildly negative.
Your goal is in the back of town, and some plot will commence when you approach Nall.
Symbological Weapons Lab
Items: Moonlight+ (Ultra Symbology Field)
Unique Locations: Space-Time Travel Relics (20000 EXP, 5 Re-Creation Gem, 5 Factor Energy)
Head into the lab. Before you see Nall, go to the upper part of the lab to get the chest and Unique Location, as this place will be inaccessible once you’re done here! Approach Nall for much plot. Then head to the small cul-de-sac well outside of the lab for more plot. Once all the story scenes are done, you’ll be back in Armlock. Visit Mirage in town to get the Minae Cave Key Card. Now it’s dungeon time! But first, a few distractions.
Armlock PAs:
Precis – Mirage’s house. Ask Precis what’s up for an affection boost; the other two options are neutral or negative.
Princebridge
Talk to Leifah, admit you were the one who visited the lab, and give him the passcode from said lab. Read the 6 items available to you. Try to access either of the new options to proceed, then go talk to Parel on the first floor to get Pandora’s Box. Give it to Leifah, talk to his assistant during PA, then return to Leifah to access the last 6 files. You need to do this to access certain postgame content!
Minae Cave
Items: Fruit Syrup, Lightning Gun, Mithril Mesh+ (Rally), 7 Smith’s Hammer, 8 Meteorite, Encyclopedia+ (MP Drain), 3 Medicine Bottle, Resurrection Mist, Luscious Gratin
Enemies: Sunbreaker, Dark Water, Orange Balloon
Use the keycard to open the way. The gimmick in this dungeon is the Barchians in the wall will summon nearby enemy groups if they “see” you. There’s not much challenge to this place otherwise, it’s pretty bog-standard. At the far end you’ll face off the boss battle.
Boss: Barchian
Suggested Level: 70
This guy doesn’t move at all. He’ll just sit there and take it, but when he’s had enough, he launches an attack that does an obscene amount of damage. The upshot is that if you’re high enough HP to survive that attack, this thing can’t possibly defeat you.
After the fight you’ll get the LEA Metal. Before you take it to Mirage in Armlock, you can see a short scene in Centropolis City Hall outside Nede’s office. Anyway, see Mirage to get the N.P.I.D. Your next destination is Fun City. Some plot will automatically commence, and you’ll get the Godslayer, Knuckles of Hope, and Void Matter. You can use the staff here to fight enemies if you feel underleveled, or just ask to see Nall to continue the plot. After some more back-and-forth, it’s time to fight Zaphkiel!
Boss: Zaphkiel
Suggested Level: 70
He’s just as nasty as before, but now you can actually damage him! This simple fact gives you a huge edge on him, as he can be stunned and thus kept from doing his high-damage attacks. He honestly won’t last long.
Exit the arena, and shortly you’ll be fighting Jophiel.
Boss: Jophiel
Suggested Level: 70
This one has ranged attacks, but is way weaker than Zaphkiel. He should prove no real threat. Again, gang up on him and he’ll be down in no time.
Exit Fun City and head for Mirage’s house in Armlock. Now it’s time to take down Metatron!
Boss: Metatron
Suggested Level: 70
This one can put up a barrier to prevent him from taking damage, but it wears off quick. He has no real gimmick beyond that, he should fall pretty fast.
After the fight, leave Armlock on foot and you’ll be prompted to return to L’Aqua.
Final Assault on Phynal
New Guild Missions: Enlightenment Mission, Remaking Mission 1, Publication Mission 1, Alchemy Mission 3, Item Mission 2, Machinist Mission 4, Master Chef Mission 3, Fishing Mission 4, Crafting Mission 4, Blacksmith Mission 4, Cooking Mission 3, Publication Mission 2, Remaking Mission 2
Before we continue, there’s one last PA in Fun CIty.
Fun City PAs:
Mariana – Approach the Arena. After the events, go talk to Mariana to get a Silver Cross, and again to get a Ring of Lightspeed.
After that, head to L’Aqua, go inside, and talk to Nall to continue. Some story later, you’ll be back on Phynal Pier and on your way to Phynal proper.
Phynal
Items: Mithril Shield, Symbology Dictionary, 6 Magic Canvas, Spark Whip, 8 Magical Clay, Lotus Eaters, Beta Clip, 3 Angel Statuette, 10 Iron, Fist of the Titan, Sylvan Boots, 2 Mithril, 5 Mechanic’s Toolbox, Atomic Puncher, Robe of Deception+ (Narrow Escape), Ruby Pendant+ (HP UP 10%), Rune Shoes+ (AVD UP 10%), Shadow Cross+ (War Cry), Bouro, Shield of Athena, Gigawatt Stunner, 3 Refreshing Syrup, 2 Thunder Ring, Thunderclap Rod, 5 Medicine Bottle, 5 Conductor Baton, 3 Wonder Drug, 4 Potion of Epiphany, 8 Re-Creation Gem, Dueling Helmet, 7 Smith’s Hammer, 2 Goddess Statuette, Dueling Suit
Enemies: Takikodus, Erikodus, Mirre 64, Quidonya, River Slug, Niquia LM, Medusa Lizard, Master Wizard, Dark Crusader, Succubus, Phantom Phoenix
Right at the entrance you’ll be thrown into a battle against the next three Wise Men all at once.
Boss: Camael, Raphael, Zadkiel
Suggested Level: 70
These guys are no joke! Raphael will try to absorb one of your allies, which will drop you to three combatants until he’s down, so get rid of him first. After that, Camael is the one showering the field with magic attacks and should be your next target. Zadkiel is the least threatening, but he still is a big hassle just the same. It’s advised you go into the fight with water and wind defense to nullify Camael’s main threat.
The fight concluded, you can finally enter Phynal proper. The first few floors are quite straightforward, just the usual “wander about, fight enemies if you want, grab treasures” affair. I suggest taking the left teleporter first since it just leads to a dead end with items in it. You’ll need to find a switch up on 4F to yellow in order to open the way back on 3F. Set it to blue first to grab some chests nearby, then to red to grab some chests on 2F. Take the 3F passage exposed to 4F, flip the switch there to red, and continue to 5F. Before you go into the room near the save point, continue to the switch nearby and grab some chests down the right-side teleporter chain that leads back to 2F. Anyway, through that door on 5F is the next boss fight.
Boss: Haniel and Michael
Suggested Level: 75
This fight will wreck you if you don’t prepare for it! Go into the battle with full fire and earth protection to nullify the greatest threat of Michael’s attacks, and focus on getting rid of him first. Haniel is dangerous too, of course, but Michael will absolutely rain destruction down on you for the entire fight until he’s gone, so he has to go first.
After the battle, save and heal up if you wish, then it’s on to 6F. Welcome to the most annoying floor in the whole tower! Here’s a quick guide for you: set the switch to red, go left, set to blue, go up, set to red. Go right, set to green, go to the bottom-right room, set to blue. Go up two rooms, set to yellow. Go up one room, set to blue. Go down, left, and up and set to green. All rooms are now open, and you can gather all chests. Take the warp up to 7F, grab the chests on the floor, use the save point, and then head into the next boss fight room.
Boss: Lucifer
Suggested Level: 80
Be sure to go into this fight with wind defense. Lucifer’s a no-hold-barred death machine. He does area-of-effect attacks on your party members when they attack him at close range, he casts spells with wild abandon, he moves about like mad, and he can teleport at will like most of the Wise Men can. Do not slack during this fight on healing!
Not much left now! Up to 8F, grab some chests, then head to 9F. Grab some more chests, then take the teleporter on the far left back to 8F. One last treasure room and switch later, you’ll be at the final save point. Head up the steps to finish this.
Boss: Gabriel
Suggested Level: 90
Gabriel doesn’t mess around, and neither should you. You can dull most of his threat by having equipment that nulls or absorbs fire, water, earth, and light attacks. Status defense is also recommended for petrification and paralysis. Overall the fight is pretty typical of a Wise Man: he dodges about a lot, casts spells super-fast, and hits hard physically. Go all out, heal as needed, and he should go down without too much issue. He’ll get powered up after losing 1/4th of his HP, which is when most of his nastiness kicks in, so be ready!
After the fight’s over, enjoy your endings! Be sure to save after the credits roll so you can access the postgame content!
Postgame – Return to Expel
New Guild Missions: Oracle Mission, Pickpocketing Mission, Contraband Mission, Cooking Mission 4, Art Mission 4, Fishing Mission 5, Customization Mission 3, Blacksmith Mission 5, Publication Mission 3
If you’ve done all guild missions possible up to this point, you should be able to claim the reward for completing 65 of them now, Noel’s ultimate weapon Natural Vice.
Now that the game is over and done with, you can access a whole bunch of new content. The first bit of extra content requires some things be taken care of first. You need to have seen the Philia PA in Kurik at the start of the game, and you need to finish the North City classified files quest. Both of these should have happened if you were following this guide from the start! Do a PA in the Centropolis, head to City Hall, and watch. You will get the Tear of Israfel, and now Gabriel’s limiter will be removed, making for a more challenging final boss fight.
The next bit that’s available to you is in Fun City. At the back of the arena stands is an old man who can let you return to Expel! You have access to the Psynard now, so you can reach a whole bunch of new locations, meaning some new world map goodies. Oh, and there’s a few new PAs.
Lacuer PAs:
Welch and Leon – Up near Gamgee’s, See what happens to get a boost for Welch and Leon.
Ashton and Leon – Near the stairs. Say sounds all right to me to get access to another PA later.
Linga PAs:
Precis and Leon – Near the bridge. Saying you need weapons will drop affection between Precis and Leon, while the other choice boosts it.
Marze PAs:
Leon and Noel – Near the food shop. Choose to pet cat ears to get a boost between Claude, Leon and Noel.
Back in Nede a new PA is available if you did the Leon and Ashton PA above.
Fun City PAs:
Ashton – Near Cooking Master arena. Boosts affection between Claude/Rena and Ashton.
World Map
Items: Heart of Hearts, Gemini
Unique Locations: Pyramid amidst the Sands (20000 EXP, 100 SP, 100 BP)
There’s a chest on the island north of Ell that has Bowman’s ultimate weapon in it. There’s a chest south of Salva with a Gemini for Ashton.
There’s a lot of raid battles now too. Ultra Rock Demon (northern isle, drops Valiant Shield), Ultra Ghark (same island as the Gemini above, drops Valkyrie’s Bracelet), Ultra Ogre (southern island, drops Roaring Burst Puncher (Precis’ ultimate weapon)), Ultra Crimson Beast (north side of the southwest continent, drops Glorious Thorn (Ernest’s ultimate weapon)), and Ultra Wizard (south side of the southwest continent, drops Fourth Book of Occult Philosophy (Leon’s ultimate weapon)).
Our goal here is the pyramid on the southwest continent.
Maze of Tribulations – B1 to B6
B1: Ruin of Symbols
Items: Nectar, 5 Blueberries, tri-Emblum, Wonder Drug, Sirloin, Nuclear Bomb, 200000 FOL
Enemies: Living Armor, Enchantress, Phantom Knight, Grim Wing
This place is HUGE! There’s 13 floors, each one loaded with enemies, items, and puzzles. Auto-saving does not work here, so you have to use the save point at the entrance or leave to save your progress. The first floor is quite straightforward, its “puzzle” is just to flip the switch by the exit. The boss awaits on the other side.
Boss: Dark Enchantress, 2 Phantom Knight
Suggested Level: 100
She’s dodgy, but other than that she’s not that impressive. You will probably have to take a lot of swings to kill her, but she won’t last long.
Defeating her nets you a pair of Bunny Shoes.
B2: Lover’s End
Items: Reflecting Plate, Organic Vegetables, Resurrection Mist
Enemies: Cave Stingray, Hunter Slime, Giant, Phantom Axeman
This floor requires you to turn some statues in the right directions. There’s a hint at the start on how to rotate them, or you can just check this guide.
Sharon: East
Milena: North
Luke: South
Felia: West
Yuffie: North
Lloyd: West
Cistina: North
Head to the entrance to the floor to find the boss fight beyond the now-open doors.
Boss: Blood Gerel, 4 Hunter Slime
Suggested Level: 110
All common enemies on later floors, this guy’s a standard Gerel and isn’t too hard to beat as a result. Mind its spitting attack, but other than that, this should be cake.
Winning nets you a Seraphic Garb.
B3: One-Way Cave
Items: Sirloin, Wonder Drug, Dream Crown, Nectar, Nectar, Ring of Lightspeed, Sylvan Mail
Enemies: Phantom Goathead, Blood Gerel, Enchantress, Lesser Devil
You have to go through every room on this floor once to get the exit to open. The easiest route is: up, up, right, down, down, down, left, left, left, up, up, up, right, down, down, right. The boss awaits when you get back to the entrance.
Boss: 3 Dreamcaster
Suggested Level: 120
Be careful! These things can freeze time for 3 seconds at a time, which will leave you vulnerable. You want to hit them fast and hard so they can’t do that!
Winning nets you a Magic Gumdrop and access to the next level.
B4: Altar of the Dancer
Items: Experience Card, Extinction (spell for Leon) or 300000 FOL, Nectar, Mallet Charm, Organic Vegetables, Resurrection Mist, Seraphic Garb, Onyx Earring. ?WEAPON (Spark Stunner), ?WEAPON (Twin Swords), ?WEAPON (Brass Knuckles), ?WEAPON (Rickety Knuckles), ?WEAPON (Stun Gun), ?WEAPON (Gutsy Handy Stick), ?MACHINE (Pulese Clip), ?MACHINE (Steel Puncher), ?WEAPON (Dull Blade), ?WEAPON (Dull Blade), ?WEAPON (Limp Whip), ?WEAPON (Hard Knuckles), ?WEAPON (Rod), ?WEAPON (10V Stun Gun), ?WEAPON (Swords of Deflection), ?WEAPON (Brass Knuckles), ?WEAPON (Dull Blade), ?WEAPON (Stringy Sword)
Enemies: Jabberwabbit
Note that if you don’t have Leon, the chest will contain 300000 FOL, not Extinction.
This level’s pretty basic. There’s a ton of chests full of ?WEAPONs in one room, and they’re worth identifying if you have Welch as one of them contains her ultimate weapon, the Gutsy Handy Stick (it’s in the second chest from the left on the top row). You can get the Mystical Shamisen on this floor too if you have an ally with level 10 Music and both music talents play for the Lady of the Dance. This floor also introduced walk-through walls too, so if you can’t find a way to a treasure, press against the nearby walls! The switch to open the way to aforementioned goddess is behind a wall like this down the right side, actually. The boss as well is past one such wall.
Boss: Mirre 32
Suggested Level: 130
Not too hard, but do be careful! It’s basically a stronger Mirre 64. These will be common enemies soon, so get used to them…
Winning nets you nothing but the way forward.
B5: A Girl’s Revenge
Items: Refreshing Syrup, Ring of Lightspeed, Sirloin, Wonder Drug, Seraphic Garb, Nectar, Faerie Ring
Enemies: Dragon Axeman, Mighty Ape, Grim Stingray, Lady Chimera
Head up to meet the floor’s eponymous girl. Her name’s Puffy, and you can get it right if you want or not. She goes best with beasts, though again your choice is irrelevant. You will be thrown into a fight with a Phantom Salamander, which takes 1 damage from all attacks. You can ostensibly beat it, but you will need either a LOT of patience, a LOT of Megabombs, the Thunderclap Rod, or all of the above. If you want to beat it fast, get about 16 Megabombs and 1 Defense Bomb. Use Megabombs on it until it’s below 10000 HP, then drop a Defense Bomb on it to instantly slay it.
If you didn’t do this, you’ll need to take some more steps to do this. In the long hall on the far right of the floor you will find Puffy, who you will need to help. You’ll have to fight 3 Dreamcasters to do so, and you’ll get the Phantom Slayer as your reward. Then you need to go all the way back to the large room on the left side of the dungeon and fight the Phantom Salamander again. With the Phantom Slayer equipped, it will die in one hit. That will net you the Orb of Fire, which opens the way to the next floor.
B6: Den of Theives
Shop: Moonstone, Orichalcum, Meteorite, Mithril, Damascus, Rune Metal, Green Beryl, Sapphire, Ruby, Star Ruby, Crystal, Philosopher’s Stone, Diamond, Rainbow Diamond, Santa’s Boots, tri-Emblem, Jewel of the Frog
Items: Dream Crown, 5 Antidote
Enemies: Thieving Scum, Metal Scum, Dreamcaster, Dragon Axeman
The halfway mark! Enemies down here are almost all Scumbags, who die in 1 hit to a Scumbag Slayer. This is a great level to have Bodyguard active for, you’ll get tons of experience from nearly every free kill. There’s a merchant in the hall of statues with super-expensive items, he’s a good choice for using a Cinderella Glass and Group Appraising. Check the statue in the bottom-right corner to open the way to the boss.
Boss: Thieving Scum Lv99, 3 Thieving Scum, Dreamcaster
Suggested Level: 140
Kill the Dreamcaster first, then focus on the boss itself. He hits hard and moves fast, but… he’s a scum enemy, so he dies in 1 hit to a Scumbag Slayer. So this battle is a total joke.
You’ll get a Scumbag Slayer as your reward. Go ahead and take the 2-way warp on the left to the 1st floor. You’re halfway done with this dungeon now!
Maze of Tribulations – B7 to B13
B7: Altar of the Goddess
Items: Refreshing Syrup, Flawed Orb, Resurrection Mist, tri-Emblum, Marenne Oysters, Organic Vegetables, Mallet Charm, Phantom Slayer, Sunset Island, Crazy Cow, Bunny Shoes
Enemies: Magus, Robinette, Ultimate Avenger, Thieving Scum LV99, Crimson Beast
This floor is VERY straightforward. You need to find the Flawed Orb over on the right side of the level, then use Crafting to turn it into an Orb of Fire and place it in the altar near the center of the level. That’s literally it. Once you do that, head on in to face the boss.
Boss: Mithril Eater
Suggested Level: 145
Basically the Barchian, but with an even more powerful Pain Release attack. This is a good fight to have the revival factors on your armor, if you’re not confident in your ability to survive that attack.
You’ll get a Mindhealer as your reward, a staff that boosts INT by a huge amount. Grab the last chests on the floor, then down to the next level you go!
B8: God of Food
Items: 500000 FOL, Seraphic Garb, Amoeba Soup, Wonder Drug, Scumbag Slayer, Slimy Gelatin, Ooze Cocktail, Mindhealer, Refreshing Syrup, Marenne Oysters, Legendary Otoro, Mallet Charm
Enemies: Killer Ape, Phantom Devil, Vile Hound, Star Protector
Basically this whole floor is optional if you don’t care about treasures. You just need to approach the Food God at the rear and give it some top-quality food items. When you’ve fed it enough you can feed it something gross, which you should do. After that, just head to the exit and fight the boss.
Boss: Elysian Slug
Suggested Level: 150
Like the slugs elsewhere in the game, this can eat your allies. It has a bottomless stomacs, so you can easily get your whole party eaten if you’re not careful. Free your allies as soon as they get eaten!
Your reward is a Gelatin Steak. Woo. Head on down to the next level.
B9: The Sealed Casket
Items: Artemis Leaf, Valiant Boots, Resurrection Mist, Wonder Drug
Enemies: Phantom Mollusk, Robinette Captain, Cockatrice King, Hellmaster
You can’t do anything of note on this floor just yet, so just make your way to the 2-way warp, then to the exit.
B10: Moment of Courage
Items: Scumbag Slayer, Mindhealer, Bunny Shoes, Refreshing Syrup, Valiant Boots, Valkyrie’s Boots, Organic Vegetables, Rainbow Diamond, Philosopher’s Stone, Valkyrie’s Boots, Ring of Might, tri-Ace (art for Ashton) or 300000 FOL, Meteor Swarm (spell for Celine) or 300000 FOL, Battle Suit
Enemies: Manic Gunner, Life Flayer, Mirre 128
This floor was made for Bloody Armor. The enemies here do fixed percentage damage of your HP and MP per hit, which can quickly turn your whole party to smears on the floor even at level 255. Be careful! The gimmick here is you pick your path to the end, but all of the rooms with chests will steadily drain either your HP or your MP while you stand in them. You can only open 5 rooms per trip to this floor. If you want to grab the 3 chests in the upper-right, you need to set your path as left, left, up, up, up. Anyway, a boss awaits at the end.
Boss: Geo Guardian
Suggested Level: 155
A stronger Guardian. The same tactics apply here as there, as do the same concerns. There’s not much else to say, this guy’s mostly a beef gate.
B11: Dragon’s Den
Items: Ooze Cocktail, 100000 FOL
Enemies: Hellmaster, Phantom Mage, Mind Flayer, Aulbear, Gastric Slug, Dreamcaster
This level’s tiny, and mostly just a boss corridor at this point.
Boss: Dragon Tyrant
Suggested Level: 160
Use an Experience Card for this fight! The Dragon Tyrant is exactly like the Psynard, but hits much harder. It shouldn’t be any more tricky to defeat than the Psynard, as long as you’re not low-level.
The door ahead will let you know the gimmick here: you need to return to 1F and approach the ! there to go at the maze with 2 characters. One of them has to be your chosen lead, which can make it hard if you picked Rena. Head on back up to 9F to teleport to the first floor to do this, then take it back to 9F and make your way back to the door to go down to the next level.
B12: Warrior’s Temple
Items: Valkyrie’s Bracelet, Nectar, Battle Suit, Bunny Shoes
Enemies: None
Grab the items, then go take on the boss.
Boss: Phoenix
Suggested Level: 165
This bugger’s hard. Like all mech-bird types, it flies high and likes to charge you. Batting it out of the air is definitely a good idea, or (if you have Opera with you) blasting it with Tracking Plasma repeatedly. This fight can be almost impossible with Rena as your lead, unless you’re using Bloody Armor and your chosen ally can heal themselves.
After the fight, you’ll get the Holy Sword Farewell. Head back to B1 (if you have a Jewel of the Frog, it’s worth it to use one here) to get your party back. Your next destination is the sealed casket on B9. It’s not sealed any more, and a boss fight awaits!
Boss: Sorceror, 3 Dreamcaster
Suggested Level: 165
As the name suggests, this boss chucks out spells with wild abandon. Elemental defenses are highly recommended! Take out the Dreamcasters first, as usual, as their ability to freeze you in place is highly fatal. The boss will fall, but it’s going to take a bit.
Victory will net you the Demon Sword Levantine. Return to B12 and you can now descend to B13.
B13: Cave of the Archangel
Items: Valiant Mail, Valiant Shield
Enemies: Soulmaster, Dreamcaster, Rock Demon, Hell Savant
Hop in the 2-way teleporter before exploring the floor. You need to hit a switch on each side of the level to continue. The enemies here give obscene experience, so Bodyguard can absolutely skyrocket your party’s levels if you’re considered “too strong” for them. Anyway, once both switches are hit, make your way to the center of the level (you can fish here for some reason) and face the boss.
Boss: Gabriel Celeste
Suggested Level: 170
Now this is tough! Gabriel Celeste will give you trouble, no questions asked, unless you’ve got Bloody Armor and a lot of healing to cheese it. If you want to do it fairly, be ready for a proper challenge, as Celeste can violently hurl about the field at top speed (and do massive damage each time it hits an ally), perform extremely strong melee attacks, and will cast uninterruptible spells constantly. The spells, at least, aren’t a threat if you set up elemental defenses, but the high damage will wear you down quick if you don’t keep on your toes with healing and reviving. Best of luck! Needless to say, using an Experience Card in this fight is a good idea.
After the fight you’ll get the Silver Trumpet, and can take the Archangel’s Bracelet. Congratulations, you’ve finished the Maze of Tribulations!
The Silver Trumpet and Unlimited Gabriel
This is it, the end of the line!
The Silver Trumpet has a song called The Devil’s Aria, which summons 9 of the 13 bosses from the Maze of Tribulations for rematches at various levels of play, as well as being able to summon the superboss Iseria Queen with level 10 Music. The Maze rematch bosses are no different than before, but Iseria Queen needs her own strategy.
Boss: Iseria Queen
Suggested Level: 200 or more
She’s Gabriel Celeste on steriods. Everything Gabriel did, she does too, but with about twice the damage dealt and with a random petrification effect from her regular attack. You will have to prepare extensively for this battle, and be ready to heal at a moment’s notice.
If you saw the PA in the Centropolis with Philia, you can now re-battle Gabriel in Phynal without the limiter on. He has far more HP, higher stats, and uses more attacks. It’s quite challenging, and you’ll probably want to wait until you can take down Iseria Queen before you attempt it. And that’s it, that’s all there is to do in Star Ocean: The Second Story R!
Playable Characters
This is an overview of every single playable character. If you want to know basic information about a character or how to recruit them, this is where to look. If you’re looking for special arts and spells, that’s listed in the appropriate subsections. Your maximum party size is 8; if you have too many allies you will not be able to recruit any new characters even if you do meet the requirements to do so.
Claude C. Kenny
Favorite Food: Steak
Weapon Type: Swords
Unlearnable Talents: Blessing of Mana
Combat Style: Close-range physical fighter
How to Recruit: Automatic; you will either start the game with Claude or get him very shortly into Rena’s scenario.
Rena Lanford
Favorite Food: Shortcake
Weapon Type: Fists
Unlearnable Talents: Wild Instinct
Combat Style: Healer, attack magic user
How to Recruit: Automatic; you will either start the game with Rena or get her very shortly into Claude’s scenario.
Celine Jules
Favorite Food: Rabbit Risotto
Weapon Type: Rods
Unlearnable Talents: None
Combat Style: Attack magic user
How to Recruit: She will temporarily (and unavoidably) join you after the events at Krosse Castle, and will accompany you through the Krosse Cave sequence. After completing Krosse Cave, you are given the chance to permanently recruit her, should you so desire.
Ashton Anchors
Favorite Food: Hamburg Steak
Weapon Type: Twin Swords
Unlearnable Talents: Design Sense, Blessing of Mana
Combat Style: Close- and mid-range physical fighter
How to Recruit: After the events of Marze Village, talk to the old man or the middle-aged man at the entrance to Harley to initiate the Salva Mines dragon quest. Go to the Salva Mines, enter the restricted part of the mines, and you will find Ashton at the end. To recruit him, agree to take responsibility; if you say no and walk back toward the area you encountered him before leaving Salva, he will force his way into your party.
Precis F. Newman
Favorite Food: Chocolate Crepes
Weapon Type: Robot Punchers
Unlearnable Talents: Blessing of Mana
Combat Style: Close-range physical fighter
How to Recruit: The first time you visit Linga you will see an event with her. Perform a Private Action and either locate her (in Claude’s scenario) or her father (in Rena’s scenario). After the events of the PA, choose to let her join your party. If you choose to recruit Bowman, you won’t be able to recruit Precis, and vice-versa.
Welch Vineyard
Favorite Food: Chocolate Banana
Weapon Type: Handy Stick
Unlearnable Talents: Blessing of Mana
Combat Style: Close-range physical fighter
How to Recruit: After the Lacour Tournament of Arms, perform a PA in Lacour and approach Lacour Castle. It’s actually harder to not recruit Welch at that point, as you have to tell her no 4 times before she will give up; just tell her yes at least once and she’ll join up.
Opera Vectra
Favorite Food: Lime Cooler
Weapon Type: Energy Rifle Clips
Unlearnable Talents: Love of Animals, Wild Instinct, Blessing of Mana
Combat Style: Long-range physical fighter
How to Recruit: You must see the temporary event in Krosse when approaching Krosse Castle where the party encounters a three-eyed man (this is almost impossible to miss in this version). After the Lacour Tournament of Arms, visit the pub in Hilton. After that, return to Krosse Castle and talk to the king to get access to the Mountain Palace (located between Krosse and Kurik). Enter the Mountain Palace and you will find Opera deeper in the ruins. She will temporarily join the party at this point, and offer to permanently join you once you complete her event in the Mountain Palace.
Bowman Jean
Favorite Food: Radish Miso Soup
Weapon Type: Fists
Unlearnable Talents: Blessing of Mana
Combat Style: Close-range physical fighter
How to Recruit: You must not have Precis recruited. As long as that’s the case, all you need to do is complete the Sanctuary of Linga and agree to let Bowman join the party.
Ernest Raviede
Favorite Food: Bloody Driver
Weapon Type: Whips
Unlearnable Talents: Blessing of Mana
Combat Style: Mid-range physical fighter
How to Recruit: You must allow Opera to join the party. After doing so but before you go to Lacour following the Sanctuary of Linga, you need to visit the Sacred Forest near where Rena and Claude first met. There will be an event there (you will get a special item as well if Precis is in your party), and seeing that event will unlock your option to recruit Ernest. To do so, complete the Hoffman Ruins, then defeat the ghost. You will be given the chance to recruit Ernest. Note that if you turn Ernest down at this point, Opera will also leave your party permanently.
Dias Flac
Favorite Food: Chicken Shish Kebab
Weapon Type: Swords, particularly Katanas
Unlearnable Talents: Blessing of Mana
Combat Style: Close- and mid-range physical fighter
How to Recruit: You must be playing as Rena. He will temporarily join you a few times during the plot, but you only get one chance to permanently recruit him. During the events at the Lacour Front Line you will be able to ask him to join you.
Leon D. S. Geeste
Favorite Food: Carrot Juice
Weapon Type: Tome
Unlearnable Talents: None
Combat Style: Attack magic user
How to Recruit: You must be playing as Claude. Though Leon does temporarily join you no matter which you choose, in Claude’s scenario you are given the chance to permanently recruit him at the Ell refugee camp by telling the elder that you would like Leon to come with you after all.
Noel Chandler
Favorite Food: Fine Tuna Sashimi
Weapon Type: Fists
Unlearnable Talents: None
Combat Style: Close-range physical fighter, healer, and attack magic user
How to Recruit: He will temporarily join you for the Cave of Red Crystals. After completing the Cave of Red Crystals he will offer to join you. Simply accept his offer.
Chisato Madison
Favorite Food: Fruit Sandwich
Weapons: Stun Gun, some Fists
Unlearnable Talents: Blessing of Mana
Combat Style: Close- and mid-range physical fighter
How to Recruit: Before leaving the Centropolis for the first time, check the area to the left of City Hall leading to the hotel to see a scene with Chisato. In North City, approach the item shop to see another scene. In the Cave of Red Crystals, there will be a small event near a few chests where Chisato will appear again. Grab her business card that she drops, and once you complete the events of the Cave of Red Crystals, visit her in the Centropolis newspaper office (third floor). Just ask her to join you.
Talents
Talents are innate abilities that increase the success rate of certain Item Creation abilities and Specialties. Some characters always start with certain Talents, some can never learn certain Talents, and otherwise anyone can start with or learn most Talents.
Originality – Essential for crafting and customization.
Who Starts With It: Dias
Who Can Learn It: Everyone
IC/Specialties Affected: Crafting, Customization
Taste – Exclusively used for Cooking.
Who Starts With It: None
Who Can Learn It: Everyone
IC/Specialties Affected: Cooking
Nimble Fingers – A versatile ability that is widely used.
Who Starts With It: Opera
Who Can Learn It: Everyone
IC/Specialties Affected: Compounding, Machinist, Pickpocketing
Design Sense – Two ICs use it, so it’s handy to learn.
Who Starts With It: None
Who Can Learn It: Everyone except Ashton
IC/Specialties Affected: Crafting, Machinist
Composition – Really only used for Writing, but it’s very helpful for that.
Who Starts With It: Chisato
Who Can Learn It: Everyone
IC/Specialties Affected: Writing
Rhythm Sense – The other music talent, you need both to get talent benefits.
Who Starts With It: Ernest
Who Can Learn It: Everyone
IC/Specialties Affected: Music
Acoustic Sense – One of the two music talents, you need both to get talent benefits.
Who Starts With It: Nobody
Who Can Learn It: Everyone
IC/Specialties Affected: Music
Wild Instinct – Exclusively a Scouting talent, it’s very effective.
Who Starts With It: Nobody
Who Can Learn It: Everyone except Rena and Opera
IC/Specialties Affected: Scouting
Blessing of Mana – Only available to symbologists, this talent is always present for them.
Who Starts With It: Rena, Celine, Leon, Noel
Who Can Learn It: Nobody
IC/Specialties Affected: Alchemy
Skills
There are three types of Skills you can build up: regular Skills, Combat Skills, and Special Skills. The former affect what Item Creation, Specialty, and Group Specialty abilities you can use. The middle one improves your combat performance. The latter improves the power of your characters’ combat techniques and spells.
Skill Improvement is unlocked as soon as you complete the events at Krosse Castle and Celine temporarily joins your party. Some Skills are locked behind Challenge Missions, Raid Battles, and Arena Challenges, however.
Determination – Reduces SP needs by 2 per level for each skill level
IC/Specialties: Train
Biology – Raises HP by 20 x (LV + 10)
IC/Specialties: Compounding, Fishing
Mental Science – Raises MP by 5 per LV
IC/Specialties: Compounding
Aesthetics – Raises ATK, INT, AVD, and HIT by 6 per LV
IC/Specialties: Customization
Knife – Riases ATK by 10 per LV
IC/Specialties: Cooking
Technology – Raises ATK by 10 per LV
IC/Specialties: Alchemy
Mineralogy – Raises INT by 3 per LV
IC/Specialties: Appraising, Crafting, Alchemy
Faeriology – Raises INT by 2 per LV
IC/Specialties: Alchemy
Resilience – Raises DEF by 2 per LV
IC/Specialties: Train, Survival
Penmanship – Raises HIT by 1 per LV
IC/Specialties: Writing
Smithing – Raises HIT by 2 per LV
IC/Specialties: Customization
Eye for Detail – Raises AVD by 1 per LV
IC/Specialties: Customization, Crafting
Music Knowledge – Raises AVD by 1 pr LV
IC/Specialties: Music
Performance – Raises AVD by 1 per LV
IC/Specialties: Music
Danger Radar – Raises STM by 3 per LV
IC/Specialties: Scouting
Poker Face – Raises GUTS by 3 per LV
IC/Specialties: Pickpocketing
Herbology – Increases restoration effects of Blueberries/Blackberries by 3% per LV
IC/Specialties: Appraising, Compounding, Survival
Piety – Raises a random ability score per LV
IC/Specialties: Oracle
ESP – Get a random item from a preset list of items
IC/Specialties: Oracle
Purity – Get (Lv^2 * 100) + (((Lv + Lv-1) * 100) * Lv-1) FOL
100, 700, 1900, 3700, 6100, 9100, 12700, 16900, 21700, 27100
IC/Specialties: Oracle
Item Knowledge – Raises prices when selling items to shops by 3% per LV
IC/Specialties: Appraising, Fishing
Keen Eye – Raises HP/MP recovery of food by 1% per LV
IC/Specialties: Cooking
Effort – Reduces EXP requirements to level up
IC/Specialties: Train
Recipe – Boosts healing effects of favorite dishes
IC/Specialties: Cooking
Sketching – IC/Specialty boosting only
IC/Specialties: Art
Aesthetics – IC/Specialty boosting only
IC/Specialties: Art, Crafting
Whistling – IC/Specialty boosting only
IC/Specialties: Familiar
Animal Training – IC/Specialty boosting only
Ic/Specialties: Familiar
Courage – IC/Specialty boosting only
IC/Specialties: Pickpocketing
Imitation – IC/Specialty boosting only
IC/Specialties: Replication
Machinery – IC/Specialty boosting only
IC/Specialties: Machiniest
Operation – IC/Specialty boosting only
IC/Specialties: Machinist
Combat Skills
These skills improve your effectiveness in battle. Some of them require you to perform certain challenges or complete certain raid battles to be able to learn.
Guardbreak – Ignores enemy defense 2.5% * skill LV of the time
Feint – Guarantees attack will land 2.5% * skill LV of the time
Power Burst – Raises ATK by 50% 2.5% * skill LV of the time
Quigong – Raises DEF by 50% 2.5% * skill LV of the time
Body Control – Reduces Daze time by 0.3s * skill LV
Sidestep – Evades enemy attacks entirely 2.5% * skill LV of the time
Godspeed – Boosts movement speed by 2.5% * skill LV; move extremely rapidly to target enemy’s location 5% * skill LV of the time
Hasten Speech – Reduces spell casting time by 2.5% * skill LV
Trance – Boosts INT by 50% when casting spells 2.5% * skill LV of the time
Concentration – Enemy attacks won’t interrupt casting 2.5% * skill LV of the time
Interrupt – Get priority when simultaneously casting spells 5% * skill LV of the time
Backstab – Swiftly move directly behind the enemy 2.5% * skill LV of the time
Heavy Hitter – Shield damage up 2.5% * skill LV when perfect countering, do 50% more shield damage 2.5% * skill LV of the time as well
Breaker – Does 50% extra damage to enemy shields 2.5% * skill LV of the time
Accumulation Aid – Retain 2.5% * skill LV bonus spheres when bonus gague resets 10% * skill LV of the time
Surpass Damage Limit – Boosts damage limit by 10000 * skill LV
Overload – Enemy Daze time from shield break is doubled 2.5% * shield break count * skill LV of the time when breaking enemy shields
Special Arts/Spells
Each character has a set of Special Arts or Symbology spells they can use in battle. Most of these can be upgraded with the same BP that can be used to learn Combat Skills. The effects of boosting these arts and spells differs from move to move, although doing more damage is the most common feature. The number in parentheses is the maximum level of an art or spell; all arts and spells start at level 1. When an art or spell has a number in parentheses after an effect, that is the skill level (or levels) at which that effect takes place. Otherwise all boosts take place at each level.
Claude
Air Slash (2) – 5 MP, HP-focused, around self (short) or straight line (long)
Upgrades: Stronger attack
Meteor Palm (3) – 7 MP, HP-focused, forward area (short) or straight line (long)
Upgrades: Stronger attack, more hits
Helmetbreak (2) – 22 MP, break-focused, around target
Upgrades: Stronger attack, larger AoE
Double Slash (2) – 13 MP, HP-focused, forward area
Upgrades: More hits
Sword of Life (3) – 10 MP, HP-focused, around self, recovers HP to self and nearby allies while dealing damage to nearby enemies
Upgrades: Stronger attack (3), more hits (2, 3), increased healing (2, 3)
Knuckle Burst (2) – 22 MP, break-focused, forward area (short) or straight line (long), Fire element
Upgrades: Stronger attack
Rock Explosion (3) – 30 MP, HP-focused, around self (short) or straight line (long), Earth element
Upgrades: More hits, larger AoE
Dragon Roar (3) – 35 MP, balanced, forward area
Upgrades: More hits (2, 3), larger AoE (3)
Sword Bomber (3) – 35 MP, HP-focused, forward area, Fire element
Upgrades: More hits
Mirror Blade (3) – 50 MP, HP-focused, forward area
Upgrades: More hits
Phase Gun (2) – 40 MP, HP-focused, straight line
Upgrades: More hits
Rena
Heal (2) – 10 MP, restores a small amount of HP to one ally
Upgrades: Increased healing
Crush (2) – 10 MP, balanced, around target, Earth element
Upgrades: Stronger attack
Antidote (1) – 8 MP, cures Poison for one ally
Deep Mist (2) – 11 MP, all enemies, chance to cause HIT -50%
Upgrades: Ailment chance up
Cure Light (2) – 20 MP, restores a medium amount of HP to one ally
Upgrades: Increased healing
Silence (2) – 14 MP, all enemies, chance to inflict Silence status
Upgrades: Ailment chance up
Laser Beams (2) – 25 MP, balanced, around target, Light element
Upgrades: Stronger attack, more hits
Fix Cloud (2) – 20 MP, all enemies, chance to inflict Daze status
Upgrades: Ailment chance up
Cure All (2) – 45 MP, restores a medium amount of HP to all allies
Upgrades: Increased healing
Delay (2) – 18 MP, movement speed -50% for one enemy (and enemies around target when upgraded)
Upgrades: Larger AoE
Condition Cure (1) – 30 MP, cures status ailments and removes debuffs for one ally
Gravity Crush (2) – 40 MP, balanced, around target, Earth element, can lower target’s defense
Upgrades: Stronger attack
Light Cross (2) – 30 MP, balanced, around target, Light element
Upgrades: Stronger attack, more hits, larger AoE
Guard (1) – 18 MP, DEF +50% for one ally
Tractor Beam – 25 MP, balanced, around target, Earth element
Upgrades: Stronger attack, larger AoE
Haste (1) – 20 MP, movement speed +50% for one ally
Raise Dead (1) – 60 MP, revives one ally at 10% HP
Power Up (1) – 22 MP, ATK +50% for one ally
Faerie Healing (2) – 60 MP, restores a large amount of HP to one ally
Upgrades: Increased healing
Reflection (1) – 15 MP, spell damage -50% for all allies
Star Flare (2) – 55 MP, balanced, all enemies, Light element
Upgrades: Stronger attack
Faerie Light (2) – 80 MP, restores a large amount of HP to all allies
Upgrades: Increased healing
Angel Feather (1) – 60 MP, boosts ATK, DEF, and INT by 25% for all allies
Celine
Fire Bolt (2) – 10 MP, balanced, straight line, Fire element
Upgrades: Stronger attack, penetration
Thunder Bolt (2) – 15 MP, balanced, around target, Wind element
Upgrades: Stronger attack
Wind Blade (2) – 12 MP, balanced, straight line, Wind element
Upgrades: Stronger attack
Laser Beams (2) – 25 MP, balanced, around target, Light element
Upgrades: Stronger attack, more hits
Energy Arrow (2) – 25 MP, balanced, around target, non-elemental, homing
Upgrades: Stronger attack
Star Light (2) – 30 MP, balanced, around target, Light element
Upgrades: Stronger attack, larger AoE
Mental Drain (1) – 30 MP, around target, drains MP and gives it to the caster
Neutralize (1) – 17 MP, removes all debuffs from one ally
Bless (1) – 18 MP, boosts HIT by 50% for one ally
Thunder Storm (2) – 45 MP, balanced, straight line, Wind element
Upgrades: Stronger attack
Eruption (2) – 45 MP, balanced, around target, Fire element
Upgrades: Stronger attack
Curse (1) – 20 MP, removes buffs from one enemy
Lunar Light (2) – 40 MP, balanced, around target, Light element
Upgrades: Stronger attack, more hits
Explode (2) – 65 MP, balanced, around target, Fire element
Upgrades: Stronger attack, larger AoE
Thunder Cloud (2) – 66 MP, balanced, all enemies, Wind element
Upgrades: Stronger attack
Reflection (1) – 15 MP, spell damage taken -25% for all allies
Southern Cross (2) – 70 MP, balanced, all enemies, Light element
Upgrades: Stronger attack, more hits
Angel Feather (1) – 60 MP, boosts ATK, DEF, and INT by 50% for all allies
Meteor Swarm (2) – 100 MP, balanced, all targets, Light element
Upgrades: Stronger attack
Ashton
Twin Thrust (3) – 10 MP, HP-focused, forward area
Upgrades: Stronger attack
Cross Slash (2) – 15 MP, break-focused, forward area
Upgrades: Stronger attack
Northern Cross (3) – 20 MP, balanced, forward area (short) or straight line (long), Water element
Upgrades: Stronger attack, larger AoE
Piercing Blades (3) – 15 MP, break-focused, straight line
Upgrades: More hits
Vanishing Sowrds (2) – 27 MP, HP-focused, around target, draws enemies in
Upgrades: More hits
Hurricane Slash (3) – 20 MP, HP-focused, straight line
Upgrades: More hits
Deadly Triangle (2) – 35 MP, HP-focused, around target, can inflict silence, paralysis, petrification or instant death
Upgrades: Stronger attack
Dragon Breath (2) 30 MP, balanced, forward area, Fire and Water element
Upgrades: More hits, larger AoE
Sword Dance (3) – 30 MP, HP-focused, forward area
Upgrades: Stronger attack (3), more hits (2, 3)
tri-Ace (2) – 65 MP, balanced, all targets, ignores defense
Upgrades: Stronger attack
Precis
Rocket Punch (2) – 4 MP, Hp-focused, straight line
Upgrades: More hits, penetration
Jump ‘n Thump (2) – 5 MP, break-focused, forward area, can cause Daze to enemies
Upgrades: Stronger attack
Hole-y Mole-y! (2) – 7 MP, balanced, forward area, invincible while underground
Upgrades: Stronger attack, larger AoE
Robbie Tossin’ (2) – 8 MP, balanced, straight line
Upgrades: More hits
Parabola Beam (3) – 12 MP, balanced, straight line
Upgrades: More hits
Hammer Slammer (3) – 15 MP, balanced, forward area
Upgrades: More hits, larger AoE
Frankenrobbie (3) – 32 MP, break-focused, forward area
Upgrades: More hits
Robbie’s Superbeam (2) – 65 MP, HP-focused, straight line, Light element
Upgrades: Stronger attack, more hits
Note: Learned from the Megalauncher item.
Super Holograph (2) – 20 MP, HP-focused, forward area
Upgrades: More hits
Notes: Learned from a PA with Ashton in Fun City.
Forcefield (2) – 45 MP, balanced, around self, adds a barrier to self
Upgrades: Stronger attack
Note: Learned from the Plasma Generator item.
Special Arts/Spells, pt. 2
Welch
Slap (3) – 15 MP, HP-focused, forward area
Upgrades: Stronger attack (2, 3), larger AoE (3)
Flick (3) – 15 MP, break-focused, forward area
Upgrades: Stronger atttack (2, 3) more hits (3)
Left Hand Rule (3) – 12 MP, break-focused, forward area, Earth element
Upgrades: Stronger attack, larger AoE
Spinning Finger (3) – 16 MP, balanced, forward area, can cause Daze status to enemies
Upgrades: Larger AoE
Distraction (3) – 18 MP, HP-focused, forward area, can make enemies face the other way
Upgrades: Larger AoE, ailment chance up
Iron Fist (3) – 22 MP, HP-focused, forward area
Upgrades: Stronger attack
Slappity Slap (3) – 33 MP, HP-focused, forward area
Upgrades: Stronger attack (2, 3), more hits (2, 3), larger AoE (3)
Rapid Flick (3) – 33 MP, break-focused, forward area
Upgrades: Stronger attack (2), more hits (3), larger AoE (3)
Mithril Fist (3) – 45 MP, HP-focused, all targets, Earth element
Upgrades: Stronger attack (2, 3), more hits (3)
Note: Learned from a PA with Precis in Armlock.
Nibelungaling! (3) – 60 MP, balanced, all targets, Light element
Upgrades: Stronger attack (2, 3), more hits (3)
Note: Learned from the Symbol of the Gods item.
Opera
Flame Launcher (3) – 15 MP, HP-focused, forward area (short) or around target (long)
Upgrades: Stronger attack (2), more hits (3), larger AoE (2, 3)
Photon Prison (2) – 18 MP, break-focused, straight line, stops target for a bit
Upgrades: Stronger attack, penetration
Tracking Plasma (3) – 30 MP, balanced, around target, homing
Upgrades: More hits
Healing Star (2) – 9 MP, recovers 27.5% of maximum HP (55% of maximum HP when upgraded) to all allies
Upgrades: Increased healing
Note: Learned from the White Upgrade item.
Refraction Beam (3) – 25 MP, HP-focused, straight line
Upgrades: More hits
Note: Learned from the Black Upgrade item.
Dispersion Ray (3) – 16 MP, break-focused, around target
Upgrades: More hits
Blizzard Swirl (2) – 25 MP, HP-focused, forward area, Water element, can reduce movement speed of enemies
Upgrades: Stronger attack
Gravitational Sphere (2) – 45 MP, break-focused, around target, Dark element, draws enemies in
Upgrades: More hits, larger AoE
Electric Shockwave (3) – 28 MP, HP-focused, around self (short) or straight line (long), Wind element
Upgrades: More hits
Hperlauncher (3) – 64 MP, HP-focused, straight line, Light element
Upgrades: Stronger attack (3), more hits (2, 3)
Note: Learned from the Green Upgrade item.
Bowman
Explosive Fist (3) – 8 MP, balanced, straight line
Upgrades: Stronger attack, more hits
Poison Pellets (3) – 10 MP, HP-focused, forward area, can cause Poison to enemies
Upgrades: Stronger attack (2), more hits (2, 3), ailment chance up (3)
Neck Snap (3) – 7 MP, break-focused, around target, can cause instant death to enemies
Upgrades: Stronger attack
Phoenix Talons (3) – 22 MP, break-focused, straight line, Fire element
Upgrades: Stronger attack (2, 3), larger AoE (3)
Self-Medication (2) – 9 MP, recovers HP to self and nearby allies
Upgrades: Larger AoE, increased healing, remove status ailments
Deadly Intersection (3) – 25 MP, balanced, around target, can cause instant death
Upgrades: Stronger attack, more hits, ailment chance up
Tornado Fist (2) – 27 MP, HP-focused, straight line, can cause Daze to enemies
Upgrades: Stronger attack, ailment chance up
Cataclysmic Fist (3) – 35 MP, Break-focused, forward area
Upgrades: Stronger attack
Inferno Pellets (3) – 30 MP, HP-focused, forward area, Fire element
Upgrades: More hits
Petal Fury (2) – 45 MP, balanced, forward area
Upgrades: Stronger attack, more hits
Ernest
Dimensional Whip (3) – 10 MP, HP-focused, around target
Upgrades: More hits
Spiral Lash (2) – 16 MP, HP-focused, straight line, draws enemies in
Upgrades: More hits, larger AoE
Air Swing (3) – 15 MP, break-focused, forward area
Upgrades: More hits
Thousand Tails (2) – 26 MP, break-focused, forward area
Upgrades: More hits
Sandstorm (3) – 18 MP, boosts AVD by 50% for self and nearby allies
Upgrades: Larger AoE
Bed of Roses (3) – 33 MP, HP-focused, around target, homing
Upgrades: More hits
Thunder Whip (3) – 36 MP, HP-focused, forward area, Wind element, can cause paralysis to enemies
Upgrades: More hits (2, 3), larger AoE (3)
Sonic Whip (3) – 45 MP, balanced, straight line
Upgrades: More hits
Dias
Air Slash (2) – 13 MP, HP-focused, around self (short) or straight line (long)
Upgrades: Stronger attack
Chaos Sword (2) – 20 MP, HP-focused, forward area (short) or straight line (long), inflict damage taken as additional damage
Upgrades: Stronger attack
Crescent Cross (2) – 8 MP, HP-focused, forward area
Upgrades: Stronger attack
Pale Moonlight (2) – 22 MP, break-focused, forward area, circles behind enemy if attacked while using this art
Upgrades: More hits
Gale Thrust (2) – 18 MP, break-focused, straight line
Upgrades: Stronger attack
Moonlight Arc (2) – 8 MP, balanced, straight line
Upgrades: Stronger attack
Phoenix Drive (2) – 16 MP, balanced, forward area (short) or straight line (long)
Upgrades: Stronger attack, larger AoE
Full Moon Slash (2) – 30 MP, break-focused, around self, can cause silence or instant death to enemies
Upgrades: More hits, larger AoE, draw-in effect
Deadly Illusion (3) – 28 MP, HP-focused, forward area
Upgrades: Stronger attack (3), more hits (2, 3)
Phoenix Blast (3) – 40 MP, break-focused, forward area, Fire element
Upgrades: Stronger attack (2, 3), more hits (3)
Leon
Ice Needles (2) – 10 MP, balanced, straight line, Water element
Upgrades: Stronger attack, more hits
Wounds (2) – 10 MP, balanced, around target, Dark element
Upgrades: Stronger attack
Shadow Bolt (2) – 13 MP, balanced, around target, Dark element
Upgrades: Stronger attack, more hits
Word of Death (1) – 30 MP, around target, can cause instant death to enemies
Black Saber (2) – 30 MP, balanced, straight line, Dark element
Upgrades: Stronger attack
Acid Rain (2) – 7 MP, all enemies, chance to reduce DEF by 50%
Upgrades: Ailment chance up
Deep Freeze (2) – 38 MP, balanced, around target, Water element, chance to reduce enemy movement speed by 50%
Upgrades: Stronger attack
Deep Mist (2) – 11 MP, all enemies, chance to reduce HIT by 50% to enemies
Upgrades: Ailment chance up
Guard (1) – 18 MP, boosts DEF by 50% for one ally
Star Light (2) – 30 MP, balanced, around target, Light element
Upgrades: Stronger attack, larger AoE
Delay (2) – 18 MP, decreases movement speed by 50% for one enemy (and other nearby enemies when upgraded)
Upgrades: Larger AoE
Shaodw Flare (2) – 50 MP, balanced, all enemies, Dark element
Upgrades: Stronger attack, more hits
Haste (1) – 20 MP, boosts movement speed by 50% for one ally
Power Up (1) – 22 MP, boosts ATK by 50% for one ally
Noah (2) – 50 MP, balanced, all targets, Water element
Upgrades: Stronger attack, more hits
Ravenous Fiend (2) – 30 MP, balanced, all targets, Dark element
Upgrades: Stronger attack, more hits
Dark Sphere (1) – 65 MP, balanced, all enemies, non-elemental, can cause instant death if target’s HP is below 25%
Demon’s Gate (2) – 75 MP, balanced, all targets, Dark element
Upgrades: Stronger attack
Extinction (2) – 120 MP, balanced, all targets, non-elemental attack
Upgrades: Stronger attack, pinpoint enemy elemental weaknesses
Special Arts/Spells, pt. 3
Noel
Heal (2) – 10 MP, restores a small amount of HP to one ally
Upgrades: Increased healing
Wind Blade (2) – 12 MP, balanced, straight line, Wind element
Upgrades: Stronger attack
Glaive (2) – 10 MP, balanced, around target, Earth element
Upgrades: Stronger attack
Tetanus Wind (2) – 33 MP, balanced, around target, Wind element, can cause Poison to enemies
Upgrades: Stronger attack, more hits
Cure Light (2) – 20 MP, restores a medium amount of HP to one ally
Upgrades: Increased healing
Silence (2) – 14 MP, causes Silence to all enemies
Upgrades: Ailment chance up
Crushing Earth (2) – 38 MP, balanced, around target, Earth element
Upgrades: Stronger attack, more hits
Magnum Tornado (2) – 40 MP, balanced, around target, Wind element
Upgrades: Stronger attack
Energy Arrow (2) – 25 MP, balanced, around target, non-elemental, homing
Upgrades: Stronger attack
Mental Drain (1) – 30 MP, drains MP around target and gives it to the caster
Cure All (2) – 45 MP, restores a medium amount of HP to all allies
Upgrades: Increased healing
Neutralize (1) – 17 MP, removes all debuffs from one ally
Blood Scylla (1) 30 MP, drains HP around target and gives it to the caster
Fohn Wind (2) – 55 MP, balanced, all targets, Wind element
Upgrades: Stronger attack
Faerie Healing (2) – 60 MP, restores a large amount of HP to one ally
Upgrades: Increased healing
Condition Cure (1) – 30 MP, removes all status ailments and debuffs from one ally
Curse (1) – 20 MP, removes buffs from one enemy
Bless (1) – 18 MP, boosts HIT by 50% for one ally
Faerie Light (2) – 80 MP, restores a large amount of HP to all allies
Upgrades: Increased healing
Stone Rain (2) – 65 MP, balanced, around target, Earth element, can lower defense of enemies
Upgrades: Stronger attack, more hits
Earthquake (2) – 100 MP, balanced, all targets, Earth element
Upgrades: Stronger attack
Chisato
Roaring Cartwheel (3) – 16 MP, HP-focused, forward area
Upgrades: More hits
Burning Cards (3) – 18 MP, break-focused, straight line
Upgrades: More hits
Gale Somersault (3) – 30 MP, break-focused, forward area
Upgrades: More hits
100,000 Volts (3) – 22 MP, HP-focused, straight line, Wind element, can cause paralysis to enemies
Upgrades: More hits
Flamethrower (3) – 23 MP, HP-focused, forward area (level 1 and 2) or straight line (level 3), Fire element
Upgrades: More hits (2, 3), changed move stats (3)
Rising Dragon (3) – 27 MP, HP-focused, forward area
Upgrades: More hits
Tear Gas (2) – 40 MP, break-focused, forward area, can cause paralysis to enemies
Upgrades: More hits
Missile Strike (3) – 48 MP, balanced, around target
Upgrades: More hits
Assault Actions
Assault Actions allow you to have out-of-party allies (and special guest allies using Jewels) perform special arts and spells by jumping onto the field briefly. Assault Action allies cannot be attacked and never get targeted or take damage from enemy attacks. Each Assault Action has a cooldown period, between 27 and 143 seconds. Only one Assault Action can be performed at a time. You can set individual party member Assault Action commands in the Special Arts/Spells menu, but special guest allies will always use the same Assault Action. Assault Actions consume no MP.
Claude
Air Slash – 35s
Meteor Palm – 37s
Helmetbreak – 37s
Double Slash – 36s
Sword of Life – 35s
Knuckle Burst – 36s
Rock Explosion – 39s
Dragon Roar – 40s
Sword Bomber – 37s
Mirror Blade – 39s
Phase Gun – 40s
Rena
Heal – 59s
Crush – 60s
Antidote – 59s
Deep Mist – 60s
Cure Light – 64s
Silence – 60s
Laser Beams – 64s
Fix Cloud – 62s
Cure All – 70s
Delay – 60s
Condition Cure – 62s
Gravity Crush – 70s
Light Cross – 64s
Guard – 60s
Tractor Beam – 70s
Haste – 60s
Raise Dead – 70s
Power Up – 60s
Faerie Healing – 67s
Reflection – 62s
Star Flare – 75s
Faerie Light – 75s
Angel Feather – 73s
Celine
Fire Bolt – 72s
Thunder Bolt – 72s
Wind Blade – 72s
Laser Beams – 77s
Energy Arrow – 80s
Star Light – 77s
Mental Draih – 80s
Neutralize – 72s
Bless – 72a
Thunder Storm – 77s
Eruption – 80s
Curse – 72s
Lunar Light – 84s
Explode – 90s
Thunder Cloud – 90s
Reflection – 74s
Southern Cross – 90s
Angel Feather – 87s
Meteor Swarm – 134s
Ashton
Twin Thrust – 32s
Cross Slash – 32s
Northern Cross – 34s
Piercing Blade – 34s
Vanishing Swords – 34s
Hurricane Slash – 34s
Deadly Triangle – 36s
Dragon Breath – 37s
Sword Dance – 35s
tri-Ace – 37s
Precis
Rocket Punch – 42s
Jump ‘n Thump – 44s
Hole-y Mole-y! – 44s
Robbie Tossin’ – 44s
Parabola Beam – 45s
Hammer Slammer – 43s
Frankenrobbie – 46s
Robbie’s Superbeam – 48s
Super Holograph – 43s
Forcefeild – 48s
Welch
Slap – 35s
Flick – 35s
Left Hand Rule – 36s
Spinning Finger – 36s
Distraction – 37s
Iron Fist – 37s
Slappity Slap – 38s
Rapid Flick – 38s
Mithril Fist – 40s
Nibelungaling! – 42s
Opera
Flame Launcher – 32s
Photon Prison – 32s
Tracking Plasma – 31s
Healing Star – 30s
Refraction Beam – 34s
Dispersion Ray – 32s
Blizzard Swirl – 32s
Gravitational Sphere – 35s
Electric Shockwave – 32s
Hyperlauncher – 35s
Bowman
Explosive Fist – 33s
Poison Pellets – 34s
Neck Snap – 35s
Phoenix Talons – 36s
Self-Medication – 33s
Deadly Intersection – 36s
Tornado Fist – 35s
Cataclysmic Fist – 36s
Inferno Pellets – 34s
Petal Fury – 36s
Ernest
Dimensional Whip – 31s
Spiral Lash – 32s
Air Swing – 32s
Thousand Tails – 33s
Sandstorm – 30s
Bed of Roses – 34s
Thunder Whip – 32s
Sonic Whip – 35s
Dias
Air Slash – 30s
Chaos Sword – 30s
Crescent Cross – 30s
Pale Moonlight – 32s
Gale Thrust – 32s
Moonlight Arc – 30s
Phoenix Drive – 31s
Full Moon Slash – 33s
Deadly Illusion – 33s
Phoenix Blast – 35s
Leon
Ice Needles – 78s
Wounds – 78s
Shadow Bolt – 78s
Word of Death – 83s
Black Saber – 85s
Acid Rain – 78s
Deep Freeze – 86s
Deep Mist – 78s
Guard – 78s
Star Light – 83s
Delay – 78s
Shadow Flare – 83s
Haste – 78s
Power Up – 78s
Noah – 97s
Ravenous Fiend – 90s
Dark Sphere – 90s
Demon’s Gate – 97s
Extinction – 143s
Noel
Heal – 70s
Wind Blade – 72s
Glaive – 72s
Tetanus Wind – 75s
Cure Light – 77s
Silence – 72s
Crushing Earth – 77s
Magnum Tornado – 77s
Energy Arrow – 80s
Mental Drain – 80s
Cure All – 84s
Neutralize – 72s
Blood Scylla – 80s
Fohn Wind – 90s
Faerie Healing – 80s
Condition Cure – 74s
Curse – 72s
Bless – 72S
Faerie Light – 90s
Stone Rain – 87s
Earthquake – 107s
Chisato
Roaring Cartwheel – 27s
Burning Cards – 27s
Gale Somersault – 29s
10,000 Volts – 27s
Flamethrower – 28s
Rising Dragon – 28s
Tear Gas – 32s
Missile Strike – 30s
Special Guests:
Roddick – Omega Double Slash (break-focused) – 54s
Fayt – Vertical Air Raid (balanced) – 59s
Fidel – Ethereal Blast (HP-focuseD) – 65s
Edge – Celestial Sword (Break-focused) – 58s
Raymond – Extreme Daredevil (HP-focused) – 58s
Laeticia – Ultime Camui (HP-focused) – 60s
Party Formations
The party can change their formation to get different bonus effects from the bonus sphere gauge. Each formation has 3 effects, though the spheres required to reach those effects differs from formation to formation. All formations besides Linear Motion are acquired from optional battles, challenges and chests.
Linear Motion – ATK 25% up (50), DEF 25% up (100), HIT 50% up (300)
Tri-Shift 1 – INT 30% up (100), AVD 30% up (200), -30% MP use (300)
Astral Shift – DEF 20% up (80), AVD 20% up (180), acquired spheres restore MP (300)
Square Shift 1 – Hit 40% up (100), AVD 40% up (200), Super Armor (300)
Tri-Shift 2 – ATK 60% up (100), INT 60% up (200), negate enemy resistances (300)
Free-fight – Exp 25% up (50), Exp 25% up (150), received FOL 50% up (300)
Assault Shift – Spheres 30% up (120), CRT 50% up (240), items now affect all (300)
Escape Shift – AVD 35% up (35), AVD 35% up (35), 50% chance to not consume items (300)
Upper Guard – GUTS 30% up (50), DEF 50% up (150), nullify status ailments (300)
Under Guard – Recover 2% HP every 10 seconds (100), recover 2% MP every 10 seconds (200), ATK and INT increase by 2% every 10 seconds (max 100%)
Upper Caution – ATK 30% up (100), ATK 40% up (200), ATK 1% up when acquiring spheres (max 100%) (300)
Under Caution – DEF 25% up (100), -25% MP use (200), negates item cooldowns (300)
Square Shift 2 – Super Armor (150), EXP 25% up (200), EXP 100% up (300)
Combat System
Star Ocean: The Second Story R’s combat system is one of the key focal points of the game. It has a lot of unique facets that, when mastered, greatly increase one’s enjoyment of the experience. This is an overview of the combat system as a whole.
Enemy Encounters on the Map
When you’re not actively engaged in battles and not in a safe location (such as a town), you will find that enemy groups rove the area. There will be preset enemy groups in dungeons, and both in dungeons and on the world map new groups can spawn in (and out) as time passes. Each enemy group has 3 levels of hostility, based on relative enemy level to the player:
Green – Passive, ignores the player entirely; enemies well below the player party’s average level do this
Purple – Semi-aggressive, will follow the player after a brief moment; enemies at or near the player party’s average level do this
Red – Aggressive, will follow the player immediately upon sight; enemies well above the player party’s average level do this
When you come into contact with a roving enemy party, battle will begin. If you attack the enemy group from behind, you will get a Back Attack advantage. However, if the enemy party attacks you from behind, they get the Back Attack advantage, so be careful!
Enemy groups summoned by the Scouting command will always actively target and pursue the player on sight, even if they are green.
Battle Chains
Enemy groups that are actively targeting the player can link up with other nearby enemy groups. When they do this, you will fight a chain of battles, up to 5 of them, with all of the linked enemy groups when you touch any of those groups. Battle chains give bonus experience: +100% exp/FOL for 2 battles, +150% exp/FOL for 3 battles, +200% exp/FOL for 4 battles, and +250% exp/FOL for 5 battles. You will not get any after-battle healing effect between chained battles, so you need to be able to survive all of the battles in the chain to get the reward! This is an excellent way to quickly level up.
Leader Battles
Some enemy encounters feature leaders, much larger enemies that have far more HP, grant a buff to their allies (or debuff to your party) while they’re alive, but release a shockwave that breaks all nearby enemies when defeated. You can identify such encounters by the enemy group cloud having two smaller enemy clouds on it. Leaders give 4x the experience and FOL of their normal monster version, so they can be quite lucrative!
Bonus Spheres and Bonus Gauge
There is a small gauge in the bottom-right corner of battle, called the bonus gauge. It fills as you collect bonus spheres from enemies, and grants special effects at various levels (maxing at 300 spheres). You can get spheres in three ways: dealing critical hits to enemies, defeating enemies, and performing perfect counters on enemies. The former and latter are the fastest way to build up the bonus gauge! Getting hit due to poor timing on a perfect counter, having the controller party member get incapacitated, or getting caught in an enemy-favoring Back Attack will reset the bonus gauge to 0.
Shields
Every enemy has a shield rating, which will cause them to be temporarily stunned when the gauge empties. Stunned enemies always take critical damage from attacks and their break gauge refills after about 5 seconds. Damage to shields is dependent on the attack used, with regular attacks and HP-focused attacks doing relatively little shield damage, while balanced attacks do more shield damage and break-focused attacks do massive shield damage (but little HP damage). You can do massive damage to shields by executing a perfect counter.
Item Creation
Item Creation abilities allow you to craft new items or alter existing items to get better items. Item Creation is a central part of the Star Ocean series, and the best way to get an edge on the game.
Art – Used to craft various types of items, like battle items and healing items.
Skills: Sketching, Aesthetics
Talents: Design Sense
Customization – Alter an existing weapon into a new weapon.
Skills: Eye for Detail, Smithing, Aesthetic Design
Talents: Originality
Appraising – Identify unknown items.
Skills: Item Knowledge, Mineralogy, Herbology
Talents: None
Crafting – Convert gems and metals into accessories.
Skills: Mineralogy, Eye for Detail, Aesthetics
Talents: Originality, Nimble Fingers
Writing – Write skill books to raise Skills up as high as Lv. 7.
Skills: Penmanship
Talents: Composition
Compounding – Combine 2 herbs to make a special medicine.
Skills: Biology, Herbology, Mental Science
Talents: None
Cooking – Turn cooking ingredients into food.
Skills: Knife, Recipe, Keen Eye
Talents: Taste
Alchemy – Convert Iron into gems and metals,
Skills: Technology, Mineralogy, Faeriology
Talents: Blessing of Mana
Replication – Make replicas of existing items. Not all items can be replicated.
Skills: Imitation
Talents: None
Machinist – Craft Mechanic’s Toolboxes into various useful tools.
Skills: Machinery, Operation
Talents: Design Sense, Nimble Fingers
Art
Skills: Sketching, Aesthetics
Talents: Design Sense
Create Card (Lv 10) – Create a card that can be used in battle, or that will give you a random item. Uses Magic Canvas.
Victory Card
Critical Card
Revive Card
Wealth Card
Treasure Card
Experience Card
Faerie Card
Benefaction Card
Create Painting (Lv 6) – Create a painting that can have various effects. Uses Magic Canvas.
Primavera
The Scream
Starry Night
Death of Socrates
Make Portrait (Lv 1) – Creates a portrait of one of your current party members (temporary or permanent). Uses Magic Canvas.
Portrait A
Portrait B
Portrait C
Portrait D
Portrait E
Portrait F
Portrait G
Portrait H
Portrait I
Portrait J
Portrait K
Portrait L
Portrait M
Create Sculpture (Lv 8) – Create statues that can have various effects. Uses Magic Clay.
Veda Idol
Angel Statuette
Faerie Statuette
Illusion Doll
Goddess Statuette
Warrior Idol
Create Strange Goods (Lv 4) – Create items with unusual effects. Uses Magic Clay.
Silence Card
Hexagram Card
Jack-in-the-Box
Mirror of Knowledge
Goodie Box
Customization
Skills: Aesthetic Design, Smithing, Eye for Detail
Talents: Originality
Customization consumes both the weapon and ore used in the process. Generic results are selected when no preset combination is chosen, based off of a combination of weapon and ore quality.
Claude
Fail: Dull Blade
Generics:
Weird Shield
Stringy Sword
Broadsword
Sinclair
Guthgwine
Farcutter
Veil Piercer
Saad Blade
Force Sword
Aurora Sword
Silver Fang: Low-level swords + Silver (Lv 1)
Gold Fang: Low-level swords + Gold (Lv 1)
Flame Sword: Low-level swords + Ruby (Lv 1)
Metalcrusher: Deadly Edge/Sword of Minos + Damascus (Lv 4)
Sword of Minos: Deadly Edge + Mithril (Lv 5)
Soulbreaker: Veil Piercer + Orichalcum (Lv 6)
Searing Sword: High-level swords + Star Ruby (Lv 8)
Silvance: High-level swords + Orichalcum (Lv 10)
Aeterna: Sword of Minos + Mithril (Lv 10)
Rena
Fail: Rickety Knuckles
Generics:
Ladyfingers
Brass Knuckles
Hard Knuckles
Cestus
Metal Fang
Cestus of Poison
Magic Knuckles
Kaiser Knuckles
Metal Fang: Low-level knuckles + Crystal (Lv 6)
Cestus of Poison: Low-level knuckles + Damascus (Lv 7)
Dragon Claw: Low-level knuckles + Moonstone (Lv 7)
Knuckles of the Moon: Magic Knuckles + Moonstone (Lv 8)
Sorcerer’s Knuckles: Knuckles of the Moon + Philosopher’s Stone or Magic Knuckles + Rune Metal (Lv 9)
Kaiser Knuckles: Sorcerer’s Knuckles + Diamond (Lv 9)
Emprezia: Kaiser Knuckles + Moonstone (Lv 10)
Celine
Fail: Bent Rod
Generics:
Weird Clothes
Rod
Ruby Wand
Crested Rod
Chameleon Rod
Rod of Jewels
Mindsoother
Thunderclap Rod
Rod of Snakes
Ruby Wand: Most rods + Ruby (Lv 3)
Chameleon Rod: Most rods + Crystal (Lv 4)
Silver Rod: Most rods + Silver (Lv 7)
Ruby Wand: Most rods + Star Ruby (Lv 8)
Holy Rod: High-level rods + Orichalcum (Lv 9)
Silver Moon: Silver Rod + Moonstone (Lv 9)
Dragonstaff: Holy Rod + Star Ruby (Lv 10)
Ashton
Fail: Wimpy Swords
Generics:
Weird Armor
Twin Swords
Swords of Deflection
Twin Fury
Twin Splicers
Twin Needles
Double Smashers
Luminous Slicers
Lotus Eaters
Holy Cross
Venomous Stingers: Twin Swords + Damascus (Lv 3)
Maiden’s Aria: Venomous Stingers + Crystal (Lv 5)
Shield Swords: Swords of Deflection + Iron (Lv 6)
Double Smashers: Shield Swords + Green Beryl (Lv 7)
Holy Cross: Twin Splicers + Mithril (Lv 9)
Gemini: Lotus Eaters/Maiden’s Aria + Meteorite (Lv 9)
Mephistofar: Double Smashers/Luminous Splicers + Damascus (Lv 10)
Precis
Fail: Scrap Metal
Generics:
Weird Cap
Robot Puncher
Steel Puncher
One-Two Puncher
Drill Puncher
Super Puncher
Majestic Puncher
Atomic Puncher
SD Puncher
Steel Puncher: Robot Puncher + Iron (Lv 1)
Ice Puncher: Most punchers + Sapphire (Lv 3)
Thunder Puncher: Most punchers + Diamond (Lv 5)
Burning Puncher: Most punchers + Ruby (Lv 7)
Fire Puncher: Most punchers + Star Ruby (Lv 8)
Miracle Puncher: Most high-level punchers + Orichalcum (Lv 9)
UGA Puncher: Miracle Puncher/SD Puncher + Damascus (Lv 10)
SDUGA Puncher: UGA Puncher + Meteorite (Lv 10)
Welch
Fail: Dull Blade
Generics:
Strange Medicine
Handy Stick
Fuzzy Handy Stick
Worrying Handy Stick
Stern Handy Stick
Playful Handy Stick: Most handy sticks + Gold (Lv 5)
Tedious Handy Stick: Most handy sticks + Green Beryl (Lv 6)
Annoying Handy Stick: Worrying Handy Stick + Damascus (Lv 8)
Furious Handy Stick: Scumbag Slayer + Mithril, Annoying Handy Stick + Rainbow Diamond (Lv 9)
Final Handy Stick: Stern Handy Stick + Moonstone (Lv 10)
Opera
Fail: Scrap Metal
Generics:
Weird Boots
Wave Clip
Black Clip
White Clip
X Clip
Alpha Clip
Beta Clip
Gamma Clip
Black Clip: Booster Clip + Damascus (Lv 4)
Seventh Ray: White Clip + Rainbow Diamond (Lv 4)
White Clip: Black Clip + Crystal (Lv 5)
Magic Clip: White Clip + Dmascus (Lv 8)
Burst Clip: Magic Clip + Philosopher’s Stone (Lv 9)
Pulse Clip: Beta Clip/Gamma Clip + Orichalcum (Lv 10)
Bowman
Fail: Rickety Knuckles
Generics:
Strange Medicine
Brass Knuckles
Hard Knuckles
Taloned Knuckles
Fists of the Giant
Blazing Knuckles
Fist of the Titan
Kaiser Knuckles
Metal Fang: Brass Knuckles/Taloned Knuckles + Crystal (Lv 6)
Blazing Knuckles: Brass Knuckles/Taloned Knuckles + Star Ruby (Lv 7)
Hetacon’s Punch: Fists of the Giant + Diamond, Fists of the Asura + Diamond (Lv 7)
Fist of the Titans: Fist of the Giant + Rainbow Diamond, Hetacon’s Punch + Iron (Lv 9)
Fists of the Asura: Fists of the Titan + Crystal (Lv 9)
Fists of the Moon: Knuckles of the Moon + Diamond (Lv 10)
Ernest
Fail: Limp Whip
Generics:
Weird Shoes
Leather Whip
Splinter
Heavy Whip
Rose Whip
Light Whip
Hi-Tech Whip
Invisible Whip
Rose Whip: Heavy Whip/Splinter + Ruby (Lv 6)
Light Whop: Rose Whip + Rune Metal (Lv 7)
Freeze Whip: Most whips + Philosopher’s Stone (Lv 8)
Spark Whip: Most whips + Rainbow Diamond (Lv 9)
Twin Tails: Most whips + Silver (Lv 9)
Invisible Whip: Light Whip + Mithril (Lv 9)
Dark Whip: Hi-Tech Whip + Damascus (Lv 10)
Dias
Fail: Dull Blade
Generics:
Weird Helmet
Stringy Sword
Bastard Sword
Baselard
Oriental Blade
Murasame
Metalcrusher
Hope of the Breeze
Blade of Ruin
Whirlwind: Most swords + Meteorite (Lv 7)
Soul Slayer: Most swords + Star Ruby (Lv 8)
Blade of Ruin: Metalcrusher + Crystal (Lv 9)
Deadly Cleaver: Metal Crusher/Hope of the Breeze + Rainbow Diamond (Lv 9)
Sword of Marvels: Swallowblade + Mithril (Lv 9)
Crimson Devil: Deadly Cleaver + Damascus/Soul Slayer + Philosopher’s Stone (Lv 10)
Leon
Fail: Crumpled Paper
Generics:
Pet Food
Thick Book
Picture Encyclopedia
Dictionary
Encyclopedia
Shake Up Your Brain!
All About ESP
How the Brain Works
Thick Book: Reference Book/Picture Encyclopedia + Iron (Lv 3)
Book of Shadows: Most books + Damascus (Lv 6)
Theory of Symbology: Most books + Rune Metal (Lv 6)
Symbology Dictionary: Theory of Symbology + Moonstone (Lv 9)
Book of Confusion: Book of Shadows + Damascus (Lv 9)
Sacred Tome: Book of Shadows + Mithril (Lv 9)
Book of the Ancients: Book of Confusion + Damascus (Lv 10)
Noel
Fail: Rickety Knuckles
Generics:
Weird Gauntlet
Brass Knuckles
Hard Knuckles
Cat Fang
Metal Fang
Dragon Claw
Tiger Fang
Kaiser Knuckles
Metal Fang: Most knuckles + Crystal (Lv 6)
Tiger Fang: Cat Fang + Orichalcum (Lv 7)
Dragon Claw: Most nuckles + Moonstone, Eagle’s Claw + Green Beryl (Lv 7)
Eagle’s Claw: Hard Knuckles + Eagle’s Claw (Lv 8)
Grizzly Clasp: Dragon Claw + Iron (Lv 9)
Serpent’s Tooth: Eagle’s Claw + Sapphire (Lv 9)
Platinum Nail: Tiger Fang + Mithril (Lv 10)
Chisato
Fail: 10V Stun Gun
Generics:
Doodles
Stun Gun
Spark Stunner
Electric Stunner
Megawatt Stunner
Lightning Gun
Gigawatt Stunner
Electron Gun
Stun Gun: Spark Stunner + Sapphire (Lv 3)
Spark Stunner: Stun Gun + Rainbow Diamond/Megawatt Stunner + Sapphire (Lv 4)
Shock Gun: Stun Gun/Spark Stunner + Green Beryl (Lv 5)
Megawatt Stunner: Spark Stunner + Rainbow Diamond/Electric Stunner + Sapphire (Lv 5)
Electric Stunner: Megawatt Stunner + Rainbow Diamond/Lightning Gun + Sapphire (Lv 6)
Flame Gun: Lightning Gun/Metallic Launcher/Gigawatt Stunner/Psychic Gun + Star Ruby (Lv 6)
Metallic Launcher: Lightning Gun/Psychic Gun + Damascus (Lv 7)
Lightning Gun: Electric Stunner + Rainbow Diamond/Gigawatt Stunner + Sapphire (Lv 7)
Freeze Gun: Shock Gun + Sapphire (Lv 7)
Metallic Launcher: Flame Gun/Gigawatt Stunner + Damascus (Lv 7)
Electron Gun: Gigawatt Stunner + Rainbow Diamond (Lv 9)
Psychic Gun: Metallic Launcher + Philosopher’s Stone (Lv 10)
Crafting
Skills: Mineralogy, Eye for Detail, Aesthetics
Talents: Originality, Nimble Fingers
Crafting consumes 1 of the chosen material per attempt.
Iron (Lv 1)
Amulet of Antivenin (Clade, Opera, Bowman, Dias, Leon, Chisato)
Hefty Ring (Claude, Celine, Ashton, Precis, Welch, Ernest, Noel, Chisato)
Weighty Ring (Claude, Celine, Ashton, Precis, Welch, Opera, Ernest, Chisato)
Hefty Earring (Claude, Ashton, Bowman, Ernest, Dias, Chisato)
Weird Doll (Rena, Celine, Ashton, Precis, Ernest, Noel)
Amulet of Freedom (Rena, Welch, Opera, Bowman, Dias, Leon)
Amulet of Flexibility (Rena, Welch, Bowman, Dias, Leon, Noel)
Onyx Earring (Rena, Celine, Precis, Welch, Opera, Leon, Noel)
SIlver (Lv 2)
Silver Barette (Claude, Celine, Opera, Bowman, Dias, Leon, Chisato)
Silver Ring (Claude, Celine, Ashton, Precis, Ernest, Leon)
Silver Charm (Claude, Ashton, Opera, Bowman, Ernest, Dias, Chisato)
Silver Cross (Claude, Ashton, Bowman, Ernest, Dias, Chisato)
Silver Idol (Rena, Ashton, Precis, Welch, Ernest, Noel)
Silver Pendant (Rena, Celine, Precis, Welch, Bowman, Noel, Chisato)
Silver Amulet (Rena, Celine, Welch, Leon, Noel)
Silver Earring (Rena, Celine, Precis, Welch, Opera, Leon, Noel)
Gold (Lv 2)
Golden Brooch (Claude, Precis, Welch, Bowman, Leon, Dias, Chisato)
Gold Earring (Claude, Ashton, Precis, Welch, Bowman, Ernest, Leon, Dias, Chisato)
Gold Bracelet (Claude, Precis, Bowman, Dias, Leon, Noel, Chisato)
Gold Cross (Claude, Precis, Ernest, Dias, Chisato)
Gold Idol (Rena, Ashton, Welch, Ernest, Noel)
Gold Crown (Rena, Celine, Ashton, Opera, Ernest)
Gold Ring (Rena, Celine, Welch, Opera, Noel)
Storm Ring (Rena, Celine, Ashton, Welch, Opera, Bowman, Leon, Noel)
Sapphire (Lv 3)
Angelic Headband (Claude, Ashton, Precis, Opera, Bowman, Ernest, Dias, Chisato)
Anklet (Claude, Ashton, Welch, Opera, Bowman, Ernest, Chisato)
Purple Amulet (Claude, Welch, Ernest, Dias, Noel, Chisato)
Aqua Ring (Rena, Celine, Precis, Welch, Dias, Leon, Noel)
Foot Insignia (Rena, Celine, Ashton, Precis, Welch, Opera, Bowman, Leon)
Blue Talisman (Rena, Celine, Precis, Welch, Opera, Ernest, Leon, Noel)
Water Ring (Leon, Noel)
Ruby (Lv 3)
Ruby Earring (Claude, Ashton, Opera, Bowman, Chisato)
Ricochet Bracelet (Claude, Celine, Precis, Opera, Chisato)
Berserker Ring (Claude, Precis, Welch, Chisato)
Flare Ring (Rena, Celine, Precis, Welch, Ernest, Dias, Leon, Noel)
Blood Earring (Rena, Celine, Ashton, Welch, Opera, Bowman, Ernest, Dias, Leon, Noel)
Shield Earring (Rena, Ashton, Bowman, Ernest, Dias, Leon, Noel)
Fire Ring (Celine, Leon)
Crystal (Lv 5)
Froghead (Claude, Precis, Welch, Dias, Noel, Chisato)
Prism Ring (Claude, Precis, Opera, Chisato)
Ring of Resistance (Claude, Ashton, Precis, Bowman, Ernest, Dias, Leon, Noel)
Ring of Fusion (Claude, Ashton, Opera, Bowman, Ernest, Dias, Leon, Noel)
Glass Slippers (Rena, Celine, Welch, Opera, Chisato)
Intimidation Pendant (Rena, Celine, Ashton, Opera, Bowman, Ernest, Leon)
Princess Ring (Rena, Celine, Precis, Welch, Chisato)
Holy Ring (Rena, Celine, Ashton, Welch, Bowman, Ernest, Dias, Leon, Noel)
Green Beryl (Lv 4)
Crown (Claude, Celine, Ashton, Opera, Ernest)
Bracelet of Gambling (Claude, Precis, Opera, Ernest, Chisato)
Chain of Might (Claude, Precis, Welch, Opera, Dias, Chisato)
Faerie Ring (Claude, Ashton, Precis, Welch, Opera, Bowman, Ernest, Dias, Leon, Chisato)
Green Bracelet (Rena, Precis, Bowman, Dias, Leon, Noel, Chisato)
Talisman (Rena, Celine, Ashton, Bowman, Ernest, Leon, Noel)
Emerald Ring (Rena, Celine, Ashton, Bowman, Dias, Leon, Noel)
Emerald Earring (Rena, Celine, Noel)
Diamond (Lv 6)
Earring of the Winds (Claude, Rena, Ashton, Precis, Welch, Opera, Bowman, Ernest, Dias, Leon, Chisato)
Earring of Magnetism (Claude, Celine, Precis, Opera, Bowman, Dias, Leon, Chisato)
Earring of Readiness (Claude, Celine, Precis, Bowman, Ernest, Dias, Chisato)
Sacrificial Doll (Claude, Bowman, Ernest, Dias, Chisato)
Glittering Earring (Rena, Ashton, Opera, Leon, Noel)
Ring of Trust (Rena, Celine, Ashton, Precis, Welch, Opera, Leon, Chisato)
Lavish Idol (Rena, Celine, Ashton, Welch, Ernest, Noel)
Thunder Ring (Celine, Noel)
Star Ruby (Lv 7)
Necklace (Claude, Celine, Precis, Welch, Opera, Bowman, Dias, Leon, Chisato)
Ruby Pendant (Claude, Ashton, Opera, Bowman, Noel, Chisato)
Shield Ring (Claude, Ashton, Precis, Opera, Bowman, Ernest, Dias, Chisato)
Stardust Ring (Rena, Celine, Precis, Welch, Ernest, Dias, Leon)
Star Earring (Rena, Celine, Welch, Leon, Noel)
Star Necklace (Rena, Celine, Welch, Leon, Noel)
Ring of Absorption (Rena, Celine, Ashton, Welch, Opera, Bowman, Leon, Noel)
Rainbow Diamond (Lv 8)
Dream Bracelet (Claude, Celine, Precis, Welch, Opera, Bowman, Dias, Chisato)
Breeze Earring (Claude, Celine, Precis, Welch, Bowman, Ernest, Dias, Chisato)
Regeneration Ring (Claude, Celine, Welch, Opera, Bowman, Dias, Chisato)
Ring of Might (Claude, Ashton, Opera, Bowman, Ernest, Dias, Chisato)
Mystic Amulet (Rena, Ashton, Welch, Ernest, Leon, Noel)
Magic Cross (Rena, Ashton, Precis, Welch, Leon, Noel)
Ring of Healing (Rena, Ashton, Precis, Ernest, Leon, Noel)
Shadow Cross (Rena, Celine, Precis, Leon, Noel)
Moonstone (Lv 9)
Ring of Insanity (Claude, Opera, Bowman, Dias, Chisato)
Earring of Frenzy (Claude, Welch, Opera, Ernest, Dias, Noel, Chisato)
Lunar Talisman (Claude, Welch, Dias, Leon, Noel)
Moonlight (Claude, Celine, Ashton, Welch, Opera, Bowman, Dias, Leon, Noel, Chisato)
Ring of the Accursed (Rena, Celine, Ashton, Precis, Ernest, Leon, Noel)
Moon Earring (Rena, Celine, Ashton, Precis, Bowman, Leon)
Lunar Charm (Rena, Celine, Ashton, Precis, Welch, Opera, Bowman, Ernest, Chisato)
Ring of Lunacy (Rena, Precis, Welch, Ernest)
Philosopher’s Stone (Lv 10)
Hammer Charm (Claude, Ashton, Opera, Bowman, Dias, Chisato)
Ring of Mental Power (Claude, Celine, Precis, Welch, Bowman, Ernest, Dias, Leon, Chisato)
Ring of Wisdom (Claude, Celine, Precis, Opera, Bowman, Dias, Chisato)
Mallet Charm (Claude, Ashton, Opera, Bowman, Dias, Leon, Chisato)
Ring of Infinity (Rena, Celine, Precis, Welch, Ernest, Noel)
Mind Ring (Rena, Ashton, Welch, Opera, Noel)
Mist Insignia (Rena, Celine, Precis, Ernest, Leon, Noel)
Ring of Avoidance (Rena, Ashton, Welch, Ernest, Leon, Noel)
Flawed Orb (Lv 1)
Orb of Fire (everyone)
Smooth Crystal (Lv 1) (Welch only)
Symbol of the Gods (Welch)
Writing
Skills: Penmanship
Talents: Composition
All attempts cost 1 Fountain Pen.
Walls of the Soul (Lv 1) – Mental Science
Secrets of the Earth (Lv 1) – Mineralogy
Pocket Encyclopedia (Lv 2) – Item Knowledge
Metallurgy (Lv 2) – Eye for Detail
Dish of the Day (Lv 3) – Recipe
Musicology (Lv 3) – Music Knowledge
Friends of the Woods (Lv 3) – Animal Training
All About Herbs (Lv 4) – Herbology
Life in Nature (Lv 4) – Biology
Drawing Poses (Lv 5) – Sketching
Operation Manual (Lv 5) – Operation
The World’s a Stage (Lv 6) – Performance
Food for the Soul (Lv 7) – Knife
Death of Originality (Lv 7) – Imitation
Choosing Ingredients (Lv 8) – Keen Eye
The Perfect Rhythm (Lv 9) – Smithing
Scroll of Power (Lv 9) – Power Burst
Engineer’s Handbook (Lv 9) – Machinery
Hermetic Philosophy (Lv 10) – Technology
The Bestiary (Lv 10) – Faeriology
Additionally Leon can attempt to write new weapons for himself.
Reference Book (Lv 3)
Academic Book (Lv 5)
Theory of Symbology (Lv 7)
Symbology Dictionary (Lv 10)
Compounding
Skills: Biology, Mental Science, Herbology
Talents: None
Each Compounding attempt uses 2 herbs (1 of each type selected).
Mandrake + Mandrake:
Temper Tablet
Sacrifice Pill
Violent Pill
Risky Resurrection
Mandrake + Rose Hip:
Potion of Epiphany
Smoke Mist
Potion of the Winds
Strength Bottle
Mandrake + Artemis Leaf:
Hazardous Heal
Sweet Syrup
Medicine Bottle
Sour Syrup
Mandrake + Wolfsbane:
Potion of Lilith
Bubble Lotion
Melt Potion
Faerie Cologne
Mandrake + Lavender:
Maple Syrup
Potion of Nightmares
Smoke Oil
Potion of Merlin
Rose Hip + Rose Hip:
Antidote
Sweet Potion
Maple Syrup
Mixed Syrup
Rose Hip + Artemis Leaf:
Potion of Trust
Paralysis Cure
Compress of Veda
Marionette Pill
Rose Hip + Wolfsbane:
Hazardous Heal
Potion of Nightmares
Paralysis Mist
Succubus Perfume
Rose Hip + Lavender:
Sweet Syrup
Refreshing Syrup
Fruit Syrup
Holy Mist
Rose Hip + Athelas:
Potion of the Winds
Potion of Might
Mental Potion
Witch Powder
Artemis Leaf + Artemis Leaf:
Medicine Bottle
Immunity Pill
Medical Rinse
Faerie Elixir
Artemis Leaf + Wolfsbane:
Violent Pill
Sour Syrup
Fruit Syrup
Hot Syrup
Artemis Leaf + Lavender:
Wonder Drug
Medical Rinse
Smelling Salts
Resurrection Mist
Artemis Leaf + Athelas:
Wonder Drug
Potion of Epiphany
Herbal Potion
Medicine Bottle
Wolfsbane + Wolfsbane:
Stink Gel
Malodorous Potion
Mist of Madness
Melt Potion
Wolfsbane + Lavender:
Stink Gel
Bitter Lotion
Oil of Paralysis
Melt Potion
Wolfsbane + Athelas:
Potion of Lilith
Bubble Lotion
Pixie Perfume
Shock Oil
Lavender + Lavender:
Resurrection Elixir
Mixed Syrup
Medical Rinse
Herbal Potion
Lavender + Athelas:
Potion of Reversal
Refreshing Syrup
Resurrection Mist
Holy Mist
Athelas + Athelas:
Resurrection Elixir
Semlling Salts
Faerie Mist
Ointment of Veda
Cooking
Skills: Knife, Keen Eye, Recipe
Talents: Taste
Cooking attempts take 1 ingredient of the chosen category each. All basic ingredients have a recommended level of 1, all advanced ingredients have a recommended level of 8. The Ingredients of Yarma has a recommended level of 10.
Seafood:
Tuna Sashimi
Shumai Dumplings
Seaweed Miso Soup
Light Soup
Shrimp Gratin
Fine Tuna Sashimi
Shark Fin Soup
Sole in Orange Sauce
Salmon Omelet
Shrimp Pilaf
Fruit:
Orange Soda
Orange Sherbet
Banana Crepe
Flat Soda (adults only)
Pickled Plum
Fruit Sandwich
Strawberry Bavarois
Apple Crepe
Chocolate Banana
Lime Cooler (adults only)
White Peach Sorbet
Orange Gratin
Rose de Mai (adults only)
Grains:
Bean Paste Bun
Radish Miso Soup
Gruel
Rice Cake
Hotcake
Soy Milk
Egg Fried Rice
Cola (adults only)
Sunset Island (adults only)
Crazy Cow (adults only)
Bloody Driver (adults only)
Fire in the Sky (adults only)
Mango Lassi (adults only)
Shrimp Doria
Rice Omelet
Rice Croquette
Meat:
Steamed Bun
Gyoza Dumplings
Beef Croquette
Chicken Shish Kebab
Jambalaya
Chicken Doria
Steak
Hamburg Steak
Rabbit Risotto
Lamb Burger Steak
Vegetables:
Pumpkin Croquette
Cream of Corn Soup
Pickled Vegetables
Spring Roll
Carrot Juice
Cabbage Roll
Rice-Bran Pickles
Pumpkin Spring Roll
Vegetable Juice
Green Cream Soup
Carrot Ice Cream
Eggs and Dairy:
Fried Egg
Fruit Milk
Yogurt
Egg Sandwich
Chocolate Crepe
Egg on Bacon
Vanilla Ice Cream
Shortcake
Flan
Macaroni Gratin
Organic Vegetables:
Milky Potage
Special Stir-Fry
Magical Salad
Golden Stew
Sirloin:
Chicken Filet
Amazing Tenderloin
Ultimate Sirloin
Mouthwatering Filet
Top-Quality Tuna:
Grilled Tuna Belly
Luxury Tuna Steak
Hearty Casserole
Legendary Otoro
Marenne Oysters:
Rich Seafood Soup
Supreme Seafood Soup
Lord’s Ozoni
Soulful Rice Bowl
Magic Rice:
Deluxe Doria
Magic Stir-Fry
Tearful Risotto
Heavenly Doria
Creamy Cheese:
Luscious Gratin
Scrumptious Pizza
Delectable Cheese
Treasured Gorgonzola
Sweet Fruit:
Gateau Marjorlaine
Custard of Life
Beautiful Ice Cream
Nectar of Ambrosia (adults only)
Gelatinous Slime/Wobbly Slime:
Amoeba Soup
Slimy Gelatin
Gelatin Steak
Ooze Cocktail (adults only)
Ingredients of Yarma:
Soup of the Demons
Steak of the Demons
Juice of the Demons (adults only)
Luxury Grape Joice (adults only)
Alchemy
Skills: Technology, Mineralogy, Faeriology
Talents: Blessing of Mana
Each Alchemy attempt costs 1 Iron.
SIlver (Lv 1)
Gold (Lv 2)
Sapphire (Lv 3)
Ruby (Lv 3)
Green Beryl (Lv 4)
Crystal (Lv 4)
Diamond (Lv 5) (Lezard’s Flask)
Star Ruby (Lv 6) (Lezard’s Flask)
Damascus (Lv 7)
Rune Metal (Lv 8) (Lezard’s Flask)
Orichalcum (Lv 8)
Rainbow Diamond (Lv 9) (Lezard’s Flask)
Moonstone (Lv 9) (Lezard’s Flask)
Philosopher’s Stone (Lv 10) (Lezard’s Flask)
Meteorite (Lv 9) (Lezard’s Flask)
Mithril (Lv 10) (Lezard’s Flask)
Machinist
Skills: Machinery, Operation
Talents: Design Sense, Nimble Fingers
Each Machinist attempt costs 1 Mechanic’s Toolbox.
Create Machinery – Make mostly combat assistance items.
Create Portable Item (Lv 2):
Music Box
Deadly Poison Bomb
Daze Bomb
Mind Bomb
Flare Bomb
Create Dangerous Item (Lv 6):
4-Way Bomb
Assault Bomb
Defense Bomb
Megabomb
Nuclear Bomb
Create Opera Item (Lv 1) (Opera only):
Booster Clip
White Upgrade
Black Clip
X Clip
Black Upgrade
Magic Clip
Green Upgrade
Create Precis Item (Lv 1) (Precis only):
Steel Puncher
One-Two Puncher
Drill Puncher
Plasma Generator
Super Puncher
Megalauncher
Create Support Item – Make items that enhance Item Creation abilities and Specialties.
Suldering Iron (Lv 1)
Keen Kitchen Knife (Lv 2)
Element Analyzer (Lv 3)
Word Processor (Lv 4)
Sterile Glove (Lv 5)
Graphic Tool (Lv 6)
Survival Kit (Lv 7)
RIRICA (Lv 8)
Magician’s Glove (Lv 9)
Triangle Flask (Lv 10)
Specialties
Specialties give you an edge both in and out of combat while not necessarily producing any items. Most are self-explanatory, but some have enough depth to get a more detailed section below.
Oracle – Get random hints about the game.
Skills: ESP, Piety, Purity
Talents: None
Music – Perform songs that have various effects.
Skills: Performance, Music Knowledge
Talents: Acoustic Sense, Rhythm Sense
Train – Boost EXP gain from battles by (skill level * 10%) in exchange for (skill level * 2.5%) reduced ATK, DEF, and INT.
Skills: Effort, Determination, Resilience
Talents: None
Scouting – Alter encounter spawn rate to be higher or lower.
Skills: Danger Radar
Talents: Wild Instinct
Familiar – Summon birds to shop for you. What types of birds you can call depends on your skill level: Lv 1 Pigeon, Lv 3 Crow, Lv 5 Stork, Lv 7 Hawk, Lv 9 Eagle.
Skills: Whistling, Animal Training
Talents: Love of Animals
Survival – Randomly get items as you walk around.
Skills: Herbology, Resilience
Talents: None
Pickpocketing – Steal items from NPCs. Using this skill can reduce party affection, even during PAs.
Skills: Corage, Poker Face
Talents: Nimble Fingers
Fishing – Catch fish from bodies of water. Ups the window of opportunity to catch the fish by 0.1s per LV.
Skills: Biology, Item Knowledge
Talents: None
Music
Skills: Performance, Music Knowledge
Talents: Acoustic Sense, Rhythm Sense
Compose allows you to write new songs for your existing instruments. You will use 1 Feather Pen per attempt. Each instrument has 2 songs.
Perform allows you to play music. All song effects expire once the song is done.
Salvation Hymn (Piano 1) – HP and MP recover while not in battle and the song is playing
Celebration Hymn (Piano 2) – Boosts attributes if playing when next battle starts
Spirit Dance (Cembalo 1) – Ups break accumulation if playing when next battle starts
Faerie Dance (Cembalo 2) – Fishing success rate up while playing
A Pale Breese (Shamisen 1) – Boosts maximum HP and MP if playing when next battle starts
A Hidden Power (Shamisen 2) – Gives full power to special arts and symbology spells if playing when next battle starts
The Devil’s Aria (Trumpet 1) – Summon one of 10 predetermined enemies from the Maze of Tribulations (need the appropriate Music skill level or better to perform):
Lv1: Dark Enchantress
Lv2: Phoenix
Lv3: Mirre 32
Lv4: Phantom Salamander
Lv5: Mithril Eater
Lv6: Elysian Slug
Lv7: Geo Guardian
Lv8: Dragon Tyrant
Lv9: Sorcerer
Lv10: Iseria Queen
Aria of the Gods (Trumpet 2) – Temporarily grants Talent bonus for given IC/Specialties to all players, ups IC/Specialty skill levels by 2 while playing
Battle Blues (Harmonica 1) – Enemy spawn rate is increased while playing
Lonely Blues (Harmonica 2) – Enemy encounters will wander about more slowly while playing
Song for Justice (Lyre 1) – Increases STM if playing when next battle starts
The Eternal Song (Lyre 2) – Battle skill activation rate up if playing when next battle starts
Hero’s Arrival (Violin 1) – Summon a random battle from any dungeon you have explored; you can potentially encounter any enemy from that dungeon doing this
Goddess’s Arriva (Violin 2) – Boosts IC/SPecialty skill levels by 2 while playing
A Healing Tune (Organ 1) – HP recovers while not in battle and the song is playing
A Relaxing Tune (Organ 2) – MP recovers while not in battle and the song is playing
Familiar
Skills: Whistling, Animal Training
Talents: Love of Animals
Every Familiar attempt costs 1 Pet Food. You can only send 1 bird at a time, and if you wish to buy multiple things, you must activate Multiple mode to do so.
Pigeon (Lv1): Aquaberries, Blackberries, Blueberries, Spectacles
Crow (Lv3): Rose Hip, Wolfsbane, Lavender, Flare Bomb
Stork (Lv5): Paralysis Cure, Mind Bomb, Mandrake, Resurrection Elixir, Stone Cure, Fountain Pen, Magic Clay
Hawk (Lv7): Seafood, Fruit, Grains, Meat, Vegetables, Eggs and Dairy, Pet Food, Smith’s Hammer
Eagle (Lv9): Aquaberries, Blackberries, Blueberries, Spectacles, Medicine Bottle, Athelas, Resurrection Elixir, Magic Canvas, Iron, Conductor Baton, Magic Film
Survival
Skills: Herbology, Resilience
Talents: None
Survival is free and will produce additional items with a Survival Kit support item from Machinist. It activates at random even when not moving, as long as you’re not in battle. Items marked with * require a Survival Kit to obtain. Items can spawn anywhere from 0 to 300 seconds apart. Skill level affects frequency of activation, and having this for more than one party member does not increase its effectiveness. Most of the time you will get the lowest-value stuff (especially in towns and early dungeons), so this is not a reliable way to get rare items or materials. You have to be in late-game dungeons to get most of the best stuff. Interestingly, dungeon theme seems to affect frequency of drops as well (so you get more ores in the Salva Mines, more herbs in the Sanctuary of Linga, etc.).
20 FOL
Seafood
Fruit
Grains
Meat
Vegetables
Eggs and Dairy
Pet Food
Lavender
Mandrake
Rose Hip
Artemis Leaf*
Athelas*
Iron
Silver
Gold
Sapphire
Ruby
Green Beryl
Crystal
Diamond*
Star Ruby*
Damascus
Rune Metal*
Orichalcum
Rainbow Diamond*
Moonstone*
Meteorite*
Mithril*
Super Specialties
Super Specialties are Item Creation and Specialty abilities taken to the next level. They require at least 4 levels of the primary skill and 1 level in the secondary skill involved on at least 2 characters to use. Every 8 levels cumulative between all party members in the primary IC/Specialty of a Super Specialty boost that Super Specialty’s level by 1. Super Specialties are unaffected by Talents. Most are self-explanatory, but the ones with more depth will be explained in the sections that follow this one.
Master Chef – Make extra-useful food from cooking ingredients.
IC/Specialties: Cooking (primary), Compounding
Orchestra – Perform a special song that boosts IC support item triggering nad increases talent discovery rate.
IC/Specialties: Music (primary), Art
Enlightenment – Sacrifice 6% * skill LV of FOL to get 6% * skill LV more SP and BP per battle.
IC/Specialties: Train (primary), Survival
Bunny Call – Summon a Bunny to traverse anywhere on the current landmass you’re on.
IC/Specialties: Familiar (primary), Scouting
Publication – Write books that set affection between party members to set levels.
IC/Specialties: Writing (primary), Machinist
Group Appraisal – Lower buying prices and raise selling prices by 3% * skill LV. Costs 1 Spectacle per use.
IC/Specialties: Appraising (primary), Crafting
Blacksmith – Make new armor using a Smith’s Hammer and metal.
IC/Specialties: Customization (primary), Alchemy
Contraband – Craft various boosting and valuable items of questionable intent. Lowers party affection levels sometimes when used.
IC/Specialties: Pickpocketing (primary), Replication
Bodyguard – Following party members stop enemies in their tracks or kill weak enemies outright.
IC/Specialties: Scouting (primary), Train
Remaking – Add factors to equipment.
IC/Specialties: Replication (primary), Customization
Master Chef
Master Chef allows you to combine 2 common ingredients to make a powerful dish (or Umai-Bo Candy, which is decidedly less useful). Failure generates one of the two ingredient failure items.
Seafood + Seafood: Sashimi, Umai-Bo Snack 1
Seafood + Meat: Swallow’s Nest Soup
Seafood + Grains: Shark Fin Dumplings, Umai-Bo Snack 7
Seafood + Vegetables: Mushroom Soup
Seafood + Fruit: Sole in Wine Sauce
Seafood + Eggs and Dairy: Chawanmushi, Umai-Bo Snack 13
Meat + Meat: Filet Minon, Umai-Bo Snack 2
Meat + Grains: Fried Rice with Meat, Umai-Bo Snack 9
Meat + Vegetables: Peking Duck, Umai-Bo Snack 4
Meat + Fruit: Muscat Jelly, Umai-Bo Snack 12
Meat + Eggs and Dairy: Cream Stew, Umai-Bo Snack 5
Grains + Grains: Bean Cake, Umai-Bo Snack 2
Grains + Vegetables: Kasuzuke
Grains + Fruit: Strawberry Rice Cake, Umai-Bo Snack 12
Grains + Eggs and Dairy: Sweet Toast
Vegetables + Vegetables: Vegetable Stir-Fry
Vegetables + Fruit: Conjac Jelly, Umai-Bo Snack 3
Vegetables + Eggs and Dairy: Yogurt Salad, Umai-Bo Snack 6
Fruit + Fruit: Pear Compote, Umai-Bo Snack 14
Fruit + Eggs and Dairy: Coconut Milk
Eggs and Dairy + Eggs and Dairy: Plain Omelet, Umai-Bo Snack 11
Publication
Publication attempts consume 1 Fountain Pen. Each character has two books they can write, one with a recommended skill level of 5, and one with a recommended skill level of 10. The first book sets affection to 16 between that character and the character the book is used on (ie. 2 hearts), while the second sets it to 28 (3.5 hearts, enough for any ending). They are listed below in that order.
Claude – Planet of the Wind, The Great Star Ocean
Rena – Eyes Only for You, Romantic Love
Celine – The World is Mine, You Go, Girl!
Ashton – Men Who Can Say No, I Won’t Look Back
Precis – Buy This Book!, A Girl’s Secrets
Welch – Creating a Coup, Uninstall
Opera – Alien Cultures, Our Wise Forefathers
Bowman – S.O. Confidential, The Violet Dahlia
Ernest – Countdown, The Lost Tabernacle
Dias – The Blood-Paved Road, To Live
Leon – Advanced Symbology, Expert Symbology
Noel – The Animal Touch, Nature’s Will
Chisato – All the Mayor’s Men, Assassin’s Handbook
Blacksmithing
This Super Specialty consumes a Smith’s Hammer and an ore to produce a piece of equipment. There are two sets of items you can make for any given ore, one without the Magical Rasp item and one with.
Without Magical Rasp:
Iron – Knight’s Shield, Padded Helmet, Brigandine, Plate Greaves, Plate Helmet, Ring Mail
Damascus – Blessed Plate Mail, Bloody Armor, Bloody Helmet, Chaos Mail
Rune Metal – Rune Buckler, Rune Shoes, Wizard’s Armor, Wizard’s Cap
Orichalcum – Barrier Shield, Magic Armor, Hermit’s Cap, Neo Greaves
Moonstone – Armor of the Arc, Shield of the Arc, Tiara of the Arc, Witch’s Boots
Meteorite – Cloak of the Stars, Star Greaves, Star Guard, Star Necklace
Mithril – Mithril Coat, Mithril Dress, Mithril Shield, Mithril Greaves
With Magical Rasp:
Iron – Plate Armor
Damascus – Dueling Suit, Dueling Helmet, Shield of Algol
Rune Metal – Eagle’s Shawl, Robe of Deception
Orichalcum – Helmet of Odin, Reflecting Plate
Moonstone – Hand of Kali, Robe of Ishtar, Tiara of Isis
Meteorite – Sylvan Boots, Sylvan Helm, Sylvan Mail
Mithril – Shield of Athena
Contraband
Contraband uses Premium Paper to make questionable items. It can randomly lower affection between all party members, so use with care!
Possible Items:
Bounced Check (failure item)
Forged Bill
Stock Certificate
Secret Account
Seizure Warrant
Forged Check
Contract
Scarlet Medal
Forged Document
Counterfeit Medal
Item Order
Counterfeit Seal Case
Remaking
When you remake a piece of equipment, you expend a Re-Creation Gem to attempt to add a different factor to that item. You can add up to 5 items to influence the success rate and type of factor generated. Below are the possible factors you can generate for each type of equipment and each type of factor. Factors with * on them are considered rare.
Weapons:
Attribute Factors:
ATK UP – Increase ATK by 5%/10%/20%*
INT UP – Increase INT by 5%/10%/20%*
CRT UP – Increase CRT by 5%/10%/20%*
Support Factors:
Add Fire
Add Water
Add Wind
Add Earth
Add Light
Add Dark
Silence
Poison
Paralysis
Instant Death
HP Drain* (recover 20% of damage inflicted as HP)
MP Drain* (recover 5% of damage inflicted as MP)
Scum Slayer* (instantly kill enemies with “scum” in their name)
Special Factors:
Mental Focus* (attacks cost 10MP but never miss)
Reckless Magic* (use 15% more MP to boost INT by 30%)
Adversity (ATK, INT and DEF increase as HP gets lower, max 15%)
Fight or Flight (ATK, INT and DEF increas as HP gets lower, max 30%)
Lone Wolf (ATK, DEF, HIT, AVD, and INT +15% when fighting alone)
All for One* (Deal 5% more damage per party member present besides you)
Backstab* (guarantees critical hits when attacking from behind)
Revenge (the last damage received is added to the next damage inflicted)
Cancel Boost (special art power increases by 15% when canceling out of a normal attack)
Factor Activator* (all equipment factors are 1.5x more likely to activate)
Steal (attacks have a 5% chance of stealing the target’s drop item)
Birds of a Feather (enemy shield recovery is delayed by 5 seconds when 3 pieces of equipment have the same factor)
Gathering Stars* (ATK, DEF, HIT, AVD and INT +20% when 3 pieces of equipment have the same factor)
High-grade (+50% to chance of adding a factor when this equipment is used as an extra material)
Masterwork* (+10% chance of adding a rare factor when this equipment is used as an extra material)
Armor:
Attribute Factors:
DEF UP – Increase DEF by 5%/10%/20%*
AVD UP – Increase AVD by 5%/10%/20%*
GUTS UP – Increase GUTS by 10/20/30*
STM UP – Increase STM by 10/20/30*
Support Factors:
CRT Energy (critical hits restore 1% MP)
CRT Heal (critical hits restore 1% MP)
CRT Super Boost* (critical hits restore 2% HP/MP)
Quick Fix (restore 5% HP when blocking enemy attacks)
Emergency Measures* (Restores 10% HP when blocking enemy attacks)
Metabolism (poison removed after 10 seconds)
Full Reset* (all status ailments removed after 10 seconds)
Rally (revive at 5% HP one time when HP reaches 0)
Super Rally* (revive at 40% HP one time when HP reaches 0)
Special Factors:
Symbology Field (DEF +10% when casting)
Ultra Symbology Field (DEF +20% when casting)
Back Guard (reduces back attack damage by 15%)
Lucky Guard (20% chance to negate damage from enemy critical hits)
Narrow Escape (remain at 1 HP if an attack would reduce you to 0 HP when your current HP is 40% or more)
Cast-Iron (all damage below 5% of max HP is reduced to 0)
Adamantine* (all damage below 10% of max HP is reduced to 0)
Back from the Brink* (become invincible for 5 seconds after resurrection)
Red Dragon (10% of physical damage taken converted to HP, can be paired with Blue Dragon)
Blue Dragon (10% of symbology damage taken converted to HP, can be paired with Red Dragon)
Ukemi (10% chance of bonus gauge not breaking when missing a counter)
Defensive Stance* (30% chance of bonus gauge not breaking when missing a perfect counter)
Birds of a Feather (enemy shield recovery is delayed by 5 seconds when 3 pieces of equipment have the same factor)
Gathering Stars* (ATK, DEF, HIT, AVD and INT +20% when 3 pieces of equipment have the same factor)
High-grade (+50% to chance of adding a factor when this equipment is used as an extra material)
Masterwork* (+10% chance of adding a rare factor when this equipment is used as an extra material)
Accessories:
Attribute Factors:
HP UP – Increase HP by 5%/10%/20%*
MP UP – Increase MP by 5%/10%/20%*
HIT UP – Increase HIT by 5%/10%/20%*
Support Factors:
Fishing Slayer (150% damage to enemies encountered while fishing)
Leader Slayer (150% damage to leader enemies)Break Up (enemy shield depletion rate +10%)
Repose (Recover 3% HP for every 3 seconds spent motionless in battle)
Meditation (recover 3% MP for every 3 seconds spent motionless in battle)
Temporary Measures (recover 20% HP and MP with each successive battle)
Spheres Up (increases chance of getting bonus spheres by 10%)
Fast Reflexes (extends perfect counter window by 0.5s)
Coercion* (inflict a random status ailment on enemies when you break them)
Special Factors:
War Cry* (ATK, DEF, HIT, AVD, and INT increase by 5% with each successive battle)
Morale Booster (fills the Assault Gauge of all Assault members by 25% when battle starts (non-stacking))
Loving Care (30% chance of halving assault gauge consumption when using Assault)
Economizer (15% chance to keep items upon use)
Item Master* (20% chance of negating item cooldowns)
Bomber* (bomb items deal triple damage)
Uptrend (150% more bonus spheres appear for 10s after a bonus triggers)
Full Bonus* (120% bonus effects when bonus gauge is full)
Fury (when enraged from seeing an ally fall, enemy attacks will no longer cause recoil)
Righteous Fury (rage duration doubled)
Press the Advantage (enemies broken while inflicted with status conditions/debuffs stay broken 30% longer)
Steel Will (50% chance of negating damage while escaping only)
Birds of a Feather (enemy shield recovery is delayed by 5 seconds when 3 pieces of equipment have the same factor)
Gathering Stars* (ATK, DEF, HIT, AVD and INT +20% when 3 pieces of equipment have the same factor)
High-grade (+50% to chance of adding a factor when this equipment is used as an extra material)
Masterwork* (+10% chance of adding a rare factor when this equipment is used as an extra material)
Pickpocketing – Arlia and Salva
Pickpocketing allows you to obtain items from NPCs, with a set rate of success on each item that can be enhanced with the Pickpocketing skill level and Magician’s Glove. Nearly every NPC in the game can be stolen from, and every NPC has 3 possible items to steal from them. You have 3 pickpocket attempts per character, and you can use Relax Perfume (sold at shops after the events at Marze Village) to reset the counter to 3 at any time.
PA steals are universal for a given location for your party members. Their locations are listed based off of non-event PA positions.
Steal odds with Lv. 10 pickpocketing + Magician’s Glove are:
1 – 100%
2 – 75%
3 – 50%
4 – 37%
Arlia
Lucien – 100 FOL (1), Umai-Bo Snack 14 (2), Lavender (1)
Hahn – 120 FOL (1), 3 Blueberries (1), Blackberries (1)
Man (near Hahn’s) – Blueberries (1), 2 Blackberries (1), 100 FOL (1)
Girl (near well) – 24 FOL 91), Umai-Bo Snack 11 (2), Artemis Leaf (1)
Young Woman (near church) – Blackberries (1), Sweet Syrup (2), Medical Rinse (3)
Lady (near Mayor’s) – Vegetables (1), 2 Fruit (1), 3 Eggs and Dairy (1)
Elderly Person – 100 FOL (1), Creaky Rod (1), Robe (1)
Ketil* – Gold Ring (1), Umai-bo Snack 5 (2), 5000 FOL (3)
Young Woman (at shop)* – 500 FOL (1), Anklet (1), Green Bracelet (2)
Claude (PA) – Strength Bottle (2), Steak (2), Blueberries (1)
Bowman (PA) – Athelas (1), Radish Miso Soup (2), Rose Hip (1)
Celine (PA) – Medicine Bottle (2), Rabbit Risotto (2), Potion of Reversal (2)
Noel (PA) – Stone Cure (1), Fine Tuna Sashimi (2), 2 Seafood (1)
Leon (PA) – Hermetic Philosophy (2), Carrot Juice (2), Spectacles (1)
Welch (PA) – Potion of the Winds (3), 120 FOL (1), Cocolate Banana (2)
Ashton (PA) – Necklace (1), Hamburg Steak (2), Pet Food (1)
Dias (PA) – Silver Greaves+ (DEF UP 10%) (3), Chicken Shish Kebab (2), Fine Shield+ (AVD UP 10%) (2)
Opera (PA) – Flat Soda (2), Lime Cooler (2), Herbal Potion (2)
Rena’s House
Westa – Necklace+ (Item Master) (1), Shortcake (2), Sour Syrup (2)
Rena (PA) – Brass Knuckles (1), Portrait E (1), Shortcake (2)
Newlywed’s House
Lou, the Newlywed Husband – 100 FOL (1), Ladyfingers (1), Medicine Bottle (2)
Elmyra, the Newlywed Wife – Rainbow Diamond (3), 2000 FOL (2), Earring of the Winds (2)
Boy (postgame only) – Santa’s Boots (4), Umai-Bo Snack 13 (2), Flan (2)
Bosman’s House
Boy – Pebbles (1), Umai-Bo Snack 2 (2), Gold (1)
Girl – Strawberry Jam (1), Umai-Bo Snack 3 (2), Rasberry Jam (1)
Bosman (after events in Salva) – Compress of Veda (2), 3 Iron (1), Silver (1)
Mayor Regis’s House
Mayor Regis – Resurrection Elixir (2), Sinclair (1), Ring Mail (1)
Servant – Fried Egg (2), Meat (1), Grains (1)
Velding Church
Young Girl – Sour Syrup (2), Magic Cross (2), Glittering Earring (1)
Boy – 10 FOL (1), Umai-Bo Snack 6 (2), Gold Cross (2)
Father Marshall – Silver Cross (2), Silk Robe (1), Walls of the Soul (2)
Ernest (PA) – Fountain Pen (1), Bloody Driver (2), 3 Artemis Leaf (1)
Chisato (PA) – Fountain Pen (1), Fruit Sandwich (2), 3 Magic Film (1)
* – After Lacuer Tournament of Arms
Salva
Youth (southern end) – Amulet of Freedom (1), Sapphire (1), 300 FOL (1)
Granny – Spectacles (1), 2 Silver (1), 1000 FOL (2)
Child – Pet Food (1), Umai-Bo Snack 5 (2), Iron (1)
Woman – GOld Idol (1), Green Beryl (1), Raspberry Jam (1)
Youth (west of weapon/item shop) – Wolfsbane (1), Ruby (1), 2 Mandrake (1)
Youth (near weapon/item shop) – 24 FOL (1), Crystal (1), 300 FOL (1)
Girl – Silver Idol (1), Umai-Bo Snack 4 (2), Strawberry Jam (1)
Youth (by bar) – 500 FOL (1), Gold (1), Silver (1)
Young Girl (green dress) – Ruby (1), Resurrection Elixir (2), Stone Cure (1)
Young Girl (blue dress) – Blurry Photo (1), Apple Jam (1), Shock Oil (2)
Youth (north exit) – Artemis Leaf (1), Green Beryl (1), Gold (1)
Man (near mines) – Magic Clay (1), Iron (1), Sapphire (1)
Combatant* – Dull Blade (1), Padded Armor (1), Wood Shield (1)
Ruddle the Traveler** – Veda Idol (2), 2 Wolfsbane (1), 2 Mandrake (1)
Bowman (PA) – ?
Ernest (PA) – Silver Ring (1), Bloody Driver (2), Star Ruby (2)
Precis (PA) – Mechanic’s Toolbox (1), Daze Bomb (1), Chocolate Crepe (2)
House
Mother – Resurrection Elixir (2), Keen Kitchen Knife (2), Shrimp Dumplings (2)
Boy – Illusion Doll (3), Umai-Bo Snack 13 (2), Vegetable Stir-Fry (3)
Noel (PA) – Pet Food (1), Fine Tuna Sashimi (2), Friends of the Woods (2)
Jam Shop “The Kicking Dolphin”
Yuki – Apple Jam (1), Aloe Jam (1), Raspberry Jam (1)
Inn “The Bouncing Penguin”
E. Watby – Secret Account (3), Forged Bill (2), Contract (3)
Traveler – Mental Potion (3), 2 Silver (1), 200 FOL (1)
Tourist – Compress of Veda (2), Ruby (1), Sapphire (1)
Claude (PA) – Suede Boots (1), Steak (2), Open Helmet (1)
Jewelery Shop/Weapon Shop
Faye – Crystal (1), Green Beryl (1), Ruby (1)
Ferguson – Iron Greaves (2), Limp Whip (1), Iron Helmet (2)
Welch (PA) – Critical Card (2), Chocolate Banana (2), Diamond (2)
Bar “The Seven Dwarfs”
Laborer (at the table) – Silver (1), 100 FOL (1), Cola (2)
Talentless Man – Resurrection Elixir (2), Shark Fin SOup (2), Shrimp Doria (2)
Bartender – Medicine Bottle (2), Cona (2), Shark Fin Soup (2)
Laborer (at bar) – Banana Frappe (1), 100 FOL (1), 3 Iron (1)
Laborer (upstairs) – Gold (1), 150 FOL (1), Shrimp Pilaf (2)
Combatant (upper table)* – Padded Armor (1), Resurrection Elixir (2), Crystal (1)
Combatant (lower table)* – Iron Helmet (2), Iron Greaves (2), Venomous Stingers (1)
Combatant (bar, lower)* – Victory Card (2), Green Beryl (1), Swords of Deflection (1)
Combatant (bar, upper)* – Stringy Sword (1), Medicine Bottle (2), Sapphire (1)
Combatant (upstairs)* – Bastard Sword (1), Ring Mail (1), Padded Helmet (1)
Dias (PA) – Fine Shield (2), Chicken Shish Kebab (2), Bastard Sword (1)
Allen’s Mansion
Butler – Flat Soda (2), Gold Ring (1), Aloe Jam (1)
Cook – 5 FOL (1), 2 Meat (1), 2 Grains (1)
Tucks Family Maid – 12 FOL (1), Iron (1), Angelic Headband (1)
Allen – Ruby (1), Ring of Sadness+ (Meditation) (2), Portrait B (1)
Soldier* – Wooden Shield (1), Leather Helmet (1), Leather Boots (1)
Opera (PA) – Silver Pendant+ (MP UP 10%) (1), Lime Cooler (2), 2 Gold (1)
Salva Mines Entrance
Soldier* – Silence Card (2), 3 Blueberries (1), 400 FOL (1)
* – These people only appear during the Salva Mines dragon event.
** – Start of Ruddle event, disappears after you guide him.
Pickpocketing – Krosse City and Krosse Castle
Krosse City
Cunning Fighter – Oil of Paralysis (2), Smoke Mist (3), Stink Gel (2)
Dog – Orichalcum (2), Meat (1), Talisman (1)
Youth (green-haired, in fenced area) – Iron (1), Spectacles (1), Compress of Veda (2)
Man (in fenced area) – Pet Food (1), 800 FOL (1), Spectacles (1)
Young Woman (north of fenced area) – Weird Shape (1), 300 FOL (1), Magic Gumdrop (2)
Traveler – Stringy Sword (1), Faerie Cologne (3), Resurrection Mist (3)
Youth (west of fenced area) – Spectacles (1), 3 Paralysis Cure (1), Hazardous Heal (2)
Youth (path to castle) – Oil of Paralysis (2), 2 Paralysis Cure (1), Bitter Lotion (2)
Girl – 20 FOL (1), 2 Maple Syrup (2), Faerie Cologne (3)
Guy (eastern alley) – Antidote (1), Elven Powder (3), Veda Idol (2)
Young Boy (eastern alley) – Blueberries (1), Umai-Bo Snack 6 (2), 2 Stone Cure (1)
Elderly Person (near fountain) – Kasuzuke (3), Treasure Card (3), Hot Syrup (3)
Youth (near fountain) – 200 FOL (1), Temper Tablet (1), Shield Ring (3)
Bel – Blackberries (1), 2 Stone Cire (1), 450 FOL (1)
Noel (PA) – Sole in Orange Souce (2), Fine Tuan Sashima (2), Cat Fang+ (Instant Death) (1)
Celine (PA) – Cinderella Glass (2), Rabbit Risotto (2), Rod of Jewels+ (ATK UP 10%) (1)
Bowman (PA) – Lavender (1), Radish Miso Soup (2), Resurrection Mist (3)
Welch (PA) – Sacrificial Doll (2), Chocolate Banana (2), Fuzzy Handy Stick (1)
Rena (PA) – Boots (1), Shortcake (2), Fruit Syrup (3)
Ashton (PA) – Gold Bracelet (1), Hamburg Steak (2), Golden Brooch (1)
Opera (PA) – Cola (2), Lime Cooler (2), Wave Clip (1)
Ernest (PA) – Prism Ring (2), Bloody Driver (2), Magic Armor (2)
Dias (PA) – Critical Card (2), Chicken Shish Kebab (2), Baselard (1)
Claude (PA) – Round Shield (1), Steak (2), Golden Fang (2)
Church “Krosse Cathedral”
Chisato (PA) – Moonstone (3), Fruit Sandwich (2), Electric Stunner+ (Masterwork) (2)
Restaurant “The Fattened Goose”
Meyer – Pear Compote (3), Rose de Mai (2), Lamb Burger Steak (2)
Mama – Cola (2), Rice Croquette (2), Peking Duck (3)
Mayer – Sashimi (3), Vehetable Stir-Fry (3), Bean Cake (3)
Bar “Mikado”
Wife – Aloe Jam (1), Hard Knuckles (1), 500 FOL (1)
Husband – Blurry Photo (1), Spectacles (1), 500 FOL (1)
Man (drinking) – 50 FOL (1), Flat Soda (2), Sacrifice Pill (3)
Bartender – Sunset Island (2), Cestus (1), Sweet Potion (2)
Man (not drinking) – Blueberries (1), Silence Card (2), Critical Card (2)
Combatant – Longsword (1), Ring Mail (1), Knight’s Shield (2)
The Krosse Guild
Advisor – Spectacles (1), All About Herbs (2), Secrets of the Earth (2)
Guildmaster – Feather Pen (1), Pocket Encyclopedia (2), 620 FOL (1)
Weapon Shop “The Royal Hunt”
Zotto – Leather Armor (1), Open Helmet (1), Knight’s Shield (2)
Inn “The Kingdom Hotel”
Rachel – Aquaberries (1), Shortcake (2), 530 FOL (1)
Krosse Castle
Receptionist (left) – Leather Helmet (1), Leather Armor (1), Sweet Syrup (2)
Receptionist (right) – Leather Greaves (1), Sour Syrup (2), Wonder Drug (2)
Youth (in foyer) – Magic Camera (1), 200 FOL (1), Angel Statuette (2)
Young Woman (in foyer) – Magic Film (1), Wonder Drug (2), Spectacles (1)
Soldier (southeast hall) 200 FOL (1), Swords of Deflection (1), Suede Boots (1)
Cook (kitchen) – Fruit (1), 3 Seafood (1), 3 Meat (1)
Maid (kitchen) – Anklet (1), 200 FOL (1), Silver Barrette (1)
Servant (southeast guest room) – 200 FOL (1), Star Earring (2), Maple Syrup (2)
Soldier (left guard to throne room) – 200 FOL (1), Smelling Salts (2), Immunity Pill (2)
Soldier (right guard to throne room) – Sweet Syrup (2), Herbal Potion (2), Smoke Mist (3)
Soldier (meeting room) – Padded Helmet (1), Leather Boots (2), Resurrection Elixir (2)
Maid (prince’s room) – 50 FOL (1), Holy Ring (2), Wonder Drug (2)
Maid (outside prince’s room) – 80 FOL 91), Witch Powder (3), Wealth Card (3)
Maid (left gossip in hallway) – 500 FOL (1), Potion of Nightmares (2), Strange Medicine (1)
Maid (right gossip in hallway) – Weird Doll (1), Succubus Perfume (3), 300 FOL (1)
Princess Rozaria – Silk Robe (1), Princess Ring (2), Star Necklace (2)
Lady-in-waiting – 100 FOL (1), Smoke Oil (2), Resurrection Elxiir (2)
Soldier (stairs to left wing) – Padded Armor (1), Leather Greaves (1), Sweet Syrup (2)
Soldier (left wing outside throne room) – Stink Gel (2), Mist of Madness (3), Broadsword (1)
Soldier (right wing outside throne room) – Paralysis Cure (1), Paralysis Mist (3), Venomous Stingers (1)
Leon (PA) (in the castle foyer) – Pocket Encyclopedia (2), Carrot Juice (2), Hexagram Card (2)
Pickpocketing – Kurik, Mountain Palace and Marze
Kurik
NOTE: Most NPCs disappear or relocate to other towns after the events in this town. Steal what you want before they disperse or disappear!
Young Man (near entrance) – 800 FOL (1), Shumai Dumplings (2), Steamed Bun (2)
Woman (on hill, blue dress) – Anklet (1), Storm Ring (2), Fruit Milk (2)
Young Man (on hill) – Iron (1), Coconut Milk (3), 600 FOL (1)
Woman (on hill, green dress) – Dish of the Day (2), 2 Seafood (1), 3 Vegetables (1)
Elderly Person (on hill) – Fountain Pen (1), Rice Cake (2), 3 Blackberries (1)
Crepe Guy – Hotcake (2), Chocolate Crepe (2), Soy Milk (2)
Young Woman (square, green dress) – Experience Card (3), Hexagram Card (2), Critical Card (2)
Boyfriend – Silver Amulet (2), Carrot Ice Cream (2), Potion of Epiphany (3)
Girlfriend – Ring of the Accursed (3), White Peach Sherbet (2), Benefaction Card (3)
Grandpa – Silver Cross (2), Sapphire (1), Pickled Plum (2)
Grandma – Ruby (1), Apple Crepe (2), Aloe Jam (1)
Ice Cream Gal – Orange Sherbet (2), Vanilla Ice Cream (2), Banana Crepe (2)
Sailor (entrance to port) – Bloody Driver (2), Green Bracelet (2), Purple Amulet (2)
Sailor (angry)* – Berserker Ring (2), Potion of the Winds (3), Potion of Might (3)
Boy* – 50 FOL (1), Umai-Bo Snack 1 (2), Mixed Syrup (2)
Girl* – Apple Crepe (2), Umai-bo Snack 7 (2), Gold (1)
Ketil*** – Thief’s Glove (1), Golden Brooch (1), Gold Bracelet (1)
Sailor (walking around ship, lower) – Foot Insignia (2), 300 FOL (1), Cola (2)
Sailor (walking around ship, upper) – Treasure Card (3), 1000 FOL (2), White Peach Sorbet (2)
Symbologist – Herbal Potion (2), 1200 FOL (2), Crystal (1)
Ship Captain – Sunset Island (2), Shrimp Pilaf (2), Seafood (1)
Rena (PA) – The Bestiary (2), Shortcake (2), Orange Soda (2)
Celine (PA) – Cinderella Glass (2), Rabbit Risotto (2), Chocolate Banana (2)
Philia (PA) – Sprite’s Bracelet (2), Moonlight (3), Magic Cross (2)
Mansion on the Hill
Housekeeper** – 200 FOL (1), Spectacles (1), Silver Pendant (1)
Inn “The Waterfront”
Aqua – Breeze Earring (2), Thunder Ring (2), Bean Paste Bun (2)
Guest – 500 FOL (1), Medical Rinse (3), Sour Syrup (2)
Item Shop “Milly’s Favorites”
Milly – Potion of Epiphany (3), Resurrection Mist (3), Ruby Wand (1)
The Kurik Guild
Advisor – Sapphire (1), Scroll of Power (2), Potion of Might (3)
Guildmaster – Mandrake (1), Marionette Pill (3), Potion of Lilith (2)
Weapon Shop “The Border Guard”
Flint – Rickety Knuckles (1), Silk Robe (1), Safety Shoes (2)
Bar “The Salty Barrel”
Man (at table) – Aquaberries (1), Cream of Corn Soup (2), Jambalaya (2)
Buzzing Guy – 100 FOL (1), Cola (2), Medicine Bottle (2)
Man (at bar) – Artemis Leaf (1), Fire in the Sky (2), 300 FOL (1)
Bartender – Rose de Mai (2), 300 FOL (1), Flat Soda (2)
Tailor “High Seas Fashion”
Golgo – Weird Clothing (1), 300 FOL (1), Goddess Statuette (2)
Customer (walking about) – Robe (1), Wolfsbane (1), Deadly Poison Bomb (1)
Customer (in dressing room; disappears once Ketil joins you) – Weird Clothing (1), Smoke Oil (2), Maple Syrup (2)
Bakery “Kurik Pastries”
Girl – 500 FOL (1), Maple Syrup (2), Sweet Syrup (2)
Baker – Egg Sandwich (2), Sweet Toast (3), Fruit Sandwich (2)
Restaurant “The Captain’s Cabin”
Customer (left side) – 5 FOL (1), 2 Wolfsbane (1), Rose Hip (1)
Owner – Cola (2), Gruel (2), Chicken Doria (2)
Cook – Vegetables (1), 3 Grains (1), 3 Fruit (1)
Customer (upper right) – 15 FO (1), Pickled Vegetables (2), Spring Roll (2)
Customer (lower right, top) – 10 FOL (1), Seafood (1), 2 Meat (1)
Customer (lower right, bottom) – 5 FOL (1), 2 Mandrake (1), Athelas (1)
* – Only appears after Krosse Cave
** – Only appears while Ketil is with you
*** – Only after leaving Ketil
Kurik, Post-Destruction
Housekeeper – 1500 FOL (2), Silver Earring (1), Silver Barrette (1)
Girl – Fanfic! (2), Umai-bo Snack 10 (2), Music Box (2)
Young Boy – Fanfic!? (2), 500 FOL (1), 2 Blueberries (1)
Grandma – Stock Certificate (2), Strawberry Jam (1), Vanilla Ice Cream (2)
Boy – Silver (1), Umai-bo Snack 7 (2), 3 Aquaberries (1)
Woman (blue dress) – Same as above
Young Man – Same as above
Elderly Person – Same as above
Ketil – Same as before
Milly – Same as before
Bartender – Same as before
Sailor – Same as above (the one who was at the entrance to the dock)
Symbologist – Same as above
Ship Captain – Same as above
Crepe Guy – Same as Ice Cream Gal above; for some reason they swapped inventories here!
Mountain Palace
Soldier – Smoke Mist (3), Fruit Syrup (3), Brigandine (1)
Marze Village
Young Woman (purple dress) – Magical Cap (1), Faerie Cologne (3), Faerie Card (3)
Woman (green dress) – Spectacles (1), 1200 FOL (2), Goddess Statuette (3)
Young Man (near entrance) – Robe (1), Witch Powder (3), Starry Night (2)
Elderly Person (near monument) – Boots (1), Mirror of Knowledge (2), Faerie Elixir (2)
Cecille – Ring of Sadness (2), Umai-Bo Snack 3 (2), Purple Amulet+ (HIT UP 10%) (2)
Colin – 120 FOL (1), Umai-Bo Snack 4 (2), Doodles (1)
Young Man (near Forest of Symbols entrance) – Ruby Wand (1), Silk Robe (1), 3 Antidote (1)
Bart – Megabomb (3), Umai-Bo Snack 12 (2), 50 FOL (1)
Granny – Silence Card (2), Revival Card (2), Critical Card (2)
Man (near east exit) – Illusion Doll (3), Mirror of Knowledge (2), Potion of the Winds (3)
Milly (after crossing to Hilton) – Old Milk (1), Defense Bomb (3), Resurrection Elixir (2)
Young Woman (east side) – Angel Statuette (2), 1000 FOL (2), Smoke Oil (2)
Elderly Person (near inn) – Goodie Box (3), Elven Powder (3), 2 Blueberries (1)
Claude (PA) – Sinclair (1), Portrait B (1), Steak (2)
Welch (PA) – Portait M (1), Chocolate Banana (2), Hexagram Card (2)
Bowman (PA) – Maple Syrup (2), Lavender (1), Radish Miso Soup (2)
Rena (PA) – Portrait A (1), Shortcake (2), Herbal Potion (2)
Leon (PA) – All About Herbs (2), Carrot Juice (2), Victory Card (2)
Dias (PA) – Bitter Lotion (2), Chicken Shish Kebab (2), Potion of Nightmares (2)
Village Elder’s Home
Elder – Faerie Elixir (2), Faerie Tear (3), The Bestiary (2)
Ashton (PA) – 10 FOL (1), Gold Earring (1), Hamburg Steak (2)
Opera (PA) – Mango Lassi (2), Lime Cooler (2), Crazy Cow (2)
Ernest (PA) Battle Suit (4), Bloody Driver (2), Gauntlet of Air (2)
Item Shop “The Newt’s Eye”
Shopper – 200 FOL (1), Aqua Ring (1), Flare Ring (1)
Granny Roufe – Can’t pickpocket
Ruddle the Traveler* – Illusion Doll (3), 300 FOL (1), Hefty Ring (1)
Inn “House of Restoration”
Man (purple hood) – Cola (2), Wolfsbane (1), Hazardous Heal (2)
Bartender – Flat Soda (2), Angel Statuette (2), Sweet Potion (2)
Fin – Rose Hip (1), 2 Athelas (1), Strange Medicine (1)
Noel (PA) – Beret (2), Fine Tina Sashimi (2), Fountain Pen (1)
Food Shop “The Golden Cauldron”
Young Woman – Grains (1), Rice Omelet (2), 3 Fruit (1)
Chisato (PA) – RIRICA (2), Fruit Sandwich (2), Gold Idol+ (Masterwork) (1)
Celine’s House
Celine’s Father, Egras – Herbal Potion (2), Mental Potion (3), Silver Cross+ (Loving Care) (2)
Celine’s Mother, Raveh – Silk Robe+ (DEF UP 20%) (1), Primavera (2), 1400 FOL (2)
Celine (PA) – Amber Robe (1), Cinderella Glass (2), Rabbit Risotto (2)
* – Second part of Ruddle event, disappears once you guide him.
Pickpocketing – Harley and Hilton
Harley
Gent – Mango Lassi (2), Storm Ring (2), Spectacles (1)
Traveler – 120 FOL (1), Blackberries (1), Sweet Syrup (2)
Woman (blue dress) – 200 FOL (1), Succubus Perfume (3), Violent Pill (2)
Woman (green dress) – Rose Hip (1), Athelas (1), Artemis Leaf (1)
Young Boy – Steamed Bun (2), 320 FOL (1), Spectacles (1)
Man (near inn) – Silence Card (2), 2 Blueberries (1), Resurrectin Elixir (2)
Sailor (near pier) – Sunset Island (2), Potion of the Winds (3), Elven Powder (3)
Sailor (far east side) – Bloody Driver (2), 270 FOL (1), 2 Seafood (1)
Reel – Fishy Fragrance (2), Life in Nature (2), Pocket Encyclopedia (2)
Rena (PA) – Faerie Card (3), Shortcake (2), 3 Eggs and Dairy (1)
Leon (PA) – The Bestiary (2), Carrot Juice (2), 2 Sour Syrup (2)
Bowman (PA) – Holy Mist (3), Radish Miso Soup (2), Resurrection Mist (3)
Ashton (PA) – Silver Pendant (1), Hamburg Steak (1), Ring of Resistance (1)
Welch (PA) – Umai-Bo Snack 1 (2), Chocolate Banana (2), Orichalcum (2)
Noel (PA) – The Bestairy (2), Fine Tuna Sashimi (2), 2 Tuna Sashimi (2)
Opera (PA) – Lime Cooler (2), Luxury Grape Juice (2), Fruit (1)
Claude (PA) – Experience Card (3), Steak (2), 2 Lavender (1)
Precis (PA) – Flare Bomb (2), Chocolate Crepe (2), Assault Bomb (2)
Dias (PA) – Amulet of Freedom (1), Chicken Shish Kebab (2), Smelling Salts (2)
Ernest (PA) – Sacrificial Doll (2), Bloody Driver (2), Faerie Statuette (2)
Chisato (PA) – Gold Idol+ (High-grade) (1), Fruit Sandwich (2), 3 Magic Film (1)
The Harley Guild
Advisor – Suede Boots (1), Fishy Fragrance (2), Pocket Encyclopedia (2)
Guildmaster – Buckler (1), Life in Nature (2), Chawanmushi (2)
Eleanor’s Home
Mother – Mixed Syrup (2), Medicine Bottle (2), 3 Stone Cure (1)
Eleanor – Immunity Pill (2), Talisman+ (Repose) (2), Silver Cross+ (Meditation) (2)
Weapon Shop “Oceans of Fire”
Premia – Round Shield (1), Iron Helmet (2), Iron Greaves (2)
Antique Shop “The Sunken Vessel”
Pelodiscus – Silk Robe (1), Magical Cap (1), Safety Shoes (2)
Inn “The Ocean View”
Karen – Fountain Pen (1), 2 Premium Paper (1), Faerie Mist (3)
Newlywed (woman) – Ring of Happiness (2), Silver Idol (1), Mixed Syrup (2)
Newlywed (man) – Stock Certificate (2), Wonder Drug (2), Succubus Perfume (2)
Ruddle the Traveler* – Wonder Drug (2), 480 FOL (1), 2 Athelas (1)
Restaurant “Red Dragon”
Zhen Nian – Coconut Milk (3), Egg Fried Rice (2), Steamed Bun (2)
Celine (PA) – Blueberries (1), Rabbit Risotto (2), Bean Paste Bun (2)
Bar “The Burly Pirate”
Saulor (not at bar) – Banana Frappe (1), Strength Bottle (2), Spectacles (1)
Drunk Guy – Ring of Sadness (2), Luxury Grape Juice (2), Flat Soda (2)
Sailor (at bar) – Tuna Sashimi (2), Potion of Epiphany (3), Potion of Lillith (2)
Bartender – Old Milk (1), Intimidation Pendant (2), Cola (2)
Henchman (walking about) – Forged Bill (2), Seizure Warrant (3), Padded Armor (1)
Henchman (at table) – Forged Check (2), Secret Account (3), Padded Helmet (1)
Zandor’s Mansion
Henchman (1st floor) – Twin Swords (1), Forged Bill (2), Secret Account (3)
Cook – Shrimp Gratin (2), Orange Gratin (2), Macaroni Gratin (2)
Henchman (2nd floor) – Leathet whip (1), Seizure Warrant (3), Forged Bill (2)
* – Ruddle event, he stays here once you guide him to Harley
Hilton
Sailor (at ship) – 500 FOL (1), Crazy Cow (2), Mushroom Soup (2)
Woman (near ship) – Vegetables (1), Ring of Absorption (3), Earring of the Winds (2)
Sailor (on docks) – Pickled Plum (2), Pickled Vegetables (2), Yogurt Salad (3)
Man – Thief’s Glove (1), Walloon Sword (1), Suede Boots (1)
Prima – Feather Pen (1), 2 Conductor Baton (1), Music Box (2)
Store Owner (food shop) – Seafood (1), Sashimi (3), Tuna Sashimi (2)
Young Boy (near inn) – 25 FOL (1), Umai-Bo Snack 8 (2), 2 Blackberries (1)
Clementine – Leather Boots (2), 270 FOL (1), Fine Tuna Sashimi (2)
Adventurer – Veda Idol (2), Meteor Ring (3), Aquaberries (1)
Rosso – Lavender (1), Artemis Leaf (1), Rose Hip (1)
Ruddle the Traveler** – Smoke Mist (3), Fruit Syrup (3), Brigandine (1)
Soldier (top-right)*** – Plate Greaves (2), Knight’s Shield (2), Aquaberries (1)
Soldier (bottom-right)*** – Plate Armor (2), Leather Helmet (1), Blackberries (1)
Soldier (top-left)*** – Plate Helmet (3), Safety Shoes+ (DEF UP 10%) (2), Blueberries (1)
Soldier (bottom-left)*** – Buckler (1), Spectacles (1), Open Helmet (1)
Soldier (by boat)*** – Compress of Veda (2), Operation Manual (2), Feather Pen (1)
“Clyde” (PA)* – Silver Fang (2), Ring of the General (2), Gold Crown (1)
Noel (PA) – Life in Nature (2), Fine Tuna Sashimi (2), 3 Seafood (1)
Bowman (PA) – Medical Rinse (3), Radish Miso Soup (2), Refreshing Syrup (3)
Rena (PA) – Laced Boots (3), Shortcake (2), Seaweed Miso Soup (2)
Claude (PA) – Padded Armor (1), Steak (2), Plate Greaves (2)
Opera (PA) – Mango Lassi (2), Lime Cooler (2), Fire in the Sky (2)
Ernest (PA) – Faerie Statuette (2), Bloody Driver (2), Warrior Idol (3)
Youth (triangle of youths, top one) – Magic Clay (1), Jack-in-the-Box (2), Faerie Statuette (2)
Youth (triangle of youths, bottom left) – Sweet Syrup (2), Potion of Epiphany (3), Smelling Salts (2)
Youth (triangle of youths, bottom right) – Fruit (1), The Scream (2), Potion of Nightmares (2)
Bar “Ship of Fools”
Bartender – Cola (2), Lime Cooler (2), 170 FOL (1)
Leon (PA) – Life in Nature (2), Carrot Juice (2), Strawberry Bavarois (2)
Ashton (PA) – Amulet of Freedom (1), Hamburg Steak (2), Ricochet Bracelet (2)
The Hilton Guild
Advisor – Eggs and Dairy (1), Conductor Baton (1), 3 Mechanic’s Toolbox (1)
Guildmaster – Spectacles (1), Diamond (2), Magic Canvas (1)
Precis (PA) – Flare Bomb (2), Chocolate Crepe (2), 4-way Bomb (2)
Inn “The Hilton Coral”
Paula – Blackberries (1), Refreshing Syrup (3), Hot Syrup (3)
Celine (PA) – Velvet Tear+ (Red Dragon) (3), Rabbit Risotto (2), Faerie Tear+ (Blue Dragon) (3)
Welch (PA) – Sacrificial Doll (2), Chocolate Banana (2), Blood Earring+ (Item Master) (2)
Dias (PA) – Criticla Card (2), Chicken Shish Kebab (2), Ring of Insanity (3)
* – Claude PA only
** – Ruddle event; disappears once you guide him
*** – After Lacuer invasion
Pickpocketing – Lacuer City
Lacuer City
Guard (near entrance) – Suede Boots (1), Open Helmet (1), Fine Shield (2)
Youth (near statues) – 500 FOL (1), Rice Croquette (2), Taloned Knuckles (1)
Editor – Choosing Ingredients (2), Food for the Soul (2), Dish of the Day (2)
Mama* – Grains (1), 3 Vegetables (1), 500 FOL (1)
Child (in market) – 12 FOL (1), Umai-Bo Snack 9 (2), Grains (1)
Nol – Wolfbane (1), 3 Mandrake (1), Resurrection Elixir (2)
Gorgeous Girl – Gold Ring (1), Gold Earring (1), Golden Brooch (1)
Meema – Fruit (1), 2 Seafood (1), Meat (1)
Chef – Eggs and Dairy (1), Yogurt (2), Fruit Milk (2)
Man (near statues)* – Blueberries (1), Diamond (2), Stone Cure (1)
Youth (near stairs, right) – Lavender (1), Artemis Leaf (1), 2 Sapphire (1)
Man (near stairs) – Sandals (1), Forged Bill (2), Hefty Ring (1)
Youth (near stairs, left) – 20 FOL (1), Mixed Syrup (2), Antidote (1)
Girlfriend* – Aqua Ring (1), Seaweed Miso Soup (2), Rice-Bran Pickles (2)
Boyfriend* – Faerie Tear (3), 210 FOL (1), Flare Ring (1)
Girl (near guild) – Earring of Magnetism (2), Crystal (1), Ruby Pendant (2)
Young Woman (near guild) – Earring of Readiness (2), Potion of Lilith (2), 3 Iron (1)
Guy (start of west alley) – Aquaberries (1), Rose de Mai (2), Egg on Bacon (2)
Man (west alley) – 600 FOL (1), Diamond (2), Defense Bomb (3)
Efficient Girl – 555 FOL (1), Foot Insignia (2), Hotcake (2)
Fastred – Silver (1), Longsword (1), Plate Greaves (2)
Forlong – Gold (1), 500 FOL (1), Fine Shield (2)
Youth (shop area) – 120 FOL (1), 2 Ruby (1), Twin Splicer (2)
Dagol – Iron (1), Crazy Cow (2), Plate Helmet (3)
Man (shop area) – Blackberries (1), Green Beryl (1), 102 FOL (1)
Woman (on bridge)* – Velvet Tear (3), Ruby Earring (1), Star Ruby (2)
Youth (on bridge)* – Experience Card (3), Dream Bracelet (3), Soy Milk (2)
Youth (past bridge)* – Raspberry Jam (1), Premium Paper (1), Fountain Pen (1)
Young Girl (PA)** – Green Beryl (1), 350 FOL (1), Talisman (2)
Granny/Morr (PA)*** – Vegetables (1), Star Ruby (2), 985 FOL (1)
Rena (PA) – Hard Knuckles (1), Sweet Syrup (2), Shortcake (2)
Celine (PA) – Crested Rod (1), Rabbit Risotto (2), Star Ruby (2)
Ashton (PA) – Swords of Deflection (1), Gold Earring (1), Hamburg Steak (2)
Noel (PA) – The Bestiary (2), Fine Tuna Sashimi (2), Damascus (2)
Welch (PA) – Death of Originality (2), Chocolate Banana (2), Magic Film (1)
Claude (PA) – Iron Greaves+ (DEF UP 5%) (2), Amulet of Antivenin (1), Steak (2)
Inn “The Lacuer Hotel”
Lacuer Innkeeper – 100 FOL (1), Holy Mist (3), Iron (1)
Red-Roofed House
Mother – Meat (1), Wonder Drug (2), 3 Eggs and Dairy (1)
Child – Doodles (1), Umai-Bo Snack (2), 2 Resurrection Mist (3)
Bar “Pride of Lacuer”
Combatant (top)* – Twin Fury (1), Ring Mail (1), Open Helmet (1)
Combatant (bottom-right)* – Oriental Blade (2), 660 FOL (1), Cream Stew (3)
Combatant (left)* – Sinclair (1), Cabbage Roll (2), Mango Lassi (2)
Combatant (bottom-left)* – Cestus (1), Wolfsbane (1), Stink Gel (2)
Man (green hair) – Blueberries (1), Iron Helmet (2), Knight’s Shield (2)
Man (lavender hair) – 200 FOL (1), Spectacles (1), Damascus (2)
Man (black hair) – 500 FOL (1), Crazy Cow (2), Beef Croquette (2)
Bartender – Lime Cooler (2), 1350 FOL (2), Sunset Island (2)
Weapon Shop “The Savage Slayer”
Edda – Hard Knuckles (1), Succubus Perfume (3), High Heels (1)
Lost Man* – Baselard (1), Plate Armor (2), Sweet Syrup (2)
Former Fighter* – Wimpy Swords (1), 2 Green Beryl (1), 2 Sour Syrup (2)
* – Only before the Tournament of Arms ends; likely relocates during the tournament proper
** – Claude PA only
*** – PA only, disappears once her PA is complete
Pickpocketing – Lacuer Castle
Lacuer Castle
Maid (foyer)* – Heavy Ring (1), Silence Card (2), 2 Hot Syrup (3)
Maid (foyer) – Twin Splicers (2), Medical Rinse (3), Faerie Elixir (2)
Reception Soldier (left) – Fountain Pen (1), Premium Paper (1), 2 Mixed Syrup (2)
Reception Soldier (right) – Fountain Pen (1), Premium Paper (1), 2 Sweet Potion (2)
Soldier (foyer) – Ruby (1), Shock Oil (2), Mind Bomb (2)
Woman (east hall)* – Sapphire (1), Potion of Epiphany (3), Regeneration Ring (3)
Maid (east hall) – Silver (1), 3 Maple Syrup (2), Moon Earring (3)
Maid (east hall)* – Silver Barrette (1), 2 Conductor Baton (1), 2 Fountain Pen (1)
Ayura* – 50 FOL (1), Umai-bo Snack 3 (2), Fruit Milk (2)
Soldier (meeting hall, left) – Amulet of Freedom (1), Amulet of Flexibility (1), Amulet of Antivenin (1)
Soldier (meeting hall, right) – Blackberries (1), 3 Ruby (1), Crystal (1)
Soldier (blue, near table) – 800 FOL (1), Ruby (1), Diamond (2)
Soldier (blue, top-left) – Blueberries (1), Diamond (2), 350 FOL (1)
Soldier (blue, top-right) – Aquaberries (1), 3 Gold (1), 3 Green Beryl (1)
Soldier (library) – 70 FOL (1), 3 Sapphire (1), 2 Green Beryl (1)
Researcher (library, center) – Maple Syrup (2), Deadly Poison Bomb (1), Bubble Lotion (2)
Librarian – Feather Pen (1), Hermetic Philosophy (2), Engineer’s Handbook (2)
Researcher (library, far right) – Premium Paper (1), 3 Feather Pen (1), Egg Sandwich (2)
Researcher (library, bottom-right) – Sour Syrup (2), 3 Ruby (1), Sacrifice Pill (3)
Research Staff (entrance to lab) – Immunity Pill (2), Green Cream Soup (2), Strawberry Rice Cake (3)
Research Staff (blonde) – Immunity Pill (2), Feather Pen (1), Rose Hip (1)
Research Staff (lavender, not at lab entrance) – Refreshing Syrup (3), Salmon Omelet (2), Strawberry Bavarois (2)
Soldier (guarding lab interior) – Sour Syrup (2), Crested Shield (2), Iron Helmet (2)
Maid (west hall) – Bean Paste Bun (2), Flare Bomb (2), 4-Way Bomb (2)
Man (west dining hall) – 300 FOL (1), Malodorous Potion (2), Sacrifice Pill (3)
Girl (west dining hall) – Fruit (1), Relax Perfume (2), Treasure Card (3)
Cook (west dining hall) – Filet Mignon (3), Flan (2), Rose de Mai (2)
Soldier (armory) – 500 FOL (1), 3 Silver (1), 3 Gold (1)
Chiqasi* – Weird Shape (1), 2 Smelling Salts (2), Ring of Lunacy (4)
Youth (west hall)* – Magic Clay (1), Magic Canvas (1), Death of Socrates (2)
Participating Soldier – Longsword (1), Warrior Idol (3), Angel Statuette (2)
Soldier (arena receptionist) – Fountain Pen (1), Revival Card (2), Wealth Card (3)
Soldier (wandering arena)* – Blackberries (1), Defense Bomb (3), Deadly Poison Bomb (1)
Soldier (left arena hall, wandering)* – 200 FOL (1), Nuclear Bomb (3), Mixed Syrup (2)
Soldier (arena gate guards; they share an inventory) – 200 FOL (1), Experience Card (3), 2 Aquaberries (1)
Maid (arena reception)* – Bracelet of Gambling (2), 670 FOL (1), Amulet of Flexibility (1)
Soldier (left side of arena reception)* – Twin Swords (1), Violent Pill (2), Assault Bomb (2)
Maid (arena reception, in right hall)* – Blueberries (1), Defense Bomb (3), 3 Blackberries (1)
Maid (2F hallway) – Rice Cake (2), Soy Milk (2), Relax Perfume (2)
Guide – Conductor Baton (1), Operation Manual (2), Death of Originality (2)
Tour Group Member (green dress) – Cinderella Glass (2), Egg Sandwich (2), Shrimp Pilaf (2)
Tour Group Member (youth) – Premium Paper (1), Flan (2), 3 Feather Pen (1)
Tour Group Member (old man) – Ugly Accessory (1), Faerie Statuette (2), 670 FOL (1)
Tour Group Member (old woman) – Blueberries (1), Pumpkin Spring Roll (2), Premium Paper (1)
Freeloader – Thief’s Glove (1), Forged Bill (2), Hammer Charm (3)
Mother from Colder Climes – 400 FOL (1), Carrot Ice Cream (2), Water Ring (2)
Child from Colder Climes – Vanilla Ice Cream (2), Umai-bo Snack 10 (2), Aqua Ring (1)
Soldier (in front of king’s bedroom) **- Buckler (1), Safety Shoes (2), Holy Mist (3)
Soldier (in front of king’s bedroom, right) – 3 Antidote (1), 3 Paralysis Cure (1), 3 Stone Cure (1)
Soldier (in front of king’s bedroom, left) – Amulet of Antivenin (1), Amulet of Freedom (1), Amulet of Flexibility (1)
Maid (princess’s room) – Anklet (1), 890 FOL (1), Potion of Epiphany (3)
Soldier (arena seating, bottom)* – 200 FOL (1), Mental Potion (3), Malodorous Potion (2)
Spectator (arena seating, wandering bottom area)* – Vanilla Ice Cream (2), The Scream (2), Temper Tablet (1)
Spectator (arena seating, bottom-left)* – Chocolate Crepe (2), Death of Socrates (2), Orange Gratin (2)
Edward (arena seating, top)* – Froghead (1), Egg Fried Rice (2), Umai-bo Snack 9 (2)
Spectator (arena seating, top)* – Ugly Accessory (1), Compress of Veda (2), Potion of the Winds (3)
Bowman (PA) – Sterile Glove (2), Radish Miso Soup (2), Potion of Merlin (3)
Leon (PA) – The World’s a Stage (2), Walls of the Soul (2), Carrot Juice (2)
Precis (PA) – Mechanic’s Toolbox (1), Steel Puncher (1), Daze Bomb (1)
Ernest (PA) – Froghead (1), Bloody Driver (2), Damascus (2)
Opera (PA) – White Clip+ (Add Fire) (2), Lime Cooler (2), 2 Paralysis Cure (1)
Dias (PA) – Shield of Algol (4), Chicken Shish Kebab (2), 3 Iron (1)
* – Only before the Tournament of Arms ends; likely relocates during the tournament proper
** – Appears in postgame, may replace nearby NPCs serving the same role
Pickpocketing – Lacuer and Lacuer Castle (Tournament of Arms)
Lacuer City
Lady (near food merchant)* – Crystal (1), Thunder Ring (2), Silver Charm (2)
Mother (by the stairs)* – Silver Ring (1), 340 FOL (1), Silver Earring (2)
Young Boy (by the stairs)* – Carrot Juice (2), Umai-bo Snack 8 (2), 2 Iron (1)
Man (by tavern)* – 100 FOL (1), Star Ruby (2), Paralysis Cure (1)
Man (by statues)* – Blueberries (1), Diamond (2), Stone Cure (1)
Youth (near save point)* – 500 FOL (1), Rice Croquette (2), Taloned Knuckles (1)
Youth (near weapon shops)* – 120 FOL (1), 2 Ruby (1), Twin Splicers (2)
Man (near weapon shops)* – Blackberries (1), Green Beryl (1), 102 FOL (1)
Scalper* – Paper Scrap (1), 1300 FOL (2), Forged Bill (2)
Tourist (young)* – Orange Soda (2), Magic Camera (1), Magic Film (1)
Tourist (old)* – Soy Milk (2), Banana Crape (2), Rice Cake (2)
Man (on bridge)* – 500 FOL (1), 2 Green Beryl (1), Crystal (1)
Bar “Pride of Lacuer”
Man (at counter)* – 500 FOL (1), Crazy Cow (2), Beef Croquette (2)
Man (near tables, upper)* – Fire in the Sky (2), Risky Resurrection (2), Hot Syrup (3)
Man (near tables, lower)* – Cola (2), Jambalaya (2), Blueberries (1)
Weapon Shop “The Savage Slayer”
Youth* – Flame Sword (1), Plate Helmet (3), 2 Maple Syrup (2)
Lacuer Castle
Maid* (foyer) – Twin Splicers (2), Medical Rinse (3), Faerie Elixir (2)
Soldier (foyer)* – Ruby (1), Shock Oil (2), Mind Bomb (2)
Soldier (dining room)* – Blackberries (1), Star Ruby (2), Plate Helmet (3)
Maid (west hall)* – Bean Paste Bun (2), Flare Bomb (2), 4-way Bomb (2)
Soldier (armory)* – Padded Armor (1), Metallurgy (2), Scroll of Power (2)
Soldier (foyer, guarding room)* – Shared with above soldier
Soldier (2F, guarding room)* – Shared with above soldier
Soldier (meeting room)* – Round Shield (1), Blueberries (1), Star Ruby (2)
Soldier (library)* – Aquaberries (1), Star Ruby (2), Plate Armor (2)
Maid (east hall)* – Silver (1), 3 Maple Syrup (2), Moon Earring (3)
Soldier (stairs to arena)* – Leather Greaves (1), Amulet of Flexibility (1), Amulet of Antivenin (1)
Soldier (guarding princess’ room)* – Boots (1), Faerie Mist (3), Smoke Mist (3)
Soldier (throne room)* – Stringy Sword (1), Oil of Paralysis (2), Smoke Oil (2)
Maid (near throne room* – Rice Cake (2), Soy Milk (2), Relax Perfume (2)
Soldier (guarding king’s room)* – Buckler (1), Safety Shoes (2), HOly Mist (3)
Soldier (arena stairs, left)* – 300 FOL (1), Ruby (1), Green Beryl (1)
Soldier (arena stairs, right)* – Blueberries (1), 2 Crystal (1), 3 Silver (1)
Fan (orange dress, arena)* – Cinderella Glass (2), Feather Pen (1), Premium Paper (1)
Fan (blue dress, arena)* – Cinderella Glass (2), Relax Perfume (2), Drawing Poses (2)
Soldier (waiting room, left)* – Wooden Shield (1), Leather Boots (2), Magical Cap (1)
Combatant (below left arena combatant hall)* – Leather Armor (1), Malodorous Potion (2), Ointment of Veda (3)
Soldier (front of left arena combatant hall)* – Stringy Sword (1), Rune Buckler+ (STM UP +10) (1), Amulet of Antivenin (1)
Combatant (left arena combatant hall)* – Boots (1), Mental Potion (3), Sacrifice Pill (3)
Soldier (waiting room, right)* – Wooden Shield (1), Leather Boots (2), Magical Cap (1)
Soldier (front of right arena combatant hall)* – Stringy Sword (1), Rune Buckler+ (GUTS UP +10) (1), Amulet of Antivenin (1)
Combatant (right arena combatant hall)* – Leather Helmet (1), Amulet of Flexibility (1), Crested Shield (2)
Son* – Harmonica (2), Umai-bo Snack 1 (2), Pumpkin Croquette (2)
Father* – Feather Pen (1), 3 Conductor Baton (1), Musicology (2)
Man (middle of line)* – 600 FOL (1), Bubble Lotion (2), 2 Aquaberries (1)
Woman (middle of line)* – Onyx Earring (2), Weighty Ring (1), Violent Pill (2)
Young Girl* – Gold Ring (1), Umai-bo Snack 10 (2), Beef Croquette (2)
Youth* – Necklace (1), Refreshing Syrup (3), 2 Gold (1)
Soldier (entrance to stands, right)* – Round Shield (1), Diamond (2), Mixed Syrup (2)
Soldier (entrance to stands, left)* – Leather Greaves (1), Star Ruby (2), Sweet Potion (2)
NOTE: You cannot pickpocket anyone in the arena stands when playing as Claude as he does not have access to any stealing items during the tournament!
After tournament:
Soldier (in watiing room)* – Paper Scrap (1), Stone Cure (1), Bubble Lotion (2)
Soldier (in waiting room, left)* – Paper Scrap (1), 3 Aquaberries (1), 2 Iron (1)
Soldier (in stands, bottom)* – Aquaberries (1), Apple Jam (1), Stock Certificate (2)
Soldier (in stands, bottom-right)* – Blackberries (1), 3 Iron (1), Sapphire (1)
Pickpocketing – Lacuer Castle (Post-Invasion)
Lacuer Castle (Post-Invasion)
Man (hall to foyer) – Critical Card (2), Faerie Card (3), Treasure Card (3)
Woman (foyer) – Victory Card (2), Hexagram Card (2), Wealth Card (3)
Youth (foyer) – 150 FOL (1), The Scream (2), Intimidation Pendant (2)
Lacuer Innkeeper – 100 FOL (1), Holy Mist (3), Iron (1)
Guildmaster – Magic Canvas (1), 700 FOL (1), Pet Food (1)
Edda – Hard Knuckles (1), Succubus Perfume (3), High Heels (1)
Forlong – Sinclair (1), Smith’s Hammer (1), Green Beryl (1)
Dagol – Cestus (1), Smith’s Hammer (1), Diamond (2)
Yuukari – Glass Slippers (1), Umai-bo Snack 9 (2), Weird Shape (1)
Nerolie – Jack-in-the-Box (2), Umai-bo Snack 6 (2), 100 FOL (1)
Basil – Iron (1), Umai-bo Snack 7 (2), Spectacles (1)
Youth (throne room) – 150 FOL (1), Mirror of Knowledge (2), Fruit Syrup (3)
Child (princess’s room) – 50 FOL (1), Umai-bo Snack 8 (2), Hot Syrup (3)
Lady (princess’s room) – Seafood (1), 2 Choosing Ingredients (2), 375 FOL (1)
Combatant (arena foyer, left) – 600 FOL (1), Gruel (2), Risky Resurrection (2)
Combatant (arena foyer, right) – Antidote (1), Potion of Might (2), Amulet of Flexibility (1)
Man (arena seating, top) – Weird Shape (1), Diamond (2), Water Ring (2)
Fastred – Pebbles (1), 670 FOL (1), Smith’s Hammer (1)
Chef – Hamburg Steak (2), Choosing Ingredients (2), Food for the Soul (2)
Bartender – Lime Cooker (2), Pumpkin Croquette (2), Sweet Potion (2)
Nol – Sacrificial Doll (2), 480 FOL (1), Strange Medicine (1)
King of Lacuer – Crown (1), 1980 FOL (2), Silver Robe+ (Metabolism) (2)
Florith – Triangle Flask (2), Diamond (2), Mandrake (1)
Murdock – Resurrection Elixir (2), Refreshing Syrup (3), Holy Mist (3)
Pickpocketing – Linga, Hoffman Coast and Lacuer Front Line Base
Linga
Woman (entrance) – Grains (1), 3 Rose Hips (1), 3 Athelas (1)
Woman (funny hat) – Bitter Cake (1), Succubus Perfume (3), Strange Medicine (1)
Beefy Man – Strength Bottle (2), Potion of Might (3), Filet Mignon (3)
Man (near Precis’s house) – Iron (1), Crystal (1), 2 Rose Hip (1)
Man (across bridge) – Pet Food (1), Metallurgy (2), 2 Mandrake (1)
Youth (path to university) – 1500 FOL (2), Green Bracelet (2), Weighty Ring (1)
Scholar – Wolfsbane (1), Violent Pill (2), Velvet Tear (3)
Female Scholar – Artemis Leaf (1), Rune Cap (2), 2 Magic Canvas (1)
Student – Fountain Pen (1), Spectacles (1), Silver Amulet (2)
Suspicious Merchant* – Fountain Pen (1), Walls of the Soul (2), Secrets of the Earth (2)
Student* – Temper Tablet (1), The World’s a Stage (2), The Perfect Rhythm (2)
Student* – 100 FOL (1), Food for the Soul (2), Choosing Ingredients (2)
Student* – Herbal Potion (2), Metallurgy (2), Drawing Poses (2)
Professor* – Strength Bottle (2), Mirror of Knowledge (2), Spectacles (1)
Leon (PA) – Picture Encyclopedia (2), Carrot Juice (2), 2 Athelas (1)
Ashton (PA) – Plate Armor (2), Shield Swords (2), Hamburg Steak (2)
Noel (PA) – Friends of the Woods (2), Fine Tuna Sashimi (2), 3 Athelas (1)
Celine (PA) – Silk Robe (1), Rod of Jewels (1), Rabbit Risotto (2)
Chisato (PA) – Feather Pen (1), Fruit Sandwich (2), 3 Mandrake (1)
Dias (PA) – The Scream (2), Chicken Shish Kebab (2), 3 Lavender (1)
Drug Store “CSV Pharmacy”
Joe – Mist of Madness (3), Violent Pill (2), Pixie Perfume (2)
Precis’s Laboratory
Graft – Mind Bomb (2), 4-way Bomb (2), Iron (1)
Precis (PA) – Flare Bomb (2), Super Puncher (3), Chocolate Crepe (2)
Inn “The Ling-a-Ling”
Linda – 200 FOL (1), Faerie Mist (3), 2 Rose Hip (1)
Pharmacy “Jeane’s Medicine House”
Ninay – Evening Gown (2), Ring of Trust (2), Magical Cap+ (DEF UP 10%) (1)
Bowman (PA) – Blazing Knuckles (3), Ring of Happiness (2), Radish Miso Soup (2)
The Linga Guild
Advisor – Friends of the Woods (2), Food for the Soul (2), All About Herbs (2)
Guildmaster – Scroll of Power (2), Choosing Ingredients (2), Dish of the Day (2)
Keith Krasner’s Home
Assistant (near entrance) – Paper Scrap (1), Food for the Soul (2), Choosing Ingredients (2)
Assistant (kitchen) – Fountain Pen (1), The Perfect Rhythm (2), The World’s a Stage (2)
Keith – Beret (2), Hermetic Philosophy (2), Secrets of the Earth (2)
Campus Store “The Academy Co-Op”
Co-op Lady- Fountain Pen (1), 3 Vegetables (1), 3 Eggs and Dairy (1)
Opera (PA) – Pin Heels (1), High Heels (1), X Clip (2)
Academy Library
Student (near entrance) – Operation Manual (2), Musicology (2), The World’s a Stage (2)
Librarian (lower) – Magic Gumdrop (2), Silence Card (2), Metallurgy (2)
Librarian (upper) – Spectacles (1), Hexagram Card (2), Drawing Poses (2)
Student (female, near seating area) – Fanfic! (2), Fanfic X (2), Feather Pen (1)
Student (male, near seating area) – Engineer’s Handbook (2), Stardust Ring (2), 2 Iron (1)
Student (upper bookshelves) – Secrets of the Earth (2), All About Herbs (2), The Perfect Rhythm (2)
Student (back of library) – Hermetic Philosophy (2), 3 Mandrake (1), 3 Wolfsbane (1)
Claude (PA) – Fine Shield (2), Farcutter+ (ATK UP 20%) (2), Steak (2)
Ernest (PA) – Battle Suit (4), Bloody Driver (2), Jack-in-the-Box (2)
Lacuer Academy
Receptionist – 300 FOL (1), 3 Feather Pen (1), 3 Athelas (1)
Student (in foyer) – Oil of Paralysis (2), Water Ring (2), Walls of the Soul (2)
Cafeteria Worker – Meat (1), 3 Eggs and Dairy (1), 2 Grains (1)
Student (sitting in cafeteria) – Medical Rinse (3), Cabbage Roll (2), 2 Pumpkin Spring Roll (2)
Student (back of cafeteria) – Risky Resurrection (2), Green Cream Soup (2), 2 Fried Eggs (2)
Professor (bottom-right classroom) – Bitter Lotion (2), Life in Nature (2), All About Herbs (2)
Professor (bottom-left classroom) – Faerie Cologne (3), Drawing Poses (2), Friends of the Woods (2)
Assistant (upper laboratory, near door) – Smoke Oil (2), Holy Mist (3), 3 Wolfsbane (1)
Assistant (upper laboratory, middle of room) – Shock Oil (2), Paralysis Mist (3), 3 Mandrake (1)
Professor (upper laboratory) – Potion of Reversal (2), The World’s a Stage (2), Musicology (2)
Rena (PA) – Laced Boots (3), Metal Fang (2), Shortcake (2)
Welch (PA) – Damascus (2), Chocolate Banana (2), 3 Wolfsbane (1)
* – Only appears during the PA with the suspicious merchant.
Hoffman Coast
Soldier – Angelic Hairband (1), 2 Sweet Potion (2), 2 Hot Syrup (3)
Lacuer Front Line Base
Soldier (left, entrance) – Antidote (1), Guthgwine (1), Plate Armor (2)
Soldier (right, entrance) – Paralysis Cure (1), Oriental Blade (2), Plate Helmet (3)
Squad Leader – Blackberries (1), Soulbreaker (1), Crested Shield (1)
GUTSless Soldier – Faerie Cologne (3), Guthgwine (1), Intimidation Pendant (1)
Soldier (near squad leader, left) – Aquaberries (1), Shield Swords (2), Hefty Ring (1)
Soldier (near squad leader, right) – 2 Blueberries (1), Farcutter+ (ATK UP 10%) (2), Knight’s Shield (2)
Soldier (near shops, furthest right) – Blueberries (1), Dragon Claw (2), Ring Mail (1)
Soldier (near shops, middle) – Lavender (1), Buckler (1), Oriental Blade (2)
Soldier (near shops, furthest left) – Rose HIps (1), Leather Graeves (1), Metal Fang (2)
Lacuer Front Line Base Armory
Soldier – Amulet of Freedom (1), Blessed Plate Armor (2), Assault Bomb (2)
Combatant – Megabomb (3), Ring of Resistance (2), 250 FOL (1)
Lacuer Front Line Base Main Bld.
Gloval – Steel Armor (2), 2 Aquaberries (1), 2 Blackberries (1)
Squad Leader (near shop) – Knight’s Shield (2), Steel Helmet (3), 4-way Bomb (2)
Combatant (near shop) – Victory Card (2), Green Bracelet (2), Lunar Talisman (2)
Soldier (near shop) – Round Shield (1), Blessed Plate Armor (2), Megabomb (3)
Dias (Claude only or if you reject him as Rena) – Plate Helmet+ (CRT ENergy) (3), Storm Ring (2), Plate Armor+ (Uekemi) (2)
Combatant (near soldier above) – Critical Card (2), Potion of the Winds (3), Chain of Might (2)
Soldier (injured on ground) – Brigandine (1), 800 FOL (1), 2 Sweet Potion (2)
Doctor – Medicine Bottle (2), Silver Robe (2), Sweet Potion (2)
Soldier (wants a nap) – Bitter Lotion (2), Stink Gel (2), Bubble Lotion (2)
Nurse (offers rest) – Antidote (1), Amber Robe+ (DEF UP 10%) (1), 3 Stone Cure (1)
Nurse (wandering) – High Heels (1), Amber Robe (1), 3 Paralysis Cure (1)
Soldier (standing, injured) – Smelling Salts (2), 3 Sour Syrup (2), 2 Herbal Potion (2)
Combatant (on bed, injured) – Broadsword (1), Crested Shield (2), Deadly Poison Bomb (1)
Nurse (tending to combatant) – Sweet Syrup (2), Amber Robe (1), Potion of Reversal (2)
Commandant – Silver Fang (2), Golden Fang (2), Angelic Headband
Sub-Commandant – Longsword (1), 2 Conductor Baton (2), Potion of Lilith (2)
Commanding Officer (top-left) – Anklet (1), Plate Armor+ (DEF UP 10%) (2), 3 Hazardous Heal (2)
Commanding Officer (bottom-left) – Weighty Ring (1), Plate Greaves+ (DEF UP 10%) (2), Maple Syrup (2)
Commanding Officer (bottom-right) – Hefty Earring (1), Paralysis Cure (1), 1400 FOL (2)
Commanding Officer (top-right) – 500 FOL (1), Plate Helmet+ (DEF UP 10%) (3), Amulet of Antivenin (1)
Squad Leader – Blackberries (1), Sweet Potion (2), 3 Hot Syrup (3)
Nurse (hall) – Rose Hip (1), Amber Robe (1), Thunderclap Rod (2)
Soldier (on bed)* – Holey Armor (1), Malodorous Potion (2), Hot Syrup (3)
Soldier (bloody head)* – Stingy Sword (1), Sacrifice Pill (3), Fruit Syrup (3)
Soldier (bloody head, lower)* – Blueberries (1), Brigandine (1), 3 Sweet Syrup (2)
Lacuer Front Line Base Platform
Melancholy Commander – Blurry Photo (1), Shield Ring (3), Nuclear Bomb (3)
* – After Cynne’s attack
Pickpocketing – Ell Continent
Eluria Colony
Child – Bracelet of Gambling (2), Umai-Bo Snack 4 (2), Rose Hip (1)
Woman (near entrance) – Ring of Sadness (2), 3 Aquaberries (1), Risky Resurrection (2)
Woman (green dress) – Sacrificial Doll (2), Hotcake (2), Egg Sandwich (2)
Woman (near shop) – Amulet of Freedom (1), Faerie Statuette (2), Antidote (1)
Man (near shop) – Hammer Charm (3), 3 Eggs and Dairy (1), 2 Vegetables (1)
Youth (near mayor’s house) – Holy Mist (3), Lavender (1), 3 Artemis Leaf (1)
Armory
Youth – Melt Potion (3), 3 Mechanic’s Toolbox (1), Stock Certificate (2)
Mayor’s House
Woman – Glass Slippers (1), 2 Blackberries (1), 3 Sweet Syrup (2)
Youth – Sandals (1), Maiden’s Aria (2), Fruit Syrup (3)
Chief – Star Ruby (2), Amber Robe (1), Thunderclap Rod (1)
Calnus (Claude’s scenario only)
Cadet (left) – Battle Suit (4), Flare Bomb (2), Smith’s Hammer (1)
Officer (near captain’s chair) – Survival Kit (2), 2 Medicine Bottle (2), Fruit Syrup (3)
Cadet (right) – Music Box (2), Talisman (2), Resurrection Elixir (2)
Cadet (right, near controls) – Fountain Pen (1), 3 Premium Paper (1), Stun Gun (1)
Officer (near globe) – Shock Gun (3), Mind Bomb (2), Mechanic’s Toolbox (1)
Operator (right) – Shortcake (2), Fruit (1), Death of Originality (2)
Helmsman (right) – Graphic Tool (2), Magic Canvas (1), Engineer’s Handbook (2)
Helmsman (left) – Music Editor (2), Feather Pen (1), Operation Manual (2)
Kurtzman – Word Processor (2), Electric Stunner (2), Illusion Doll (3)
Operator (left) – Mechanic’s Toolbox (1), Academic Book (2), Spectacles (1)
Science Officer – Pet Food (1), 3 Mechanic’s Toolbox (1), Spark Stunner (1)
Ronyx – Mallet Charm (4), Brigandine (1), Mushroom Soup (2)
Pickpocketing – Centropolis and North City
Centropolis
Man (near tables) – Sweet Syrup (2), Friends of the Woods (2), Drawing Poses (2)
Woman (near restaurant) – Shortcake (2), Breeze Earring+ (High-grade) (2), Ring of Healing (2)
Boyfriend – Moon Tiara (3), Rainbow Diamond (3), Magic Gumdrop (2)
Girlfriend – Ruby (1), Faerie Ring (3), Earring of the Winds+ (Masterwork) (2)
Youth (near weapon shop) – 500 FOL (1), Lunar Charm (3), Blue Talisman (2)
Elderly Person (near fountain) – Magic Clay (1), Metallurgy (2), Goodie Box (3)
Bunny Statue – Damascus (2), 3 Mandrake (1), 3 Wolfsbane (1)
Man (near City Hall) – Feather Pen (1), Hammer Charm+ (Masterwork) (3), Ring of Mental Power (3)
Bowman (PA) – Sour Syrup (2), Radish Miso Soup (2), Potion of Merlin (3)
Rena (PA) – Chocolate Crepe (2), Ring of Sadness (2), Artemis Leaf (1)
Ashton (PA) – Ring of the Accursed (3), Hamburg Steak (2), Twin Needles+ (ATK UP 10%) (2)
Welch (PA) – Lezard’s Flask (3), Chocolate Banana (2), Worrying Handy Stick (3)
Leon (PA) – Encyclopedia (2), Carrot Juice (2), Potion of Merlin (3)
Ernest (PA) – Treasure Card (3), Bloody Driver (2), Rose Whip (3)
Claude (PA) – Mithril Mesh (3), Steak (2), Searing Sword+ (CRT UP 10%) (3)
Precis (PA) – Froghead (1), Chocolate Crepe (2), Ice Puncher (2)
Food Shop “Empyrean Cuisine”
Part-Timer – Sweet Toast (3), 5 Vegetables (1), 5 Grains (1)
Butler – 500 FOL (1), Marenne Oysters (3), Sirloin (3)
Madame – Gold Bracelet (1), 3000 FOL (2), Star Necklace (2)
Shop Owner – Rabbit Risotto (2), Organic Vegetables (3), Magic Rice (3)
Weapon Shop “Hyperion Weapons”
Kim – Critical Card (2), Wizard’s Cap (2), Fire Ring (2)
Item Shop “Gracy’s”
Gracy – Magic Canvas (1), 3 Magic Clay (1), Goddess Statuette (3)
Celine (PA) – Holy Rod (3), Rabbit Risotto (2), Goddess Statuette (3)
The Centropolis Guild
Guildmaster – Triangle Flask (2), 5 Iron (1), Philosopher’s Stone (3)
Advisor – Sterile Glove (2), 5 Artemis Leaf (1), Potion of Merlin (3)
Inn & Bar “Brandywine”
Front Desk Clerk – Glittering Earring+ (High-grade) (1), Sweet Fruit (3), 5 Sweet Syrup (2)
Girlfriend – Faerie Tear (3), Stardust Ring (2), Konjac Jelly (3)
Boyfriend – 500 FOL (1), Luxury Grape Juice (2), Muscat Jelly (3)
Active Youth (top) – Flat Soda (2), Magical Salad (3), Mystic Amulet (3)
Active Youth (middle) – Lavender (1), Special Stir-Fry (3), Tearful Risotto (3)
Active Youth (bottom) – Blackberries (1), Ring of Trust (2), Legendary Otoro (3)
Bartender – Cola (2), Ooze Cocktail (2), Creamy Cheese (3)
Young Woman (left) – Mist Insignia (3), Rose de Mai (2), Yogurt Salad (3)
Young Woman (middle) – Earring of Magnestism (2), Treasured Gorgonzola (3), Custard of Life (3)
Hyper Girl – Ring of Happiness (2), Ooze Cocktail (2), Egg on Bacon (2)
Noel (PA) – Seafood (1), Fine Tuna Sashimi (2), Tiger Fang (2)
Opera (PA) – Ring of Trust+ (Coercion) (2), Lime Cooler (2), Nectar of Ambrosia (3)
Dias (PA) – Silver Greaves (3), Chicken Shish Kebab (2), Gold Stew (3)
City Hall
Woman (1F) – Gale Earring (2), Ring of Fusion (2), Silver Charm (2)
Young Boy (1F) – Doodles (1), Fanfic (2), Blue Talisman (2)
Child’s Mother – Meat (1), 5 Fruit (1), Vegetables (1)
Girl – Lavish Idol+ (High-grade) (2), Umai-bo Snack 9 (2), Dragon’s Ribbon (2)
Receptionist (2F upper-left) – Mirror of Knowledge (2), Feather Pen (1), 2500 FOL (2)
Receptionist (2F upper-right) – 10V Stun Gun (1), 3 Angel Statuette (2), Paralysis Mist (3)
Staff (2F left) – Spectacles (1), 1800 FOL (2), 3 Antidote (1)
Staff (2F right) – Premium Paper (1), 2000 FOL (2), Feather Pen (1)
Youth (2F bottom left) – 720 FOL (1), Jack-in-the-Box (2), Shield Ring (3)
Woman (2F upper) – Medical Rinse (3), Death of Socrates (2), Damascus (2)
Woman (2F lower) – Succubus Perfume (3), Wyrm King’s Ribbon (3), Faerie Cologne (3)
Young Woman (3F by painting) – 500 FOL (1), 2 Premium Paper (1), Emerald Ring (2)
Editor (3F front desk) – Paper Scrap (1), Feather Pen (1), Meteorite (3)
Associate Editor (3F right room) – Resurrection Mist (3), Mechanic’s Toolbox (1), 2 Refreshing Syrup (3)
Editor (3F left room top) – Old Milk (1), 3 Magic Film (1), 3 Magic Clay (1)
Editor (3F left room bottom) – Smelling Salts (2), Magic Film (1), RIRICA (2)
Editor (3F left room middle) – Word Processor (2), Premium Paper (1), Hazardous Heal (2)
Editor in Chief (3F left room) – Fanfic ;O (2), Magic Canvas (1), 2300 FOL (2)
Youth (4F hall) – Star Earring (2), Victory Card (2), Lunar Talisman (2)
Editor (4F right) – 800 FOL (1), 2 Dish of the Day (2), 2 Choosing Ingredients (2)
Editor (4F center) – Academic Book (2), 2 The Perfect Rhythm (2), 2 Operation Manual (2)
Editor (4F left) – Dictionary+ (High-grade) (2), Emerald Earring (2), 1560 FOL (2)
Editor in Chief (4F) – Cola (2), Fanfic ;O (2), Ring of Infinity (3)
Receptionist (5F) – Graphic Tool (2), Earring of Frenzy (2), Mind Ring (3)
Nall – Music Editor (2), Holy Cloak (2), Ring of Wisdom (3)
Chisato (PA, 3F) – Shock Gun+ (Masterwork) (3), Fruit Sandwich (2), 3 Magic Film (1)
North City
Youth (near weapon shop) – Jack-in-the-Box (2), Medical Rinse (3), Mystic Amulet (3)
Youth (near inn) – Antidote (1), 3 Mechanic’s Toolbox (1), Burning Puncher (3)
Woman (near inn) – Lunar Charm (3), Gale Earring (2), Emerald Ring (2)
Elderly Person (near weapon shop) – Wolfsbane (1), Ring of Wisdom (3), 2 Aquaberries (1)
Youth (near food shop) – 400 FOL (1), 2 Orichalcum (2), 3 Athelas (1)
Bowman (PA) – Mandrake (1), Radish Miso Soup (2), Blazing Knuckles (3)
Claude (PA) – Victory Card (2), Steak (2), Metalcrusher (3)
Precis (PA) – Super Puncher (3), Chocolate Crepe (2), 3 Mechanic’s Toolbox (1)
Opera (PA) – Pin Heels (1), Lime Cooler (2), Magic Clip (3)
Ernest (PA) – Philosopher’s Stone (3), Weird Shape (1), Bloody Driver (2)
Inn “The Northern Lights”
Girl – Weird Doll (1), 2 Holy Mist (3), 4 Stone Cure (1)
Rena (PA) – High Heels (1), Shortcake (2), Magic Knuckles+ (INT UP 10%) (3)
Celine (PA) – Mithril Dress (3), Rabbit Risotto (2), Rod of Snakes (3)
Weapon Shop “The Noble Psynard”
Shop Owner – Saad Blade (3), Deadly Cleaver (3), Spark Puncher (3)
Shop Clerk – Safety Shoes (2), Hermit’s Cap (3), Wizard’s Armor (3)
Food Shop “Clone Foods”
Granny – Stock Certificate (2), Green Cream Soup (2), 2100 FOL (2)
Girl – Carrot Ice Cream (2), Milky Potage (3), 2 Rice-Bran Pickles (2)
Item Shop “The Blue Flask”
Customer – Fruit Syrup (3), 1010 FOL (2), 5 Eggs and Dairy (1)
Heath – Violin (2), 3 Conductor Baton (1), Musicology (2)
Chisato (PA) – Revival Card (2), Fruit Sandwich (2), Flame Gun (2)
Library “Nedepedia”
Operator – Music Editor (2), Mechanic’s Toolbox (1), Operation Manual (2)
Library Staff – Fountain Pen (1), Musicology (2), Pocket Encyclopedia (2)
Librarian – Walls of the Soul (2), Secrets of the Earth (2), Engineer’s Handbook (2)
Young Girl – Prism Ring (2), Life in Nature (2), Shield Earring (2)
Noel (PA) – Sashimi (3), Fine Tuna Sashimi (2), The Bestiary (2)
Leon (PA) – Friends of the Wood (2), Carrot Juice (2), All About ESP (3)
Dias (PA) – Crested Shield+ (Masterwork) (2), Chicken Shish Kebab (2), The Perfect Rhythm (2)
Psynard Breeding Facility
Man (entrance) – Potion of Epiphany (3), 1250 FOL (2), Ring of Resistance (2)
Guildmaster – Smith’s Hammer (1), Faerie Statuette (2), Angel Statue (2)
Advisor – Smith’s Hammer (1), Warrior Idol (3), Illusion Doll (3)
Artis – Sacrifice Pill (3), Faerie Elixir (2), Fine Tuna Sashimi (2)
Research Staff (Artis’ office) – Pixie Perfume (2), 2 Mental Potion (3), 2 Refreshing Syrup (3)
Receptionist (left) – Death of Originality (2), 2 Fruit Syrup (3), Ruby Earring (1)
Receptionist (right) – Dish of the Day (2), Resurrection Elixir (2), Ring of Avoidance (3)
Research Staff (Psynard tanks) – Potion of Nightmares (2), Smoke Oil (2), Bubble Lotion (2)
Research Staff (catwalk, left) – Hazardous Heal (2), Oil of Paralysis (2), Bitter Lotion (2)
Ashton (PA) – Dream Bracelet (3), Hamburg Steak (2), Double Smashers+ (ATK UP 10%) (3)
Welch (PA) – Creating a Coup (3), Chocolate Banana (2), Furious Handy Stick (3)
Pickpocketing – L’Aqua, Princebridge, Armlock and For a Few Fol More
L’Aqua
Nede Defense Force Soldier (lower) – Magic Cross (2), 2 Assault Bomb (2), Damascus (2)
Nede Defense Force Soldier (upper) – Ricochet Bracelet (2), Mist of Madness (3), Nuclear Bomb (3)
Nede Defense Force Soldier (right, by door) – 3000 FOL (2), 2 4-way Bomb (2), 2 Shock Oil (2)
Nede Defense Force Soldier (left, by door) – Rune Metal (3), 2 Smoke Oil (2), Compress of Veda (2)
Nede Defense Force Soldier (near save point)** – Mallet Charm (4), Moonstone (3), 2 Paralysis Mist (3)
Nede Defense Force Soldier (closest to Reel)** – Ring of Infinity (3), Stink Gel (2), Bitter Lotion (2)
Reel – Fishy Fragrance (2), 2 Fine Tuna Sashimi (2), Sashimi (3)
Interior
Staff** – Mithril (3), Fishy Fragrance (2), 3 Seafood (1)
Mariana** – Tiara of Isis+ (Ultra Symbology Field) (4), Faerie Elixir (2), Sacrifice Pill (3)
Nurse – Resurrection Mist (3), 3 Lavender (1), 3 Athelas (1)
Nurse (near bed)** – Resurrection Elixir (2), Immunity Pill (2), Marionette Pill (3)
Nede Defense Force Soldier (nurse’s office)** – Mystic Amulet (3), 2 Crystal (1), Mind Bomb (2)
Nede Defense Force Soldier (south of nurse’s office)** – Veda Idol (2), Illusion Doll (3), Flare Bomb (2)
Nede Defense Force Soldier (hall) – Meteorite (3), Nuclear Bomb (3), Revival Card (2)
Nede Defense Force Soldier (upper)* – Ruby Rod (3), Electric Stunner (2), Potion of Lilith (2)
Nede Defense Force Soldier (lower)* – Sacred Tome (3), Pixie Perfume (2), Witch Powder (3)
Mirage* – Sylvan Mail (3), Sylvan Helmet (3), 2 Premium Paper (1)
Nall* – Cloak of the Stars (3), Rune Metal (3), Faerie Card (3)
* – After saving Mirage in Armlock
** – Disappears after first assault on Phynal
Princebridge
Woman (by fountain) – Mist Insignia (3), Mental Potion (3), Hot Syrup (3)
Boy – Weird Shape (1), Smoke Oil (2), Magic Gumdrop (2)
Gramps – 5000 FOL (3), Engineer’s Handbook (2), Graphic Tool (2)
Man – Artemis Leaf (1), Flare Bomb (2), Ruby Pendant (2)
Woman (by university) – Glass Slippers (1), The World’s a Stage (2), Gold Ring (1)
Ashton (PA) – Twin Needles (2), Walls of the Soul (2), Silver Amulet (2)
Celine (PA) – Ruby Rod (3), Cream Stew (3), Mithril Coat (2)
Precis (PA) – Super Puncher (3), 3 Megabomb (3), Music Box (2)
Chisato (PA) – Lightning Gun (3), Pin Heels (1), Bean Paste Bun (2)
Dias (PA) – Whirlwind (3), Potion of Reversal (2), Scroll of Power (2)
Claude (PA) – Veil Piercer+ (Masterwork) (2), The Perfect Rhythm (2), Hot Syrup (3)
Inn “Peace of Mind”
Yahma the Sentry – Konjac Jelly (3), Wobbly Slime (3), Ingredients of Yarma (3)
Jack – Doodles (1), Magic Canvas (1), Silence Card (2)
Leon (PA) – Encyclopedia (2), The Bestiary (2), Hotcake (2)
Item Shop “Fernes & Gable”
Rouge – Cinderella Glass (2), Ruby Wand (1), Laced Boots (3)
Bar “P. B.’s”
Man (entrance) – Fanfic? (2), Musicology (2), Gold Cross (2)
Freya – Nectar (3), Rose de Mai (2), Succubus Perfume (3)
Gramps – Rune Metal (3), 5000 FOL (3), Awful Cider (1)
Boy – 500 FOL (1), Beret (2), Vegetable Juice (2)
Opera (PA) – Nectar (3), Rose de Mai (2), Succubus Perfume (3)
Ernest (PA) – Flare Whip (3), Plate Greaves+ (High-grade) (2), Bloody Driver (2)
Cafeteria “The Pridgey”
Student – 200 FOL (1), The Bestiary (2), Jack-in-the-Box (2)
Abdra – Wilted Salad (1), Food for the Soul (2), Keen Kitchen Knife (2)
Noel’s Home
Noel (PA) – Seafood (1), Fine Tuna Sashimi (2), Tiger Fang+ (High-grade) (2)
Princebridge University
Merchant of the Snow – Weird Cap (1), Dish of the Day (2), Hammer Charm+ (Masterwork) (3)
Female Student (right classroom) – Element Analyzer (2), Picture Encyclopedia (2), Laced Boots (3)
Student (right classroom, middle) – Fountain Pen (1), Metallic Launcher (3), Smelling Salts (2)
Student (right classroom, right) – Premium Paper (1), Fountain Pen (1), Forged Document (3)
Professor (right classroom) – Hermetic Philosophy (2), Engineer’s Handbook (2), Magic Camera (1)
Professor Parel – 10000 FOL (4), Philosopher’s Stone (3), 2 Rainbow Diamond (3)
Intern – Lame Earring (1), Beret (2), Reference Book (1)
Rena (PA) – Cestus of Poison+ (INT UP 10%) (2), Stun Gun (1), Strange Medicine (1)
Welch (PA) – Operation Manual (2), Fire Puncher (3), Fire Ring (2)
Bowman (PA) – Holy Mist (3), Sterile Glove (2), Potion of Merlin (3)
Female Student (2F left classroom, top) – Mirror of Knowledge (2), Wolfsbane (1), Potion of Nightmares (2)
Student (2F left classroom, sleeping) – Paper Scrap (1), Feather Pen (1), Fanfic (2)
Student (2F left classroom) – Fountain Pen (1), Reference BooK (1), 5000 FOL (3)
Female Student (2F left classroom, bottom) – All About Herbs (2), Lavender (1), 2 Life in Nature (2)
Professor (2F left classroom) – All About Herbs (2), Mandrake (1), Maple Syrup (2)
Librarian – Star earring (2), Encyclopedia (2), 3 Spectacles (1)
Student (in library) – 500 FOL (1), Reference BooK (1), Metallurgy (2)
Armlock
Woman (near inn) – Cinderella Glass (2), Ring of Fusion (2), Venomous Stingers (1)
Elderly Person – Death of Socrates (2), Farcutter (2), Chain of Might (2)
Young Girl – Sour Syrup (2), Keen Kitchen Knife (2), Raspberry Jam (1)
Young Boy – Boots of Happiness (1), Ring of Absorption (3), Ring of Absorption (3)
Man – Weird Shape (1), Heavy Ring (1), Ring of the General (2)
Bowman (PA) – Artemis Leaf (1), Sweet Potion (2), Resurrection Mist (3)
Celine (PA) – Silver Moon (4), Pin Heels (1), Silver Robe (2)
Ashton (PA) – Twin Needles (2), Steel Helmet+ (High-grade) (3), 4 Orichalcum (2)
Welch (PA) – Goodie Box (3), Operation Manual (2), Gauntlet of Air+ (Cast-iron) (2)
Claude (PA) – Searing Sword (3), Plate Helmet (3), Mithril (3)
Precis (PA) – Mechanic’s Toolbox (1), 3 Mind Bomb (2), Thunder Puncher (2)
Weapon Shop “The Weapon Factory”
Locke – Mithril Dress (3), Resurrection Mist (3), Goddess Statuette (3)
Rena (PA) – Knuckles of the Moon (3), Rune Metal (3), Mithril (3)
Noel (PA) – Dragon Claw+ (Masterwork) (2), 3 Wonder Drug (2), 3 Faerie Elixir (2)
Dias (PA) – Hope of the Breeze (3), Silver Greaves (3), 3 Potion of Might (3)
Mirage’s Home
Mirage – Force Sword+ (Cancel Boost) (3), Cestus of Poison+ (Paralysis) (2), Freeze Whip+ (Add Earth) (3)
Nall* – Premium Paper (1), Star Ruby (2), Ring of Mental Power (3)
Leon (PA) – Symbology Dictionary (3), Element Analyzer (2), Hermetic Philosophy (2)
Inn “The Armistice”
Youth – Pear Compote (3), Purple Amulet (2), 2 Veda Idol (2)
Woman – Moon Earring (3), Star Necklace (2), Moon Tiara (3)
Dok – Smith’s Hammer (1), Barrier Shield (3), Regeneration Ring (3)
Granny – Fire in the Sky (2), Magical Cap (1), 4 Spectacles (1)
Inn Guest – 5000 FOL (3), Damascus (2), Cestus of Poison (2)
Peddler – tri-Emblum (3), Smith’s Hammer (1), Silver Amulet (2)
Kara – Herbal Potion (1), Meteorite (3), Mirror of Knowledge (2)
Opera (PA) – Alpha Clip (3), 5 Mechanic’s Toolbox (1), Wealth Card (3)
Ernest (PA) – Light Whip (3), Graphic Tool (2), Gold Idol (1)
Chisato (PA) – Word Processor (2), Earring of Readiness (2), Experience Card (3)
The Armlock Guild
Advisor – Sterile Glove (2), Evening Gown (2), Goodie Box (3)
Guildmaster – Magician’s Glove (2), Intimidation Pendant+ (Masterwork) (2), Hexagram Card (2)
Food Shop “The Kitchen Knife”
LeMars – Grains (1), Chicken Doria (2), Fanfic! (2)
Waitress – Death of Originality (2), Shortcake (2), Fanfic!!! (2)
Customer – 1500 FOL (2), Muscat Jelly (3), Flat Soda (2)
* – After Symbological Weapons Lab, before completing Minae Cave
For a Few Fol More
Tok – Assassin’s Handbook (3), 4800 FOL (2), Forged Check (2)
Pickpocketing – Fun City
Fun City
Entrance Staff – Ring of Insanity+ (High-grade) (3), Fanfic!? (2), Medical Rinse (3)
Receptionist (upper) – Fountain Pen (1), Premium Paper (1), Lunar Talisman (2)
Receptionist (lower) – Paper Scrap (1), Silver Amulet (2), Emerald Earring (2)
Staff (near entrance) – Paper Scrap (1), Fruit Syrup (3), Chain of Might (2)
Tourist (green dress) – Dull Blade (1), Lamb Burger Steak (2), Fanfic 😉 (2)
Tourist (orange dress) – Lame Earring (1), Slimy Gelatin (2), Fanfic! (2)
Tourist (white robe) – Vegetable Stir-Fry (3), Coconut Milk (3), 3000 FOL (2)
Tourist (near item shop) – 800 FOL (1), Gelatin Steak (2), Fanfic X (2)
Man (at restaurant) – Peking Duck (3), Swallow’s Nest Soup (3), Sapphire (1)
Fun City Shop Clerk (restaurant) – Orange Soda (2), 3 Fruit (1), Faerie Elixir (2)
Information Desk Clerk (left) – Glittering Earring (1), Sweet Fruit (3), Smoke Mist (3)
Information Desk Clerk (middle) – Starry Night (2), Vegetable Stir-Fry (3), Onyx Earring (2)
Information Desk Clerk (right) – Death of Originality (2), Custard of Life (3), Potion of Epiphany (3)
Fun City Shop Clerk (items) – Aloe Jam (1), Sweet Toast (3), Meteorite (3)
Girlfriend (singing) – Earring of Magnetism (2), Ring of Lunacy (4), RIRICA (2)
Boyfriend (of singing girlfriend) – Ring of Trust (2), Star Ruby (2), 2000 FOL (2)
Soldier (arena gate, left) – Holy Ring (2), Gauntlet of Air (2), Hermit’s Cap (3)
Soldier (arena gate, right) – Chain of Might (2), Mithril Graves (3), Steel Armor (2)
Daddy (near arena) – Fountain Pen (1), Elven Powder (3), 2 Top-Quality Tuna (3)
Child (near arena) – Carrot Ice Cream (2), Umai-Bo Snack 5 (2), Cinderella Glass (2)
Youth (near arena) – Necklace (1), Shumai Dumplings (2), Potion of Reversal (2)
Normal Guy – 500 FOL (1), Silver Pendant (1), Flan (2)
Normal Guy’s Friend – Stone Cure (1), Gyoza Dumplings (2), Peking Duck (3)
Child (singing) – Vanilla Ice Cream (2), Umai-bo Snack 7 (2), Friends of the Woods (2)
Father (near singing child) – Cola (1), Grilled Tuna Belly (3), 5000 FOL (3)
Mother (near singing child) – Banana Crepe (2), Rainbow Diamond (3), Earring of Readiness (2)
Bartender – Goddess Statue (3), Mist Insignia (3), Flat Soda (2)
Patron – Pin Heels (1), Luxury Grape Juice (2), Anklet (1)
Boyfrien’ – Weird Clothing (1), Ooze Cocktail (2), Ring of Fusion (2)
Girlfrien’ – Weird Cap, Ooze Cocktail (2), Ring of Absorption (3)
Boyo – Lime Cooler (2), Mind Ring (3), 2000 FOL (2)
Woman (near Bunny Races, top-left) – Gold Idol (1), Fruit Milk (2), 5000 FOL (3)
Woman (near Bunny Races, top-right) – Lavish Idol (2), Princess Ring (2), Sour Syrup (2)
Woman (near Bunny Races, bottom) – Silver Idol (1), White Peach Sherbet (2), Diamond (2)
Granny – Warrior Idol (3), 2 Wonder Drug (2), Silver Earring (2)
Gramps – Goodie Box (3), 3 Resurrection Elixir (2), Shadow Cross (4)
Child (near Cooking Master) – Orange Sherbet (2), Umai-Bo Snack 1 (2), Jack-in-the-Box (2)
Mother (near Cooking Master) – Orange Soda (2), Chocolate Banana (2), Mirror of Knowledge (2)
Rena (PA) – Ladyfingers (1), Shortcake (2), Star Earring (2)
Ashton (PA) – Aqua Ring (1), 3 Pet Food (1), Flare Ring (1)
Bowman (PA) – Medicine Bottle (2), Radish Miso Soup (2), Resurrection Mist (3)
Leon (PA) – Engineer’s Handbook (2), Carrot Juice (2), White Peach Sorbet (2)
Chisato (PA) – Premium Paper (1), 3 Fountain Pen (1), Fruit Sandwich (2)
Precis (PA) – Chocolate Crepe (2), 3 Mechanic’s Toolbox (1), Megabomb (3)
Claude (PA) – Talisman+ (Masterwork) (2), Steak (2), Orichalcum (2)
Fun City Arena Reception Desk
Receptionist – 500 FOL (1), 3 Fountain Pen (1), Premium Paper (1)
Pitiful Fighter – Rotten Sashimi (1), Fried Rice with Meat (3), 1000 FOL (2)
Pitiful Fighter’s Friend – Wonder Drug (2), Medicine Bottle (2), 3 Antidote (1)
Soldier (left side) – Treasure Card (3), White Peach Sorbet (2), Crested Shield (2)
Soldier (right side) – Wealth Card (3), Rice Cake (2), Steel Armor (2)
Pitiful Fighter 2 – Warrior Idol (3), Goddess Statuette (3), tri-Emblum (3)
Pitiful Fighter 2’s Friend – 400 FOL (1), Bitter Lotion (2), 3 Maple Syrup (2)
Fun City Arena
Girl (top of stands) – Pixie Perfume (2), Faerie Mist (3), Orange Soda (2)
Boy (top of stands) – Wealth Card (3), Jack-in-the-Box (2), Illusion Doll (3)
Strange Geezer – Primavera (2), Temper Tablet (1), Chawanmushi (3)
Man (top of stands) – Victory Card (2), Foot Insignia (2), Scroll of Power (2)
Woman (next to man, top-left of stands) – Carrot Juice (2), Regeneration Ring (3), 2000 FOL (2)
Man (next to woman, top-left of stands) – Temper Tablet (1), Pixie Perfume (2), Strength Bottle (2)
Man (next to woman, top-right of stands) – Flat Sod (2), Creamy Cheese (3), 3 Meat (1)
Woman (next to man, top-right of stands) – Carrot Ice Cream (2), Angel Statuette (2), Benefaction Card (3)
Granny (left side of stands) – Mirror of Knowledge (2), Cinderella Glass (2), Magic Cross (2)
Man (bottom of stands) – Jack-in-the-Box (2), Hazardous Heal (2), Risky Resurrection (2)
Staff (bottom of stands) – Doodles (1), Beret (2), 3 Magic Canvas (1)
Big Brother (running about) – Ring of Happiness (2), Umai-Bo Snack 12 (2), Wobbly Slime (3)
Kid Sister (running about) – Ring of Sadness (2), Umai-Bo Snack 11 (2), Gelatinous Slime (3)
Girlfriend – Brass Knuckles (1), Potion of the Winds (3), Ring of Might (4)
Boyfriend – Compress of Veda (2), Ointment of Veda (3), Talisman (2)
Welch (PA) – Premium Paper (1), Chocolate Banana (2), Fanfic (2)
Dias (PA) – Amulet of Flexibility (1), Chicken Shish Kebab (2), Swallowblade (2)
Bunny Race Reception
Excited Woman – Temper Tablet (1), Lunar Talisman (2), Succubus Perfume (3)
Receptionist (left) – High Heels (1), STar Necklace (2), Faerie Mist (3)
Receptionist (right) – Bracelet of Gambling (2), Ruby Pendant (2), 1000 FOL (2)
Guy in Bunny Costume – Bunny Shoes (3), Cat Fang+ (Masterwork) (1), Sweet Potion (2)
Shige, the Tipster – Cola (2), Gyoza Dunplings (2), Victory Cards (2)
Welch (PA) – Same as in arena; she’s in 2 places at once!
Celine (PA) – Paper Scrap (1), Rabbit Risotto (2), Orange Soda (2)
Cooking Master Front Desk
Receptionist (left) – Bitter Cake (1), Bean Cake (3), Rice Cake (2)
Receptionist (middle) – Old Milk (1), Coconut Milk (3), Fruit Milk (2)
Receptionist (right) – Nectar (3), 5 Blueberries (1), 5 Blackberries (1)
Fanfic Convention
Girl – Walls of the Soul (2), Umai-bo Snack 3 (2), 3 Spectacles (1)
SO Fangirl – Ring of Lunacy (4), Warrior Idol (3), tri-Emblum+ (Steel Will) (3)
Woman – Fanfic!!! (2), Feather Pen (1), Gold Cross (2)
Figurine Fanboy – Lavish Idol (2), Illusion Doll (3), Veda Idol (2)
Card Game Fanboy – Faerie Card (3), Critical Card (2), Revival Card (2)
Boy – Starry Night (2), Umai-bo Snack 2 (2), Pocket Encyclopedia (2)
Fanfic Seller – Secret Account (3), 3 Stock Certificate (2), Seizure Warrant (3)
Fortune Teller’s Mansion
Ostentatious Fortune Teller – Lavender (1), Critical Card (2), Star Ruby (2)
Tragic Girl – Blueberries (1), Ring of Sadness+ (Meditation) (2), Ring of Avoidance (3)
Dapper Girl – 600 FOL (1), Shield Earring (2), Ricochet Bracelet (2)
Precocious Girl – Necklace (1), Moon Tiara (3), Moon Earring (3)
Fortune Teller Woman – Crystal (1), Benefaction Card (3), Mirror of Knowledge (2)
Veteran Fortune Teller – Hexagram Card (2), Philosopher’s Stone (3), Goddess Statue (3)
Inn “Fullagio”
Hotel Desk Clerk – 1000 FOL (2), Music Box (2), Ring of Healing (2)
Man (right room) – Blueberries (1), Treasured Gorgonzola (3), Nectar of Ambrosia (3)
Woman (right room) – Succubus Perfume (3), Sweet Toast (3), 3000 FOL (2)
Man (left room) – Maple Syrup (2), 2 Sour Syrup (2), 2 Medicine Bottle (2)
Mariana – Ring of Wisdom (3), Lightning Gun (3), Herbal Potion (2)
Noel (PA) – Fine Tuna Sashimi (2), Life in Nature (2), 3 Artemis Leaf (1)
Opera (PA) – Bloody Driver (2), Earring of Frenzy (2), Bracelet of Gambling+ (High-grade) (2)
Ernest (PA) – Hexagram Card (2), 3 Silence Card (2), Benefaction Card (3)
Pickpocketing – Maze of Tribulations
Maze of Tribulations
Mistaken Warrior (4F) – Rune Metal (3), Rainbow Diamond (3), Meteorite (3)
Santa (6F) – tri-Emblum+ (Masterwork) (3), 2 Moonstone (3), 2 Mithril (3)
Fun City Arena
The Fun City arena is quite deep and deserves its own section! You can pay 2000 FOL to participate in any battle on the list, and there are many to choose from.
Duel Battle – Four one-on-one battles, each character has their own rewards for each rank.
Claude
E Rank – IC Materials Set
D Rank – Body Improve Set
C Rank – HP Recovery Set
B Rank – Saad Blade+ (CRT UP 5%)
A Rank – Famed Sword Veinslay
Rena
E Rank – Jewel Set
D Rank – Defense Improve Set
C Rank – MP Recovery Set
B Rank – Knuckles of the Moon+ (INT UP 5%)
A Rank – Fellpool Nails
Ashton
E Rank – IC Materials Set
D Rank – Body Improve Set
C Rank – HP Recovery Set
B Rank – Lotus Eaters
A Rank – Devil’s Horns
Precis
E Rank – IC Materials Set
D Rank – Body Improve Set
C Rank – HP Recovery Set
B Rank – Atomic Puncher
A Rank – Megawatt Puncher
Welch
E Rank – IC Materials Set
D Rank – Body Improve Set
C Rank – HP Recovery Set
B Rank – Furious Handy Stick
A Rank – Violent Handy Stick
Leon
E Rank – Jewel Set
D Rank – Defense Improve Set
C Rank – MP Recovery Set
B Rank – Encyclopedia+ (INT UP 5%)
A Rank – Tome of Wisdom
Noel
E Rank – Jewel Set
D Rank – Defense Improve Set
C Rank – MP Recovery Set
B Rank – Grizzy Clasp
A Rank – Death Fang
Chisato
E Rank – IC Materials Set
D Rank – Body Improve Set
C Rank – HP Recovery Set
B Rank – Lightning Gun
A Rank – Air Gun
Survival – This is a chain of 50 battles, which rewards you with items as you clear higher and higher numbers of battles in it.
10 battles – Rainbow Diamond
20 battles – Ring of the General
30 battles – Mithril Helmet
40 battles – Star Guard
50 battles – Secret Manual “Augment”
Group Battle – These are special fights against one group of enemies, often with a unique limitation on what party members you can use.
Head of the Wolfpack – Any 4 allies (reward: 50 BP)
Expel Boss Rush – Any 4 allies (reward: Symbol of Antiquity)
Jumpin’ Gelatin Infestation – Any 4 allies (reward: Sorcerer’s Knuckles+ (INT UP 10%))
Three Knights of Nede – Male allies only (reward: Light Cross)
Armory Contest Redux – Any 1 ally (reward: Deadly Edge)
Slip Past Their Shields! – Any 4 allies (reward: Soul Shield)
The Goddess Festival – Female allies only (reward: Formation Manual “Rage”)
Nede Boss Rush – Any 4 allies (reward: Formation Manual “Training”)
Dance of the Phoenix – Any 4 allies (reward: Ring of Lightspeed)
The Lizard’s Den – Any 4 allies (reward: Colorless Scarf)
Ten Wise Man Marathon – Any 4 allies (reward: Love Force)
No Weapons, No Problem – Melee fighters only (reward: Valiant Shield+ (Gathering Stars), Valkyrie’s Bracelet+(Gathering Stars))
The Demon Ritual – Symbologists only (reward: Valiant Mail+ (Gathering Stars), Valkyrie’s Garb+ (Gathering Stars))
Do I Smell Gunpowder? – Any 4 allies (Valiant Boots+ (Gathering Stars), Valkyrie’s Boots+ (Gathering Stars))
A True Survival Battle – Any 1 ally (reward: Planeteer)
The Ten Wise Men Return – Any 4 allies (reward: Symbol of Divinity)
The “Twin” Archangels – Any 4 allies (reward: Winged Bracelet)
Fun City Cooking Master
Cooking Master is a timing minigame in Fun City that can get you rare ingredients, as well as some challenge rewards (including Ashton’s ultimate weapon). The challenge goes the same no matter your opponent: you grab ingredients from the central table (rare ingredients will reduce your pressure rating), and then you cook ingredients at your station via a timing minigame. The timing takes some getting used to, but if you can, it’s a very easy minigame to complete. Failed cooking attempts increase pressure, while perfect cooking attempts reduce it. If you can chain a lot of perfect cooking attempts, you might cause a pressure KO on your opponent. Beware, though: if your pressure reaches max, you’ll automatically lose! There’s not much else to say about this feature!
List of “Item Generator” Item Results
A few items (Goodie Box, Benefaction Card, etc.) grant you a random item (or 3 random items) when used. These items are pulled from a potential table of items, however. These are the items you can get.
Sword of Marvels
Force Sword
Searing Sword
Farcutter
Guthgwine
Walloon Sword
Veil Piercer
Sinclair
Baselard
Longsword
Dull Blade
Sorcerer’s Knuckles
Knuckles of the Moon
Cestus
Hard Knuckles
Rickety Knuckles
Creaky Rod
Ruby Rod
Silver Rod
Twin Fury
Twin Splicers
Venomous Stingers
Lotus Eaters
One-Two Puncher
Majestic Puncher
Atomic Puncher
Alpha Clip
Limp Whip
Spark Whip
Handy Stick
Playful Handy Stick
Symbology Dictionary
Gold Crown
Weird Cap
Froghead
Padded Helmet
Iron Helmet
Plate Helmet
Steel Helmet
Robe
Leather Armor
Silk Robe
Padded Armor
Brigandine
Plate Armor
Steel Armor
Weird Shield
Weird Gauntlet
Round Shield
Knight’s Shield
Fine Shield
Glass Slippers
Sandals
Boots of Happiness
Boots
Leather Greaves
Leather Boots
Iron Greaves
Silver Greaves
Weird Doll
Lame Earring
Lavish Idol
Silver Idol
Silver Barrette
Anklet
Star Earring
Gold Idol
Gold Ring
Gold Bracelet
Ruby Pendant
Earring of Readiness
Earring of Magnetism
Earring of Frenzy
Heavy Ring
Weighty Ring
Shield Ring
Ring of Resistance
tri-Emblum
Mist Insignia
Bracelet of Gambling
Umai-Bo Snack 1
Umai-Bo Snack 2
Umai-Bo Snack 3
Umai-Bo Snack 4
Umai-Bo Snack 5
Umai-Bo Snack 6
Umai-Bo Snack 7
Umai-Bo Snack 8
Umai-Bo Snack 9
Umai-Bo Snack 10
Umai-Bo Snack 11
Umai-Bo Snack 12
Umai-Bo Snack 13
Umai-Bo Snack 14
Rice Croquette
Soymilk
Ladyfingers
Seafood
Meat
Grains
Fruit
Vegetables
Eggs and Dairy
Aquaberries
Blueberries
Blackberries
Chocolate Banana
Apple Jam
Strawberry Jam
Aloe Jam
Sour Syrup
Maple Syrup
Mixed Syrup
Fruit Syrup
Hot Syrup
Pet Food
Artemis Leaf
Athelas
Lavender
Rose Hip
Mandrake
Wolfsbane
Magic Clay
Magic Canvas
Feather Pen
Fountain Pen
Smith’s Hammer
Conductor Baton
Premium Paper
Spectacles
Factor Energy
Smelling Salts
Medicine Bottle
Strength Bottle
Herbal Potion
Potion of Trust
Potion of Merlin
Resurrection Mist
Resurrection Elixir
Angel Statuette
Faerie Statuette
Risky Resurrection
Wonder Drug
Stone Cure
Violent Pill
Hazardous Heal
Medical Rinse
Strange Medicine
Stink Gel
Illusion Doll
Sacrifice Pill
Melt Potion
Bitter Lotion
Potion of Nightmares
Potion of Might
Potion of the Winds
Potion of Epiphany
Potion of Lilith
Elven Powder
Shock Oil
Smoke Oil
Smoke Mist
Paralysis Mist
Mist of Madness
Bubble Lotion
Bitter Lotion
Assault Bomb
Defense Bomb
Daze Bomb
4-Way Bomb
Faerie Cologne
Critical Card
Faerie Card
Treasure Card
Wealth Card
Revival Card
Victora Card
Ointment of Veda
Compress of Veda
Pixie Perfume
Succubus Perfume
Holy Mist
Fanfic
Fanfic!
Fanfic?
Fanfic!?
Fanfic!!!
Fanfic 😉
Fanfic ;O
Reference Book
Relax Perfume
Weird Shape
Bounced Check
Sprite’s Bracelet, Pixie’s Bracelet and Fortune’s Bracelet Items
These three accessories grant you random items over time when equipped. The items they can generate are pulled from a set list for each.
Sprite’s Bracelet Items
Aquaberries
Rose Hips
Lavender
Spectacles
Pet Food
Silver
Sapphire
Gold
Ruby
Green Beryl
Crystal
Deadly Poison Bomb
Daze Bomb
Silence Card
Sour Syrup
Amulet of Antivenin
Silver Cross
Counterfeit Medal
5 to 1000 FOL
Pixie’s Bracelet Items
Blueberry
Wolfsbane
Mandrake
Magic Clay
Magic Canvas
Star Ruby
Rainbow Diamond
Silver
Rune Metal
Mithril
Green Beryl
Angel Statuette
Flare Bomb
Sweet Syrup
Fruit Syrup
Ring of Protection
Amulet of Flexibility
50 to 5000 FOL
Fortune’s Bracelet Items
Blackberry
Artemis Leaf
Aceras
Fountain Pen
Magic Film
Orichalcum
Moonstone
Rune Metal
Meteorite
Philosopher’s Stone
Mixed Syrup
4-way Bomb
Goddess Statuette
Cinderella Glass
Veda Idol
Amulet of Freedom
Ring of Wisdom
200 to 10000 FOL
World Map Chests – Expel
There are chests scattered across both Expel and Nede for you to collect. It can give you quite an edge to acquire them as soon as they become available!
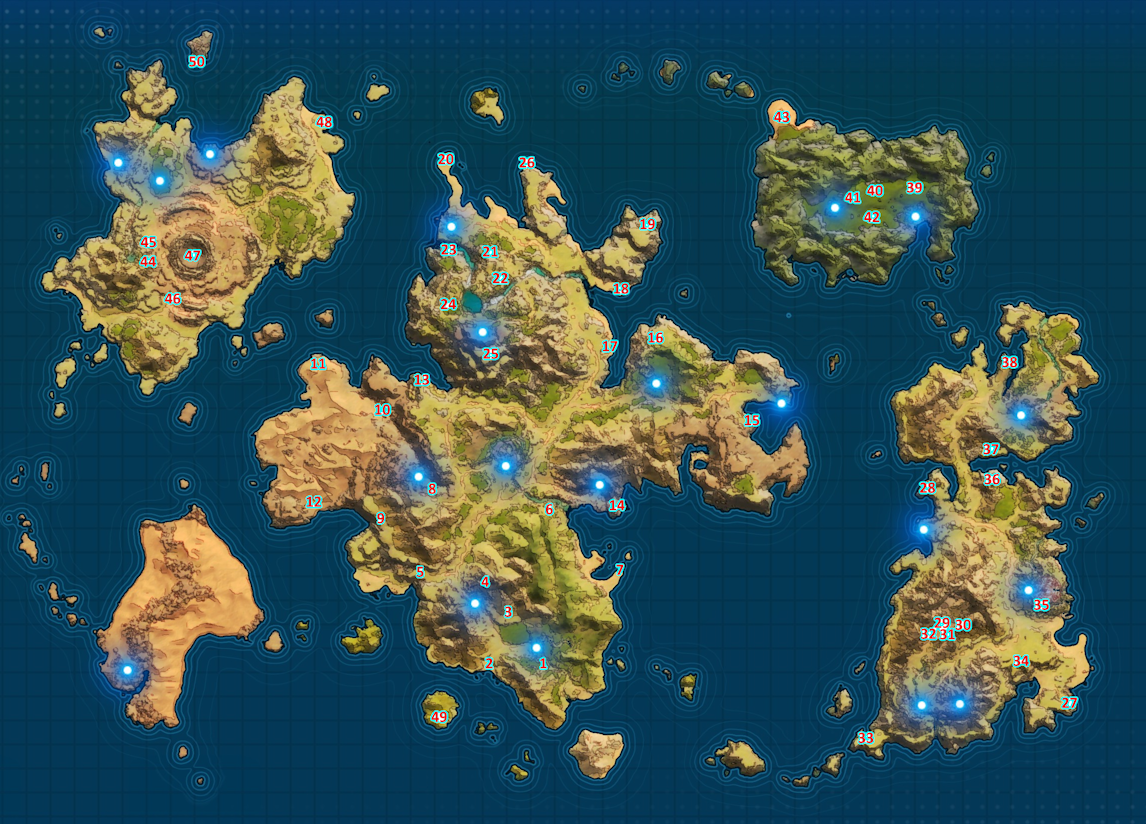
Expel
#1 – 5 Blueberries (south of Arlia)
#2 – Talisman (beach near Arlia)
#3 – 5 Engineer’s Handbook (hill near Salva)
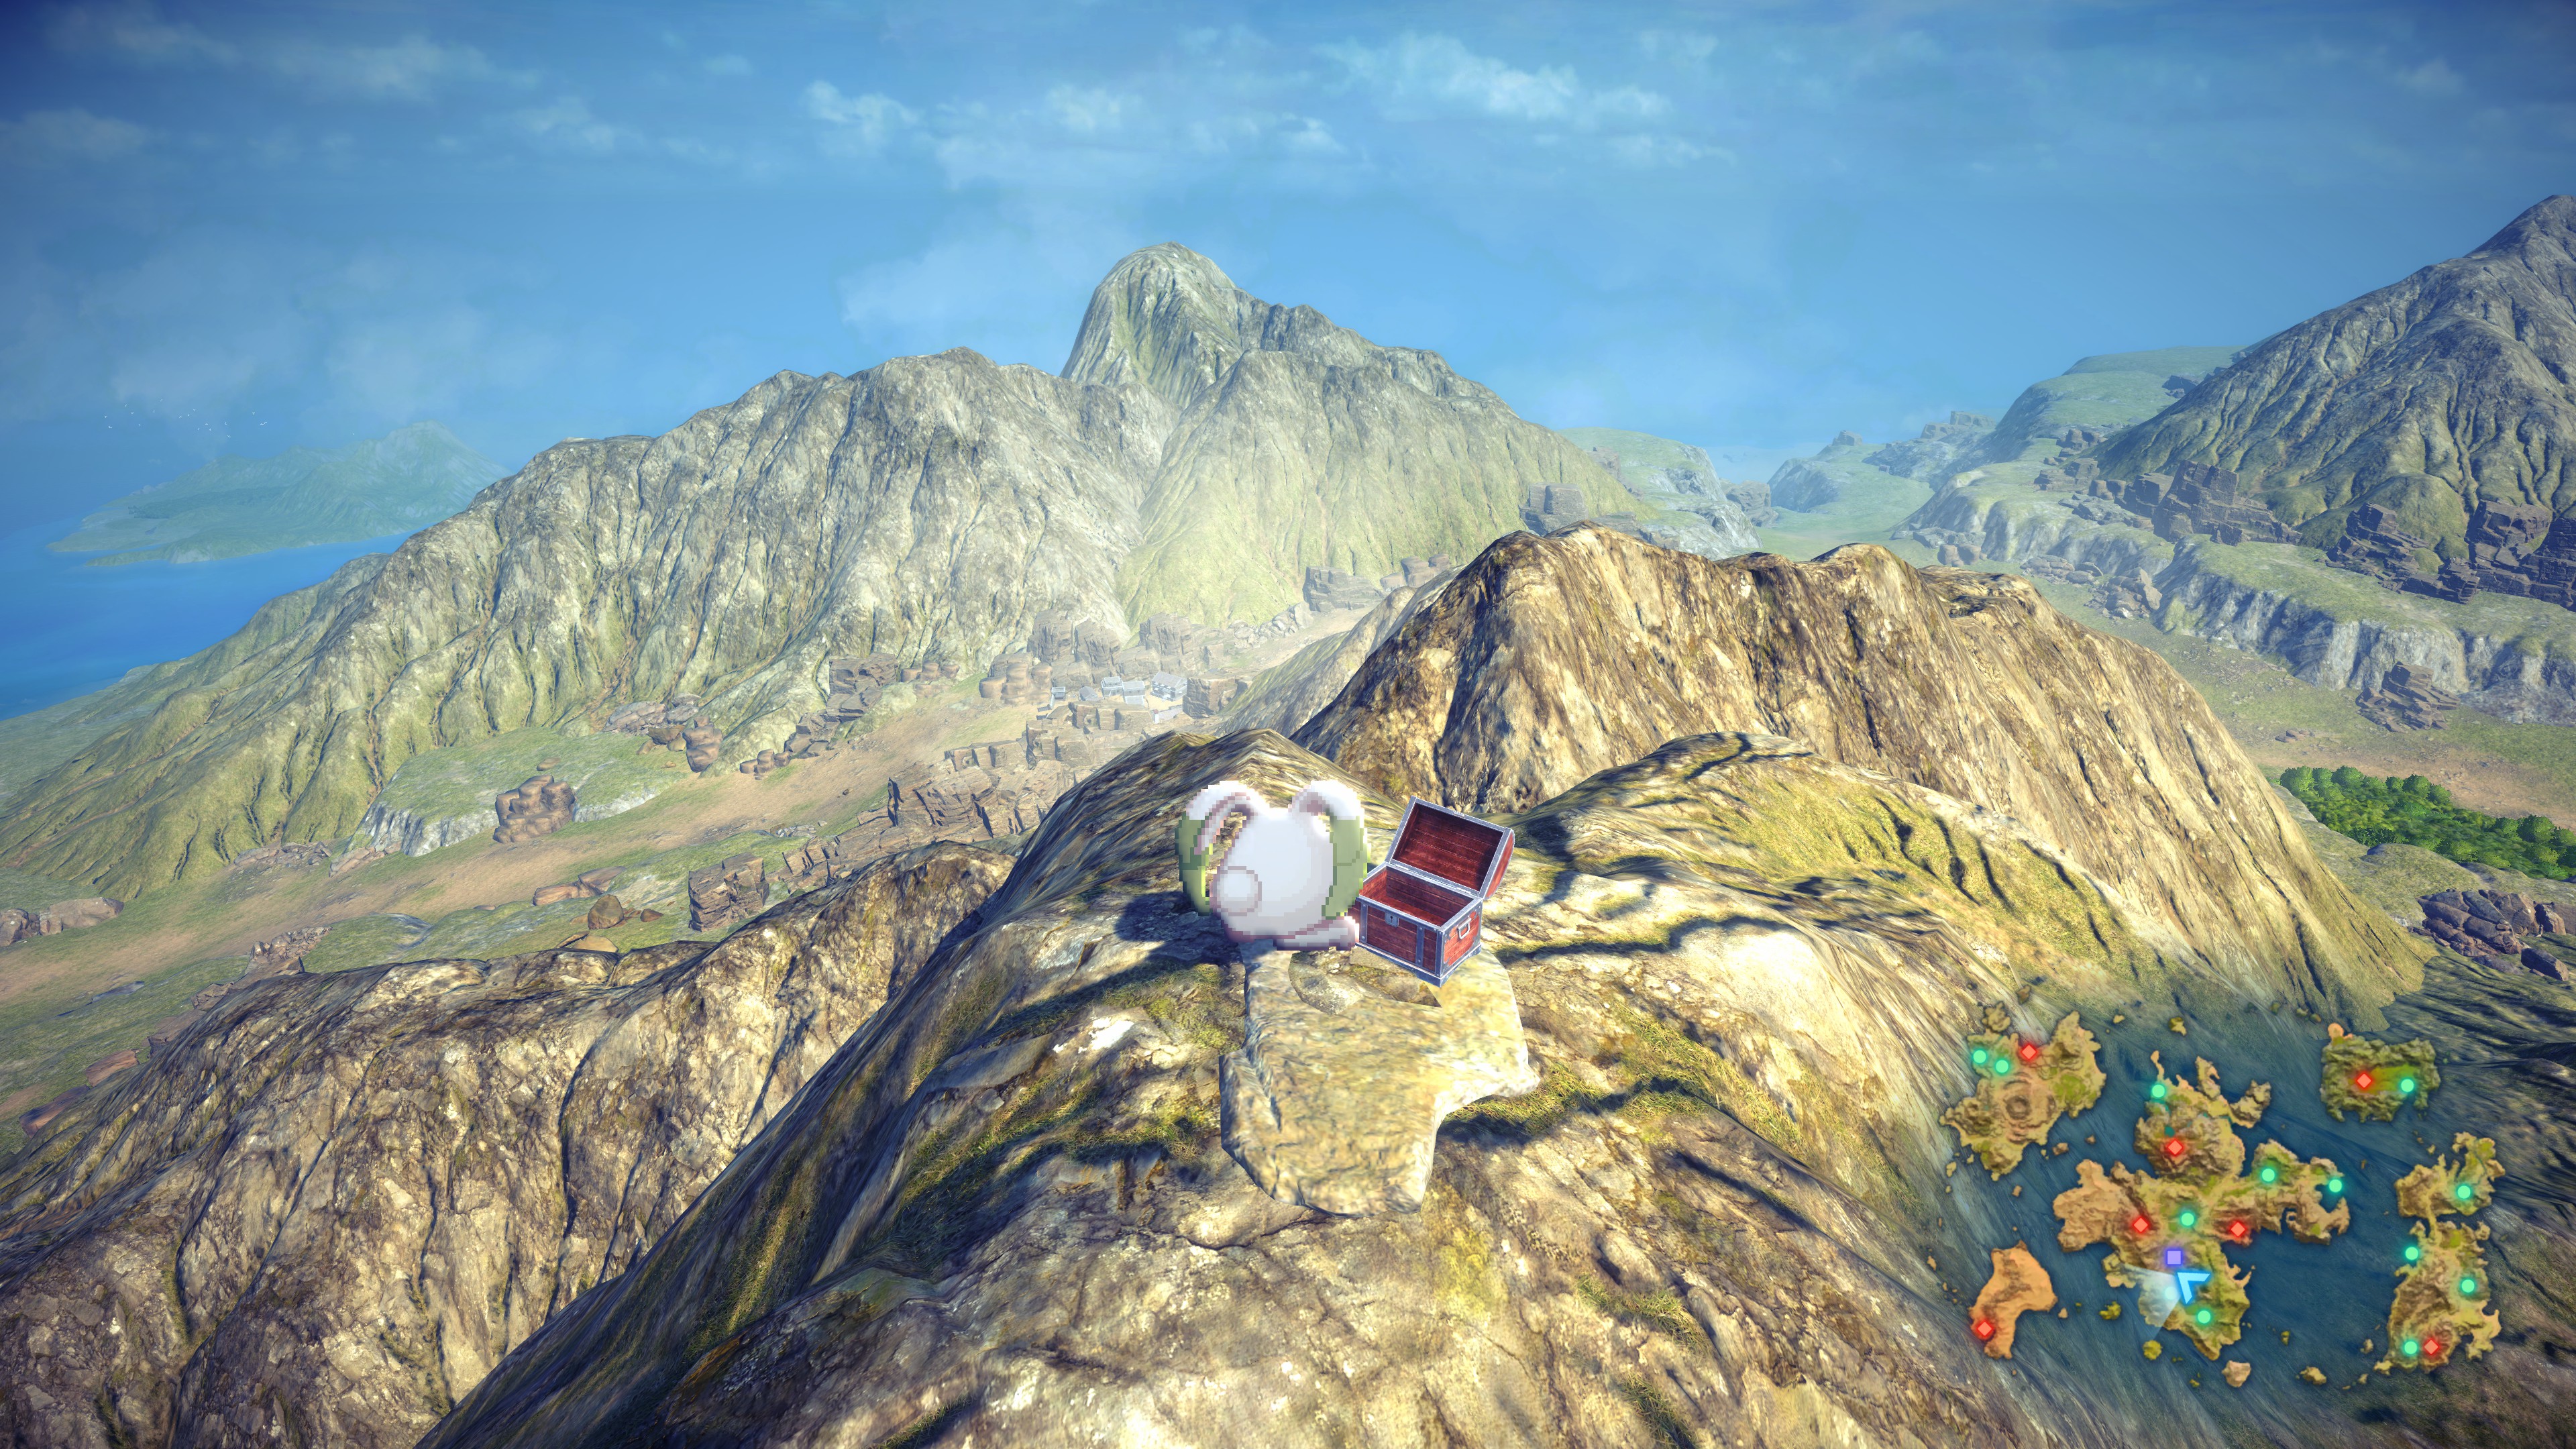
#4 – 2 The Bestiary (atop a mountain near Salva; need Bunny)
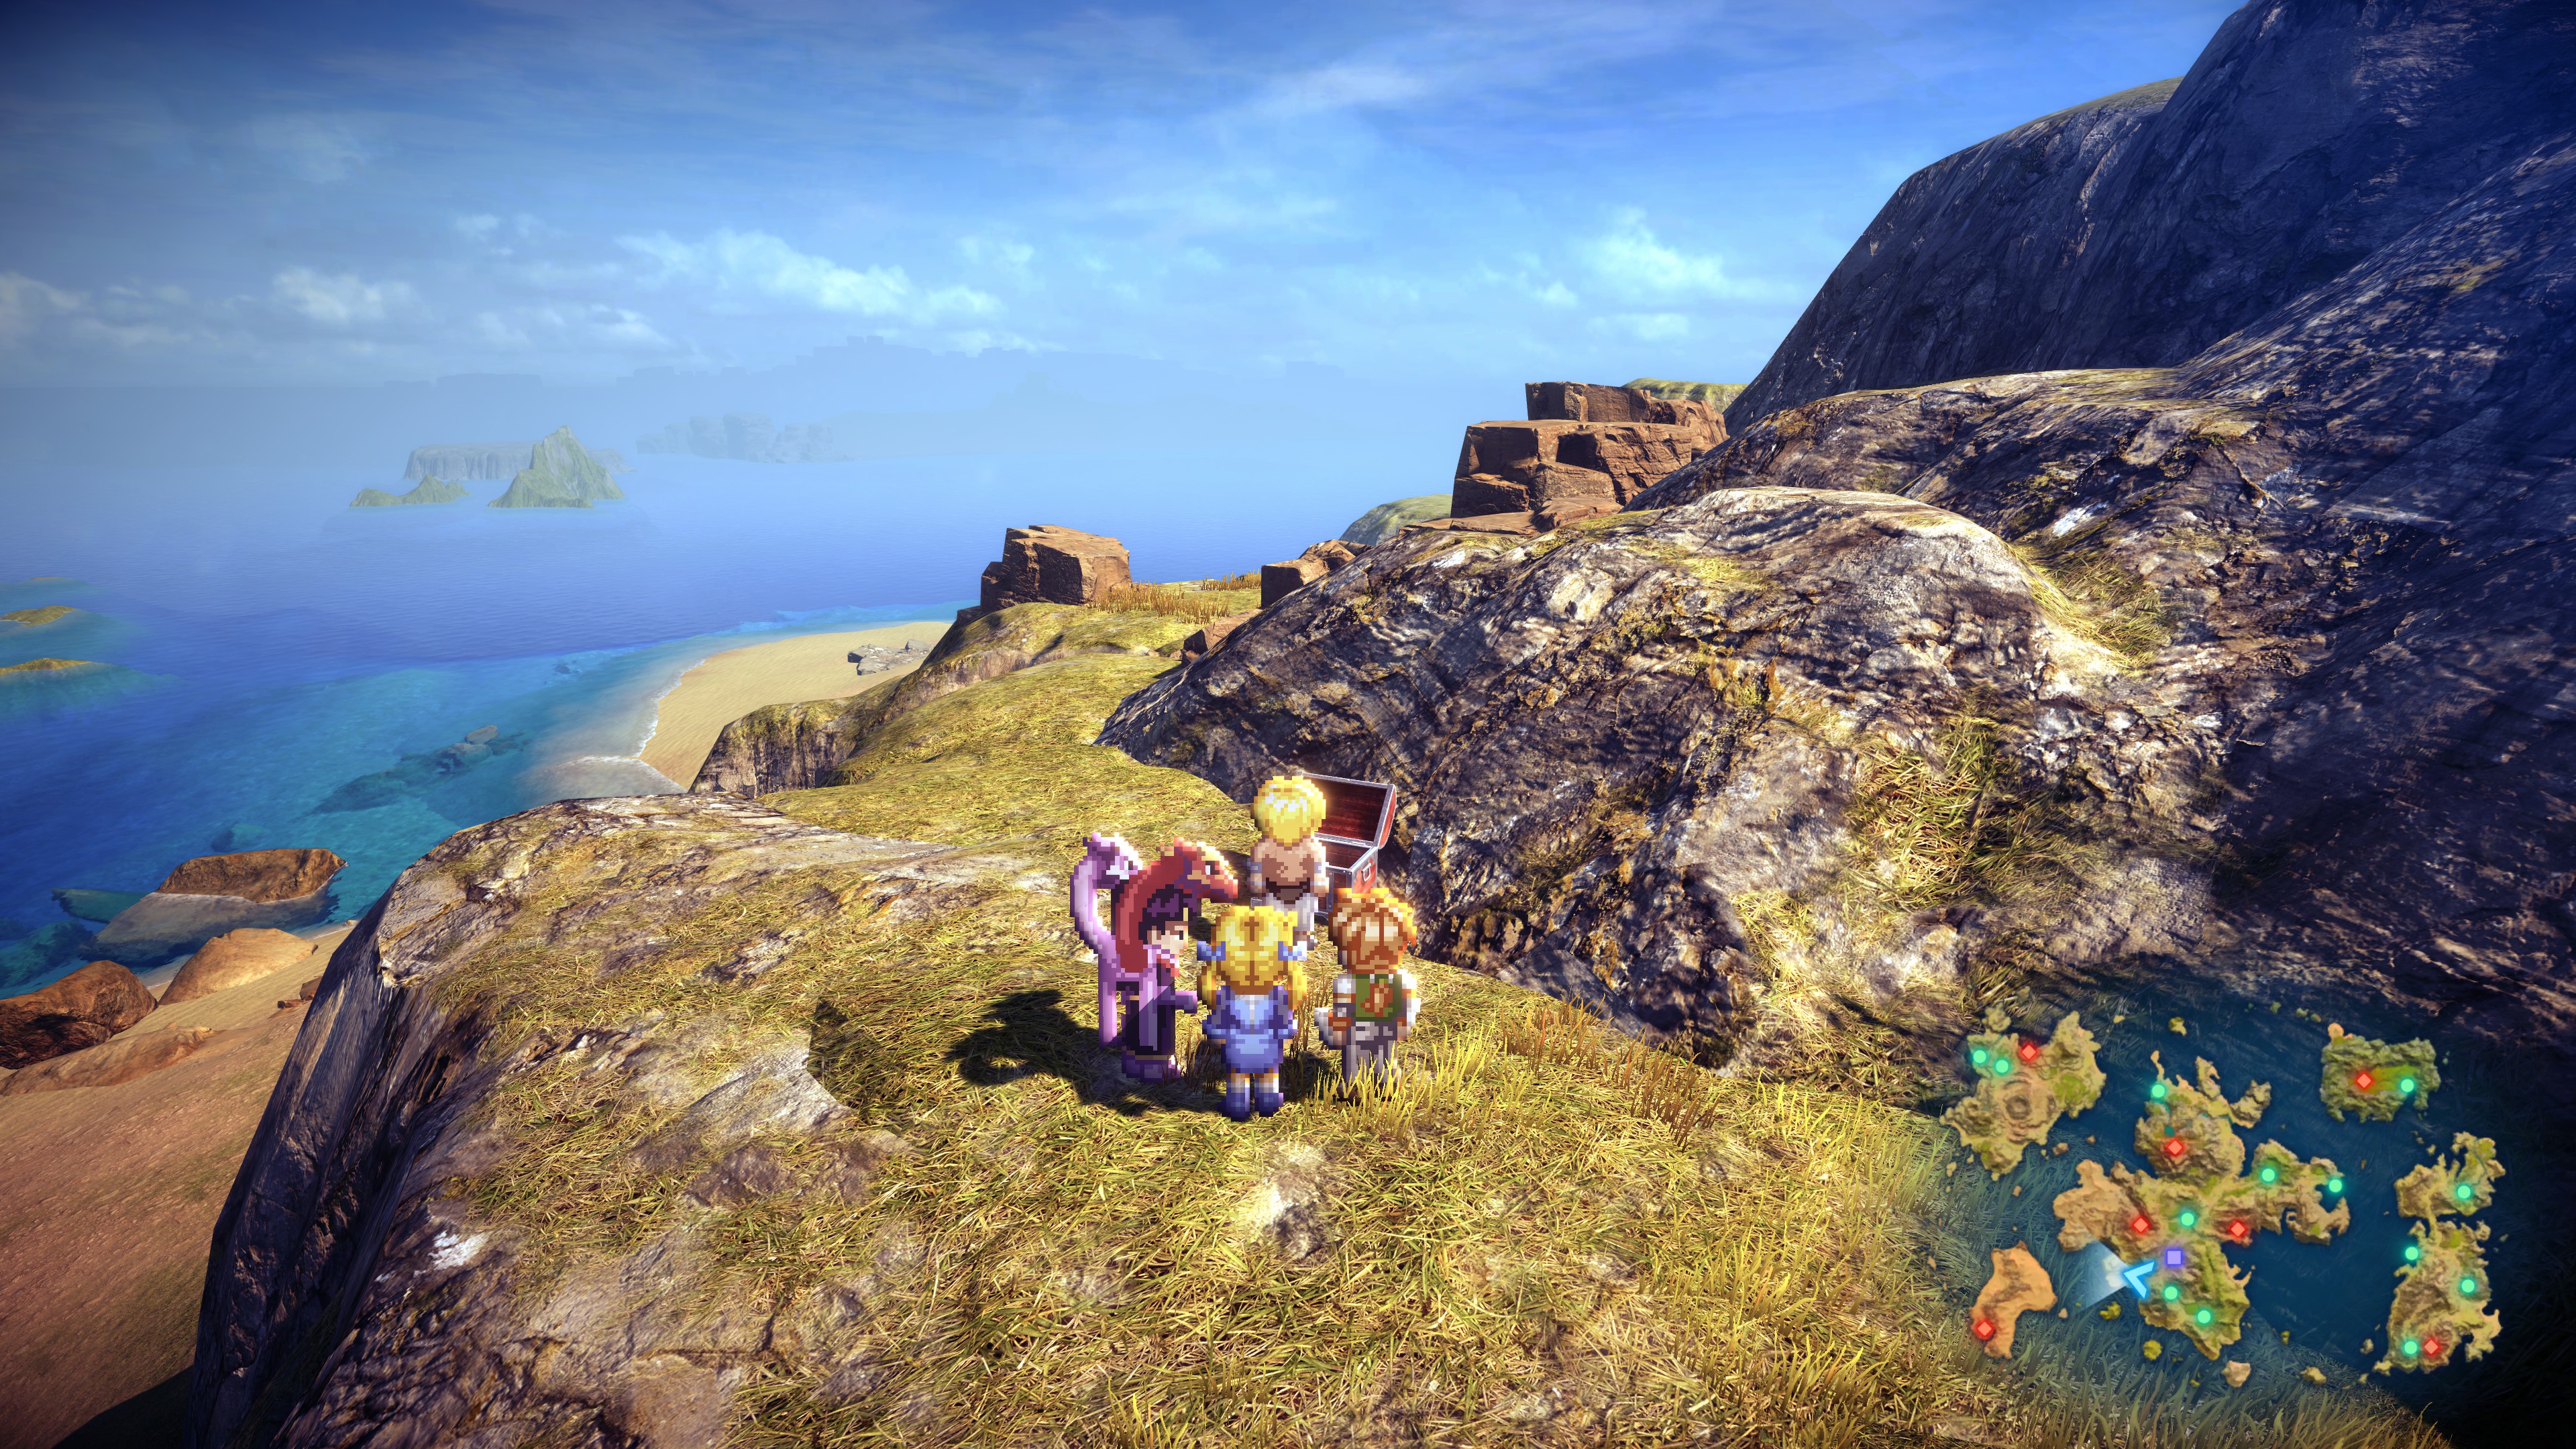
#5 – 3 Blackberries (a hill overlooking a coastline near Salva)
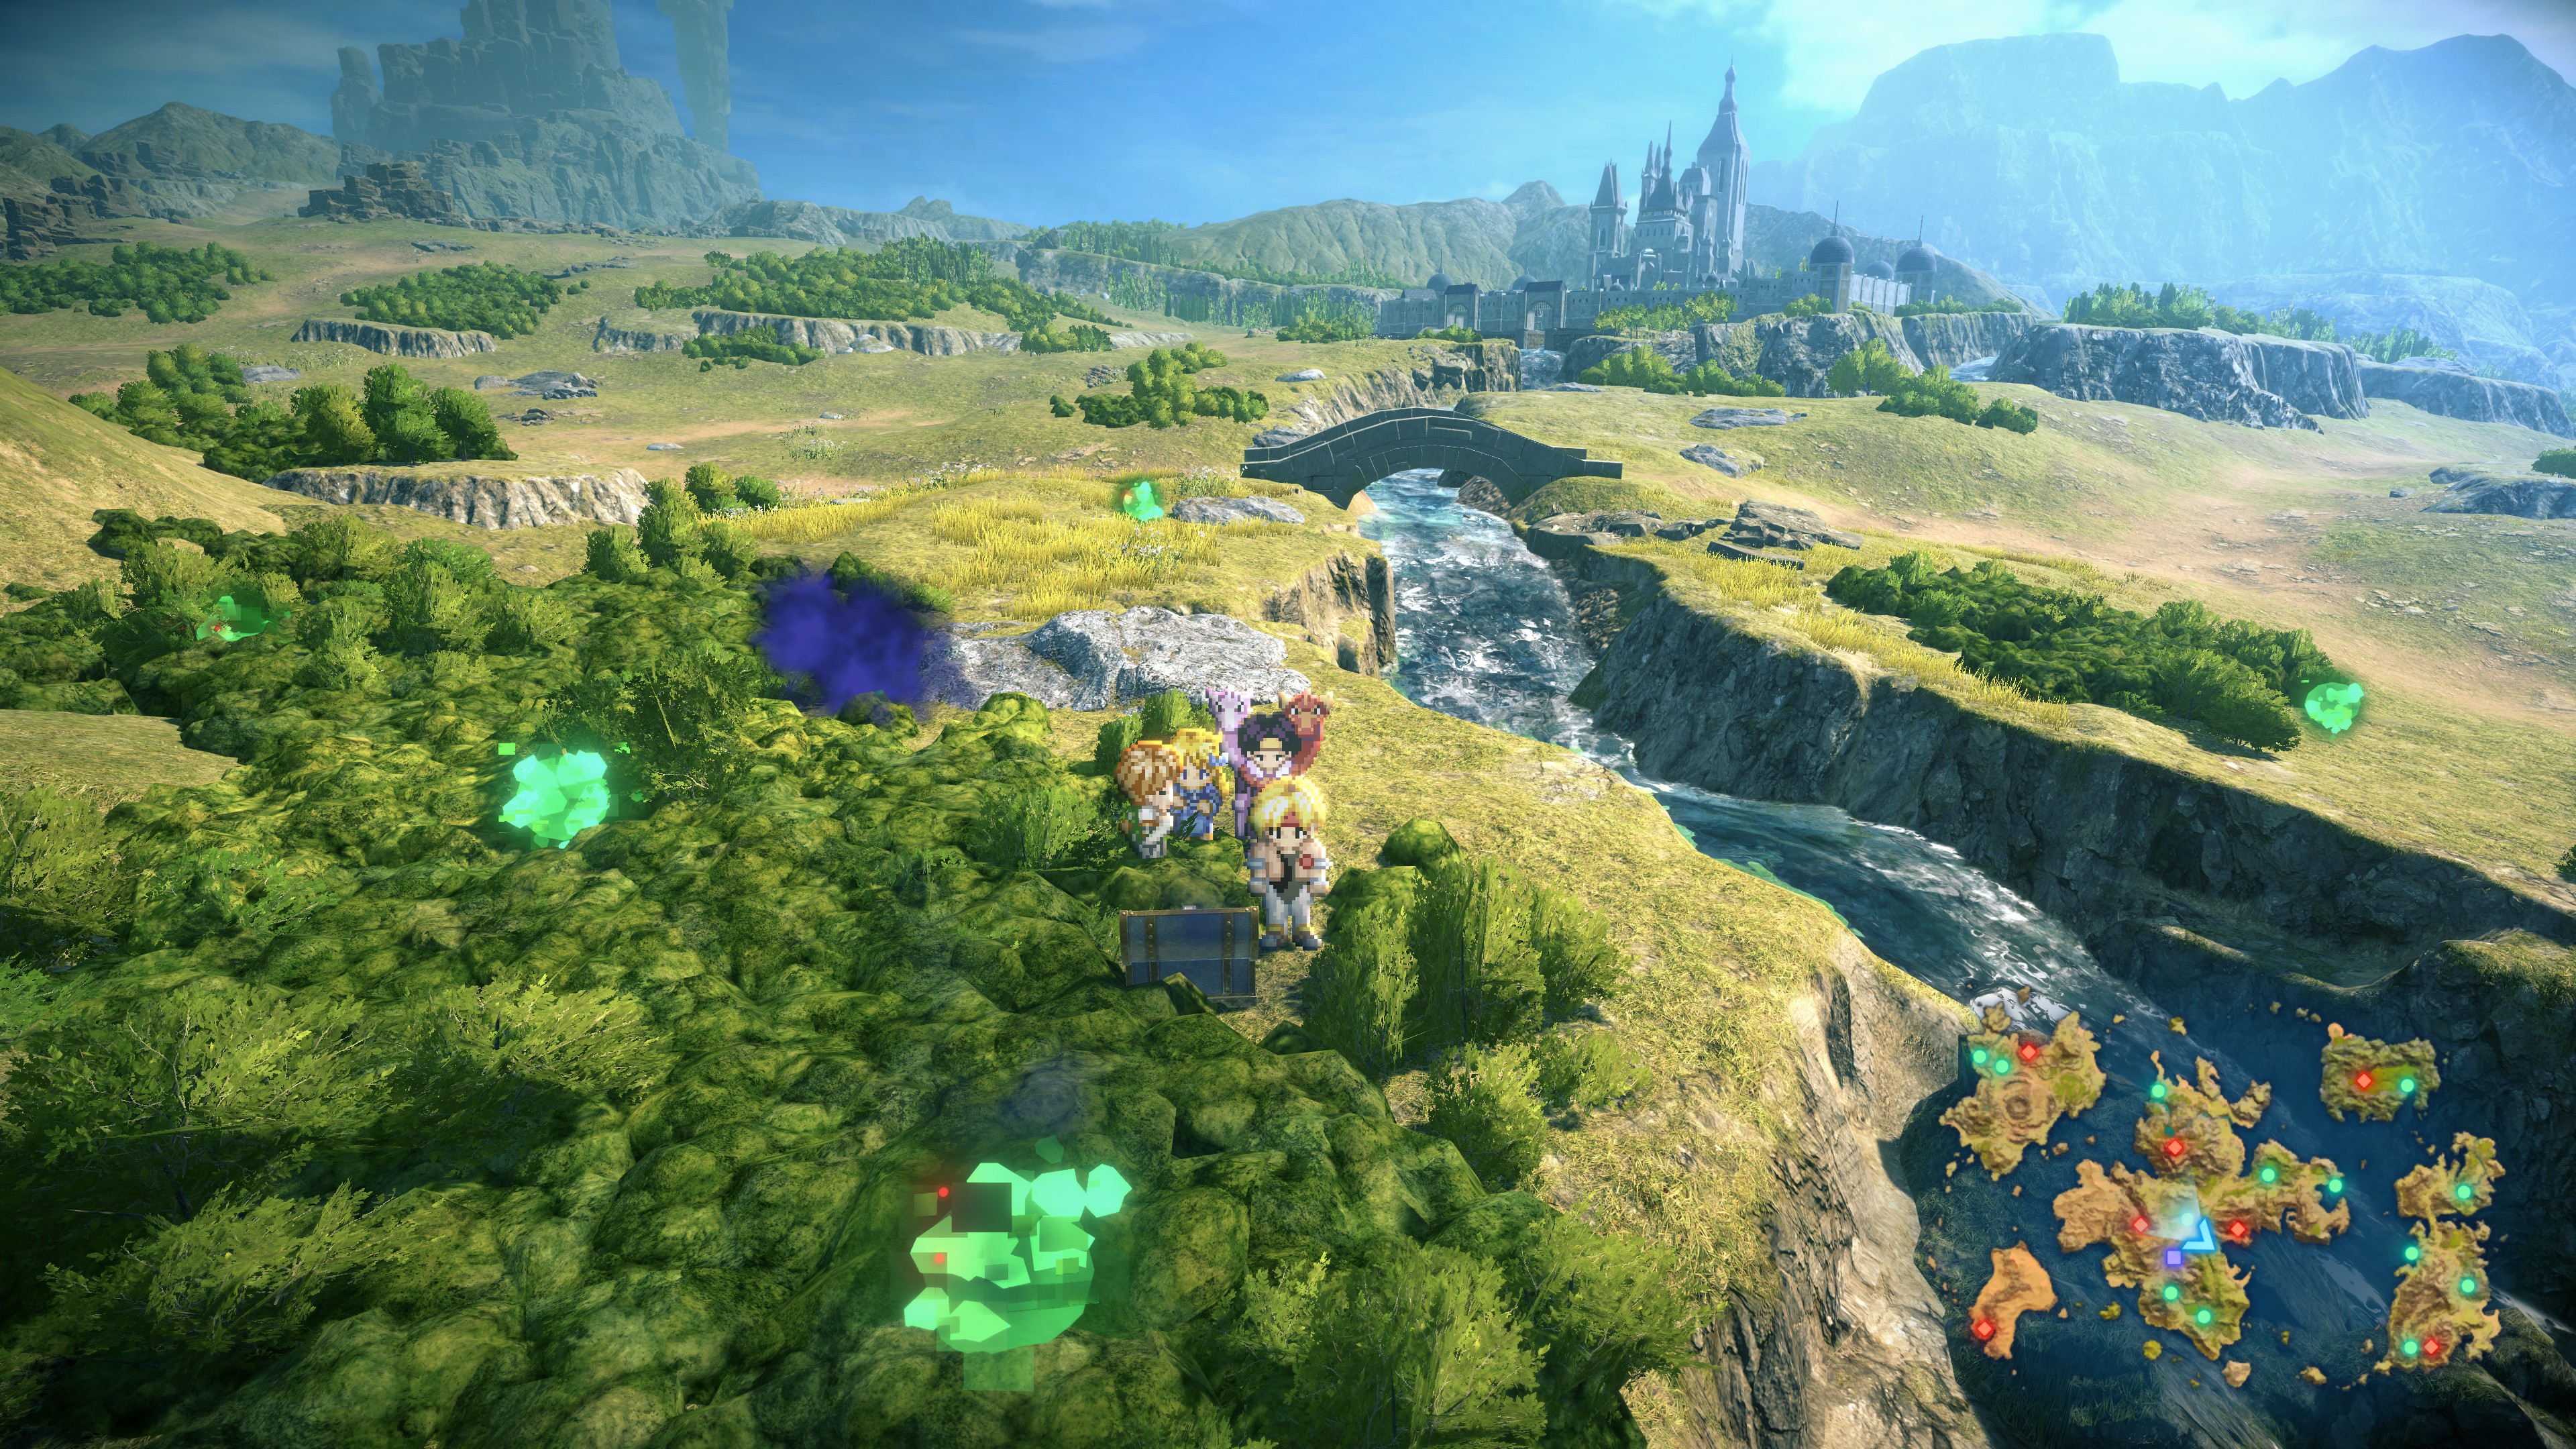
#6 – Lunar Talisman (a hill near Krosse)
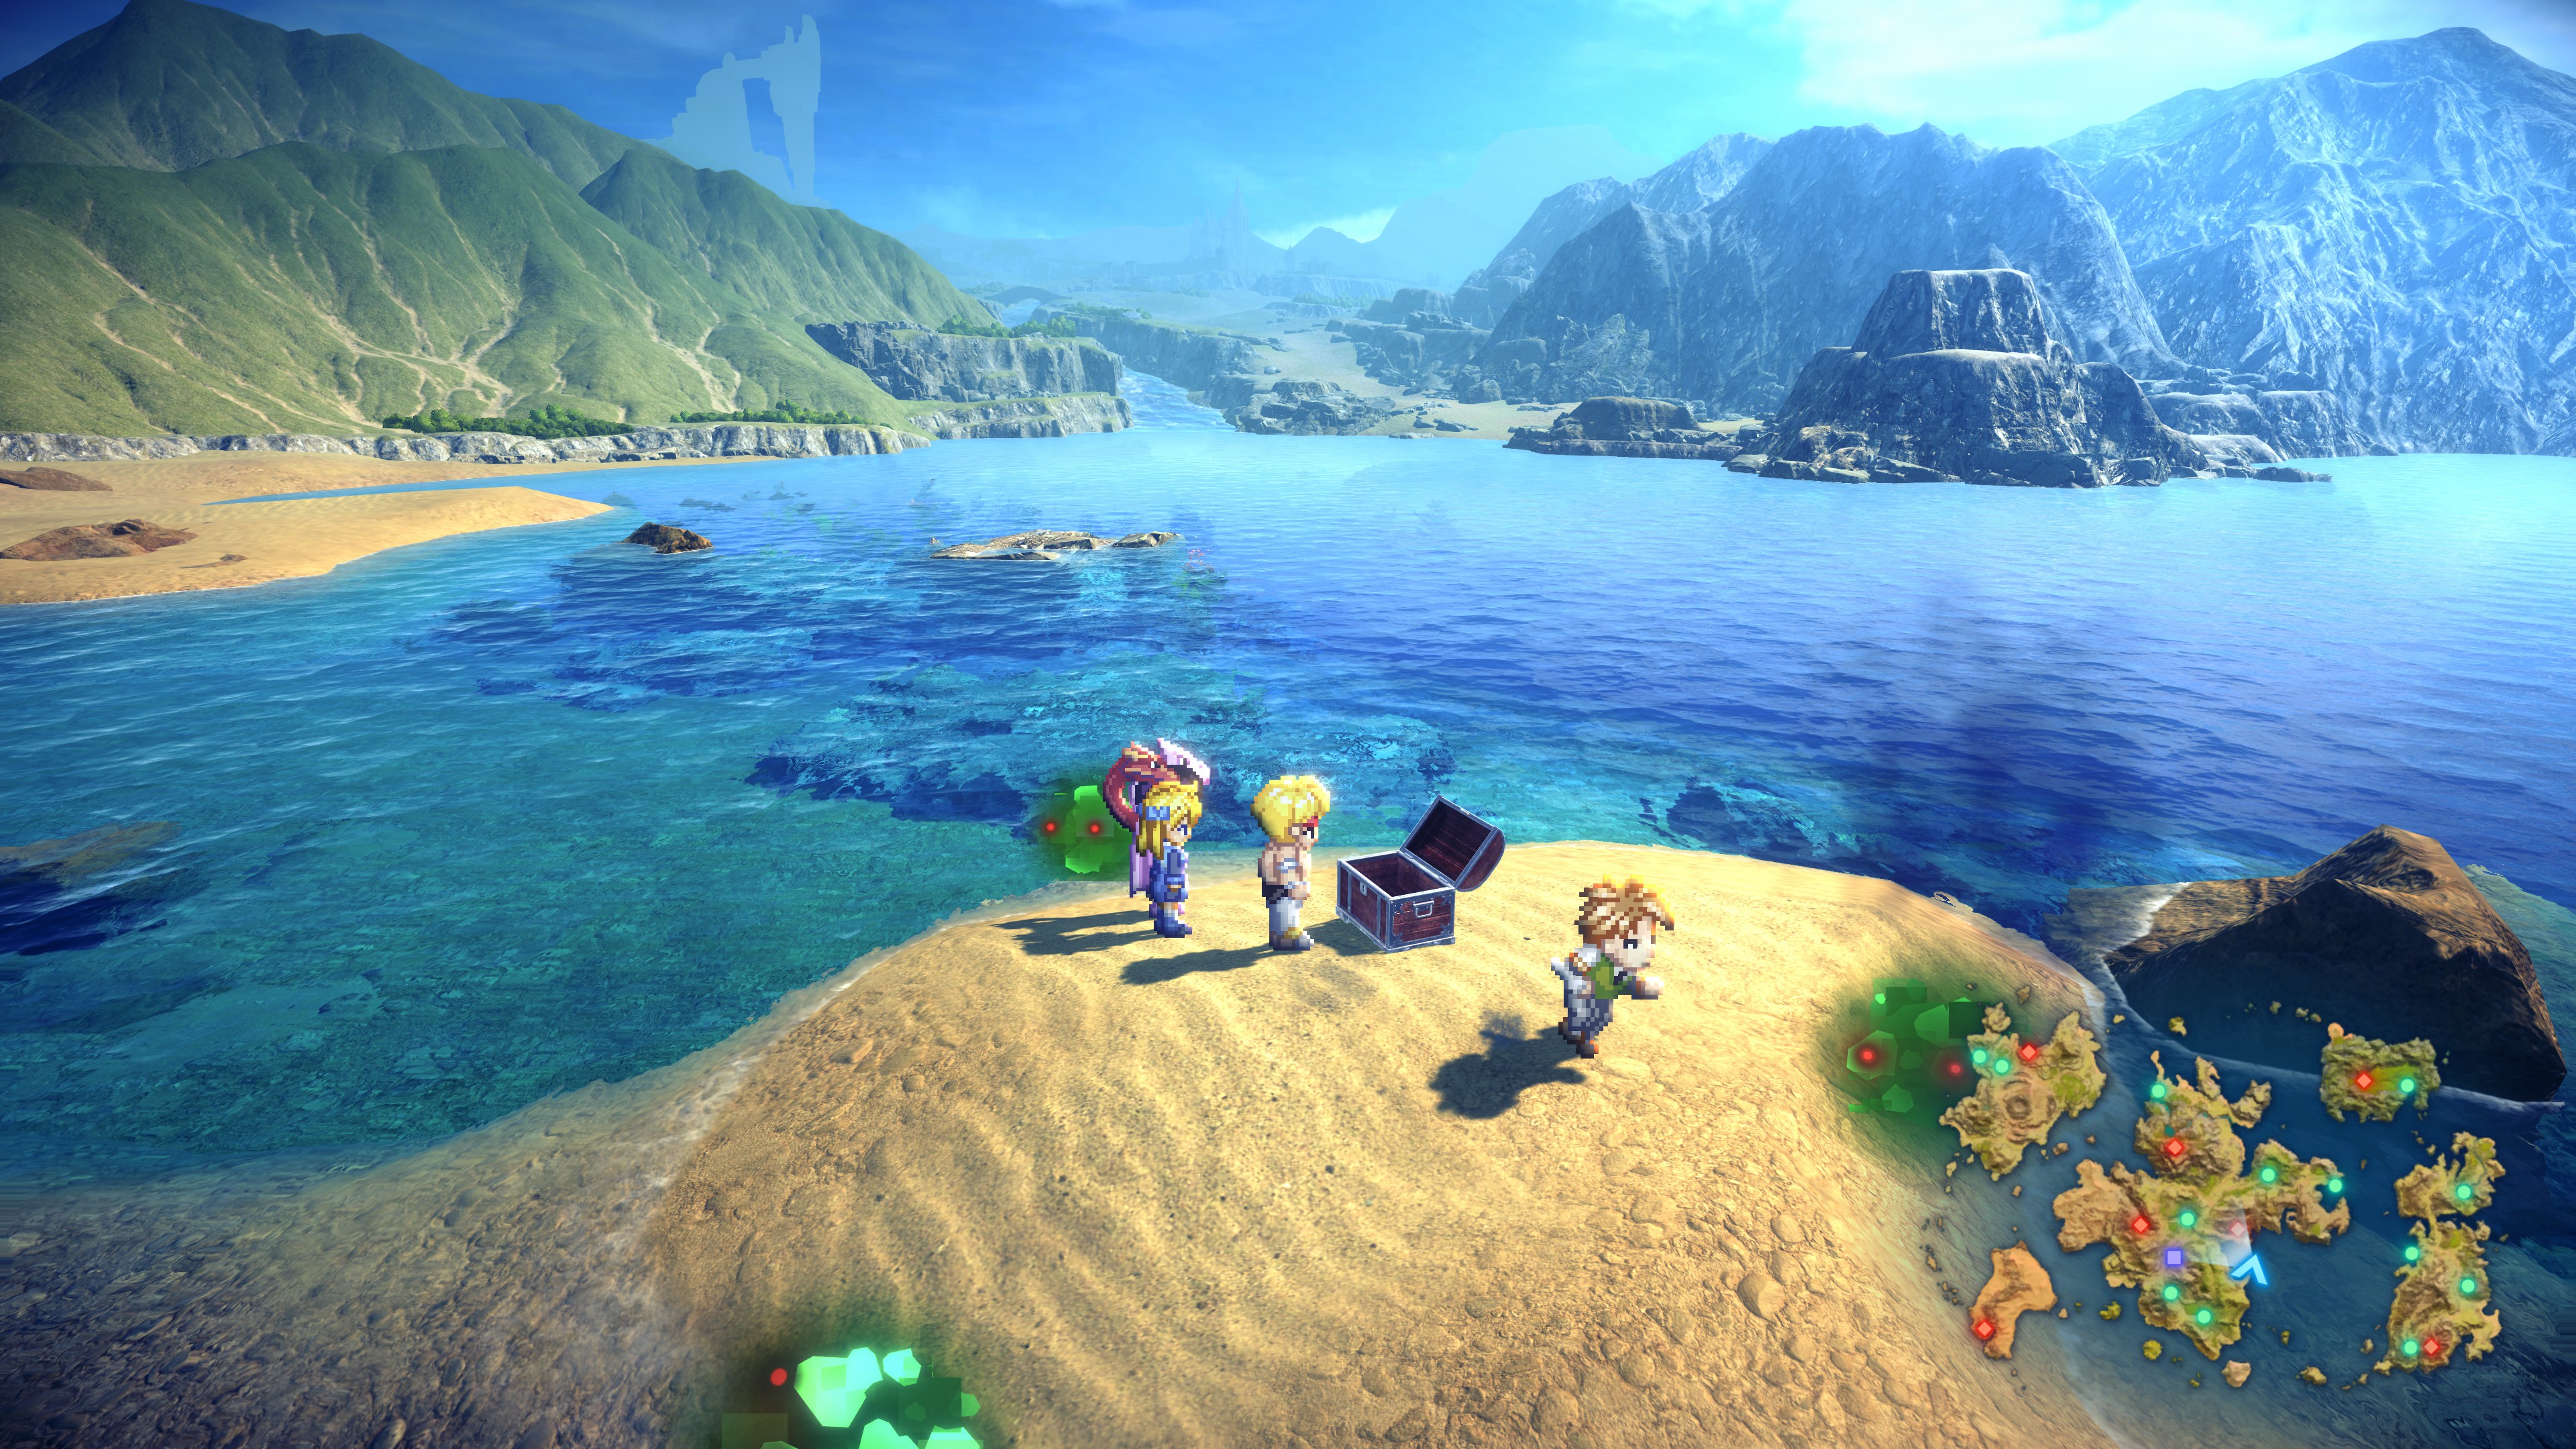
#7 – 4 Magic Canvas (cove near Krosse Cave)
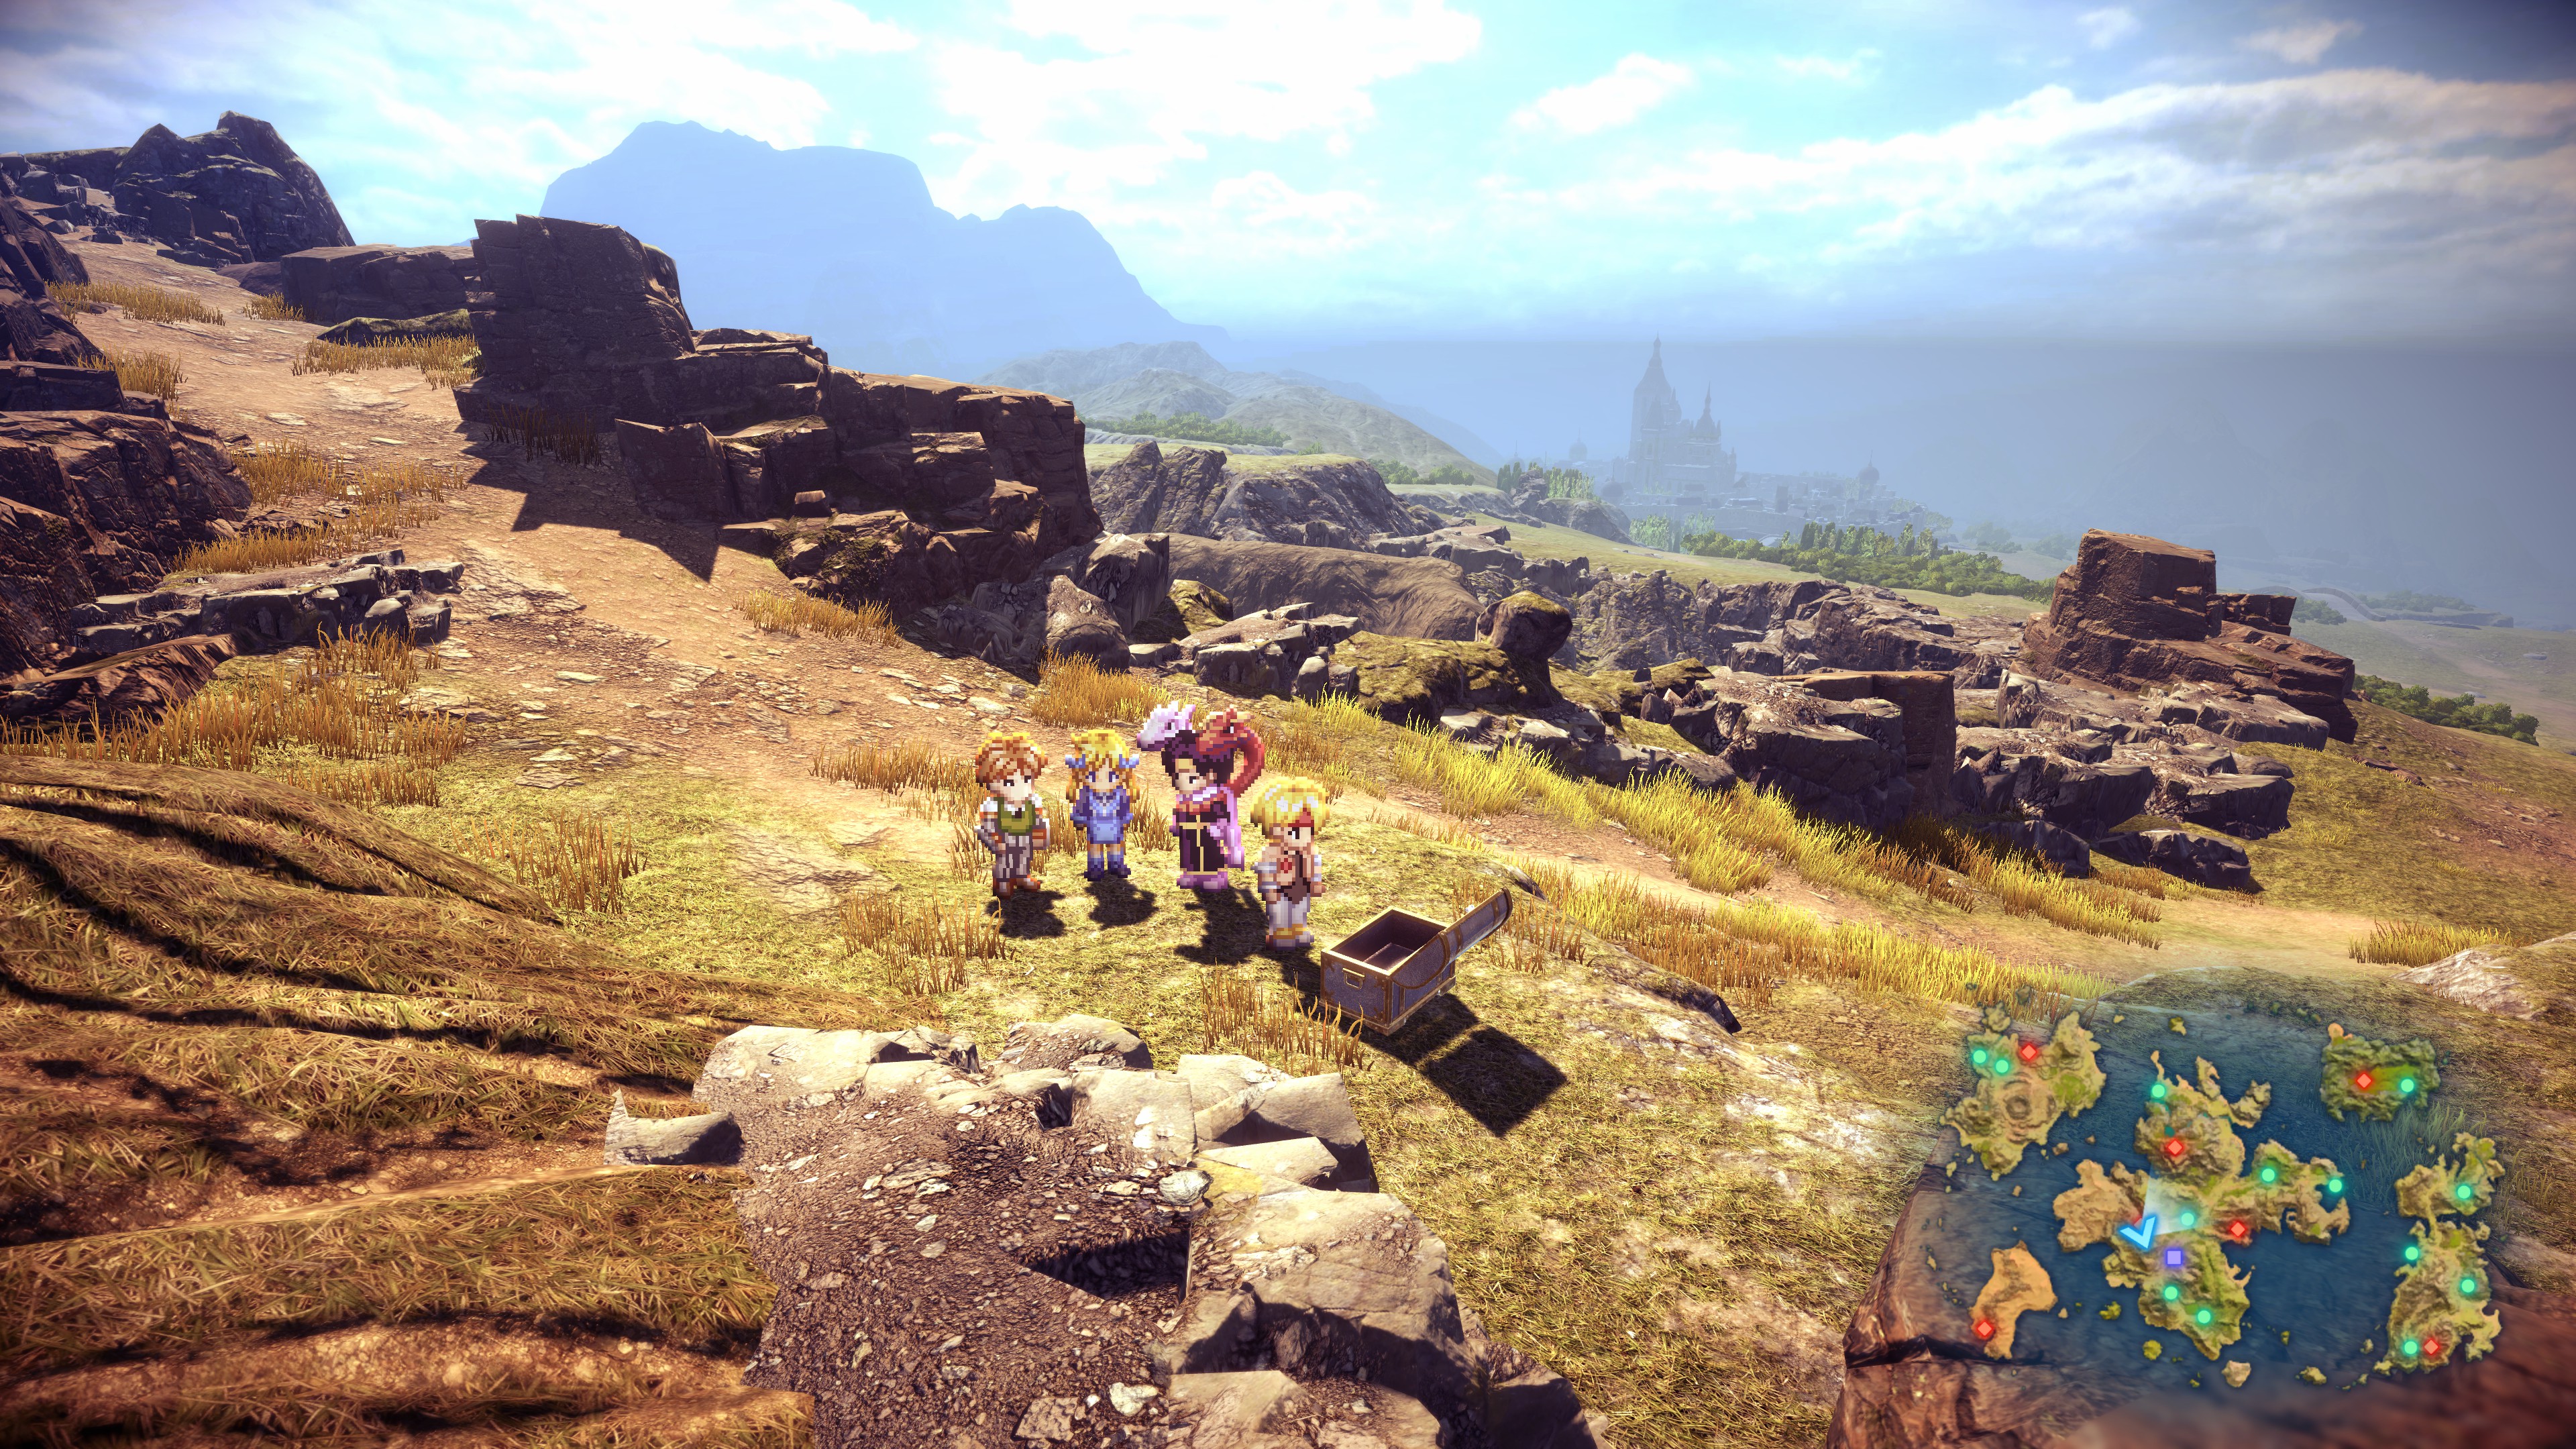
#8 – Gold Cross (just outside Lasgus Mountain)
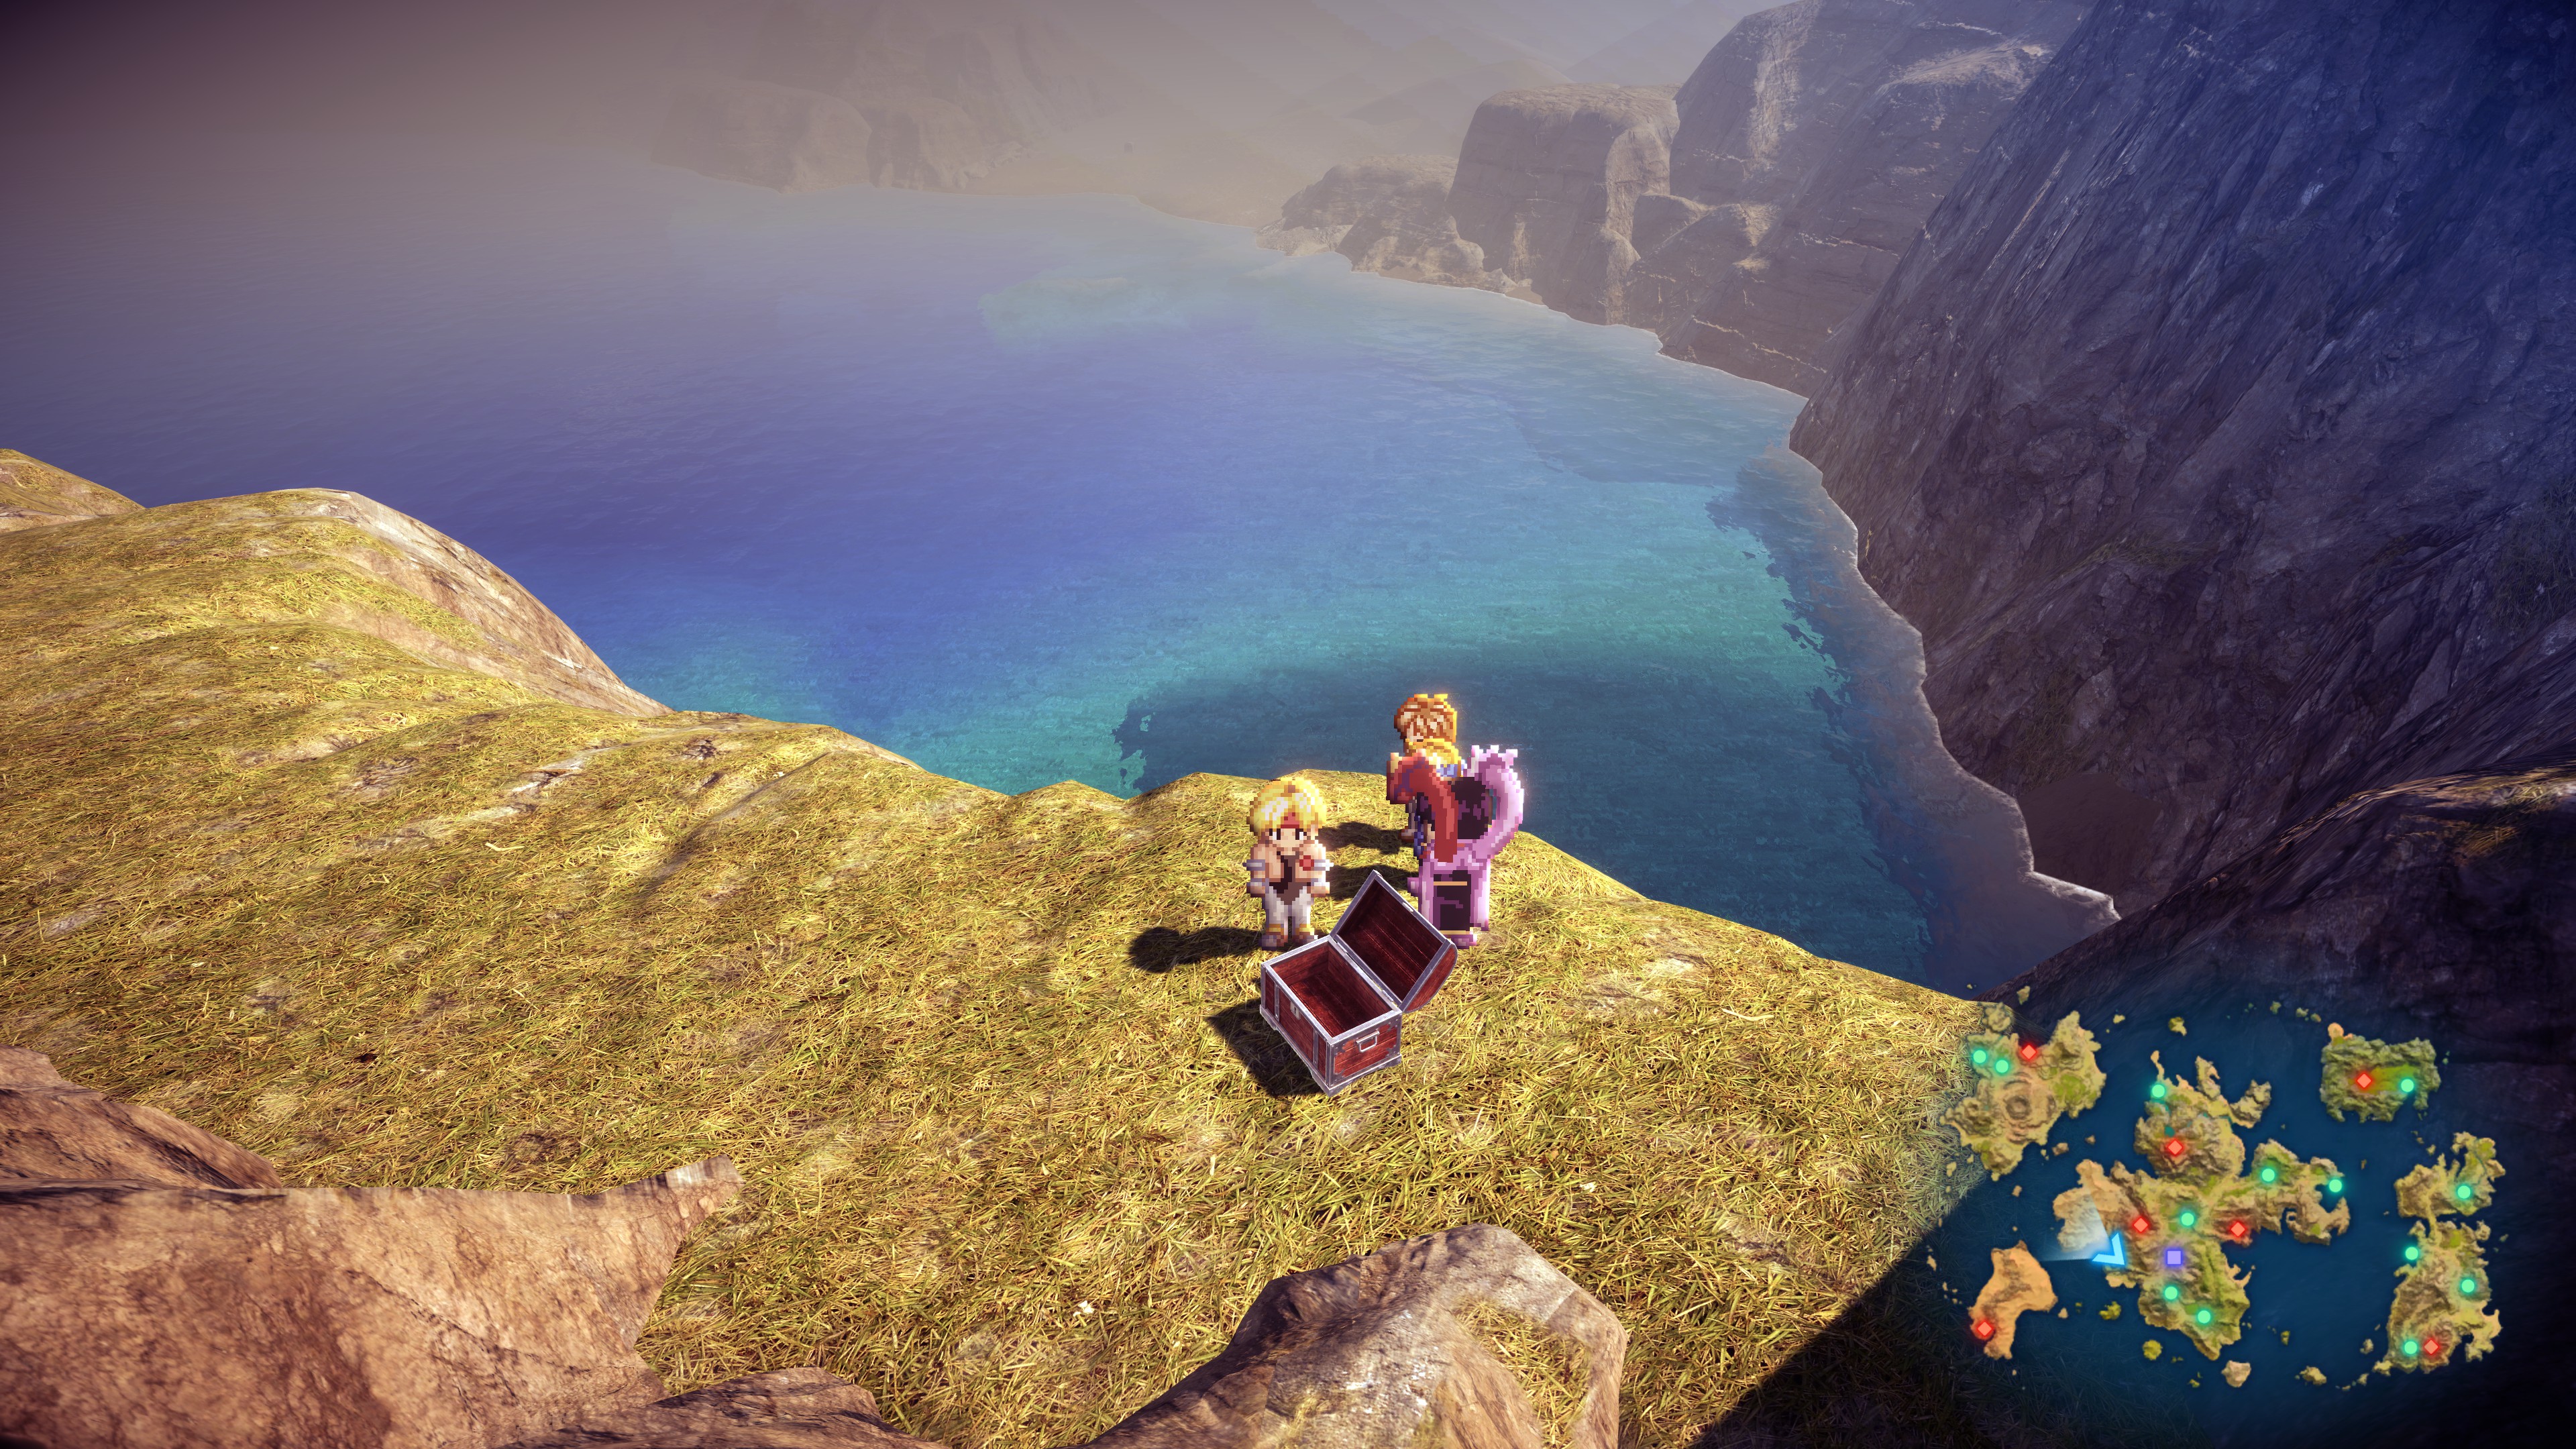
#9 – 3 Angel Statuette (cliffside near Lasgus Mountain)
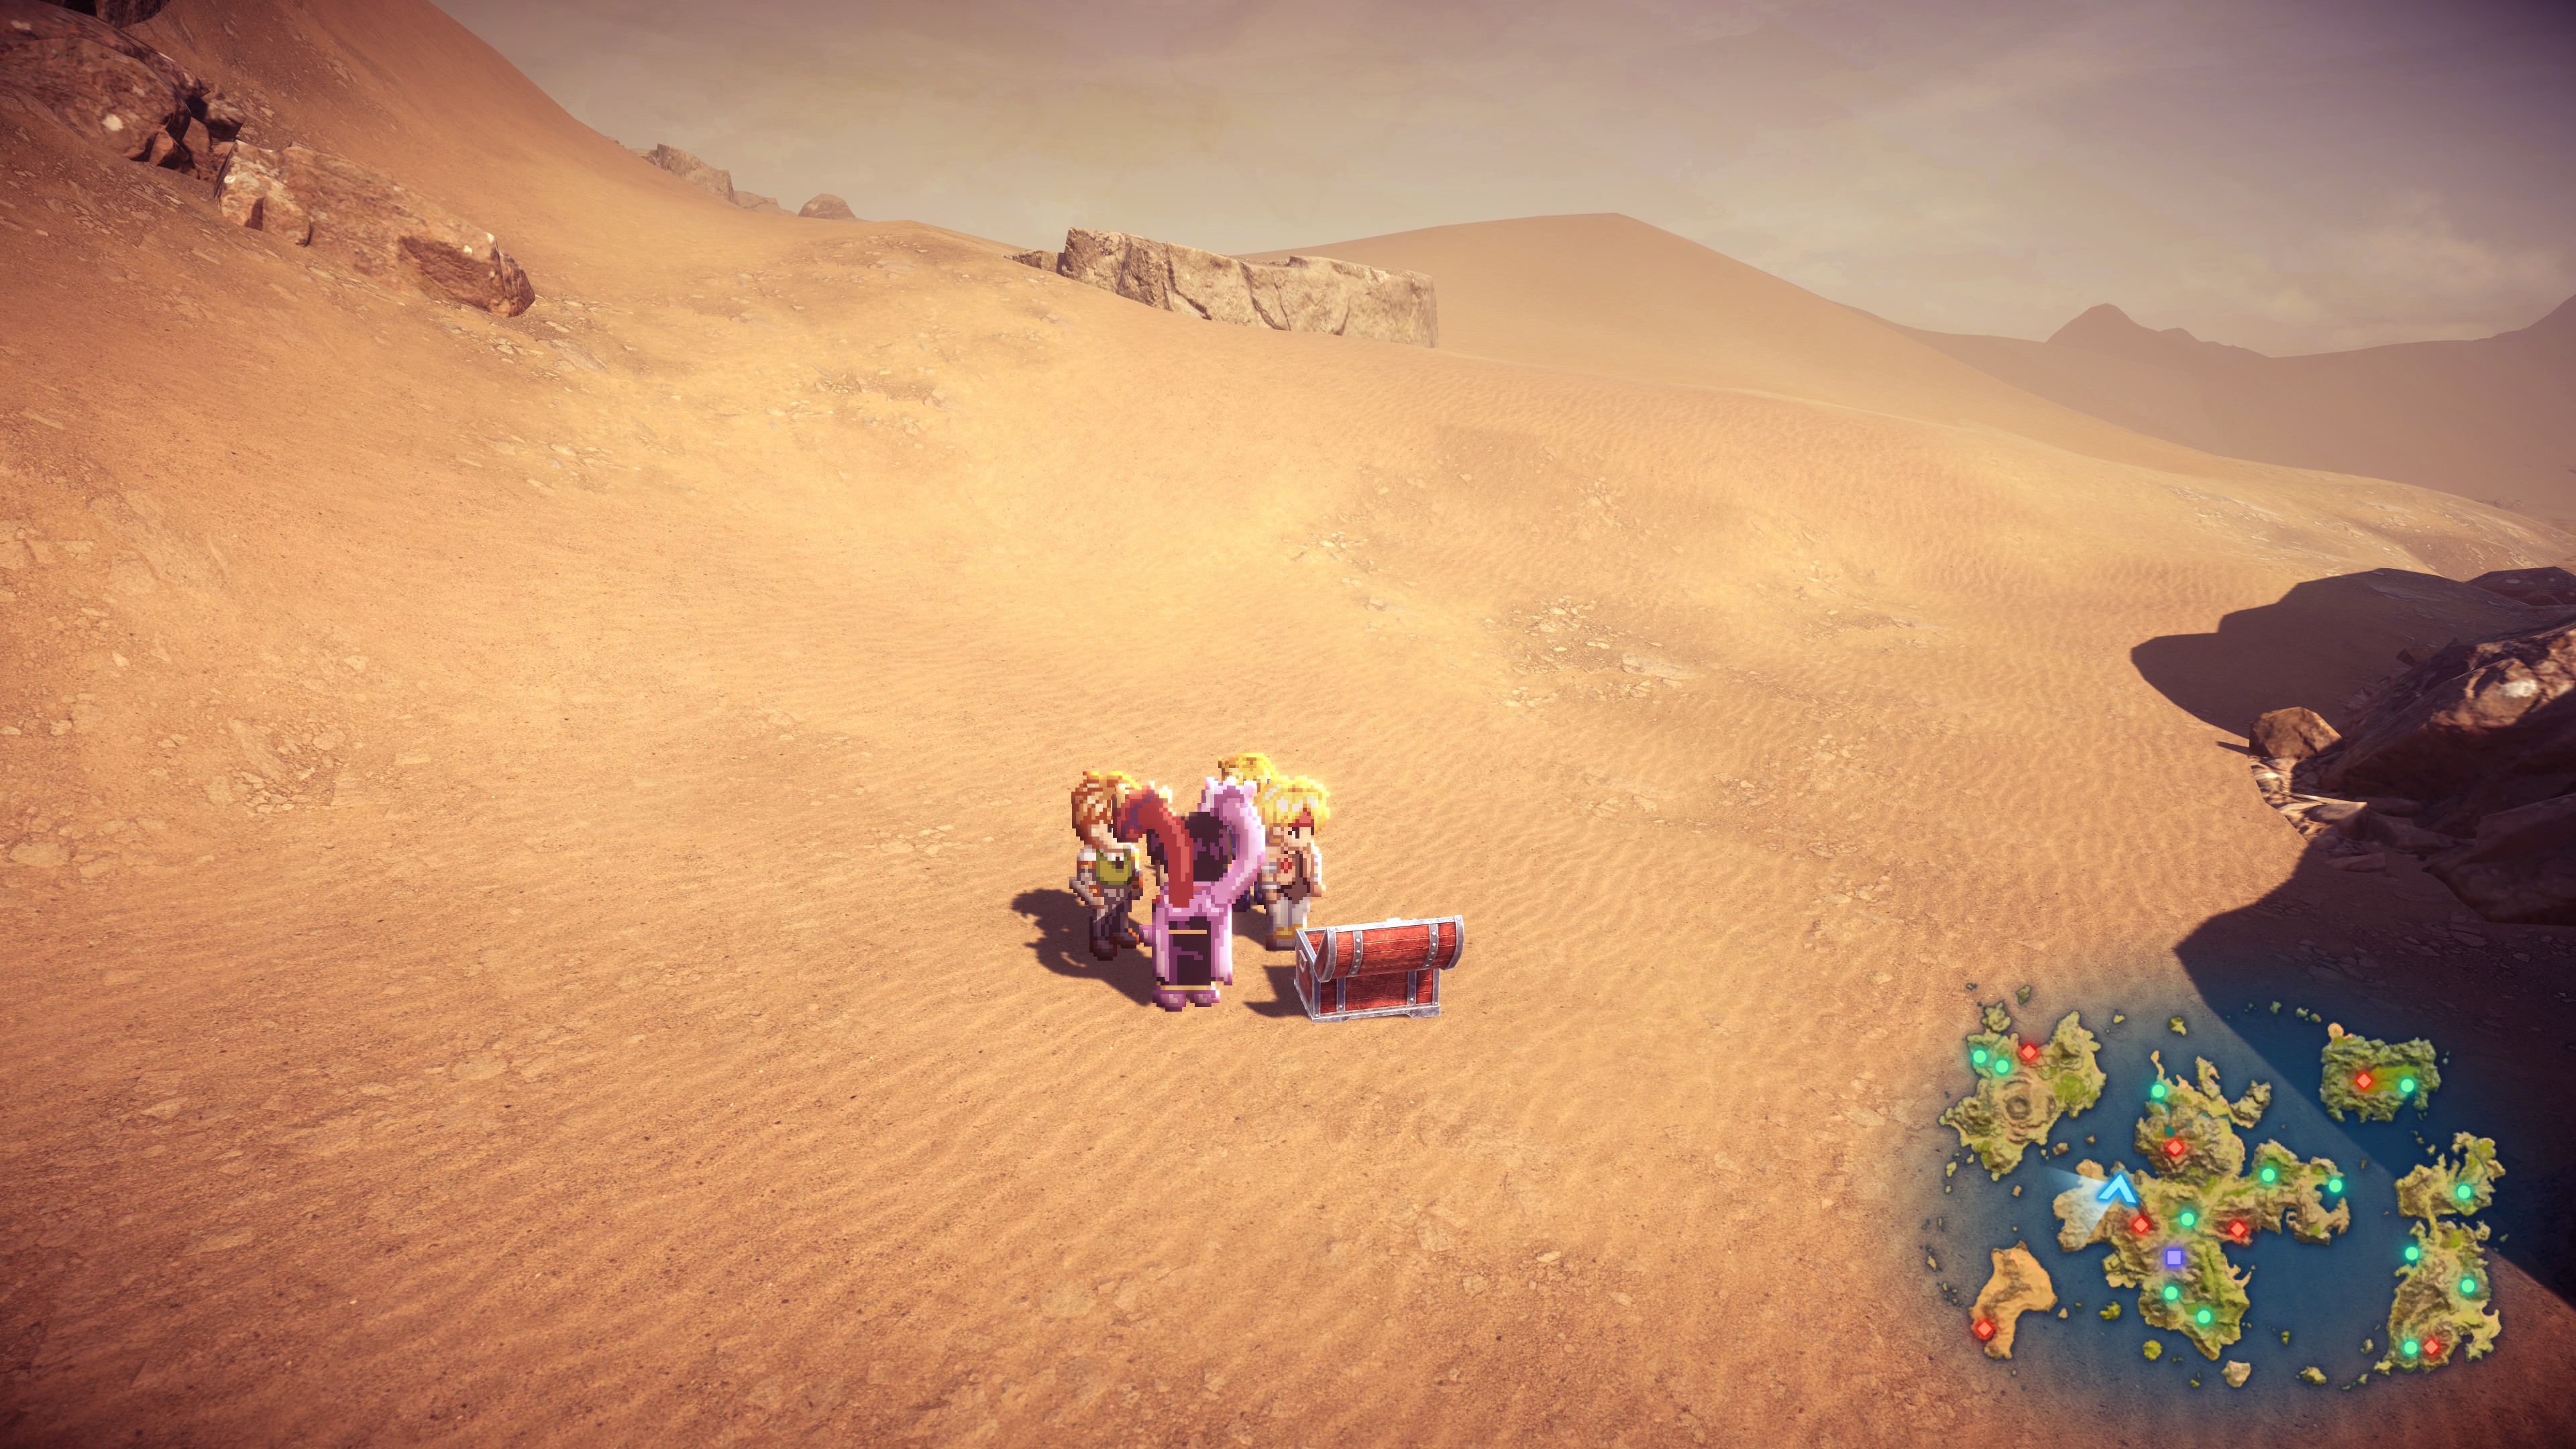
#10 – 2 Veda Idol (north Lasgus Desert)
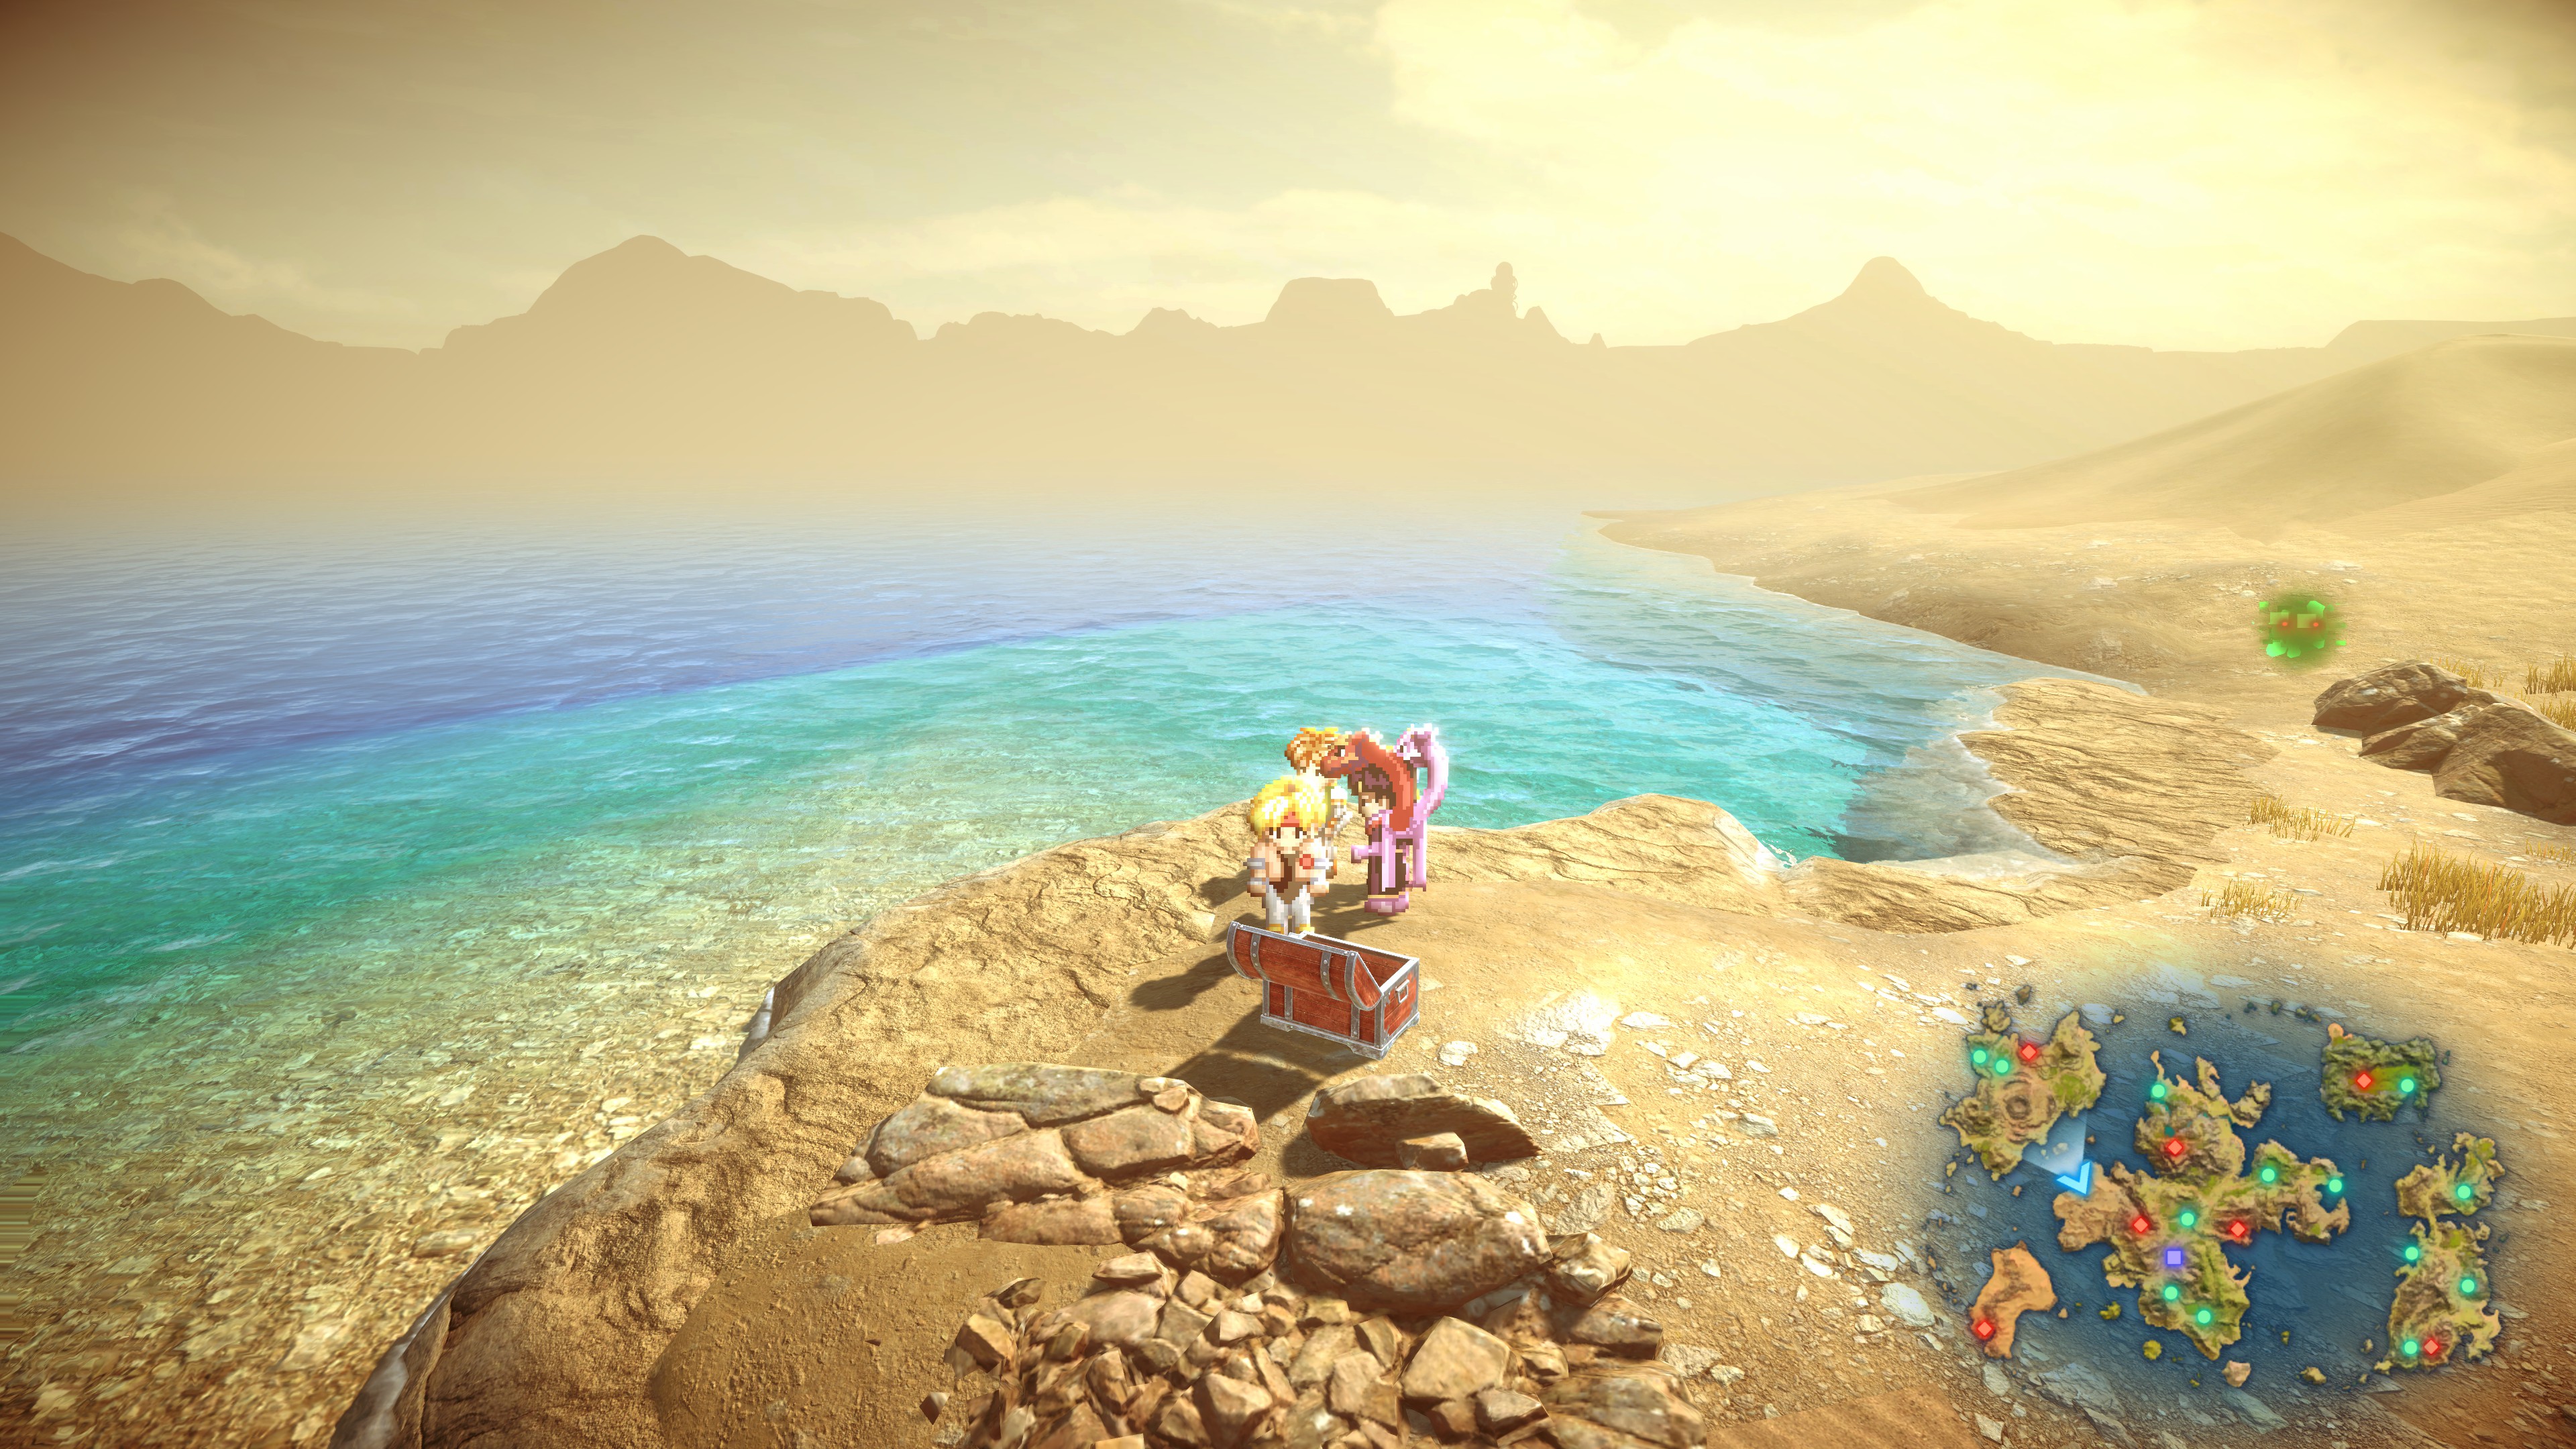
#11 – 2 Resurrection Mist (small cove in Lasgus Desert)
#12 – 4 Star Ruby (southern Lasgus Desert)
#13 – 5 Eggs and Dairy (cliff overlooking Lasgus Desert)
#14 – 4 Artemis Leaf (near Krosse Cave)
#15 – 5 Magic Canvas (just south of Harley)
#16 – Lunar Talisman (cliff overlooking Marze)
#17 – 10 Lavender (coastline east of Marze)
#18 – 8 Athelas (coastline near Kurik bridge)
#19 – 2 Faerie Mist (cliff north of Marze)
#20 – 4 Potion of Merlin (beach north of Kurik)
#21 – Plate Helmet (small cliffside south of Kurik)
#22 – 3 Yogurt (hill between Kurik and Mountain Palace)
#23 – Safety Shoes (west of Mountain Palace)
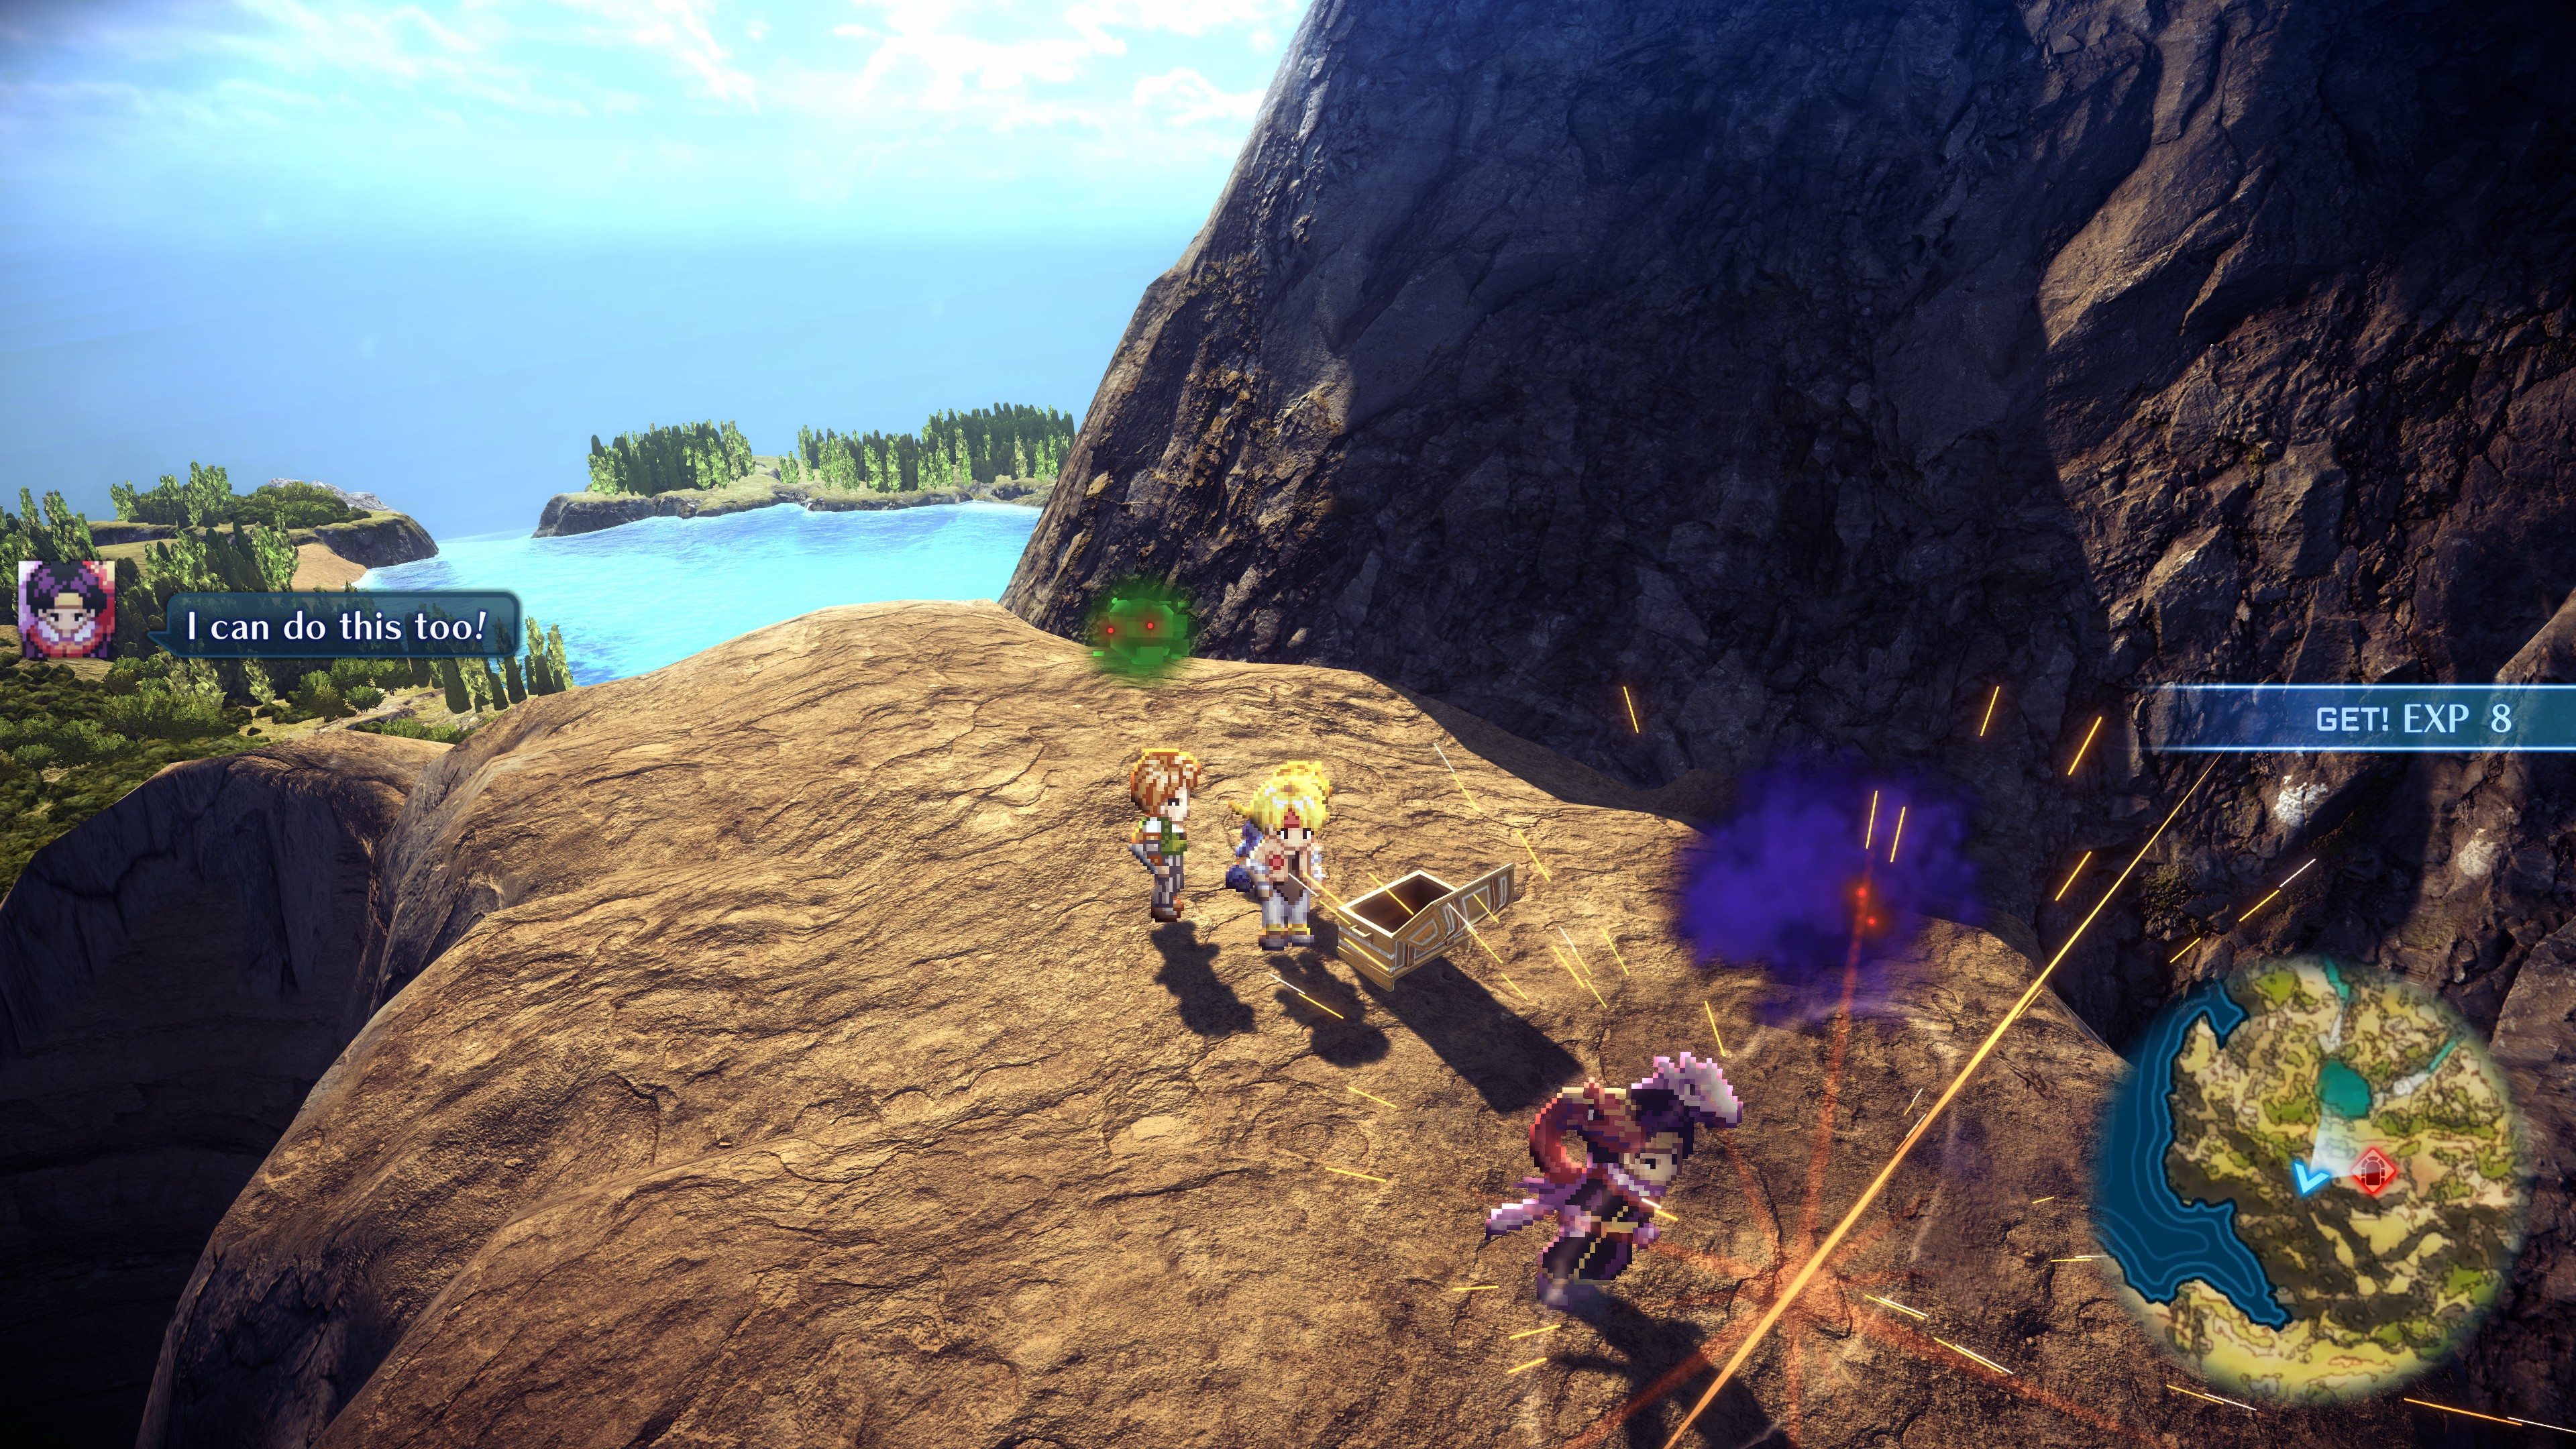
#24 – Plate Helmet+ (CRT Heal) (rocky outcropping south of Mountain Palace)
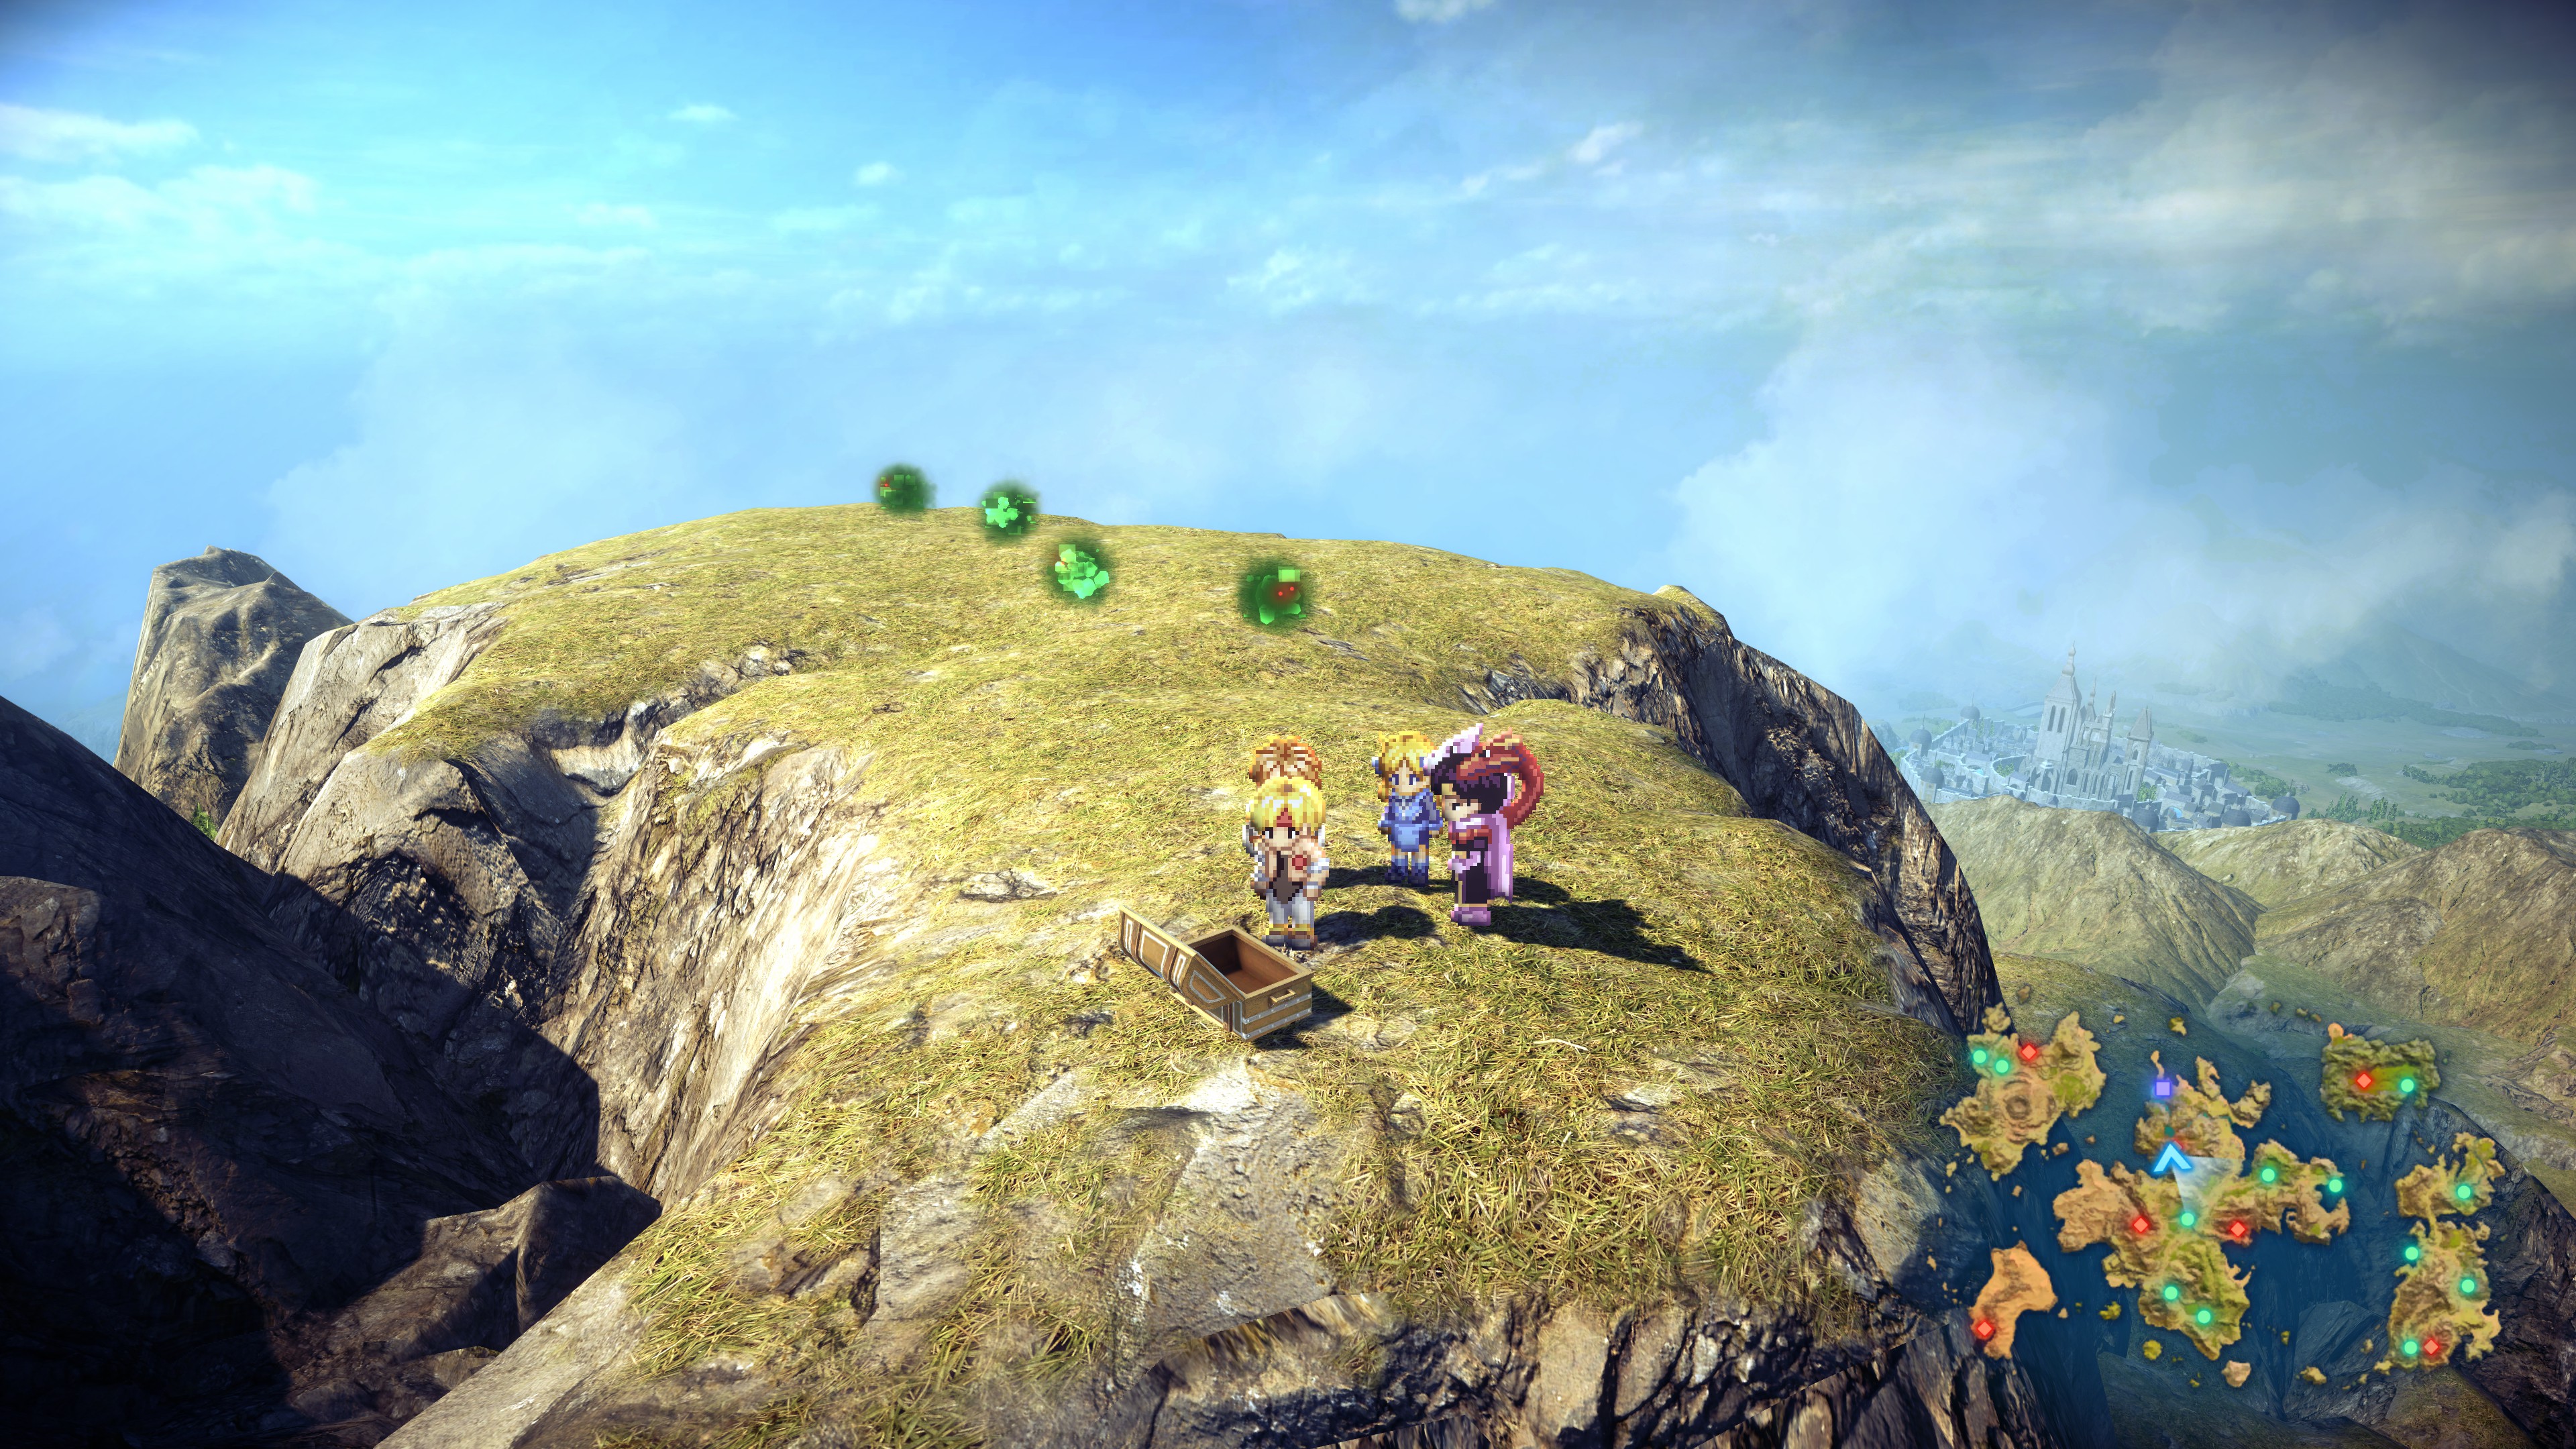
#25 – Princess Ring+ (Loving Care) (cliffside south of Mountain Palace)
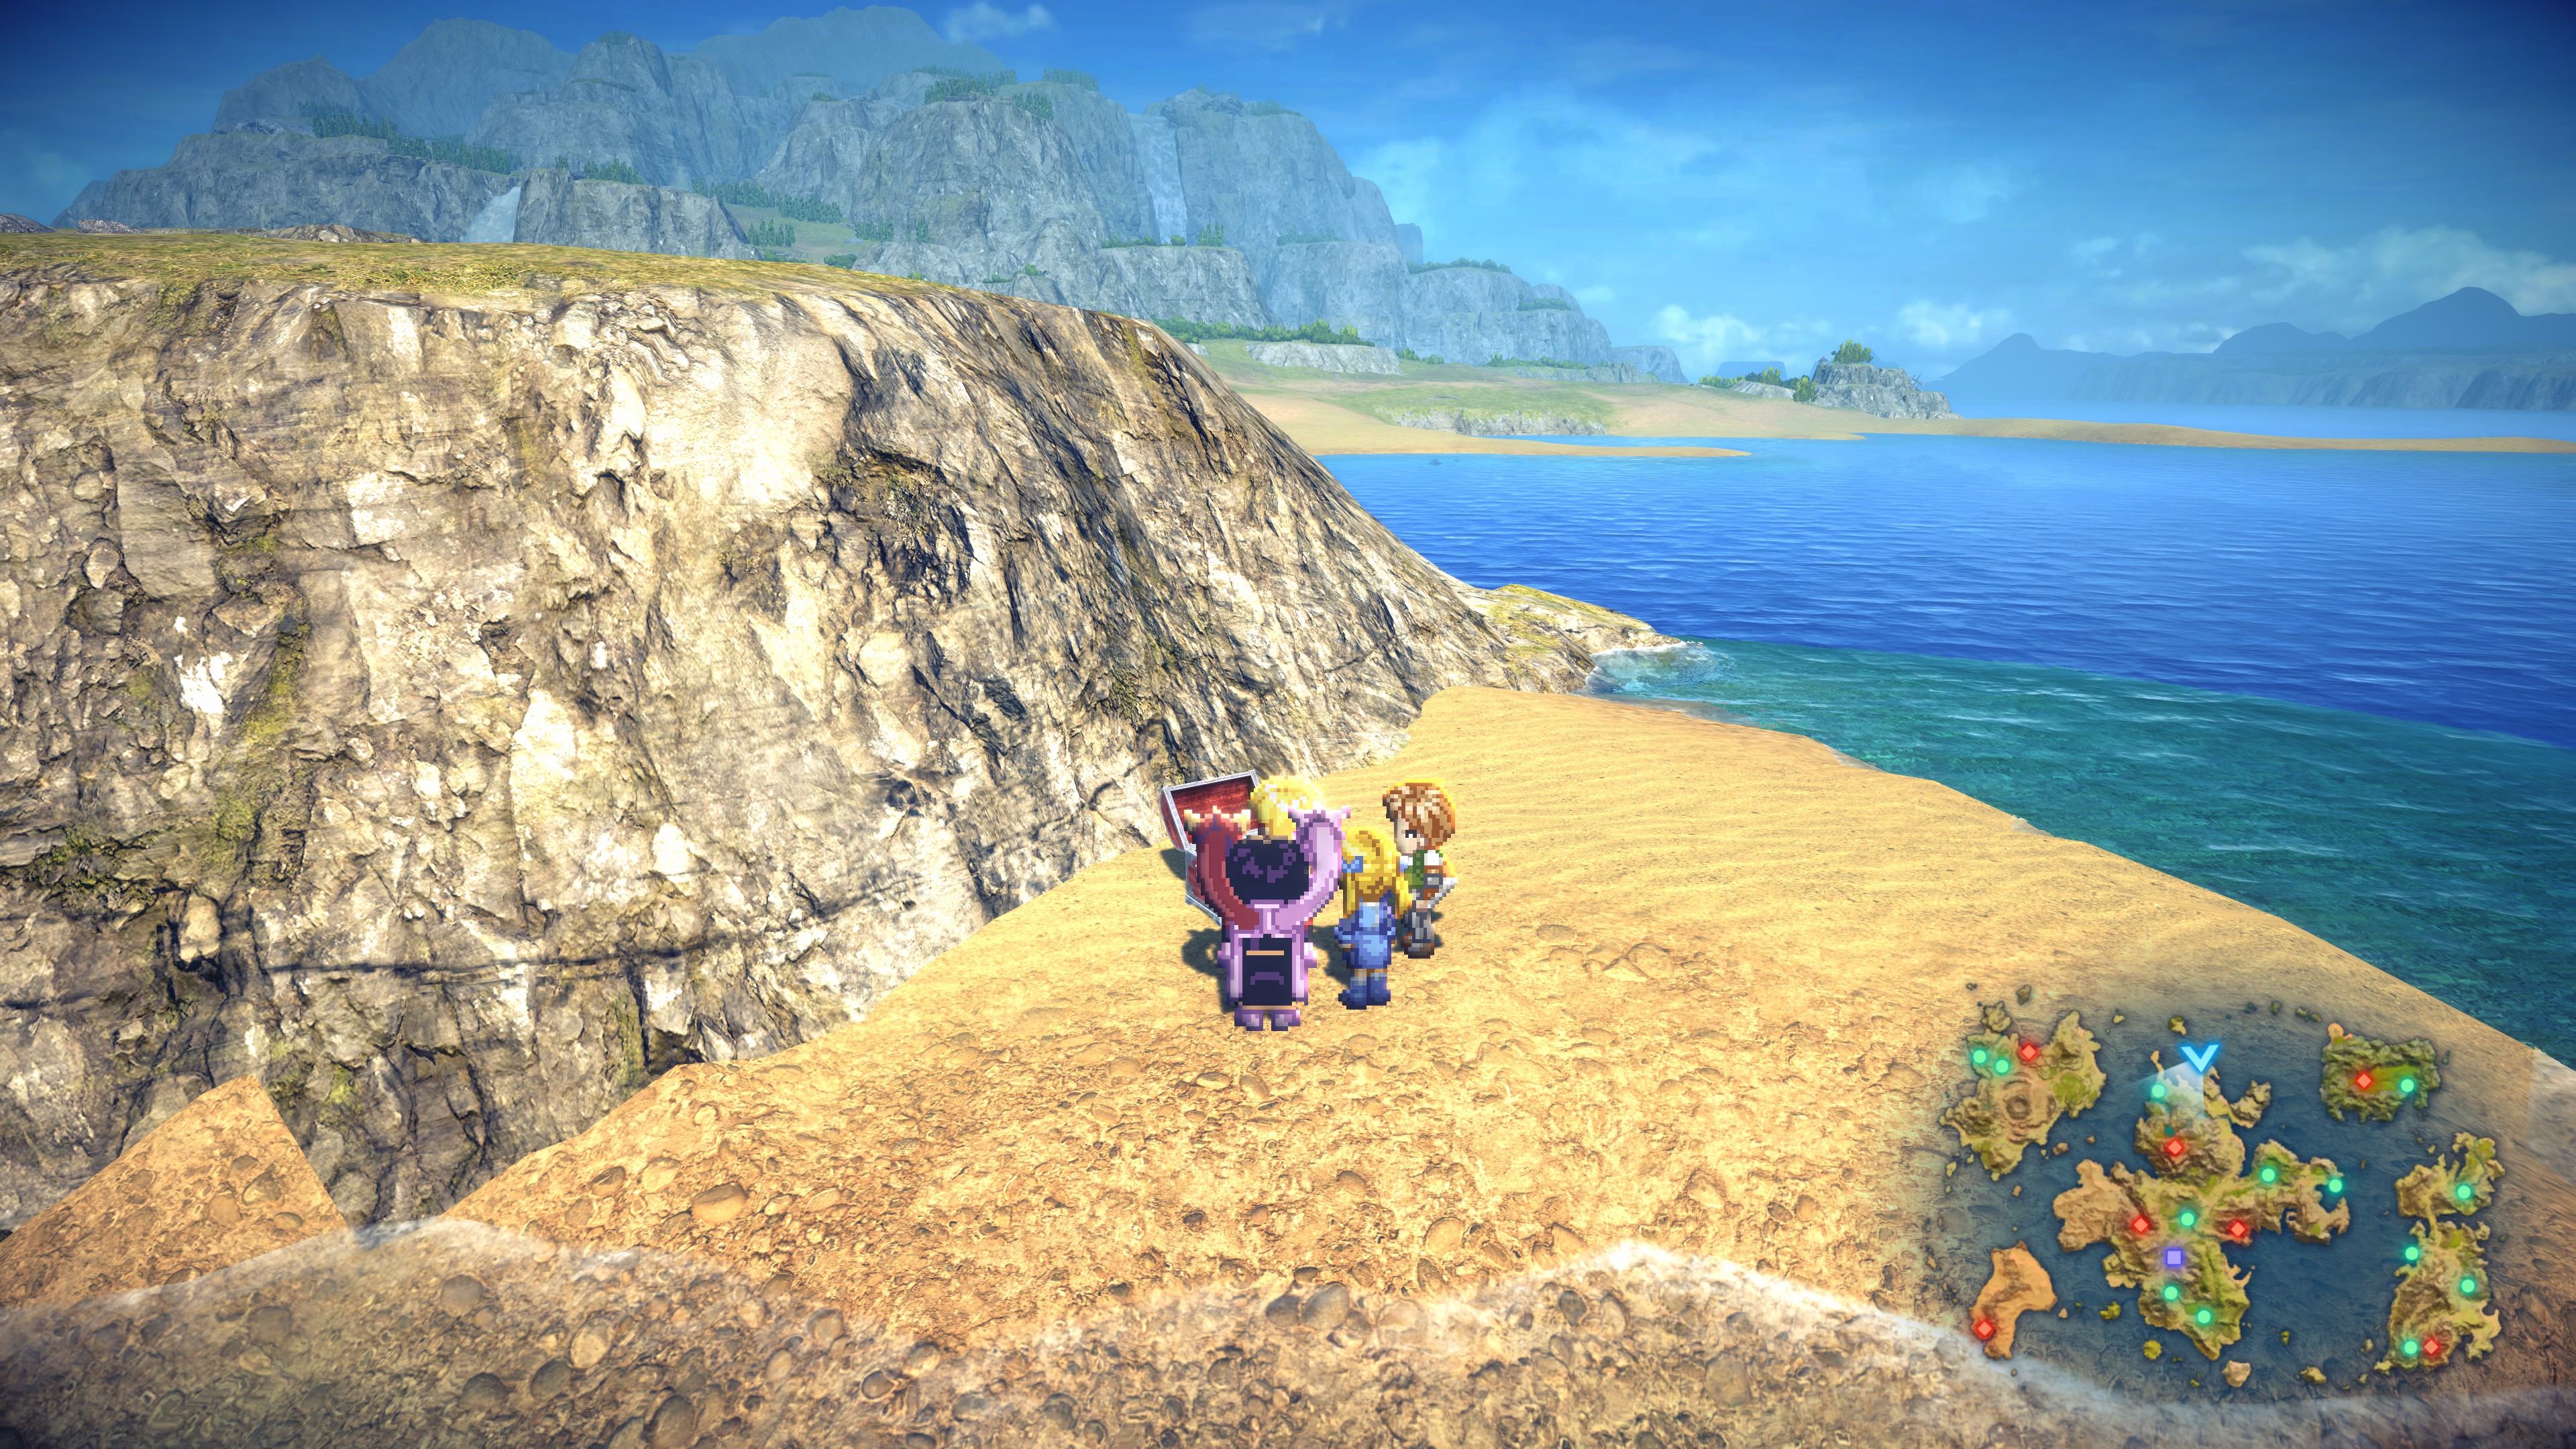
#26 – 4 Friends of the Woods (secluded beach northeast of Kurik)
World Map Chests – Expel (pt. 2)
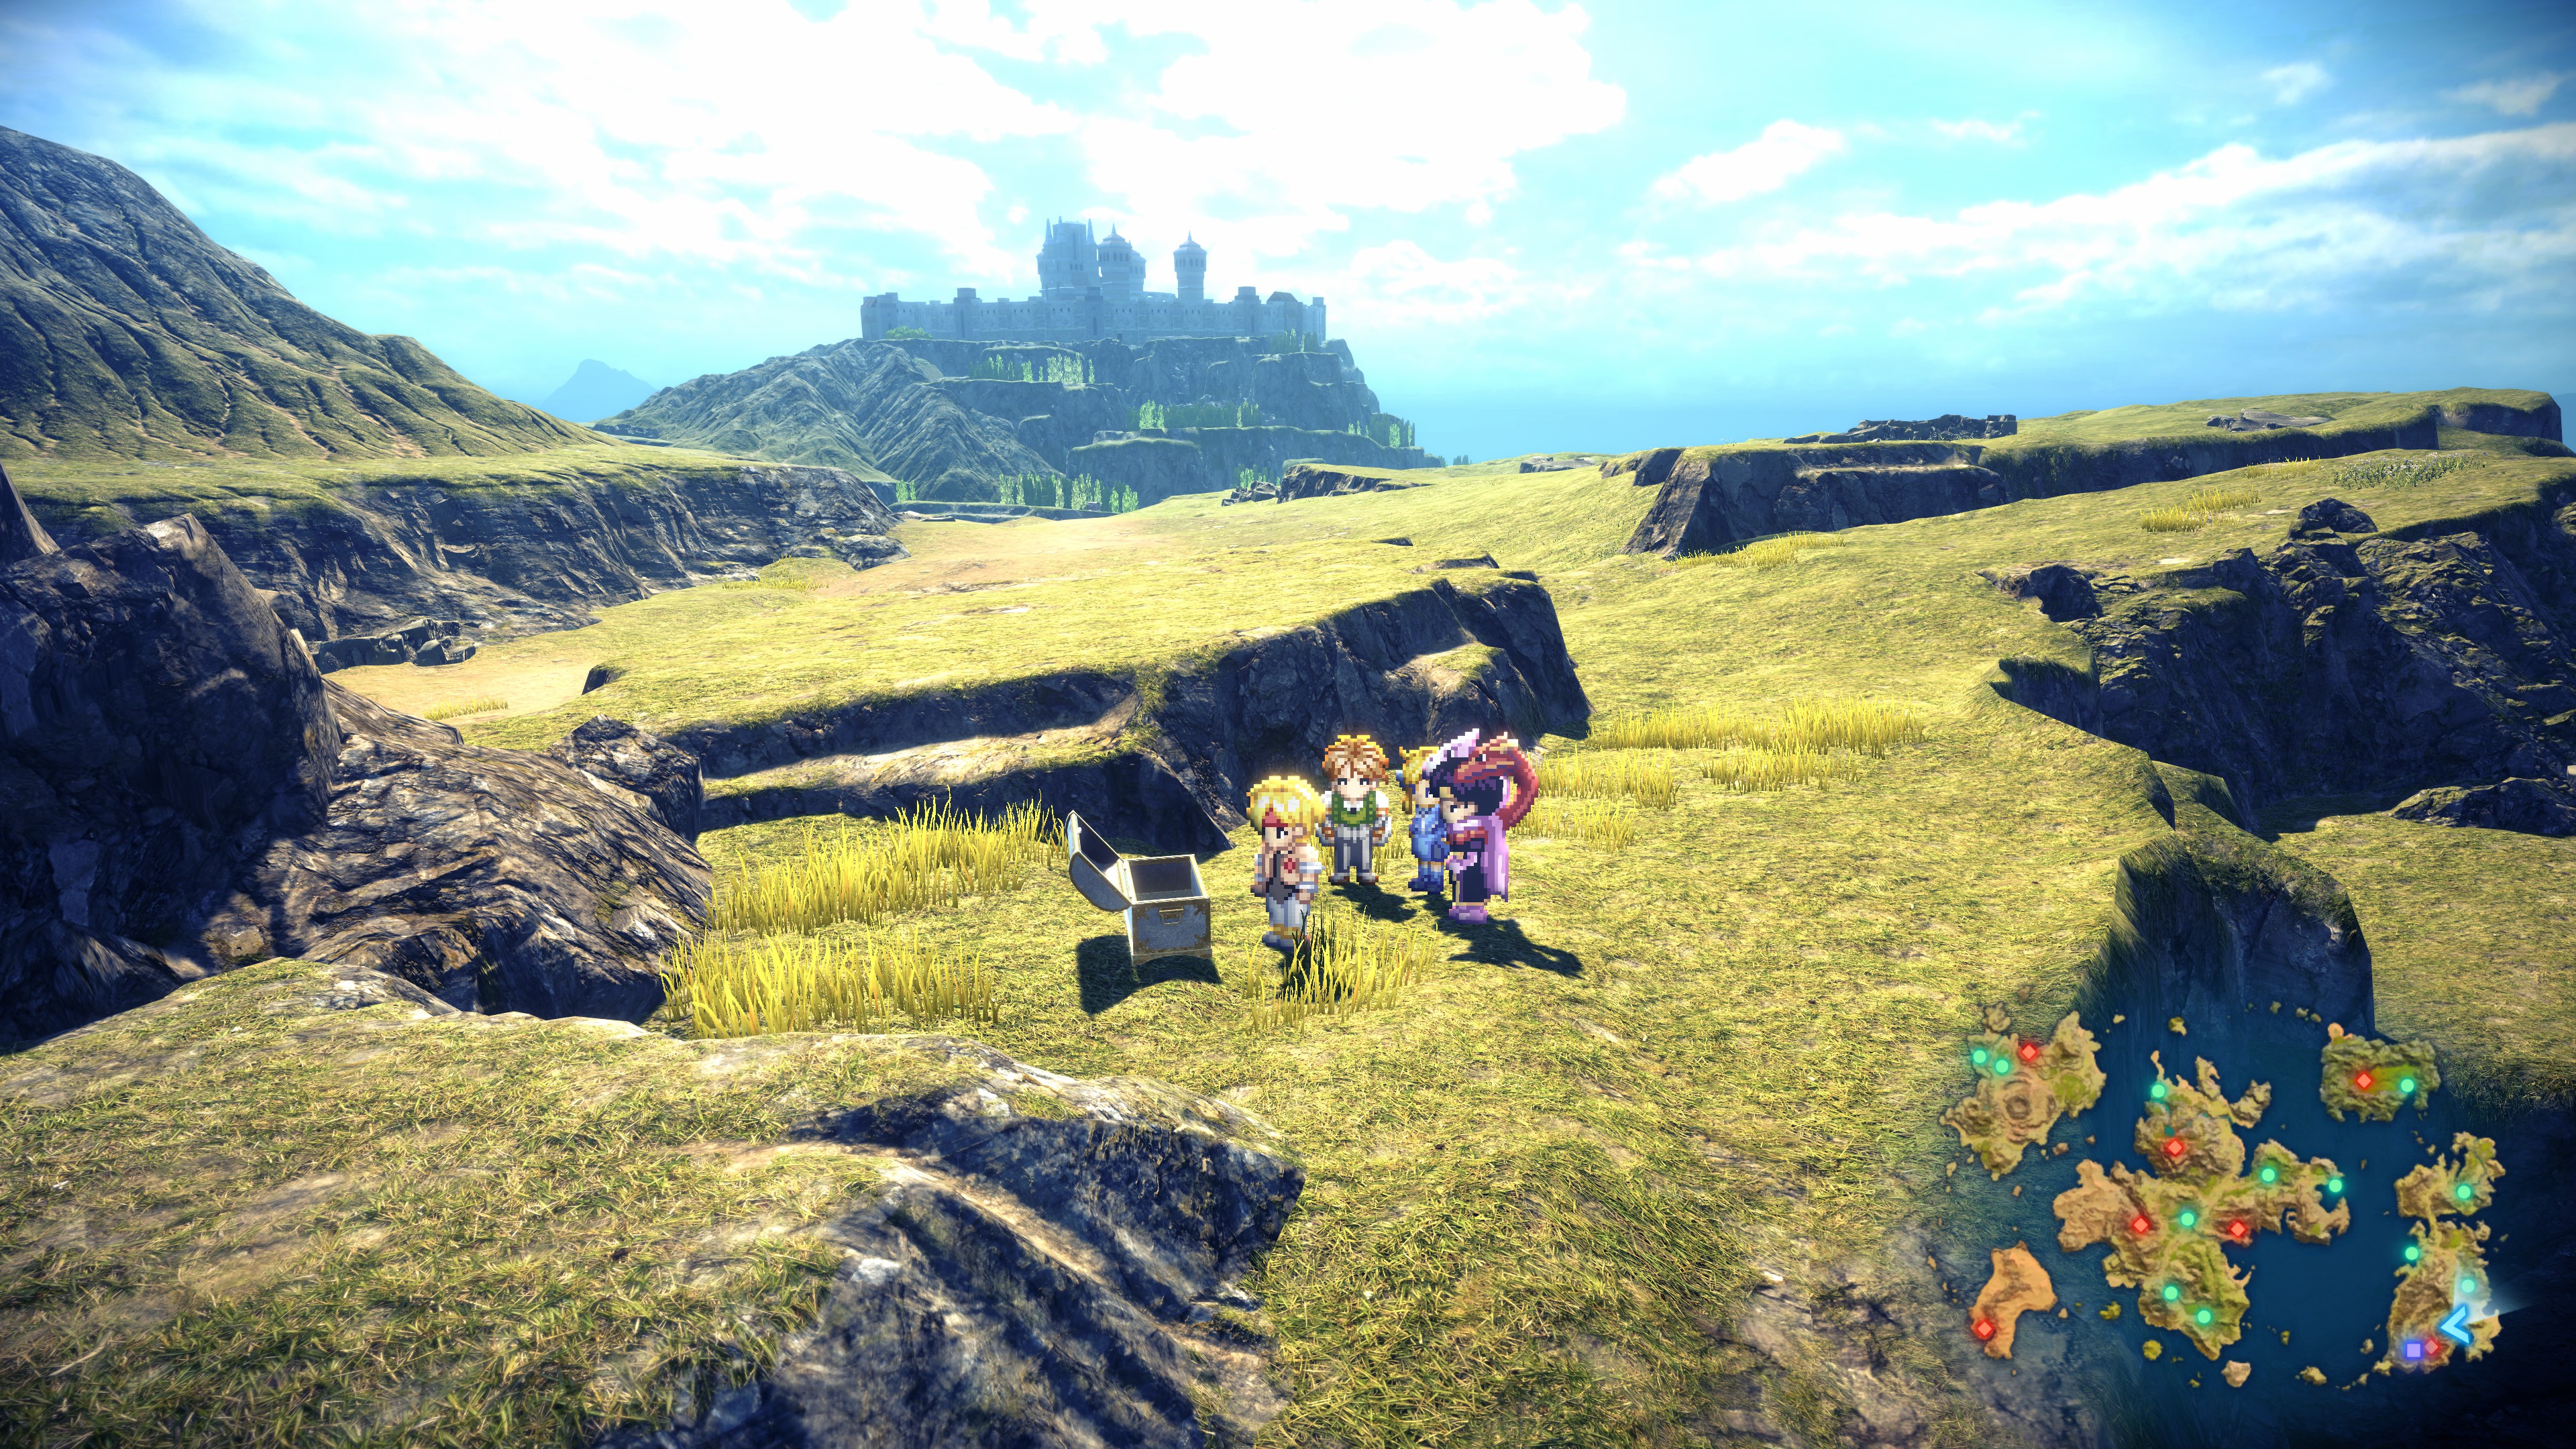
#27 – Silver Greaves (beach east of Linga)

#28 – 2 Orichalcum (cliff near Hilton)
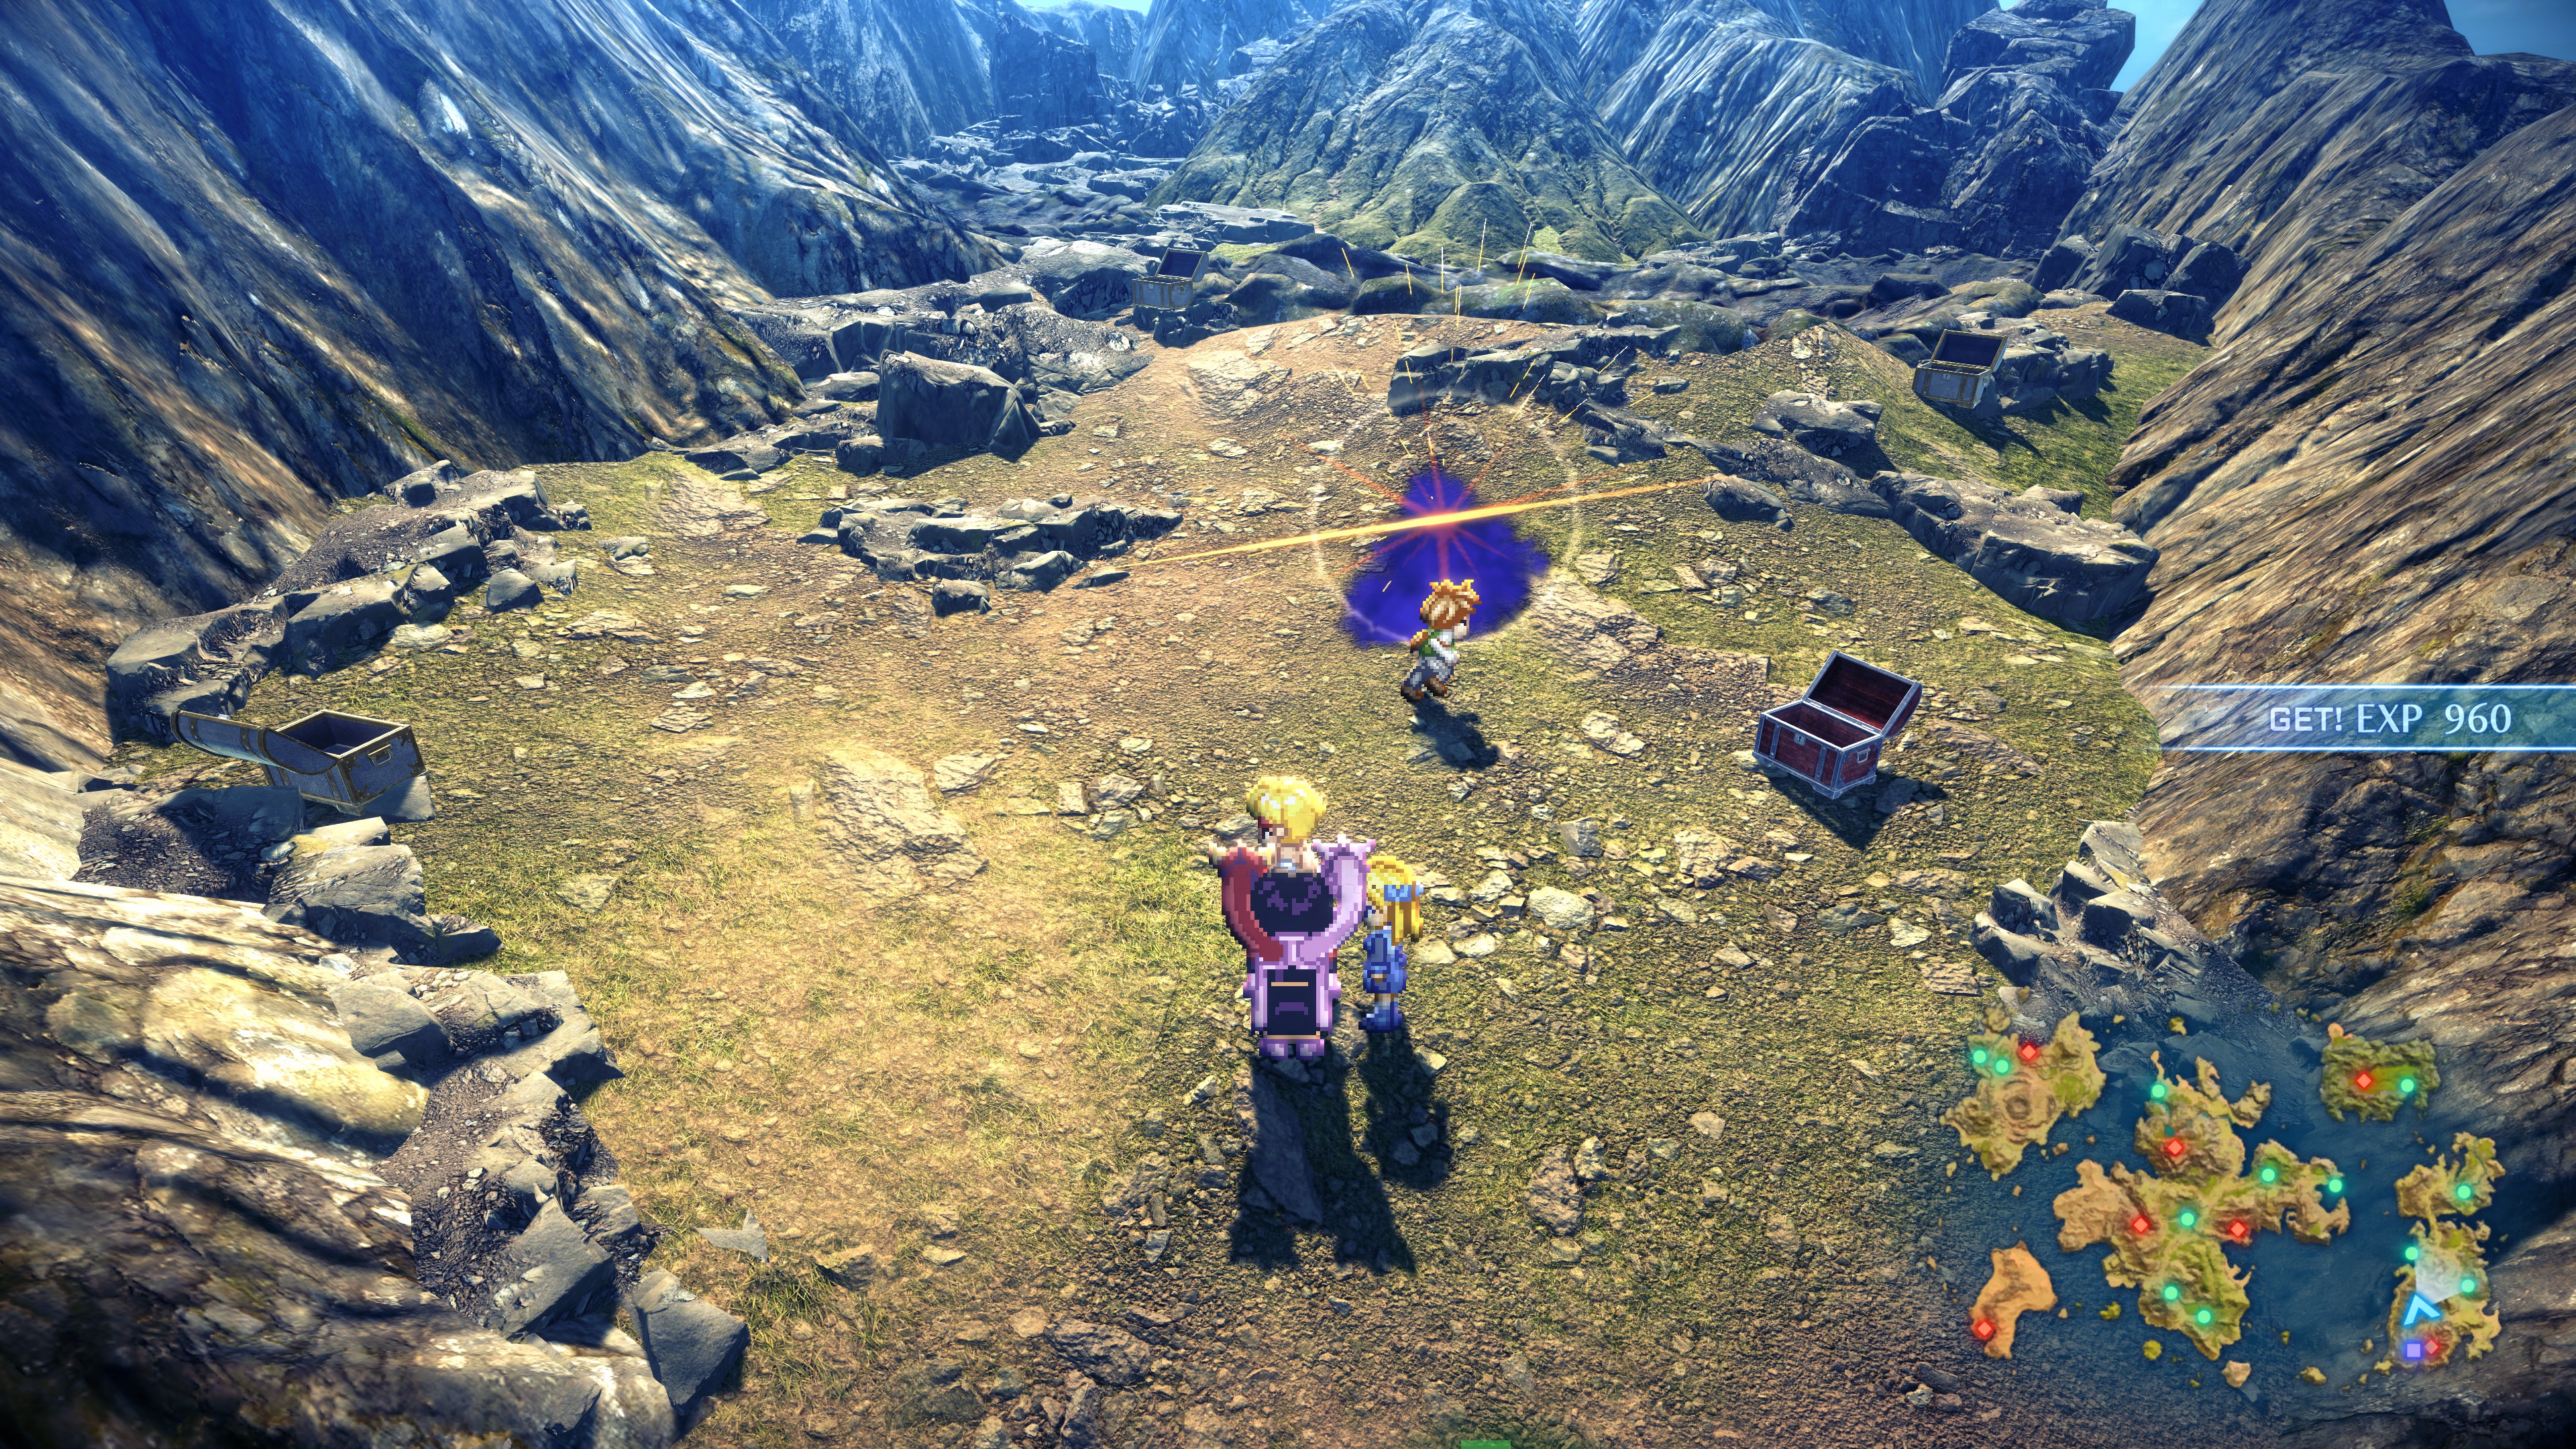
#29 – Meteorite (in meteor field)
#30 – Star Necklace (in meteor field)
#31 – 5 Goddess Statuette (in meteor field)
#32 – Meteorite (in meteor field)
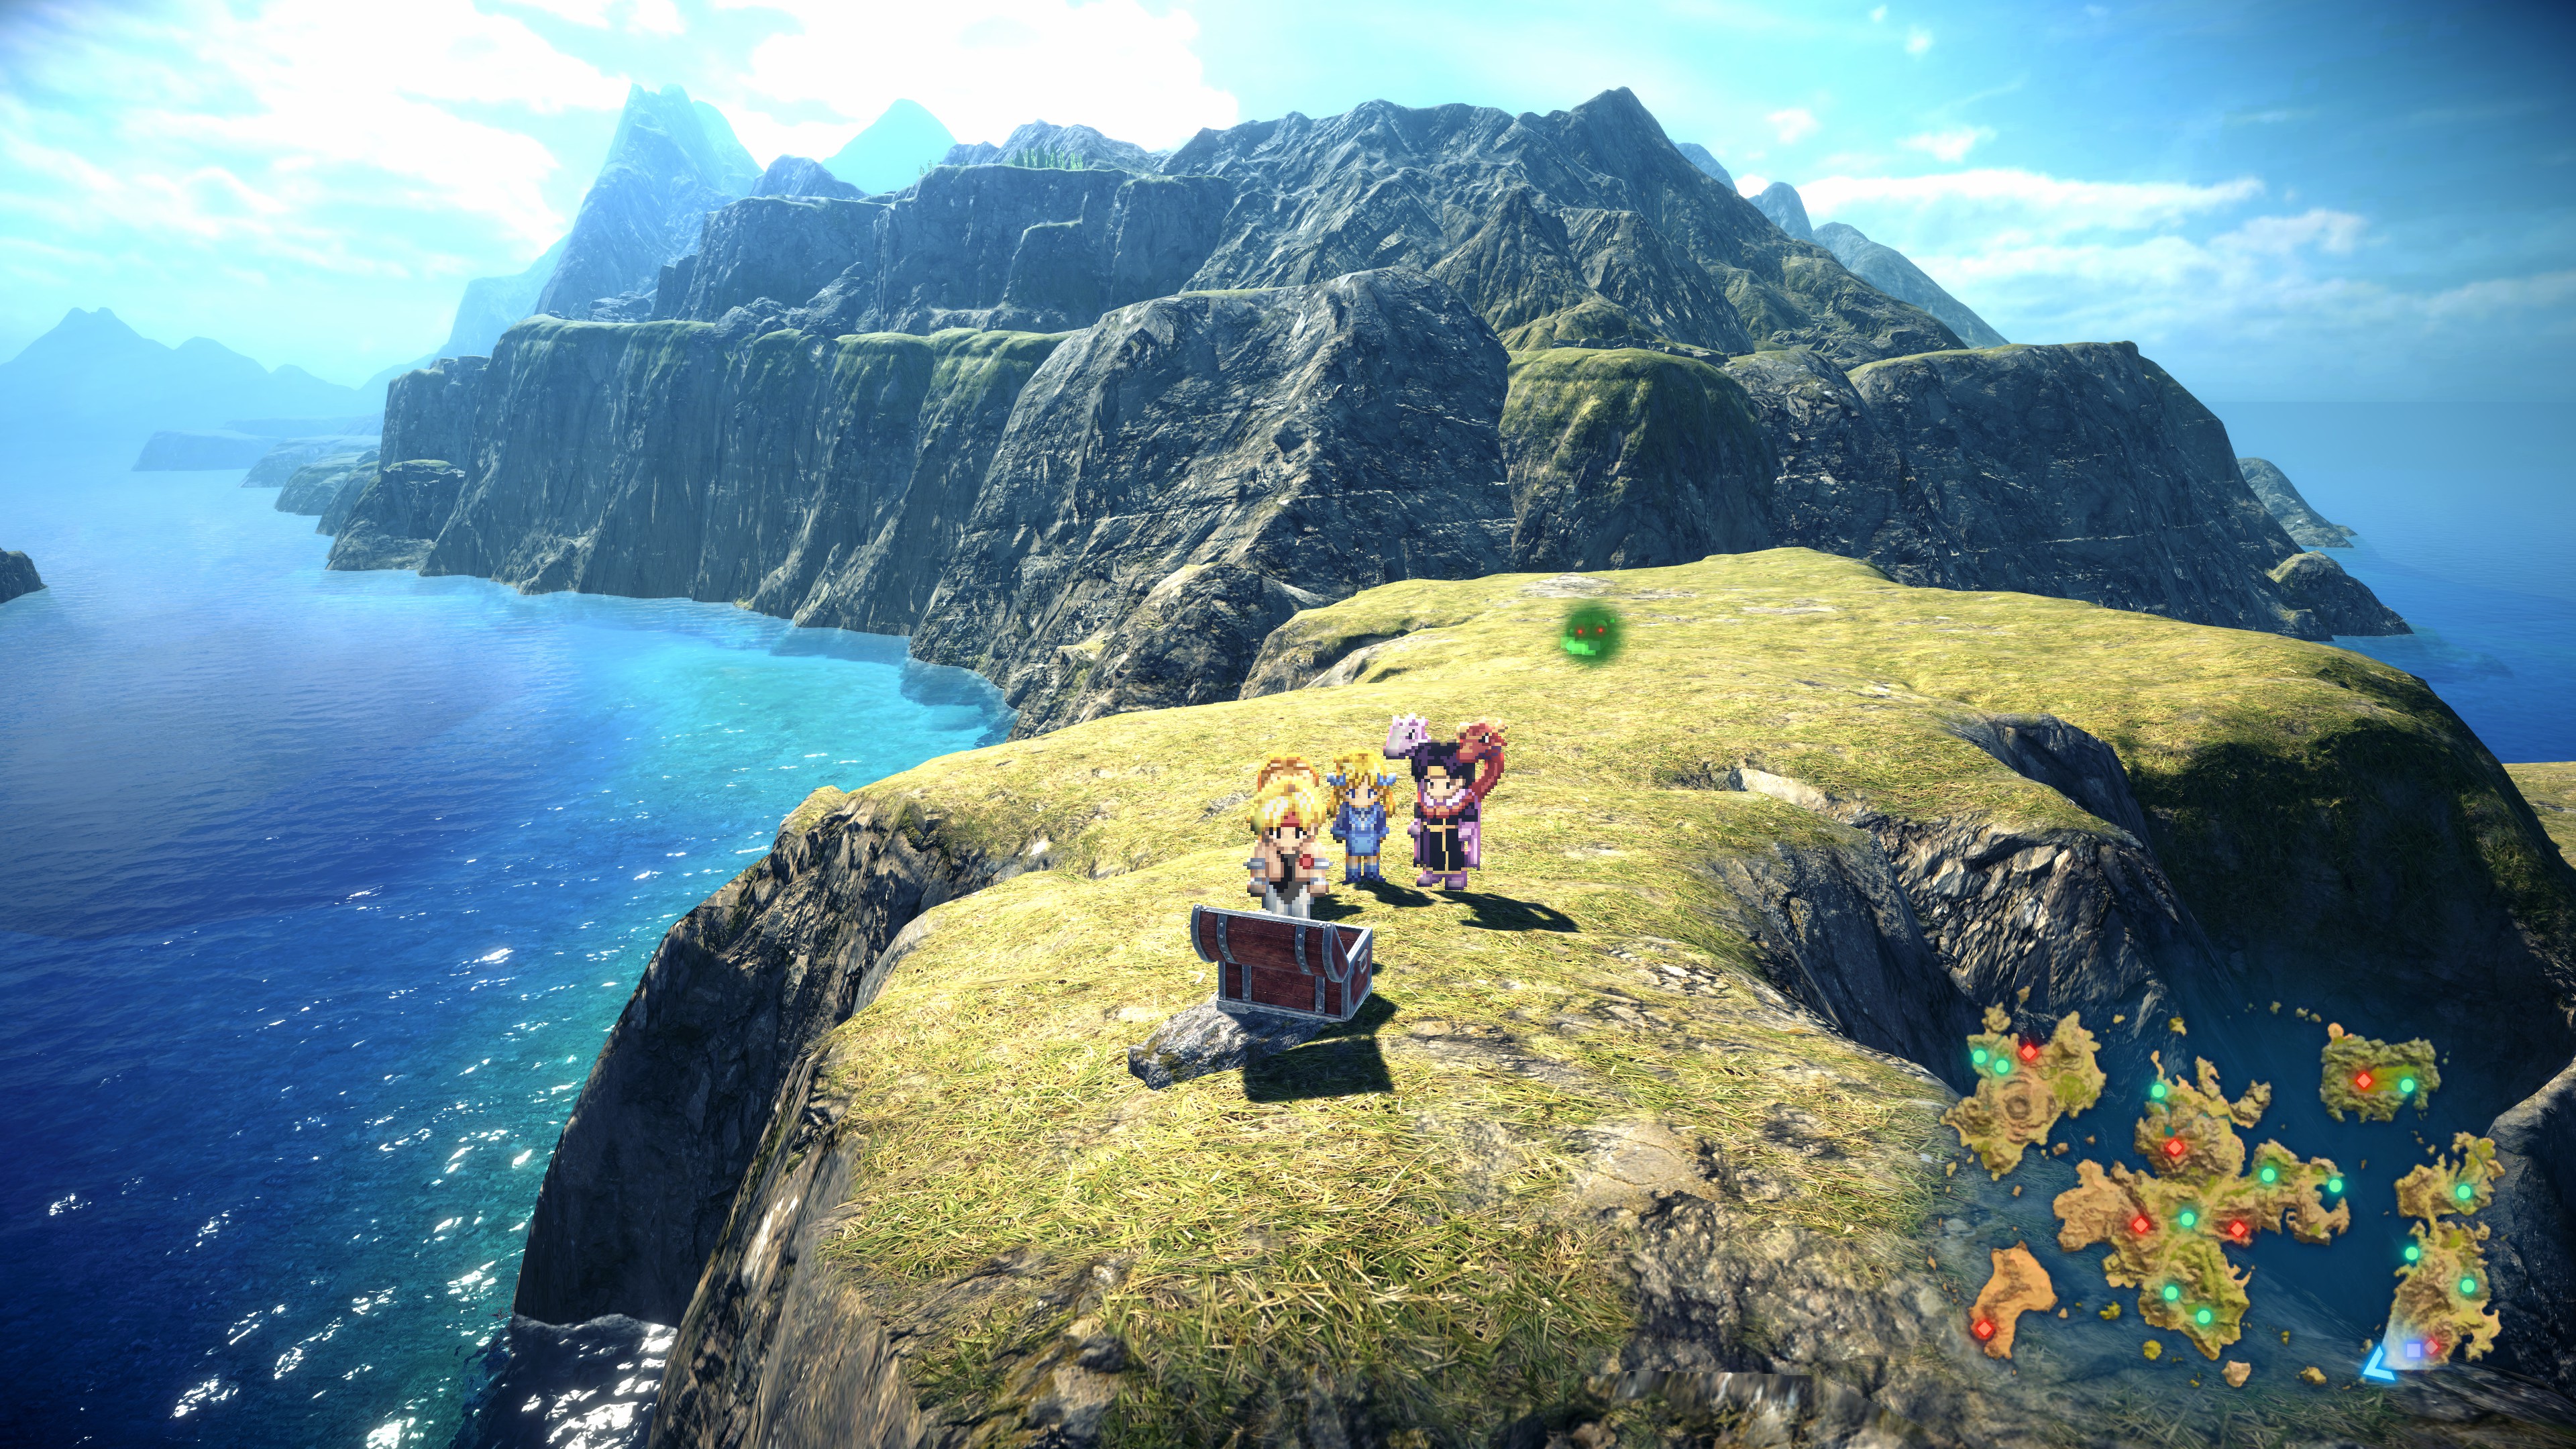
#33 – Aphrodisiac (cliff southwest of Linga)
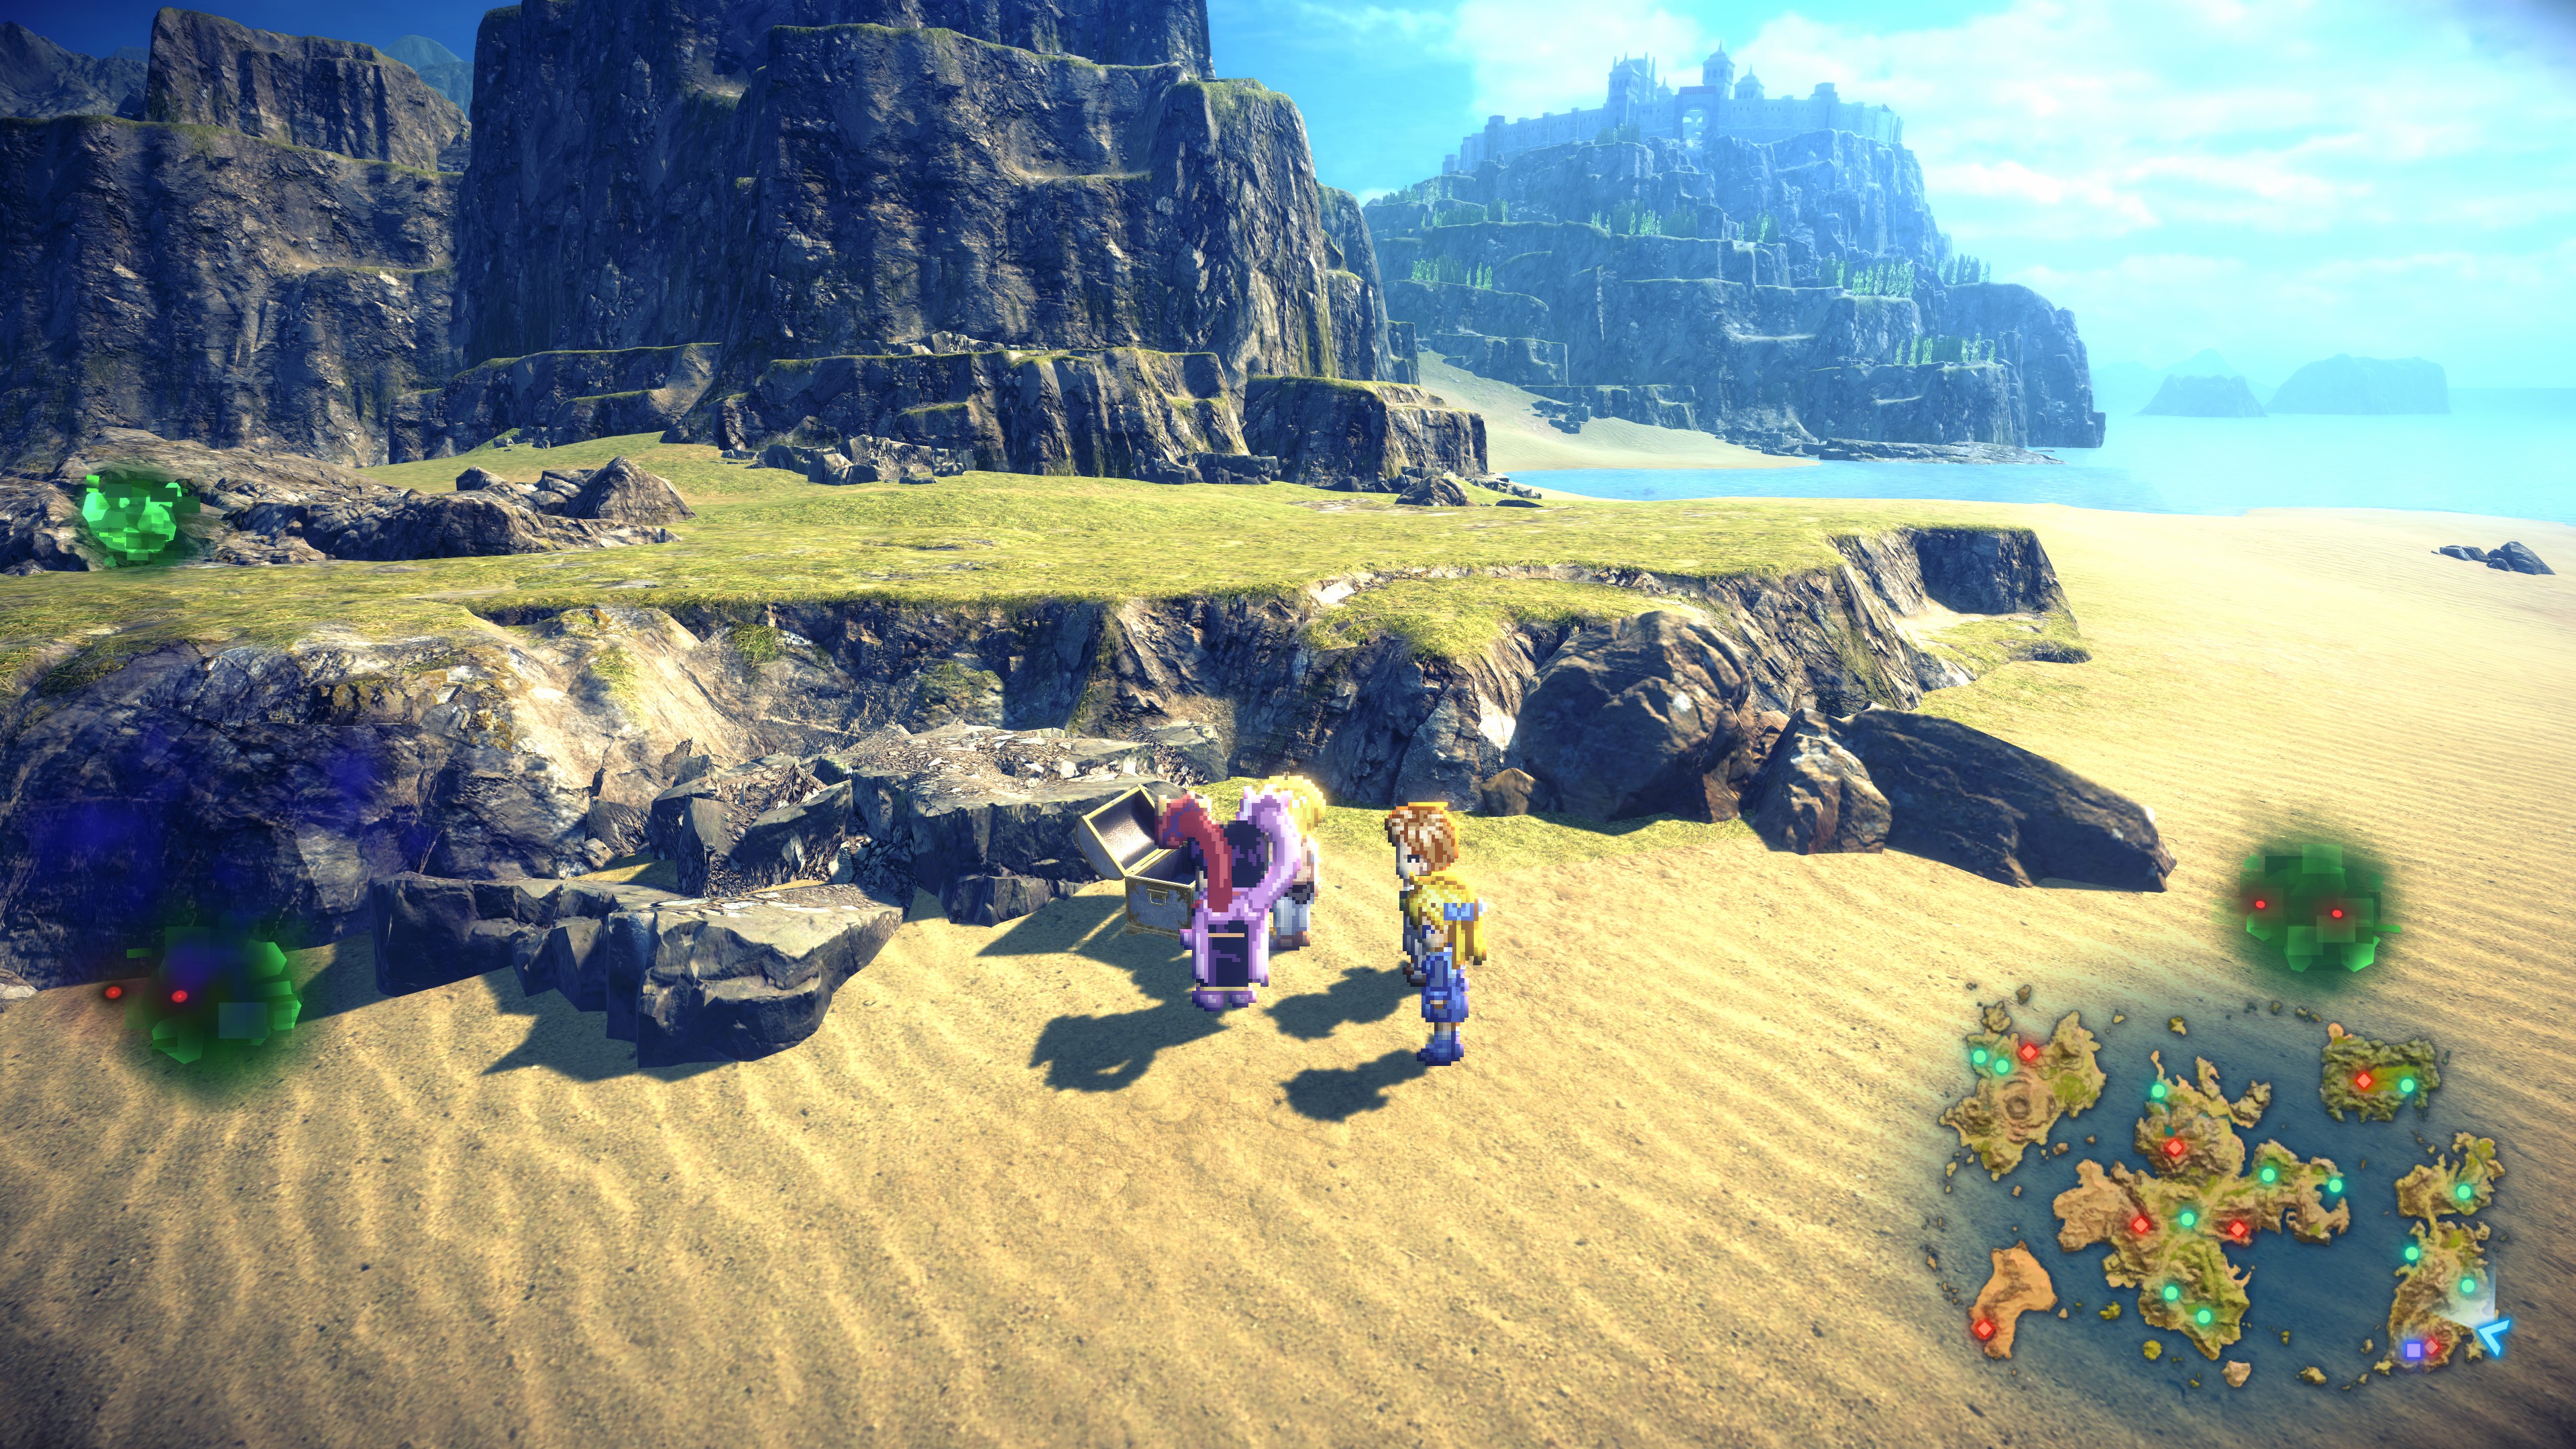
#34 – Fuzzy Handy Stick (south of Lacuer Castle)
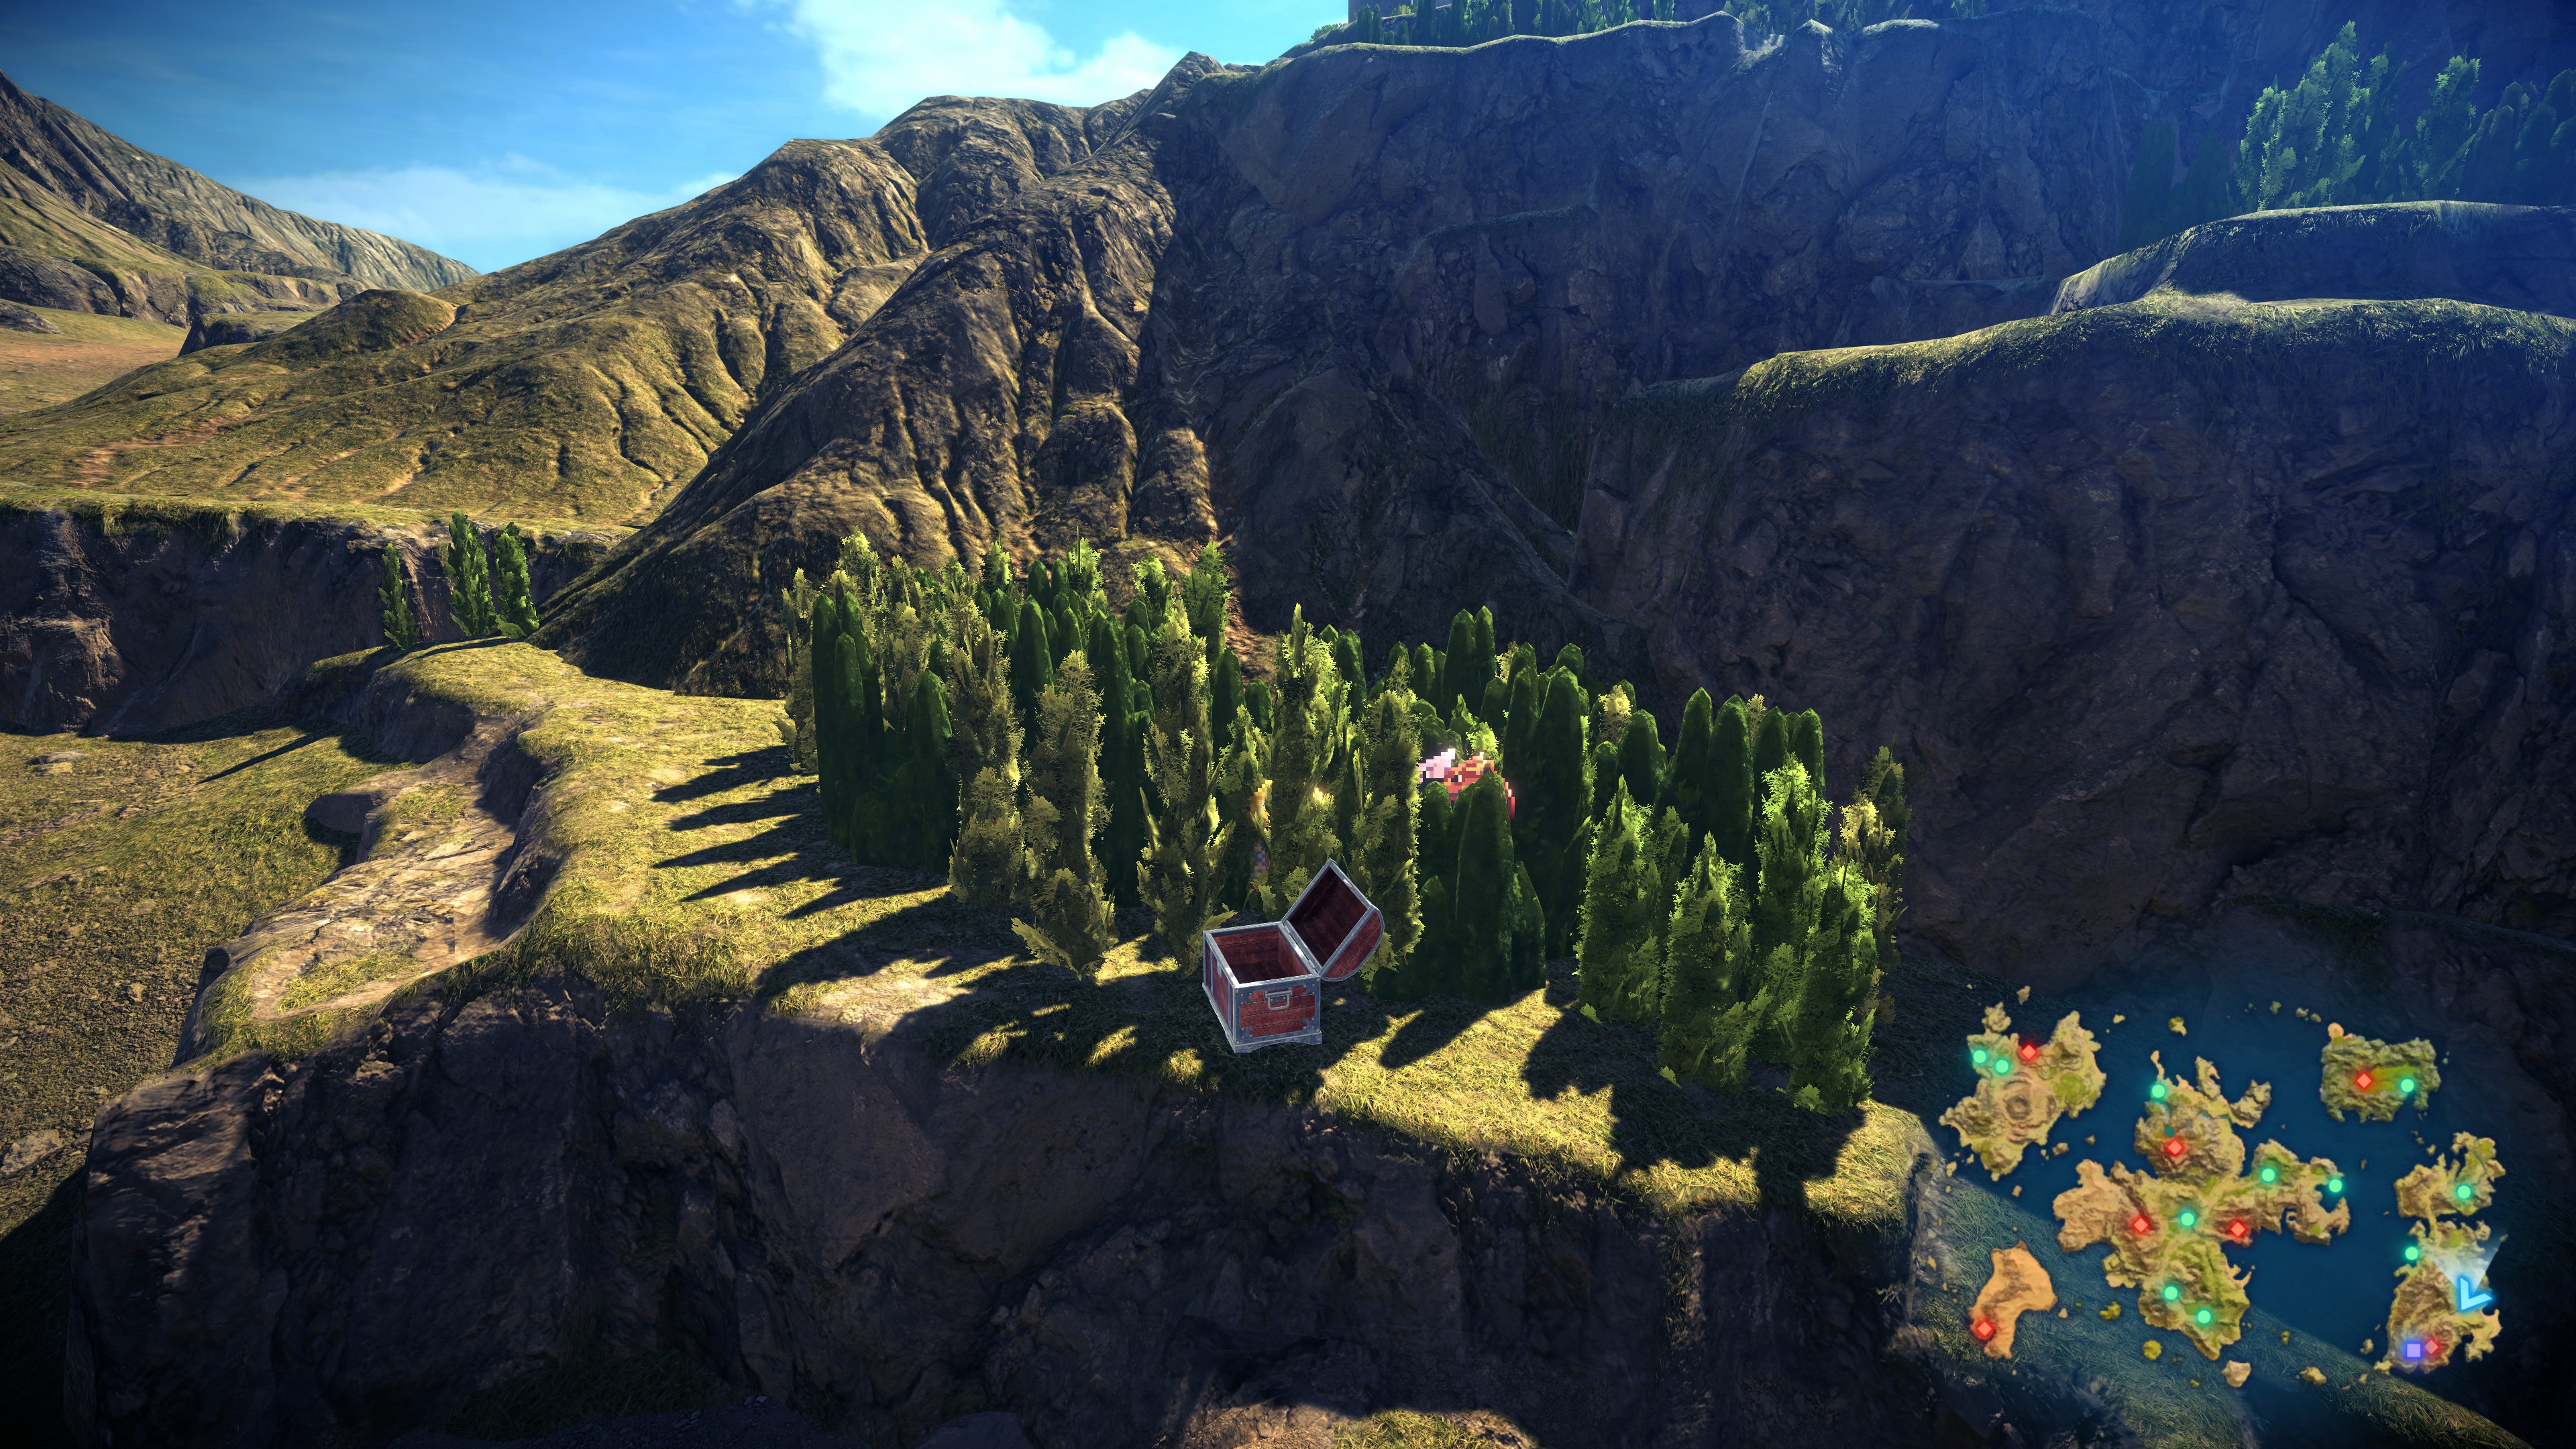
#35 – 7 Blackberries (tiny cliff below Lacuer Castle)
#36 – 7 Shrimp (south side of the land bridge near Hilton)
#37 – 5 Scroll of Power (north side of the land bridge near Hilton)
#38 – Starry Night (small cliff near Lacuer Front Line Base)
#39 – 8 Meat (north of Hoffman Coast)
#40 – 3 Magic Clay (about halfway between Hoffman Coast and Hoffman Ruins)
#41 – 3 Goddess Statuette (next to Hoffman Ruins)
#42 – 5 Wolfsbane (south of Hoffman Ruins)
#43 – Mithril (outcropping on northwest corner of Hoffman continent)
#44 – Gale Earring+ (HP Drain) (cliff south of Eluria Colony)
#45 – 3 Resurrection Mist (hill south of Eluria Colony)
#46 – Mirror of Knowledge (south of big crater)
#47 – Searing Sword (center of giant crater)
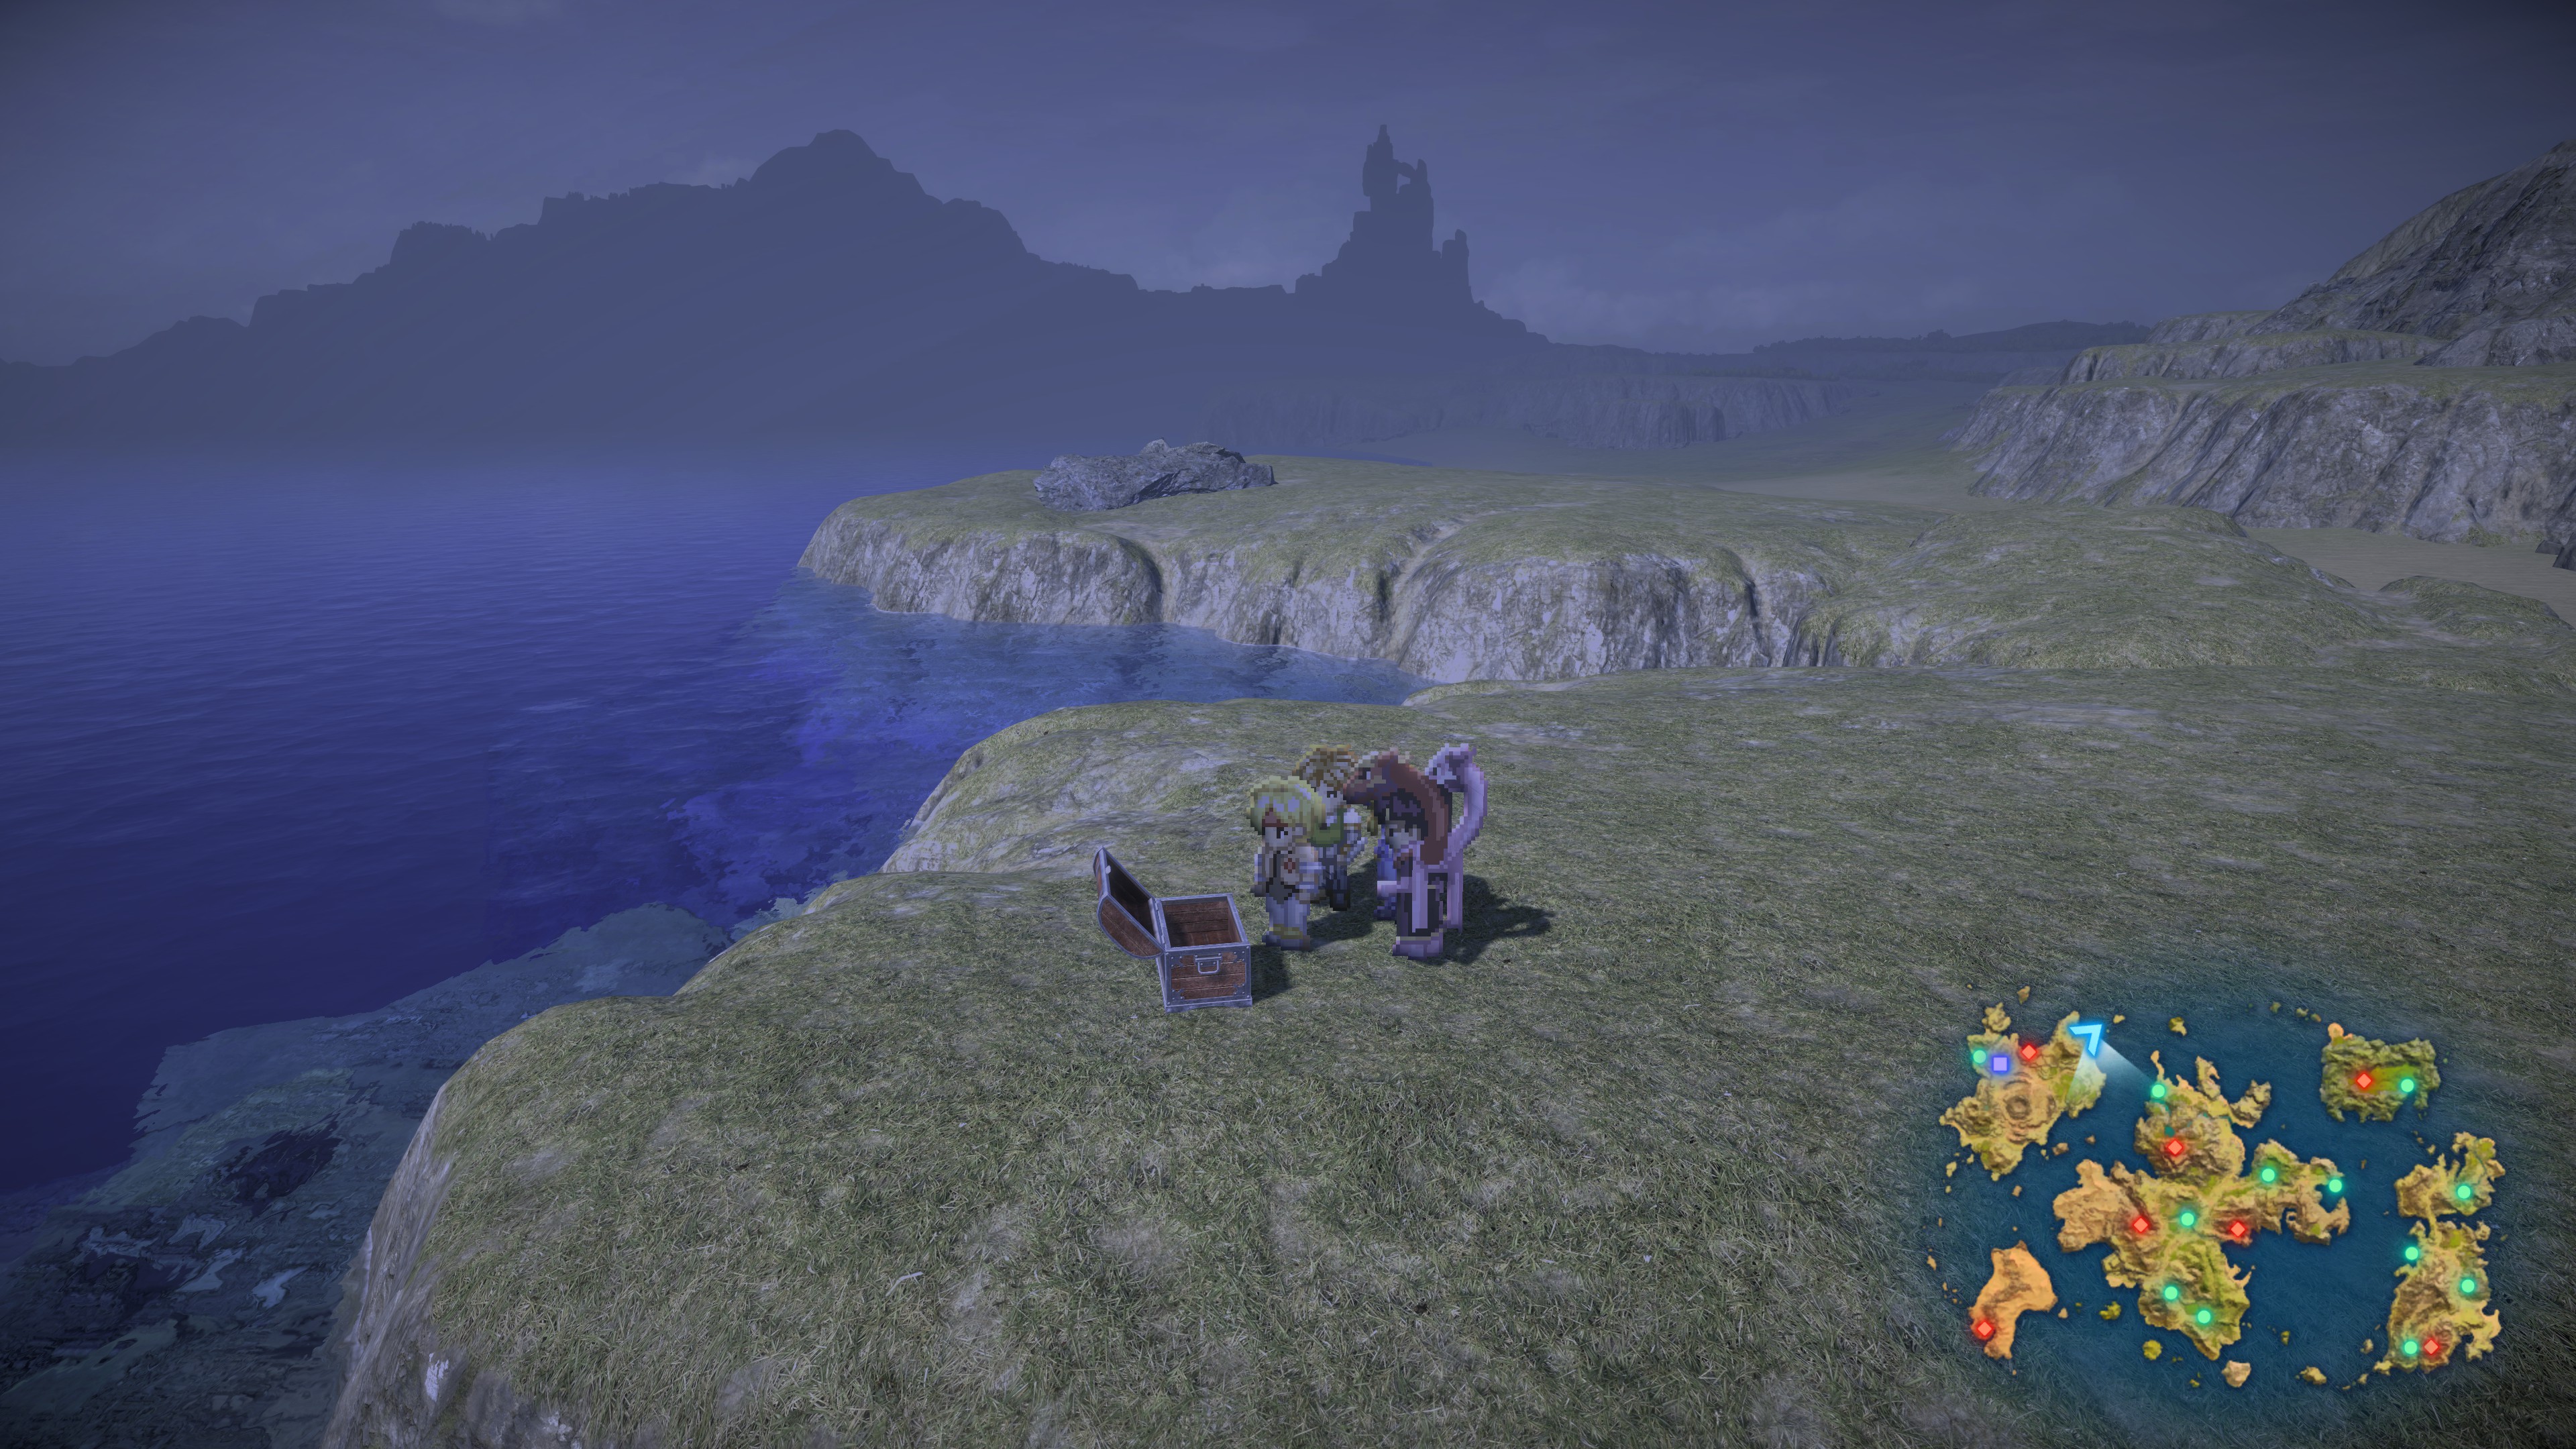
#48 – 4 Meat (outcropping on northeast corner of Ell continent)
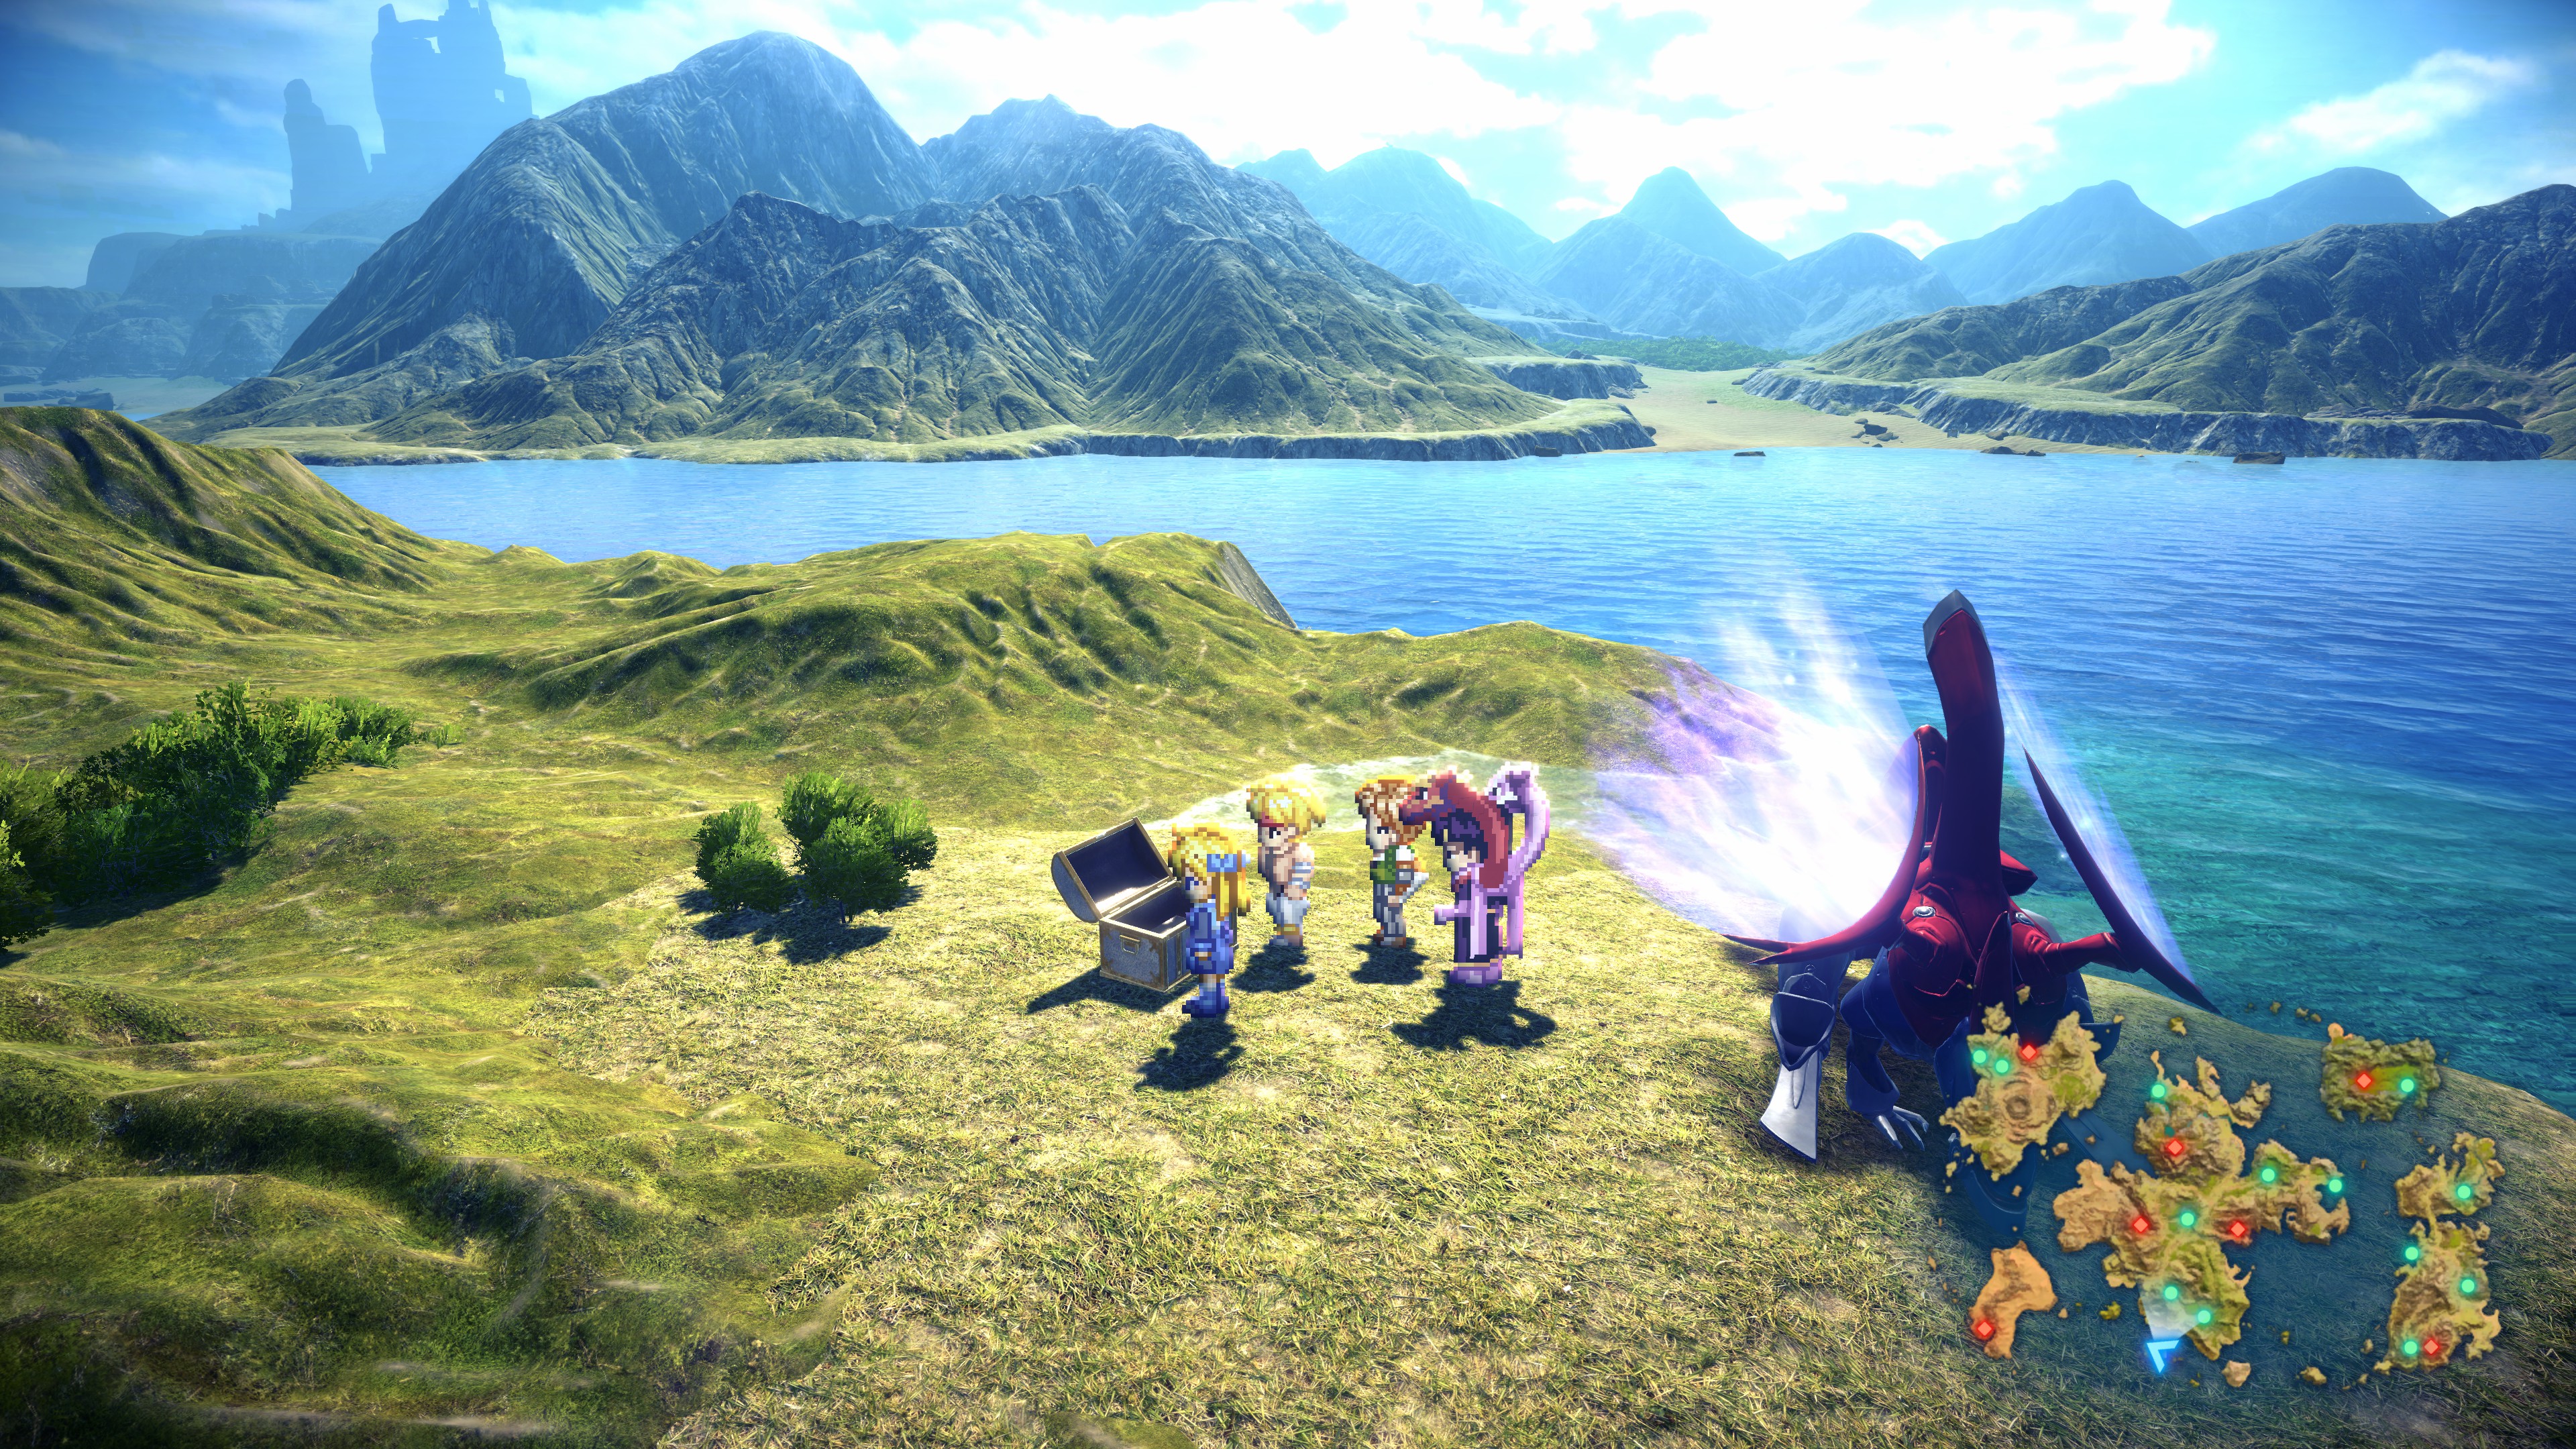
#49 – Gemini (small island south of Arlia; need Psynard to reach)
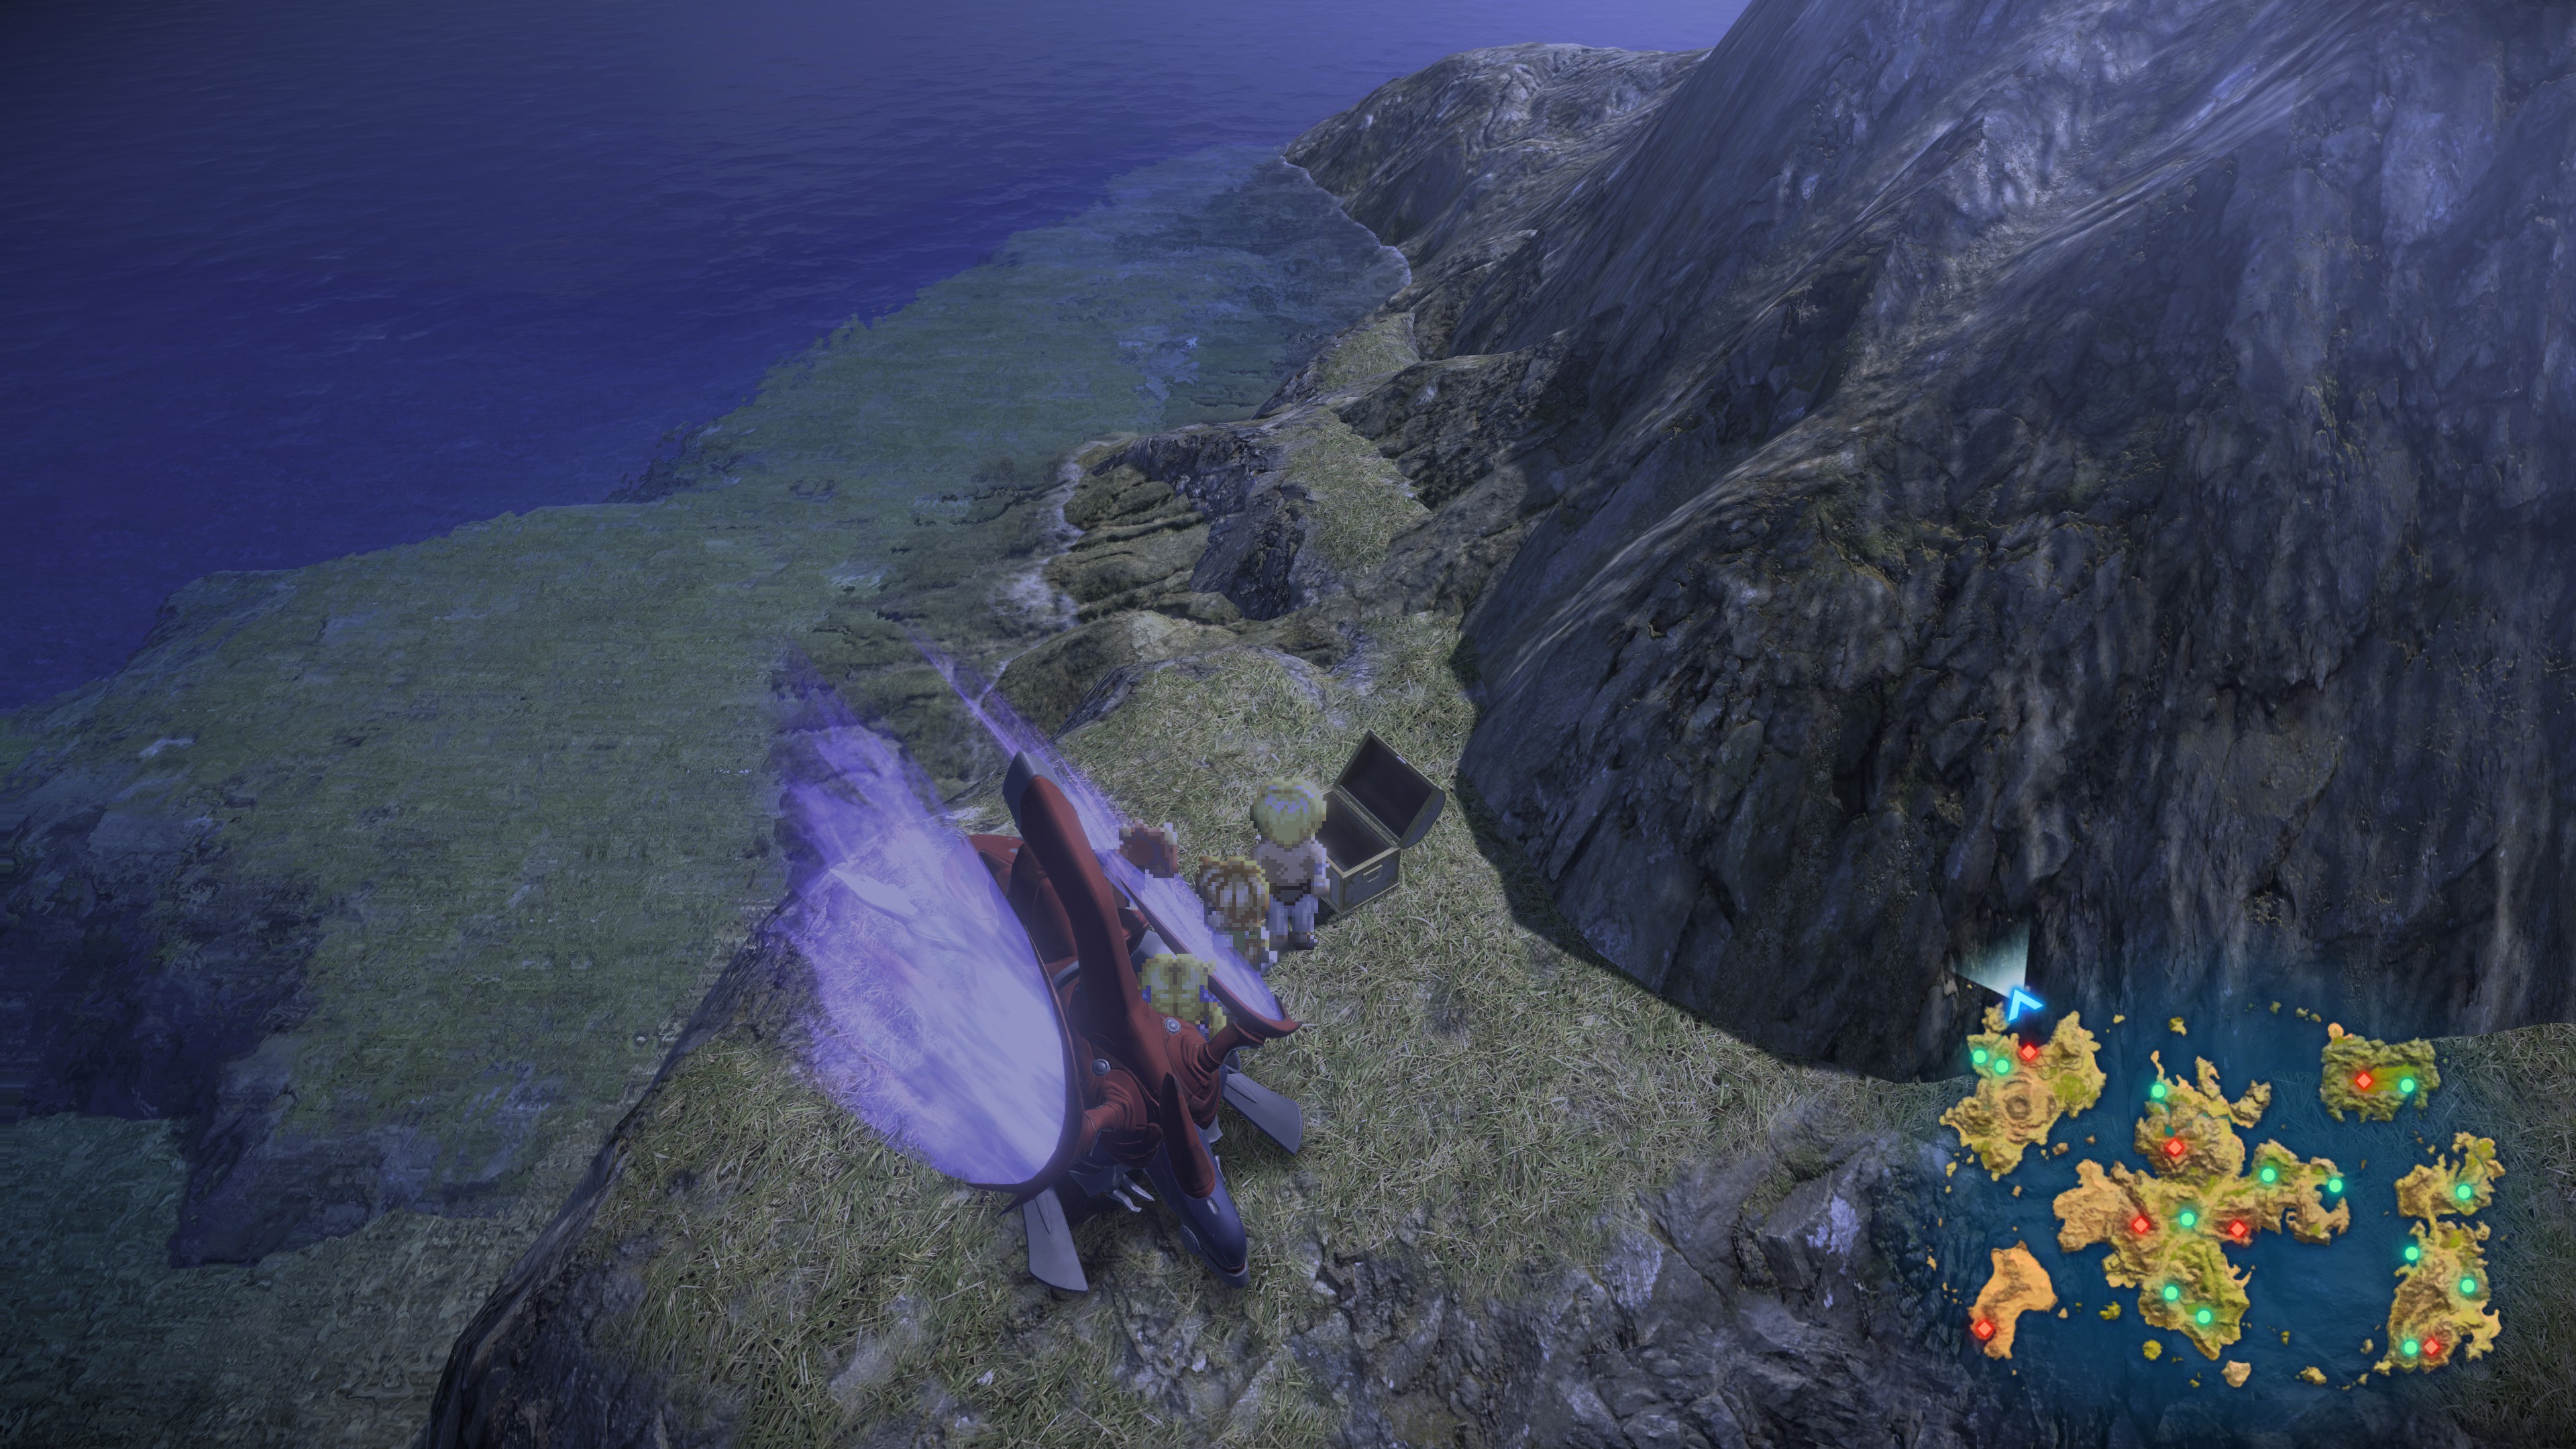
#50 – Heart of Hearts (small island north of Ell continent; need Psynard to reach)
World Map Chests – Nede
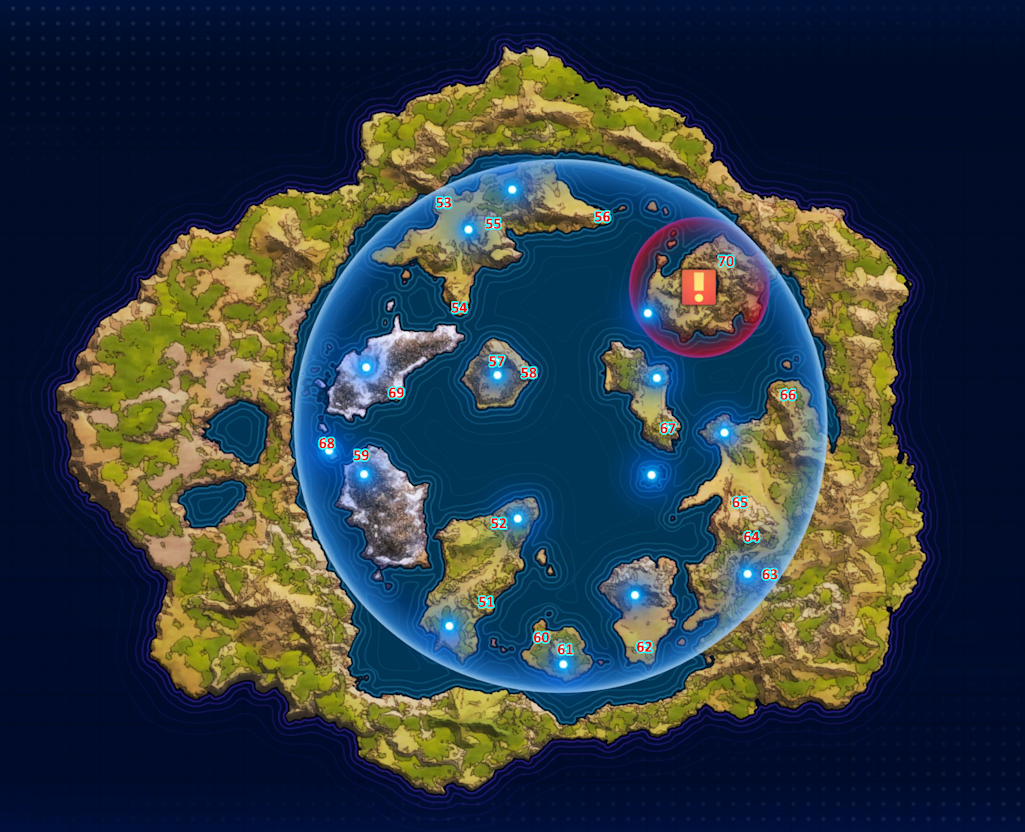
Nede
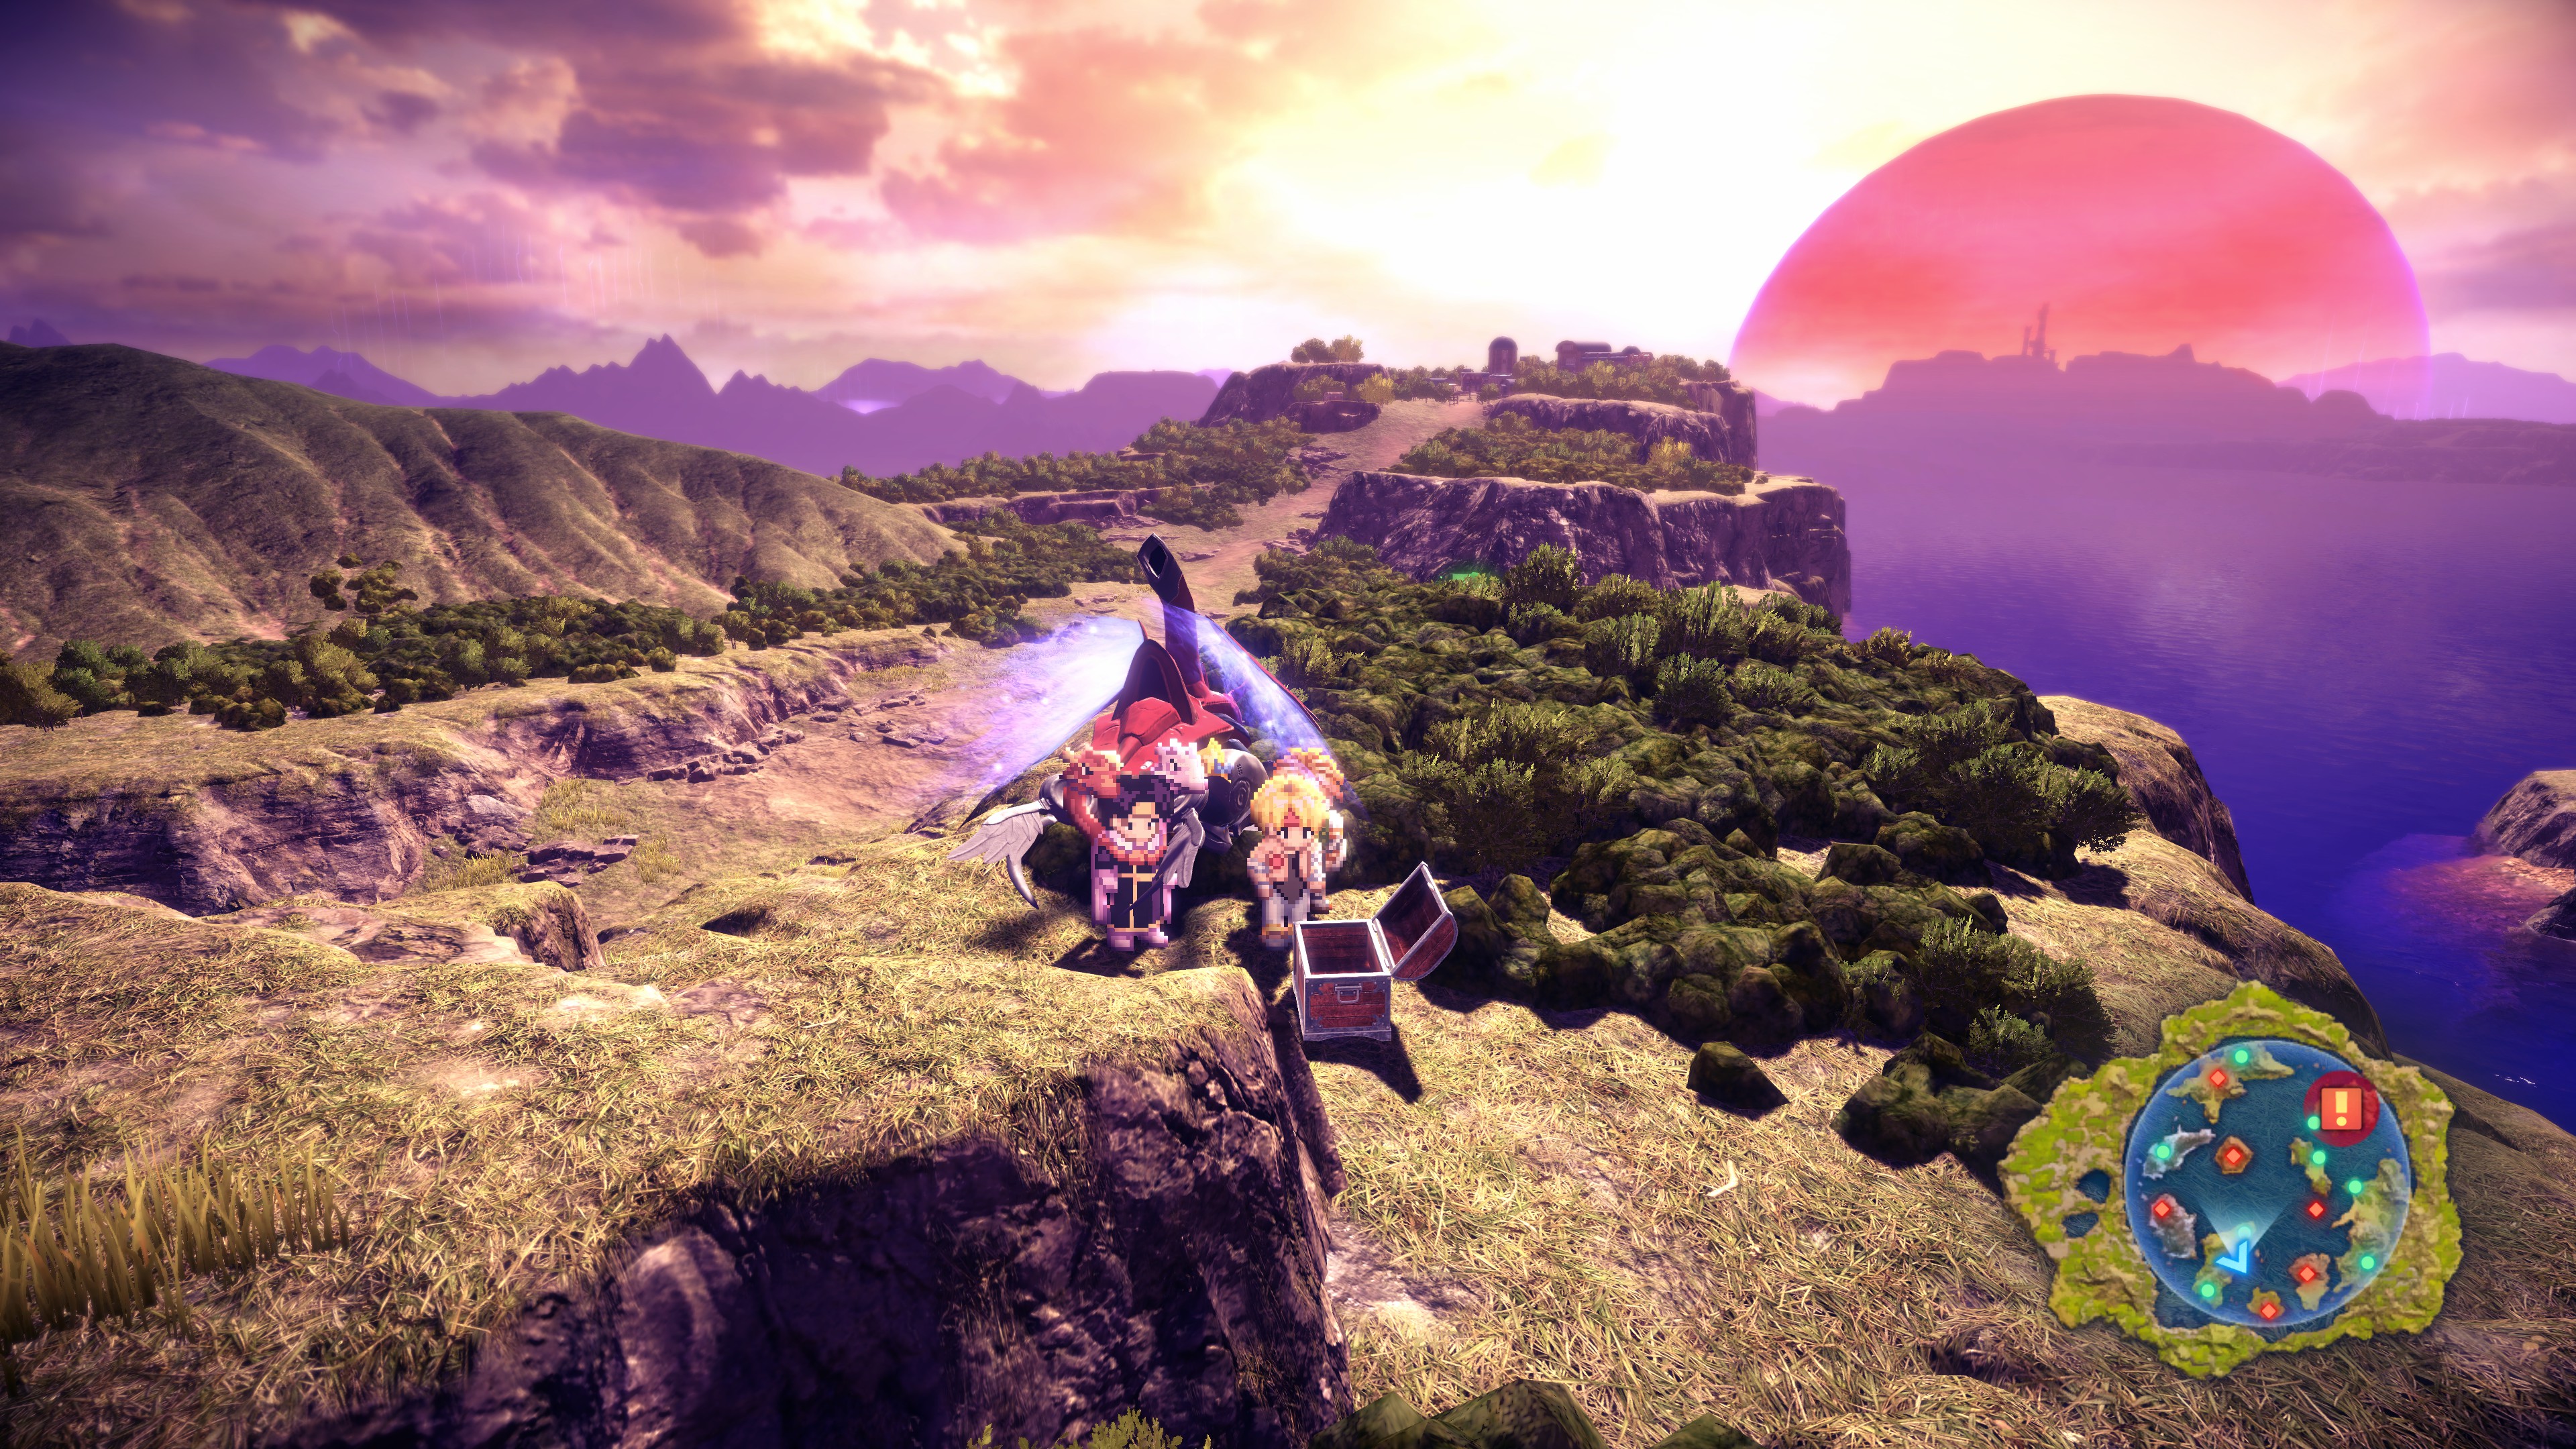
#51 – 3 The Bestiary (cliff between Central City and North City)
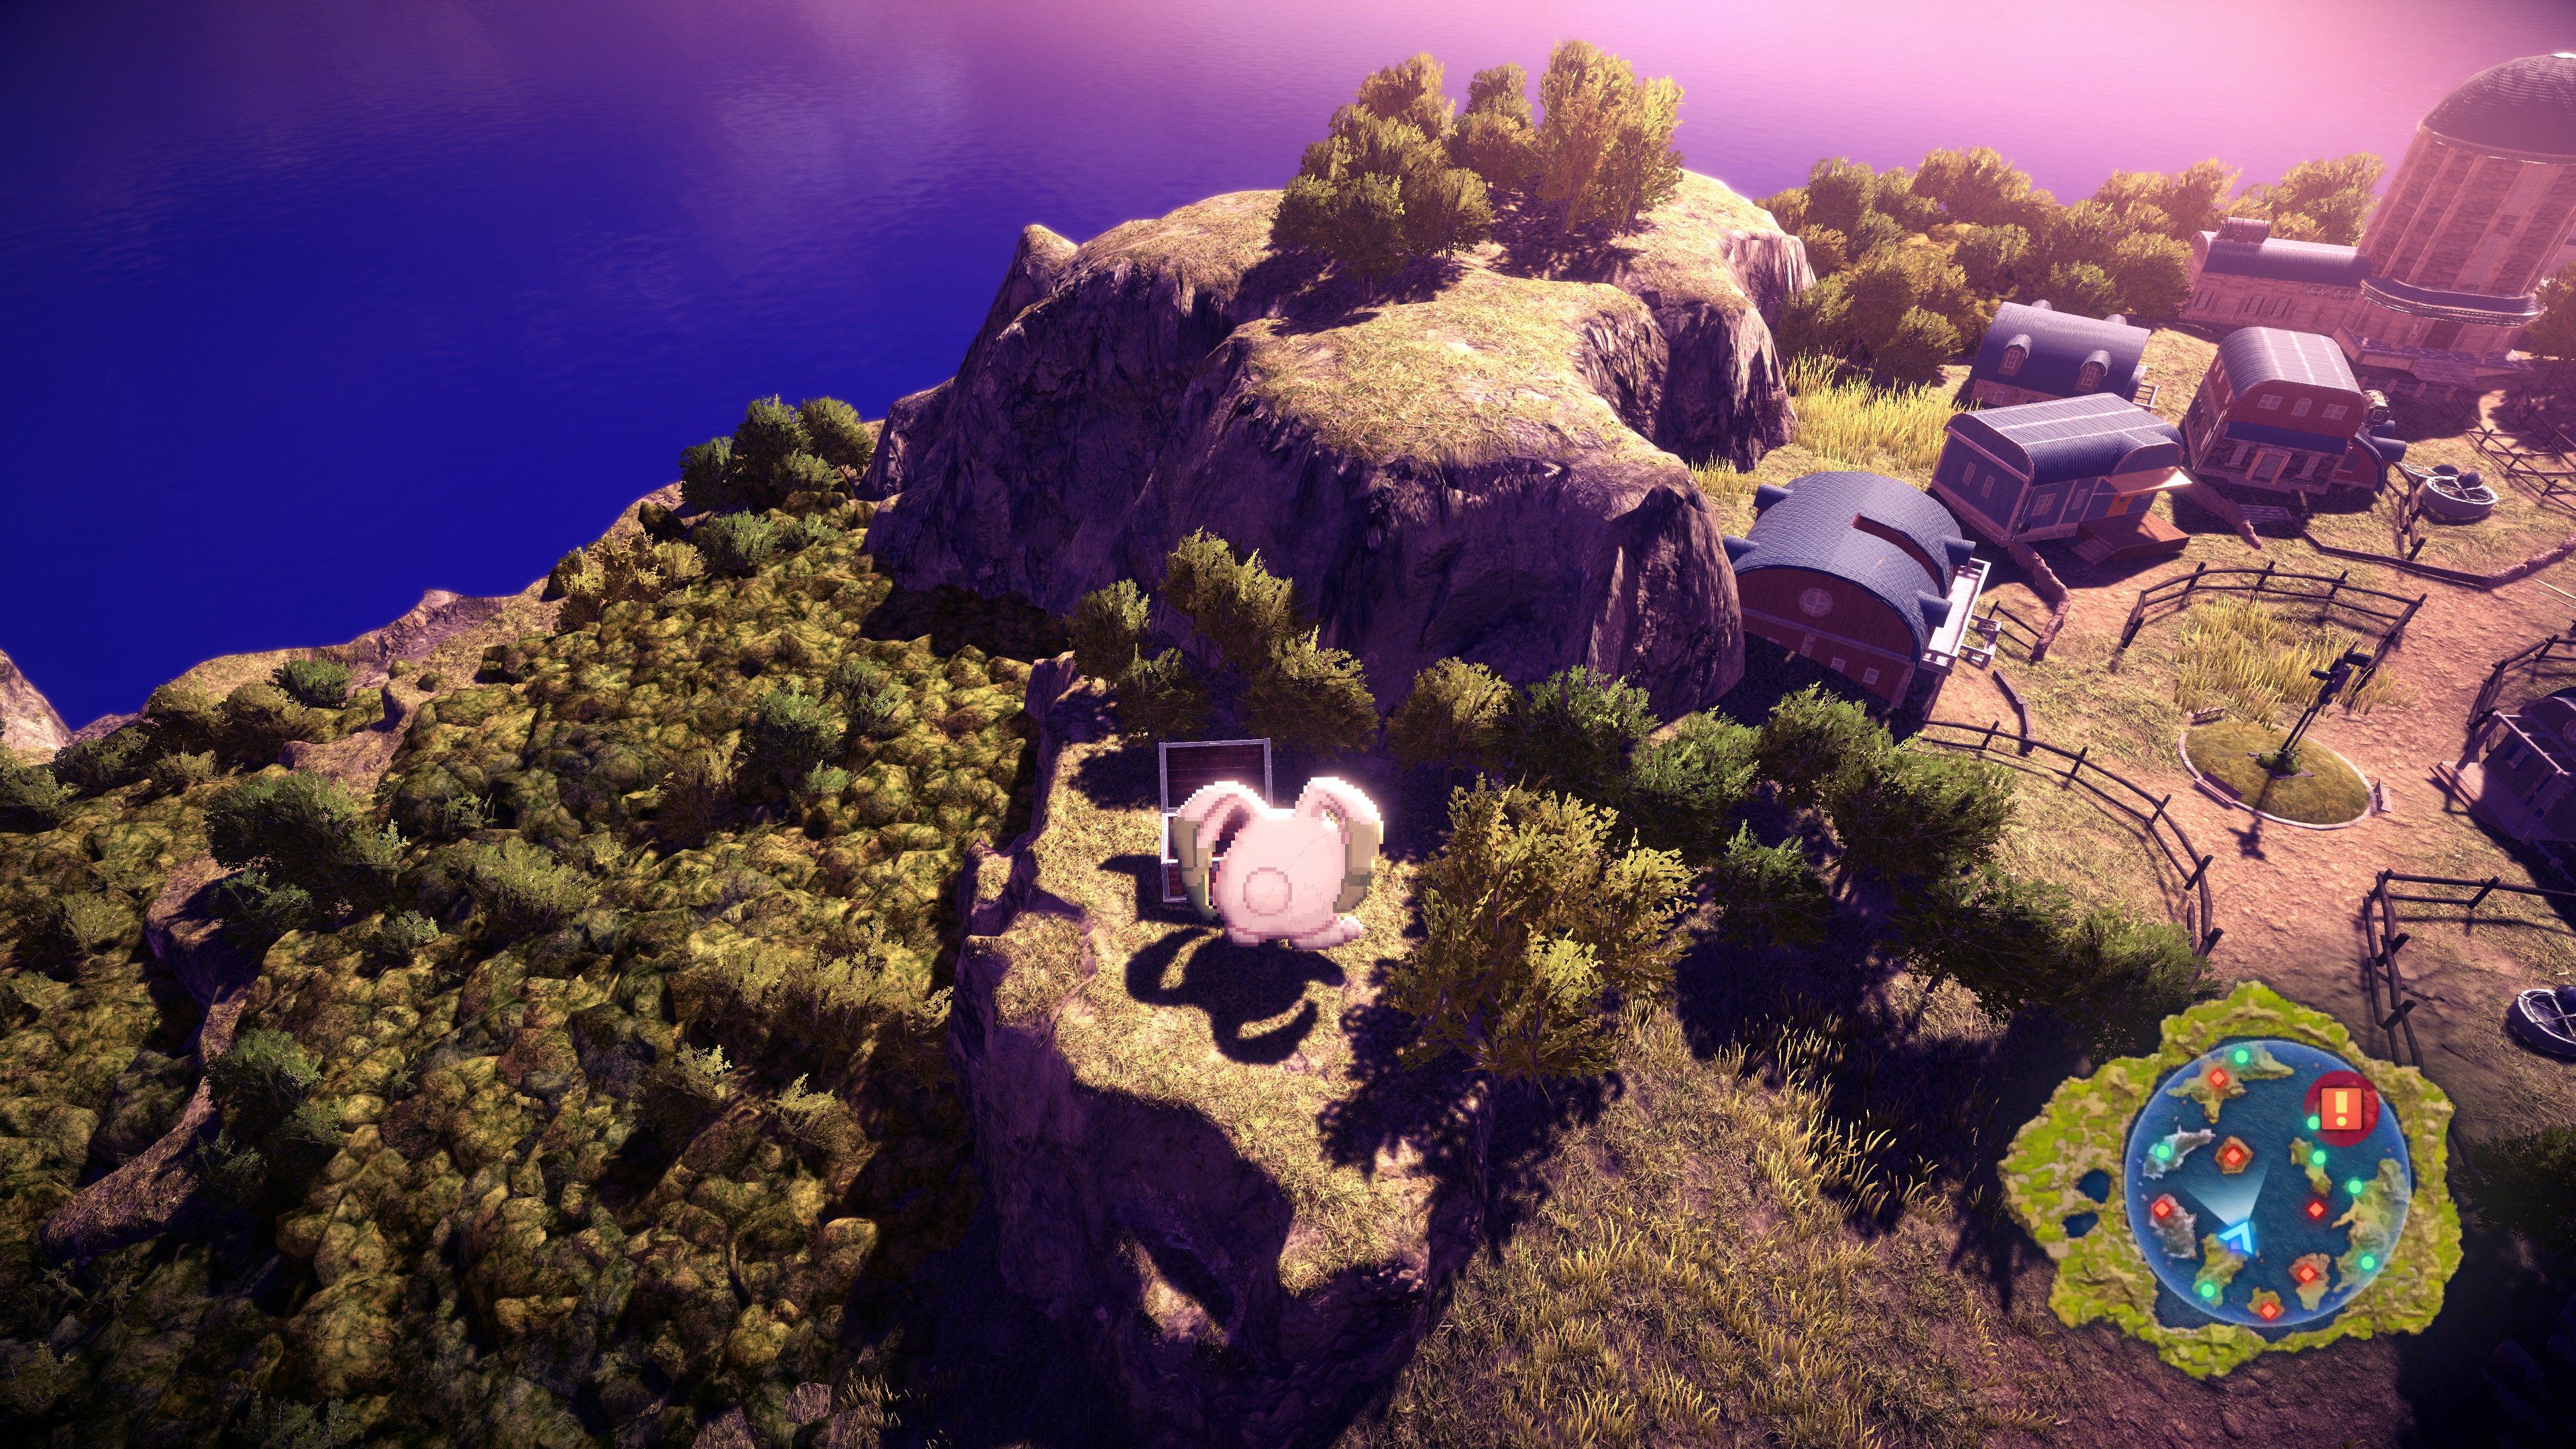
#52 – Slimy Gelatin (tiny cliff next to North City)
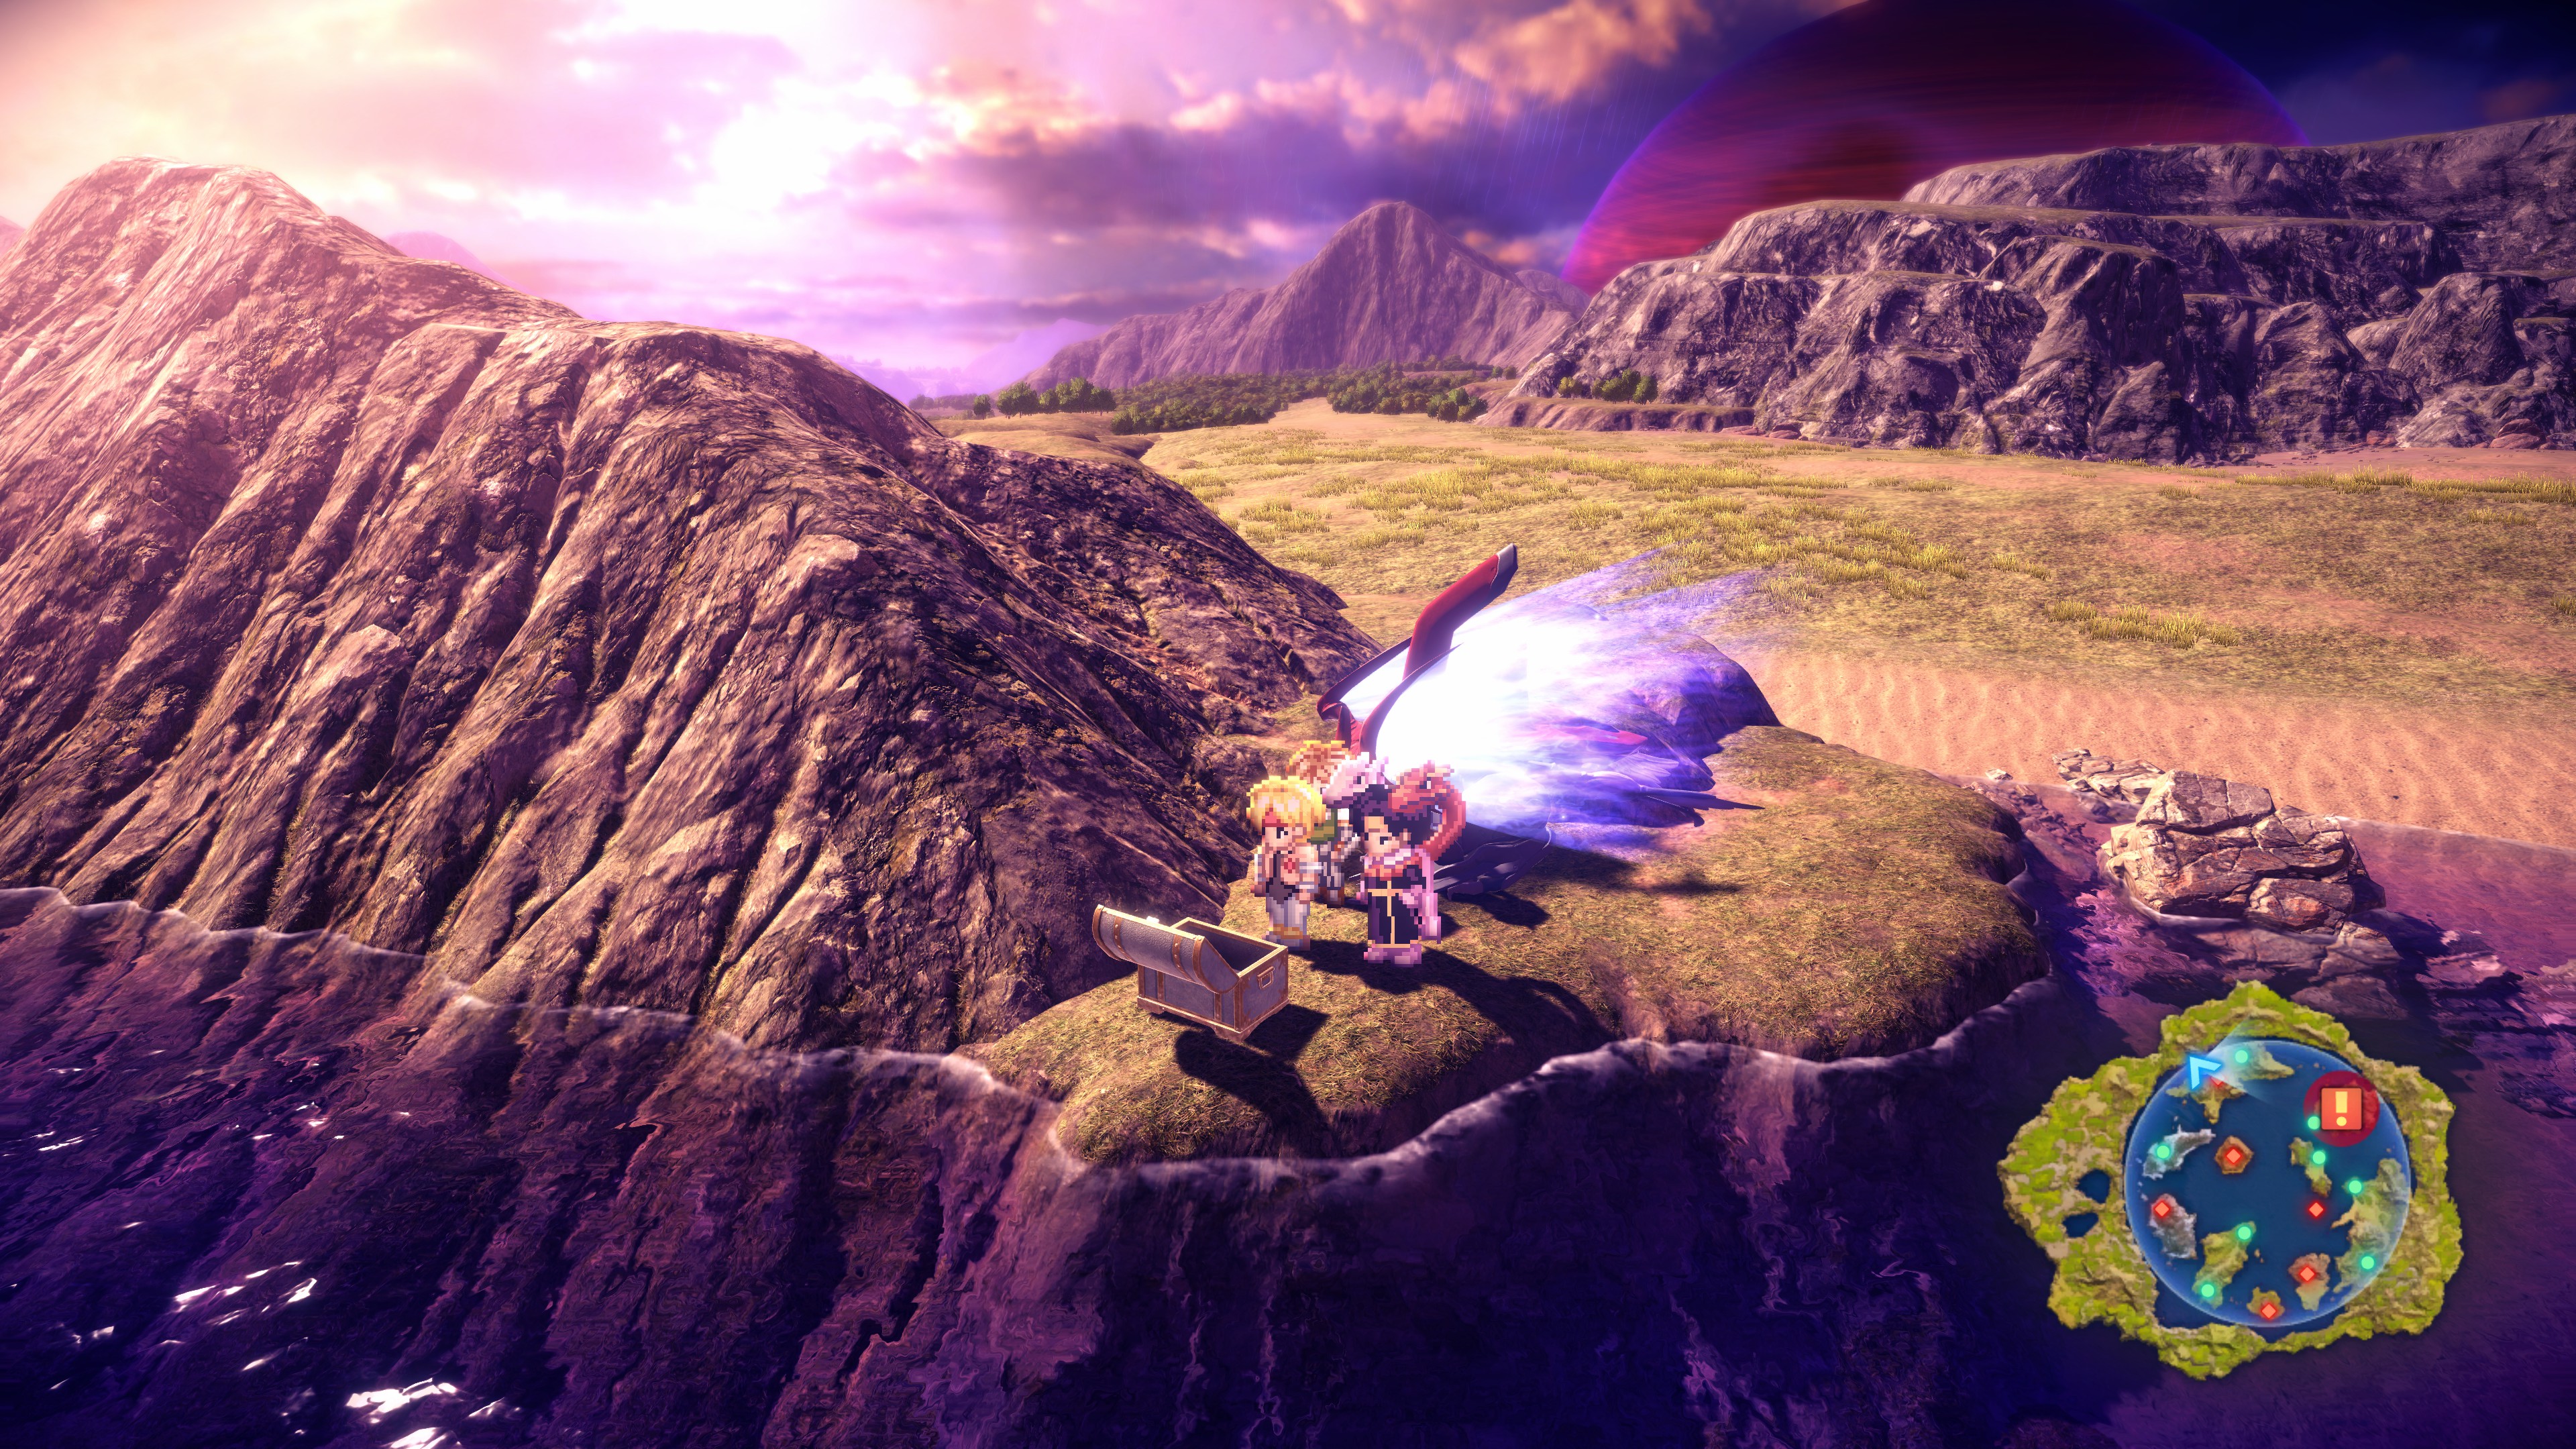
#53 – Saad Blade (alcove northwest of Cave of Red Crystals)
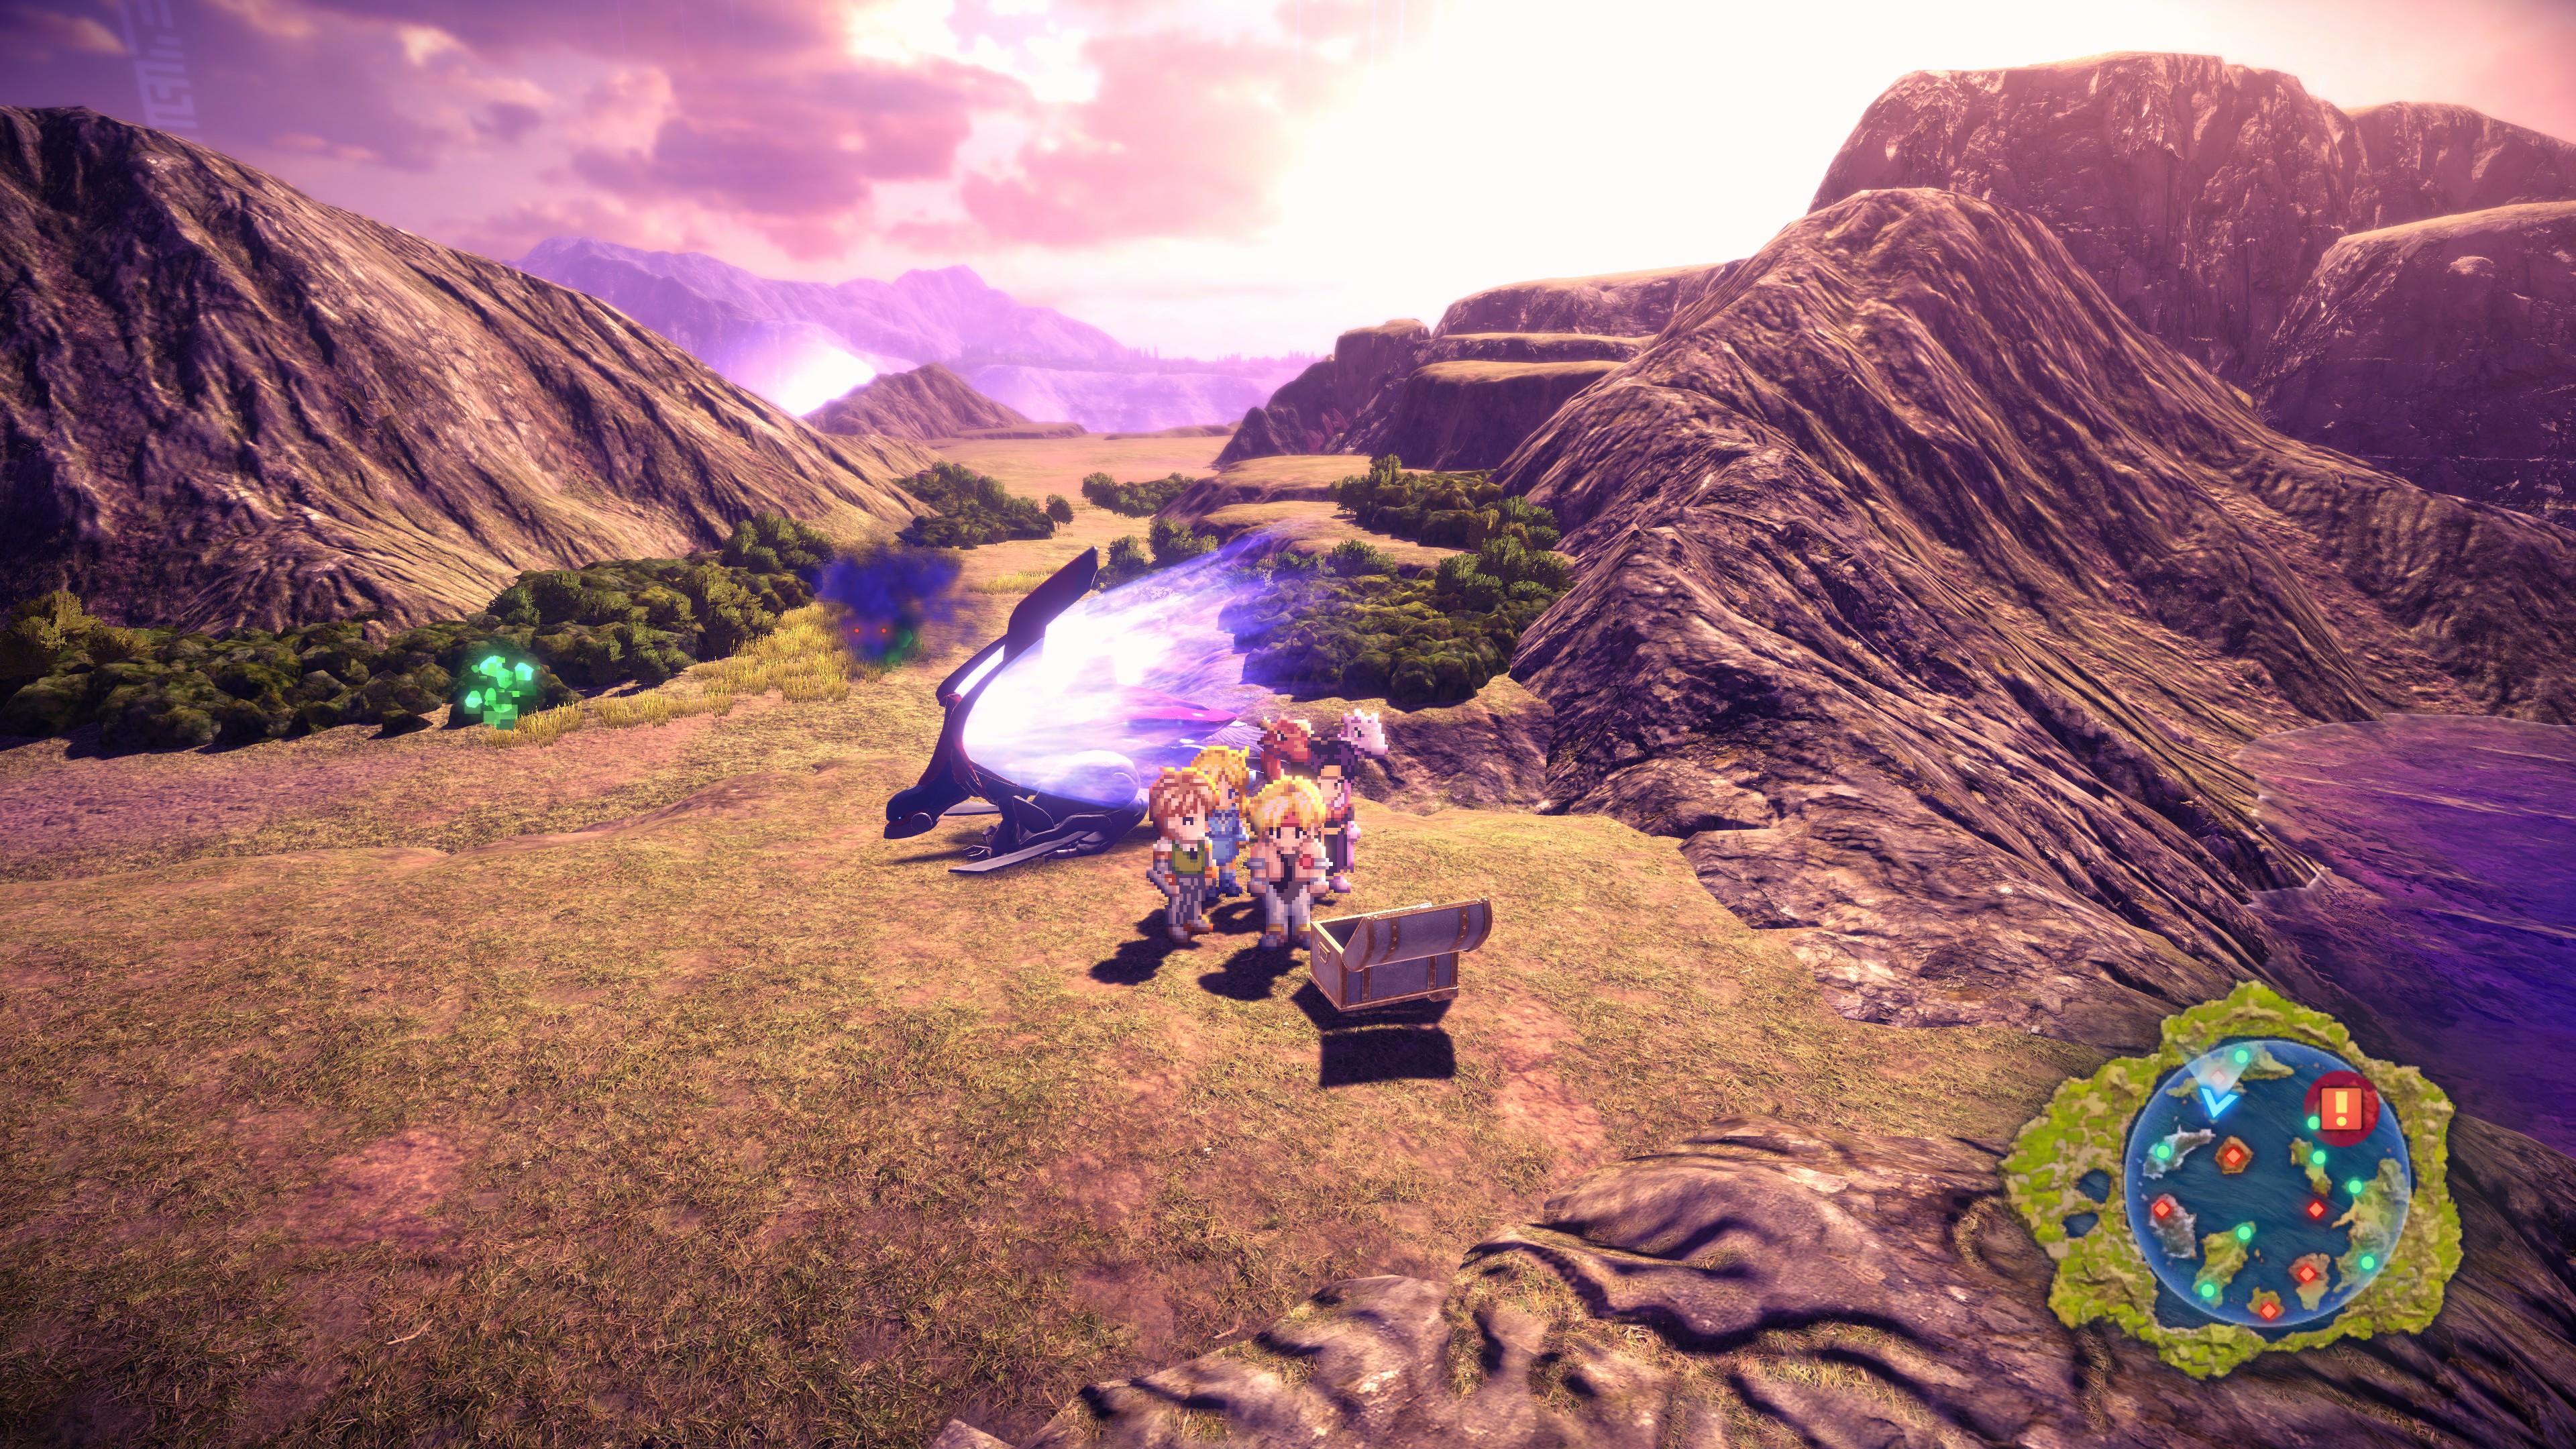
#54 – 2 Amulet of Freedom (south of Cave of Red Crystals)
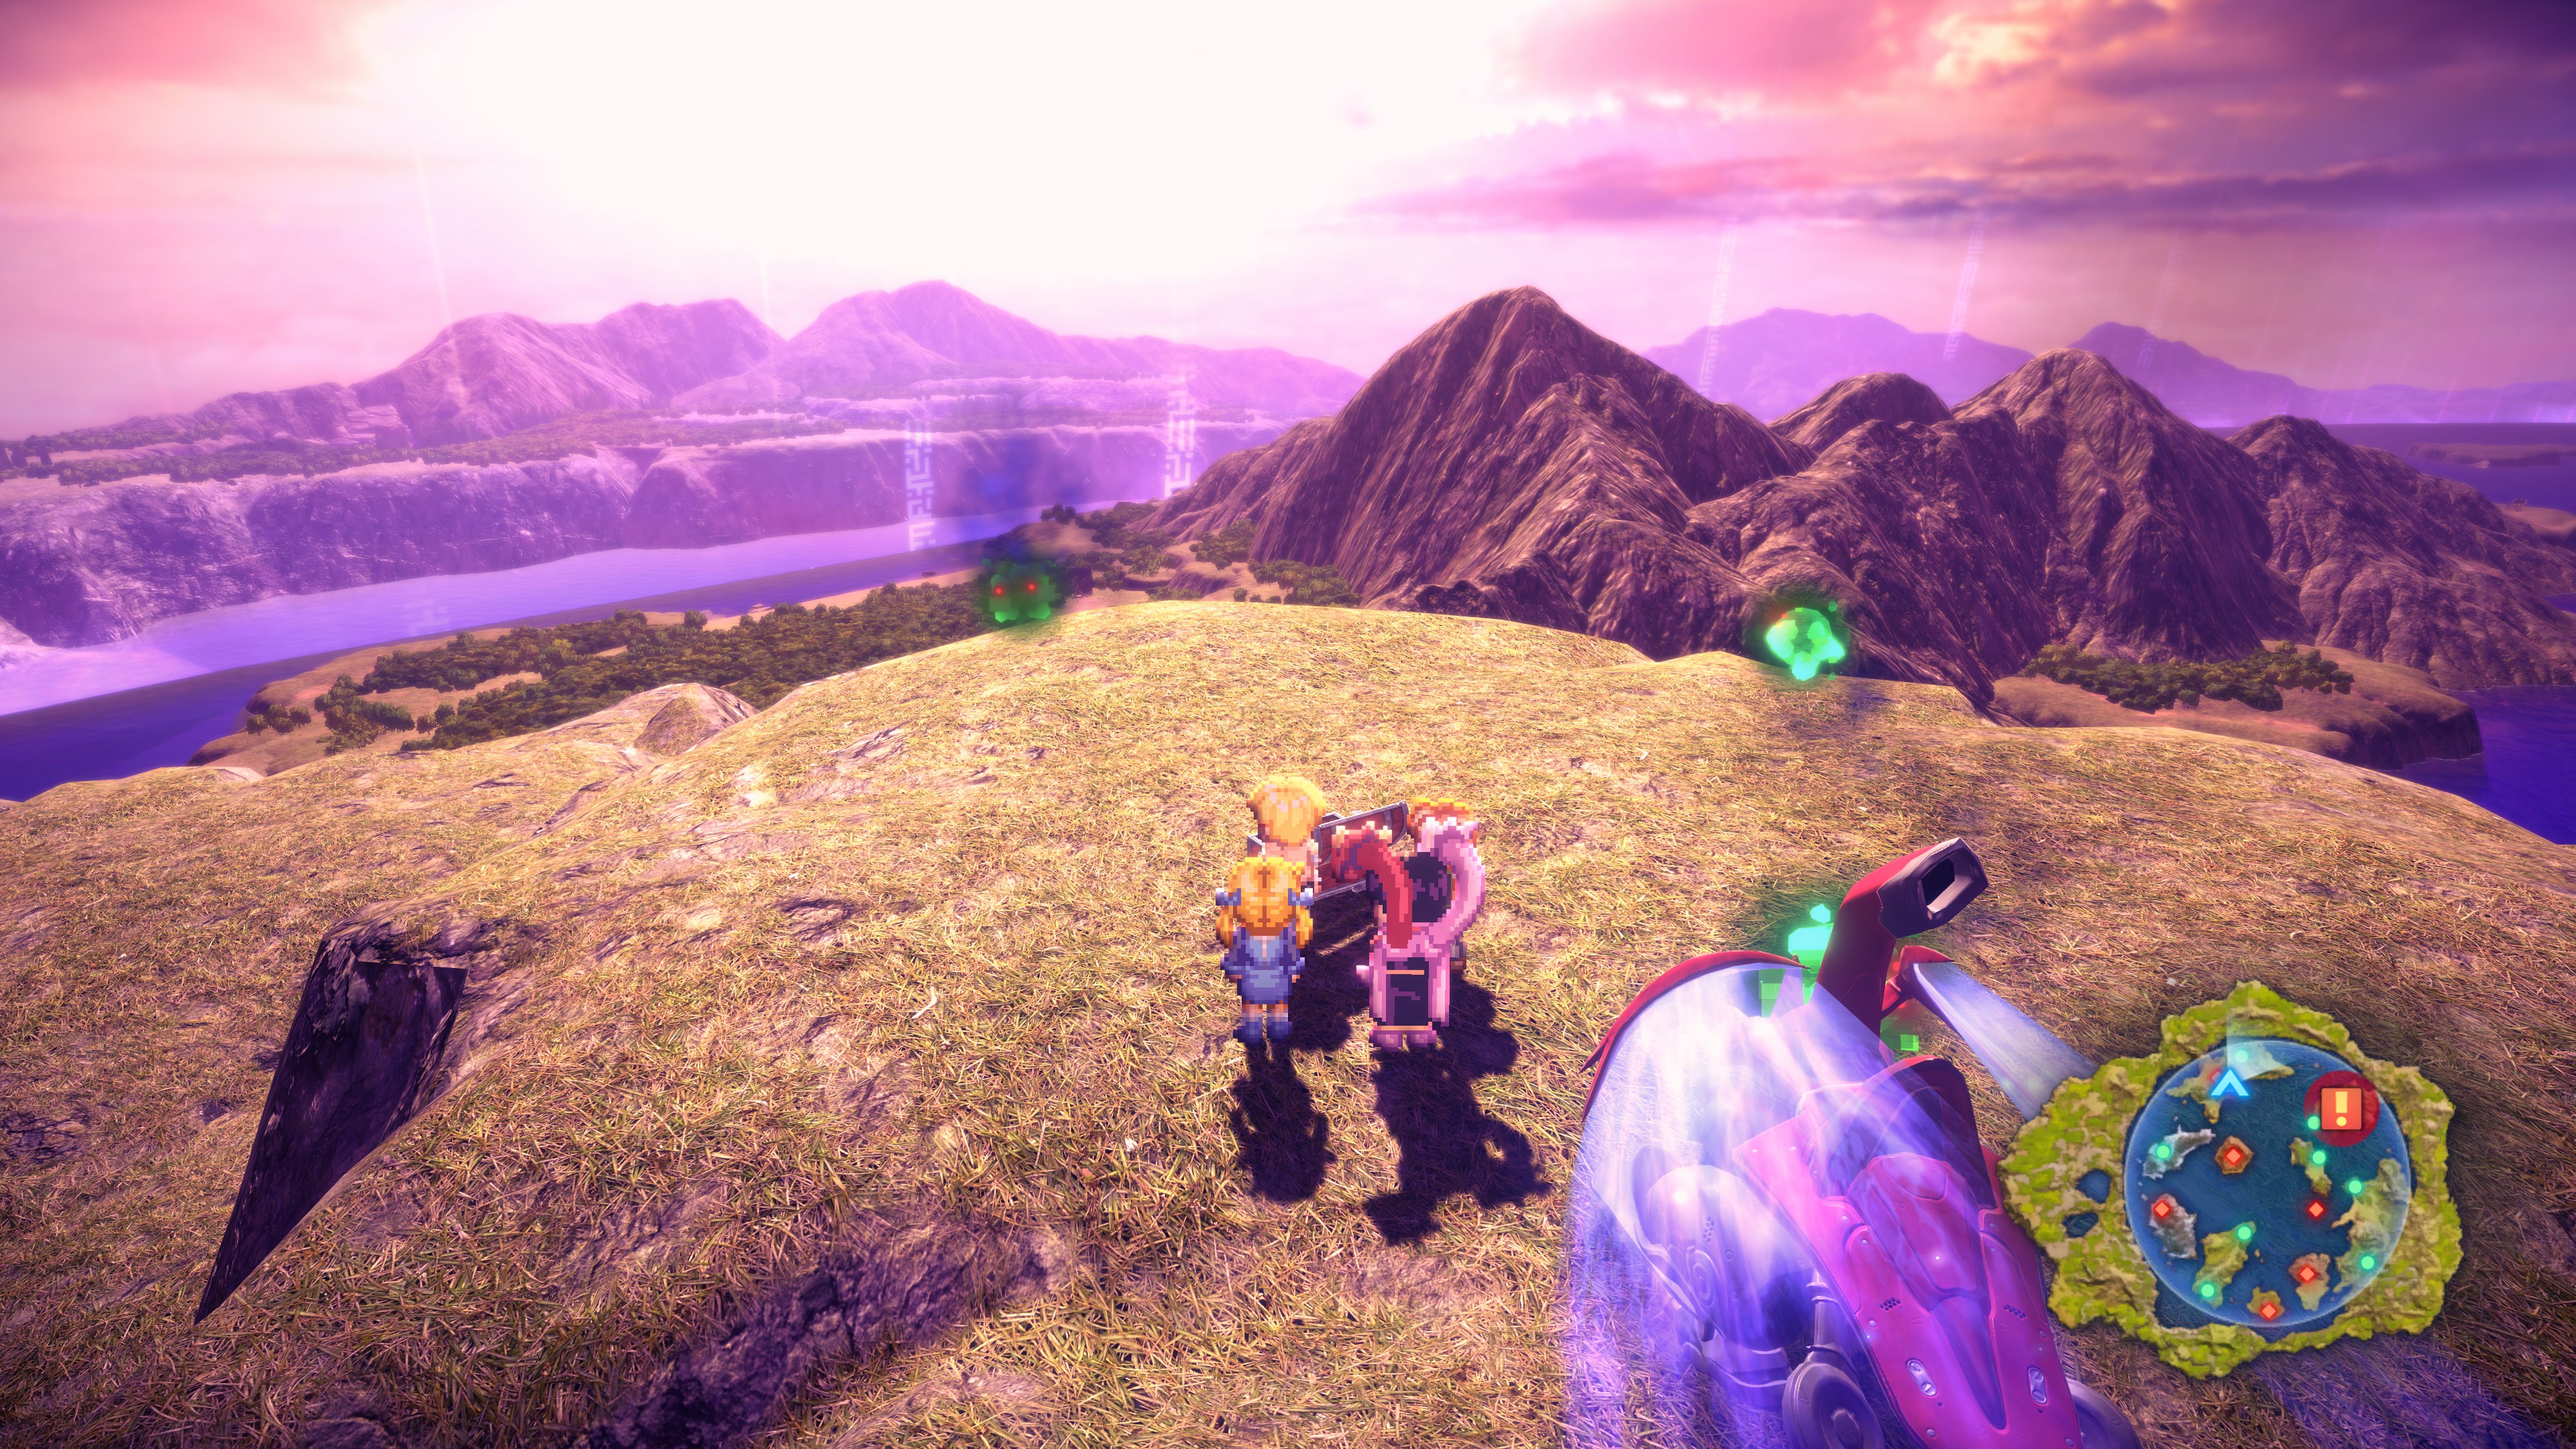
#55 – 5 Death of Originality (cliff above Cave of Red Crystals)
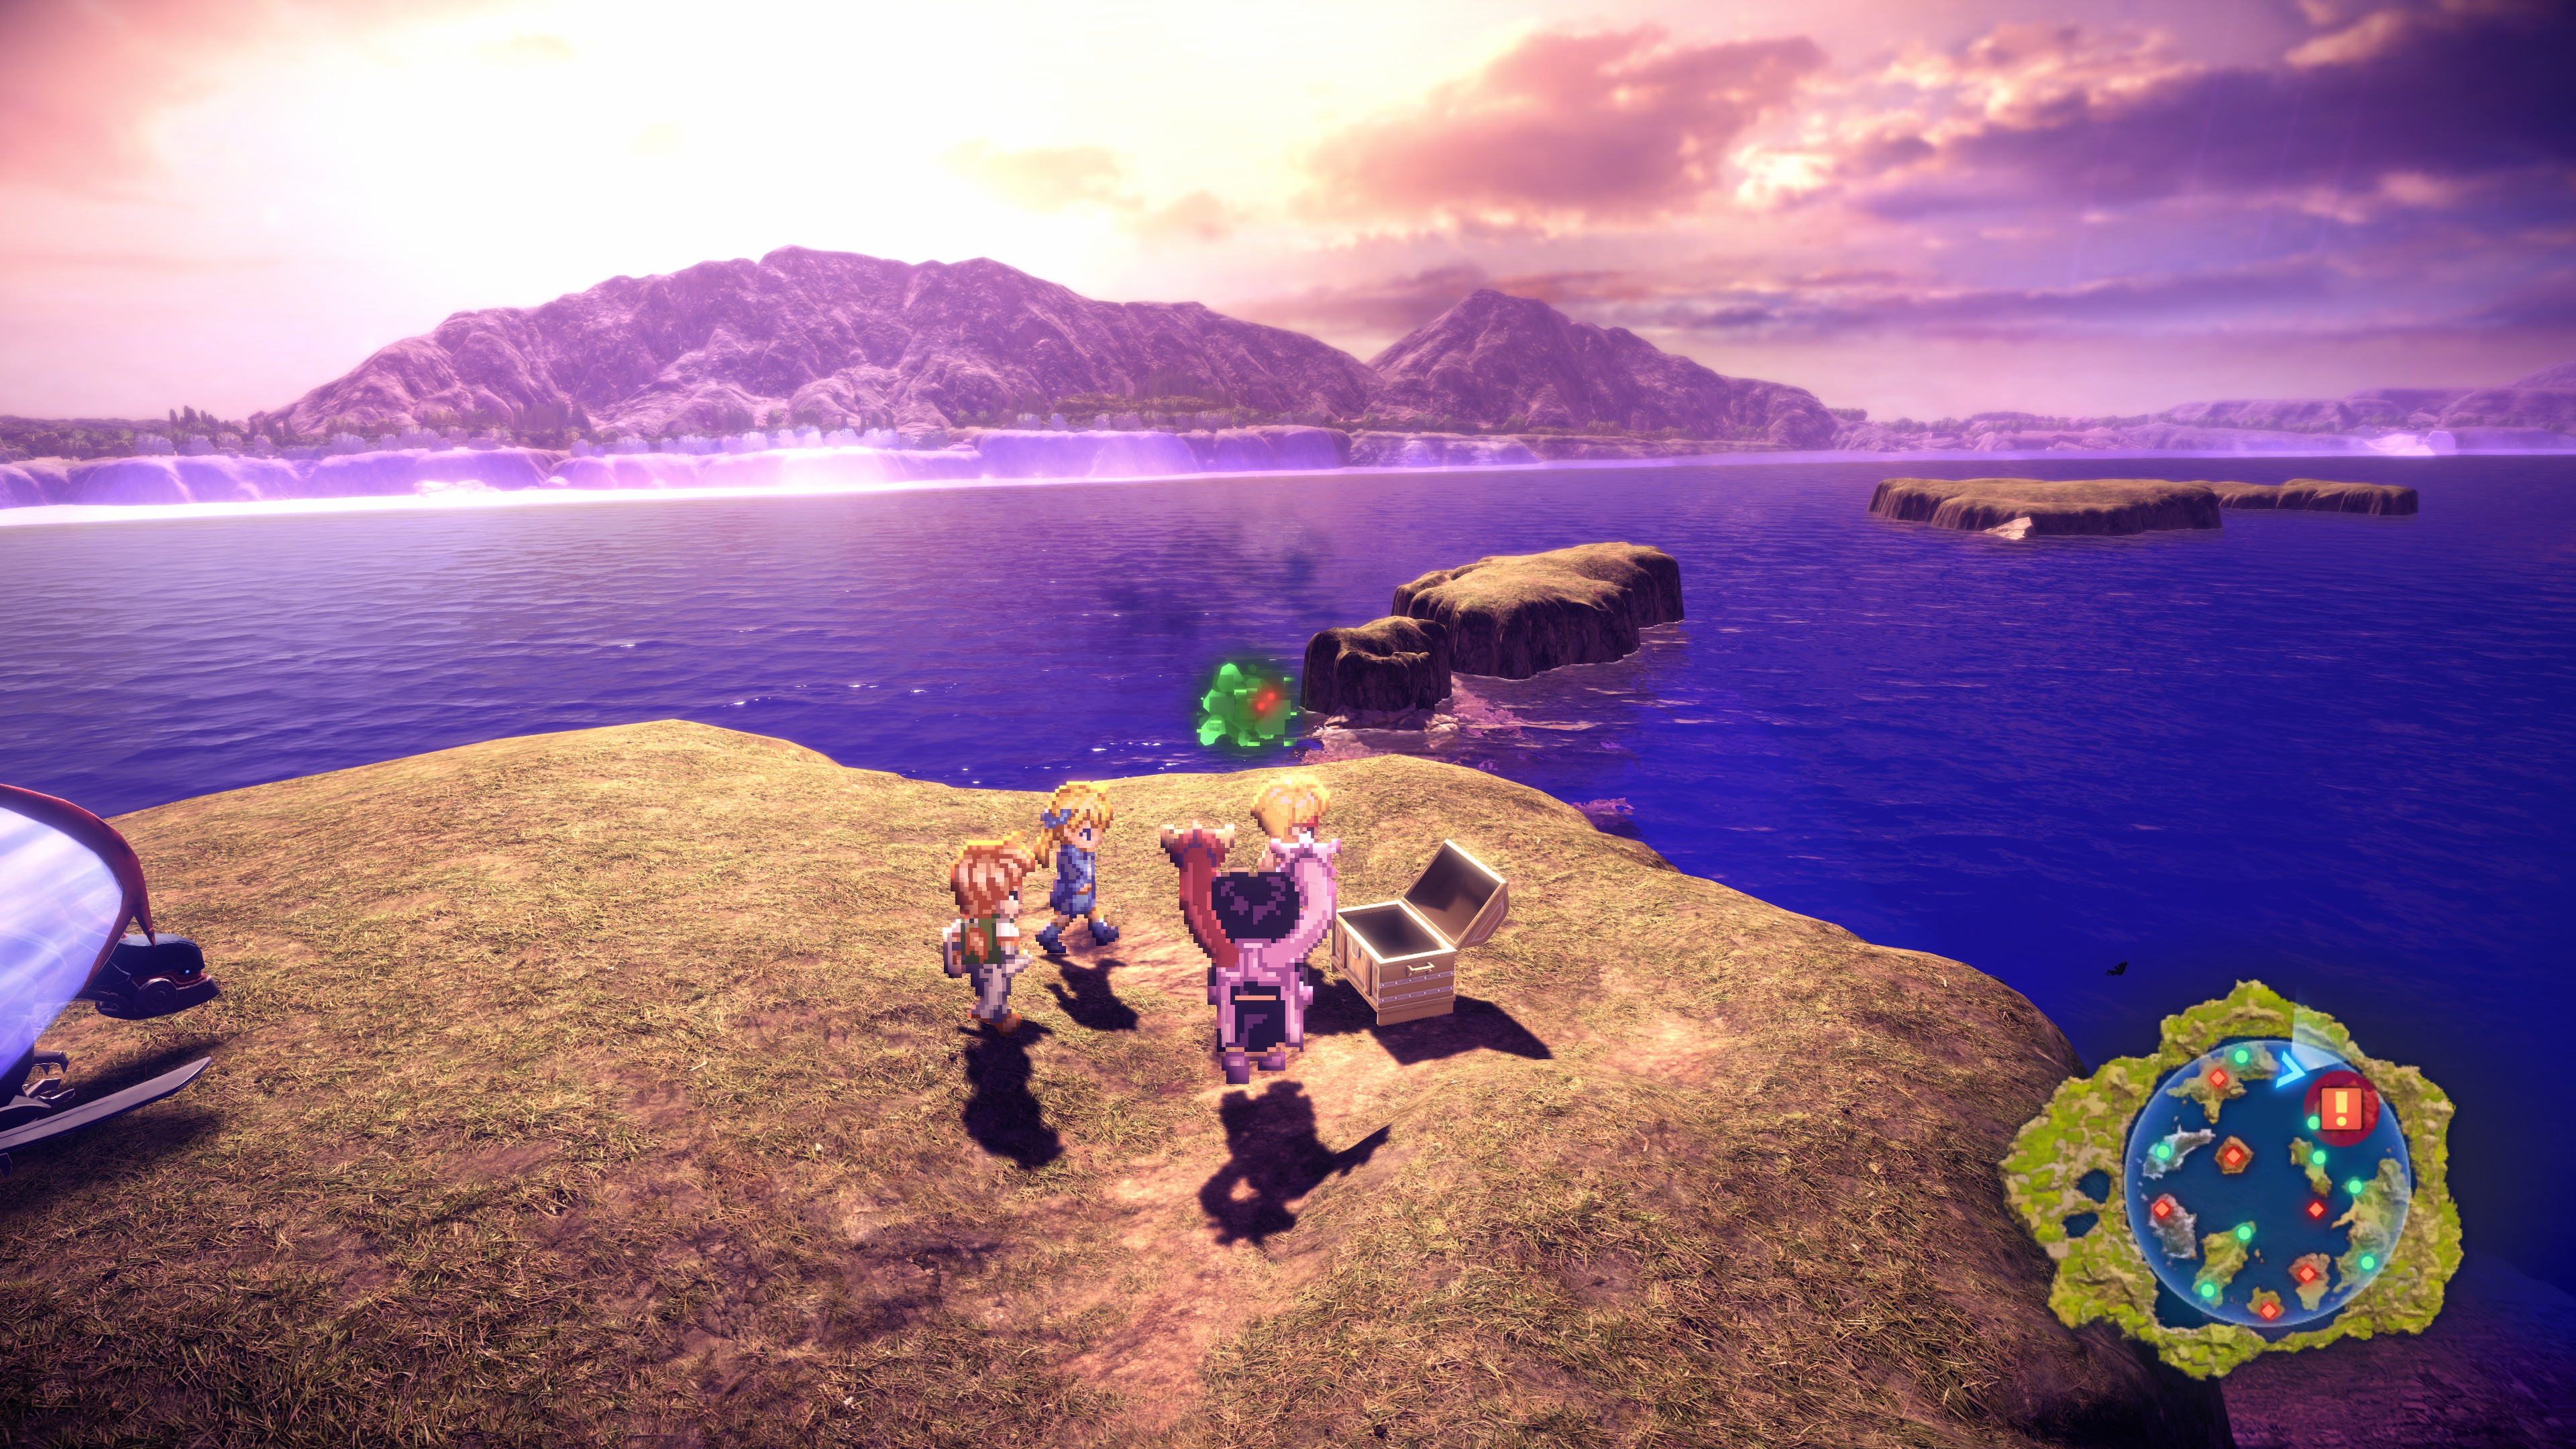
#56 – Robe of Deception+ () (far east of Cave of Red Crystals)
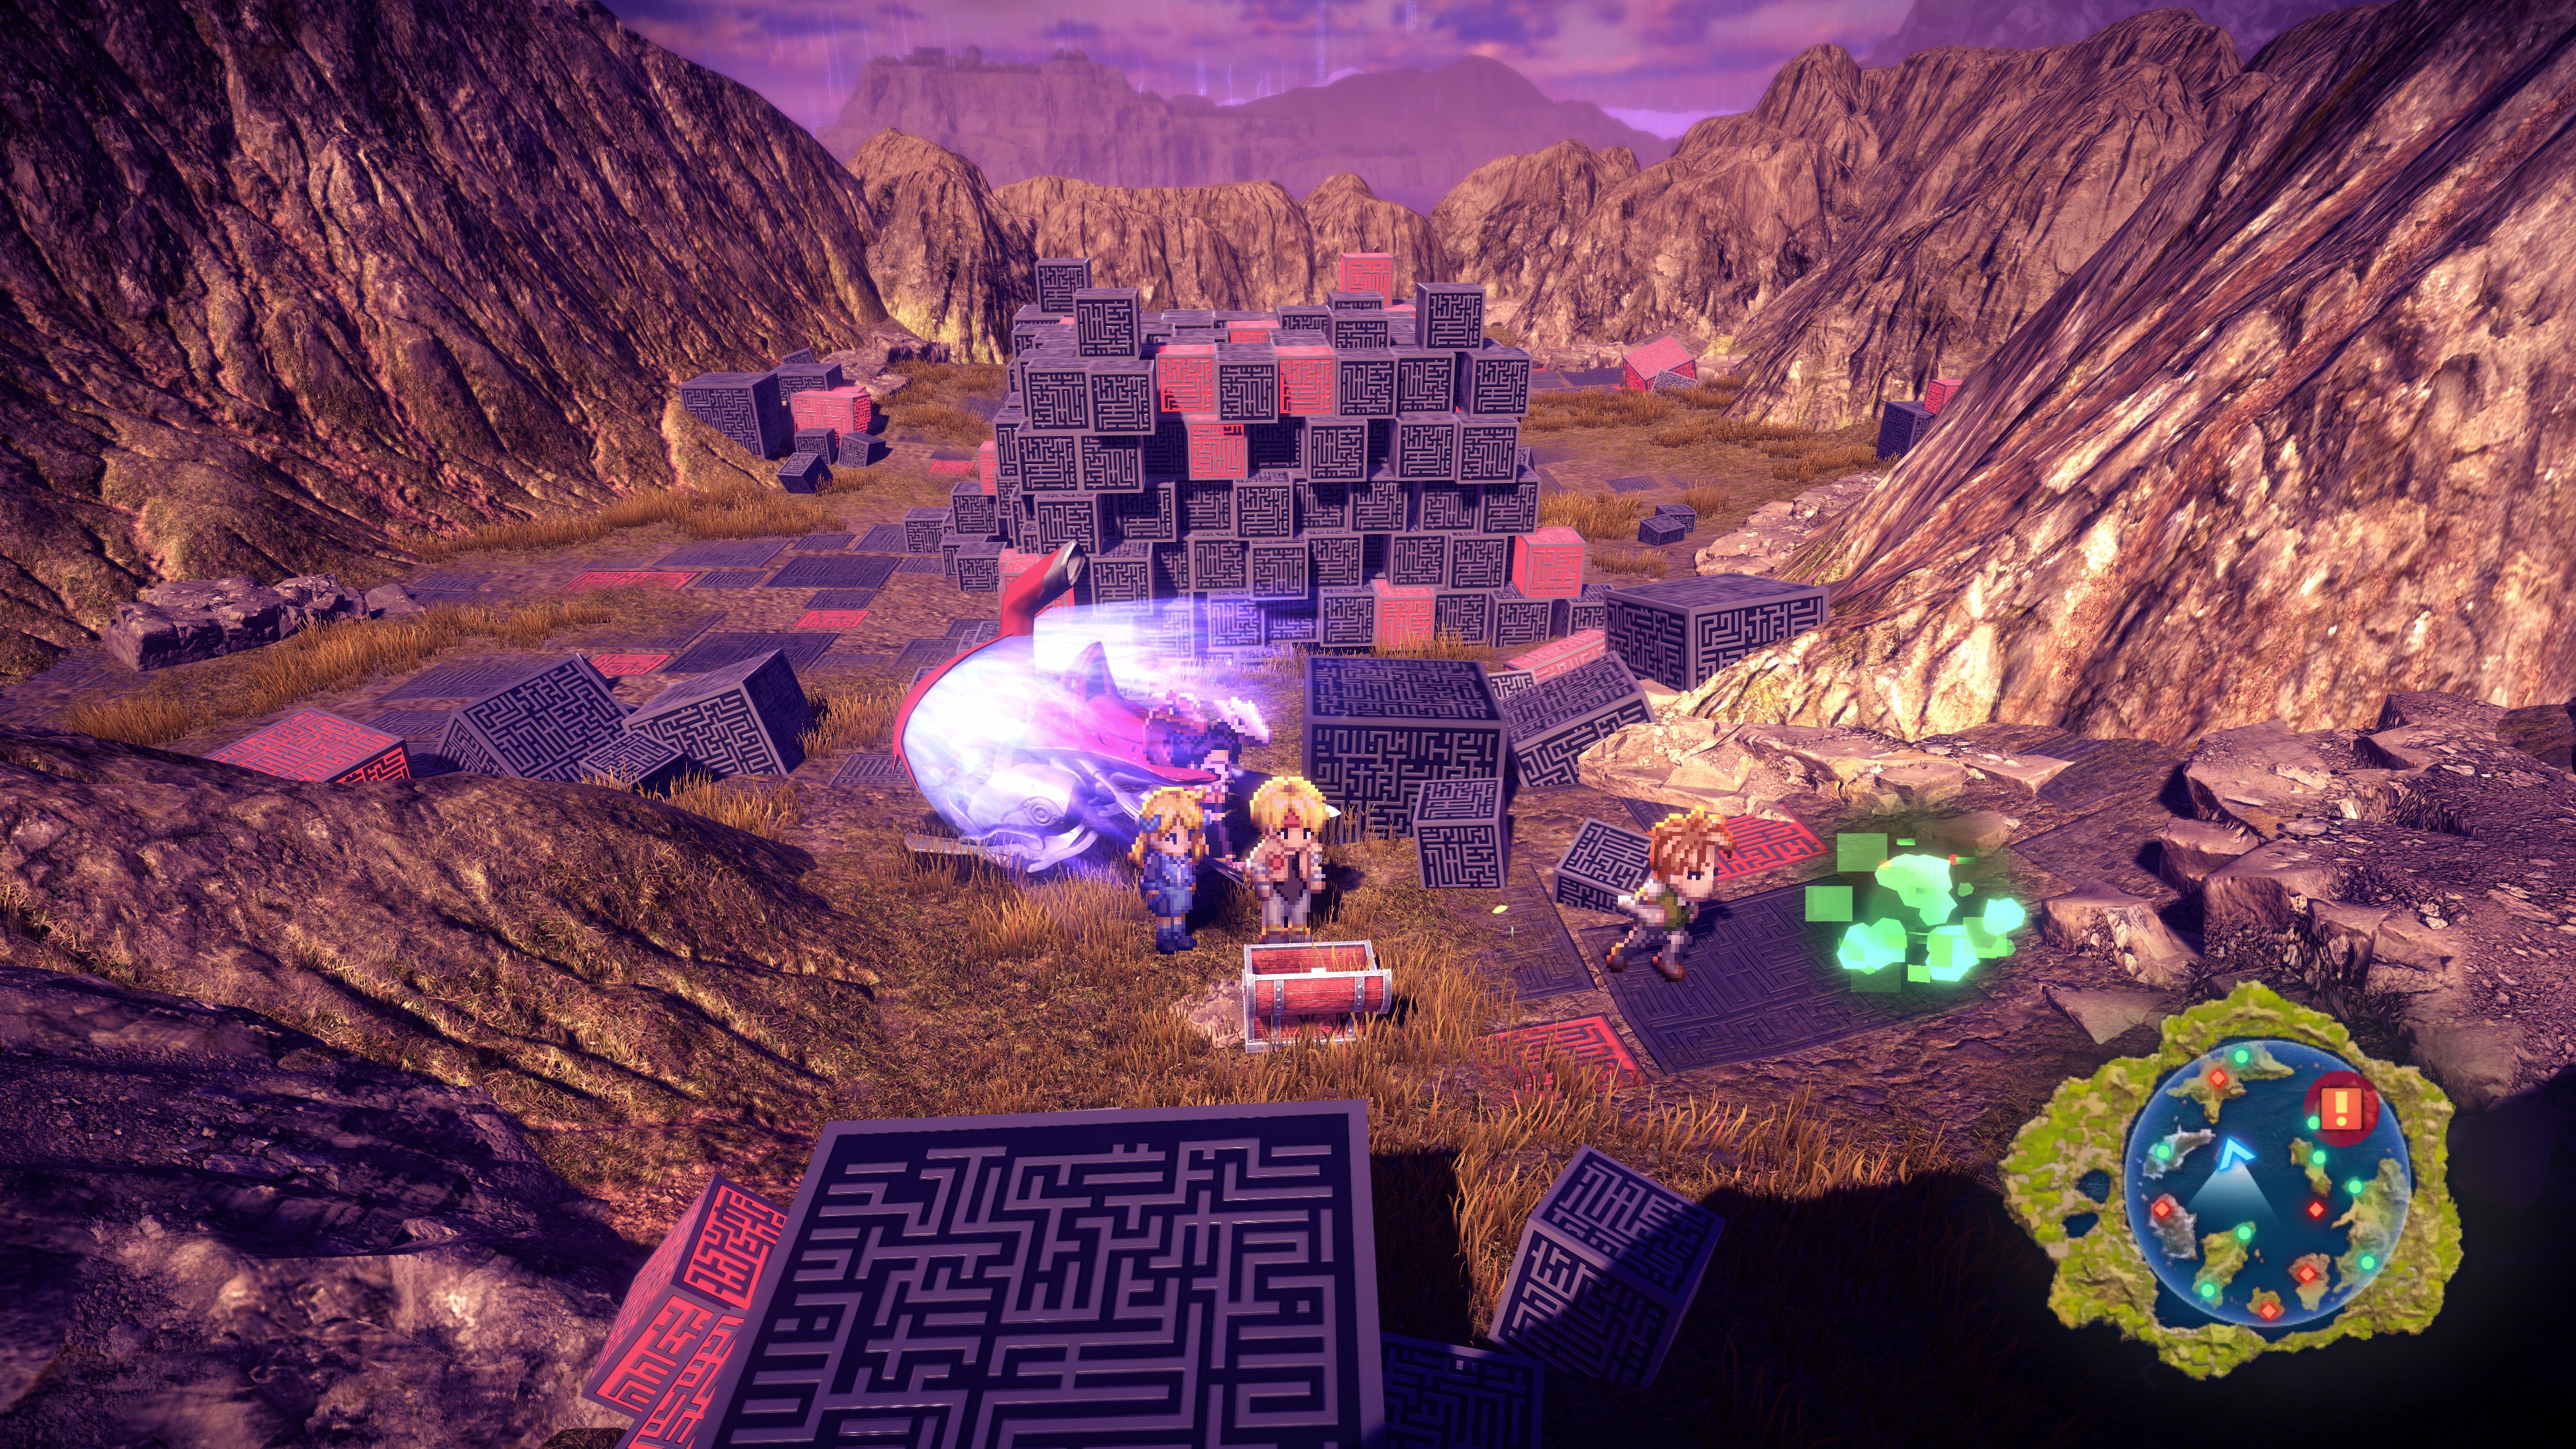
#57 – 2 Veda Idol (behind Field of Wisdom)
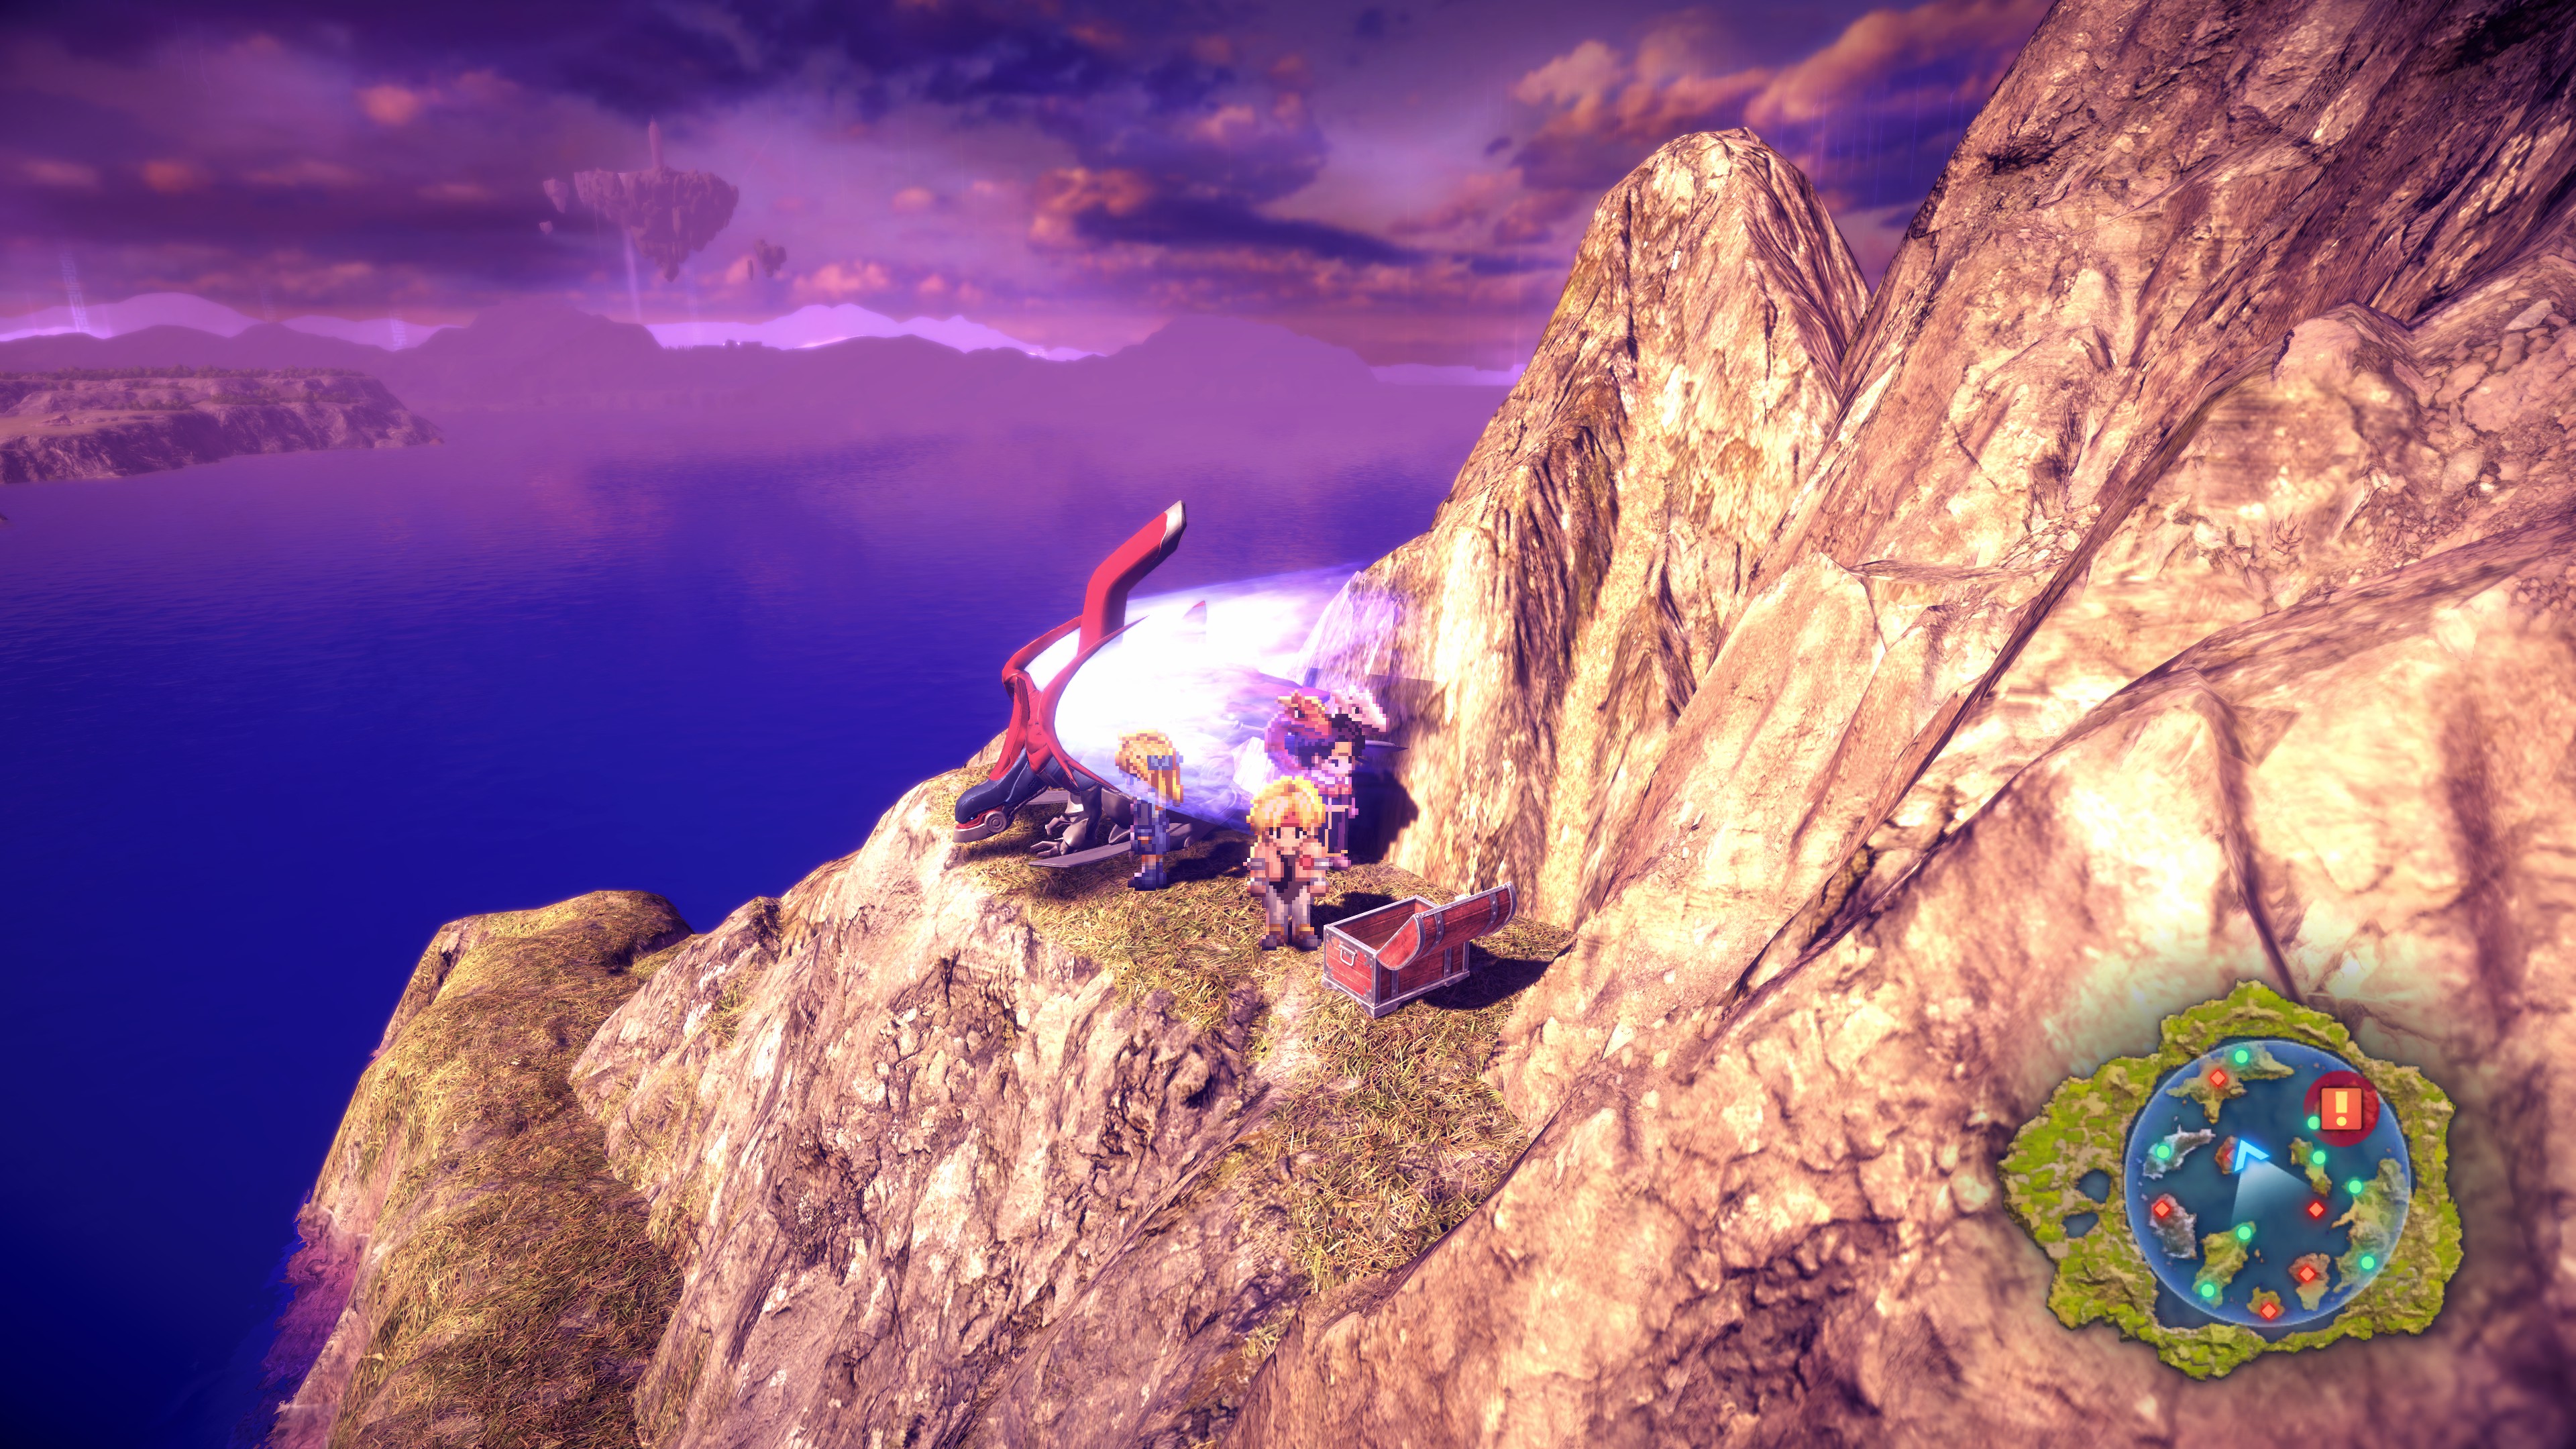
#58 – 3 Hermetic Philosophy (tiny cliff near Field of Wisdom)
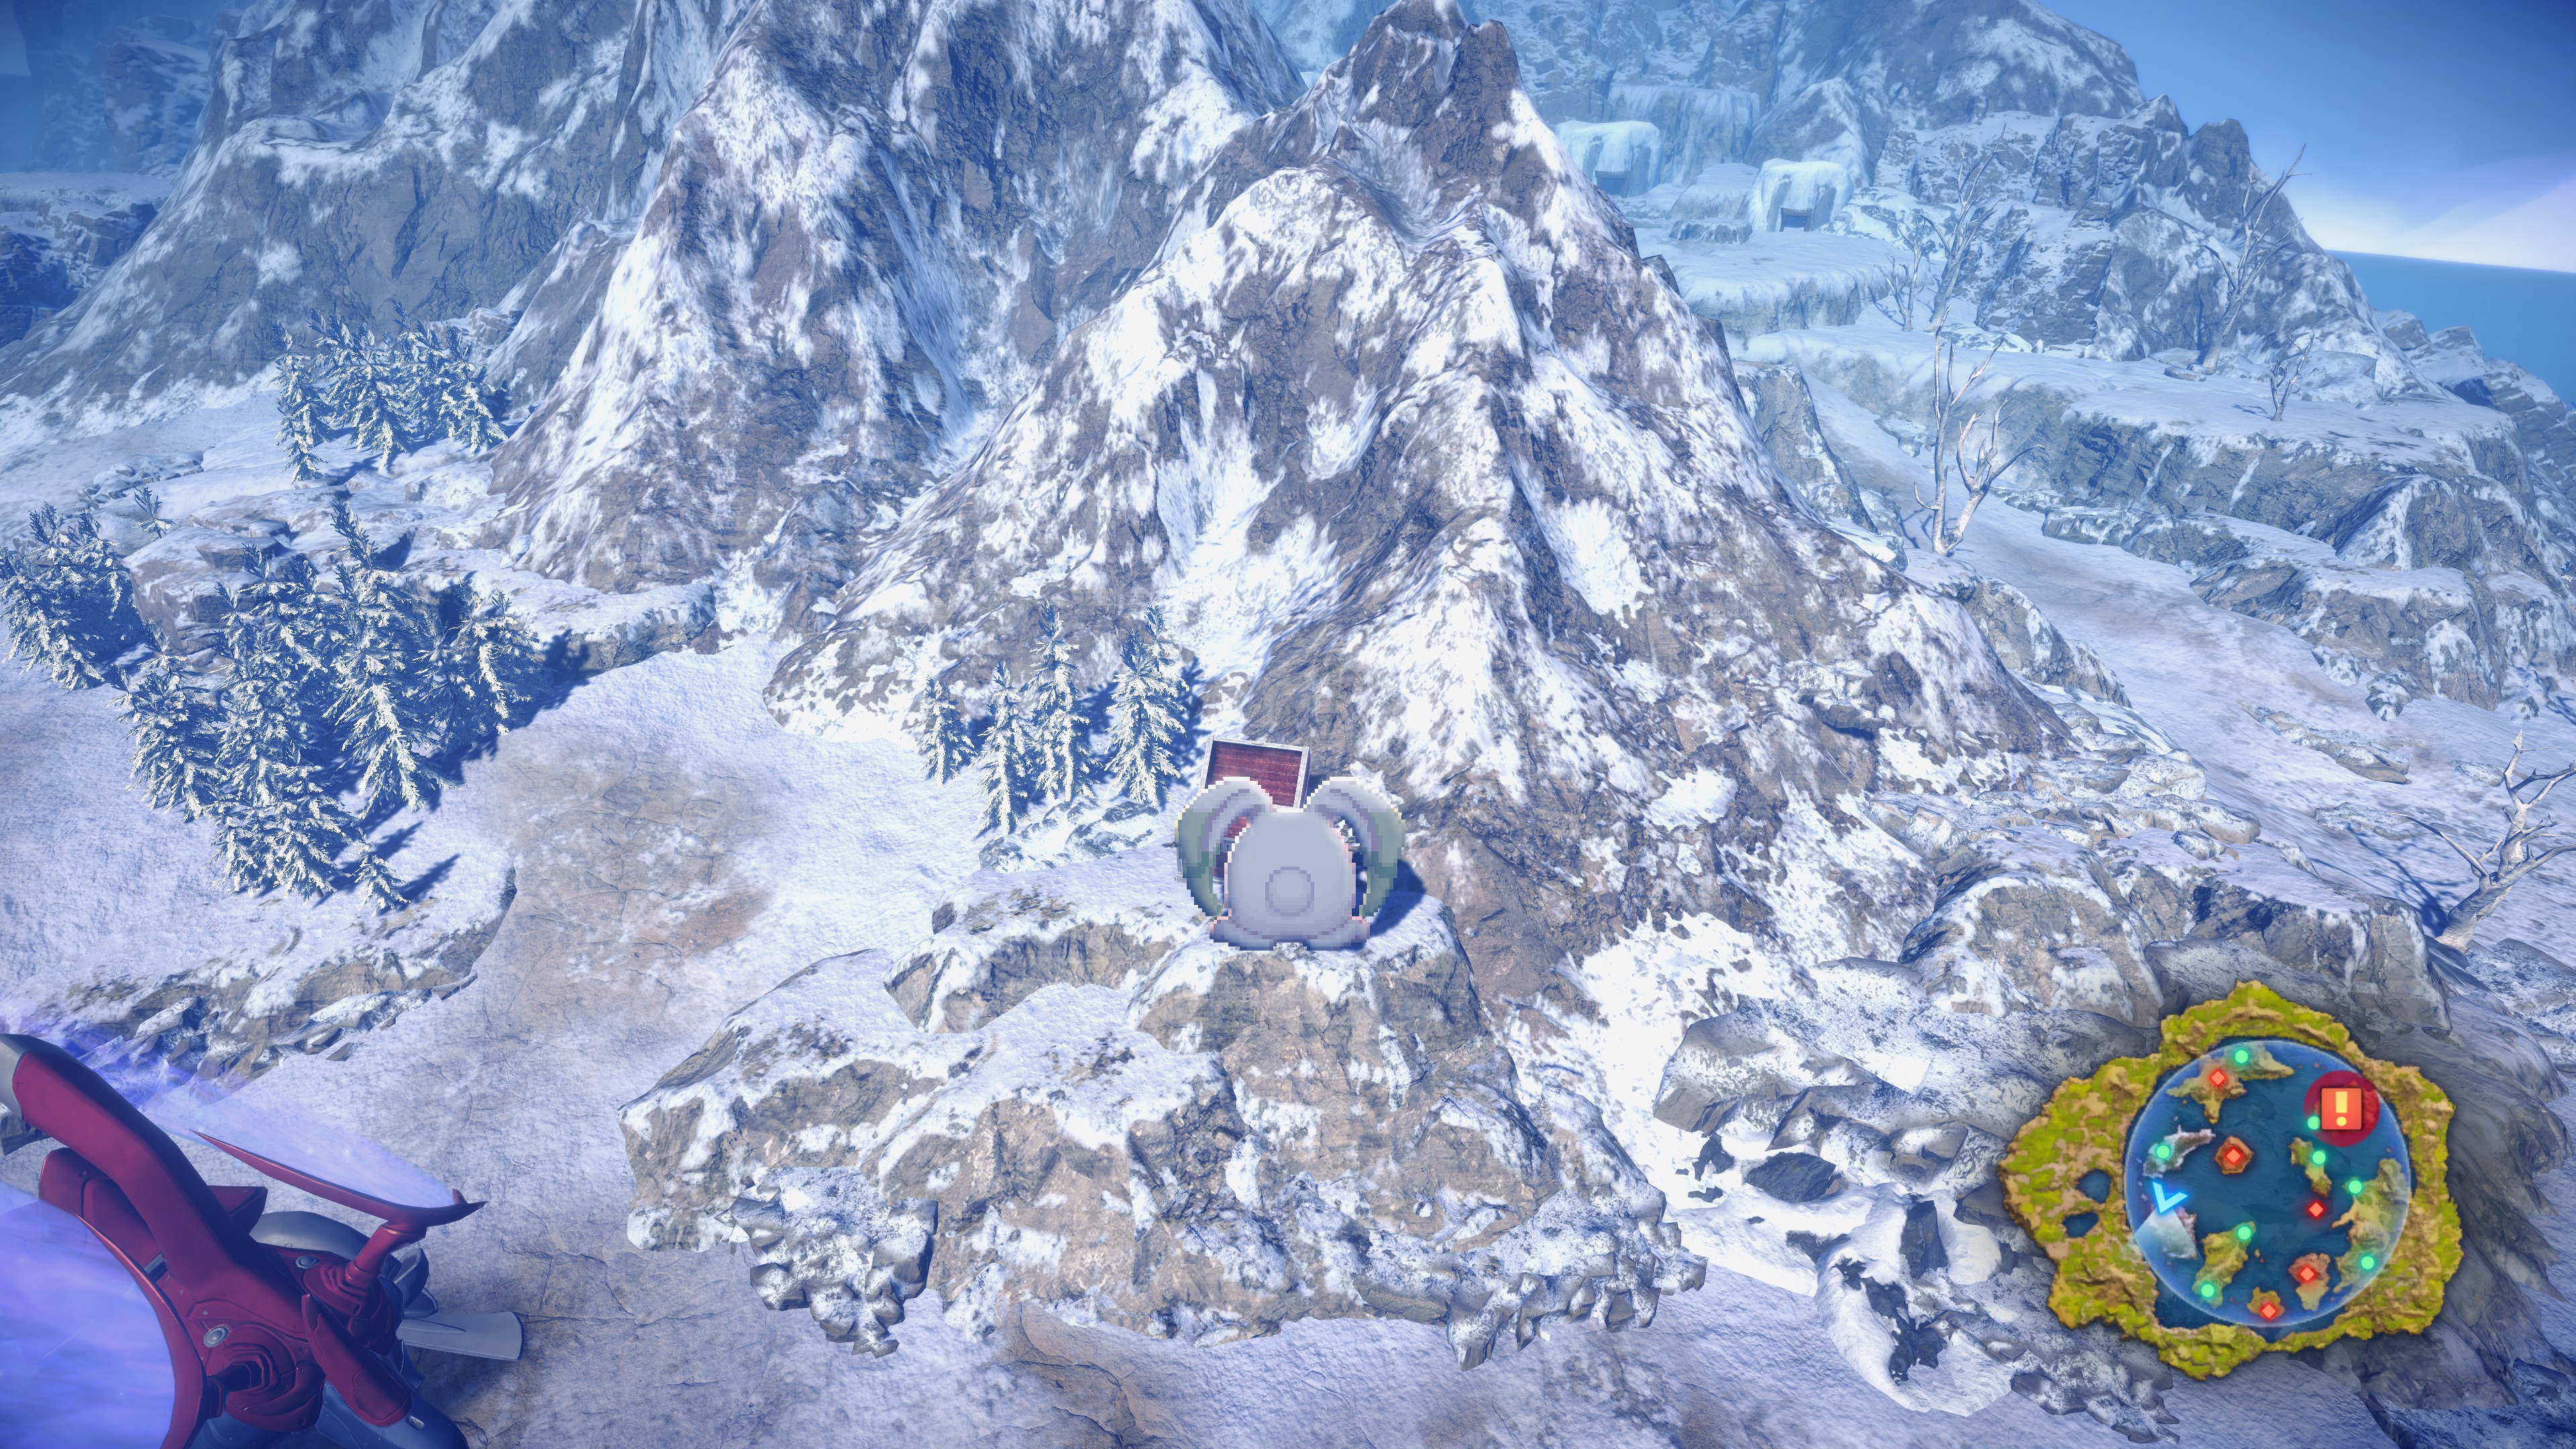
#59 – 4 Potion of Might (tiny cliff near FIeld of Power)

#60 – Revival Card (forest near Field of Courage)
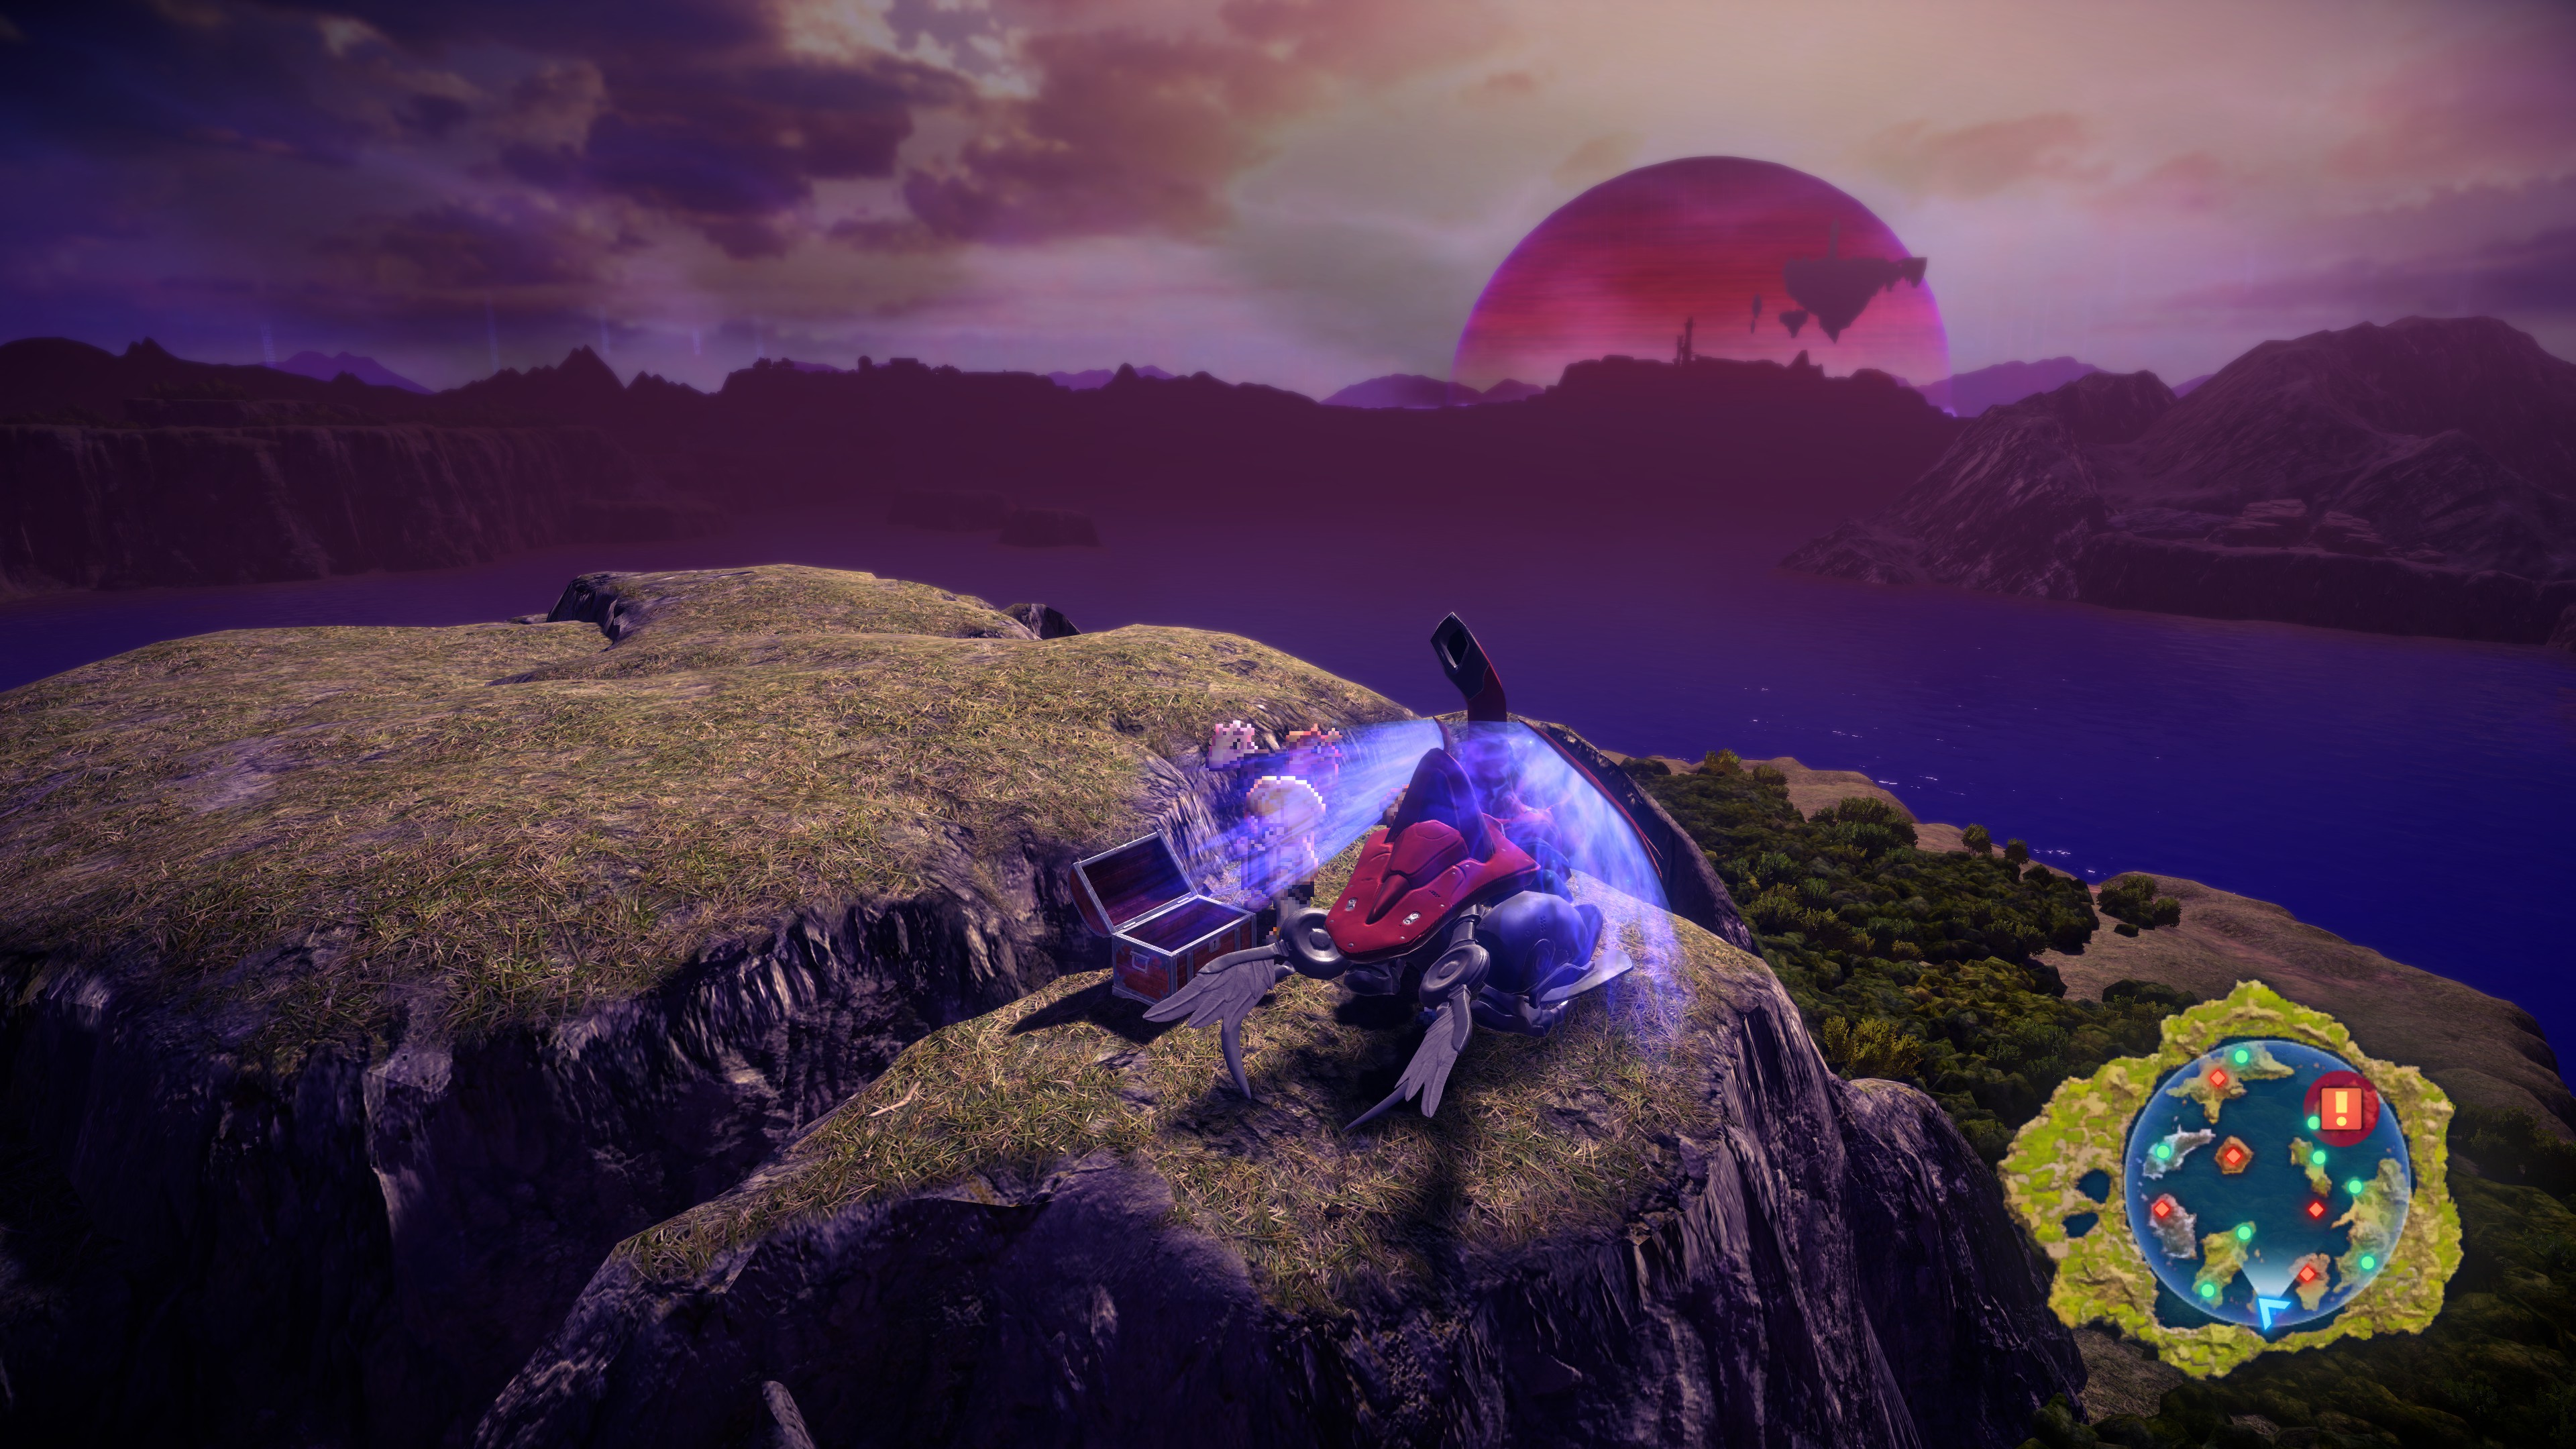
#61 – 3 Strength Bottle (on top of Field of Courage)
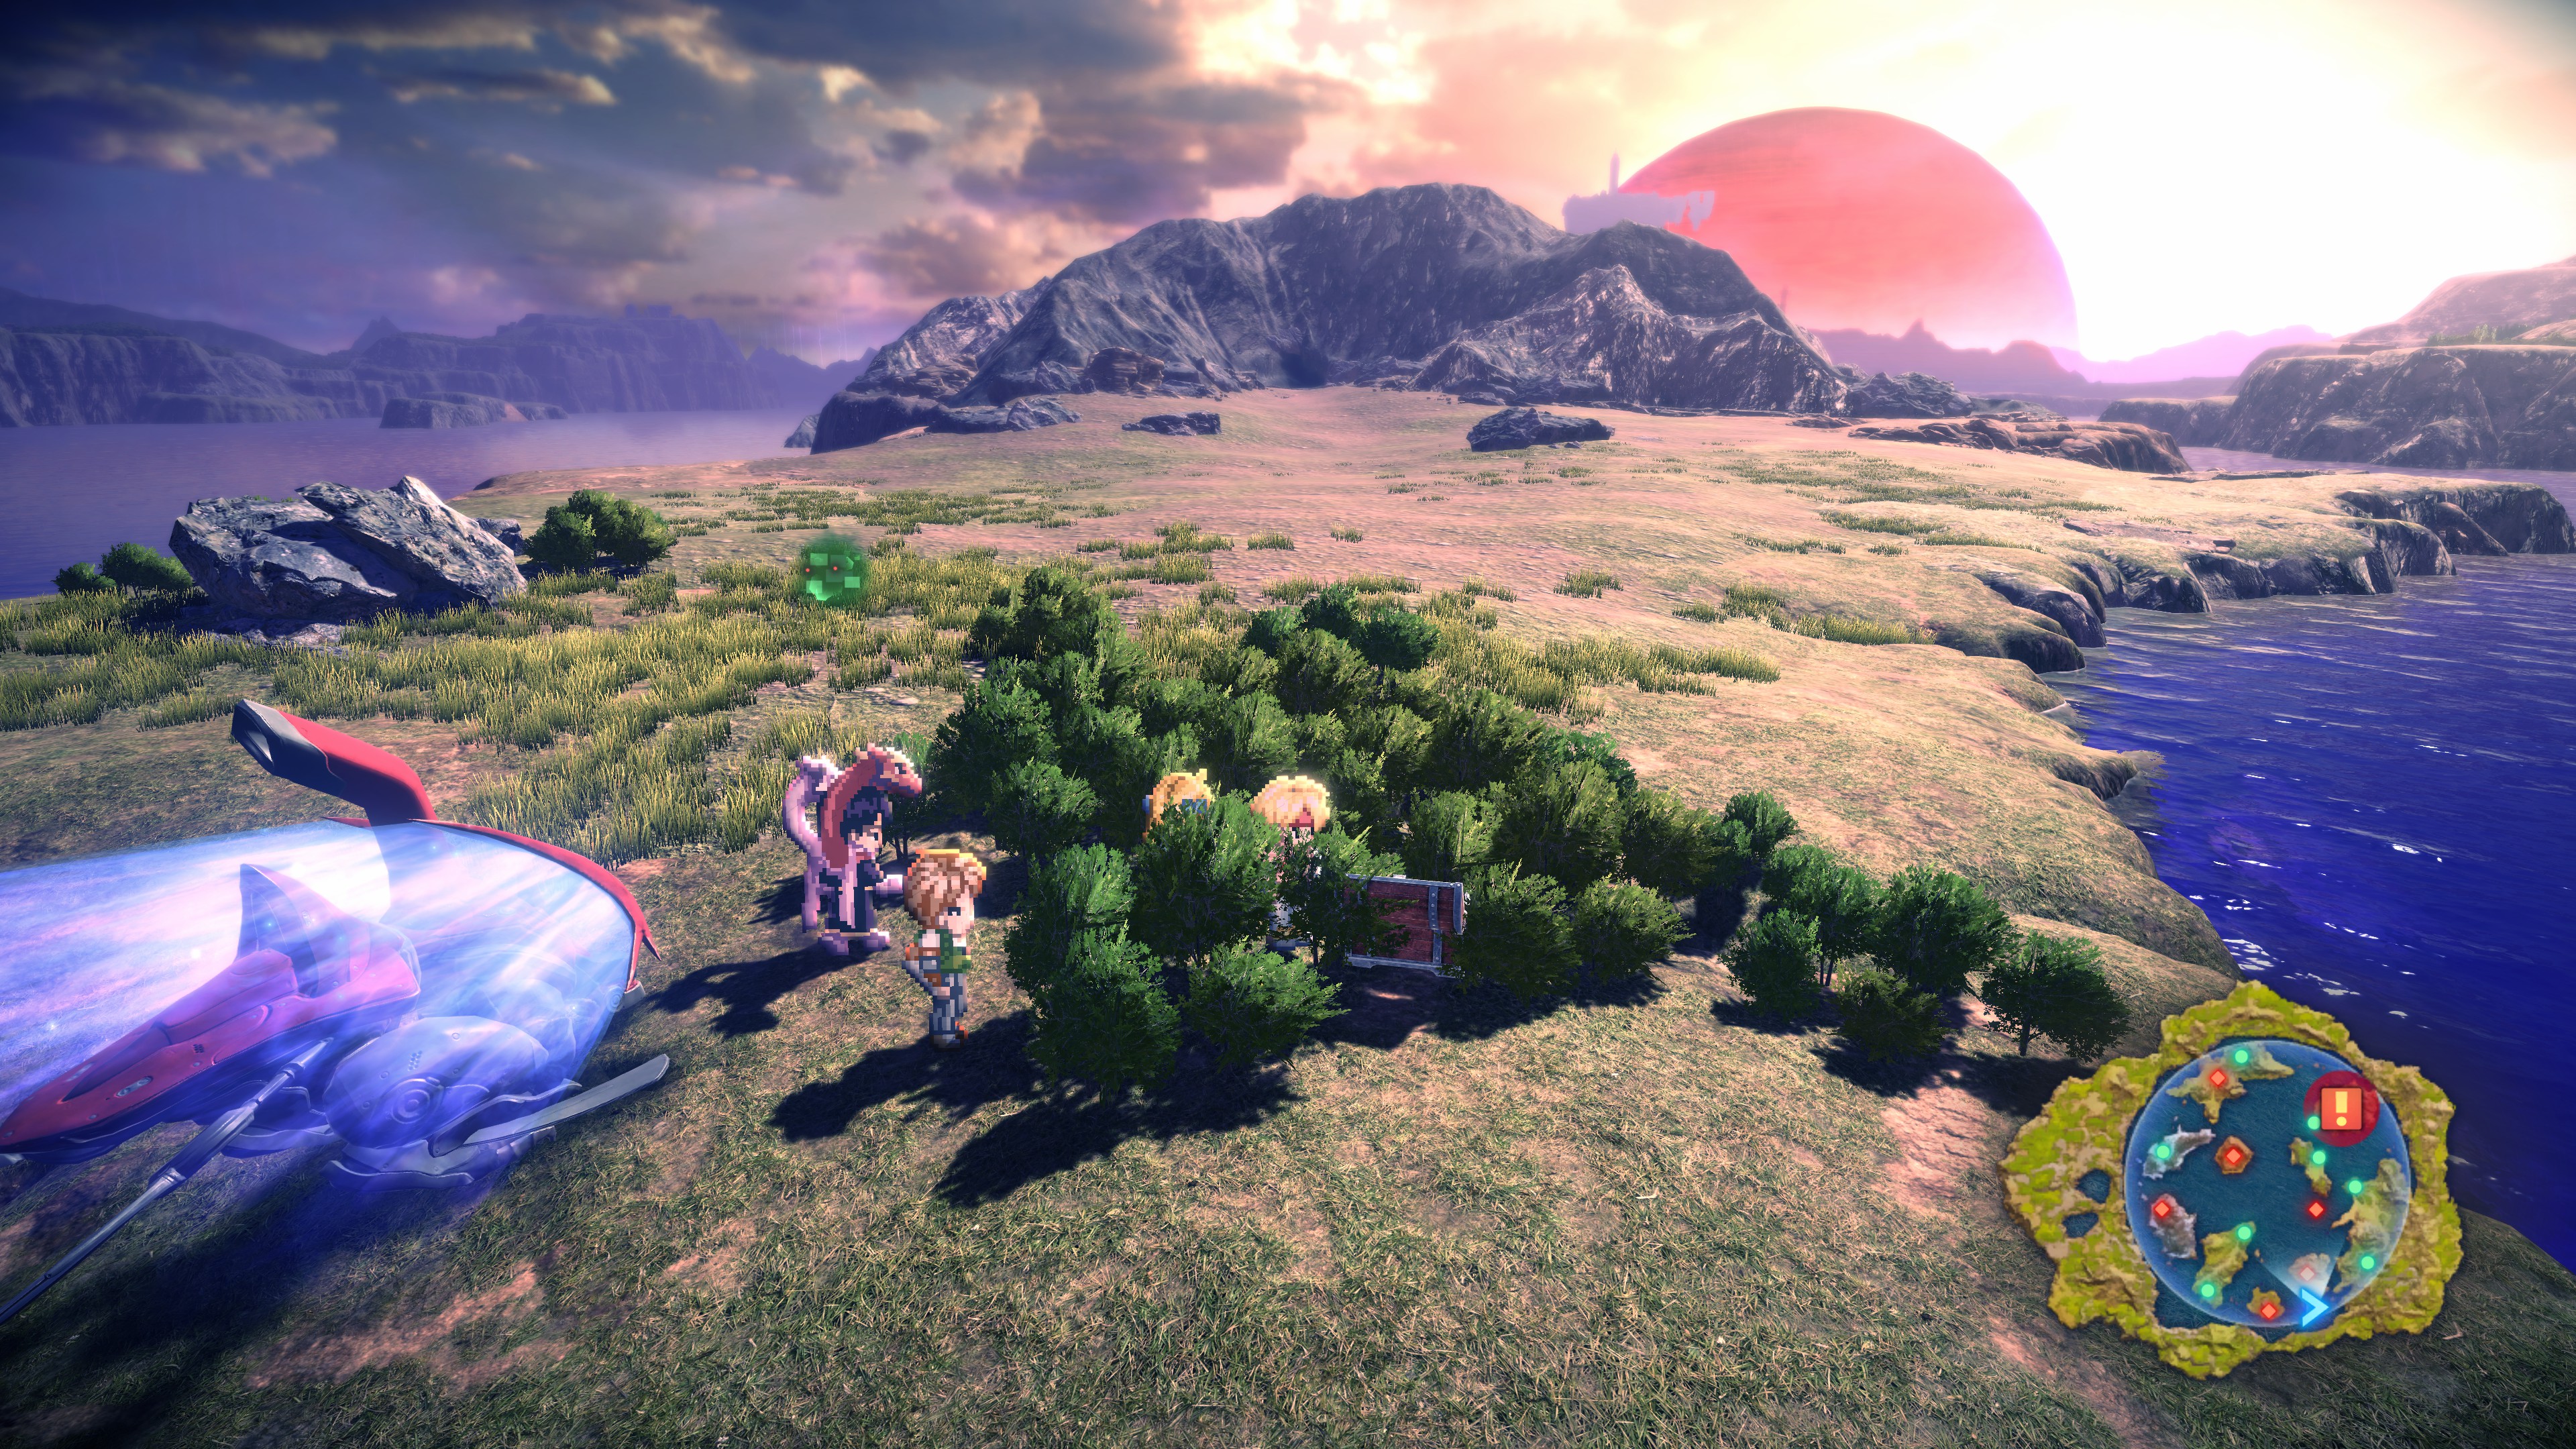
#62 – 3 Scroll of Power (south of Minae Cave)
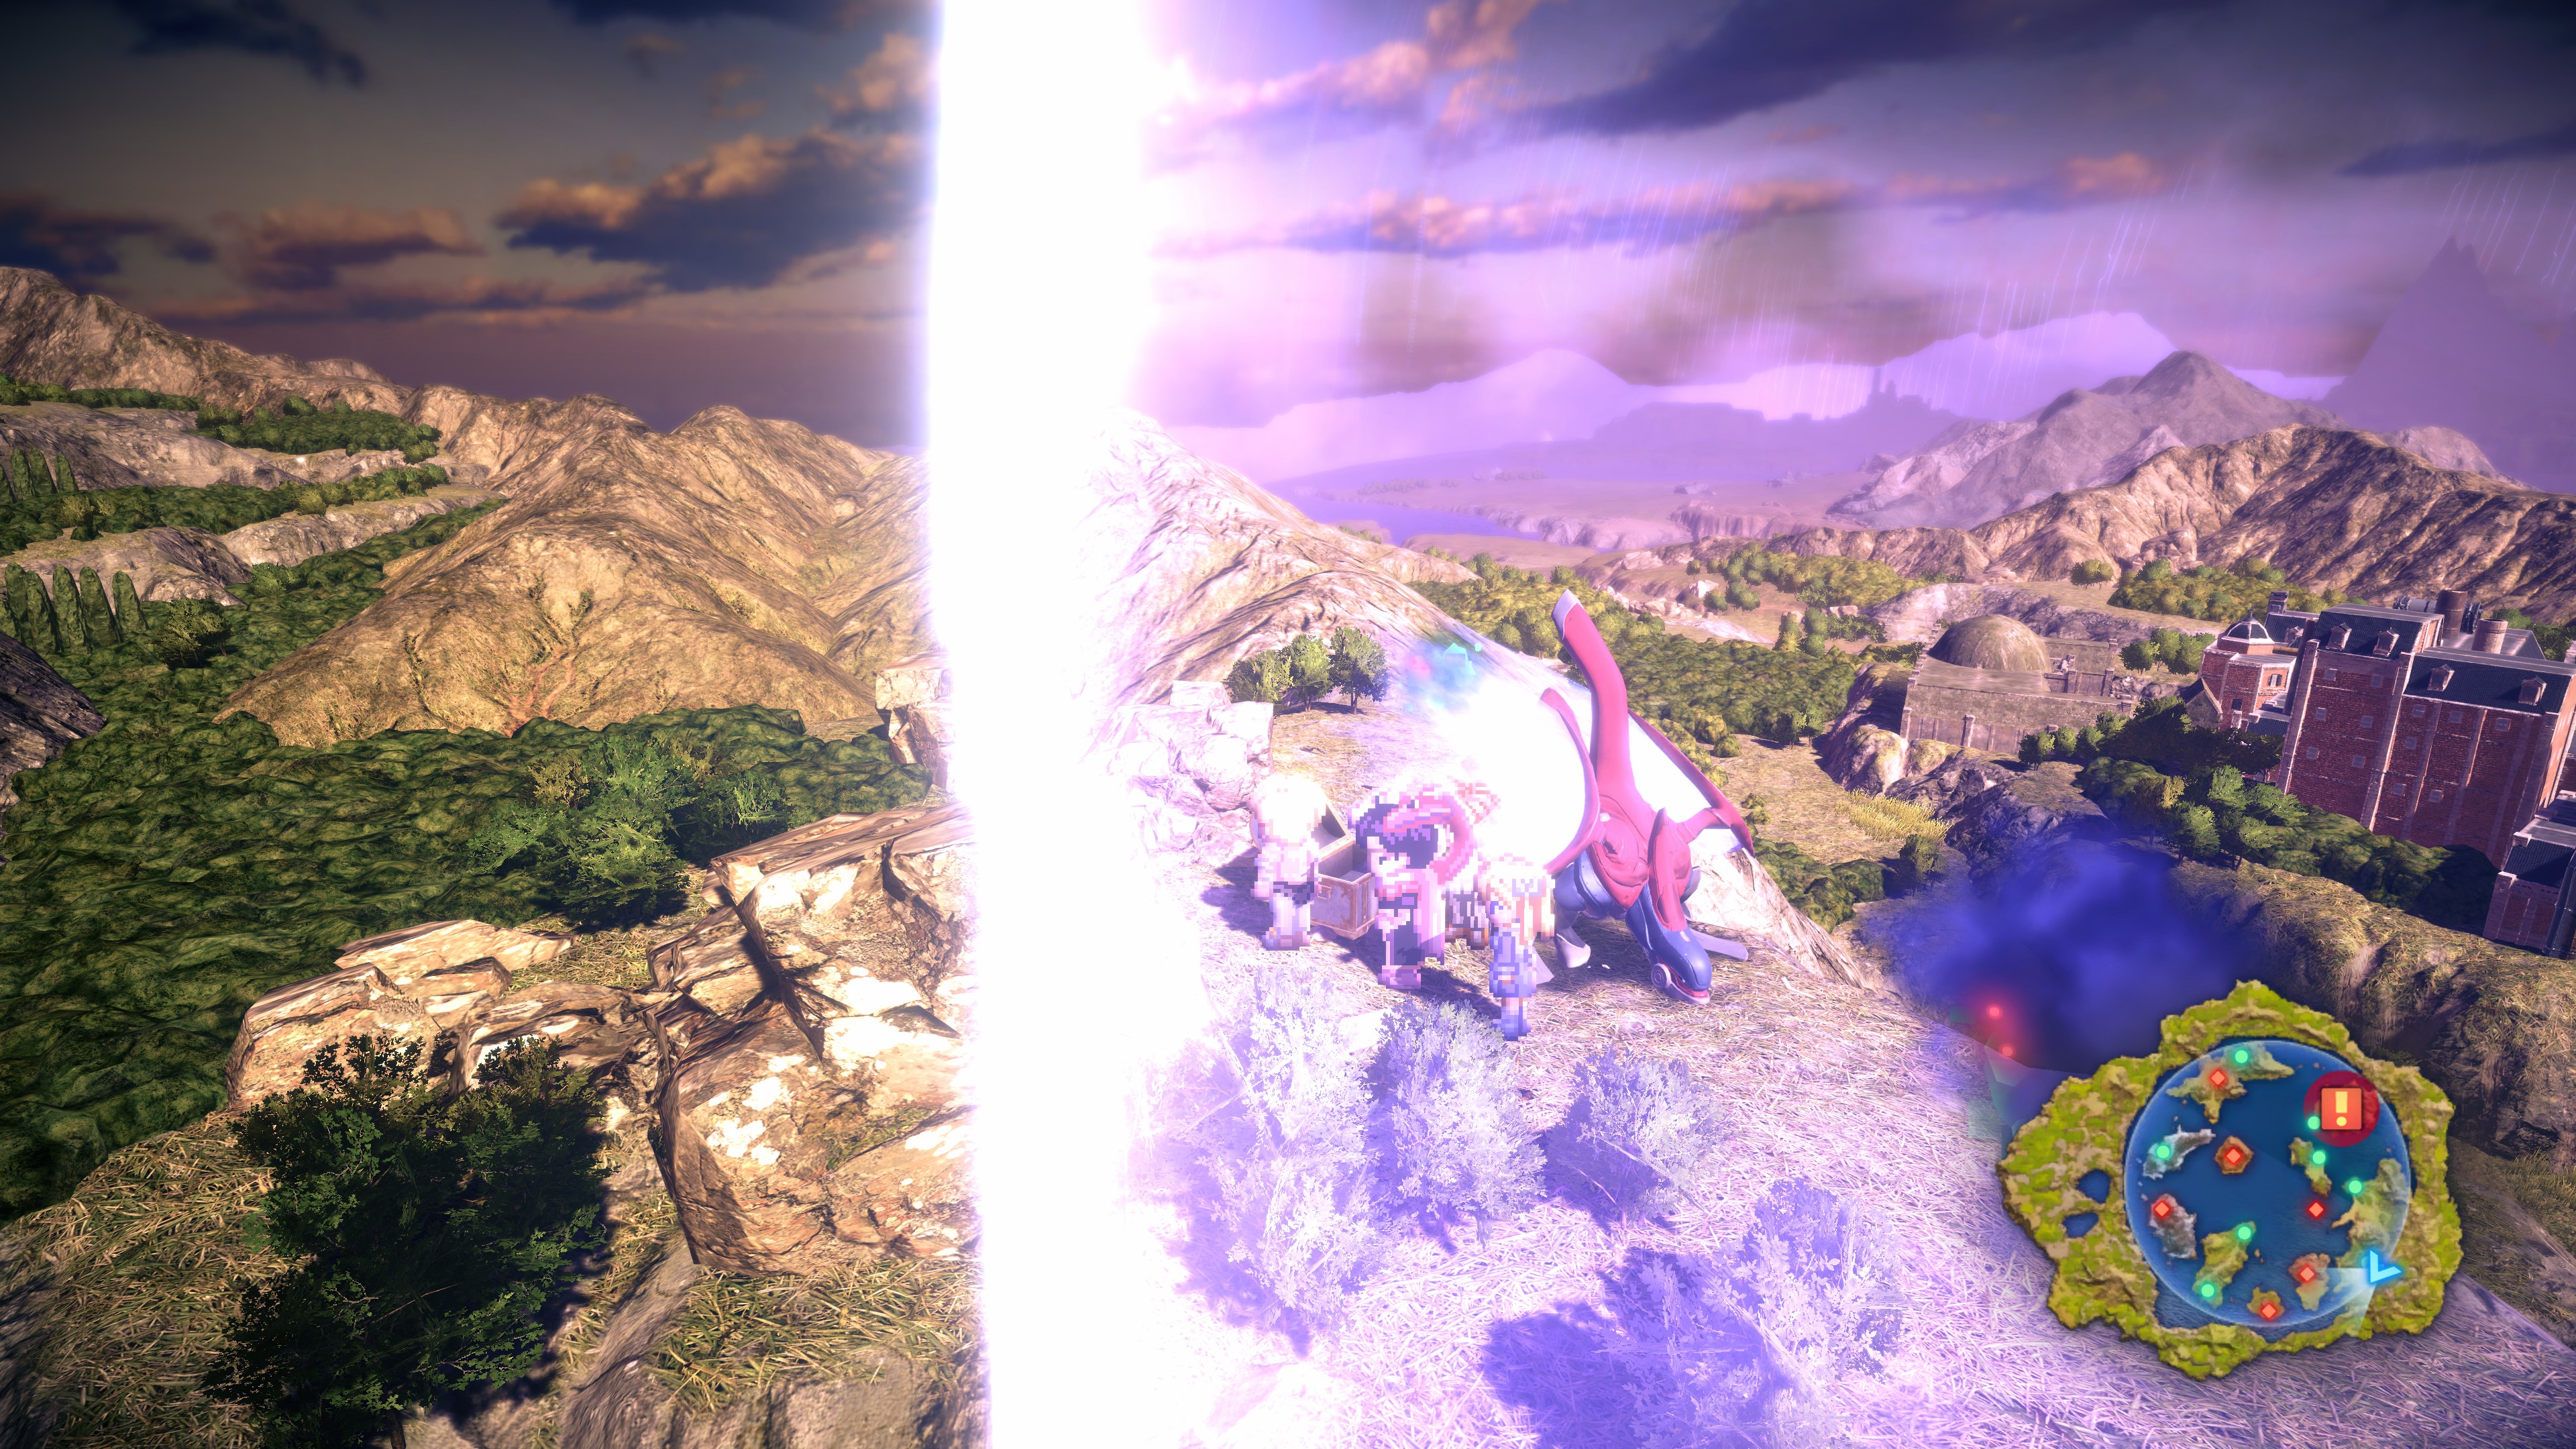
#63 – 3 Star Ruby (cliff west of Armlock)
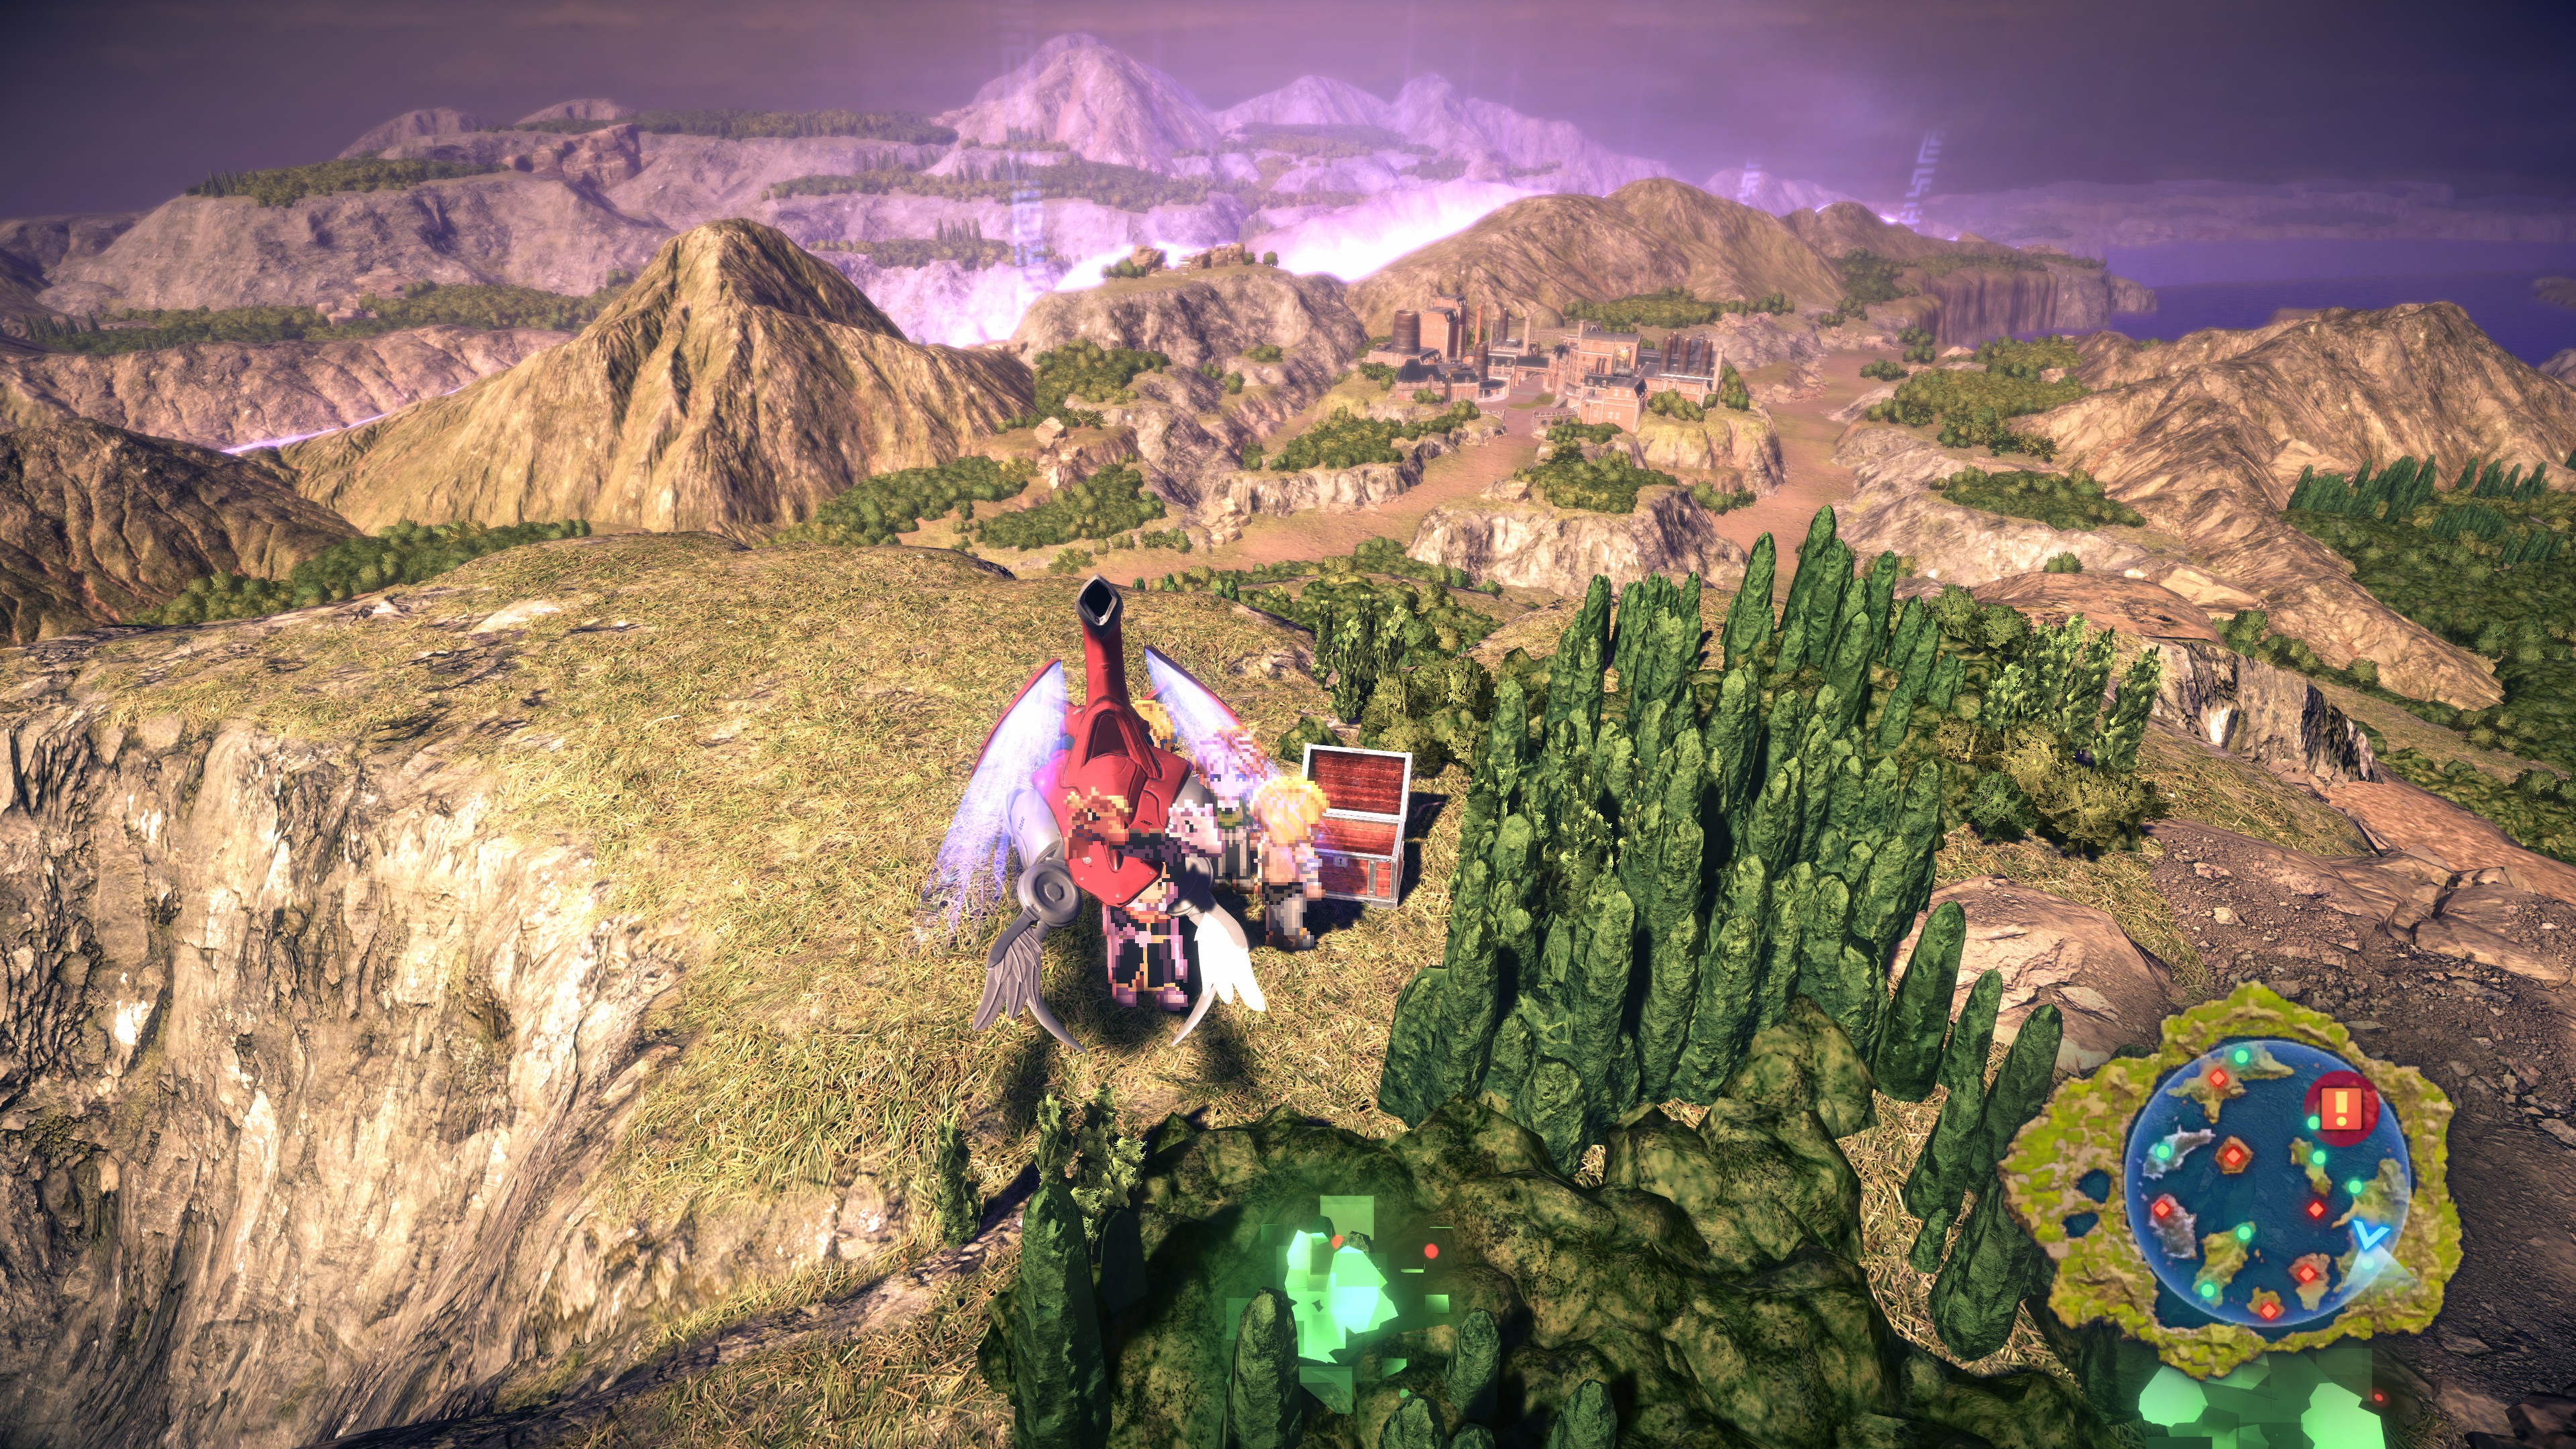
#64 – 3 Mixed Syrup (cliff north of Armlock)
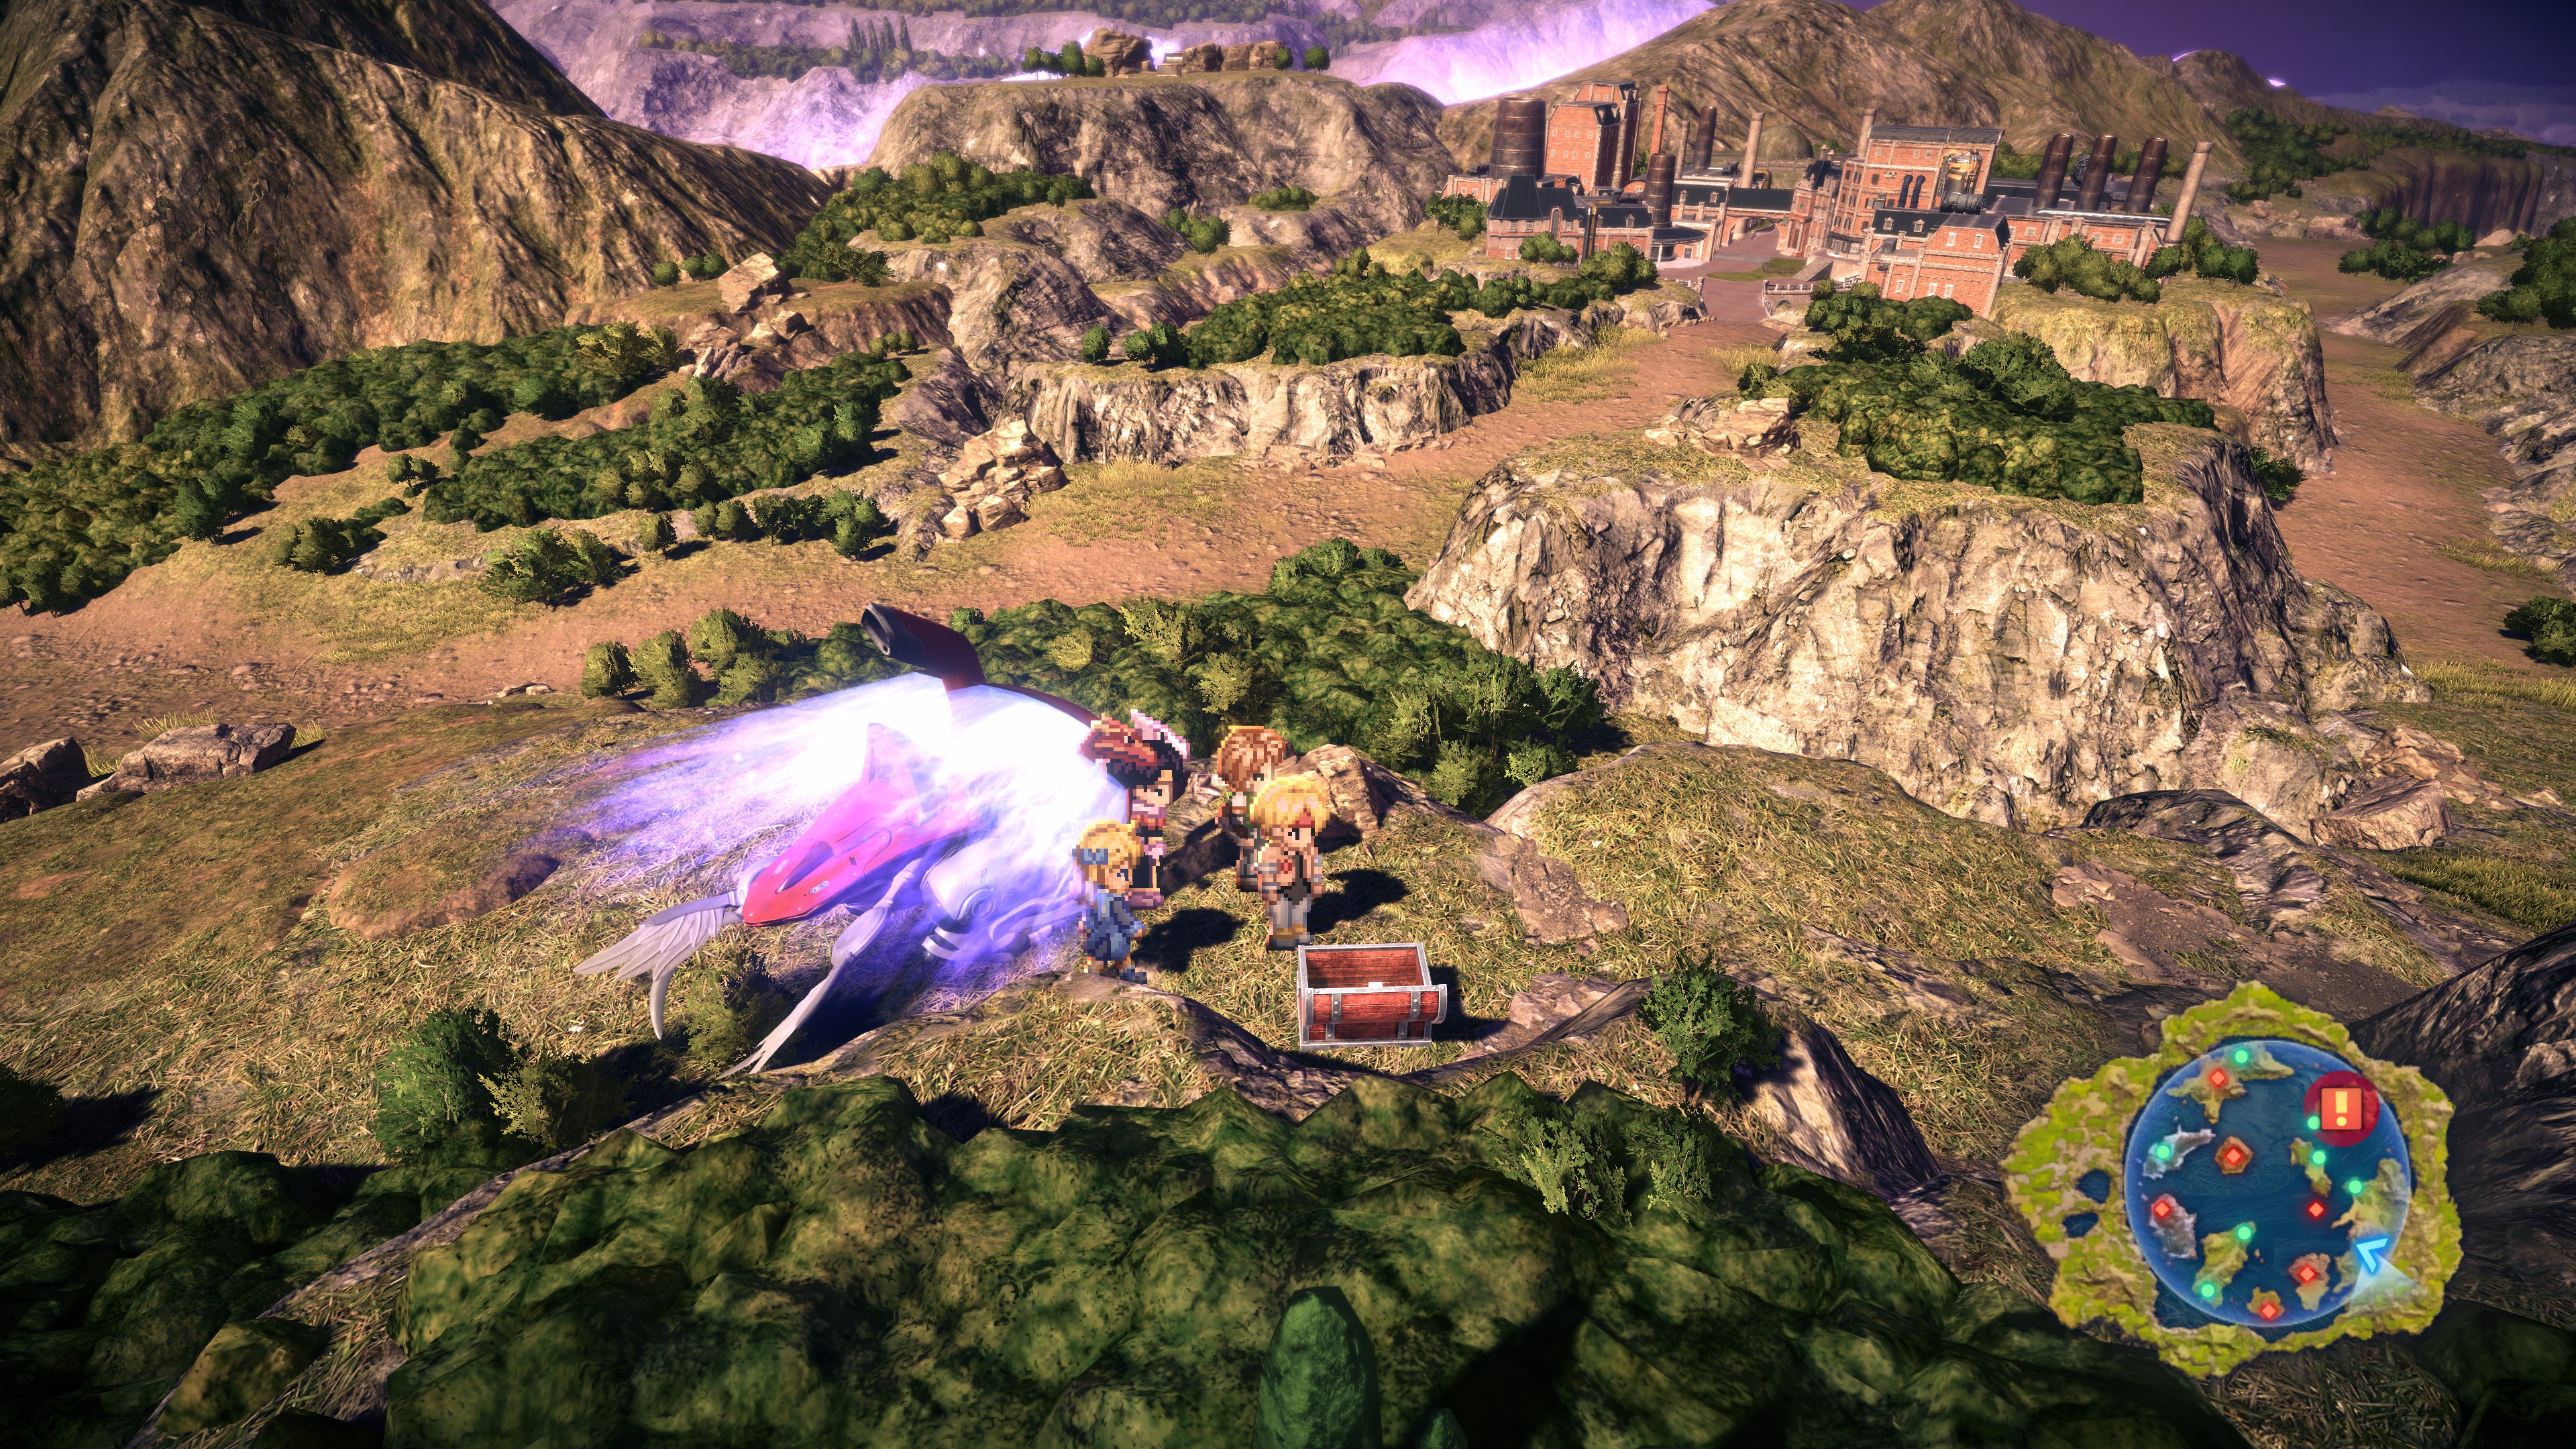
#65 – 6 Artemis Leaf (cliff halfway between Fun City and Armlock)
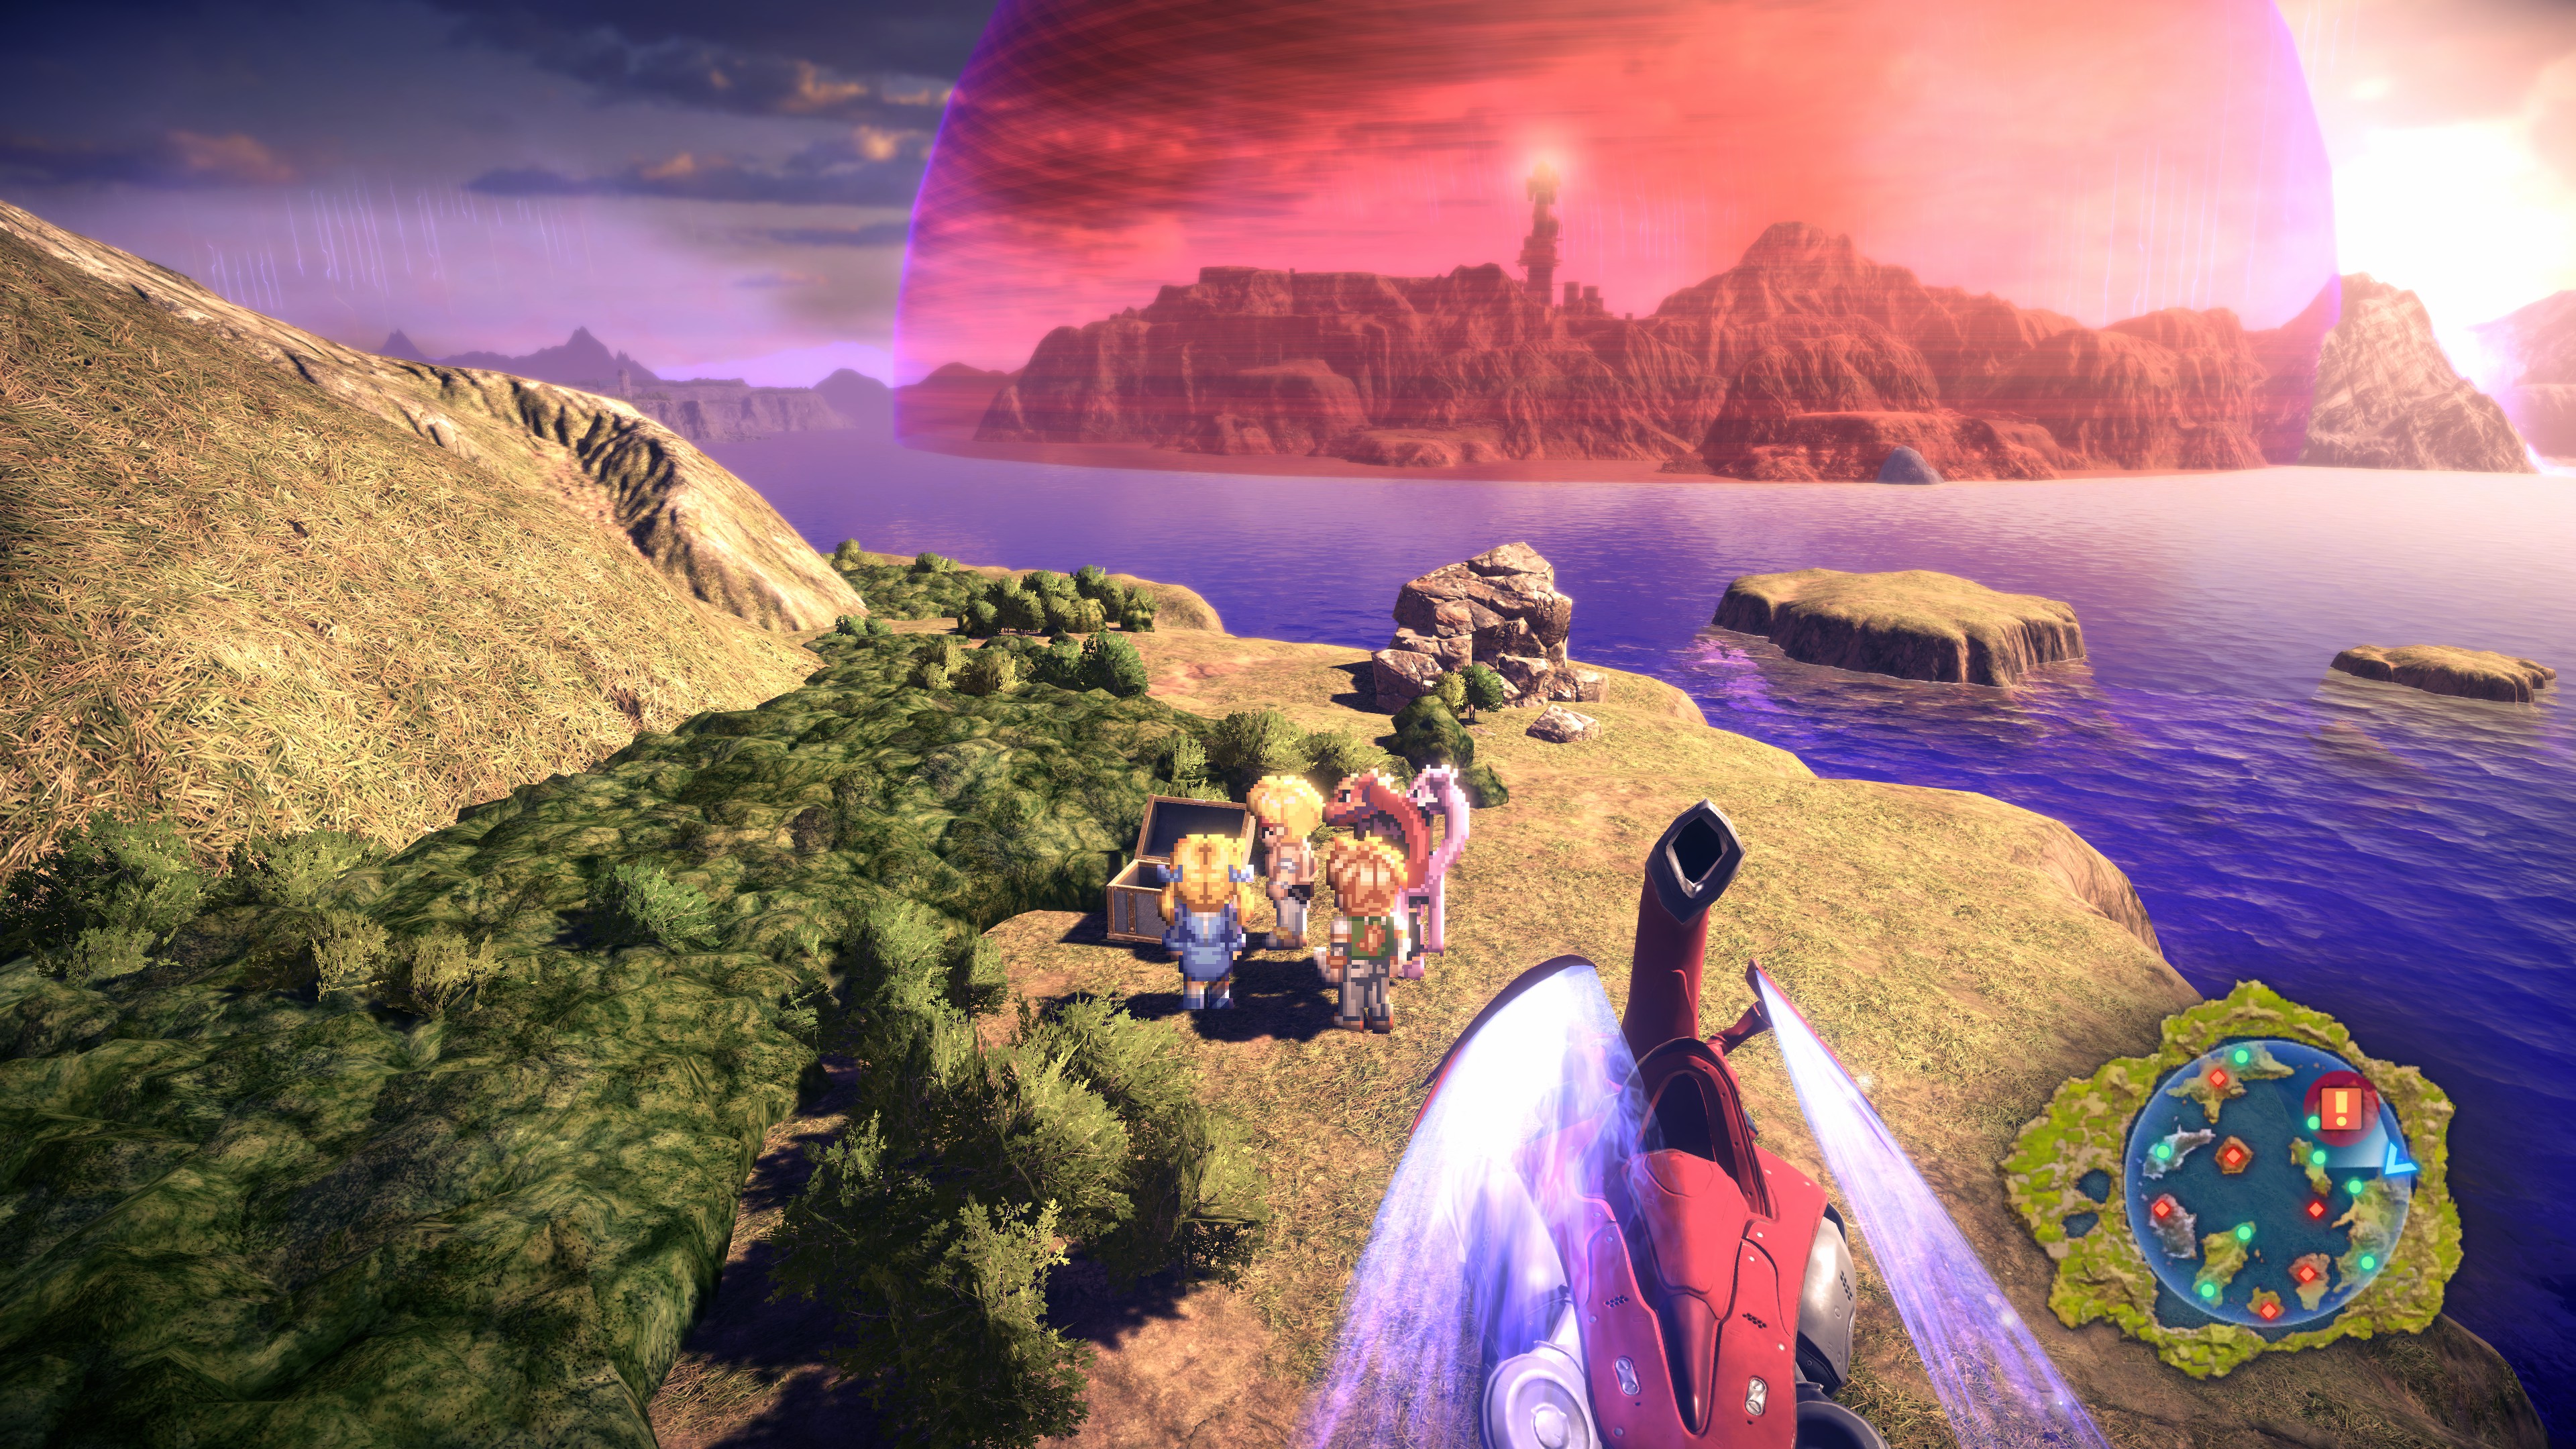
#66 – 10 Rune Metal (northwest of Fun City)
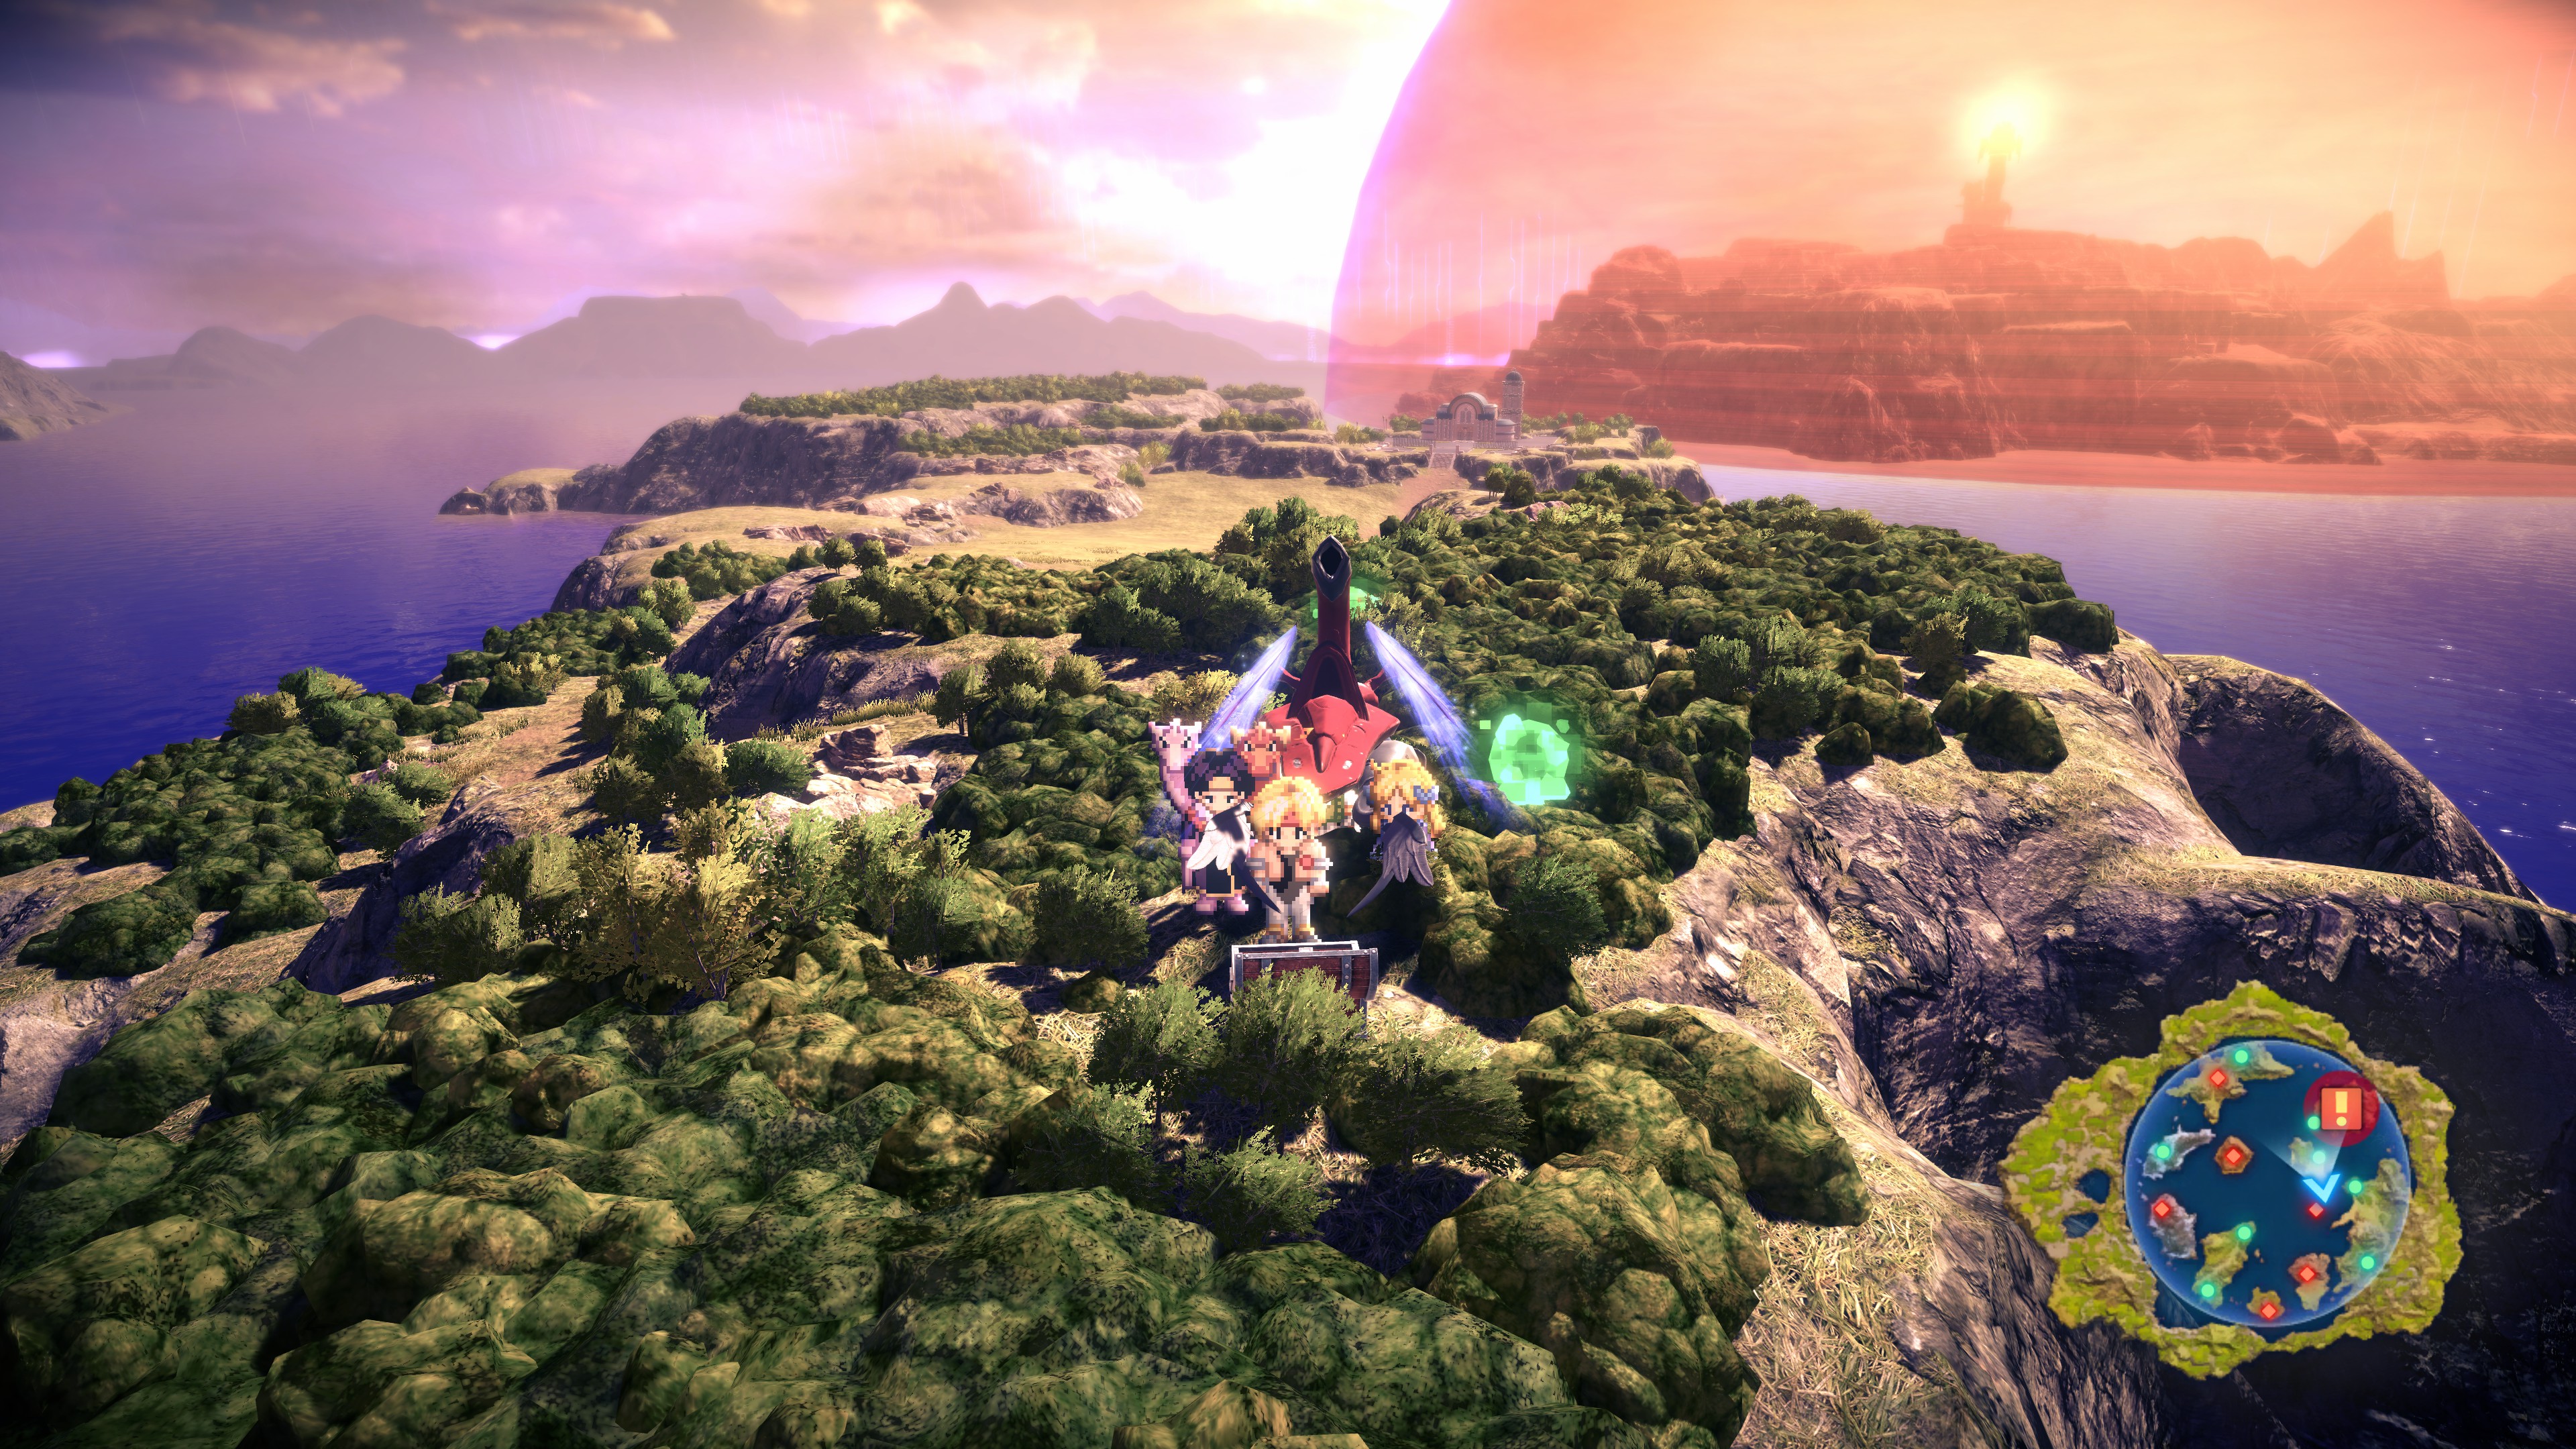
#67 – 3 Resurrection Mist (cliff south of L’Aqua)
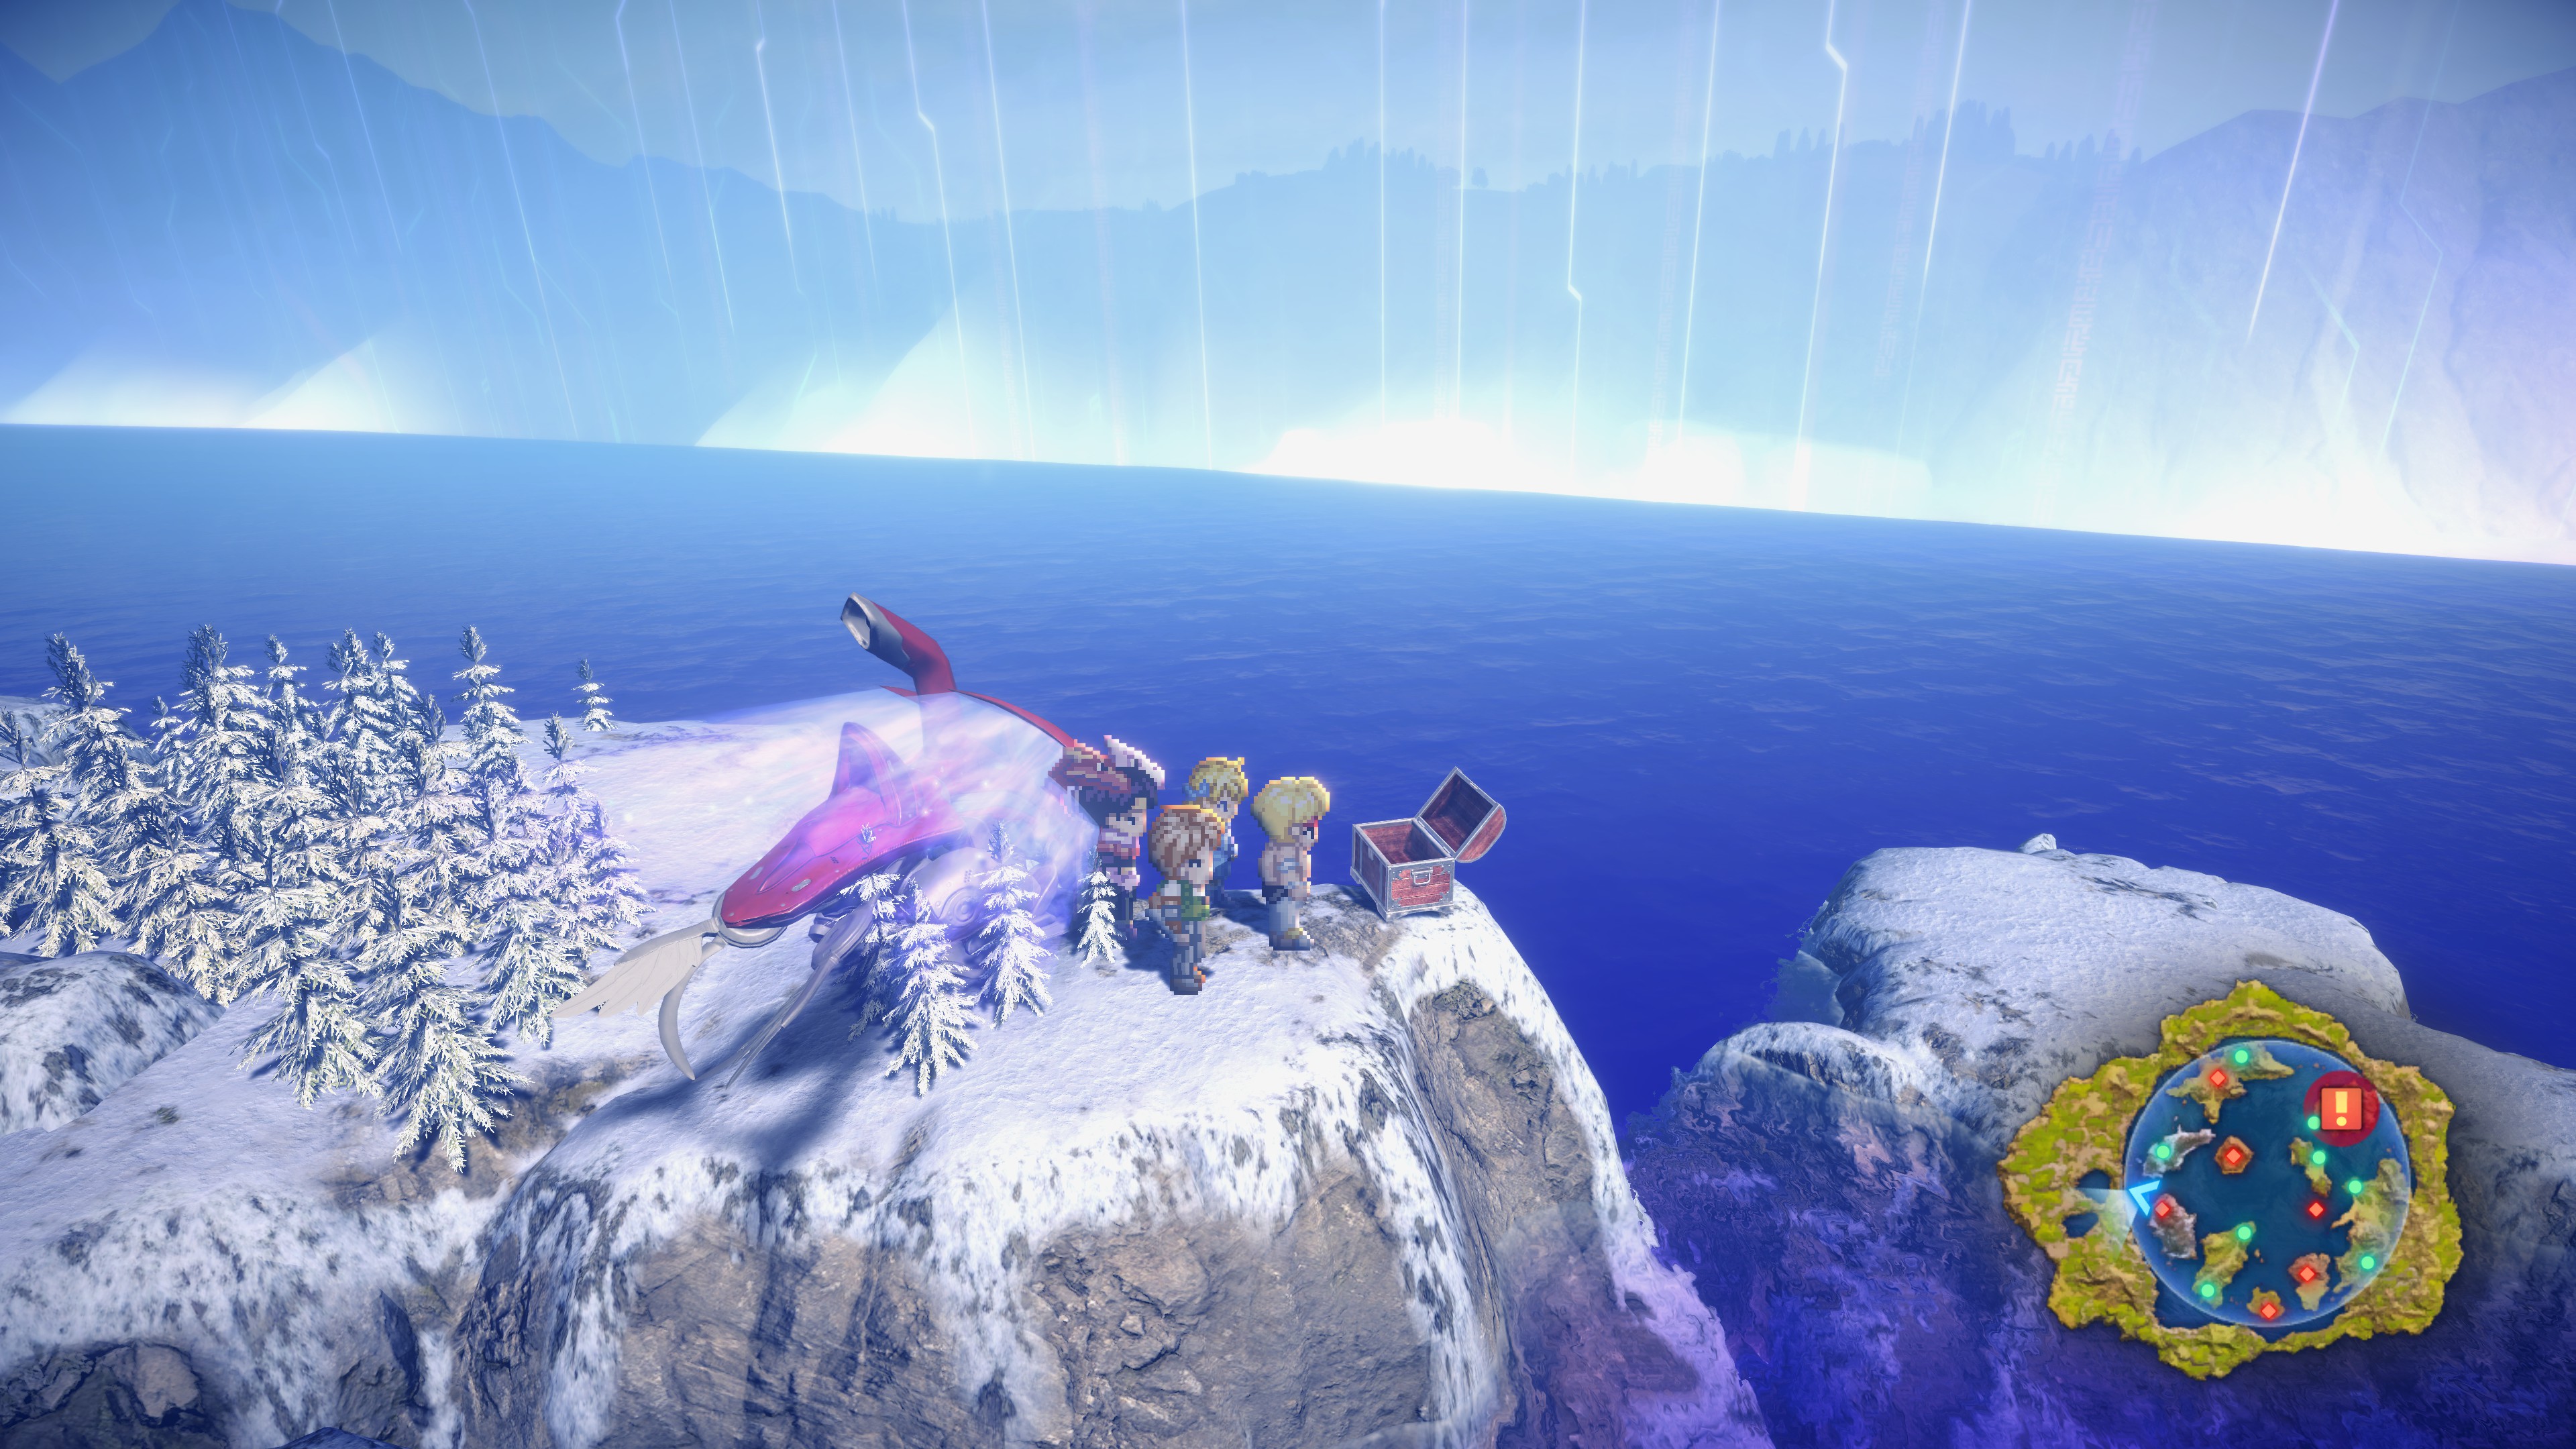
#68 – 3 Experience Card (same island as For a Few Fol More)
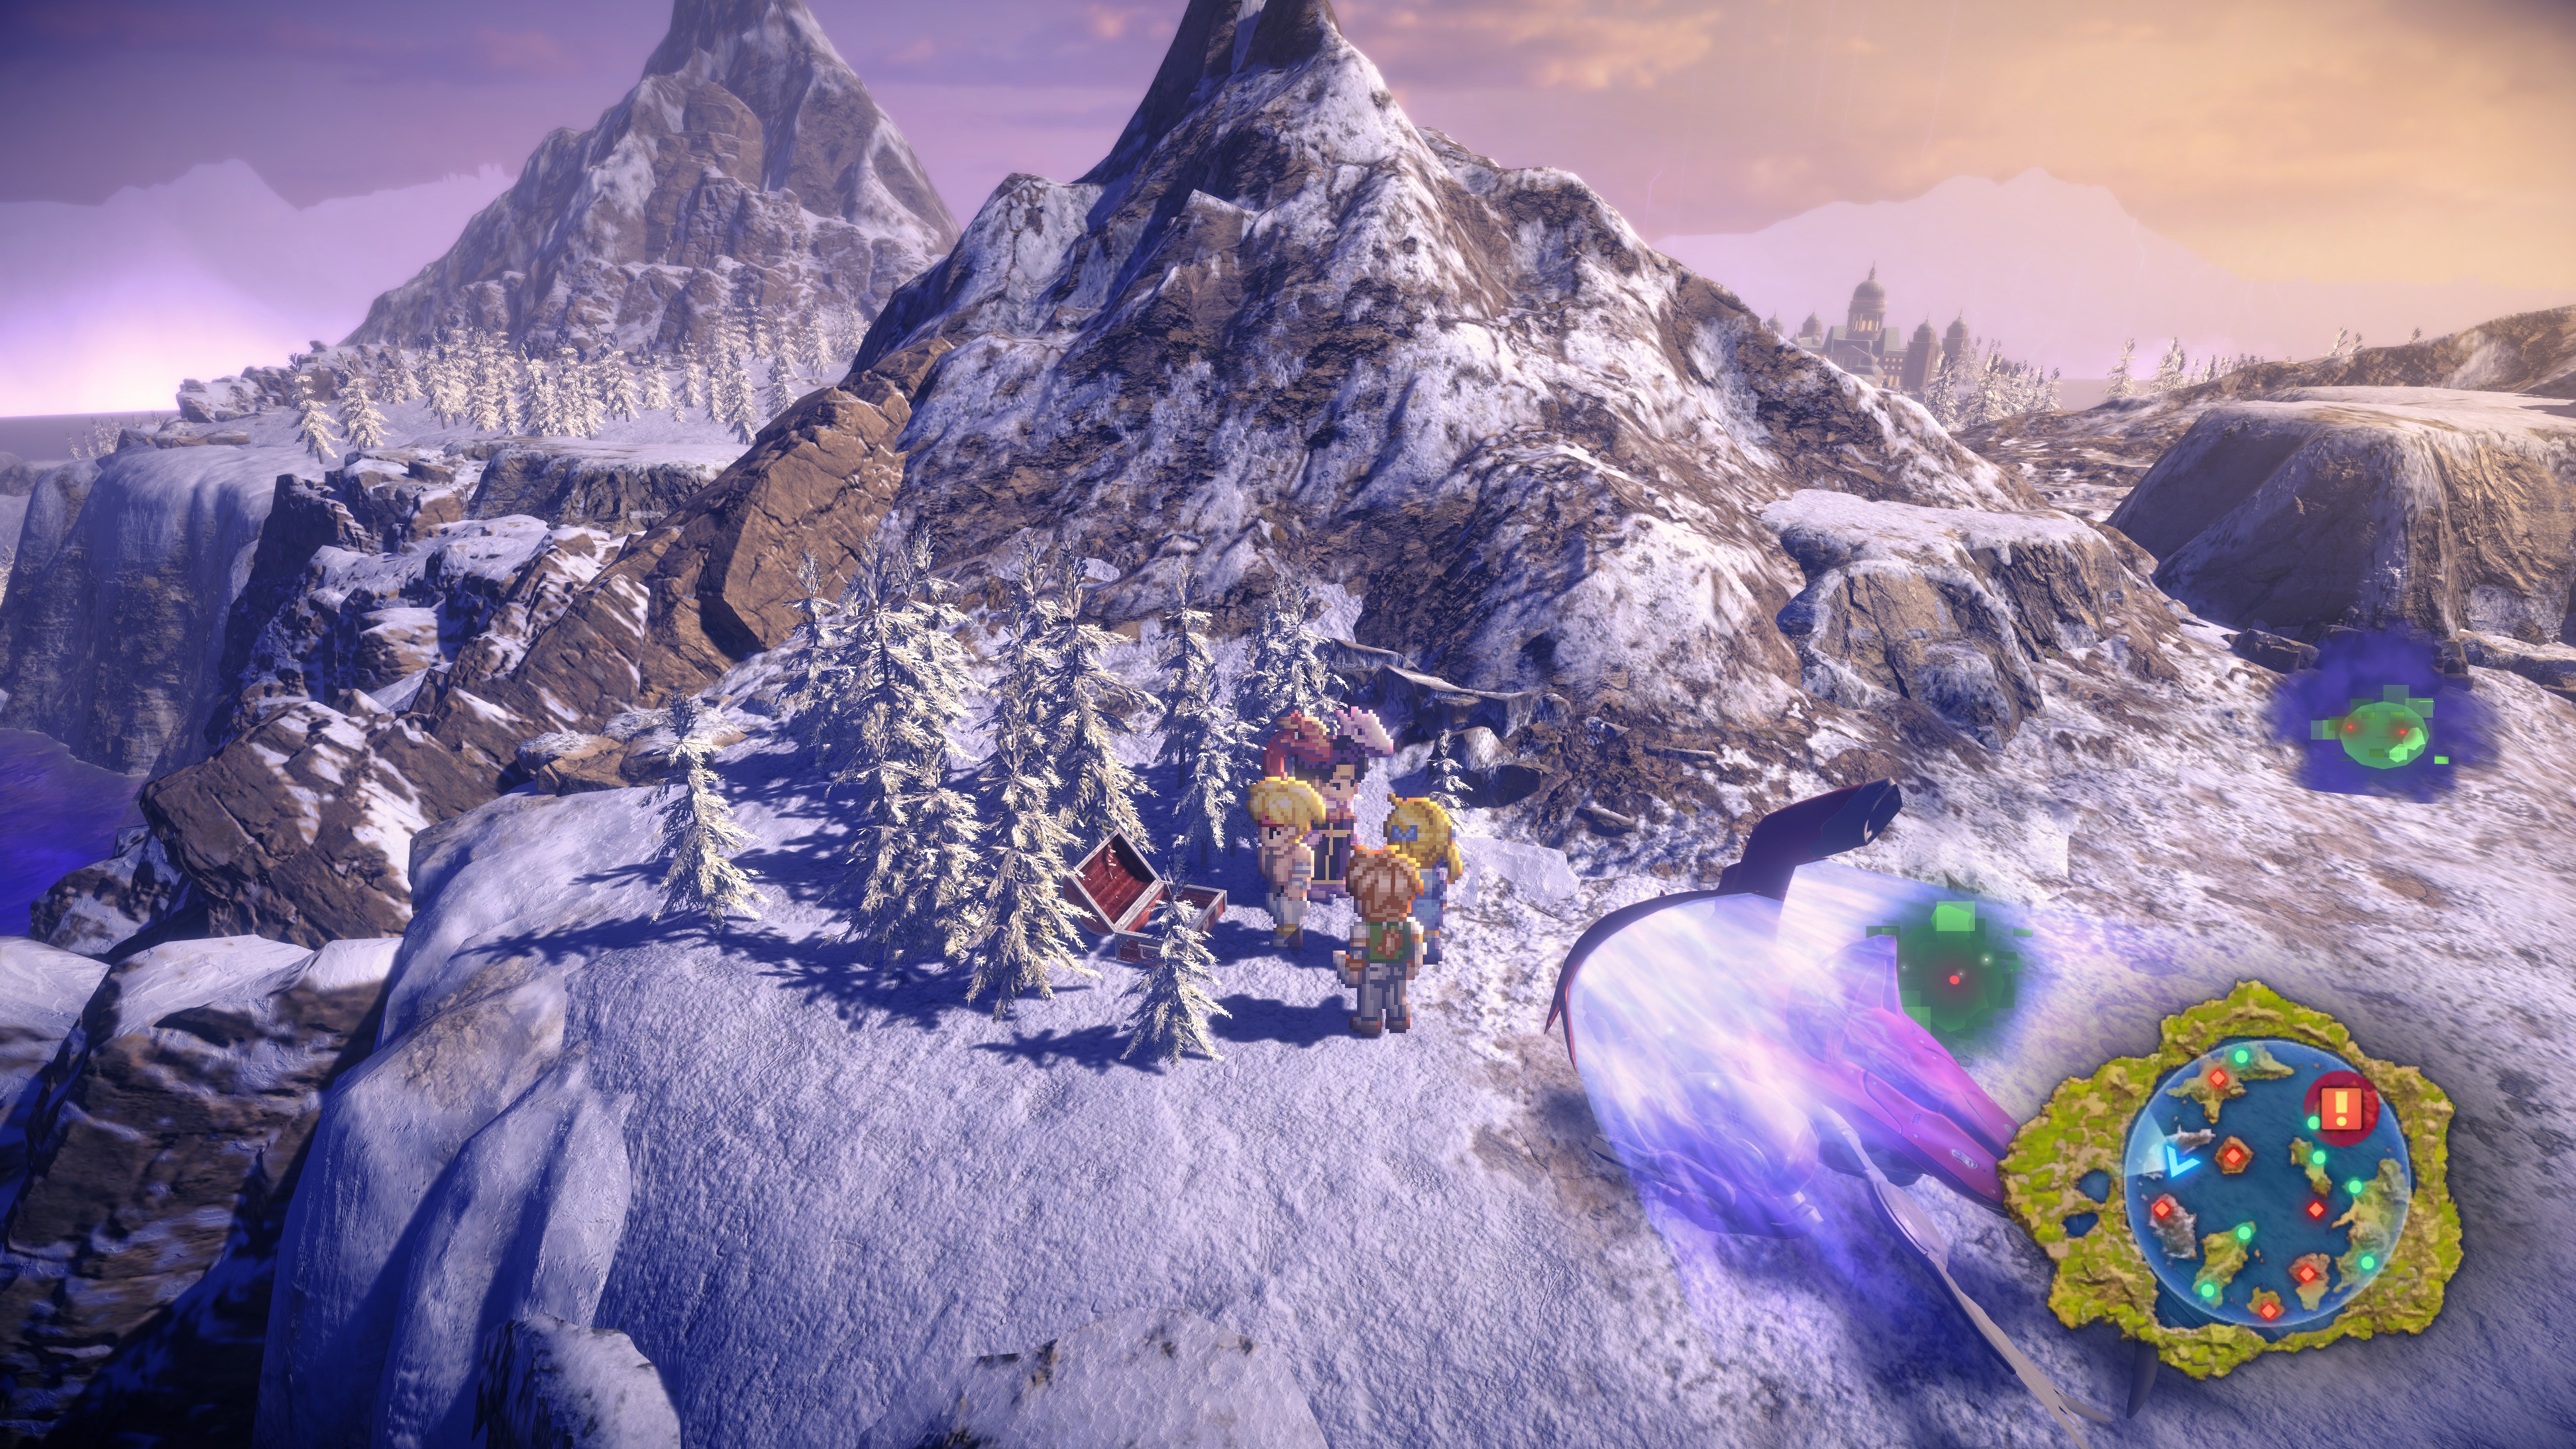
#69 – 5 Goddess Statuette (south of Princebridge)
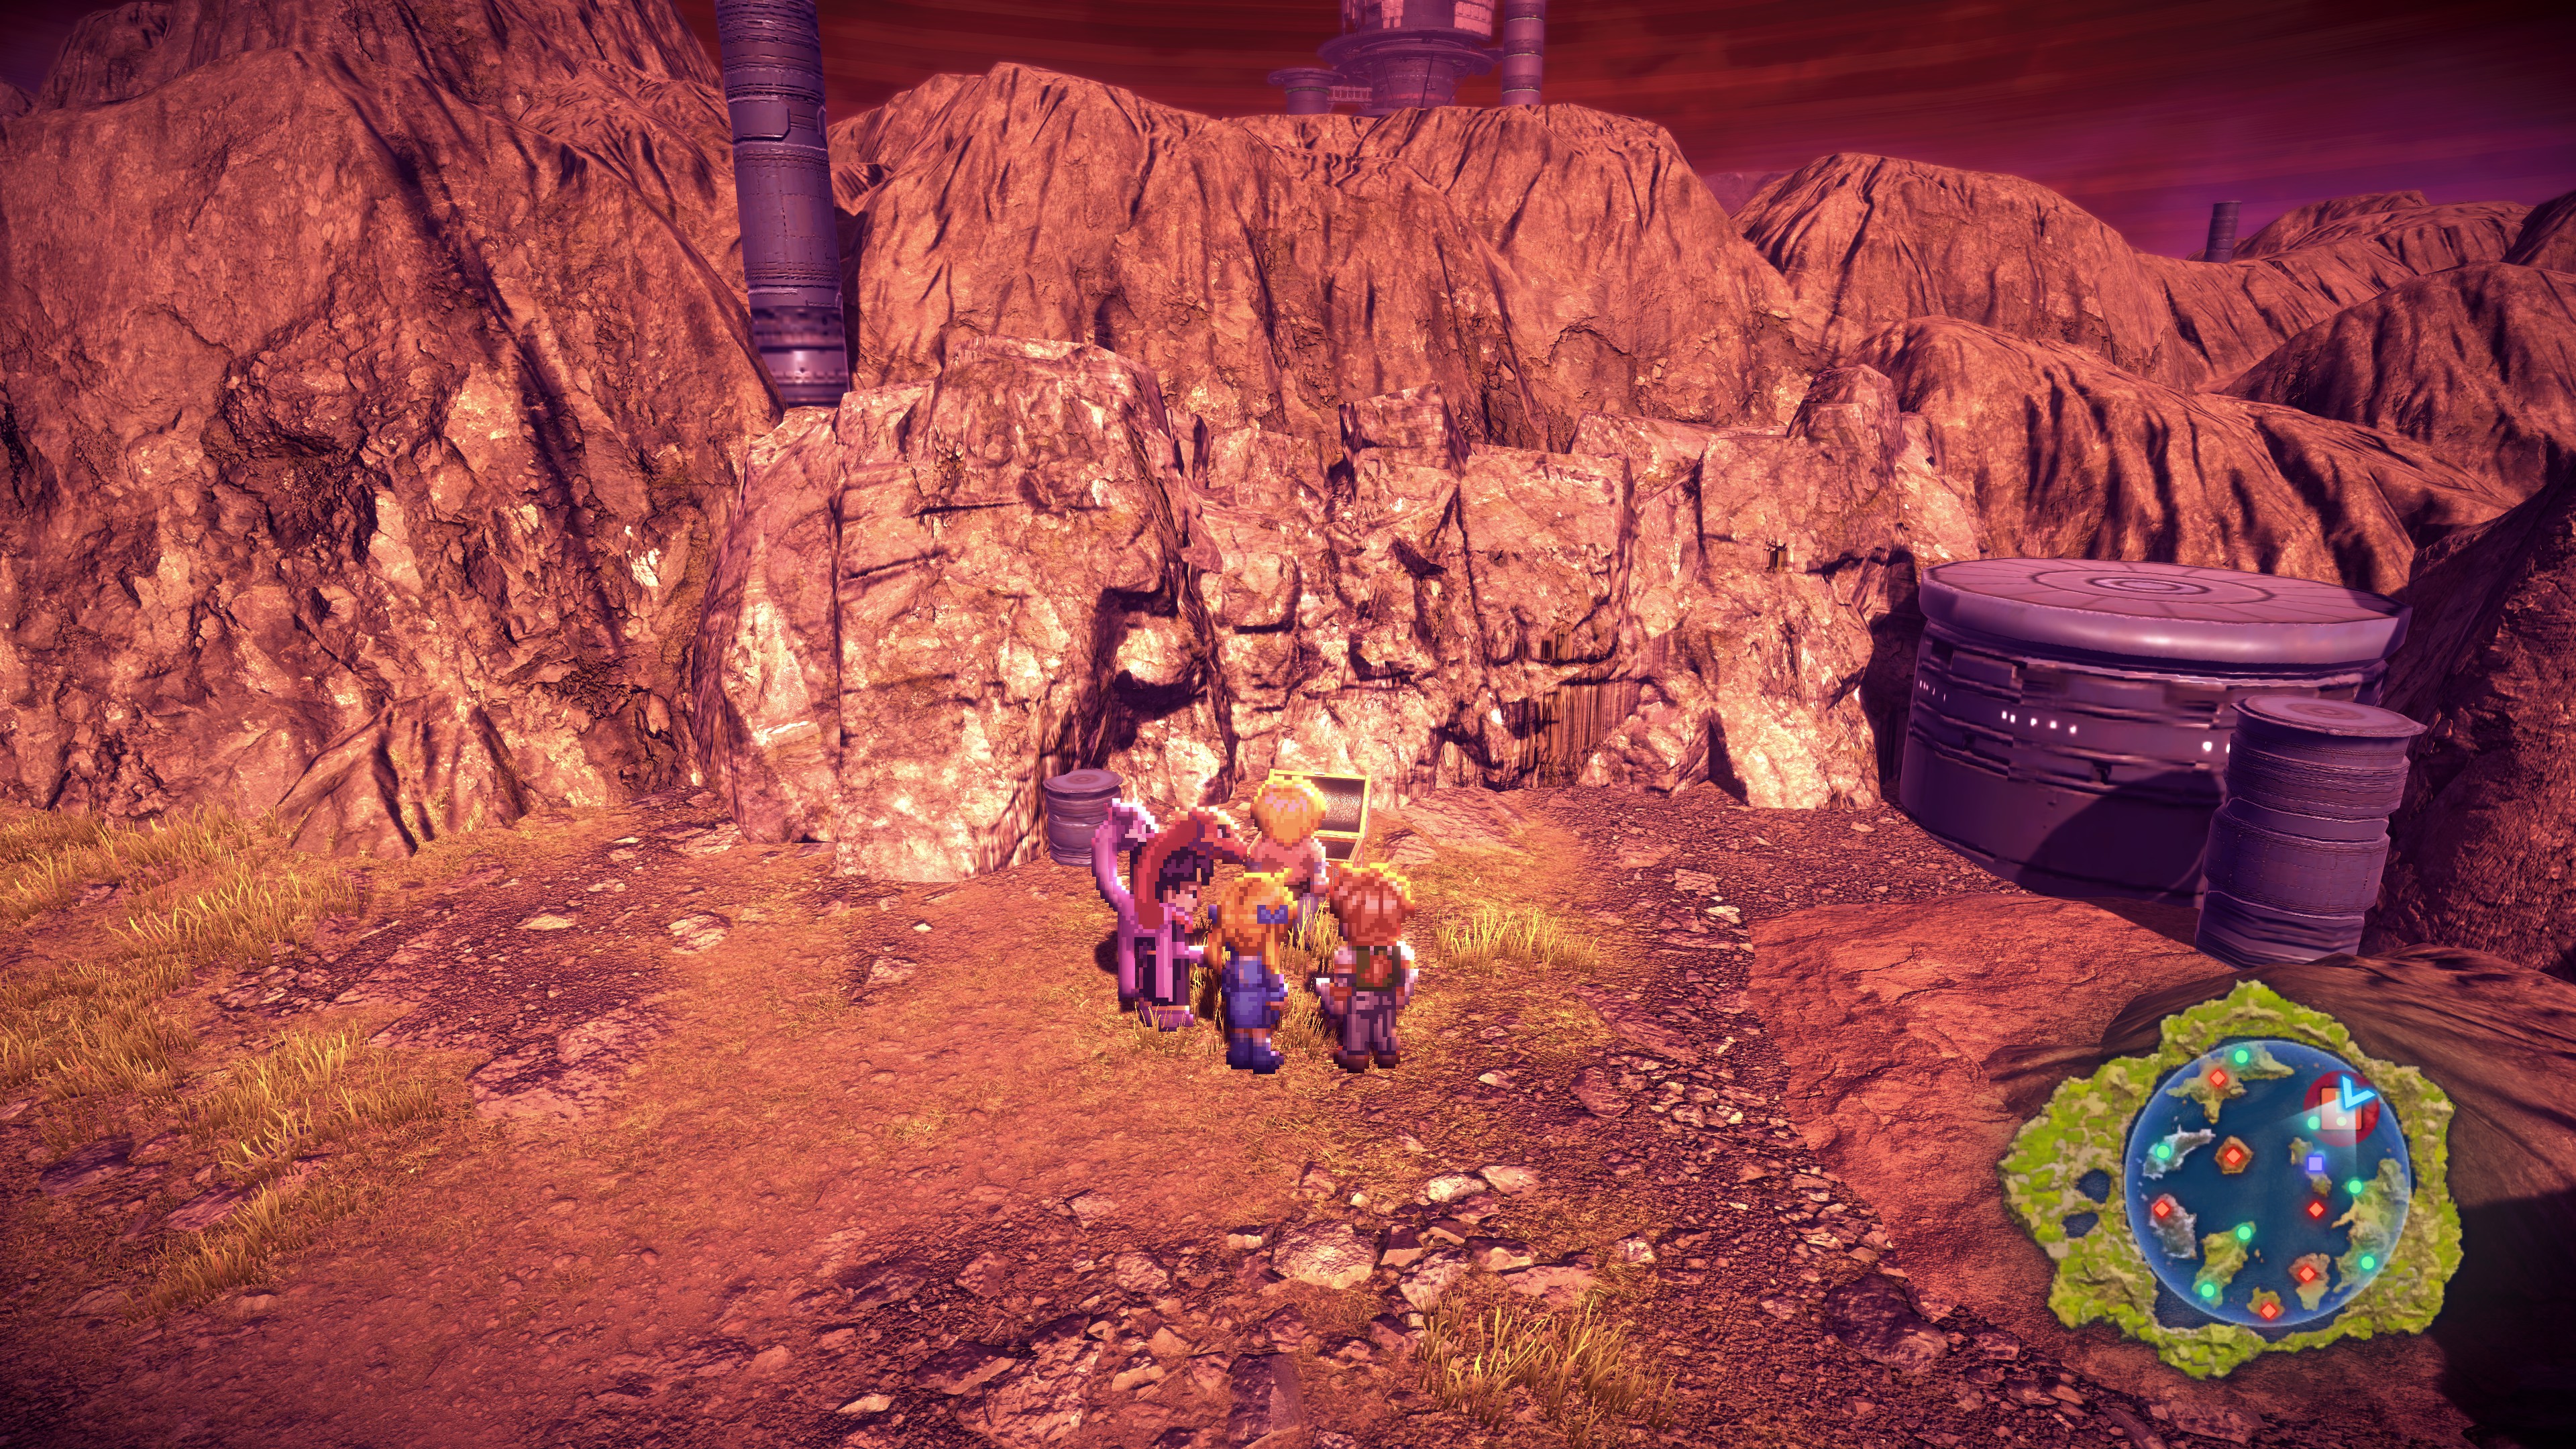
#70 – Reflecting Plate (small cliff area northeast of Phynal)
World Map Raid Battles
Raid battles are special fights found on the world map which are significantly harder than most enemies you can fight. They tend to drop exceptionally useful items. They show up as a giant red encounter with a whirlwind about them. Most of these encounters require you to be in the postgame to reach them, as they require the Psynard to reach. The three exceptions are listed first.
Expel
Ultra Untrained Assassin – south of Harley (Scumbag Slayer)
Ultra Aulbear – north Lasgus Desert (Hachimentei)
Ultra Phantom Phoenix – north of Eluria Colony (Battle Suit)
Ultra Ghark – island west of the Sacred Forest (Valkyrie’s Bracelet)
Ultra Wizard – south of the Maze of Tribulations (Fourth Book of Occult Philosophy)
Ultra Rock Demon – Island north of Kurik (Valiant Shield)
Ultra Ogre – Island west of Linga (Roaring Burst Puncher)
Ultra Crimson Beast – north of the Maze of Tribulations (Glorious Thorn)
Nede
Since you get the Psynard pretty early on Nede, you can fight all of these quite early on in your time on Nede.
Ultra Robinette Captain – south of the Cave of Crimson Crystals (Formation Manual “Defense”)
Ultra Darth Widow – hill west of L’Aqua (Soul Helmet)
Ultra Whelp – northeast of Princebridgbe (Secret Manual “Weight”)
Ultra Phantom Knight – east of Fun City (Ring of the Deep King)
Ultra Takikodus – Northeast of Phynal (Symbol of Antiquity)
Guild Missions
Guild Missions are an easy way to make extra SP and BP, as well as get extra useful items. Check the Guild Office in any town every time you advance the plot!
Crafting Mission 1 – Make a Silver Earring with Crafting
Reward: 50 SP, Ring Mail
Cooking Mission 1 – Make a Fried Egg with Cooking
Reward: 50 SP, Silk Robe
Alchemy Mission 1 – Make Silver with Alchemy
Reward: 50 SP, 5 Iron
Fishing Mission 1 – Catch a Krosse Carp
Reward: 50 SP, 10 BP, 3 Fishy Fragrance
Customization Mission 2 – Make a Flame Sword with Cuztomization
Reward: 50 BP, Formation Manual “Wealth”
Fishing Mission 2 – Catch a Coach Shrimp
Reward: 20 SP, 40 BP
Crafting Mission 2 – Make a Storm Ring with Crafting
Reward: 10 SP, 10 BP, 10 Flare Bomb
Art Mission 2 – Make Portrait A with Art
Reward: 20 SP, 40 BP
Alchemy Mission 2 – Make a Crystal with Alchemy
Reward: 20 SP, 40 BP
Writing Mission 2 – Make a Walls of the Soul with Writing
Reward: 20 SP, 10 BP, Formation Manual “Flee”
Appraising Mission 2 – Use Appraising to identify the provided ?ARMOR (which is Neo Greaves)
Reward: 30 SP, 30 BP
Cooking Mission 2 – Make Rice-Bran Pickles with Cooking
Reward: 20 SP, 40 BP
Compounding Mission 2 – Make Smoke Mist with Compounding
Reward: 30 BP, 5 Rose Hip, 5 Artemis Leaf, 5 Lavender, 5 Athelas
Crafting Mission 3 – Make an Emerald Ring with Crafting
Reward: 30 BP, Blue Talisman Kit
Machinist Mission 2 – Make a Soldering Iron with Machinist
Reward: 60 BP, Walloon Sword+ (Add Light), One-Two Puncher+ (Add Light), Maiden’s Aria+ (Add Light), Wave Clip+ (Add Light)
Machinist Mission 3 – Make a Music Box with Machinist
Reward: 20 SP, 40 BP
Blacksmith Mission 2 – Make Magic Armor with Blacksmith
Reward: 50 SP, 50 BP, 2 Orichalcum, 2 Damascus, 2 Moonstone
Compounding Mission 3 – Make a Medicine Bottle with Compounding
Reward: 100 SP, 3 Starry Night Kit
Remaking Mission 2 – Use a Factor Energy when Remaking equipment
Reward: 200 SP
Master Chef Mission 2 – Make a Coconut Milk with Master Chef
Reward: 100 SP, 30 BP
Fishing Mission 3 – Catch a Paladin Seriola
Rewards: 40 SP, 20 BP
Art Mission 3 – Make a Goodie Box with Art
Rewards: 50 BP, Angel Statuette Kit
Compounding Mission 4 – Make a Potion of Merlin with Compounding
Reward: 100 SP, 3 Ointment of Veda, 3 Resurrection Mist, 3 Holy Mist, 3 Faerie Mist
Machinist Mission EX 2 – Make a Plasma Generator with Machinist
Reward: 30 SP, 15 BP
Machinist Mission EX 1 – Make a Black Upgrade with Machinist
Reward: 30 SP, 15 BP
Writing Mission EX – Make an Academic Book with Writing
Reward: 30 SP, 15 BP
Publication Mission 2 – Make Eyes Only for You with Publication
Reward: 60 SP, 20 BP
Writing Mission 3 – Make a Scroll of Power with Writing
Reward: Searing Sword+ (Add Dark), Blazing Knuckles+ (Add Dark), Fire Puncher+ (Add Dark), White Clip+ (Add Dark), Flare Whip+ (Add Dark), Flame Gun+ (Add Dark)
Blacksmith Mission 3 – Make Witch’s Boots with Blacksmith
Reward: 150 SP, 50 BP, Sylvan Mail
Item Mission 1 – Buy a Lezard’s Flask in North City
Reward: 50 SP, 100 BP, Dream Crown, Berserker Ring Kit
Replication Mission 2 – Copy a Fanfic ;O with Replication
Reward: 100 SP, 30 BP
Publication Mission 3 – Make The Great Star Ocean with Publication
Reward: 50 SP, 20 BP
Alchemy Mission 3 – Make a Philosopher’s Stone with Alchemy
Reward: 100 SP, Shield of Athena Kit
Item Mission 2 – Buy a Magical Rasp from A Few Fol More
Reward: 150 SP, 50 BP, Dueling Suit Kit
Machinist Mission 4 – Make a Megabomb with Machinist
Reward: 50 SP, 3 Damascus, 3 Meteorite, 3 Orichalcum, 3 Rune Metal
Master Chef Mission 3 – Make a Plain Omelet with Master Chef
Reward: 100 SP, Nectar
Fishing Mission 4 – Catch a Color Tuna
Reward: 100 SP, 3 Rune Metal
Crafting Mission 4 – Make a Ring of Wisdom with Crafting
Reward: 100 SP, 50 BP, 3 Philosopher’s Stone, 3 Moonstone, 3 Rainbow Diamond
Blacksmith Mission 4 – Make a Hand of Kali with Blacksmith
Reward: 100 SP, 50 BP, 3 Meteorite, 3 Orichalcum, 3 Mithril
Pickpocketing Mission – Learn Pickpocketing
Reward: 5 Relax Perfume
Cooking Mission 3 – Make a Golden Stew with Cooking
Reward: 100 SP, 20 BP
Contraband Mission – Learn the Contraband Super Specialty
Reward: 20 BP, 5 Premium Paper
Cooking Mission 4 – Make a Steak of Demons with Cooking
Reward: 100 SP, 50 BP
Art Mission 4 – Make a Benefaction Card with Art
Reward: 100 SP, 50 BP
Fishing Mission 5 – Catch a Dragonfish
Reward: 100 SP, 50 BP
Customization Mission 3 – Make an Aeterna with Customization
Reward: 100 SP, 50 BP
Blacksmith Mission 5 – Make a Star Guard with Blacksmith
Reward: 100 SP, 50 BP
Customization Mission 1 – Learn Customization
Reward: 2 Iron, 2 Gold, 2 Silver
Writing Mission 1 – Learn Writing
Reward: 5 Fountain Pen
Art Mission 1 – Learn Art
Reward: 5 Magic Canvas
Appraising Mission 1 – Learn Appraising
Reward: 5 Spectacles
Familiar Mission – Learn Familiar
Reward: 5 Pet Food
Training Mission – Learn Training
Reward: 20 BP
Music Mission – Learn Music
Reward: 5 Feather Pen, 5 Conductor Baton, Pipe Organ
Compounding Mission 1 – Learn Compounding
Reward: 2 Mandrake, 2 Rose Hip, 2 Artemis Leaf, 2 Wolfsbane, 2 Lavender, 2 Athelas
Survival Mission – Learn Survival
Reward: 20 SP
Scouting Mission – Learn Scouting
Reward: 20 BP
Machinist Mission 1 – Learn Machinist
Reward: 5 Mechanic’s Toolbox
Bodybuard Mission – Learn Bodyguard
Reward: 20 SP, 40 BP
Bunny Call Mission – Learn Bunny Call
Reward: 60 SP, 60 BP
Blacksmith Mission – Learn Blacksmith
Reward: 10 Smith’s Hammer, Rune Shoes
Master Chef Mission – Learn Master Chef
Reward: 3 Seafood, 3 Fruit, 3 Grains, 3 Meat, 3 Vegetables, 3 Eggs and Dairy
Orchestra Mission – Learn Orchestra
Reward: 20 BP, 5 Conductor Baton
Group Appraising Mission – Learn Group Appraising
Reward: 20 BP, 5 Spectacles
Replication Mission 1 – Learn Replication
Reward: 5 Magic Film
Enlightenment Mission – Learn Enlightenment
Reward: 60 SP, 20 BP
Remaking Mission – Learn Remaking
Reward: 60 SP, 60 BP, 5 Re-Creation Gem
Publication Mission 1 – Learn Publication
Reward: 20 BP, 5 Fountain Pen
Oracle Mission – Learn Oracle
Reward: 20 BP
Challenge Missions – Beginner
Challenge Missions reward you for completing various tasks over the course of the game. They provide a huge incentive to try out lots of different aspects of the game, and are well worth your trouble.
Use Art 30 times! – 2000 FOL, 5 Magic Canvas, 5 Magic Clay
Use Customization 10 times! – 3 Sapphire, 3 Ruby, 3 Green Beryl, 3 Crystal
Use Appraising 10 times! – 5 Spectacles, ?JEWELRY (Shield Ring+ (HP UP 5%)), ?JEWELRY (Ring of Resistance+ (MP UP 5%)), ?JEWELRY (Chain of Might+ (HIT UP 5%))
Use Crafting 30 times! – 3 Sapphire, 3 Ruby, 3 Green Beryl, 3 Crystal, Amulet of Flexibility Kit
Use Writing 30 times! – 2000 FOL, 5 SP
Use Compounding 30 times! – 2000 FOL, 5 SP
Use Cooking 30 times! – 2000 FOL, 5 SP
Use Alchemy 30 times! – 2000 FOL, 5 SP
Use Replication 30 times! – 2000 FOL, 5 Magic Film, 3 Forged Bill
Use Machinist 30 times! – 2000 FOL, 5 Mechanic’s Toolbox
Use Music 5 times! – 1000 FOL, 5 SP, Feather Pen, Cembalo
Use Familiar 5 times! – 1000 FOL, 5 SP, 5 Pet Food, 5 Friends of the Woods
Use Fishing 30 times! – 3 Life in Nature, 3 Pocket Encyclopedia
Compose 1 song with Music!– 10000 FOL, 5 Conductor Paton
Get 10 pieces of equipment with factors attached! – 3000 FOL, 5 SP, Regeneration Ring+ (HP UP 20%)
Catch 3 fish at once with Fishing! – 3 Fishy Fragrance, 3 Shrimp, 3 Traveling Salmon
Catch your first record-size fish! – 3 Fishy Fragrance, 5 Chawanmushi
Catch 5 types of record-size fish! – 5000 FOL, 5 BP, tri-Emblum+ (Fishing Slayer)
Find a total of 10 items with Survival! – 1000 FOL, 5 SP
Find a total of 50 items with Survival! – 2000 FOL, 5 SP
Fight 10 battles! – 200 FOL, 5 BP
Fight 50 battles! – 500 FOL, 50 BP
Hit an enemy 10 times in a row! – 200 FOL, 5 BP
Hit an enemy 50 times in a row! – 500 FOL, 5 BP
Deal a total of 500,000 damage! – 5000 FOL, 5 BP, Chain of Might+ (HIT UP 10%)
Trigger battle skills 30 times! – 200 FOL, 5 BP
Trigger battle skills 100 times! – 1000 FOL, 10 BP
Defeat 100 enemies! – 500 FOL, 5 BP, Silver Ring+ (HP UP 10%)
Defeat 5 enemy leaders! – 30 BP, Formation Manual “Unyielding”
Defeat 3 enemies at once! – Silver Amulet
Defeat an enemy in under 5 seconds! – 200 FOL, 5 BP
Break enemy shields 10 times! – 200 FOL, 5 BP
Break enemy shields 50 times! – 1000 FOL, 10 BP, 1 Meteor Ring+ (Break Up)
Break the shields of 2 enemies at the same time! – 500 FOL, 5 BP
Use assault actions 10 times! – 200 FOL, 5 BP
Successfully execute a perfect counter 5 times! – 500 FOL, 5 BP
Inflict a status ailment on an enemy! – 3 Antidote, 3 Paralysis Cute, 3 Stone Cure
Collect a total of 1000 bonus spheres! – 1000 FOL, 5 BP
Use a battle item for the first time! – 500 FOL, 5 BP
Link the maximum number of enemies! – Silver Pendant+ (War Cry)
Have a character reach Lv. 10! – 500 FOL, 5 BP
Complete guild missions 10 times! – 500 FOL, 5 SP
Interact with party members 5 times in Private Actions! – 500 FOL
Interact with party members 10 times in Private Actions! – 500 FOL, Ring of Trust+ (Loving Care)
Spend a total of 100,000 Fol! – 5 Rice Cake
Use 10 items while camping! – Gold Bracelet+ (Economizer)
Find 50 treasure chests! – 2000 FOL, 50 SP
Find 5 unique spots! – 500 FOL, 5 SP
Have a character learn 20% of all skills! – 500 FOL, 20 SP
Have a character learn 20% of all battle skills! – 10 BP, Secret Manual “Change”
Have a character learn 20% of all special arts and symbology spells! – 500 FOL, 5 BP
Walk a total of 4000 steps! – 5 SP, Formation Manual “Alert”
Complete 10% of the Item Encyclopedia! – Goodie Box
Complete 20% of the Enemy Encyclopedia! – 1000 FOL, 5 BP
Challenge Missions – Expert
Reach Art Lv. 10! – 20000 FOL, 5 SP
Reach Customization Lv. 10! – 5 Meteorite, 5 Mithril
Reach Appraising Lv. 10! – ?JEWELRY (Aqua Ring+ (Blue Dragon)), ?JEWELRY (Flare Ring+ (Red Dragon))
Reach Crafting Lv. 10! – Moonlight Kit, Mallet Charm Kit, 3 Philosopher’s Stone, 3 Rainbow Diamond
Reach Writing Lv. 10! – 20000 FOL, 5 SP
Reach Compounding Lv. 10! – 20000 FOL, 5 SP
Reach Cooking Lv. 10! – Organic Vegetables, Top-Quality Tuna, Magic Rice, Creamy Cheese, Sweet Fruit
Reach Alchemy Lv. 10! – 20000 FOL, 5 SP
Reach Replication Lv. 10! – Counterfeit Metal, 10 Magic Film
Reach Machinist Lv. 10! – 20000 FOL, 5 BP
Reach Oracle Lv. 10! – tri-Emblum+ (Fast Reflexes)
Reach Survival Lv. 10! – 20000 FOL, 5 BP
Reach Music Lv. 10! – 20000 FOL, 5 SP
Reach Train Lv. 10! – 10 Soy Milk, 3 Amoeba Soup
Reach Scouting Lv. 10! – 20000 FOL, 5 SP
Reach Familiar Lv. 10! – 20000 FOL, 5 SP
Reach Pickpocketing Lv. 10! – 10000 FOL, 10 Relax Perfume
Reach Fishing Lv. 10! – 10 Fishy Fragrance, 10 Junior Tuna, 10 Crest Shrimp, 1 Divine Char
Use Art 100 times! – 5 Veda Idol Kit, 5 Experience Card Kit, 5 Drawing Poses
Use Customization 40 times! – 3 Diamond, 3 Star Ruby, 3 Damascus, 3 Orichalcum
Use Crafting 100 times! – 3 Diamond, 3 Star Ruby, 3 Damascus, 3 Orichalcum
Use Writing 100 times! – 10000 FOL, 5 SP
Use Compounding 100 times! – 10000 FOL, 5 SP
Use Cooking 100 times! – 10000 FOL, 5 SP
Use Alchemy 100 times! – 10000 FOL, 5 SP
Use Replication 100 times! – 10000 FOL, 5 SP
Use Machinist 100 times! – 10000 FOL, 5 SP
Use Fishing 100 times! – 3 Fishy Fragrance, 3 Sole in Orange Sauce, 3 Salmon Omelet
Use Orchestra 5 times! – 3000 FOL, 5 SP
Use Bunny Call 5 times! – 3000 FOL, 5 SP
Use Master Chef 30 times! – 5 Seafood, 5 Fruit, 5 Grains, 5 Meat, 5 Vegetables, 5 Eggs and Dairy
Use Publication 30 times! – 5000 FOL, 5 SP
Use Blacksmith 30 times! – 5000 FOL, 5 SP
Use Remaking 30 times! – 10 Re-Creation Gem, 10 Factor Energy
Compose 6 songs with Music! – 10000 FOL, 3 Musicology, 3 The World’s a Stage
Sell a book to a publisher and collect royalties! – 10 Fountain Pen
Fight 100 battles! – 2000 FOL, 5 BP
Deal a total of 10 million damage! – 10 BP, 10 Scroll of Power
Deal 5000 damage with a single attack! – 1000 FOL, 5 SP, Formation Manual “Offense”
Trigger battle skills 300 times! – 5000 FOL, 5 BP
Defeat 500 enemies! – 10000 FOL, 5 BP
Defeat 20 enemy leaders! – Gauntlet of Air+ (Narrow Escape)
Defeat 5 enemies at once! – Mist Insignia+ (HP UP 5%)
Defeat an enemy in under 3 seconds! – 10 BP, 3 Compress of Veda
Break enemy shields 100 times! – Break enemy shields 100 times!
Break the shields of 4 enemies at the same time! – 1000 FOL, 30 BP, Secret Manual “Break”
Use assault actions 50 times! – Fayt Jewel
Successfully execute a perfect counter 20 times! – 10000 FOL, 5 BP, Secret Manual “Preserve”
Inflict status ailments on enemies 5 times! – 5 Medicine Bottle, 5 Wonder Drug
Win a battle by inflicting instant death on every enemy! – 5000 FOL, 5 BP
Use battle items 10 times! – 5000 FOL, 5 BP
Have a character reach Lv. 50! – 5000 FOL, 30 SP, 30 BP
Use 50 items while camping! – 5000 FOL, 5 SP
Interact with party members 20 times in Private Actions! – Fine Tuna Sashimi, Fruit Sandwich, Chocolate Banana, Lime Cooler, Radish Miso Soup, Bloody Driver, Chicken Shish Kebab, Steak, Hamburg Steak, Rabbit Risotto, Carrot Juice, Chocolate Crepe, Shortcake
Complete guild missions 30 times! – 5000 FOL, 5 SP, Roddick Jewel
Find 100 treasure chests! – Treasure Detector
Find 15 unique spots! – 1000 FOL, 5 SP, Formation Manual “Wisdom”
Have a character learn 60% of all skills! – 5 Hotcake, 5 Sashimi
Have a character learn 60% of all battle skills! – 5 Egg Fried Rice, 5 Vegetable Stir-Fry
Have a character learn 60% of all special arts and symbology spells! – Gelatin Steak, Miracle Stir-Fry
Get 15 skills to Lv. 5! – 3000 FOL
Get 5 battle skills to Lv. 5! – 5000 FOL
Walk a total of 12000 steps! – 1000 FOL, 5 SP, Formation Manual “Healing”
Ride Psynard 5 times! – 5000 FOL
Clear Rank A in Duel Battle! – 10000 FOL, 20 BP
Score a total of 10000 points in Cooking Master! – 5 Seafood, 5 Fruit, 5 Grains, 5 Meat, 5 Vegetables, 5 Eggs and Dairy
Challenge Missions – Specialist
Reach Master Chef Lv. 10! – 30000 FOL, 10 SP
Reach Publication Lv. 10! – 30000 FOL, 10 SP
Reach Blacksmith Lv. 10! – 3 Meteorite, 3 Mithril, 3 Rune Metal
Reach Contraband Lv. 10! – Forged Document, Scarlet Medal
Reach Orchestra Lv. 10! – 30000 FOL, 10 SP
Reach Enlightenment Lv. 10! – 3 Gelatin Steak, 3 Amoeba Soup
Reach Bunny Call Lv. 10! – 30000 FOL, 10 SP
Reach Group Appraising Lv. 10! – 10000 FOL, 10 Cinderella Glass, 3 Secret Account
Reach Bodyguard Lv. 10! – 30000 FOL, Intimidation Pendant+ (Steel Will)
Reach Remaking Lv. 10! – 30000 FOL, 10 SP, 5 Factor Energy
Use Art 200 times! – 30000 FOL, 10 SP
Use Customization 100 times! – 30000 FOL, 10 SP, 10 Mithril, 5 Sweet Toast
Use Crafting 200 times! – 3 Rainbow Diamond, 3 Moonstone, 3 Philosopher’s Stone
Use Writing 200 times! – 30000 FOL, 10 SP
Use Compounding 200 times! – 30000 FOL, 10 SP
Use Cooking 200 times! – 5 Organic Vegetables, 5 Gelatinous Slime, 5 Wobbly Slime
Use Alchemy 200 times! – 30000 FOL, 10 SP
Use Replication 200 times! – 30000 FOL, 10 SP
Use Machinist 300 times! – 30000 FOL, Green Upgrade Kit, Megalauncher Kit
Use Fishing 200 times! – 30000 FOL, 10 BP
Use Master Chef 100 times! – 30000 FOL, 10 SP
Use Master Chef 200 times! – Umai-bo Snack 1, Umai-bo Snack 2, Umai-bo Snack 3, Umai-bo Snack 4, Umai-bo Snack 5, Umai-bo Snack 6, Umai-bo Snack 7, Umai-bo Snack 8, Umai-bo Snack 9, Umai-bo Snack 10, Umai-bo Snack 11, Umai-bo Snack 12, Umai-bo Snack 13, Umai-bo Snack 14, 5 Nectar
Use Blacksmith 100 times! – 30000 FOL, 10 BP
Use Blacksmith 200 times! – 50000 FOL, 1 Star Guard Kit
Use Remaking 100 times! – 30000 FOL, 5 Plain Omelet
Use Remaking 200 times! – 50000 FOL, 10 SP
Get 50 pieces of equipment with factors attached! – 20000 FOL, 5 SP
Get 3 pieces of equipment with rare factors attached! – 20000 FOL, 20 SP
Get 10 pieces of equipment with rare factors attached! – 30000 FOL, 30 SP, Shark Fin Dumplings, Strawberry Rice Cake, Sweet Toast
Catch 6 fish at once with Fishing! – 30000 FOL, 10 BP, 10 Fishy Fragrance, 5 Chawanmushi
Catch 30 types of record-size fish! – 30000 FOL, 10 BP
Defeat weak enemies 30 times with Bodyguard! – 30000 FOL, 10 BP
Collect 50,000 Fol in book royalties! – 5 Fanfic ;), 3 Item Order
Fight 300 battles! – 100000 FOL, 10 SP, 10 BP
Hit an enemy 100 times in a row! – 30000 FOL, 10 BP
Deal 9999 damage with a single attack! – 10000 FOL, Light Cross+ (HP UP 10%), Shadow Cross+ (Leader Slayer)
Defeat 1000 enemies! – 150000 FOL, 50 BP, 5 Soulful Rice Bowl
Defeat 1 raid enemy! – 30 BP, 1 Fidel Jewel
Defeat 8 enemies at once! – 30000 FOL, 10 BP
Defeat an enemy in under 1 second! – 10 BP, 5 Ointment of Veda
Break the shields of 6 enemies at the same time! – 10000 FOL, 5 BP
Use assault actions 100 times! – 20000 FOL, 5 BP, 1 Foot Insignia+ (Morale Booster)
Successfully execute a perfect counter 50 times! – 100000 FOL, 10 SP, 10 BP, 3 Chicken Filet
Inflict status ailments on enemies 10 times! – 10000 FOL, 5 SP, Gauntlet of Air+
Collect a total of 10000 bonus spheres! – 50000 FOL, 10 BP
Use battle items 100 times! – 10000 FOL, 5 SP
Have Power Burst, Feint, and Guardbreak all trigger at the same time! – 10000 FOL, 5 BP
Spend a total of 500,000 Fol! – 10000 FOL, Slimy Gelatin
Spend a total of 1 million Fol! – 50000 FOL
Use 100 items while camping! – 30000 FOL
Interact with party members 30 times in Private Actions! – 50000 FOL
Have a character learn 100% of all skills! – 30000 FOL, 30 SP, Colorless Scarf+
Have a character learn 100% of all battle skills! – 150000 FOL, 20 BP, 3 Ultimate Sirloin, 5 Steak of the Demons
Have a character learn 100% of all special arts and symbology spells! – 10000 FOL, 3 Faerie Elixir, Faerie Mist
Get 15 skills to Lv. 10![/o] – 50000 FOL, 10 SP
Get 5 battle skills to Lv. 10! – 30000 FOL, 5 Egg Fried Rice, 5 Hotcake
Get 5 special arts or symbology spells to maximum level! – 10000 FOL, 5 BP, 4 Sacrificial Doll Kit
Walk a total of 24000 steps! – 24000 FOL
Complete 30% of the Item Encyclopedia! – 5 Benefaction Card, 3 Treasure Card
Complete 50% of the Enemy Encyclopedia! – Faerie Ring+ (Leader Slayer), Violin
Win 25 Survival Battles! – 20000 FOL, 5 BP
Conquer 10 Group Battles! – 20000 FOL, 5 BP
Win 3 times in a row in Cooking Master! – 10000 FOL, 5 Dish of the Day, 5 Choosing Ingredients, 5 Food for the Soul
Score a total of 30000 points in Cooking Master! – 50000 FOL, Lord’s Ozoni, Beautiful Ice Cream
Win by KO in Cooking Master! – 10000 FOL, 5 Ultimate Sirloin
Challenge Missions – Legend
Catch a record-size fish of every type! – 2000000 FOL, Angler’s Plaque – White
Compose 16 songs with Music! – 500000 FOL
Fight 500 battles! – 200000 FOL, Dueling Suit+ (DEF UP 20%), Sylvan Mail+ (DEF UP 20%), Robe of Deception+ (DEF UP 20%)
Deal a total of 40 million damage! – 100000 FOL, 5 BP, Secret Manual “Pierce”
Do a total of 80 million damage! – 1000000 FOL
Deal 99999 damage with a single attack! – 200000 FOL, Archangel’s Bracelet
Defeat 2000 enemies! – 300000 FOL
Defeat 3000 enemies! – 500000 FOL
Defeat 50 enemy leaders! – 200000 FOL
Defeat 6 raid enemies! – 100000 FOL, 5 BP, Aurora Blade+ (HP Drain), Kaiser Knuckles+ (MP Drain)
Defeat 13 raid enemies! – 1000000 FOL, 1 Seraphic Garb+ (Back from the Brink)
Defeat the Lv. 1-10 monsters of the Devil’s Aria! – 1500000 FOL, Fortune’s Bracelet
Collect a total of 50000 bonus spheres! – 100000 FOL, 5 BP, Formation Manual “Aid”
Have a character reach Lv. 100! – 100000 FOL, 5 BP, Break Booster
Have a character reach maximum level! – Battle Suit+ (Gathering Stars), 2 tri-Emblem+ (Gathering Stars)
Complete guild missions 65 times! – 100000 FOL, 5 SP, Natural Vice
Find 300 treasure chests! – 300000 FOL
Find 30 unique spots! – 100000 FOL, 5 SP, Variable Bolt
Learn every Formation! – 300000 FOL
Get every skill to Lv. 10! – 200000 FOL, 20 SP, Pick Again
Get every battle skill to Lv. 10! – 200000 FOL, 20 BP, Ring of Lightspeed+ (Gathering Stars)
Get all special arts and symbology spells to maximum level! – 250000 FOL, Soul Jacket+ (DEF UP 20%)
Complete 60% of the Item Encyclopedia! – 100000 FOL, 10 SP, Formation Manual “Support”
Complete 80% of the Enemy Encyclopedia! – 100000 FOL, 10 BP, AAM Clip
Win 50 Survival Battles! – 300000 FOL
Conquer every Group Battle! – 5000000 FOL, Demon Sword Levatine+ (Fight or Flight), Holy Sword Farewell+ (ATK UP 20%), Mindhealer+ (INT UP 20%)
Score a total of 100000 points in Cooking Master! – 100000 FOL, 5 SP, Souen & Guren
Win 7 times in a row in Cooking Master! – 100000 FOL, 5 BP, 3 Gelatinous Slime, 3 Wobbly Slime, 3 Marenne Oysters, 3 Sirloin, 3 Ingredients of Yarma
Item Encyclopedia – Healing Items
This is a list of all items in the game. It doesn’t detail how to get them, however, save for unusually difficult-to-find items.
Primavera – Recover 100% HP/MP (all) out of battle
Blueberries – Recover 22% HP (one)
Blackberries – Recover 22% MP (one)
Resurrection Elixir – Revives a fallen ally at 60% HP
Resurrection Mist – Revives a fallen aly at 100% HP
Holy Mist – Recover 60% HP (all)
Mixed Syrup – Recover 30% HP/MP (one)
Fruit Syrup – Recover 45% HP/MP (one)
Hot Syrup – Revover 70% HP or MP (one)
Maple Syrup – Recover 20% HP (one)
Sweet Syrup – Recover 30% HP (one)
Refreshing Syrup – Recover 100% HP (one)
Sour Syrup – Recover 30% MP (one)
Herbal Potion – Recover 30% MP (one)
Potion of Merlin – Recover 100% MP (one)
Death of Socrates – Incapacitates user, recover 100% HP/MP for all other allies
Angel Statuette – Recover 30% HP (all)
Goddess Statuette – Recover 30% MP (all)
Medical Rinse – Recover 3% HP every 5 seconds (1)
Aquaberries – Cure one ally of poison, recover 10% HP
Antidote – Cure one ally of poison, recover 10% HP
Paralysis Cure – Cure one ally of paralysis, recover 10% HP
Stone Cure -Cure one ally of petrification, recover 10% HP
Medicine Bottle – Cure all status ailments (one)
Wonder Drug – Revives a fallen ally at 1%, cures all status ailments
Smelling Salts – Revives a fallen ally at 30% HP, recovers 30% MP
Strange Medicine – Recover 100% HP and MP or become incapacitated
Violent Pill – Recover 100% HP and MP or become incapacitated
Marionette Pill – Revives a fallen ally at 10% HP, ATK +50%
Hazardous Heal – Recover 30% HP for one ally, poisons, paralyzes, or petrifies them
Potion of Nightmares – Recovers 30% HP for one ally, cursed all status ailments, 30% chance of causing petrification
Malodorous Potion – Recover 30% HP and poison one ally
Potion of Epiphany – Recover a random amount of HP for one ally
Sweet Potion – Recover 20% HP (all)
Risky Resurrection – Revives a fallen ally at 100% HP, causes poison, paralysis, or petrification to them
Potion of Reversal – Switches an ally’s HP and MP
Item Encyclopedia – Food
Fine Tuna Sashimi – Recover 45% HP (one)
Tuna Sashimi – Recover 5% HP (all), HIT +5% for 2 battles
Legendary Otoro – Recover 70% HP/MP (one)
Orange Gratin – Recover 40% HP (one)
Macaroni Gratin – Recover 40% HP (one)
Shrimp Gratin – Recover 30% HP (one)
Luscious Gratin – Recover 30% HP (all), Guts +15% for 2 battles
Shrimp Doria – Recover 40% HP (one)
Deluxe Doria – Recover 30% HP (all), nullifies status ailments for 30 seconds at start of battle for 2 battles
Rabbit Risotto – Recover 35% HP (one)
Tearful Risotto – Recover 80% HP/MP (one)
Rice Omelet – Recover 40% HP (one)
Salmon Omelet – Recover 5% HP (all), AVD +10% for 3 battles
Plain Omelet – Recover 15% MP (all), rare factor rate in Remaking up 2 times
Chicken Doria – Recover 30% HP (one)
Heavenly Doria – Recover 100% HP/MP (one)
Egg Fried Rice – Recover 5% HP (all), BP earned +5% for 2 battles
Miracle Stir-Fry – Recover 30% HP (all), 0 MP cost for 10 seconds at start of battle for 2 battles
Fried Rice with Meat – Recover 60% HP (all)
Jamabalaya – Recover 30% HP (one)
Gruel – Recover 20% HP (one)
Shrimp Pilaf – Recover 30% HP (one)
Soulful Rice Bowl – Recover 30% HP/MP (all), negate stagger for 30 seconds at start of battle for 2 battles
Fruit Sandwich – Recover 50% MP (one)
Egg Sandwich – Recover 20% HP (one)
Sweet Toast – Recover 15% MP (all), create more rare factors (Customization) 2 times
Light Soup – Recover 30% MP (one)
Mushroom Soup – Recover 66% MP (one)
Seaweed Miso Soup – Recover 20% MP (all)
Radish Miso Soup – Recover 10% MP (one)
Rich Seafood Soup – Recover 90% MP (one)
Supreme Seafood Soup – Recover 90% MP (all)
Amoeba Soup – Recover 30% MP (all), EXP up 50% for 2 battles
Shark Fin Soup – Recover 40% MP (one)
Swallow’s Nest Soup – Recover 70% MP (one)
Soup of the Demons – Recover 30% HP/MP (all), max HP/MP +20% for 2 battles
Cream Stew – Recover 70% MP (one)
Tasteless Stew – Recover 1% MP (one)
Golden Stew – Recover 30% MP (all), recover 30% HP/MP at end of battle for 2 battles
Green Cream Soup – Recover 5 MP (all), recover 10% HP/MP at end of battle for 2 battles
Cream of Corn Soup – Recover 20% MP (one)
Milky Potage – Recover 30% MP (all), max MP +20% for 2 battles
Lord’s OzoniRecover 30% HP/MP (all), CRT +20% for 2 battles
Shumai Dumplings – Recover 5% HP (all), AVD +5% for 2 battles
Shrimp Dumplings – Recover 60% MP (one) (pickpocket only, woman in the lower-left house of Salva)
Sole in Orange Sauce – Recover 5% HP (all), HIT +10% for 3 battles
Sole in Wine Sauce – Recover 15% HP (all), Nectar success rate in Master Chef up 2 times
Hearty Casserole – Hearty Casserole – Recover 30% HP (all), HIT +15% for 2 battles
Sashimi – Gain 2 SP (one)
Rotting Sashimi – Recover 1% HP (one)
Bean Paste Bun – Recover 20% HP (one)
Steamed Bun – Recover 22% HP (one)
Beef Croquette – Recover 30% HP (one)
Rice Croquette – Recover 40% HP (one)
Pumpkin Croquette – Recover 22% HP (one)
Shark Fin Dumplings – Recover 15% MP (all), more rare factors (Blacksmith) 2 times
Gyoza Dumplings – Recover 5% HP (all), ATK/INT +5% for 2 battles
Grilled Tuna Belly – Recover 30% MP (all), HIT/AVD +10% for 2 battles
Chicken Shish Kebab – Recover 5% HP (one)
Hamburg Steak – Recover 19% HP (one)
Steak – Recover 50% HP (one)
Gelatin Steak – Recover 30% MP (all), SP/BP gain +50% for 2 battles
Lamb Burger Steak – Recover 5% HP (all), ATK/INT +10% for 3 battles
Filet Mignon – Recover 80% HP (all)
Luxury Tuna Steak – Recover 30% MP (all), AVD +15% for 2 battles
Steak of the Demons Recover 30% HP (all), battle skill trigger rate +20% for 2 battles
Chicken Filet – Recover 30% HP (all), shield depletion +15% for 2 battles
Ultimate Sirloin – Recover 30% HP (all), ATK/INT +15% for 2 battles
Amazing Tenderloin – Recover 70% HP (all)
Mouthwatering Filet – Recover 100% HP (one)
Peking Duck – Recover 70% HP (all)
Pickled Vegetables – Recover 5% HP (all), recover 3% HP/MP at end of battle 2 times
Spring Roll – Recover 20% HP (one)
Pumpkin Spring Roll – Recover 28% HP (one)
Chawanmushi – Recover 15% HP (all), record-size fish rate +10% 2 times
Pickled Plum – Recovers 5% HP (all), GUTS +5% for 2 battles
Kasuzuke – Recover 15% HP (all), Group Appraising effect +10% 2 times
Rice-Bran Pickles – Recover 5% HP (all), recover 5% HP/MP at end of battle for 2 battles
Cabbage Roll – Recover 26% HP (one)
Vegetable Stir-Fry – Gain 2 BP (one)
Special Stir-Fry – Recover 70% MP (all)
Wilted Salad – Recover 2% HP (one)
Magical Salad – Recover 100% MP (one)
Yogurt Salad – Recover 70% HP/MP (one)
Fried Egg – Recover 5% HP (all), DEF +5% for 2 battles
Egg on Bacon – Recover 30% HP (one)
Treasured Gorgonzola – Recover 78% HP (one)
Scrumptious Pizza – Recover 30% HP (all), max HP +20% for 2 battles
Flan – Recover 5% HP (all), DEF +10% for 3 battles
Custard of Life – Recover 100% HP (one ally)
Gateau Marjolaine – Recover 30% HP (all), STM +20% for 2 battles
Chocolate Banana – Recover 28% HP (ome)
Chocolate Crepe – Recover 22% HP (one)
Banana Crepe – Recover 5% HP (all), STM +5% for 2 battles
Apple Crepe – Recover 30% HP (one)
Pear Compote – Recover 100% HP/MP (one)
Strawberry Bavarois – Recover 30% HP (one)
Konjac Jelly – Recover 15% HP (all), Contraband doesn’t decrease friendship 2 times
Muscat Jelly – Recover 15% HP (all), Pickpocketing doesn’t decrease friendship 2 times
Slimy Gelatin – Recover 30% MP (all), FOL +50% after battle for 2 battles
Strawberry Rice Cake – Recover 15% MP (all), create more rare factors (Crafting) 2 times
Rice Cake – Recover 5% HP (all), FOL +5% after battle for 2 battles
Stinky Bean Cake – Recover 1% HP (one)
Bean Cake – Recover 80% HP (one)
Delectable Cheese – Recover 30% HP (all), DEF +15% for 2 battles
Yogurt – Recover 20% HP (one)
Vanilla Ice Cream – Recover 30% HP (one)
Beautiful Ice Cream – Recover 30% HP/MP (all), LUC +20% for 2 battles
Carrot Ice Cream – Recover 40% HP (one)
White Peach Sherbet – Recover 5% HP (all), LUC +5% for 2 battles
Orange Sherbet – Recover 20% HP (one)
Hotcake – Recover 5% HP (all), SP +5% for 2 battles
Shortcake – Recover 16% HP (one)
Bitter Cake – Recover 1% HP (one)
Carrot Juice – Recover 13% MP (one)
Vegetable JuiceRecover 40% MP (one)
Bitter Juice – Recover 1% MP (one)
Orange Soda – Recover 20% MP (one)
Coconut Milk – Recover 50% HP/MP (all)
Fruit Milk – Recover 20% MP (one)
Soy Milk – Recover 5% MP (all), EXP +5% for 2 battles
Old Milk – Recover 1% MP (one)
Flat Soda – Recover 5% MP (one)
Nectar – Recover 100% HP/MP (one)
Lime Cooler – Recover 40% HP (one)
Rose de Mai – Recover 60% MP (one)
Nectar of Ambrosia – Recover 100% HP/MP (one)
Luxury Grape Juice – Recover 90% HP/MP (one), buying price goes up by 4 FOL per second of total play time
Cola – Recover 35% MP (one)
Ooze Cocktail – Recover 60% HP/MP (one)
Juice of the Demons – Recover 100% HP/MP (one)
Sunset Island – Recover 60% MP (all)
Crazy Cow – Recover 55% MP (one)
Bloody Driver – Recover 40% MP (one)
Fire in the Sky – Recover 50% MP (one)
Mango Lassi – Recover 45% MP (one)
Banana Frappe – Recover 3% MP (one)
Awful Cider – Recover 1% HP (one)
Umai-bo Snack 1 – Recover 5% HP (one)
Umai-bo Snack 2 – Recover 11% HP (one)
Umai-bo Snack 3 – Recover 11% HP (one)
Umai-bo Snack 4 – Recover 15% HP (one)
Umai-bo Snack 5 – Recover 20% HP (one)
Umai-bo Snack 6 – Recover 21% HP (one)
Umai-bo Snack 7 – Recover 25% HP (one)
Umai-bo Snack 8 – Recover 28% HP (one)
Umai-bo Snack 9 – Recover 28% HP (one)
Umai-bo Snack 10 – Recover 29% HP (one)
Umai-bo Snack 11 – Recover 30% HP (one)
Umai-bo Snack 12 – Recover 30% HP (one)
Umai-bo Snack 13 – Recover 35% HP (one)
Umai-bo Snack 14 – Recover 38% HP (one)
Ladyfingers – Recover 8% HP/MP (one) (randomly made by Rena when using Customization)
Strawberry Jam – Recover 10% HP (one)
Raspberry Jam – Recover 11% HP (one)
Apple Jam – Recover 12% HP (one)
Aloe Jam – Recover 30% HP, 15% MP (one)
Item Encyclopedia – Weapons 1
Dull Blade – 2 ATK, 1 CRT
Longsword – 30 ATK
Sinclair – 100 ATK
Farcutter – 100 ATK, 5 CRT, +1 attacks
Stringy Sword – 3 ATK
Silver Fang – 12 ATK
Golden Fang – 10 ATK
Soulbreaker – 550 ATK, 20 HIT, 10 CRT, causes instant death randomly
Deadly Cleaver – 1100 ATK, 60 HIT, 30 CRT, causes instant death randomly
Bastard Sword – 150 ATK, 10 HIT, 10 CRT
Broadsword – 60 ATK
Baselard – 180 ATK
Force Sword – 908 ATK
Aurora Blade – 1200 ATK, 80 HIT, 32 CRT, Light element
Metalcrusher – 620 ATK, 120 HIT, 10 CRT, Light element, deals 10HP damage to self when attacking (I suggest you have Dias craft this…)
Whirlwind – 780 ATK, 50 HIT, 13 CRT, Wind element
Godslayer – 1250 ATK, 20 DEF, 50 HIT, 30 CRT, -50% MP costs
Holy Sword Farewell – 1900 ATK, 70 DEF, 70 HIT, 70 AVD, 70 INT, 15 CRT, +1% ATK per hit in a chain (max 100%)
Flame Sword – 160 ATK, 20 HIT, 10 CRT, Fire element
Searing Sword – 720 ATK, 90 GUTS, Fire element
Walloon Sword – +240 ATK
Guthgwine – 250 ATK
Veil Piercer – 480 ATK
Famer Sword Veinslay – 1400 ATK
Blade of Ruin – 1000 ATK, 90 HIT
Blade of Minos – 599 ATK, 80 HIT, 10 CRT, Dark element, deals 10HP damage to self when attacking
Silvance – 1210 ATK, 20 DEF, 99 HIT, 20 AVD, 30 CRT, Light element
Sword of Marvels – 1100 ATK, 10 DEF, 100 HIT, 10 AVD, 10 STM, 15 CRT, attacks become unblockable
Saad Blade – 990 ATK, 80 HIT, 20 CRT, 60 GUTS
Demon Sword Levantine – 3000 ATK, 50 HIT, 50 STM, 35 CRT, 50 GUTS, ATK + 1% per 8% HP lost (max 15%)
Aeterna – 1600 ATK, 70 HIT, 25 CRT, 40 GUTS, attacks launch Light element stars
Soul Slayer – 982 ATK, 10 HIT, 12 CRT, -2MP per attack made
Scumbag Slayer – 1 ATK, 40 CRT, instantly kills enemies with “scum” in their name
Swallowblade – 500 ATK, 50 HIT, 33 CRT, 10 GUTS
Deadly Edge – 222 ATK, 60 HIT, 10 CRT
Oriental Blade – 448 ATK
Murasame – 552 ATK, 20 HIT, 22 CRT, 10 GUTS, +2 attack
Bouro – 1200 ATK, 60 HIT, 30 CRT, causes instant death randomly
Hope of the Breeze – 770 ATK, 30 HIT, 20 CRT, +2 attacks, Wind element
Crimson Devil – 1100 ATK, 80 HIT, 50 STM, 24 CRT, doubles attack damage, nullifies instant death
Chrome Nightmare – 1399 ATK
Planeteer – 2900 ATK, 100 HIT, 80 AVD, doubles trigger rate of Godspeed, Breaker and Overload
Hachimentei – 3300 ATK, 50 HIT, 80 GUTS, all attacks are critical hits
Rickety Knuckles – 1 ATK
Brass Knuckles – 30 ATK
Hard Knuckles – 58 ATK, 10 INT
Fellpool Nails – 1200 ATK, 50 HIT, 50 AVD, 30 INT, nullifies enemy back attacks
Cat Fang – 120 ATK, 10 GUTS, +2 attacks
Cestus – 140 ATK, 20 INT
Metal Fang – 400 ATK, 50 INT
Taloned Kunckles – 165 ATK
Death Fang – 1350 ATK, 50 HIT, 20 AVD, 15 CRT, 10 GUTS, causes instant death randomly, protects against instant death
Cestus of Poison – 580 ATK, 80 INT, randomly poisons enemy
Dragon Claw – 450 ATK, 20 HIT, 100 INT, 26 CRT, +1 attacks
Grizzly Clasp – 840 ATK, 60 HIT, 200 INT
Tiger Fang – 600 ATK, 30 HIT, 30 AVD, 100 INT, 20 CRT
Eagle’s Claw – 760 ATK, 110 INT, 10 CRT, +1 attacks
Serpent’s Tooth – 900 ATK, 20 HIT, 150 INT, 12 CRT, causes instant death randomly
Fists of Giant – 470 ATK, 10 HIT, 80 STM, 26 CRT, +30% max MP
Hecaton’s Punch – 630 ATK, 50 HIT, 27 CRT, +2 attacks
Fists of Asura – 750 ATK, 20 HIT, 3 CRT, +2 attacks
Fists of the Titan – 1000 ATK, 30 HIT, 50 STM, 5 CRT, +30% max MP
Blazing Knuckles – 599 ATK, 30 HIT, 70 INT, 6 CRT, Fire element, +1 attacks
Burst of Fire – 1300 ATK, Fire element
Kaiser Knuckles – 1100 ATK, 60 HIT, 200 INT, 4 CRT
Magic Knuckles – 688 ATK, 50 HIT, 60 INT, 12 CRT, +50% spell damage
Knuckles of the Moon – 900 ATK, 150 INT, +30% max MP
Sorcerer’s Knuckles – 1000 ATK, 180 INT, -33% MP costs, recover 2% MP every 5 seconds
Fists of the Moon – 1200 ATK, 60 HIT, 30 AVD, 8 CRT, +30% max HP
Platinum Nail – 850 ATK, 55 HIT, 20 AVD, 300 INT, 2 CRT, +2 attacks
Emprezia – 1220 ATK, 70 HIT, 300 INT, 30 CRT
Knuckles of Hope – 1000 ATK, 50 DEF, 50 HIT, 300 INT, 20 CRT, -50% MP costs
Phantom Slayer – 1000 ATK, 40 HIT, 10 STM, 10 GUTS, instantly kills enemies with “phantom” in their name, absorbs 50% of damage dealt as HP
Love Force – 400 ATK, 200 DEF, 50 AVD, 700 INT, doubles activation rate of Interrupt and Concentration
Heart of Hearts – 2000 ATK, 150 DEF, 80 LUC, 80 STM, 80 GUTS, -80% damage taken at max HP
Natural Vice – 500 ATK, 120 DEF, 500 INT, 60 STM, 50 GUTS, 25% chance to revive allies when casting magic on them
Creaky Rod – 5 ATK, 1 INT
Crested Rod – 100 ATK, 25 INT
Rod of Jabbering – 1000 ATK, 20 DEF, 80 HIT, 20 AVD, 80 INT, 5 CRT, Hasten Speech Lv. +7
Rod of Jewels – 150 ATK, 30 DEF, 10 CRT
Rod – 10 ATK, 5 INT
Thunderclap Rod – 280 ATK, 30 INT, locks damage of normal attacks at 200
Silver Rod – 350 ATK, 20 HIT, 250 INT
Ruby Wand – 70 ATK, 20 INT
Ruby Rod – 680 ATK, 300 INT, fire spell damage +30%
Rod of Snakes – 700 ATK, 10 DEF, 60 HIT, 50 INT, 6 CRT, -50% MP costs
Dragonstaff – 990 ATK, 80 HIT, 360 INT, 6 CRT, boosts all spells to max proficiency while equipped
Mindsoother – 300 ATK, 25 INT, -33% MP costs
Holy Rod – 520 ATK, 240 INT, Light element, recover 3% HP every 5 seconds
Chameleon Rod – 150 ATK, 40 INT, randomly makes enemy attacks miss
Silver Moon – 1000 ATK, 300 INT, restores 2% MP every 5 seconds
Mindhealer – 800 ATK, 80 HIT, 800 INT, 30 LUC, 30 STM, 40 CRT, convert 20% of damage received to MP
Volticry – 600 ATK, 20 AVD, 1100 INT, 20 LUC, Wind element, causes shockwaves when casting spells
Wimpy Swords – 3 ATK, 1 CRT
Twin Swords – 40 ATK
Swords of Deflection – 160 ATK, 10 HIT, 20 AVD, 11 CRT
Twin Fury – 120 ATK, 20 AVD
Twin Splicers – 340 ATK, 30 AVD
Double Smashers – 650 ATK, 8 DEF, 40 HIT, 60 AVD, 15 CRT
Lotus Eaters – 1150 ATK, 50 HIT
Mephistofar – 1320 ATK, 25 DEF, 80 HIT, 75 AVD, 100 LUC, 40 CRT, +30% max HP
Venomous Stingers – 180 ATK, 30 AVD, randomly poisons enemies
Maidens Aria – 380 ATK, 20 HIT, 50 AVD, 12 CRT
Luminous Slicers – 820 ATK
Shield Swords – 490 ATK, 35 AVD
Twin Needles – 500 ATK, 50 HIT, 50 AVD, 20 CRT
Devil’s Horns – 700 ATK, perpetually in rage state, can cause instant death randomly
Holy Cross – 1240 ATK, 20 DEF, 60 HIT, 70 AVD, 80 LUC, 18 CRT
Gemini – 1200 ATK, 10 DEF, 80 HIT, 60 AVD 50 LUC, 21 CRT, Light element, +1 attacks
Souen & Guren – 2100 ATK, 50 DEF, 60 HIT, 30 AVD, Fire element, double bonus spheres from broken enemies
Robot Puncher – 125 ATK
Steel Puncher – 165 ATK
One-Two Puncher – 280 ATK
Drill Puncher – 400 ATK
Ice Puncher – 380 ATK, Water element
Thunder Puncher- 420 ATK, 50 HIT, 25 CRT, Wind and Dark element
Spark Puncher – 650 ATK, 30 HIT, 20 CRT, Wind and Light element
Fire Puncher – 699 ATK, Fire element
Burning Puncher – 600 ATK, 50 HIT, 20 CRT, Fire element
Super Puncher – 650 ATK
Majestic Puncher – 850 ATK
Megawatt Puncher – 1250 ATK
Atomic Puncher – 1120 ATK, 55 HIT
SD Puncher – 1150 ATK, 50 HIT, 20 CRT, 50 GUTS
UGA Puncher – 1300 ATK, 60 HIT, 25 CRT, 60 GUTS
SDUGA Puncher – 1600 ATK, 30 CRT, 65 GUTS
Miracle Puncher – 960 ATK
Roaring Burst Puncher – 2400 ATK, 50 HIT, 50 AVD, 50 LUC, 20 CRT, +200% special art damage, +200% MP costs, use HP for special arts when MP is too low
Item Encyclopedia – Weapons 2
Thick Book – 180 ATK, 15 INT
Reference Book – 280 ATK, 50 INT, HP + 10
Picture Encyclopedia – 320 ATK, 22 INT
Academic Book – 50 ATK, 390 INT, 50 LUC
Shake Up Your Brain! – 680 ATK, 60 INT, -33% MP costs
Dictionary – 340 ATK, 50 INT
All About ESP – 780 ATK, 70 INT, -33% MP costs
Encyclopedia – 500 ATK, 100 INT
Theory of Symbology – 290 ATK, 100 INT
Symbology Dictionary – 500 ATK, 50 HIT, 100 INT, -50% MP costs
Sacred Tome – 920 ATK, 50 HIT, 199 INT, Light element, recover 3% HP every 5 seconds
Tome of Wisdom – 50 ATK, 20 DEF, 20 HIT, 20 AVD, 88 INT, 20 LUC, 20 STM
Book of the Ancients – 800 ATK, 50 HIT, 380 INT, 20 LUC, -50% MP costs, recover 2% MP every 5 seconds
How the Brain Works – 890 ATK, 50 HIT, 80 INT, -50% MP costs
Book of Shadows – 700 ATK, 80 INT, Dark element
Book of Confusion – 950 ATK, 80 HIT, 400 INT, Dark element, reduces own STM to 0, nullifies instant death
Fourth Book of Occult Philosophy – 500 ATK, 50 HIT, 950 INT, 50 LCK, MP +1 and INT +1 every time a battle skill triggers
Booster Clip – 128 ATK
Wave Clip – 168 ATK
X Clip – 500 ATK
Alpha Clip – 690 ATK, 50 HIT
Beta Clip – 690 ATK, 30 HIT, 24 AVD, 20 CRT
Gamma Clip – 750 ATK, 50 HIT, 34 AVD, 20 CRT
Black Clip – 200 ATK, 20 HIT, 10 AVD, 20 CRT
Burst Clip – 780 ATK, 60 HIT, 30 AVD, 20 CRT, Fire element
White Clip – 490 ATK, Light element
Seventh Ray – 280 ATK, 60 HIT, 35 CRT, Light element, reduces spell damage taken by 50%
Pulse Clip – 1000 ATK, 60 HIT, 40 AVD, 20 CRT, randomly slows enemies
Magic Clip – 650 ATK, 50 HIT, 20 AVD, 20 CRT, -33% MP costs
Energy Clip – 1050 ATK
AAM Clip – 1450 ATK, 30 CRT, fires homing shots at all airborne enemies when attacking
Limp Whip – 2 ATK
Leather Whip – 60 ATK
Heavy Whip – 550 ATK
Flare Whip – 800 ATK, 80 HIT, 25 CRT, Fire element
Light Whip – 820 ATK, Wind and Dark element
Splinter – 460 ATK
Rose Whip – 600 ATK, 66 HIT, 25 CRT
Cat o’ Nine Tails – 1280 ATK, +2 attacks
Hi-Tech Whip – 799 ATK, 60 HIT, 10 AVD, 24 CRT
Freeze Whip – 800 ATK, 80 HIT, 25 CRT, Water element
Spark Whip – 1080 ATK, 50 HIT, Wind element, randomly paralyzes enemies
Twin Tails – 860 ATK, +1 attacks
Invisible Whip – 950 ATK, 150 HIT, 31 CRT, 40 GUTS
Dark Whip – 1100 ATK, 50 HIT, 30 CRT, Dark element, randomly causes instant death
Glorious Thorn – 2200 ATK, 50 HIT, 30 CRT, perform additional attacks with roses when using special arts
10V Stun Gun – 10 ATK, 10 CRT
Stun Gun – 200 ATK, 50 HIT, 50 CRT
Spark Stunner – 280 ATK, 60 HIT, 50 CRT
Electric Stunner – 460 ATK, 70 HIT, 50 CRT
Megawatt Stunner – 410 ATK
Lightning Gun – 650 ATK, 51 HIT, Wind element
Shock Gun – 620 ATK, 40 HIT, 50 CRT, unleash shockwaves when attacking
Freeze Gun – 600 ATK, 40 HIT, 50 CRT, Water element
Flame Gun – 550 ATK, 60 HIT, 50 CRT, Fire element
Metallic Launcher – 660 ATK, 50 CRT, fires metal balls when attacking
Air Gun – 800 ATK, Wind element
Electron Gun – 830 ATK, 66 HIT, 60 CRT
Gigawatt Stunner – 750 ATK, 60 HIT, 80 CRT, +2 attacks
Psychic Gun – 980 ATK, 65 HIT, 70 CRT, attacks never miss, -2MP per attack
Variable Volt – 1600 ATK, 50 HIT, 70 AVD, 40 CRT, Teleport into position when Godspeed triggers, unleash shockwaves when attacking
Handy Stick – 150 ATK
Fuzzy Handy Stick – 250 ATK, 20 HIT, 10 CRT
Playful Handy Stick – 350 ATK, 20 HIT, 5 LUC, 15 CRT
Tedious Handy Stick – 500 ATK, 30 HIT, 10 LUC, 20 CRT, 20 GUTS
Annoying Handy Stick – 800 ATK, 40 HIT, 40 LUC, 35 CRT, 50 GUTS
Final Handy Stick – 1600 ATK, 60 HIT, 80 LUC, 60 CRT, 80 GUTS
Tense Handy Stick – 600 ATK, 30 HIT, 20 LUC, 25 CRT, 30 GUTS
Worrying Handy Stick – 700 ATK, 40 HIT, 30 LUC, 30 CRT, 40 GUTS
Furious Handy Stick – 900 ATK, 50 HIT, 50 LUC, 40 CRT, 60 GUTS
Stern Handy Stick – 1000 ATK, 50 HIT, 60 LUC, 50 CRT, 70 GUTS
Violent Handy Stick – 2000 ATK, 60 HIT, 100 LUC, 80 CRT, 100 GUTS
Gutsy Handy Stick – 2500 ATK, 50 HIT, 50 AVD, 100 LUC, attacks never miss with 1 male party member, never get staggered with 2 male party members, +3000 ATK with 3 male party members
Item Encyclopedia – Armor
Holey Armor – 1 DEF
Weird Armor – 1 DEF
Weird Clothing – 2 DEF
Robe – 3 DEF
Leather Armor – 6 DEF
Padded Armor -12 DEF
Silk Robe – 12 DEF
Ring Mail – 20 DEF
Mithril Dress – 20 DEF, 120 AVD, 220 INT, 1/2 Wind and Light damage
Brigandine – 30 DEF
Amber Robe – 30 DEF
Evening Gown – 30 DEF, 100 INT
Silver Robe – 70 DEF, 120 INT
Mithril Coat – 88 DEF, 80 INT, 1/2 Light damage, nullifies instant death
Plate Armor – 90 DEF
Magic Armor – 92 DEF, 5 AVD, 1/2 Fire, Water and 1/2 Earth damage
Chaos Mail – 9 ATK, 99 DEF, 9 HIT, 9 AVD, Light-weak, sets STM to 0
Holy Cloak – 100 DEF, 100 INT, absorb Light
Blessed Plate Armor – 100 DEF, survive with 1 HP left if reduced to 0 HP from an attack while at 25%+ HP
Bloody Armor – 44 ATK, 144 DEF, 44 HIT, 44 AVD, Fire-, Water- and Dark-weak, depletes HP constantly, invincible
Steel Armor – 150 DEF
Eagle’s Shawl – 170 DEF, 150 INT, 1/2 Wind damage, nullifies instant death
Armor of the Arc – 180 DEF, 20 GUTS, 1/2 Light damage
Soul Jacker – 190 DEF, nullifies instant death and petrification
Wizard’s Armor – 200 DEF, 10 INT
Mithril Mesh – 200 DEF, 1/2 Fire, Water and Wind damage
Cloak of the Stars – 220 DEF, 220 INT, 1/2 Light damage, nullifies instant death
Robe of Deception – 230 DEF, 150 INT, 50 STM, 10 CRT, 50 GUTS, no Wind or Light damage, nullifies petrification
Robe of Ishtar – 230 DEF, 30 AVD, 230 INT, 50 STM, nullifies instant death
Sylvan Mail – 240 DEF, 1/2 Wind and Dark damage, nullifies petrification
Reflecting Plate – 10 ATK, 290 DEF, 10 HIT, 10 AVD, 20 STM, 20 GUTS, 1/2 Fire and Wind damage, absorb Light, recover 2% MP every 5 seconds
Dueling Suit – 300 DEF, 20 GUTS, 1/2 Fire, Wind and Earth damage, nullifies petrification
Seraphic Garb – 400 Def, 40 AVD, 100 INT, 50 LUC, 50 STM, 1/2 Fire and Light damage, DEF up as HP drops, nullifies instant death
Valkyrie’s Grab – 480 DEF, 50 GUTS, DEF up as HP drops
Battle Suit – 500 DEF, 50 GUTS
Valiant Mail – 500 DEF, 60 GUTS, all damage set to 10 when below 99 HP
Weird Gauntlet – 10 AVD
Buckler – 1 DEF, 30 AVD
Wooden Shield – 2 DEF, 50 AVD
Round Shield – 4 DEF, 60 AVD
Weird Shield – 5 DEF, 10 AVD, 5 CRT
Rune Buckler – 5 DEF, 60 AVD, nullifies paralysis
Knight’s Shield – 10 DEF, 60 AVD
Fine Shield – 15 DEF< 70 AVD
Crested Shield – 20 DEF, 80 AVD, 1/2 Water damage, retaliates blocked hits with fire
Gauntlet of Air – 20 DEF, 30 AVD
Shield of Athena – 20 DEF, 80 AVD, 1/2 Fire, Water, Wind, Earth, Light and Dark damage, nullifies instant death
Barrier Shield – 24 DEF, 40 DEF, 1/2 Water damage
Hand of Kali – 70 ATK, 30 DEF, 30 HIT, 30 AVD, 10 CRT
Shield of the Arc – 30 DEF, 80 AVD, nullifies paralysis
Soul Shield – 30 DEF, 60 AVD
Mithril Shield – 31 DEF, 60 AVD, nullifies paralysis
Star Guard – 33 DEF, 121 AVD, retaliates blocked hits with stars
Shield of Algol – 40 DEF, 80 AVD, 50 STM, can cause petrification to enemies when hit by enemy attacks
Valkyrie’s Bracelet – 100 DEF, 120 AVD, retaliates blocked hits with fire
Valiant Shield – 120 DEF, 120 AVD, retaliates blocked hits with stars
Gold Crown – No effects
Crown – No effects
Dream Crown – Fire and Wind absorbed, nullifies instant death
Moon Tiara – Dark-weak, Hasten Speech Lv. +7
Beret – 30% chance to not use materials when using Writing
Froghead – 1 DEF, 5 GUTS
Weird Cap – 1 DEF
Leather Helmet – 3 DEF
Weird Helmet – 6 DEF
Padded Helmet – 6 DEF
Magical Helmet – 10 DEF
Open Helmet – 12 DEF
Iron Helmet – 25 DEF
Rune Cap – 26 DEF, -33% MP cost
Wizard’s Cap – 29 DEF
Bloody Helmet – 33 DEF, 33 AVD, 33 INT, 13 CRT, Fire- and Earth-weak, MP drains continuously, invincible while you have MP left
Hermit’s Cap – 35 DEF, 20 AVD, 1/2 Fire damage
Plate Helmet – 38 DEF
Tiara Isis – 50 DEF, spell damage +50%
Steel Helmet – 50 DEF
Sylvan Helmet – 50 DEF
Helmet of Odin – 50 DEF, 10 INT, 60 STM, 10 CRT, 60 GUTS
Tiara of the Arc – 56 DEF, 1/2 Water damage
Mithril Helmet – 65 DEF
Soul Helmet – 80 DEF
Dueling Helmet – 100 DEF
Glass Slippers – 1 DEF
Sandals – 1 DEF
Weird Shoes – 3 DEF
Boots – 3 DEF
Boots of Happiness – 3 DEF
Weird Boots – 3 DEF
Pin Heels – 6 ATK, 3 DEF, 10 CRT
Leather Greaves – 5 DEF
Suede Boots – 5 DEF
High Heels – 2 ATK, 5 DEF
Leather Boots – 6 DEF
Safety Shoes – 8 DEF, 20 AVD
Bunny Shoes – 10 DEF, 80 STM, movement speed +100%
Iron Greaves – 10 DEF
Plate Greaves – 18 DEF
Rune Shoes – 20 DEF, 20 AVD, max MP +10%
Neo Greaves – 20 DEF, 5 AVD, 10 LUC, 1/2 Earth damage
Laced Boots – 25 DEF
Silver Greaves – 30 DEF
Witch’s Boots – 34 DEF, 10 AVD, nullifies instant death
Mithril Greaves – 45 DEF
Sylvan Boots – 60 DEF
Star Greaves – 60 DEF, no Dark damage
Valkyrie’s Boots – 250 DEF, movement speed +100%
Valiant Boots – 260 DEF, movement speed +100%
Item Encyclopedia – Accessories
Anklet – 3 DEF
Silver Charm – 1 DEF, 1 GUTS, absorb Light, no Dark damage, nullifies instant death
Amulet of Antivenin – Nullifies poison
Amulet of Freedom – Nullifies paralysis
Amulet of Flexibility – Nullifies petrification
Talisman – 8 STM, DEF +8%
Blue Talisman – 12 STM, 1/2 Water damage, +30% DEF
Lunar Talisman – 20 GUTS, max HP +20%
Foot Insignia – ATK +10%, HIT +30%
Mist Insignia – INT +10%
Moonlight – Max HP/MP +20%
Lunar Charm – Max MP +30%
Golden Brooch – 5 GUTS
Symbol of Divinity – 20% chance to reflect damage taken, reduces damage by 20%
Symbol of Antiquity – nullifies all status ailments
tri-Emblum – 10 ATK, 12 DEF, 10 HIT, 5 AVD, 3 INT, 2 CRT
tri-Emblem – 200 ATK, 50 DEF, 50 HIT, 50 AVD, 100 INT, 50 LUC, 50 STM, 10 CRT, 20 GUTS, no Fire, Wind or Dark damage
Hammer Charm – 5 GUTS, halves Daze time
Mallet Charm – 10 GUTS, prevents Daze
Ugly Accessory – No effects
Angelic Headband – 5 AVD
Dragon’s Ribbon – 12 DEF, 10 AVD
Wyrm King’s Ribbon – 40 DEF, 15 AVD
Silver Barrette – 3 DEF
Intimidation Pendant – Bodyguard trigger rate +15%
Ruby Pendant – No Fire damage
Silver Pendant – 10 AVD, 5 GUTS
Leaf Pendant – 10 LUC, +30% DEF
Velvet Tear – 1/2 Fire damage, Water-weak, converts 10% of spell damage taken to MP
Faerie Tear – Fire-weak, 1/2 Water damage, converts 10% of spell damage taken to MP
Tear of Israfel – 60 ATK, 30 DEF, 30 HIT, 30 AVD, 80 INT, 50 LUC, 30 CRT, 20 GUTS, nullifies instant death (you have to see Philia’s PA in Kurik, complete the game, and see Philia’s PA in the Centropolis to get this)
Chain of Might – 30 STM, ATK +30%
Silver Amulet – 3 INT, spell damage +10%
Necklace – 1 AVD
Star Necklace – Hasten Speech Lv +5
Mystic Amulet – Reduces escape time by 60%
Purple Amulet – 10 LUC, reduces escape time by 30%
Gold Cross – 50 HIT, 1/2 Fire damage
Silver Cross – Fire-weak, 1/2 Light damage, 50% chance to nullify status effects
Magic Cross – 1/2 Light and Dark damage, 10% chance to reflect damage taken
Light Cross – 20 DEF, 40 AVD, 20 LUC, 10 GUTS, Fire-, Earth-, and Light-weak, 1/2 Water, Wind and Dark damage, +100% MP
Shadow Cross – 40 HIT, 20 INT, 20 STM, 10 CRT, 1/2 Fire, Earth and Light damage, Water-, Wind- and Dark-weak, +1000 HP
Gold Idol – 1 HIT
Silver Idol – 1 AVD
Lavish Idol – 1 INT
Sacrificial Doll – 1/2 Fire, Water, Wind, Earth, Light and Dark damage, revives holder at 10% HP w/99% chance of breaking
Weird Doll – No effects
Earring of Magnetism – 20 ATK, 20 CRT, 20 GUTS, start battle with Power Up effect
Emerald Earring – 1/2 Wind damage, Hasten Speech LV +6
Gale Earring – 10 HIT, 10 AVD, 15 CRT, 1/2 Wind damage, +1 attacks
Gold Earring – AVD +10%
Shield Earring – Reduces physical damage by 80% w/5% chance to break
Silver Earring – Max MP +20%
Star Earring – 1/2 Light damage, Hasten Speech Lv +3
Breeze Earring – 15 AVD
Lame Earring – No effect
Hefty Earring – ATK +30%, HIT -10%
Earring of Readiness – 20 LUC, 1/2 Dark damage, nullifies back attacks from enemies
Earring of the Winds – 1/2 Wind damage
Blood Earring – 10% chance to heal damage received
Moon Earring – 75% chance to deflect damage taken to a nearby ally
Earring of Frenzy – Attack +200%, HIT =50%
Ruby Earring – 1 DEF
Glittering Earring – 1/2 Light damage
Onyx Earring – Converts 10% of spell damage received to MP
Green Bracelet – 5 LUC, 5 GUTS
Gold Bracelet – 10 DEF
Dream Bracelet – Level increases by 1 while worn with no changes to stats
Ricochet Bracelet – 5% chance to reflect damage taken
Bracelet of Gambling – Randomizes damage taken
Aqua Ring – Fire-weak, no Water damage
Ring of Might – Fire-, Water-, Wind-, Earth-, Light- and Dark-weak, doubles ATK
Ring of Insanity – Extends enemy knockback distance
Ring Infinity – Fire-, Water, Wind-, Earth-, Light-, and Dark-weak, gains 1 EXP per step taken
Water Ring – 10 STM, 10 GUTS, Fire-weak, 1/2 Water damage, Water spell damage +30%
Emerald Ring – 10 STM, -33% MP costs
Gold Ring – 1 AVD
Thunder Ring – 30 GUTS, 1/2 Wind damage, Earth-weak, Wind spell damage +30%
Shield Ring – Reduces physical damage taken by 90% w/10% chance to break
Ring of the General – 20 STM, DEF +10% (pickpocket only, Armlock)
Storm Ring – 15 HIT, 15 AVD, 5 LUC
Silver Ring – 2 DEF, 10 LUC, 10 STM, 1/2 Light and Dark damage
Stardust Ring – No Light damage
Ring of Lightspeed – 30 STM, 5 CRT, 10 GUTS, +2 attacks
Berserker Ring – Remain in rage state constantly
Weighty Ring – 3 CRT, 6 GUTS, Light-weak, ATK +20%, HIT -5%
Ring of the Accursed – 30 DEF, Fire-, Wind-, Earth-, and Dark-weak, Def +30%, 10% chance to double damage taken
Ring of Healing – Recover HP while walking
Fire Ring – 10 INT, 10 STM, 10 GUTS, 1/2 Fire damage, Water-weak, Fire spell damage +30%
Faerie Ring – -50% MP costs
Prism Ring – 5 GUTS, 5% chance of nullifying damage
Princess Ring – 2 INT, +100 MP
Flare Ring – No Fire damage, Water-weak
Ring of Absorption – 6 DEF, physical damage heals wearer w/10% chance to break
Ring of Trust – 20 STM, 10 CRT, 20 GUTS, GUTS increases the more allies have high friendship levels
Hefty Ring – 5 CRT, 10 GUTS, Fire- and Wind-weak
Holy Ring – 10% chance to nullify spell damage
Mind Ring – Wind-weak, recover 2% MP every 5 seconds
Meteor Ring – 10 STM, 1 CRT, 5 GUTS, +1 attacks
Ring of Mental Power – Recvoer 2% MP every 5 seconds
Regeneration Ring – 2 DEF, recover 3% HP every 5 seconds
Ring of Fusion – 6 INT, spell damage heals HP w/8% chance to break
Ring of Lunacy – Invincible but constantly Dazed w/5% chance of breaking
Ring of Resistance – Reduces spell damage taken by 90% w/10% chance of breaking
Ring of Wisdom – Max HP/MP +20%, 70% chance to block status ailments w/15% chance of breaking
Heavy Ring – 2 DEF, 2 CRT, 5 GUTS, Dark-weak
Ring of Happiness – 10 INT, 50 LUC, 10 STM (pickpocket only from various NPCs)
Ring of Sadness – DEF +30%, ATK -30%
Ring of Avoidance – Bodyguard trigger rate +30%
Ring of the Deep King – No Water or Wind damage, ATK +50%
Archangel’s Bracelet – 60 ATK, 60 DEF, 60 HIT, 60 AVD, 200 INT, 60 LUC, 60 GUTS, Absorb Fire, 1/2 Water, Wind, Earth, Light and Dark damage, launch stars with regular attacks
Winged Bracelet – Absorb Fire and Dark, 1/2 Water, Wind, Earth and Light damage, +2 attacks, launch stars with regular attacks
Sprite’s Bracelet – Earth-weak, gives low-level items when walking (pickpocket only from Philia in her PA in Kurik)
Pixie’s Bracelet – Water-weak, gives mid-level items when walking
Fortune’s Bracelet – Fore-weak, gives high-level items when walking
Santa’s Boots – Chance to obtain items when staying at inns
Colorless Scarf – 1/2 Fire, Water, Wind, Earth, Light and Dark damage
Item Encyclopedia – Materials
NOTE: Ores can be equipped in the accessory slots. You can use most Compounding herbs as healing items, as well.
Iron – 1 HIT
Silver – 1 DEF
Gold – 1 AVD
Sapphire – 1/2 Water damage
Ruby – 1/2 Fire damage
Green Beryl – 1/2 Earth damage
Crystal – 1/2 Wind damage
Diamond – No effects
Star Ruby – 1/2 Fire and Dark damage
Damascus – 1/2 Water and Dark damage
Rune Metal – 1/2 Wind and Dark damage
Orichalcum – 1/2 Earth and Dark damage
Rainbow Diamond – 1/2 Fire and Light damage
Moonstone – 1/2 Water and Light damage
Philosopher’s Stone – 1/2 Light and Dark damage
Meteorite – 1/2 Earth and Light damage
Mithril – 1/2 Wind and Light damage
Seafood
Top-Quality Tuna
Marenne Oysters
Fruit
Sweet Fruit
Grains
Magic Rice
Meat
Sirlon
Vegetables
Organic Vegetables
Eggs and Dairy
Creamy Cheese
Gelantinous Slime
Wobbly Slime
Ingredients of Yarma
Lavender – Recover 3% HP (one)
Wolfsbane
Mandrake – Set HP to 1 (one)
Rose Hip – Recover 2% HP (one)
Artemis Leaf – Recover 10% HP, remove poison (one)
Athelas – Recover 2% HP (one)
Conductor Baton
Magic Canvas
Magic Clay
Fountain Pen
Spectacles
Mechanic’s Toolbox
Magic Film
Premium Paper
Feather Pen
Pet Food
Smith’s Hammer
Factor Energy
Re-Creation Gem
Smooth Crystal (return to Eluria Tower in the postgame and you will find this in a chest near the Sorcery Globe)
Flawed Orb
Green Upgrade Kit
Megalauncher Kit
Berserker Ring Kit
Amulet of Flexibility Kit
Silver Earring Kit
Blue Talisman Kit
Sacrificial Doll Kit
Storm Ring Kit
Emerald Ring Kit
Moonlight Kit
Mallet Charm Kit
Star Guard Kit
Shield of Athena Kit
Dueling Kit
Magic Armor Kit
Witch’s Boots Kit
X Clip Kit
Veda Idol Kit
Angel Statuette Kit
Experience Card Kit
Starry Night Kit
Shrimp
Crest Shrimp
Coach Shrimp
Black Carla
Castle Gate Carp
Krosse Carp
Otiph Carp
Swift Trout
Traveling Salmon
Harbor Amago
Wandering Salmon
Clear Sky Trout
Mountain Amago
Divine Char
Angel Trout
Whelp Mouth Bass
Ogre Mouth Bass
Blue Ghoul
Rabbit Sunfish
Star Ruby Eye
Amber Perch
Glass Lotus
Black Lotus
White Lotus
Sapphire Lotus
Pearl Shark
Dragonfish
Pixie Mackerel
Imp Mackerel
Jailor Mackerel
Elurian Urchin
North Nedian Urchin
Two-Star Sardine
Seven-Star Sardine
Hoffman Sardine
Puny Goby
Bunny Goby
Rabbit Goby
White Knight Tellowtail
Lord Amberjack
Paladin Seiola
Mercenary Saba
Magician Saba
Witch Saba
Quiver Amago
Krosse Eel
White Sands Viper
Gross Eel
Desert Dab
Black Knight Dab
King Dab
Jotnar Fin
Spring Child
Picnic Bream
Banquet Bream
Lacuer Marlin
Harley Marlin
Hilton Marlin
Junior Tuna
Color Tuna
Silverpatch Tuna
Hoffman Shark
Snow Gator
Giant Black Tuna
Tokuirokkaku
Father of the Deep Sea
Item Encyclopedia – Misc.
Portrait A – View Claude’s portrait
Portrait B – View Rena’s portrait
Portrait C – View Celine’s portrait
Portrait D – View Bowman’s portrait
Portrait E – View Dias’s portrait
Portrait F – View Precis’s portrait
Portrait G – View Ashton’s portrait
Portrait H – View Leon’s portrait
Portrait I – View Opera’s portrait
Portrait J – View Ernest’s portrait
Portrait K – View Noel’s portrait
Portrait L – View Chisato’s portrait
Portrait M – View Welch’s portrait
Goodie Box – Gives you 3 random items
Jack-in-the-Box – Gives you an item or a battle
Benefaction Card – Gives you a random item
Drawing Poses – Sketching Lv +1
Dish of the Day – Recipe Lv +1
Musicology – Music Knowledge Lv +1
Operation Manual – Operation Lv +1
Engineer’s Handbook – Machinery Lv +1
Choosing Ingredients – Keen Eye Lv +1
Food for the Soul – Knife Lv +1
The Bestiary – Faeriology Lv +1
Walls of the Soul – Mental Science Lv +1
Life in Nature – Biology Lv +1
Secrets of the Earth – Mineralogy Lv +1
Pocket Encyclopedia – Item Knowledge Lv +1
Metallurgy – Eye for Detail Lv +1
The World’s a Stage – Performance Lv +1
The Perfect Rhythm – Smithing Lv +1
Hermetic Philosophy – Technolohy Lv +1
Friends of the Woods – Animal Training Lv +1
All About Herbs – Herbology Lv +1
Scroll of Power – Power Burst Lv +1
Death of Originality – Imitation Lv +1
Fanfic!?
Fanfic?
Fanfic
Fanfic!
Fanfic!!!
Fanfic 😉
Fanfic ;O
Fanfic X
Planet of the Wind – Friendship with Claude set to 16 for user
Eyes Only for You – Friendship with Rena set to 16 for user
The World is Mine – Friendship with Celine set to 16 for user
Advanced Symbology – Friendship with Leon set to 16 for user
The Blood-Paved Road – Friendship with Dias set to 16 for user
Alien Cultures – Friendship with Opera set to 16 for user
S.O. Confidential – Friendship with Bowman set to 16 for user
Men Who Can’t Say No – Friendship with Ashton set to 16 for user
Buy This Book! – Friendship with Precis set to 16 for user
The Animal Touch – Friendship with Noel set to 16 for user
All the Mayor’s Mean – Friendship with Chisato set to 16 for user
Countdown – Friendship with Ernest set to 16 for user
Creating a Coup – Friendship with Welch set to 16 for user
The Great Star Ocean – Friendship with Claude set to 28 for user
Romantic Love – Friendship with Rena set to 28 for user
You Go, Girl! – Friendship with Celine set to 28 for user
Expert Symbology – Friendship with Leon set to 28 for user
To Live – Friendship with Dias set to 28 for user
Our Wise Forefathers – Friendship with Opera set to 28 for user
The Violet Dahlia – Friendship with Bowman set to 28 for user
I Won’t Look Back – Friendship with Ashton set to 28 for user
A Girl’s Secrets – Friendship with Precis set to 28 for user
Nature’s Will – Friendship with Noel set to 28 for user
Assassin’s Handbook – Friendship with Chisato set to 28 for user
The Lost Tabernacle – Friendship with Ernest set to 28 for user
Uninstall – Friendship with Welch set to 28 for user
Potion of Trust – Friendship with all current party members set to 16 for user
Aphrodisiac – Friendship with all current party members set to 28 for user
Music Box – Stop all enemy movement on the map while it plays
Plasma Generator – Teaches Precis the Forcefield art
Megalauncher – Teaches Precis the Robbie’s Superbeam art
White Upgrade – Teaches Oepra the Healing Star art
Black Upgrade – Teaches Opera the Refraction Beam art
Green Upgrade – Teaches Opera the Hyperlauncher art
Symbol of the Gods – Teaches Welch the Nibelungaling! art (crafted by Welch with the Smooth Stone)
Forged Bill
Forged Check
Forged Document
Secret Account – Reduces prices by 10% at next shop when used
Stock Certificate – Gives 1 FOL per minute
Counterfeit Medal – Reduces exp needed to level up to 1, up to level 99
Seizure Warrant – Gives a random item
Item Order – Gives 3 random items
Contract – Use the next inn you visit for free
Scarlet Medal – Reduces BP cost to 1 for the user for the next upgrade only
Counterfeit Seal Case – Lowers the difficulty color of wandering enemies until next battle or changing screens
Doodles
Weird Shape
Paper Scrap
Pebbles
Blurry Photo
Scrap Iron
Bounced Check – Lose 1 FOL per second
Cinderella Glass – Reduces prices in the next shop you visit by 25% once
Jewel of the Frog – Escape the Maze of Tribulations
Fishy Fragrance – Fishing rate doubled (you catch twice as much)
Relax Perfume – Resets your Pockpocketing attempts left for the NPC it’s used on to 3
Pick Again – Resets all Pickpocketing opportunities for all NPCs; only 1 can ever be obtained even in New Game+
Orb of Fire
Item Encyclopedia – Battle Items
Faerie Elixir – Negates MP costts for 30 seconds (one)
Faerie Mist – Negates MP costs for 30 seconds (all)
Experience Card – Doubles EXP earned in battle
Wealth Card – Doubles FOL earned in battle
Treasure Card – Doubles item drop rate in battle
Faerie Card – Recover 50% HP (all)
Revival Card – Prevents one ally from dying once
Victory Card – GUTS +50% (all)
Critical Card – Guarantees one ally’s next attack will be a critical hit
Silence Card – Can silence one enemy
Hexagram Card – Can silence all enemies
The Scream – Casts the spell “Demon’s Gate” (power is based off of user’s INT)
Starry Night – Cast’s the spell “Starry Night” (power is based off of user’s INT)
Deadly Poison Bomb – Can poison all enemies
Daze Bomb – Can daze all enemies
Mind Bomb – Damage all enemies’ shields by 10%
Flare Bomb – Fire damage to all enemies in range
4-way Bomb – Fires lasers in 4 directions
Assault Bomb – Damages enemies in range by what their ATK stat is
Defense Bomb – Damages enemies in range by what their DEF stat is
Megabomb – Damages enemies in range by 1/2 of their max HP
Nuclear Bomb – All allies reduced to 1 HP, attempts to instantly kill all enemies
Compress of Veda – Movement speed +25% (one)
Ointment of Veda – Movement speed +100% (all)
Veda Idol – Escape from battle instantly; won’t work on boss battles
Illusion Doll – AVD +64 (one)
Faerie Statuette – Can cause instant death to one enemy
Warrior Idol – Can cause instant death to all enemies
Mirror of Knowledge – INT +30% (all)
Mental Potion – Int +40% (one)
Strength Bottle – ATK +50%, can’t use special arts or symbology (one)
Potion of the Winders – ATK +40% (one)
Potion of Might – ATK +30% (one)
Immunity Pill – 100% chance to block status ailment (one)
Shock Oil – Dazes one enemy
Smoke Oil – Decrease movement speed of one enemy
Smoke Mist – Decrease movement speed of all enemies
Oil of Paralysis – Can paralyze one enemy
Paralysis Mist – Can paralyze all enemies
Mist of Madness – Confuses all enemies
Stink Gel – Causes next physical attack to potentially poison enemies (one)
Bubble Lotion – Causes next physical attack to potentially petrify enemies (one)
Melt Potion – Causes next physical attack to potentially instantly kill enemies (one)
Bitter Lotion – Causes next physical attack to potentially paralyze enemies (one)
Temper Tablet – Causes next physical attack to potentially petrify enemies, makes target uncontrollable (one)
Potion of Lilith – ATK +50%, makes target uncontrollable (one)
Sacrifice Pill – Damage enemies in range by target’s remaining HP, also incapacitates target (one)
Elven Powder – Take no damage for 10 seconds, then become incapacitated (one)
Witch Powder – Reduces spell damage by 50% (one)
Faeire Cologne – Makes enemies have trouble targetting recipient (one)
Succubus Perfume – Makes enemies have an easier time targetting recipient (one)
Pixie Perfume – INT +50%, makes target uncontrollable (one)
Magic Gumdrop – Halt all enemy movement for 3 seconds
Item Encyclopedia – Key Items
Communicator
Rena’s Pendant
Rena’s Hairpin
Treasure Map
Ancient Text
Travel Permit
Mud Shoes – Lets you walk through the mud in the Forest of Symbols
House Key
King’s Tears
Silver Chalice
Metorx (Ashton or Bowman PA exclusive item)
Armory Contest Badge
Clarisage (found in the front part of the Sanctuary of Linga, exclusive to Dillwhip during the story; grab it later if you got Dillwhip instead)
Dillwhip (found in the back of the Sanctuary of Linga, exclusive to Clarisage during the story; grab it later if you got Clarisage instead)
Combo Link – Allows use of Combo Links for all allies
Energy Stone
ID Card
Key Card
Phase Unit – Teaches Claude the Phase Gun special art
Chisato’s Card
Rune Code
Orb of Wisdom
Orb of Might
Orb of Courage
Orb of Love
Idol of the Warrior
Pandora’s Box
Minae Cave Key Card
LEA Metal
N.P.I.D. – Allows free access to Fun City
Void Matter
Piano
Cembalo
Mystical Shamisen
Silver Trumpet
Harmonica
Lyre
Violin
Pipe Organ
Lezard’s Flask – Increases Alchemy options
Thief’s Glove – Enables Pickpocketing
Magician’s Glove – Enables Pickpocketing, doubles success rate of Pickpocketing
Magic Camera – Enables Replication
RIRICA – Enables Replication, 30% chance of not using Magic Film when using Replication
Element Analyzer – 30% chance of not using Spectacles during Appraising
Graphic Tool – 30% chance of not using Magic Clay or Magic Canvas when using Art
Music Editor – 30% chance of not using Feather Pen or Conductor Baton when using Music or Orchestra
Triangle Flask – 30% chance of not using Iron when using Alchemy
Magical Rasp – Adds new Blacksmithing options; 30% chance of not using ores when using Customization, 30% chance of not using ores and Smith’s Hammers when using Blacksmith
Soldering Iron – 30% chance of not using ores when using Crafting
Survival Kit – Adds more potential items found with Survival
Word Processor – 30% chance of not using Fountain Pen when using Writing or Publication
Sterile Glove – 30% chance of not using herbs when using Compounding
Keen Kitchen Knife – 30% chance of not using ingredients when using Cooking or Master Chef
Masterwork Rod – Allows you to catch fish marked “rare”
Formation Manual “Defense” – Allows you to use the Astral Shift formation
Formation Manual “Training” – Allows you to use the Square Shift 2 formation
Formation Manual “Aid” – Allows you to use the Under Caution formation
Formation Manual “Support” – Allows you to use the Assault Shift formation
Formation Manual “Alert” – Allows you to use the Square Shift 1 formation
Formation Manual “Offense” – Allows you to use the Tri-Shift 2 formation
Formation Manual “Flee” – Allows you to use the Escape Shift formation
Formation Manual “Wealth” – Allows you to use the Free-fight formation
Formation Manual “Wisdom” – Allows you to use the Tri-Shift 1 formation
Formation Manual “Healing” – Allows you to use the Under Guard formation
Formation Manual “Rage” – Allows you to use the Upper Caution formation
Formation Manual “Unyielding” – Allows you to use the Upper Guard formation
Secret Manual “Change” – Teaches the Backstab combat skill
Secret Manual “Break” – Teaches the Breaker combat skill
Secret Manual “Weight” – Teaches the Heavy Hitter combat skill
Secret Manual “Preserve” – Teaches the Accumulation Aid combat skill
Secret Manual “Pierce” – Teaches the Surpass Damage Limit combat skill
Secret Manual “Augment” – Teaches the Overload combat skill
Angler’s Plaque – Red
Angler’s Plaque – Blue
Angler’s Plaque – White
Treasure Detector – Shows treasure chests on the minimap (does not show world map treasure chests)
Break Booster – Causes enemies who are broken to launch a shockwave that damages and breaks nearby enemies
AA Device – Enables Assault Actions
Roddick Jewel – Lets you set Roddick to an Assault Action command
Fayt Jewel – Lets you set Fayt to an Assault Action command
Edge Jewel – Lets you set Edge to an Assault Action command
Fidel Jewel – Lets you set Fidel to an Assault Action command
Raymond Jewel – Lets you set Raymond to an Assault Action command
Laeticia Jewel – Lets you set Laeticia to an Assault Action command
Locket
Errand Gold (there’s a PA in Lacour that gives you this)
Enemy Encyclopedia
This is a list of every enemy in the game, in the order found in the Enemy Encyclopedia, as well as notes as needed for how to fight certain enemies.
Armored Knight – Krosse Cave
Brownie – Lacuer Castle (Claude only; part of the Tournament of Arms)
Savant – Lasgus Mountains
Landworm – Krosse Cave
Sandworm – Desert Area
Bloodworm – Forest of Symbols
Protector – Hoffman Ruins
Shielder – Forest of Symbols
Defender – Eluria Tower
Vorpal Bunny – Salva Mines
Killer Rabbit – Sacred Grounds of Linga
Alraune – Krosse Cave
Shadow Flower – Desert Area
Mandrake – Sacred Grounds of Linga
Otiph – Field of Courage
Gerel – Sacred Forest, Dragon’s Lair of Salva Mines
Petri Gerel – Mountain Palace
Kobold – Salva Mines
Bugbear – Forest of Symbols
Kobold King – Lasgus Mountains
Thieving Scum – Sacred Forest, Salva Mines
Bandit – Forest of Symbols
Untrained Assassin – Harley (Claude only, from a PA starting in Lacour where you need to keep picking that you’re not just going to leave a girl alone)
Elder Witchette – Eluria Tower
Sorceress – Lasgus Mountains
Witchette – Forest of Symbols, Dragon’s Lair of Salva Mines
Axman of Doom – Hoffman Ruins
Lizard Axman – Sacred Forest, Salva Mines
Robber Axman – Forest of Symbols
Slime – Krosse Cave
Fudd – Mountain Palace
Black Slime – Hoffman Ruins
Zinae – Lasgus Mountains (Boss)
Arachnovia – Cave of Crimson Crystals (Boss)
Scylla – Dragon’s Lair in Salva Mines
Darth Widow – Eluria Tower
Garuda Eagle – Forest of Symbols
Cockatrice – Lasgus Mountains
Peryton – Cave of Crimson Crystals
Sandglass – Dragon’s Lair in Salva, Mountain Palace
Timekeeper – Eluria Tower
Hourglass – Desert Area
Controller – Field of Wisdom
Joypad – Field of Love
Masterpad – Jack-in-the-Box (use the item)
Hound – Mountain Palace
Blood Hound – Sacred Grounds of Linga
Hellhound – Cave of Crimson Crystals
Ooze – Sacred Grounds of Linga
Dark Water – Minae Cave
Slime Pool – Mountain Palace
Niquia HG – Field of Wisdom, Field of Love
Niquia LM – Phynal
Erikodus – Phynal
Takikodus – Phynal
Stingray – Forest of Symbols
Flyray – Lasgus Mountains
Shockray – Cave of Crimson Crystals
Coquettish Whip – Sacred Grounds of Linga
Beastmaster – The Dragon’s Lair
Werewolf – Dragon’s Lair of Salva Mine
Wolfhead – Sacred Grounds of Linga
Mirre 32 – Maze of Tribulations B4 (Boss)
Miree 64 – Phynal
Miree 128 – Maze of Tribulations B10
Ghark – Sacred Forest (Boss, Claude only)
Troll – Lacuer Castle (Claude only; part of the Tournament of Arms)
Yeti – Field of Might
Goathead – Eluria Tower
Halfynx – Hoffman Ruins (Boss)
Sunbreaker – Field of Love, Minae Cave
Visseya – Sacred Grounds of Linga (Boss)
Quidonya – Phynal
River Slug – Phynal
Guard Hand – Field of Wisdom (Boss)
Guard Box – Field of Wisdom (Boss)
Magic Box – Field of Wisdom (Boss)
Force Box – Field of Wisdom (Boss)
Whelp – Hoffman Ruins
Rikka – Field of Wisdom
Rikke – Field of Courage
Rikki – Field of Love
Archer – Mountain Palace
Bowlady – Hoffman Ruins
Green Gelatin – Dragon’s Lair in Salva Mines
Orange Gelatin – Eluria Tower
Clear Gelatin – Field of Love
Azam Gille – Forest of Symbols (Boss, Rena only)
Athul Athul – Field of Might
Lavarre – Field of Love (Boss)
Black Balloon – Lasgus Mountains
Orange Balloon – Minae Cave
Red Balloon – Cave of Crimson Crystals
Salamander – Hoffman Ruins
Fire Lizard – Mountain Palace (Boss, Opera only)
Frost Lizard – Eluria Tower
Fenrir Beast – Field of Courage
Gargoyle – Krosse Cave (Boss)
Stone Statue – Eluria Tower (Boss)
Allen Tucks – Salva Mines (Boss)
Snow Ogre – Forest of Symbols (Boss, Claude only)
Dark Crusader – Field of Might, Field of Courage
Insane Lord – Field of Might
Phantom Knight – Maze of Tribulations B1
Ultimate Avenger – Maze of Tribulations B7
Living Armor – Maze of Tribulations B1
Magic Defender – Field of Wisdom / Field of Love
Star Protector – Maze of Tribulations B8
Jaber Wabbit – Maze of Tribulations B4/B6
Blood Gerel – Maze of Tribulations B2/B3
Metal Scum – Maze of Tribulations B6
Thieving Scum LV99 – Maze of Tribulations B6/B7
Enchantress – Maze of Tribulations B1/B3
Magus – Maze of Tribulations B7
Dragon Axman – Maze of Tribulations B5/B6
Phantom Axman – Maze of Tribulations B2
Hunter Slime – Maze of Tribulations B2/B4
Hell Savant – Maze of Tribulations B13
Phantom Phoenix – Phynal
Phoenix – Maze of Tribulations B12 (Boss)
Lady Chimera – Maze of Tribulations B5
Grim Wing – Maze of Tribulations B1
Cockatrice King – Maze of Tribulations B9
Dreamcaster – Maze of Tribulations B3/B5
Vile Hound – Maze of Tribulations B8
Manic Gunner – Maze of Tribulations B10
Life Flayer – Maze of Tribulations B10
Mind Flayer – Maze of Tribulations B10/B11
Cave Stingray – Maze of Tribulations B2
Grim Stingray – Maze of Tribulations B5
Giant – Maze of Tribulations B2
Mighty Ape – Maze of Tribulations B5
Killer Ape – Maze of Tribulations B8
Greater Goathead – Maze of Tribulations B5
Phantom Goathead – Maze of Tribulations B3
Gastric Slug – Maze of Tribulations B10/B11
Phantom Mollusk – Maze of Tribulations B9
Elysian Slug – Maze of Tribulations B8 (Boss)
Robinette – Maze of Tribulations B7
Robinette Captain – Maze of Tribulations B9
Medusa Lizard – Phynal
Crimson Beast – Maze of Tribulations B7
Phantom Salamander – Maze of Tribulations B5 (Boss)
Lesser Devil – Maze of Tribulations B3
Ogre – Lacuer Castle (Claude’s only; part of the Tournament of Arms)
Ghast – Field of Might
Brigand Ogre – Maze of Tribulations B9
Ghost – Hoffman Ruins (Boss, Ernest only)
Succubus – Phynal
Nightmare – Mountain Palace (Boss, Ashton only)
Dark Enchantress – Maze of Tribulations B1 (Boss)
Gabriella Celeste – Maze of Tribulations (B13)
Iseria Queen – The Devil’s Aria Lv. 10 (requires SIlver Trumpet)
Wizard – Field of Wisdom
Master Wizard – Field of Love, Phynal
Soulmaster – Maze of Tribulations B13
Phantom Mage – Maze of Tribulations B11
Sorcerer – Maze of Tribulations B9 (Boss)
Zandor – Harley (Rena only, Harley PA chain boss)
Cynne – Lacuer Front Line Base (Boss)
Hellmaster – Maze of Tribulations B9
Phantom Devil – Maze of Tribulations B8
Psynard – North City (Boss)
Dragon Tyrant – Maze of Tribulations B11
Guardian – Field of Might / Field of Courage (Boss)
Geo Guardian – Maze of Tribulations B10 (Boss)
Aulbear – Maze of Tribulations B11
Barchian – Minae Cave (Boss)
Rock Demon – Maze of Tribulations B13
Mithril Eater – Maze of Tribulations B7 (Boss)
Metatron – Armlock (Boss)
Jophiel – Fun City (Boss)
Zaphkiel – Phynal (Boss)
Zadkiel – Phynal (Boss)
Camael – Phynal (Boss)
Raphael – Phynal (Boss)
Haniel – Phynal (Boss)
Michael – Phynal (Boss)
Lucifer – Phynal (Boss)
Gabriel – Phynal (Boss)
Gabriel (unlimited) – Phynal (Boss, see both of Philia’s PAs, one in Kurik and one in the Centropolis in the postgame, to unlock this battle)
Dias – Fun City (Dias only)
Ultra Untrained Assassin – Raid Battle – Near Harley
Ultra Ghark – Raid Battle – Island SW of Arlia
Ultra Wizard – Raid Battle – Desert Island (S)
Ultra Rock Demon – Raid Battle – North Island (Expel)
Ultra Aulbear – Raid Battle – West Desert
Ultra Ogre – Raid Battle – West of Linga
Ultra Crimson Beast – Raid Battle – Desert Island (N)
Ultra Phantom Phoenix – Raid Battle – NW of Ell Continent
Ultra Phantom Knight – Raid Battle – NE of Fun City
Ultra Takikodus – Raid Battle – Phynal Island
Ultra Robinette Captain – Raid Battle – S of Noel’s Home
Ultra Darth Widow – Raid Battle – SE of L’Aqua
Ultra Whelp – Raid Battle – N of Princebridge
Unique Locations
Unique Locations are hidden around the entire world. Examining them gives you a little bit of lore, as well as a reward.
1. Rustic Waterwheel
Location: Center of Arila, where the waterwheel is (unsurprisingly)
Reward: 50 EXP, Resurrection Elixir x2
2. Quietly Gleaming Minerals
Location: Found in the center of the Salva Mines
Reward: 100 EXP, Ruby x2, Silver x2
3. Dawn-Lit Cascades
Location: Just west of Kurik.
Reward: 100 EXP, Benefaction Card
4. A Strange Laboratory
Location: At the right side of the main part of the Mountain Palace.
Reward: 500 EXP, Hermetic Philosophy x3
5. Portrait of Prince Clauzer
Location: Right at the base of the main stairs of Krosse Castle.
Reward: 100 EXP, Portrait A
6. The Monarch’s Roost
Location: At the peak of Lasgus Mountain.
Reward: 500 EXP, The Beastiary x3
7. Jade Green Columns
Location: The hidden treasure room of Krosse Cave (revealed during the main plot).
Reward: 500 EXP, Green Beryl x3
8. Old Lighthouse
Location: Up on the hill in Kurik, this can be missed.
Reward: 500 EXP, Lunar Tailsman+ (Temporary Measures)
9. Monument of Truth
Location: Located in the middle of Marze.
Reward: 500 EXP, Witch Powder x3
10. The Emperor of Fish
Location: A fossil on the edge of Harley.
Reward: 500 EXP, Fishy Fragrance x5
11. Hilton’s Open-Air Market
Location: Right in the middle of Hilton.
Reward: 500 EXP, Cinderella Glass x3
12. Statue of the 3 Warriors
Location: Right at the central square of Lacuer.
Reward: 500 EXP, Scroll of Power x3
13. Lacuer Academy
Location: Right outside Lacour’s academy.
Reward: 500 EXP, All About Herbs x2, Pocket Encyclopedia x2, Secrets of the Earth x2, Life in Nature x2
14. Gift from the Sky
Location: North of Linga, in the mountains, you will find some craters. That’s where this is.
Reward: 1000 EXP, Meteor Ring+
15. A Grand Burial Ground
Location: A very large skeleton near the end of the Sanctuary of Linga.
Reward: 1000 EXP, Goddess Statuette x3
16. The Glint of Hidden Power
Location: In an early room of the Hoffman Ruins.
Reward: 1000 EXP, Light Cross+
17. The Lacuer Hope
Location: At the far end of the Lacour Front Line Base.
Reward: 1000 EXP, X Clip
18. The Claw Marks of Calamity
Location: Northwest corner of the Ell continent, it’s a sunken city.
Reward: 1000 EXP, Moonlight x1
19. Where Monsters Rule
Location: Right inside Eluria Tower’s entrance.
Reward: 1000 EXP, The Scream
20. Sunlight on the Snow
Location: At a small cul-de-sac of the Field of Power.
Reward: ?
21. Pyramid amidst the Sands
Location: Right outside of the Maze of Tribulations in the postgame on Expel.
Reward: EXP, BP, SP
22. Ruins in the Desert
Location: Out in the Lasgus Desert.
Reward: 1000 EXP, Twin Splicers+ (MP Drain)
23. A Coral Paradise
Location: Just south of Krosse Cave.
Reward: 500 EXP, Blue Talisman+ (Loving Care)
24. Otherworldly Garden
Location: Take the teleporter in Nall’s office in the Centropolis; it’s out in the flower field.
Reward: 10000 EXP, Revival Card
25. A Relaxing Aquarium
Location: Center of L’Aqua.
Reward: 10000 EXP, Aqua Ring+
26. The City of Weaponsmiths
Location: Right near the center of Armlock.
Reward: 10000 EXP, Meteorite x2, Mithril x2
27. Nedepedia
Location: Inside North City Library.
Reward: 10000 EXP, Operation Manual x3, Engineer’s Handbook x3, The Bestiary x3, Hermetic Philosophy x3
#28 Crimson Prisms
Location: In a dead end near the start of the Cavern of Red Crystals.
Reward: 10000 EXP, Rainbow Diamond x5
29. The Big White Neighbor
Location: One of the big snowmen in Princebridge.
Reward: 10000 EXP, Cream Stew x5
30. Space-Time Travel Relics
Location: At the top end of the Symbological Weapons Laboratory. Missable.
Reward: Re-creation Gem x5, Factor Energy x5
31. An Out-of-Place Artifact
Location: Just outside the Field of Wisdom.
Reward: 10000 EXP, Potion of Merlin x3, Holy Mist x3
32. A Whimsical Fairground
Location: Fun City’s central square.
Reward: 10000 EXP, Dream Bracelet+ (War Cry)
33. Faded City of the Future
Location: Right near the fountain in the Centropolis.
Reward: 10000 EXP, Amoeba Soup
34. The Energy Field
Location: Just outside the Centropolis.
Reward: 10000 EXP, Mithril Coat+ (Symbology Field)
35. Serene Garden in the Sky
Location: An island near the Field of Love.
Reward: 20000 EXP, Aphrodisiac
36. Islands Shrouded in Ice
Location: On the small islands near Princebridge and the Field of Power.
Reward: 10000 EXP, Resurrection Mist x3
Fish Encyclopedia
These are all of the fish you can catch in the game, and roughly where to find them as per the Fish Encyclopedia itself. Fish marked with (Rare) require the Masterwork Rod to catch.
Shrimp – Small
Habitat: Arlia
Castle Gate Carp – Small
Habitat: Hoffman Ruins, Field of Love
Krosse Carp – Small
Habitat: Krosse City
Otiph Carp – Small
Habitat: Arlia
Swift Trout – Medium
Habitat: Salva, Cave of Crimson Crystals
Traveling Salmon – Medium
Habitat: Krosse City, Phynal
Harbor Amago – Small
Habitat: Krosse
Wandering Salmon (Rare) – Medium
Habitat: Field of Love
Clear Sky Trout – Small
Habitat: Arlia, Field of Love
Mountain Amago – Small
Habitat: Northern Krosse (River)
Divine Char – Small
Habitat: Southern Krosse (River/Upstream)
Angel Trout – Small
Habitat: Linga
Whelp Mouth Bass – Small
Habitat: Krosse City, North City
Ogre Mouth Bass – Medium
Habitat: Krosse Castle, Centropolis
Blue Ghoul – Small
Habitat: Centropolis
Rabbit Sunfish (Rare) – Medium
Habitat: Noel’s Home
Star Ruby Eye (Rare) – Medium
Habitat: Princebridge
Amber Perch (Rare) – Large
Habitat: Linga, North City
Glass Lotus – Large
Habitat: Krosse
Black Lotus – Medium
Habitat: Arlia
White Lotus – Large
Habitat: Northern Krosse (River)
Sapphire Lotus – Large
Habitat: Southern Krosse (River/Upstream)
Pearl Shark (Rare) – Large
Habitat: Hoffman Ruins
Dragonfish (Rare) – Large
Habitat: Maze of Tribulations
Pixie Mackerel – Small
Habitat: Hilton, Nede (Princebridge Region)
Imp Mackerel – Small
Habitat: Harley
Elurian Urchin – Small
Habitat: Northern Krosse
North Nedian Urchin – Small
Habitat: Phynal, Expel (Remote Island)
Two-Star Sardine – Small
Habitat: Harley, Cave of Crimson Crystals
Seven-Star Sardine – Small
Habitat: Kurik, Food Shop “Empyrean Cuisine”
Hoffman Sardine – Small
Habitat: Salvam, Nede (Princebridge Region)
Crest Shrimp – Small
Habitat: Eluria Settlement, Nede (Princebridge Region)
Coach Shrimp – Small
Habitat: Hilton, Cave of Crimson Crystals
Black Carla – Small
Habitat: Cave of Crimson Crystals
White Knight Yellowtail – Medium
Habitat: Kurik, Phynal Pier
Lord Amberjack – Large
Habitat: Kurike, Nede (Cemtropolis Region)
Paladin Seriola – Medium
Habitat: Hoffman Coast, Phynal Pier
Mercenary Saba – Small
Habitat: L’Aqua, Expel (Remote Island)
Magician Saba – Small
Habitat: Phynal Pier, Expel (Remote Island)
Puny Goby – Small
Habitat: Nede (Centropolis Region), Expel (Remote Island)
Bunny Goby – Small
Habitat: Noel’s Home
Rabbit Goby – Small
Habitat: Krosse
Quiver Amago – Medium
Habitat: Arlia, Phynal
Krosse Eel – Medium
Habitat: Krosse City
White Sands Viper – Medium
Habitat: Kurik, Nede (Fun City Region)
Gross Eel – Medium
Habitat: Lacuer City
Desert Dab – Medium
Habitat: Elurian Coast
Black Knight Dab – Medium
Habitat: Desert Area
King Dab – Medium
Habitat: Elurian Coast
Jotnar Fin (Rare) – Large
Habitat: Nede (Princebridge Region)
Witch Saba – Small
Habitat: Kurik
Jailor Mackerel – Small
Habitat: Hilton
Spring Child – Small
Habitat: Princebridge, Expel (Remote Island)
Picnic Bream – Small
Habitat: L’Aqua
Banquet Bream – Medium
Habitat: L’Aqua, Expel (Remote Island)
Lacuer Marlin – Large
Habitat: Lacuer Castle
Harley Marlin – Large
Habitat: Krosse
Hilton Marlin – Large
Habitat: Hilton
Junior Tuna – Large
Habitat: Harley, Nede (Cave of Crimson Crystals Area)
Color Tuna – Large
Habitat: Nede (L’Aqua Region), Expel (Maze of Tribulations Region)
Silverpatch Tuna – Large
Habitat: L’Aqua
Hoffman Shark (Rare) – Large
Habitat: Harley
Snow Gator (Rare) – Large
Habitat: Hilton
Giant Black Tuna (Rare) – Large
Habitat: Phynal
Tokuirokkaku (Rare) – Gigantic
Habitat: Krosse
Father of the Deep Sea (Rare) – Gigantic
Habitat: Nede (Princebrdge Region)
Fishing Locations
These are the actual fishing spots you can find throughout the game, and what you can catch there.
Arlia (bridge or pier)
Shrimp
Otiph Carp
Clear Sky Trout
Black Lotus
Arlia Well
Shrimp
Clear Sky Trout
Quiver Amago
Southern Krosse River (World Map – Just outside Arlia)
Shrimp
Otiph Carp
Clear Sky Trout
Swift Trout
Southern Krosse (World Map – beach west of Arlia)
Two-Star Sardine
Pixie Mackerel
Crest Shrimp
Desert Dab
Salva – Pot in Allen’s house
Hoffman Sardine
Swift Trout
Kross River (World Map – outside Krosse City)
Krosse Carp
Swift Trout
Black Lotus
Traveling Salmon
Krosse City (all water in the city)
Krosse Carp
Traveling Salmon
Black Lotus
Krosse Eel
Harley (all water in the town)
Two-star Sardine
Imp Mackerel
Junior Tuna
Hoffman Shark (Rare)
Harley (Pot in Zandor’s Mansion)
Whelp Mouth Bass
Ogre Mouth Bass
Krosse Ocean (World Map – just outside Harley)
Castle Gate Carp
Krosse Carp
Otiph Carp
Harley Marlin
Tokuirokkaku (Gigantic, Rare, doesn’t always appear)
Krosse Ocean (World Map – near Harley and Krosse Cave)
Seven-Star Sardine
White Knight Yellowtail
Padalin Seriola
Harley Marlin
Kross Ocean (World Map – beaches in between Marze and Kurik)
Krosse Carp
Swift Trout
Black Lotus
Krosse Eel
Northern Krosse River (World Map – rivers near Kurik)
Shrimp
Castle Gate Carp
Otiph Carp
Swift Trout
Northern Krosse (World Map – outside Kurik)
Imp Mackeral
Elurian Urchin
Crest Shrimp
Desert Dab
Kurik (the oceans inside the city)
Seven-Star Sardine
Witch Saba
White Knight Yellowtail
Lord Amberjack
Kurik Fountain
Shrimp
Whelp Mouth Bass
White Sands Viper
Northern Krosse Upstream (World Map – outside Mountain Pass)
Castle Gate Carp
Kross Carp
Mountain Amago
Glass Lotus
Desert Area (World Map – anywhere on the west side of Mount Lasgus, in the desert)
Two-Star Sardine
Pixie Mackerel
Desert Dab
Black Knight Dab
Krosse (World Map – fishing point at coral beach south of Krosse Cave, neeeds Bunny or Psynard)
Clear Sky Trout
Rabbit Goby
Glass Lotus
Sapphire Lotus
Southern Krosse Upstream (World Map – fishing spot east of Arlia, needs Bunny or Psynard)
Castle Gate Carp
Otiph Carp
Divine Char
Sapphire Lotus
Krosse (World Map – isolated beach east of Krosse cave, needs Bunny or Psynard)
Castle Gate Carp
Harbor Amago
Swift Trout
Glass Lotus
Tokuirokkaku (Gigantic, Rare, doesn’t always appear)
Hilton (dock in town)
Pixie Mackerel
Coach Shrimp
Jailor Mackerel
Hilton Marlin
Snow Gator (Rare)
Southern Lacuer (World Map – beaches outside Hilton)
Coach Shrimp
Pixie Mackerel
Witch Saba
Lacuer Marlin
Northern Lacquer (World Map – beaches outside Lacuer Front Line Base)
Seven-Star Sardine
Hoffman Sardine
Crest Shirmp
Witch Saba
Snow Gator (rare)
Northern Lacuer River (World Map – rivers near Lacquer Front Line Base, needs Bunny or Psynard)
Rabbit Goby
Angel Trout
White Lotus
Sapphire Lotus
Southern Lacuer River (World Map – river near Lacuer)
Coach Shrimp
Rabbit Goby
Clear Sky Trout
Krosse Eel
Southern Lacuer (World Map – beaches south of Lacuer)
Two-Star Sardine
Pixie Mackerel
Coach Shrimp
Black Knight Dab
Southern Lacuer River (World Map – river near Linga)
Shrimp
Castle Gate Carp
Mountain Amago
White Lotus
Lacuer City (in town, on the bridge)
Shrimp
Otiph Carp
Swift Trout
Coach Shrimp
Gross Eel
Linga (any water in town)
Otiph Carp
Clear Sky Trout
Angel Trout
Amber Perch (Rare)
Hoffman Coast
Hoffman Sardine
Jailor Mackerel
White Knight Yellowtail
Paladin Seriola
Hoffman Shark (Rare)
Hoffman Ruins (inside the dungeon)
Shrimp
Castle Gate Carp
Krosse Carp
Black Lotus
Pearl Shark (Rare)
Eluria Coast (Ell Continent, beach where you wash ashore)
Imp Mackerel
Coach Shrimp
Desert Dab
King Dab
Ell River (World Map – rivers on Ell Continent)
Shrimp
Otpih Carp
Glass Lotus
White Lotus
Ell (World Map – beaches on Ell Continent)
Seven-Star Sardine
Elurian Urchin
Glass Lotus
Juinor Tuna
Centropolis Fountain
Blue Ghoul
Ogre Mouth Bass
Centropolis Food Shop “Empyrean Cuisine”
Whelp Mouth Bass
Sever-Star Sardine
Ogre Mouth Bass
Star Ruby Eye (Rare)
Nede (World Map – outside Centropolis)
Mercenary Saba
Puny Goby
White Knight Yellowtail
Paladin Seriola
Lord Amberjack
North City Food Shop “Clone Foods”
Whelp Mouth Bass
Blue Ghoul
Ogre Mouth Bass
Amber Perch (Rare)
Noel’s Home
Bunny Goby
Rabbit Sunfish (Rare)
Nede (World Map – outside Noel’s Home)
North Nedian Urchin
Black Carla
Traveling Salmon
Junior Tuna
Nede (World Map – Field of Courage area on South Island)
Mercenary Saba
Puny Goba
Junior Tuba
Color Tuna
Nede (World Map – near Minae Cave)
Mercenary Saba
Puny Goby
Quiver Amago
Junior Tuna
Nede (World Map – near Fun City)
North Nedian Urchin
Bunny Goby
Traveling Salmon
White Sands Viper
Nede (World Map – near L’Aqua)
Mercenary Saba
Picnic Bream
Banquet Bream
Color Tuna
Nede (World Map – near Field of Wisdom)
Black Carla
Wandering Salmon (Rare)
Lord Amberjack
Junior Tuna
Nede (World Map – western snow islands)
Hoffman Sardine
Crest Shrimp
Traveling Salmon
Jotnar Fin (Rare)
Nede (World Map – near Field of Might)
Seven-Star Sardine
Pixie Mackerel
Black Carla
Father of the Deep Sea (Gigantic, Rare, doesn’t always appear)
Nede (World Map – near Princebridge)
Hoffman Sardine
Puny Goby
Bunny Goby
Quiver Amago
Father of the Deep Sea (Rare, Gigantic, doesn’t always appear)
Nede (World Map – tiny snow island south of the Field of Might)
Black Carla
Magician Saba
Puny Goby
Quiver Amago
Father of the Deep Sea (Rare, Gigantic, doesn’t always appear)
Nede (World Map – Phynal region, far NE small island)
North Nedian Urchin
Seven-Star Sardine
Black Carla
Silverpatch Tuna
Princebridge (central pond)
Two-Star Sardine
Black Carla
Spring Child
Star Ruby Eye (rare)
Phynal Pier
Mercenary Saba
Magician Saba
White Knight Yellowtail
Paladin Seriola
Silverpatch Tuna
Nede (World Map – Phynal lake)
North Nedian Urchin
Black Carla
Quiver Amago
Giant Black Tuna (Rare)
Phynal
North Nedian Urchin
Black Carla
Quiver Amago
Giant Black Tuna (Rare)
Expel (World Map – near Maze of Tribulations, requires Psynard)
Elurian Urchin
Imp Mackerel
Desert Dab
Color Tuna
Expel (World Map – western remote island, requires Psynard)
North Nedian Urchin
Spring Child
Puny Goby
Banquet Bream
Expel (World Map – northern remote island, requires Psynard)
Imp Mackerel
Magician Saba
Lord Amberjack
Hilton Marlin
Expel (World Map – island near Hoffman continent, requires Psynard)
Hoffman Sardine
Coach Shrimp
White Knight Yellowtail
Paladin Seriola
Hoffman Shark (Rare)
Expel (World Map – southern remote island, requires Psynard)
Mercenary Saba
Magician Saba
Witch Saba
Jailor Mackerel
White Sands Viper
Maze of Tribulations (B13)
Castle Gate Carp
Krosse Carp
Black Lotus
Dragonfish (Rare)
Fishing Rewards
You can collect rewards from fishing from Reel, who can be found in Harley (and later in L’Aqua). Both rewards for catching multiple types of fish and items traded for caught fish can be obtained from her. It’s well worth your while to fish!
Fish Trading
Seafood – 1 fish (any)
Life in Nature – 3 fish (Otiph Carp, Castle Gate Carp, Krosse Karp only)
Pocket Encyclopedia – 3 fish (Pixie Mackerel, Imp Mackerel, Jailor Mackerel only)
Fishy Fragrance – 1 fish (large only)
Traveling Salmon – 3 fish (small only)
Lord Amberjack – 2 fish (medium only)
Treasure Card – 10 fish (Blue Ghoul, Whelp Mouth Mass, Ogre Mouth Bass only)
Wealth Card – 10 fish (Desert Dab, King Dab, Black Knight Dab only)
Experience Card – 10 fish (Hilton Marlin, Harley Marlin, Lacuer Marlin only)
Shield Ring – 10 fish (Junior Tuna, Color Tuna, Silverpatch Tuna only)
Ring of Resistance – 10 fish (Krosse Eel, Quiver Amago, White Sands Viper only)
Sacrificial Doll – 10 fish (Black Carla, Coach Shrimp, Crest Shrimp only)
Goodie Box – 3 fish (Rabbit Sunfish, Amber Perch, Star Ruby Eye only)
Top Quality Tuna – 12 fish (large only)
Edge Jewel – 1 fish (Harbor Amago, Divine Char, Spring Child only)
Fishing Rewards
5 Types – Experience Card
10 Types – Fishy Fragrance
15 Types – Masterwork Rod
22 Types – Raymond Jewel
35 Types – Soul Jacket+ (CRT Super Boost)
48 Types – Soul Helmet+ (Super Rally)
60 Types – Ring of the Deep King+ (Gathering Stars)
66 Types – Volticry+ (Reckless Magic)