Halcyon’s Questline
Halcyon’s Questline contains six quests:
- Balance Due
- The Puppet Masters
- The Demolished Woman
- Long Distance
- Signal Point in Space
- Foundation
Balance Due
Balance Due is the first quest for Halcyon’s Questline in The Outer Worlds. This is a short quest that has you helping Udom out so you can turn Phineas in.
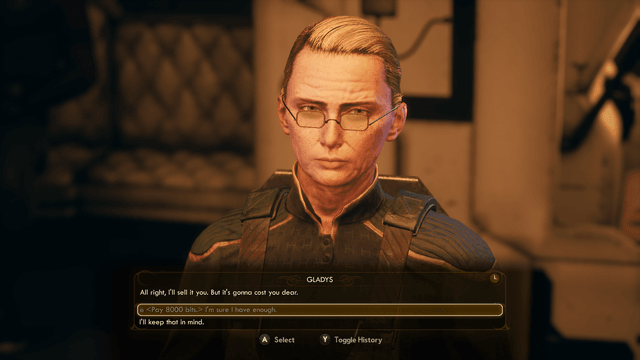
Talk to Udom after working out the ship impound issue to agree to turn in Phineas. There’s just one problem, though–Udom sold his board seal to Gladys for some extra cash. Agree to help, and head over to the Rest-n-Go to talk to her.
She’ll sell the badge for you… for 8.000 bits. If you’re starting this quest right away, you may not have the funds to pay for it. Continue Passage to Anywhere or take on some Side Quests to scrounge up the funds.
Pay up, return to Udom, and give him the seal. He’ll sign the paperwork and give you a NavKey to Byzantium. This will begin the next quest, The Puppet Masters.
The Puppet Masters
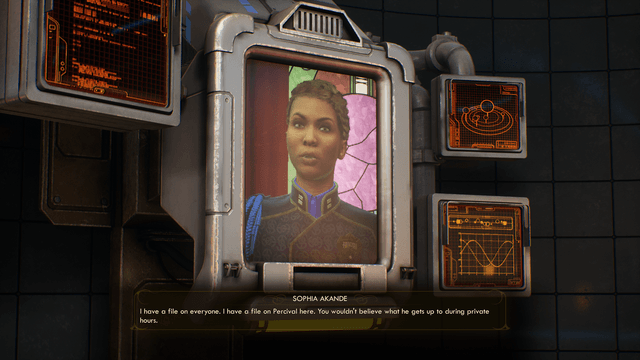
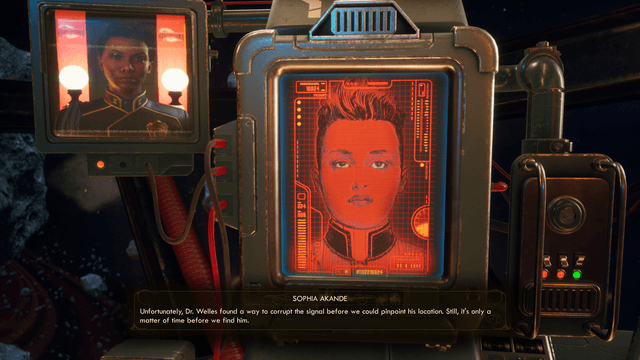
In this quest, you’ll meet the Adjutant Sophia.
With the paperwork signed, it’s time to head to Byzantium and talk to Sophia. Head to the Unreliable and fly over to Halcyon’s capital on Terra-2.
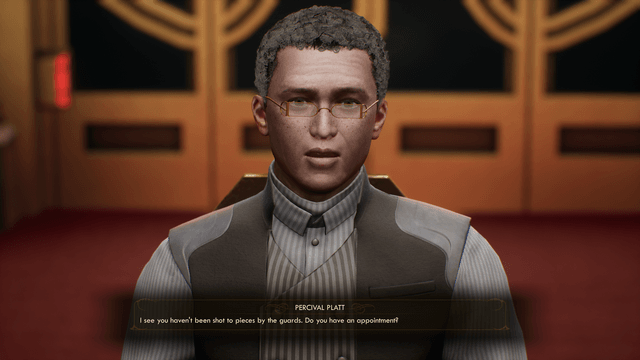
Head through the doors, and wait a moment for the corporate guard to clear you. Head on up the elevator and speak to Platt about having papers from Udom Bedford. He’ll introduce you to Adjutant Sophia, a high-ranking member of the Board.
However, Sophia doesn’t trust you yet. You’ll be asked to dispose of Rachel Lockwood and retrieve some sensitive documents. This begins the next quest, The Demolished Woman.
The Demolished Woman
In this quest, you’ll be able to explore Byzantium more freely.
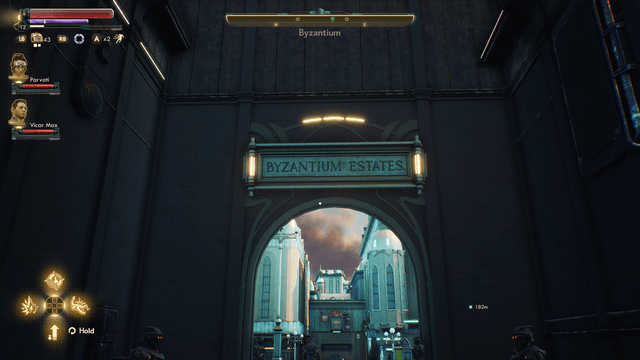
With the task at hand, you’ll be able to explore the luxurious Byzantium at your leisure. Now may be a good time to take on some Side Quests and unlock some fast travel points.
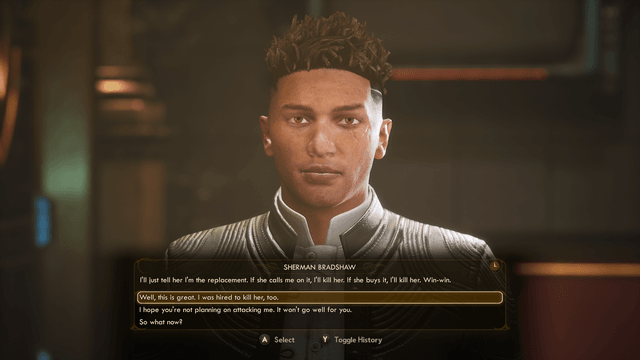
When you’re ready, walk over to the Bureau of Exploration. At the receptionist’s desk is Sherman Bradshaw, the other freelancer assigned to the case. Have a quick chat with him to learn that Rachel hasn’t been in the office lately, and it’s up to you to figure out where she is.
Head through the doors and up to the elevator (you can also talk to Alonzo nearby for a side quest, if you’d like). Once you’re off the elevator, head to the back to a door that says Cartography and go on through to find Rachel’s office. You’ll need either a Hacking level of 45 or the right key to get through.
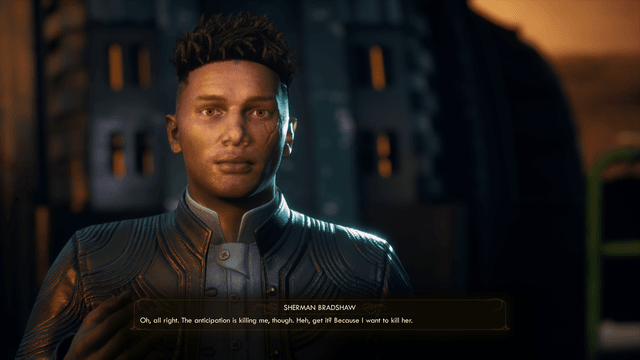
Thankfully, getting the key isn’t too hard; just go back to Sherman and ask if you can get into Rachel’s office. He’ll hand over the key without a fight. He’s not the best assassin…
With the key in hand, unlock the door and head into the office. First, grab the documents off Rachel’s desk, as you’ll need those for the quest. Then, access her terminal and read the messages to find out she’s hiding in the tunnels. You can tell Sherman of this development or leave him in the dark about Rachel’s whereabouts; it’s up to you.
The Tunnels are just across the street for the Bureau, so take the elevator down. Rachel isn’t too far down into the tunnels; just go along the path and you’ll find her hiding behind some pipes. Needless to say, she’s not happy to see you.
You can kill her or talk to her and let her live; letting her live is a bit harder with Sherman around. After the deed is done, return to the Adjutant and let her know that Rachel has been taken care of, one way or another.
If you let Rachel live, Sophia is less than pleased, but finds you trustworthy either way. This will begin the next quest, Long Distance.
Long Distance
Finally, you can turn in Phineas and get on the Halcyon Board’s good side. Sophia asks for a simple task–head to Welle’s lab and send a tracking beacon from his terminal. This will let the Board get his information and let you turn him in.
Before you plant the tracking signal, though, you have one last chance to tell Phineas of the Board’s plans.

If you tell Phineas, he’ll ask you to use a corrupted signal to buy him time and move to another hideout. Whether you want to send a normal signal or corrupted one is yours to make. However, it’s worth noting that the choice does not affect the outcome of the quest, so just choose the option you want to see.
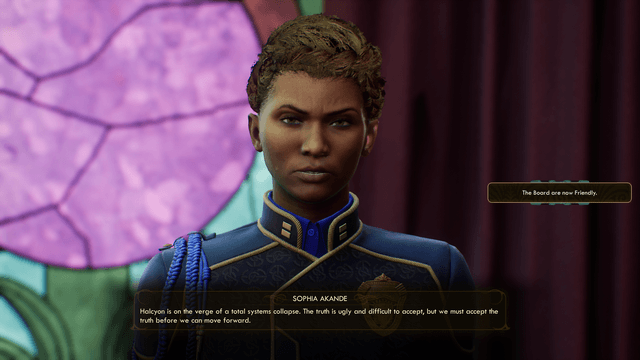
Return to the ship and Sophia will have a message for you to return to Byzantium. This time, you’ll be able to talk to Sophia face-to-face. She’ll commend you for your efforts, then ask you to take care of some anti-Board propaganda on Monarch.
Speak to Percival for your reward, and then begin the next quest, Signal Point in Space.
Signal Point in Space
Note that the objectives for Signal Point in Space and Phinea’s quest Radio Free Monarch are very similar. If you’re hoping to see as much of The Outer Worlds as possible in one playthrough, it would be prudent to have both quests unlocked before heading to Monarch.

Sophia finally trusts you, and she has a new task for you–head to Monrach to stop the anti-Board airwaves. Talk to Percival to get a NavKey to the planet, and fly on over there.
Fly to Monarch and land at Stellar Bay. Upon your arrival you’ll meet Grimm, who is very excited to talk to you. Exhaust the dialogue options to learn more about Stellar Bay–mainly that it’s not what the Board makes it out to be.
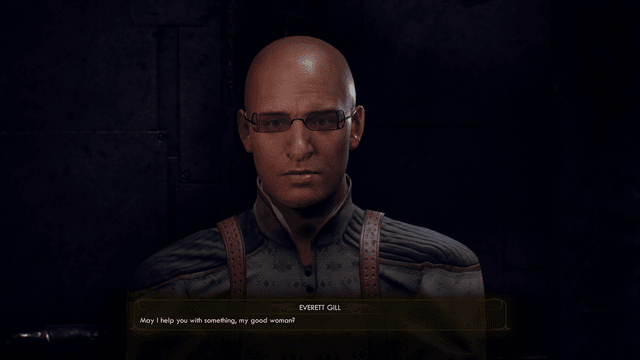
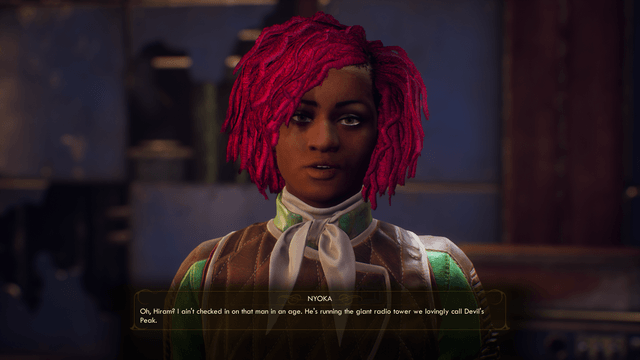
When you’re done, make your way to the waypoint, and into the bar to talk to Everett Gill. He’ll give you the location of Devil’s Peak, but warns that it’s extremely dangerous and you might do better with a guide. He recommends that you seek out a hunter named Nyoka in The Yacht Club.
make your way to The Yacht Club so you can talk to Nyoka. The hunter is a little too drunk to be guiding you, though, so you’ll need to head to the dispensary and grab her some medicine to sober her up.
Abigail, who helps run the dispensary, is not keen on giving you any extra pills. You’ll need to complete the side quest Passion Pills in order to move on with the questline.
With the Caffenoid finally in hand, return to Nyoka and give her the pills. She’ll agree to take you to Devil’s Peak, where the broker is.
Monarch is a big area; it would be in your best interest to take on some Side Quests to explore the area fully. When you’re ready, set Radio Free Monarch back to the active quest and start making your way to the peak.
When you cross the bridge and Nyoka begins talking about the Rotten River, you’ll have a choice to make. There are two routes to get through Devil’s Peak. Either you can go through the cavern near the river, or climb the mountain itself. The cavern is preferable, as not only is it easier, but killing the Mantiqueen you come across can help with some firepower later.
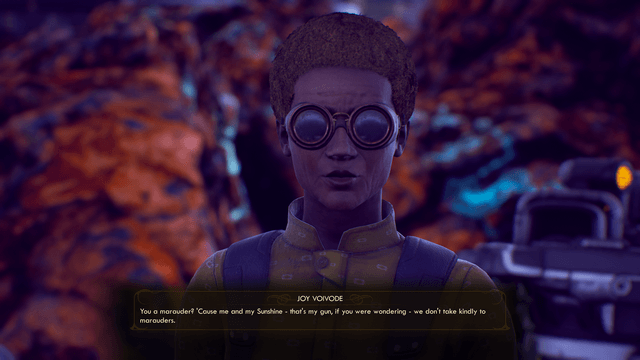
After you scale Devil’s Peak, one way or the other, you’ll be close to the station! However, a lady name Joy will stop you, saying that marauders have taken over the station. That isn’t too great, and Joy and the C3 crew aren’t keen on helping you.
At this point, you can head to the C3 campsite and talk to the boss to try and convince him to help retake the station. If you decide to go, C3 campsite is southeast of the station, down the pathway to the southeast of Joy. If you exited through the caverns, it’s basically the the other way from the station.
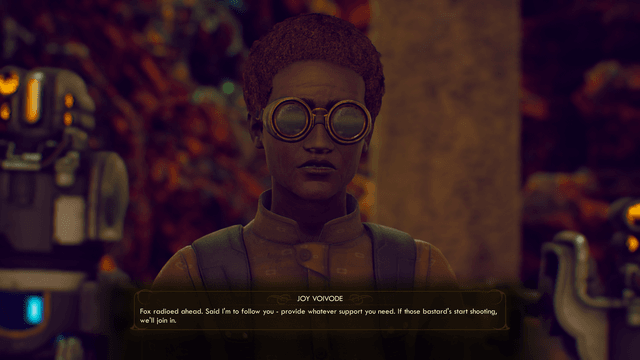
If you saved Berthold, he’ll help you with getting the marauders out from inside the station, provided you can find a way in. Talk to Joy again and she’ll help you clear out the outside of Marauders, as well.
But you still need to find a way in. Have Joy blast away the marauders, and then start heading up to the main entrance. The entrance is sealed, though, so you’ll need to find another way in. Thankfully, a side door is just to the right of the main entrance, so walk on over and head inside the station.
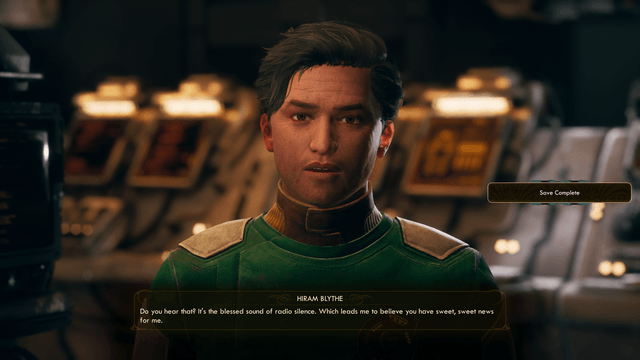
Of course, the place is crawling with marauders. Take the first set out and you’ll come across an intercom. Thankfully Hiram is alive, but he can’t hold out much longer against the threat, so you need to clear out the station before you can move on to business.
The Broker will unlock the elevators for you, and then you’ll head up to kill the marauders. Hiram, however, has a bit of a problem… MSI and the Iconoclasts are clogging up the airwaves, and you need to stop them both so he can get the information he needs for Phineas.
To stop MSI’s transmissions, you’ll need to complete the Side Quests BOLT with His Name and Errors Unseen, obtained from Sanjar Nandi in Stellar Bay. To stop the Iconoclast’s transmissions, you’ll need to complete the Side Quests The Commuter and Pay for the Printer, obtained by Graham in the Iconoclast’s town. Once completed, you can return to Hiram.
The Broker can finally give the information he has to Phineas… and only Phineas. Hiram, however, needs you to jumpstart the antenna so he can send it to the scientist.
Head outside the backdoor and flip the switch. Hiram will tell you he sent the information, and to more or less bugger off. However, a spaceship will crash into the scenary shortly afterwards, causing the three Monarch factions to fight.
You can do the Side Quest Canid’s Cradle if you want, but for the main story, just head back inside.
With the airwaves clear, you can now convince Hiram to use stop the revolutionary broadcasts and maybe even use the airwaves to the benefit of the Board. It’s not difficult to convince him of the benefits. With the task complete, return to Byzantium and report in to Sophia.
Foundation
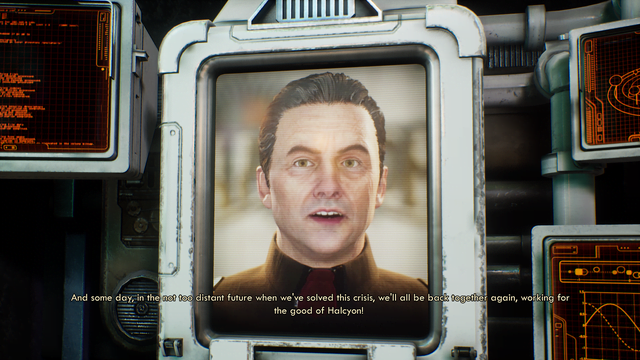
With the work in Monarch now complete, Sophia will finally show you the Chairman’s plan to save the colony. The colony is at a crisis point–they aren’t enough resources to go around. There is one way to cut down on the resource use, though. Wipe out Edgewater completely, and that will be less resources being leeched from the Board.
You don’t have to do the dirty deed yourself. Adjutant Sophia has provided a number of automechanicals to wipe out the town for you. All you need to do is head to the Geothermal Plant, and download the termination protocol from the machines within the plant onto the new robots. With that, extermination will be complete, and you’ll wipe out the automechanicals that did the job.
Head to the Emerald Vale, and then travel to the Geothermal Plant.
Note: If you have any Side Quests you want to complete in the Emerald Vale, do so now. Clearly, going any farther has a decent chance of killing your questgiver.
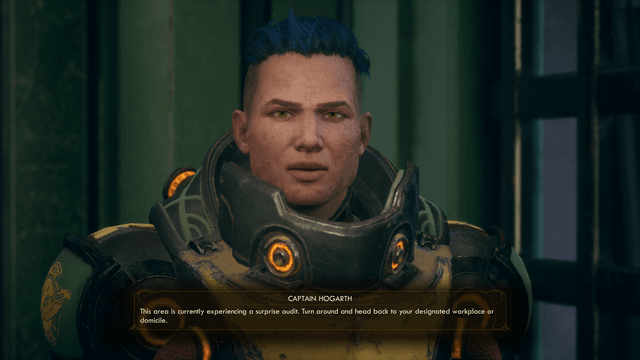
Head inside the plant, and Captain Horgoth will attempt to stop you. Just tell him you’re here on Sophia’s orders and he’ll let you through. Walk over to the automechanical terminal, and run the termination protocol.
With that, any Side Quest in Edgewater will be automatically botched. You did just kill everyone, after all. With the termination process completed, it’s time to clean up the robots and make you look like a hero. Wipe them all out (be careful, it’s not an easy battle if you rush forward too much), then return to Sophia and give your report.