Are you ready to embark on an exciting adventure in the captivating world of Wall World? This immersive game offers endless possibilities and challenges, where you’ll navigate through intricate caves, mine valuable resources, and face formidable foes. To help you make the most of your gaming experience and achieve success, we have prepared this comprehensive Wall World 101 guide packed with tips, strategies, and essential information.
In this article, we’ll delve into the core mechanics of Wall World and unveil valuable insights to assist both newcomers and seasoned players. From understanding the game’s currency system to unlocking powerful upgrades, we’ll cover everything you need to know to maximize your potential and overcome any obstacles that come your way.
Wall World 101
In order to help people to not put down this nice little game i decided to make a small guide. I highly suggest you try for yourself for roughly 10 hours to discover some things for yourself. If you are getting frustrated before that feel free to look up some sections in this guide.
Diamond Dust
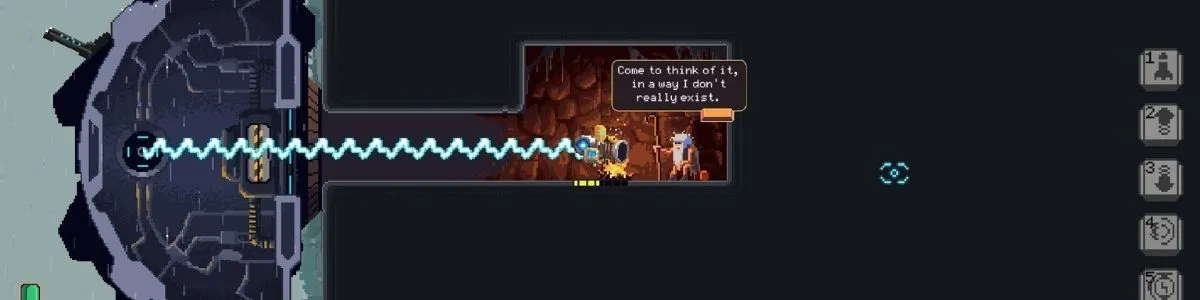
Diamond dust is a currency gained when mining blocks. Its the white stars that fly out and home in towards you while mining.
They are used to make permanent upgrades to your spider between runs.
These are very powerful and will increase your chances of success by a lot.
The further you explore outwards the more dust you will get per block so don´t feel discouraged about slow progression.
In the later stages you can easily get 30k dust per run. So you will be able to deck out the permanent progression system very quickly.
I personally maxed out the first page within ~12 hours.
The Map
The map is always build up the same, the amount of caves that spawn and their content is random tough. We basically start in the middle and can go up and down.
Each “Region” is parted by a wall of clouds. When you cross them you will trigger an additional wave of enemies. These additional enemies get harder the further out you go.
For sake of simplicity i named the regions as follows:
- u3 Up 3
- u2 Up 2
- u1 Up 1
- 0 We start here.
- d1 Down 1
- d2 Down 2
- d3 Down 3
Some Elaboration: 0 We start here. All caves will be white crystals. One cave will always be a small cave with green crystals. There will always be a loot room with ore and green crystals.
Not every mineral can be found everywhere. Check the ressource section for more details.
Ressources
So there is basically 9 ressources you can get.
I do not know the official names so i just give them some nickname:
- Ore: The purple ore is the basic ressource needed for almost all upgrades. It is found alongside other materials in every cave. The further you travel from the middle, the more ore you will gain per node.
- White: This one is from the most basic caves found in regions 0 and 1. They are used for more basic upgrades right after the pure ore ones. Be carefull to not mine to less from it as having not enough might lock you out on upgrading a tech.
- Green: Region 0, 1 and (2). The special condition of this material is that it will be your main source of healing. You can use 3 to heal your spider for 15% as often as you want, also during combat. It is also required to upgrade your mining tool. There is always one small green cave in region 0.
Now its getting interesting. You need to decide wether you want to go up or down. Depending on your choice you will have different materials avaliable to you.
Up.
- Bismuth: Region u1, u2, u3. Needed for the split beam upgrade and the last movement speed upgrade.
- Pink: Region u2 and u3. Caves look like frost.
- Square: Region u3. Caves look like the matrix.
Down.
- Black: Region d1, d2, d3. Needed for one of the power up upgrades of your mining beam.
- Red: Region d2 and d3. Caves look red.
- Circle: Region d3. Caves look like magma.
Loot cave
Every region will have 1-2 Loot caves. They contain 4-6 of the rarest material in this region as well as some normal ore. They also contain a small interactable that gives you some lore.
On rare occasions they can also contain a Key.
Upgrade chips
Small computer chips give you an additional upgrade to one of your existing tools. It can be found on the bottom of its respective upgrade tree.
These are only for the current run.
They can be found in caves in every region.
Blueprints
Blueprints can be found in regions 1 2 and 3.
They are hidden in caves similar to Upgrade chips.
They will unlock additional spider upgrades that can be purchased with dust inbetweeen runs.
These are very powerful and should be actively searched.
Boss
The boss will show up three times. Whenever the timer hits 0.
Boss Phase 1
- The boss willt ry to stomp on you. With no upgrades you will have a hard time to evade. Use you dust to upgrade your movement speed and jump abilities to have an easier time.
- In the beginning you will have to suck up some hits, you can still try to beat him via outhealing his damage. Try to stock up as much green crystals as possible.
- The boss and all enemies currently active will disappear once all 2 of his purple balls have been destroyed.
- Homing Missiles will always target the boss so they help a lot.
Boss Phase 2
- The boss now also shoots and spawns much tougher enemies. In your first few runs it will end here, don´t be sad about it.
- You can improve your chances with turrets and drones if you found them. They give the necessary firepower to push through.
Boss Phase 3
- This is the end of the run. The Boss will instantly kill you, no matter what you do.
- If you keep exploring tough you may find a way to get around this. (honestly i have not yet overcome this myself, i just wanted to icnlude it since many people are wondering about this)
Key
- Keys can also be found in Caves.
- They are needed to defeat Boss Phase 3.
- Once you have all 5 keys just head straight up to the top of u3.
- I found one in a loot cave in the very bottom. (last cave before the water). Idk if that was random.
Protips
- Try to combine the transition from 1 region to the next with one of the Boss encounter. (Trigger the cloud wave shortly before the timer reaches 0:00)
Once you finish the boss all enemies will despawn including the wave that spawns from the cloud transition. - Use your vacuum to transport additional ressources. You can pile up ressources and then hold rightclick to pull them behind you. This allows you to transport 30+ extra ressources to the spider with every trip.
To make this easier try to not make any undercuts and leave only vertical walls inside the mine, that way you can more easily pull up a big amount of ressources. - You can leave one small enemy alive in region 0 so the wave timer will not run out. Personally not a big fan of this but you can use it if it helps you. I expect this to be patched so be careful.
My favourite Route
I once again highly recommend trying out this for yourself first, maybe you can even come up with a better way.
My go to is currently as follows:
- I start clearing out the first caves. I try to get the mining upgrade as well as the movement speed upgrade asap. (return once you have ~6 ore gathered.
- After cleaning out the caves i move south and clear every camp on the way. (get all the mining upgrades in the top 2 rows)
- Transition through the clouds to the d1 region. Upgrade my gun if necessary. Alternatively usesa turret.
- If we already found the green cave in region 0 upgrade the mining beam. Else we look for the green cave and clear it out.
- Now look for a fleshy cave that contains black pearls. Mine until you have enough to get all upgrades you want to get with them. (minimum mining laser upgrade but check your other tools maybe there is somethign you want; if you decide to go with the standard Gun as you weapon you will need 10 more for its upgrade, else you are stuck)
- Now go back up to region 0 and clear all leftover caves in region 0 and move on to u1.
- Look for a bismuth cave and get enopugh material to upgrade the twin mining beam as well as the more powerful mining beam.
- Clear all green camps on the way as they are pretty fast to clear, give a good amount of green and ore and have a good chance to contain blueprints.
- Clear all of u1.
- Transition to u2.
- Get a little bit of pink to upgrade your laser. Do not explore pink caverns as they rarely contain anything. (idk why)
- Clear all bismuth and green caves in u2, then transition to u3.
- Clear as much as possible from u3. Explore the Square mines as they often contain blueprints. The squares also help you to upgrade your mining beam to max.
Some pointers for timing: You should be able to clear area 0, get the materials from d1 and move to u1 before the first boss encounter. Then you are on a really good pace.
Best Weapon and Items
Sorry, but i do not want to start a tier list on what is good or bad. Just try out some stuff and have fun with it.
I hope this guide helped you to get started and got a rough idea how to progress. Hope this helps. I did not have the muse for spell checking since i want to keep playing.