Welcome to our Escape the Backrooms Walkthrough guide. (Part 4 Update) A short guide with my notes for those who want to know whats in store for the new update. Escape The Backrooms is a game that takes players on a journey through an endless maze of unsettling rooms and corridors, filled with hidden dangers and mysterious creatures. Our Escape The Backrooms Walkthrough will cover all aspects of the game, including puzzles, enemy encounters, and exploration of the game’s unsettling environment. We will also provide you with insights into the game’s narrative and lore, allowing you to fully immerse yourself in this eerie and disturbing world.
So, if you are ready to test your courage and face your fears, join us on this terrifying journey as we guide you through Escape The Backrooms. You can also earn all achievements thanks to our 100% completed Escape the Backrooms achievements guide.
January 27, 2024: We added, Escape The Backrooms new update Part 4 Guide.
Escape the Backrooms Walkthrough Guide
A guide for the major updated version of Escape The Backrooms. The more levels we complete with the update, the more we will update the guide. We know that there are people who have a hard time finishing the Escape The Backrooms game. If you are one of those who find it difficult to finish the game, let’s take you to our Escape The Backrooms guide.
Level 0 – Backrooms
Level 0:
You will spawn an empty, yellow building. Spawn is random, but you will always spawn “in the front” of the map. The key for the exit will be on the far right side (before random spawning). If you have random spawning, you can either wander around and find the ladder or find a dimly lit area. If you find the dim area, face away from it and head to the back right side of the map. Collect the ladder pieces to build the ladder and grab the key. Leave through the right hallway facing away from the ladder and stay along the right wall until you see a red door off the wall. You can try to make it across the Pitfalls if you want (I’ve failed), but falling in will bring you to Part 2 of the Backrooms. The Bacteria can spawn, though after a certain amount of time, which can be signaled by a knock.
Level 0 Part 2:
It is very easy to be found by the Bacteria, though you have infinite stamina when running from a monster, and you will not loose it if you keep running once the monster is gone. Find a door that looks like an empty living room with a kitchen and go upstairs.
Level 1: Habitable Zone
Level 1:
You will spawn in an empty garage, it is safe. Go to the far right through a red-ish door with a window. The count the car colors and remember the order (cars are read up-down, left-right. Ex: blue and green left, yellow green right, the code is blue green yellow green.) Go to the elevator next to spawn and enter the elevator code. REMEMBER TO GRAB ALMOND WATER and perhaps a flashlight.
Level 1 Part 2:
You will have entities this time, more entities will spawn with more players. They are on the far left. When exiting the elevator, go straight to the first door. CHECK FOR KEYS!! (There are 4 keys total, all random locations). It’s possible there’s more than one or even 3 to a room. Go straight after leaving the room, you will (or will not) see a fellow hazmat run towards you. Run. That is a Skin-Stealer. No entities in the games can open doors, so leave all of them open and close them when running into a room. There are six doors (excluding the exit and entrance), but not all of them have keys. Keys do not take up inventory space. Once you collect all keys, go to the room in the middle of the garage and place them all in the key slots. They must be turned at the same time (within 3-5 seconds of the first key being turned) to open the door.
Level 1 Part 3:
IT IS DARK. A flashlight will do VERY little, you cannot see Skin-Stealers. Crouching is slow, but recommended unless near a door. You will spawn on the top floor of a garage, there are three levels. 2 doors can be found on the top floor right and left sides (spawn side). If they are empty, go down a level. Head to the same side as spawn, there are 3 doors. If all are empty, go down a level. There are 3 doors on the final level, if they are empty, go back up. One of the doors will hide an elevator.
Level 2: The Hub
Level 2:
You will see a giant garage door, you cant open it yet. Go the only other door. You will spawn in a tunnel with more doors, you cant open them except for the one by itself. Match the code displayed with the codes you can pick. On the right side there is a green panel, turn the lights on. The code for the computers is on a notepad in front of the windows near the elevator, type it into a computer and click the file that says “Gate”. Click run, and okay, then leave through the hub door you came in from (it will say 1 on the door).
Level 3: Habitable Zone
Level 3:
Open the garage door by pulling the lever next to it. Walk in but do not go past the ramp’s end. When the lights go off, do not move. When the lights turn on, run to the right side into a lit hallway. DO NOT RUN IF THE LIGHTS FLICKER IMMEDIATELY AFTER TURNING ON. On a normal light flicker, you will have 10 seconds to run. YOU HAVE LIMITED STAMINA as there is no active entity chasing you. There are Smilers in this level, they only appear when the lights turn off. Check each door for each hallway. Run to the next during a normal flicker, stay close to the wall to decrease running distance. Find a door with another hallway and pipes, walk in.
Level 4: Pipe Dreams
Level 4:
You will see a sign that says “Station <–” and “Fun –>”. Follow the path to the station (as I wrote that next). If you do not have a flashlight, there will be one on the left corner of the wall before you step into the darkness (not at the entrance). Once you step into the hallway, you will begin to be chased by a Smiler, signaled with a sound. DO NOT TURN AROUND as you cannot run backwards. Continue to run until you see a doorway on the left side and keep running until you go through the door (not the hallway entrance).

Level 5:Electrical Station
Level 5:
This level is safe. Go to the end of the hallway to trigger the door opening on it’s own. Find boxes with red lights above them and fix the boxes so the lights turn green. There are 3-4 boxes. You will hear a gate open on the last one. There is another gate, go through that and then through the door. There may or may not be a box to fix. Go through the door in there but do not run down the hallway. Step lightly until you hear or see the entity (Hound), then immediately run back through the door. Please remember to close it. If you have a flashlight, you can temporarily blind it, but the Hound may be avoided without one (for now). The Hound will despawn once it leaves. Go down the hallway and through the door on the left. Go through the hole in the wall and keep looking for boxes. The last door on the left at the end of the hallway will have the Hound, he will not despawn once he leaves you. Do your best to fix the boxes.
Level 5 Part 2:
Once you find the boxes, return to the gate you walked through, and go to the newly opened gate far from the other 2. GRAB A FLASHLIGHT BEFORE GOING IN. There will ALWAYS be at least one in the level. Turn the corner lightly and shine your light on Hound will “chase” you, so run back through the gate you entered and wait for him to despawn. Return to the room and open the door. There is no helping you here, just skill and pure luck. You will not only have to avoid Hounds, but find 3 more boxes to fix. There are two doors in the first room and second room. In the first room, running straight will bring you to a hallway, going left will bring you to a room. The second room will do the same, the entrance door is on the left front, room door on the left back (entrance door). Remember, boxes spawn randomly. On your last room, Hound will appear at first, just close the door and wait to despawn. Continue through and crouch through the left hole to find the gate you need to open with the boxes. Remember, you can blind Hounds. Once you open the gate, return to the gate from when you first spawned for all of level 5, when the door opened by itself, go through the previously closed gate and move onto level 6.
If you die, your progress will be saved, you do not have to redo the box fixing.
Level 6: Abandoned Offices
Level 6:
You will spawn in an empty office building, there are (theorized) no entities, however if you search through the doors and find one that leads back to The Hub, you will read a file that says “stay away from unblacked-out windows”, as they might be traps. The first puzzle will be to count how many items are in a room and enter it to their respective vending machines. the next puzzle, you will find a button that resets cameras. Avoid being spotted by cameras. If you are spotted, you will have to reset the cameras, you will find out if you were spotted or not in the security room. Once you pass all the cameras, you may enter the next level.
Level 7:Terror Hotel
Level 7:
The lobby of the hotel, you have a puzzle. You need to click the buttons from youngest to oldest picture to open the door, take the bug spray with you. Search for moth swarms and place the moth jelly into the lift to receive 3 keys (3 moth jellies). There are no entities.
Level 7 Part 2:
There are 2 entities, Hound and Shapeshifter. They roam around the entire map, including the entrance. There are mailboxes in front of spawn, you must go to the rooms that have open boxes and find the letters. Place the letters in the boxes and enter the code for the white door on the right. SANITY DRAINS FAST. Remember to take ALL the almond water you can find. You may also leave all doors open and hide in closets.
IF YOU WISH TO SKIP COLLECTING THE PAPERS:
You can enter one of these 3 codes, they are randomized each death:
- 05938
- 17564
- 89472
Level 8: Boiler Room
Level 8:
You spawn with a table in front of you, on it is a thermometer. It is not entirely necessary as you can see the danger. The entities on this level are giant moths, when near them your screen will start to heat up, you may crouch to get around them. There are false exit doors (shown with heat), you must find the real one.
I have a video at the bottom of the guide for the Boiler Room path.
Level 9: Pipe Dreams 2
Level 9:
You will enter the pipe tunnel again, this time choose “Fun –>”. It has the same layout as “Station <–“.


Level 10: Party Room
Level 10:
I have spent 5 hours on this level before the update, and became a master. However, major changes have been made. Liquid Pain, a legendary item, is capable of spawning, you will die if you drink it, so don’t. Or do, it’s your restart.
When you spawn, go down the hallway and crouch under the first table, run to the second and crouch. turn around walk forward slightly to get the attention of a Party Goer, and go back under the table to “reset them”. Then crouch through the room to the other side. Don’t get too close.
If you’ve played before, continue the normal path until you reach the Big Room, with 7 Party Goers.
If you have not, crouch along the entire length of the wall, DO NOT TURN THE FIRST CORNER, the hallway you’ll want to enter is on the left side, but do not crouch on the left wall. Do this for 2 rooms until you reach a big room.
Big Room:
Run straight along the left wall and head into the hallway on the left and under the table. When the Party Goers reset, leave the hallway back into the Big Room and continue RUNNING on the left side and into the left hallway, hide under the table to reset. Crouch along the right side of the wall, as before.
You will find a room full of balloons, continue through the doors. You will see a tiled wall.
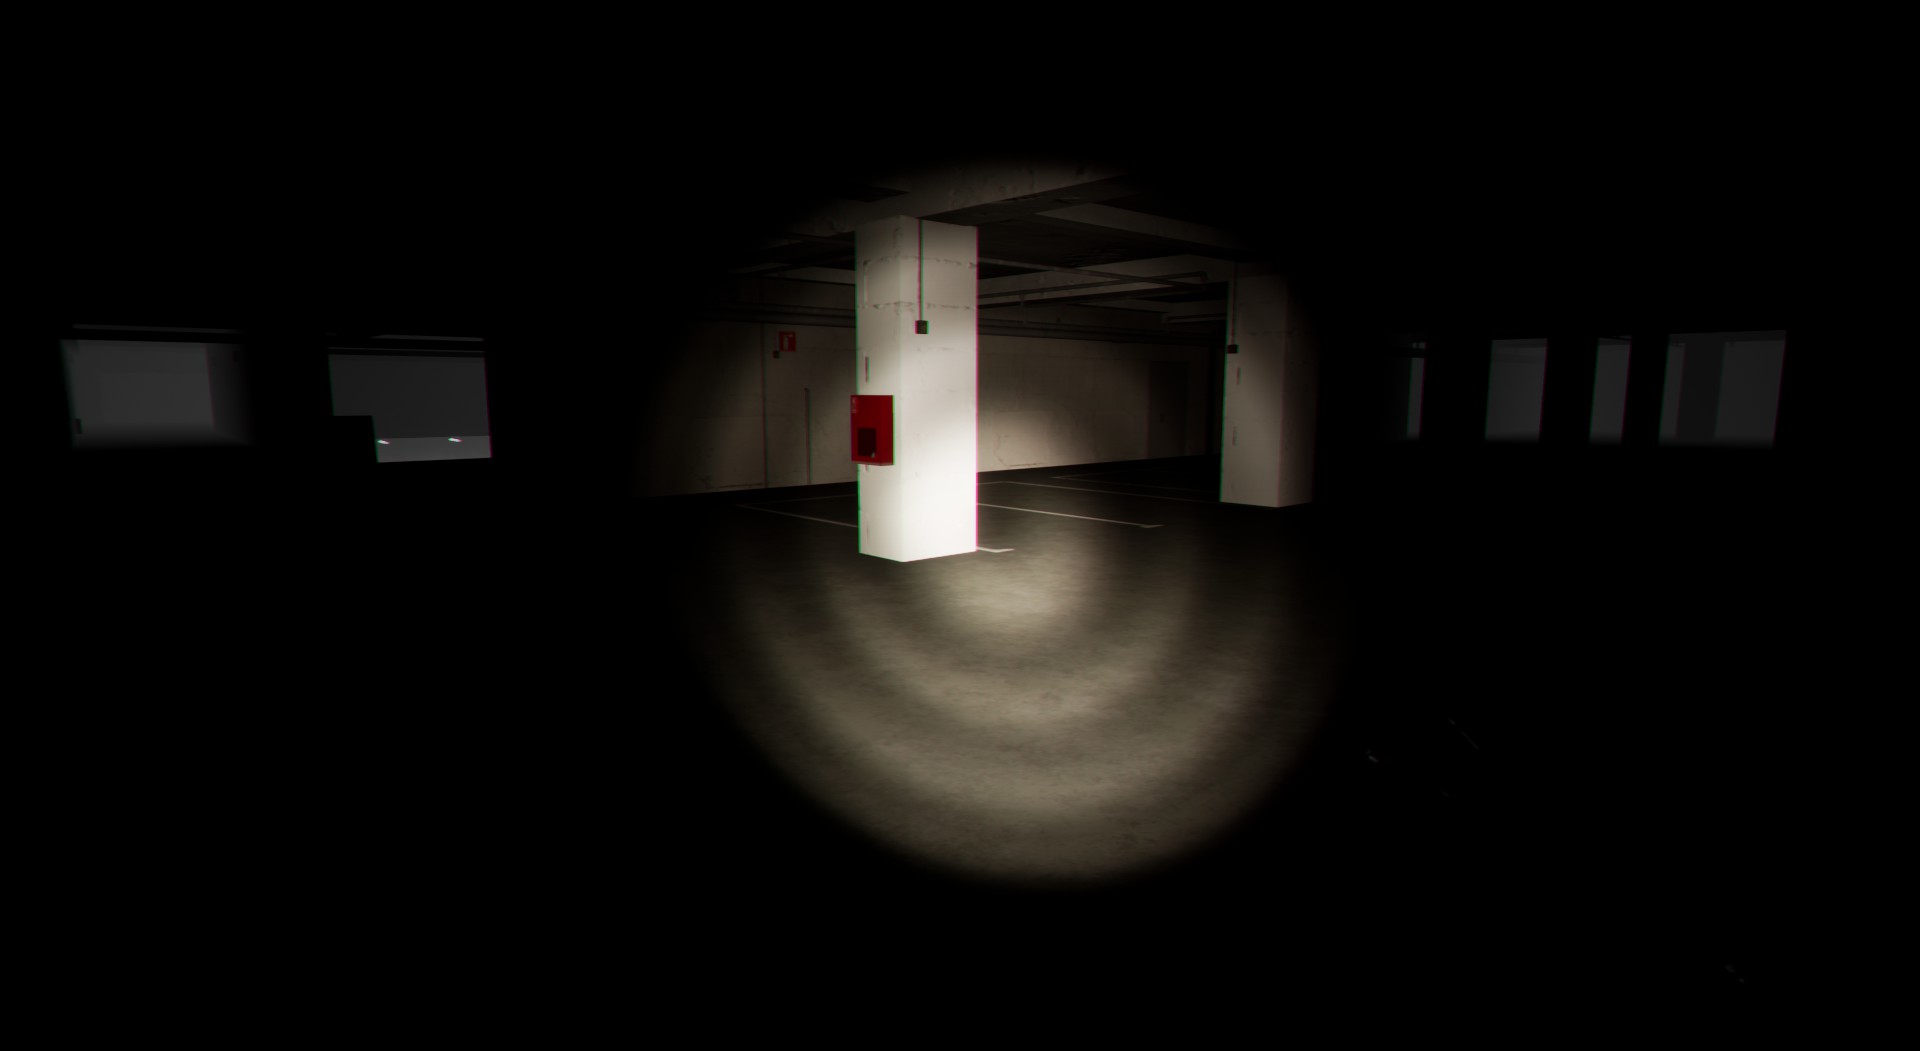
Level 11: Pool Rooms
Level 11:
The Pool Rooms is one of the most beautiful places in the game, there are no entities.
I recommend you find the exit on your own, after the mind numbing music from Level 10.

If you wish, head straight from spawn and up the long stairs to find a Hub Door.

The exit is the furthest point from spawn on the right, and is a door surrounded by red lights.
Be sure not to enter Off Limit Zones, seen as black water or tiles.


Level 12: Run For Your Life
That is the goal.
Keep “right, left” tabs in your head.
Beware of the door that opens on it’s own, you cannot go through it. Go around it on the far right.


Level 13: The End
Level 13:
There is an entity, but it cannot see you. You are capable of being close to it, but if it touches you, you die. Collect 24 tapes AFTER turning on the computer. The lights will go out, and sanity drains at a moderate pace. If needed, there are 2 fire alarms to draw the entities attention (will not work while it actively chases you).
Level 14: Infinite Stairs
Level 14:
You will spawn in what is basically a tower/lighthouse. You can go up the stairs possibly infinitely, though to move onto the next level you need to drop down the center after what I recommend as landing 94 (must be on this level, minimum) (don’t worry, it is not actually that far up).
Level 15: Hill Houses
Level 15:
You will spawn on the edge of a town that has yellow houses on hills. Your goal is to follow the road (or cut straight through the grass) to a floating castle, underneath it is rope to climb up. Daytime is safe, though quick. You can make it to about 4-5 houses before it turns to night. At night, if you go out you will not be killed right away, but there will be monsters with red eyes chasing you. SANITY DRAINS FASTER THAN TERROR HOTEL. Collect all the almond water you can find, which is rare to spawn inside houses. You will find that some houses have dressers, that is where you can find the almond water, but sometimes it will not spawn. If you die, your progress will be saved at a forked road. Almond water is found commonly around trucks. There are also music speakers which will stop playing as night approaches, but it is distanced, meaning if you’re at a house where there’s no speaker, you will not hear the music.
HIDE IF YOU HEAR A KNOCK!!! You probably wont have time to, but if you are in a house and hear a knock, the door will burst open and “people” will attack you.
Level 16: Synth Wave (Clown)
Level 16:
There are small boxes with checkered pattern on top with a symbol. Move (push) those boxes to a circle on the floor that matches the boxes.
Level 16 Part 2:
If you don’t have a flashlight, there is one on the table behind the clown, though you must face the clown and walk backwards to get it. Once gotten, turn around and let the clown disappear (though recommended you find a nice corner first). It will go after you with a mallet, though shining a light on him will make him vanish. There are subtle sound signals to let you know when he spawns. Survive until you hear a honking sound, it will come from the roller coaster. Get on and you will leave the level.
Level 16: Lights Out
Level 16:
You will spawn in what looks like an abandoned building, it will be VERY dark. The first two rooms on either side are full of supplies, use the flashlight and navigate your way to a room with a blinking light (there are no looping rooms, only dead ends). In the blinking room, grab an LiDAR Scanner. Using it will add glowing dots to the wall, they can be different colors, if that matters.
I recommend walking until you see a red dot on the radar, it is an entity, a Wretch, only one. It can hear your scanner, but if you manage to move around it and crouch away, he might move away and you can continue the search for the exit without worrying.
I do not have the map in my head. However, following “big” hallways will usually take you to the right hallway, it can be an easy flow, almost a straight (not literally) walk there. The exit is a hallway with a light at the end and a white door.
Level 17: Thalassophobia
Level 17:
You spawn on a staircase landing of a house, going up will bring you to a Hub Door. Going down, you will find an infinite ocean and a boat.
Congrats! You’ve beaten Early Access.
Secrets
On Level 3 (Smilers – Habitable Zone), going up the ramp will bring you to a second story of the garage where Smilers will stop chasing you after a certain point. There are no lights up there so be sure to bring a flashlight!
I will continue to add more as I discover them.
Tunnel Doors
Level 0:
- As of now, I cannot find it. It’ll most likely be on the second level (pitfalls) because I haven’t explored every inch due to the Bacteria. Or it was not added in.
Level 1:
- Plain sight. Can’t move on without it.
Level 6 (Door that says 4):
- After you leave the stairway, go straight through two doors. Then, go to the far left of the giant hallway and go to the second door on the left.
Level 11 (Door that says 37):
- When spawning in the Pool Rooms, walk straight to the back and take a small right.
Level 15 (Door that says 94):
- There is none, but once you beat the level, you can open this door in The Hub. You cannot go back to The Hub once entered.
Level 17 (Door that says 7):
- When spawning in Thalassophobia, go upstairs.
Escape the Backrooms Part 4 Walkthrough
Check out this Escape the Backrooms Part 4 walkthrough created for the new content added on 01/25/24!
3999
You can actually go down the corridor now! Head on down and then at the end take a left to the elevator, which looks like it needs a code to activate, guess we should get looking around the immediate area.
Looks like some tickets nearby are the key!
Now to just enjoy this elevator ride.
Level 0.2
This place again? We really cant escape.
Mind the Bone Snatcher in the dark tunnel, it’ll grab you if you try to cross the area marked off by signs. So we’ll need to head left to the residential area, however, just looking around shows the doors are all locked from the other side which you’ll need to noclip below to get to them. The traffic lights will indicate if there is danger below, so check them before hopping down.
Welcome to the Red Level 0. Smilers and skin stealers are down here roaming the halls, and more will appear the longer you take to get out of here. Grab a flashlight and check behind you frequently, as they’ll disappear when they get close enough to your light source. To unlock the doors, simply open them in the Red area then hop back to the normal area to get the boxes inside, which can be activated by left clicking when the arrow is in the yellow bar.
You’ll need to get all of them to activate the switch that’ll keep out the Bone Snatcher, though only for a short time, so you’ll need to run across as soon as the gate closes.
The Snackrooms
This place looks rather fancy, though best step off that elevator quickly, and someone’s knocking on the door so we should let them in. Stock up here, it’s the best chance you’ll get.
This level starts with a short puzzle, simply check the page next to the gramophone for which keys you need to hit on the typewriter behind the bar. These were mine

Once the doors open head out to the next level.
Level !~!
Another run level, with a banger of a theme.
To start, theres a Meg pressure plate on the left that’ll open the gate to the lever, so head down the right hall to find a switch which will begin the chase.
Today you’ll be running from this guy:

The doors will open to try to slow you down, so dodge carefully and RUN! Once you get down the stairs, follow the blue light to the chainsaw, and heading out the exit door will begin the chase again. Spin around and saw open that door thats nearby quickly then sprint across the courtyard. Head through and job down the hole to enter the next phase.

As soon as you drop down head down the only hall that doesnt have the monster and take a left before coming to a big room. Run around the bookshelves and take the stairs down. Take another left and keep running the blue lights are tricks, so instead take a right, followed by a left to reach the stairs of safety.
Level 188
Welcome back to 52 Open the first door on your left to get back to the hub.
If you look out the window you’ll see where we need to go next.
Head through the lobby and to the elevators. Our goal is to get the 3 Tvs to the elevator that has electrified water so we’ll need to search the area. There’s two paths to go into a large loop of rooms and plenty of rooms to investigate but do be wary of those watching outside the window.

The hallway also has a creature that patrols, so hide in the rooms to stay safe.

Once you find the Tvs you’ll need to drag it back to the elevators to send them back down to the lobby. Once down there simply slide them to the marked spots and the door will open!

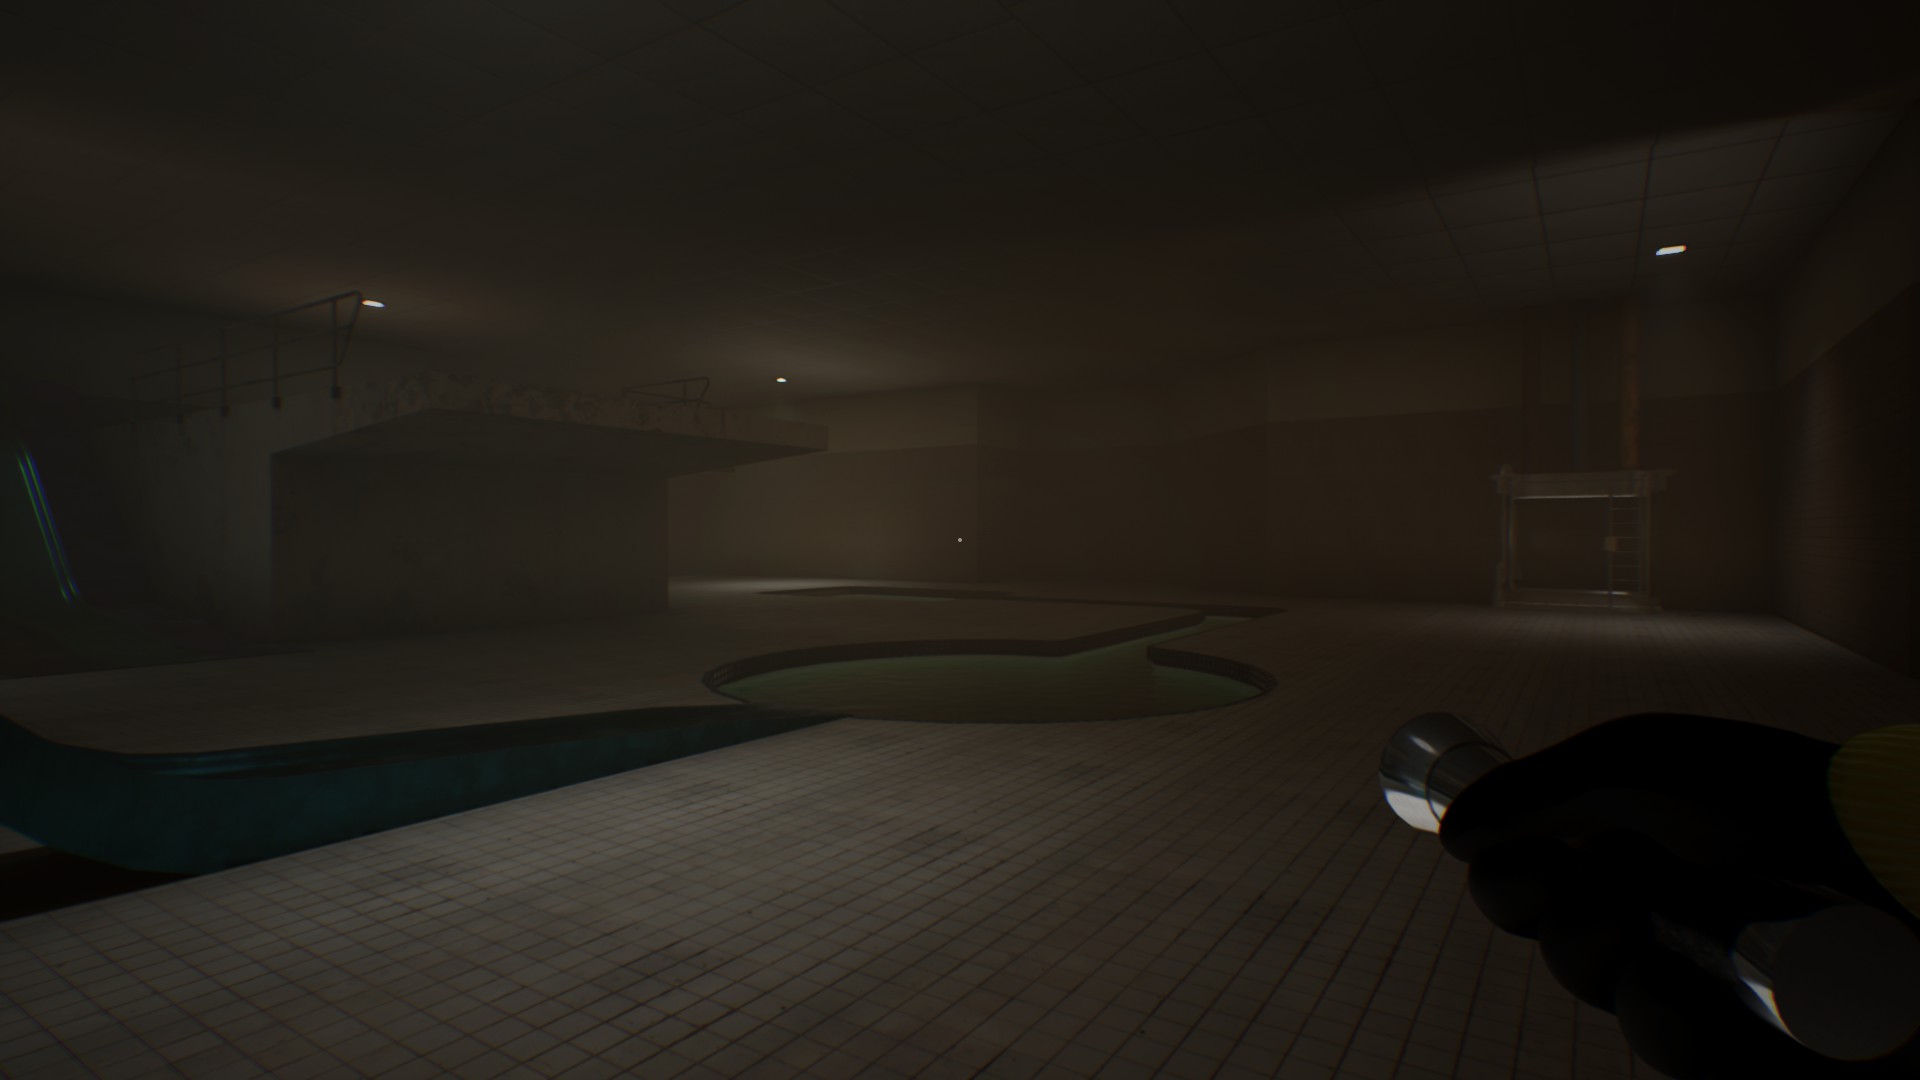
Poolrooms
Oh the entity here is one of my favorites! Parasites in the water that’ll melt your brain!

The first pool with a raft is safe, and you’ll need to cross through it to get to the ladder on the other side, though do take some time to learn how to sail! Once you head up the ladder you’ll see some water wheels to turn, which you’ll need to hit all of them quickly to flood the room with water to get your boat to the next area. Head up some ladders and you’ll find 3 holes down to the stagnant pool rooms.
You can tell the water here is bad, I mean just look at this place.
The arm creature from !~! is also here.
The goal is to turn 4 valves hidden in the maze of this level to fill the tank with water, which will raise the water back on the main level to get your boat out. The next area is the same as the first: turn the valves quickly. However there is a bridge separating them which you cannot sprint over or it will break.
Area 4 is another sublevel area back into to the stagnant pools with the same goal but easier: turn 3 valves. This time there’s parasites in some of the water, including a small platforming section to get to one of the valves. Once its done the water around the raft will be drained and you’ll be able to continue.
Area 5 is the stagnant pools again, but in a much larger area and with many more valves to turn (7 in total). There’s an arrow on the right that points to a valve, but its also a trap because the monster does enter that area so be mindful coming back out.

After this you’re home free to the next area and the final room. Its a pretty big room but its safe and all you need to do is head up the staircase and pick a slide to slide down!
Level Fun
This is the area I got when going down the yellow slide. I don’t know if its the same for all 4 slides so do let me know in the comments.
For this level you’ll need 4 keys scattered across each colored area to unlock the gate and get out of here.

In the pink area you’ll need to find a tape in an adjacent room and begin the first test: Simon says. The image of a balloon will appear on screen, followed by the colors you need to pop in order.
The blue area has a small room with dynamite fireworks which you’ll need to blind the party hosts. There’s one on the ceiling you can hit to unlock the blue door to the next area. In the next areas the Party Hosts will be guarding doors, needing to kill each one to unlock the next area. Meanwhile party goers will occasionally pop out to check on you.
Once you kill the Host in the birthday room, head to the other side of the rock climbing wall room. Killing it will unlock the main double doors to the 5th and 6th Hosts.
The Red area is a dark maze where you need to find 4 rooms while a partygoer patrols the area. Each room has a symbol in it and needs a matching colored glowstick dropped into it (the color matches the panel next to the key door). The partygoer cannot see you if you’re not holding a glowstick and so long as you don’t bump into them.

After getting all 4 keys, go to the machine in the main room and put the keys into the matching colors.
The clouds area has the key hidden in a random balloon while partygoers wander the area. Finding it can be difficult so keep close to the tables in the area.
Level 52
This area is pretty short, but full of partygoers and partypoopers. The later will guide you to escape this level, follow them and do as they do and you’ll quickly find the way out. The door to the hub is right next to the entrance.
Level 55.1
This area takes place within a pit, where you’ll need cameras to take photos. On the camera is a Polaroid of what you need to snag a photo of, with 2 photos per level.
The first photo is right as soon as you reach the first level, and the second is on the edge wall opposite of the pit from the elevator.
The creature from level 0 is on the 2nd level, of which you’ll need to either hide in the nearby lockers or get back to the elevator. The photo of the van is close to the elevator, being about 90 degrees left of the elevator platform.
The 3rd level has smilers and a skin stealer. The 5th picture is about 180 degrees from the elevator.
Once you’ve got all the photos the hatch above will open and you’ll be able to ride the elevator straight up into it.
You’ve escaped the backrooms…. for now!
Yes folks, we have come to the end of our Escape the Backrooms walkthrough guide. We hope you have finished the game by following these steps. If you have a problem with a level, you can ask us for help in the comments. See you in the walkthrough guide.