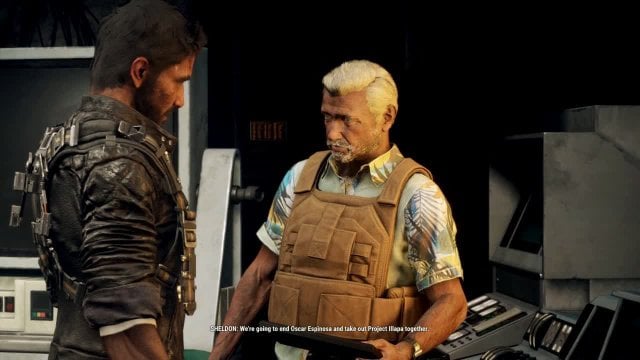
Operation Thunder Badge Walkthrough
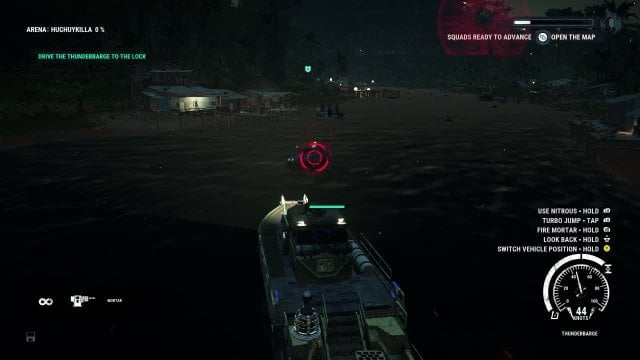
When you and Sheldon steer your new Tesla boat into open water, you’ll notice that your mortar automatically locks onto valid targets in the general vicinity of your crosshairs. Abuse this to get past the gunboats and mines that are littering the river, while Sheldon provides some cover fire from the machine-gun nest.
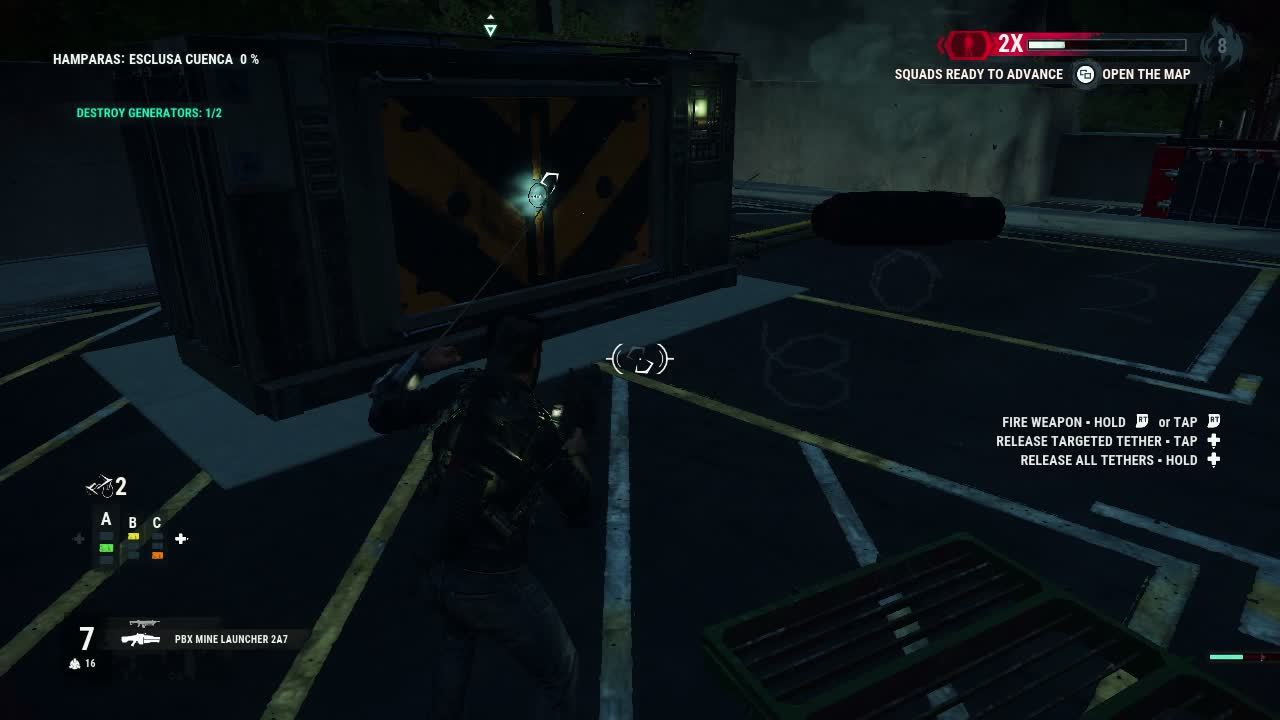
When you reach the gate, it’s not only heavily defended, but it has sort of a soft timer in place. While you’re gallivanting about trying to unlock the gate, the Thunderbarge is taking a lot of incidental damage from the Black Hand.
If you’re ever at risk during this mission of failing it because your boat sank, it’ll be here and now, so don’t waste any time in finding and destroying the generators. When they’re gone, get back in the Thunderbarge and ram through the gates.
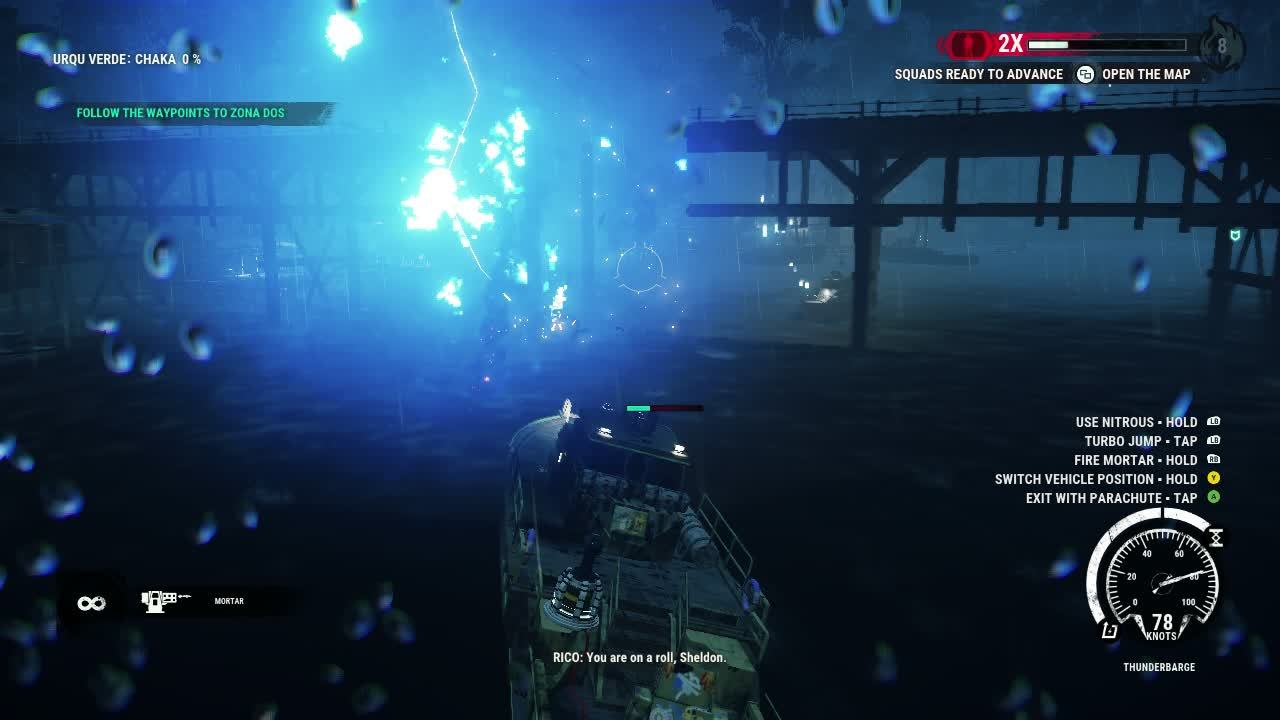
The boat might be just about dead as you steer towards Zone Dos, but happily, once you get there, it doesn’t matter; the Thunderbarge goes immortal once you get to Zone Dos.

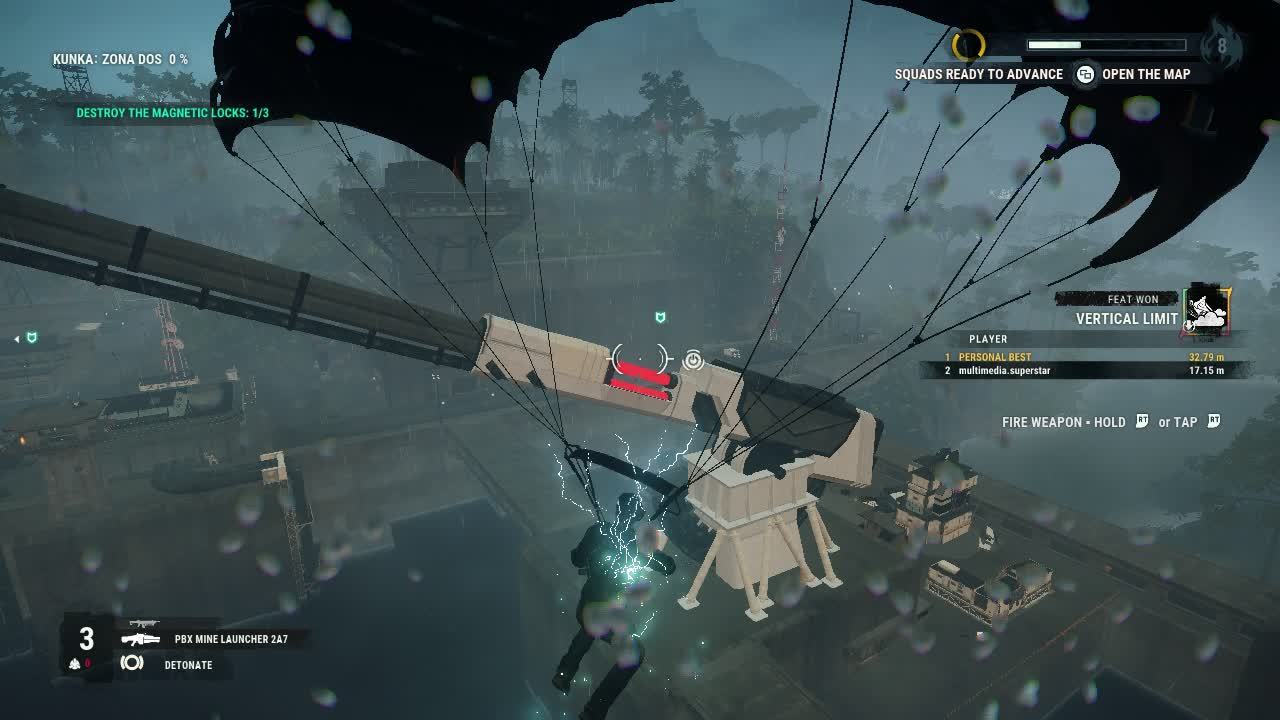
You can do a little incidental damage with your mortar, but the real work’s going to have to be done on foot. The storm is raging hard enough by now that deploying your parachute is an actively terrible idea, but you can use your wingsuit to ride the wind almost indefinitely. Take advantage of that to navigate around the area and destroy the power cells on both sides of each lightning rod.
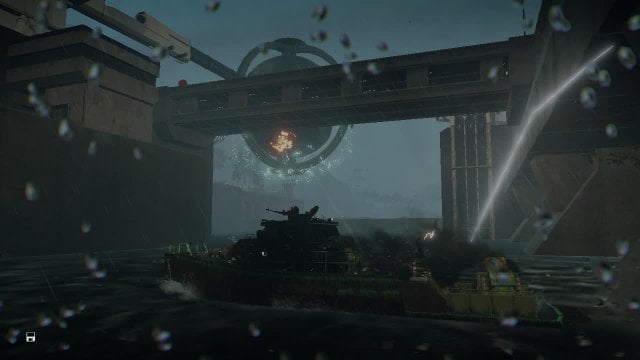
Your next targets are the magnetic locks that are holding the Core in place. You can knock them down by targeting the vivid red parts. Once they’re all down and the Core’s in the river, return to the Thunderbarge and use its mortar to finish the job.
Completing “Operation Thunderbarge” lets you take control of Kunka, which in our current state of control of the map is worth a bonus Squad Resource. With Kunka in your pocket, you can grab Urqu Verde next door for 2 SR without having to do a region strike first; that, in turn, makes Altoyaku and Islas Kaupyes worth SR, rather than costing SR, when you take them. If you’re following this walkthrough, you should currently have around 9 SR. That’s more than enough to pay for taking over the rest of the island, once you polish off the last few necessary region strikes.
At this point, if you’ve done all the optional strikes we’ve mentioned before now, you should own most of Solis except for the four zones surrounding Urqu Verde and Qachas, the latter of which you can’t pick up until you’ve cleared “Operation Illapa.”
Speaking of which.