
Welcome to our Pathfinder Wrath of the Righteous Devoured by Darkness guide. This guide will show you what you need to know about Devoured by Darkness.
Pathfinder Wrath of the Righteous Devoured by Darkness Guide
Devoured by Darkness
You’re one of the lucky few that survived Deskari’s attack, so now you’re to track down the remaining survivors.
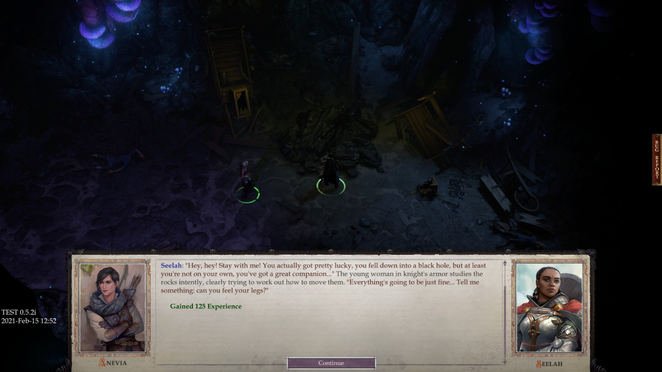
Up ahead you’ll face Anevia and Seelah. Rescue her to prevent her ending up being tired and incurring capability penalties (she’ll join your party soon). If you go with the evil option, prospering the check will net you 9 XP and 200G (Anevia will not object much).
Rob the chest ahead to acquire supplies, including torches and Cloak of Resistance +1. Gear up both (the torch needs to enter your used if you do not use a guard or two-hander). Continue forward to discover Terendelev’s Scale on the ground and to fulfill Camellia, who will join your party without a hassle.
Swap off the torch now and instead use the Light spell (click the “S” on your hotbar).
Ahead, get the enemies. Rob the body at the far east end of the map to get Bracers of Armor +1 and equip them to your party member of option.

Take the west course now to meet Lann and Wenduag, who are looking for a holy sword. They will not pay you to assist if you ask, so offer free of charge.

Aim to the north to discover the sword amongst some debris in the corner (adjacent to the Mobility check north). Your options here do not matter as you’ll get 125 XP and the “Angel Mythic Path” option either way. (Note: this is not the point at which you get to choose your Mythic Path – that comes later on.).
Pass the aforementioned Mobility check to jump across the method. Up ahead (past the spiders and flies) you’ll discover a second Mobility check. Pass that too then loot the skeleton at the end of the tunnel to discover Wand of Cure Light Woundssd.
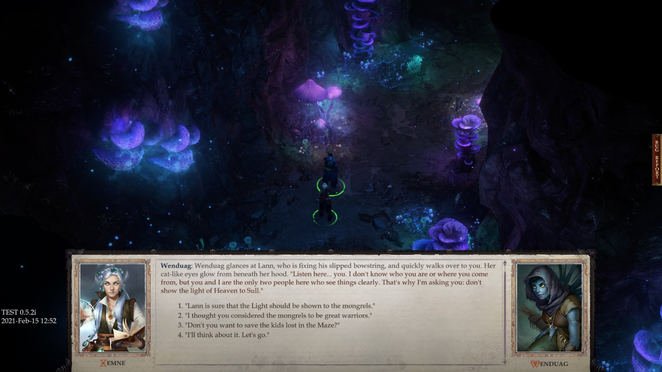
Go back to the previous area and go east up until Wenduag will ask you not to reveal the light of Heaven to Sull. Take the exit to Neathholm.

Straight ahead you’ll consult with Chief Sull, who will ask you to show the light (a Lawful action). If you do, Wenduag will be furious but Lann grateful, and the opposite if you lie.
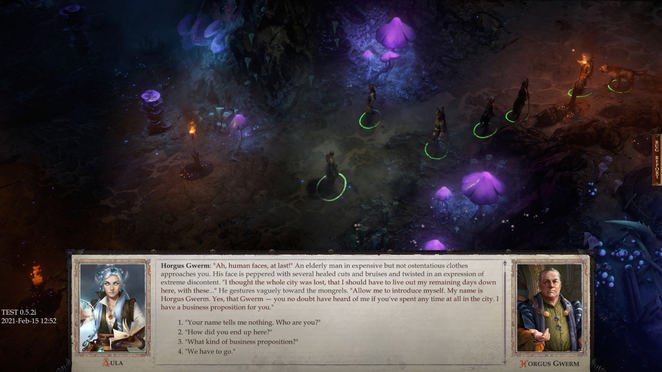
Meet with Horgus to the southeast to initiate Gwerm Family Secrets. Horgus wants a method to the surface and wants to pay you handsomely for it (1000-2000G, depending upon whether you pass the Diplomacy check). Sadly he has absolutely nothing on him, so he won’t pay you in advance. Speak to Dyra to the east also to buy and sell products (Potions of Cure Light Wounds and/or Bracers are suggested).
Rest up at the hut, then go somewhat north to Lake at the Shield Maze (as marked on your map) and cross.
Discover the way through the Shield Maze.
Run east till you reach the doorway and squeeze through. Open the next door, loot the two chests, then rub your party to fight the Baphomet Cultists and Neophyte Wizards.
Take a right into the hallway including a trap. Deactivate it and take a right into a room with a Lore: Religion check, then go north into the bigger space with the dining table in the center. Check out the surrounding spaces before going east into the flooded basement.
Go north and get Hand of Hosilla and Neophyte Fighter. On the former you’ll discover Hosilla’s Orders, which will provide you a tip on the labyrinth (i.e. a locked door can be opened by utilizing a torch as a lever). In the back space, loot Crypt Raider’s Armour.

Go south and east (still in the basement) and buff your party prior to going into the room with the Large Water Elemental. It strikes like a truck, so make sure you’re rubbed as much as possible in advance (e.g. potions, scrolls, spells, and capabilities), and have at least two characters in melee to engage him (3 might be needed). When the elemental raises itself for its slam attack, have your melee characters use Acrobatics to vacate the method, prompting it to cancel the attack. Demoralize, Evil Eye (Saving Throws/Armour Class), Scapegoat, and of course Inspire Courage can assist a great deal as well. In the west corner is a crate (Perception 10 check required), inside which you’ll find Flow of Water (ring) and Amulet of Natural Armour +1. Rest up now.
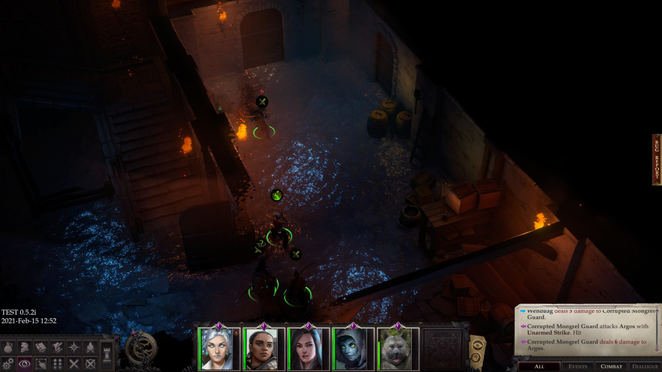
Southwest (in this space), eliminate Corrupted Mongrel Brute and loot him for Ring of Protection +1.

Go south and east (still in the basement) and buff your party before getting in the space with the Large Water Elemental. It hits like a truck, so make sure you’re buffed as much as possible ahead of time (e.g. potions, scrolls, spells, and capabilities), and have at least two characters in melee to engage him (three might be necessary). When the elemental raises itself for its slam attack, have your melee characters use Acrobatics to move out of the way, prompting it to cancel the attack. Demoralize, Evil Eye (Saving Throws/Armour Class), Scapegoat, and naturally Inspire Courage can help a good deal also. In the west corner is a cage (Perception 10 check needed), inside which you’ll discover Flow of Water (ring) and Amulet of Natural Armour +1. Rest up now.
Southwest (in this space), eliminate Corrupted Mongrel Brute and loot him for Ring of Protection +1.

Enter the west room now. Beat the Cambions then access the colour puzzle in the corner. Strike the buttons as follows: Yellow, Blue, Red, Yellow. Doing so will open a secret passage containing Radiance.
Make your method northeast, past the space with the pentagram in the center. Unlock the door in the large room (north of the space with the beds) and continue up the stairs. Buff up then head through to come across the satanic force Savamelekh and his followers. Select Angel or Demon Mythic Path now; if you select the latter, you’ll damage the satanic force and he’ll portal out, but not prior to commanding Hosilla to assault you. If you sided with Wenduag, Lann will show up now to help out (however won’t join your celebration per se). Go with the normal Evil Eye (Armour Class), Inspire Courage, etc. and take him and the Quasits down.

Post-combat, Lann and Wenduag (the latter apparently a servant of Savamelekh) will fight it out. Make your option on which you want to take with you (Seelah will not approve of Wenduag obviously, while Camellia will). If you choose Lann (suggested if you’re only worried about fight performance, and even if you’re not, it’s a smoother flight in Act 1), you’ll have a chance to assault Wenduag, though you’ll constantly miss out on. Also, despite what you choose, you’ll have the alternative to pick up Wenduag later on.
Horgus (from Gwerm Family Secrets) and Anevia will appear now. The latter will provide you Cultist’s Dispatch, offering you with all sort of details on the cultists and how to track them (therefore triggering Spies Amidst Our Ranks).
Loot the bodies to get Marching Terror (glaive) and Heavy Mace of Fire.
Bonus! Best Pathfinder: Wrath of the Righteous Guides
You should definitely check these out:
- Pathfinder: Wrath of the Righteous Best Builds
- Pathfinder: Wrath of the Righteous Race Tier List
- Pathfinder: Wrath of the Righteous Class Tier List
- Pathfinder: Wrath of the Righteous Best Graphic Settings & FIX FPS Drops
Wiki Guides
- Pathfinder: Wrath of the Righteous Mythic Paths Guide
- Pathfinder: Wrath of the Righteous Market Square Guide
- Pathfinder: Wrath of the Righteous Romance Guide